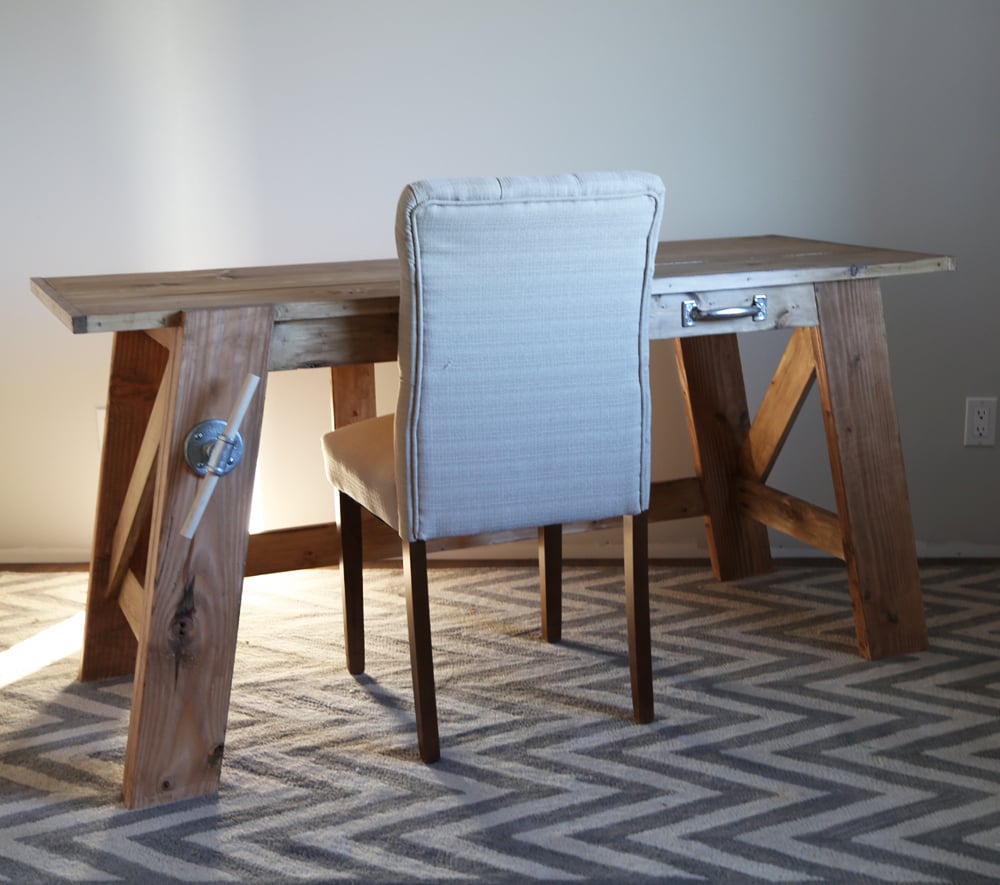
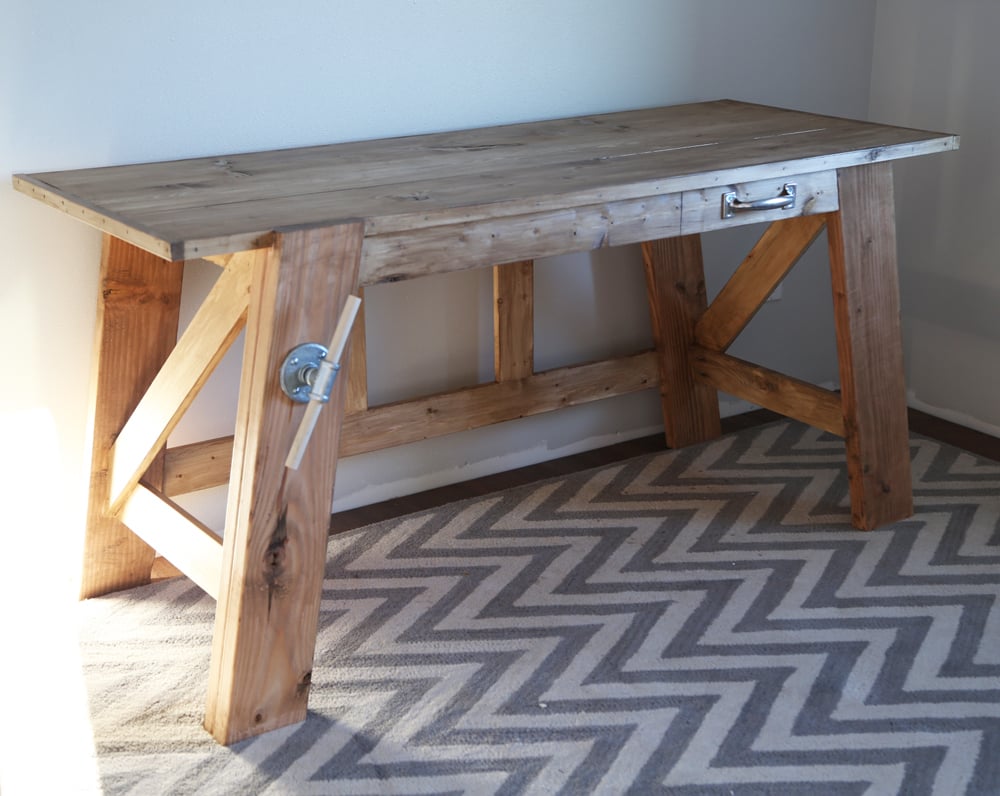
build a pottery barn hendrix inspired desk - free plans from ana-white.com
Preparation
3 - 1x4 pine or whitewood boards 8 feet long
3 - 1x2 pine or whitewood boards 8 feet long
1- 1x6 @ 3 feet long
2- 2x4 @ 8 feet long
2 - 2x6 pine or whitewood boards 8 feet long
24"x96" pine project panel
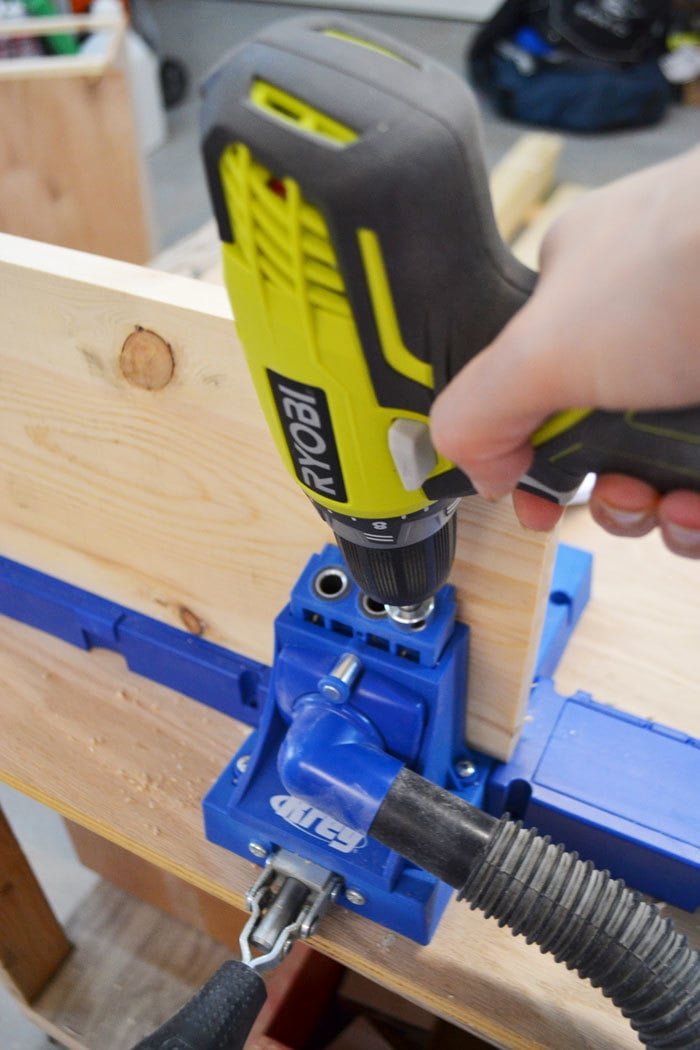
1-1/4” and 2-1/2” pocket hole screws
1-1/4” staples
Wood glue
Handle or knob
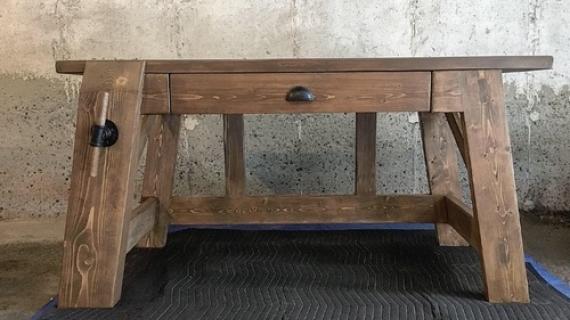
Optional decorative vise
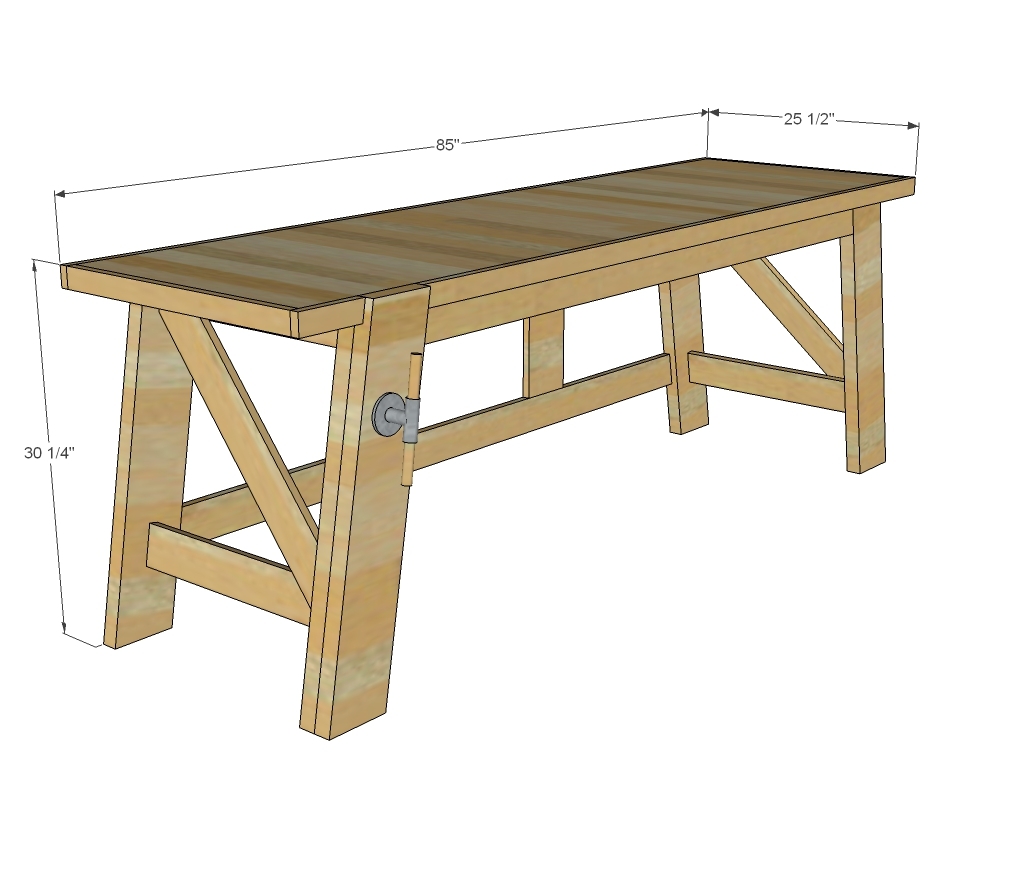
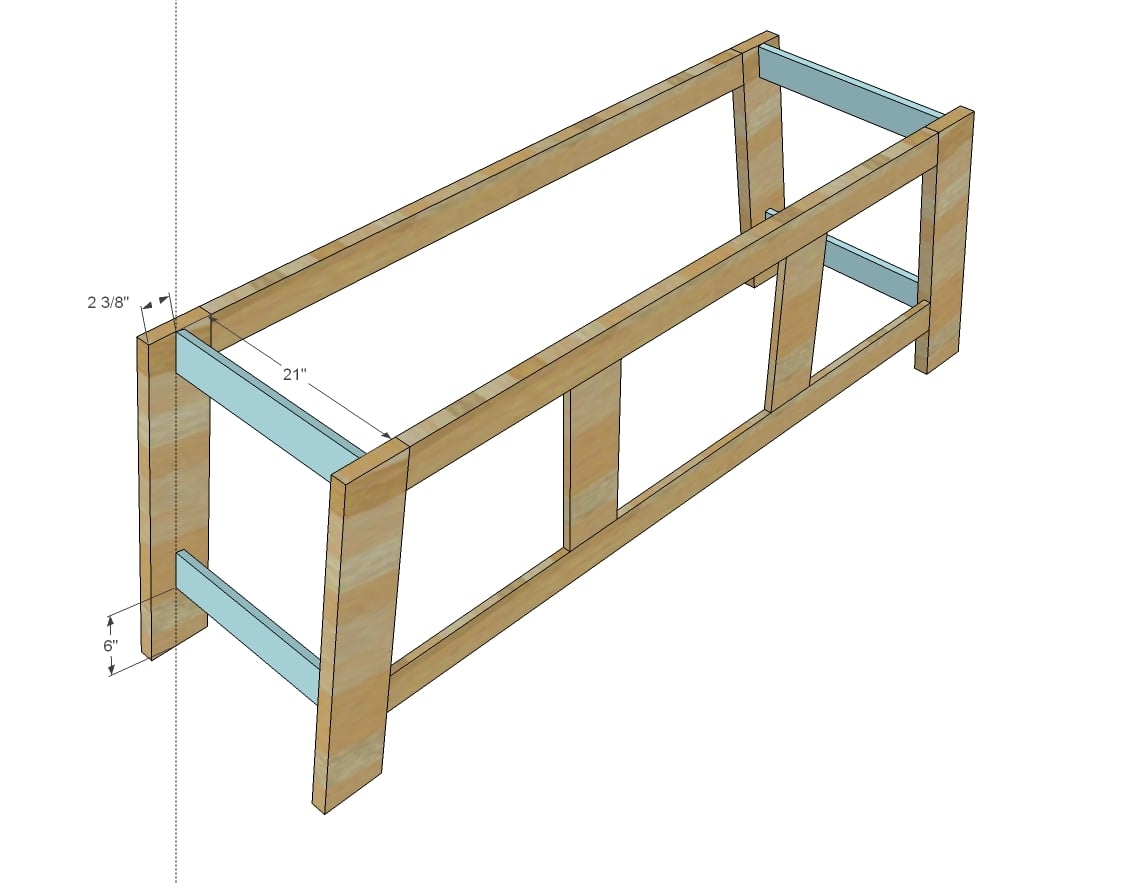
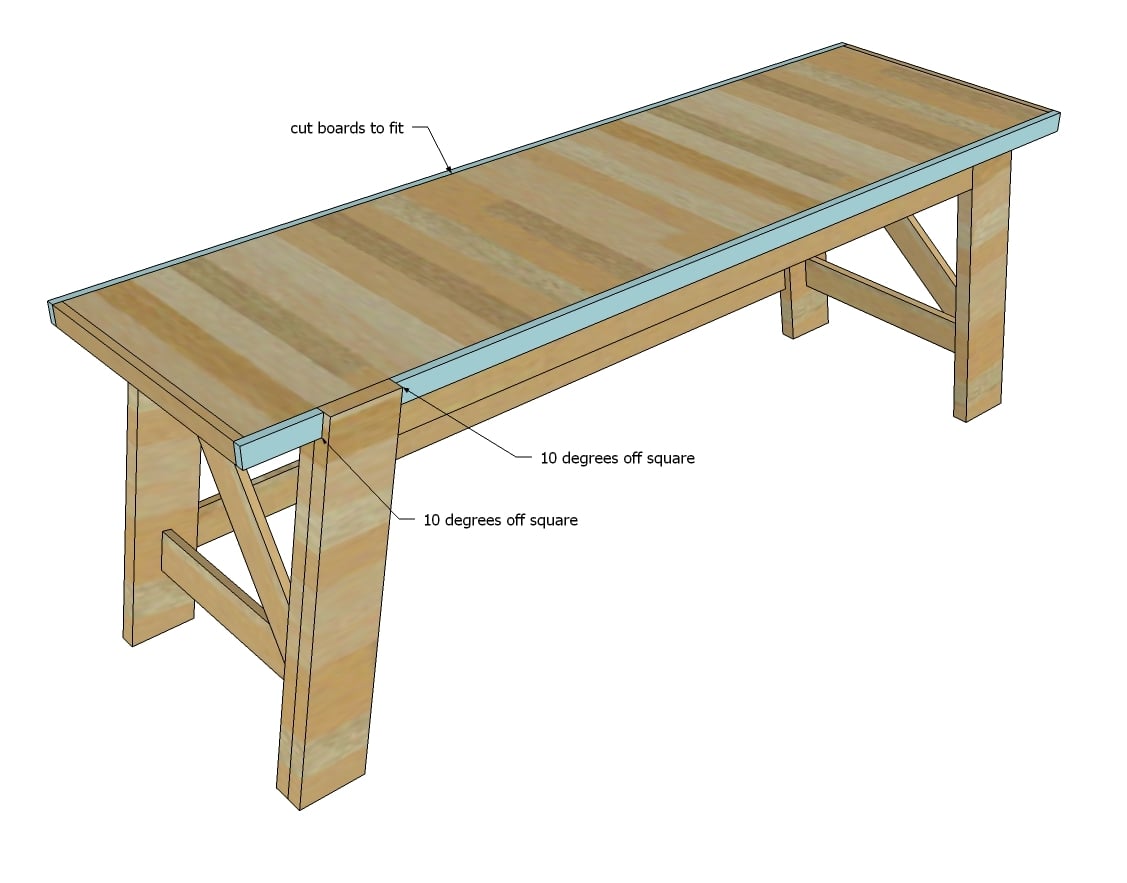
2 - 2x4 @ 63-1/4” - both ends cut at 10 degrees off square, NOT parallel, long point to long point measurement (top aprons, front and back)
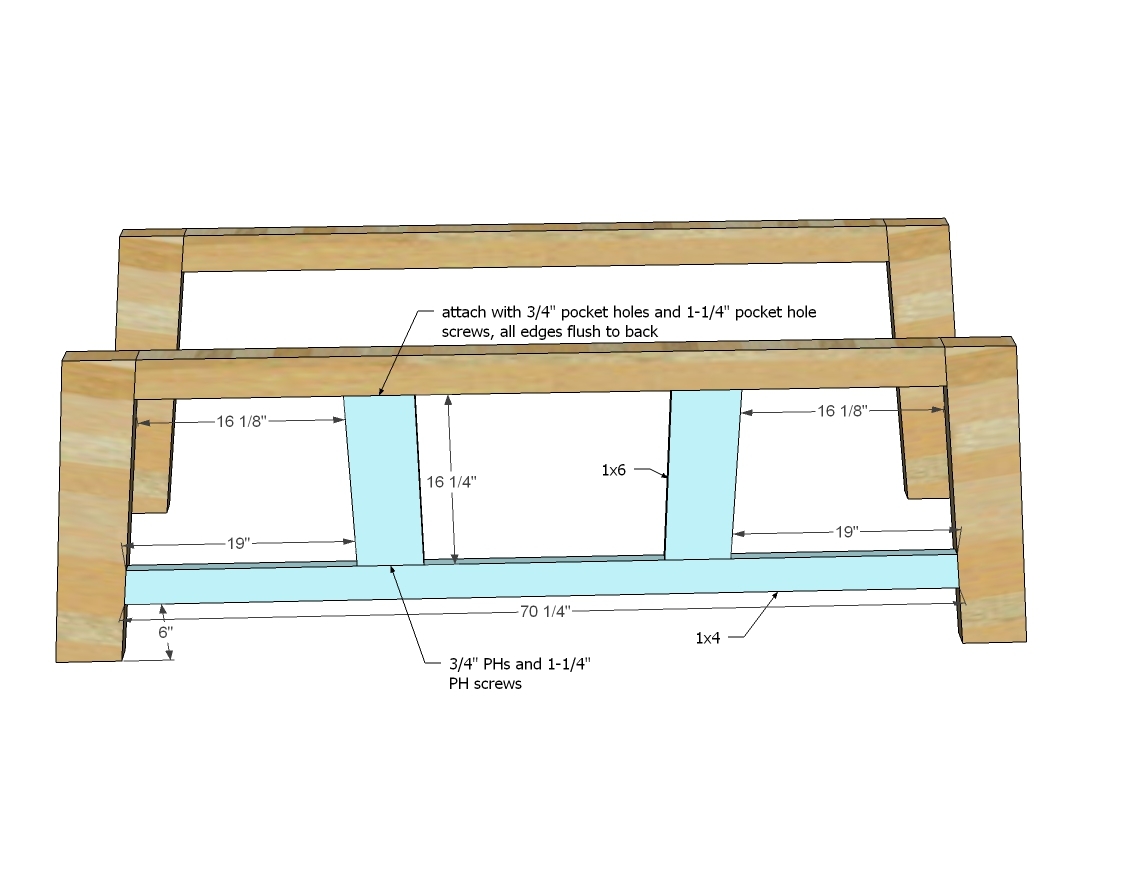
1 - 1x4 @ 70-1/4” - both ends cut at 10 degrees off square, NOT parallel, long point to long point measurement (back base support)
2 - 1x6 @ 16-1/4” - (back vertical supports)
4 - 2x6 @ 29-3/4” - both ends cut at 10 degrees off square, ends ARE parallel, long point to short point measurement (legs)
4 - 1x4 @ 21” (side aprons and base supports)
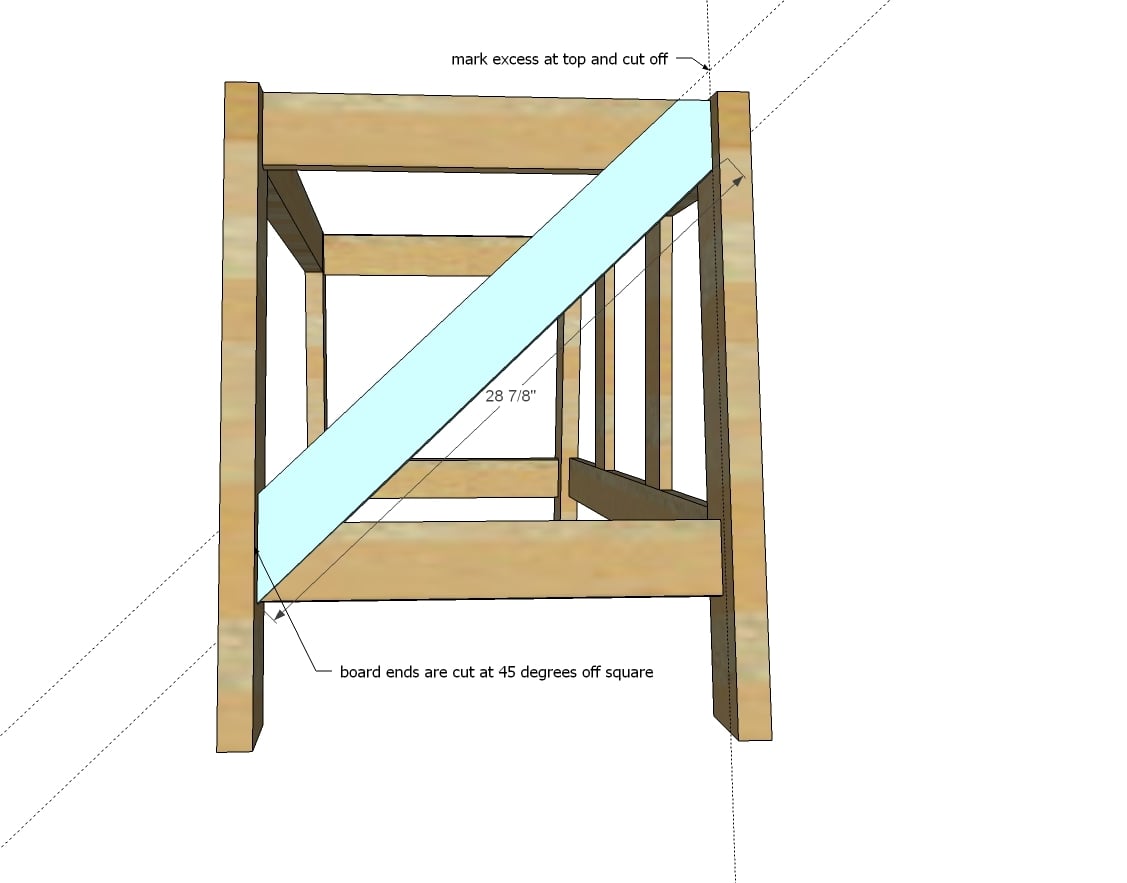
2 - 1x4 @ 28-7/8” - both ends cut at 45 degrees, ends ARE parallel, long point to short point measurement (side cross supports)
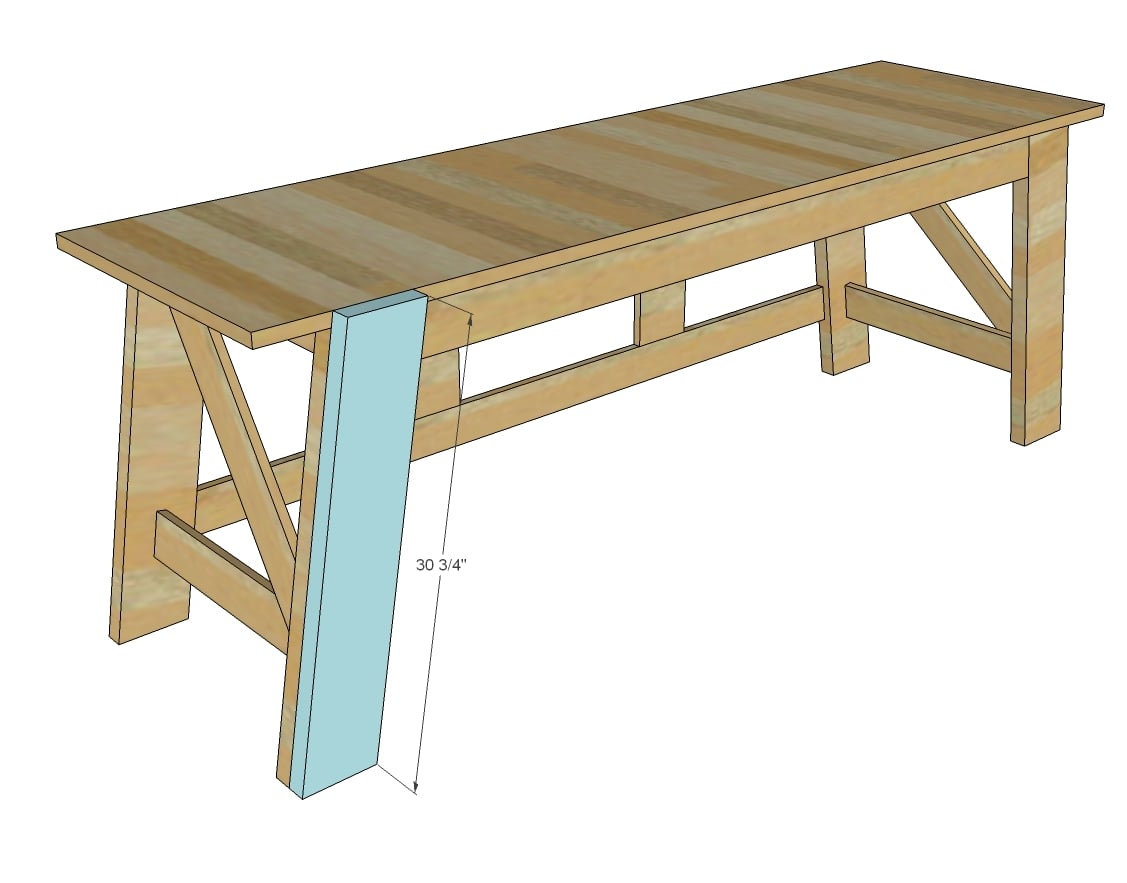
1 - 2x6 @ 30-3/4” - both ends cut at 10 degrees off square, ends ARE parallel, long point to short point measurement (decorative front leg)
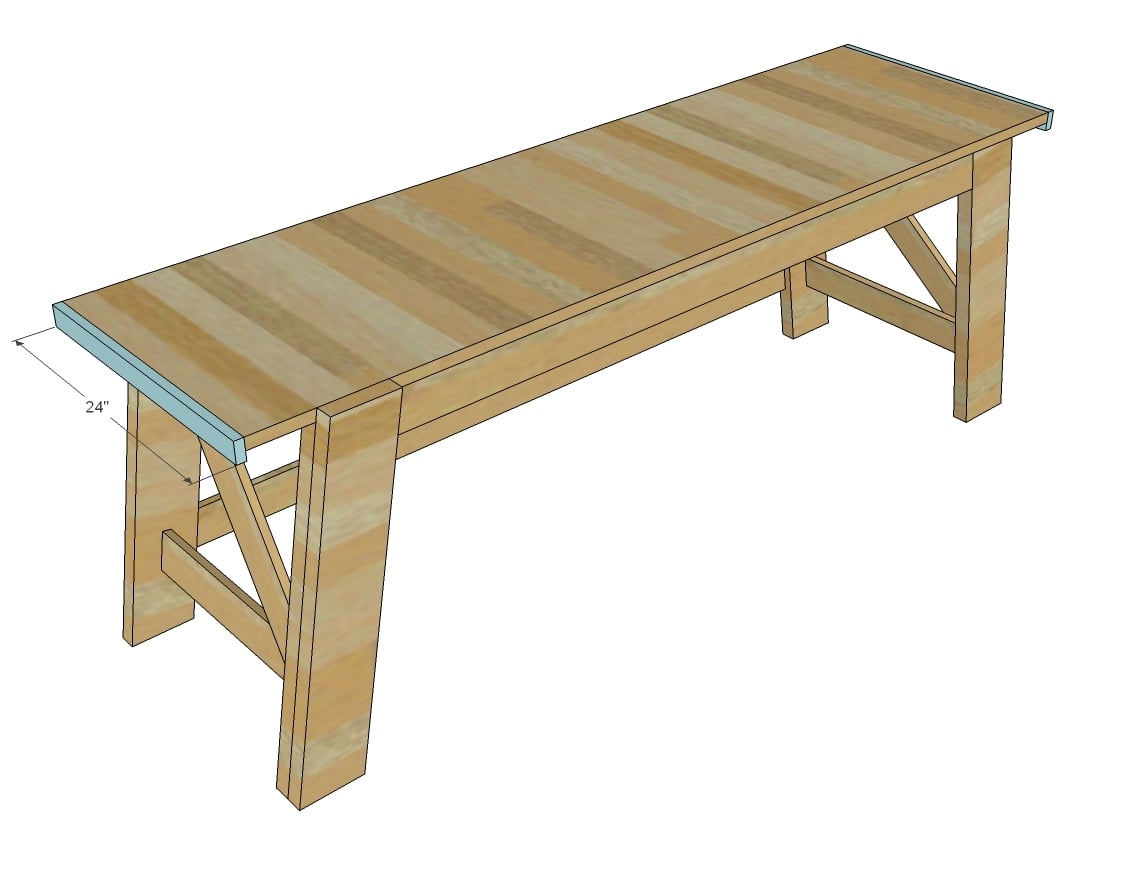
3/4" thick tabletop or pine project panel @ 24" x 83-1/2"
2 - 1x2 @ 24” (side top trim)
Cut front top trim to fit - angle will be 10 degrees
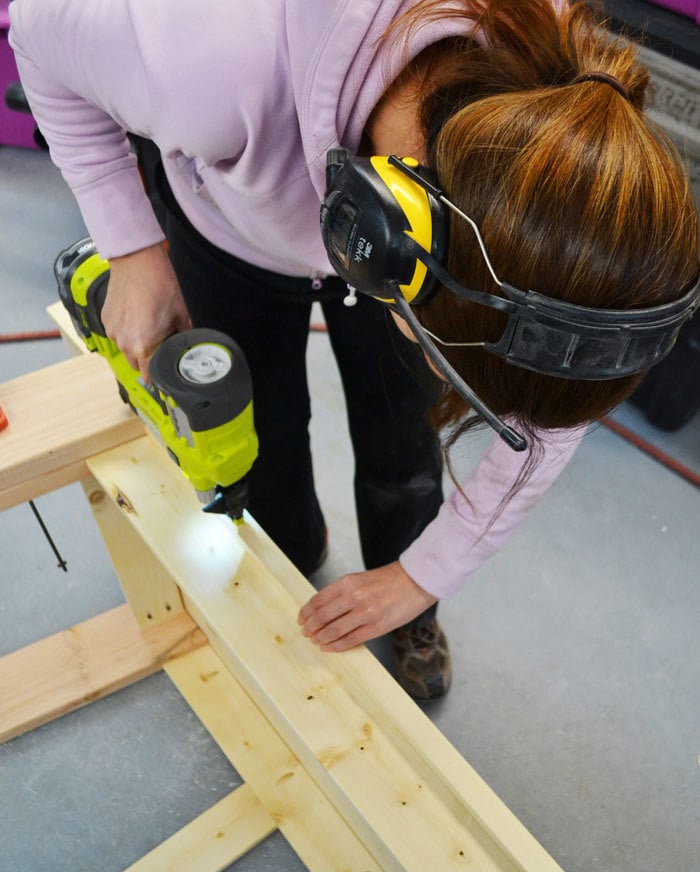
Please read through the entire plan and all comments before beginning this project. It is also advisable to review the Getting Started Section. Take all necessary precautions to build safely and smartly. Work on a clean level surface, free of imperfections or debris. Always use straight boards. Check for square after each step. Always predrill holes before attaching with screws. Use glue with finish nails for a stronger hold. Wipe excess glue off bare wood for stained projects, as dried glue will not take stain. Be safe, have fun, and ask for help if you need it. Good luck!
Instructions
Step 1
Step 2
Step 3
Step 4
Step 6
Step 9
It is always recommended to apply a test coat on a hidden area or scrap piece to ensure color evenness and adhesion. Use primer or wood conditioner as needed.








Comments
Gordon_Shumway
Tue, 04/08/2014 - 20:40
Vise?
What is the vise used for on this desk?
The desk looks great just like everything else here.
Edit: Ok so I just went to PB's site and it says " Details like a faux vise and an asymmetrical drawer lend authenticity" So I guess its some peoples version of Authenticity.
angelina.davydova
Wed, 04/09/2014 - 11:34
cool desk!! I am a newbie,
cool desk!! I am a newbie, and still a bit confused with inches and feet :)) Since I live in Europe here they sell wood in cm:))
angelina.davydova
Wed, 04/09/2014 - 11:35
cool desk
cool desk!! I am a newbie, and still a bit confused with inches and feet :)) Since I live in Europe here they sell wood in cm:))
Dawn77
Wed, 08/13/2014 - 08:23
finishing details
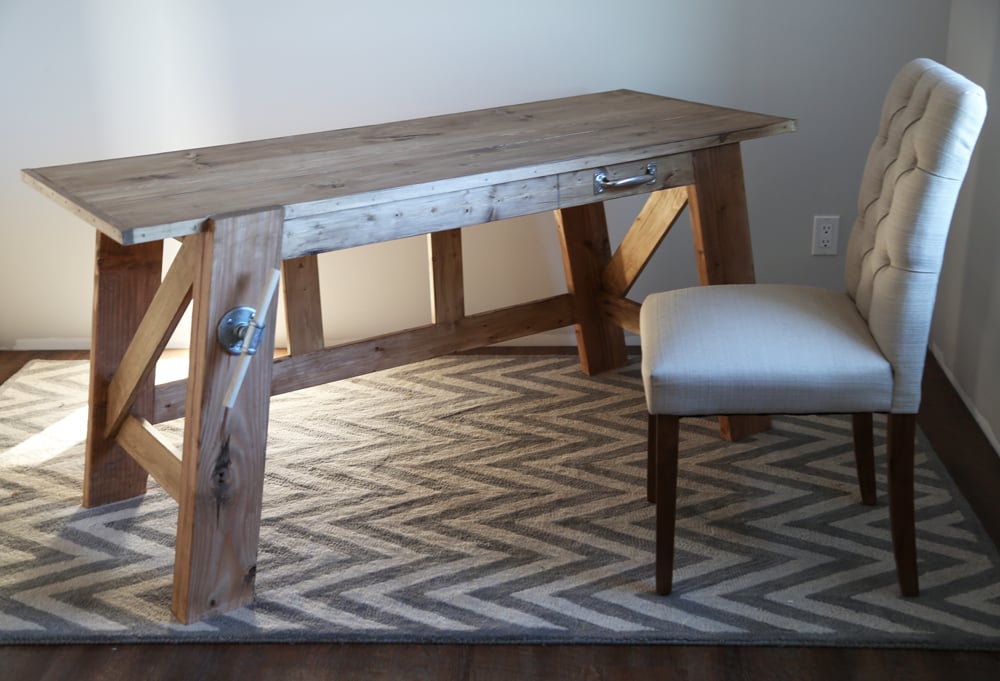
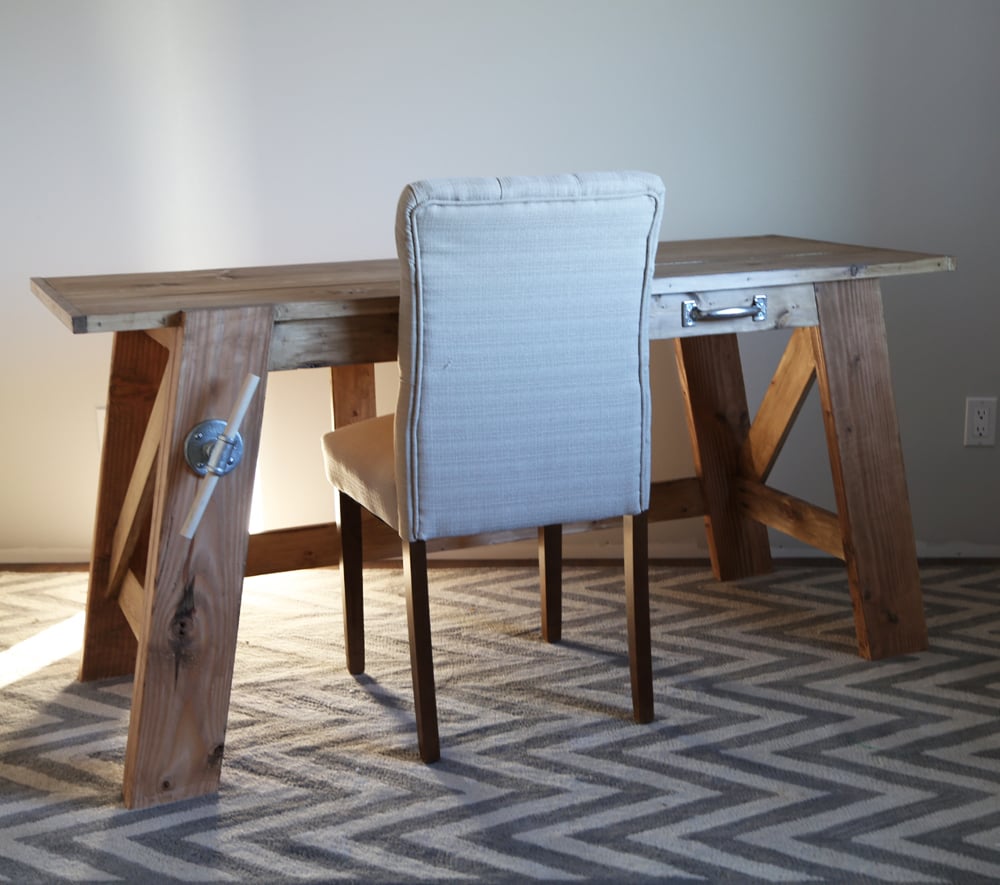
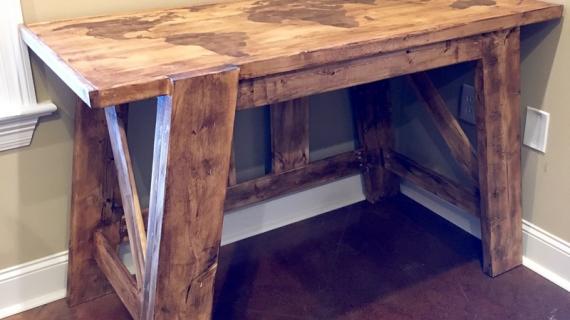
I love the color of the wood! What stain did you use?
jkeeter
Sun, 03/22/2015 - 17:38
Finshing
Would love to know what stain you used as well. It looks fantastic and still has a rustic quality.
jkeeter
Sun, 03/22/2015 - 17:38
Finshing
Would love to know what stain you used as well. It looks fantastic and still has a rustic quality.
Mark33319
Thu, 05/28/2015 - 11:01
Staining This Desk
I would like to make this desk look a bit weathered/dated with a coastal look... Does anyone have any ideas or directions for staining to achieve this effect?
Thanks, Mark
In reply to Staining This Desk by Mark33319
Ana White
Fri, 05/29/2015 - 13:00
There are a lot of tutorials
There are a lot of tutorials online, here is one of Ana's
http://ana-white.com/2013/04/authentic-vintage-distressed-finish-minwax…
OR another great option
http://www.brandisawyer.com/2014/06/weathered-wood-finish.html
Hope this helps!
Ana White Admin
LindaZ
Sat, 09/22/2018 - 21:10
Stain
What kind and cold stain did you use?
kay h
Thu, 11/04/2021 - 20:33
How would you add a drawer?
I’m very excited to build this desk! Do you have recommendations on how to add a large drawer (like you do in the X desk with drawer plans)? I’m tempted to use that method, but worry about sacrificing the structure of the long front apron