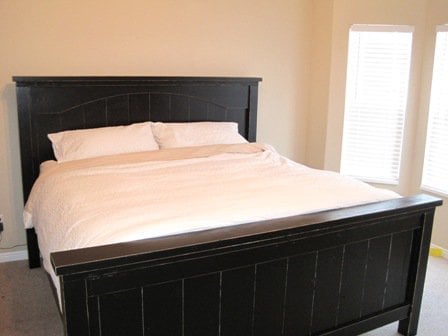
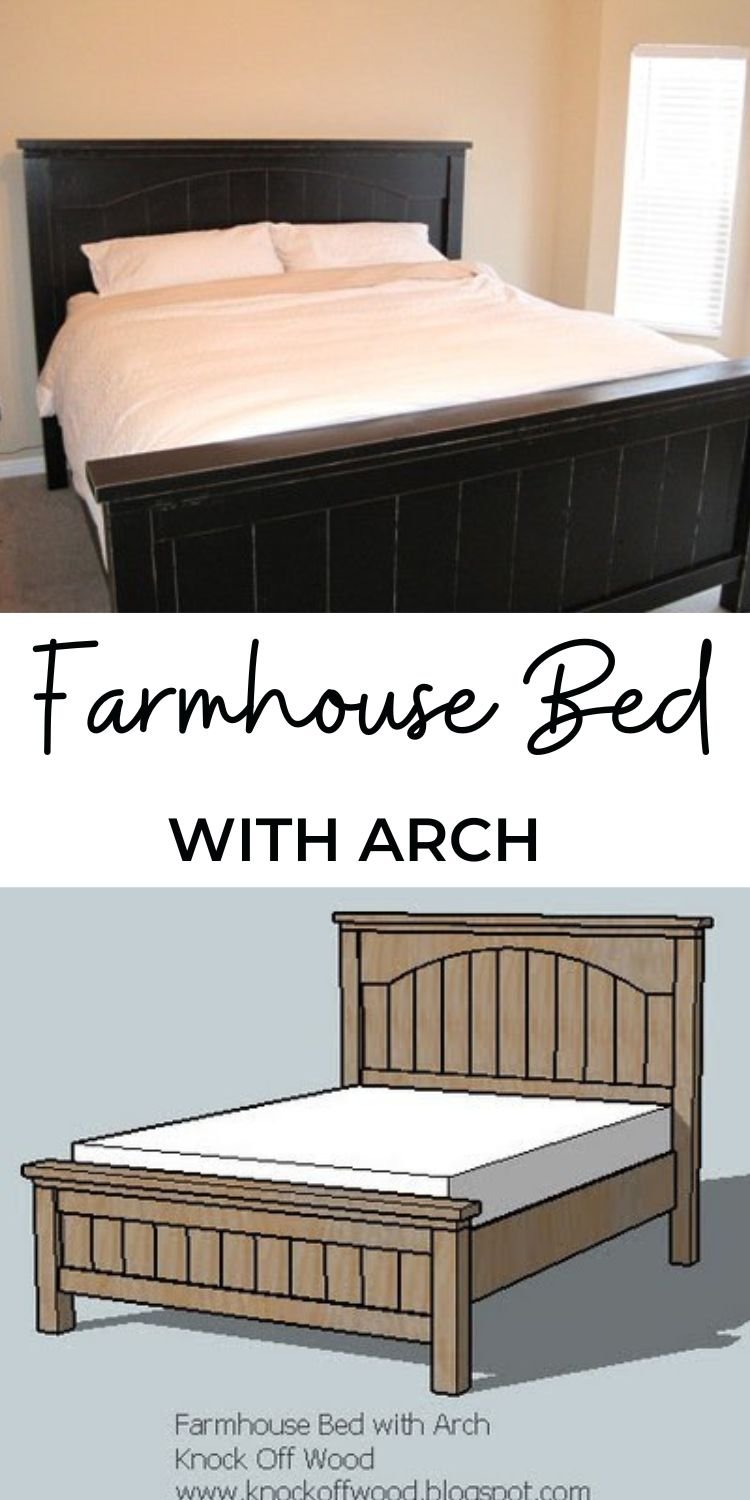
Special thanks to Julianne for sharing her photo. Add a touch of fancy to our Farmhouse Beds with this modification.
Pin For Later!
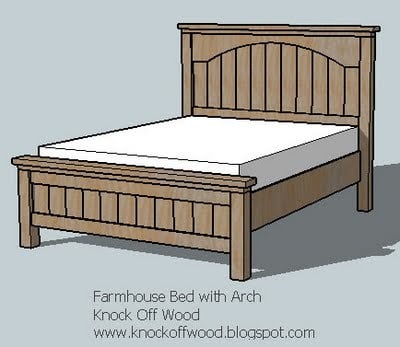
Preparation
Shopping List for Queen - see other Farmhouse House Beds for different sizes that can be converted to an arch with this technique 6 - 1x6 @ 8 feet long 7 - 1x4 @ 6 feet long 1 - 1x10 @ 6 feet long 2 - 4x4 posts, 8 feet long 2 - 2x4 @ 8 feet or stud length 2 - 2x6 @ 8 feet or stud length
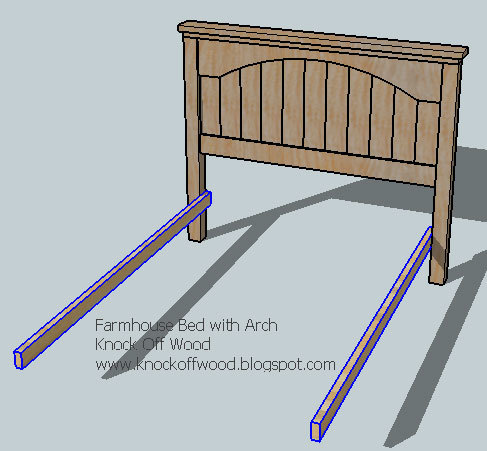
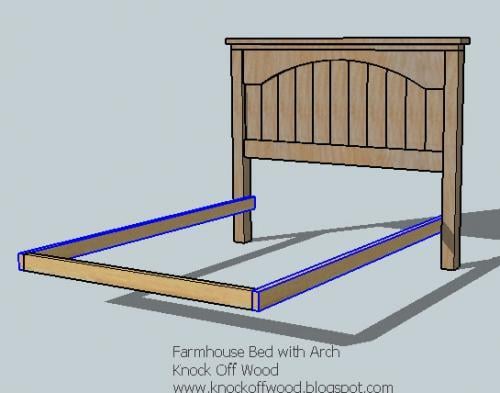
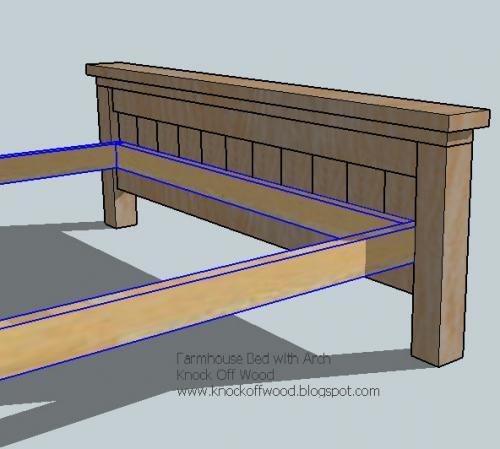
A) 11 – 1×6 @ 30″ (panels for the headboard) B) 11 – 1×6 @ 15″ (panels for the footboard) C) 7 - 1×4 @ 60 1/2″ (top and bottom trim for the headboard and footboard panels) D) 1 – 1×10 @ 60 1/2″ (arch cutout for the arched header) E) 2 – 4×4 posts @ 54 1/2″ (Headboard posts) F) 2 – 4×4 posts @ 21″ (Footboard Posts G) 2 – 2×4 @ 67 1/2″ (Top of Panels and Posts for Footboard and Headboard) H) 2 – 2×6 @ 69 1/2″ (Top of Headboard and Footboard) Siderails and Frame Pieces (optional if you have a bed frame) I) 2 – 2×4 @ 84 3/4″ (Cleats for the Siderails) J) 1 – 2×4 @ 57″ (Footboard piece of the frame) K) 2 – 1×10 @ 80″ (Siderails)
This plan assumes that your 1x6s are 5 1/2" wide. Measure yours - if they are not, you could find your panel is short or long on your panel trim. Adjust accordingly. Best advice is to not cut any boards until after you have constructed and measured your panel boards.
Instructions
Step 1
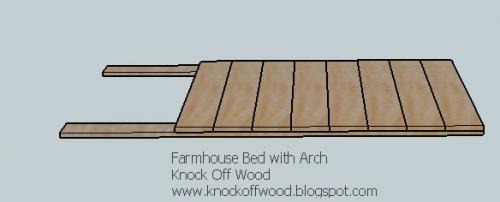
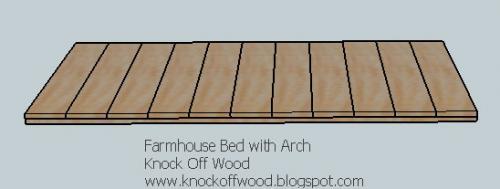
Start with 2 of the pieces C, the 1×4 trim pieces. Begin by lining up the panel pieces for the headboard, A, on top of the 2 trim pieces, C, as shown above. Use glue and 1 1/4″ nails to nail through the panel pieces, A, into the back side of C. Check for square (visit the HOW-TO section to learn how to check for square). Nail all 11 headboard pieces to the back side of C.
Do the same for the footboard, this time using the panel pieces B, and two more of the 1×4 trim pieces, C.
Step 2
Step 3
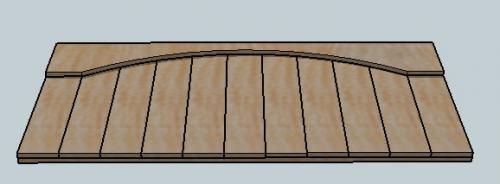
Begin with piece D, and cut out with a jigsaw the desired arch. The arch used above begins 5 1/2″ on either end and reaches up 6″ at the highest point in the center. After the arch is cut out of the header piece, D, for the headboard, flip the larger panel over, as shown above, and secure the header piece, D, as shown above, using 2″ nails and glue. Keep all outside edges flush.
Step 4
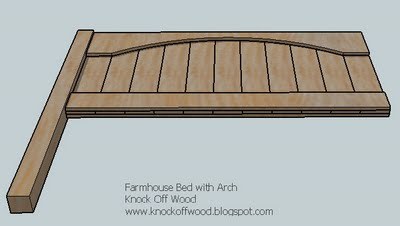
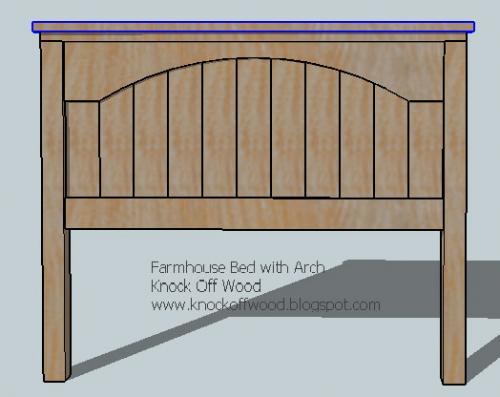
Mark the 4×4 posts 5/8″ in on either end on the side that will be connected to the center panel. Line up the center panel with these marks to center the panel on the 4×4 post as shown above. Predrill 1/2 way through the post and then screw with 4 1/2″ screws through the predrilled hole into the center panel. Make sure you are lining up your screws with the panel where it is sandwiched 3 boards thick.
Do the same with the footboard pieces, using the shorter posts and the footboard panel.





Comments
dmsdbt
Tue, 07/09/2013 - 18:19
Is there a link to the king
Is there a link to the king size plans?
shane515
Fri, 04/10/2015 - 21:36
Pocket Hole Screws?
Has anyone felt the need to connect the panels via pocket hole screws on the back side of the headboard? It may not be necessary at all, but I was wondering if it would add any strength to the piece. Thanks!
andyvenn
Wed, 08/19/2020 - 08:51
What if you have a split box…
What if you have a split box spring?
HDLady
Mon, 04/19/2021 - 09:05
Contour of Arch
Hello Ana -
Please help me understand Instruction Step #3 for the Arch.
Begin with piece D, and cut out with a jigsaw the desired arch. The arch used above begins 5 1/2″ on either end and reaches up 6″ at the highest point in the center. After the arch is cut out of the header piece, D, for the headboard, flip the larger panel over, as shown above, and secure the header piece, D, as shown above, using 2″ nails and glue. Keep all outside edges flush.
The arch begins 5 1/2" on either end and reaches up 6" at the highest point in the center. This doesn't add up to me!
Thank you,
Micheline