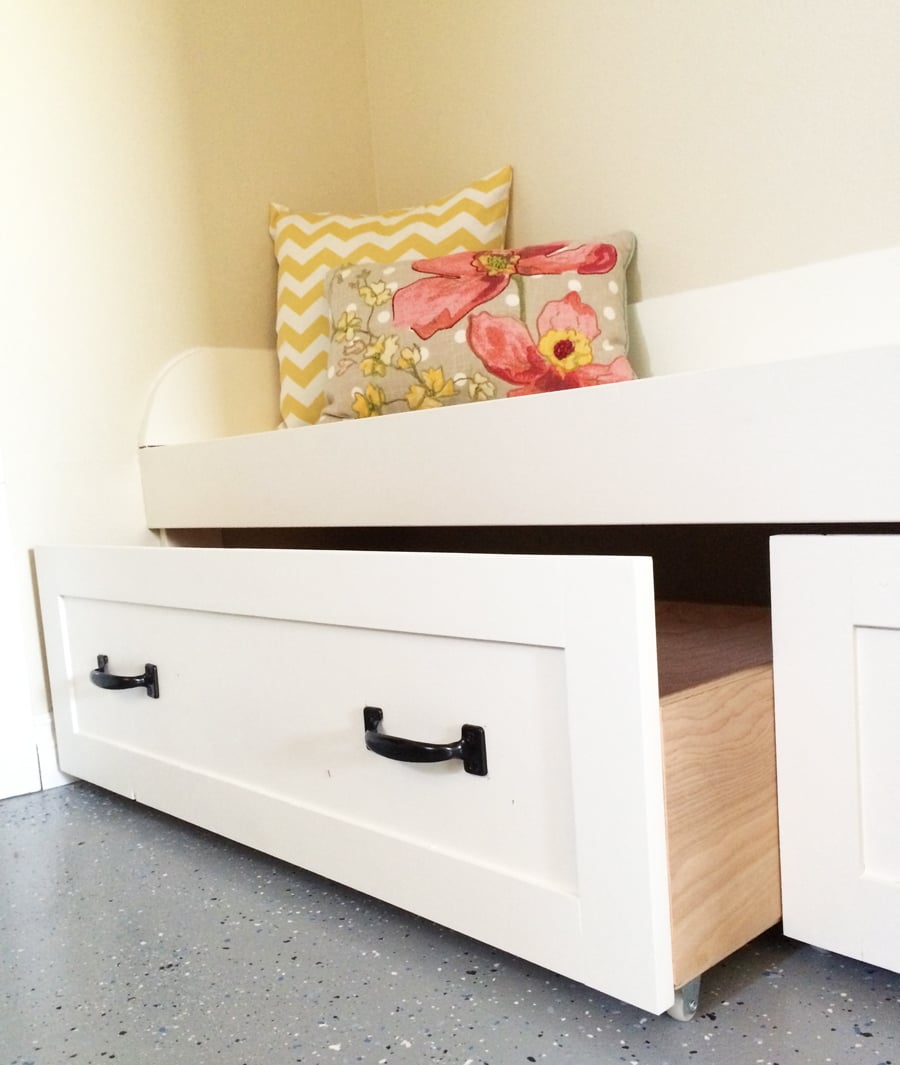
DIY trundle drawers for under a bench by ana-white.com
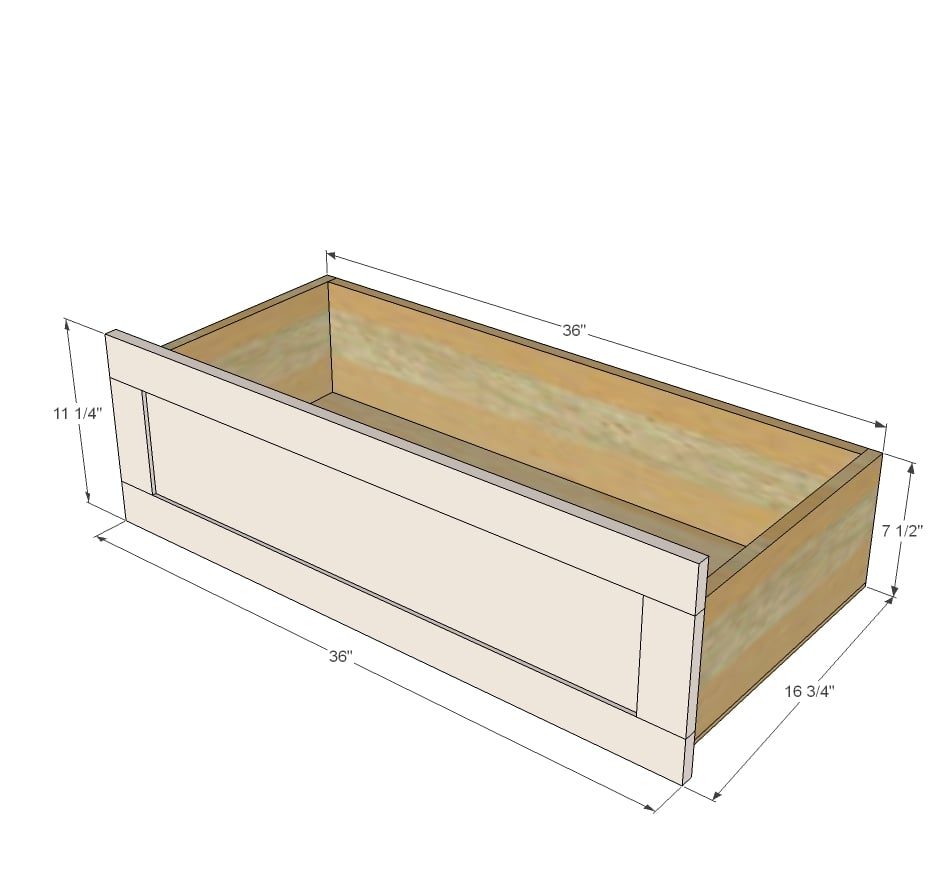
Preparation
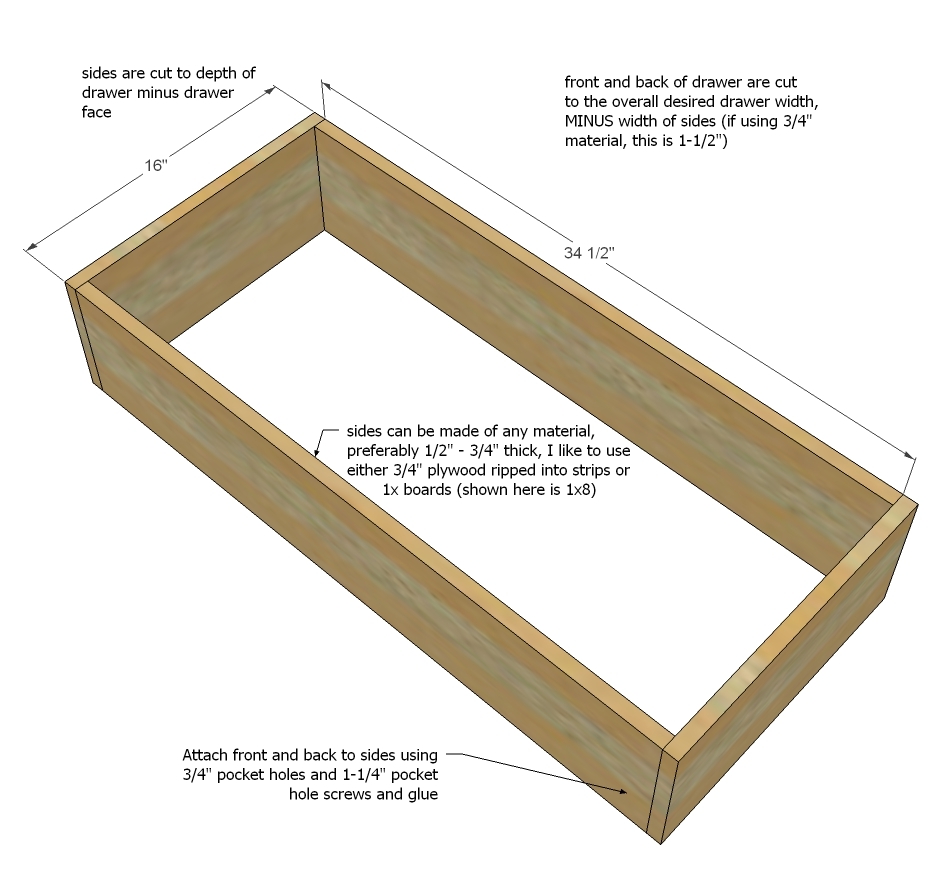
1x8s for the drawer box is what I used, but you could also use 1x6 or 3/4" plywood etc 1/4" plywood for bottom 4 caster wheels (I used 1" tall ones) 1x3s and 1/2" plywood for the drawer face 1-1/4" pocket hole screws to build drawer and drawer face 1-1/4" nails and screws for attaching drawer face 2 handles or knobs
Cut to fit your dimensions
Please read through the entire plan and all comments before beginning this project. It is also advisable to review the Getting Started Section. Take all necessary precautions to build safely and smartly. Work on a clean level surface, free of imperfections or debris. Always use straight boards. Check for square after each step. Always predrill holes before attaching with screws. Use glue with finish nails for a stronger hold. Wipe excess glue off bare wood for stained projects, as dried glue will not take stain. Be safe, have fun, and ask for help if you need it. Good luck!
Instructions
Step 1
The first step is to do a little planning. I measured the space under my bench, and figured out how big to make my drawers. I recommend 1 or 2 drawers, so there's no middle drawer(s). With 1 or 2 drawers, the drawers can follow the wall as they are wheeled in and out.
If you are working between walls, measure between walls at front and back - walls are notoriously not square, especially basement walls.
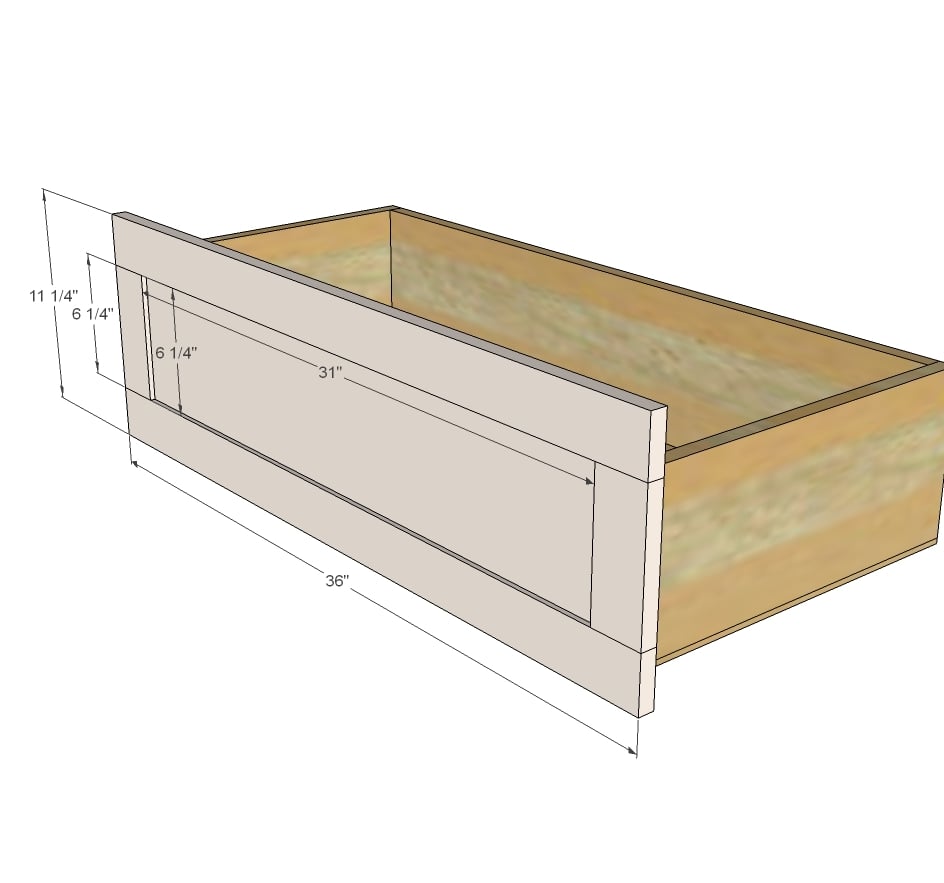
Get a depth and height measurement too so you can figure how deep the drawers should be, what size material to make the drawer sides out of, and then how big to make the drawer face.
I made my drawers 1/2" smaller than the space to allow a little wiggle room. Consider the height of the caster wheels when you determine how tall the drawer boxes are (I used 1x8s for a 12" high space).
Through this plan, I'll be sharing my drawer dimensions, but alter to fit your needs.
Step 2
Step 3
Step 4
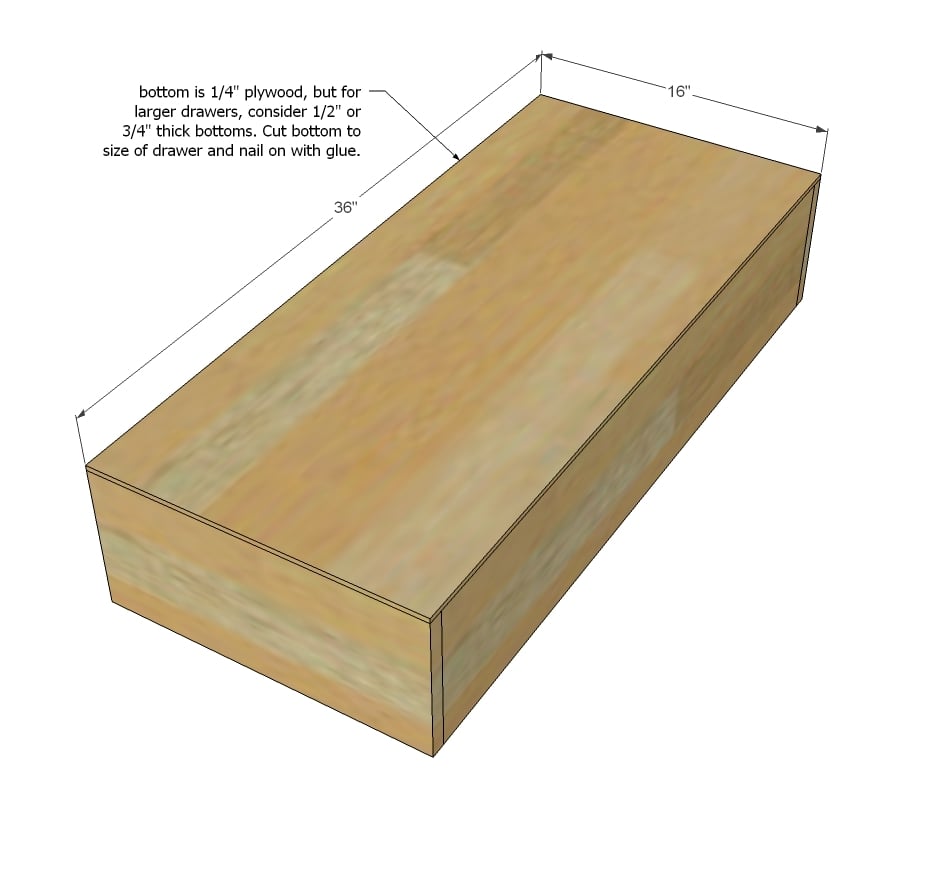
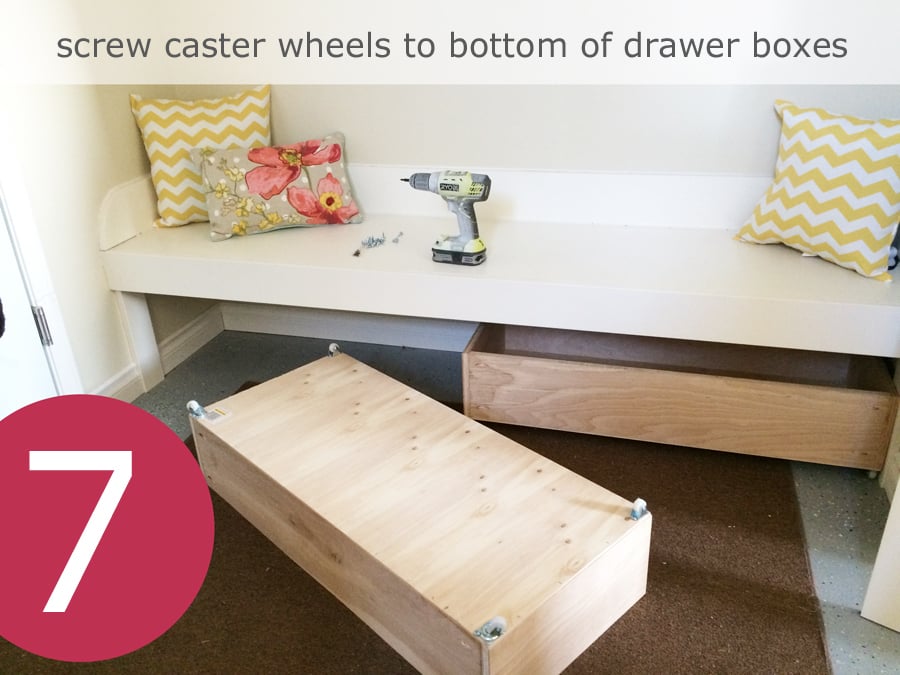
Attach the caster wheels to the base of the drawers. I used these caster wheels.
It is always recommended to apply a test coat on a hidden area or scrap piece to ensure color evenness and adhesion. Use primer or wood conditioner as needed.


Comments
cassiet717
Thu, 04/24/2014 - 10:27
Beautiful Mudroom!
Thank you for sharing this, I SO wish we had a mudroom! Your plans are always so incredible, you have such a talent for making things accessible to the average girl with a drill!
houquilter
Fri, 05/22/2015 - 11:06
So nice! And easy!
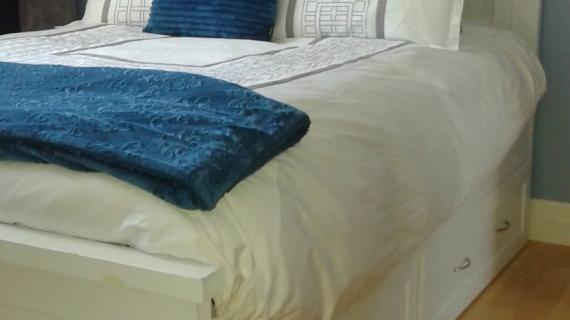
This would be perfect for under bed storage!