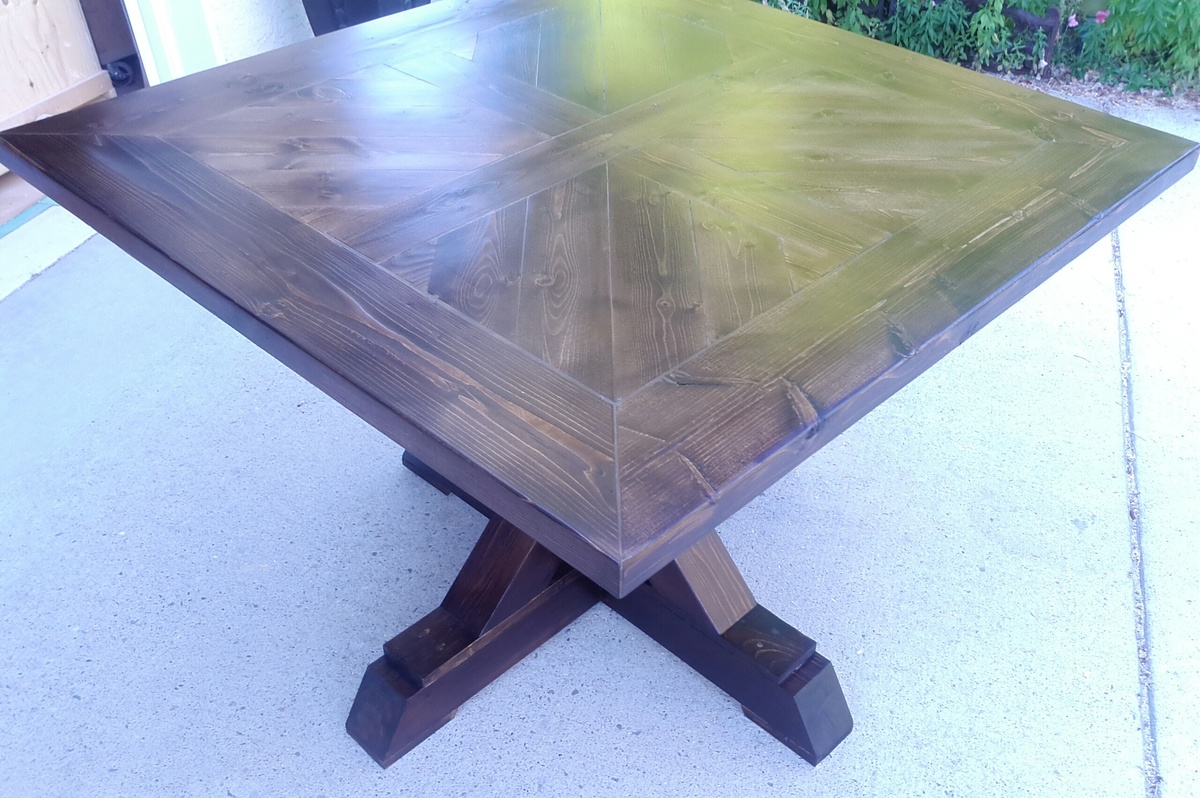
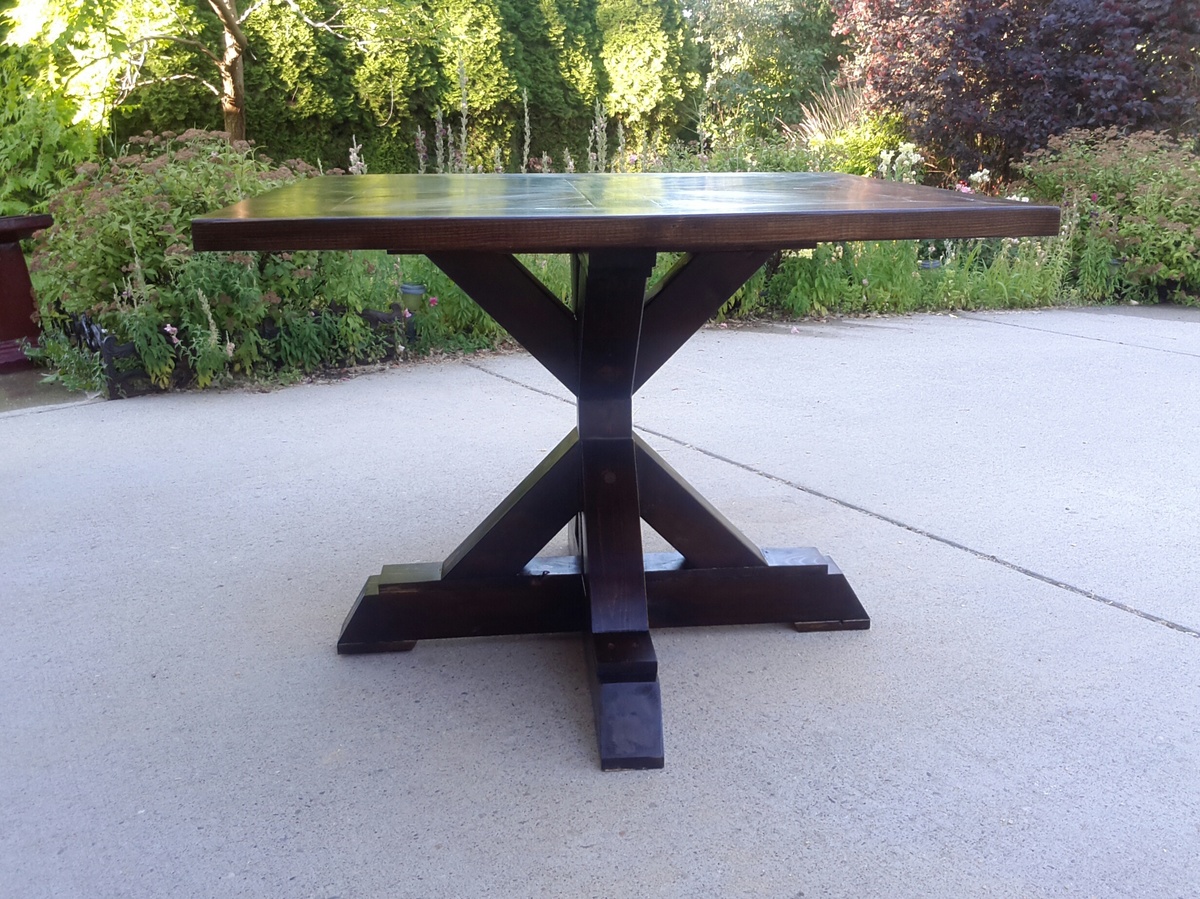
Needed a small table for our new house so I decided to build one, I followed the design fairly close. The only creative difference and I'm going to pretend I meant to do it was that I rotated the squares 90 degrees.
A few tips / things to look out for:
- The angled legs are tricky to line up/attach but you can use alot of woodfiller there to fill in the gaps and you can barely notice it once it is all together.
- When attaching the slats to create the squares for the top, add 5 pocket hole screws to each side, when you go to attach them you will thank me, 3 on each side of them doesn't hold as tight as you need it too.
- on the underside of the top I also added some scrap squares of 1x4 under the small triangles to stop them flexing, attached to the 2x6 with pockethole screws.
- Palm Sander - should be listed as required tool, to level out the top after assembly I went through a pack of 120 grit discs.
- There is not much room for error if you only have 2 8 foot 2x6's so cut them a couple blade widths bigger than you measure and sand them down to exact size.
as I used SPF for the table top I think I am going to get a piece of tempered glass cut for the top to protect the soft wood and give me an easy surface to clean.


Comments
moosmani
Thu, 07/25/2013 - 11:15
I am definitely bookmarking
I am definitely bookmarking this! Very nice job. It's beautiful.
nickfmc
Thu, 07/25/2013 - 12:33
Thanks
Thanks Moosmani!
sgilly
Thu, 07/25/2013 - 16:04
Love the finish
I have a hard time getting a finish that is that dark and rich looking. Good job!
nickfmc
Thu, 07/25/2013 - 20:17
finish
I used minwax oil based dark walnut stain. But a coat of wood conditioner first seamed to help allot
sgilly
Fri, 07/26/2013 - 13:52
Finish
Thanks, I think the conditioner is an important step - one I've made the mistake of leaving out on way too many occasions!
psteve4
Wed, 10/09/2013 - 08:25
NICKFMC On the table top did
NICKFMC
On the table top did you fill in the seems where the boards meet with wood filler? It looks like there may be something between them and it has a very smooth appearance. I don't really want the gaps to show on mine and was wondering how you got yours to look so smooth.
Great job on the table! and thanks for any help you can give me!
Paul
step02
Wed, 01/29/2014 - 11:57
thanks for posting your pictures
I really liked how the inner squares are turned 90 degrees. The table looks less rustic, a bit more polished. I believe your extensive sanding contributed to the finished look.
One bit of advice. You may want to start with a more aggressive sandpaper to make edges flush. You can start with a 60 or 80 grit and then work your way up to 120 or 150.
jmp1518
Sun, 11/20/2016 - 16:42
Pricing
Hi all,
I made a table almost identical to this with the top being more farmhouse style. My problem is that a friend of mine offered to buy one of these if I make one for him. I never know what to price things at when asked to make for friends. I always let my feelings of friendship cheapen the cost. I would greatly appreciate some help in what price point to set a table like this at. Thank you in advance for any help.