
Difficulty
Intermediate
| 
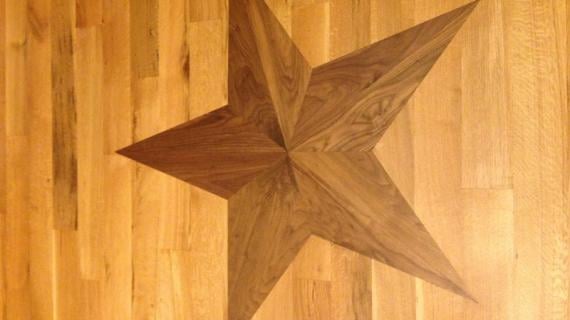
This plan will show you how to make your own wooden star for use as decoration or for some other project. See attached plan.
13.5 in
Preparation
Shopping List
1x4 8', Qty 1
Common Materials
Cut List
Cut 5 pieces, at least 8" long.
Tools


General Instructions
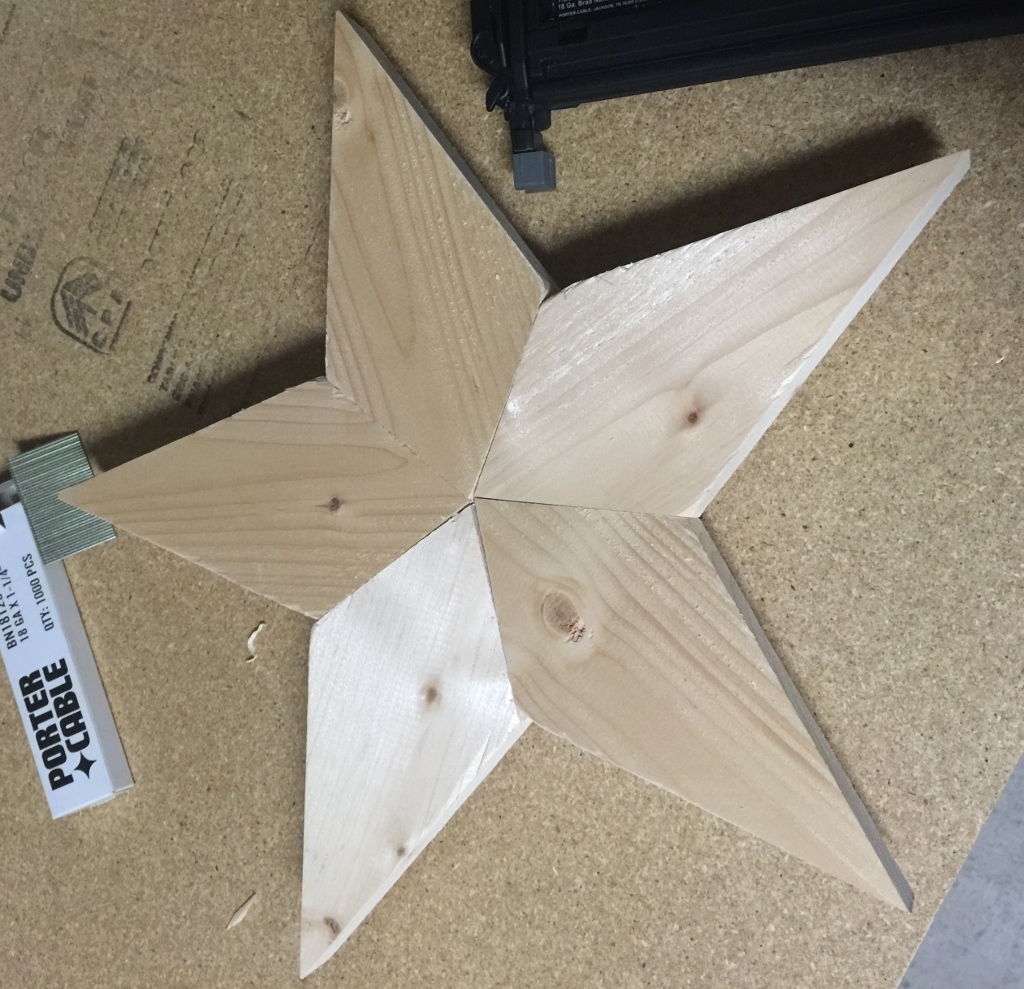
So last night I decided to try my hand at making a wooden star. I’m an Engineer in by trade so the angles were easy to figure out but the actual cutting was not since my saws were designed to make standard cuts to larger pieces of wood. For this project I used a piece of nice pine I had laying around. Don’t remember what the dimensions were from the store but it measured ¾” thick and 3 ½” wide. Luckily I have access to some higher end drafting software so making this tutorial was a breeze. Please enjoy and happy building. See attached plan.
Finishing Instructions
Preparation Instructions
Fill all holes with wood filler and let dry. Apply additional coats of wood filler as needed. When wood filler is completely dry, sand the project in the direction of the wood grain with 120 grit sandpaper. Vacuum sanded project to remove sanding residue. Remove all sanding residue on work surfaces as well. Wipe project clean with damp cloth.
It is always recommended to apply a test coat on a hidden area or scrap piece to ensure color evenness and adhesion. Use primer or wood conditioner as needed.
It is always recommended to apply a test coat on a hidden area or scrap piece to ensure color evenness and adhesion. Use primer or wood conditioner as needed.
Project Type
Room

Comments
Ashley_C
Sun, 03/22/2015 - 09:04
Perfect!
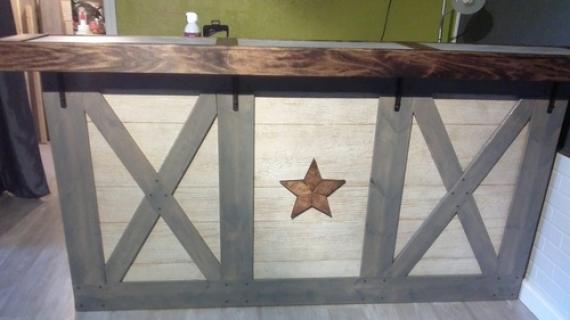
This tutorial is exactly what I was looking for. My husband and I are working on a rustic barn themed bar and it needs something on the front to tie the countertop in with the rest of the bar. I am so making one of these to adorn the front and staining it the same as the countertops :D Thanks for the great tutorial!
In reply to Perfect! by Ashley_C
Nor7
Wed, 03/25/2015 - 07:32
Awesome
Ashley, I'm glad this tutorial helped you out!
country30
Thu, 05/16/2019 - 06:22
Where is the plans for this…
Where is the plans for this project. I don't see an attachment
Raeofsunshine1
Thu, 05/23/2019 - 14:55
Country star
cannot find plan attachment. Please help.
electricfarris
Tue, 06/25/2019 - 08:48
Plans
Where is the attached plans?
Zero
Wed, 08/05/2020 - 12:22
Over a year later and the…
Over a year later and the plans are still missing?
CrabbyGrandpa
Tue, 09/08/2020 - 17:27
Grrrrr
Obviously no one takes care of this site, there's still no attachment
CrabbyGrandpa
Sat, 10/03/2020 - 15:44
GRRRRR
GRRRRR