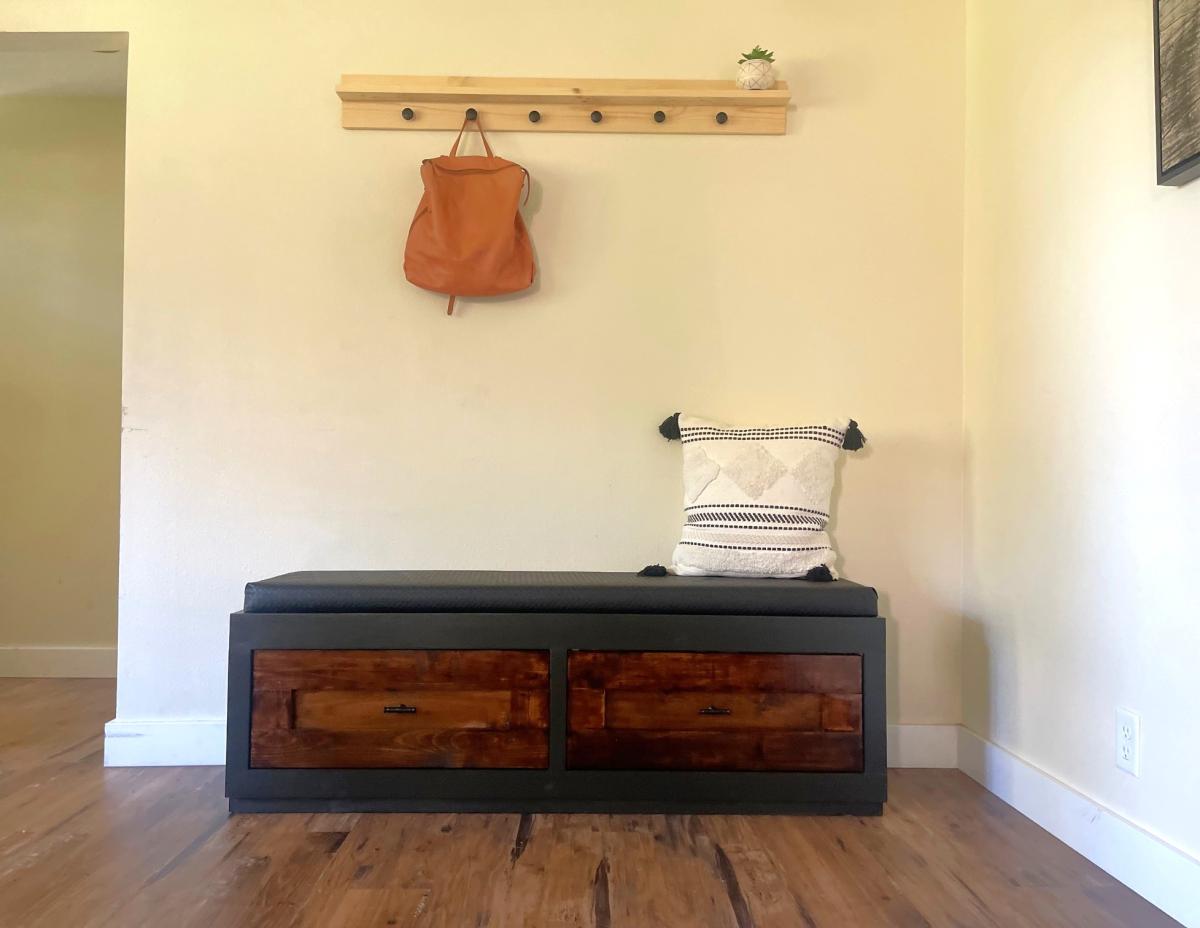
Entry table using Cottage Media Table plans
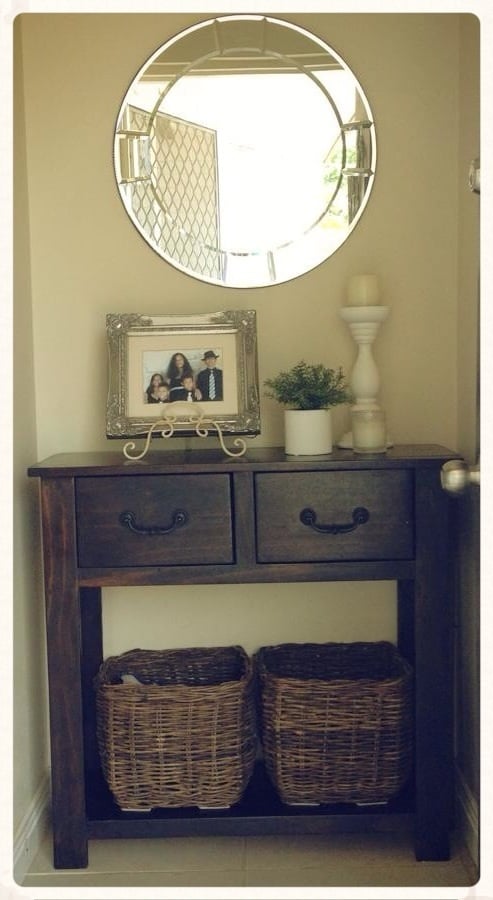
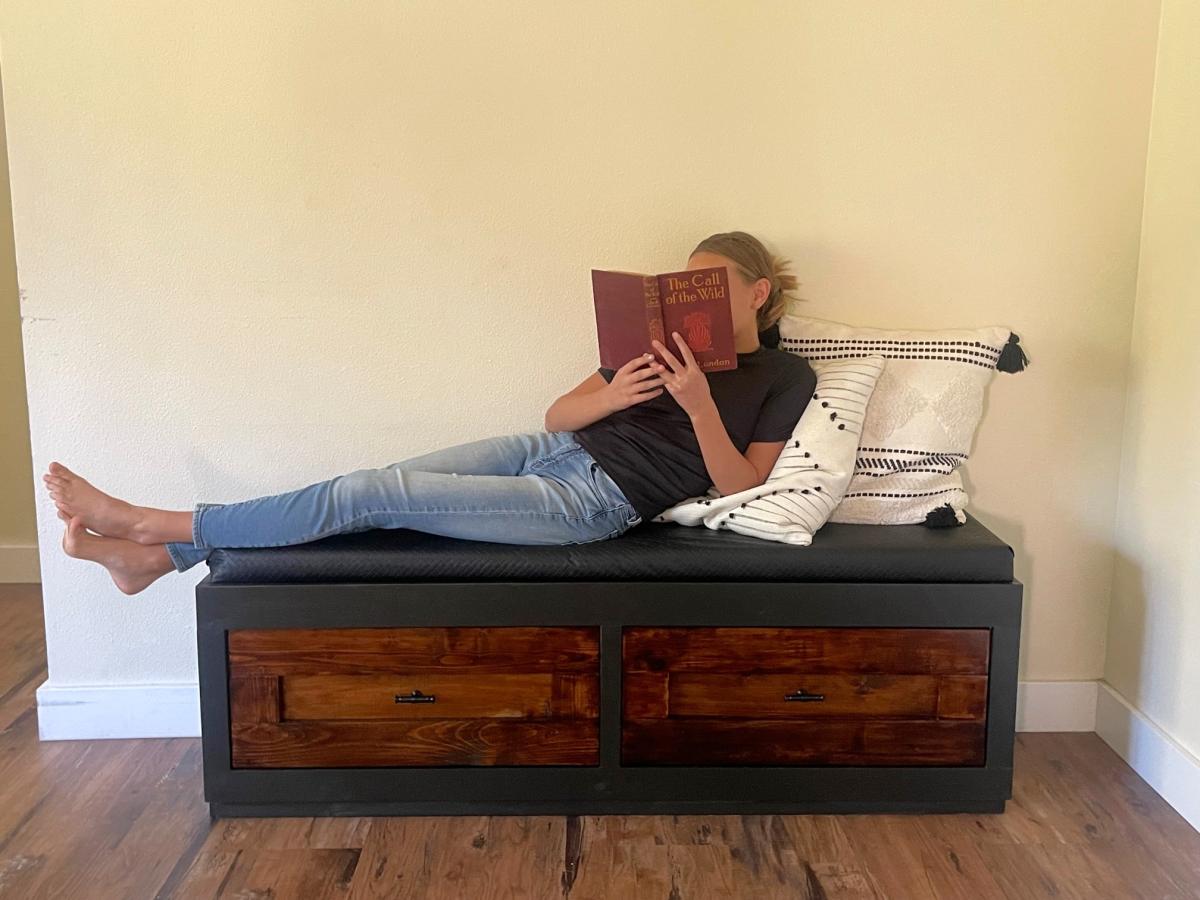
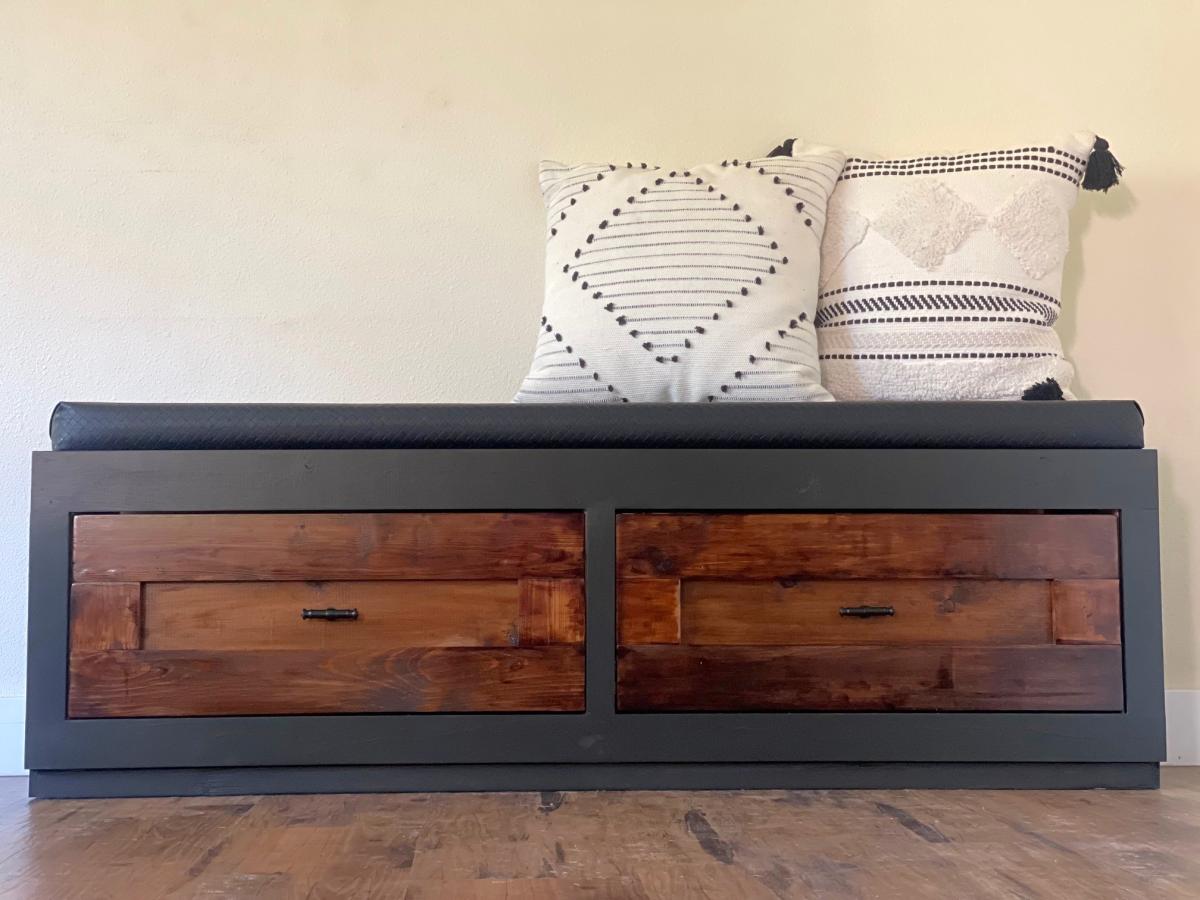
I used the Cottage Media coffee table plans and modified the length and height to suit for the space I needed. Ana's plans were super easy to follow and am pleased with the end result.
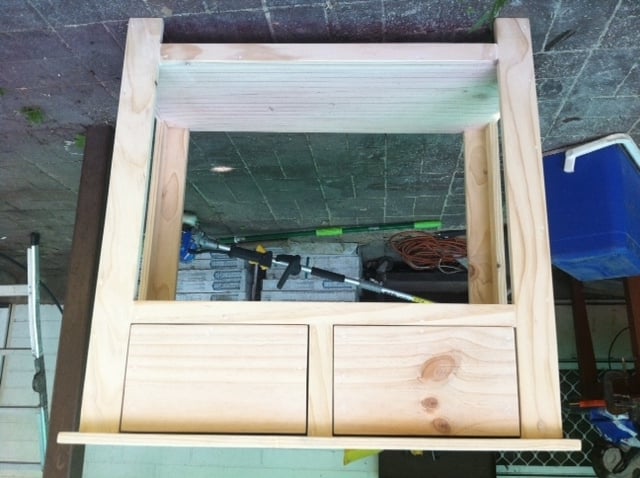

I used the Cottage Media coffee table plans and modified the length and height to suit for the space I needed. Ana's plans were super easy to follow and am pleased with the end result.

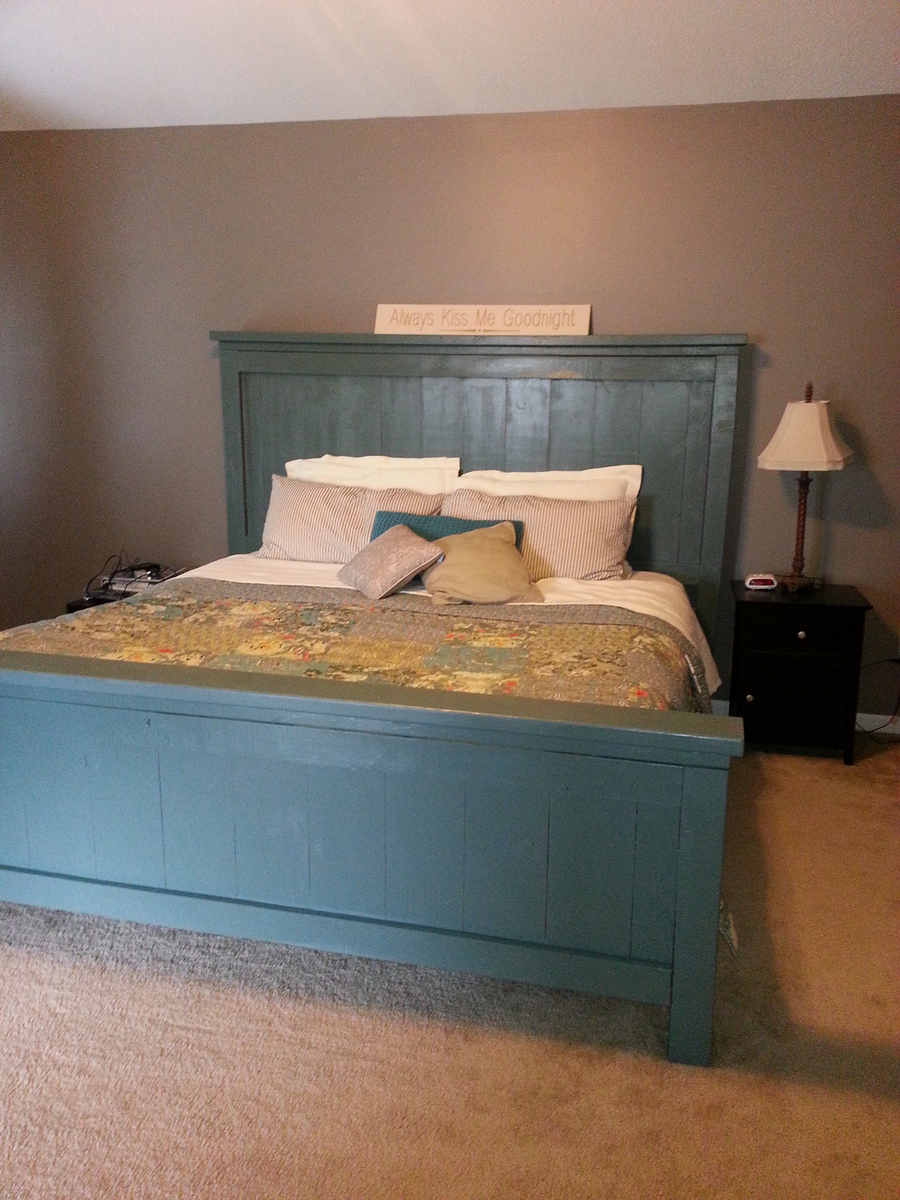
My husband and I built this bed as our first ever project. It was so easy. It took about 8 hours plus painting time. I modified the original King plans by raising both the headboard and foo board 6 inches. This meant every vertical measurement was changed by 6 inches. I am also using a metal bed frame with box spring. We are next going to make the matching nightstands! Super excited to continue building my own furniture!

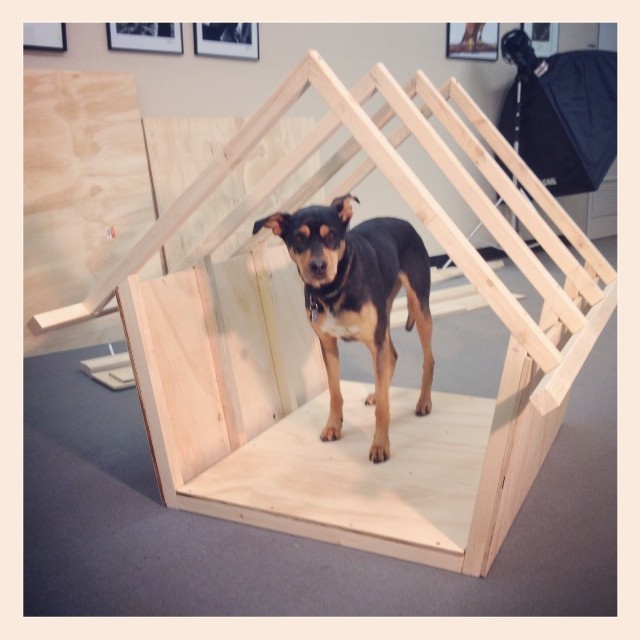
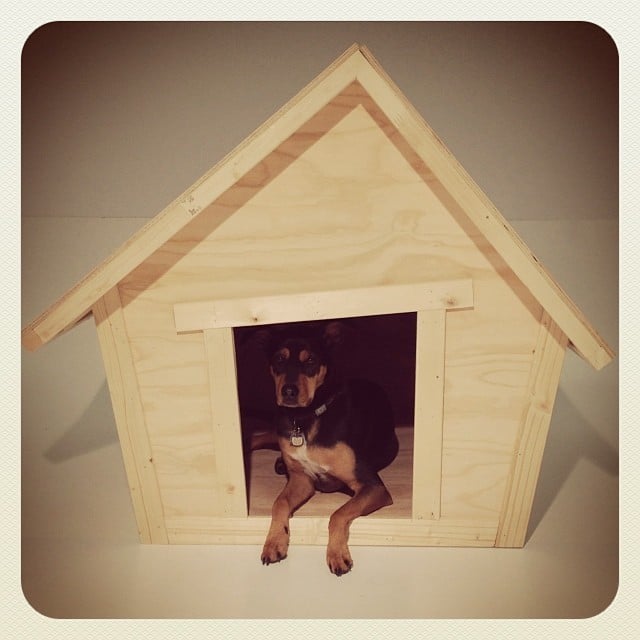
A few years ago I was looking for plans for a dog house to be used as a prop for a seasonal photo promotion. I found these plans and made the house, it was perfect! The promotion was to get a holiday photo of your dog in exchange for a donation of dog food, which was donated to a local food bank. The project brought in over 500 pounds of food!
The plans were super easy to follow and the structure was very soild.
Thanks for all you do!
Ken from Canada
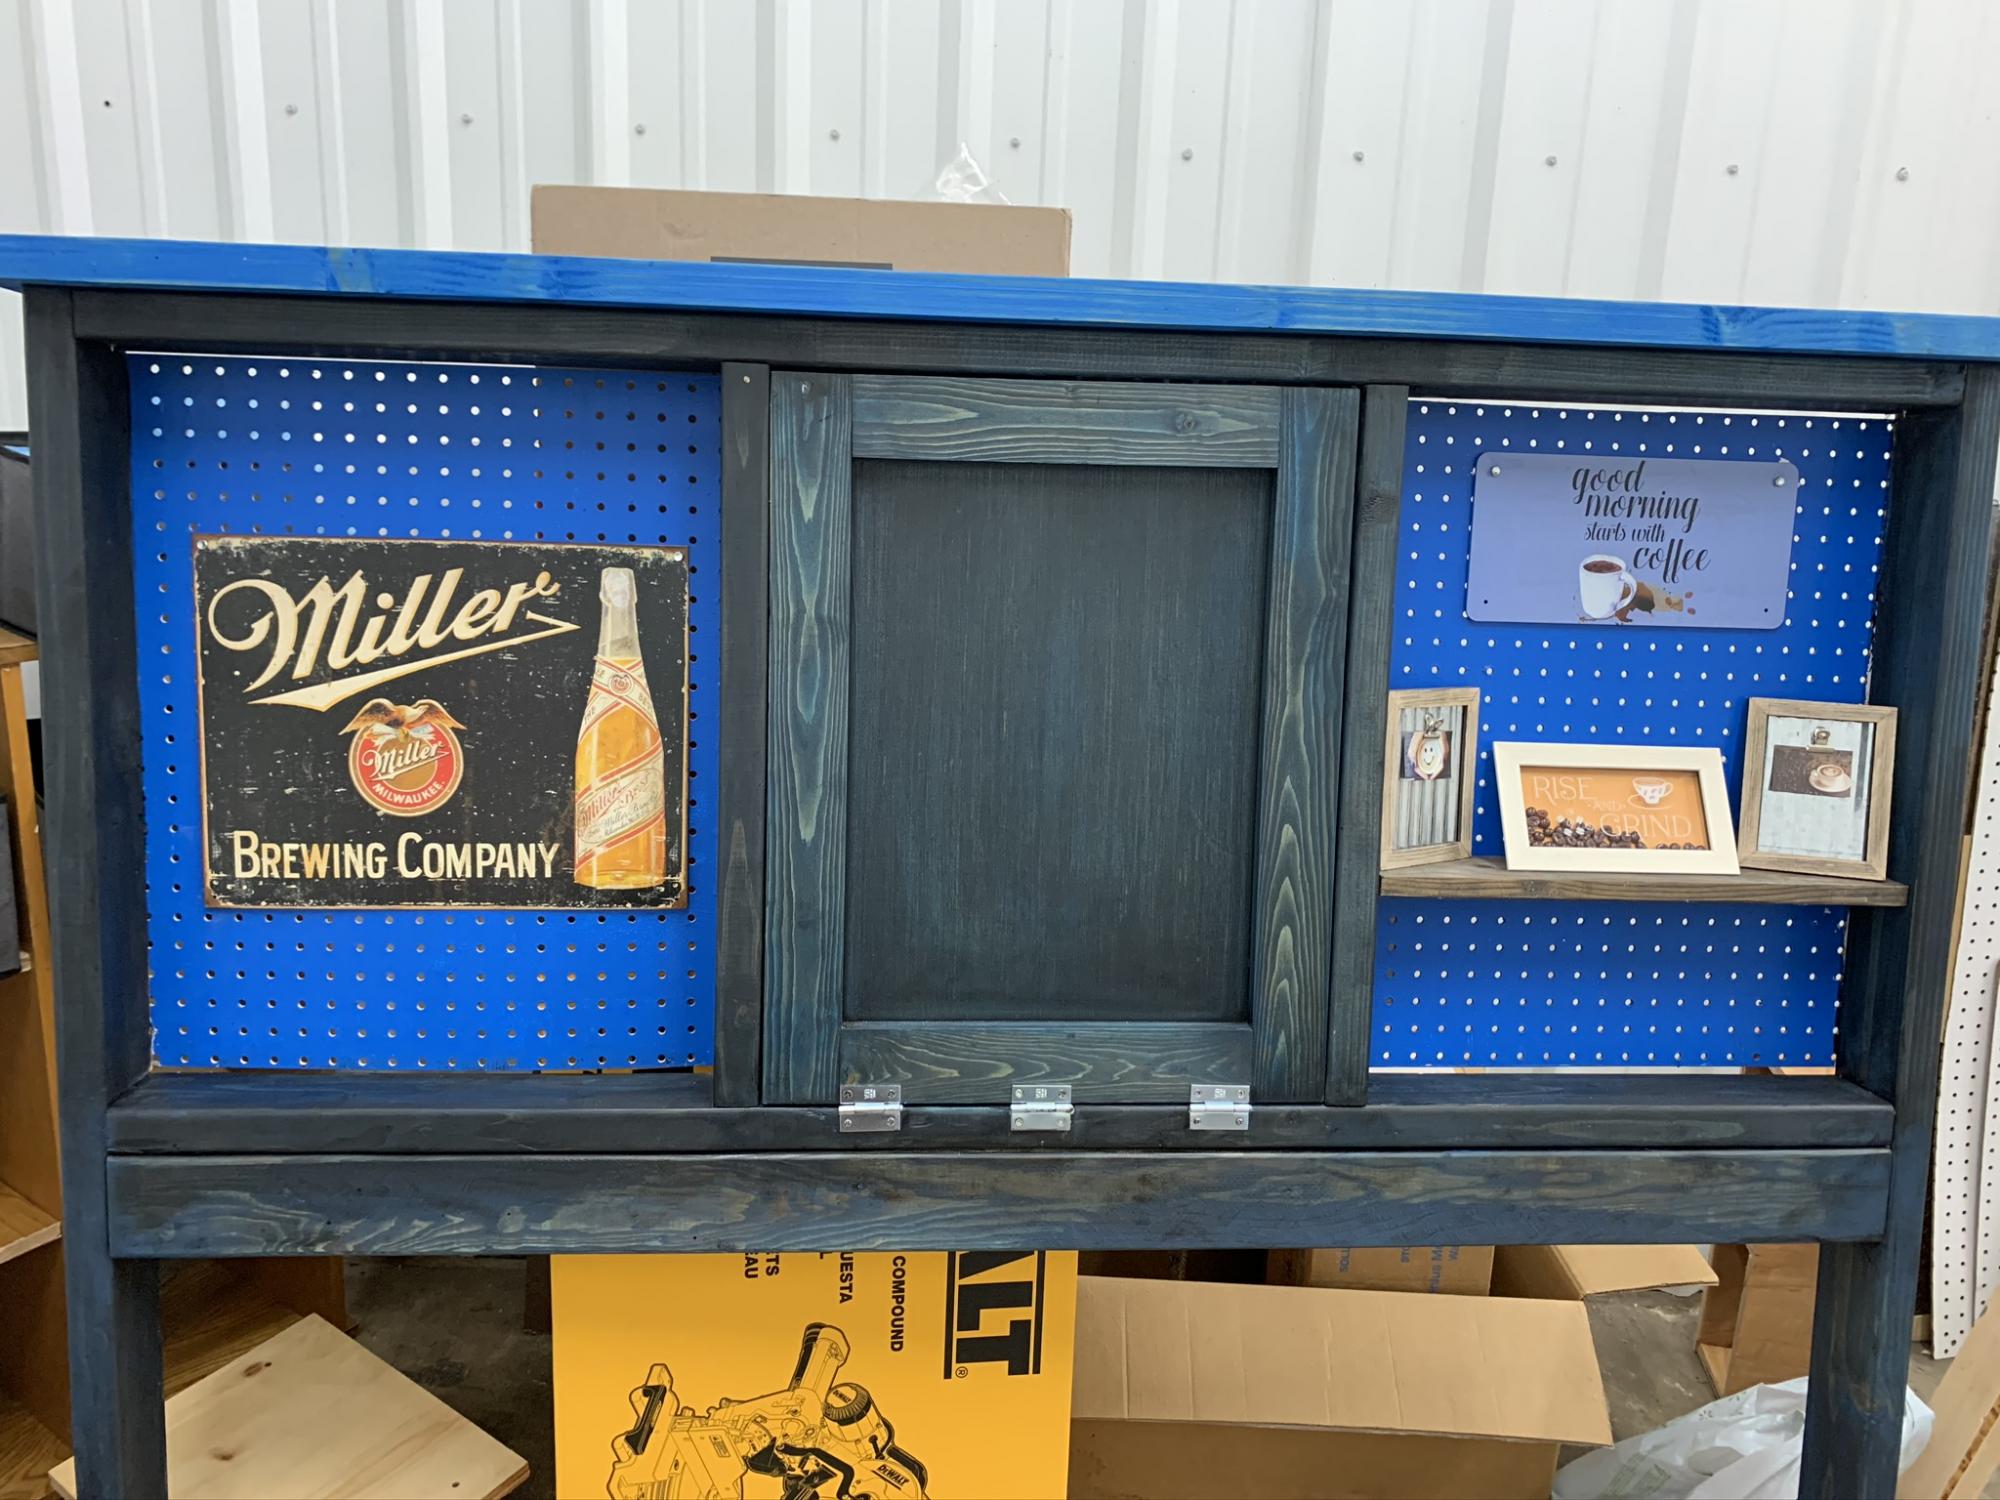
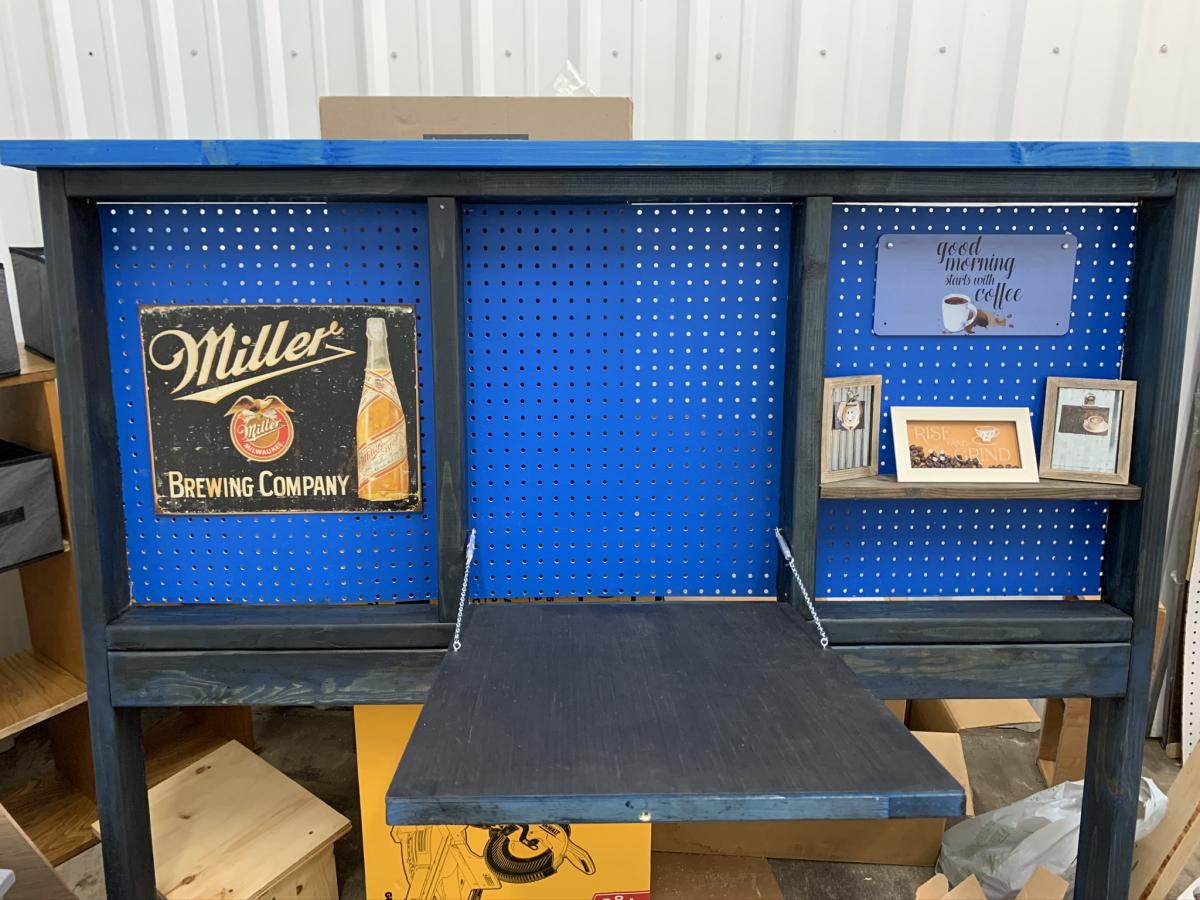
Wow, my 2nd piece of furniture I attempted. A lot of wood filler was involved. My shelves seemed too big, so I just did one, then my back board accidentally got used in “open shop” so I used some left over pegboard. I had fun but spent a lot of time fixing “oops, that doesn’t seem right”. Peg
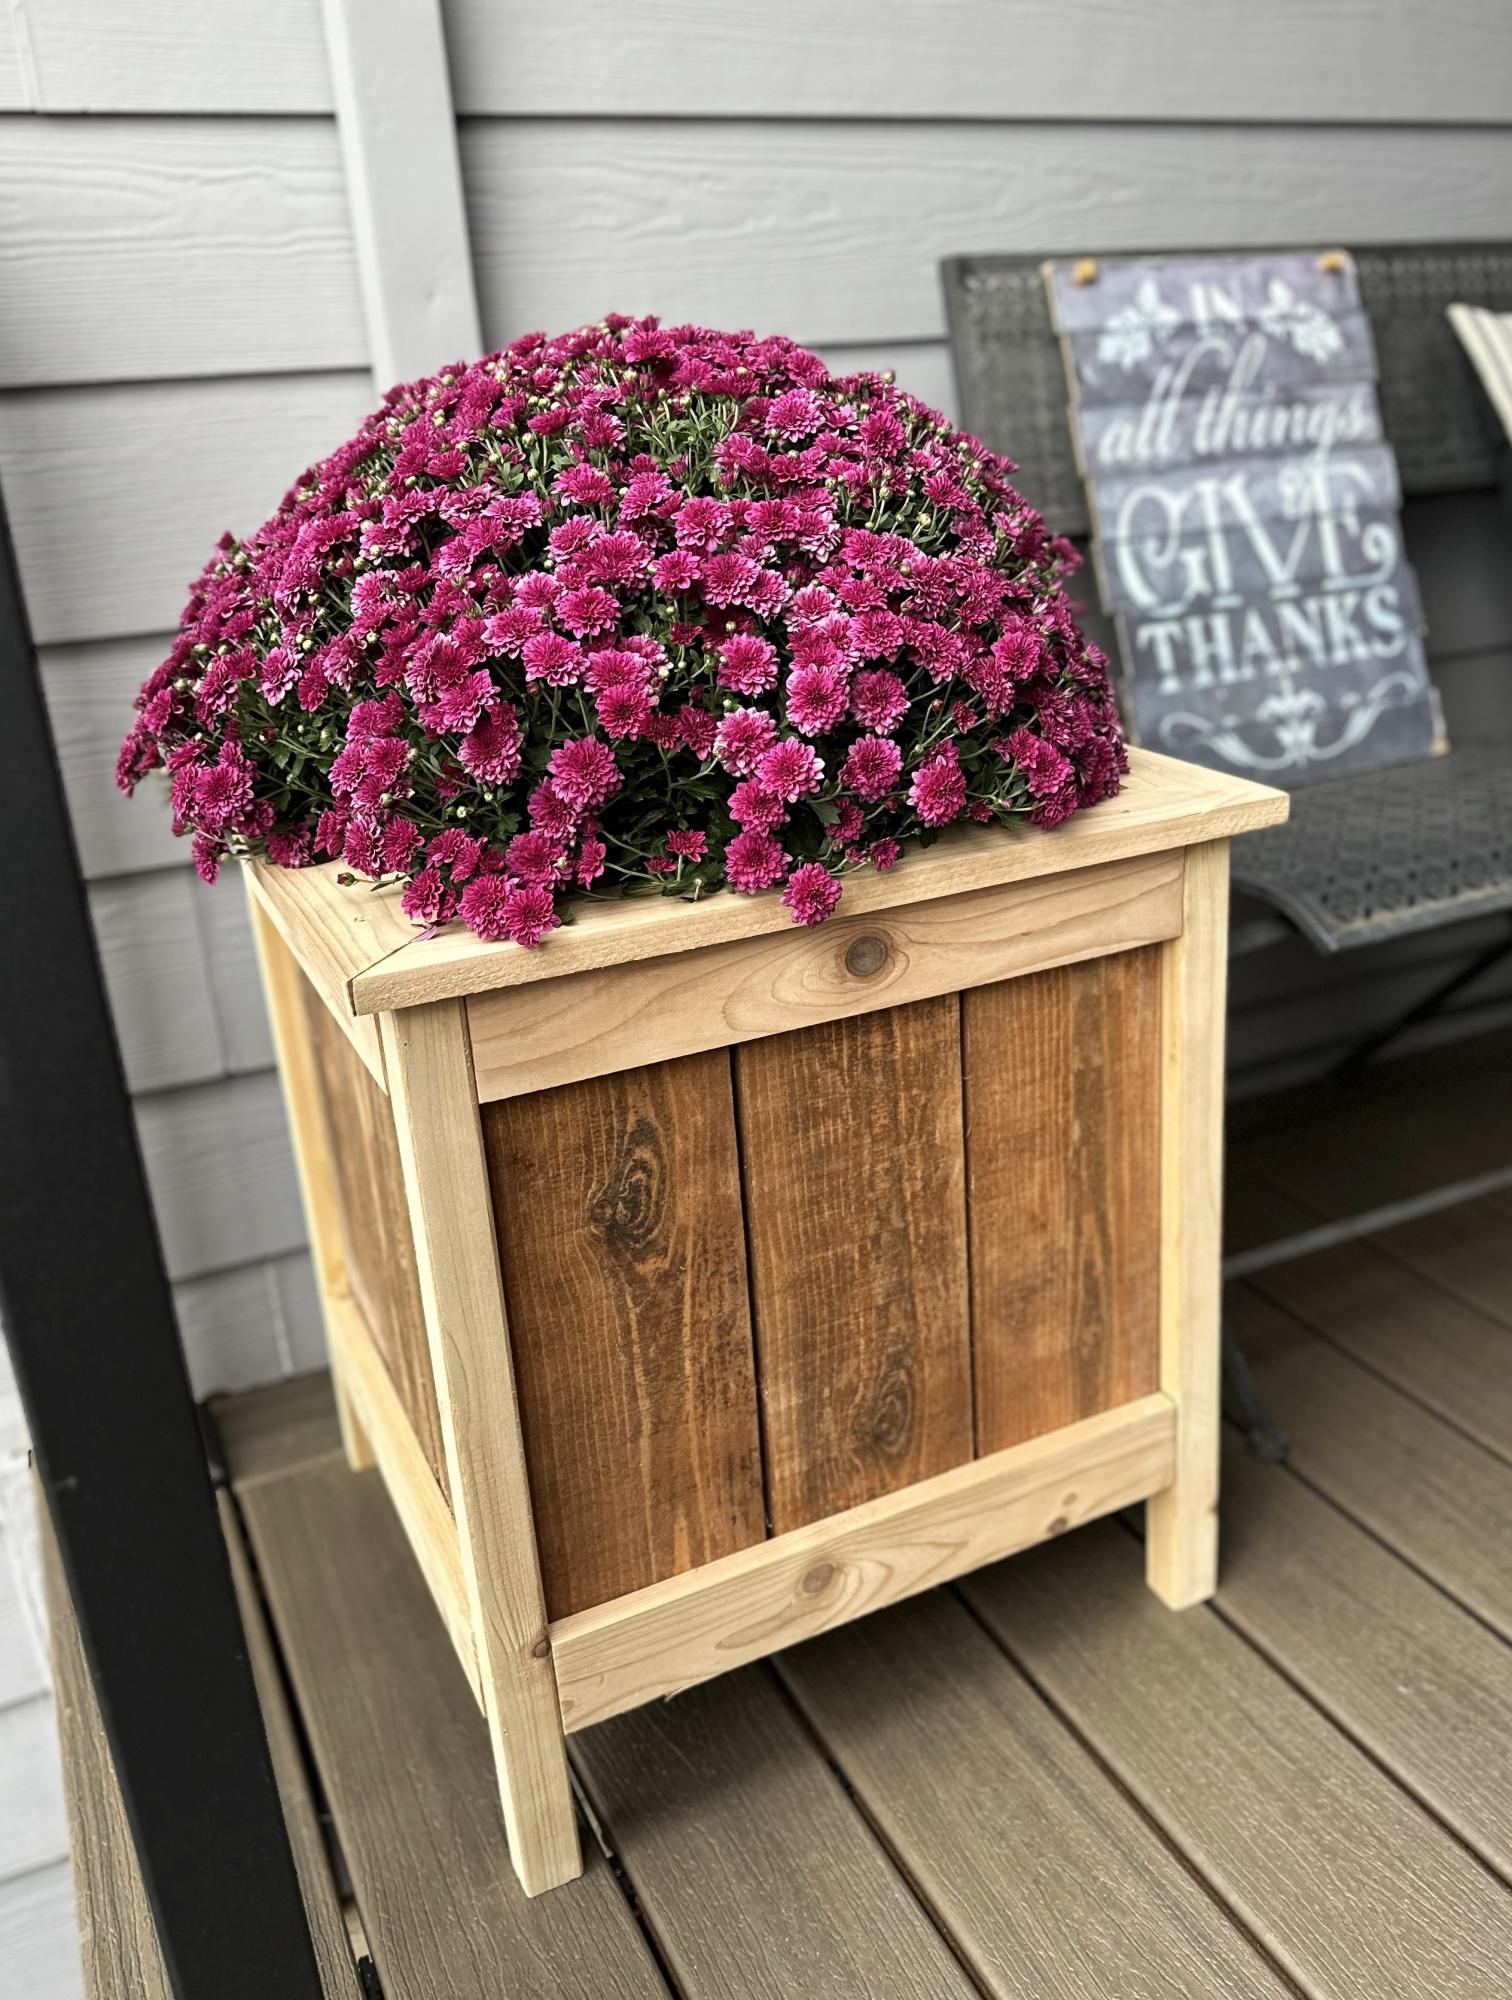
Cedar Planters, my first planter. Thanks Ana!
Caleb
Mon, 09/18/2023 - 15:50
Great first project, can't wait to see what else you build!
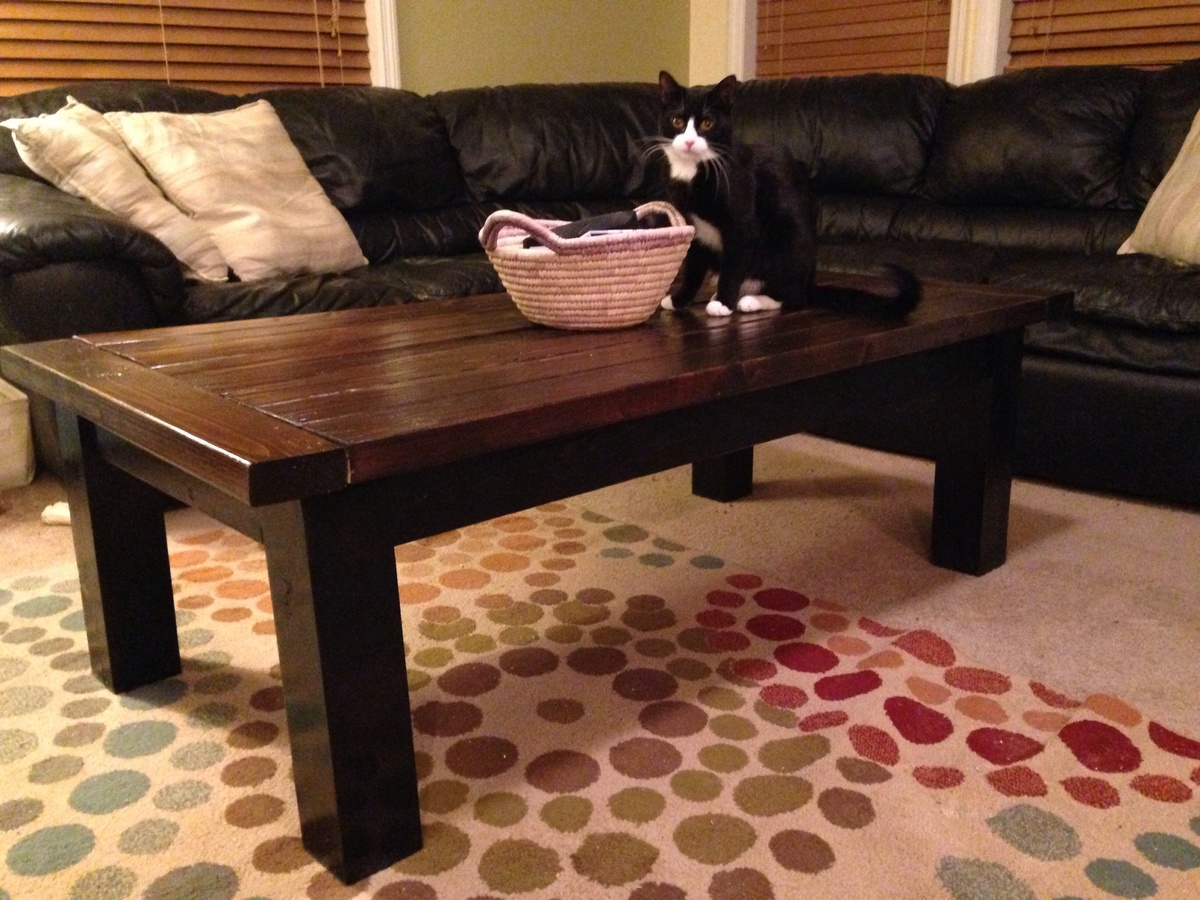
This was my first building project, and I'm very happy with the results. It was a cinch to put together, too. My husband helped me cut the pieces after work one night and then I put it together that Saturday. I decided to do a two tone finish with the legs and apron painted because our local Lowes didn't have 2x4s and 4x4s in the same type of wood, so I was afraid there would be too big a difference in the way they take stain.
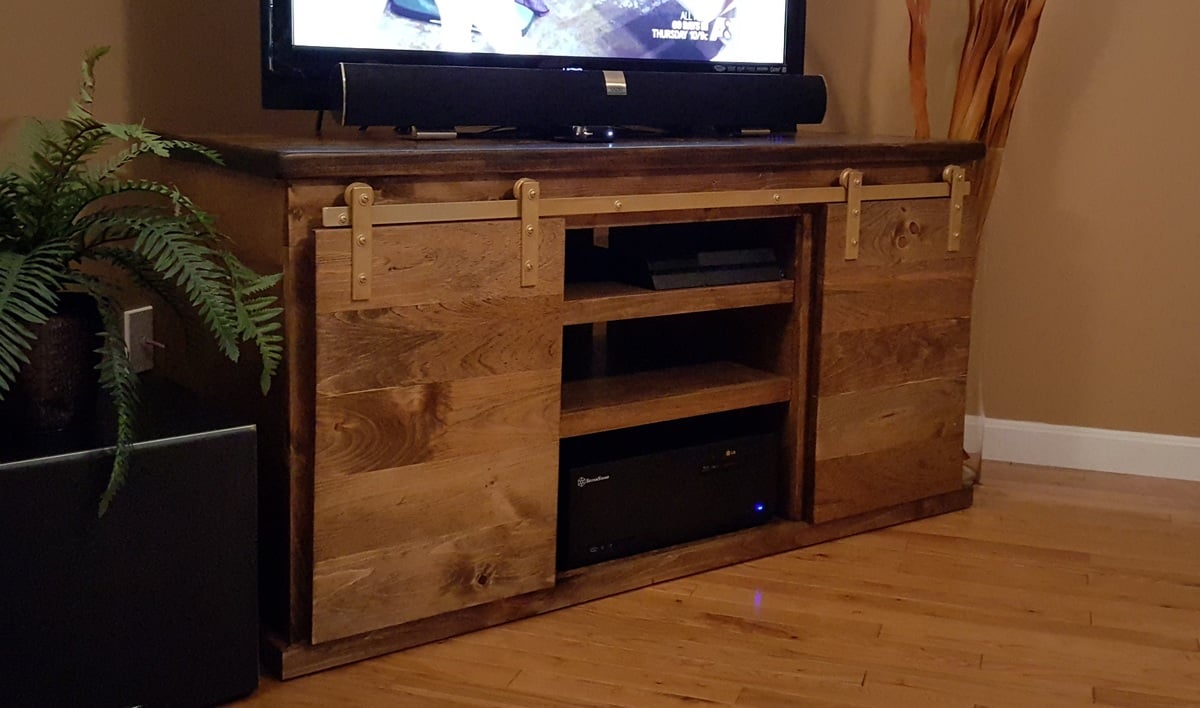
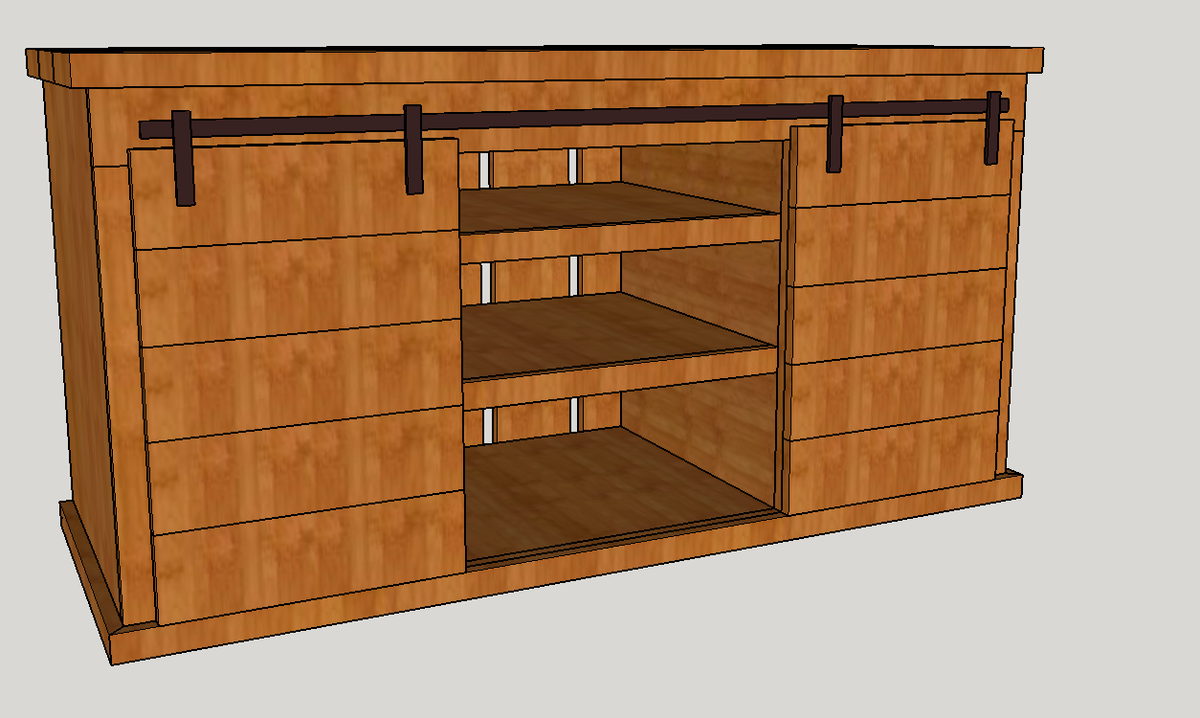
We had a cheapo tv stand made out of pressed board which I felt was one nudge short of collapsing. So decided to build an upgrade. There were a few electronic components I wanted to be in the middle so designed a 3 bay instead of the 4 bay originally posted here. I used the picture from the sliding door hardware tutorial site - but instead of joining the plywood box with kreg screws I instead used Spax MDF screws on the end grain + wood glue (they work great and don't split the plywood at all - no need to predrill either!).
For the shelves, I drilled a buncha pin holes in case I wanted to adjust the height. For the top I used 3 2x6's instead of the 1by used here.
With the backing, I used scrap planks from a couple pallets - I spaced them at about 2 inches to allow airflow for the components (HTPC/ PS4/ modem) as well as the ability to run cords through.
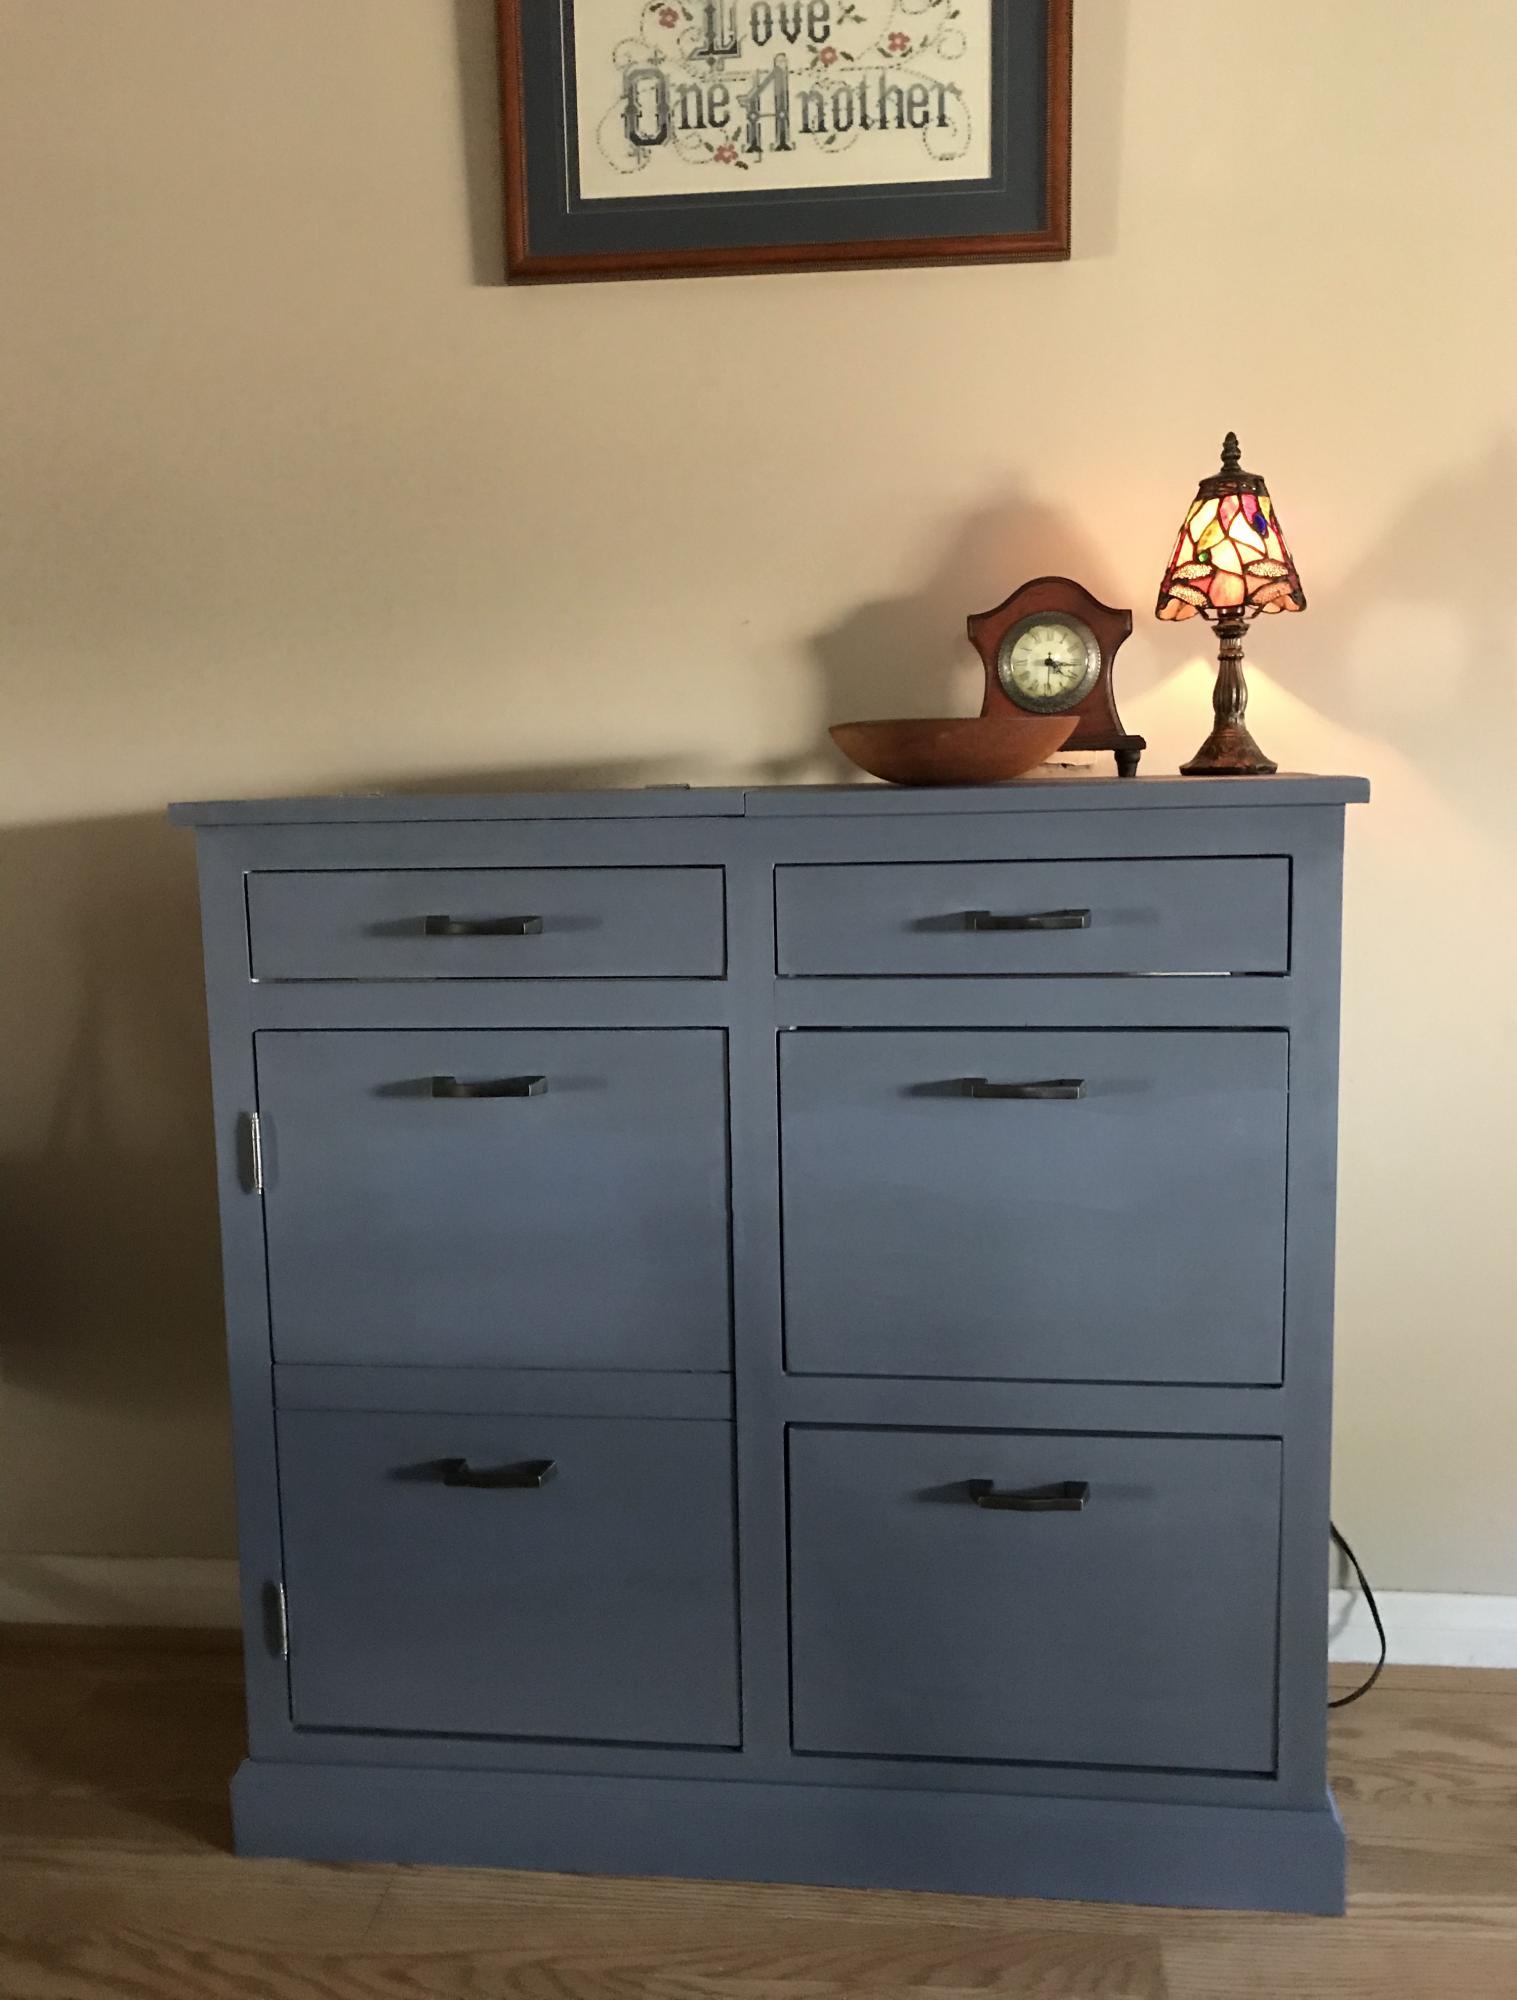
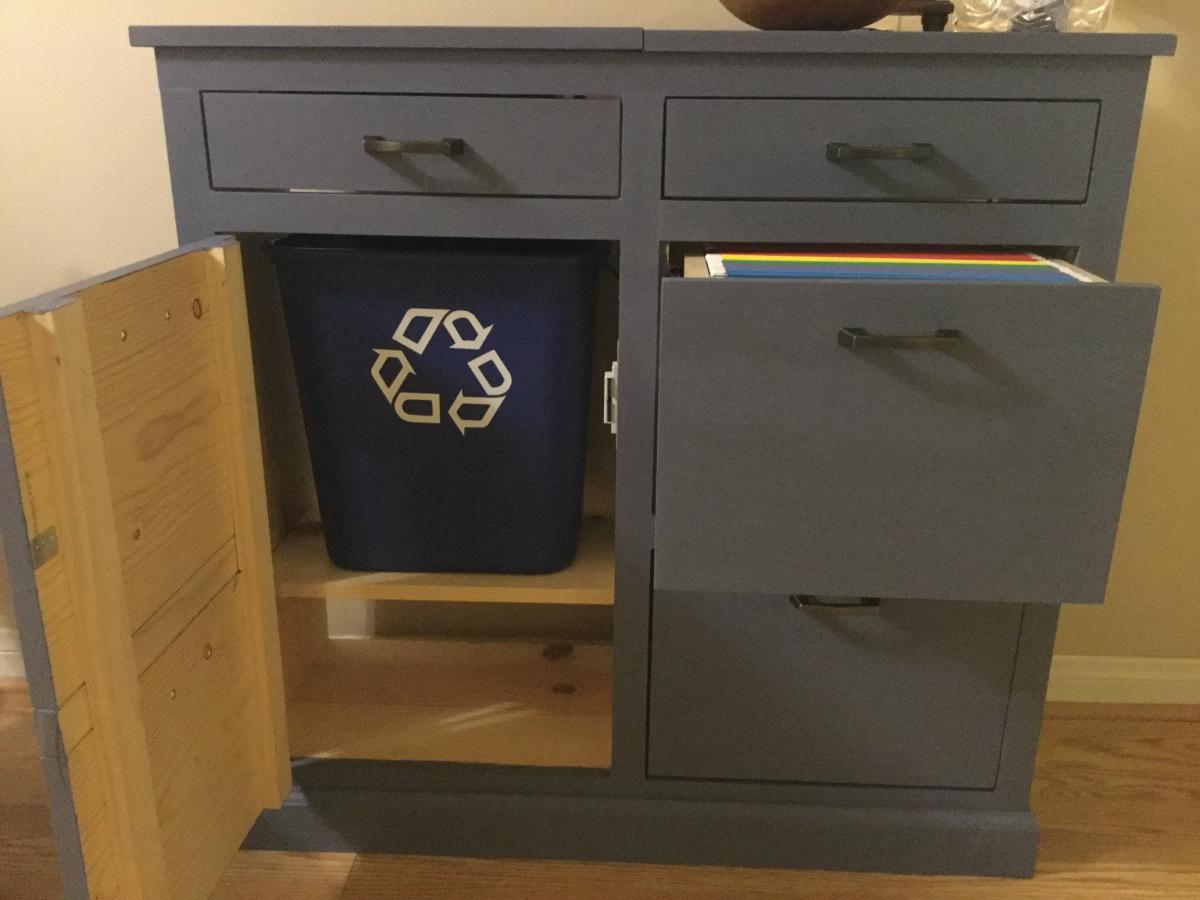
The Mail Boss cabinet with chalk paint and wax finish. Ana White plans.
I worked on this project off and on for two days. I love it! Thank you Ana
Wed, 02/05/2020 - 20:46
Love this & we would like to make it! Want a “command center” to get organized. We have all needed tools. Can you estimate the supply costs for the building materials?
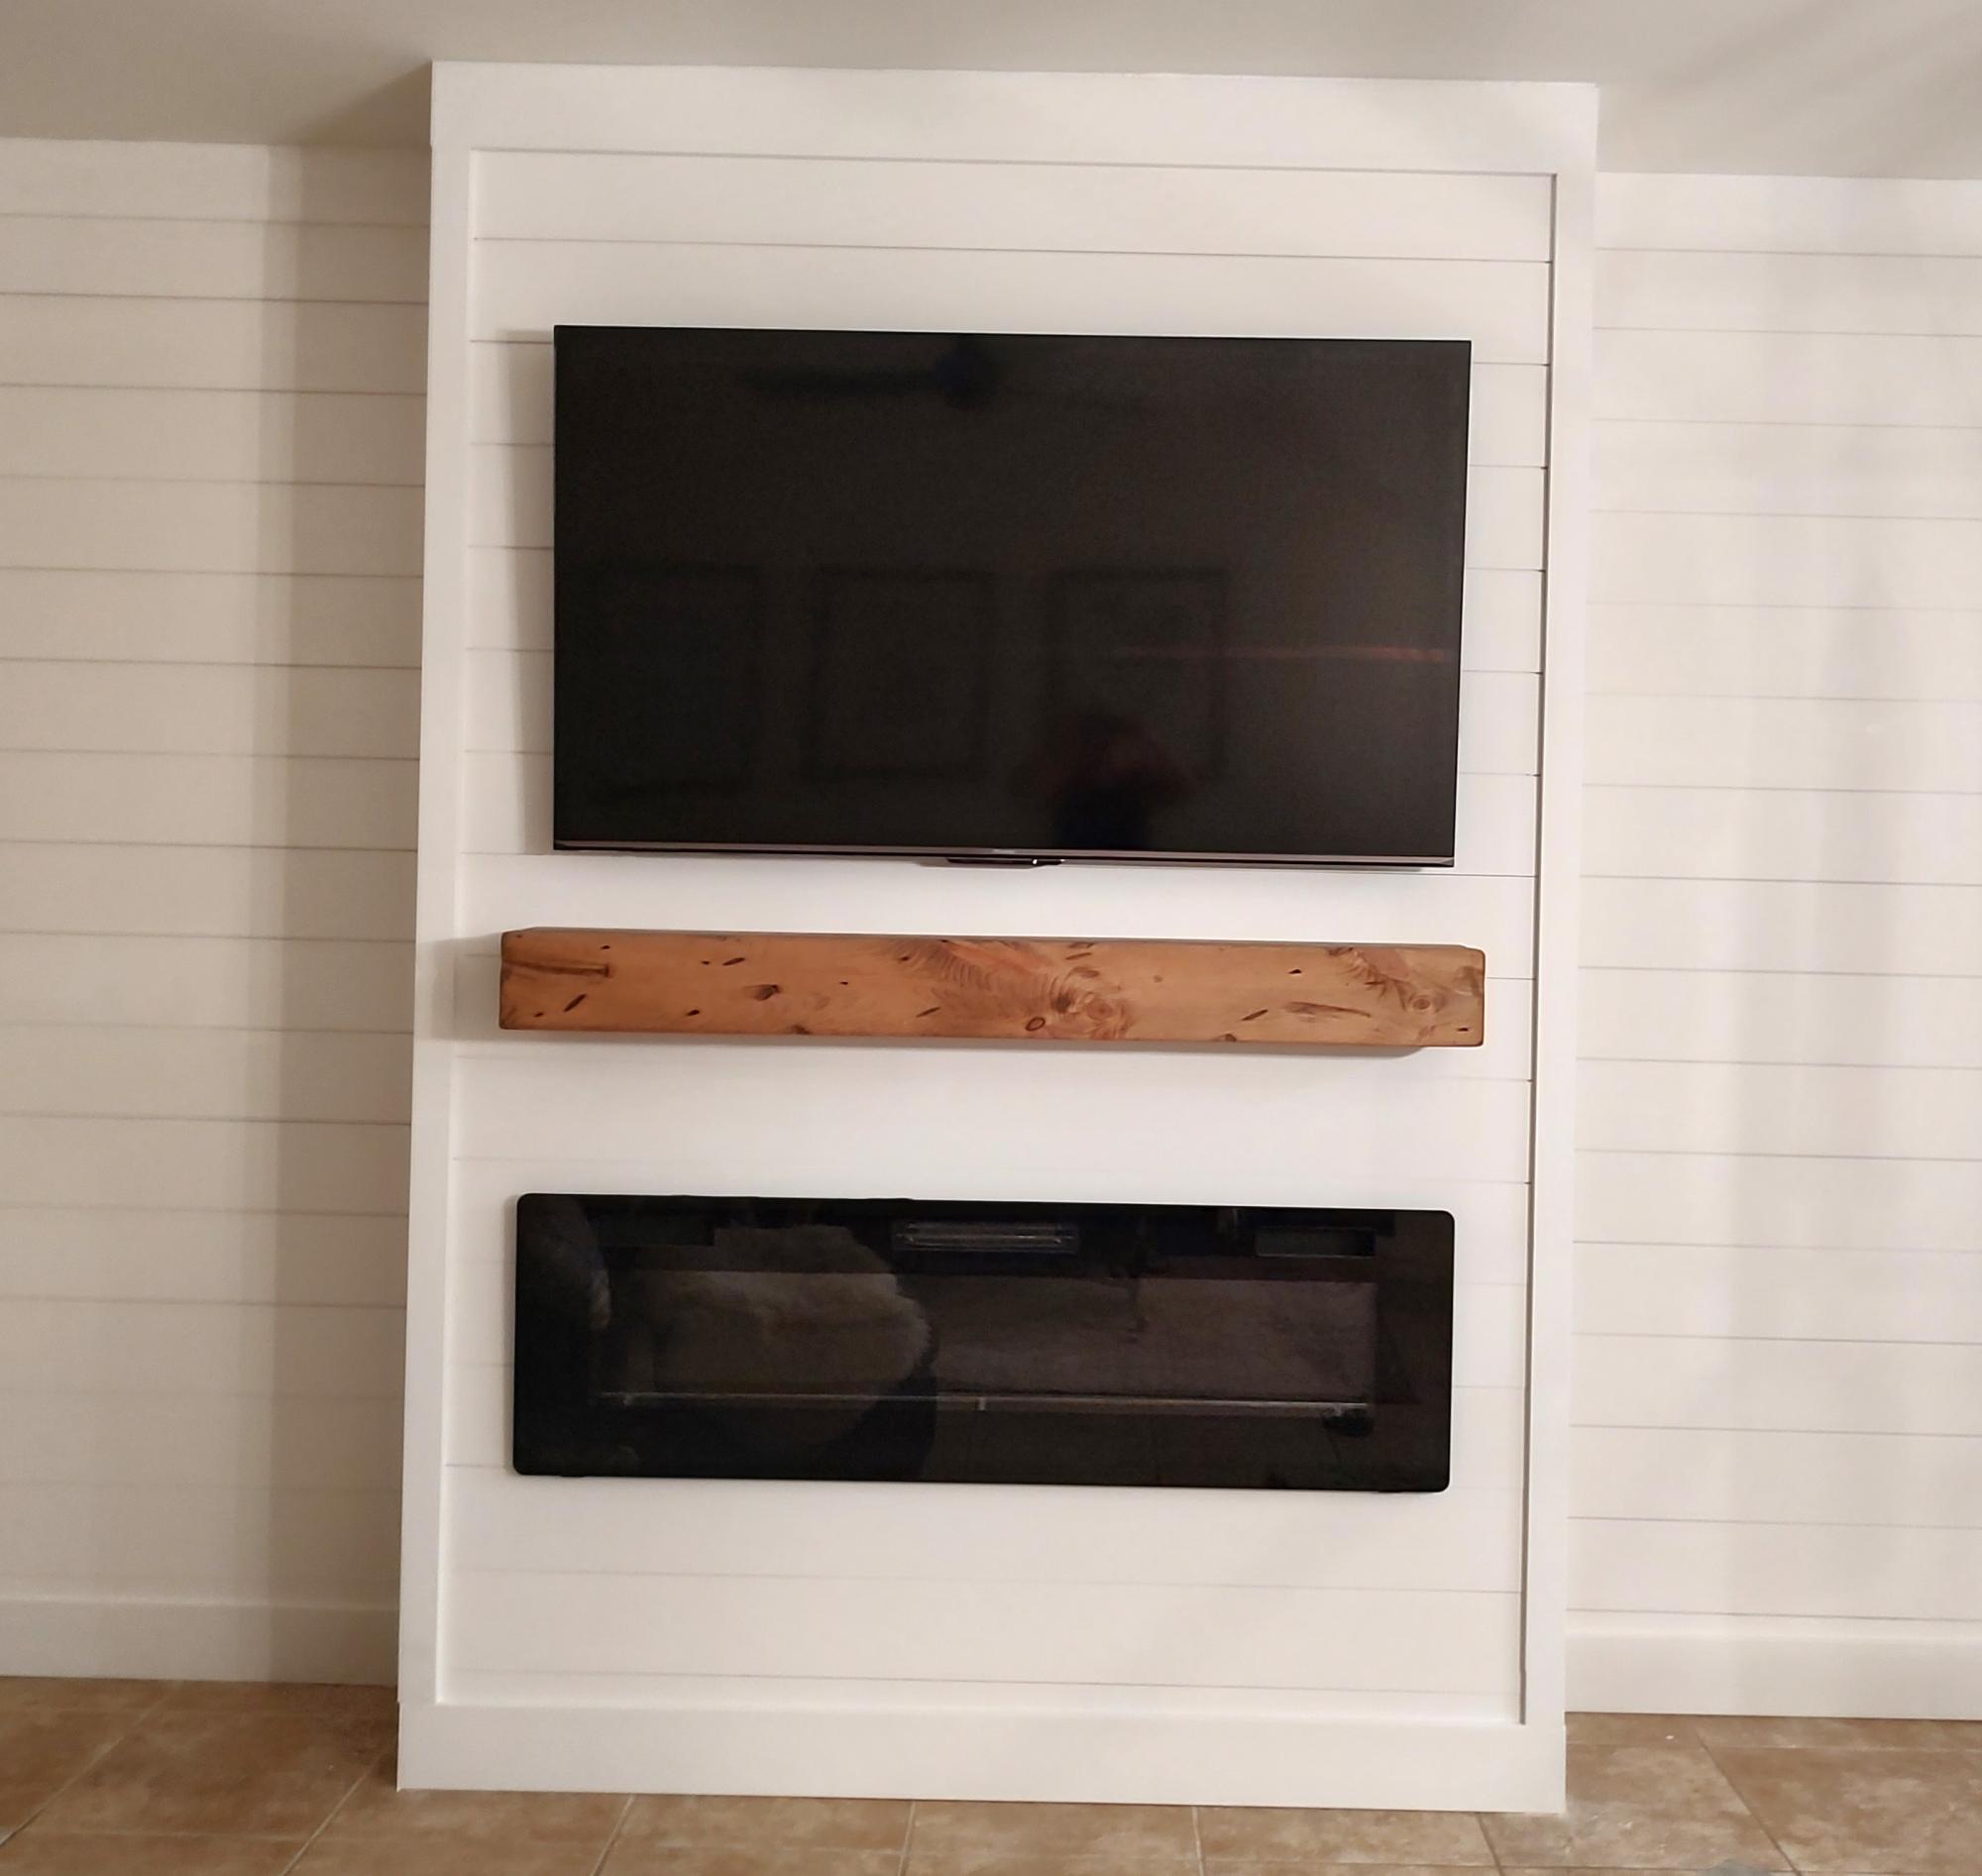
So excited for my new living room space thank you for your great tips!
Kandis white DeCarlo
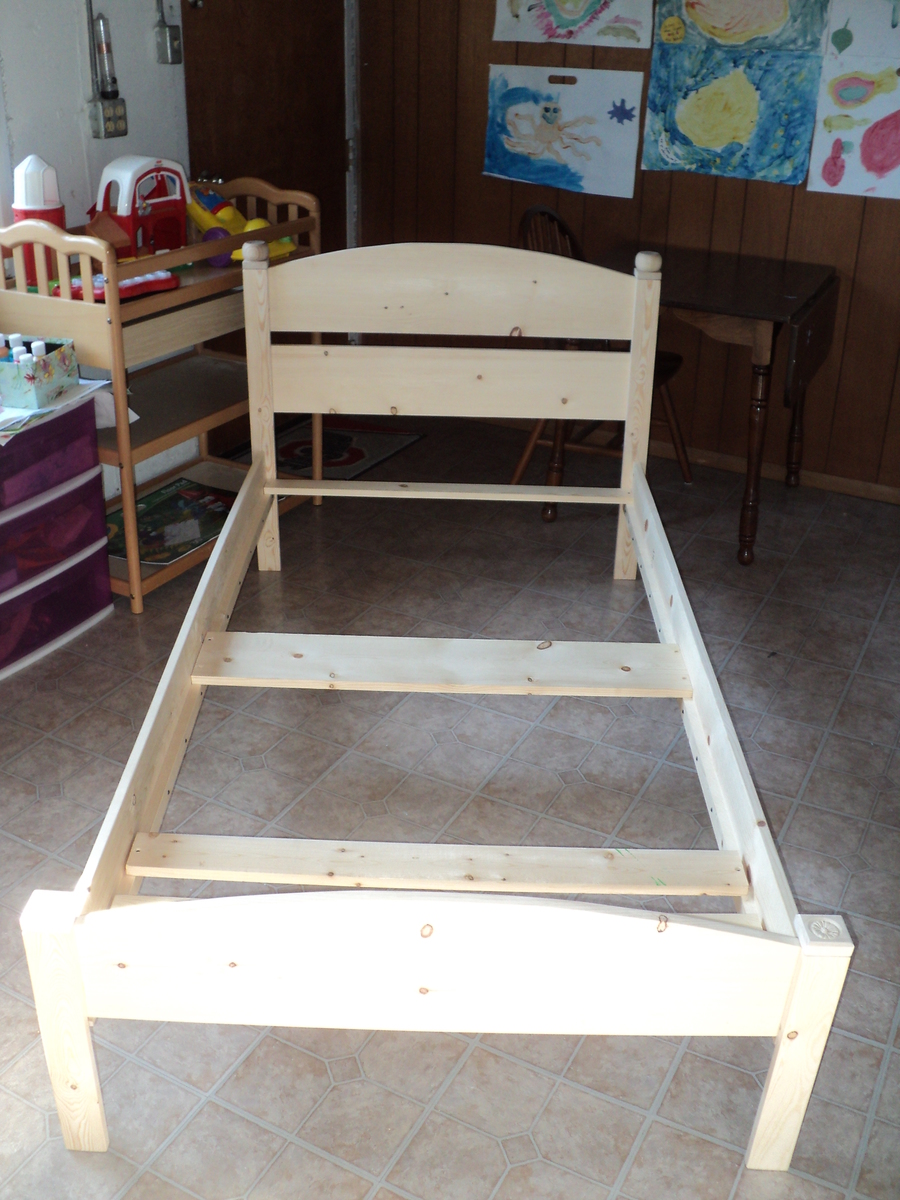
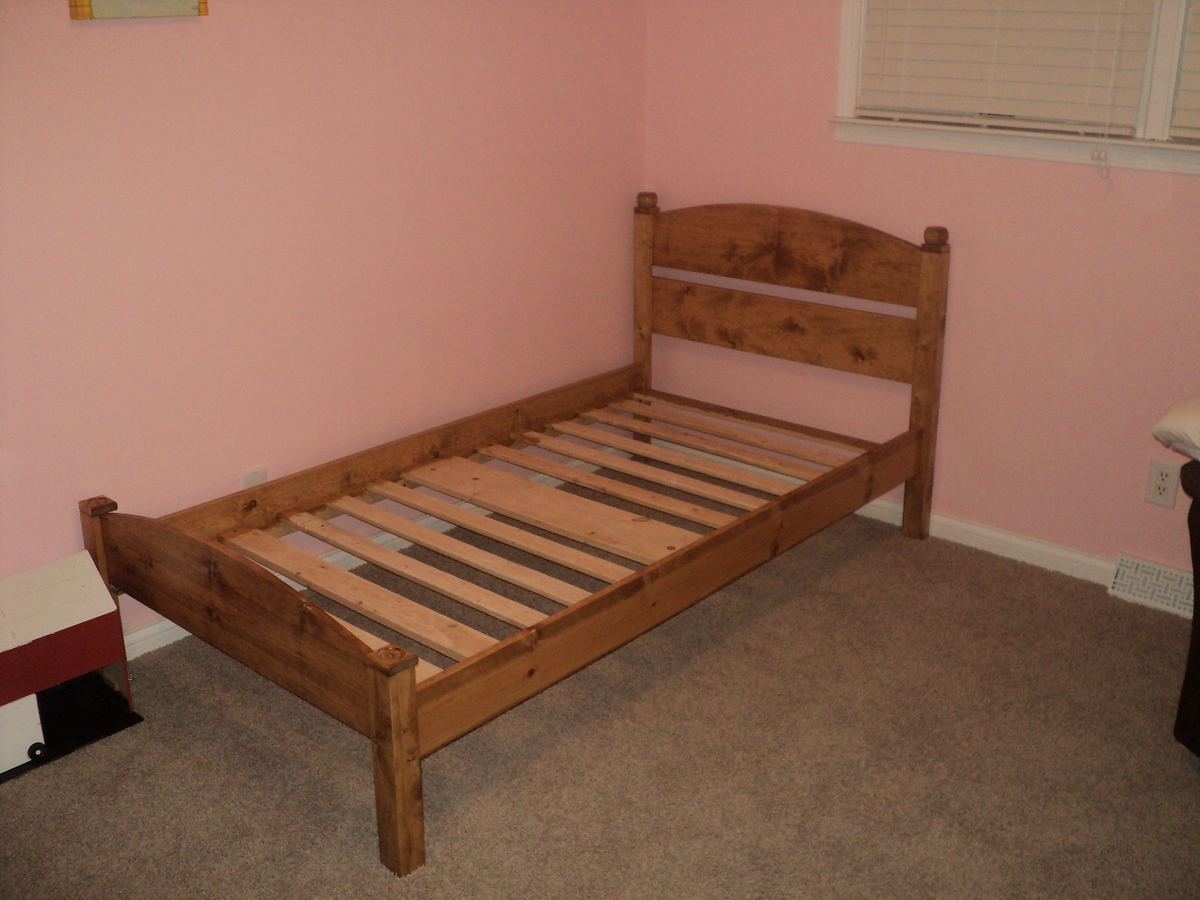
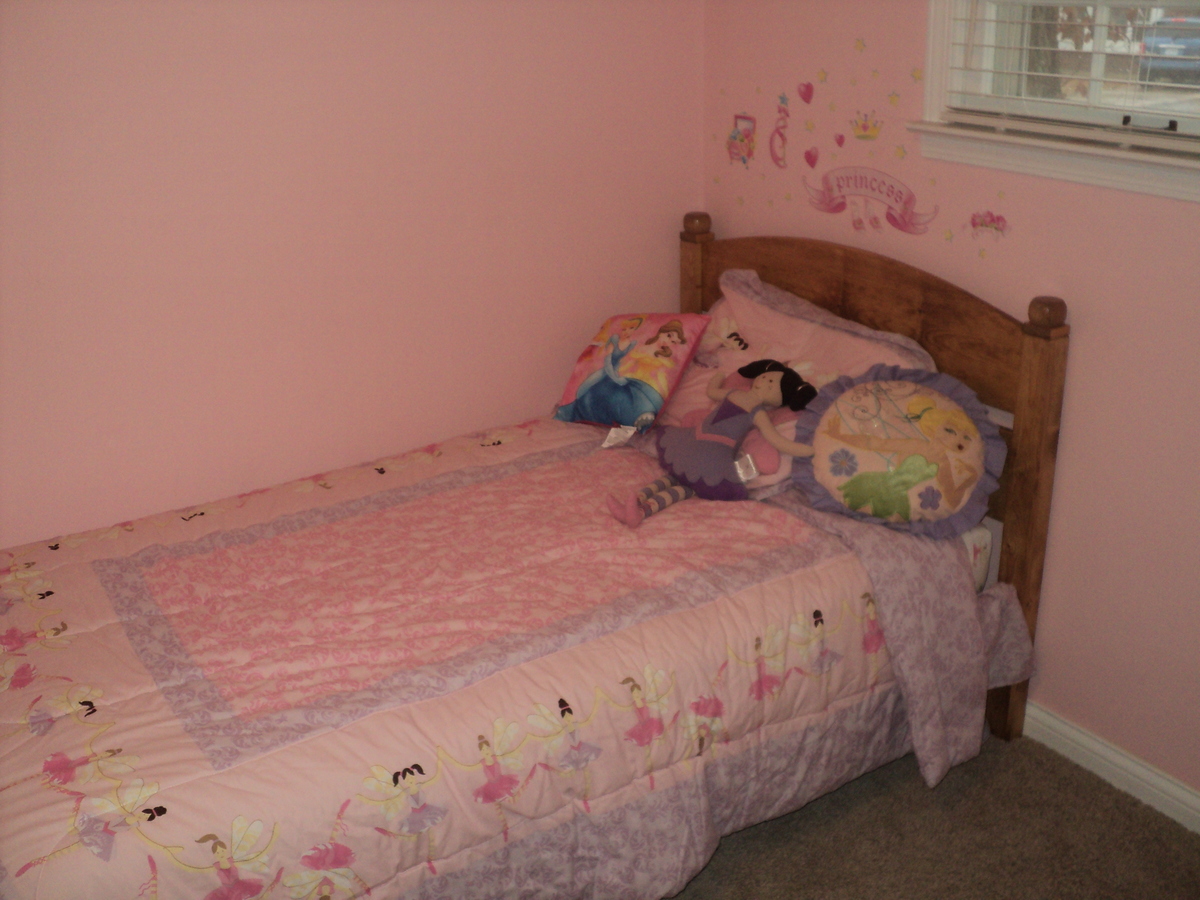
This Pioneer bed took me several weekends this winter, doing a little at a time. It was a challenge for sure because there were a few errors in the plans, but with some improvisation it was easily avoided. This bed is very simplistic but the design allows for some personal flare and variation to be added. Be sure to make precise cuts! Be sure to pick out straight boards!
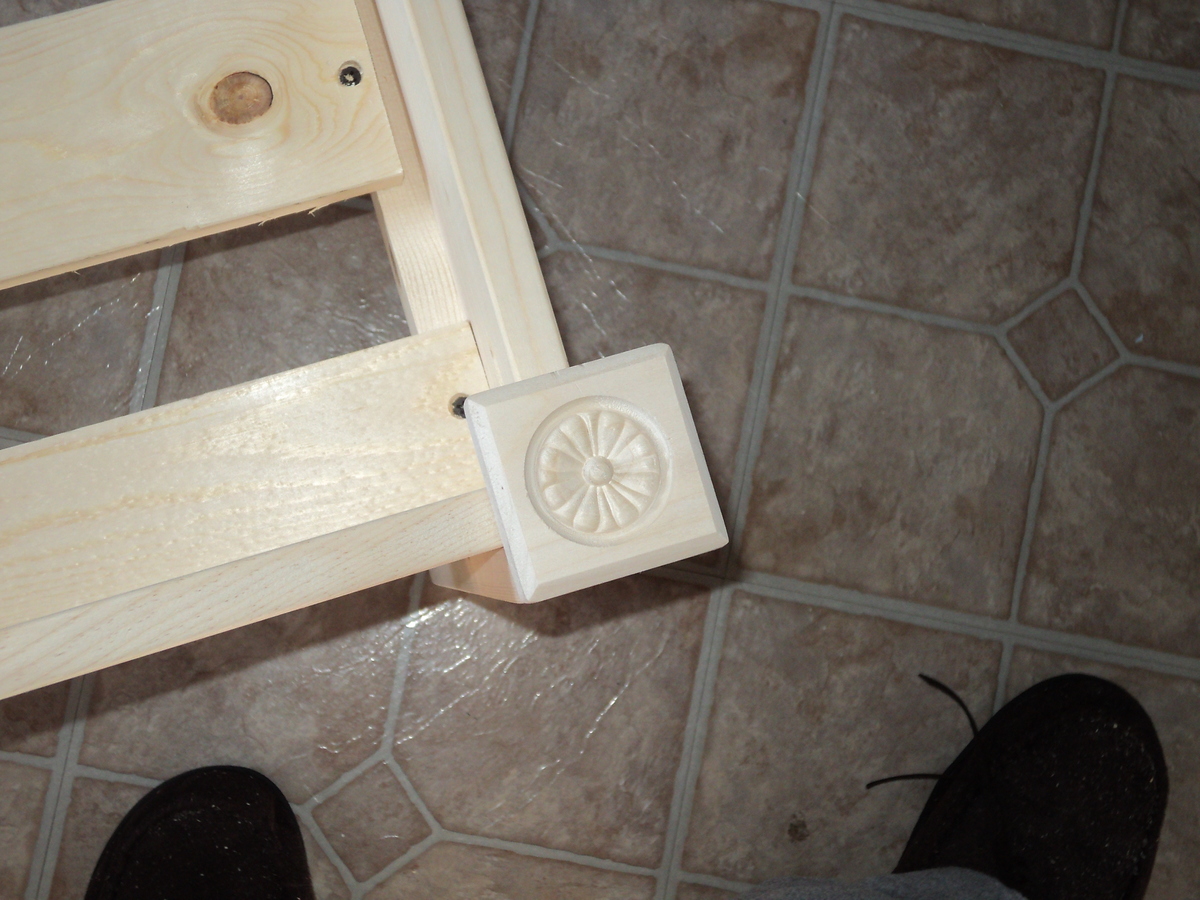
I used specialized software to make the head and foot curves and printed them on paper, then transferred them to the wood. I did not put the two blocks on the headboard posts...because to me it just looked plain silly! I added two bun feet to make it look like genuine bed knobs and they look excellent. Also for the foot board posts I used specialized square pieces of wood found in the hardware store that have a nice design in them doe a decorative look. they indent far enough towards the bed that they actually hold the sheets in place!
I did not paint it. Instead I used a golden oak stain, one coat. Then put two coats of high gloss on it. This also strengthened the soft white pine I used to build it.
I did not follow the part about the slat placement nor where the bed rails should be mounted, as this will vary depending on the thickness of the mattress you get, or if it has a box spring.
I used bolts to hold the bed rails in as well, along with nails and screws.
Sandpaper! Use it a lot!
$65 to build, although I already had nails, glue, sandpaper, stain, and varnish.
My daughter just loves it and I know it will be around for years to come!!! Everyone in my family loves it too. I highly suggest anyone who is looking for a simplistic looking twin bed, and who knows how to take their time and follow directions, to make this bed. Feel free to write me if you need help. [email protected]
Sat, 02/08/2014 - 15:51
Thank you Ana White for such a nice website with great resources for all of us who like to build things ourselves and save a buck or two!
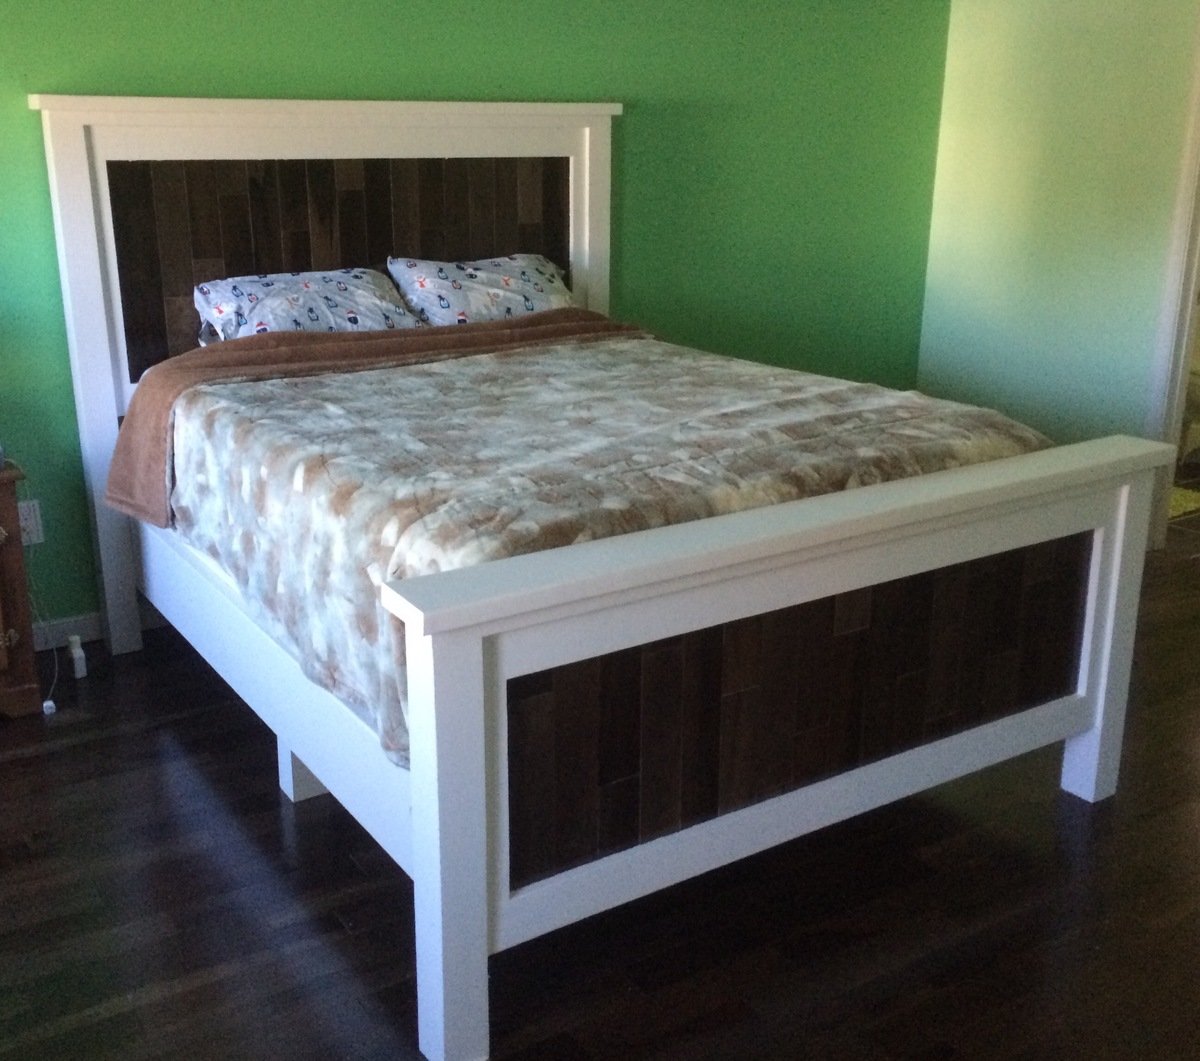
Made the bed using the Queen Farmhouse bed plans as a guide.
Wanted to include my box spring so modified the frame so the bed sits inside the frame. Also had to increase the height of the head and footboard to accommodate the additional height of the box spring.
Added middle legs to the frame, somewhat for support but mainly to make the connect to the head and footboard easier (since I was doing it myself).
Used leftover prefinished fooring for the paneling. Like the contrast with the white, plus really ties it in with the room. Bed came out really well, wasn't sure since I've never used plans from this site before but can now say, will be doing so in the future. Next up, matching farmhouse mini nightstand!
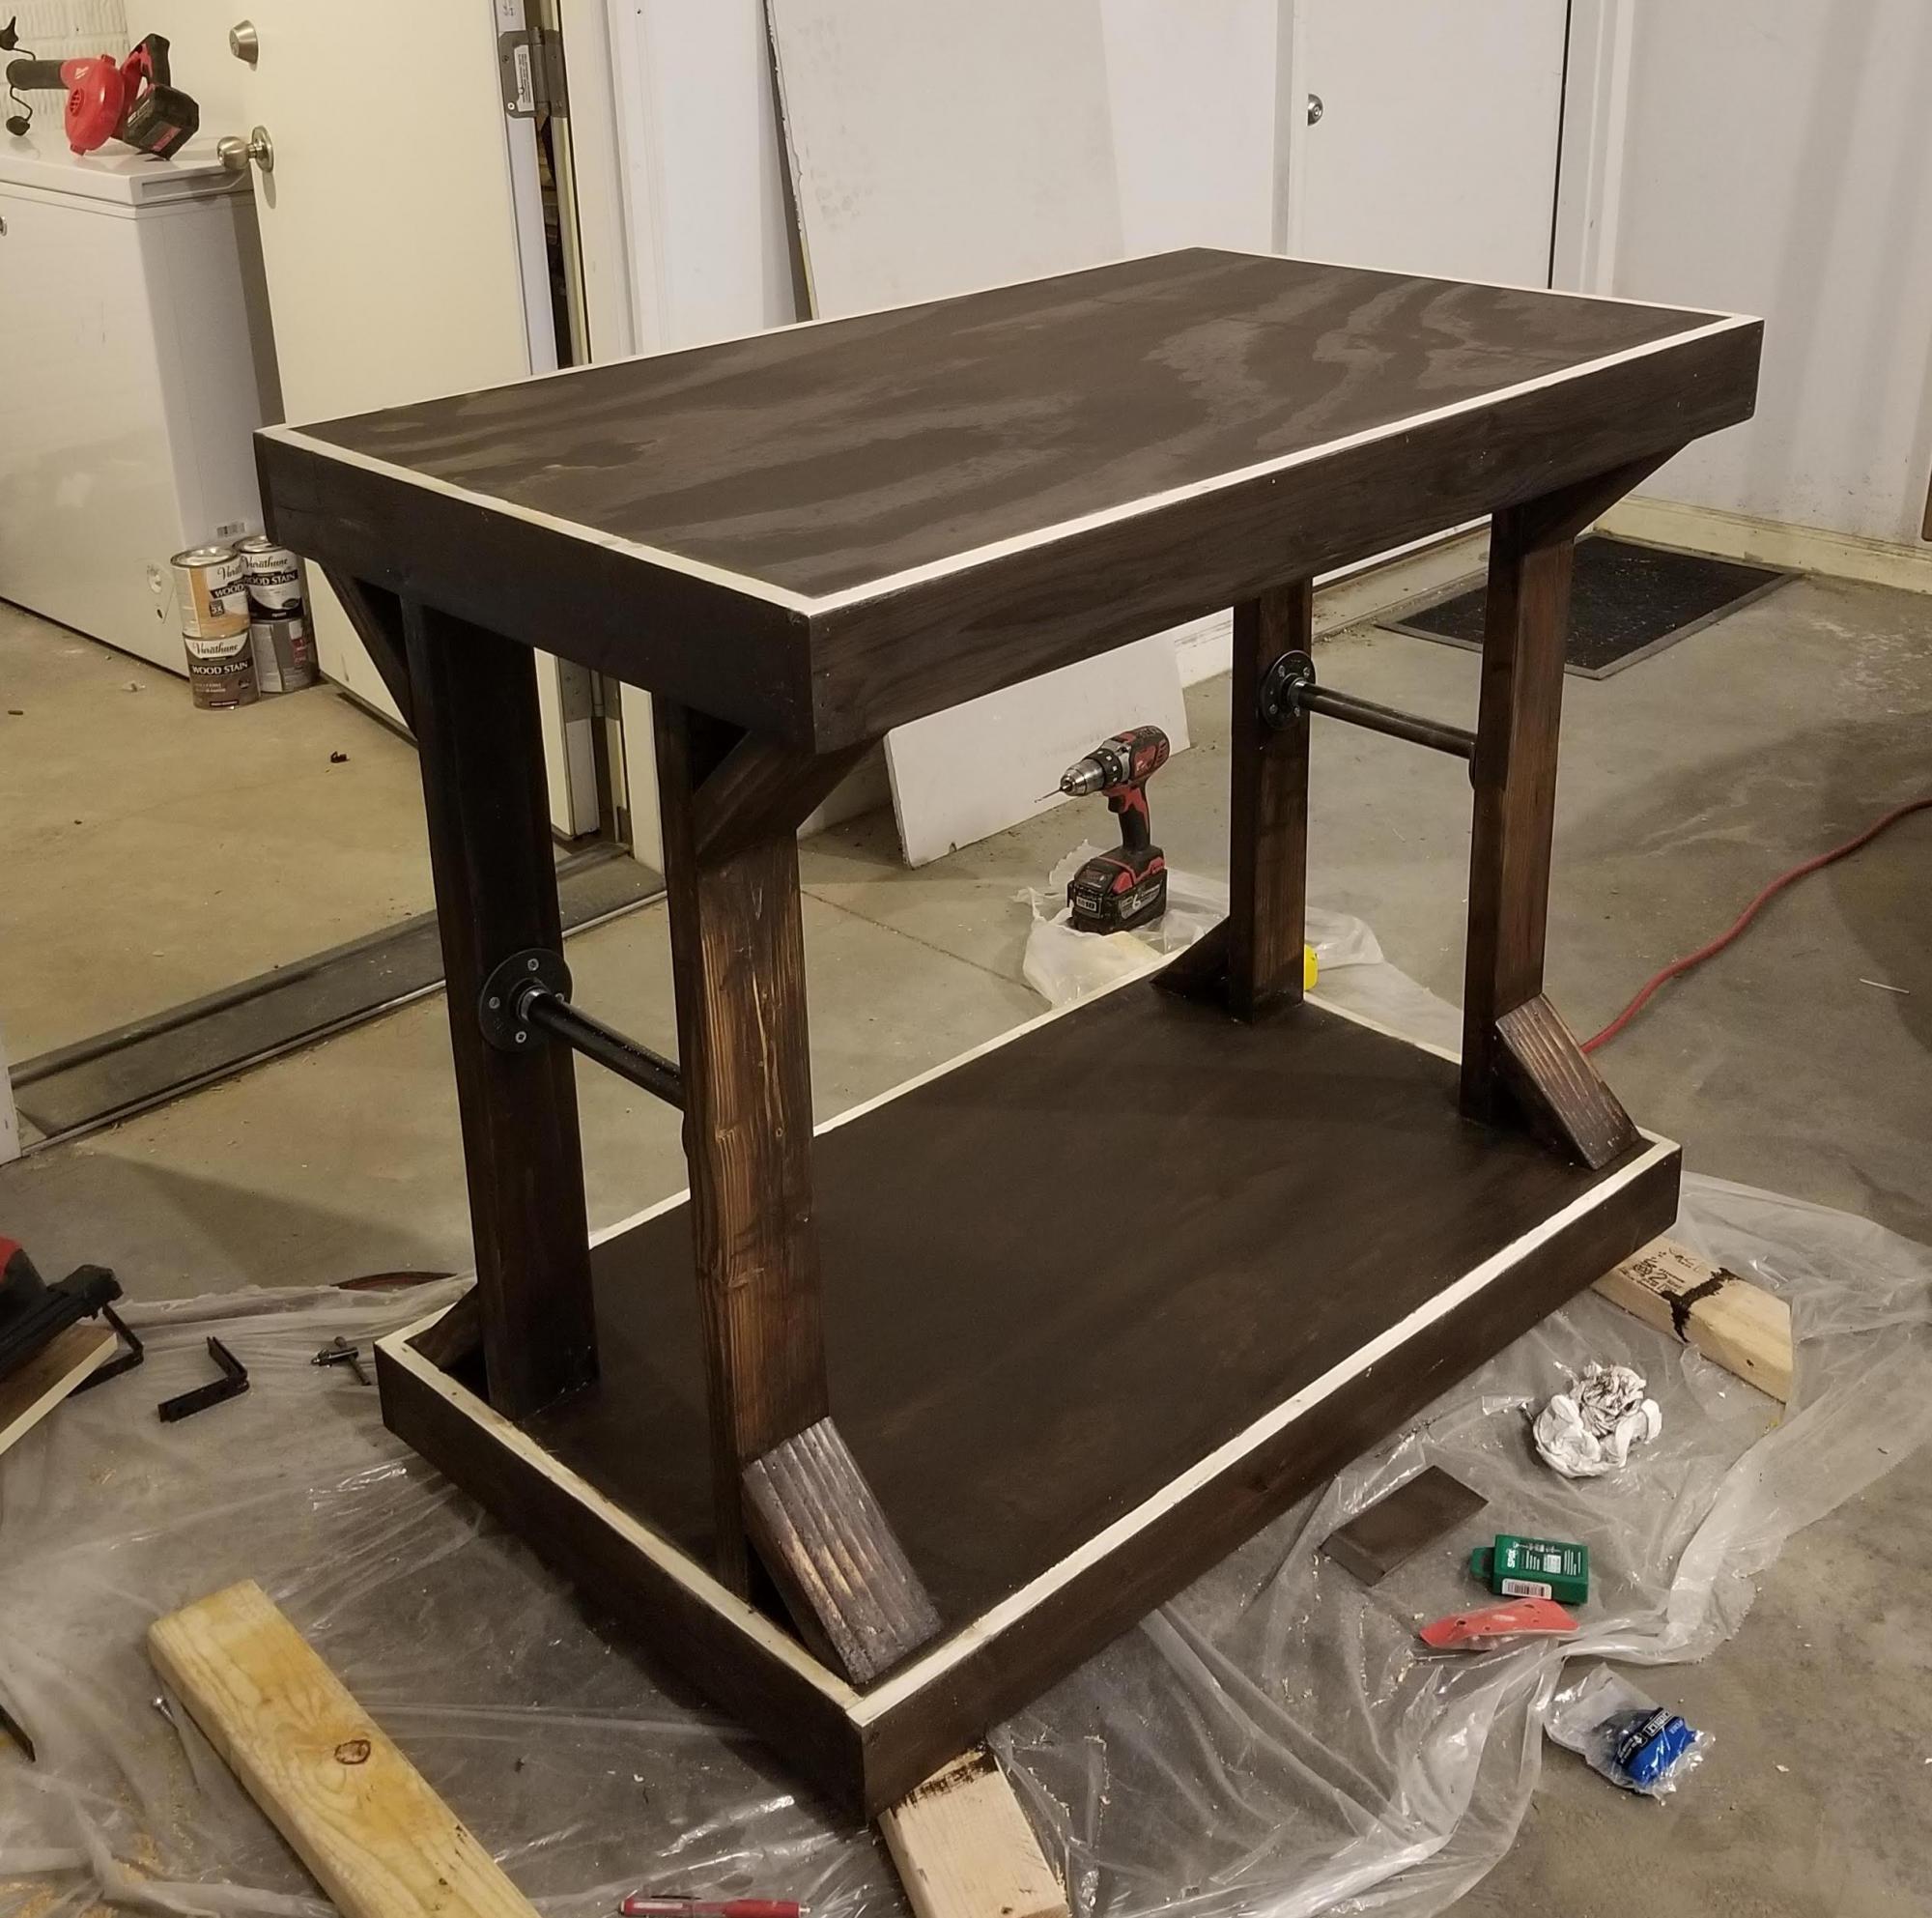
A Fun Saturday build. Went a little heavy on the Kona stain but like the way the table surface came out.
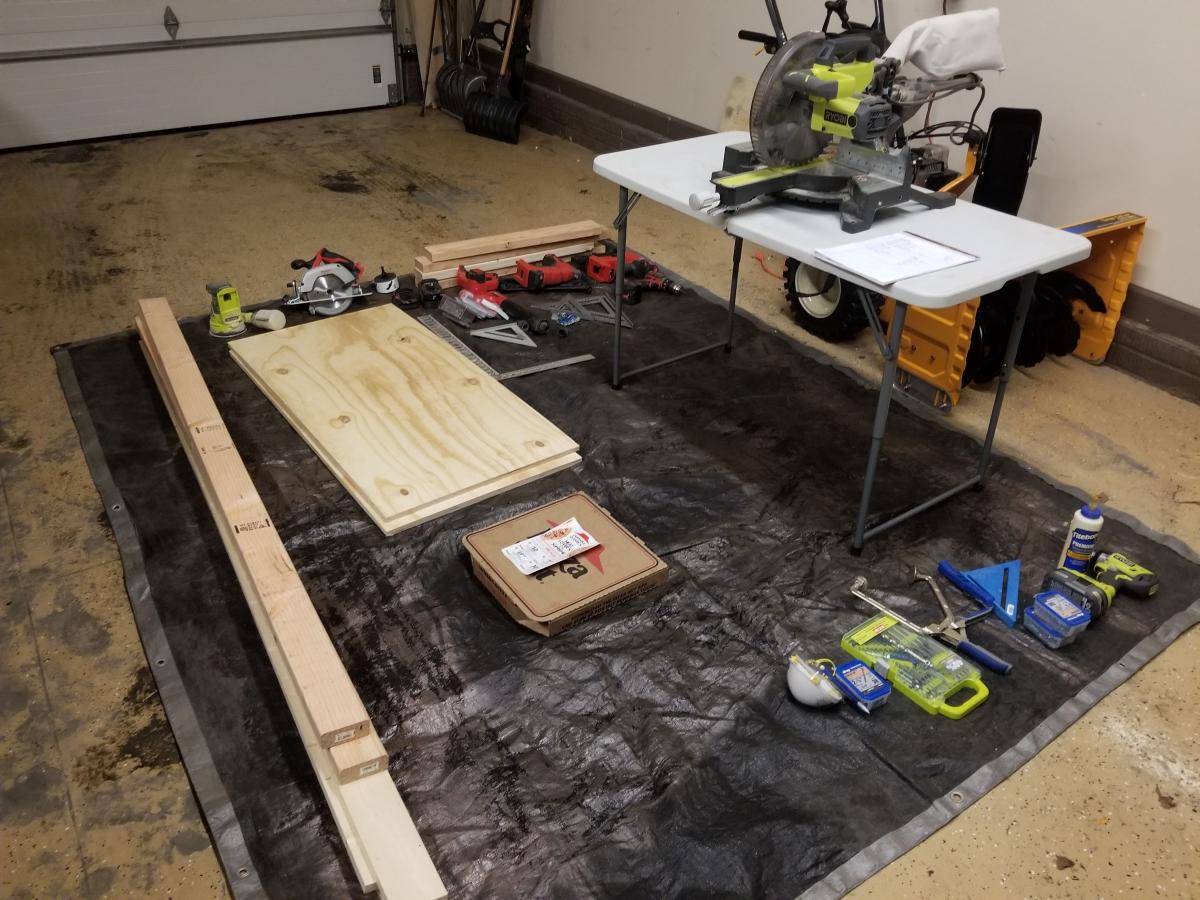
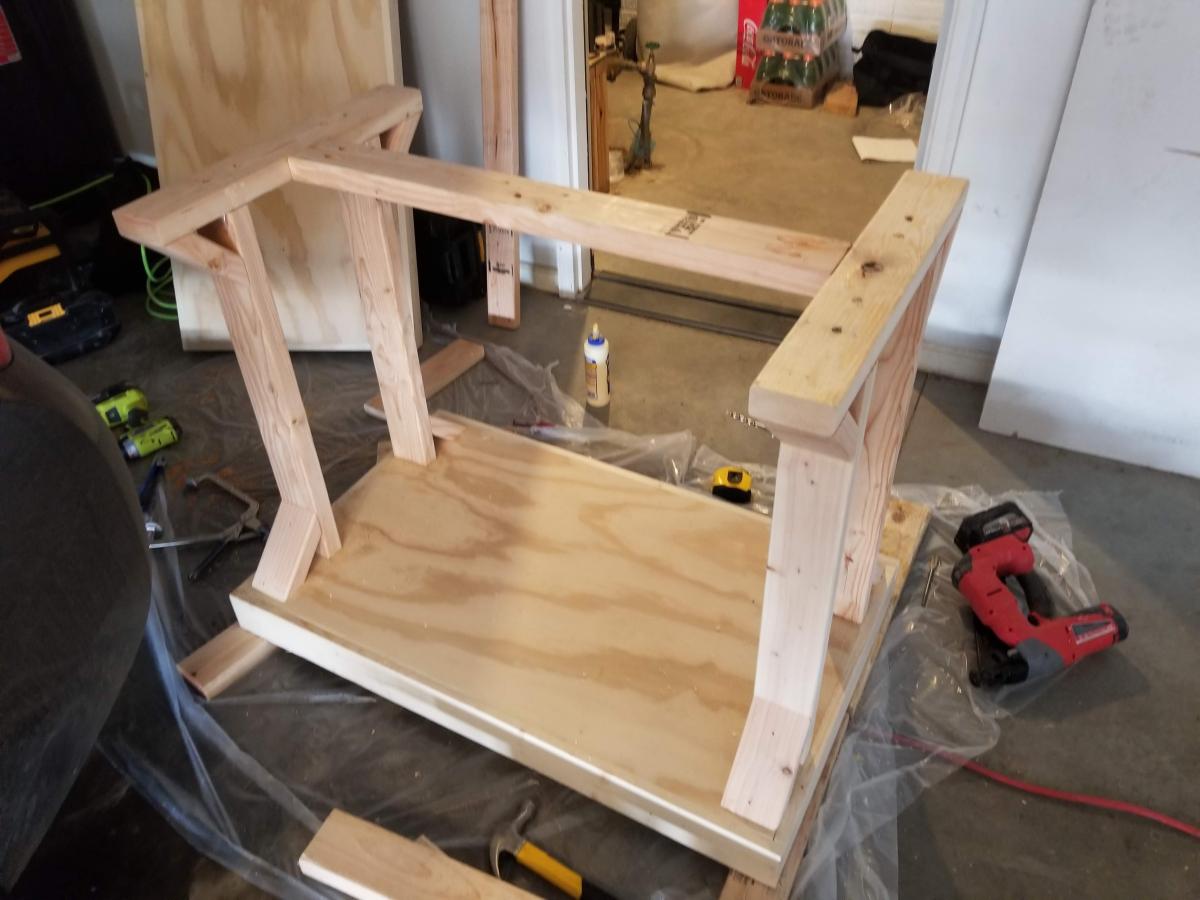
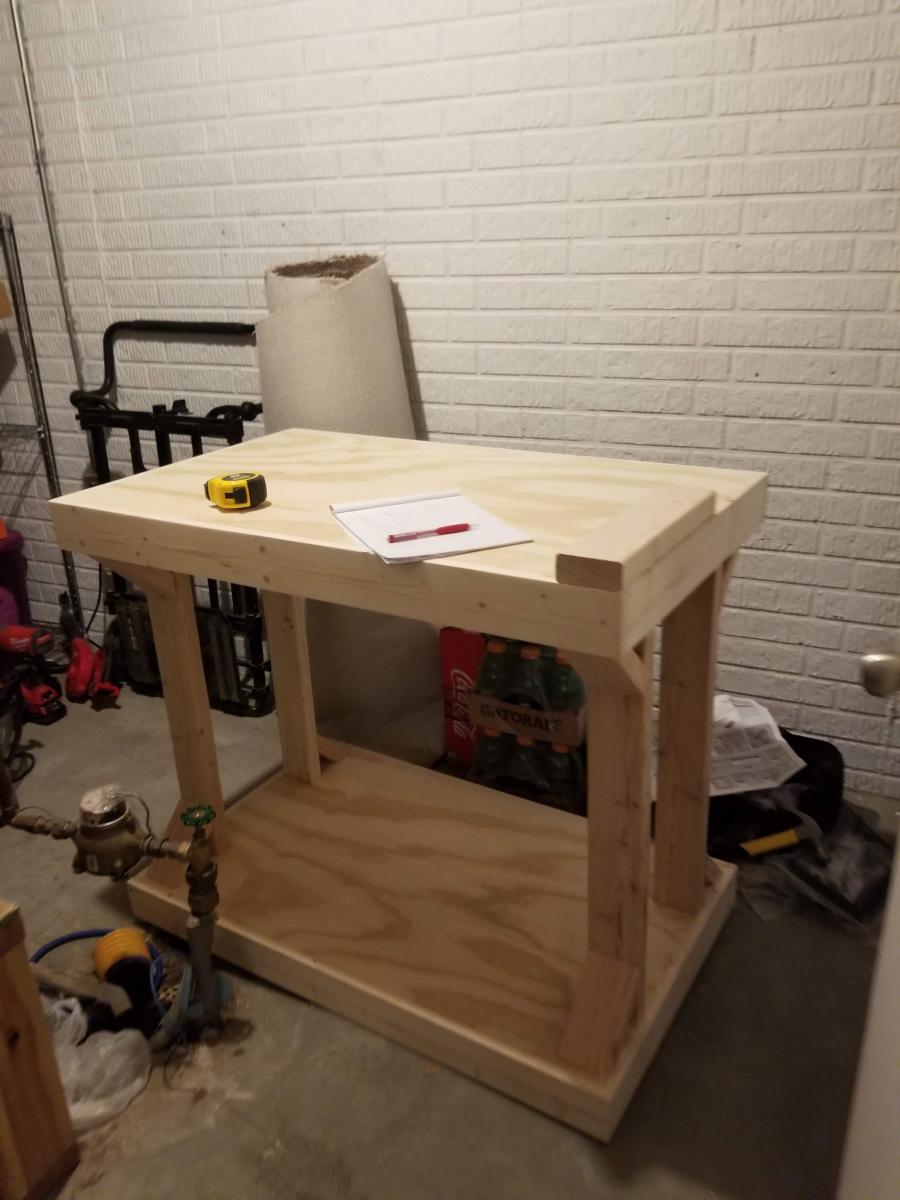
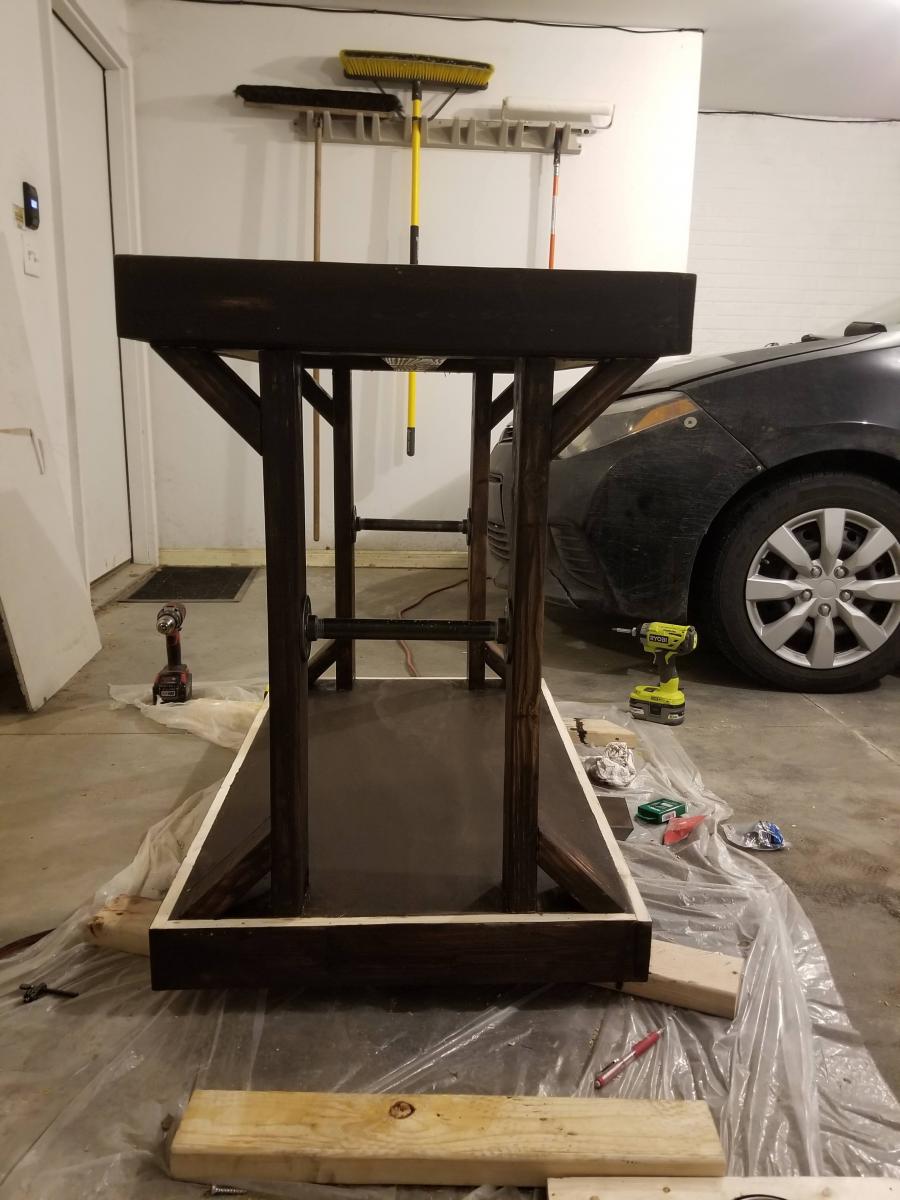
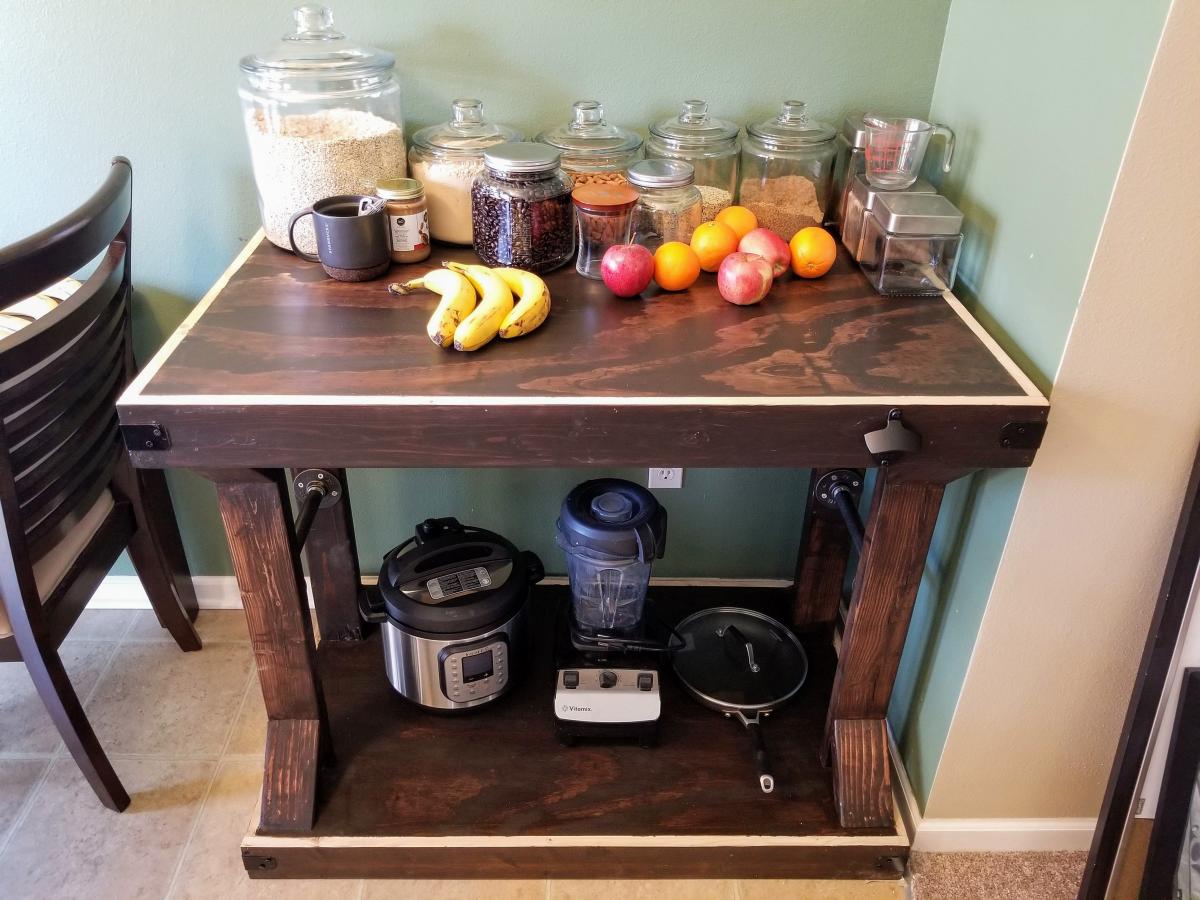
DIY Small console to fit an alcove with floating shelves by thrifyandchicdecor on Instagram
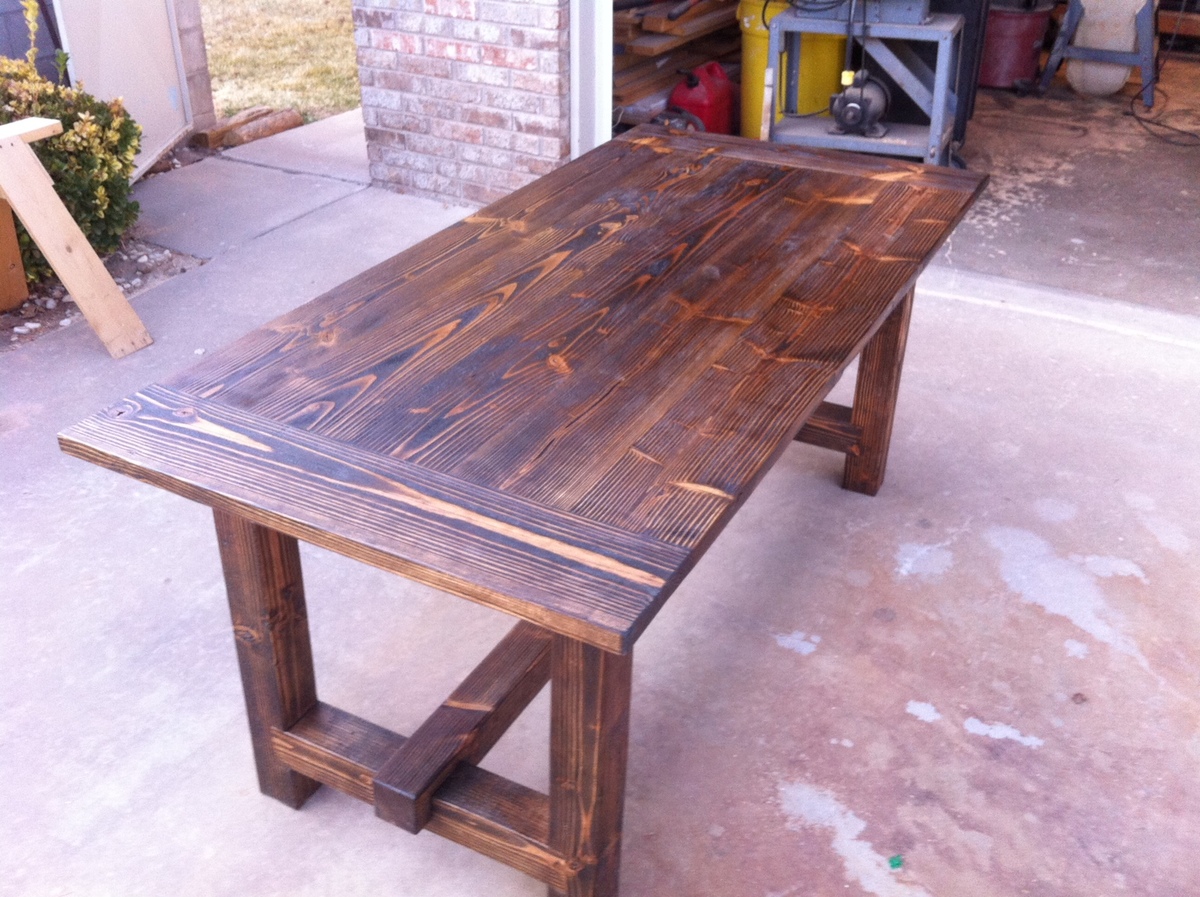
35X72 standard table height.
Made this Farmhouse table for my daughter for her birthday tomorrow. Hope she enjoys it as much as I enjoyed making it. Happy birthday my girl.
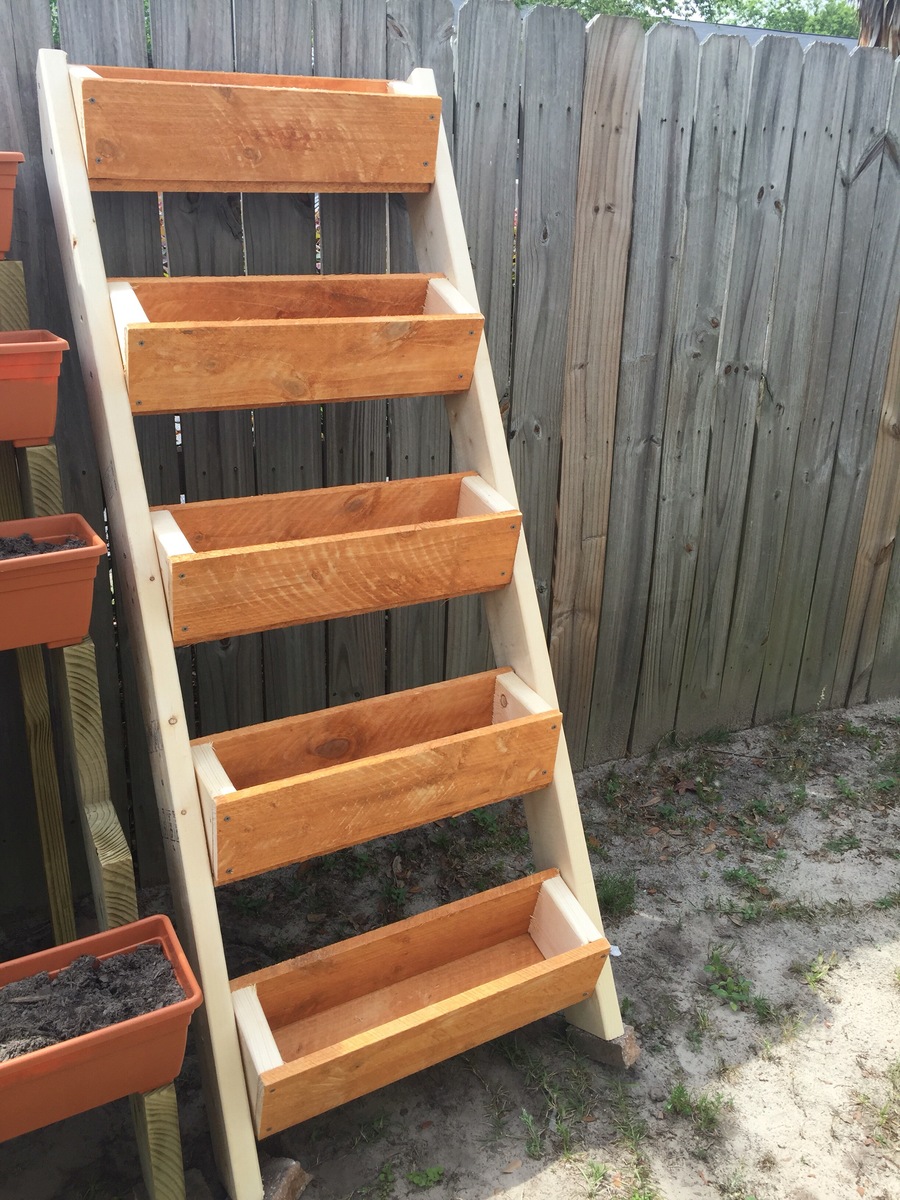
Used your plans but make changes to the planters since I do not own an angle machine. They look great and the cost was less than $30
Tue, 05/30/2017 - 14:33
Can appreciate wanting to do projects but not having all the necessary fancy tools. I need to make two of these anyway (one to give away), so going to steal this idea to make it a wham-bam quick job!
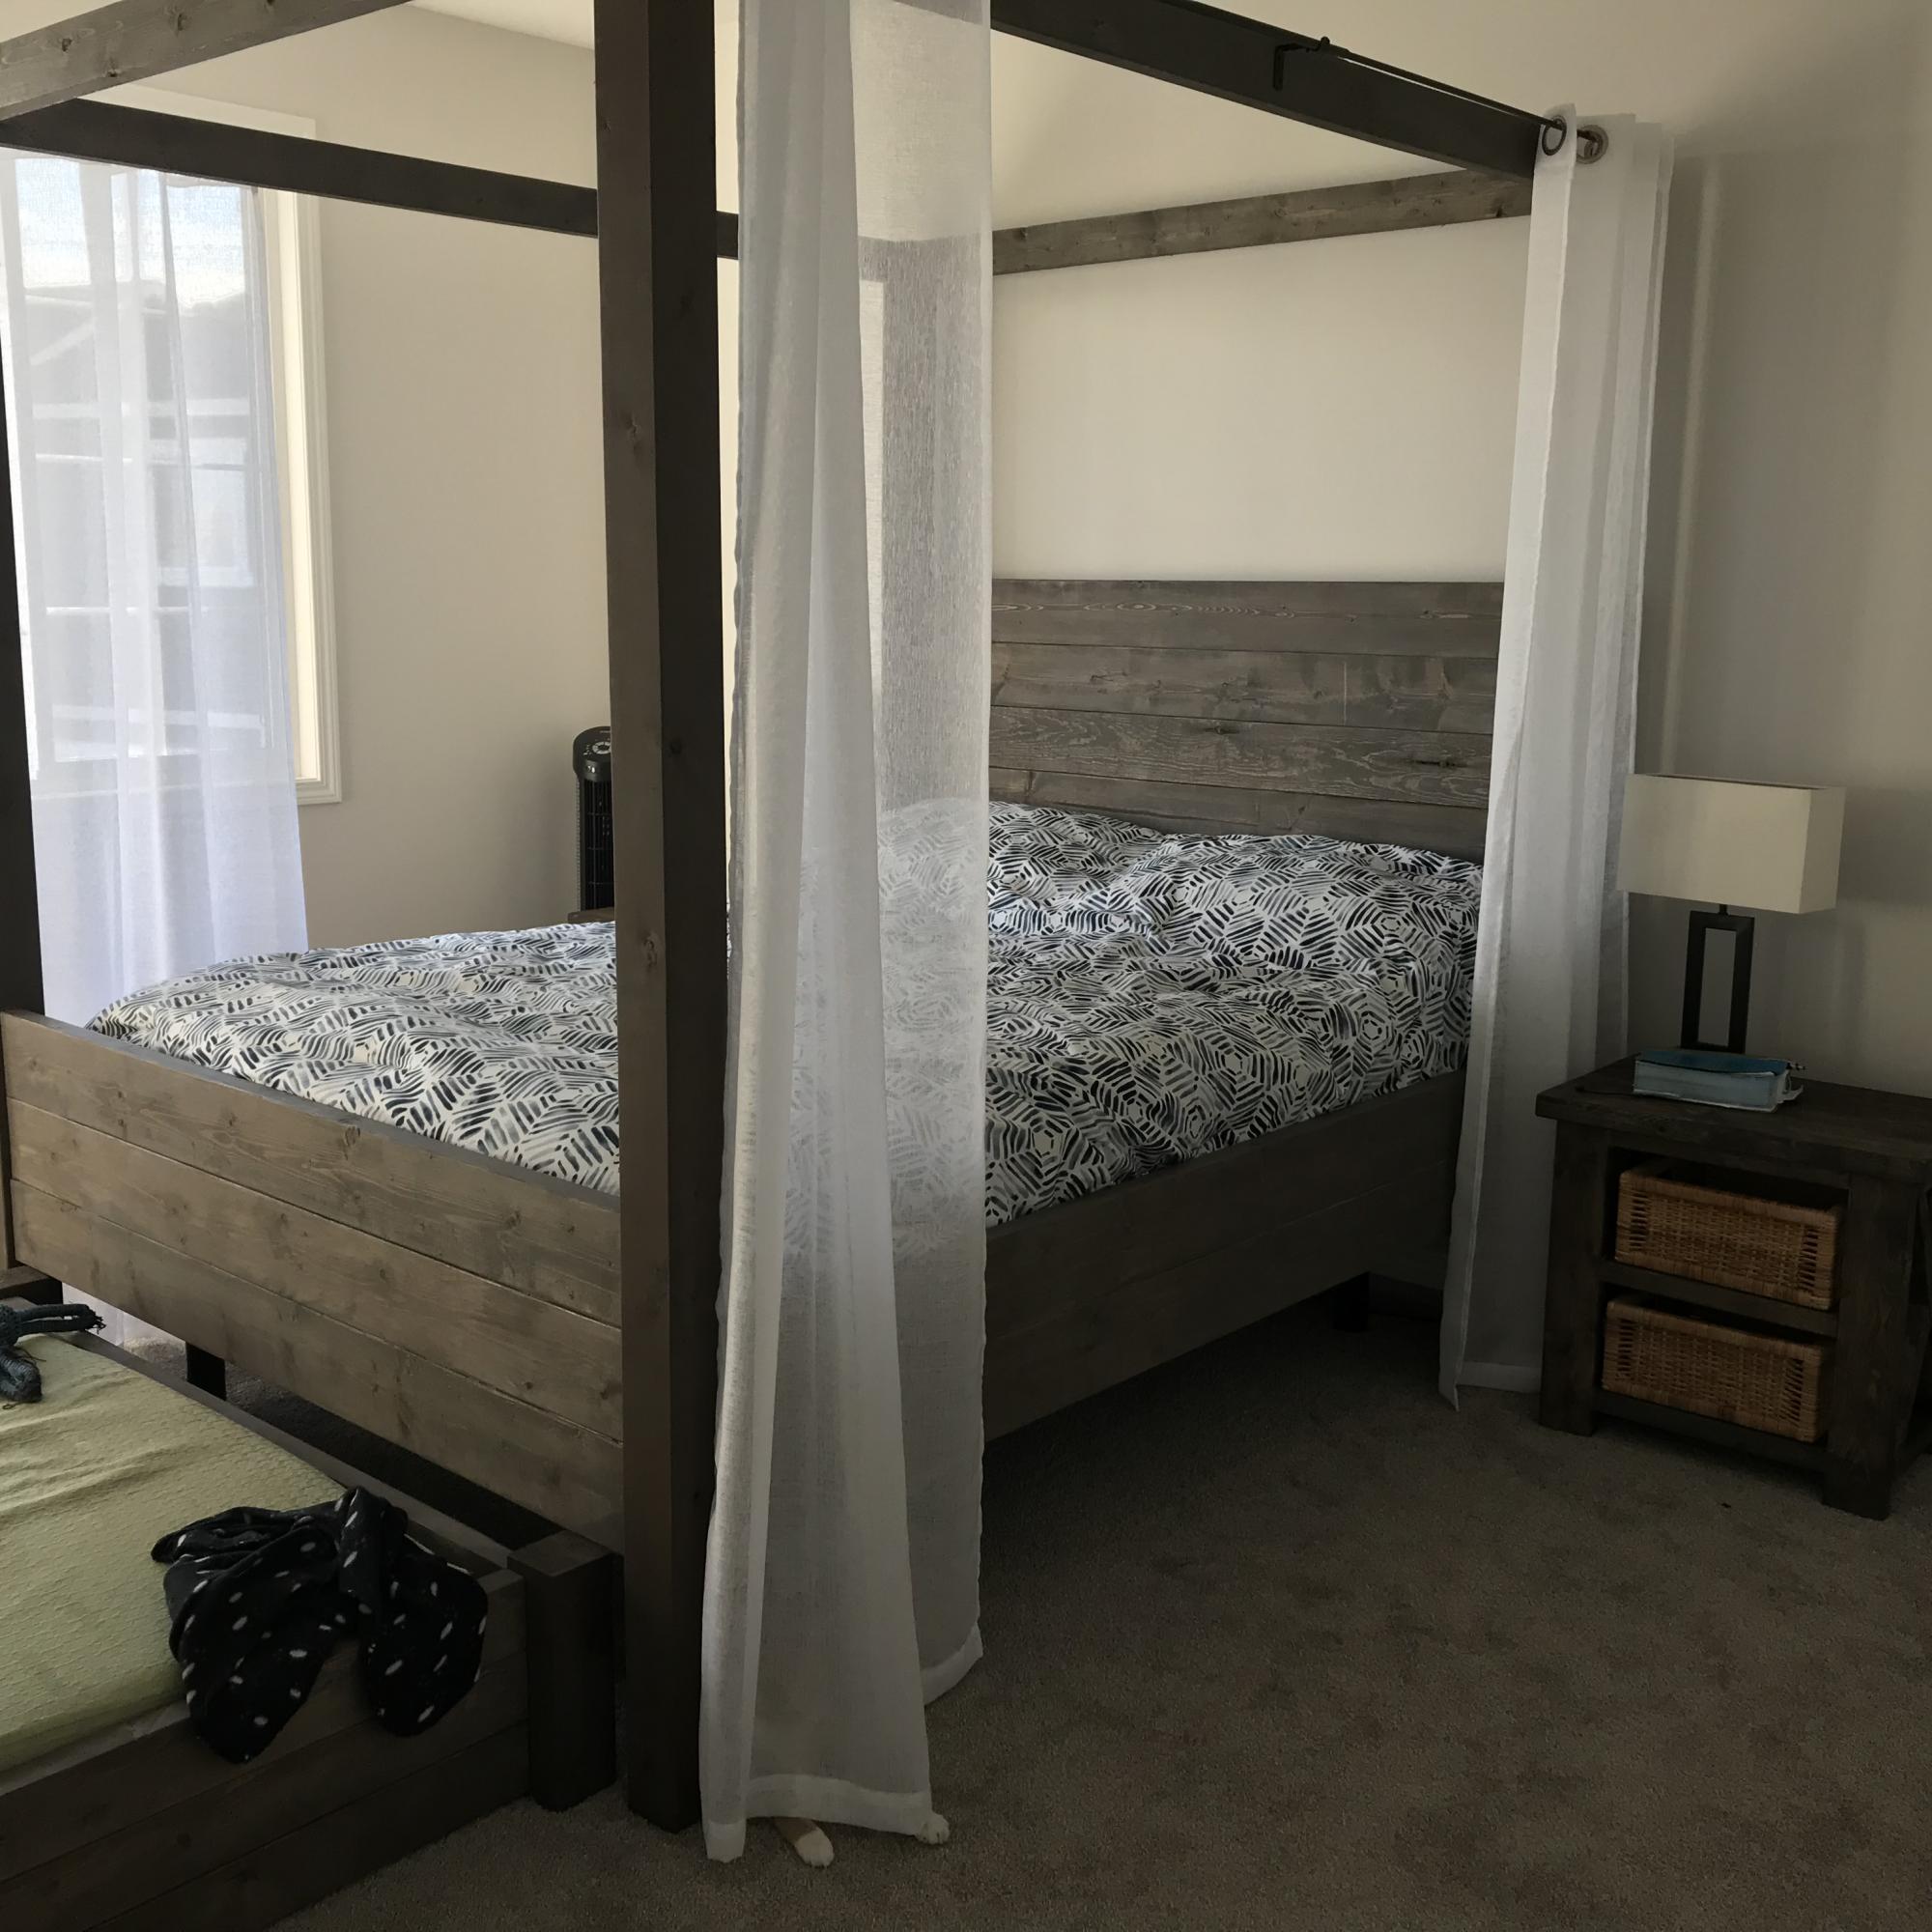
Built end tables based on coffee table
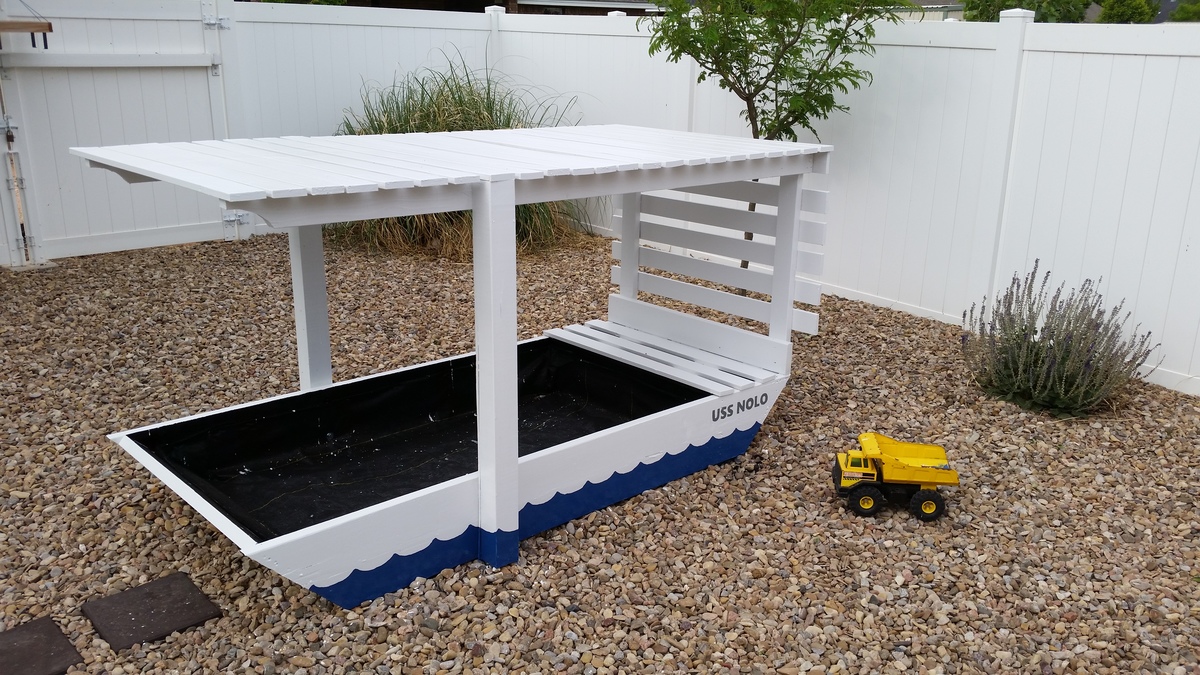
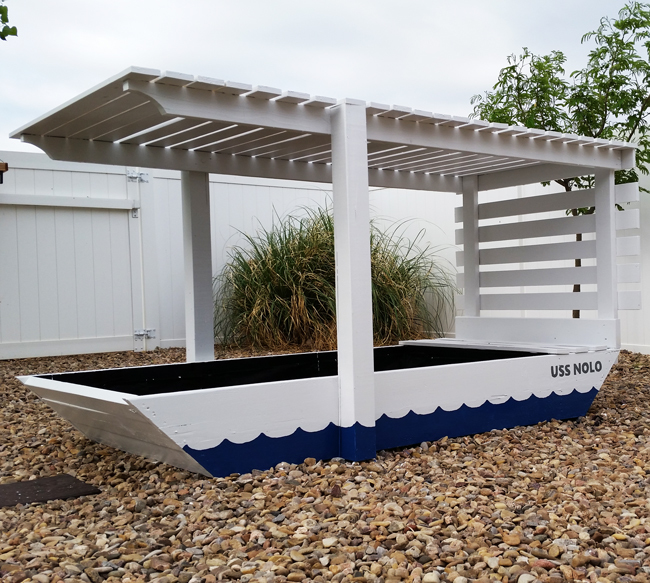
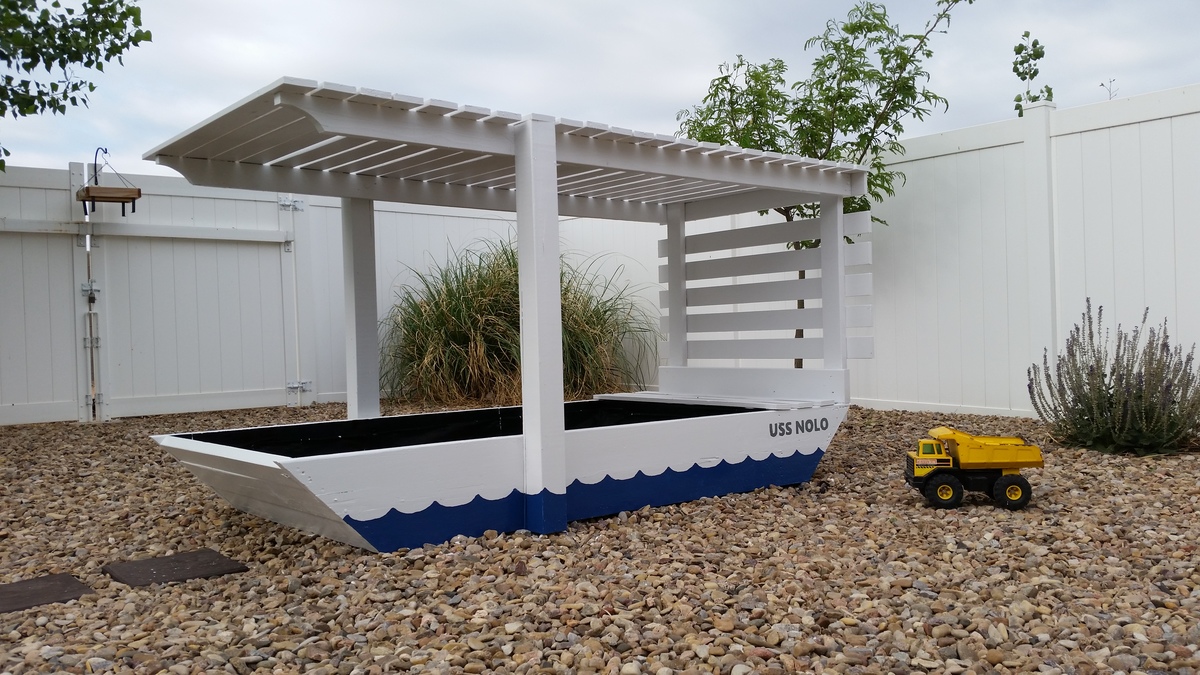
Ana, thanks for the plans! I modified mine to have more of a roof to give my son more play space and added a toybox at the "back" of the boat. Still need to pick up sand but has turned out great so far! I think it will be the starting point for a full playset.
Tue, 06/05/2018 - 14:37
Thanks so much for sharing, what a great job and fun design! I love it!
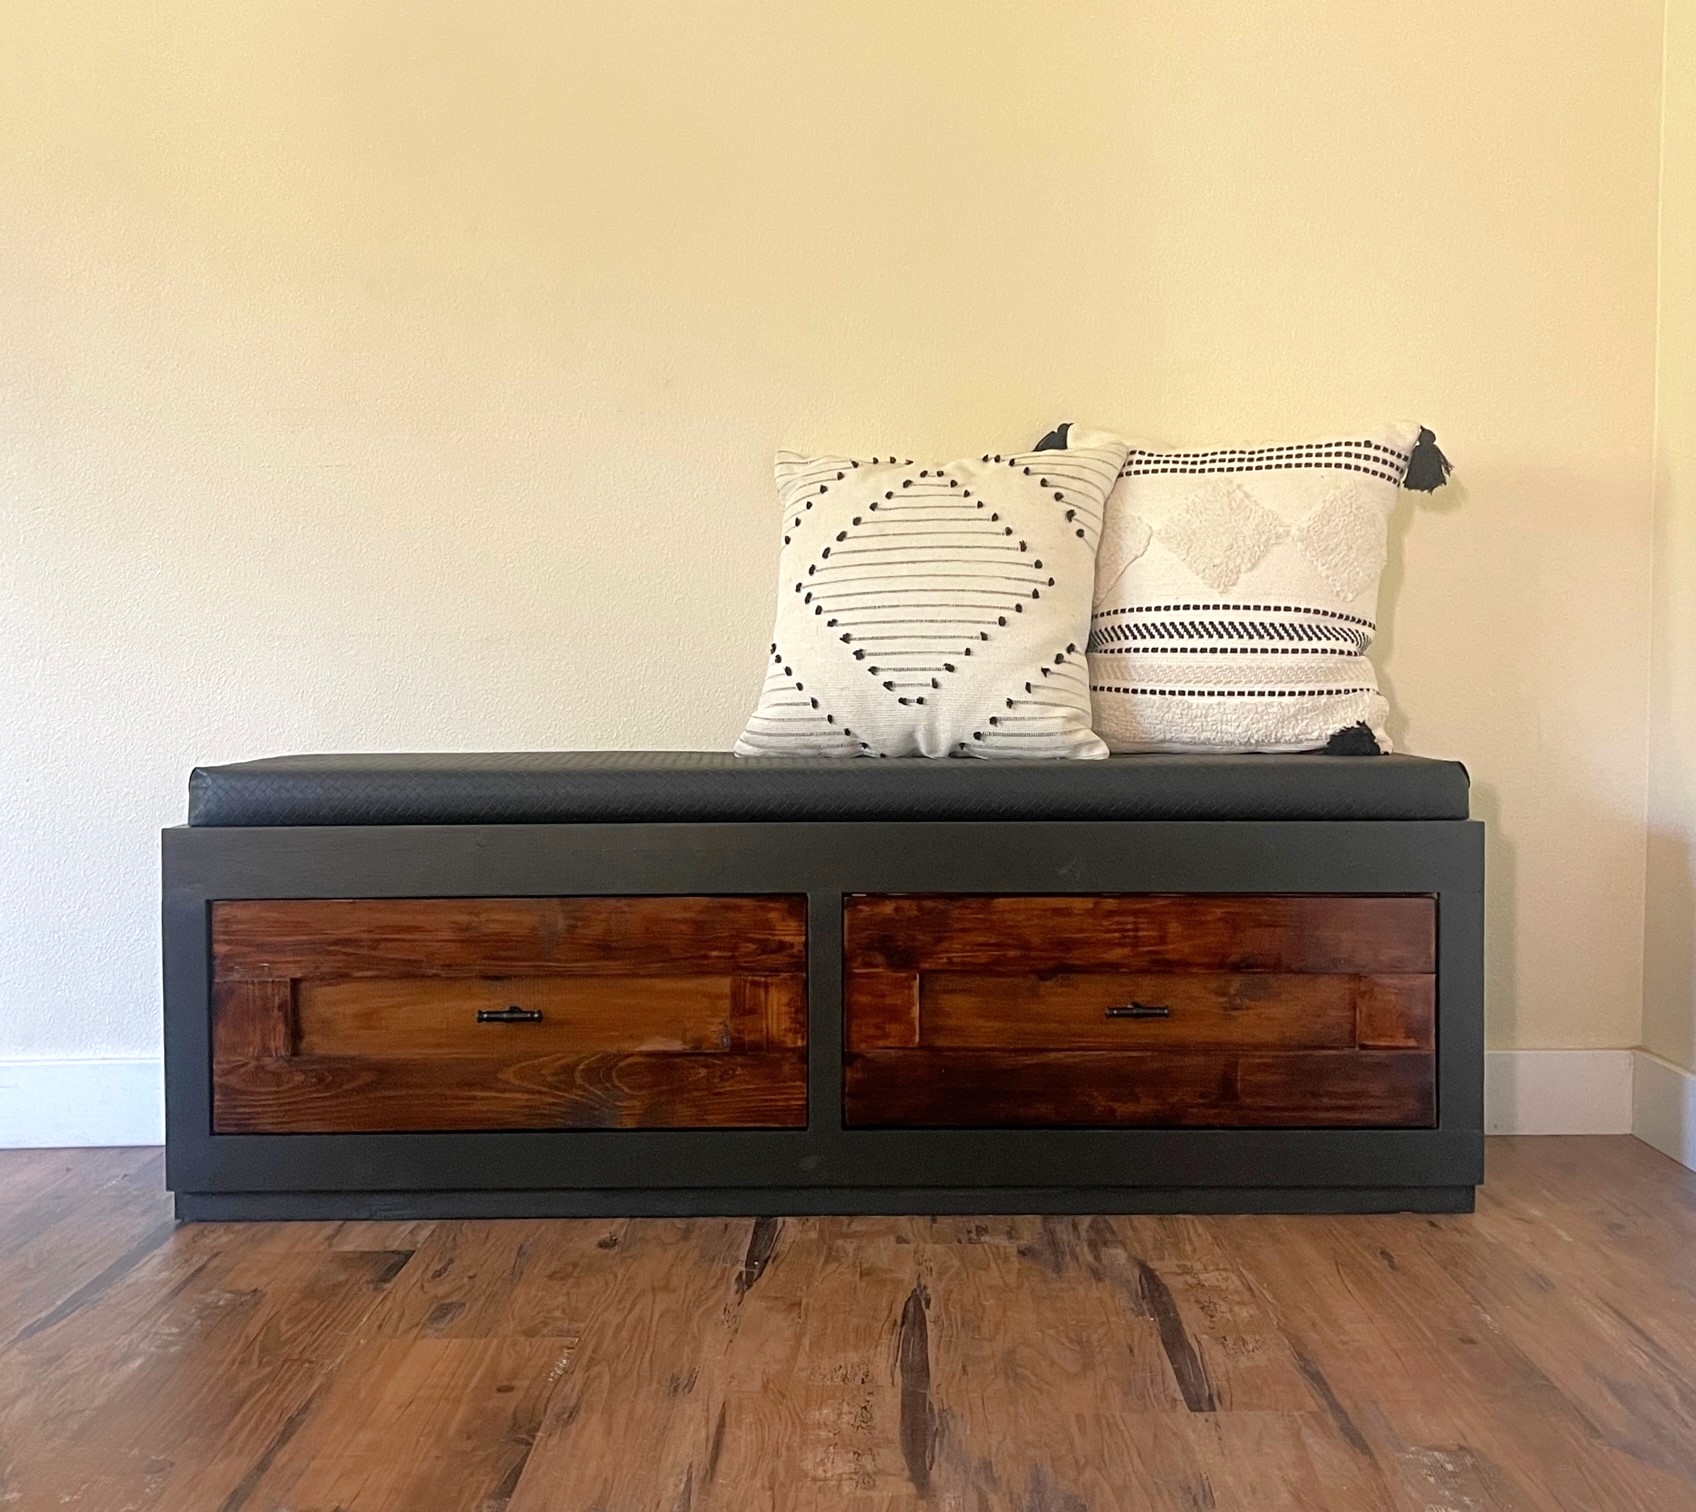
My mom asked for a drawer bench. I haven't been very successful with drawers so I accepted the challenge. It turned out really good, now I want to build more drawer projects! To top it off, I decided to try my hand at building the cushion too, since it was custom sized. There are several good tutorials online for no sew options. The cushion only took about 1/2 hour to put together.I got fabric that is easily cleanable and wipeable. I'm excited to surprise my mom with her new bench!
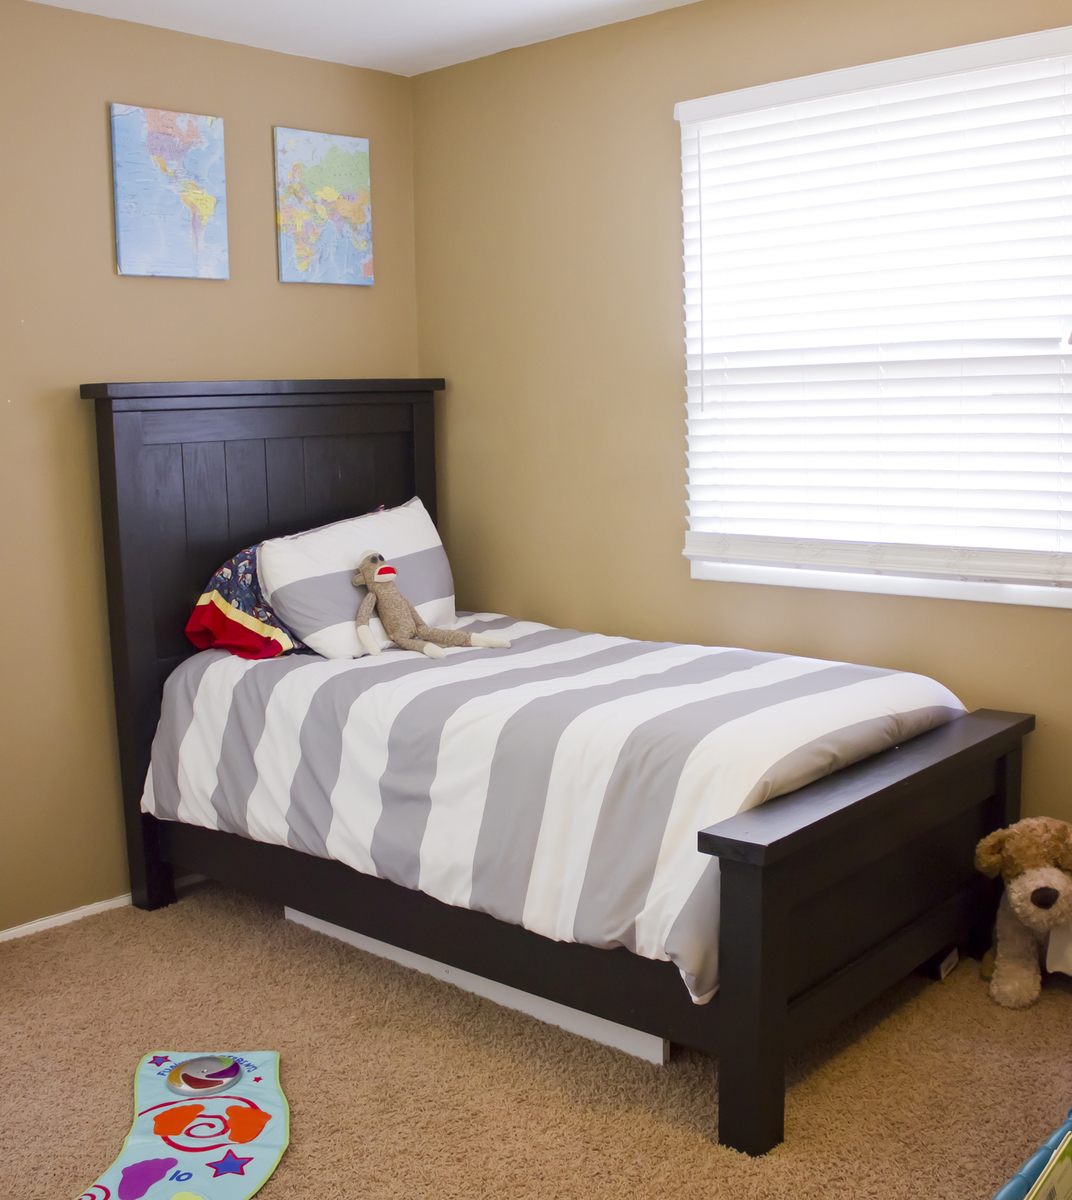
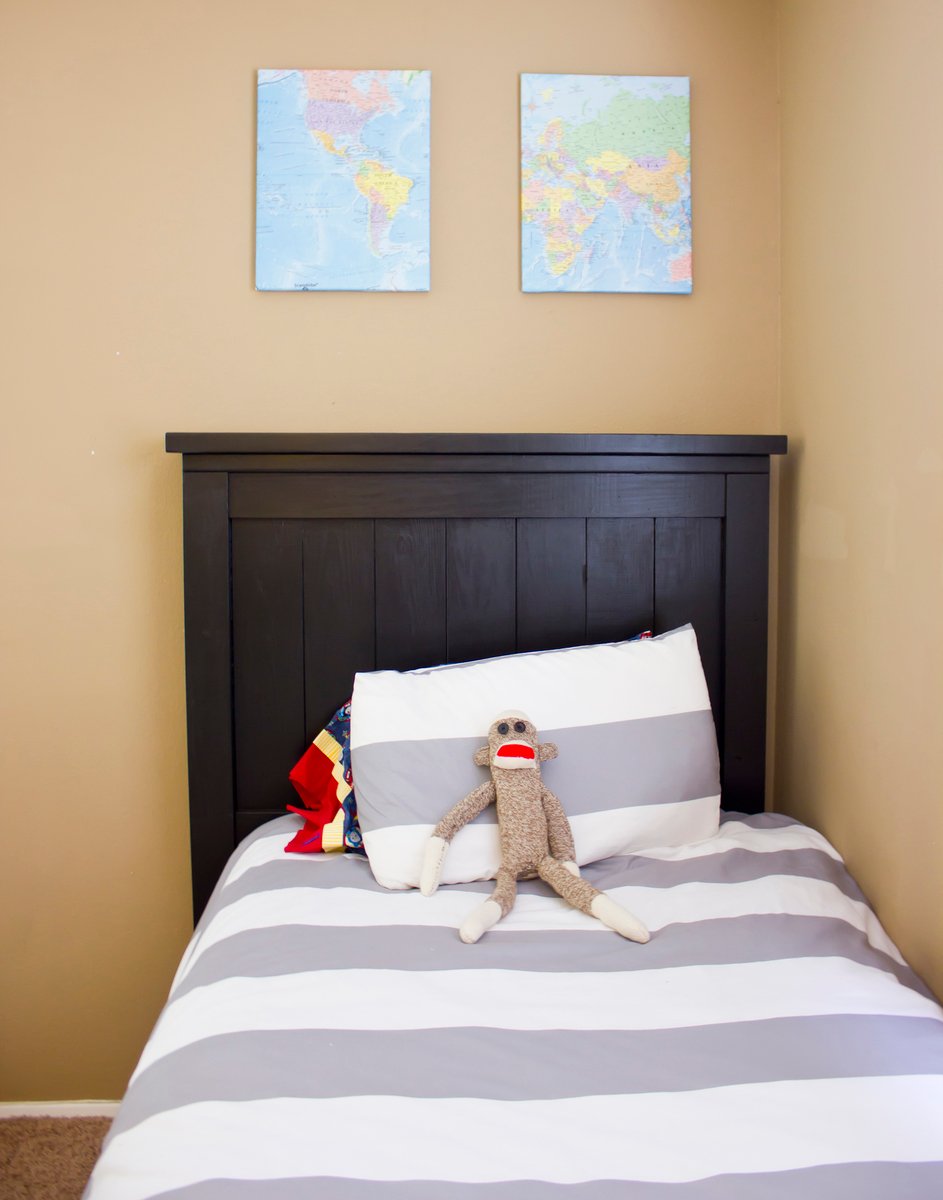
I saw this on the site, and I knew it would be perfect for my soon to be 4 year old boy's room. I wanted something that would be strong (hellloooo 4 year old boy!!) and not too "babyish" to last him through several years of preference changes and growth. This was not too difficult at all! Though I slightly modified some of the construction to make it easier to break down. I ended up using a box spring with a mattress, instead of slats to save a bit of money. (We got the box spring and mattress for free from a relative.)
I made this out of pine, and bought everything from Home Depot. Total cost for everything (including paint, sandpaper, wood glue, etc) was about $160! We are loving it!
Thu, 05/03/2012 - 23:09
Hi,
I love what you have done here. We have just finished our first build and am about to start on another for our oldest girl. Check out our blog, its the latest entry on this page.
Love it.
Thanks,
Shane
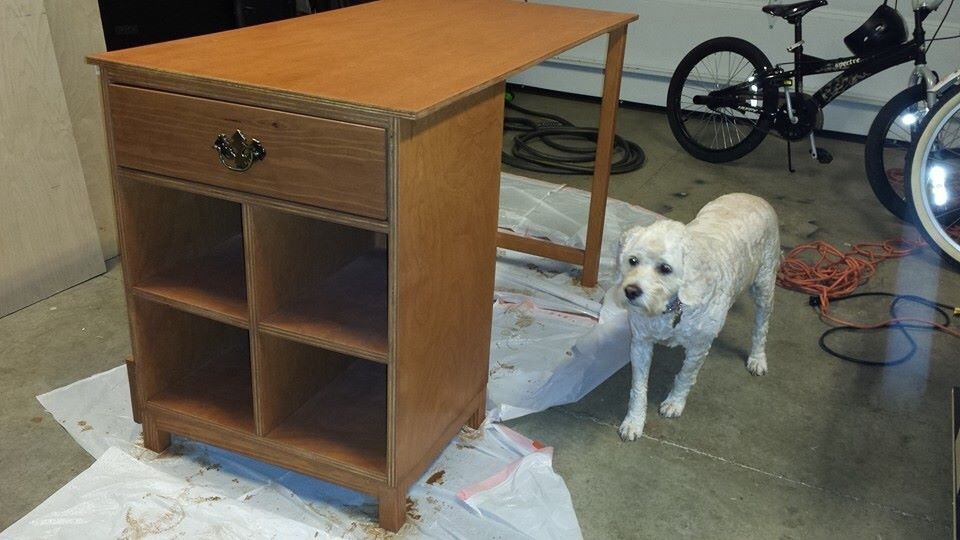
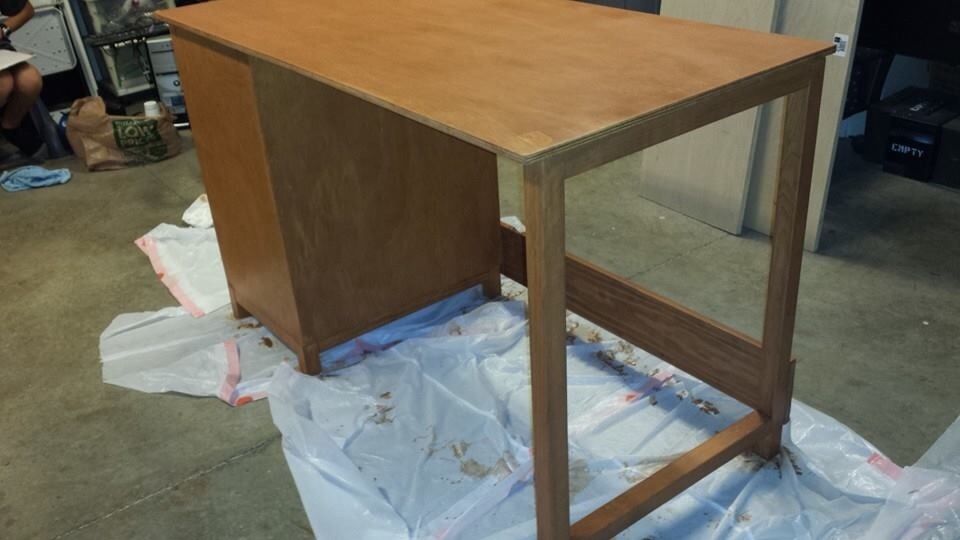
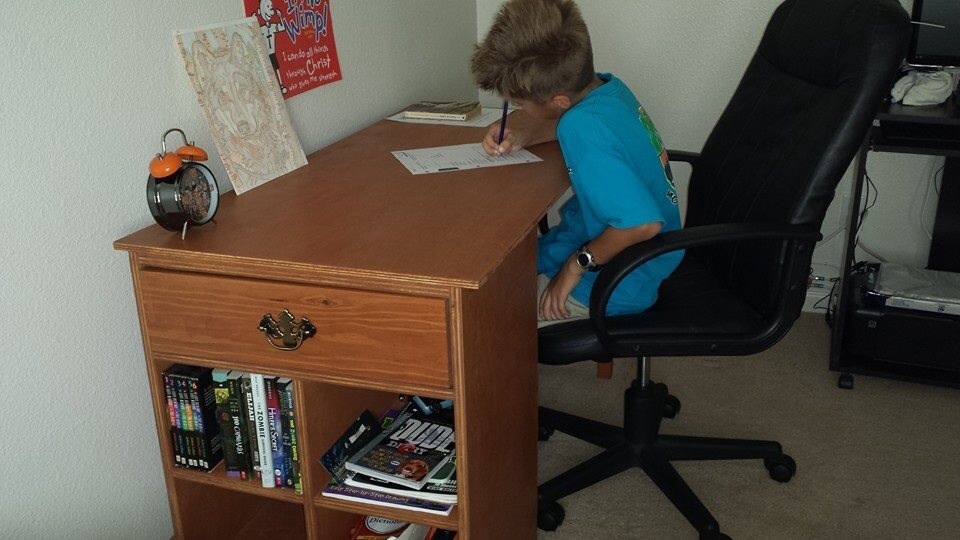
This was my first project. I didn't even know how to use a drill. With the help of my husband I learned quickly. Everything came together rather well and making the cuts was fairly simple. I used a table saw instead of a skill saw which made the bigger cuts not quite straight. I will have to invest in one of those. Two problems I ran into was not having enough clamps. I had the one that came with the kreg jig but having another would have made it simpler when attaching the legs. I had to go out and get the right angle clamp for the jig and that was a lot simpler but will still purchase another clamp for the future. The other problem I faced was the table legs were not sturdy enough so we added a support post to the back of the desk you can see in the picture. I also made the mistake of purchasing wood filler the same color as the stain. So I have darker areas. Haha. It was great learning experience. And my ten year old is very happy with his desk.
Sun, 02/16/2014 - 18:15
We also didn't know how to attach the top. The plans don't give instructions for that and we had to figure that out on our own. We ended up doing pocket holes which takes away from the looks of it. But you can't notice it unless you look for it.