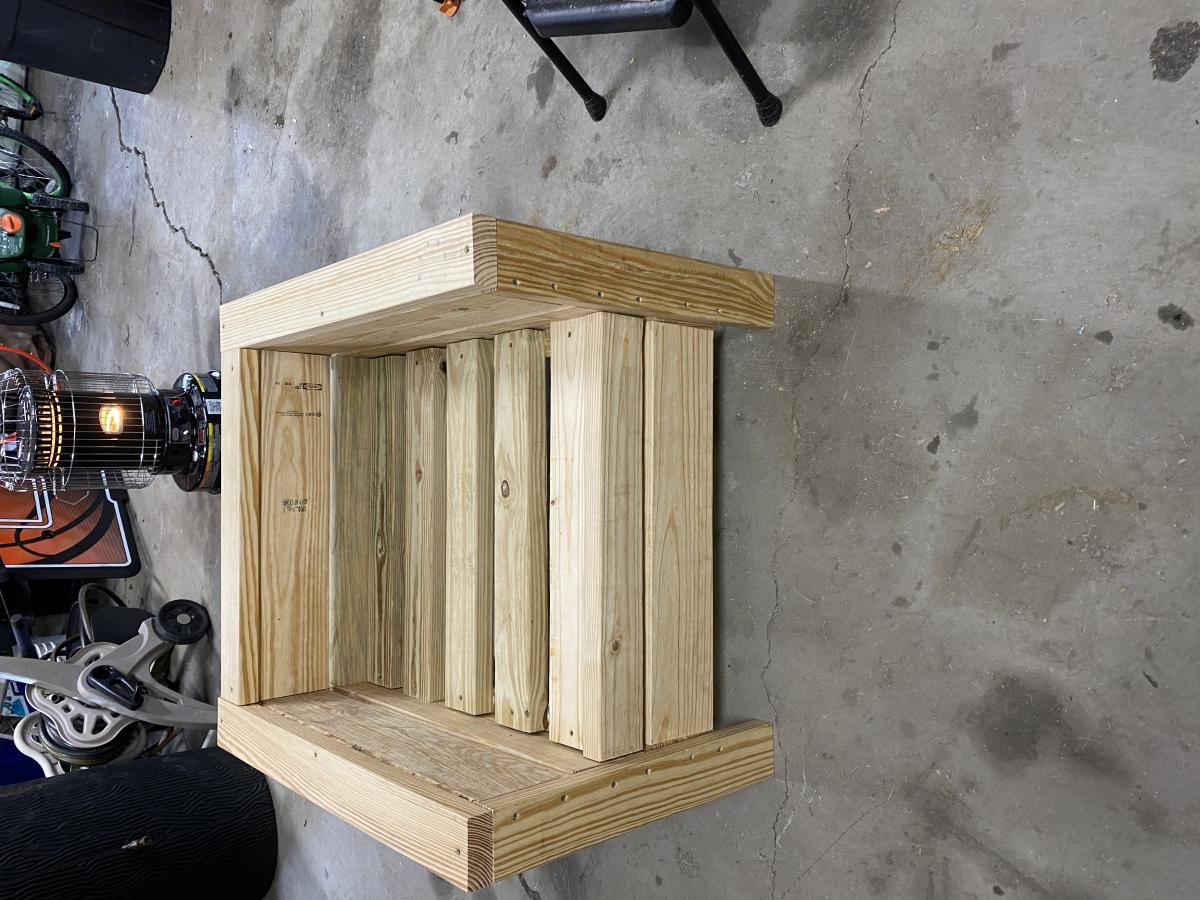
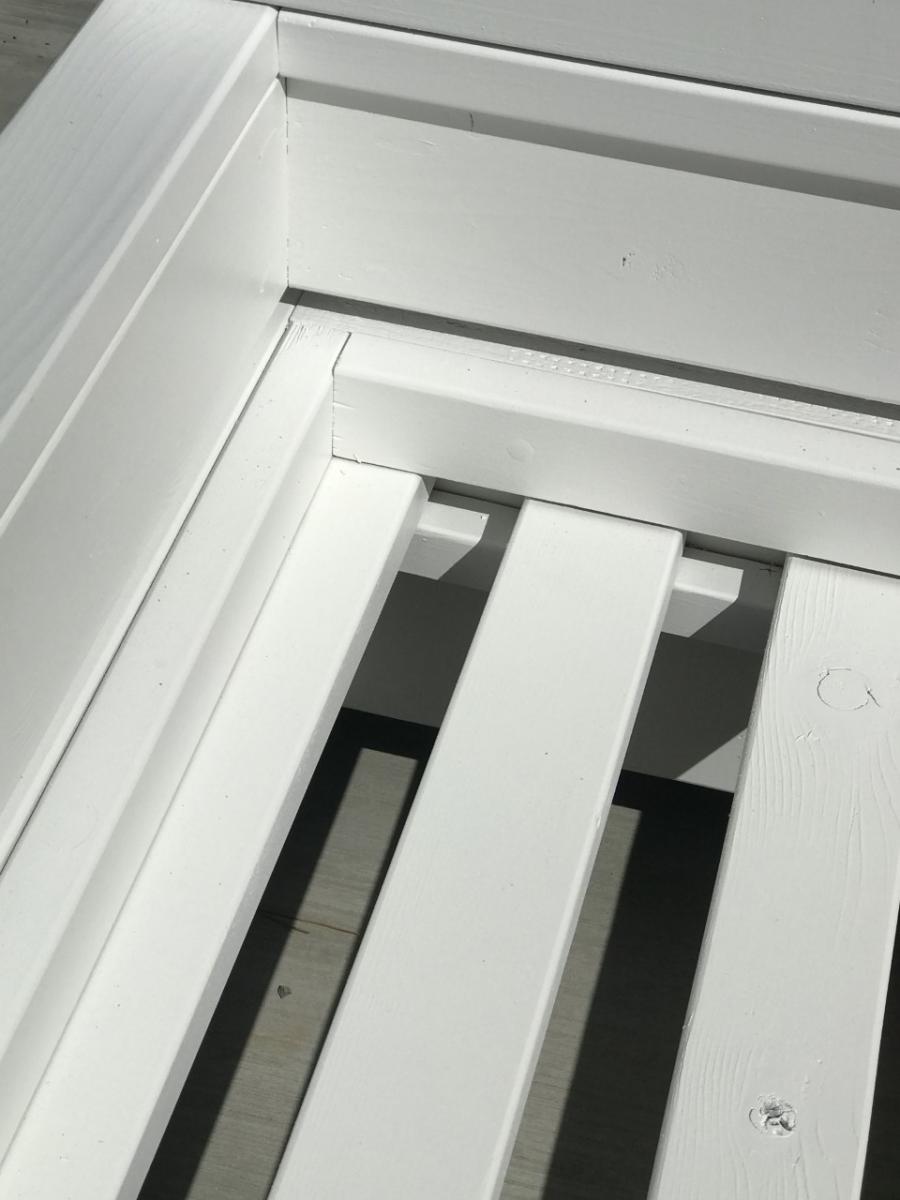
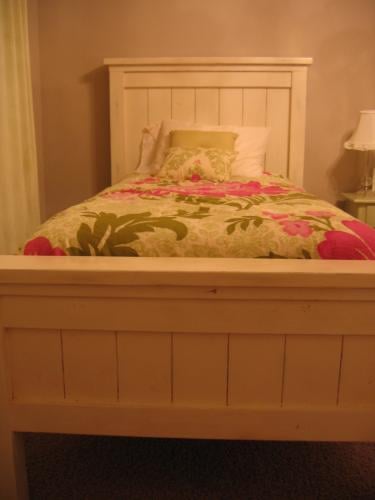
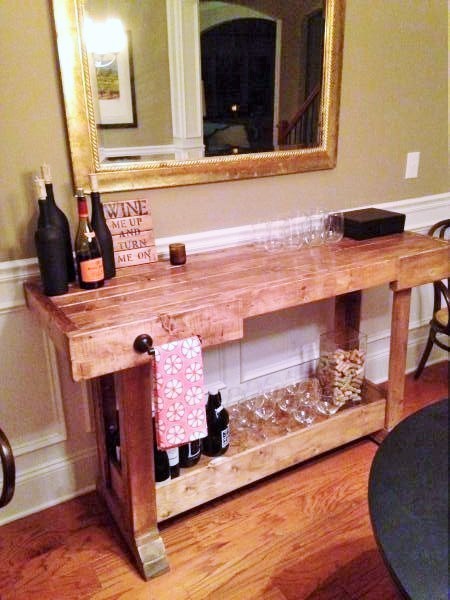
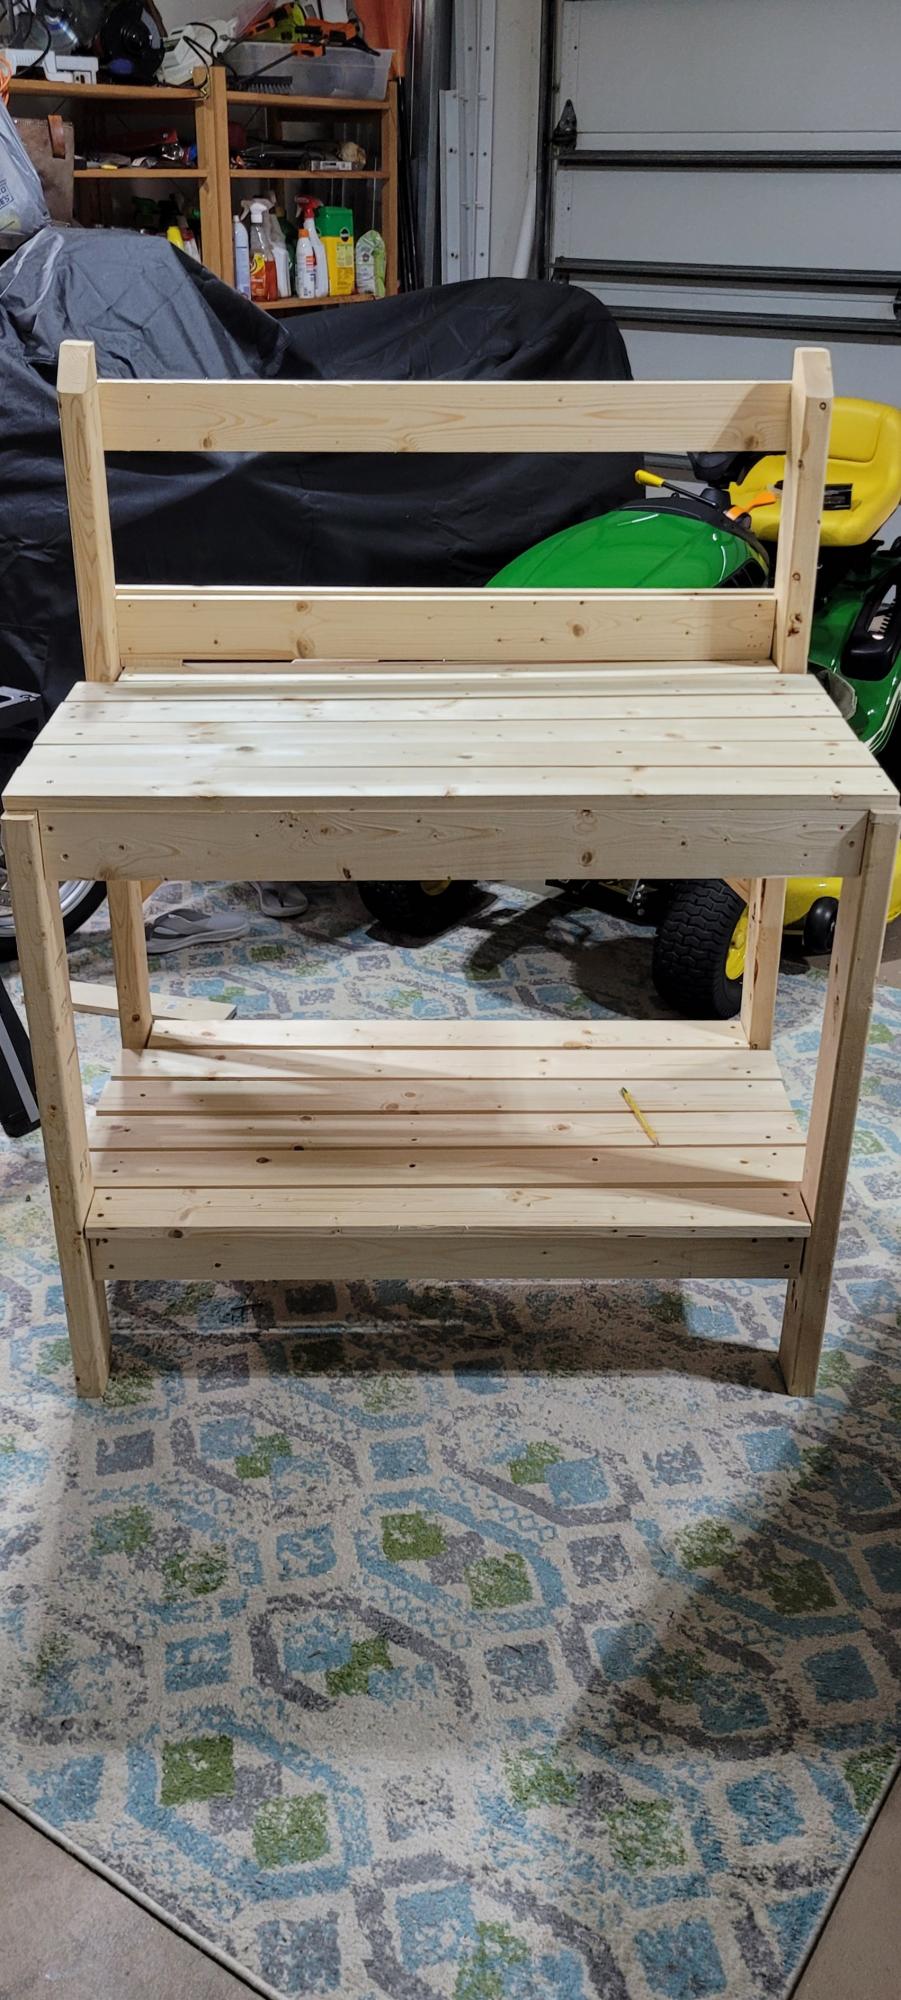
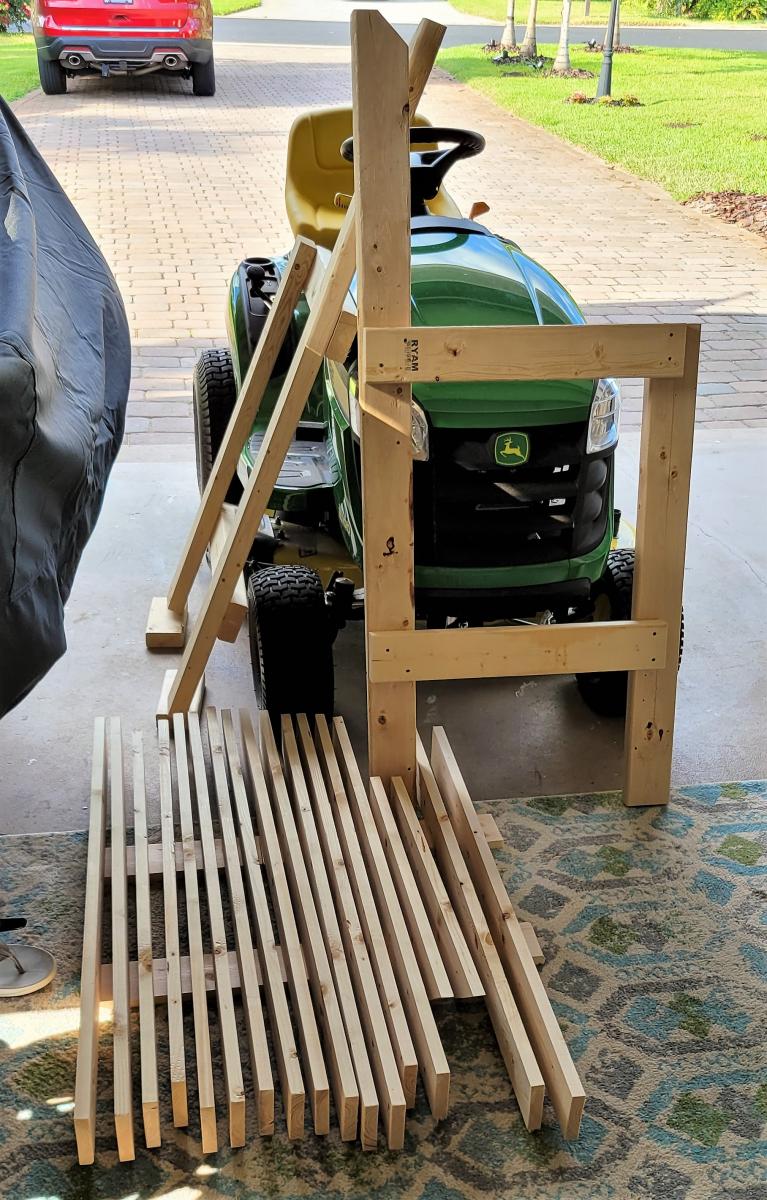
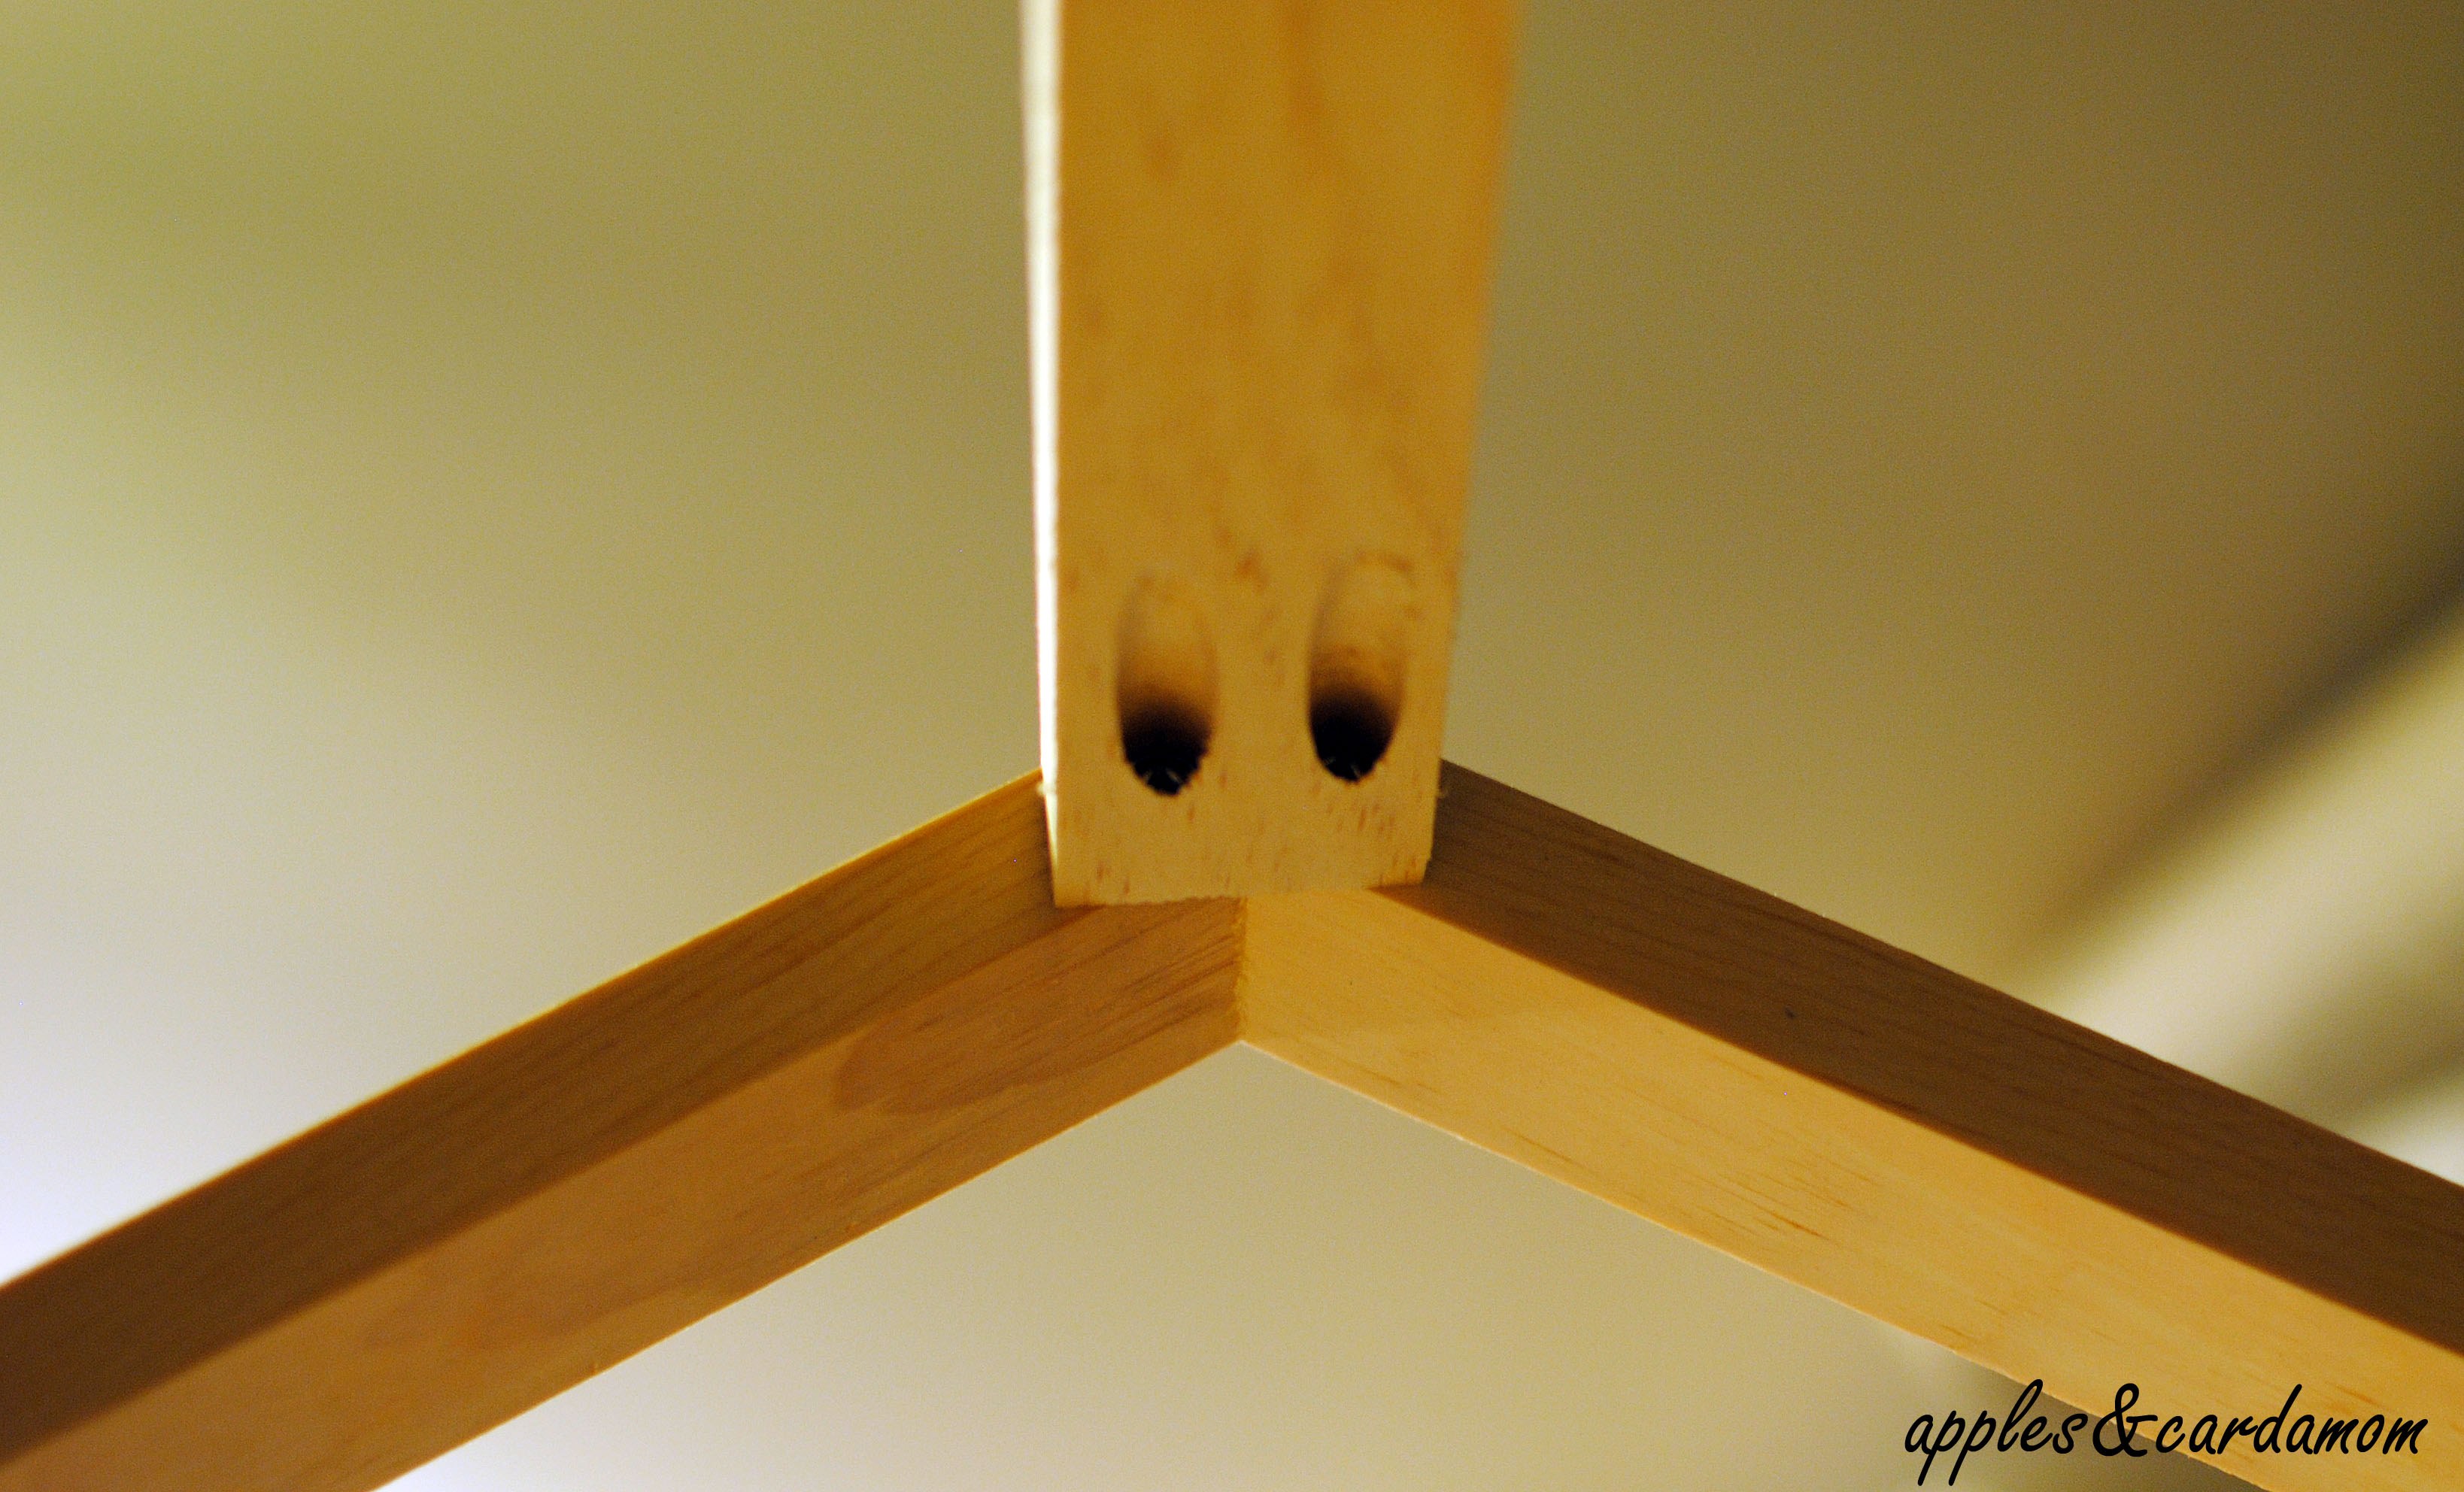
Community Brag Posts

Lighted Saltbox House

My wife went shopping one day in a primitive furniture shop and found this saltbox house that she loved. So I decided to get a picture of this house and build it myself. This project was a lot easier than I thought it would be. Hope you enjoy.

Estimated Cost
$18.00 for wood and left over paint sitting around.
Estimated Time Investment
Day Project (6-9 Hours)
Finish Used
One layer of black paint, covered with one layer of cream paint, distressed and clear coated.
Recommended Skill Level
Beginner

Comments

candrea1402

Sun, 08/12/2012 - 13:45

Love this one could you possibly give me the dimensions ? would love to try building this

Rustic X End Table

Submitted by Tonyjoe on Wed, 01/08/2014 - 08:45

This table was my 4th build from the site and took my wife and I about 10 hours to build.

Built from Plan(s)
Estimated Time Investment
Day Project (6-9 Hours)
Finish Used
Minwax classic gray finish
Recommended Skill Level
Beginner

handcrafted amish style entry bench

Submitted by rburmania on Tue, 03/29/2016 - 11:39

custom handcrafted amish style entry bench

Estimated Time Investment
Weekend Project (10-20 Hours)
Finish Used
provincial stain and white satin pain
Recommended Skill Level
Intermediate

4x4 Truss Table and Benches

Submitted by Anonymous (not verified) on Sun, 11/24/2019 - 12:41

Modified so that it could fit 12 people comfortably.

Estimated Time Investment
Week Long Project (20 Hours or More)
Recommended Skill Level
Intermediate

Comments

Seasonal And Holiday

Channing cabinet/desk

Submitted by mactanya on Mon, 03/19/2012 - 17:57

Well, this was a project that was running concurrently with the Benchright coffee table and I finally got it installed along with the walnut stained 1x4 pine desktop. At first (due to inexperience) I stained it and since I had the wrong plywood, it looked horrible. So it got bondoed and painted and converted into a drawer/rollout printer drawer/hanging file drawer and a support for my single piece 12' + desktop.
By the way, its a pain in the butt to keep the cabinet square and I worked it and worked it, believe me.

Built from Plan(s)
Estimated Cost
$100 tops
Estimated Time Investment
Weekend Project (10-20 Hours)
Finish Used
Sherwin Williams Alabaster (gives it that aged white look) and minwax polycrylic.
Recommended Skill Level
Beginner

Comments

panthajds (not verified)

Mon, 01/21/2013 - 18:10

I was wondering how you made the desk longer. I have an 11 foot wall and i want the top desk to span the whole wall i was wondering how you supported the whole desk, did you need to add any extra supports?

Hemnes linen cabinet finished!

Submitted by Crzymedic on Thu, 01/09/2014 - 16:29

This was my first build for Katy and she loves it! We used acrylic glass and used the frosted spray pains from krylon.

Built from Plan(s)
Estimated Cost
$150 plus what king of panel you use
Estimated Time Investment
Weekend Project (10-20 Hours)
Finish Used
white paint.
Recommended Skill Level
Beginner

Comments

Farmhouse Storage Bed

Submitted by Anonymous (not verified) on Thu, 03/31/2016 - 21:32

Absolutely loved making this bed! It became my summer project and I needed it done in a two week time frame. Between working on it after i got off work and on my days off, it came out exactly how I wanted it to.

I only ended up spending a total of $140 dollars by using scrap wood around my garage and new nails and screws and such. This was the absolute way to go before moving into my first apartment with little to no furniture! The storage boxes were the perfect solution to not wanting to buy a dresser. It's completely durable and I'd definitely do it again! Thanks Ana White!

Estimated Cost
~$140 by using scraps
Estimated Time Investment
Weekend Project (10-20 Hours)
Finish Used
Minwax PolyShades Bombay Mahogany Gloss Stain and Polyurethane
Recommended Skill Level
Beginner

Twin captain storage bed

Submitted by Anonymous (not verified) on Thu, 11/28/2019 - 15:08

Our daughter outgrew her loft bed and wanted something closer to the ground. We didn't do the side storage towers, because we were concerned if there would be enough room.

Built from Plan(s)
Estimated Cost
450
Estimated Time Investment
Weekend Project (10-20 Hours)
Finish Used
Gun stock stain
Recommended Skill Level
Beginner

Ten dollar ledges

Submitted by Spolitte on Wed, 03/21/2012 - 20:50

Here are a few of the ten dollar ledges we added around the girls bed. We had no room for tables so we thought we would give this a try. It's working beautifully. We hung the ledges in studs and they are standing up to constant use perfectly. The girls have space for their most cherished nik naks and a drink in case they wake thirsty in the night. We couldn't be more pleased. Now I'm seeing the possibility for ledges in every room.

Built from Plan(s)
Estimated Cost
6.00 minus the paint.
Estimated Time Investment
Afternoon Project (3-6 Hours)
Finish Used
No voc semi gloss for easy cleaning
Recommended Skill Level
Beginner

Comments

garryh (not verified)

Thu, 04/19/2012 - 19:01

If converting existing floor space into a half-bathroom, such a renovation can cost as little as a few thousand dollars, making the addition of a powder room one of the few home improvement projects where the value added to the home exceeds the cost of the renovation.water damage Pearland tx

hannah22 (not verified)

Sat, 04/21/2012 - 00:28

Before you go to use it...if it's been sitting for awhile...give it a good shake. As you can see in this picture...it does tend to separate a bit. But after a quick shake it's good to go. To use: spray on stains as you normally would. I usually let mine "soak in" for a few minutes at least. Then launder as usual.water damage Temecula CA

bobp22 (not verified)

Fri, 05/18/2012 - 19:54

I used to be more than happy to seek out this internet-site.I wanted to thanks in your time for this glorious read!! I positively enjoying each little bit of it and I have you bookmarked to check out new stuff you weblog post. Water Damage Anaheim CA

peak22 (not verified)

Fri, 06/01/2012 - 04:59

Quite insightful submit. Never believed that it was this simple after all. I had spent a very good deal of my time looking for someone to explain this subject clearly and you're the only one that ever did that. Kudos to you! Keep it up. Water extraction Lakeline OH

kim22 (not verified)

Sun, 06/17/2012 - 20:37

I'm so excited that I have found this your post because I have been searching for some information about it almost three hours. You helped me a lot indeed and reading this your article I have found many new and useful information about this subject. Paint Contractor Glendale AZ

milep (not verified)

Mon, 07/16/2012 - 22:55

The program is designed under the same model as new homes built for Habitat families where the veteran will repay the zero interest loan necessary for these repairs, which is then deposited into a revolving fund to assist additional families in need of decent housing. Mold Inspection Covington LA

ricky17p (not verified)

Wed, 08/01/2012 - 22:13

If you're involved in a head-on crash, the windshield must stay in place to keep you inside the car and to keep flying debris out. If the windshield flies out, so too may you or your kids. Improperly installed windshields can easily be dislodged during a crash. Architectural Engineer NYC

ricky17 (not verified)

Fri, 08/17/2012 - 06:48

You have to put efforts in home maintenance to make sure everything is in right condition. If any part of your house needs repairing then have it repaired immediately. If you neglect the problem for too long then it might become even more complicated. Masonry contractor West Hartford CT

ghikh (not verified)

Tue, 11/20/2012 - 00:17

This is represented partly in the significantly higher frequency and register neutrality of connectives such as tak or totiž when compared with the English so and therefore but primarily by the nature of the mental spaces set up by the Czech lexemes. water damage Anaheim CA

Waylanderman (not verified)

Fri, 11/30/2012 - 03:19

The contemporary strategy is often focused on the development of specific skills and abilities. As a result, it fails to provide with the broader education and, instead of the formation harmonious, balanced personalities, it breeds specialists trained to work in a specific field. This is a good example like the ones http://bestsamplepapers.com does. People prefer more broad basis.

Hailey Platform Bed and Kentwood Bookshelves

Submitted by kjw003 on Sat, 01/11/2014 - 16:31

Built the Hailey Platform bed with planked headboard, and two Kentwood bookshelves, for a guest room in our new house! The dimensions of the bookshelves were changed a bit to fit the space, but the bed (should be) built to dimensions in the plan for a full size bed.

Estimated Time Investment
Week Long Project (20 Hours or More)
Finish Used
Stain was apple cider vinegar vinegar and steel wool mixture. Sealant used was Vermont Natural Coatings Polywhey furniture finish (satin finish).
Recommended Skill Level
Starter Project

Toddler Bed

This was my second project from Ana White's plans. I felt confident in my new woodworking skills once I learned how to use the kreg jig for pocket holes. The child's table and chair I made came out so good, I decided why not try a toddler bed for my 4 yr old granddaughter. She loves her new bed. And I love how easy and fun it was to make.

I only had to make minor adjustments to the size to accomodate her mattress. I brought the footboard out to the edge of the legs because I needed to add an inch to the length, but the sides are set in like the plans. I also added a couple inches to the rail height since her mattress is 6 inches deep and I wanted it to be above the mattress.

I was afraid I couldn't get the rounded headboard neat, so I used the whole 6 inch board, adding to the height of the headboard a few inches. I also added the top board on the headboard because it just made it look cleaner on top. You might not be able to tell from the photo, but I did use the beadboard - I had a scrap the perfect size.


Built from Plan(s)
Estimated Cost
$40
Estimated Time Investment
Day Project (6-9 Hours)
Finish Used
Glidden Satin in White
Recommended Skill Level
Beginner

Stocking Holder

Submitted by Anonymous (not verified) on Sat, 12/07/2019 - 13:32

We usually place our stockings on the mantle. Last year, a full stocking fell down and toppled some of our nativity.

This year we used up some of our scrap pieces to build the stocking holder. We also made the stockings.

Absolutely love it! Super easy to scale down to our family of three (+one on the end for our dog 😂). It’ll be nice to double as a winter coat drying rack.

Built from Plan(s)
Estimated Cost
$0
Estimated Time Investment
An Hour or Two (0-2 Hours)
Finish Used
Weathered Grey
Recommended Skill Level
Starter Project

DIY Can Good Storage

The can good organizers I found on line were metal and didn't fit the exact opening I needed. I built my own for much less than the metal ones (which were $36 each!). With this plan, you can build up to four of the size I made for under $36. See how they just blend into the cabinet and look like they are built in it? Here is the process. Step one: Cut the sides and the ledges. Step two: Attach pieces to the walls of the unit. Step three: Set the lauan onto the ledgers. See? I told you it was easy! I drew up a sketch of the size I used for my 12" opening with a cabinet depth of 11.5" (if you have doors, it will be a depth of 10.5-10.75"). The height of my can good holders are 11". Again, the plan can be adjusted to any size space, but I think if you go past three cans wide, you may want to use something more sturdy than the lauan. Additionally, if you make the unit taller and add shelves, make certain the cans will fit thru the opening, don't just measure with the can in place on the shelf. Cut list for 1 can good holder: 2 - 11"tall x 11.5"deep walls (the melamine is 11.75" deep, I had to trim mine down) If your doors are on your cabinets, your cuts will probably be between 10.5" and 10.75" 6 - 1x2" 10.5" strips 2 - 10.5x10.75" lauan cut for the shelf If your doors are on your cabinets, your cuts will probably by between 9.75" and 10" I used 1.25" finish nails, but you can use screws if you prefer. Wood glue, wood filler, etc. Cut 6 equal size 1x2 strips. 2 per ledge, one for the back support. The size of the opening subtract the width of the melamine walls (.75x2=1.5"). My opening was 12" and then I subtracted the 1.5" (for walls). Nail the bottom 1x2 to the end of the upright 1x2 as shown above to create the front ledge.  Flip the ledge over and attach the ledge to the front (finished) edge of the melamine. Make sure the bottom ledge is flush with the front and the bottom of the wall. Measure down 5.5" (halfway point) from the top and mark the edge of the wall. Attach the top ledge to the wall keeping the front of the ledge flush with the side wall front edge.  Find your center point again (5.5") and measure up toward the top .75" to create a bit of a roll for the cans to come forward when you remove one. Do the same for the bottom. Measure .75 up from the bottom and mark. Attach the back supports at the marks you made in the last step. Attach second wall and screw or nail supports and ledges. Once all the 1x2s are in place and secure, the lauan pieces will fit in place and stay with the weight of the cans. You can add glue to secure them, your preference. Then touch up the nail holes and slide into place. I hope this gave you a helpful way to store your can goods. Let me know if you have any questions. Happy building! Karen :)

Estimated Cost
About $36 for 4 units
Estimated Time Investment
An Hour or Two (0-2 Hours)
Recommended Skill Level
Starter Project

Chelsea Twin Beds

Submitted by sraper2 on Mon, 01/13/2014 - 13:36

I built these beds last week for the little girls and we all love them so much! I was looking for something girly and this fit exactly what I was wanting. I took some pictures of the build and posted them on my blog. Thanks for the amazing plans!

Built from Plan(s)
Estimated Time Investment
Weekend Project (10-20 Hours)
Finish Used
Paint
Recommended Skill Level
Beginner

Head Board

Submitted by Kvnpalmer on Mon, 08/19/2019 - 18:07

Head board we made over the weekend. Great beginner project.

Built from Plan(s)
Estimated Time Investment
Weekend Project (10-20 Hours)
Finish Used
We used an antiquing wax for the finish. Bought it off amazon
Recommended Skill Level
Beginner

Outdoor lounging

I used the plans for Simple Outdoor Lounge Chair with a few modifications.  I used 2X8’s for a chunkier look.  I also adjusted the seat position slightly for more of an Adirondack seating feel.  It is finished with Cabot stain and seal (gold moon light). 

Built from Plan(s)
Finish Used
Cabot stain and sealer - Gold Moonlight

Modern Cut Out Nightstands

After I built Ana's plan for the Low, Modern Cut Out Headboard, these two nightstands were the perfect compliment. I love the modern, clean look, and big drawer space. The inset design of the drawers make placing the faces on the drawer really tricky, so I would definitely place on the faces after you have installed the tracks and the rest of the drawers.

Estimated Cost
$200
Estimated Time Investment
Weekend Project (10-20 Hours)
Finish Used
Water based stain and poly
Recommended Skill Level
Intermediate

Comments

Back