Red Oak Truss Table
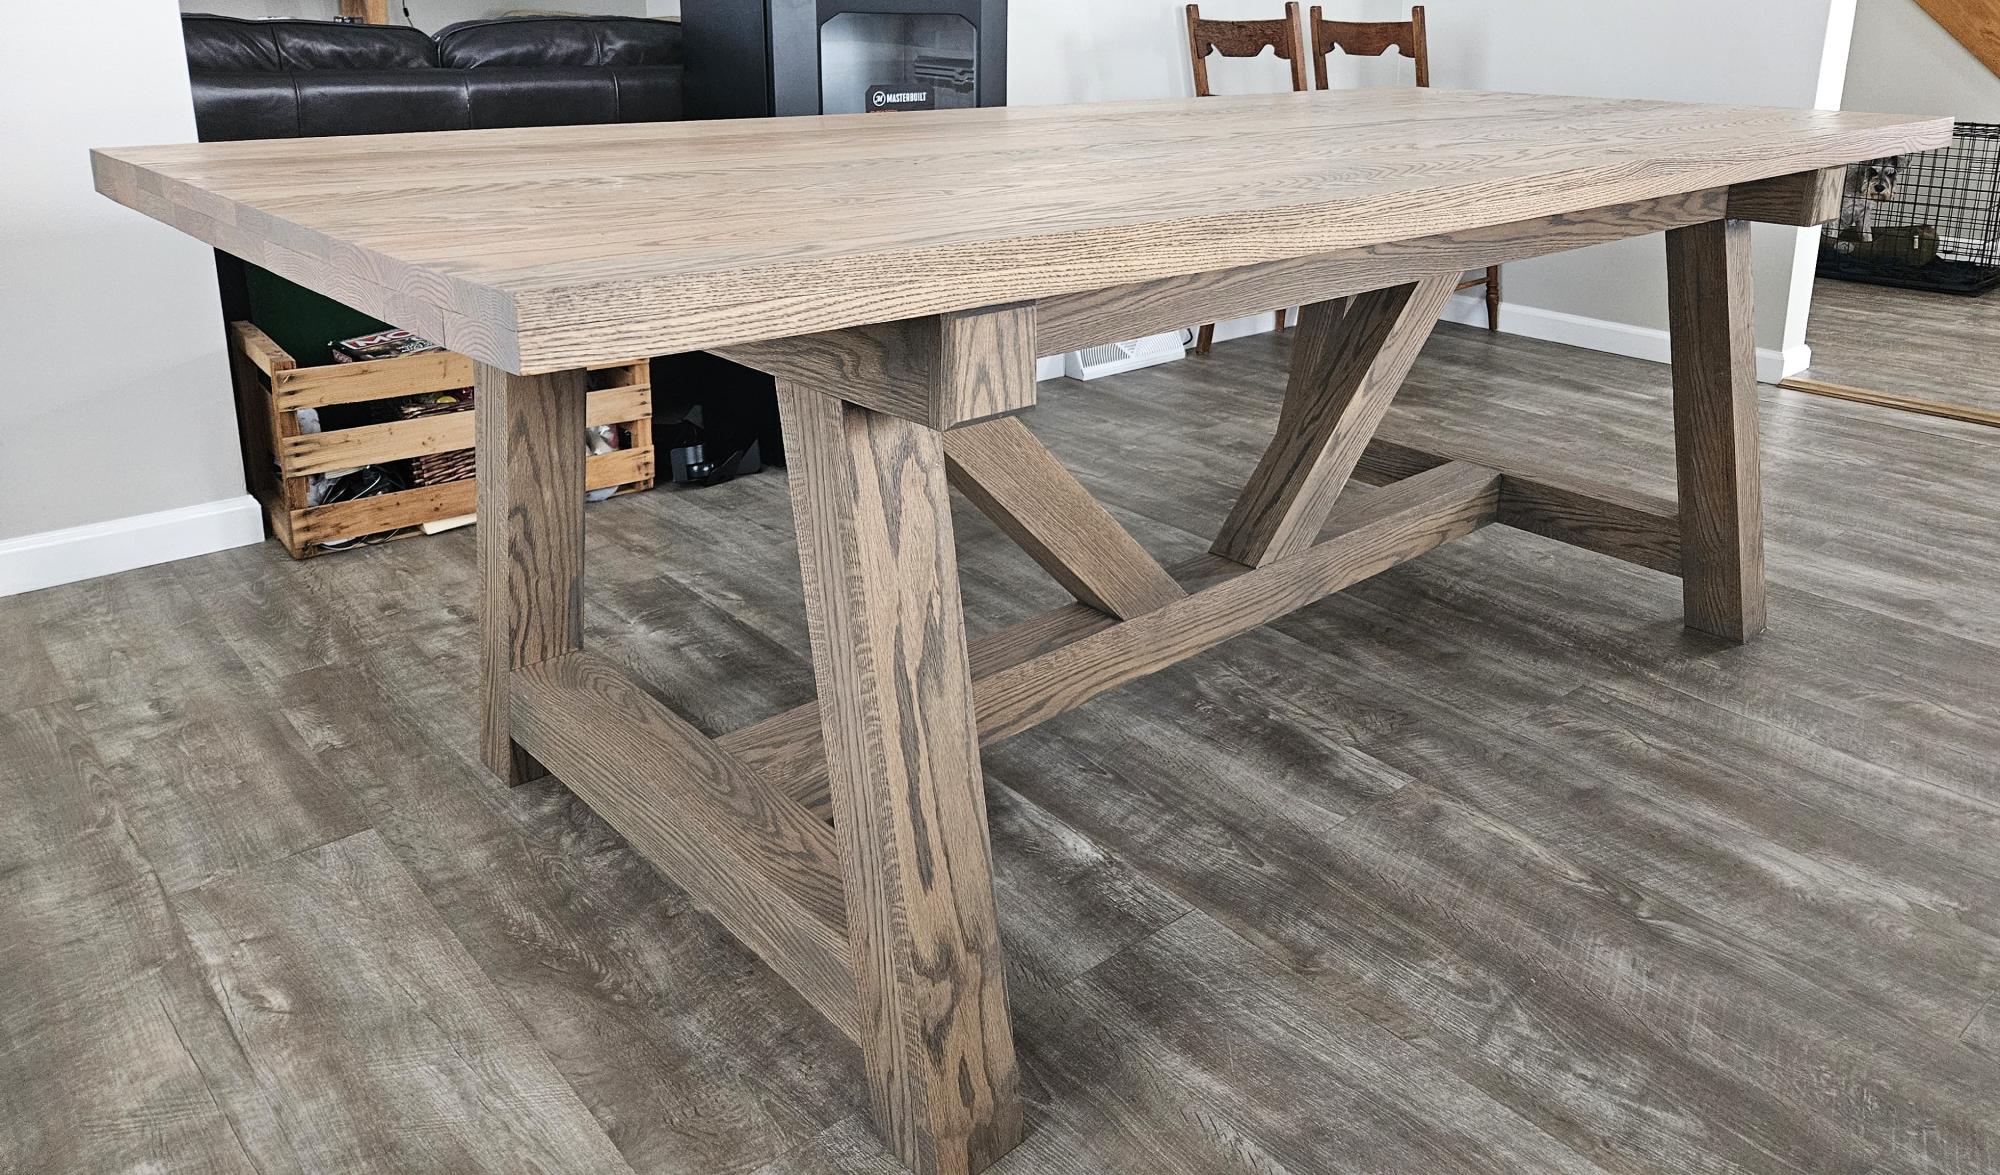
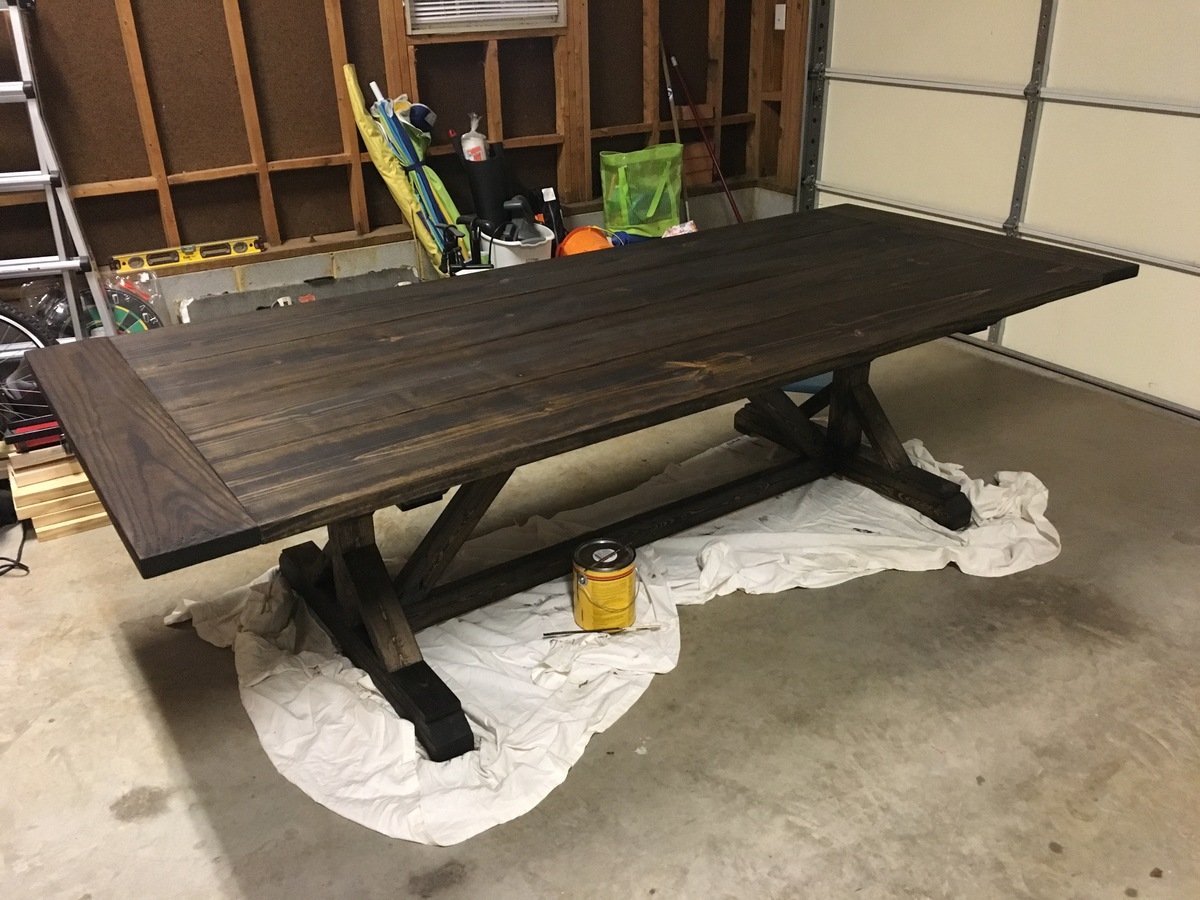
Used red oak lumber with ash grey rubio monocoat. The tabletop is 90"x40" and I made the base 64" long in order to place a chair at each end of the table.
Ashely Shook
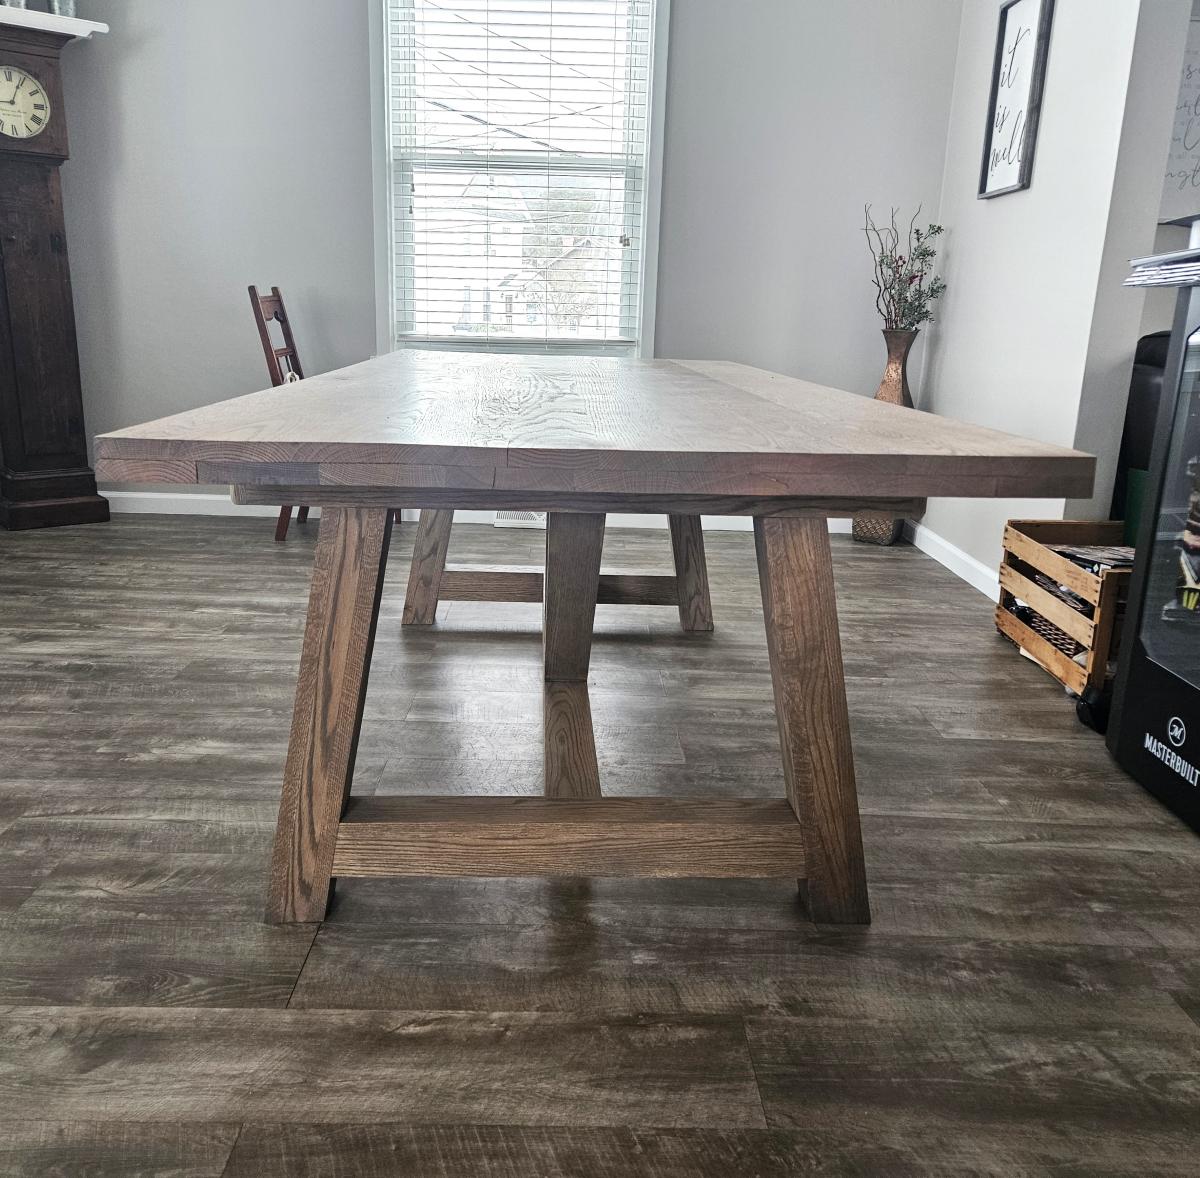

Used red oak lumber with ash grey rubio monocoat. The tabletop is 90"x40" and I made the base 64" long in order to place a chair at each end of the table.
Ashely Shook

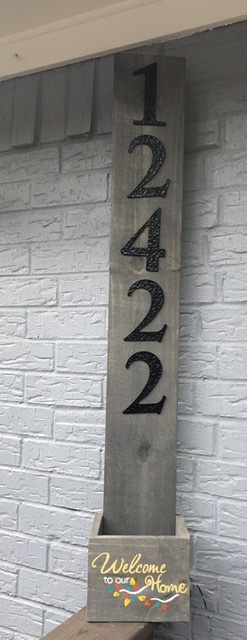
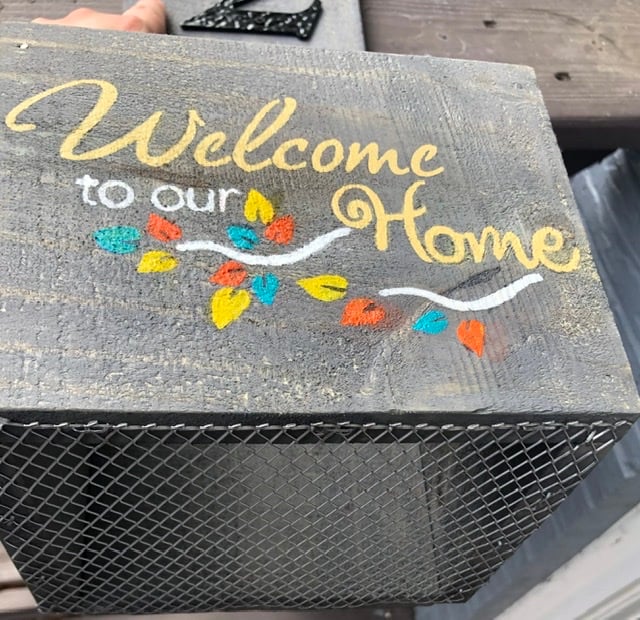
Used Ana’s plans for this just made one modification, which was adding wire to the bottom so the plant can drain out. I also stained the fence picket before putting it together. The numbers were the most expensive part of this project they were ~$18. https://ana-white.com/woodworking-projects/house-numbers-vertical-plant…
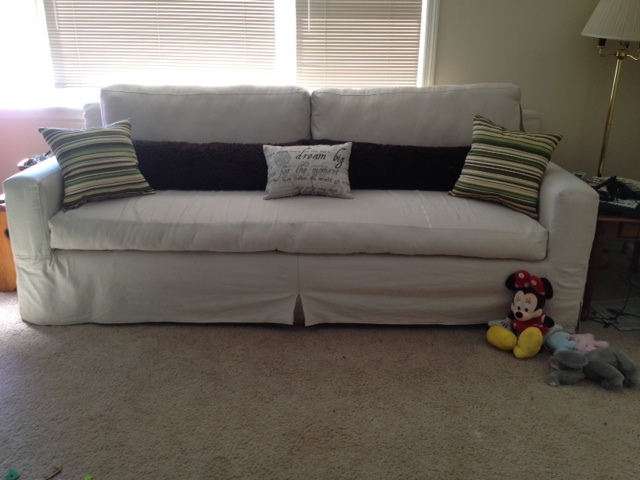
After looking at sofas in magazines and fliers, I decided I wanted to build one. For the quality (or lack of) at the price we could even dream of, it just didn't make sense to purchase one if I could build it. There are still a few little adjustments I may make as time goes on, but overall, I'm happy with the way it turned out! The pillows I made definitely added the finishing touch it needed!
It's a full 8 foot sofa designed with plenty of space underneath for storage! My plan was to build two wooden boxes on casters for the kids to use as toy boxes, but I think plastic totes will work just as well and much lighter and easier to clean! I drew up the dimensions and plans to fit what we wanted and went from there. The frame was the easiest part; took about a day. The cover and cushions on the other hand were quite a challenge. The sewing involved in this project was HUGE; took a little more than a week just for that. The pillows took an evening.
Thanks for checking out the project! Whatever you have in your heart, you can do!
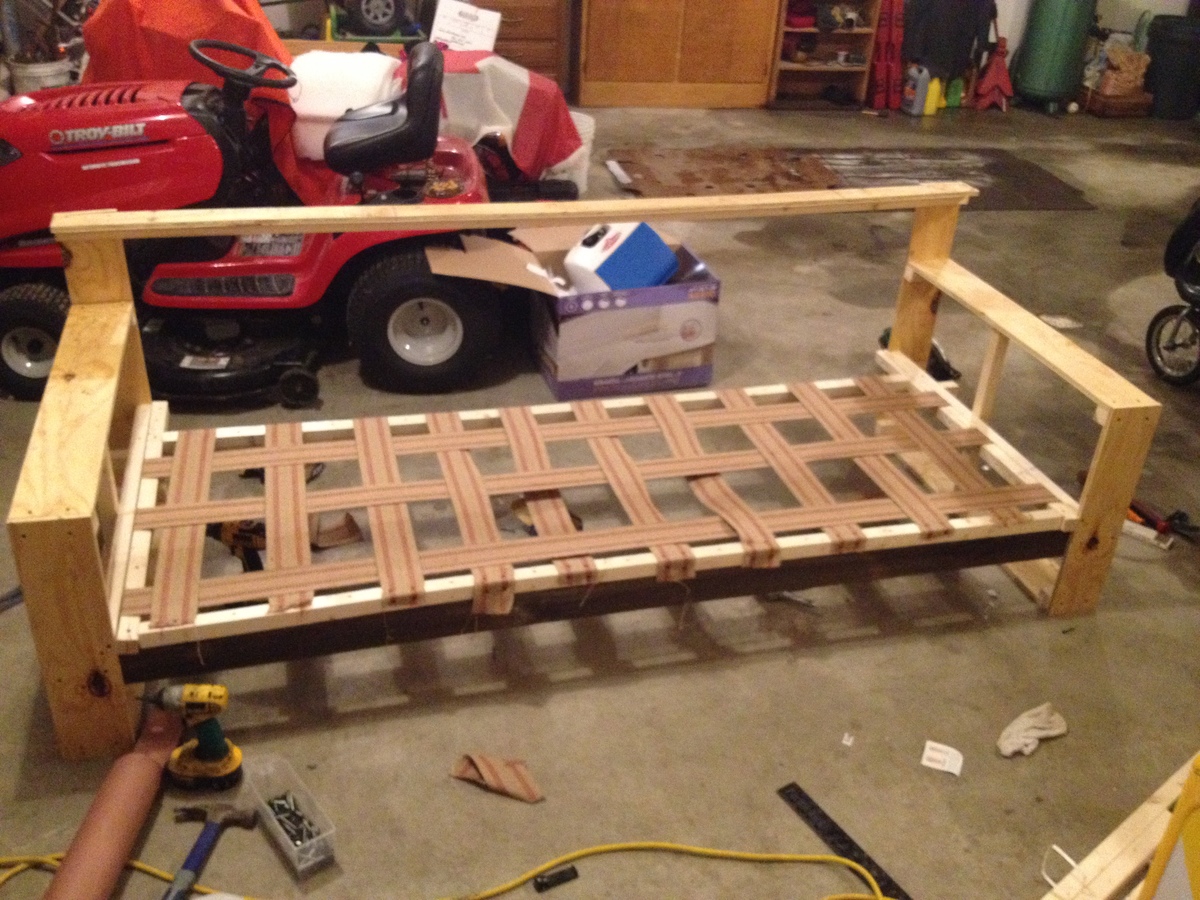
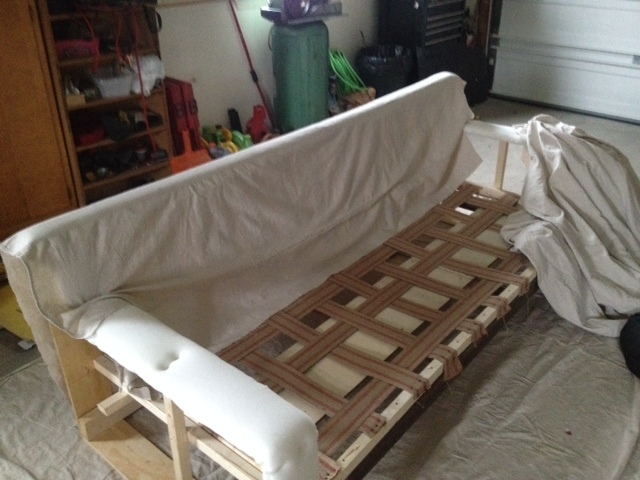
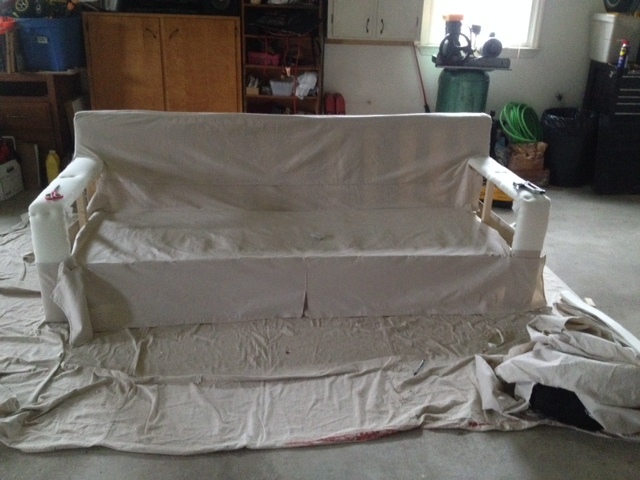
Mon, 04/28/2014 - 09:07
I've sewn canvas drop cloth covers for an already made sofa, and you are absolutely right. It takes forever and it takes a TON of fabric! I am very impressed you built the sofa frame. How comfortable is it? What was your total cost including the foam, fabric, wood, everything?
Tue, 04/29/2014 - 12:44
My total cost was about $400. I think it's pretty comfortable, though I do need to adjust the seat cushion a bit. It's stuffed harder on one end than the other. As for the foam, I used a memory foam mattress topper (4 inch) from Walmart (about $150) and then used poly-fil to give it some shape and extra cushion. If you've ever shopped for foam, you'll know the high-density stuff is RIDICULOUS! Hope that helps!
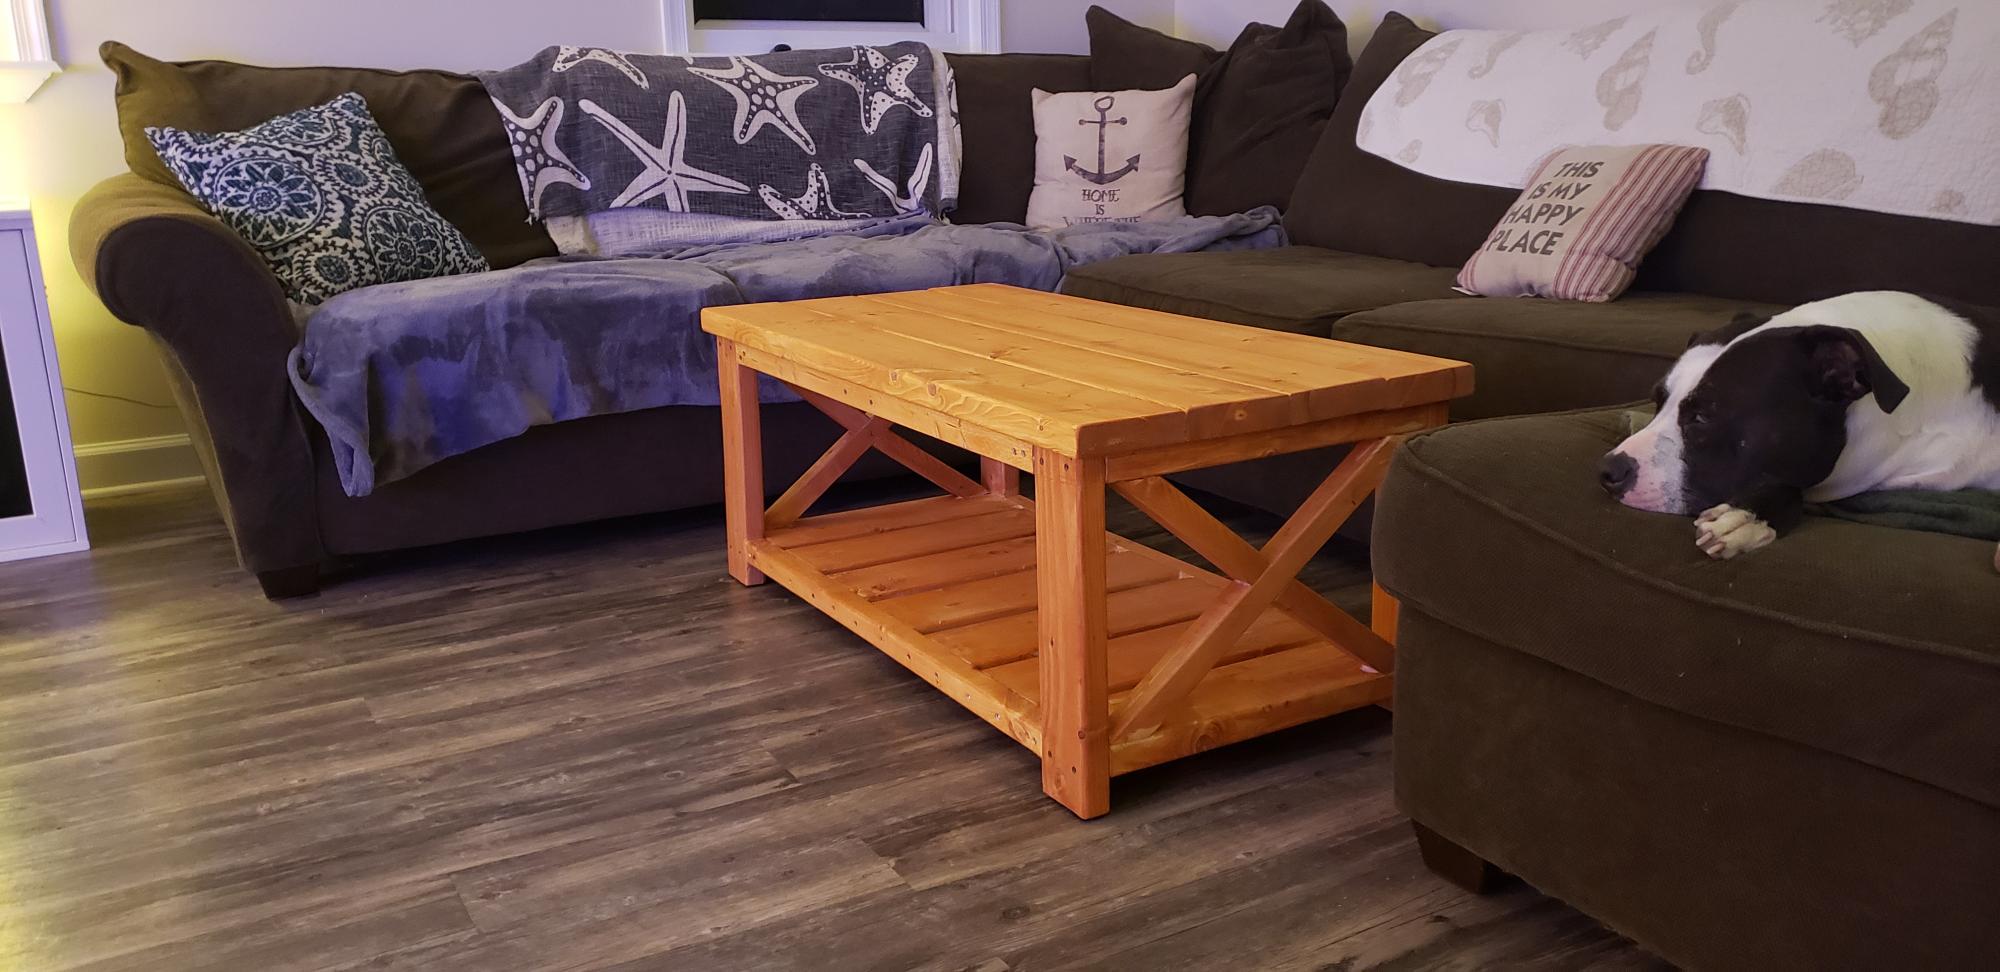
Corner accents are on order, but I'm happy with the thing as is. Went with colonial maple instead of golden oak and wow the thing pops. Put together was pretty easy for a beginner. I do recommend predrilling some of the edge/angle holes - the pressure treated wood can be unforgiving.
Great plan! Great table! Thanks!!
Lumber was $37. Screwes, glue, stain, etc cost extra, but those add up in your garage overtime - so, sunk costs. All in all, I spent about $60 and finished the project in less than 4 hours.
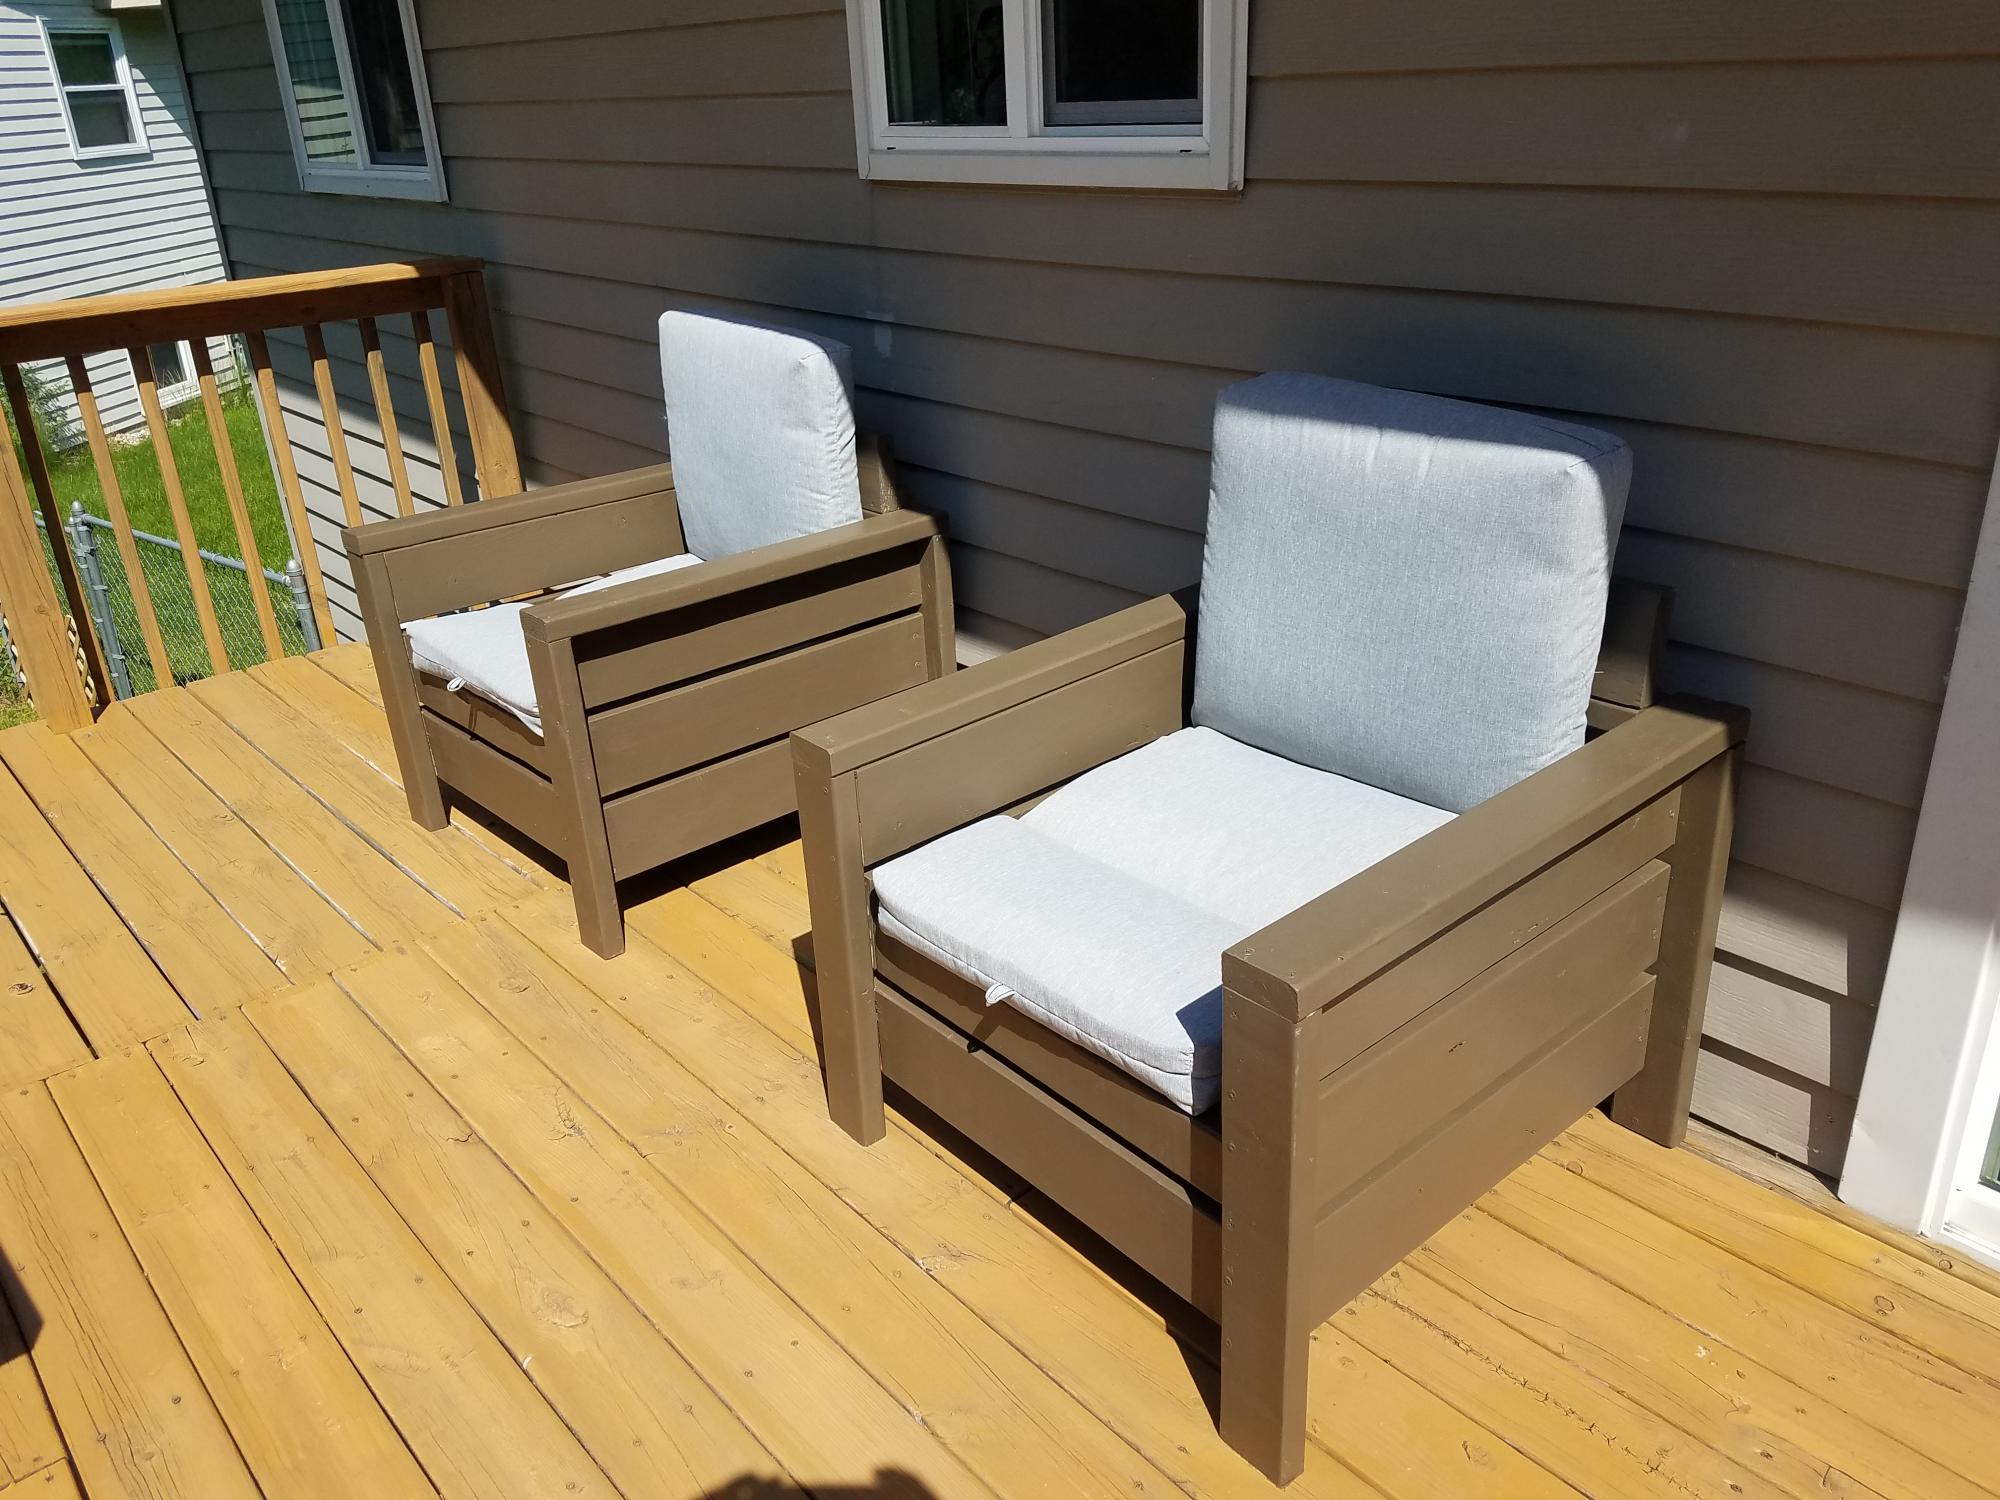
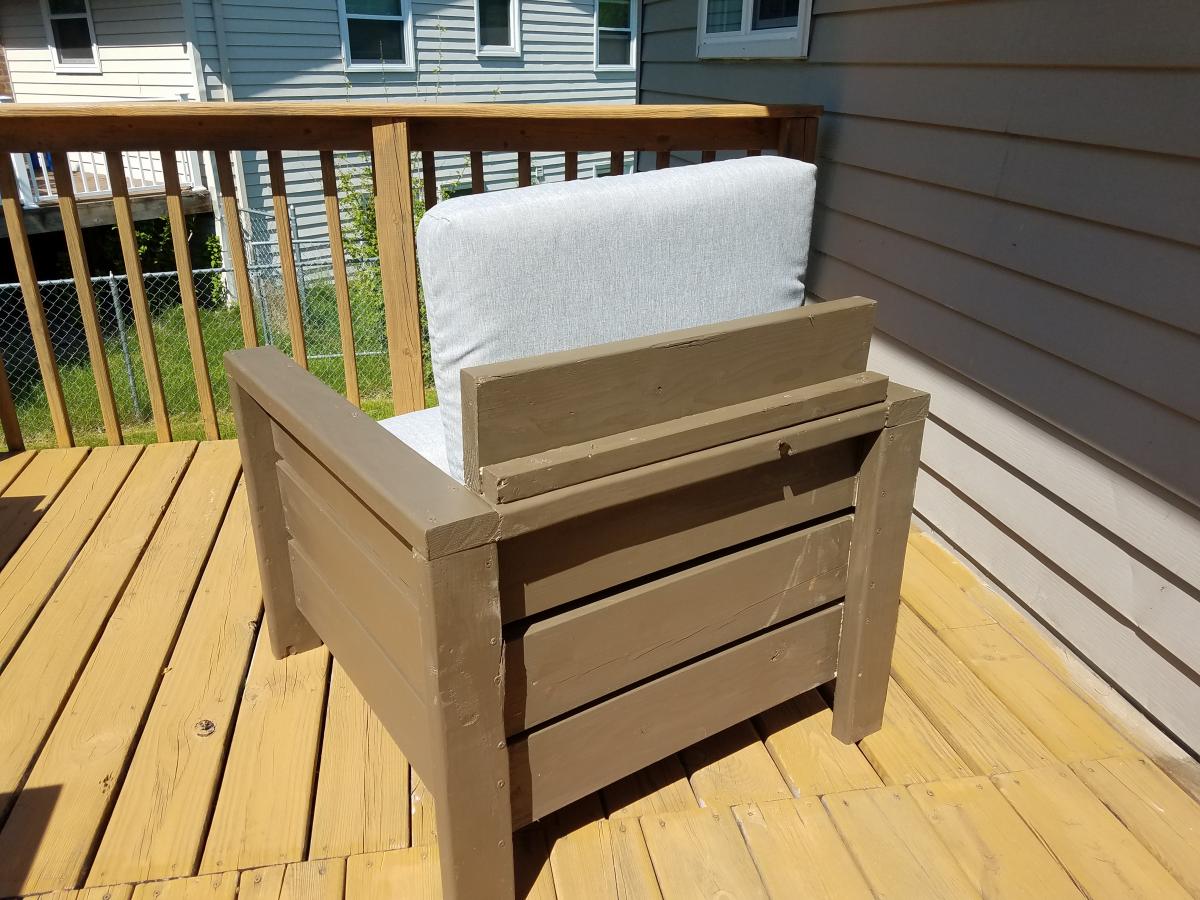
My first crack at building outdoor furniture. I built two of the Modern Outdoor Chairs built with 2 x 4 and 2 x 6. The first one was a little rough, but the second one was much better. In order to accommodate the higher cushions and make the chairs more comfortable, I added piece 2 x 6 secured to a 2 x 2 to make a partial backrest.
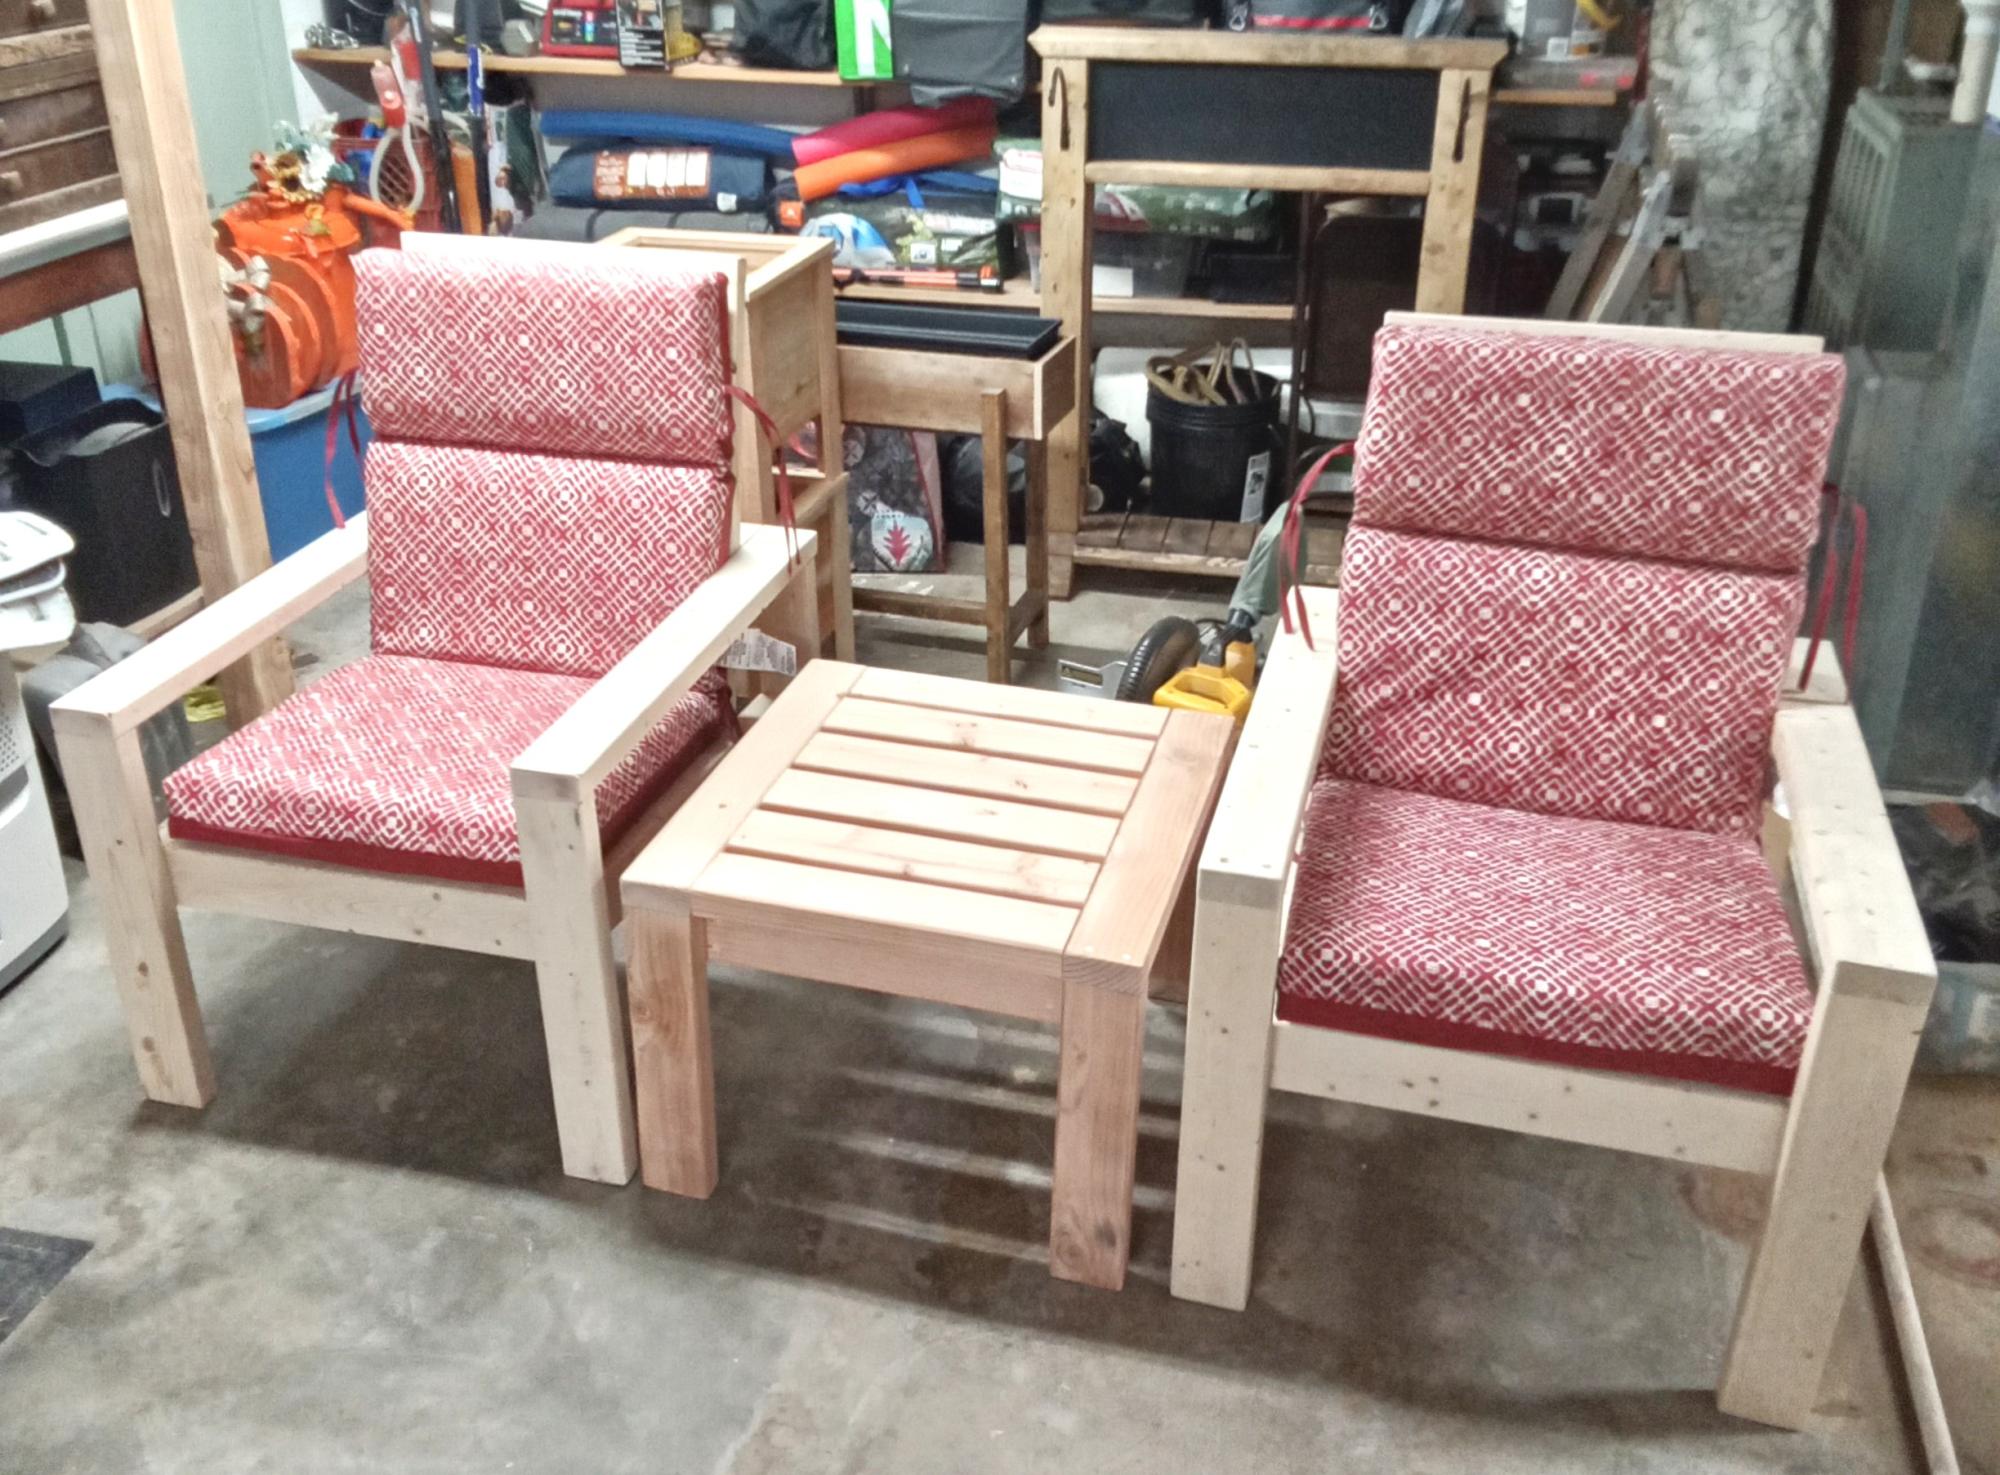
Done the 2x4 chair and table, I think it turned out well. Bought the cushions at Lowes.
Ray and Sandy
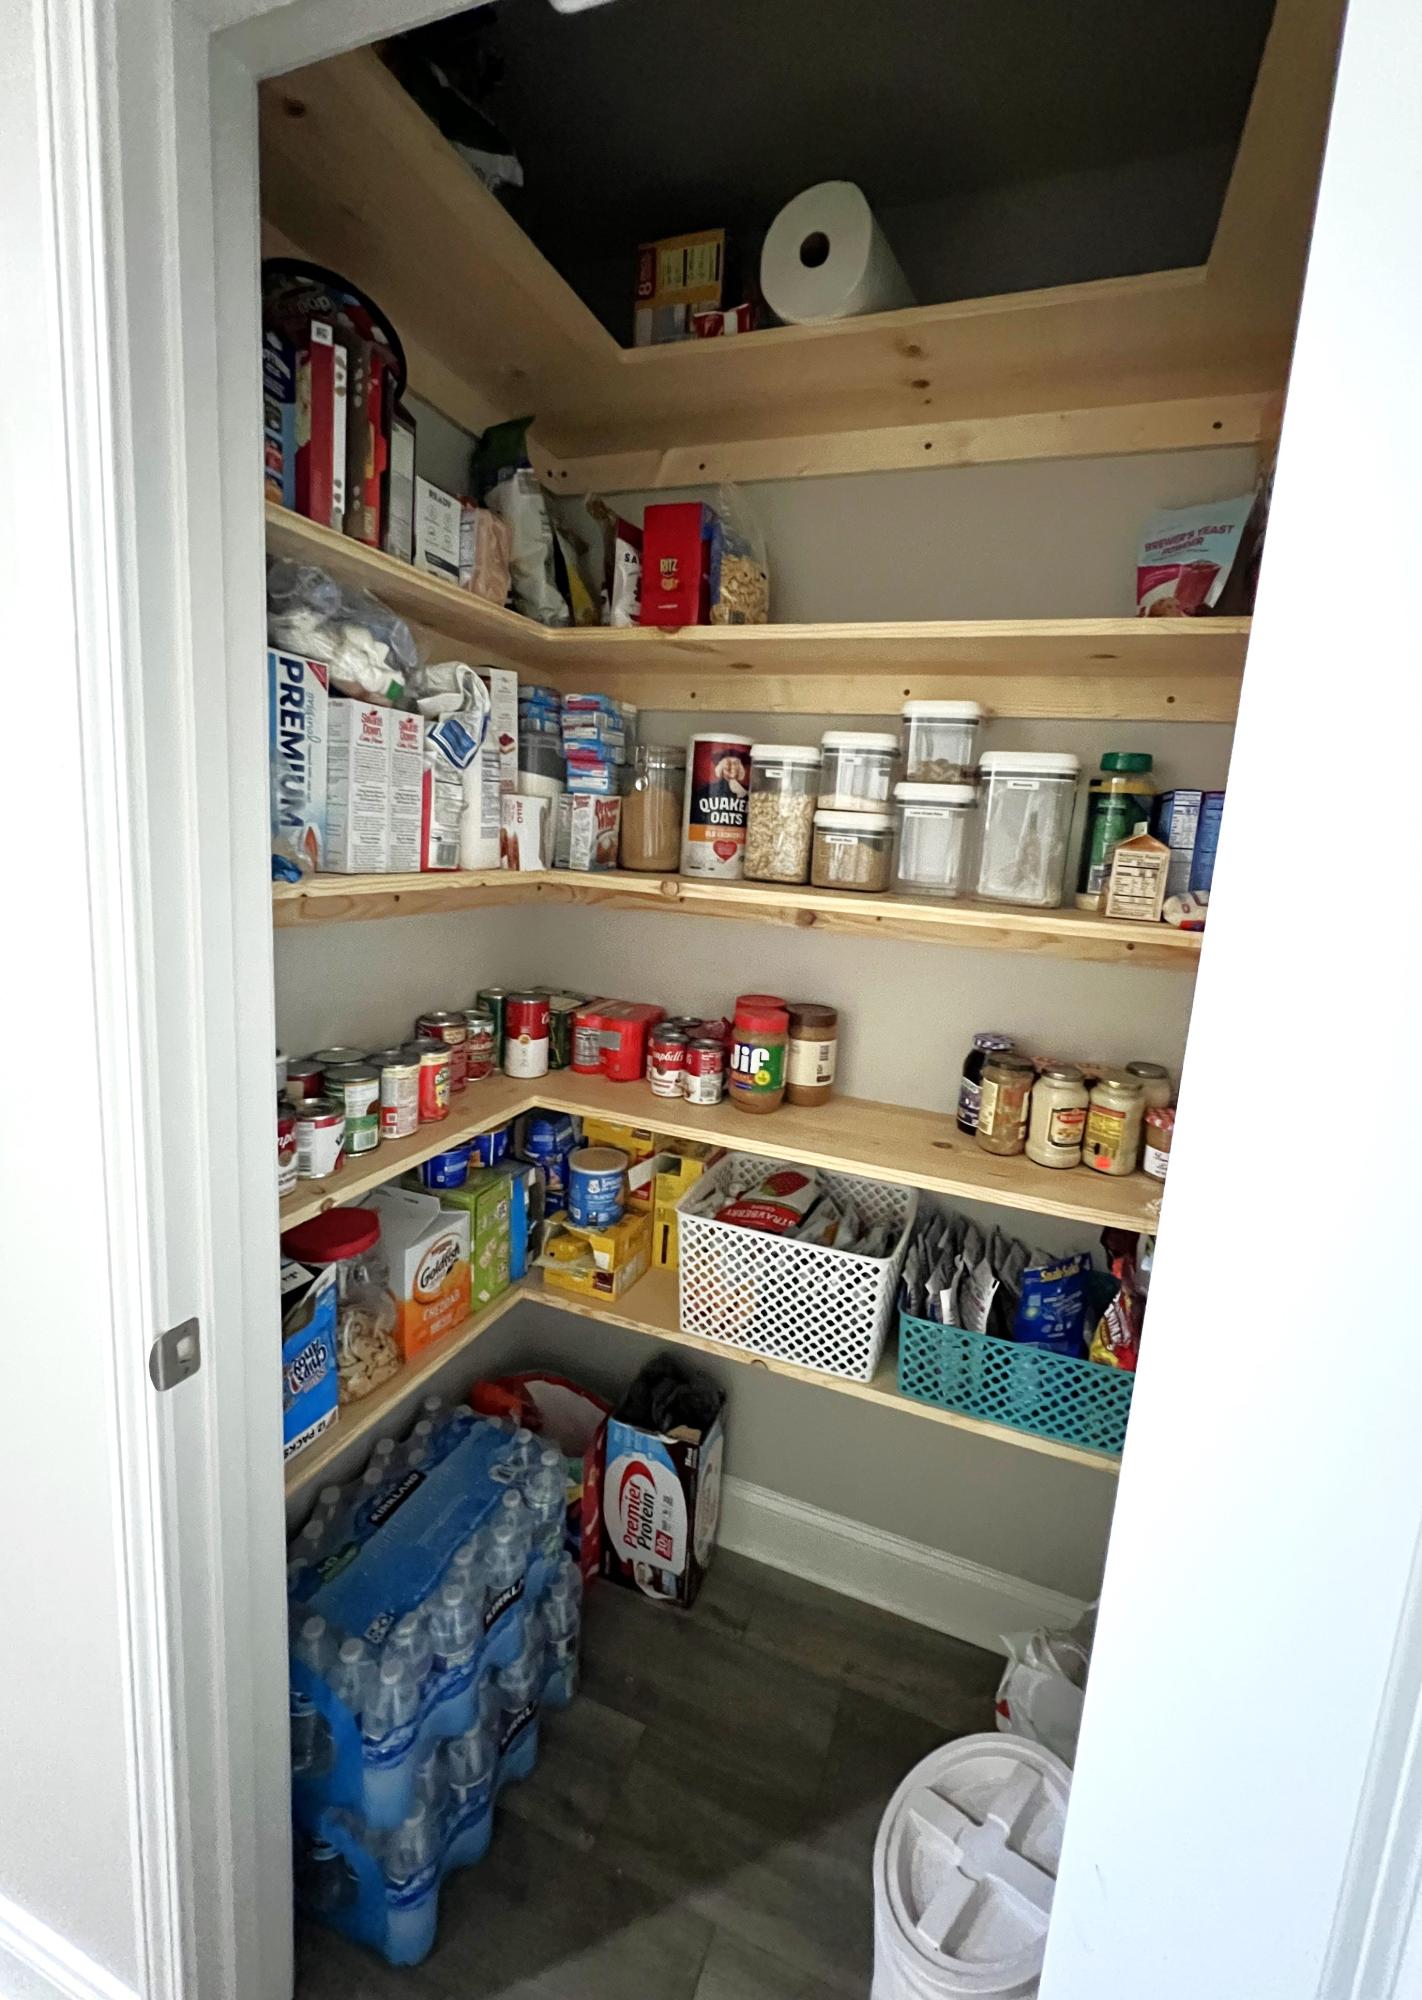
The wire shelves that the builder placed were not cutting it for storage. This setup from your plan helped garner so much more space for organizing. The pantry is roughly 54”x 35” and we were able to place five shelves instead of the four. Thank you so much for your assistance!
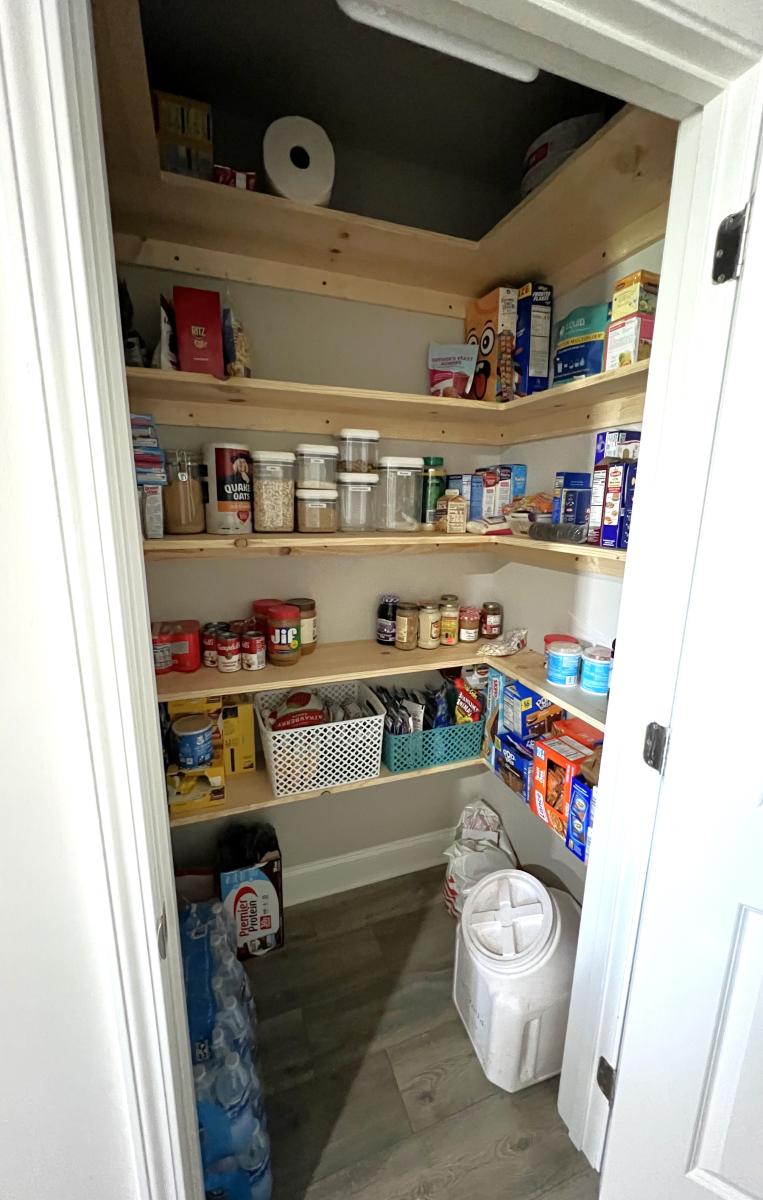
I really needed a kitchen island. That would work for me & last.
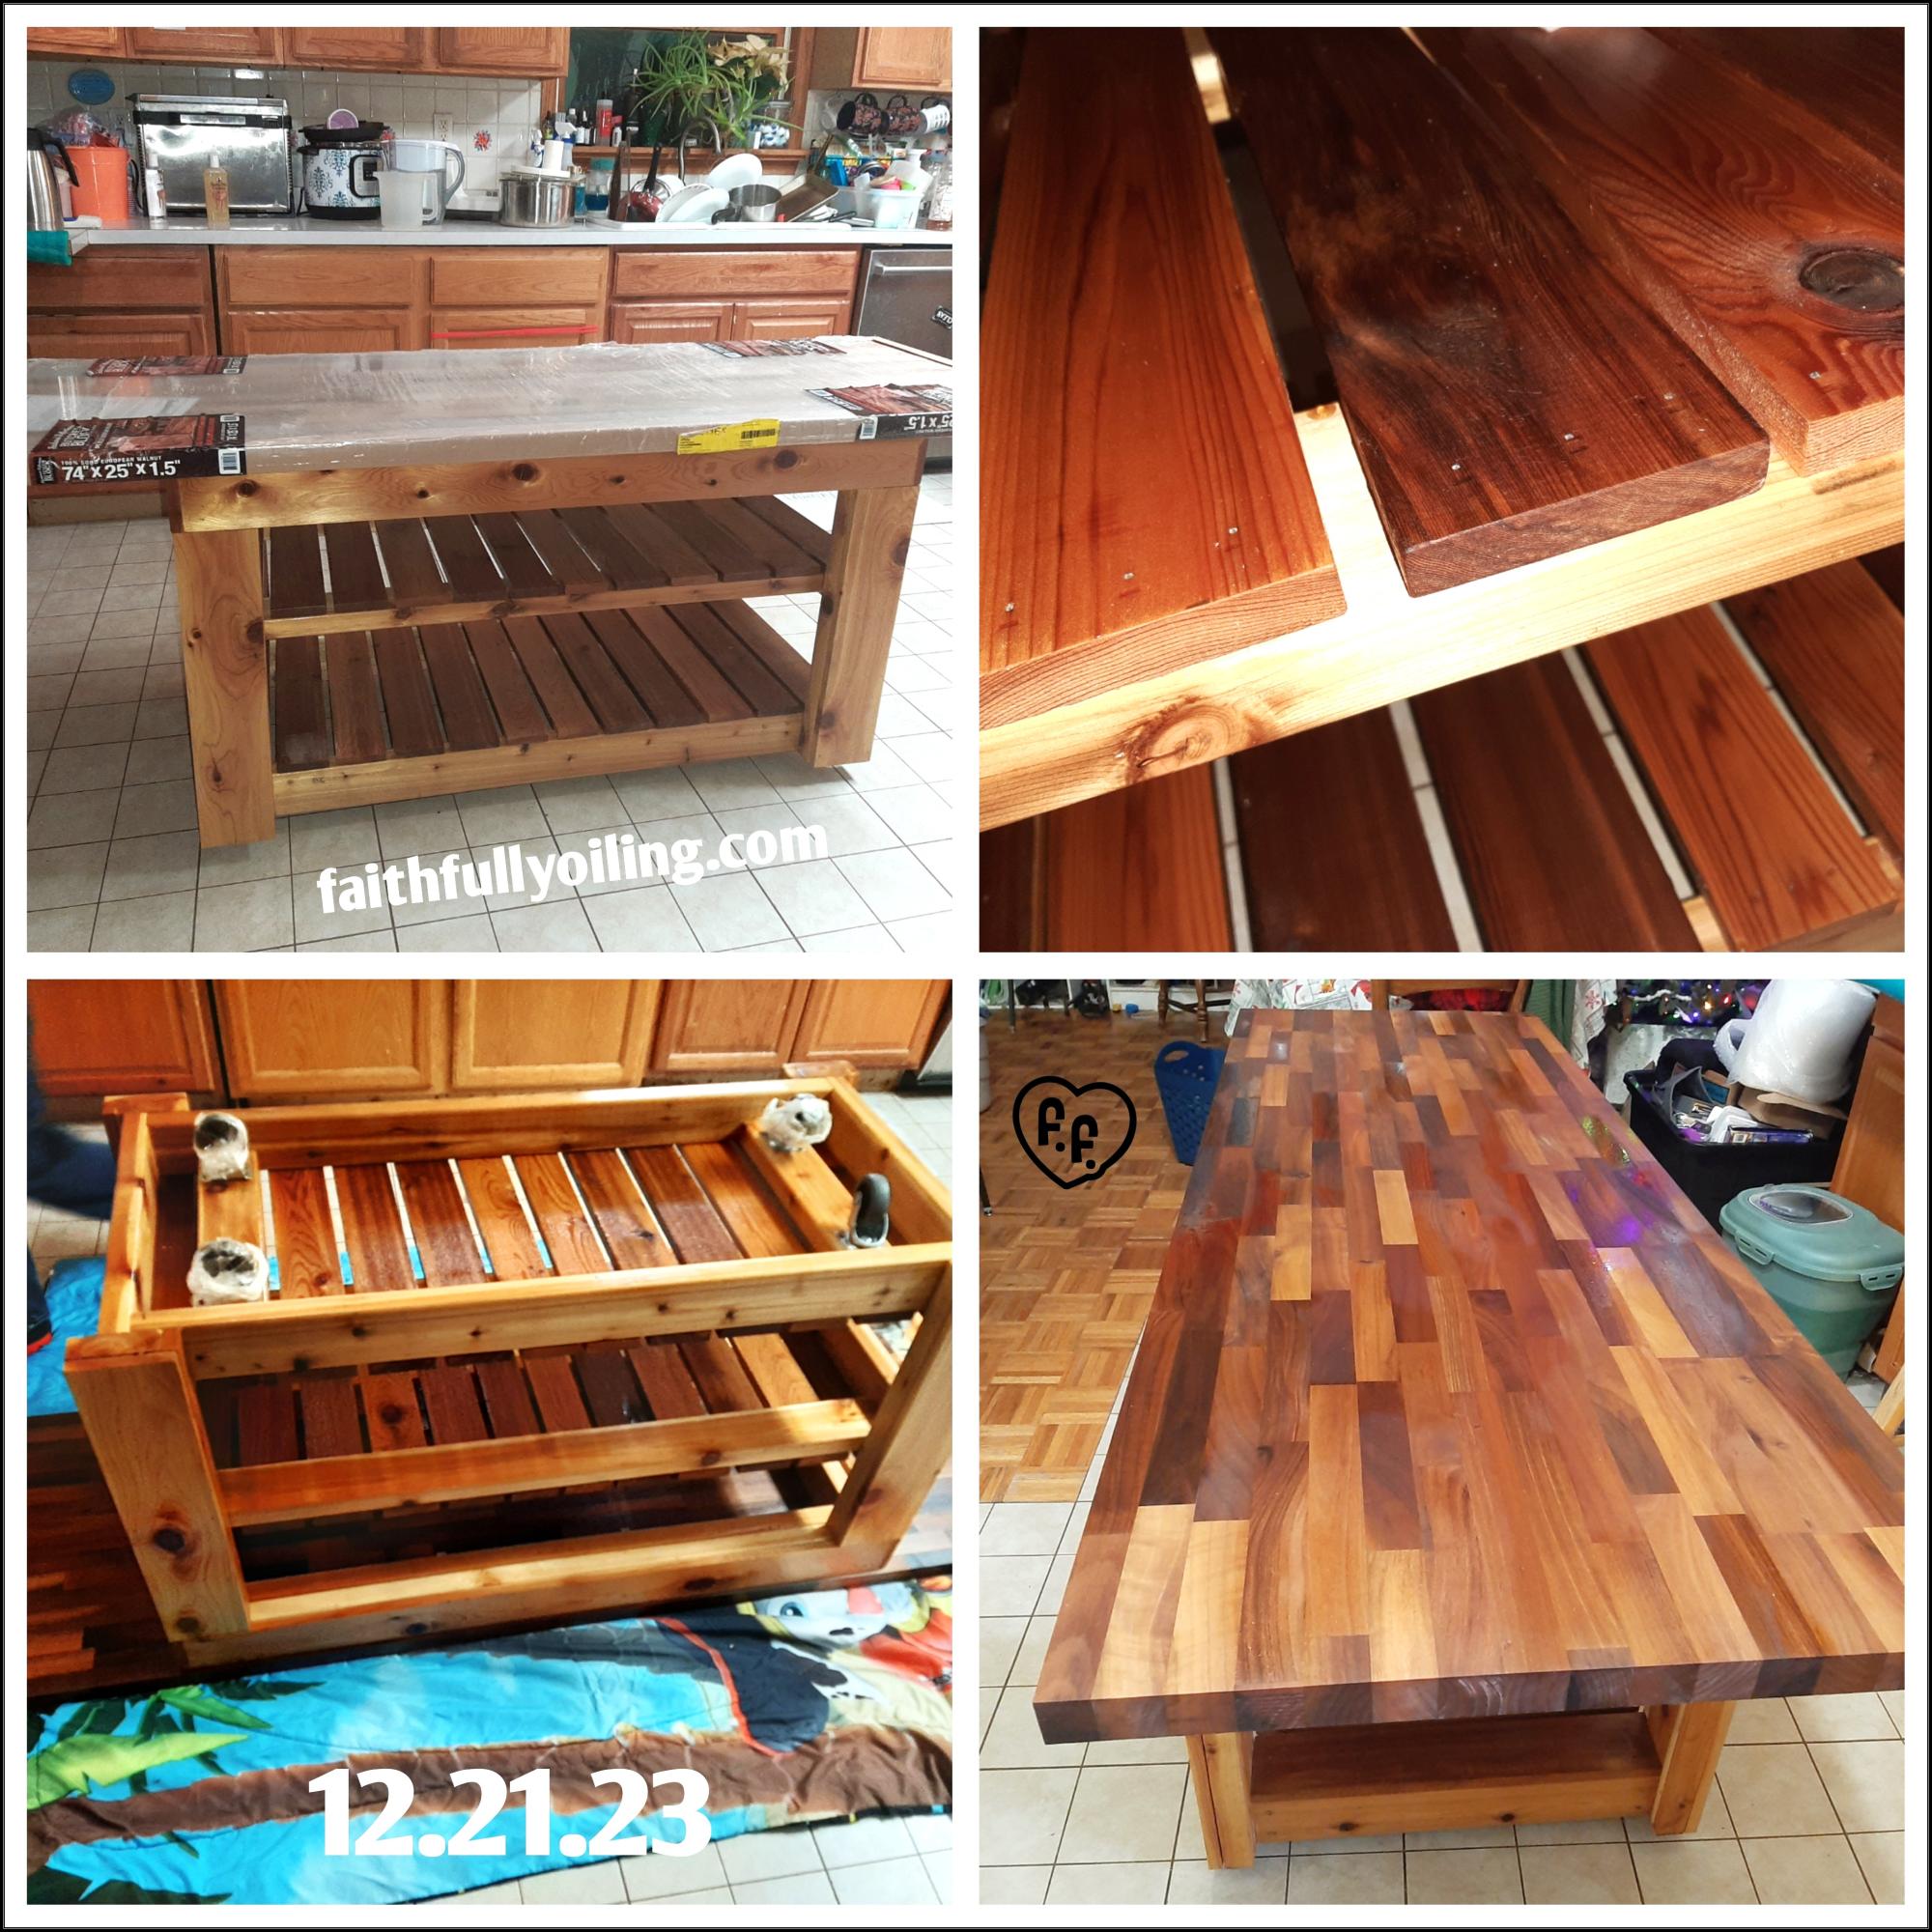
We, my husband & I, based our plan off of the Easy Kitchen Island Plans. I printed the plans. Then modified a few items. Originally I was gonna do a 4ftx25" but my butcher block we found was 6ft. So we left it with 6ft. My barstools slip under the overhang so kids can pull them out & use when needed but not be in the way.
We also made it custom to my height for mixing & kneading dough. The selves are different to work.with my tupperware containers. (Goal is to get all the same eventually).
We used cedar & a little pine for the main structure. The top is European walnut butcher block.
It's on wheels. So I can move it out of the way if needed.
We did seal the sides (kids & messy cook). The shelves & top I used butcher block oil & conditioner. Ever month I add a thin coat of conditioner to the top.
I love that I have so much room now to create.
Thank you so much for the inspiration!
Faith & Jonathan Flesher
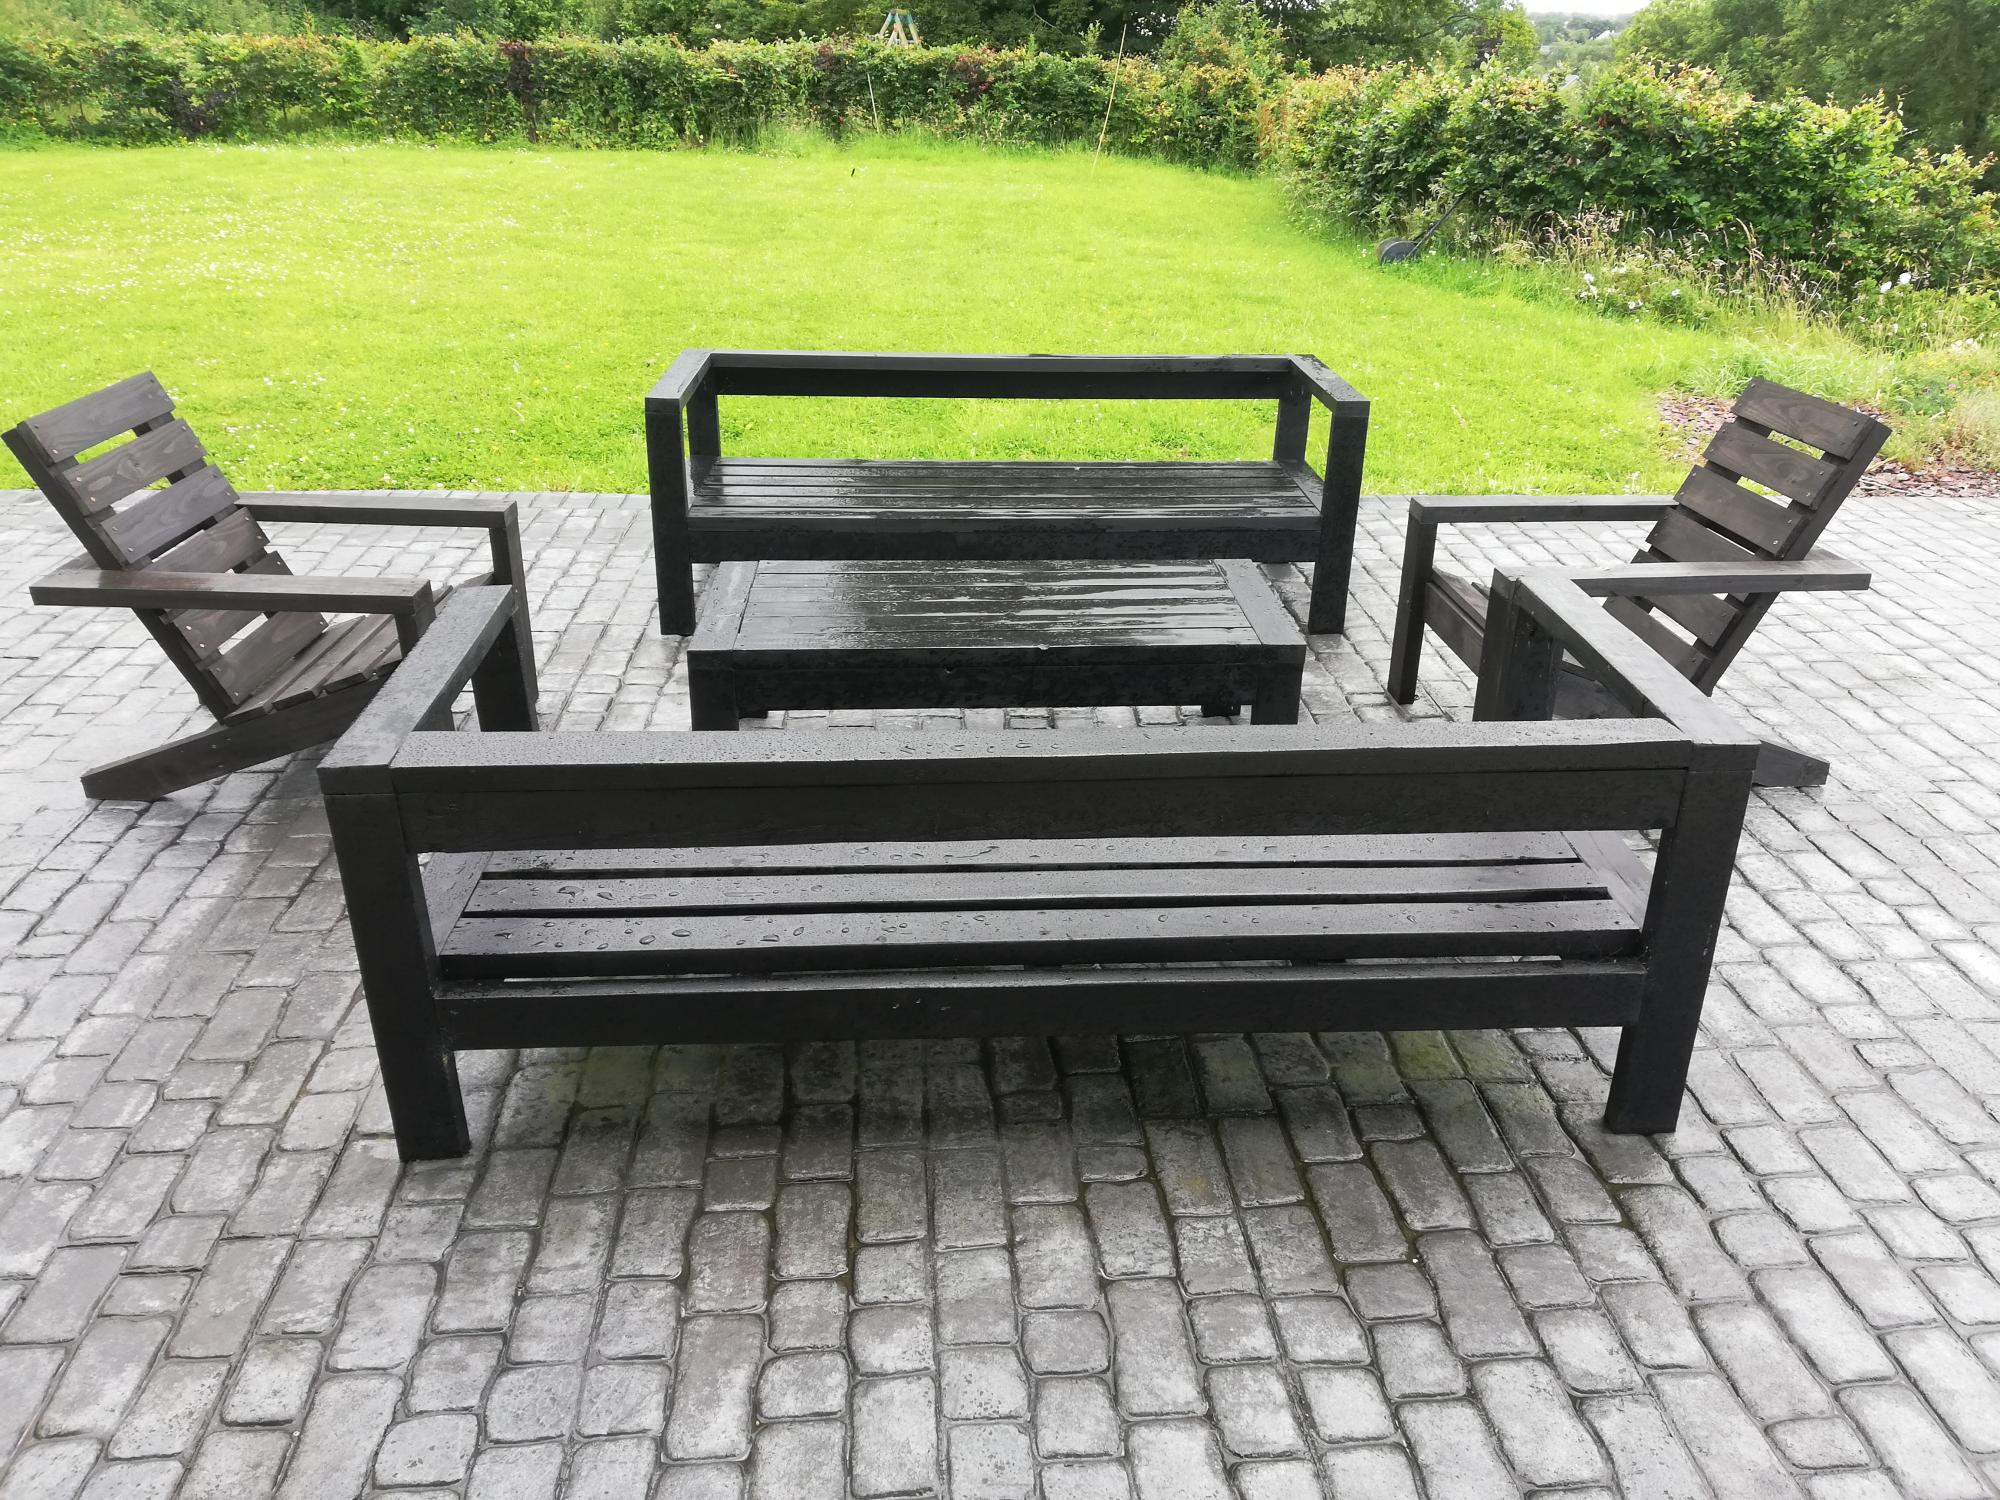
Thanks Ana for your great plans... Unfortunately it hasn't stopped raining since we finished the armchairs! All we need now is the sun :)
We used 4x1 for the seats to match the outdoor sofas.
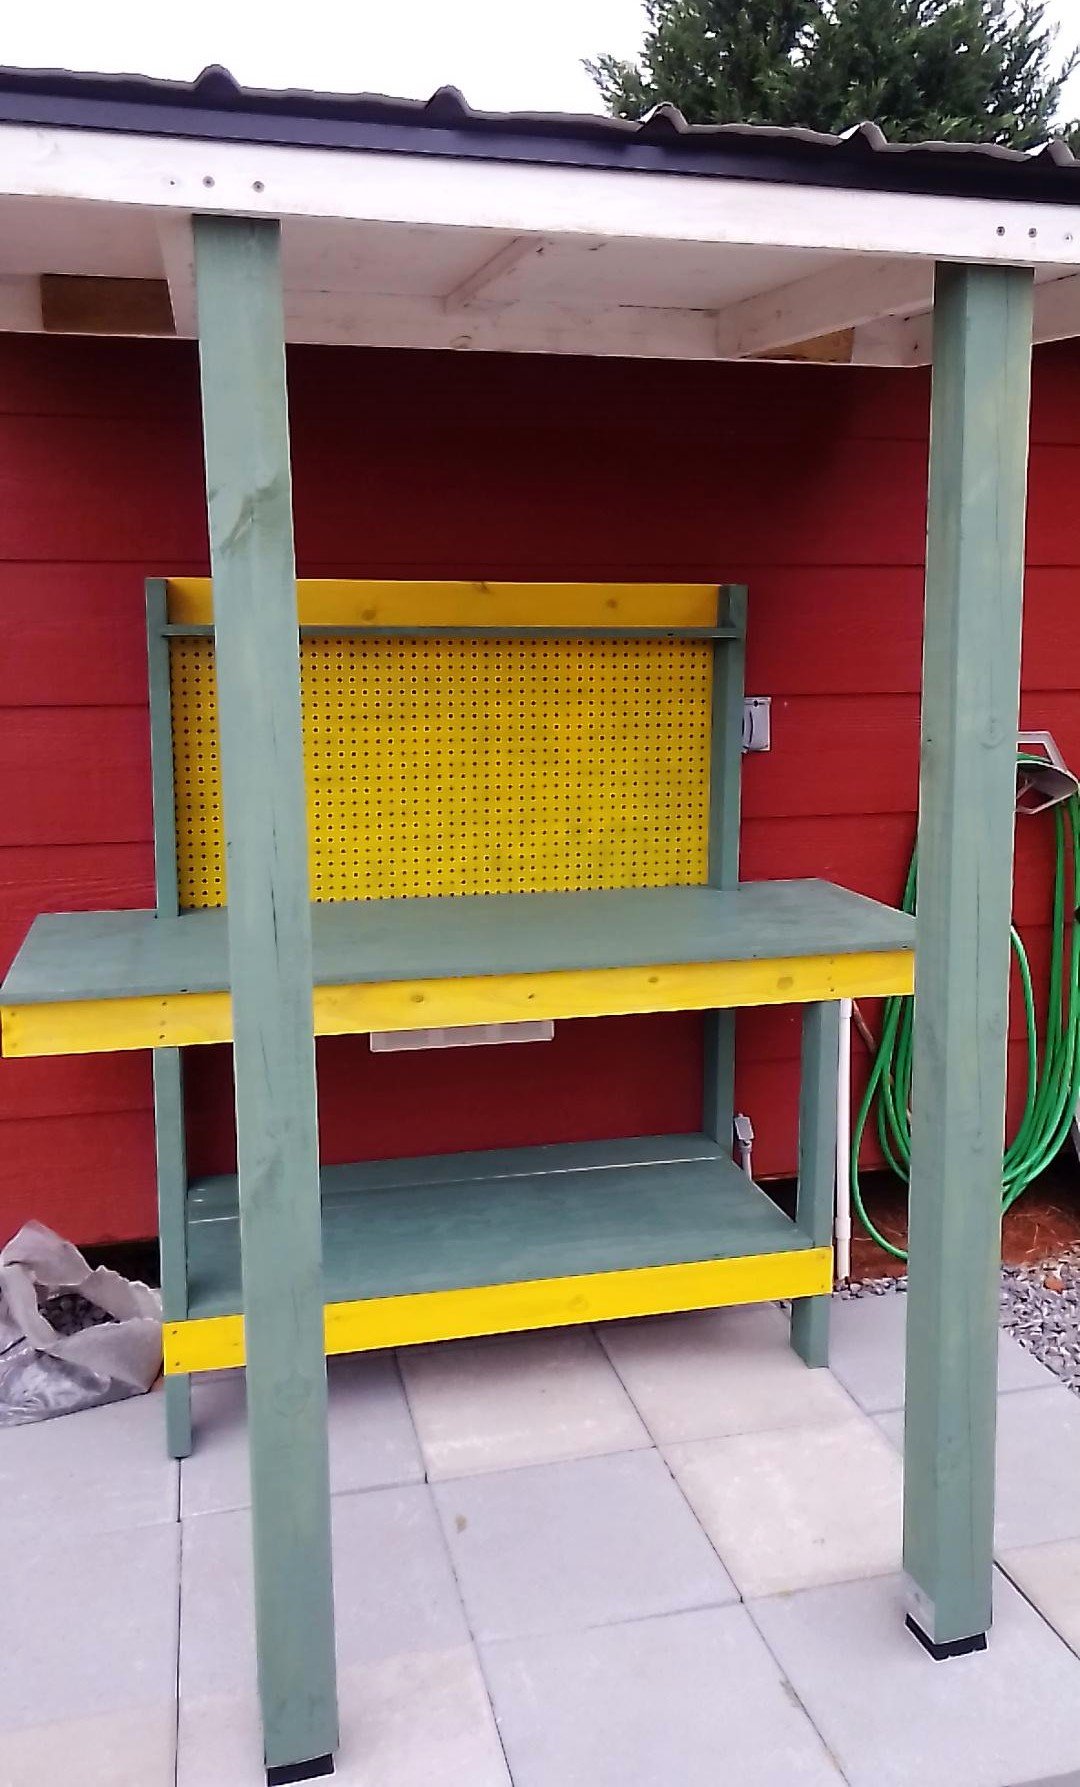
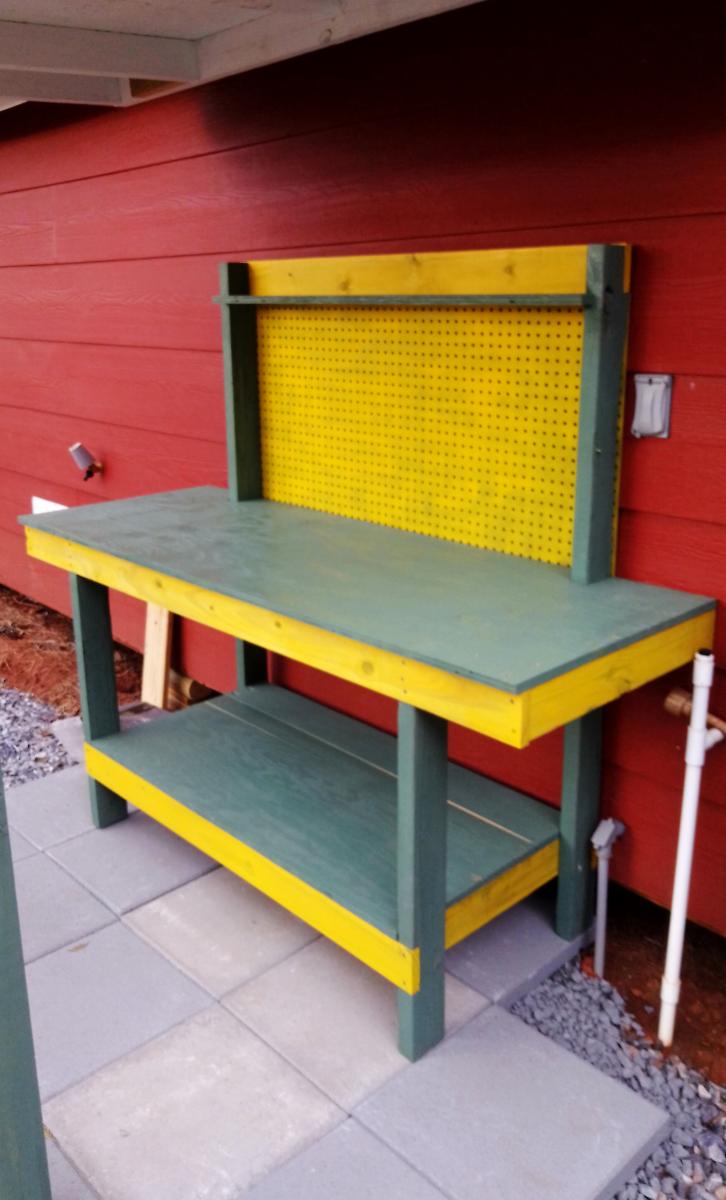
An expansion of the 2x4 potting bench.
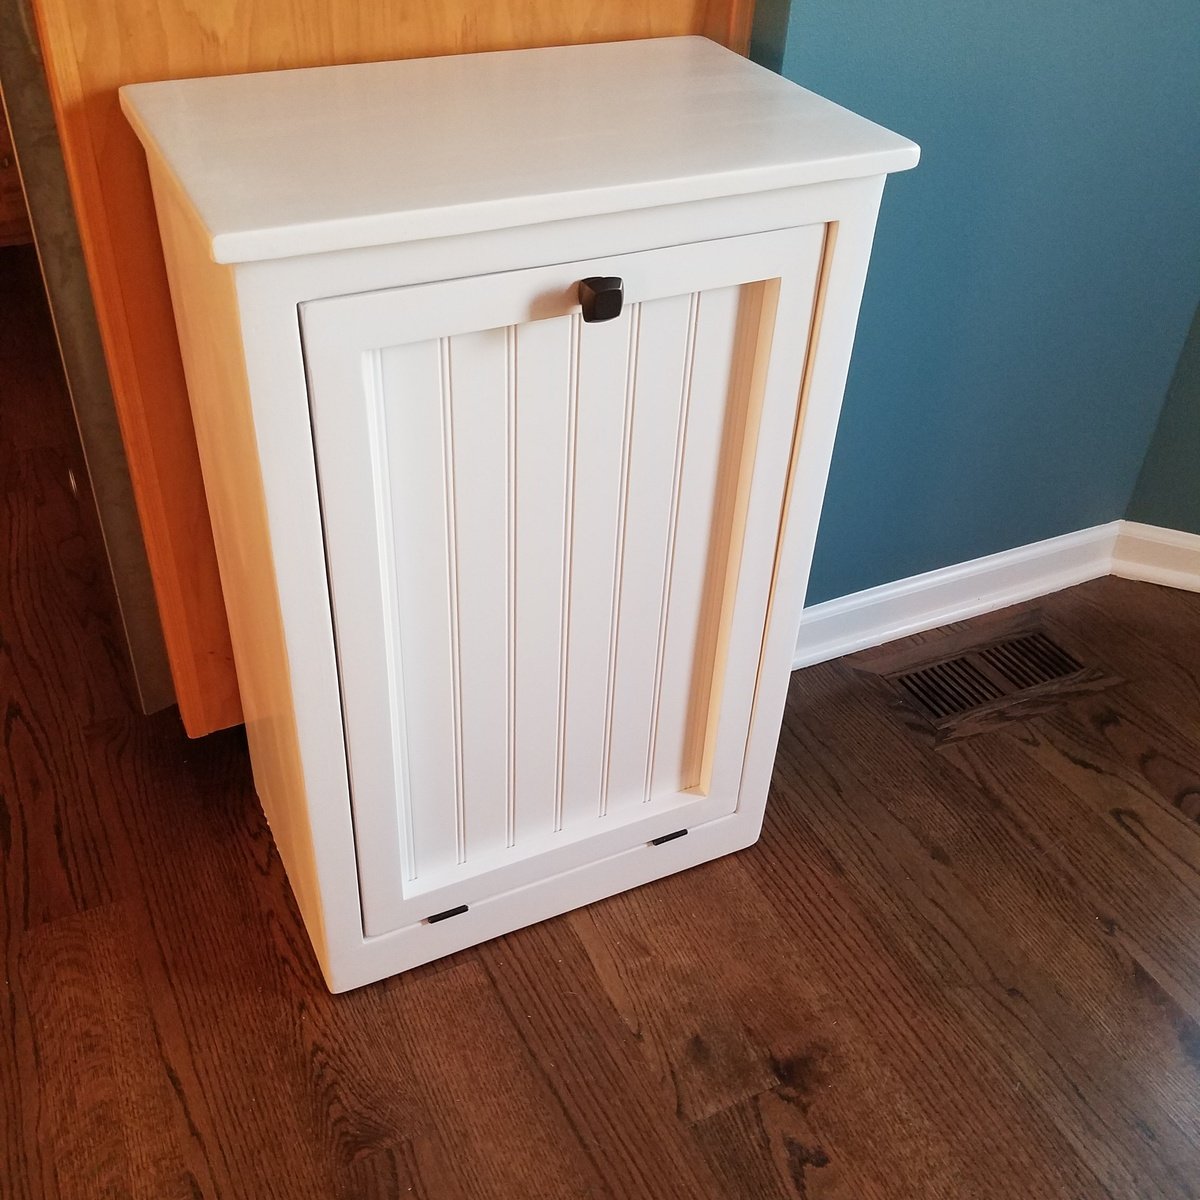
Our Australian Shepard will no longer be digging the trash out all over the floor! I did change the plans up a bit because I wanted a hangover off the sides as well as the front. And we used bead board instead of the solid panel. Thanks for the great plans Ana!
Wed, 09/21/2016 - 14:57
This turned out beautiful!!! I love the beadboard and the added overhang. Can't wait to see your next project!
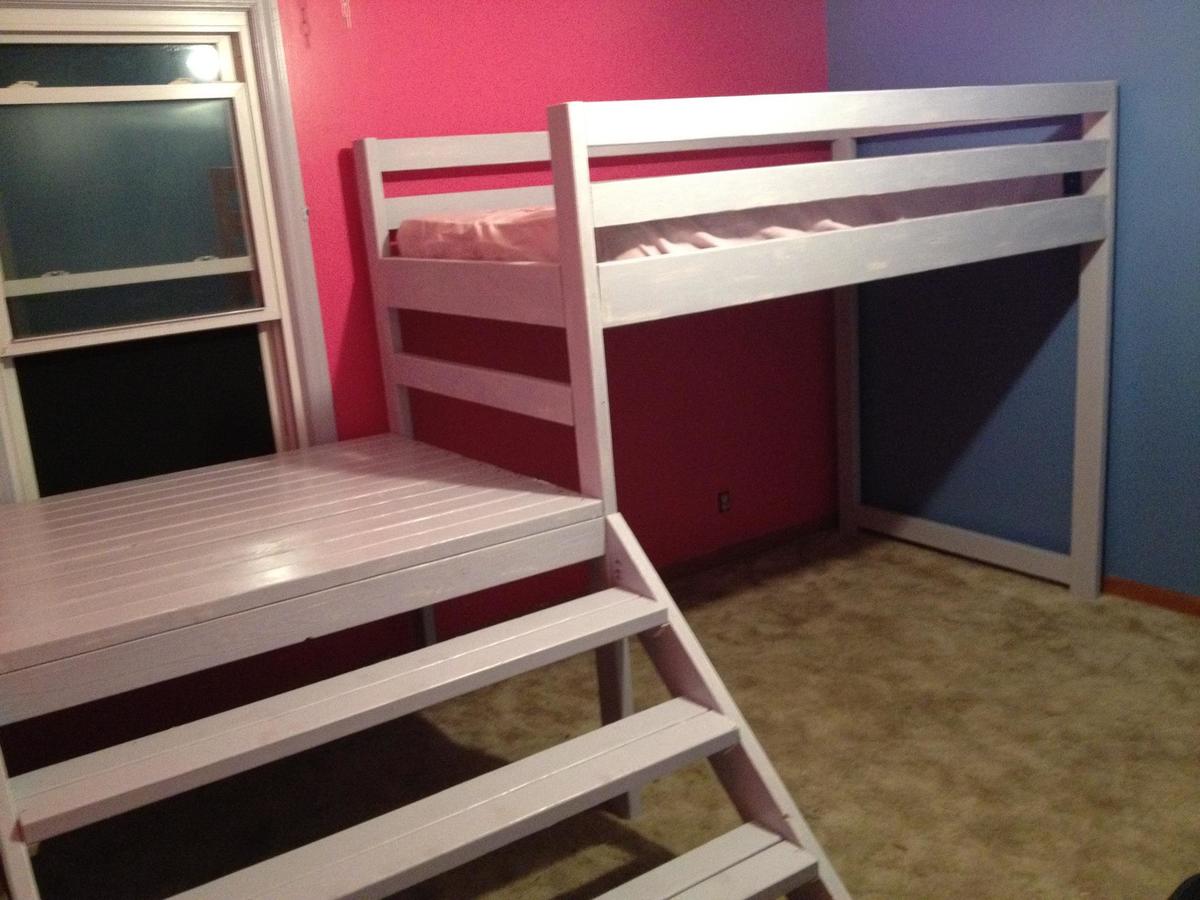
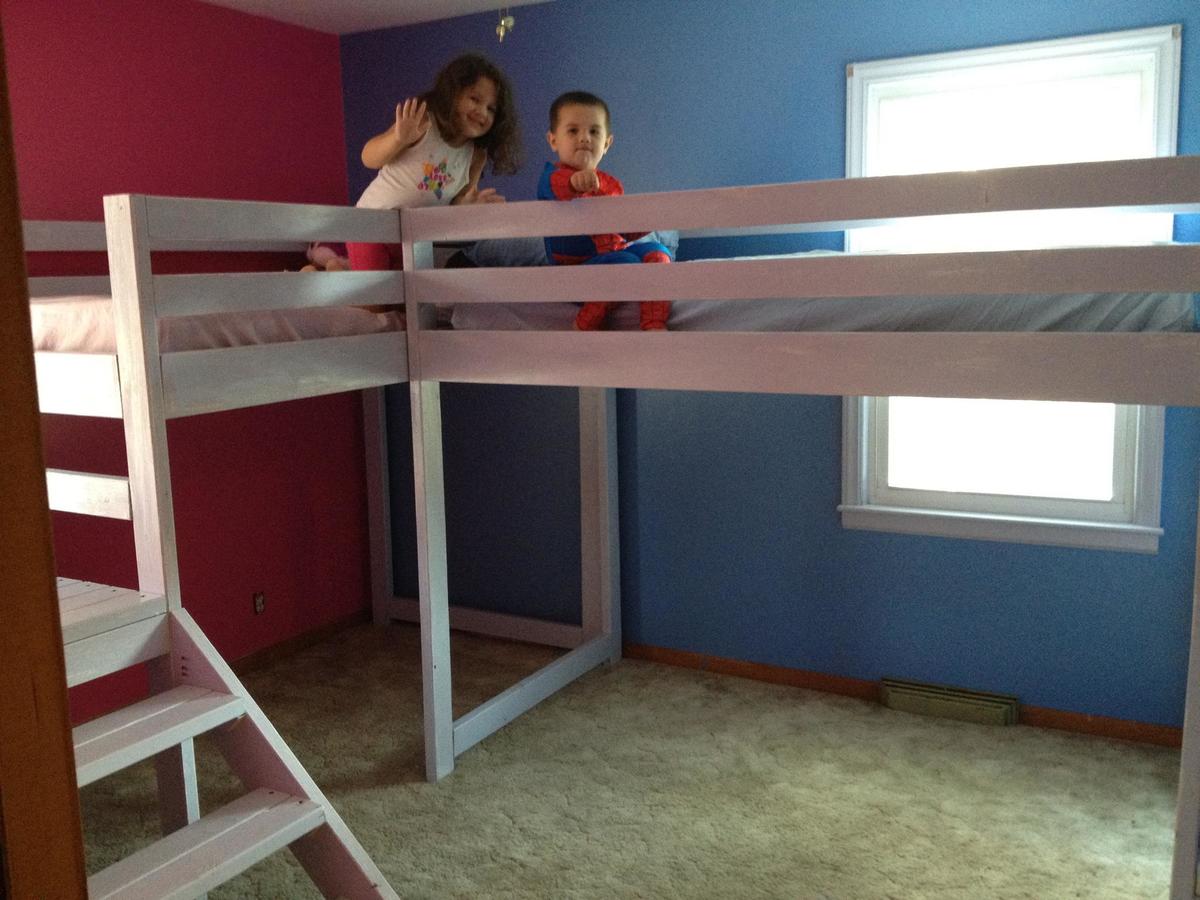
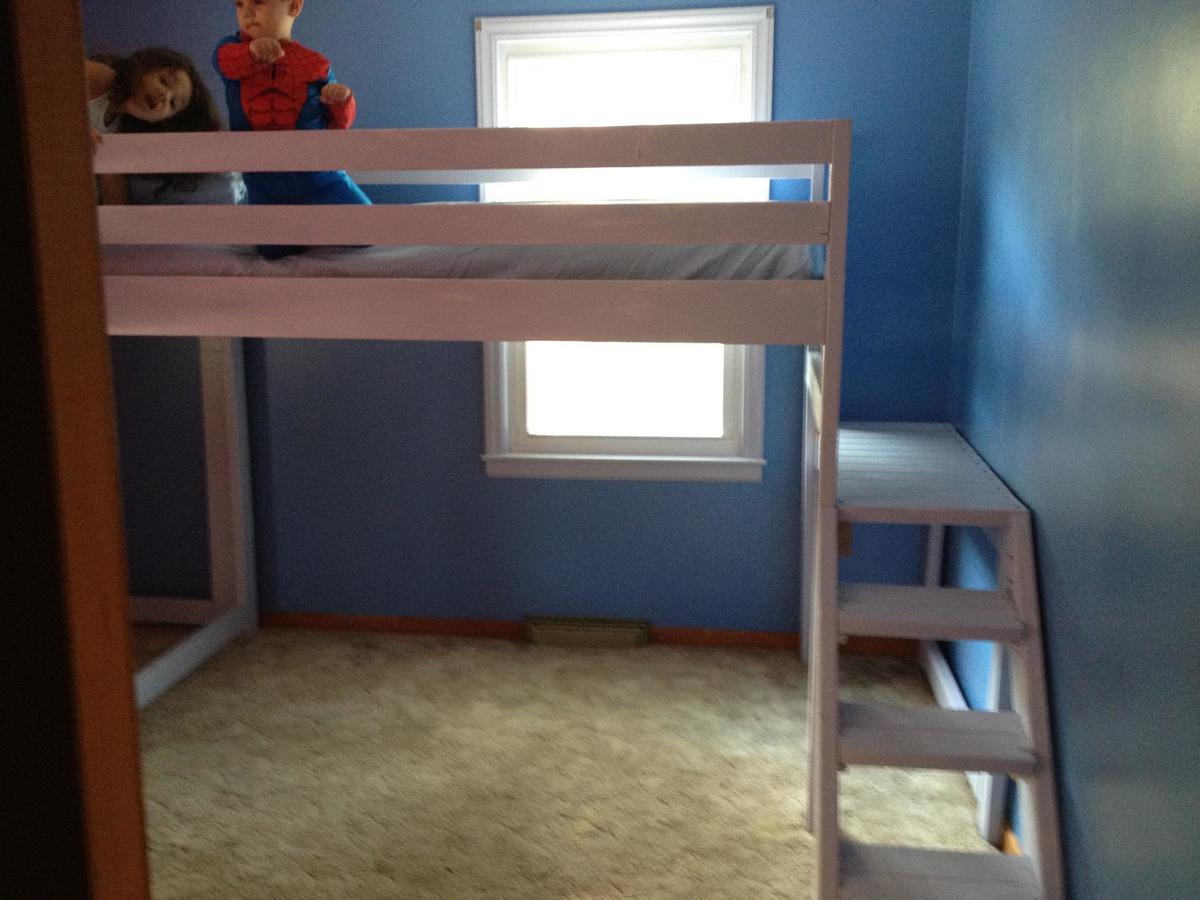
Found this on Pinterest and FELL IN LOVE! I have 2 kids that are inseperable, ages 3 & 4, a boy & a girl. I had been toying with ideas for them about bunk beds or maybe some PVC forts. But when I found this, it was like everything in one. Let me also start off by saying, although I am artistic I have never used a single tool or built ANYTHING in my life. EVER.
The beds were surprisingly easy to build and are incredibly sturdy & strong. I followed the plan exactly except for the platforms. I made my daughter's huge. (The plan calls for 22", I made hers 50") My son's I made smaller b/c that wall is shorter & there wasn't enough space. So his is only 16" but it's still plenty of room to climb up & get into bed. They use her platform as a stage to perform on or a small play area.
I'm going to glue down padding to cover both platforms and all the stairs b/c my kids are small but rough & tumble and I can already see the hospital bills. But the bed is EXCELLENT! Surprised to see no one else has posted a brag for it!
Make this immediately! The priming, painting & building for each only took one day. ONE DAY! I painted the room, the trim, and made both beds over the holiday weekend (Labor Day, Friday-Monday). My kids are now the envy of every child (and adult) that we know LOL!
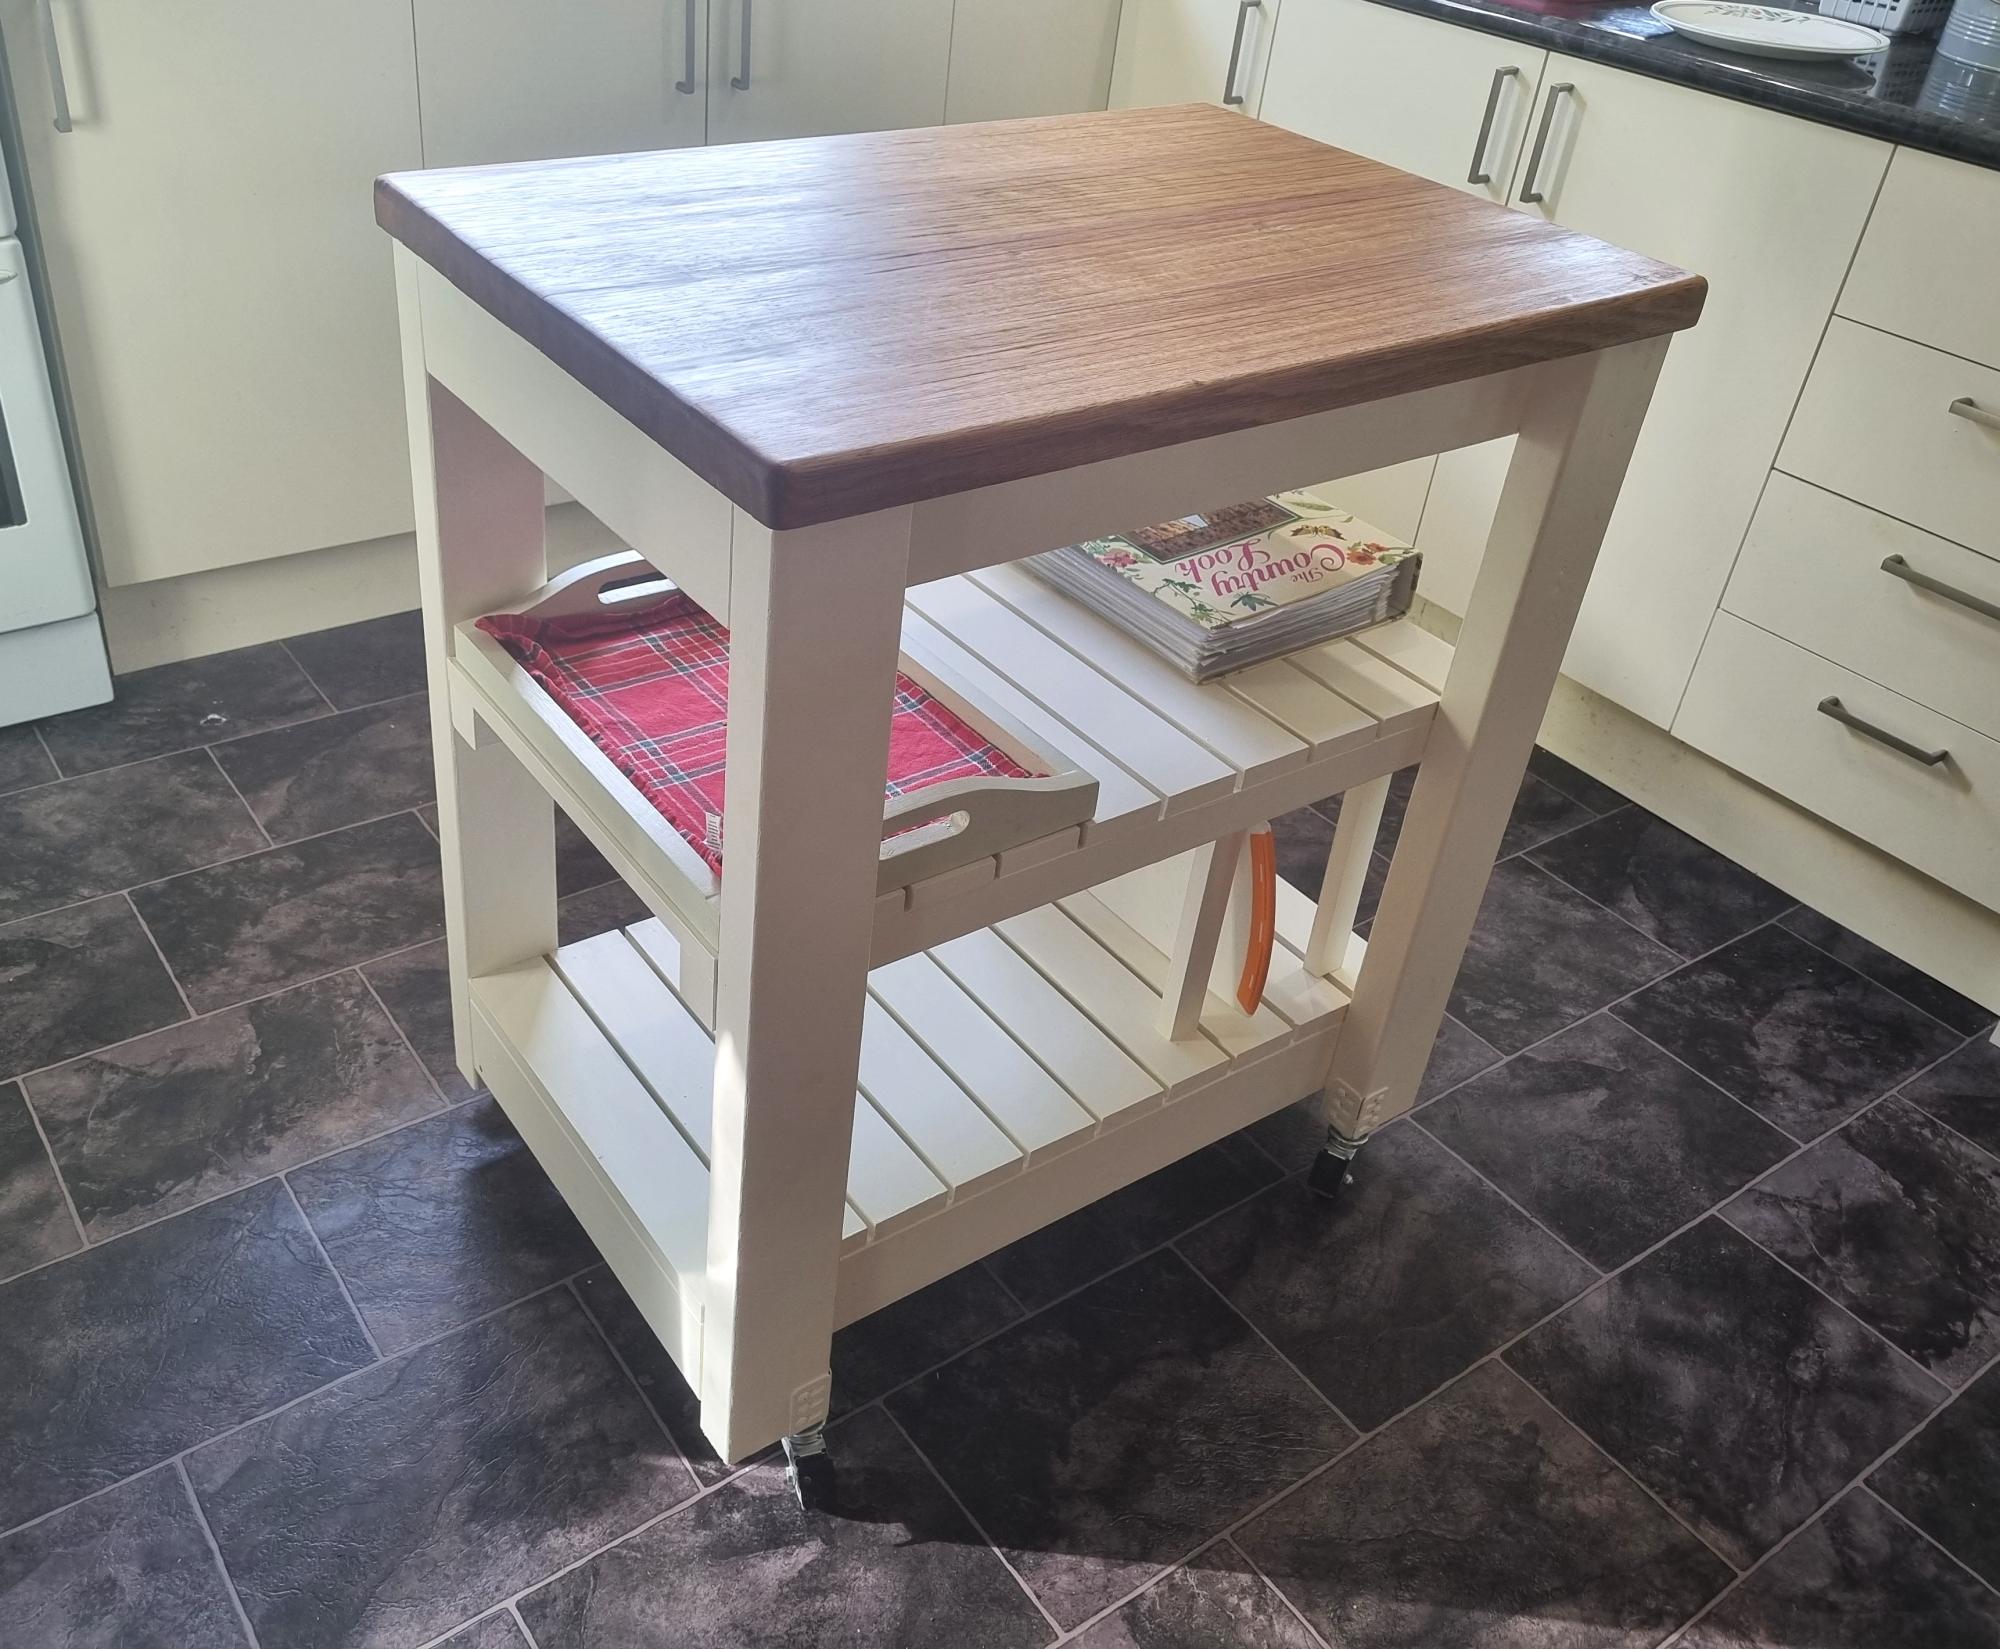
I made this one from 90 x 45mm pine with 70 x 19 slats for the shelves. The top I made from 4 pieces 35mm thick Tasmanian Oak glued together using biscuit joints.
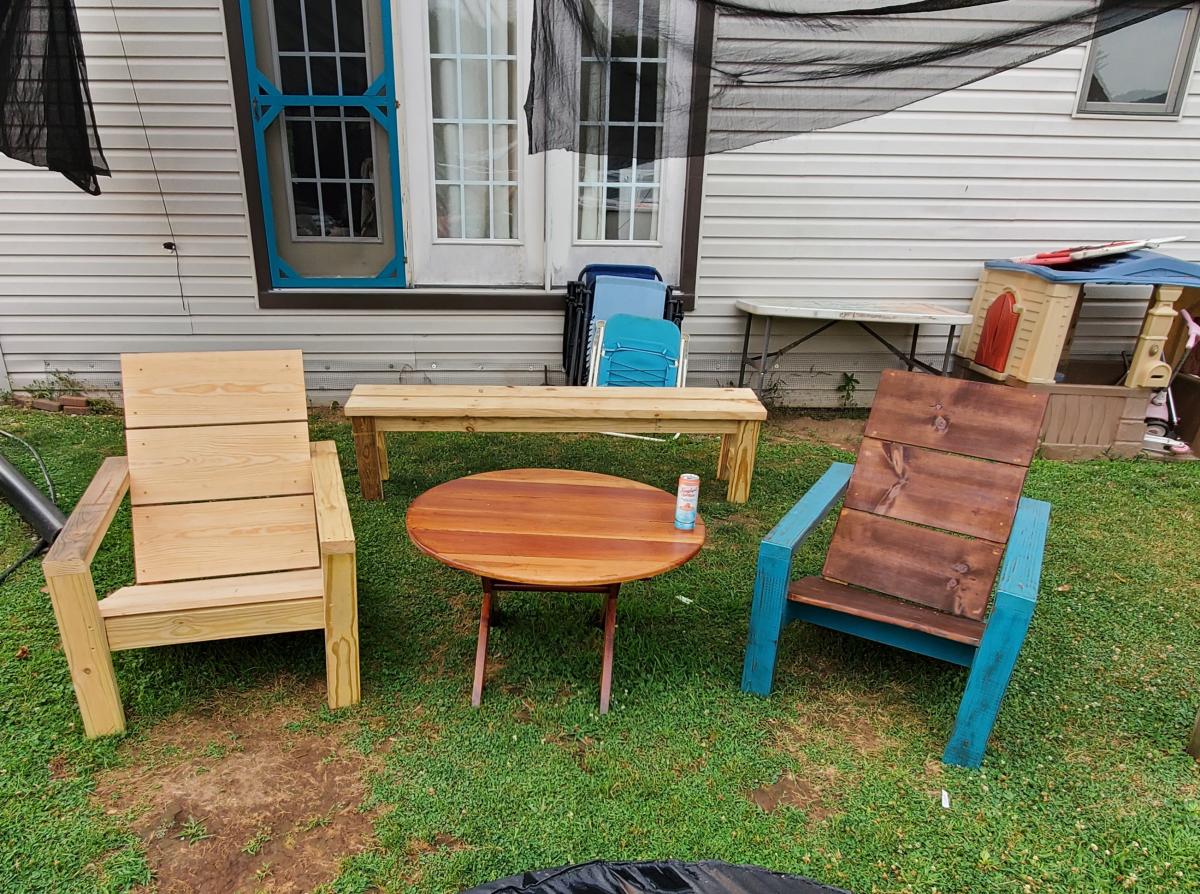
I LOVE this project!!!! Great directions! Amazing results. It makes a very comfortable, and sturdy chair. So far, I have made two. Three more to go. 😄
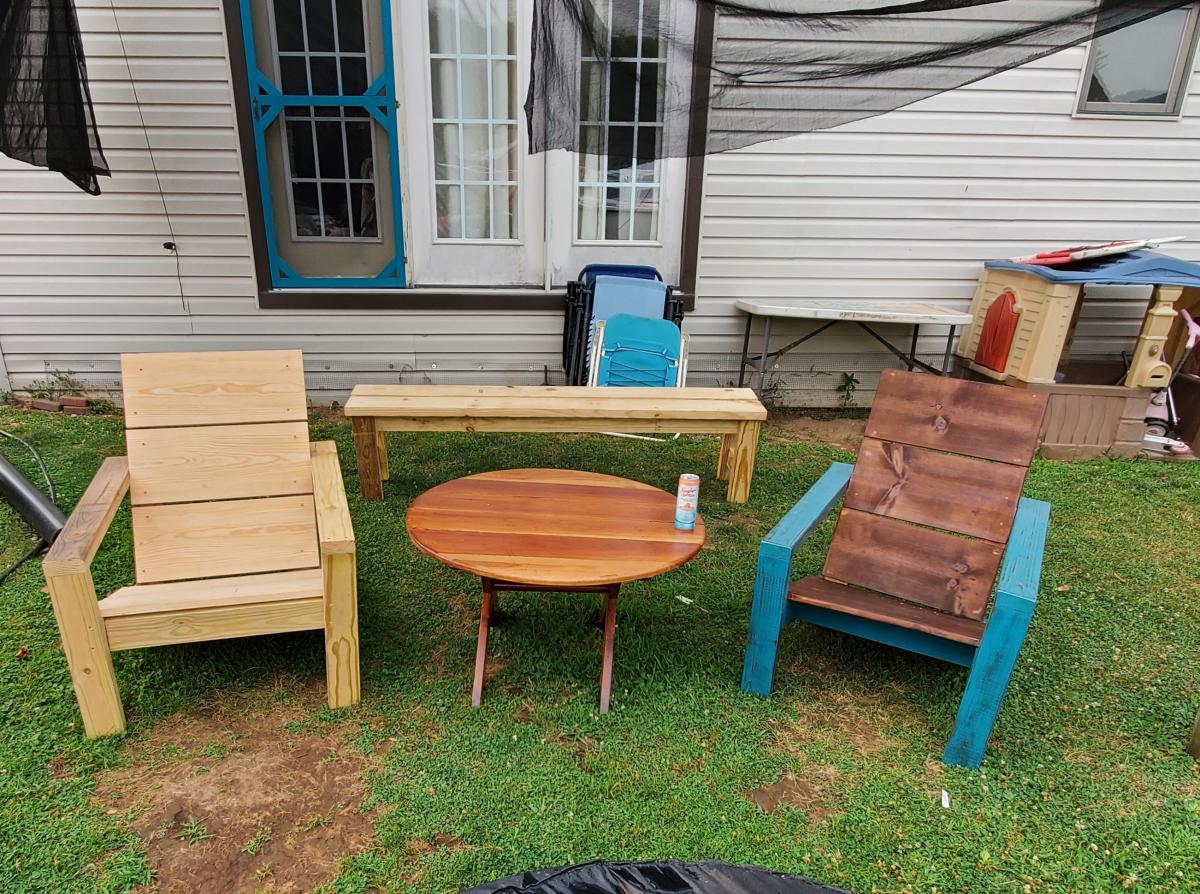
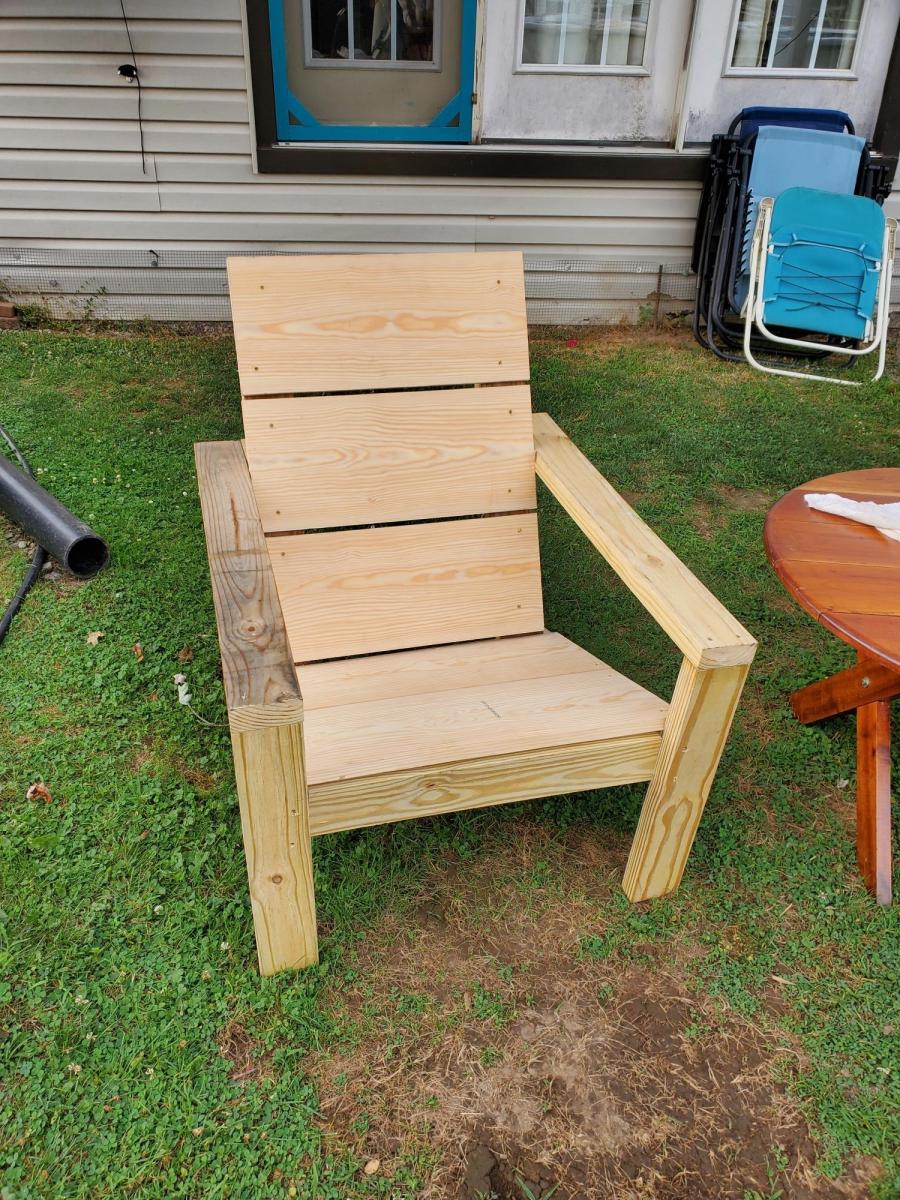
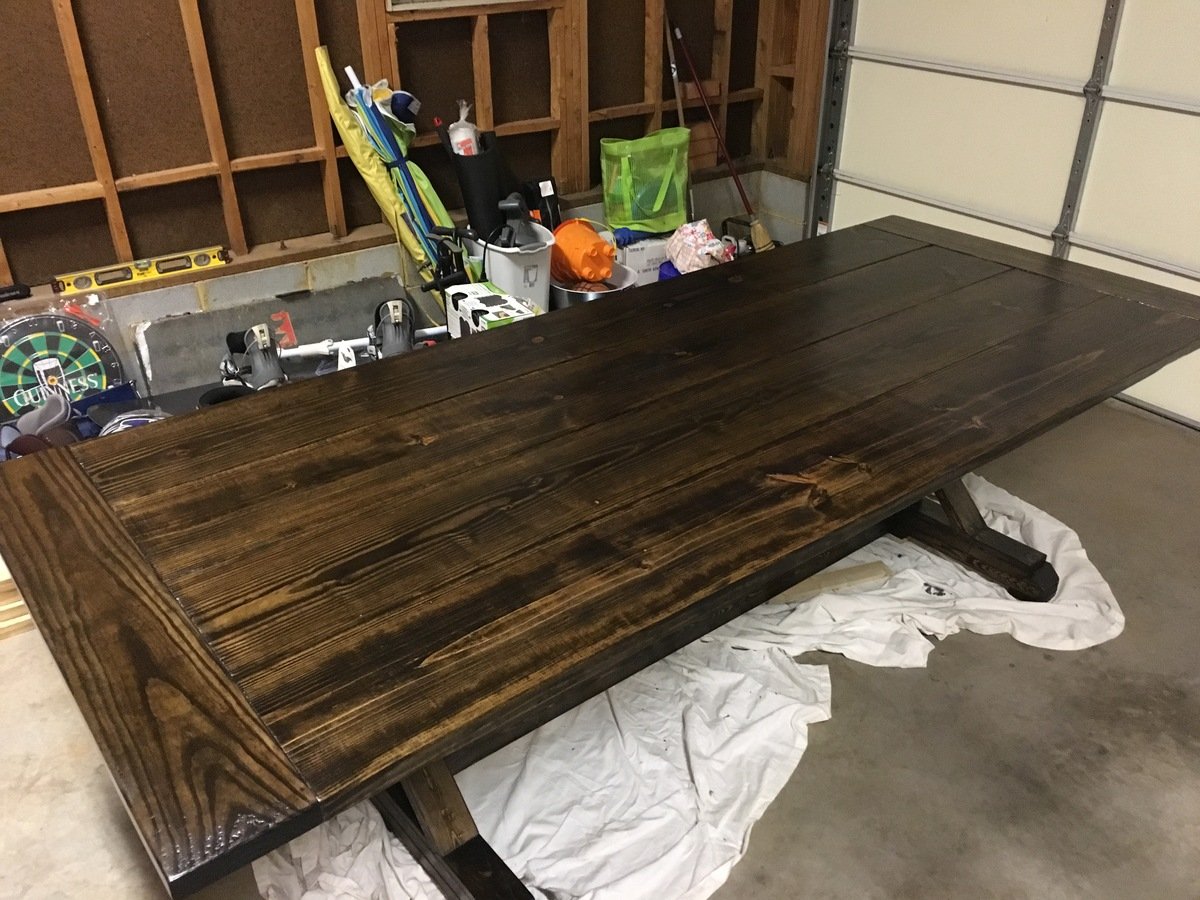
First piece of furinture I've tried to build, went surprisingly smooth. Raw table only took 5 hours to construct; an hour or two to sand; and then the waiting game after two coats of stain and 4 coats of poly. Used southern yellow pine for the top, dark walnut stain, and spar pro series semi-gloss poly.
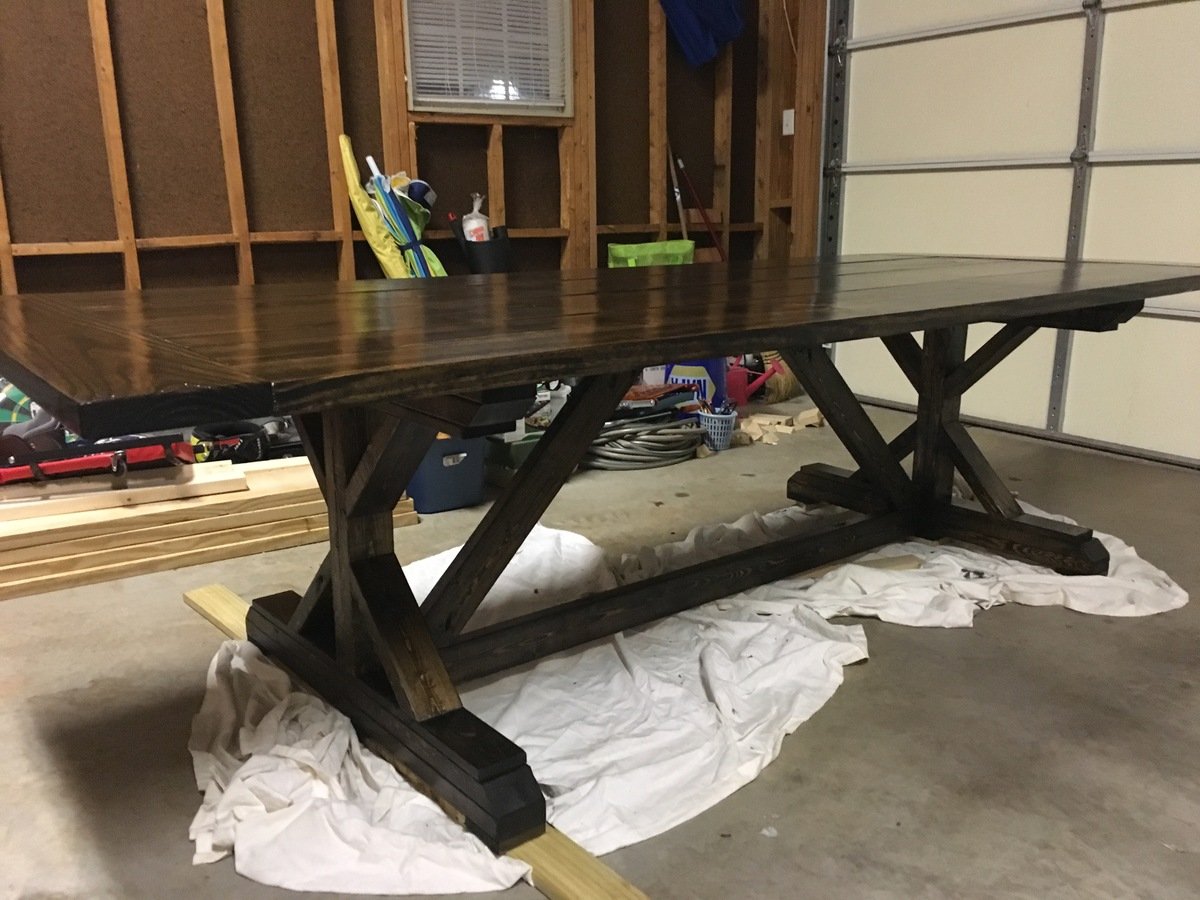
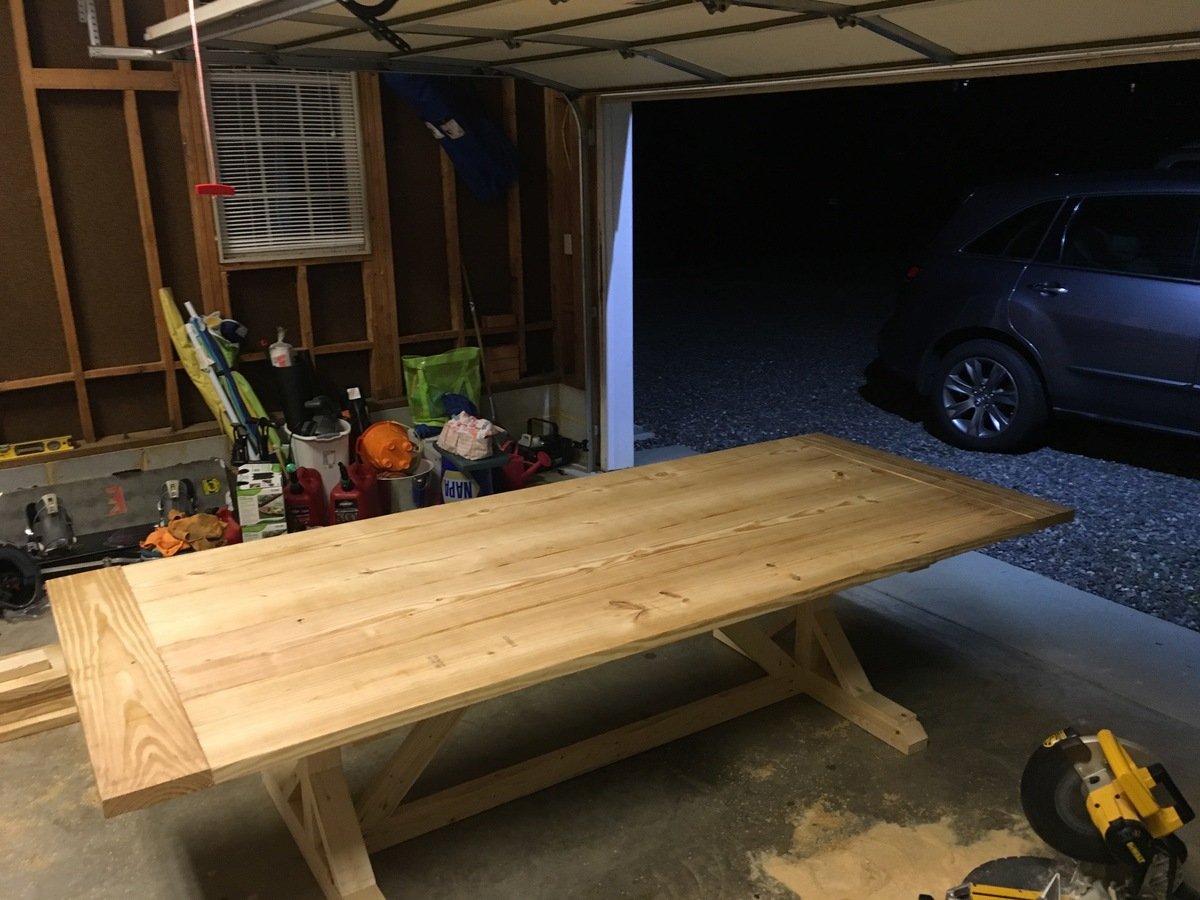
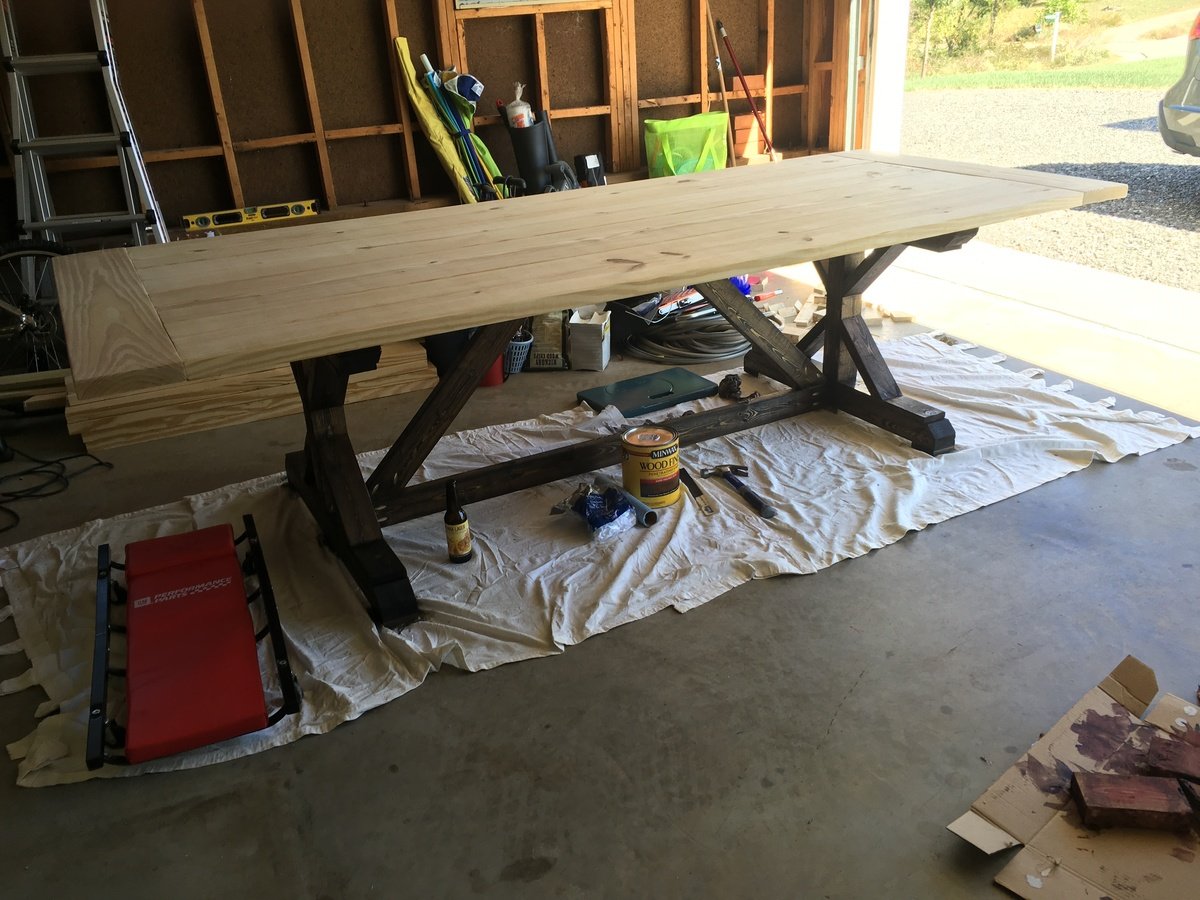
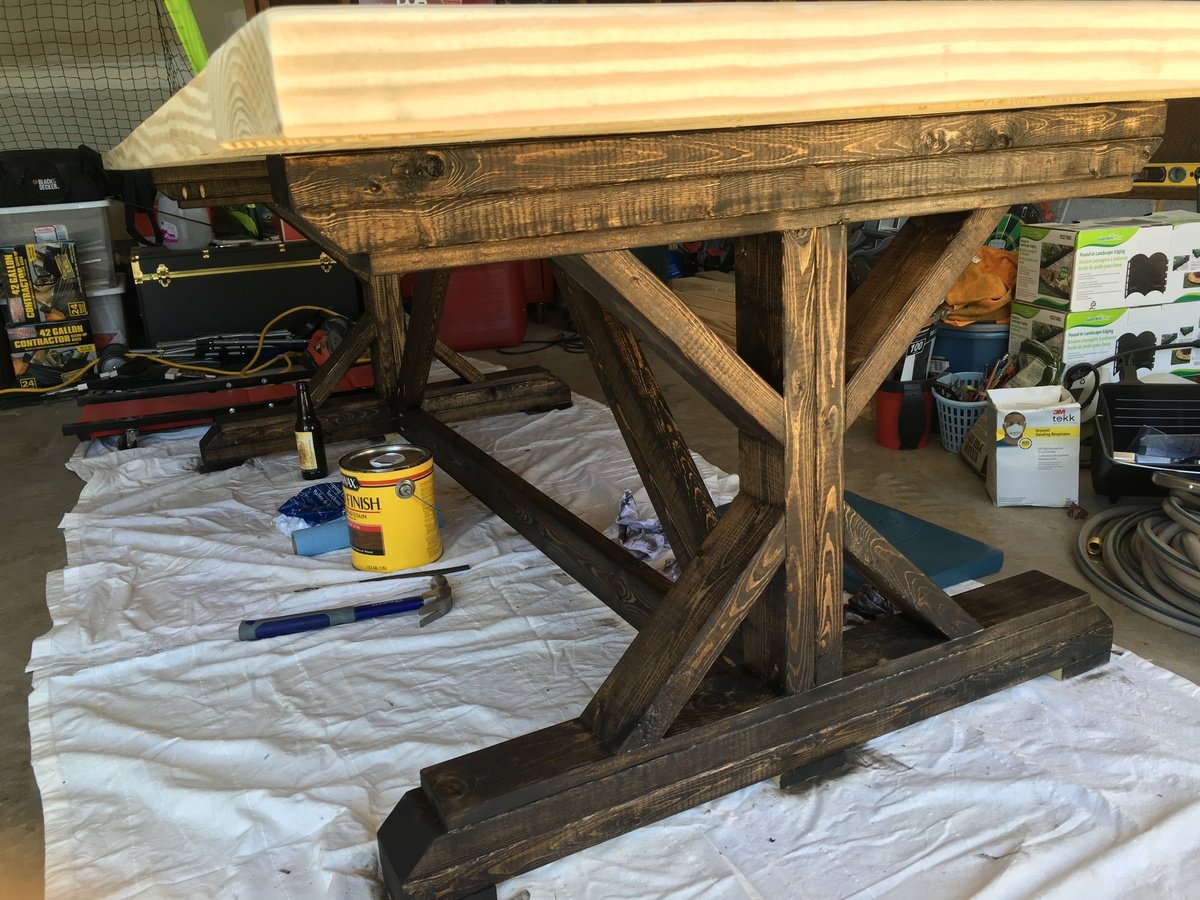
Mon, 01/16/2017 - 19:16
I used the pocket hole jig to drill pocket hold along the center support that runs parallel to the top boards and also drilled pocket holes on the top supports of the legs that run perpendicular to the top boards. Alternating pocket holes on both inside and outside faces of the top support boards gives it some added strength.
btw, sorry for such a delayed response.
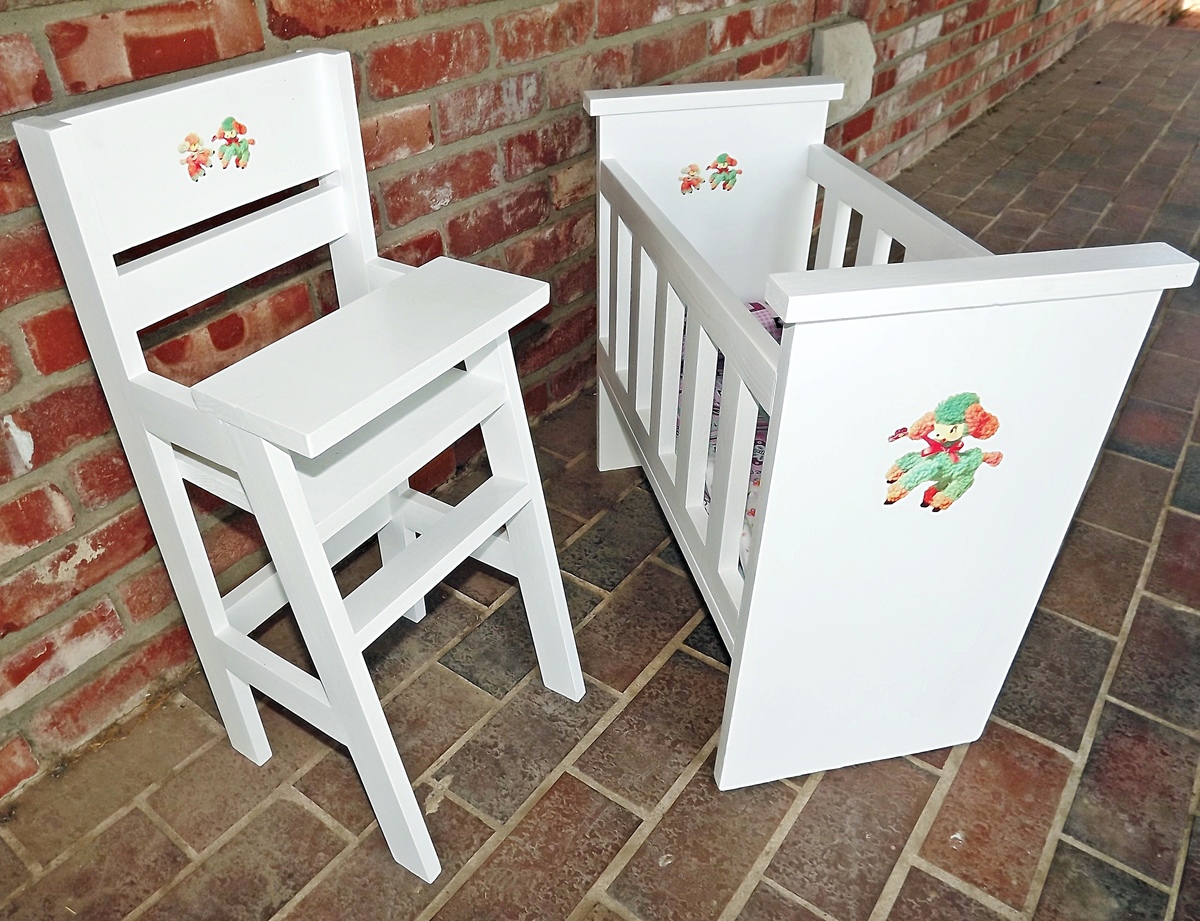
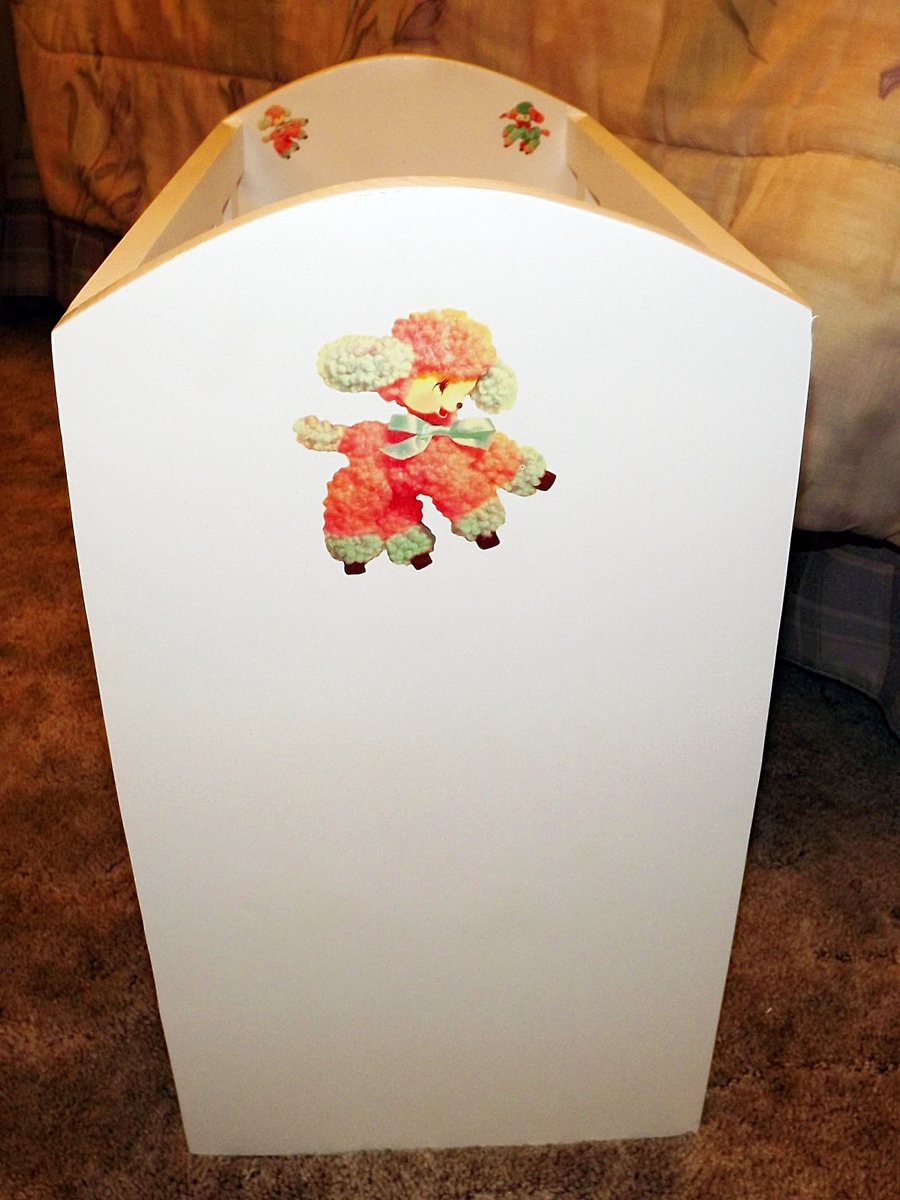
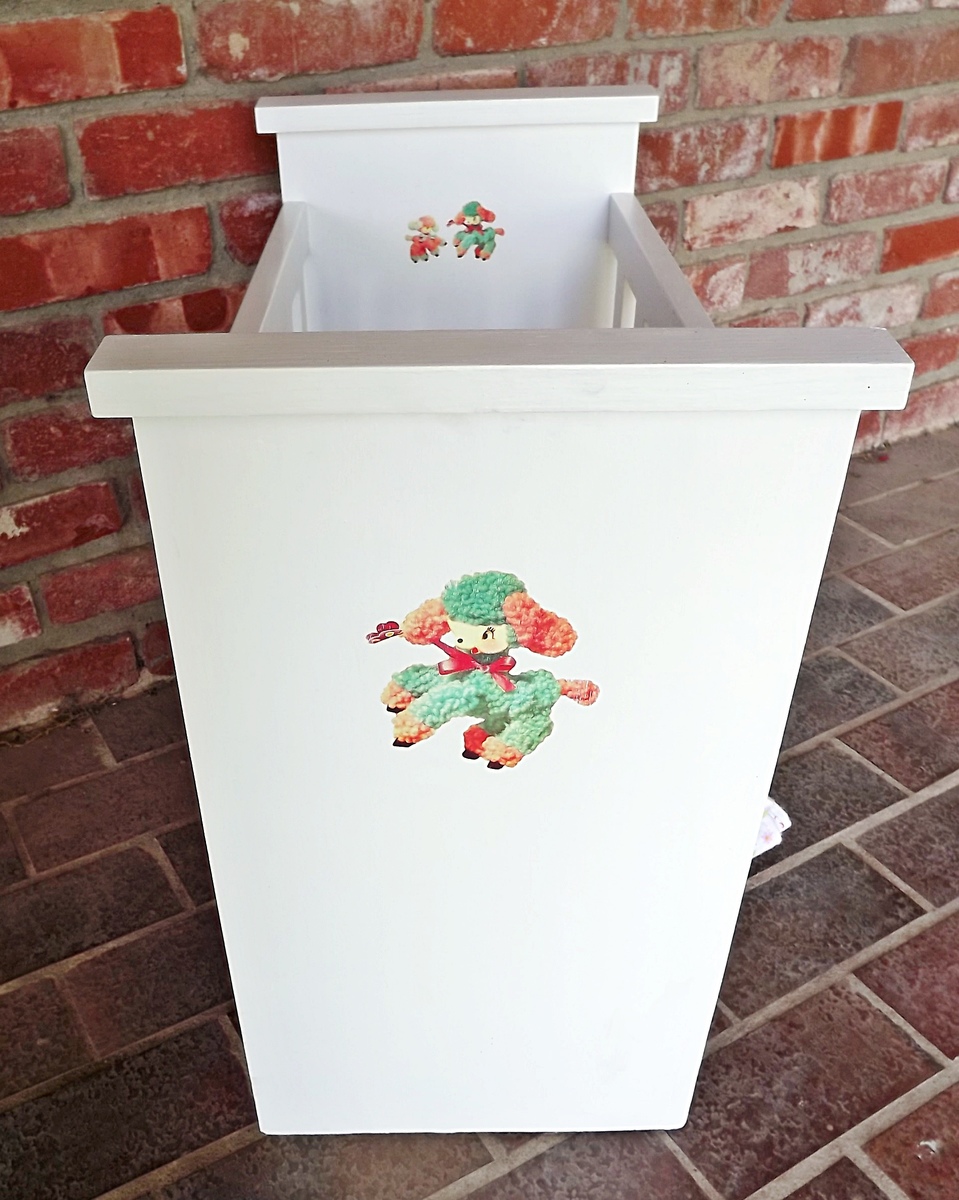
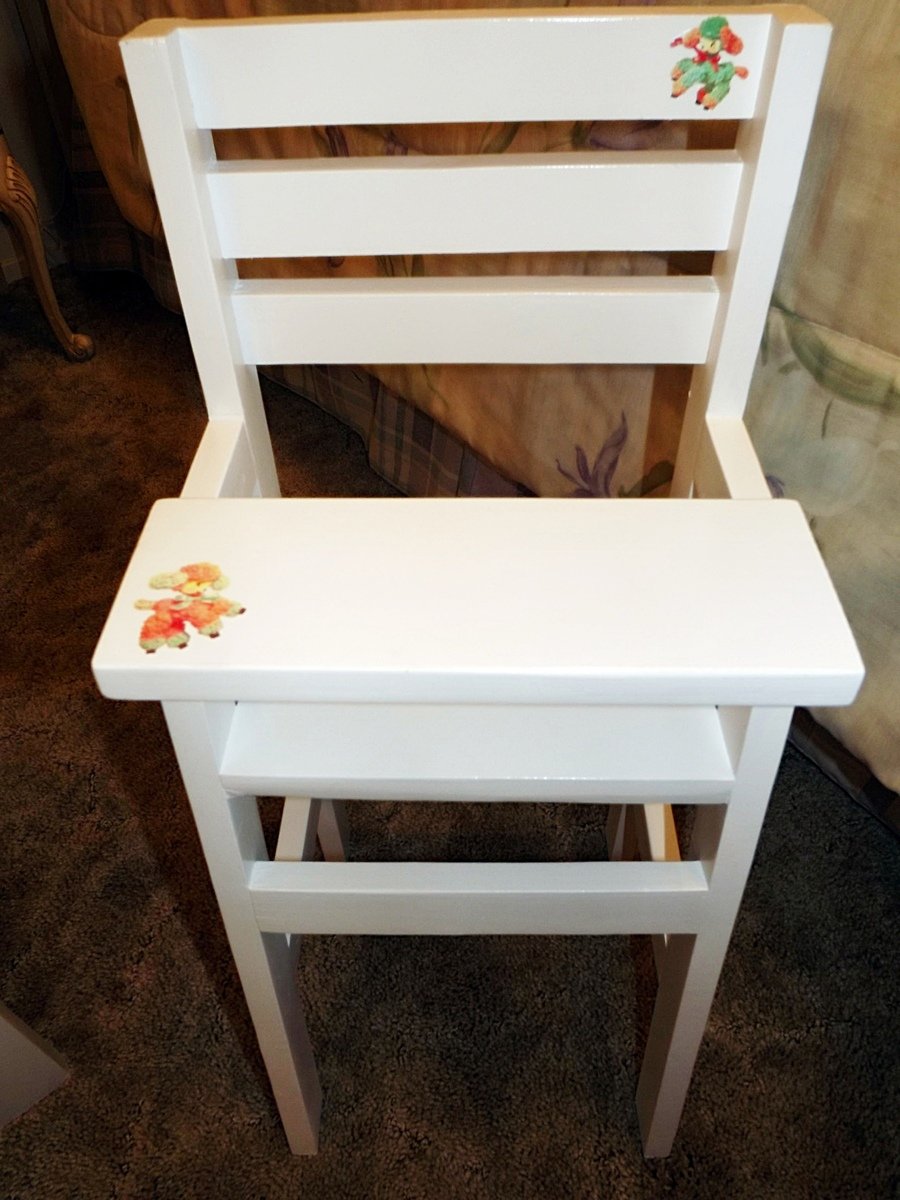
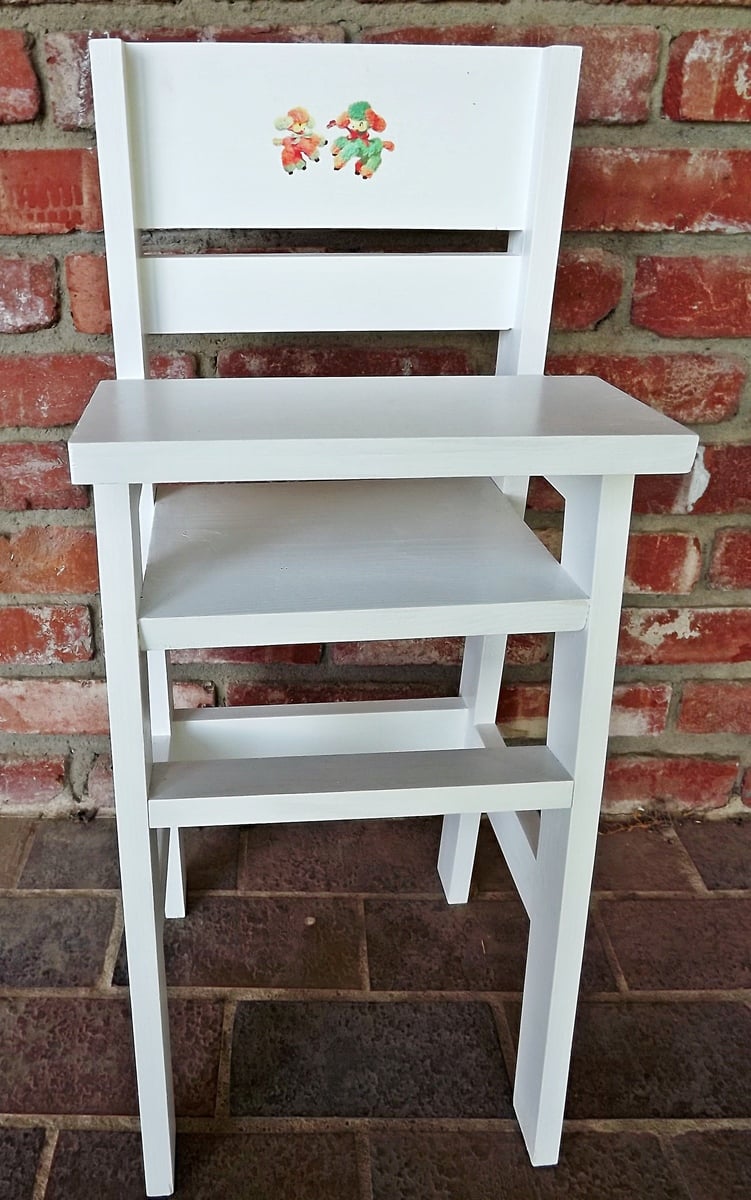
I have three granddaughters and four great-nieces. I was able to find vintage 50's baby doll cribs for the older two, but not for my youngest granddaughter. I was so excited when I found Ana's doll crib, realizing that I could make the beds and high chair sets for all of the girls. I wanted to use water-slip decals to make the beds look vintage like the older g'daughters', and I found this great website: www.decalcottage.com. I wanted each set to be slightly different, so for the first two sets for sisters, I followed Ana's plans exactly for one, and using the idea from another brag post, used just a rectangle for the ends.The high chair backs are also slightly different. I have since made two more sets which I'll post later, but they all have vintage lambs on the beds and high chairs. It has been so much fun!
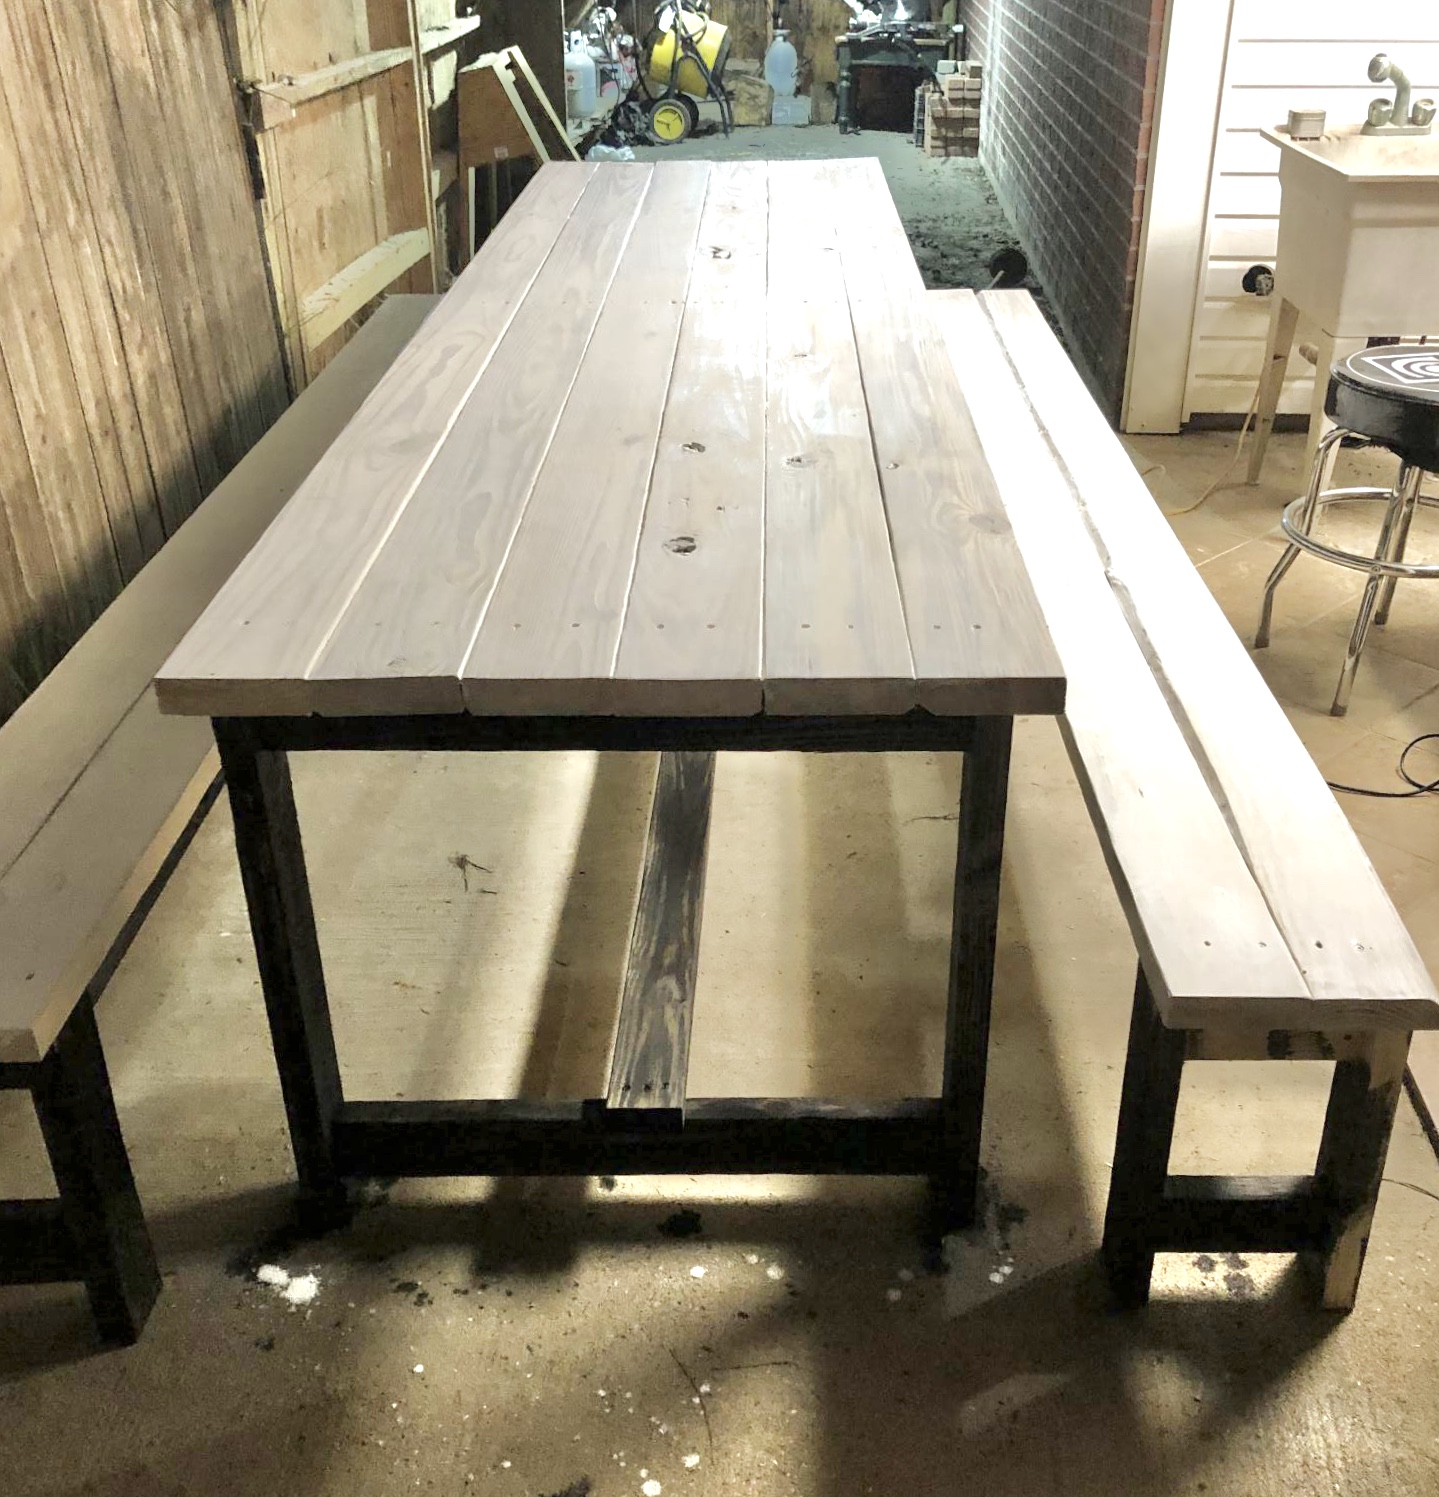
We built a larger version of the farmhouse table. It’s always been a dream to have a massive table for family dinners. I loved the look of the table and have wanted to attempt it for a couple of years. I finally got the courage up. We kept the legs the same size and just used 10 ft 2x6 and stretchers. It’s extremely solid and heavy! We are exhausted, it took all day! But we are so proud of ourselves. It’s definitely not perfect but it was our first and we love it!
Hi Ana & Hubby
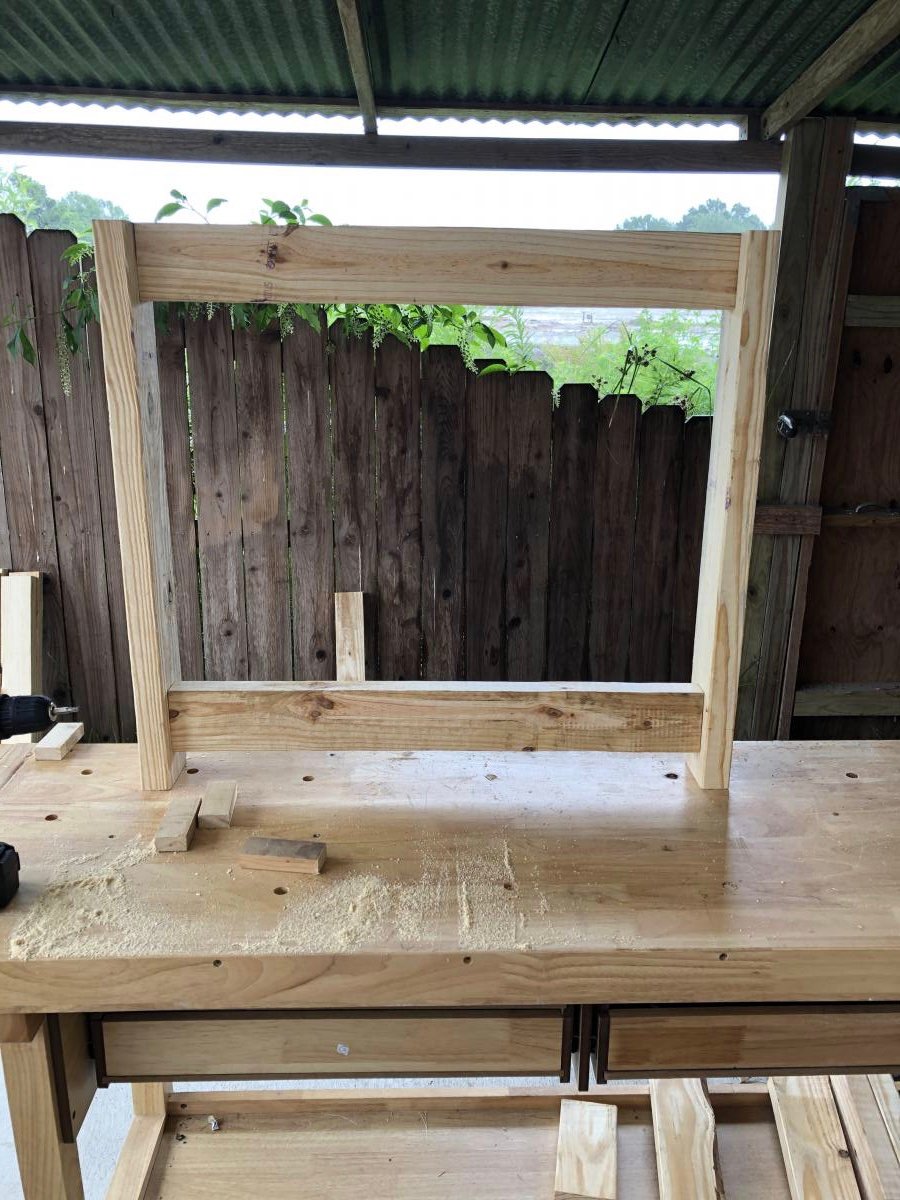
Completed the shelving unit this past summer in my Barn, great plan and really easy to put together,
Thank's for the plan and step by step instructions, Going to build another unit in the barn come spring time here in Upstate New York. I made mine only eight feet wide by eight feet high givin the space I had
it's eight feet between 4x4 upright polls. I went with a center 2x4 for added strength to avoid possible sagging from heavy weighted items I will be storing. I left room inderneath as you can see, I store my saw horses and my push mower under it well.
Warmest Regards
Steve
Tue, 11/08/2016 - 16:23
Hi Steve! Thank you for posting, your shelving looks awesome!! I like the lawn mower storage underneath. Nice! Ana
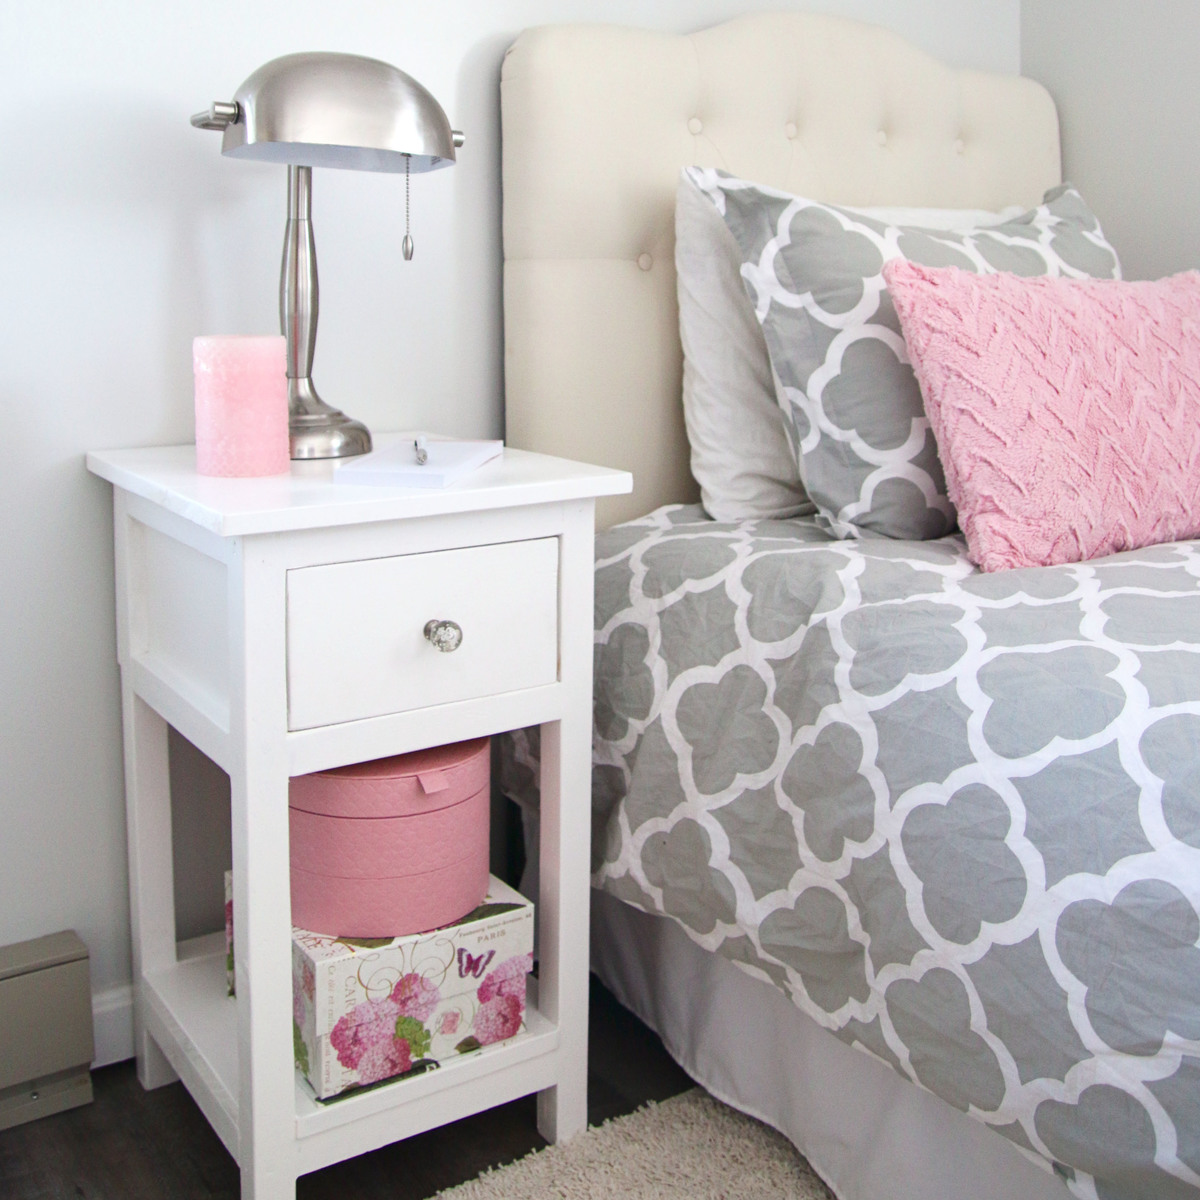
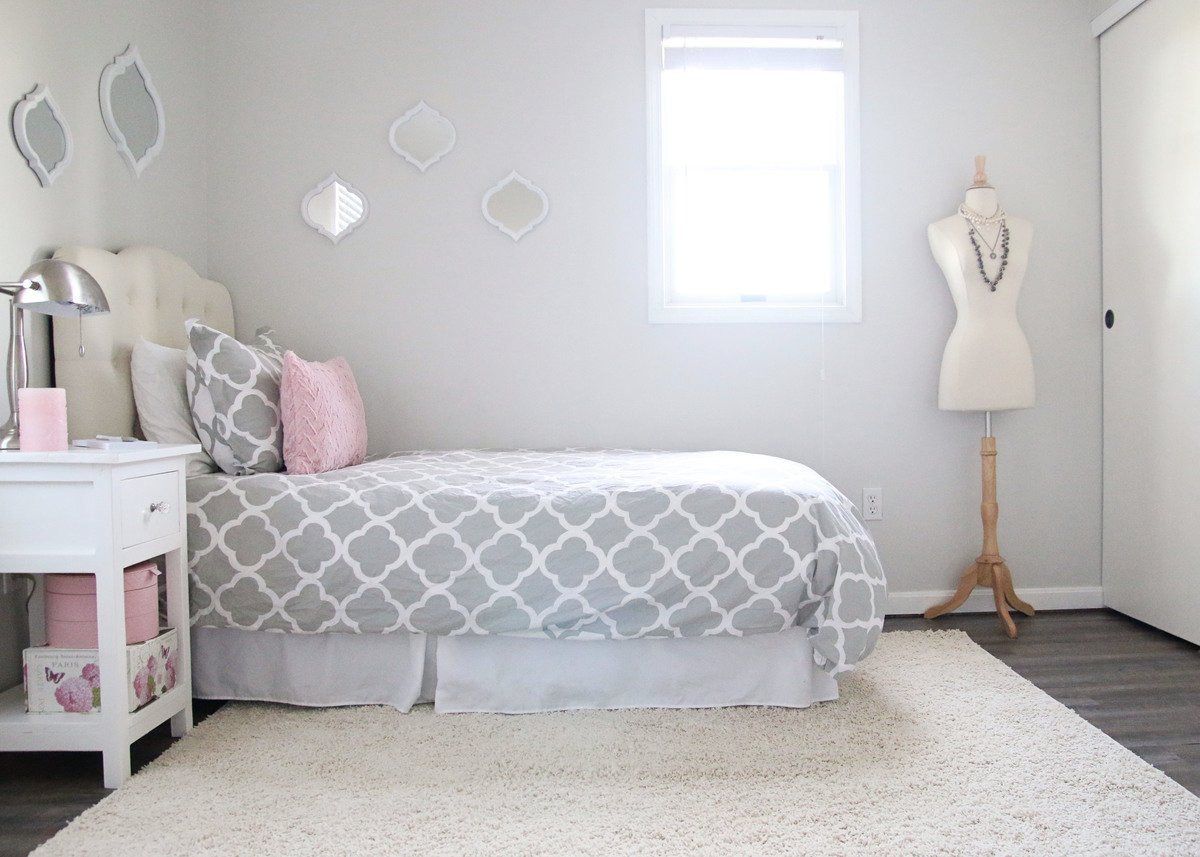
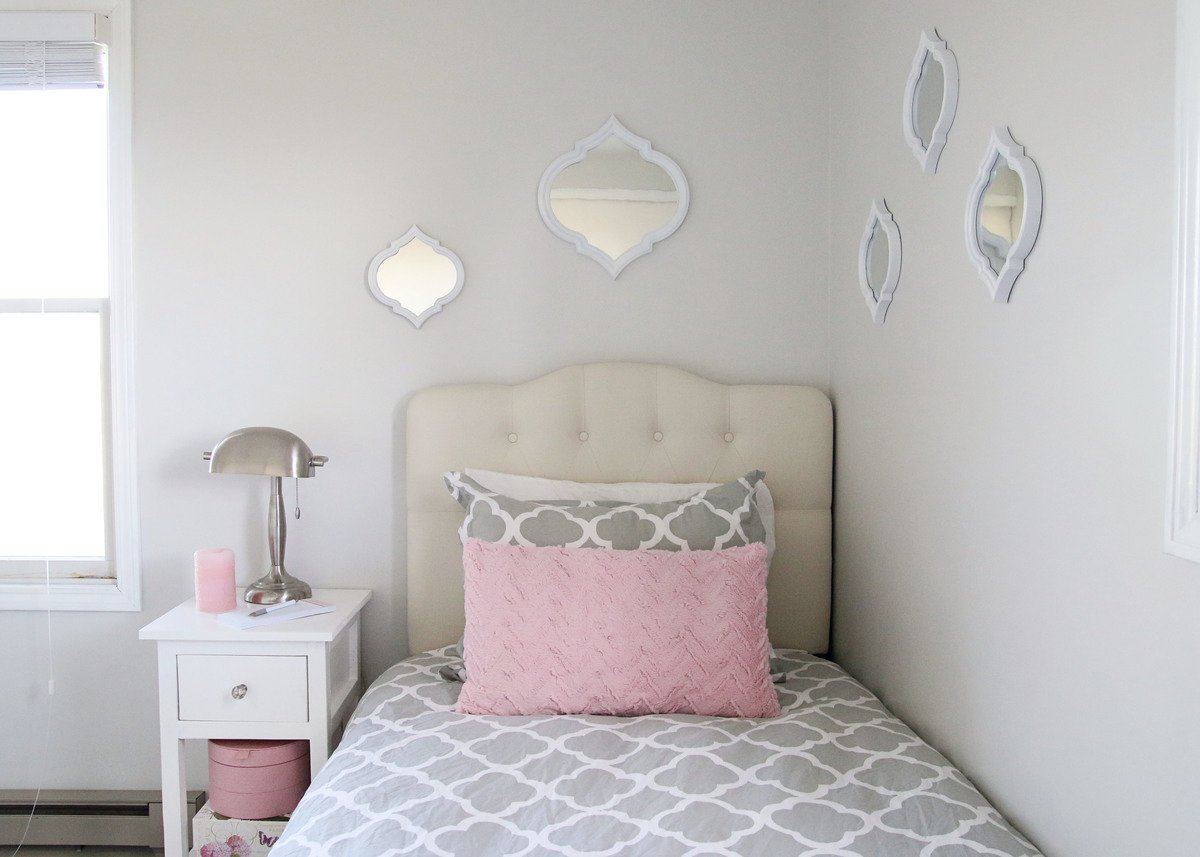
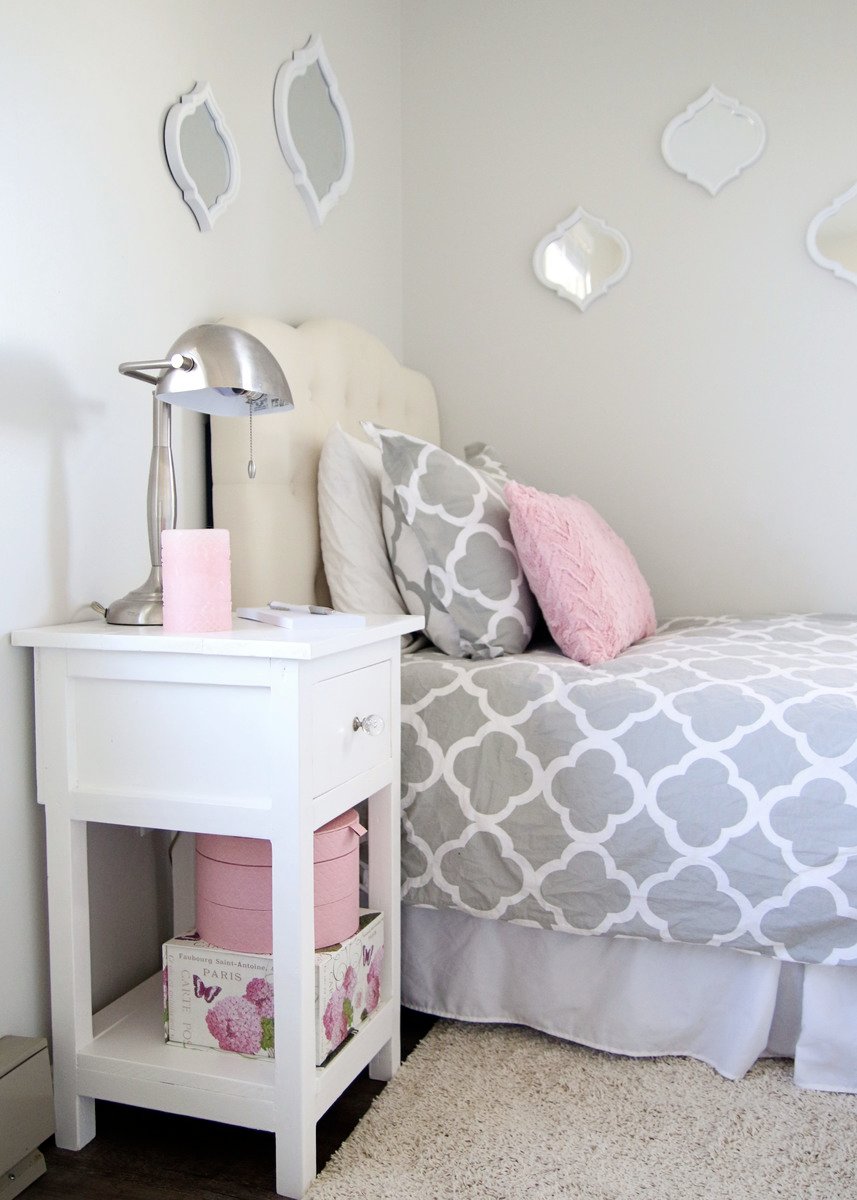
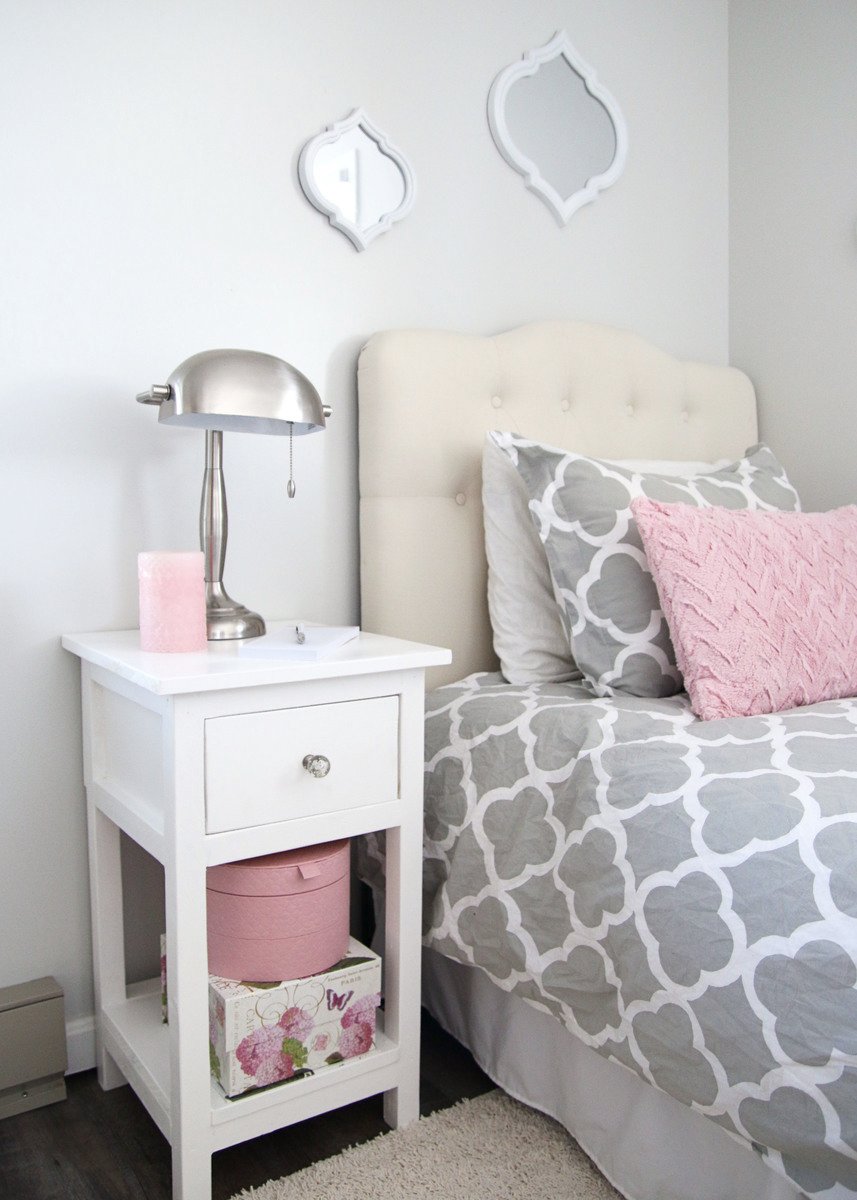
We (my husband and I) recently gave our tween daughter's bedroom a complete overhaul and needed an affordable and pretty nightstand for the room. After searching online and in stores, we could not find one that we liked for a price we wanted to pay, so we opted to build. These plans were very easy to follow and allowed us to create a functional bedside table that was just right for the space.
I followed Ana's plans as written. However, I couldn't find a locking hinge the comments suggested. I will keep on the look-out for this though. I used 3/4" hardwood and had Blue do all the cuts for me. Easy-peasy. I painted the whole thing with left-over paint and then randomly taped off stripes using more leftovers and then protected everything with a coat of poly. Finally, I used a double layer of quilt batting and 100% cotton fabric to upholster one of the leaves for use as an ironing board. Literally finished this today, so I haven't had a chance to use it, but I'm so excited with how it turned out!
Thu, 04/25/2013 - 10:57
I found locking hinges for a table here: http://www.hardwaresource.com/hinges/FURNITURE+HINGES/Table+Hinges+-+Sh… and here: http://woodworking.rockler.com/c/table-leaf-locks
I hope that helps you finish the project!
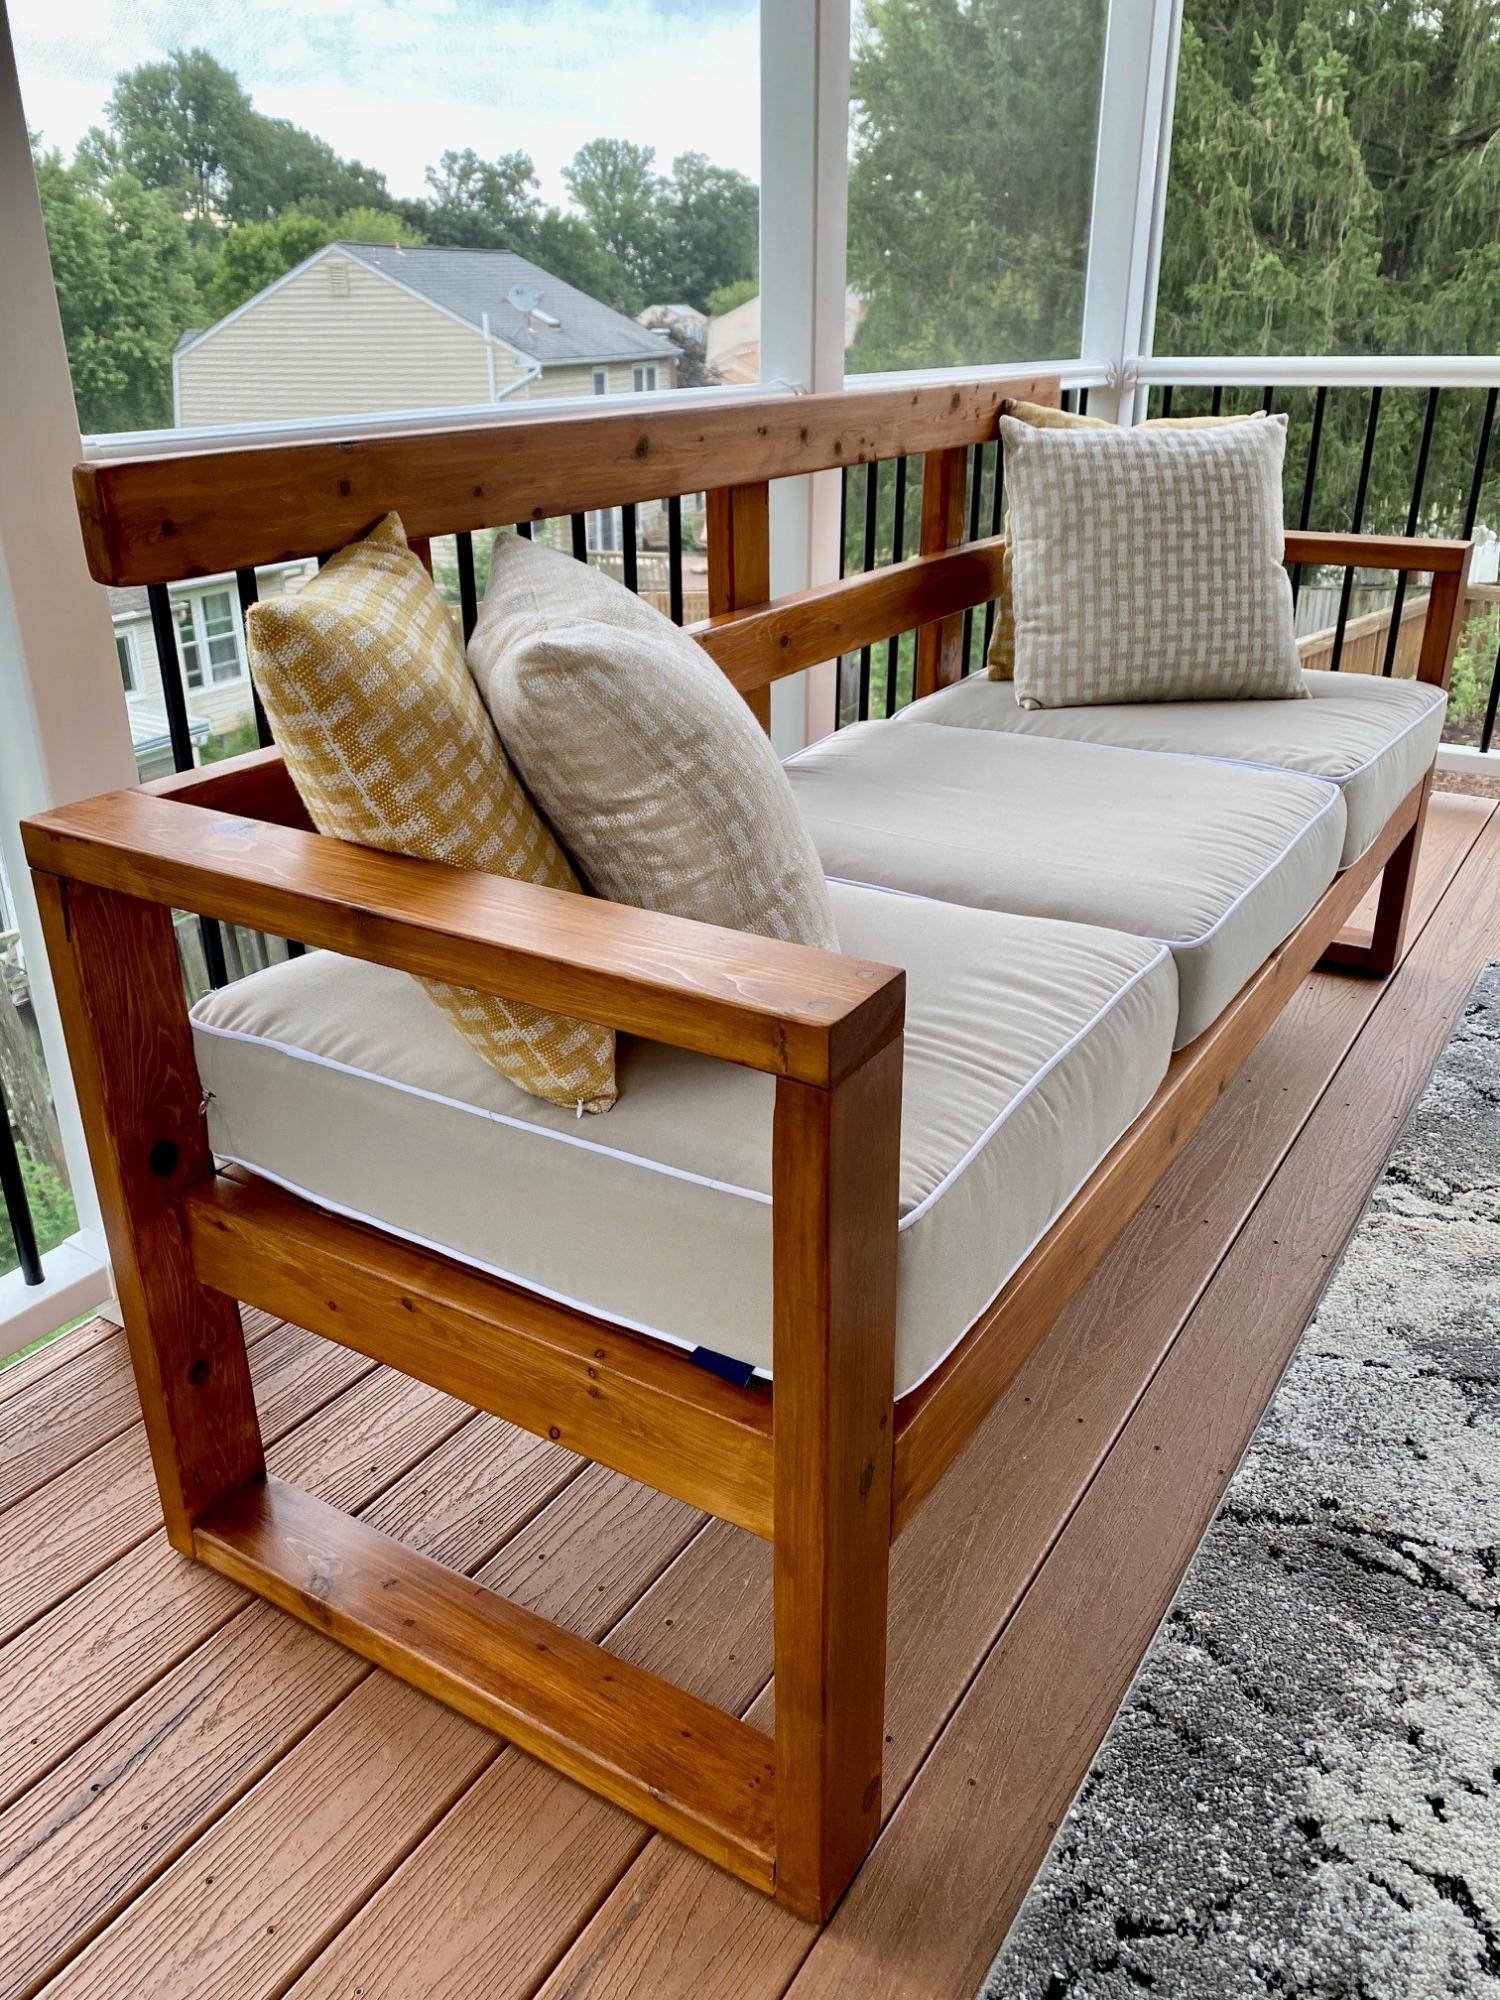
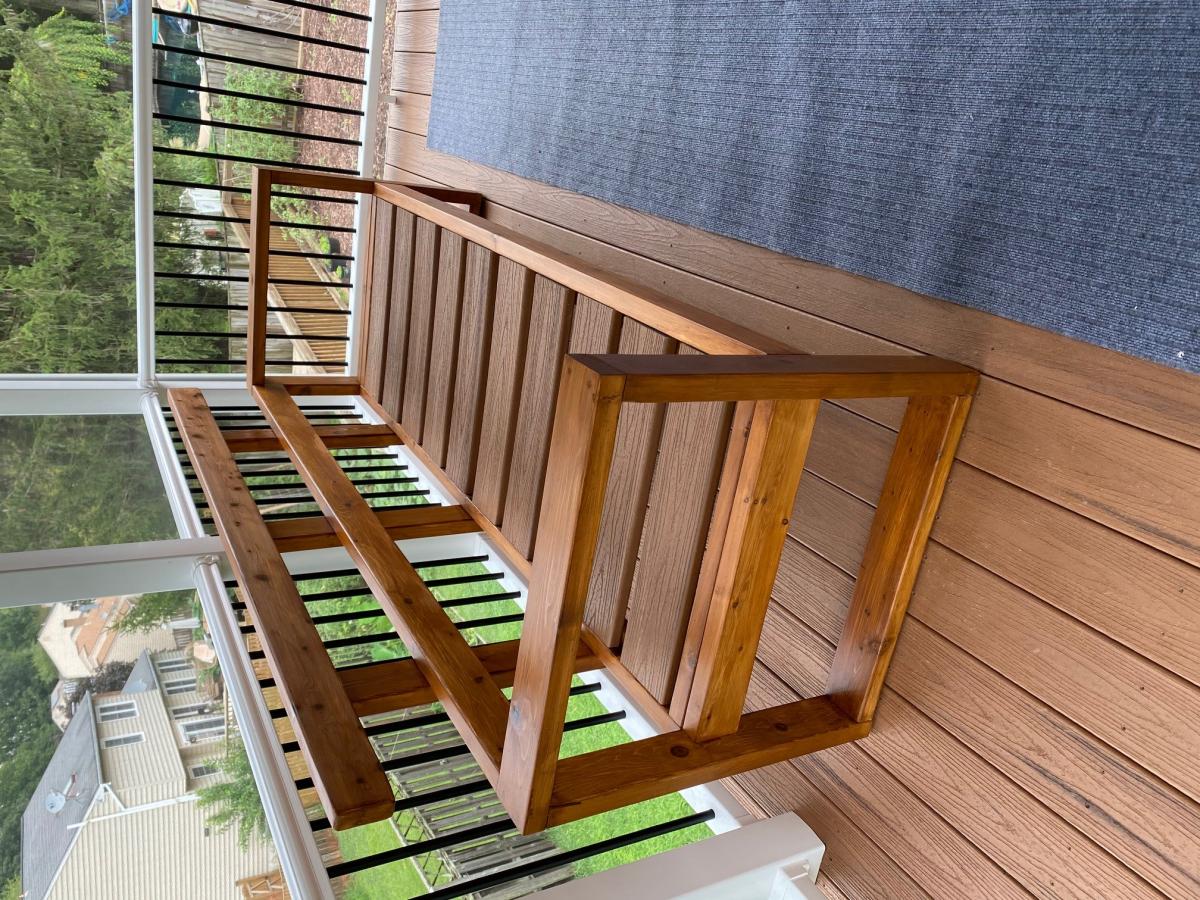
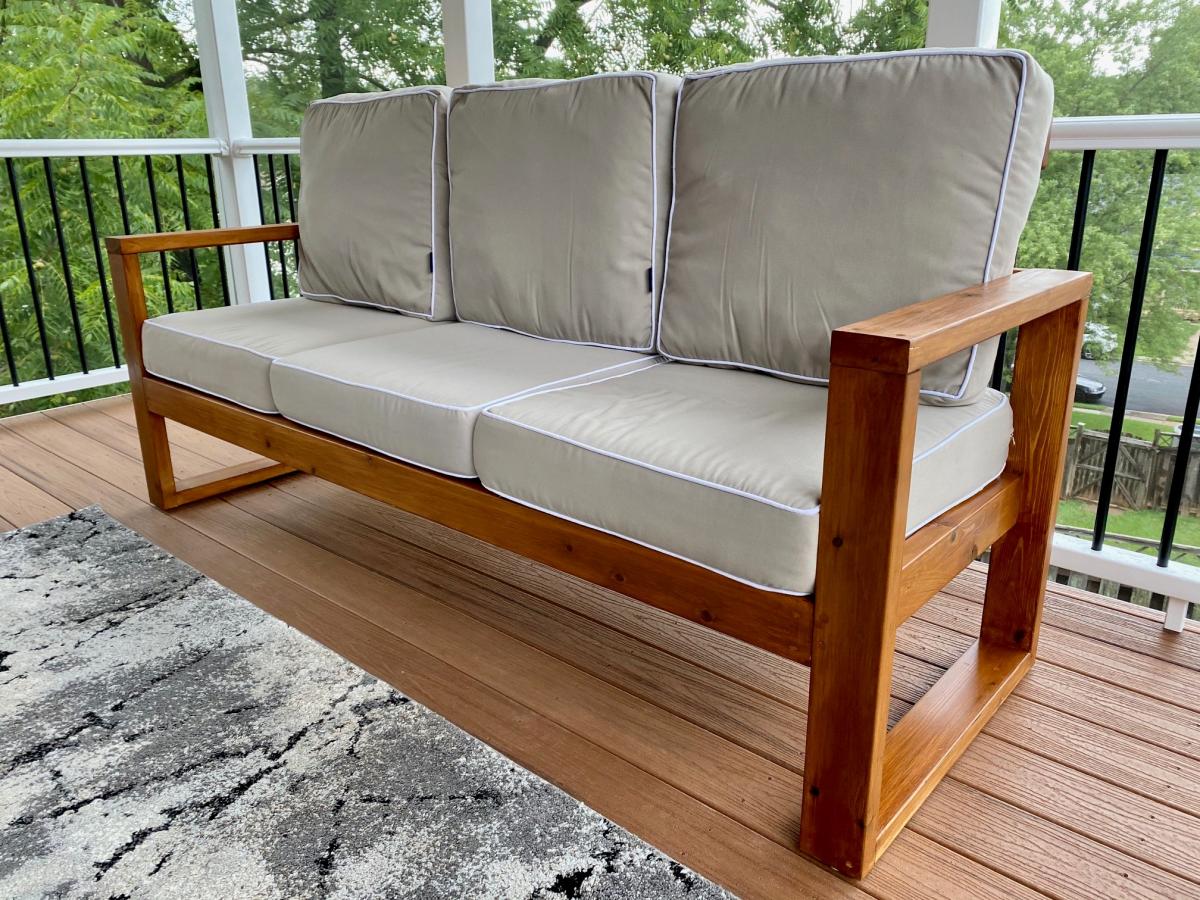
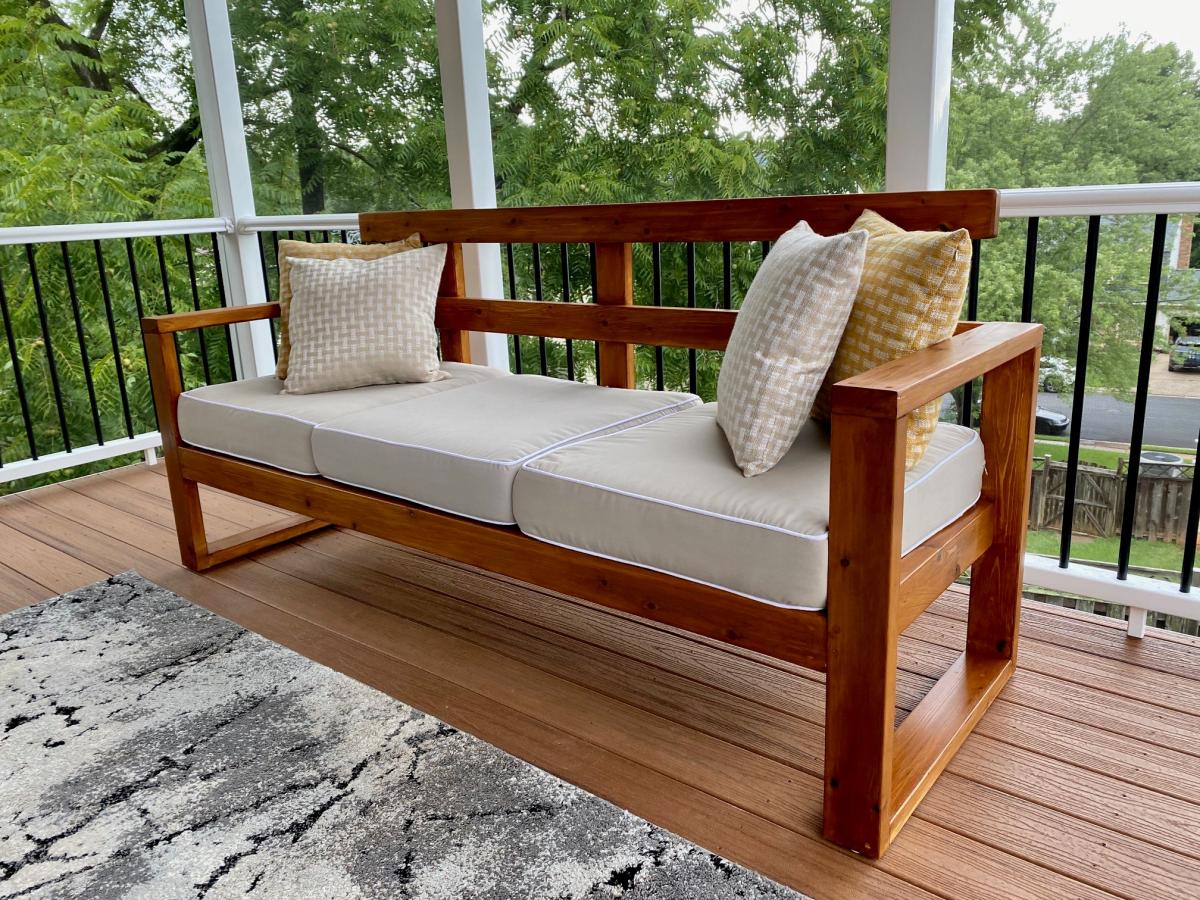
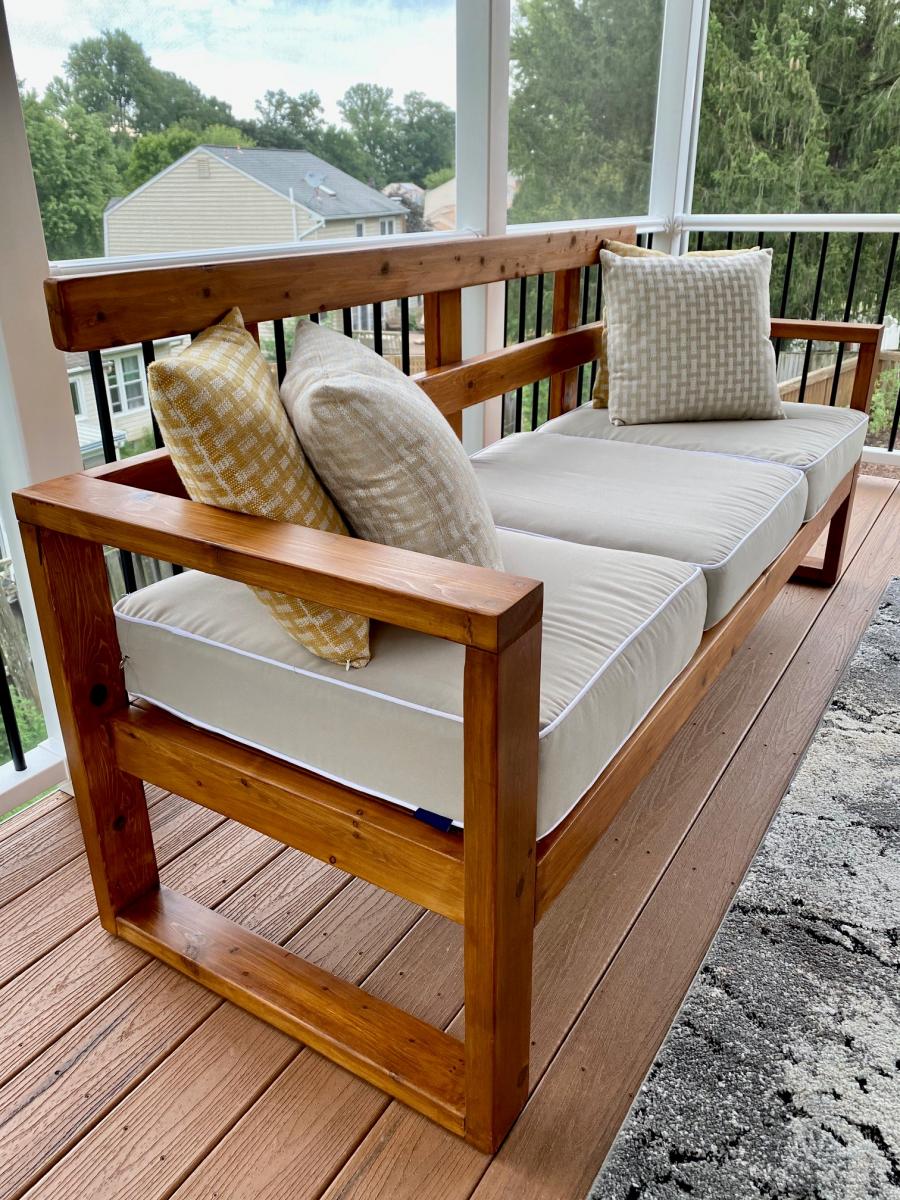
Built this beautiful Sofa from Ana White's Plan, had to modify a bit as I had left over small pieces of trex from my Deck , and the back rest cushions were higher.
Sat, 09/07/2024 - 23:21
Hey this looks amazing! My wife and I really like the finish you put on it? Is that a solid stain or a semi transferable? If it’s the semitransparent, is it natural cedar, atlas, or rustic? Thanks!