Tall Wood Planters
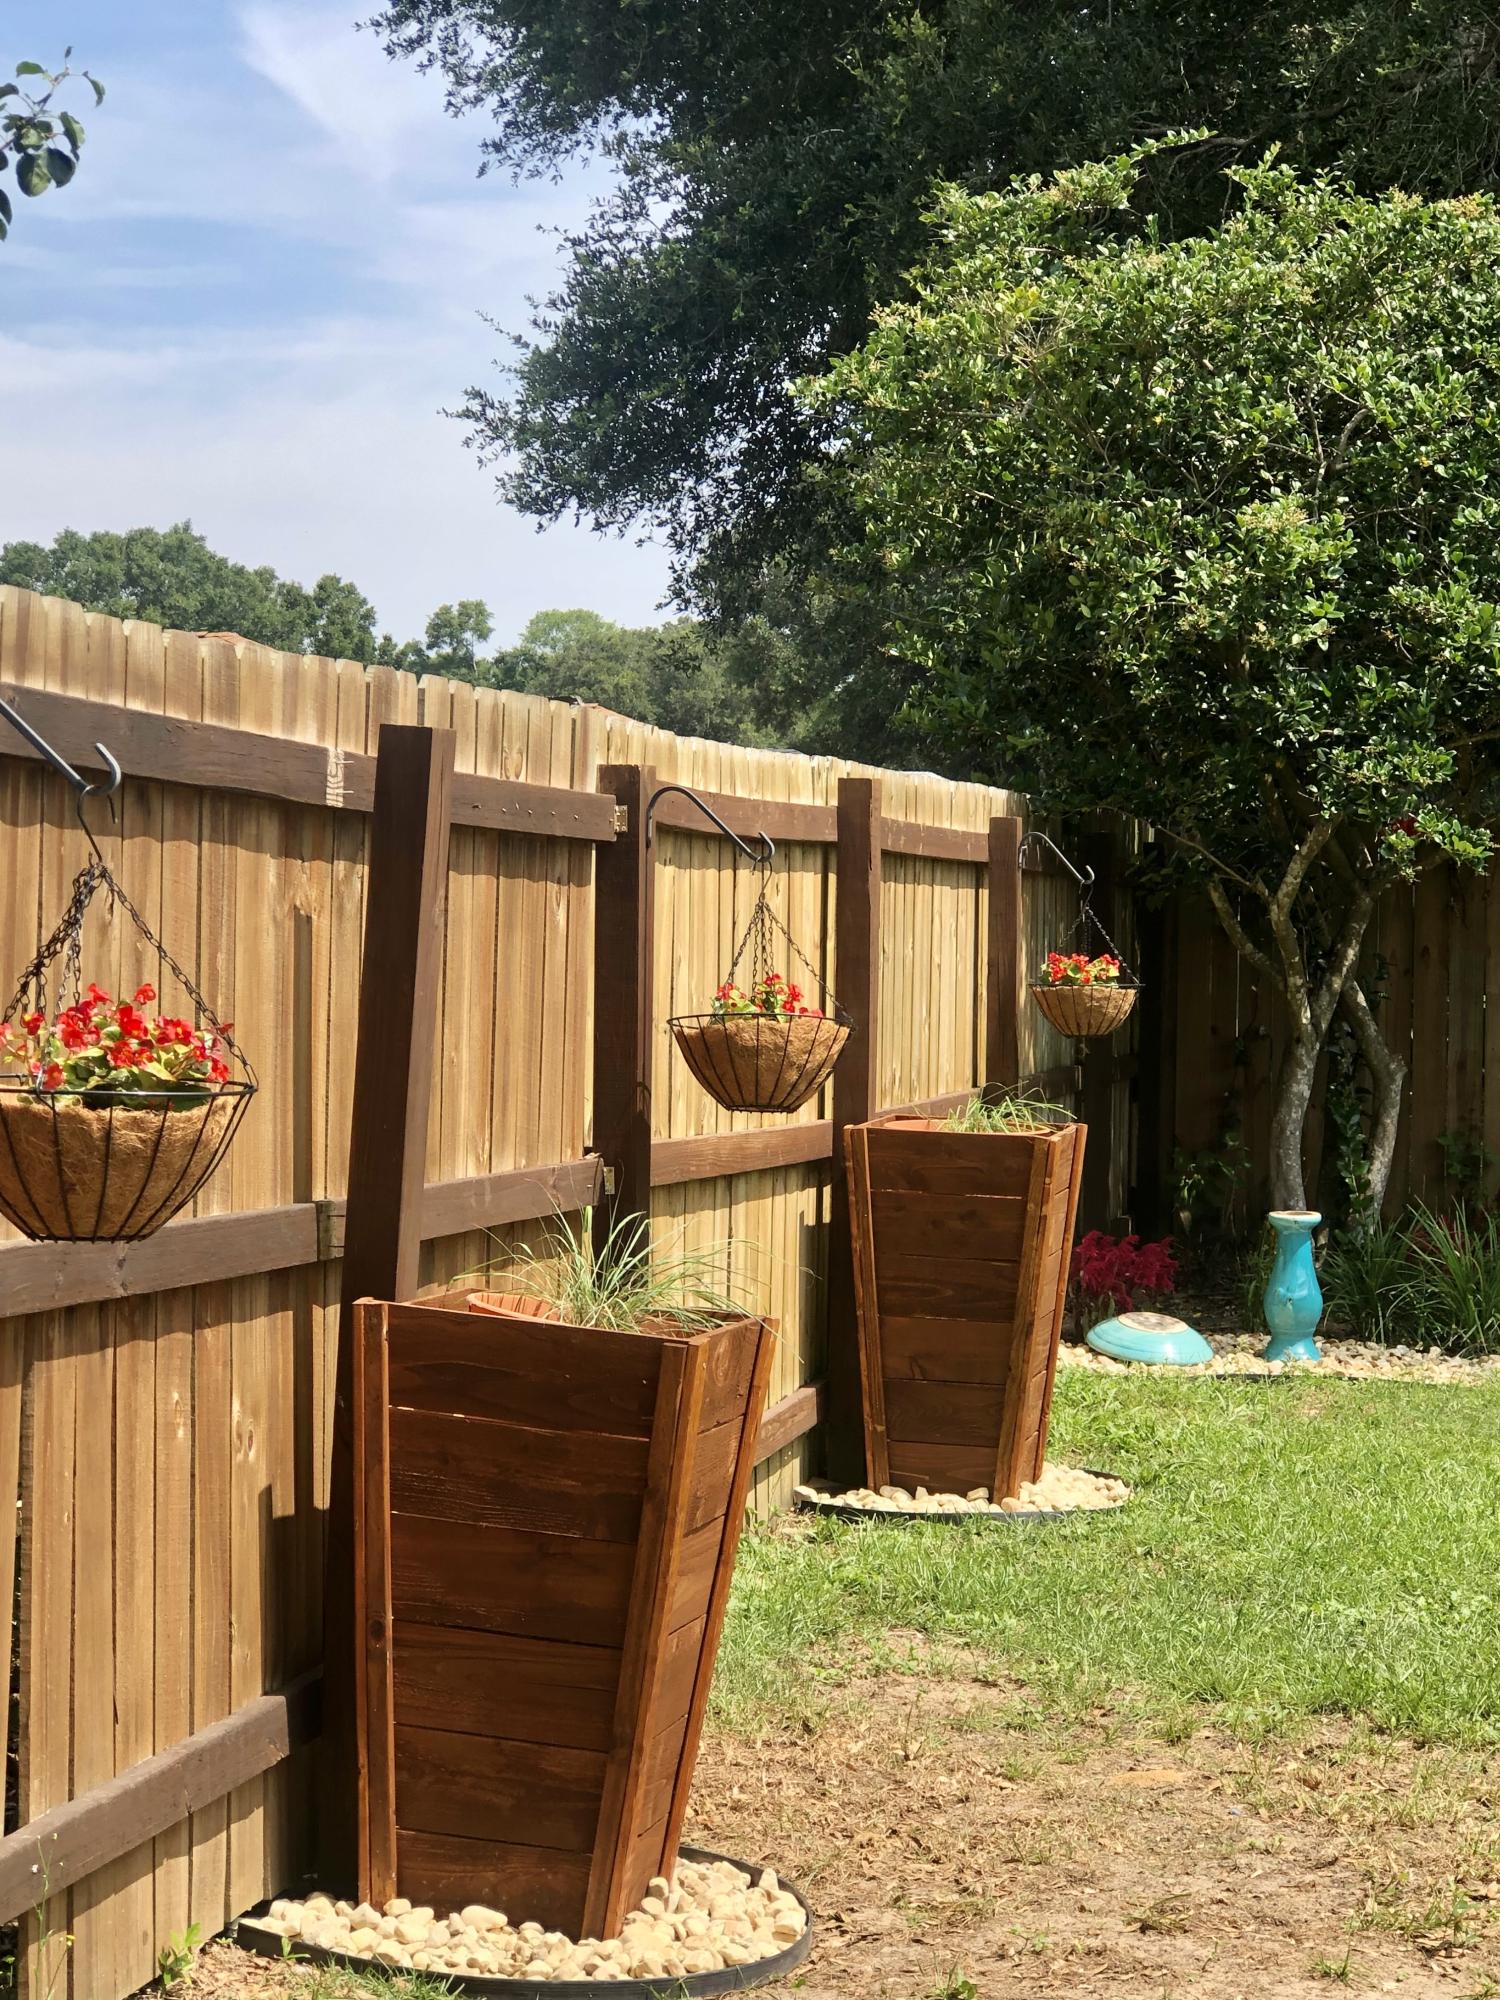
32” wood planters with false bottom
Jenna
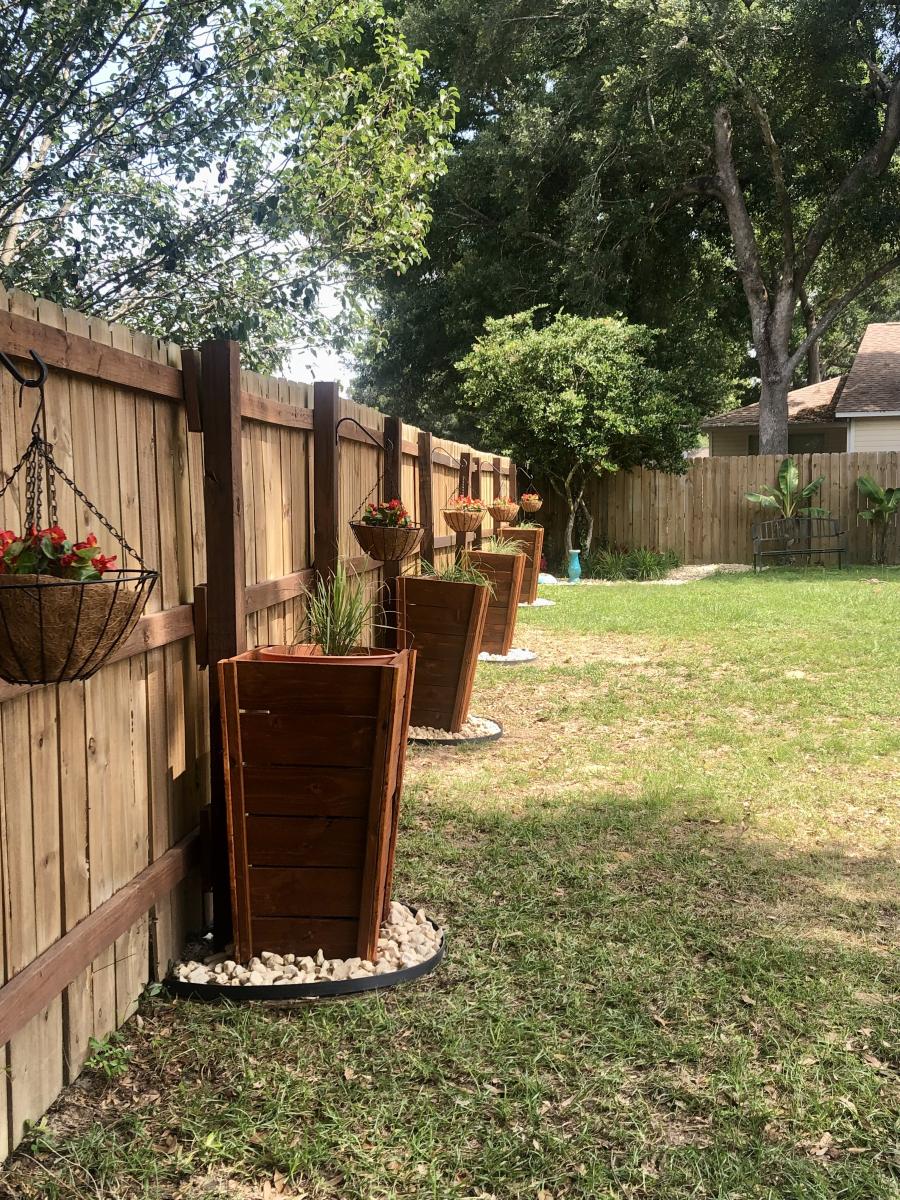
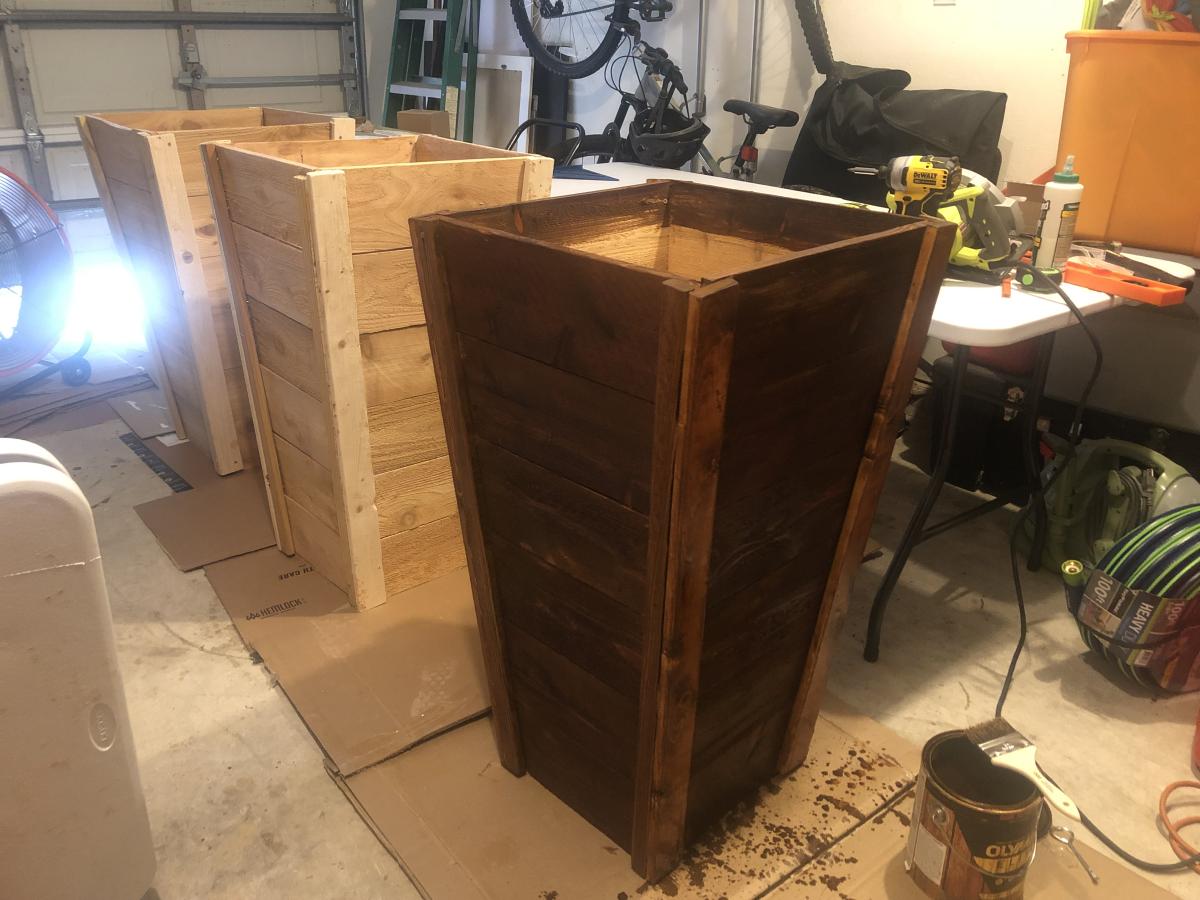

32” wood planters with false bottom
Jenna


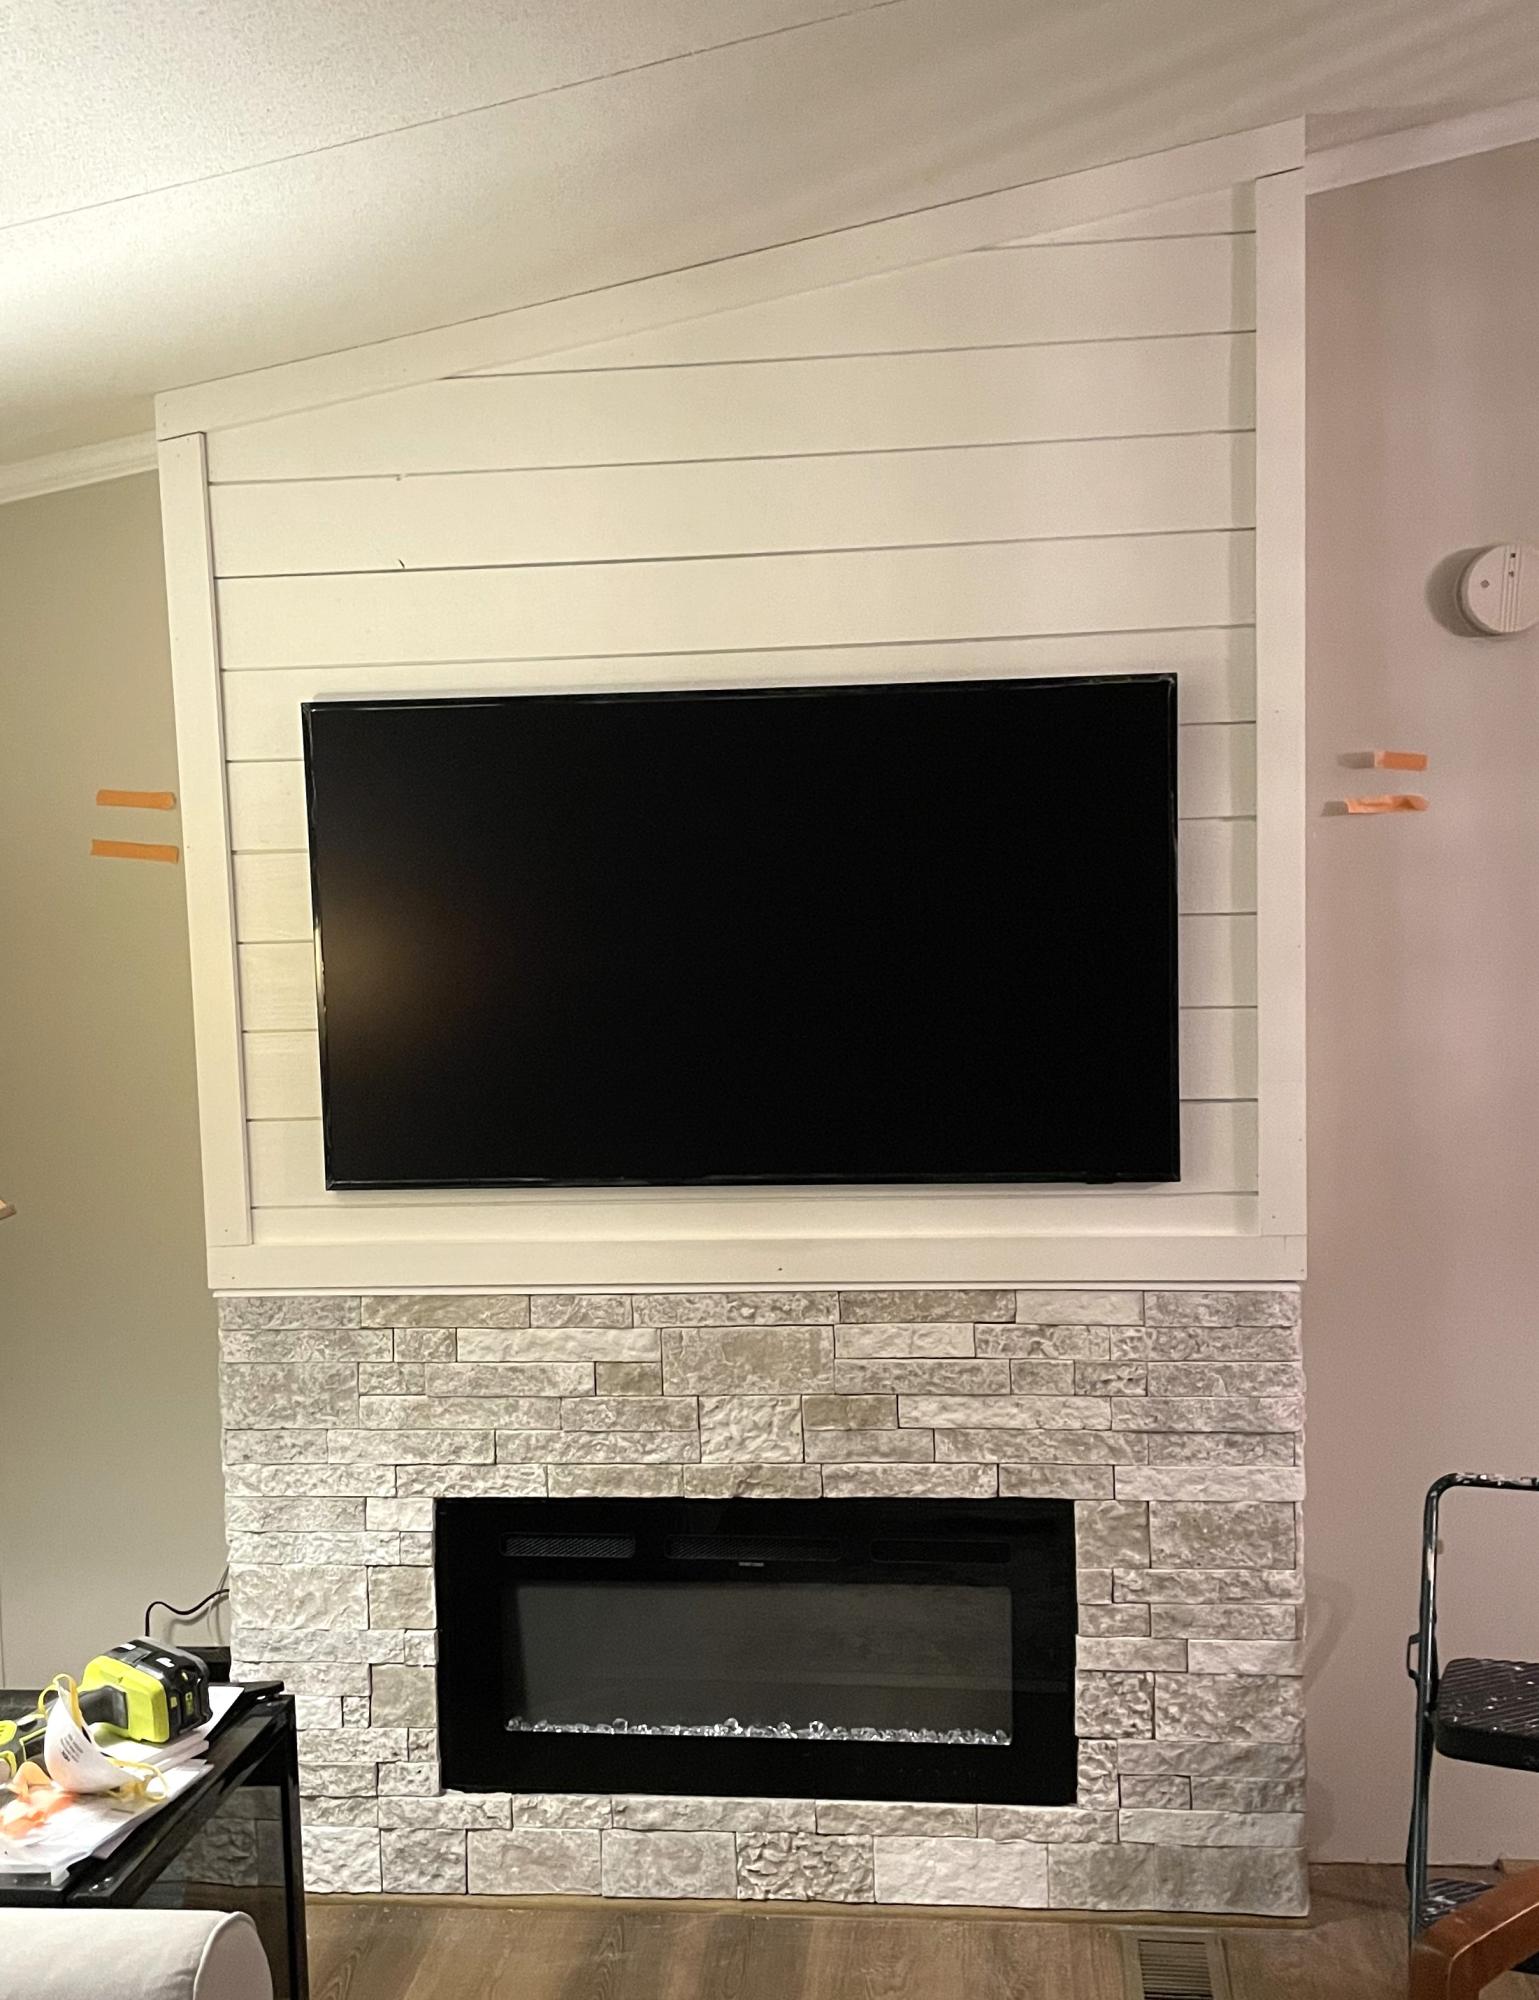
I used Ana’s fireplace plan and added lightweight brick. The vaulted ceilings was a challenge but I figured it out!
Marcia T.
Great design, easy to follow!
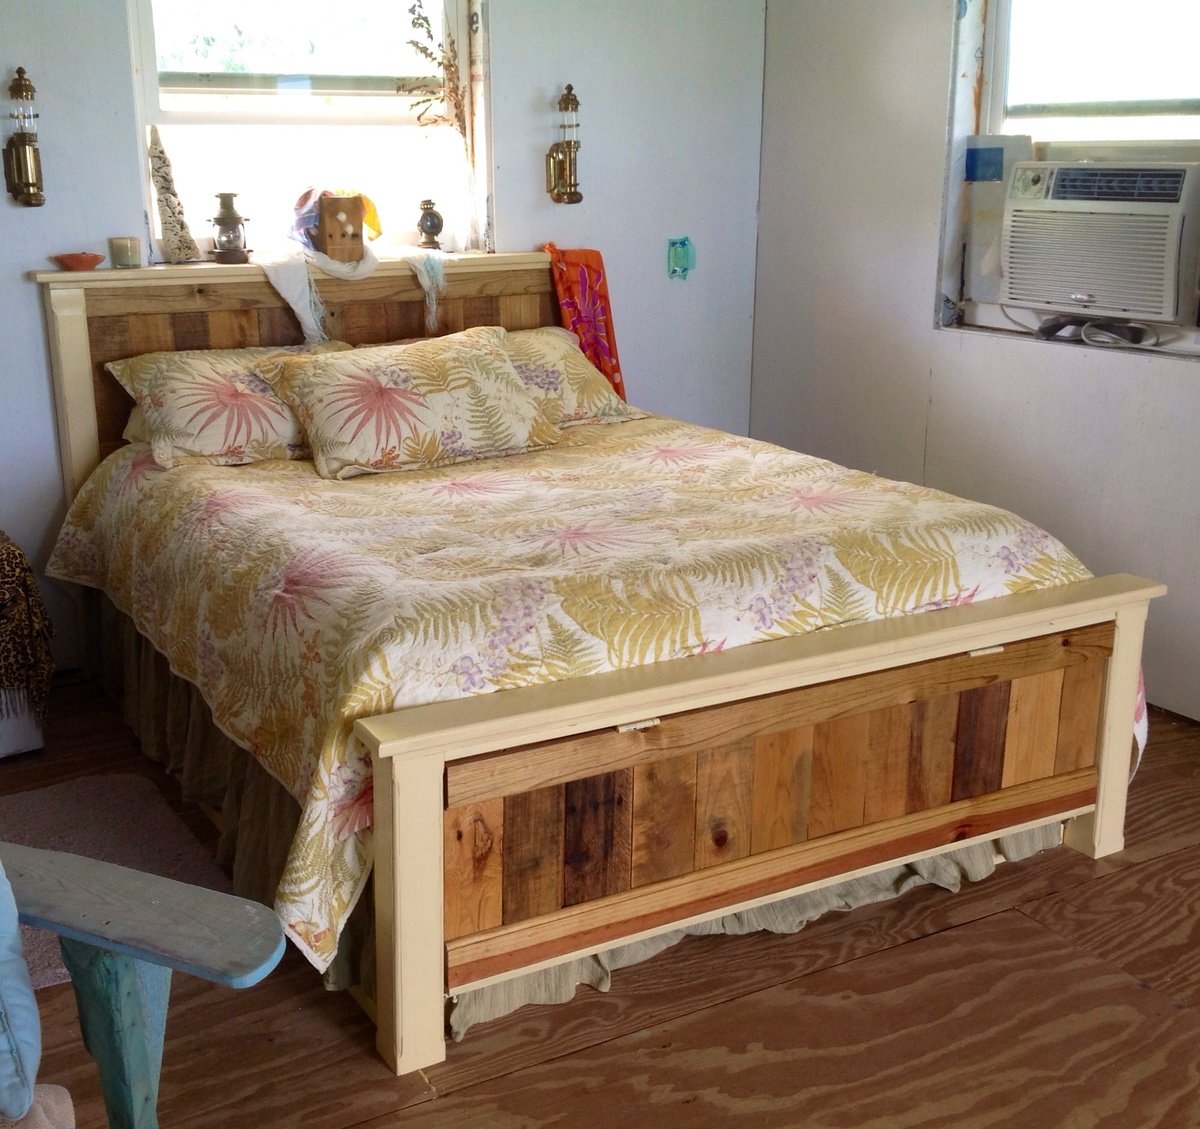
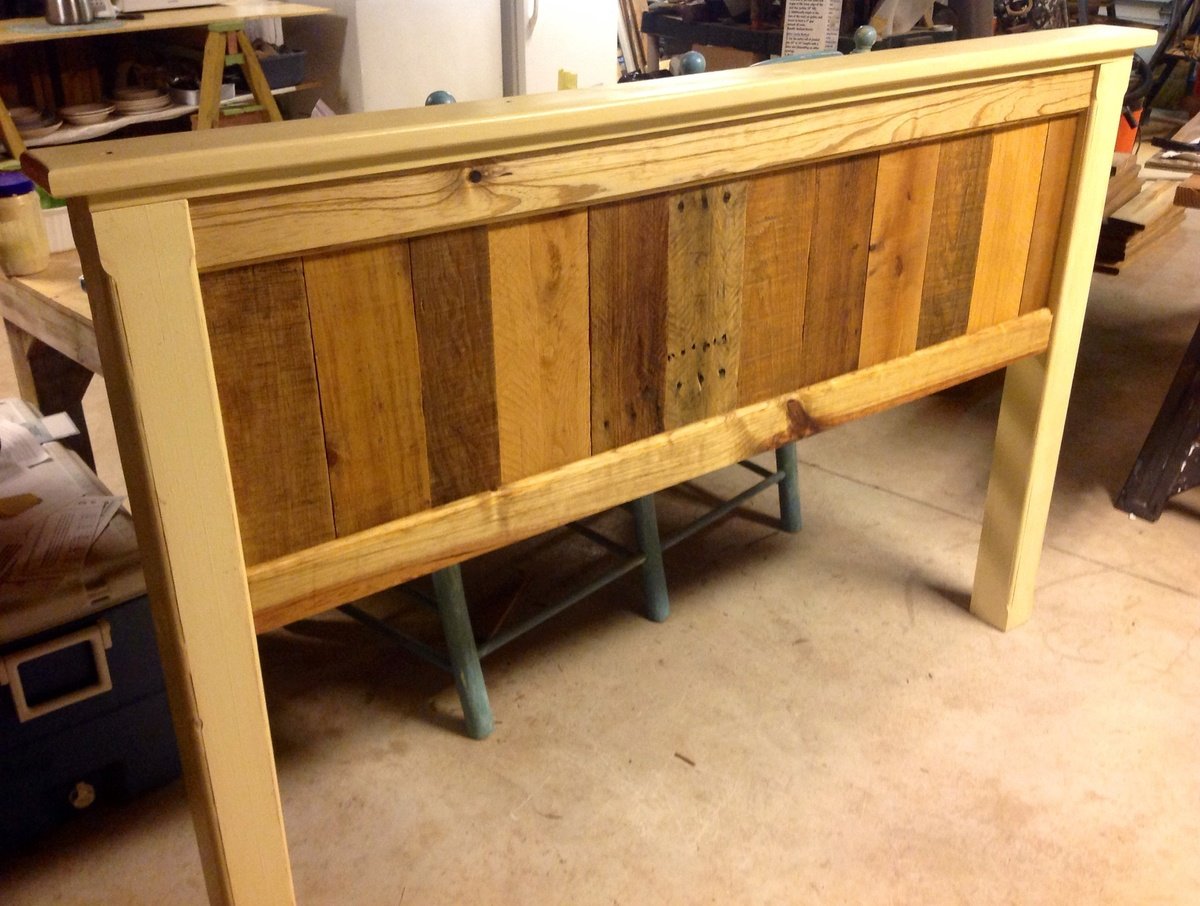
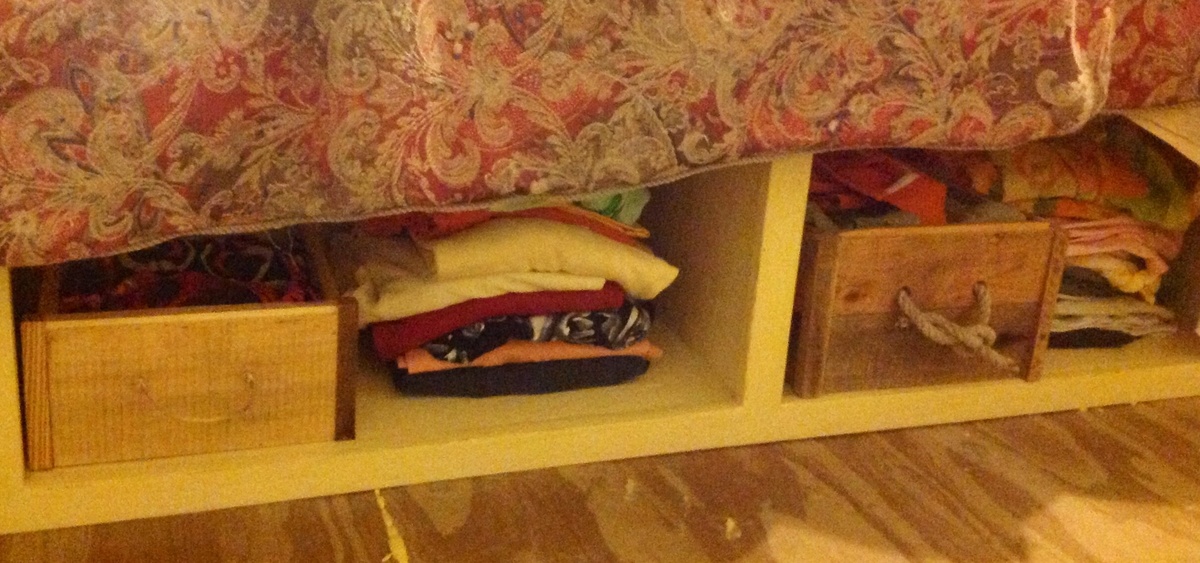
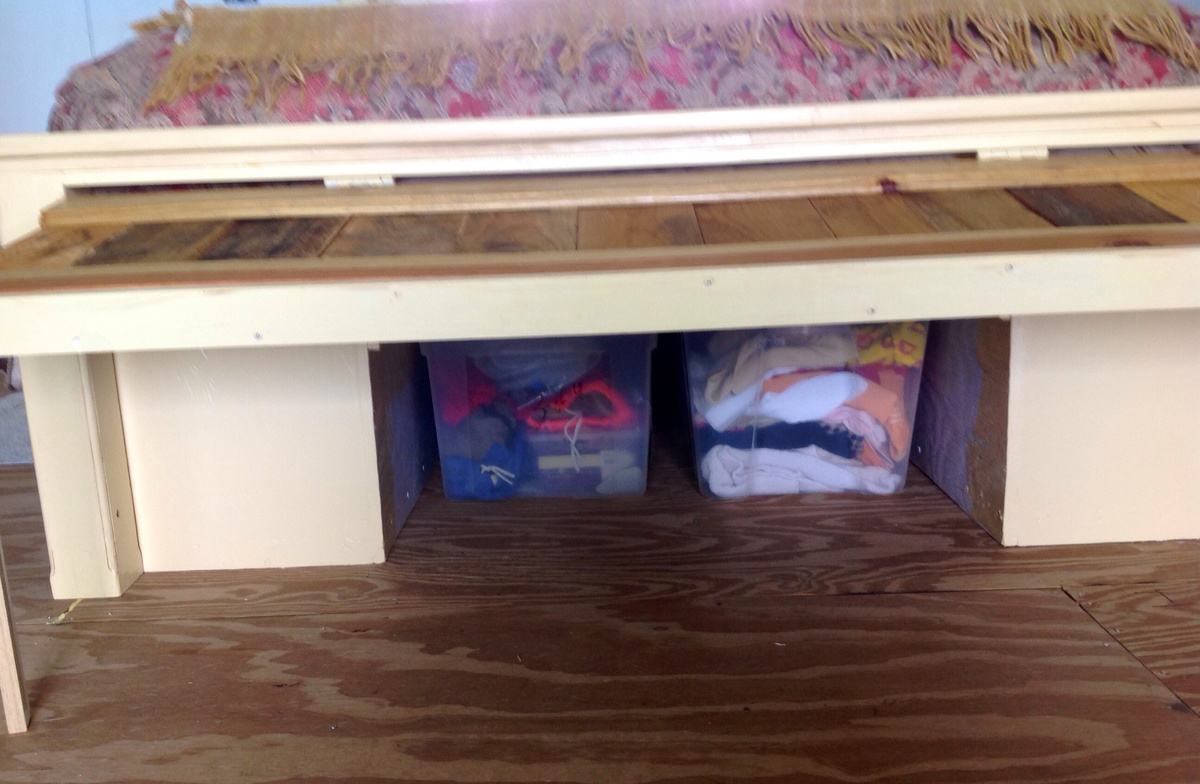
I used pallet wood for the head and foot boards and followed Jenny's Hinged Footboard plans at http://www.birdsandsoap.blogspot.com/ with a few modifications for stability so this can withstand my dogs' constant wrestling matches! The balance of the lumber was all house construction leftovers so all I bought were hinges and barrel bolts. I adore ALL the storage! I am in love with this site because it gets you "going" and then your imagination can take over and let you customize. Thank you Anna and Jenny! See my blog for a step by step.
Tue, 01/07/2014 - 16:55
Great use of "cast-offs." And the creative use of what you had on hand makes for a really striking, beautiful look. Great job!
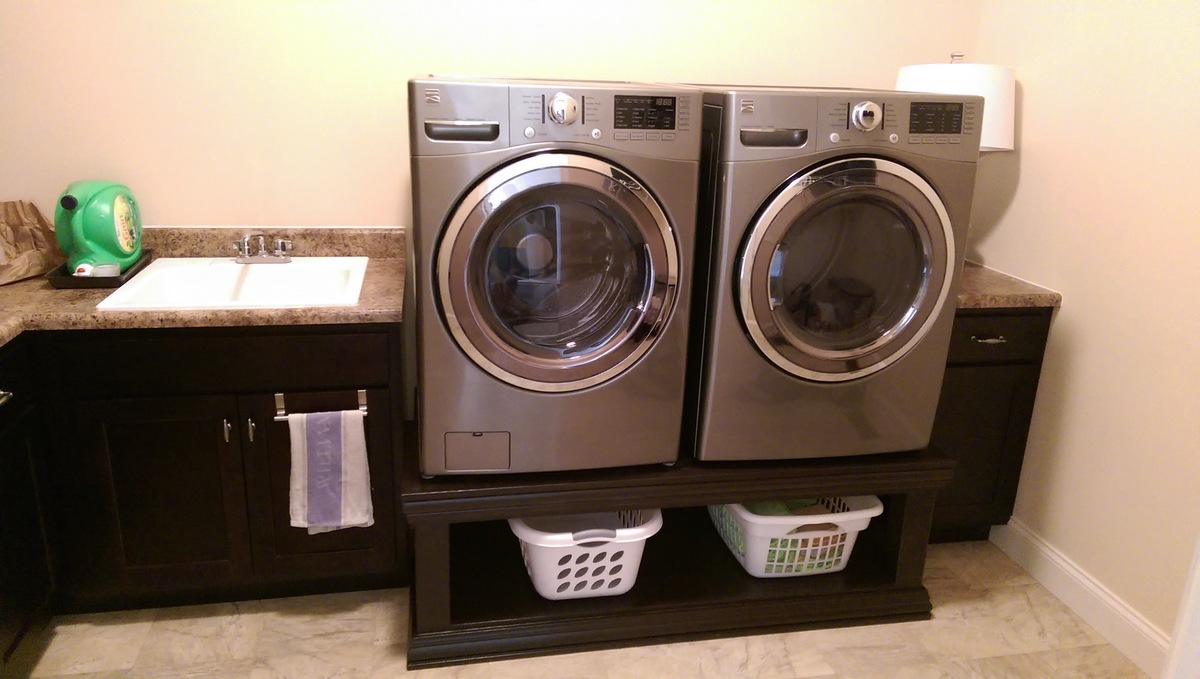
I similarly was looking for something to store laundry baskets underneath and didn't want to shell out $500+ for pedestals that were less functional. Without being particularly handy, this was a relatively easy DIY project that turned out great. Adding the baseboard trim made a big different in the overall look and the dark paint to match our cabinets helped in pulling it all together. We made the height 12" (instead of 11") for the storage component and cut the width by 2 inches to allow room for the baseboard trim to wrap around the side. Otherwise it was built the same as the original design without the extra trim.
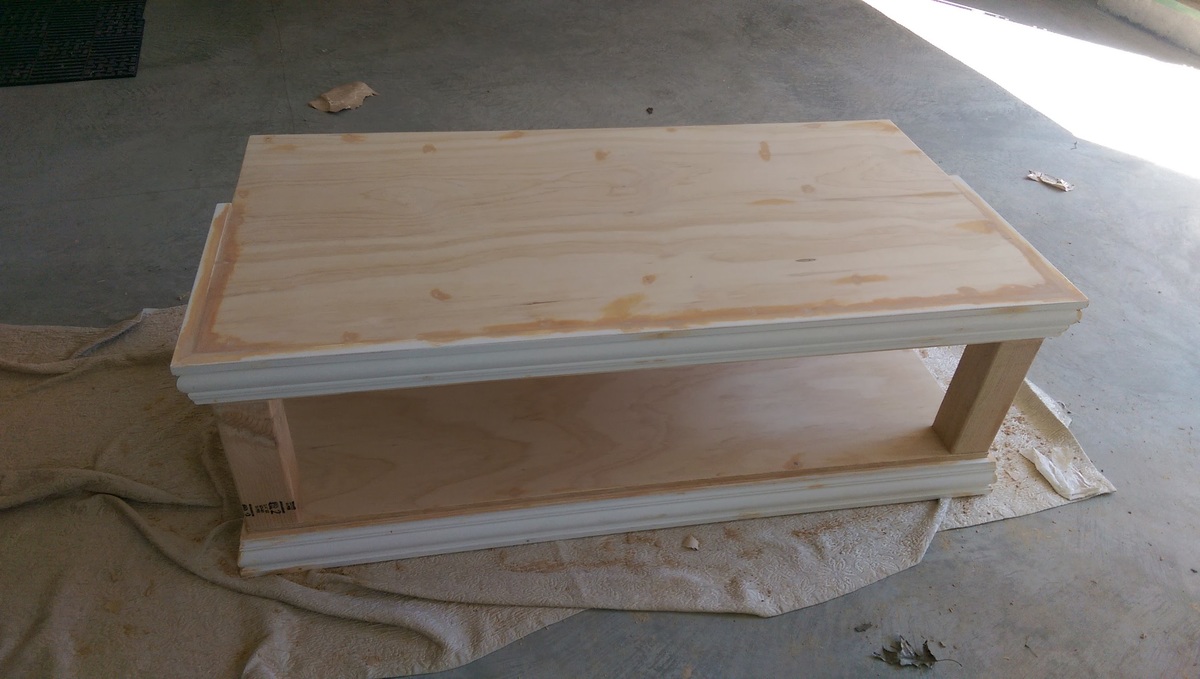
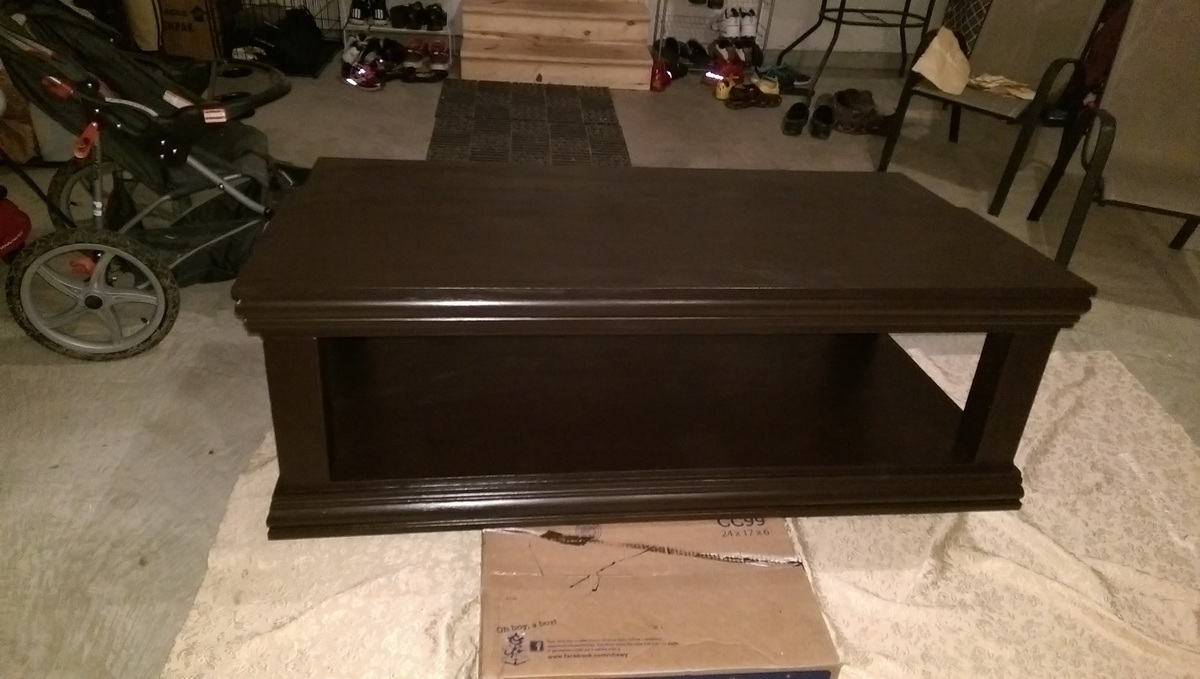
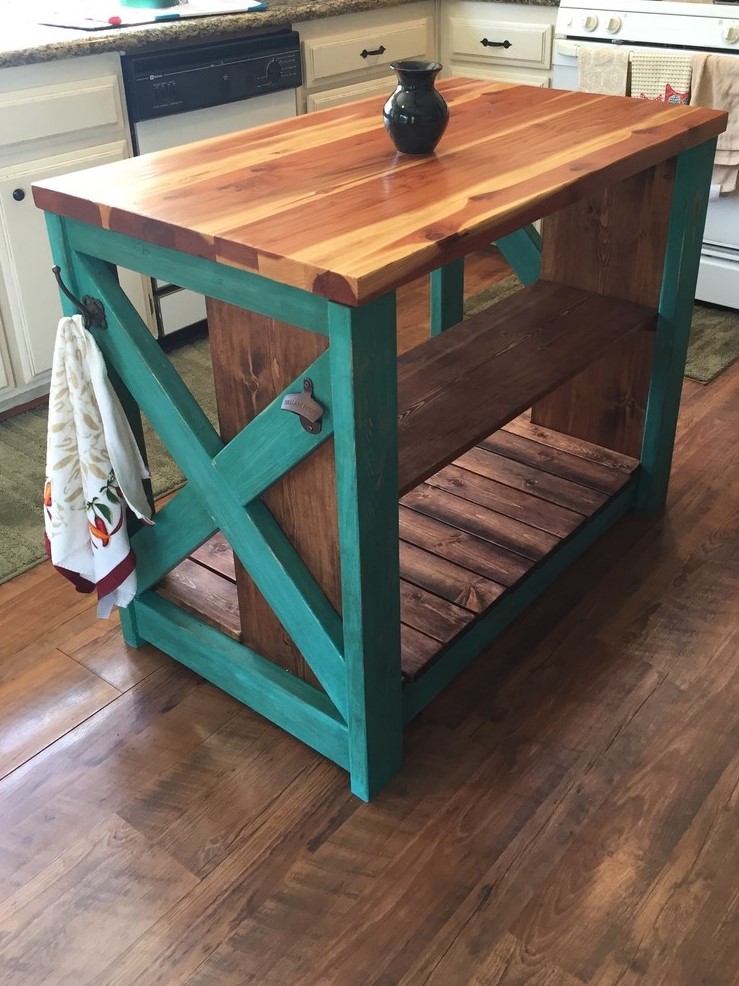
I saw the plans for this project and decided I wanted to do something of the sort. I tweaked the plans a bit and made it longer and took out the drawer. My favorite part about it is Annie sloans chalk paint. Look into it, it's great stuff.
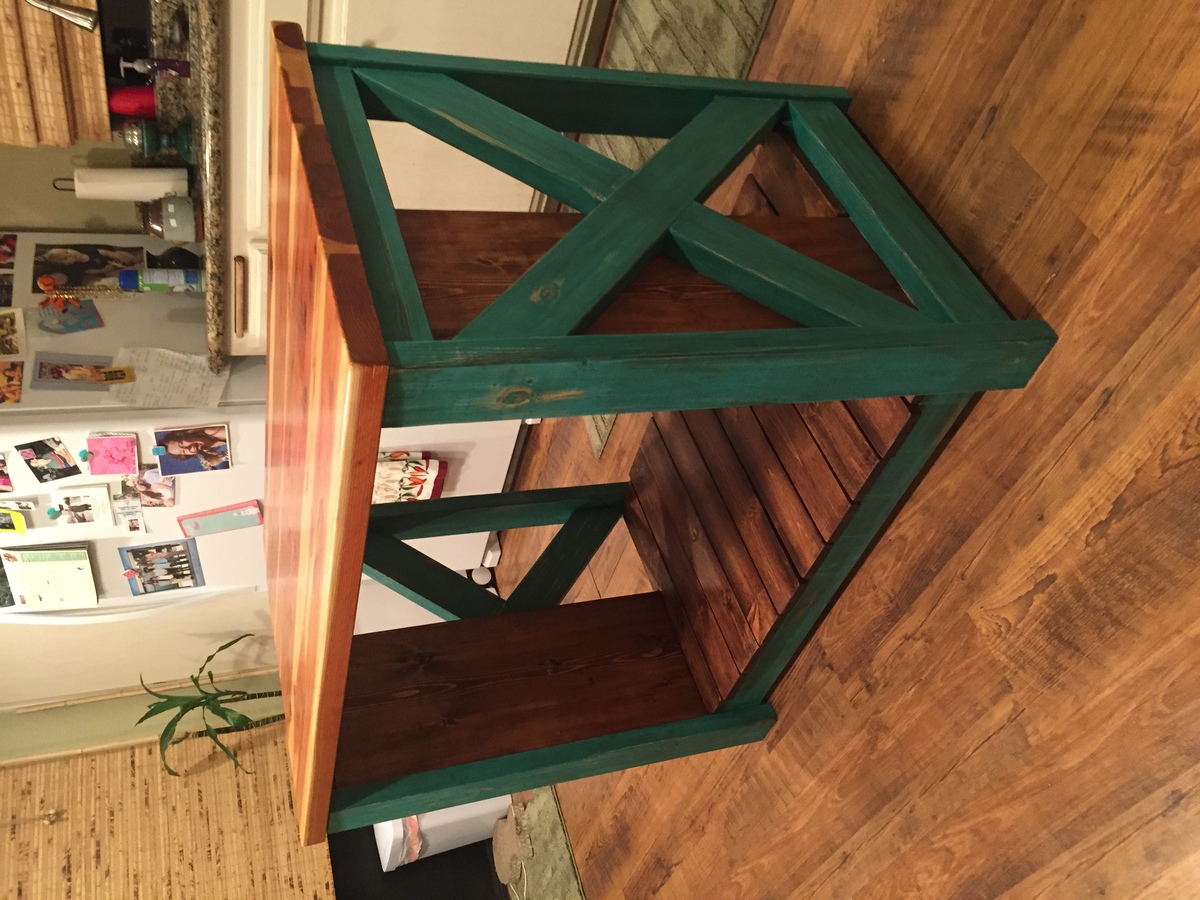

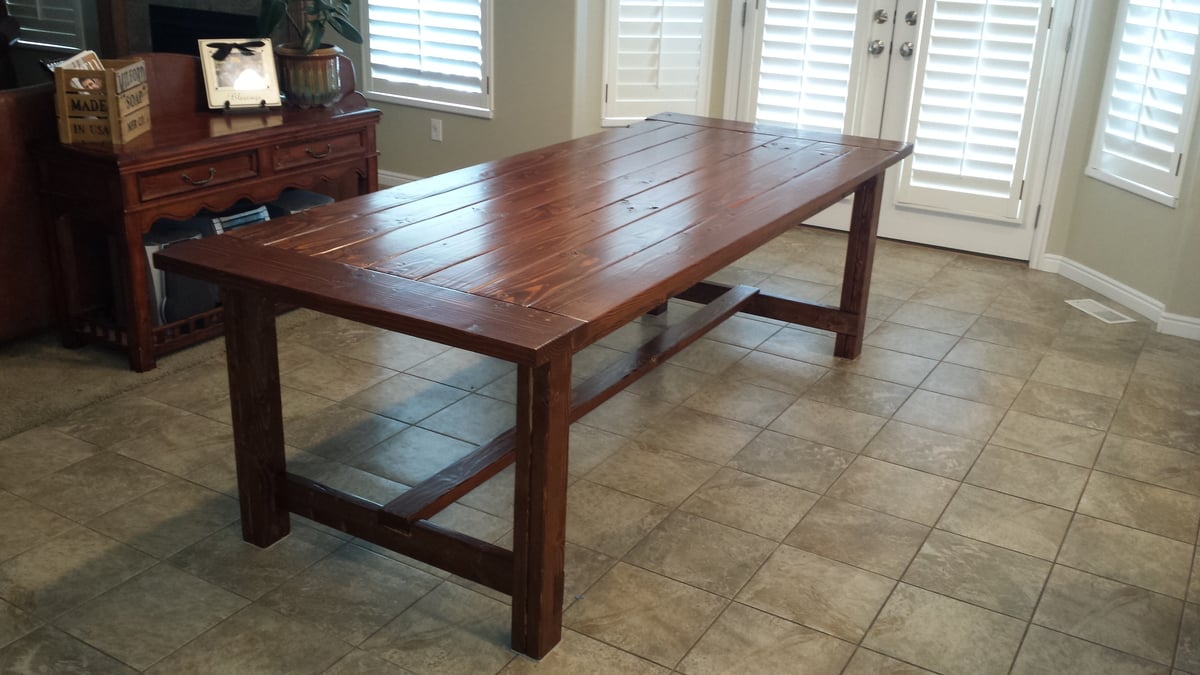
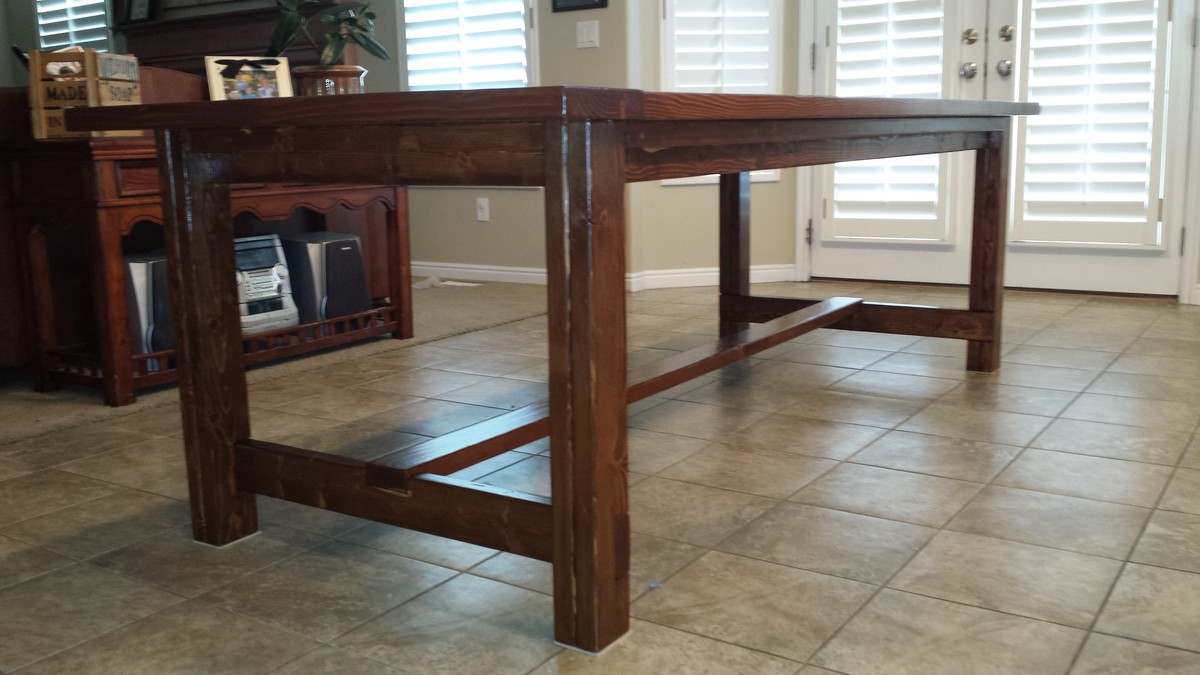
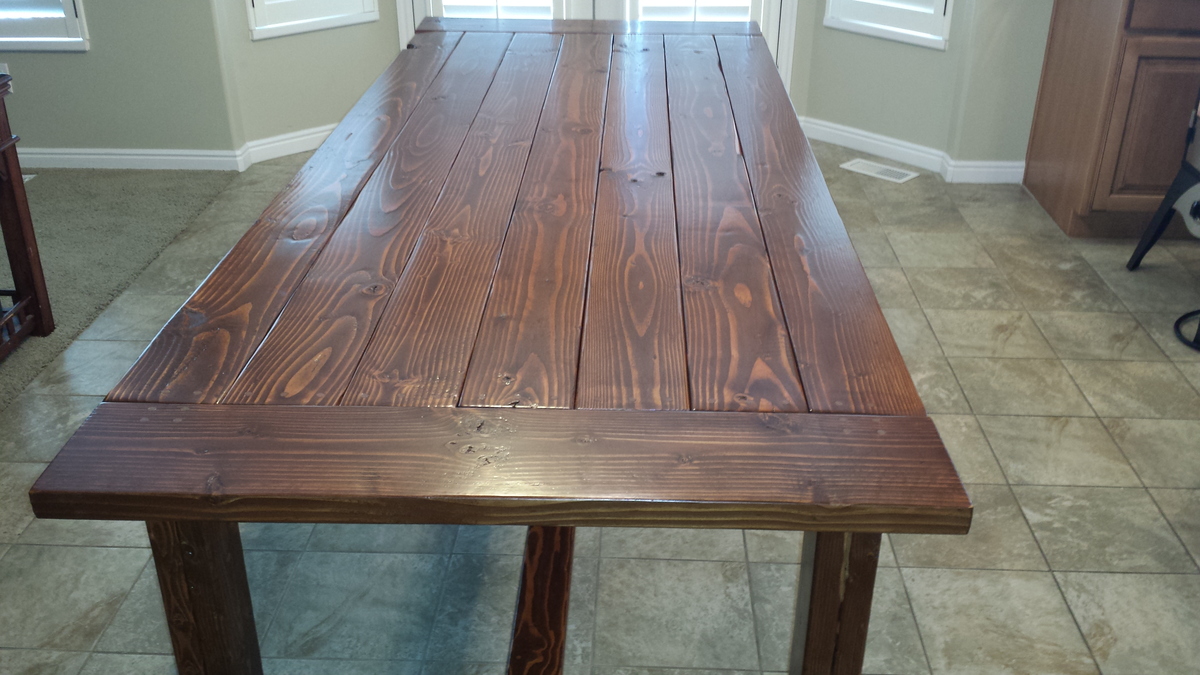
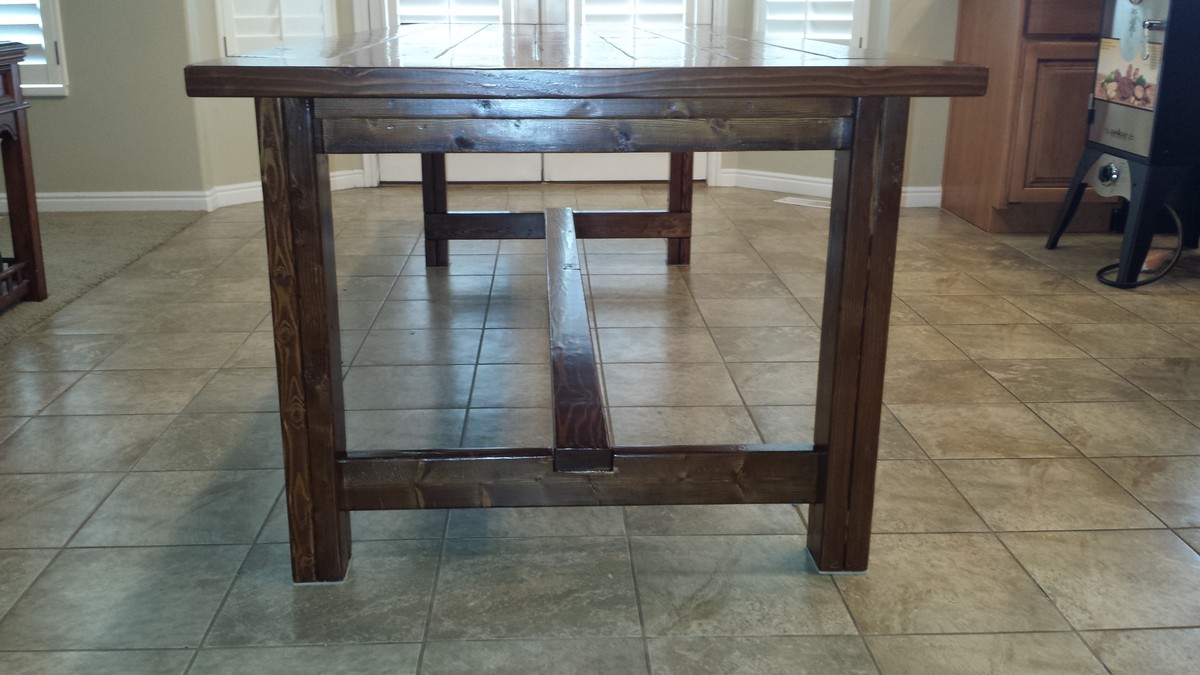
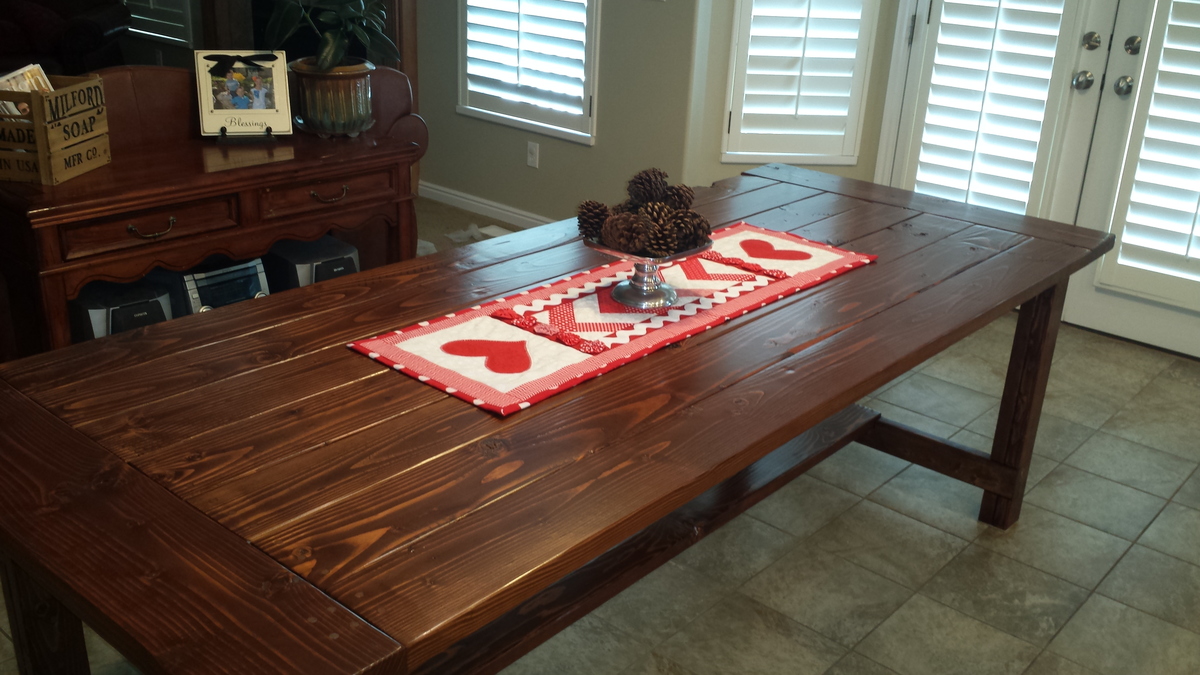
My husband surprised me with a big pile of wood in the garage on Christmas morning. 3 weeks later, this beautiful table is in my kitchen. The pictures do not do it justice - it turned out amazing. We have plans to make the matching bench when it warms a bit - our garage is freezing!
It took at least 20 hours to cut the wood, sand and assemble. It took another 10+ plus hours to stain and put 3 coats of the polyurethane.
The great people at Orange cut our wood for us, and we took it home and notched it out using a jigsaw. Once we got the hang of it, it was really easy.
We had a hard time finding 2 3/4 screws, so we used 2 1/2. It worked great. We used Elmer's Carpenter's Wood Filler in natural to fill the screw holes. It turned out so nice and looks great with the stain on top.
Neither my husband or I have very much experience building anything, so we took our time - measuring about 60 times and cutting once. However, it paid off. The table looks so great and I cannot wait to make the matching bench!
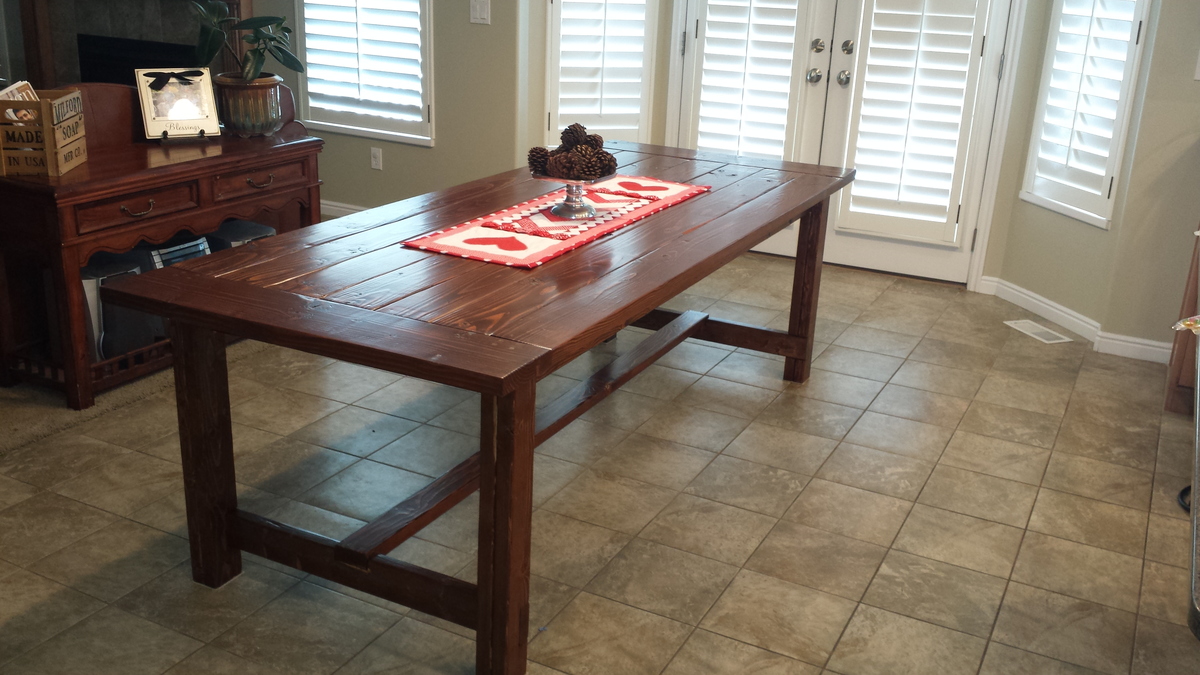
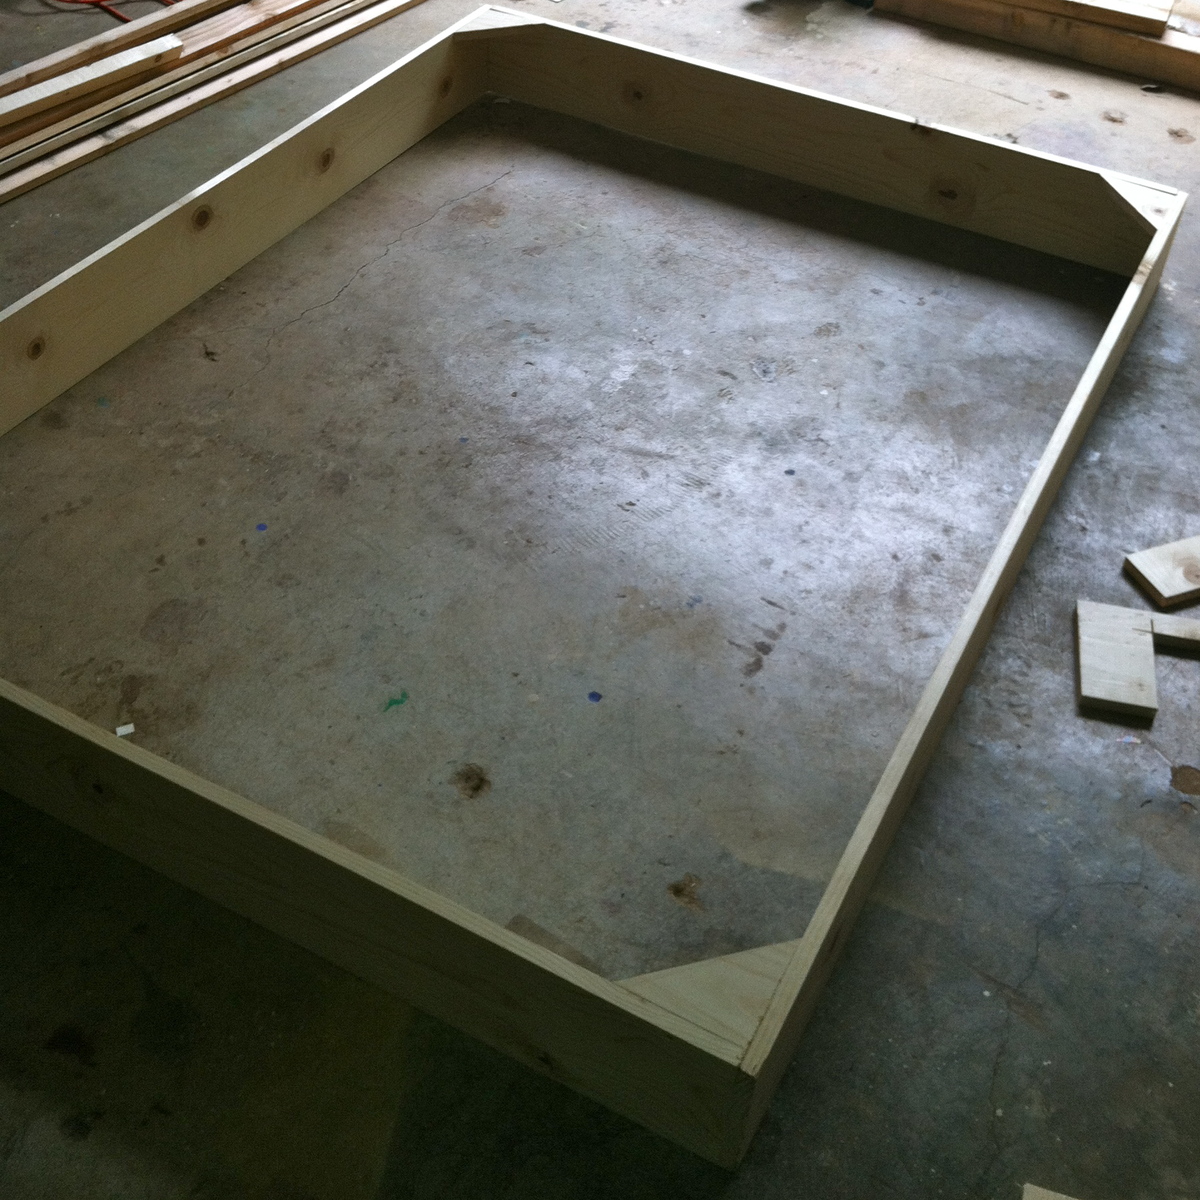
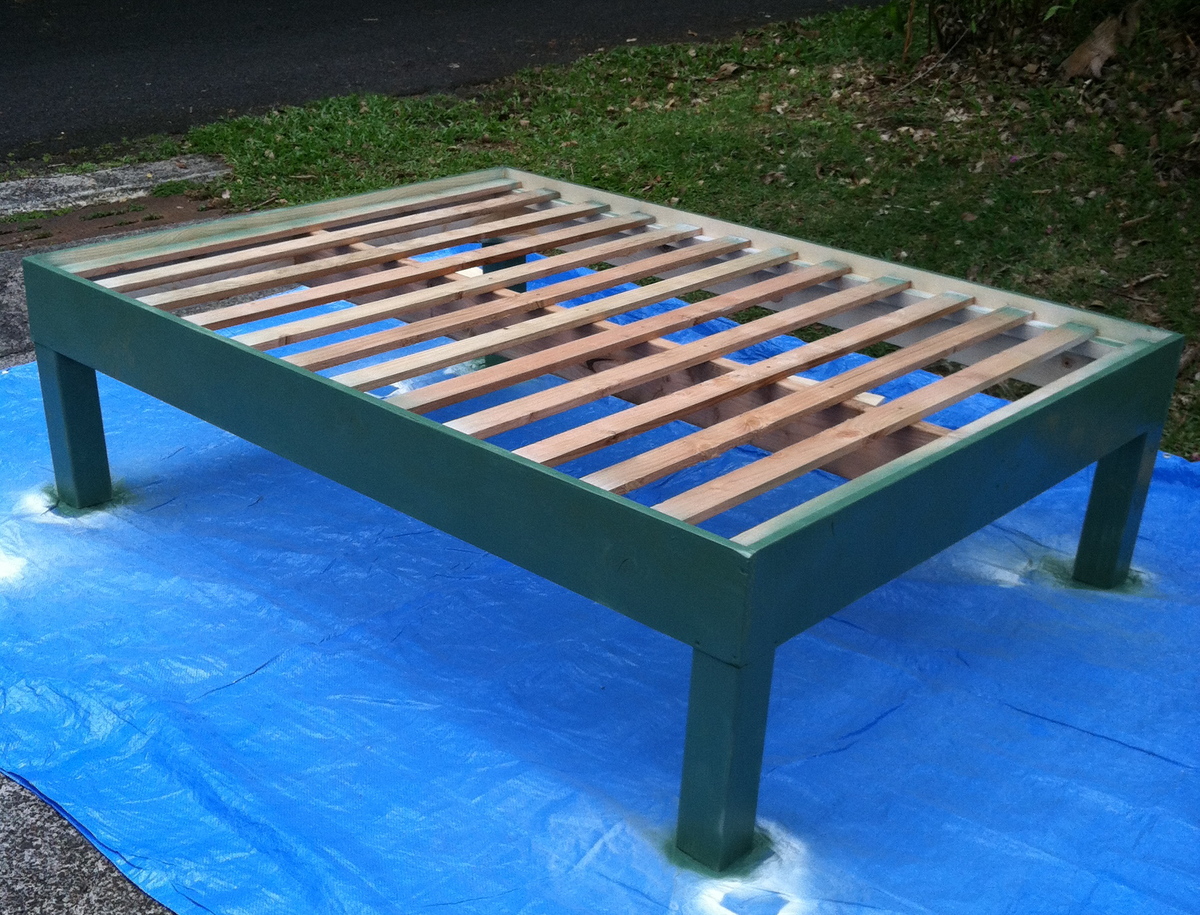
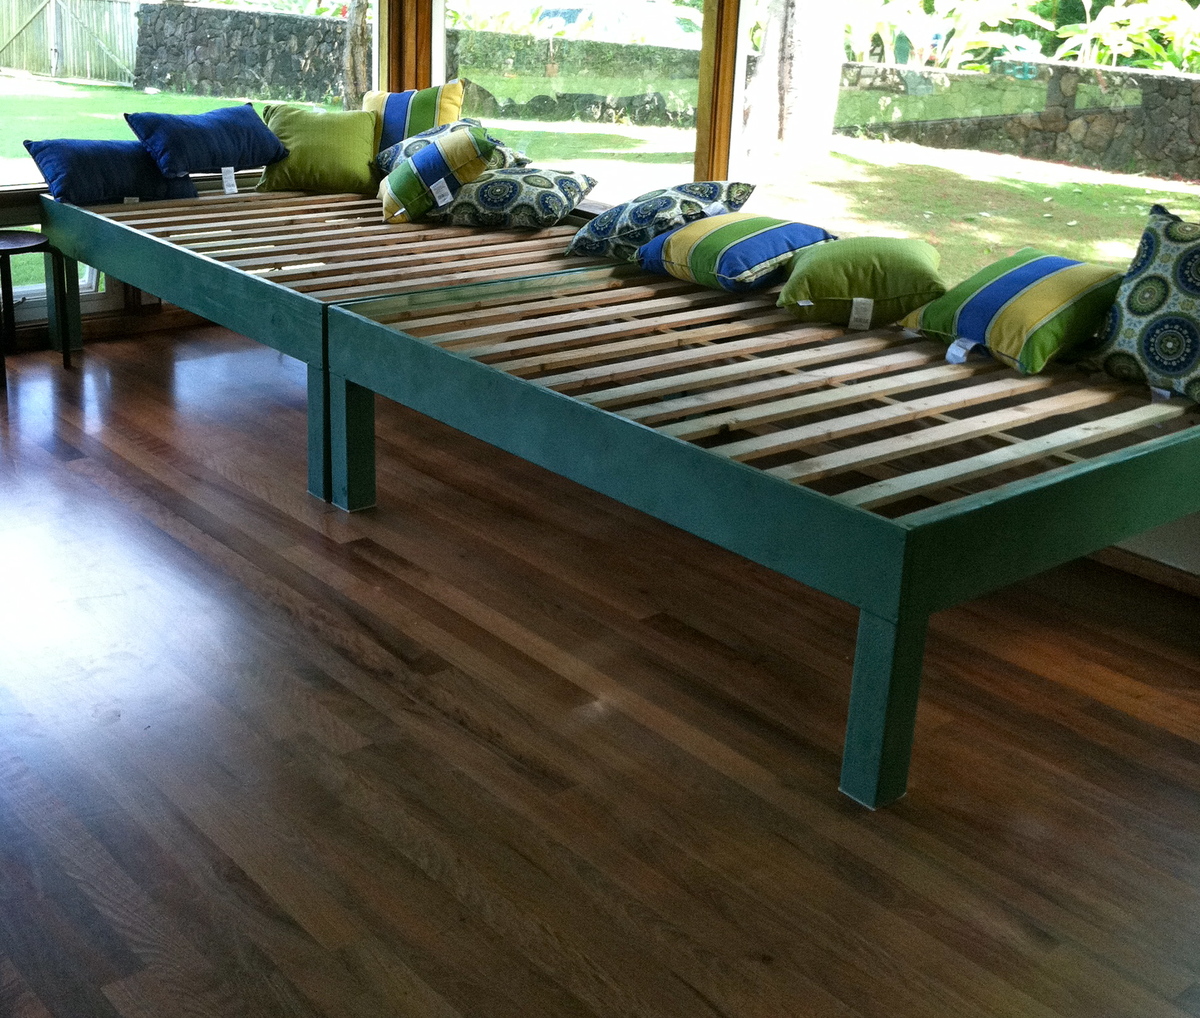
In our living room/sun room we needed a place to lounge as well as a place for guests to sleep. We used the chunky leg bed frame plans with the full size modifications to build 2 of them to make a giant Hawaii style Punee. We were able to build both of these easily in 1 day. We modified the legs and used 4x4's to make them taller and more rustic looking.
Sat, 05/19/2012 - 14:47
Nice beds! They are very tropical looking - really blends in the outdoor with the indoors.
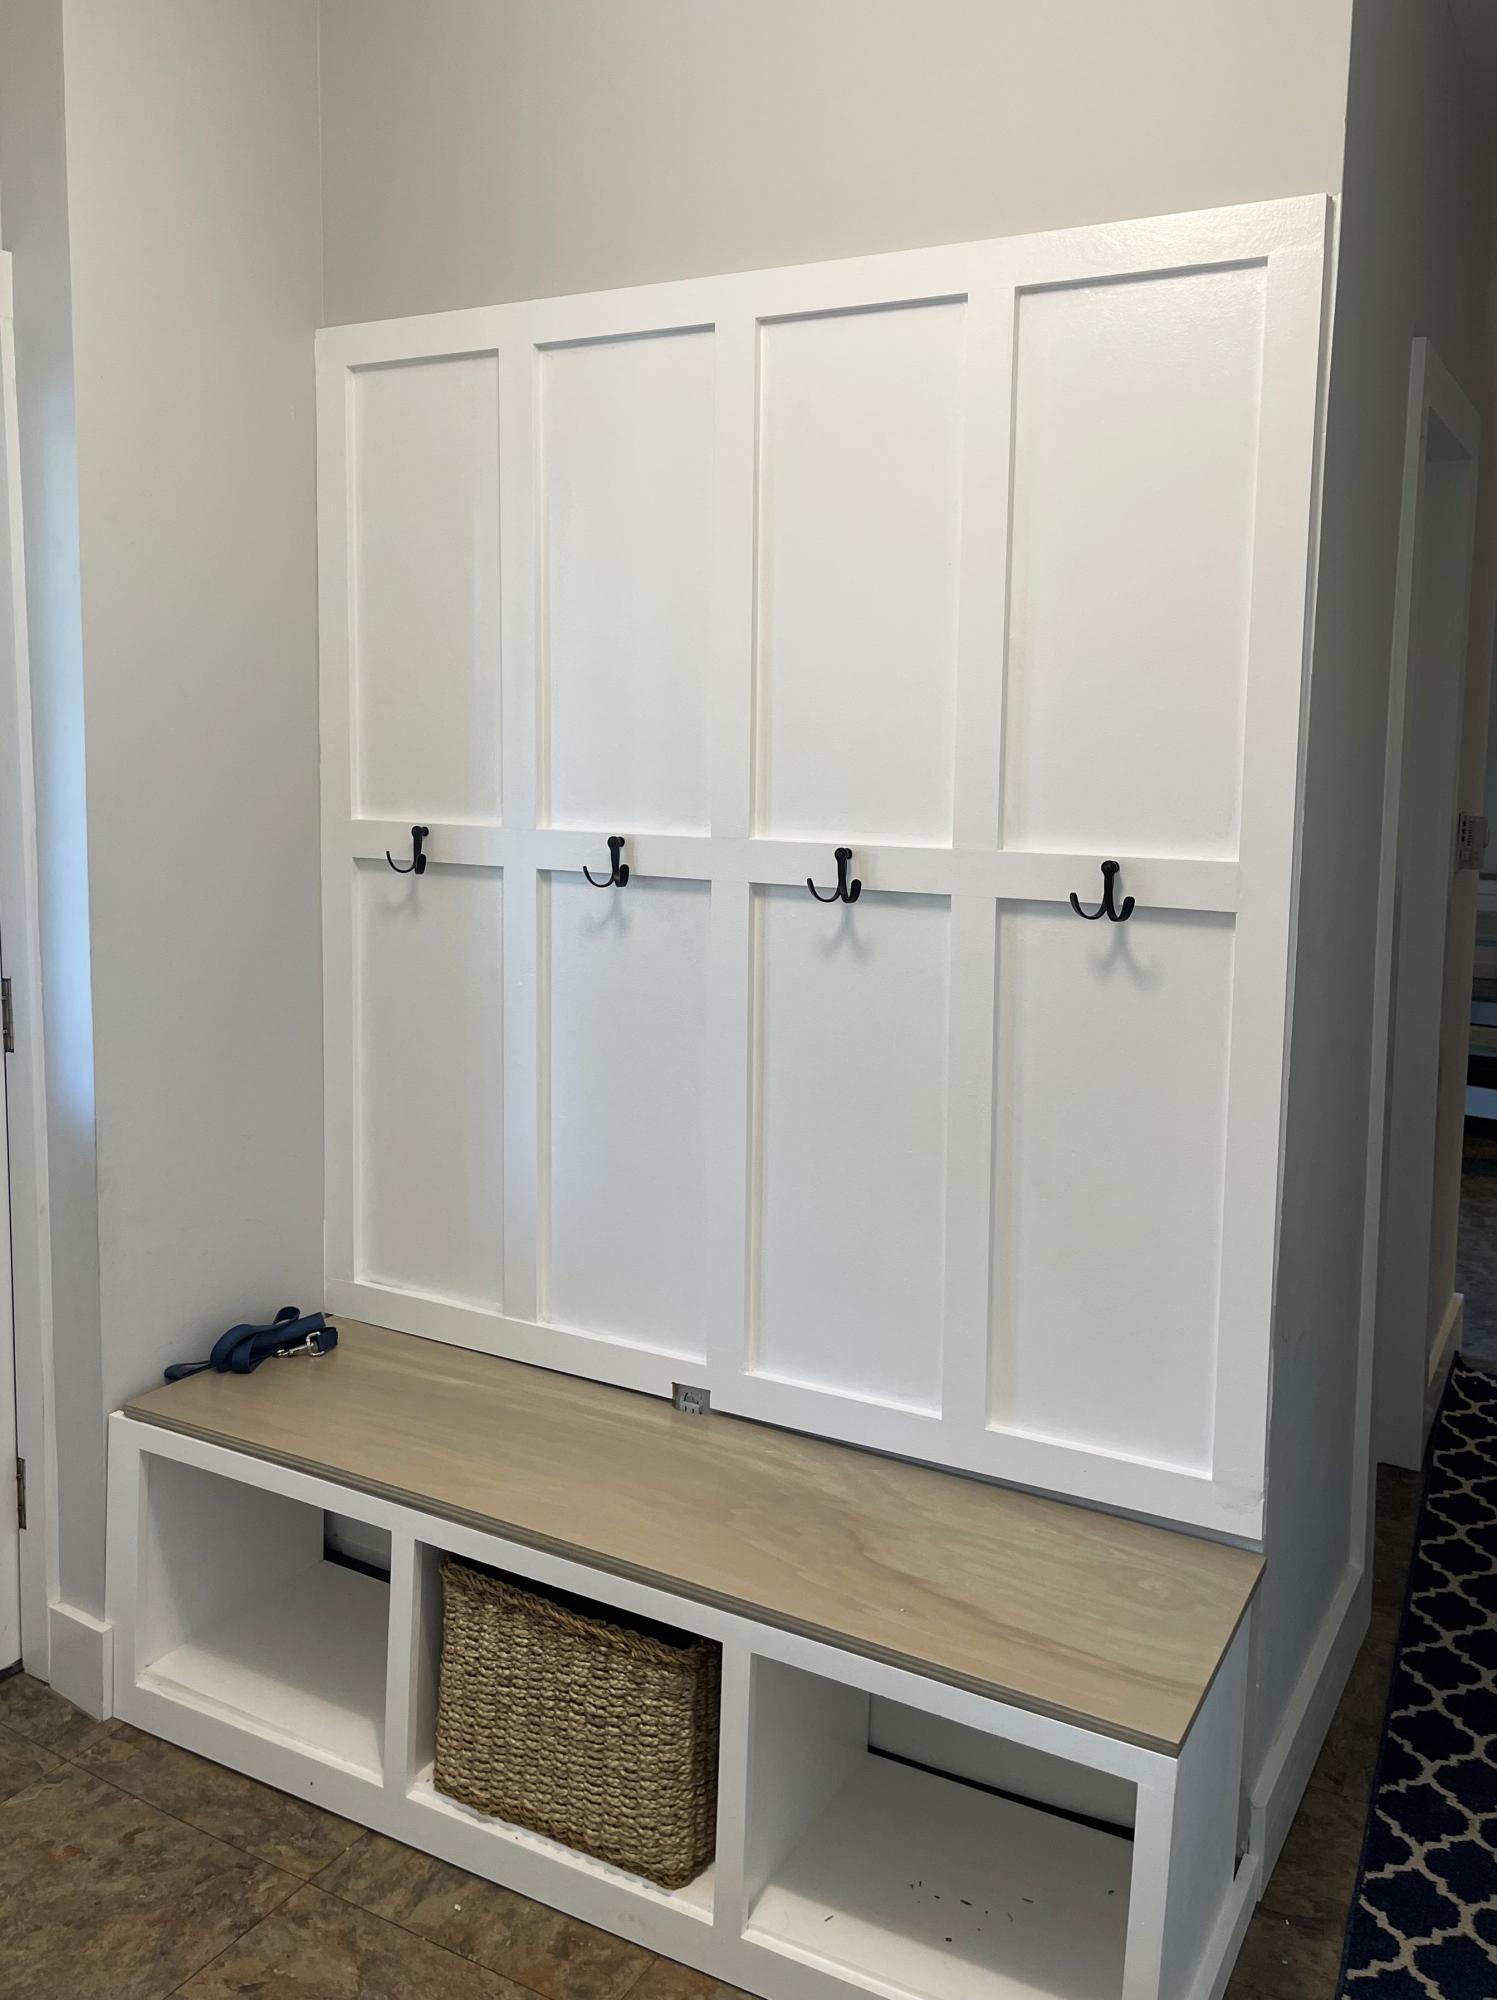
First timer here..your plans were great. Added some framing to the front of the bench. Will hide the gap with a cushion. Turns out are floors are rather sloped haha. Thanks!
Fannmann
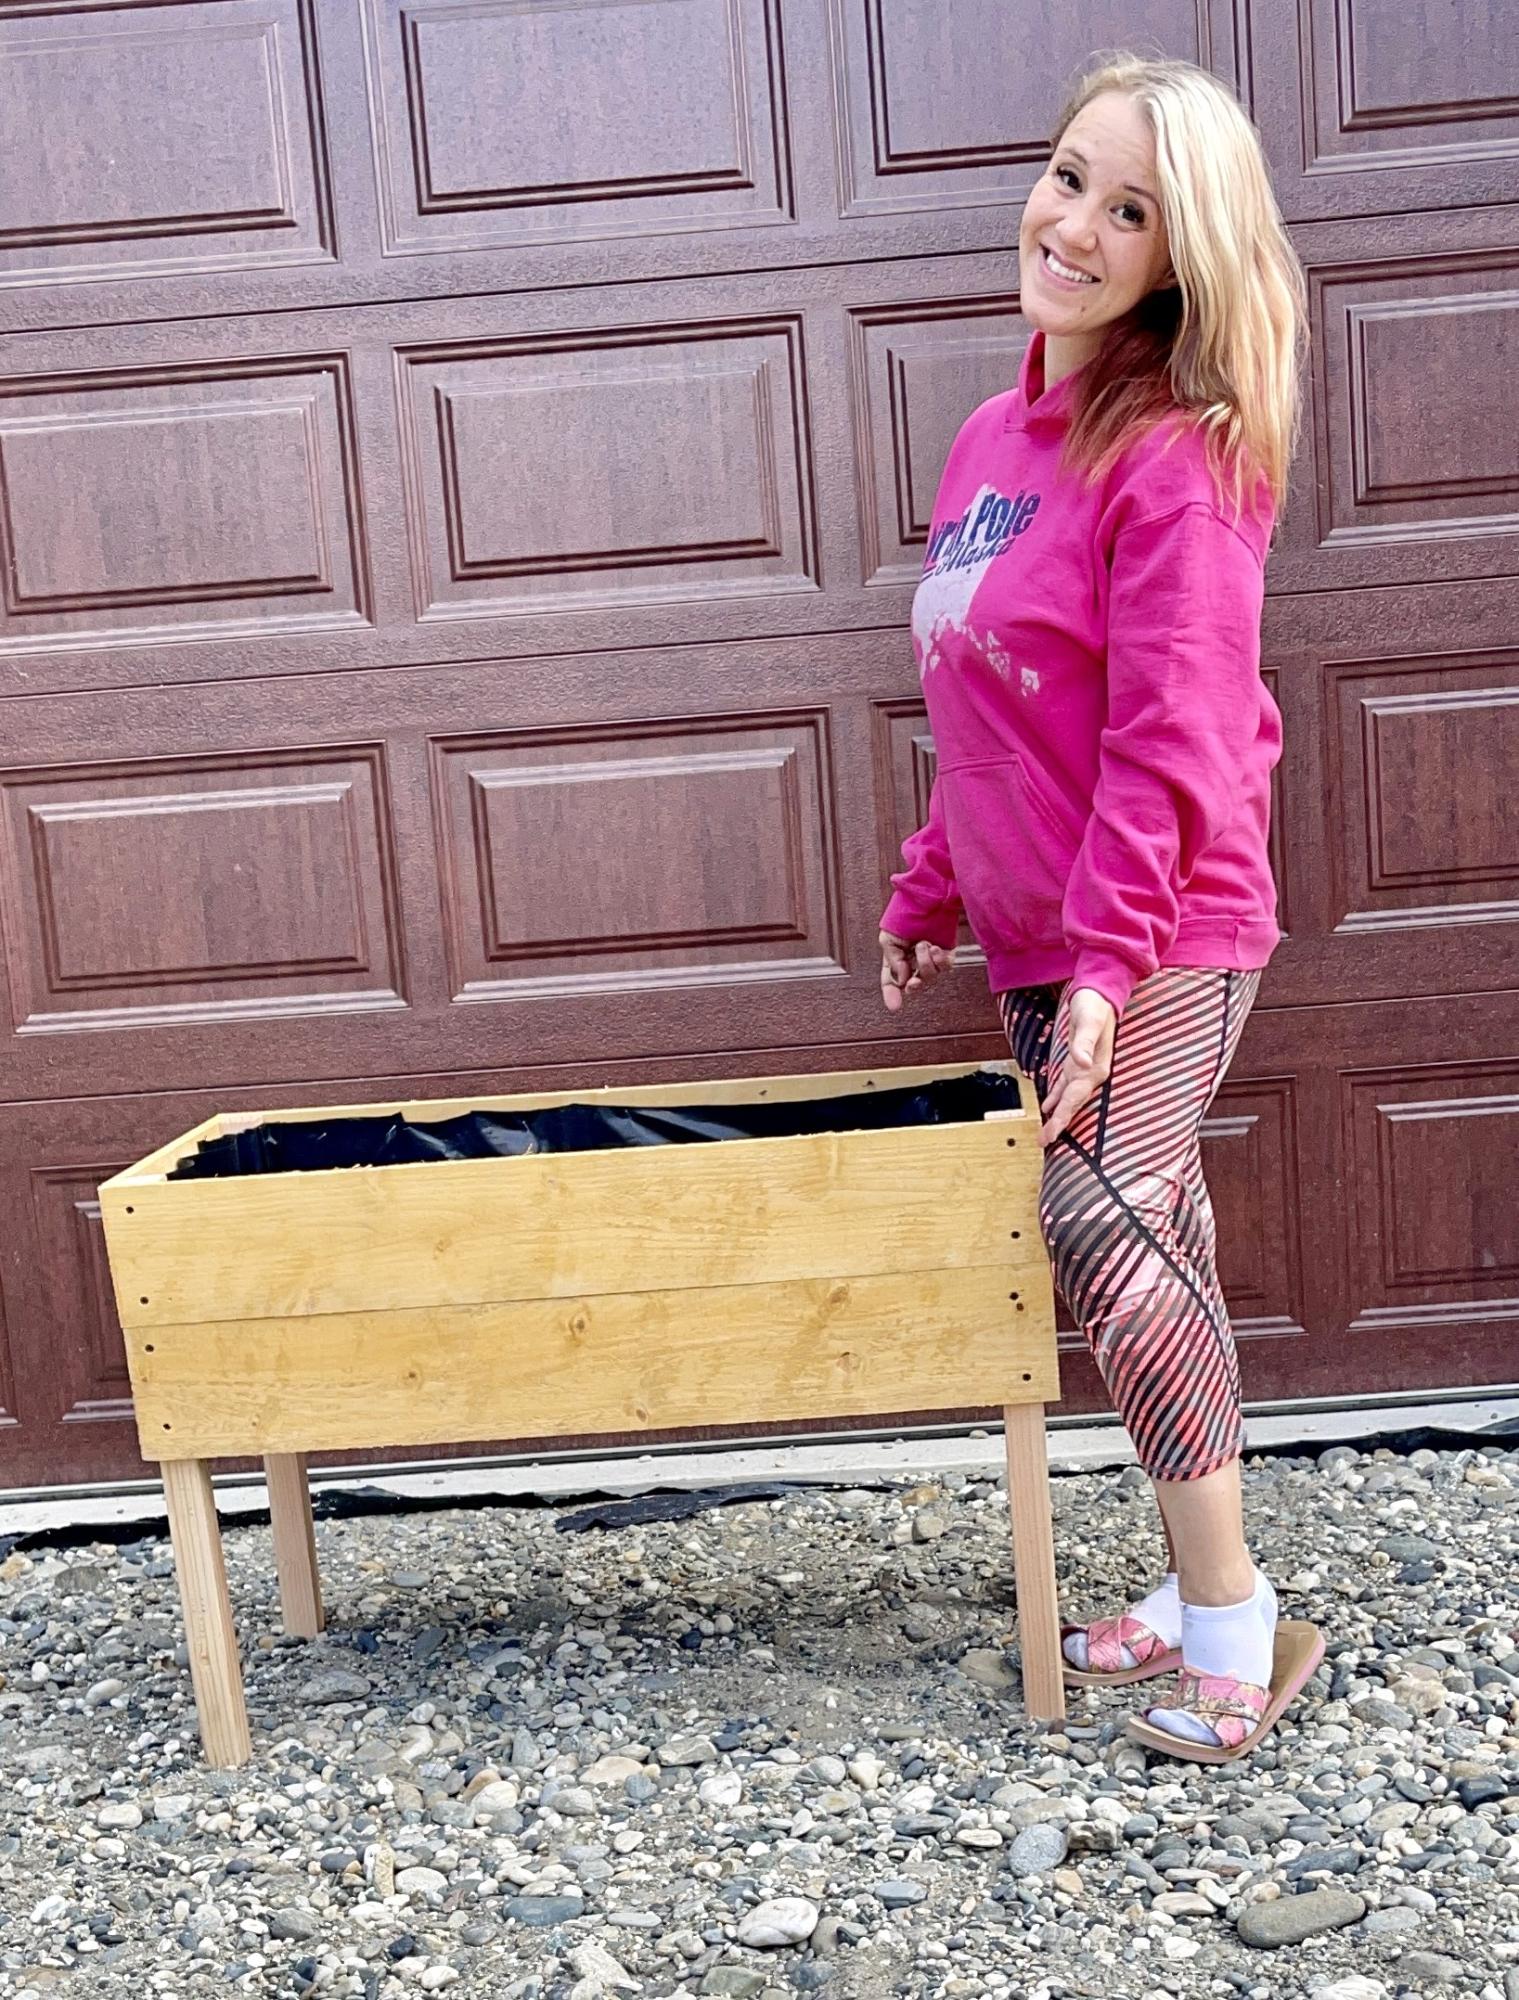
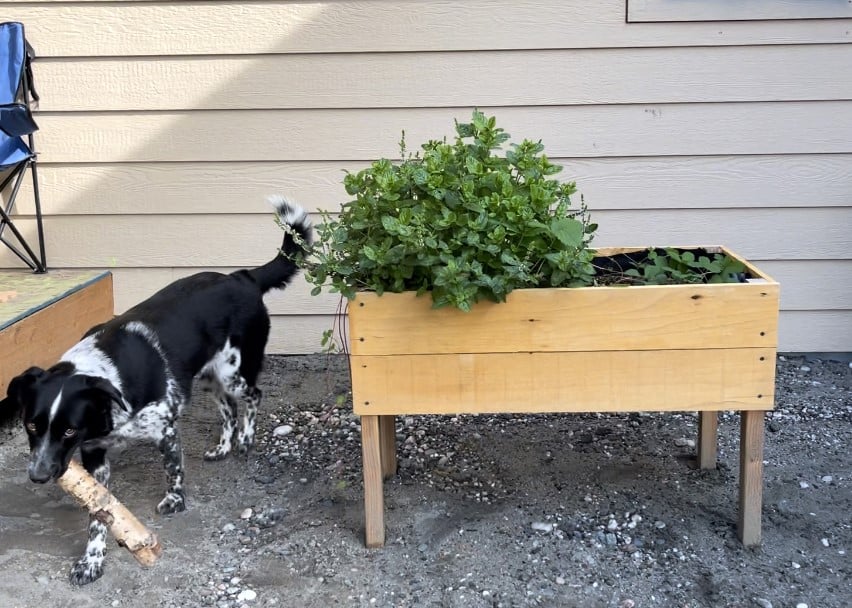
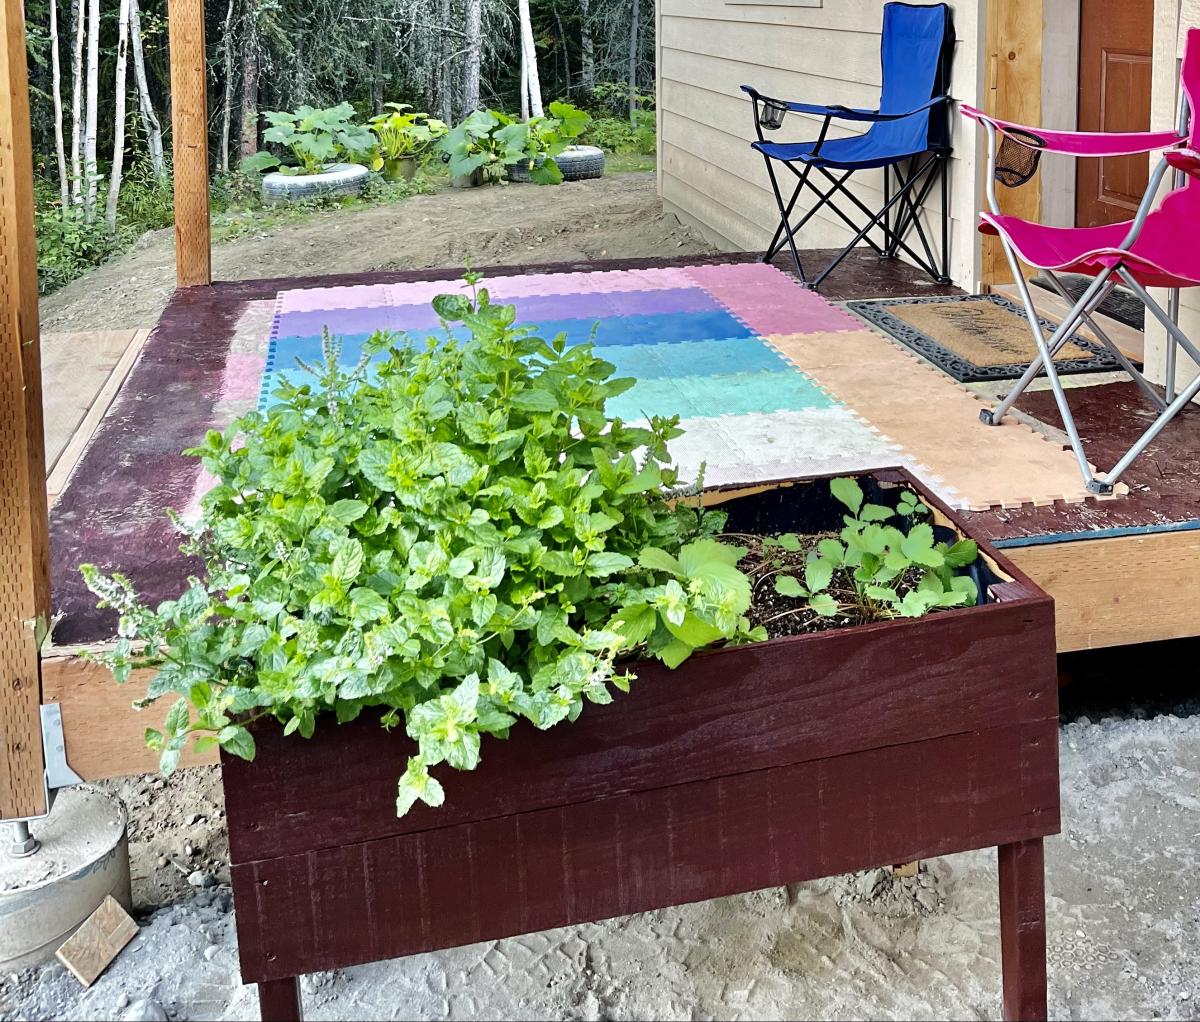
This was my first ever Ana White project!!! I’ve never built anything and really needed a planter for my front door. I loved the size of these and how easy they were to put together. The plans are detailed and easy to follow. I plan to build identical ones next spring for my front yard 😍
Anna Ovchinnikov
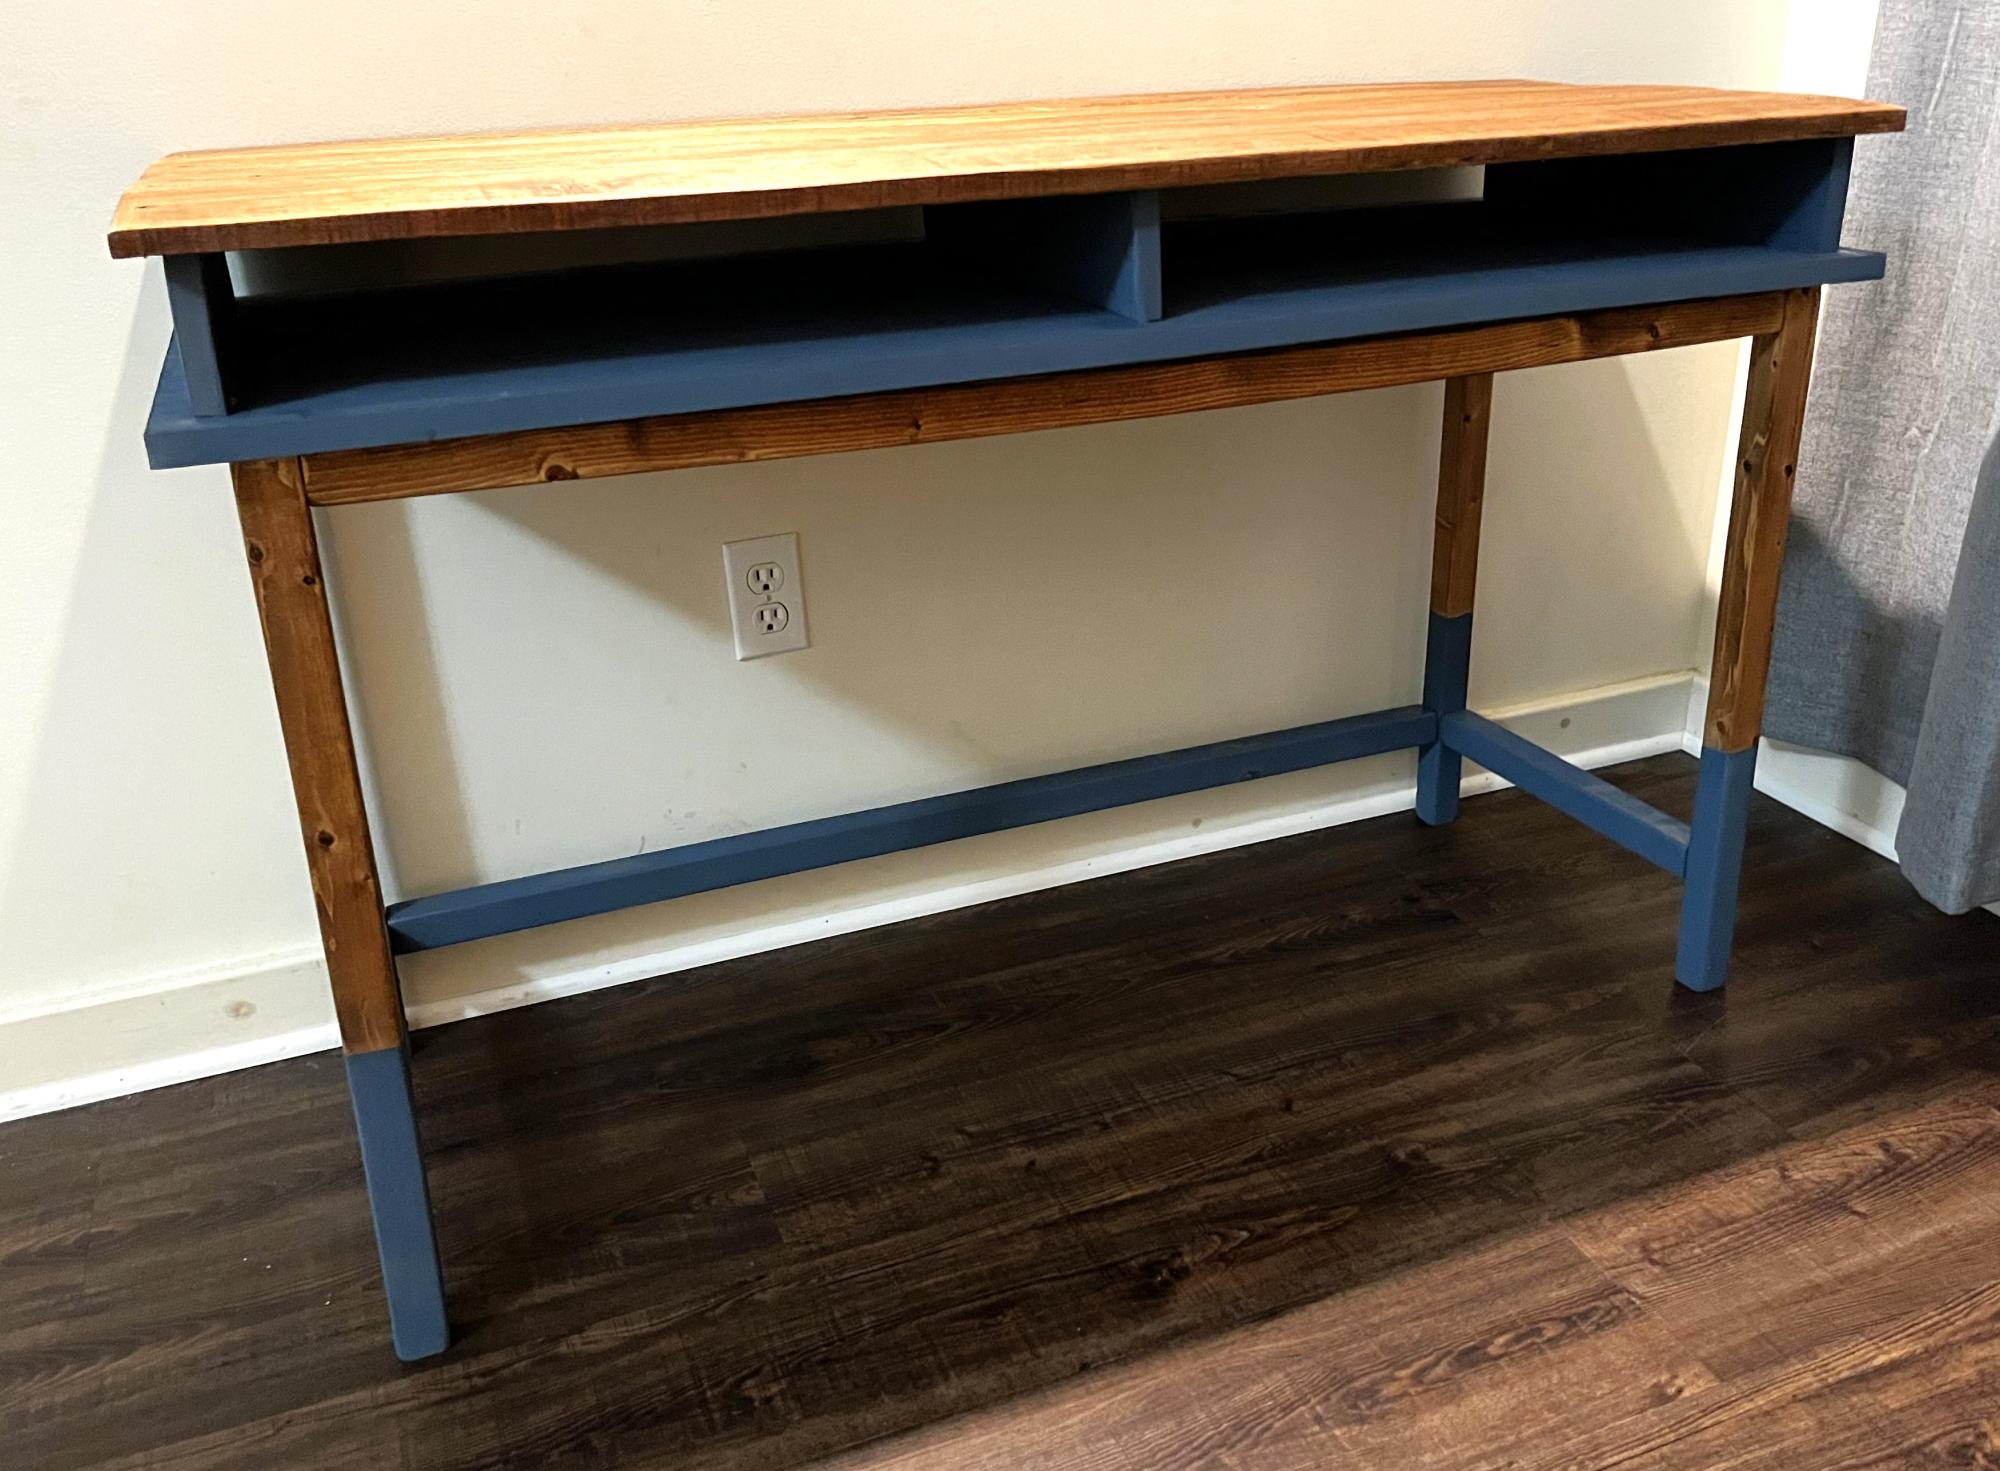
Built using pallet wood for the top.
Grace LeBlanc
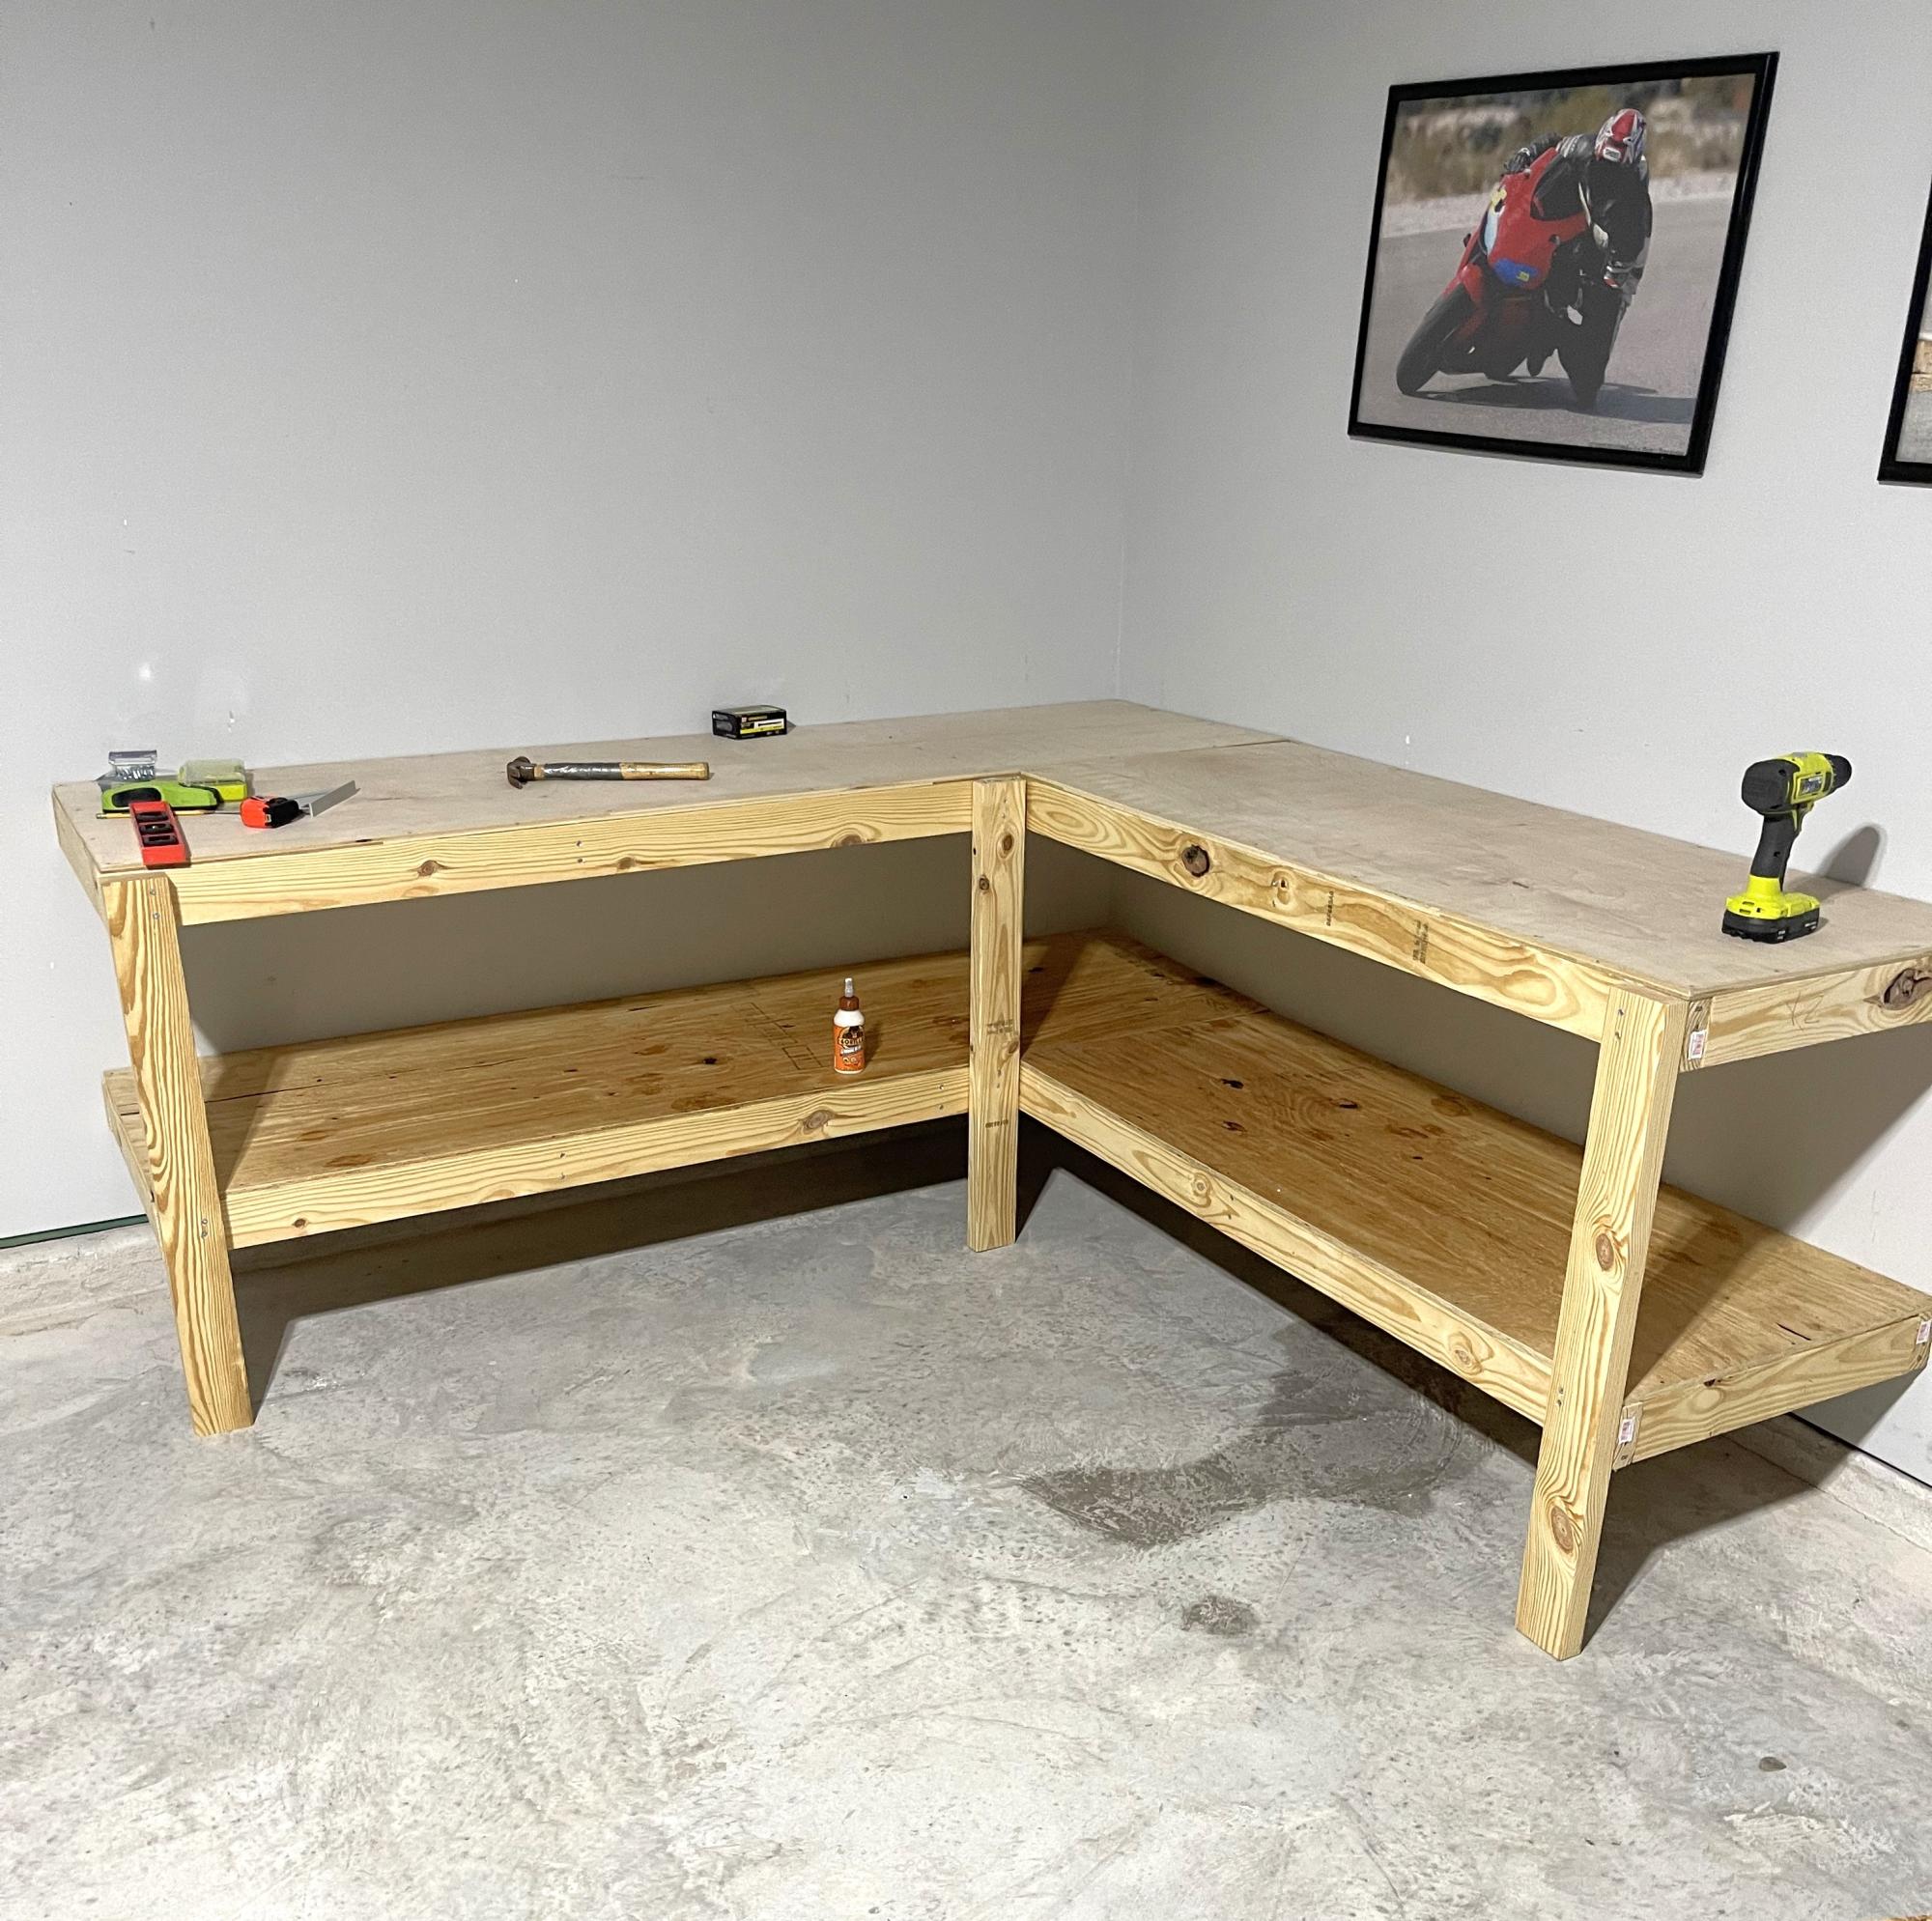
Awesome and easy build! Thank you!
Easy, fun great project that my husband and I did together. This project cost about $202, and I will take that price over the price that you would have to pay in the furniture store any day. We found some great wood at Lowe's that worked perfectly and gave it the "rustic" look that we like. Thanks Ana for the plans and sharing them with us.
Wed, 05/16/2012 - 19:01
That's a fine quality piece of furniture!
Why can't I get dark walnut stain to look like that?
Wed, 05/16/2012 - 19:45
Debi_G, I've had lots of trouble getting stains to look the way I want too. What I've taken to doing is either mixing my own (see http://claydowling.com), as well as trying out various commercial stains until I find one that satisfies my desires. Good use for your scrap.
So far the best commercial stains I've found are from General Finishes. They're designed to sit partially on top of the wood, which prevents some of the splotchy and washed out look that make some stains unpleasant to work with.
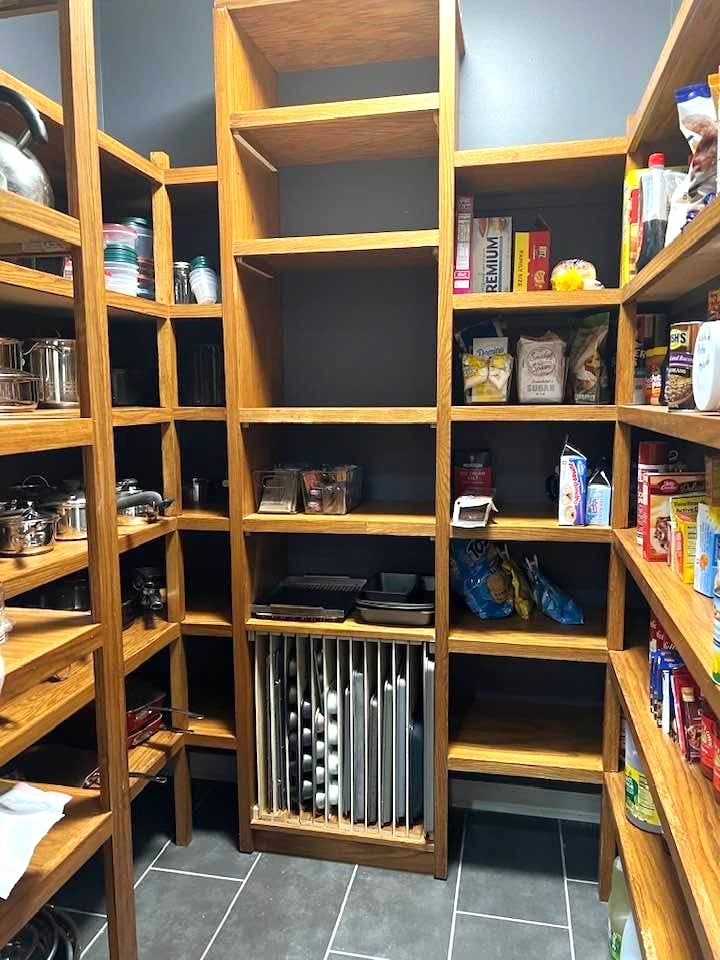
Built new shelving in our 6' x 6' pantry using red oak plywood shelving and 2" x 2" red oak corner shelf supports and red oak 1" x 2" trim. Used plans modified from Ana White site.
Pat Edwards, Ashland City, TN
Sat, 11/18/2023 - 12:47
Thanks for sharing, it looks great! Love the custom baking sheet storage:)
This was my first project. I followed the plans exactly! I LOVE it! It is a perfect desk that I will be using to work through this remote teaching I'm having to do. Thank you for the plans. Next up-Rustic X Console!
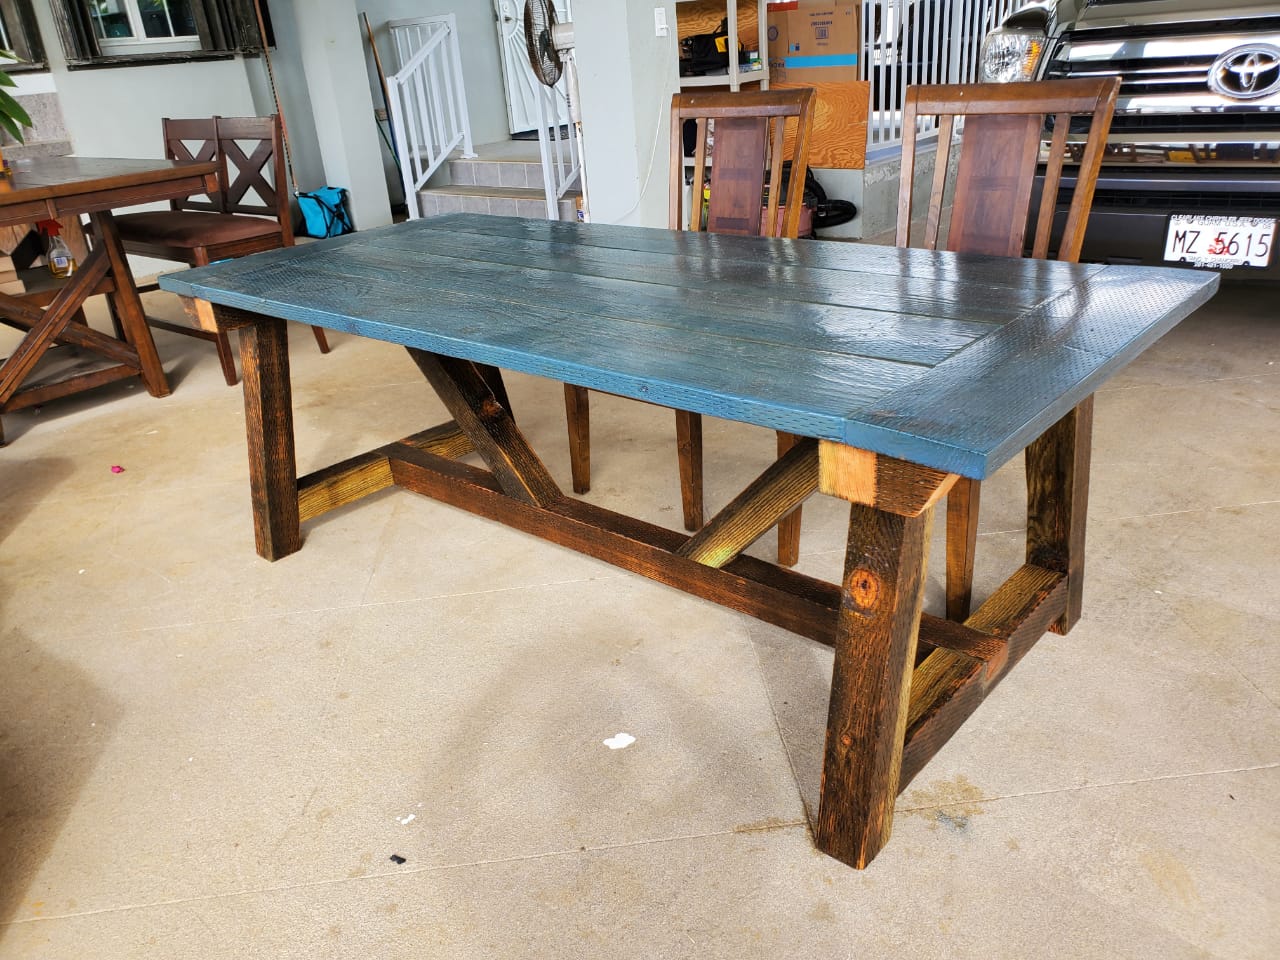
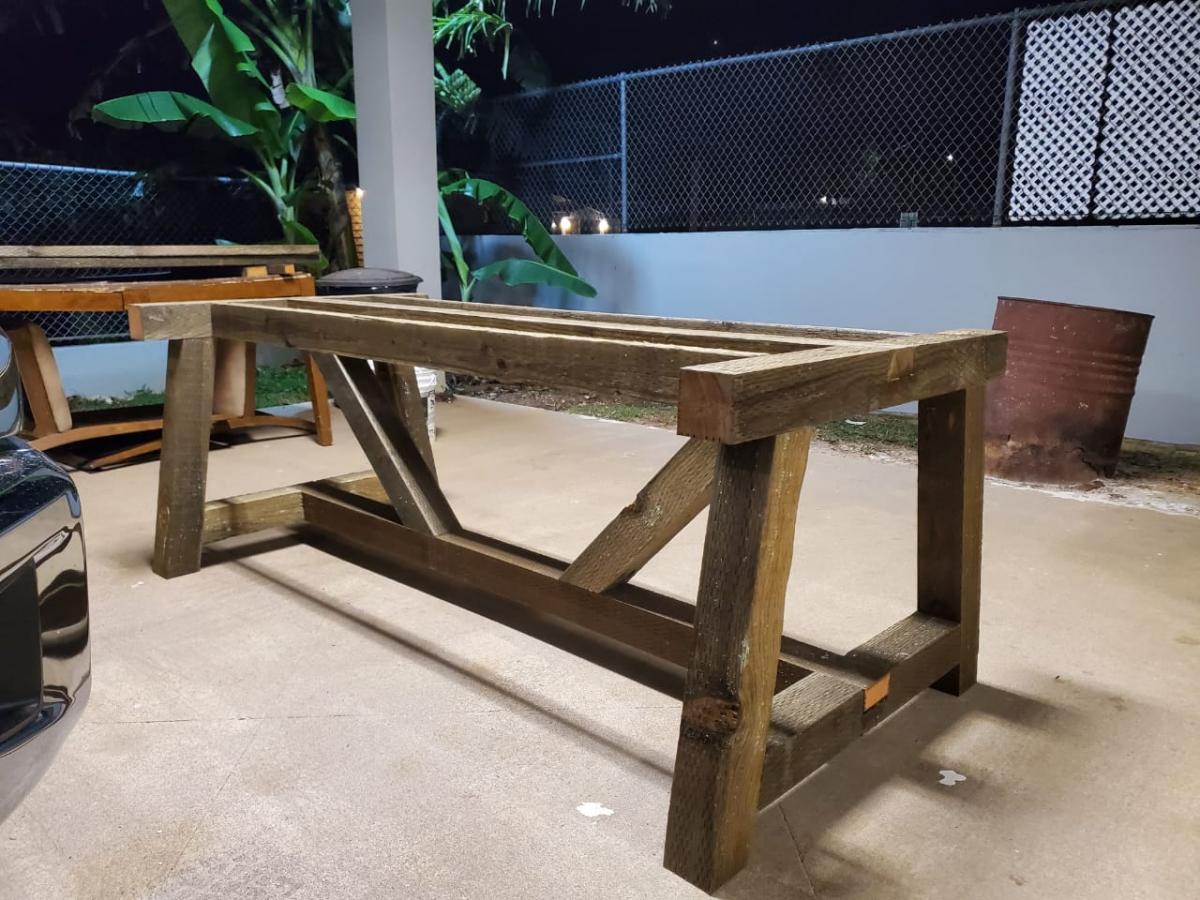
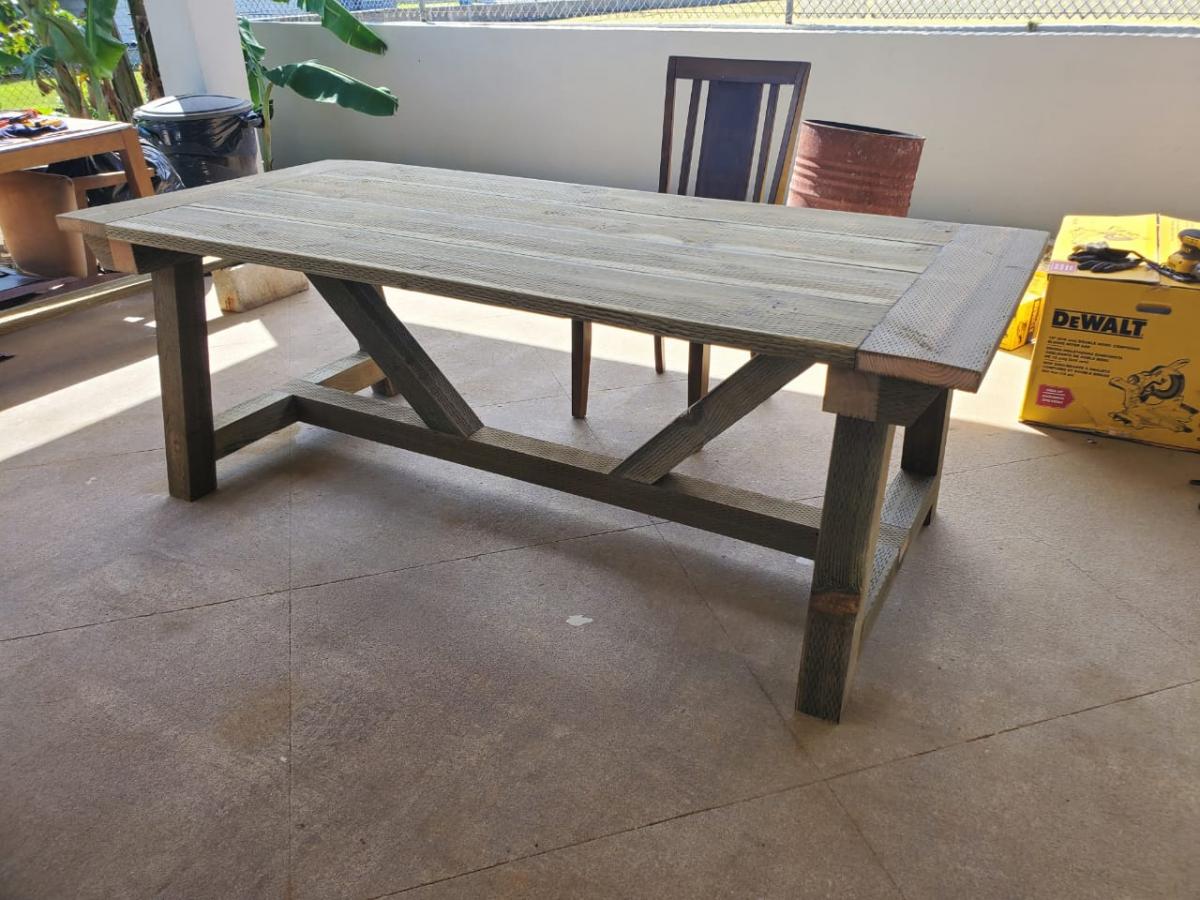
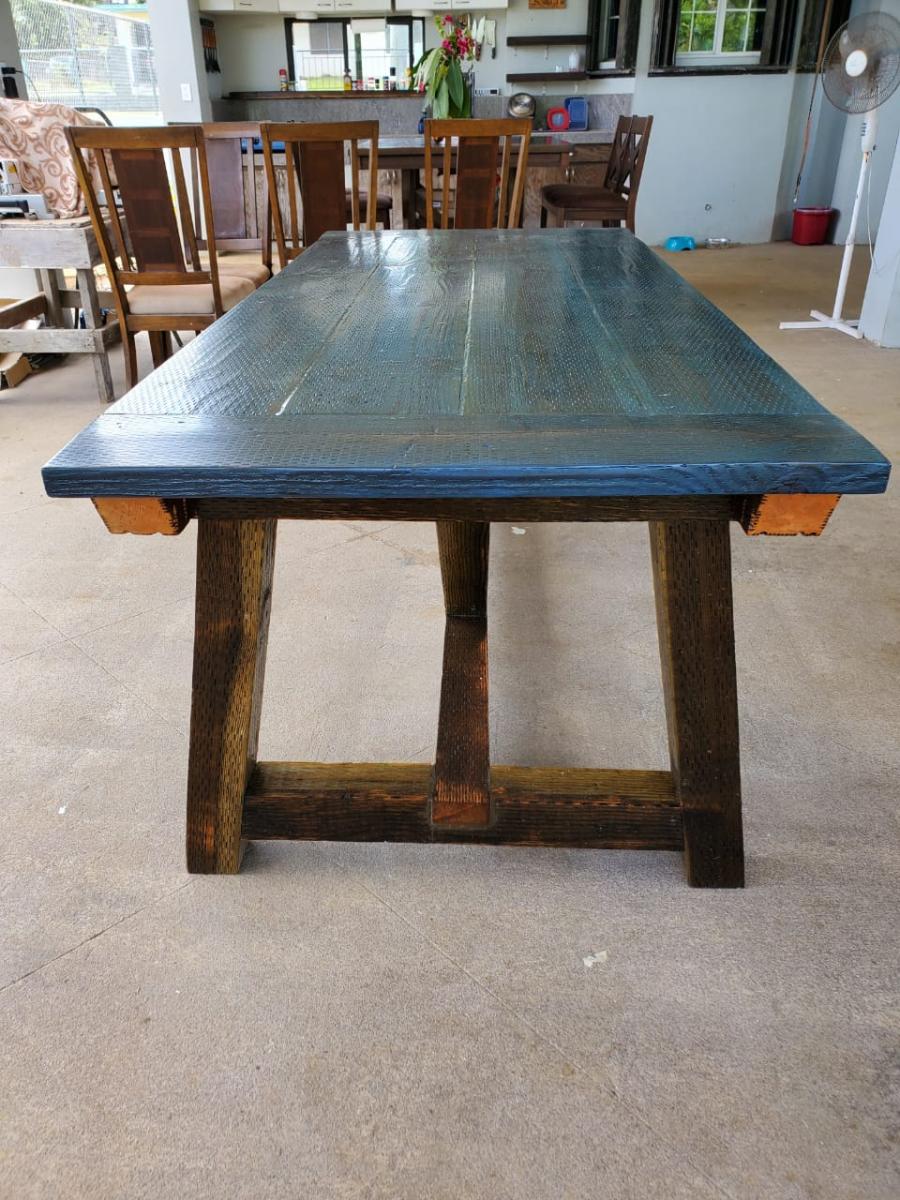
Hafa Adai everyone. This is my first real woodworking project. I followed the plans for the Truss Farmhouse Table almost exactly as written. One thing I felt it needed was more support for the 10" breadboard ends. I added spare pieces of 4x4 cut to 5" with an 80 degree angle at one end to each corner of the tabletop base. This made the breadboard ends feel very secure and well supported.
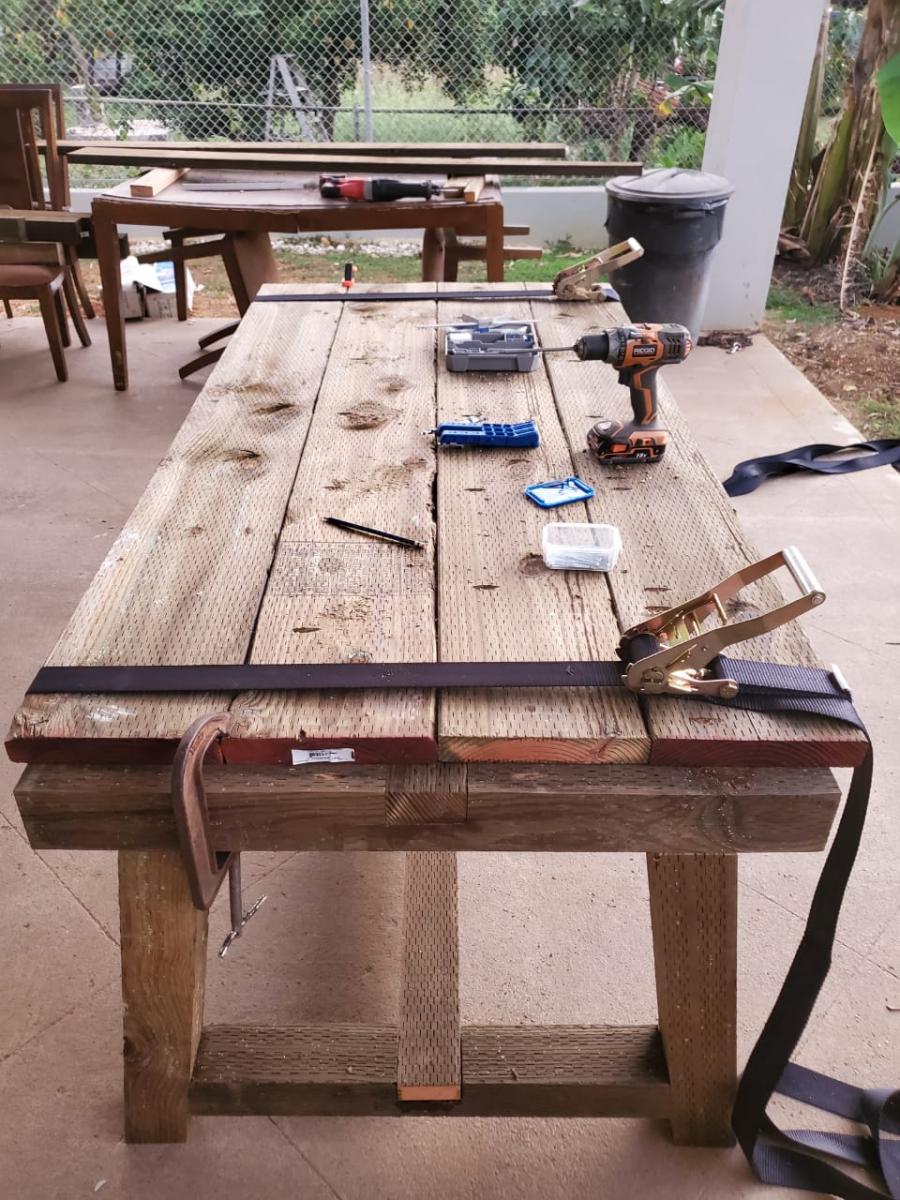
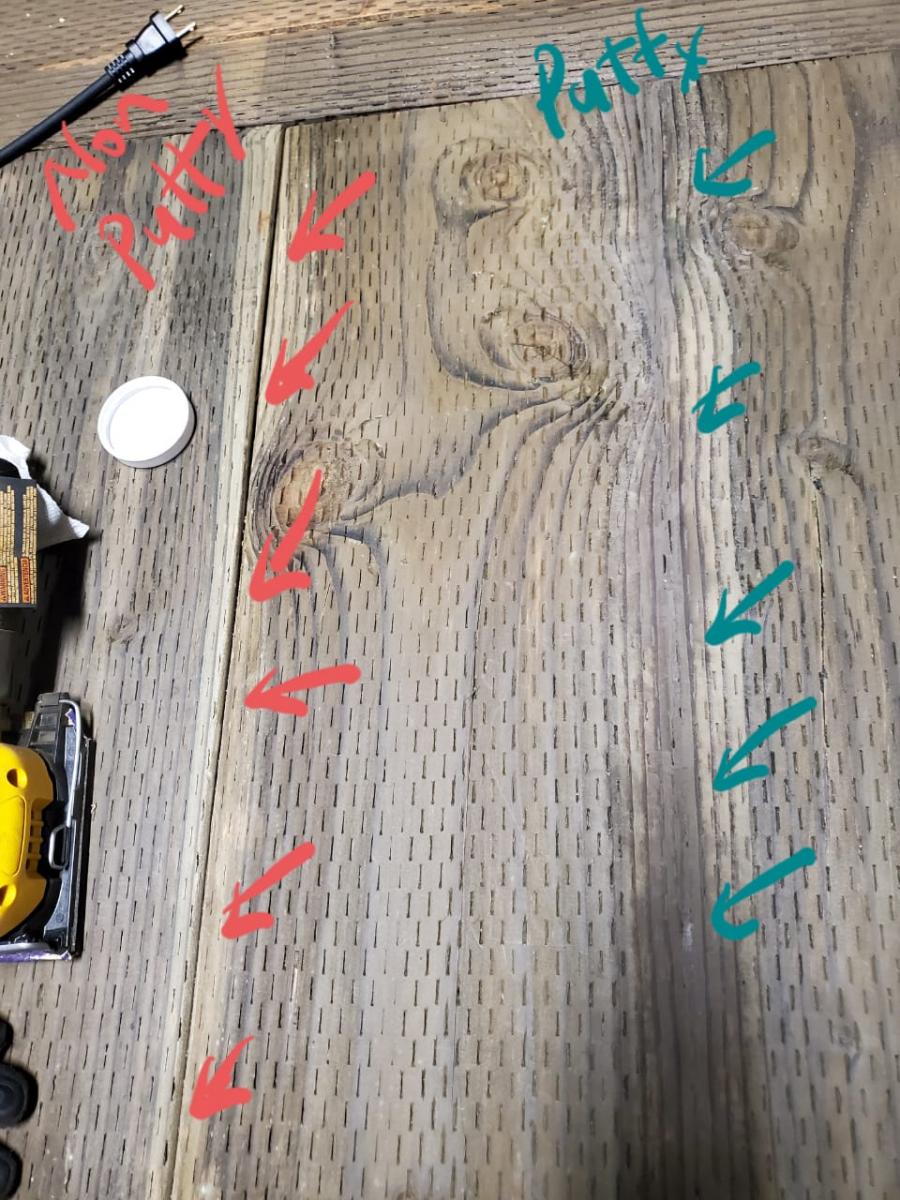
Since I didn't have a table saw to rip the tabletop panels for clean edges, I used wood putty (not wood filler) to fill in the gaps from the 2x10 panels after I secured them together. Tip: I saw someone use ratchet straps to hold the table top tightly together when securing with screws in the absence of long clamps. Worked great.
The only thing I would do different is choose a wood without the treated staple marks for the table top. But since its an outdoor table its not too bad a look. Overall, it was a great learning experience and a very fun project to build.
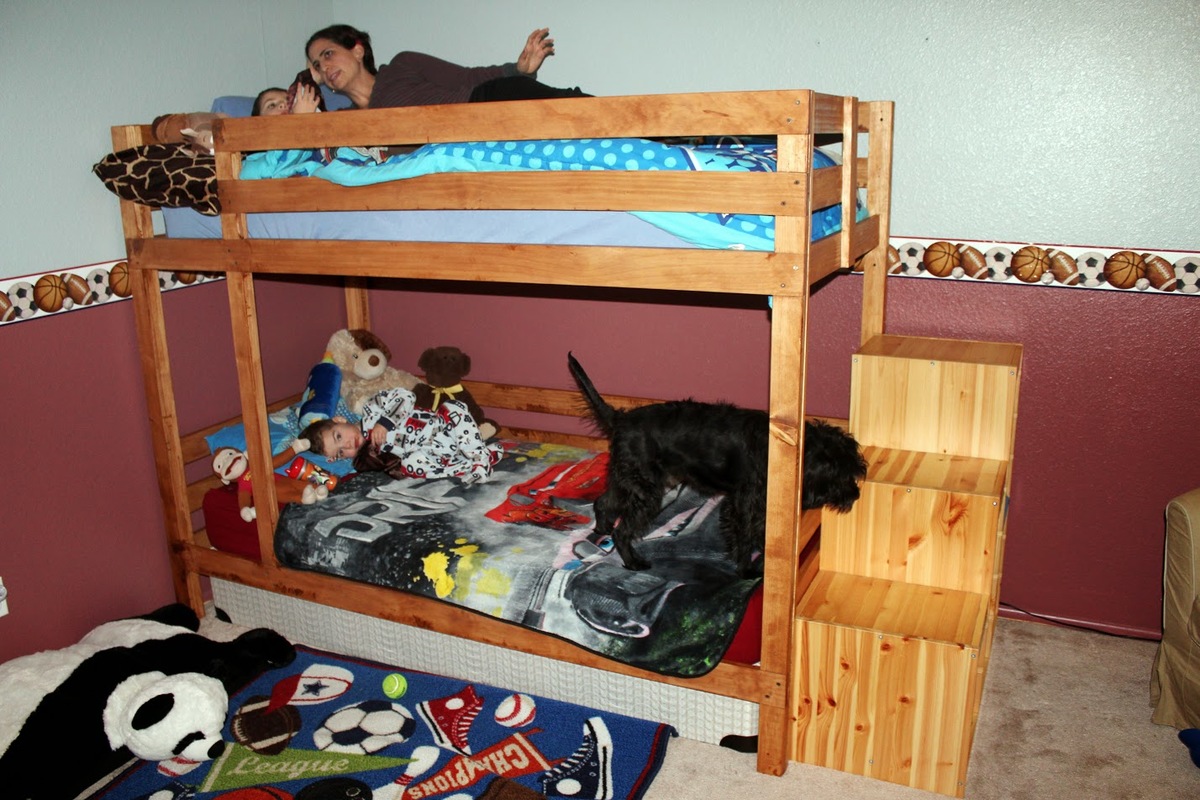
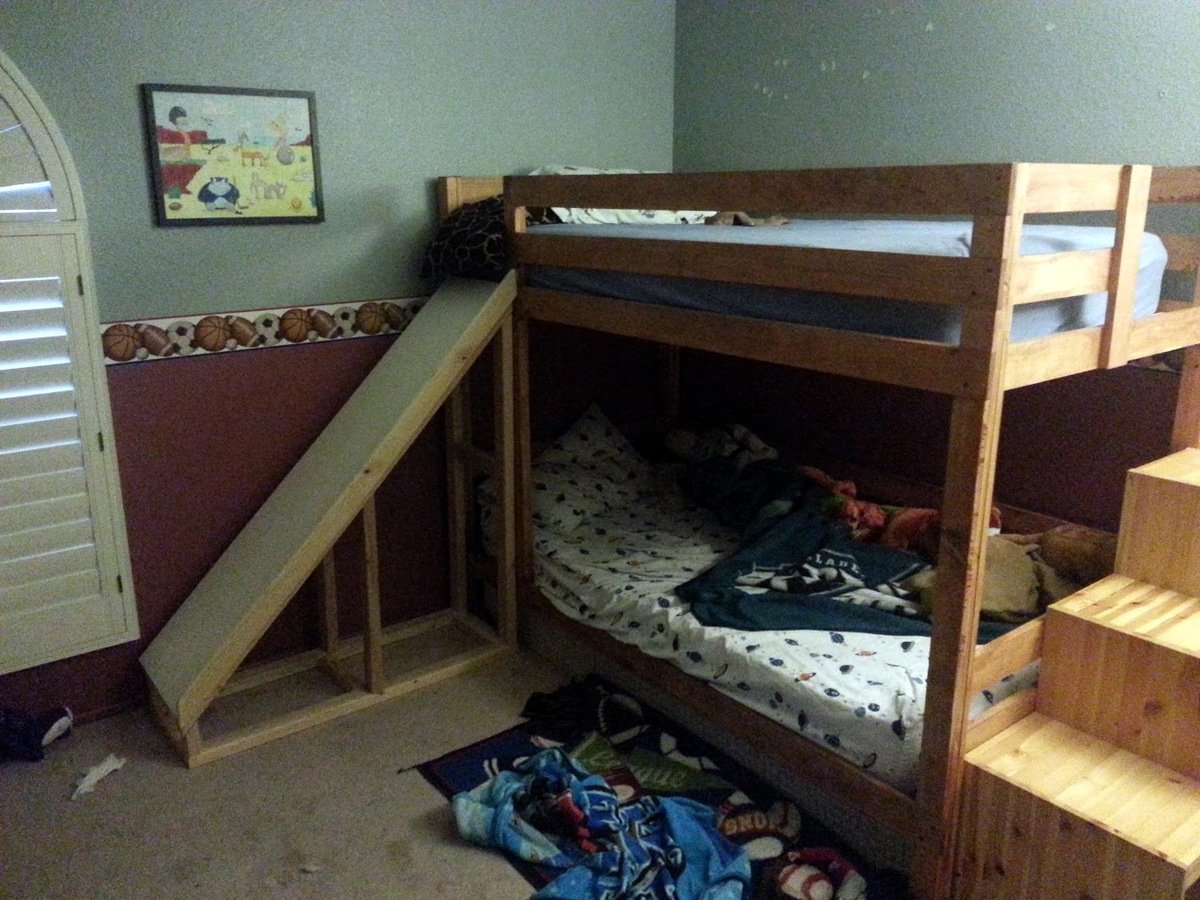
This was my first building project, made possible by finding this wonderful website. The beds were made from the Classic Bunk Beds plan. Several months later I added a slide made out of melamine board and 2x3s - very sturdy and somewhat overbuilt to compensate for not using any plans for the slide).
I used Minwax polyshades for the finish - my first time finishing wood, and let's just charitably say that I learned a few lessons in doing so.
The steps are a repurposed solid pine Ikea Trofast unit - it worked very well for the kids (4 and 2 when the bed was built). However, it wasn't a great choice for getting my wife and I up to the top bunk - one of the top panels eventually broke... leading to a big bruise for my wife and strict instructions that I quickly build a new, more solid staircase option - to be shown in a future brag post.
All in all, I am very thankful for this website and its plentiful plans - more brag posts to come!
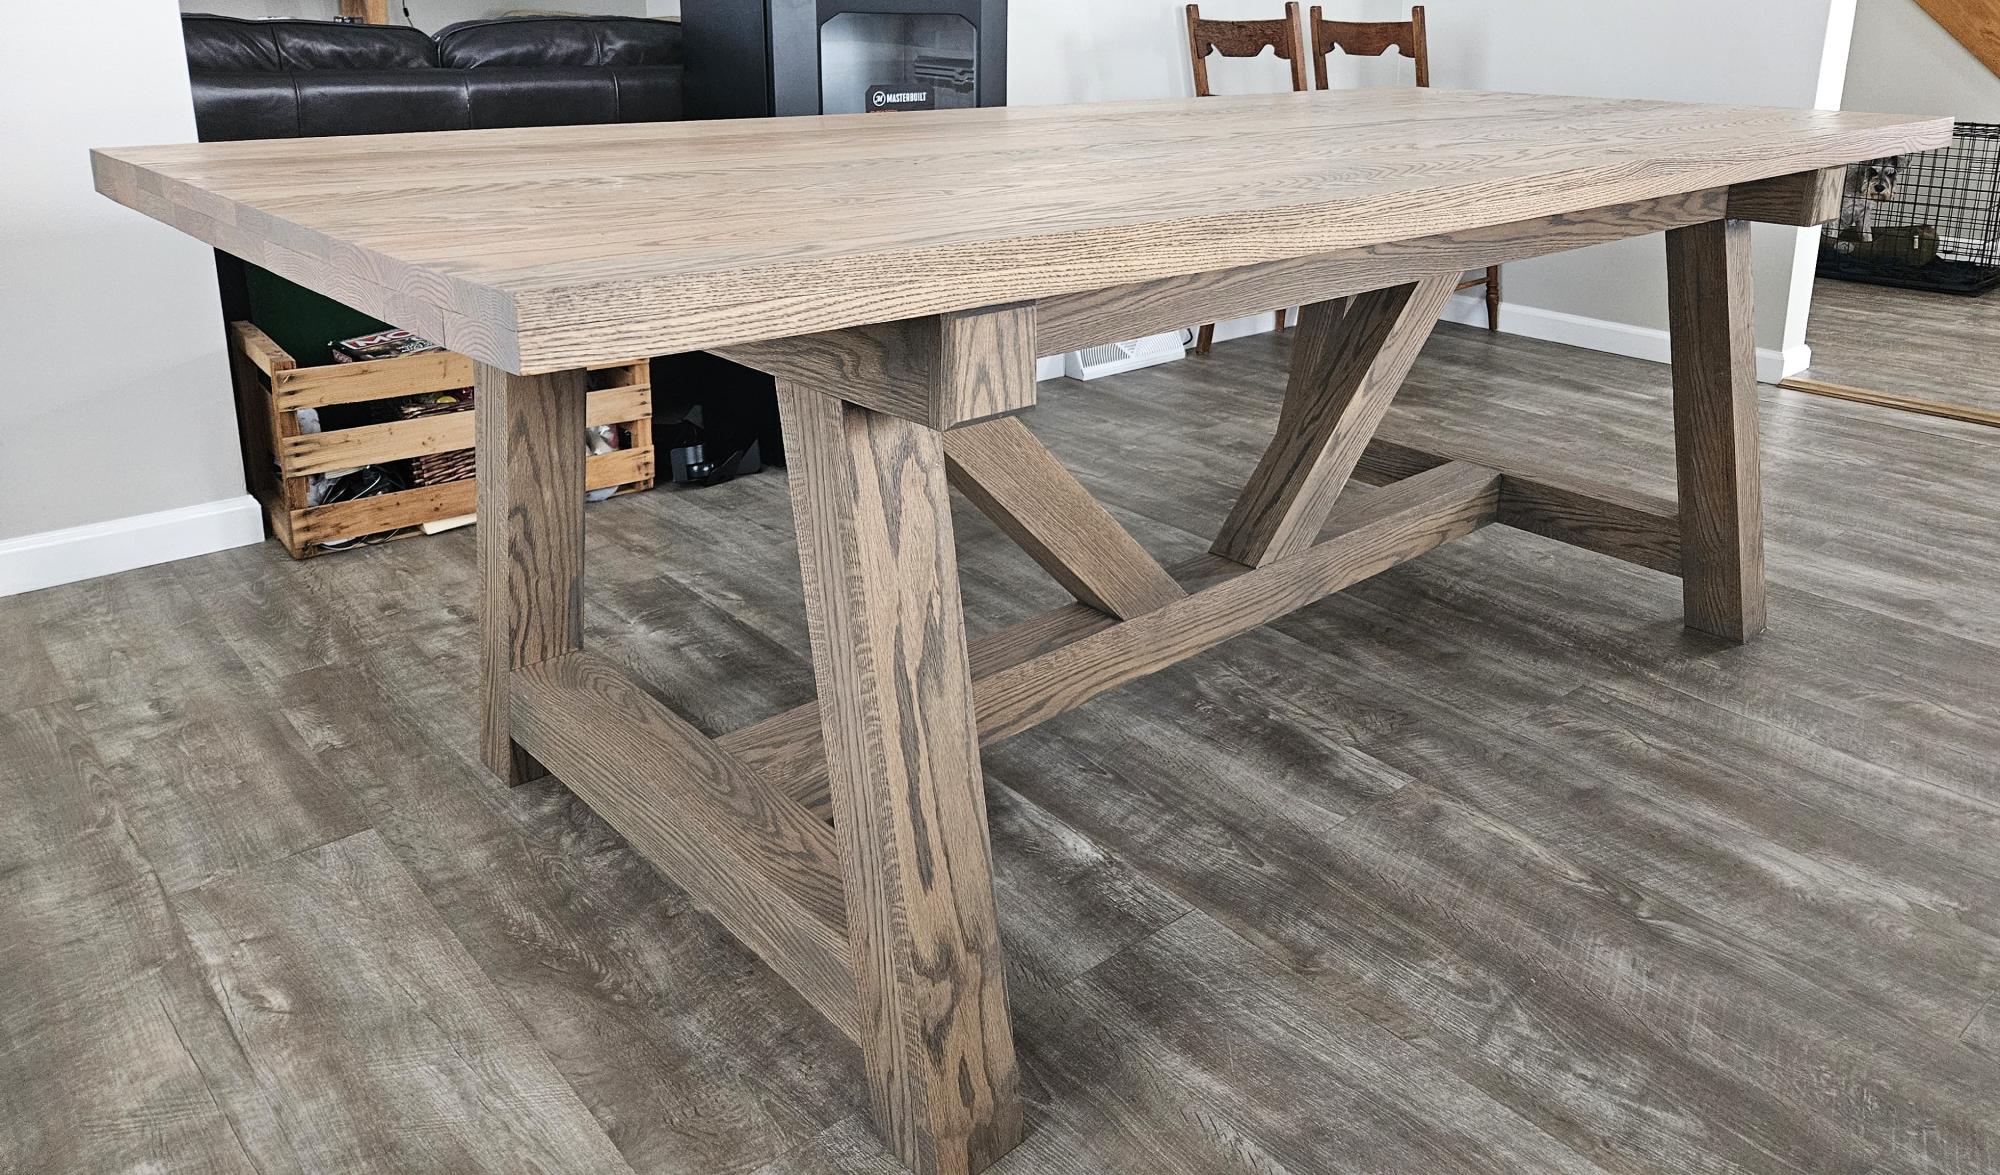
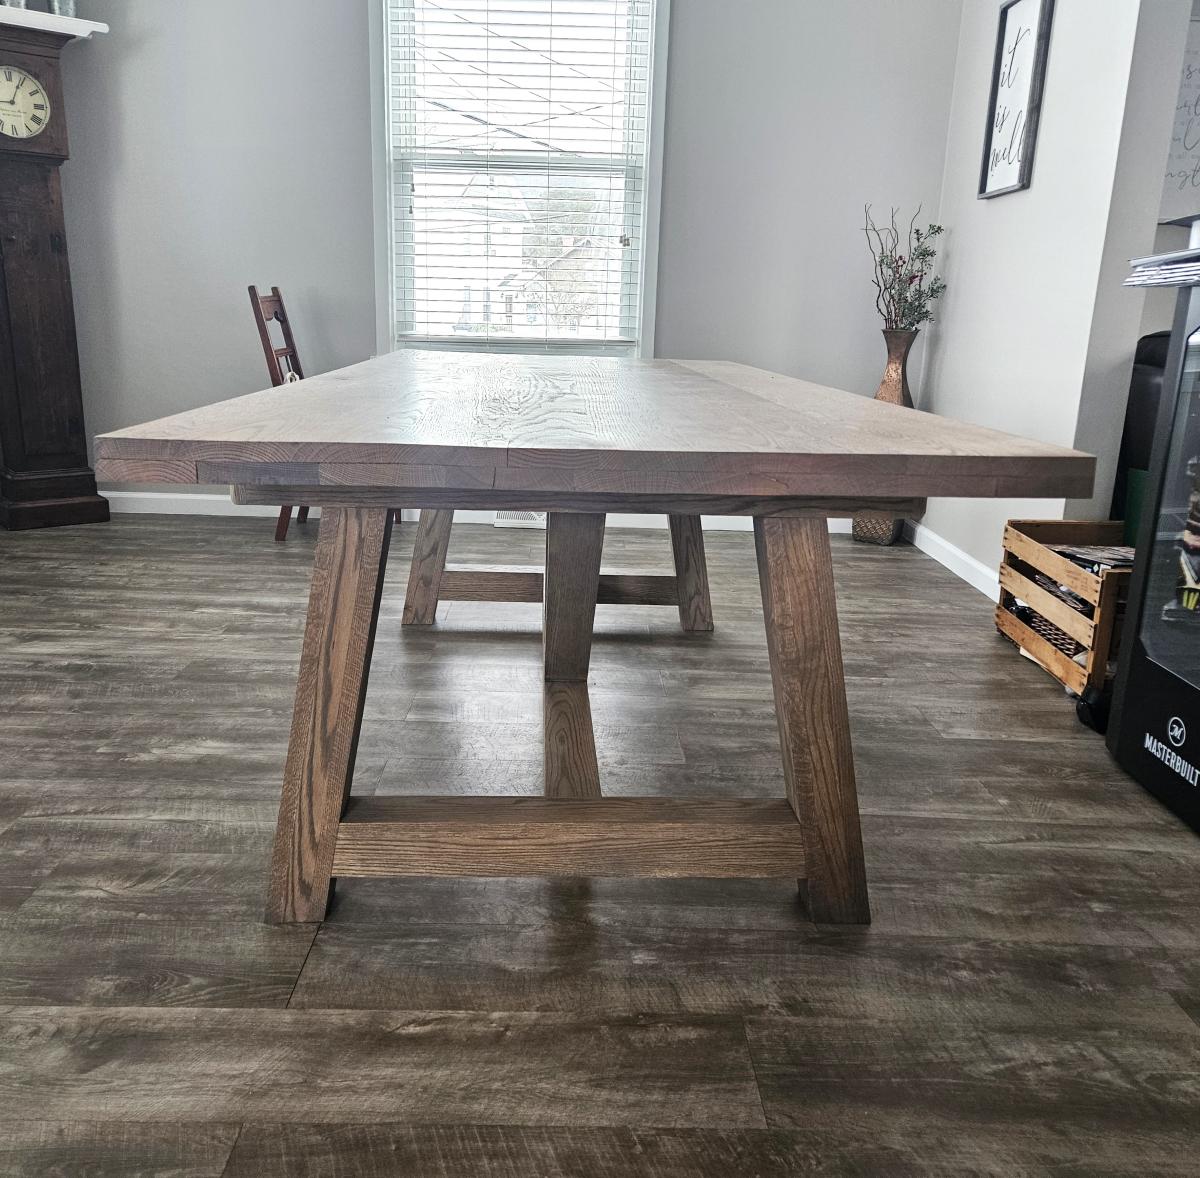
Used red oak lumber with ash grey rubio monocoat. The tabletop is 90"x40" and I made the base 64" long in order to place a chair at each end of the table.
Ashely Shook
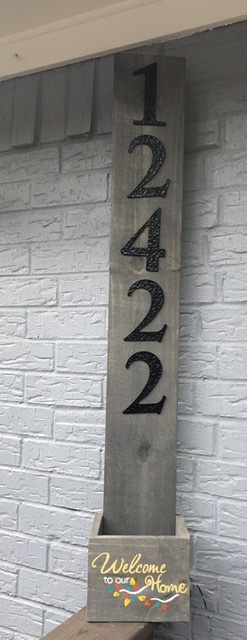
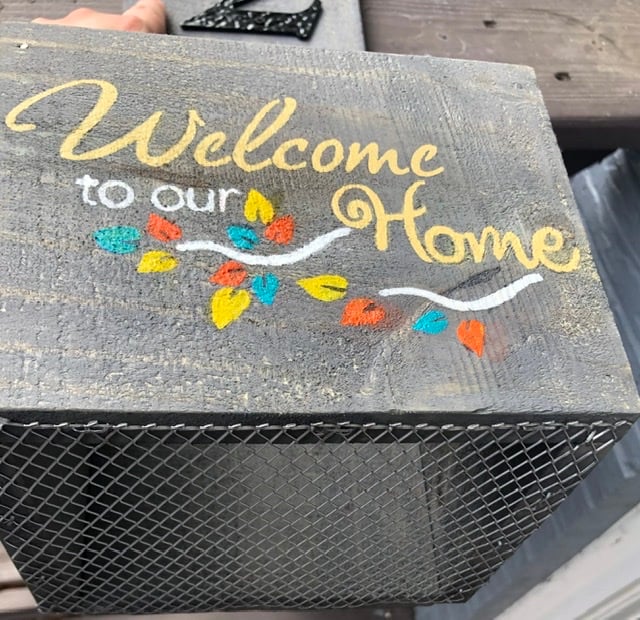
Used Ana’s plans for this just made one modification, which was adding wire to the bottom so the plant can drain out. I also stained the fence picket before putting it together. The numbers were the most expensive part of this project they were ~$18. https://ana-white.com/woodworking-projects/house-numbers-vertical-plant…
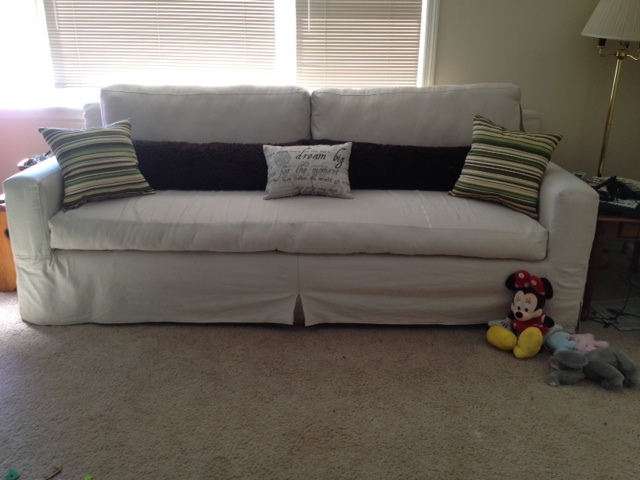
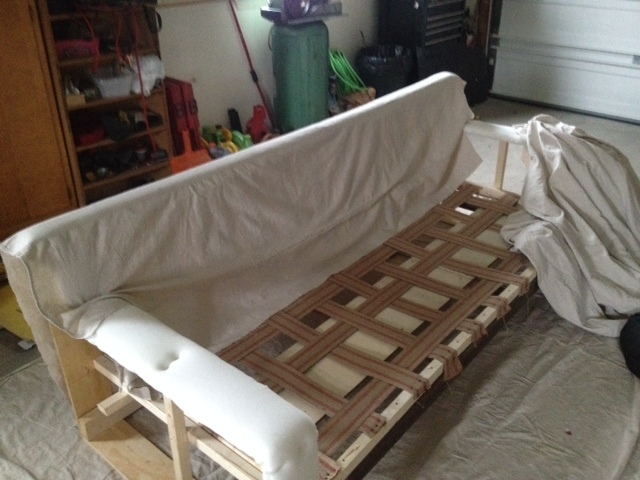
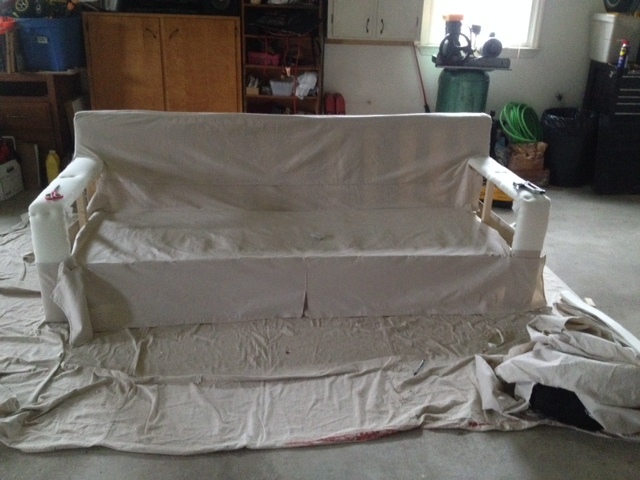
After looking at sofas in magazines and fliers, I decided I wanted to build one. For the quality (or lack of) at the price we could even dream of, it just didn't make sense to purchase one if I could build it. There are still a few little adjustments I may make as time goes on, but overall, I'm happy with the way it turned out! The pillows I made definitely added the finishing touch it needed!
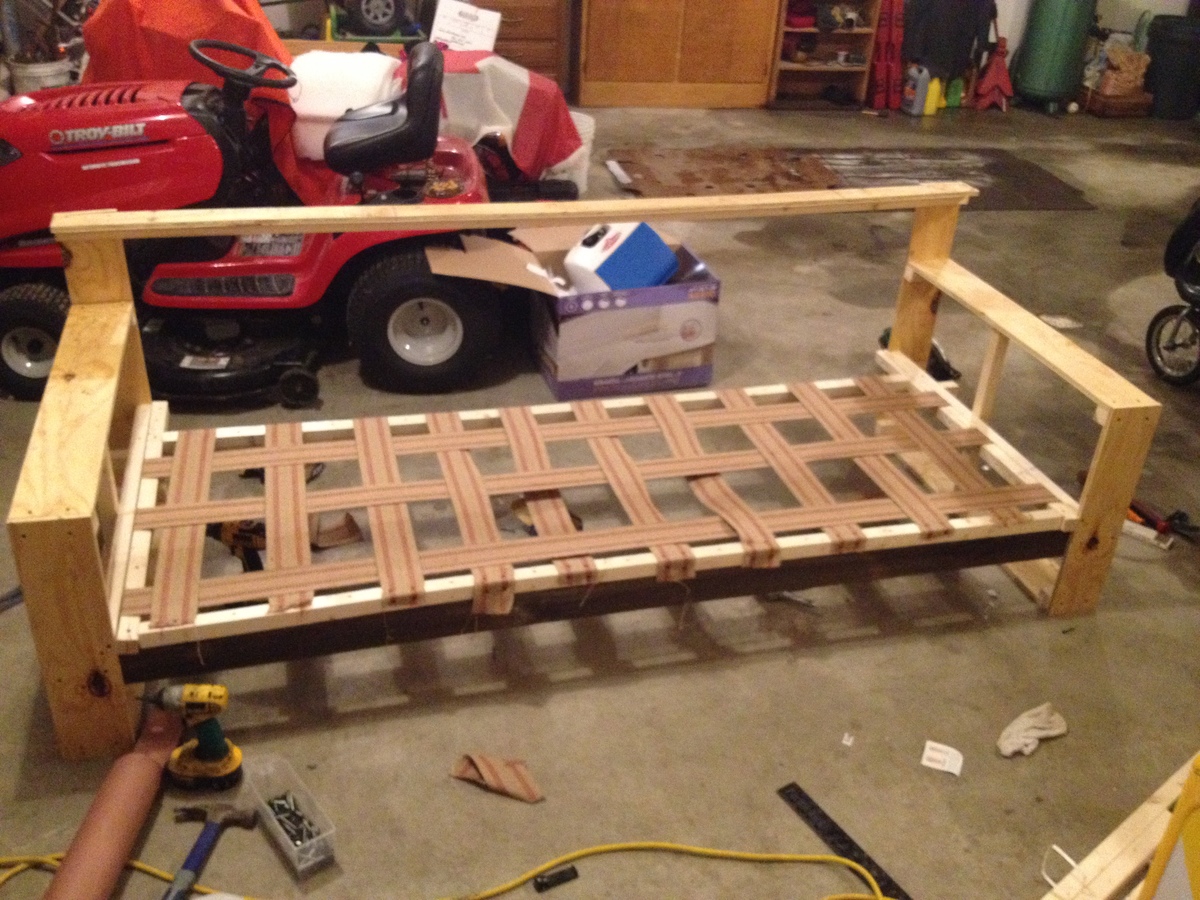
It's a full 8 foot sofa designed with plenty of space underneath for storage! My plan was to build two wooden boxes on casters for the kids to use as toy boxes, but I think plastic totes will work just as well and much lighter and easier to clean! I drew up the dimensions and plans to fit what we wanted and went from there. The frame was the easiest part; took about a day. The cover and cushions on the other hand were quite a challenge. The sewing involved in this project was HUGE; took a little more than a week just for that. The pillows took an evening.
Thanks for checking out the project! Whatever you have in your heart, you can do!
Mon, 04/28/2014 - 09:07
I've sewn canvas drop cloth covers for an already made sofa, and you are absolutely right. It takes forever and it takes a TON of fabric! I am very impressed you built the sofa frame. How comfortable is it? What was your total cost including the foam, fabric, wood, everything?
Tue, 04/29/2014 - 12:44
My total cost was about $400. I think it's pretty comfortable, though I do need to adjust the seat cushion a bit. It's stuffed harder on one end than the other. As for the foam, I used a memory foam mattress topper (4 inch) from Walmart (about $150) and then used poly-fil to give it some shape and extra cushion. If you've ever shopped for foam, you'll know the high-density stuff is RIDICULOUS! Hope that helps!