Community Brag Posts

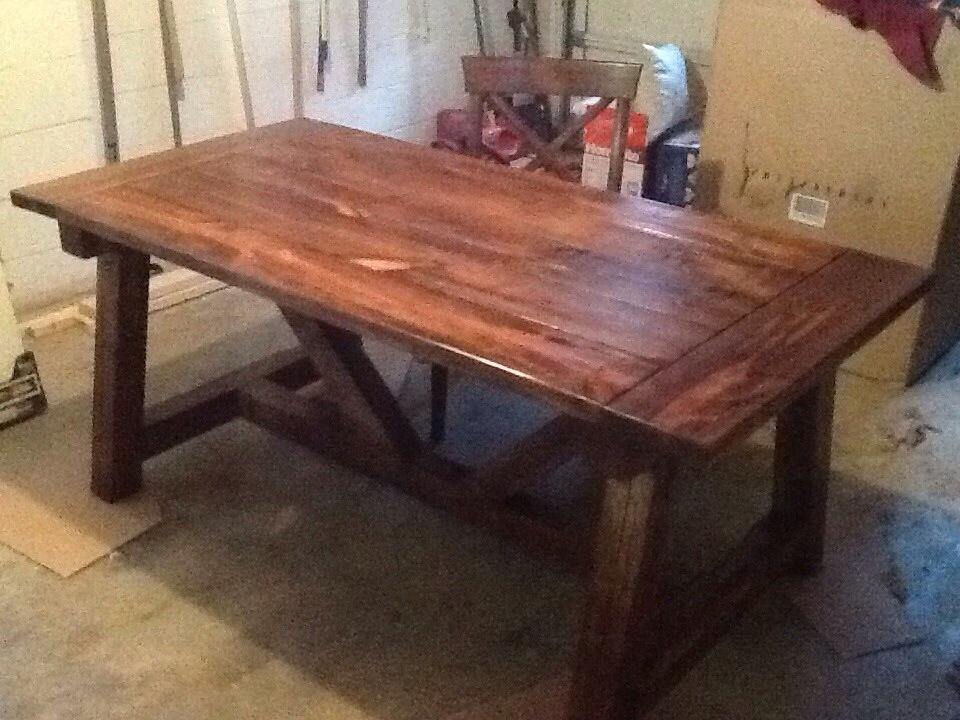
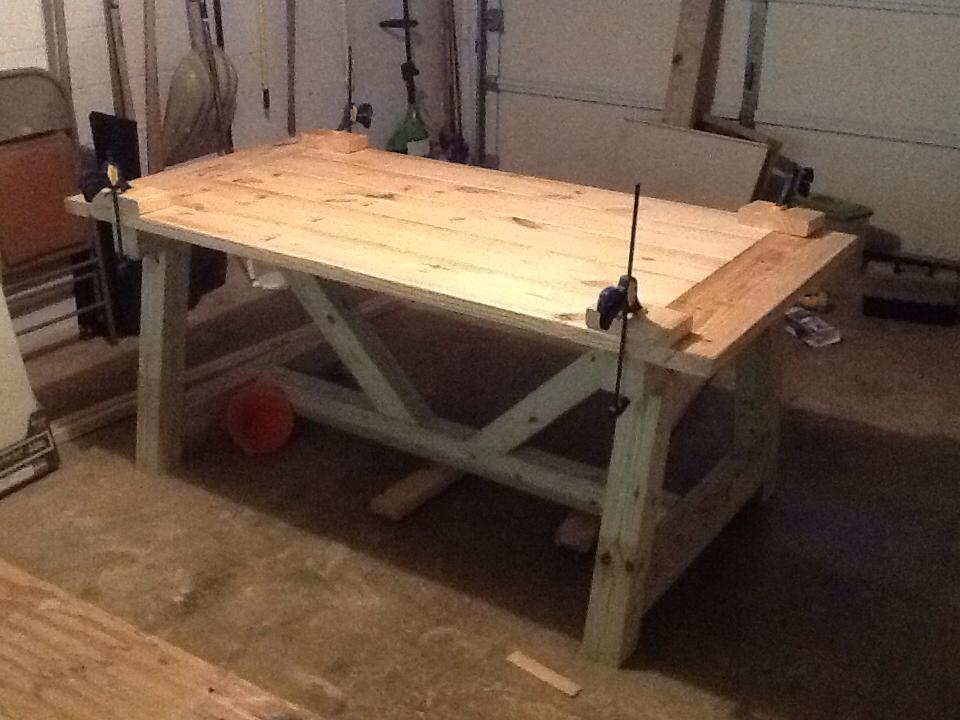
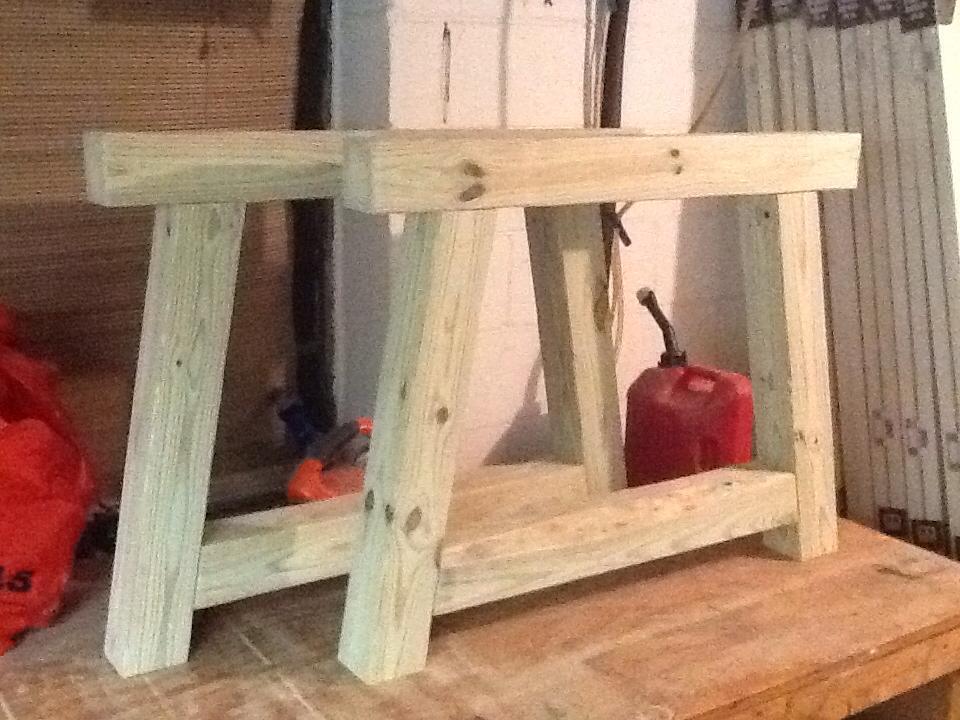
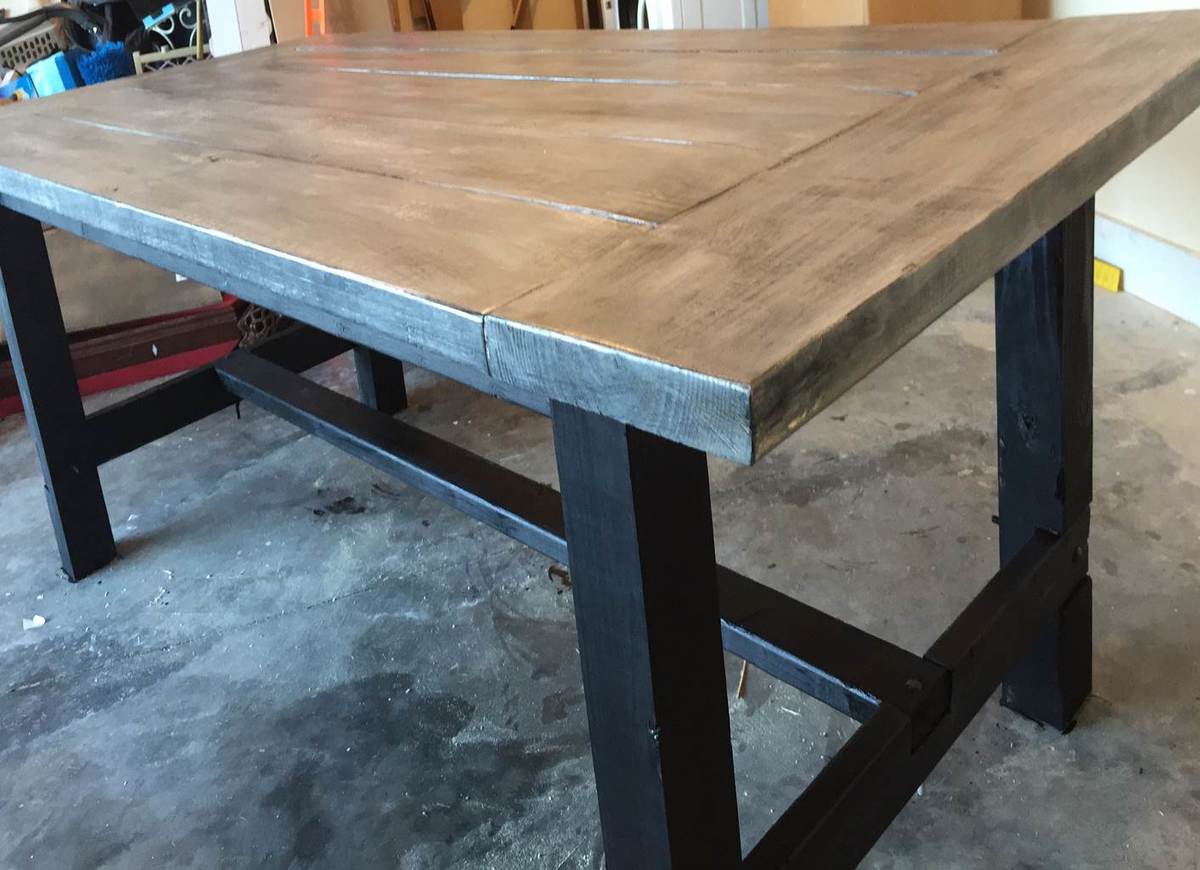
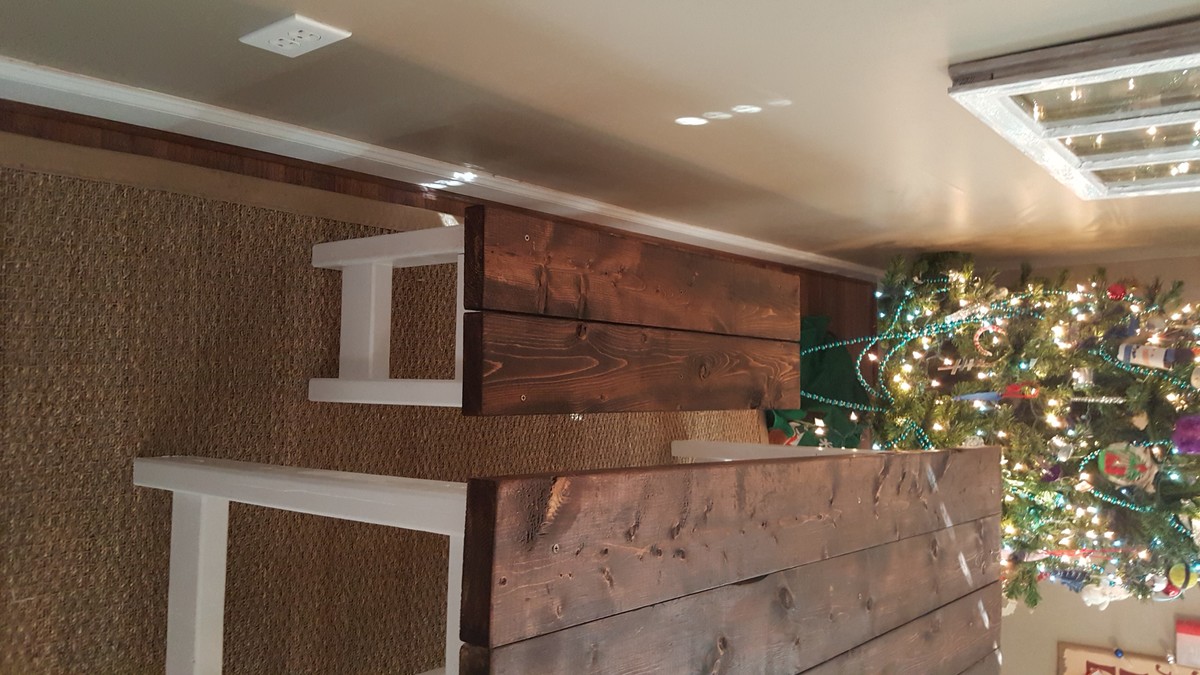
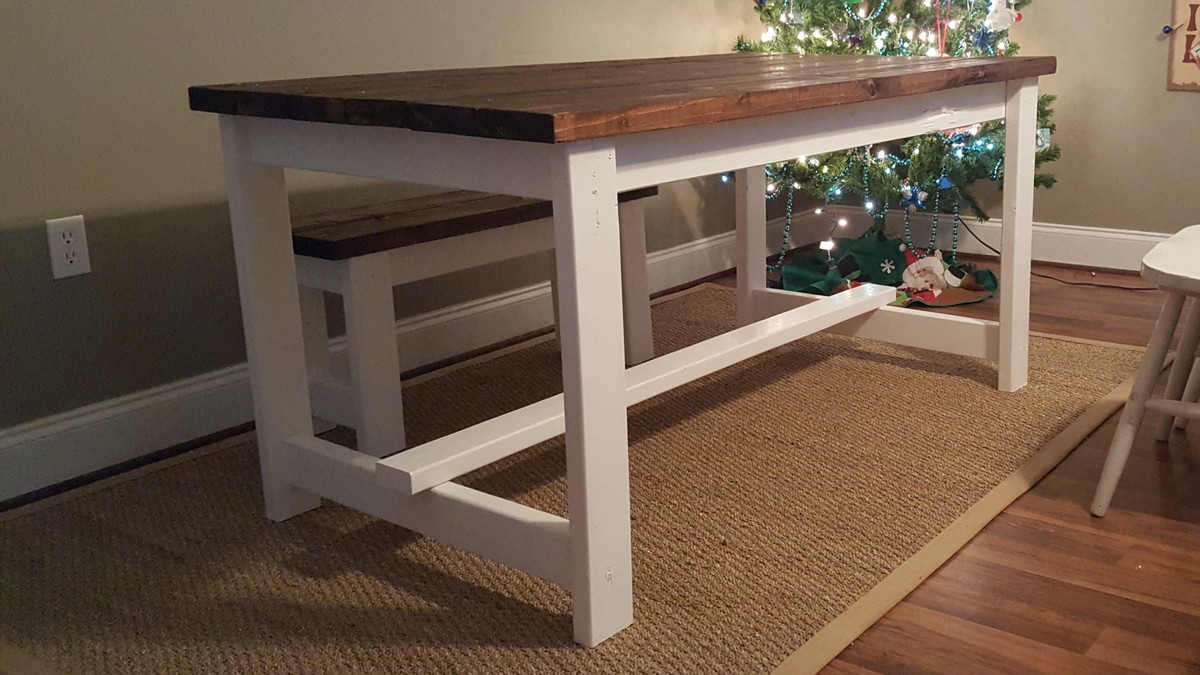
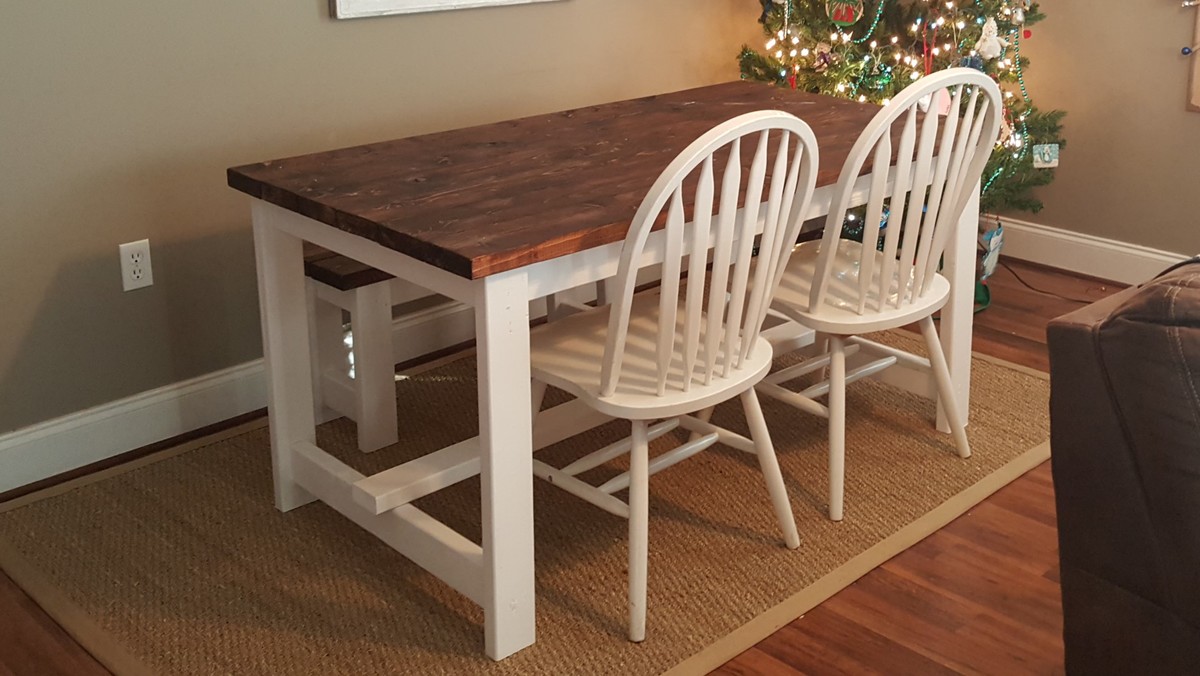
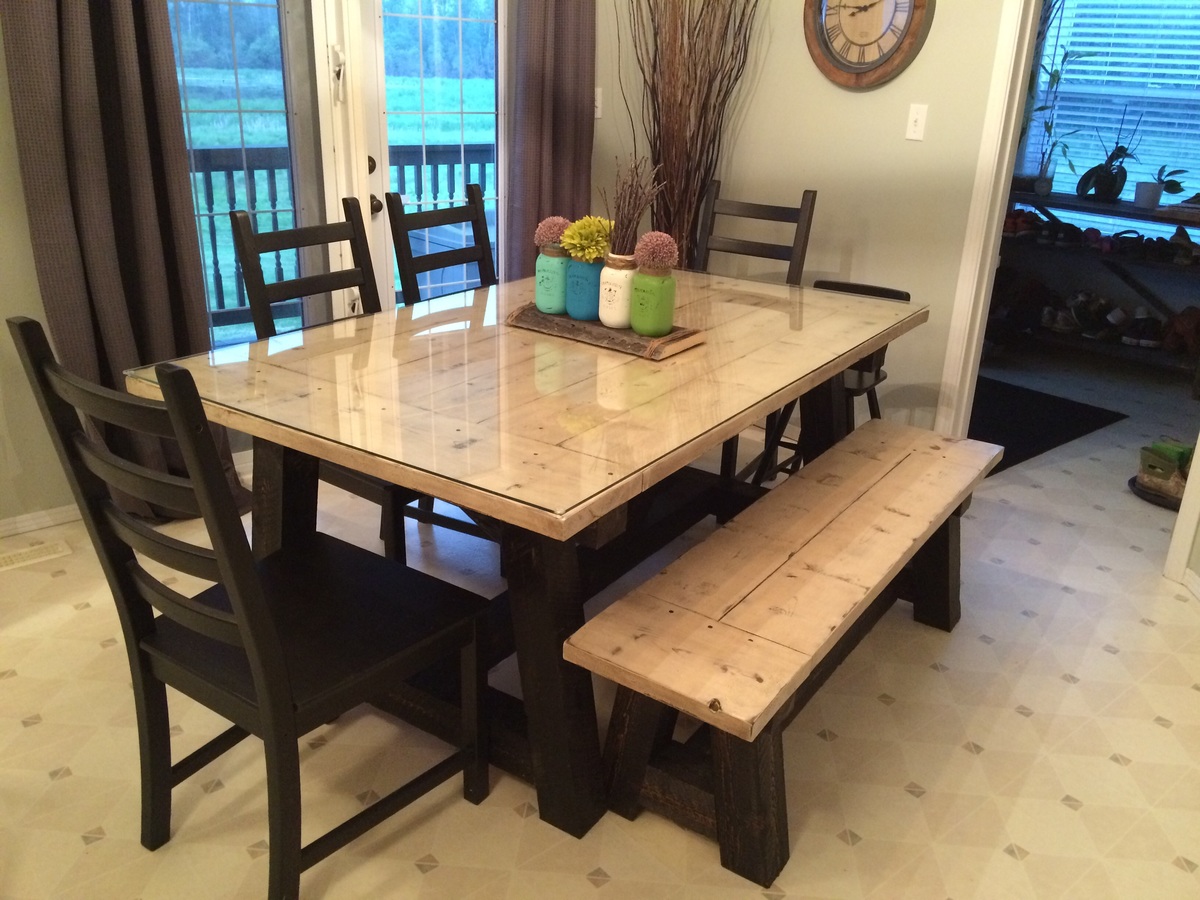
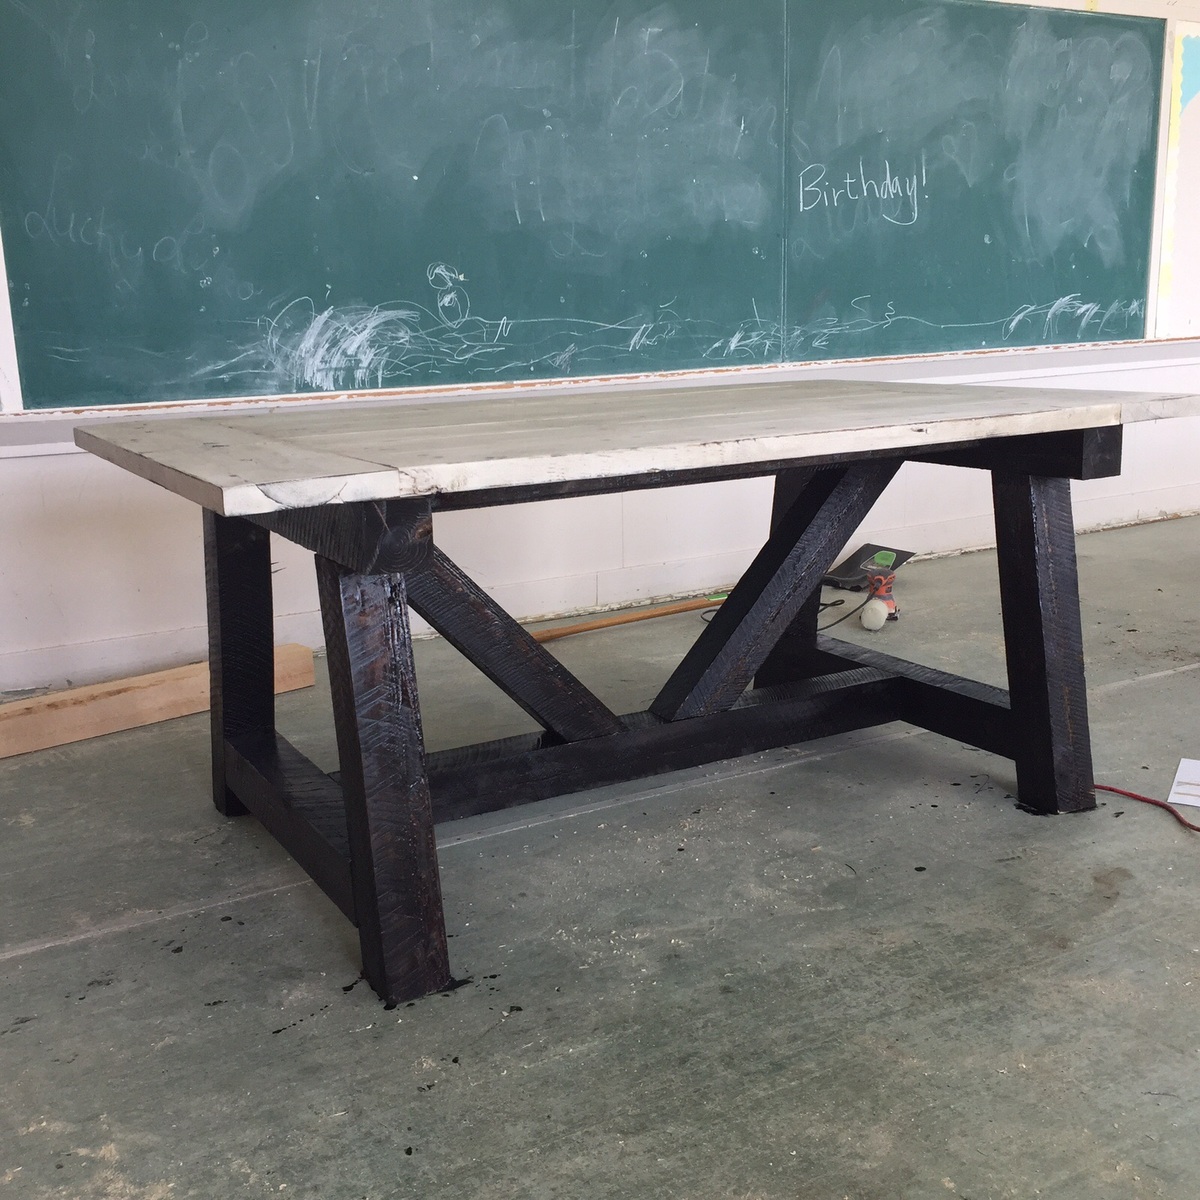
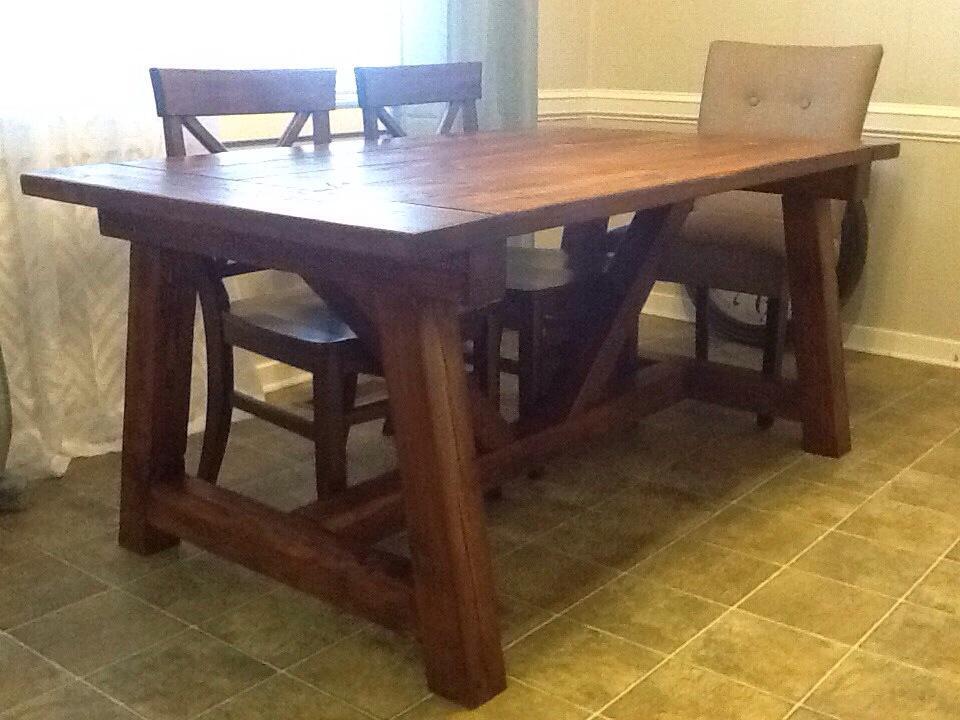
Shorted 4x4 Truss Beam Table

Submitted by ClayCox86 on Mon, 02/16/2015 - 13:19

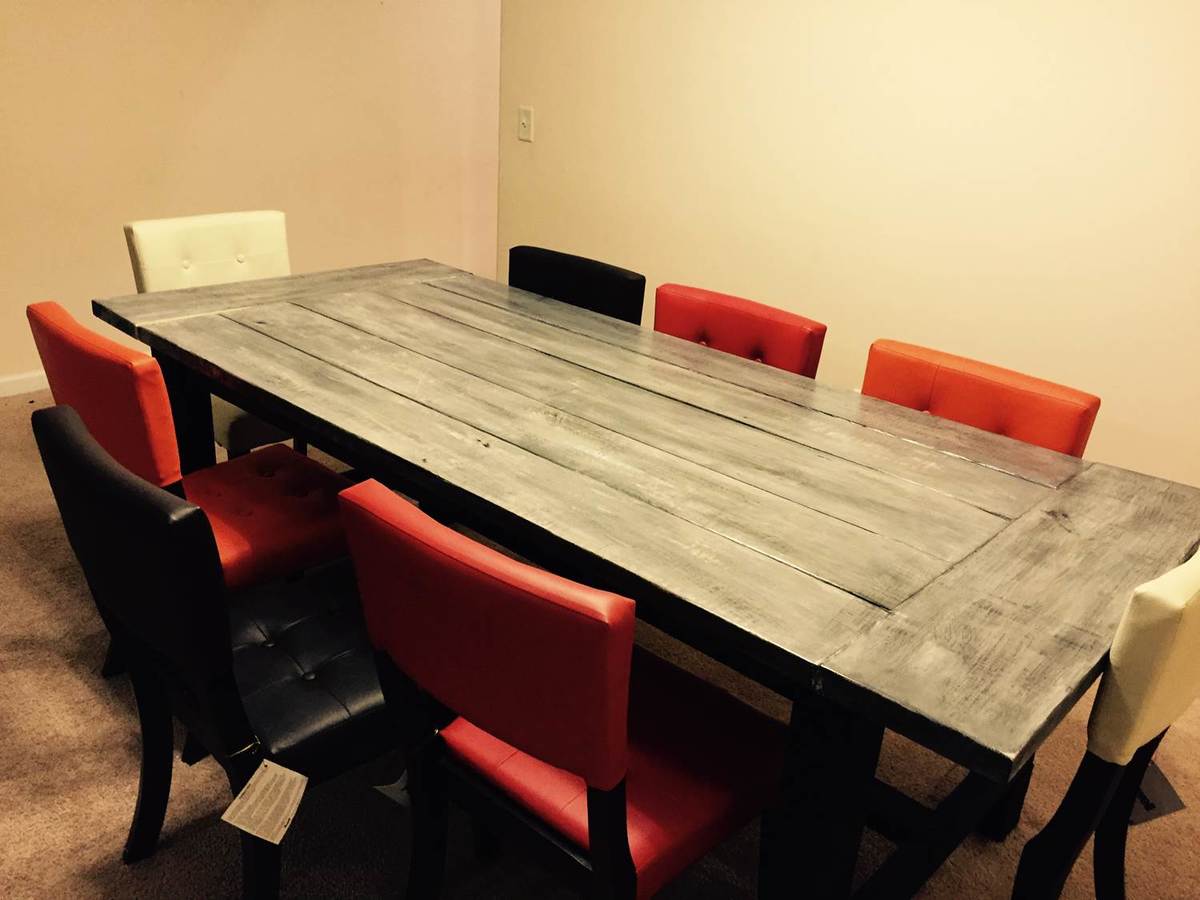
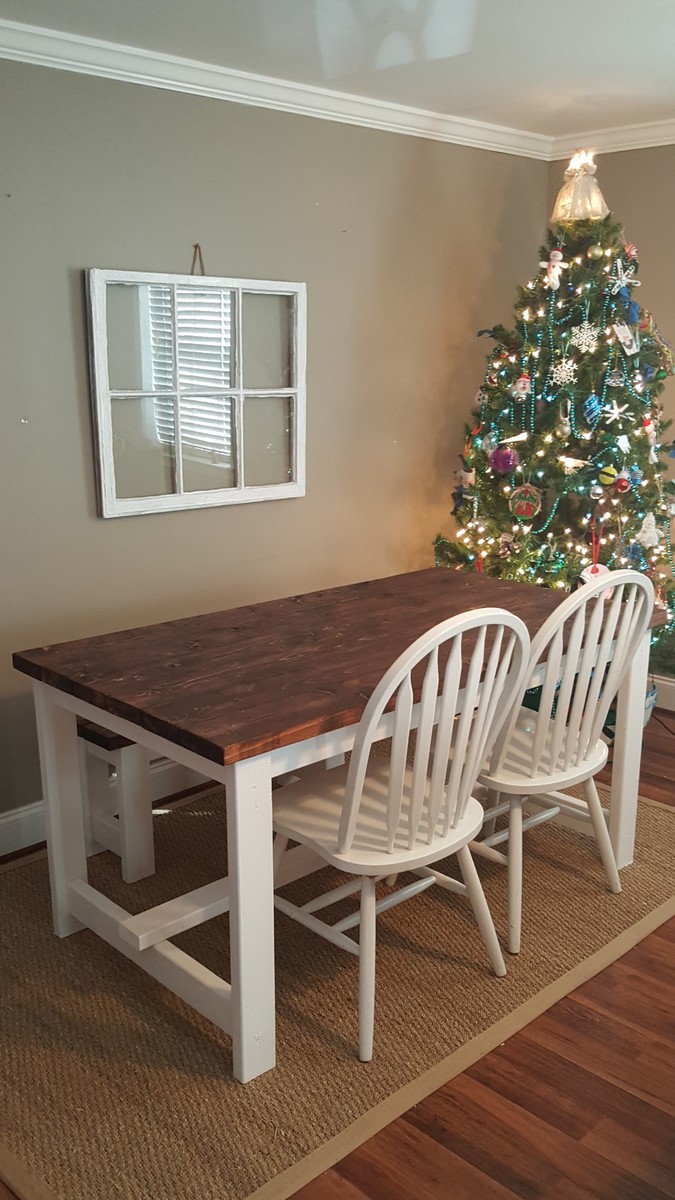
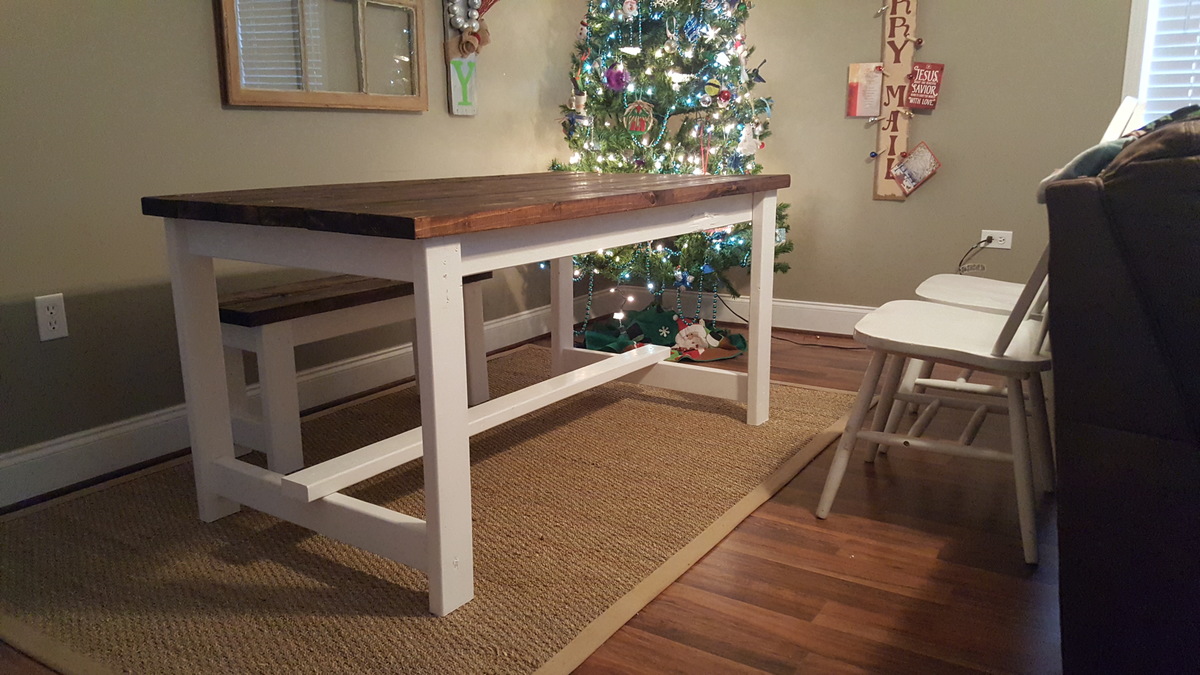
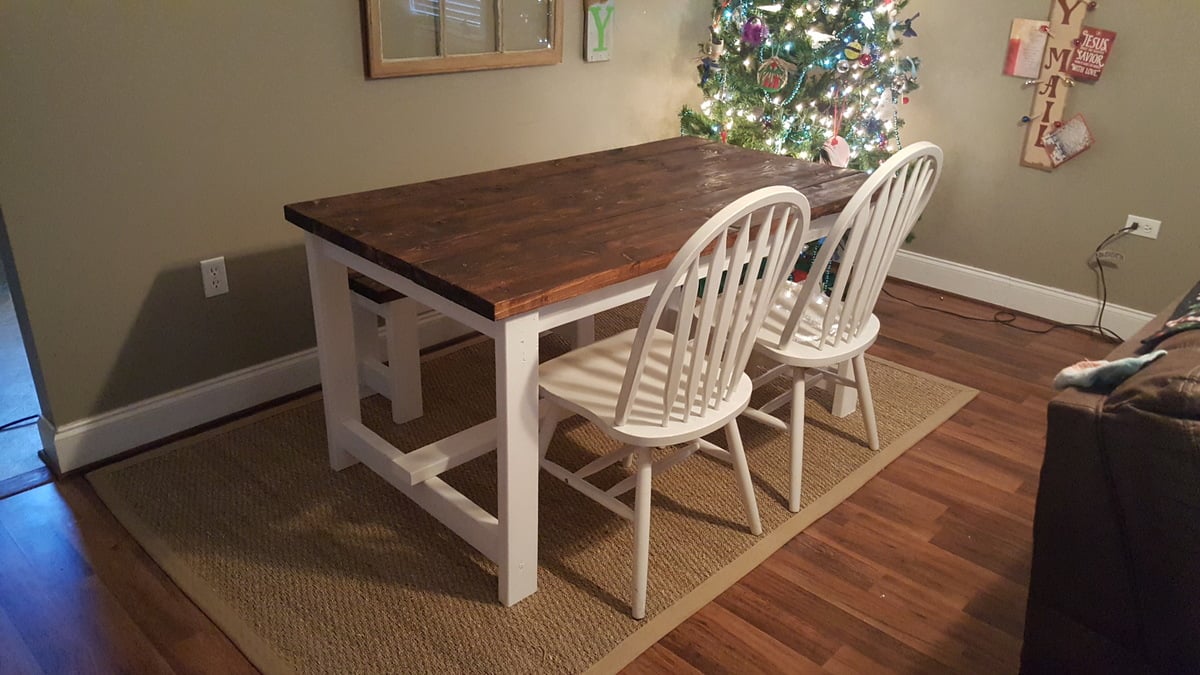
Shorted this length of the table by 6 inches to fit the available space. Came out great. Tip: If using pine, after stain dries, gently sand again with high grade paper to remove raised ridges after wood has absorbed stain, but not hard enough to remove stain. This will help make the eating surface much smoother to the touch. 

Built from Plan(s)
Estimated Cost
$110 dollars in wood. $50 in new equipment, sandpaper, stain, and gloss.
Estimated Time Investment
Weekend Project (10-20 Hours)
Finish Used
1st coat: Steel Wool (grade 0) and vinegar (Let sit 3 plus days, the longer the better);
2nd coat: MinWax: 1-qt. PolyShades Antique Walnut Gloss Stain and Polyurethane in 1 Step;
Last coast: 2 coats of Rustoleum Ultimate Polyurethane in Matte
Recommended Skill Level
Intermediate

Comments

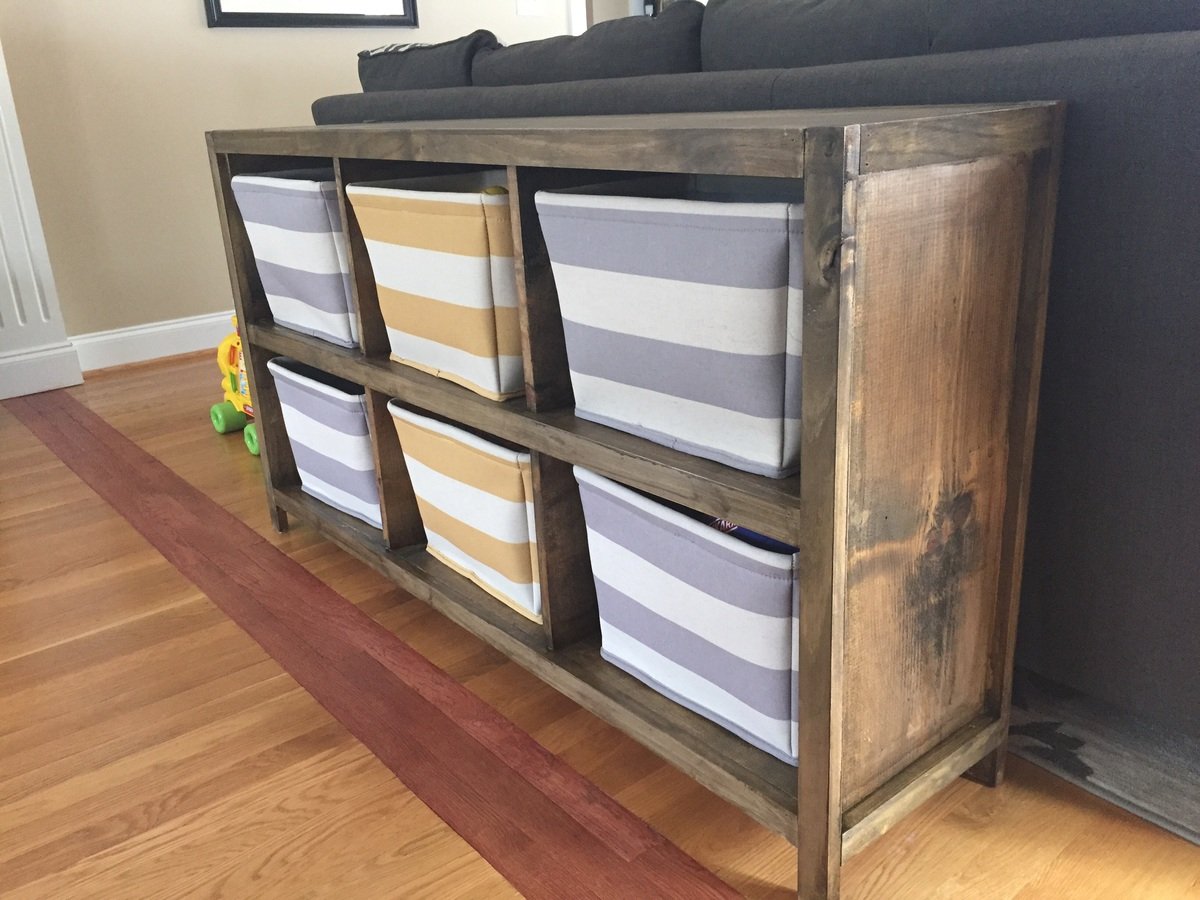
"Cube" storage unit

Submitted by kds199 on Fri, 10/14/2022 - 09:49

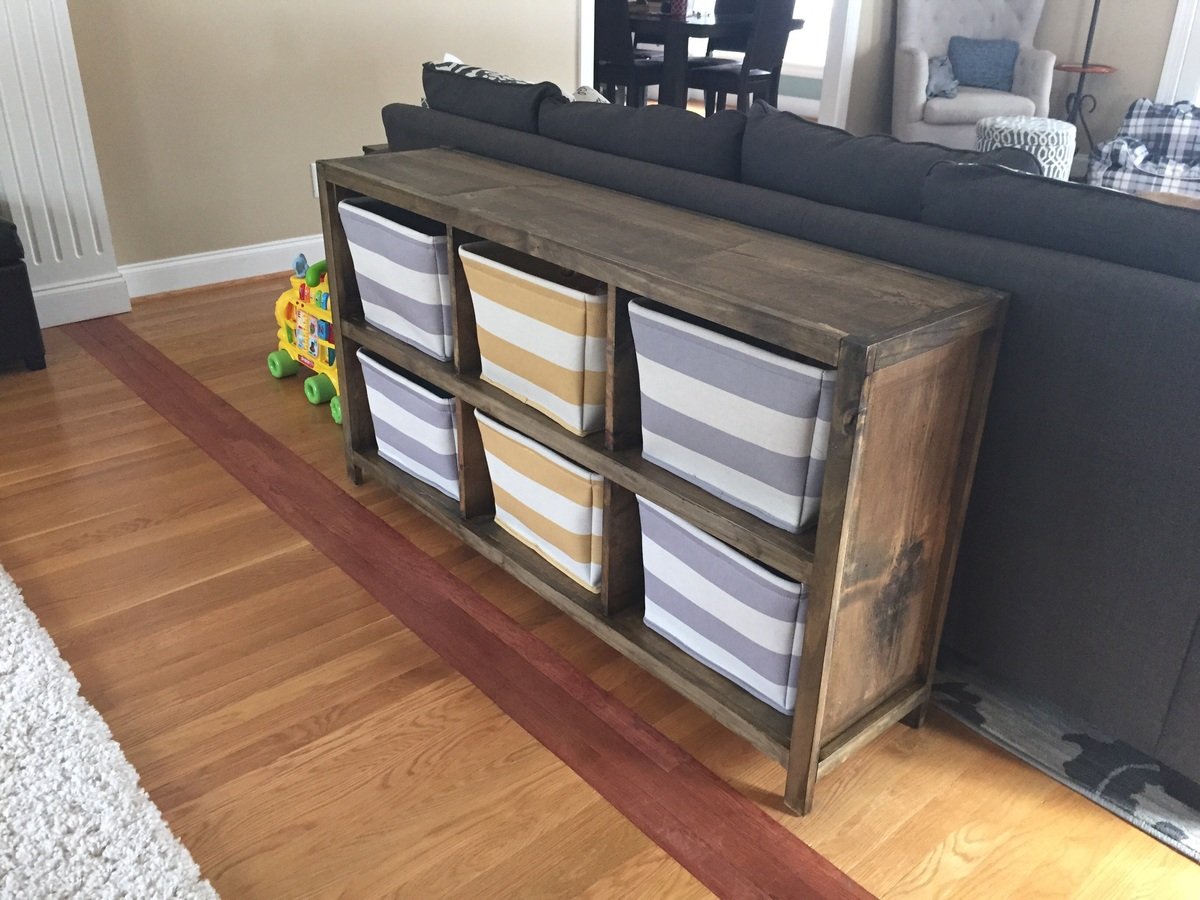
My wife and I wanted a nice way to hide more of our son's toys in the living room that didn't look tacky. We actually bought the cubby bins before even deciding what to make. (From target of course.) I made the bookcase out of wood shelving that already looked kind of beat up when I bought it knowing that the wood stain wood bring some character to it.

I only changed the plans slightly by making the legs flush with the inside so I could trim the ends and customizing the size of the cubby openings to fit the bins. (Mine aren't actually cubes.)

Built from Plan(s)
Estimated Cost
$60
Estimated Time Investment
Afternoon Project (3-6 Hours)
Finish Used
2 coats of stain...minimal sanding to keep the surface looking rough
Recommended Skill Level
Beginner

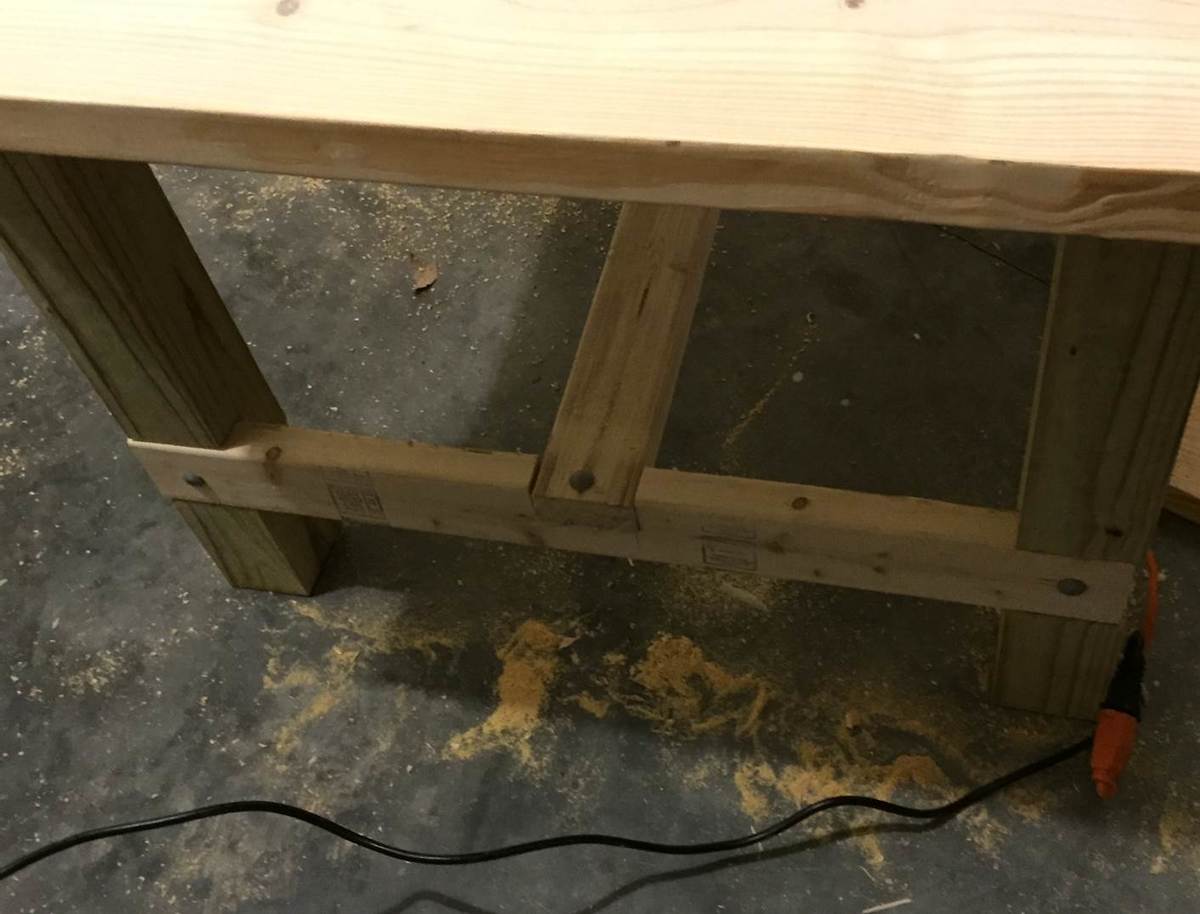
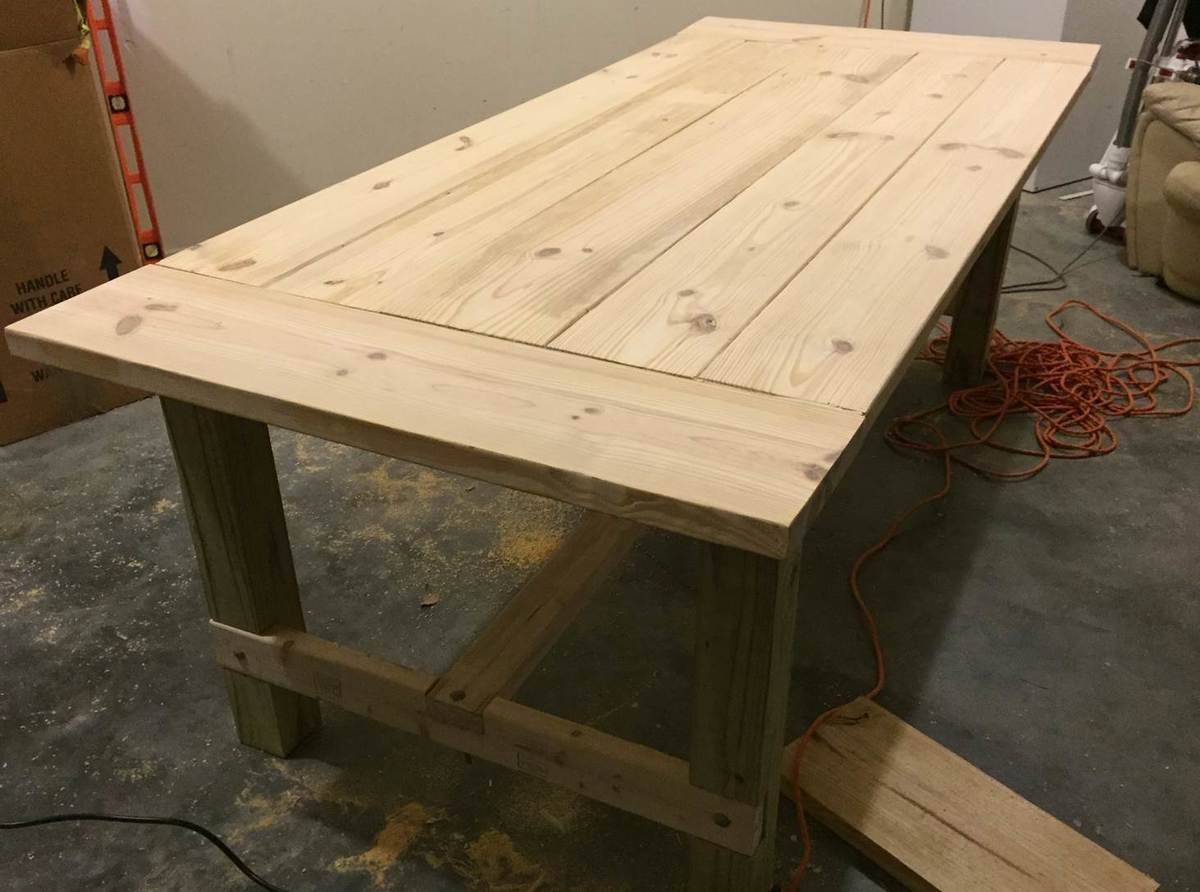
My First Project Farm House Table

Submitted by iceman0941 on Thu, 03/05/2015 - 10:22

Thanks Anna White for your plans and for your great website!

Estimated Time Investment
Weekend Project (10-20 Hours)
Recommended Skill Level
Beginner

Comments

Rustic X End Tables

Submitted by Anonymous (not verified) on Sat, 06/03/2017 - 19:39

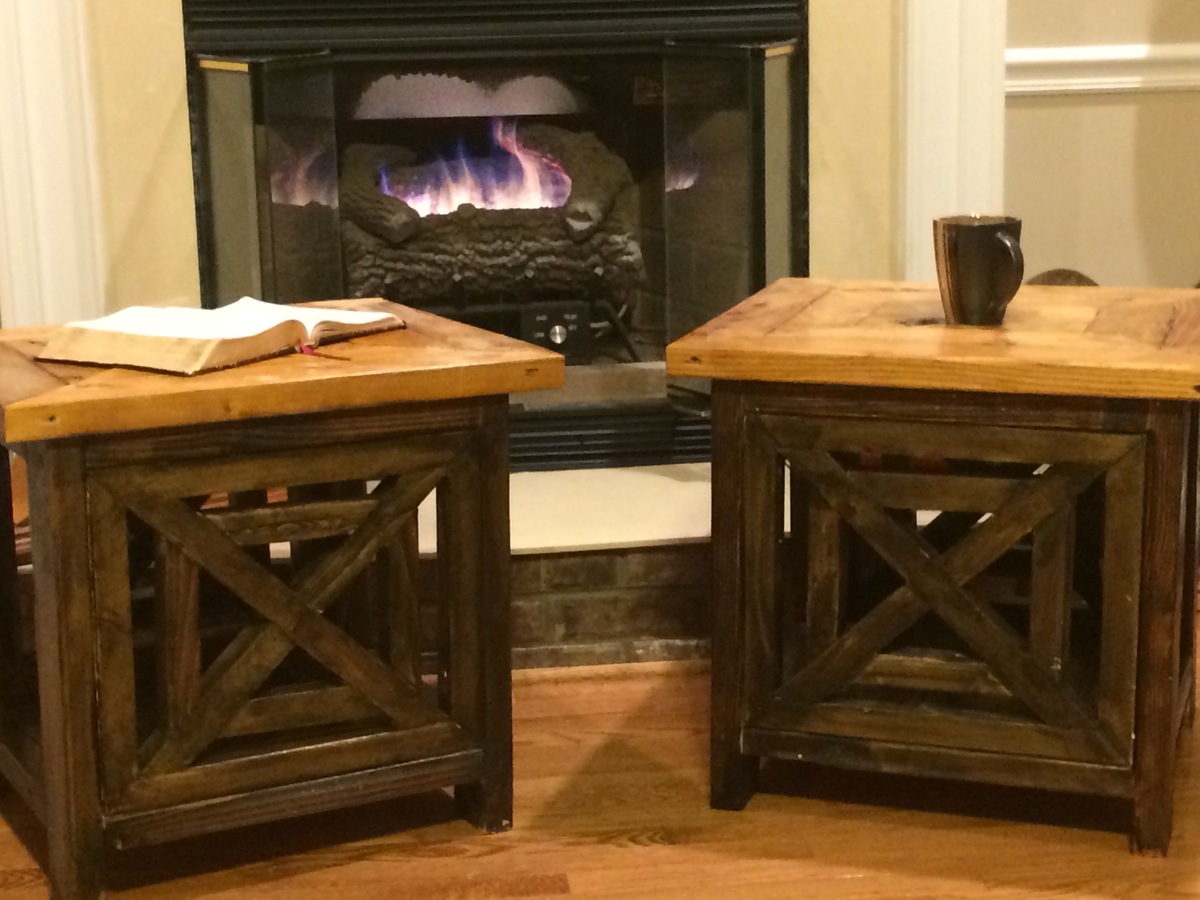
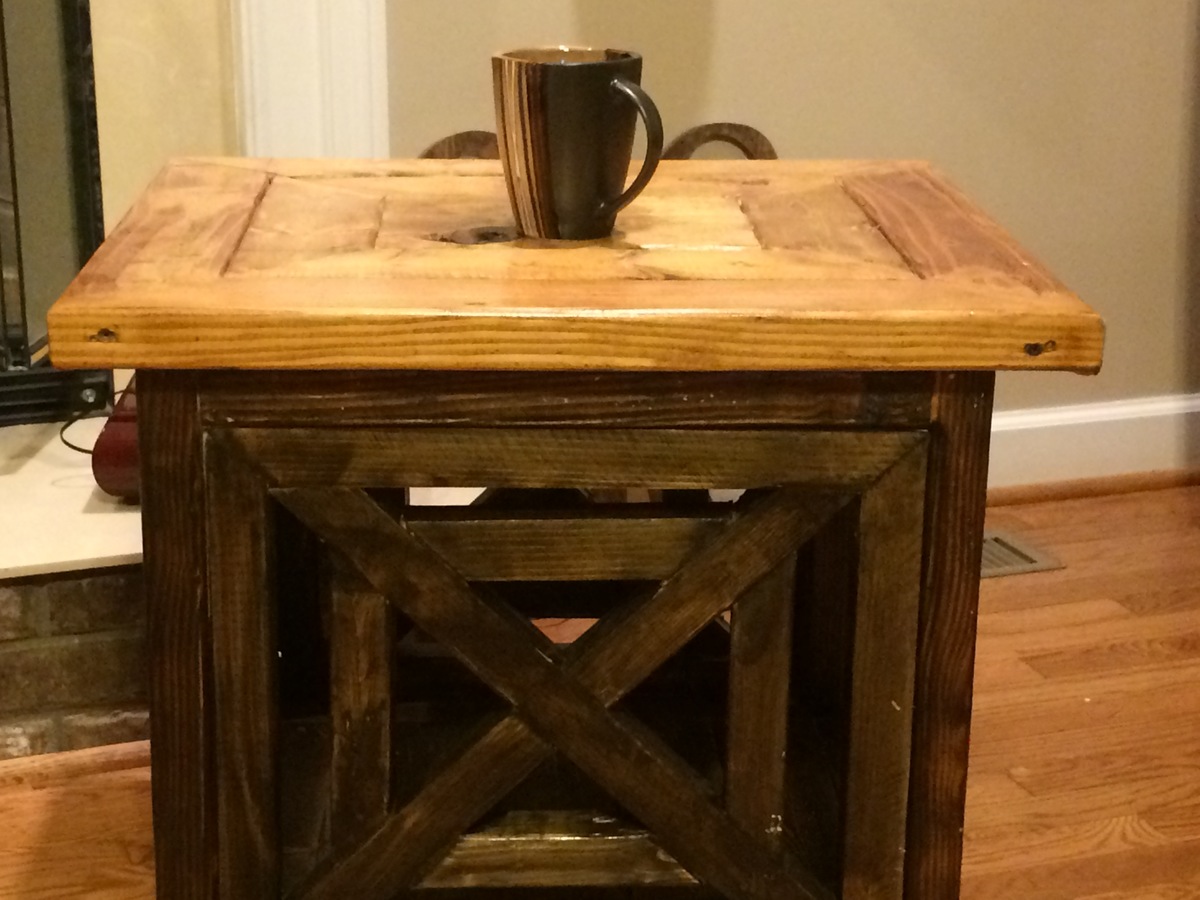
I took the base plans from your Rustic X end tables and added a little more detail on the sides and experimented with the stain combination. I stained the entire table in Golden Oak and for the based I stressed in an Ebony to give it a slightly burnt look in the base. Turned out really well. 

Built from Plan(s)
Estimated Cost
$75
Estimated Time Investment
Weekend Project (10-20 Hours)
Finish Used
Golden Oak
Ebony
Clear Gloss Poly
Recommended Skill Level
Intermediate

Kitchen Shelf Organizer

Submitted by oadsitt on Sun, 03/08/2015 - 16:50

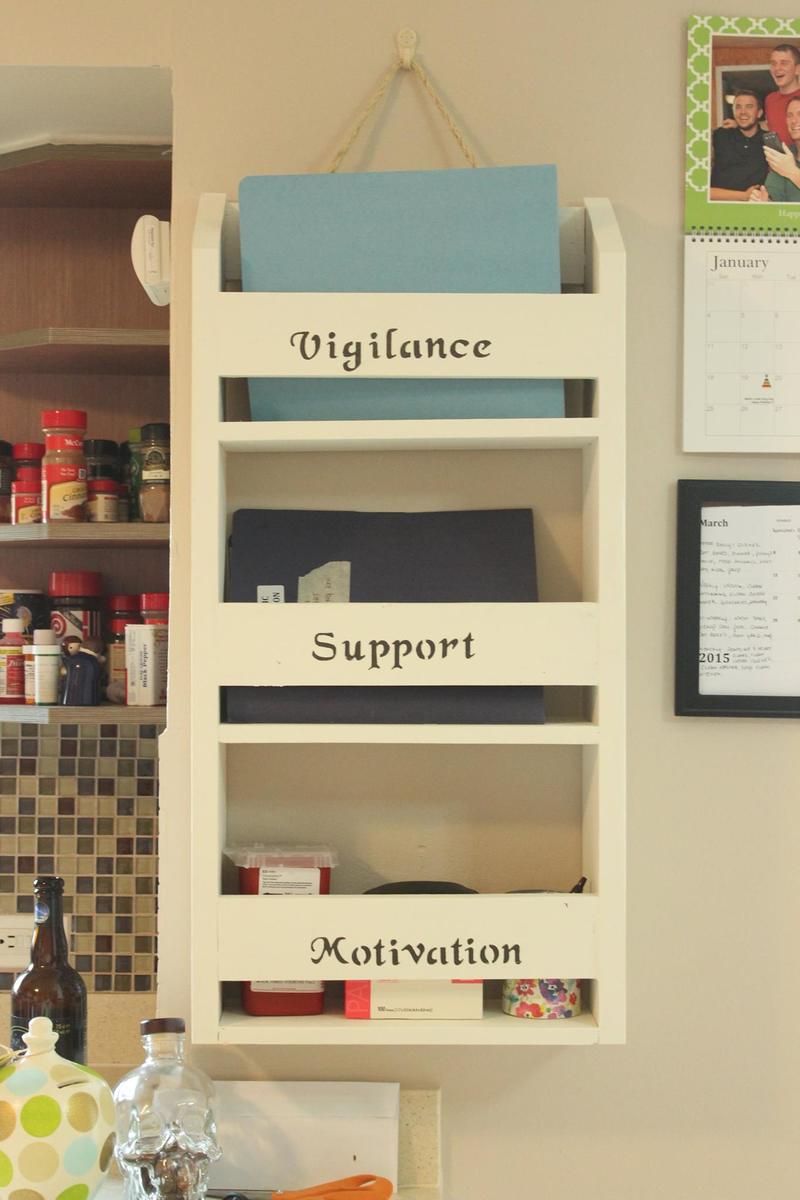
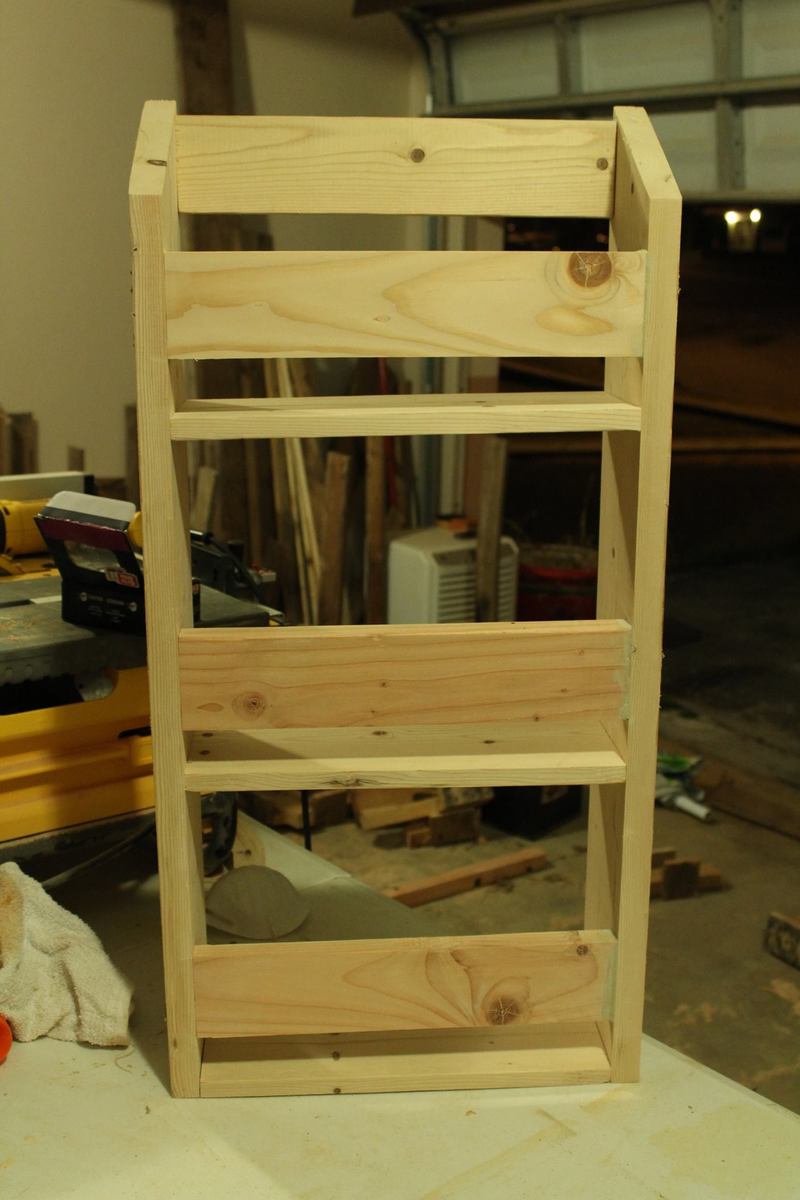
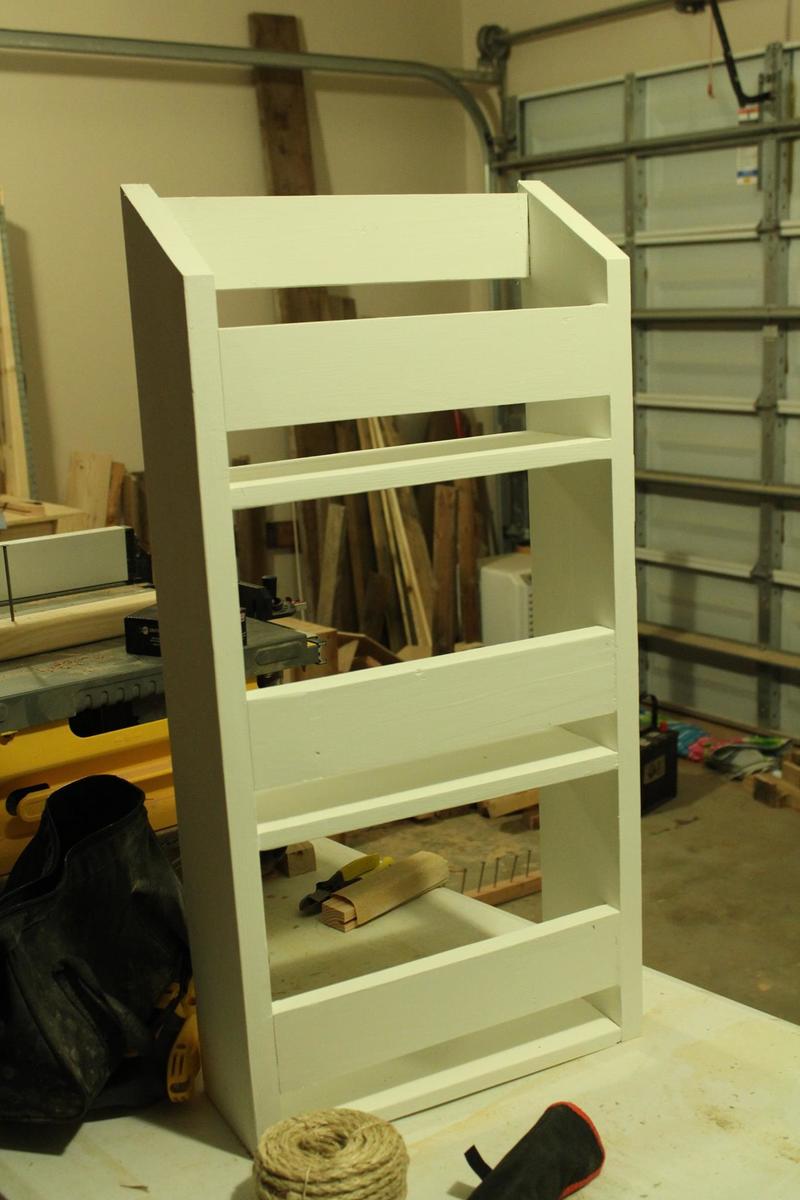
A few weeks ago I was diagnosed with type 1 diabetes and little did I know how many papers and supplies come with having it. For a couple weeks our kitchen counter was just littered with testing supplies and literature, it got the where I couldn't take it anymore. I decided to build this little set of shelves; so darn cute and a quick, inexpensive build.  It took me about 5 hours total to complete the assembly and paint job and another hour or two to finish the stenciling. I am using it for all my diabetes accessories but it would work great as a little organizer for all that clutter that inevitably congregates in little piles on the kitchen table and counters.

One modification I made from the original plan was the angled cuts at the top; we unfortunately don't own a jigsaw so I just cut the side boards at a 30 degree angle to the corner instead. My shelves are also only 3/4 of an inch instead of 1 inch because I miss measured and did not buy enough supplies. So instead of waiting until I could get back to the store I ripped one of the 2X6 boards in half so I could utilize both sides.

To save a little money as lumber is pricey where we live, I bought 1- 2X6, 1-2X4, (both of these I match booked and ripped to create more material) and utilized 2 inch drywall screws which I countersank and filled before painting. Total cost was about $16 (I utilized paint was already had)
Recommended Skill Level
Beginner

Square farmhouse table

I built this square farmhouse table for a friend of mine. Used the same build as the 4x4 truss table. Just made it square. 64.75x64.75

Built from Plan(s)
Estimated Time Investment
Week Long Project (20 Hours or More)
Finish Used
Mixed dark walnut. Classic grey and American walnut to match the chairs . Semi glosss Decorator white paint.
Recommended Skill Level
Intermediate

Triangular Rabbit Hutch

Submitted by Medeek on Fri, 05/03/2013 - 18:14

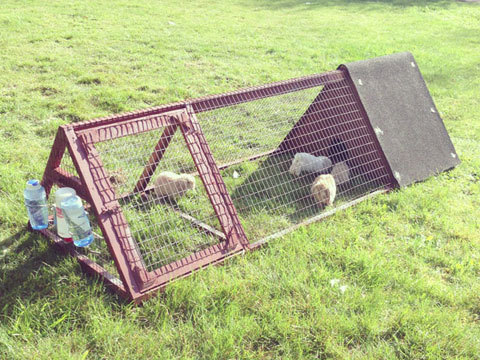
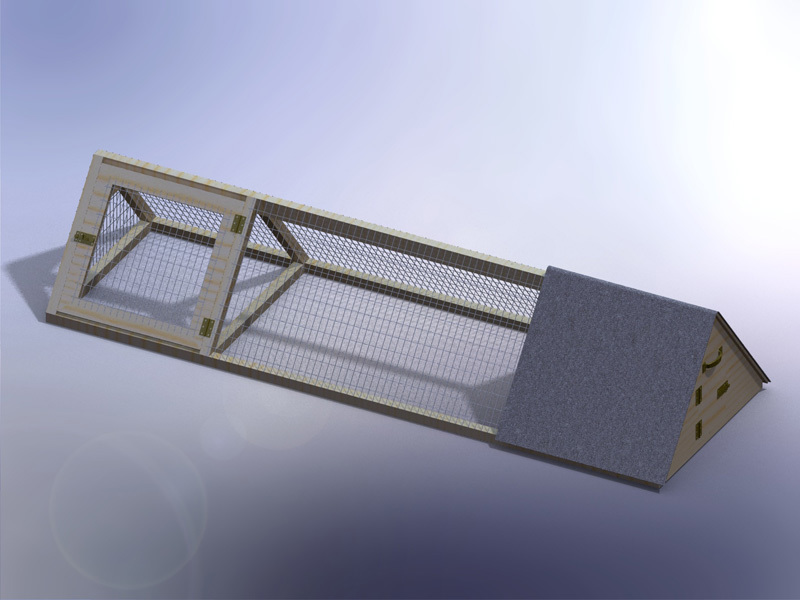
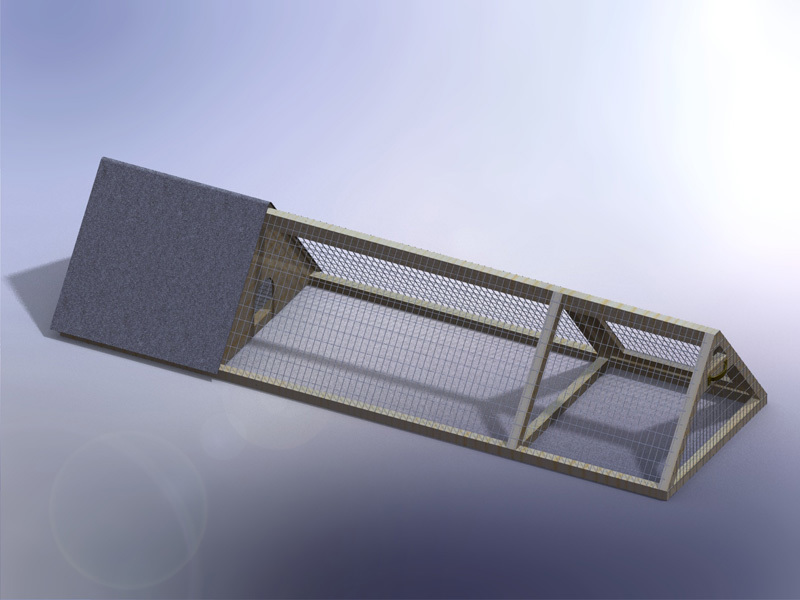
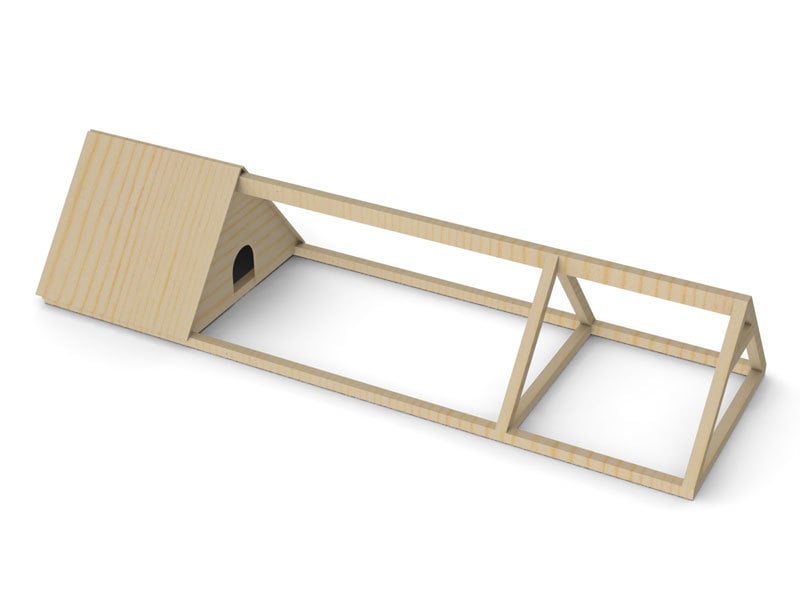
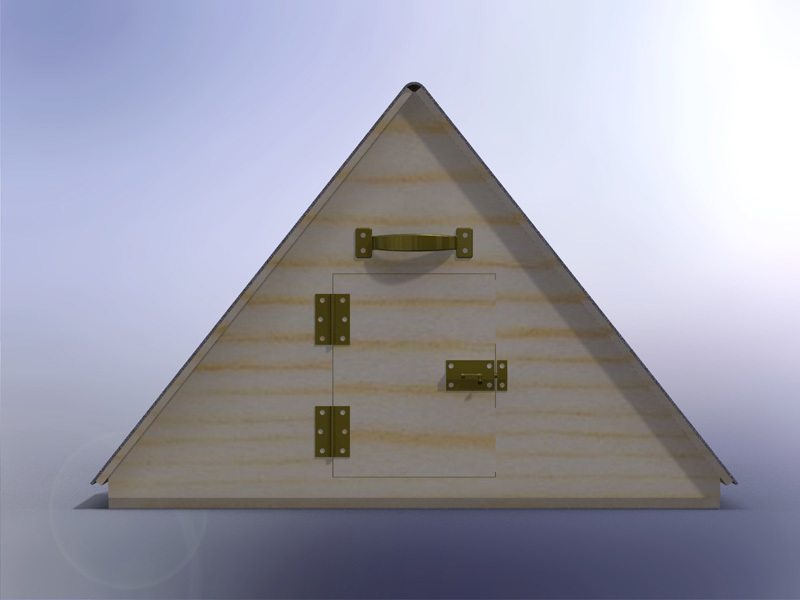
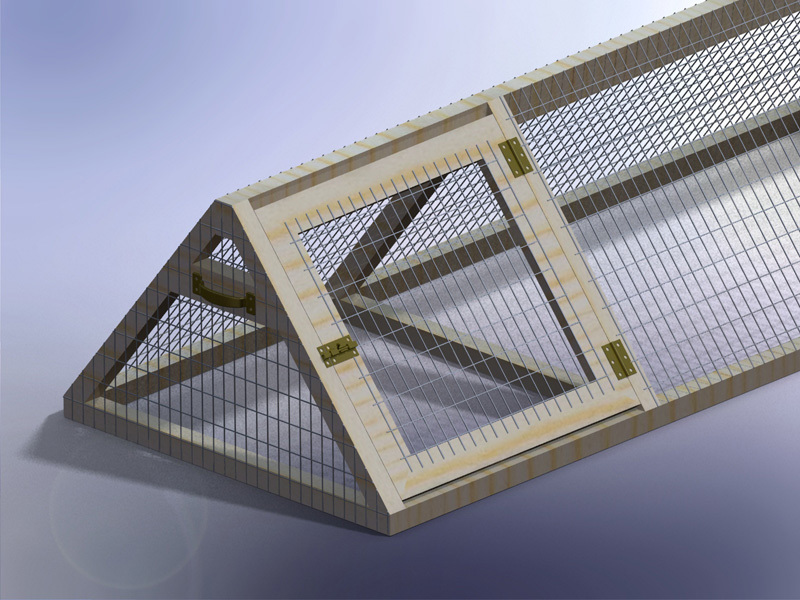
This is a rabbit hutch I created for my kids 5 rabbits. The thing that makes this hutch really nice is if you have a large lawn you can just move the hutch a little bit every day and the lawn gets mowed, fertilized and you don't have to worry about cleaning up all the rabbit droppings. I also mounted a rabbit feeder on the inside of the house door to keep the food dry, which has worked really well.

Here is a short blog of all the steps in its construction:
http://design.medeek.com/gallery/RH3080_COPALIS_2013/RH3080_COPALIS_201…

Estimated Cost
150
Estimated Time Investment
Day Project (6-9 Hours)
Finish Used
Exterior Paint brush or spray. Choose your color.
Recommended Skill Level
Beginner

Comments

Medeek

Sun, 05/05/2013 - 01:52

I apologize I haven't got the completed planset up for this project yet but I will try to get it up in the next couple of weeks as well as a very complete materials list. You will need to go to a farm/feed store to get the correct 1"x2" wire and 1/2"x1" wire for the floor. Do not go to Home Depot and use the cow wire they have or the hardware cloth for the floor, neither of which are the correct choice. Home Depot has the lumber but not the wire. If you have any questions or even improvements to my design I would be interested in hearing from you.

Medeek

Sun, 09/13/2015 - 19:18

Finally got around to uploading the plans.  I still need to create a material list for this plan but the basics are there now.   We've had rabbits in it for about a year but recently we've tried some guinea pigs and it works great for that as well.  The guinea pigs can pretty much live off just the grass and dandelions but you do need to move it daily to give them plenty to eat.

Outdoor Hot Tub Table

Submitted by Anonymous (not verified) on Mon, 10/04/2021 - 13:33
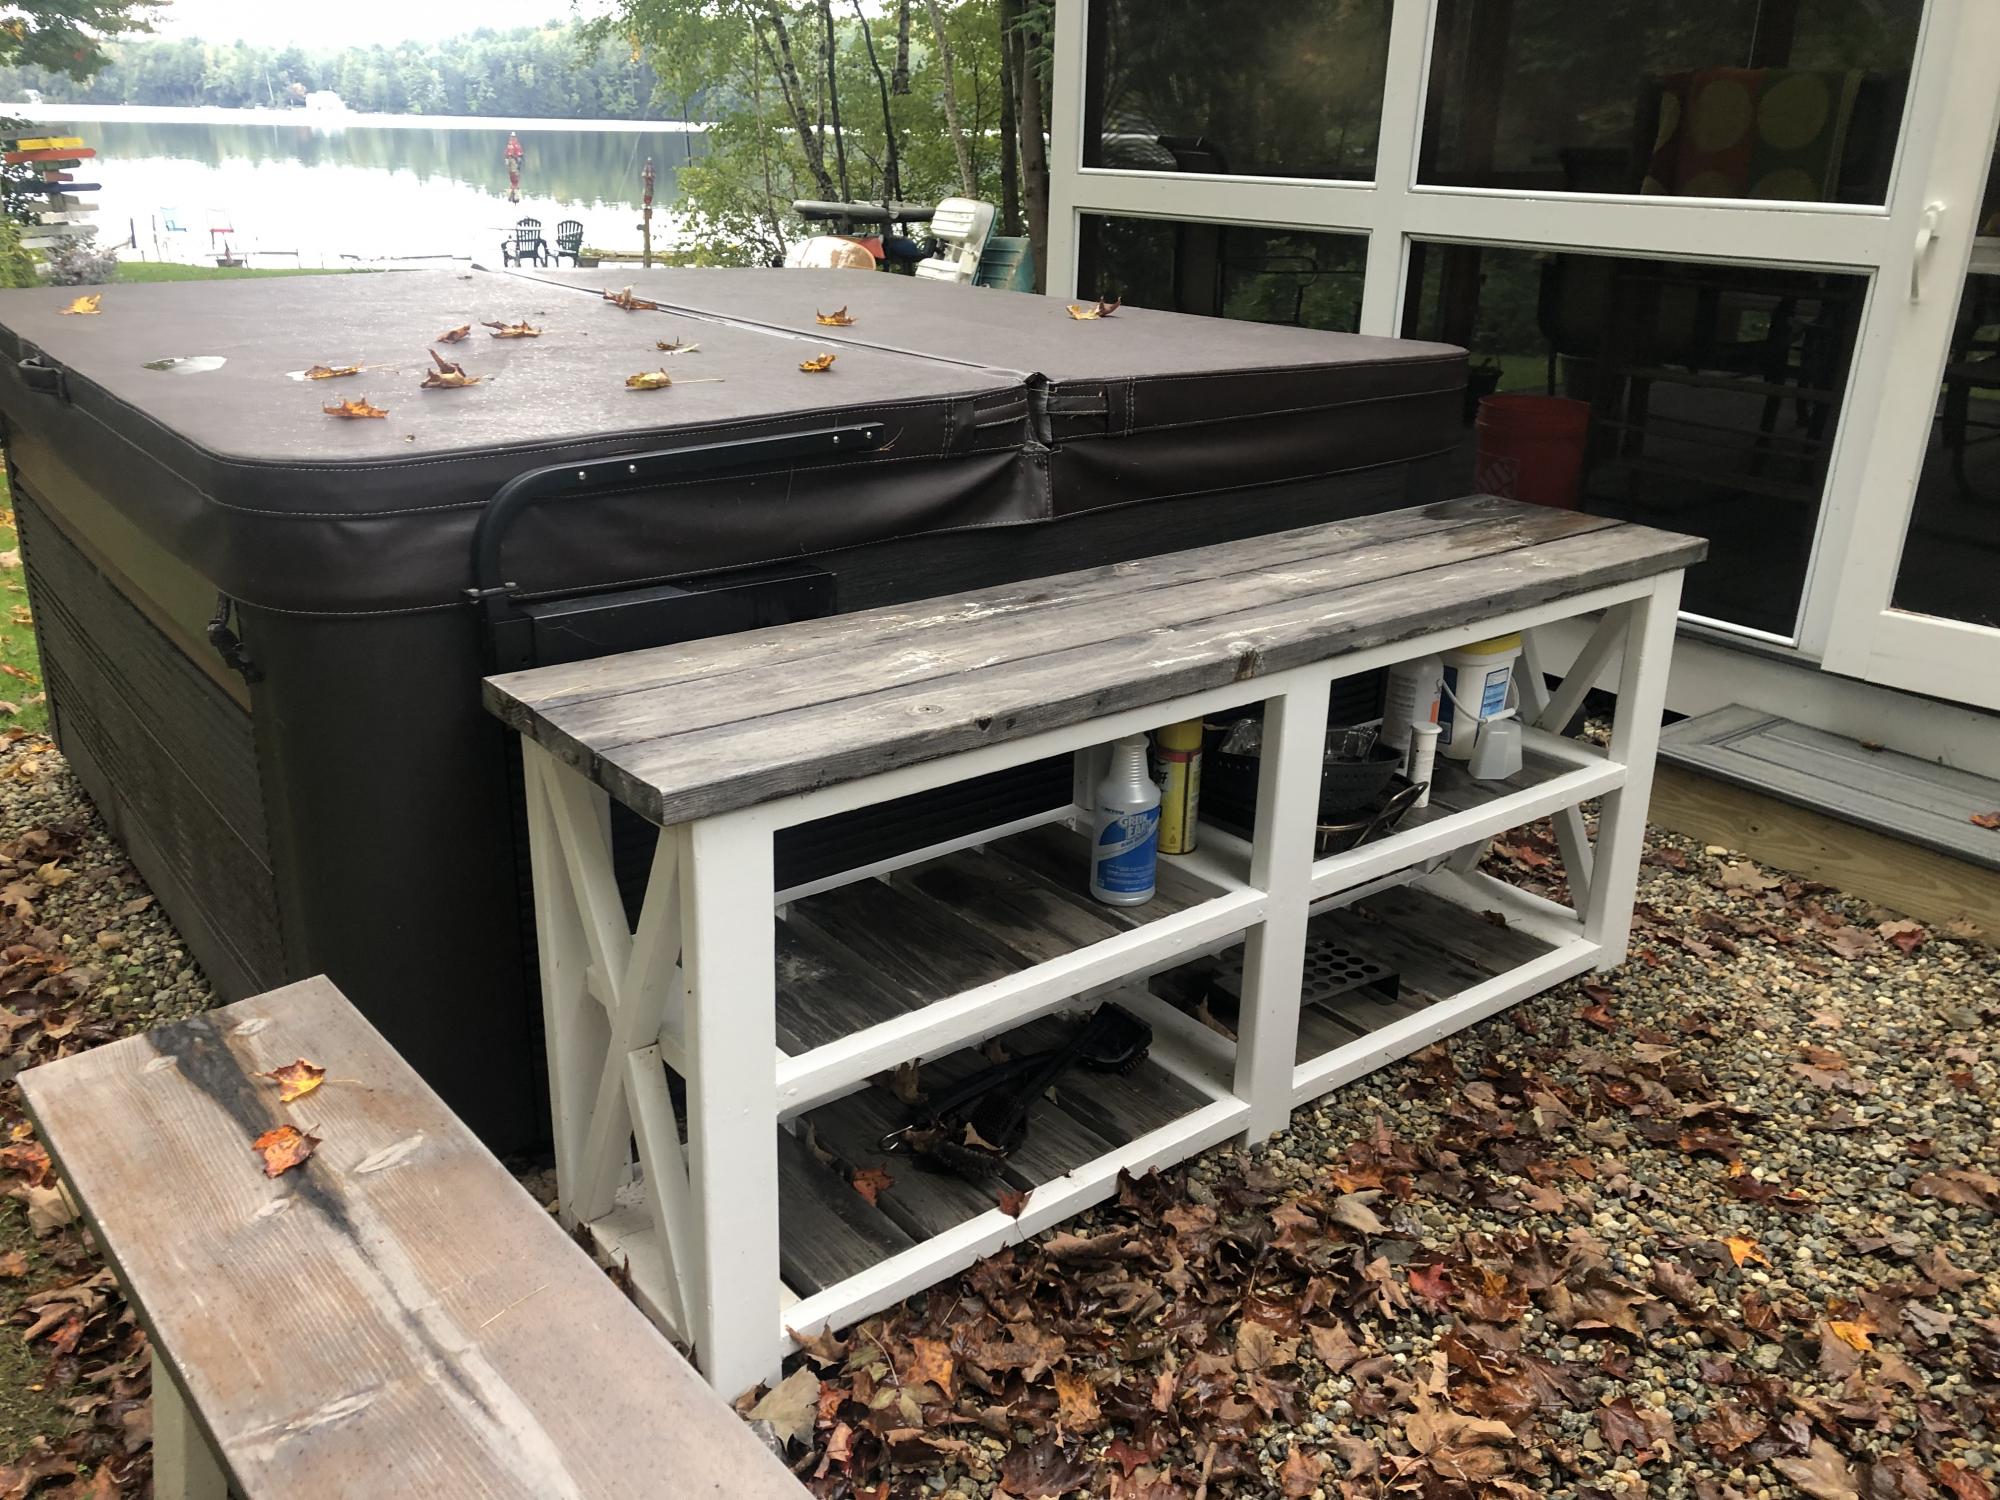
I needed a table along side our hot tub, primarily for drinks or appetizers while using the hot tub. The farmhouse table plan worked out perfectly to its height and how it fit in well with the structure of the hot tub. It also does double duty with my grill directly across from it allowing me some storage shelves or grill items.

Built from Plan(s)
Comments

Farm table for my sister

Submitted by Anonymous (not verified) on Mon, 10/04/2021 - 14:09

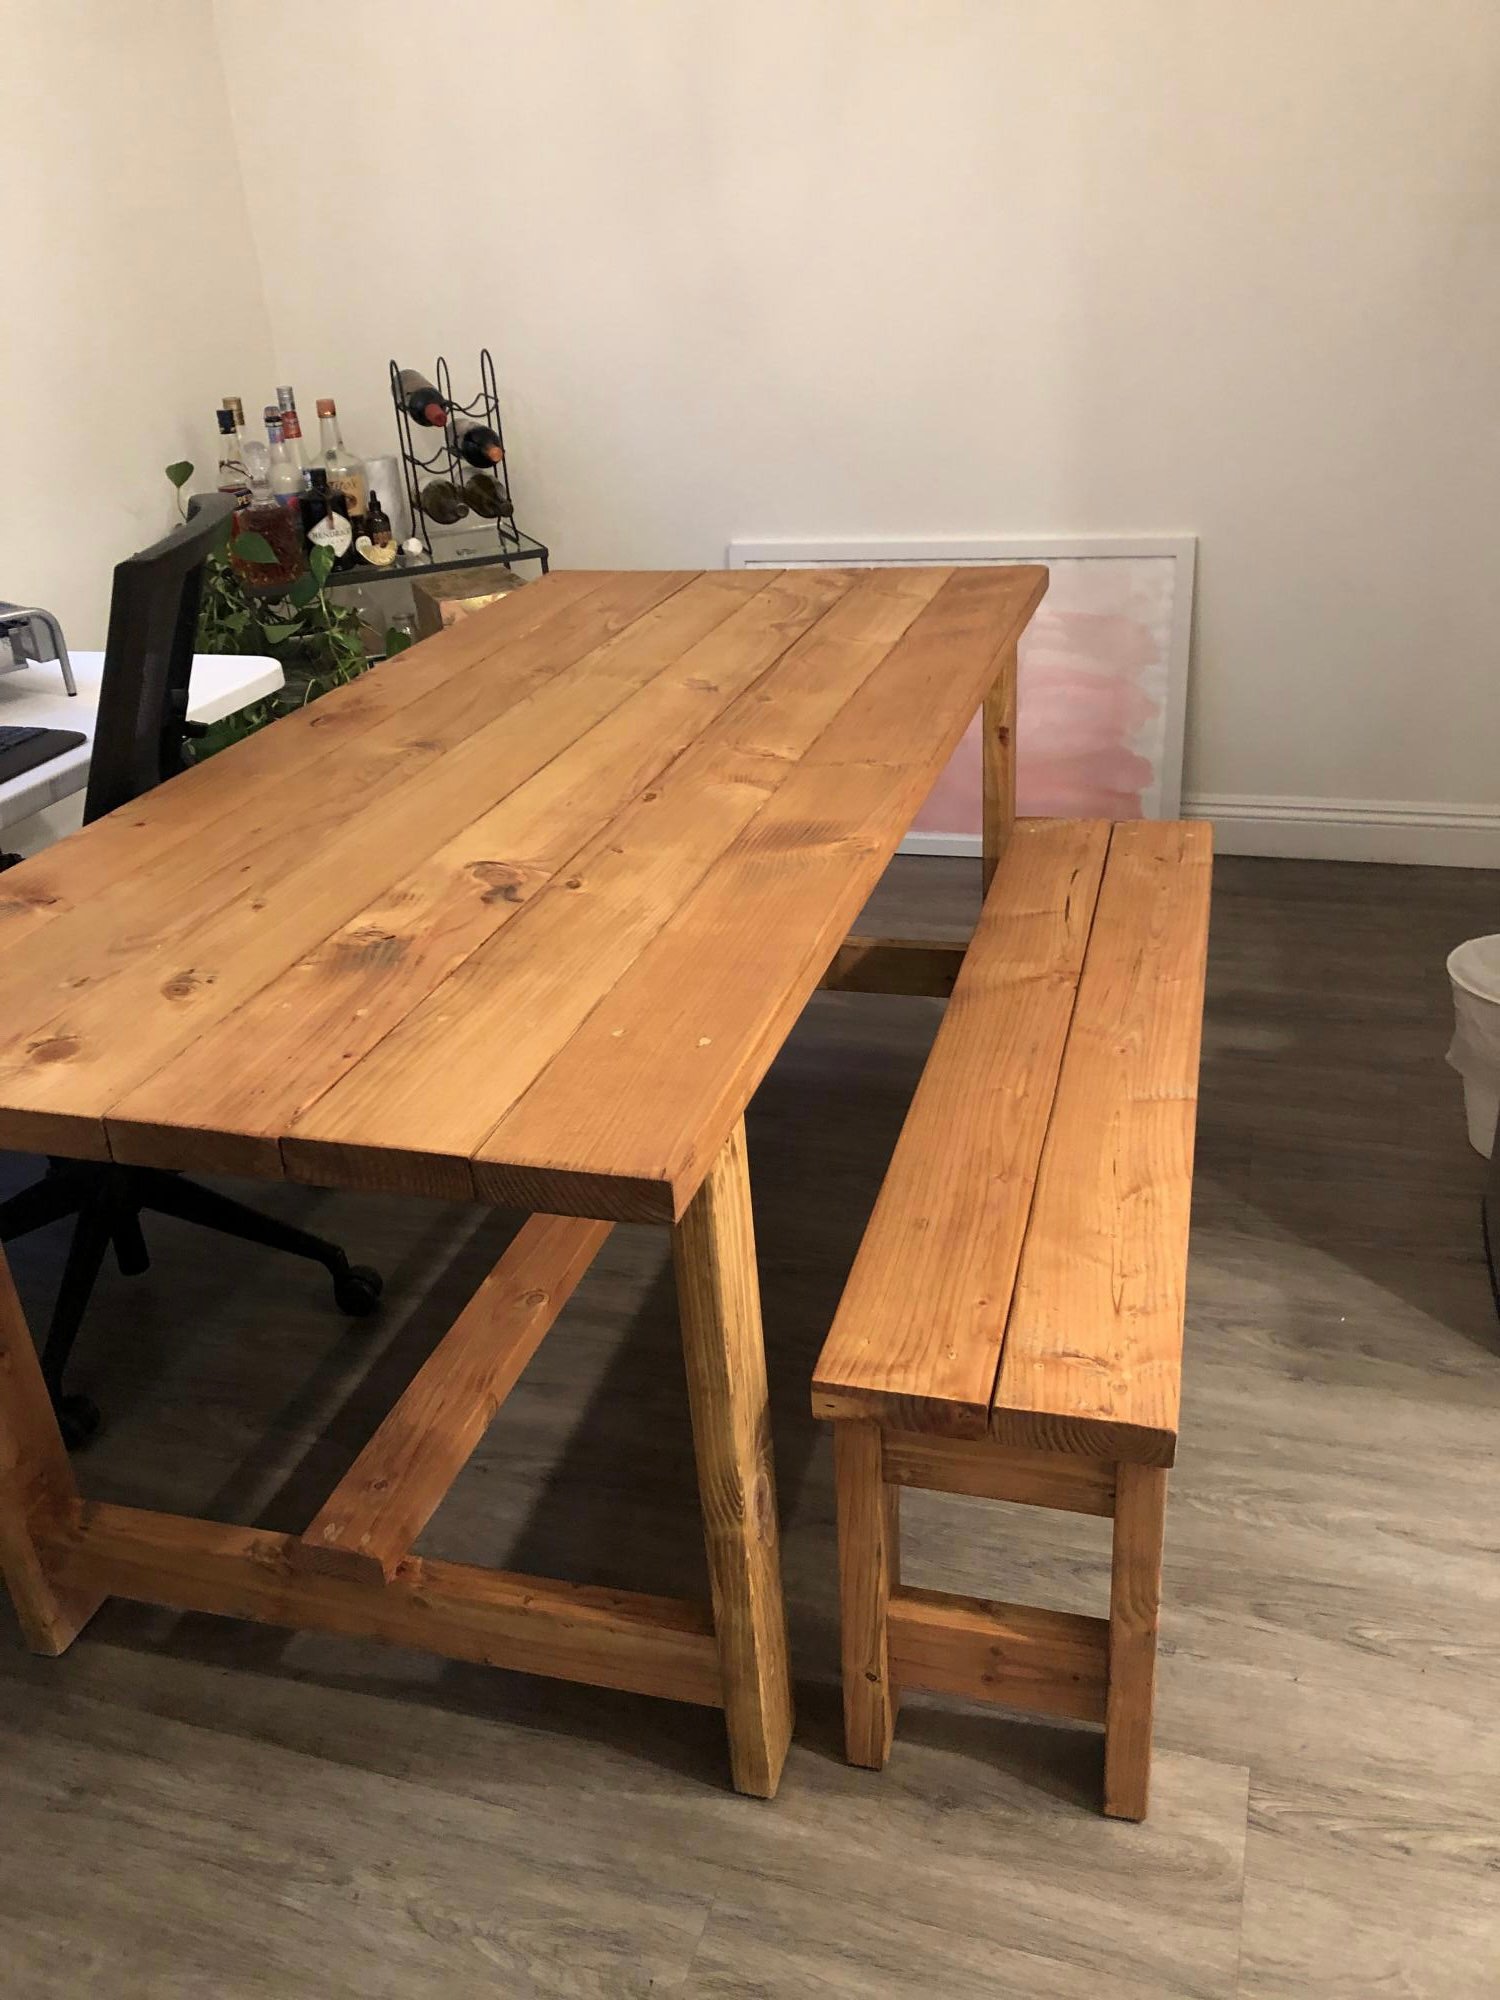
So my sister moved back to Southern California from New York. She found a great place but needed a table. I made one table and one bench. My sister then found two chairs for the other side. This is the second or third thing I have made/built from Ana’s site. Thank you for making me feel more manly with great instruction. I also built this pre Covid-19 when lumber was not so expensive.

Comments

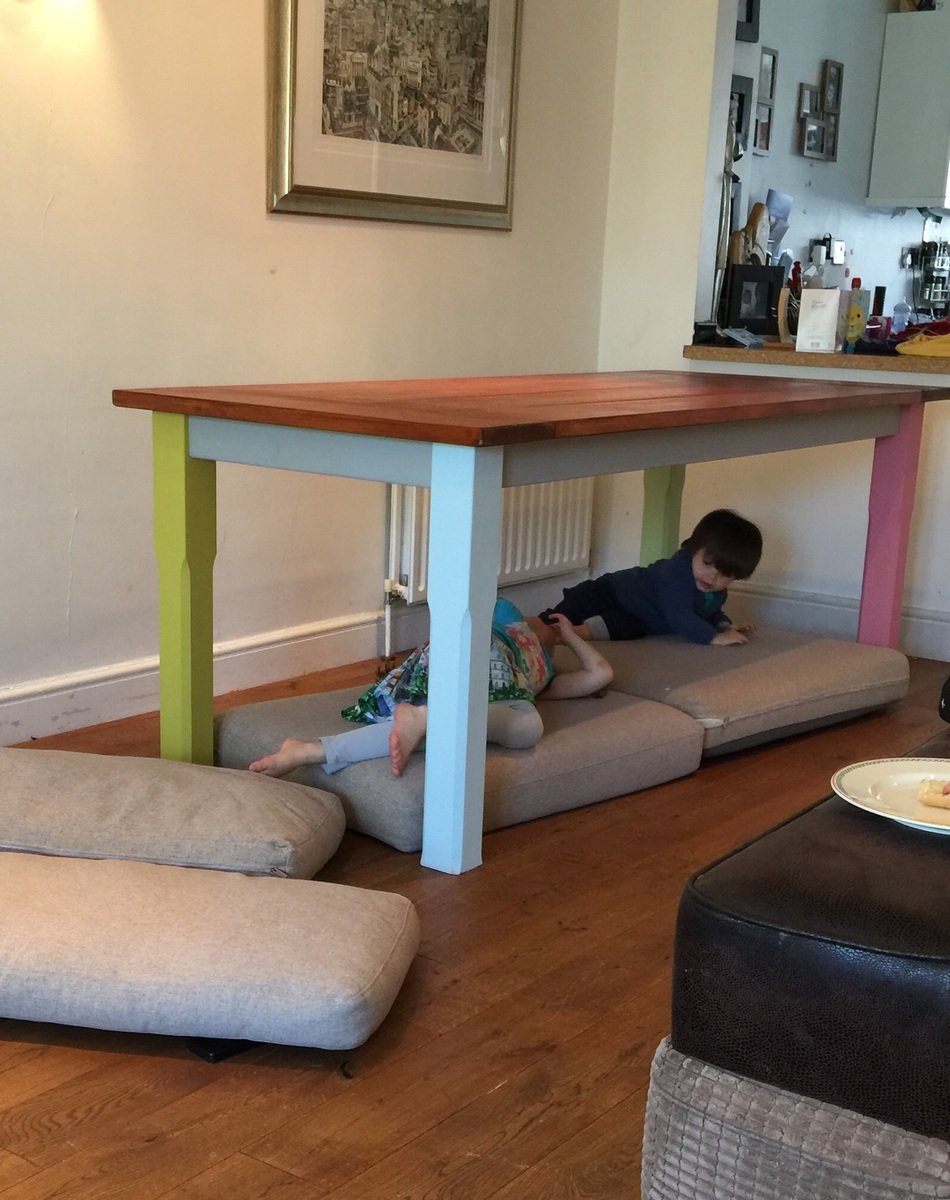
My first dining table!!

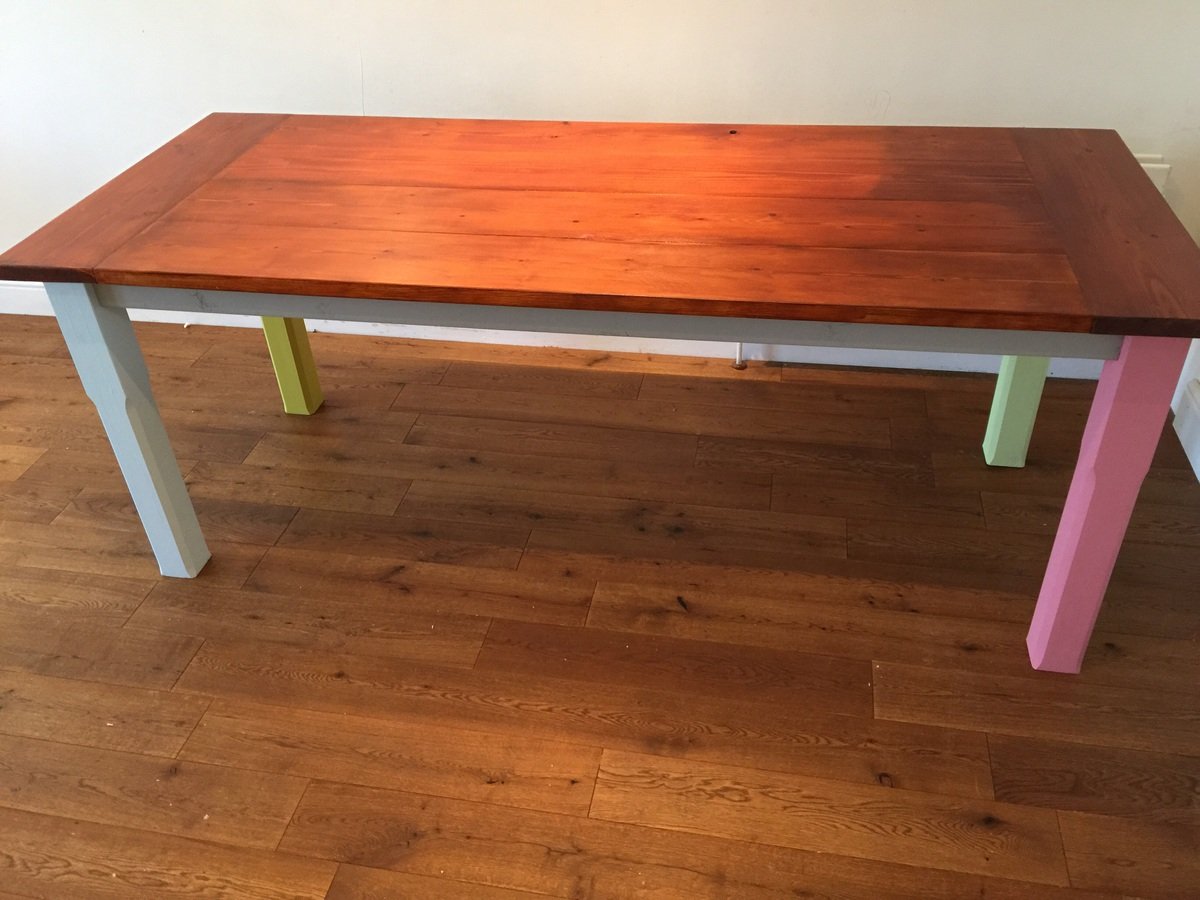
My first attempt at a country farmhouse style dining table, my children managed to also use it as a playhouse within minutes!!

Estimated Cost
Approx £200-£250 timber seems to be a lot more expensive here in the UK compared to the U.S.
Estimated Time Investment
Weekend Project (10-20 Hours)
Finish Used
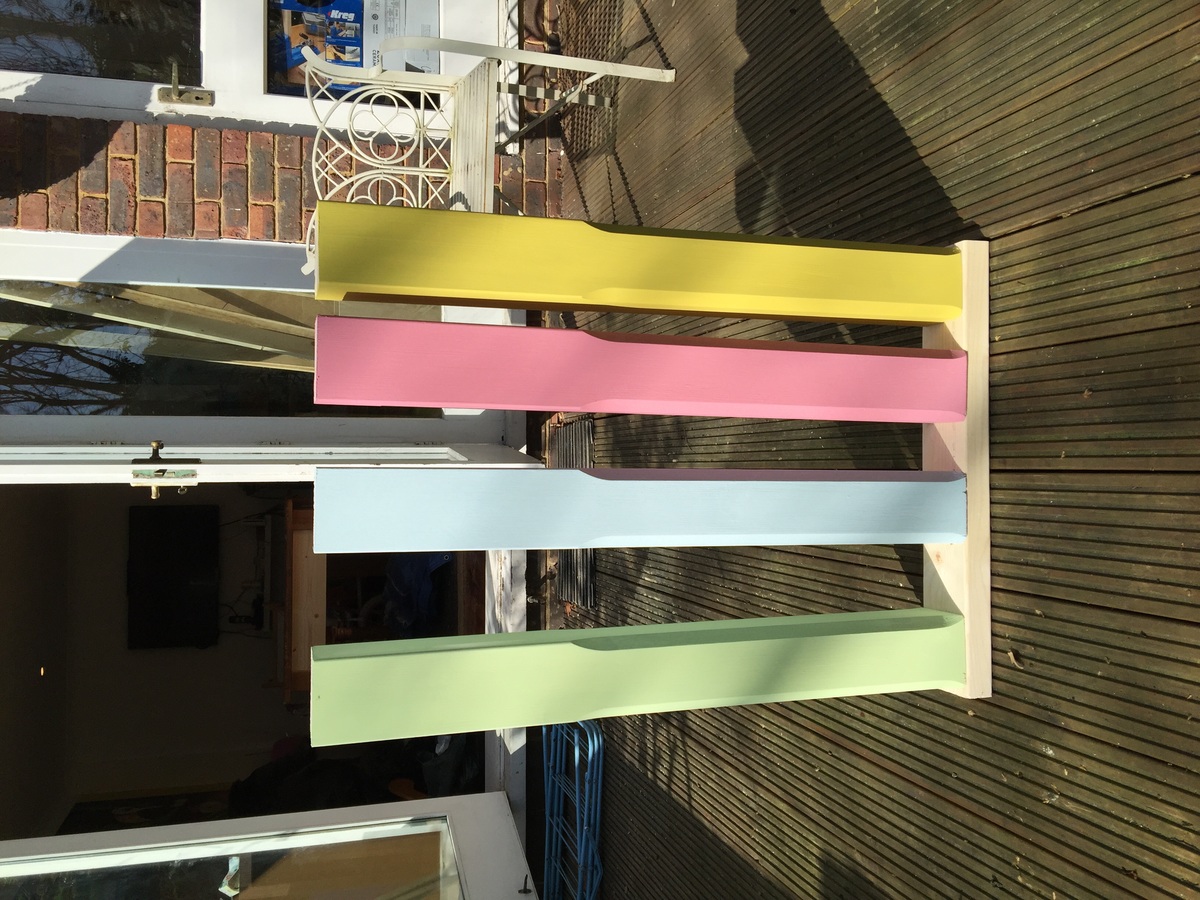
Chalk paint for the legs and a mahogany stain for the top.
Recommended Skill Level
Intermediate

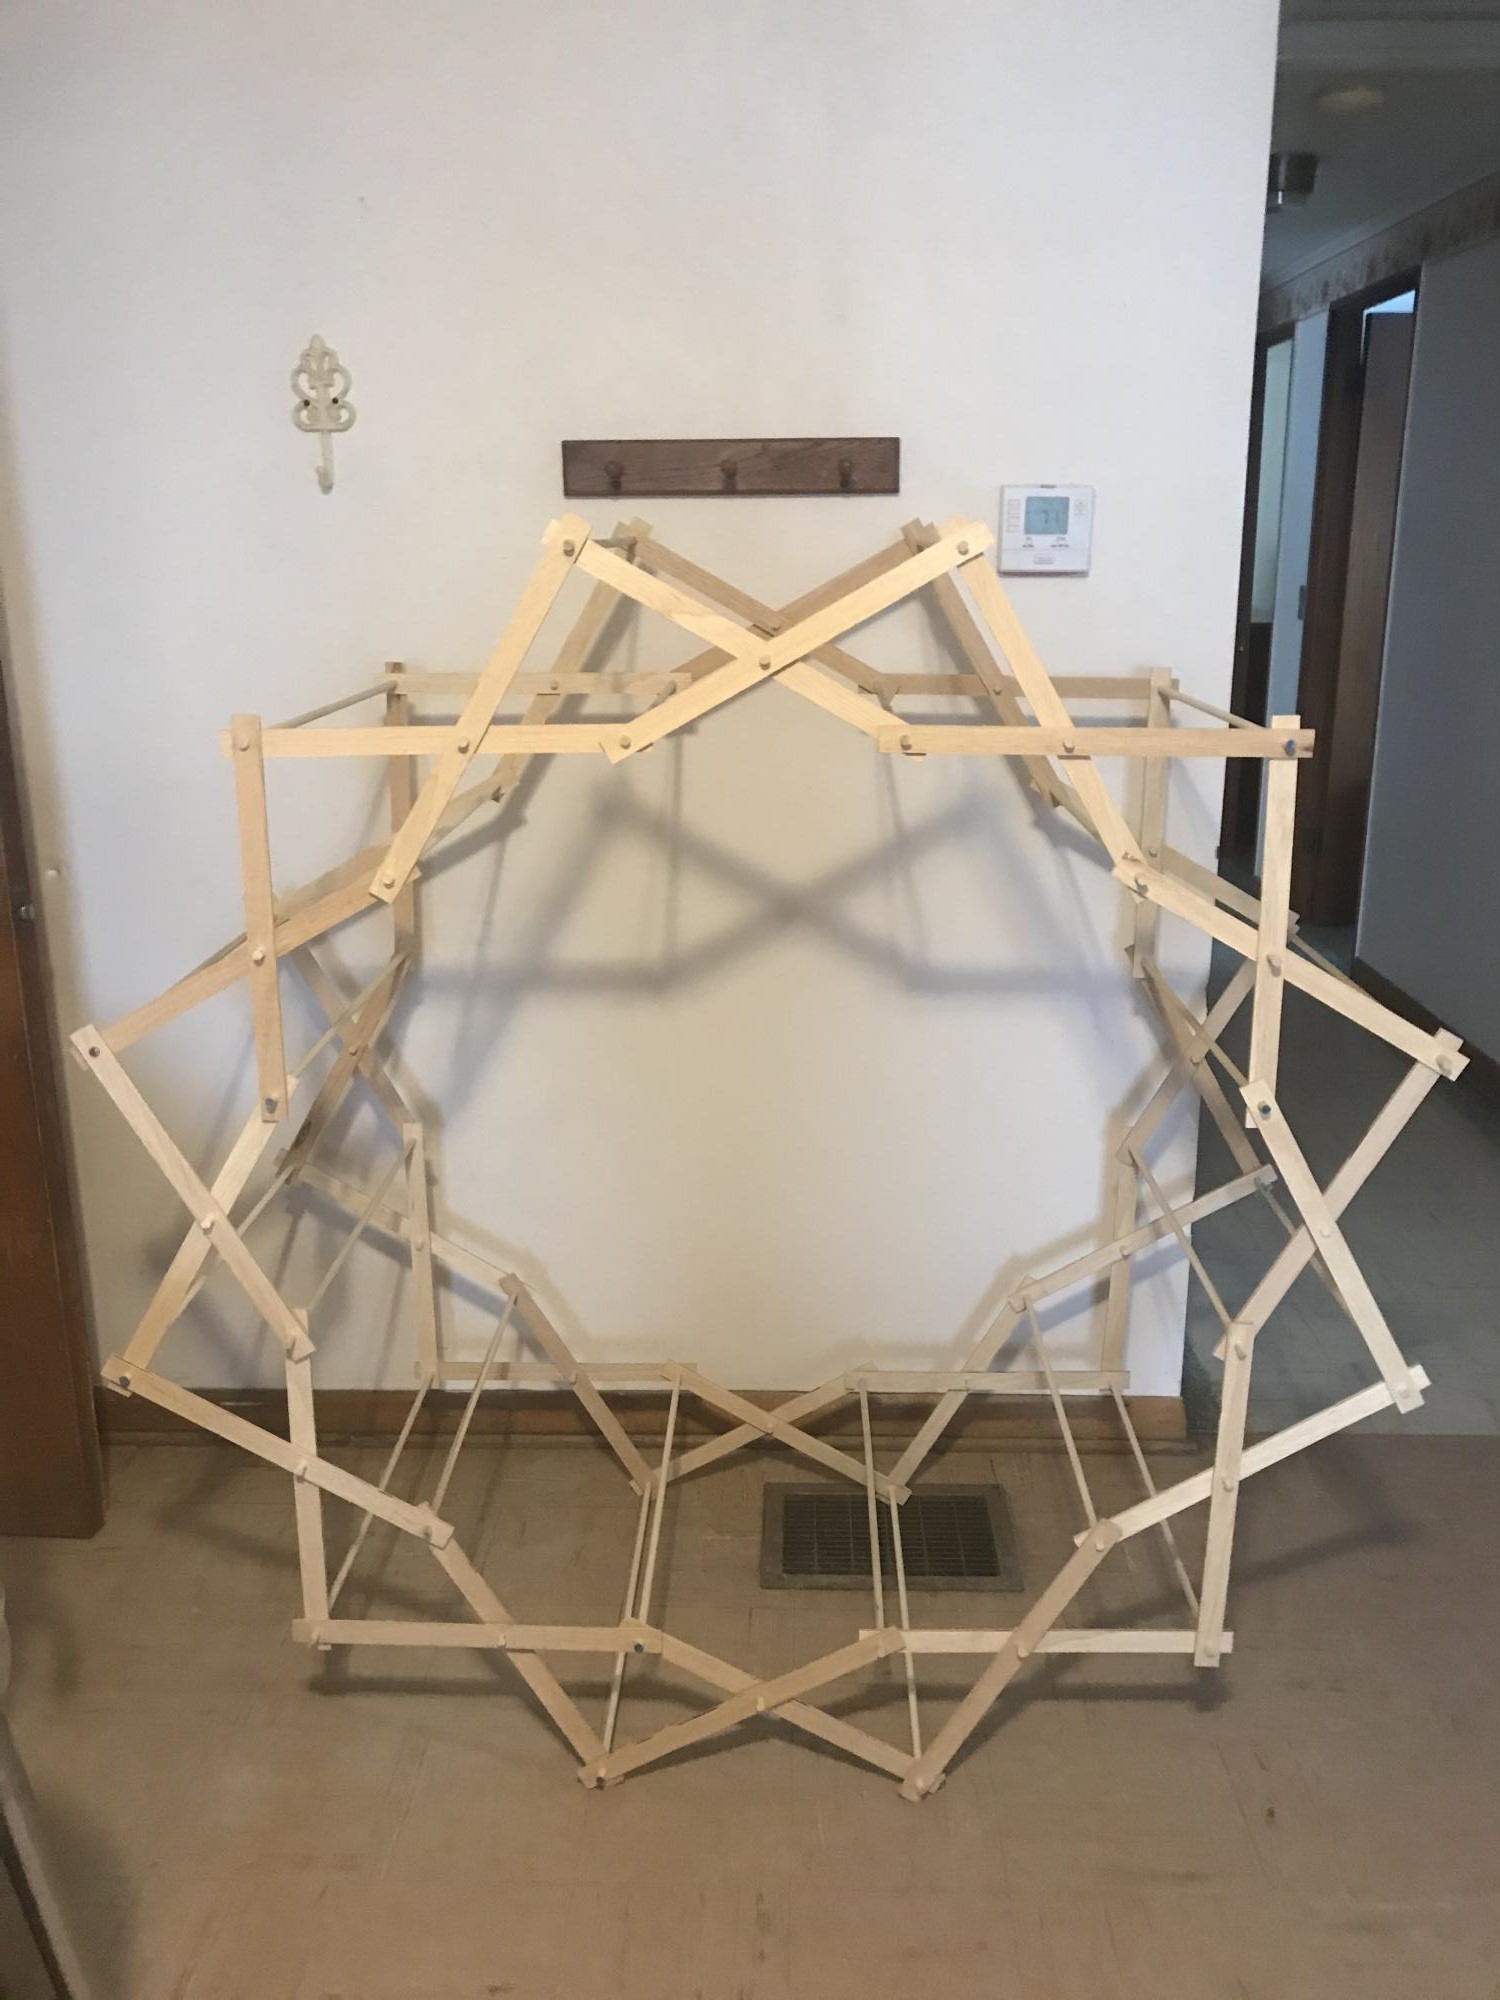
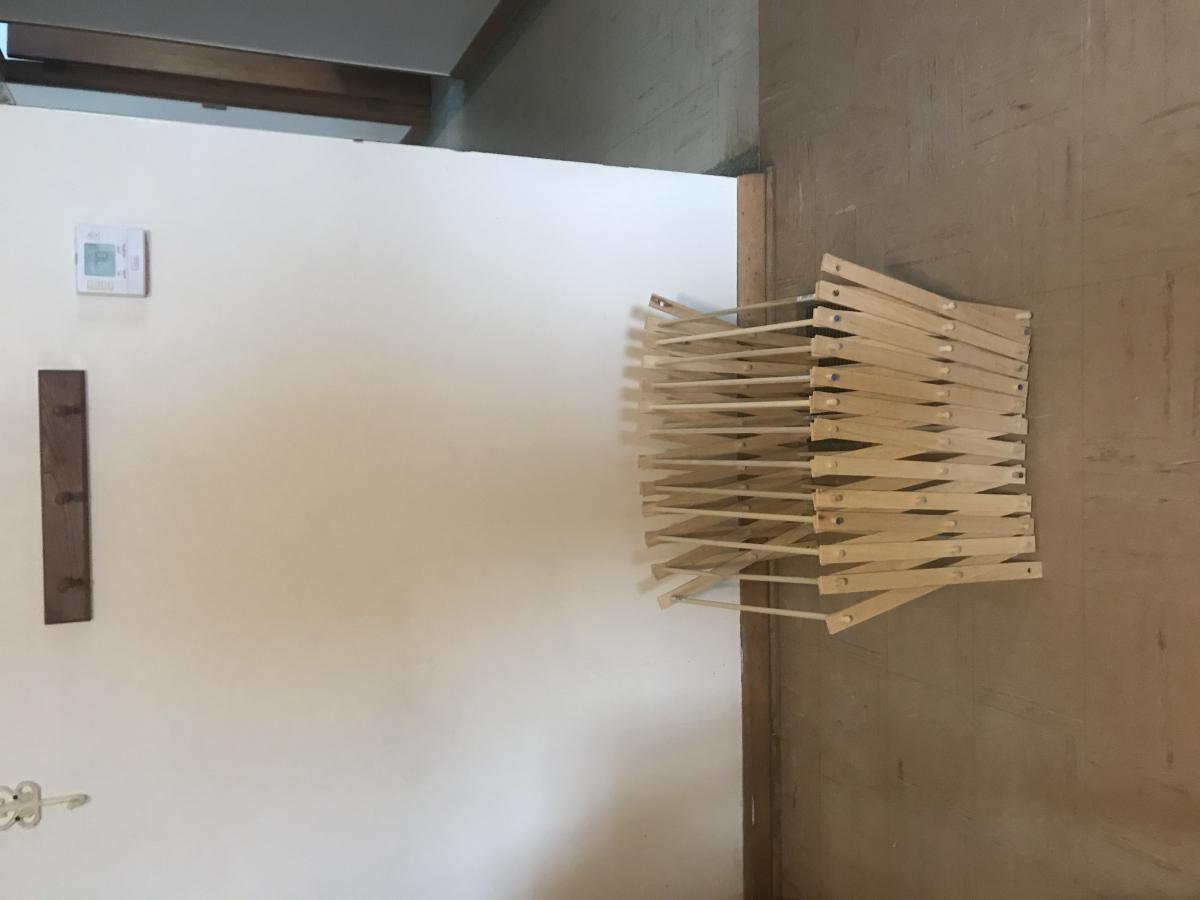
Clothes rack

Submitted by Anonymous (not verified) on Mon, 10/04/2021 - 16:21

Simple beginner project. Would have preferred a more durable wood, but still a fun and quick project.

Comments

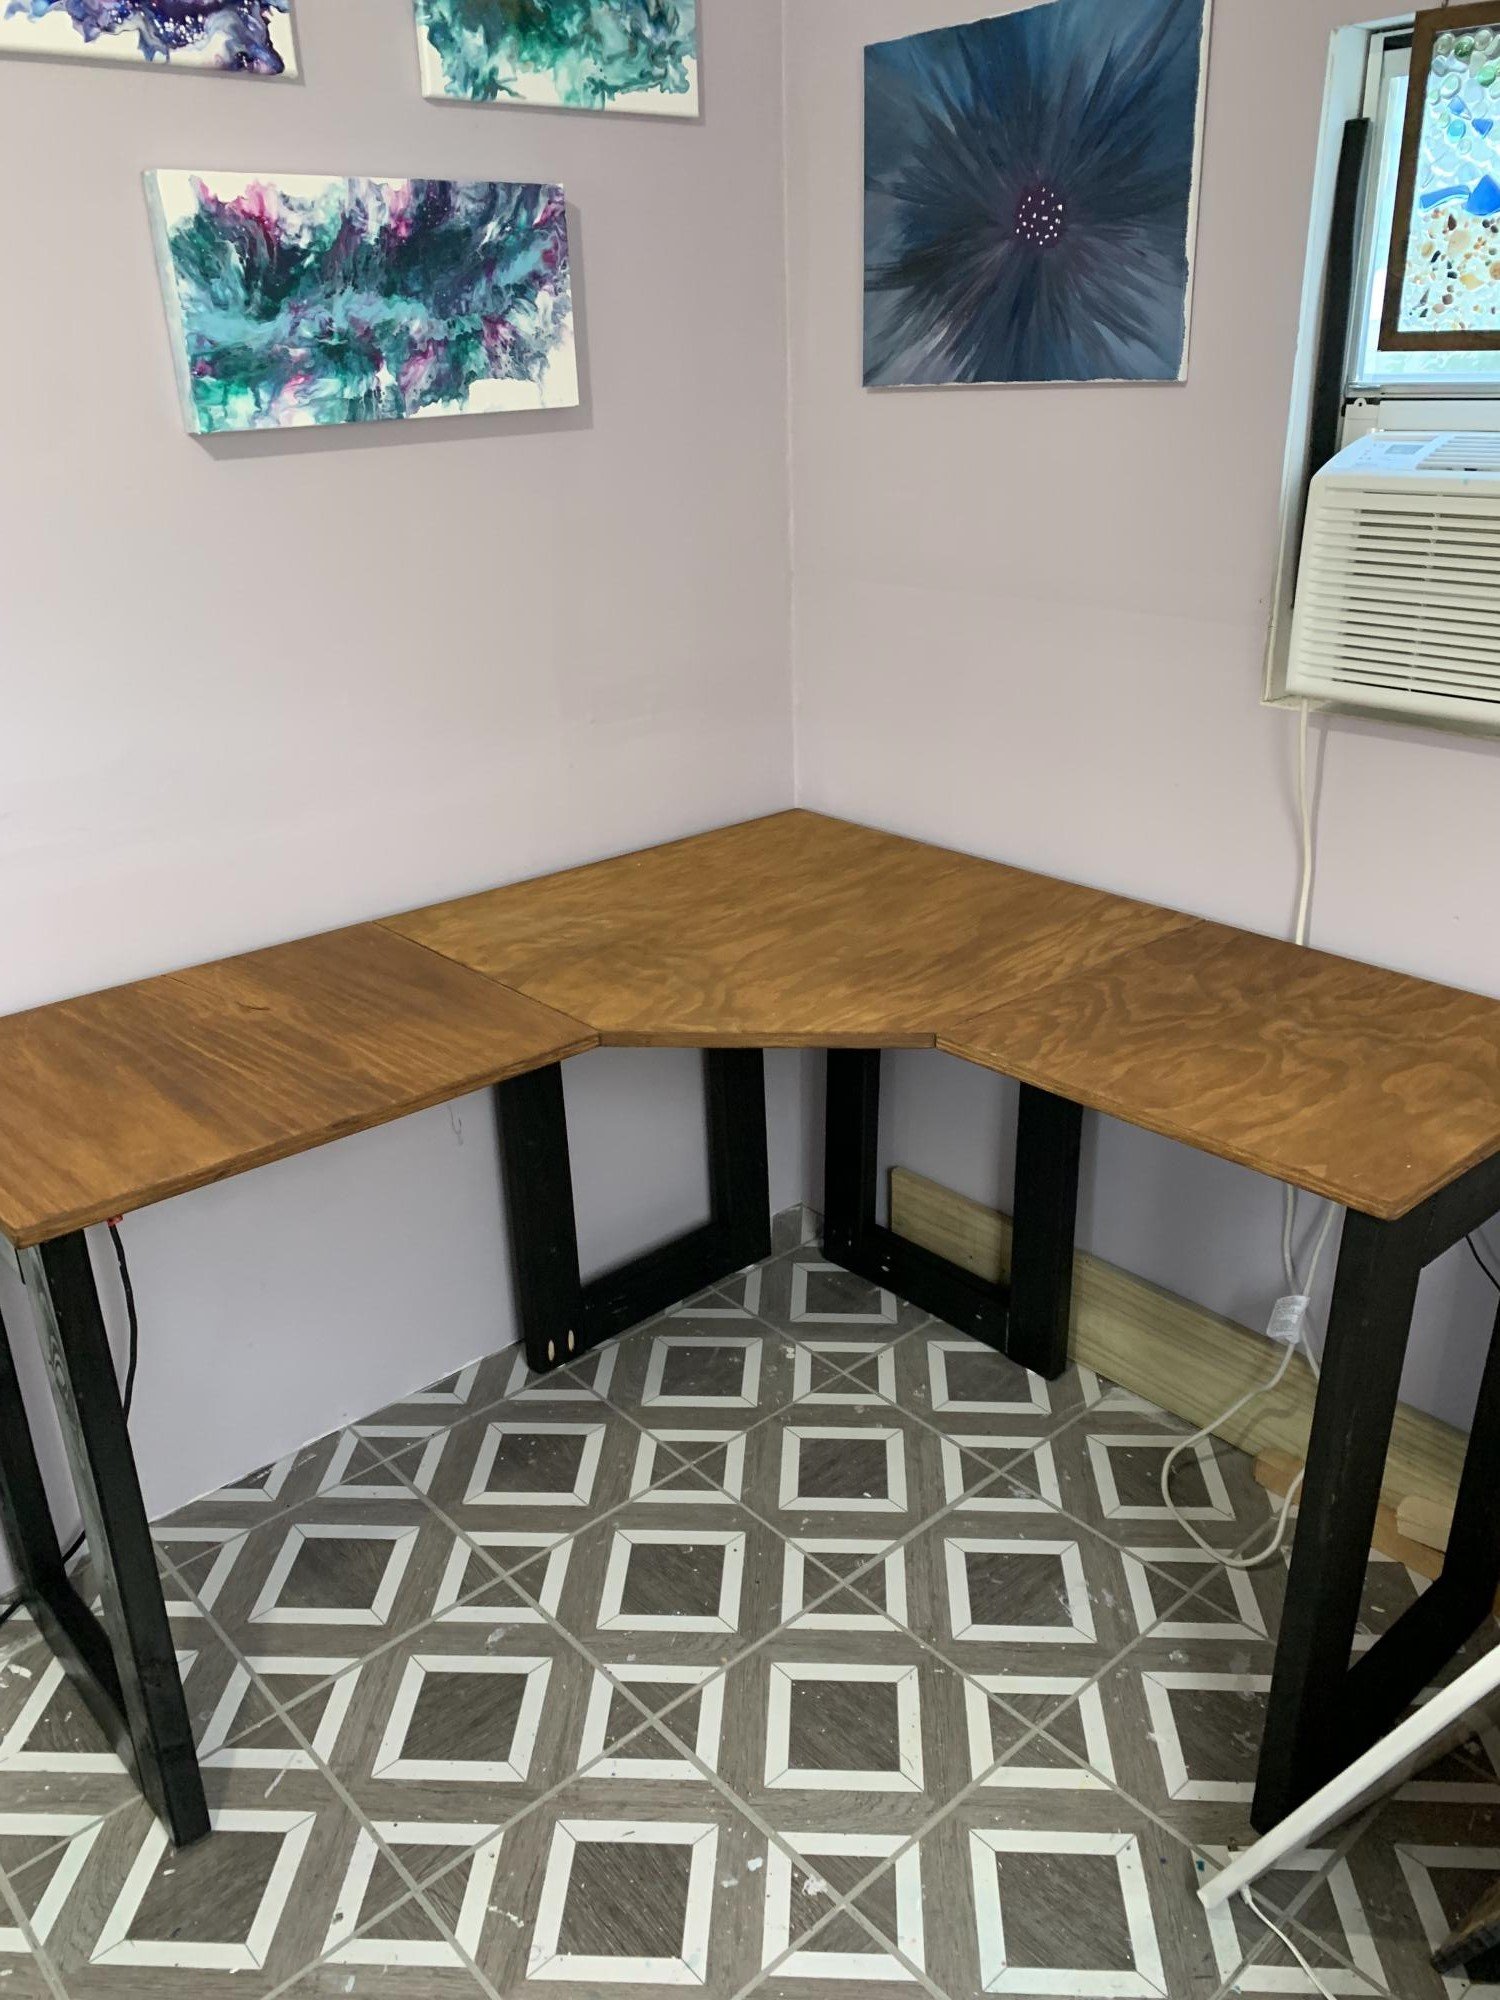
My corner desk

Submitted by chach2667 on Wed, 11/03/2021 - 04:02

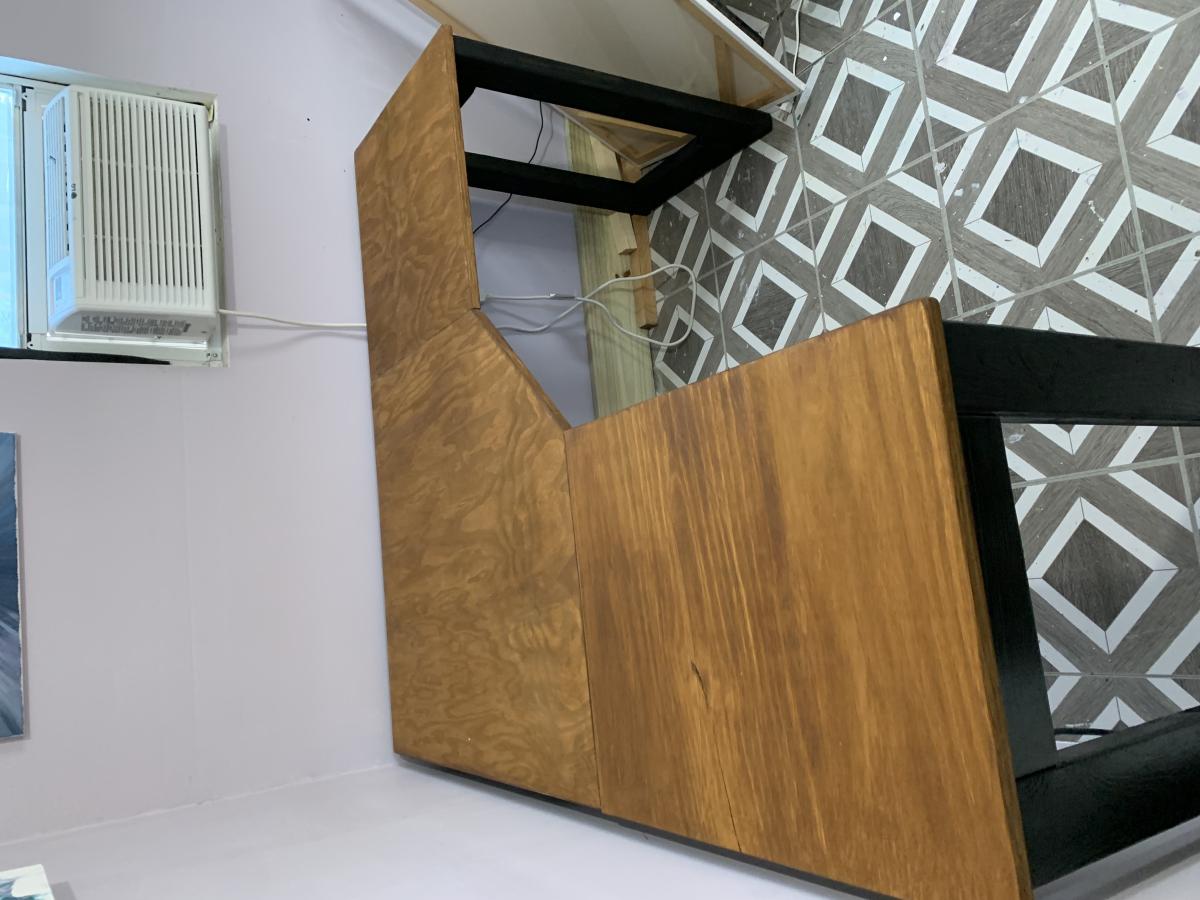
I wanted to convert my craft shed to my office after I accepted a new job and would be working from home full time. My shed is only 10x8, so I needed something smallish and functional. I modified the plans slightly and I did make a few mistakes. In the end, I think it turned out great for a 50 something grandma who likes to work with her hands!

Built from Plan(s)

Comments

Afternoon Farmhouse Table Build

Submitted by Ahuff9103 on Wed, 12/13/2017 - 06:43

I got the plans from Anna White $50 beginner farmhouse table build. Changed from a 6 ft table to a 5 ft. Built in a few hours but took longer to paint than anything because it took 2 coats. 

Estimated Cost
$50
Estimated Time Investment
Afternoon Project (3-6 Hours)
Finish Used
Minwax honey 272
Recommended Skill Level
Beginner

Comments

Mike Mercer

Thu, 12/28/2017 - 16:23

Hi,

I really like the colour you chose!  Did you use "SPF" lumber or something else?  I am using SPF, so I am curious to see what the stain will look like once dried, etc.    


Thanks again, 

- Mike

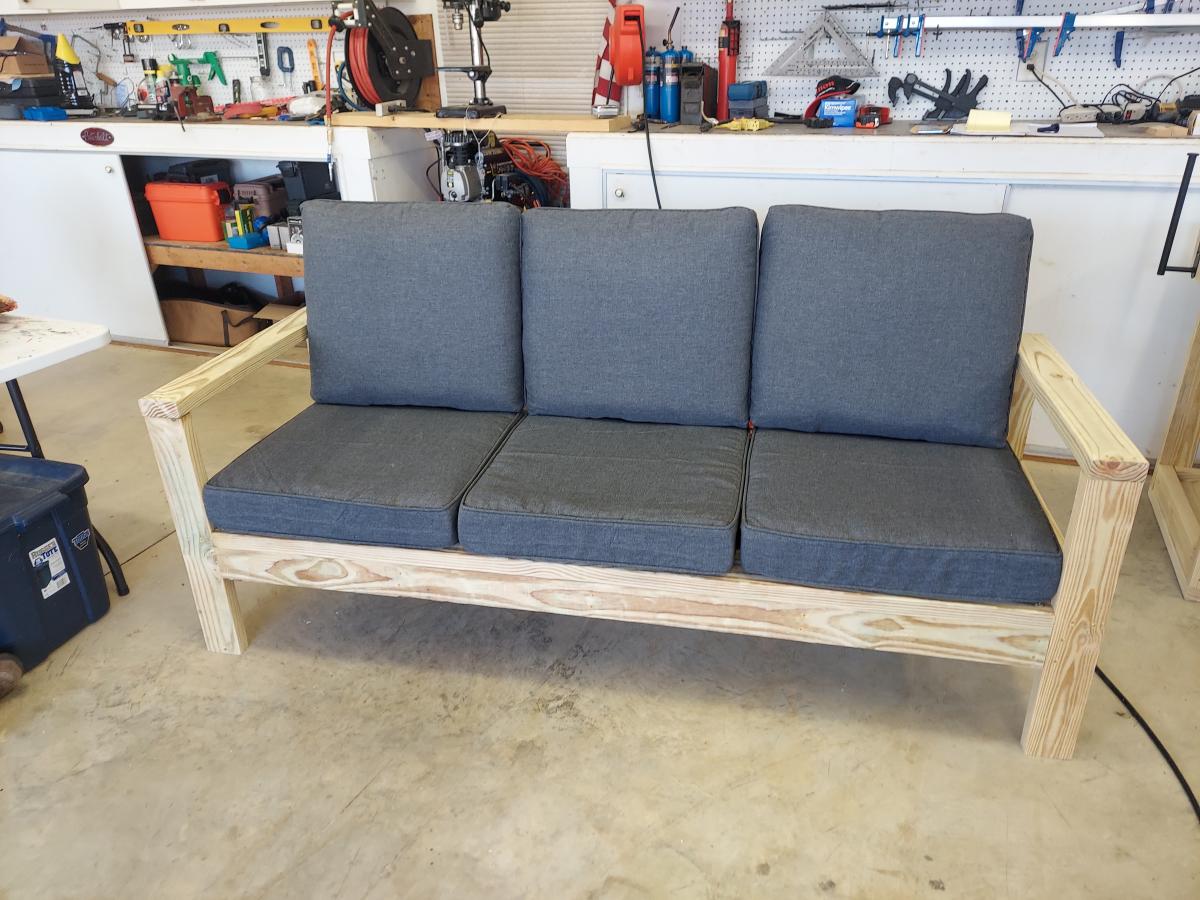
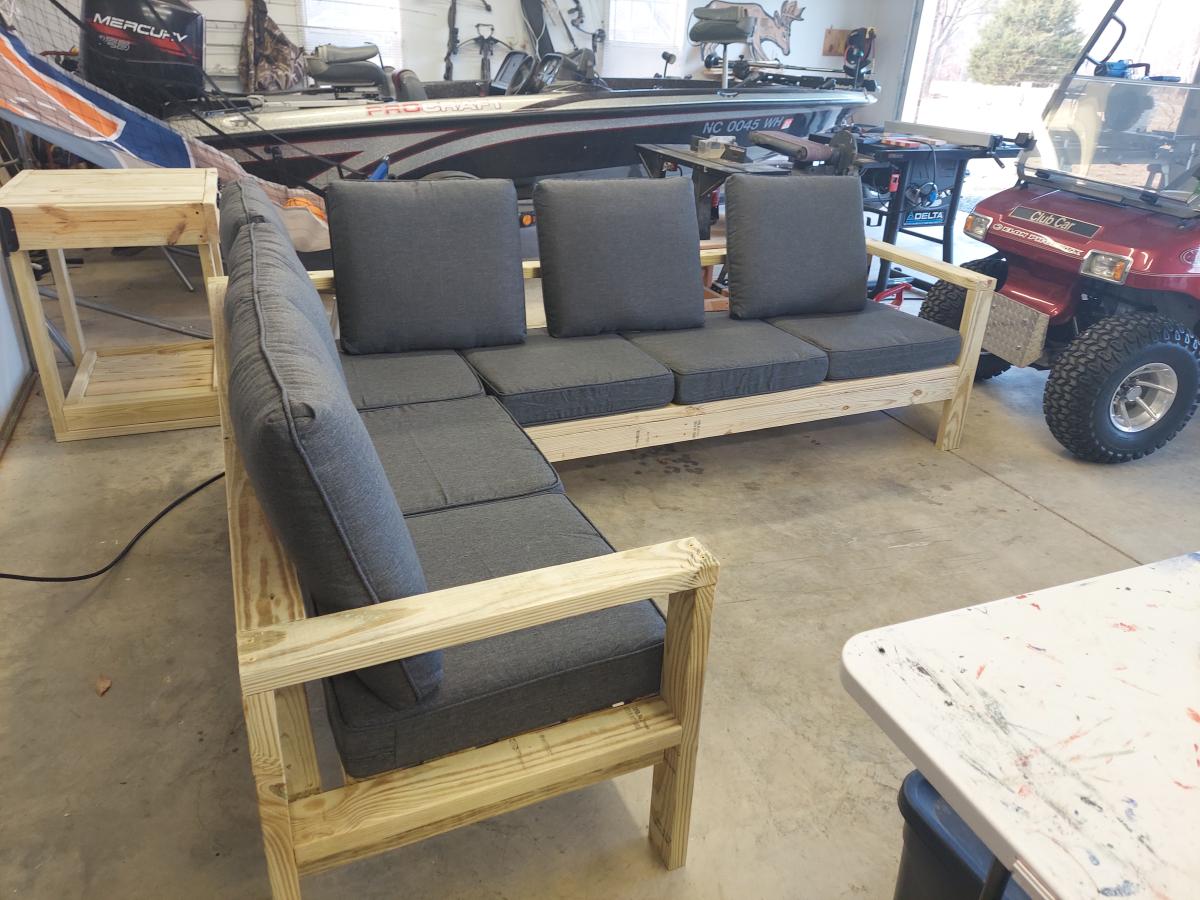
Outdoor Sectional

Submitted by Anonymous (not verified) on Thu, 12/16/2021 - 13:18

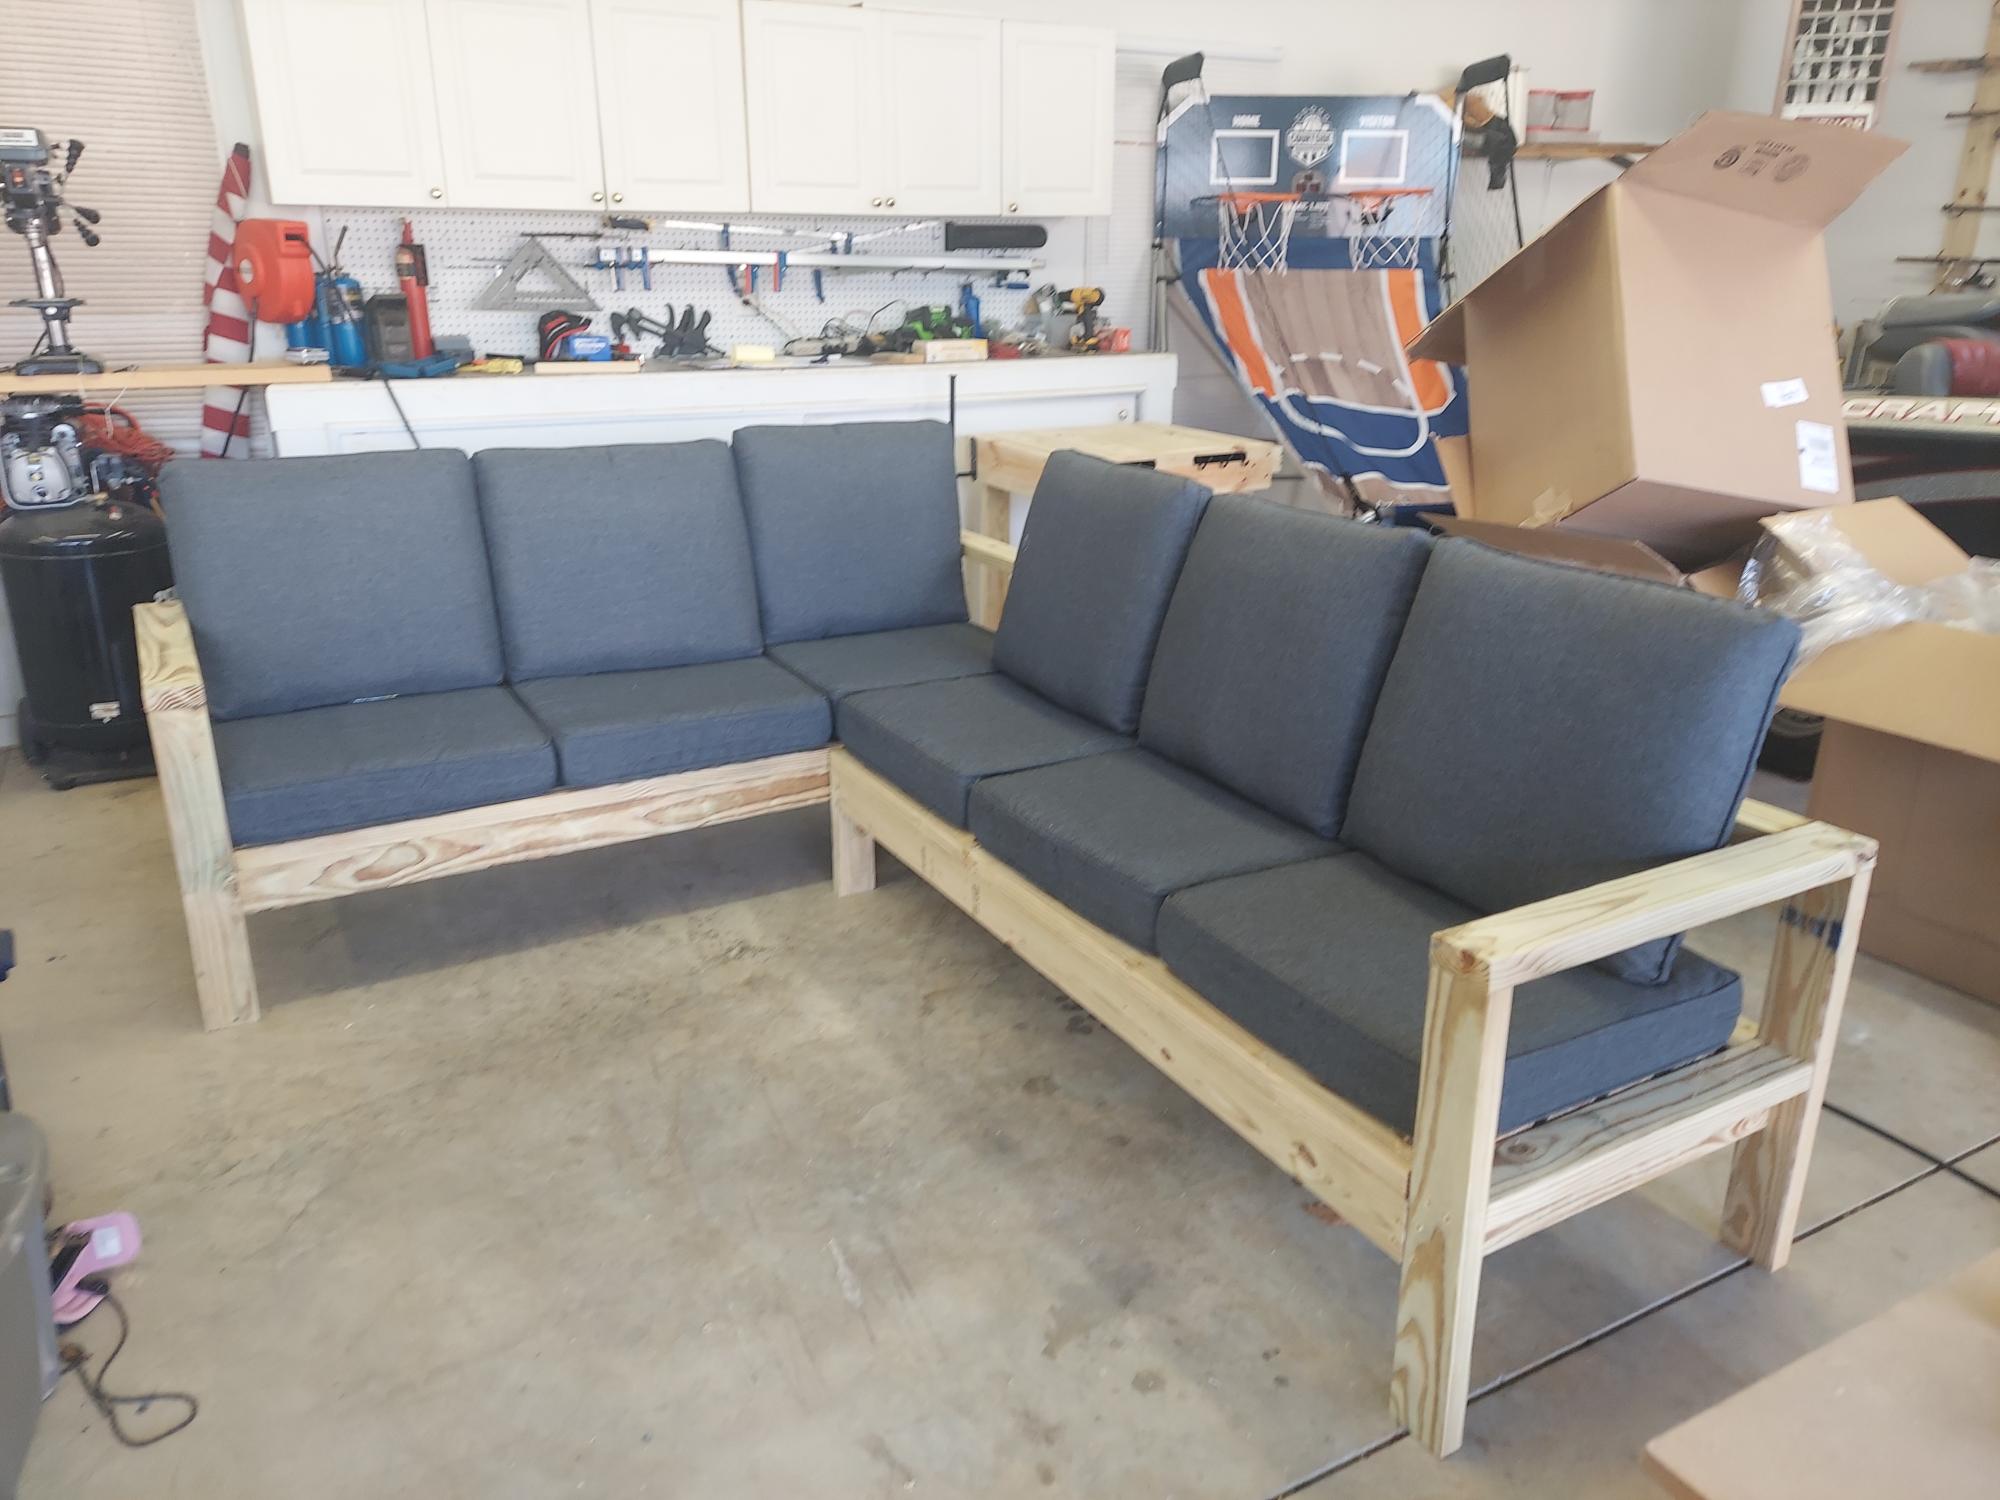
Built this for my daughter in law for Christmas. Turned out awesome. Plans and directions were great!

Comments

Mission Style Dog Kennel

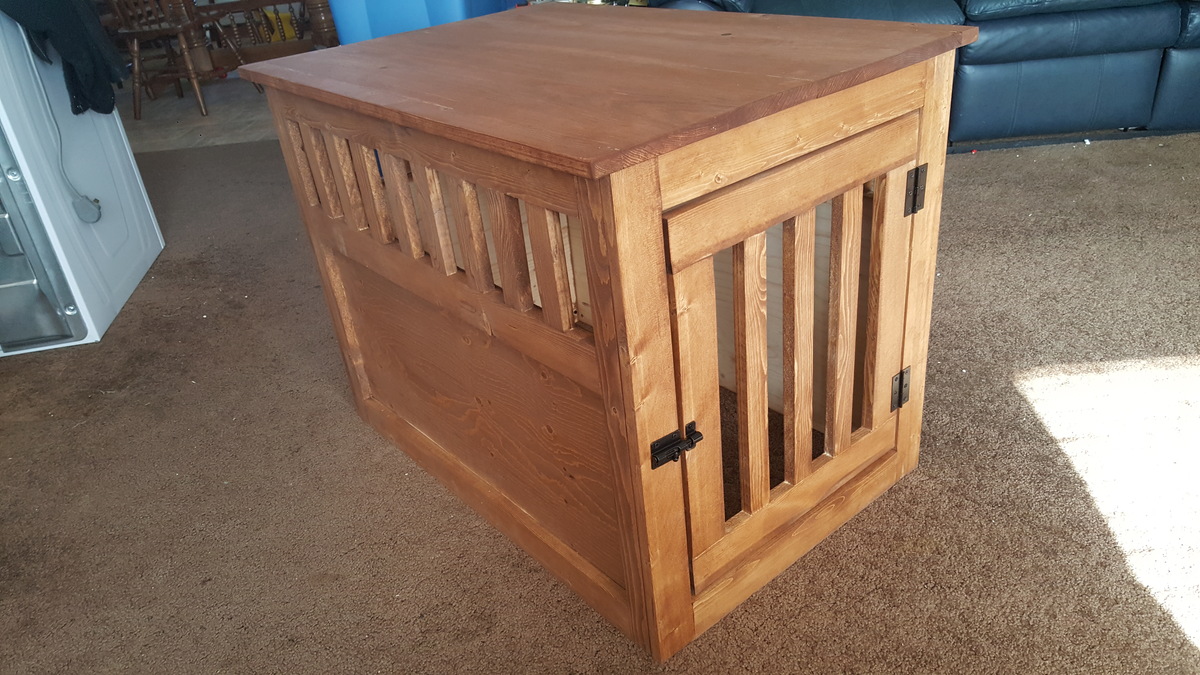
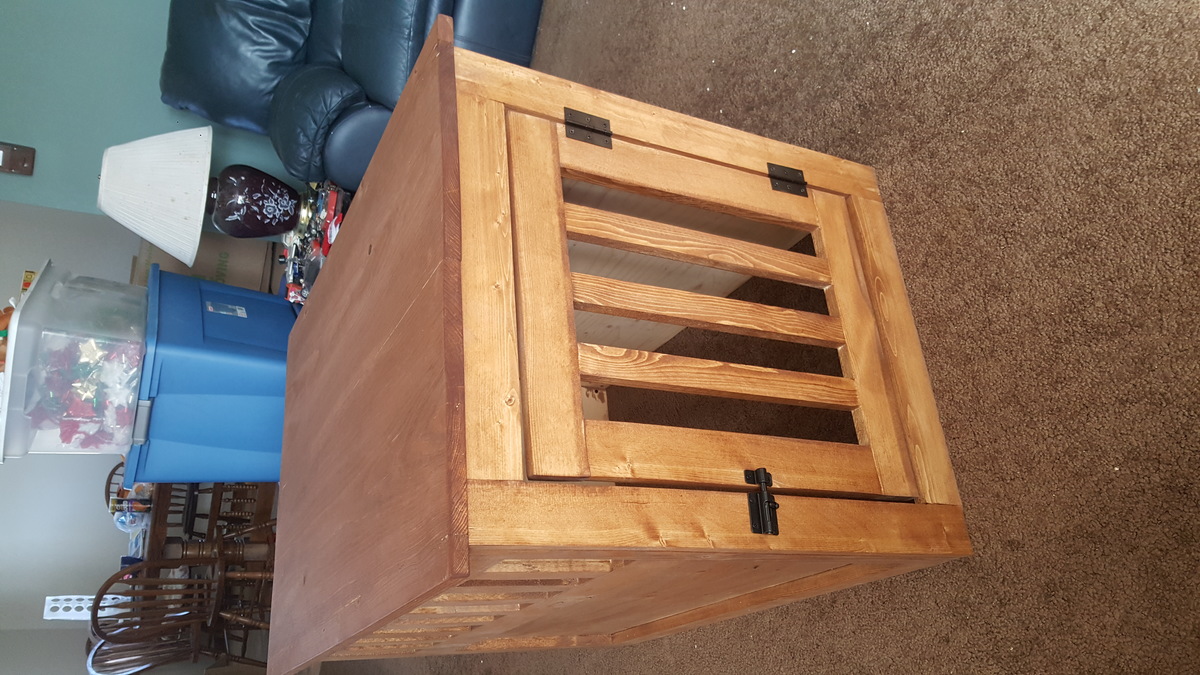
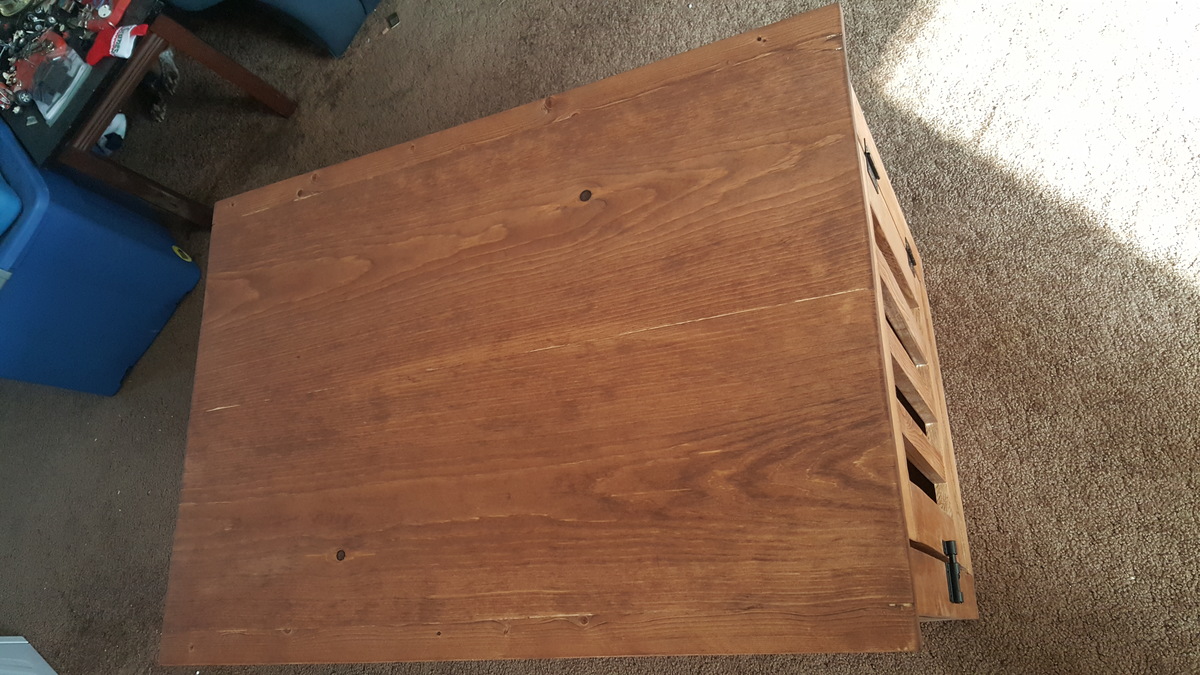
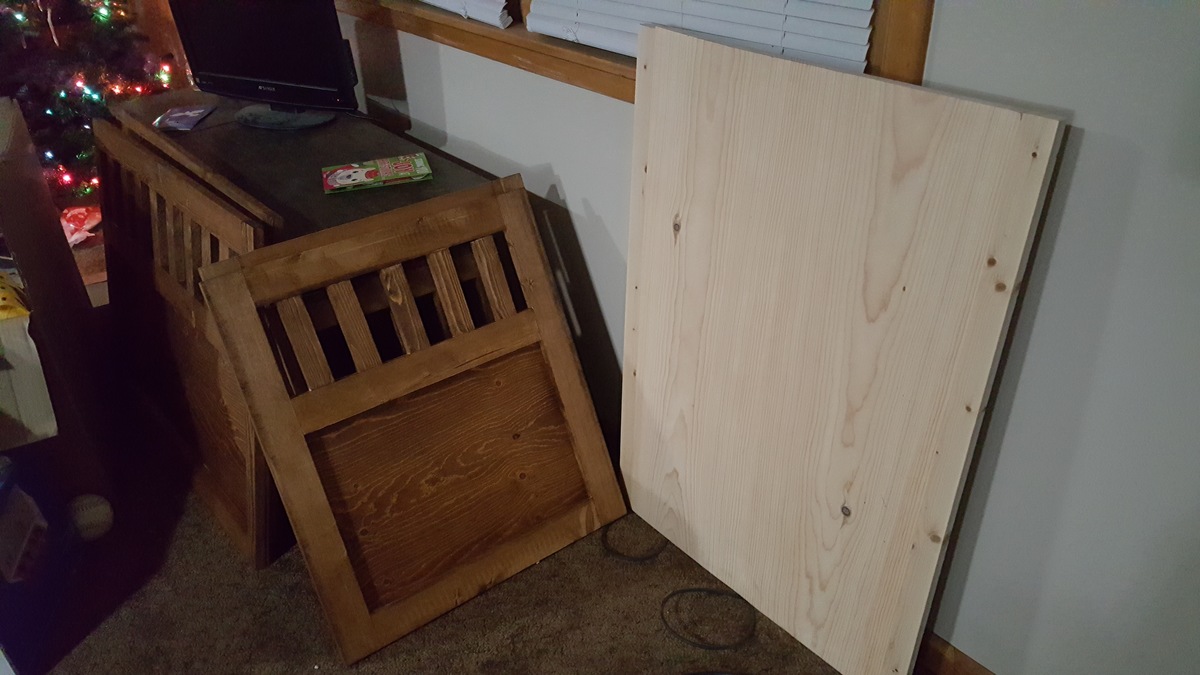
This project was really pretty easy. The hardest part was holding the pieces just right so they ended up where we wanted once the kreg jig hole screws went in. Also, we had to be sure not to overtighten the screws and cause splitting.


We did have to make two adjustments to the plans. I think the first was a typo...where it says 2 - 1x2 @ 15 3/4" (door sides) they should actually be 1x3 based on the images.

The second adjustment was the plywood for the back 17 3/4" x 21" ended up too wide for the end to fit on, so we made it 17 3/4" x 20"

Built from Plan(s)
Estimated Cost
$100
Estimated Time Investment
Weekend Project (10-20 Hours)
Finish Used
Early American stain and satin polyurethane.
Recommended Skill Level
Intermediate

Comments

Knox11

Sun, 12/24/2017 - 17:17

This was my first wood working Project! I learned alot about what to do and not to do for future projects. We are excited about how it turned out!

Simple Stackable Compost Bin from Pallets Collars

Submitted by mtairymd on Sat, 06/06/2015 - 13:48

Build Instructions:
http://www.instructables.com/id/Simple-Stackable-Compost-Bin-from-Palle…

How it works:
https://www.youtube.com/watch?v=Tgtd88kKIn0

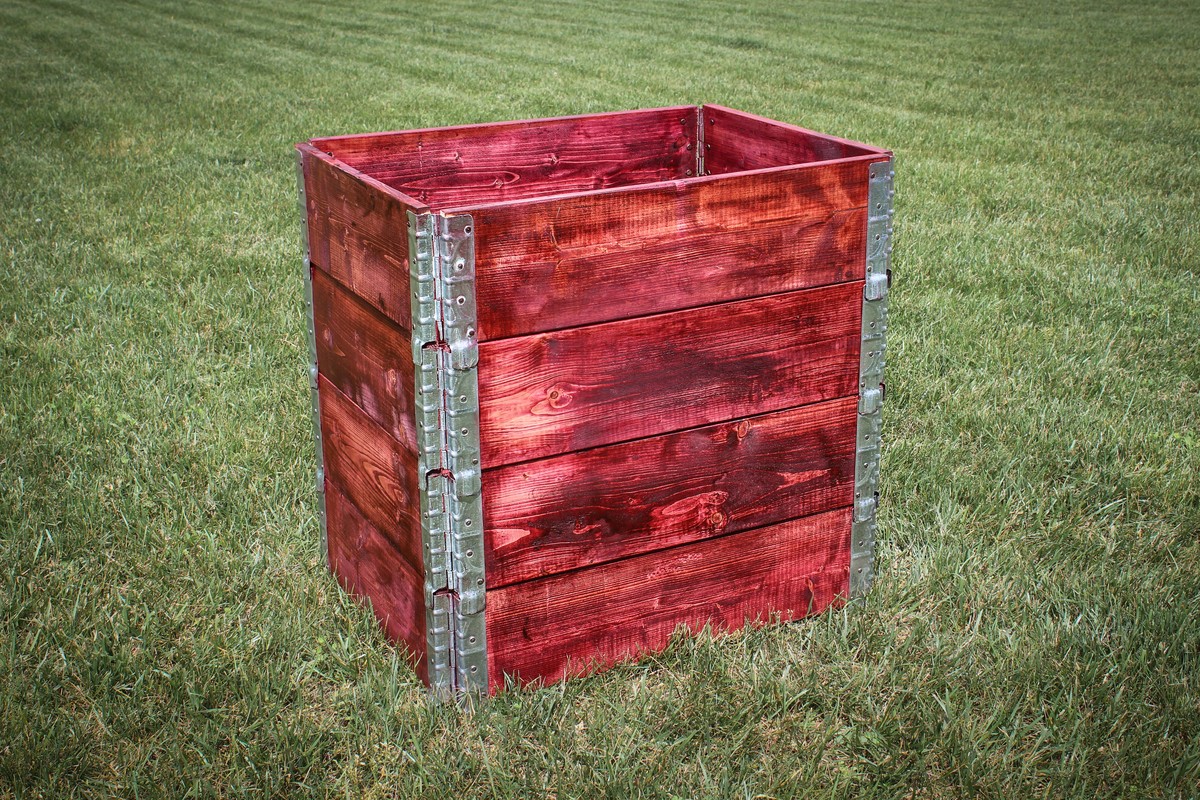
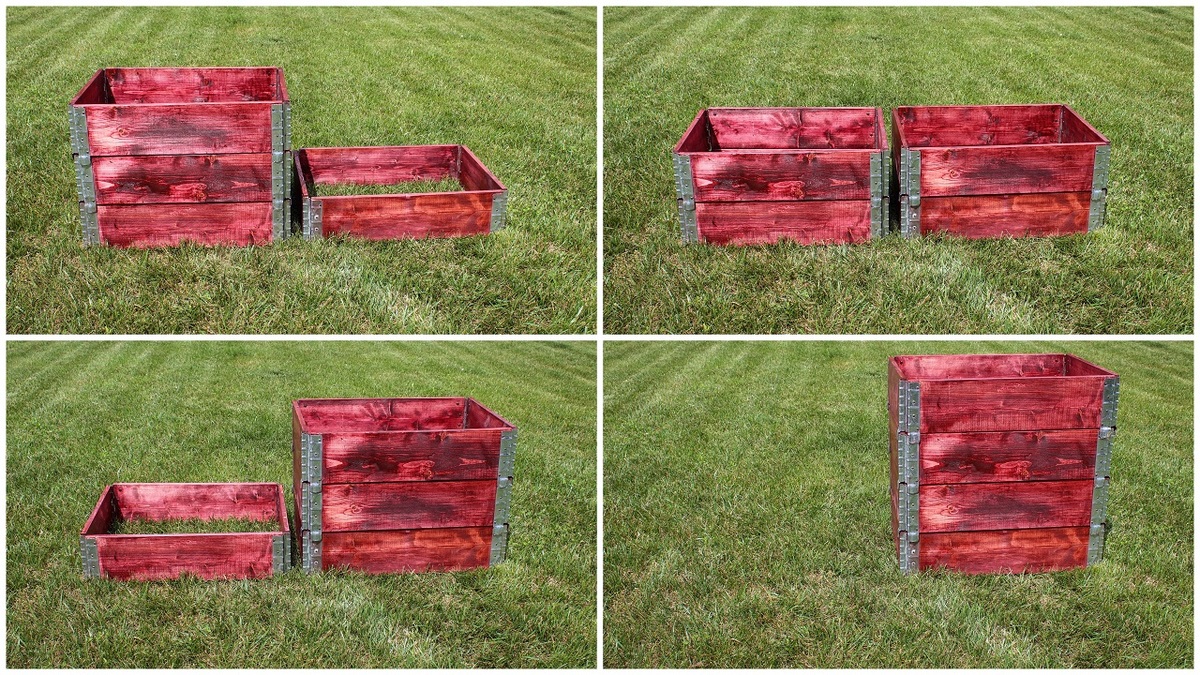
With one single unit as opposed to two or three bins, the space needed for composting is minimized. Each tier stacks on top of the other, latching together to make the bin. This setup makes it easy to turn and rotate the compost, since moving the collars is simple. Just remove the top collar and place in a new location adjacent to the original bin location. Turn the compost into the new location and stack the collars until finished. This is a great alternative to having multiple compost bins next to each other.

Estimated Cost
Free
Estimated Time Investment
An Hour or Two (0-2 Hours)
Finish Used
Cabernet colored stain from Varathane and a polyurethane from Minwax.
Recommended Skill Level
Beginner

Work Bench

Submitted by Anonymous (not verified) on Sun, 12/26/2021 - 20:58

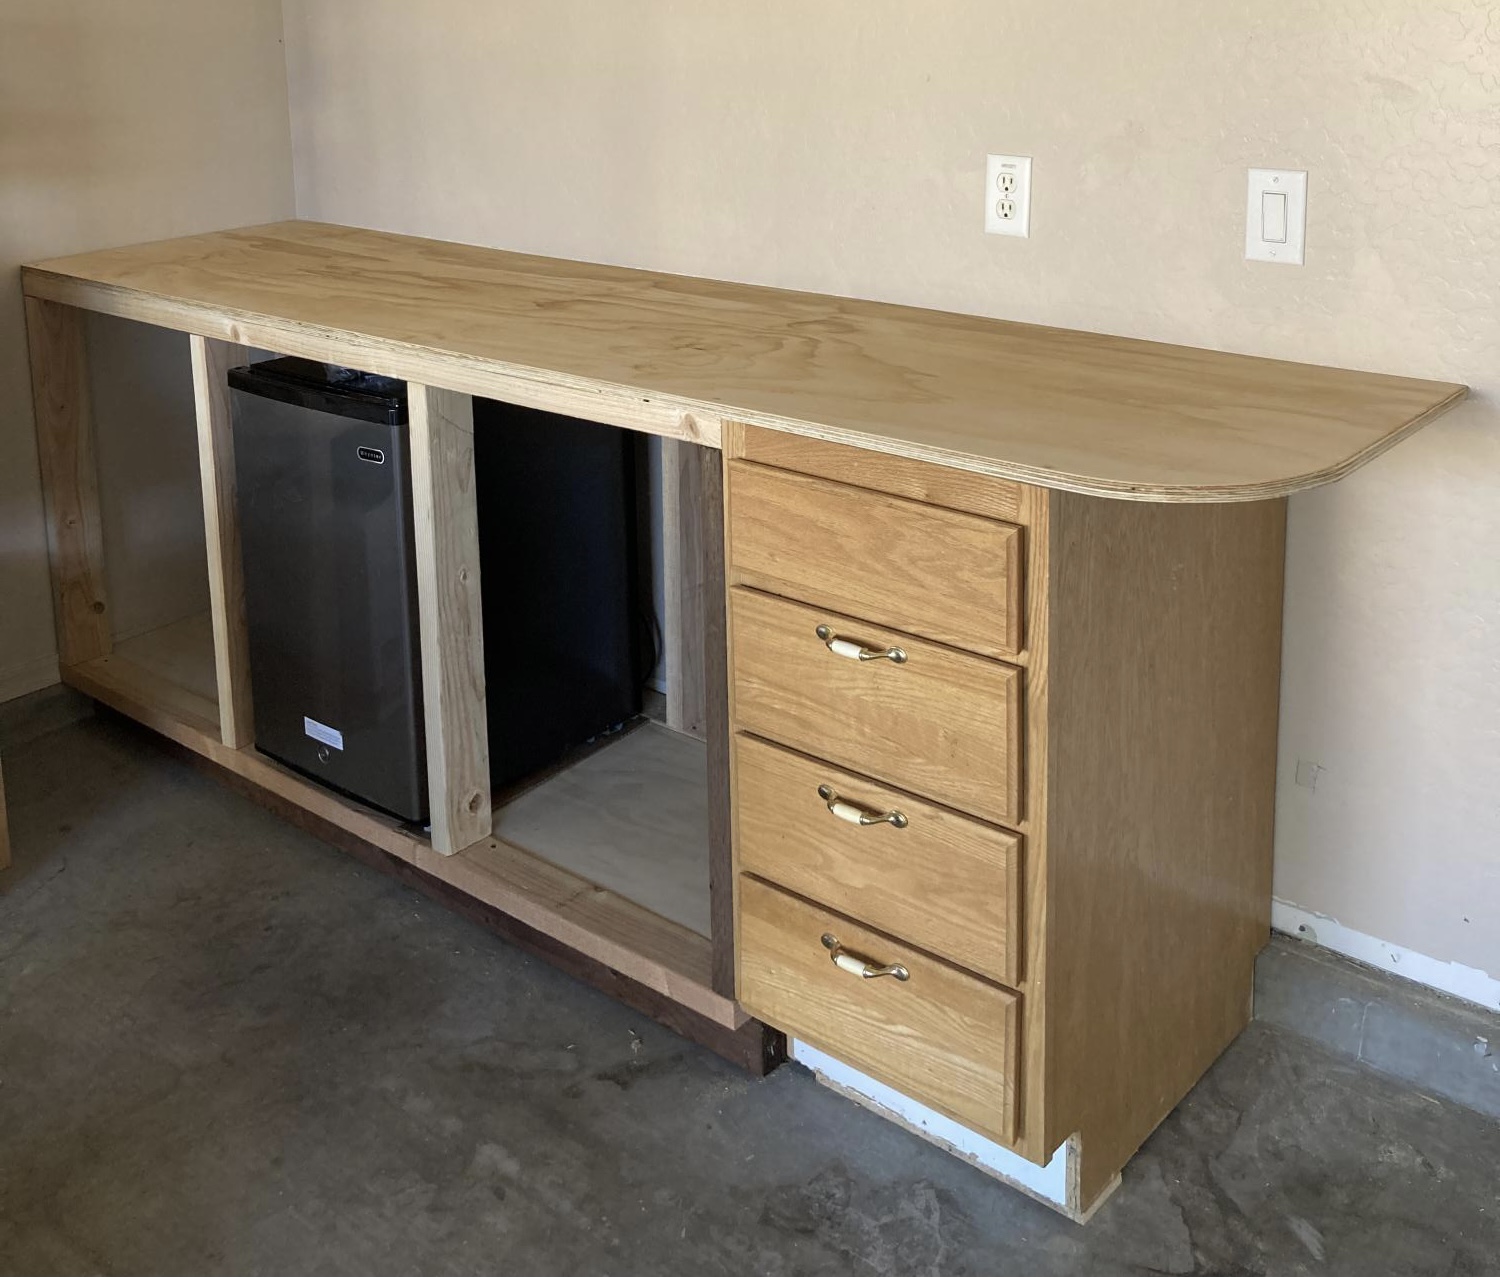
Had to tweak the pony wall plans a bit because the garage floor had a 2” x 3 1:2” cement retainer. I also wanted to incorporate an end cabinet I already had, so I shortened up the base to 69” and tied it together with the top.

Built from Plan(s)

Comments

My entry way bench in Hickory

Submitted by Anonymous (not verified) on Tue, 12/28/2021 - 12:19

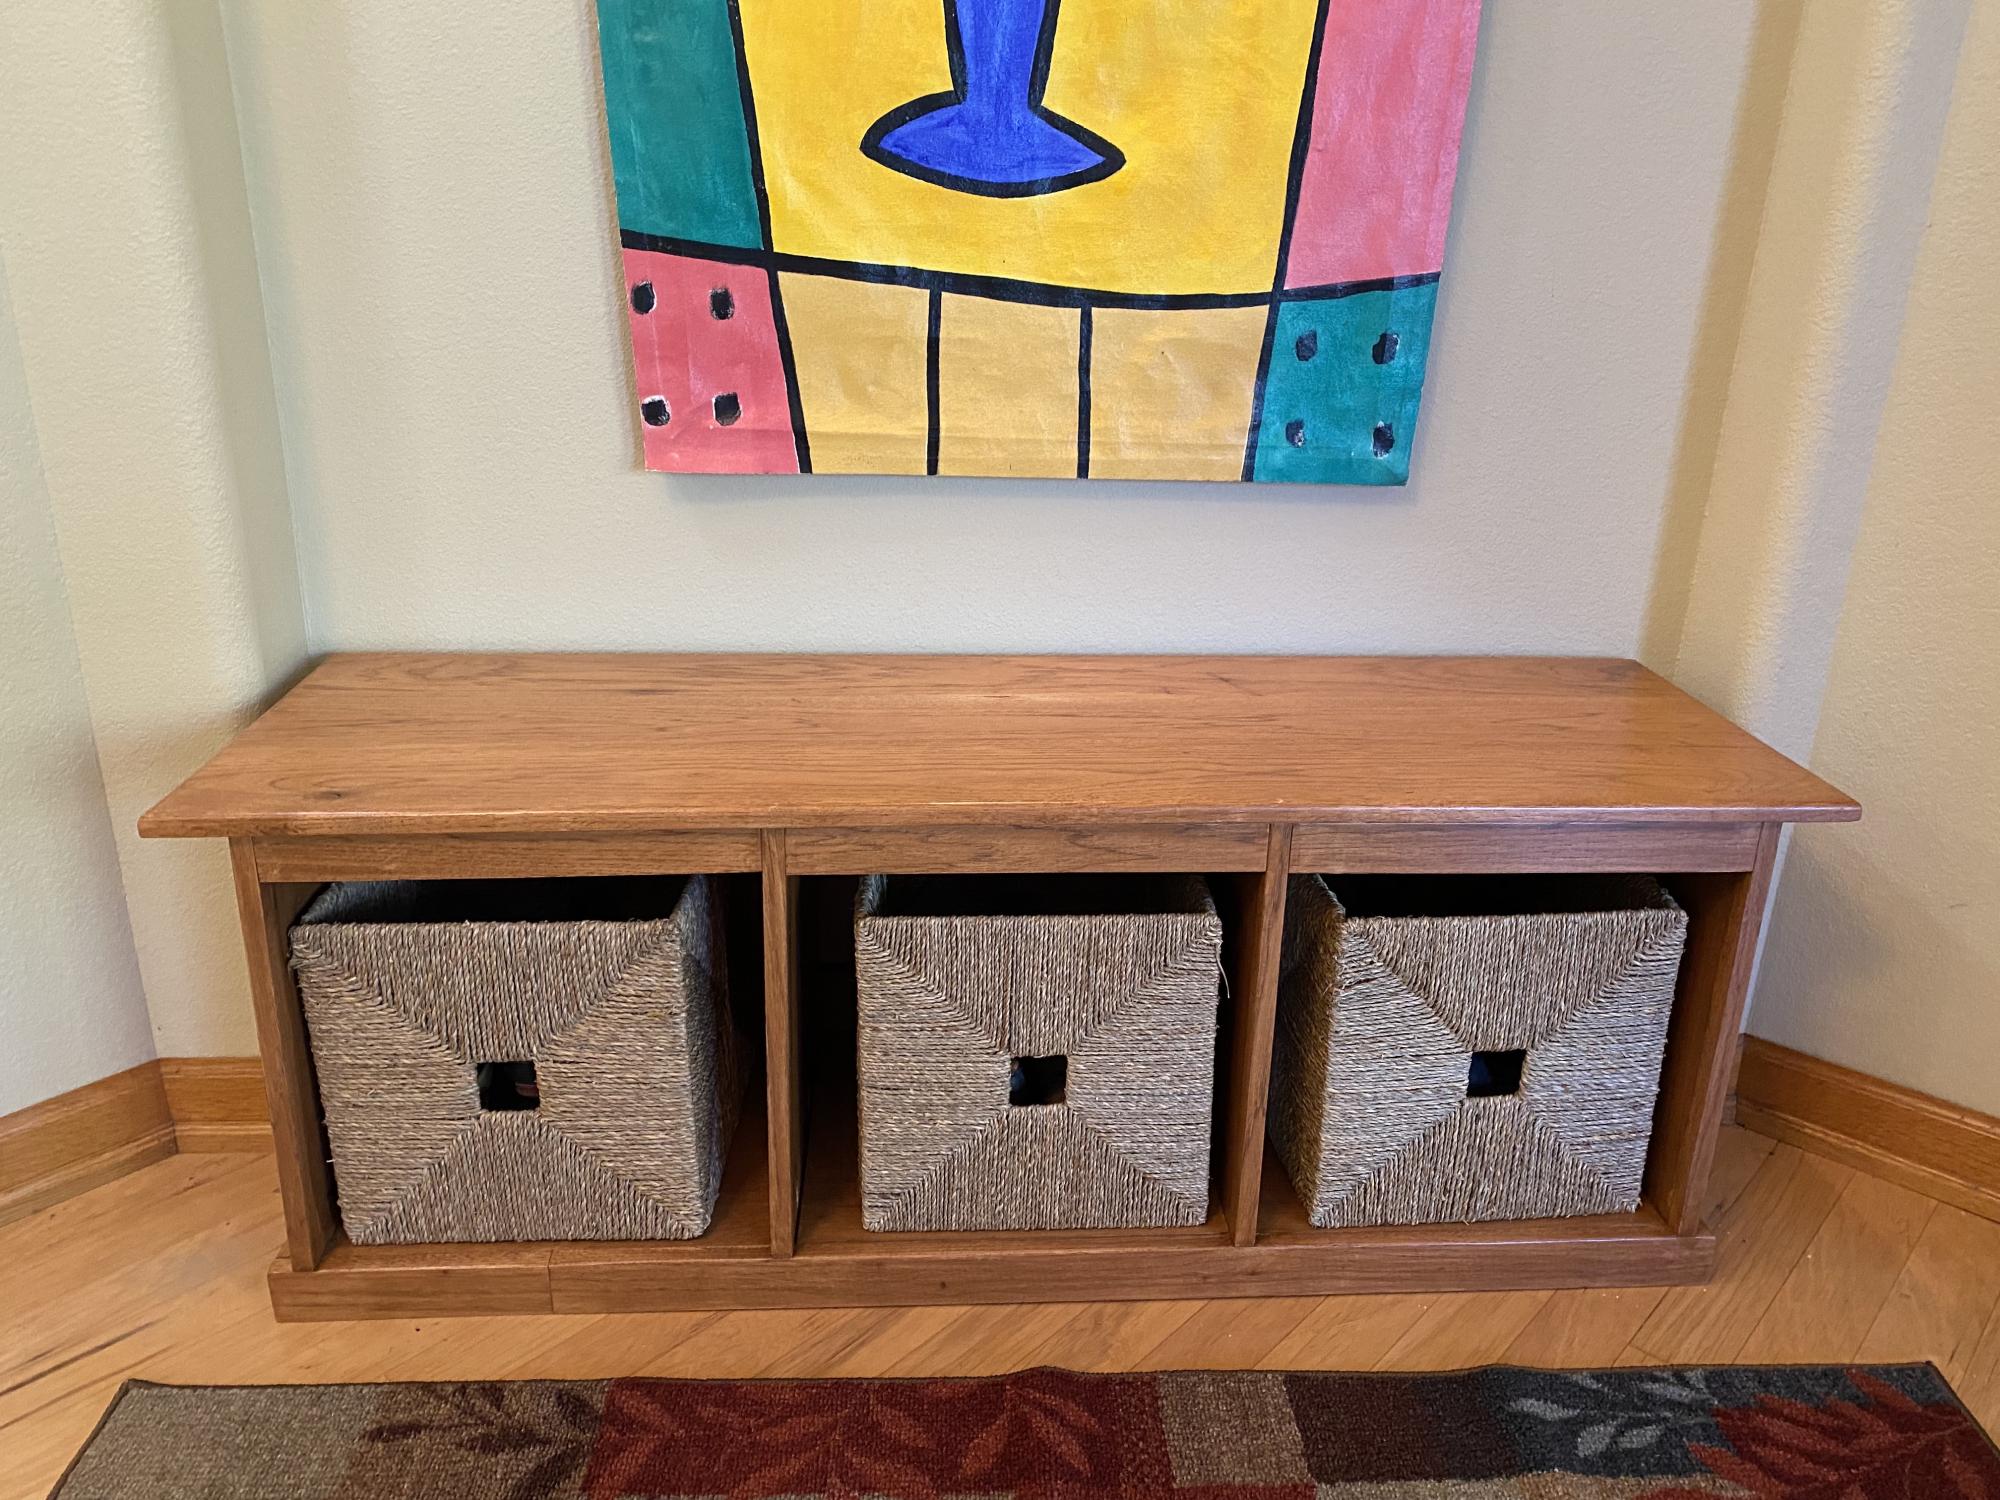
The bench plans were super helpful!!

Built from Plan(s)

Comments

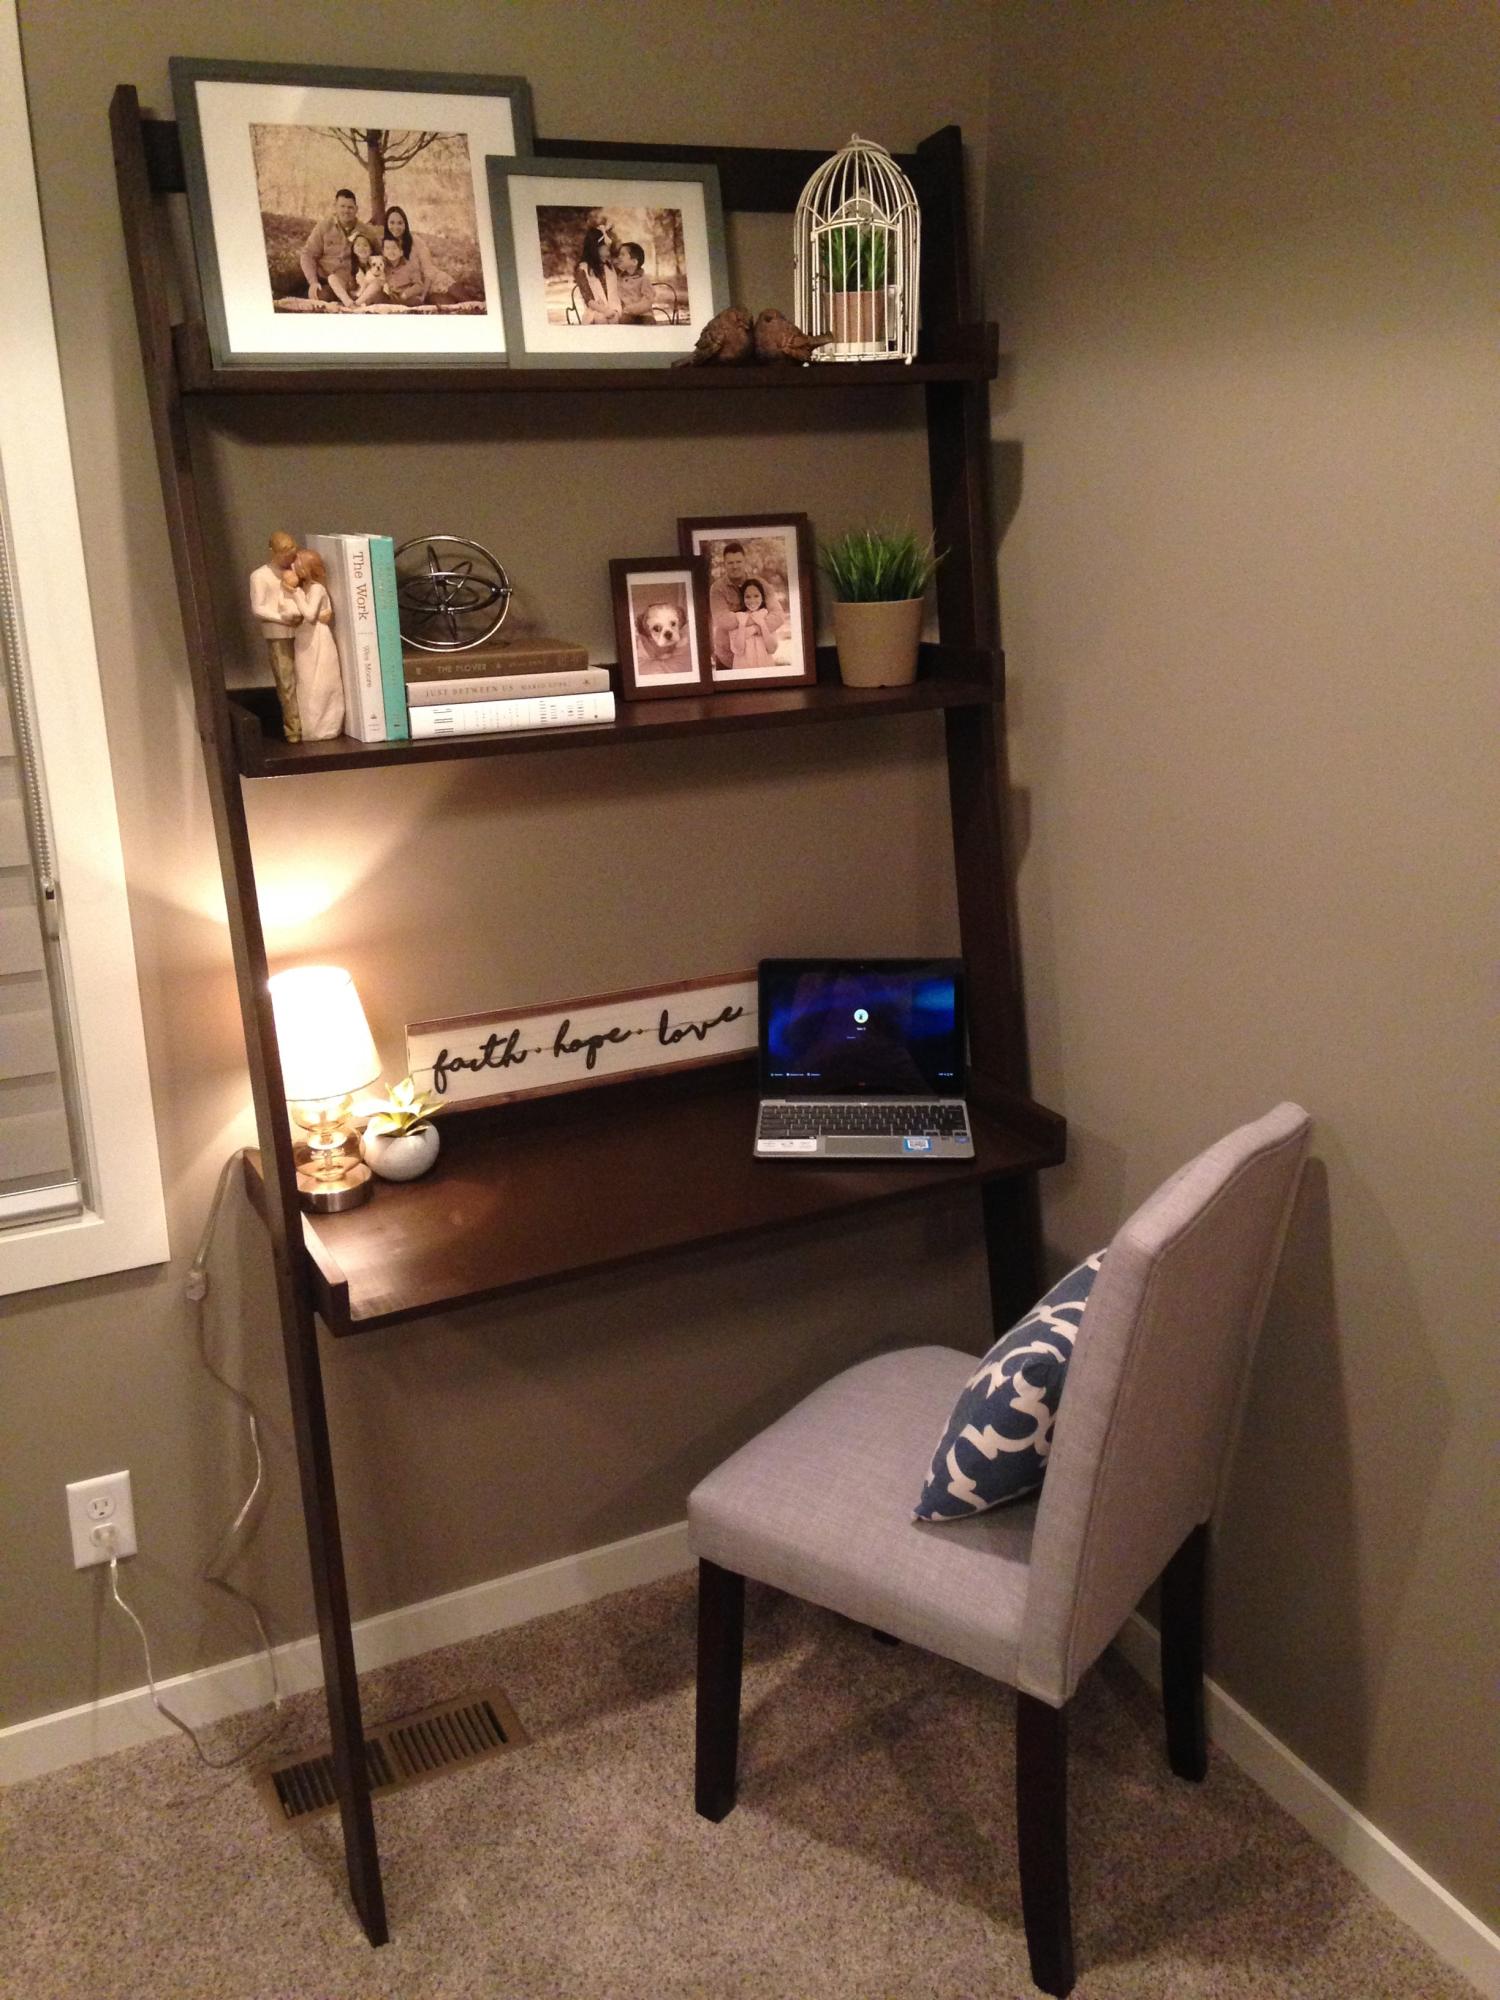
Leaning wall desk

Submitted by nanpannapa on Mon, 01/15/2018 - 09:56

Thank you Ana for the plan my husband loves it. So functional yet requires very little space. I made it a littlest wider- 38 inches overall width and 83 inches overall height.

Built from Plan(s)
Estimated Cost
$50
Estimated Time Investment
Afternoon Project (3-6 Hours)
Finish Used
Painters touch Expresso
Recommended Skill Level
Beginner

Our Chicken Coop (Aka Dollywood)

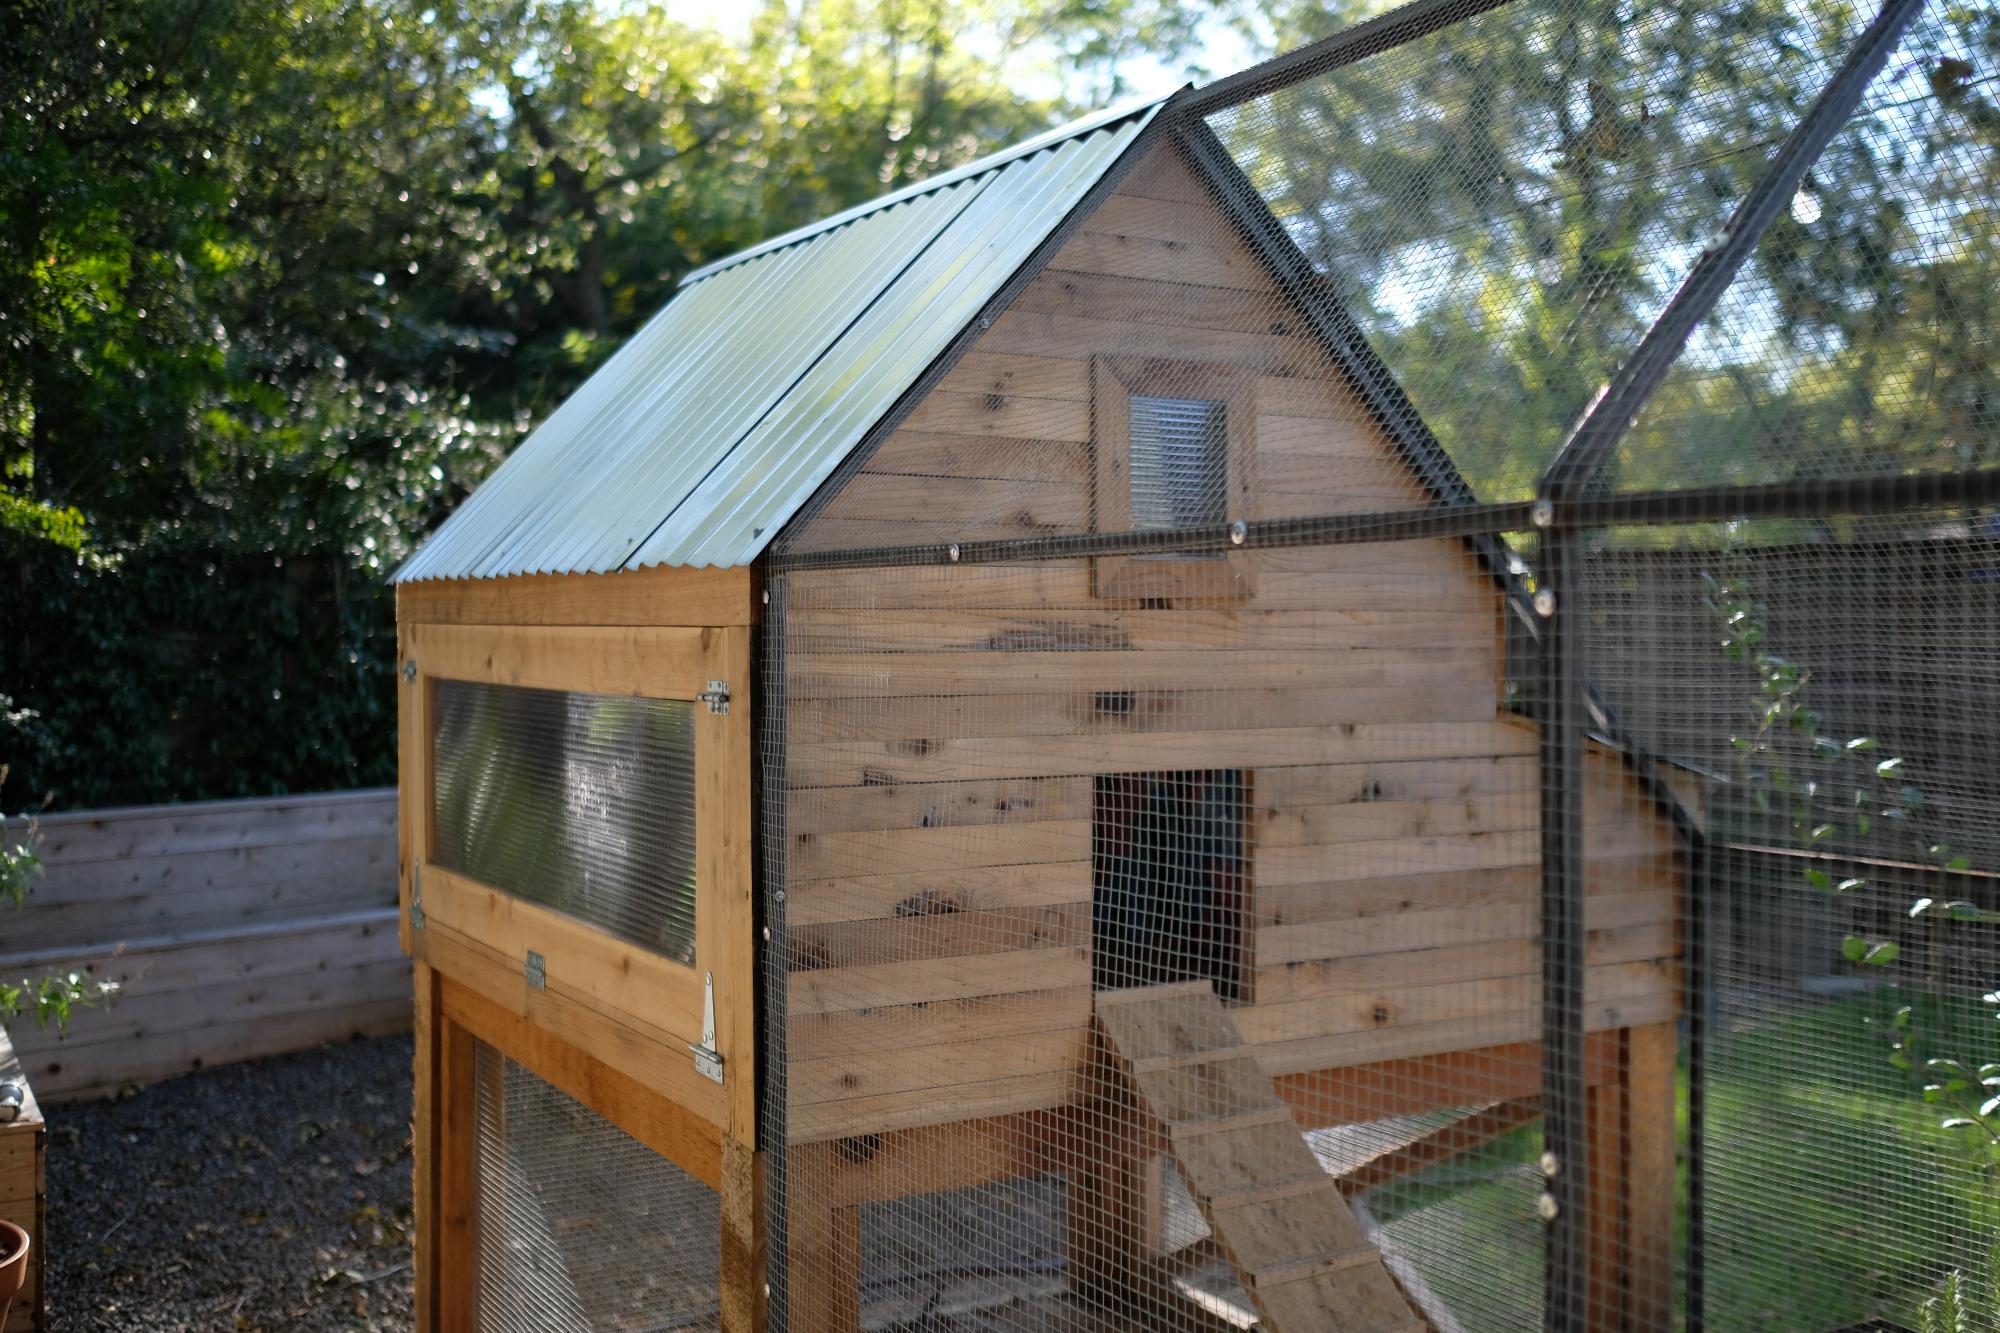
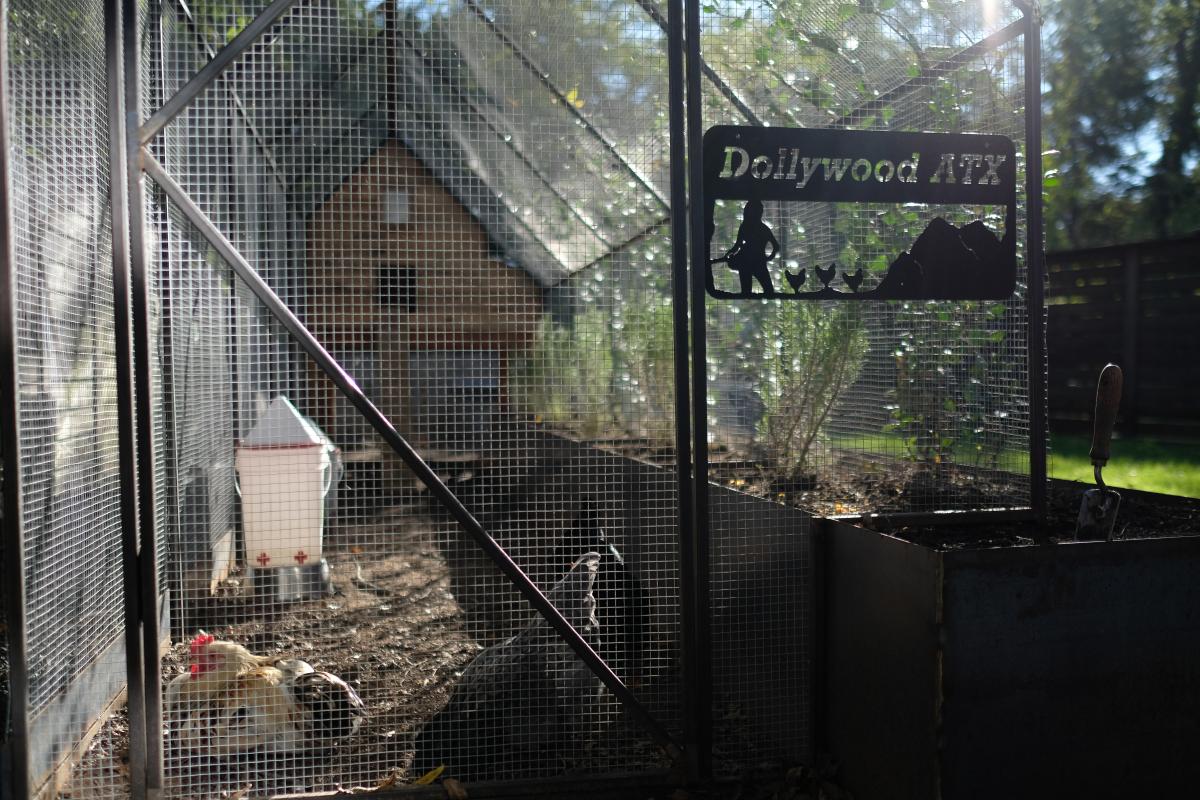
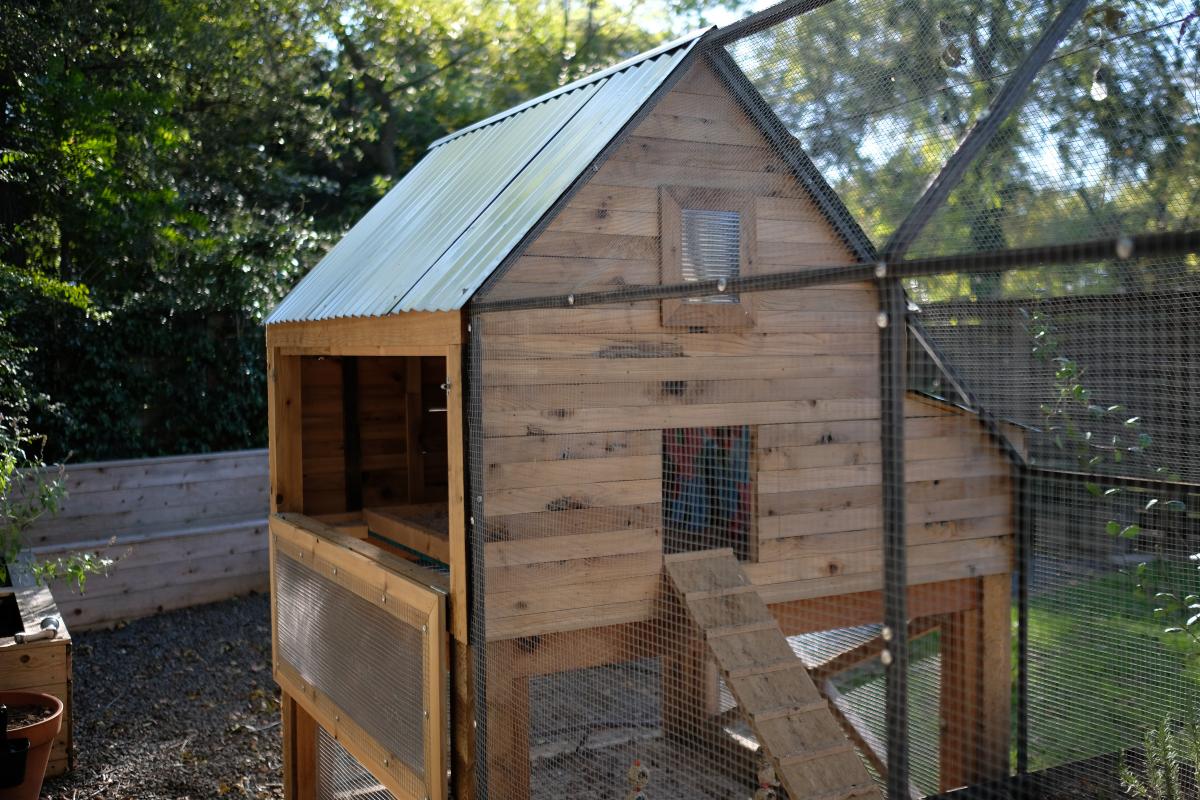
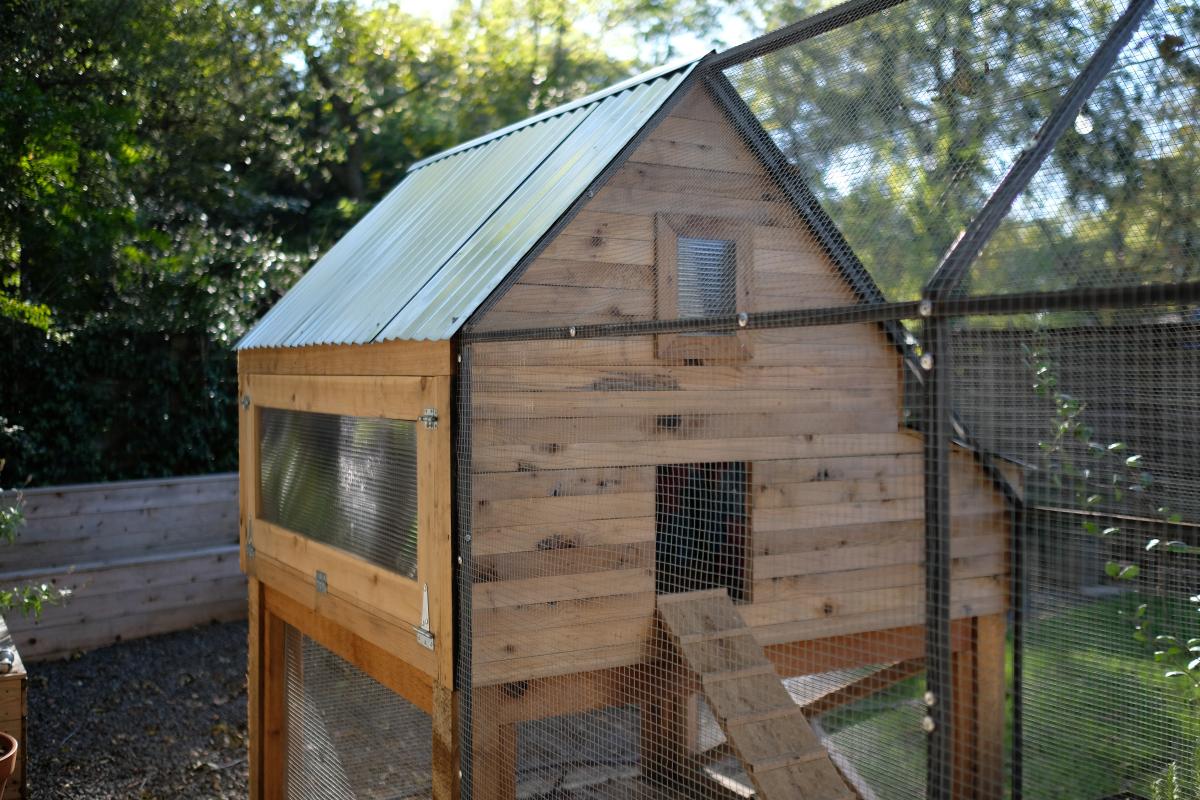
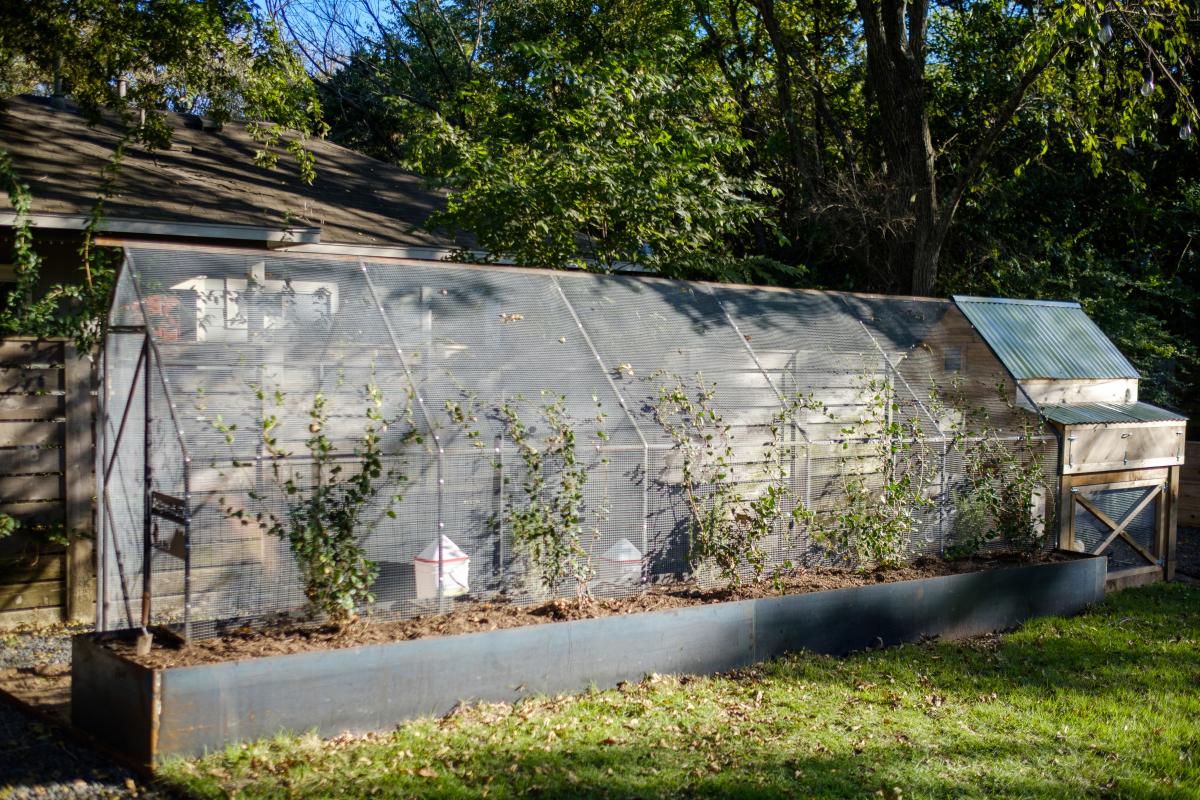
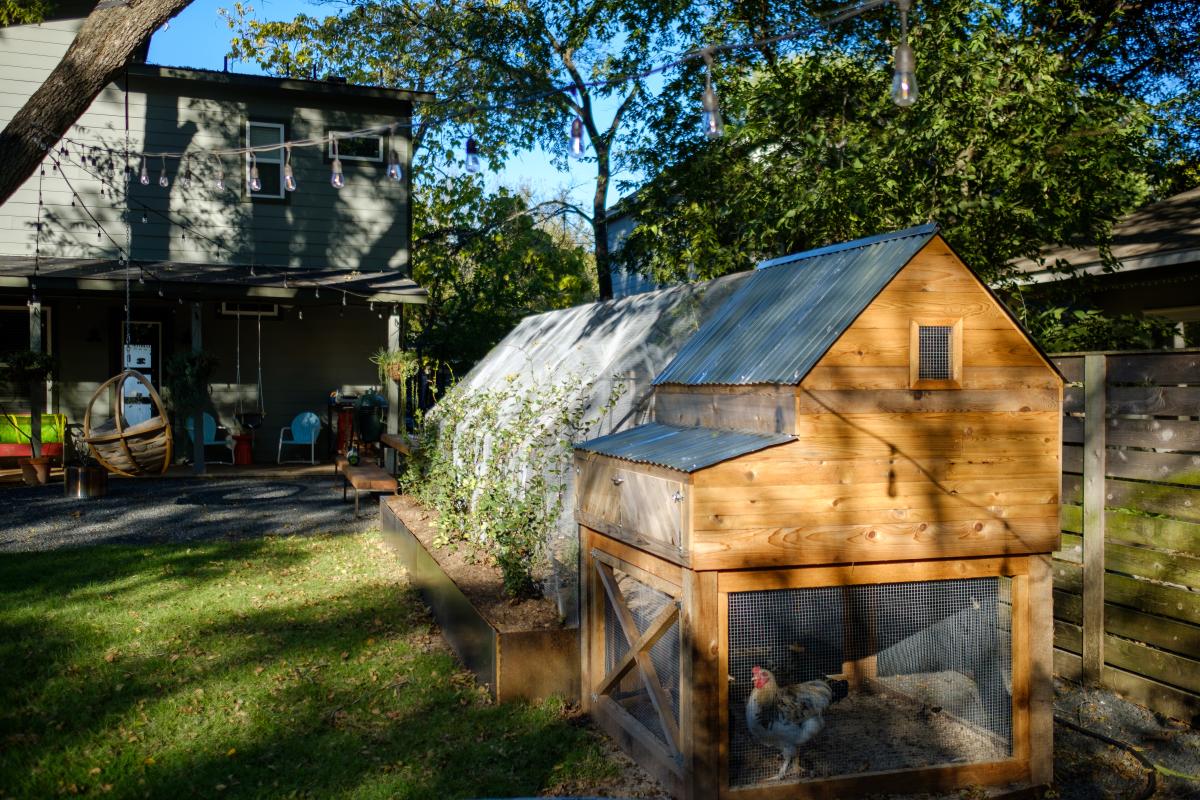
When we became accidental chicken owners, we had to build a coop fast. I found the plans for Ana’s replica of the Williams Sonoma chicken coop and got to work. They were very easy to follow and easy to modify to fit our own needs and aesthetic. We decided to enlarge the coop and remove the planter in the original plans to accommodate more chickens while keeping the original footprint. Instead of plywood, we used cedar reclaimed from an old fence we had recently replaced. We also enlarged the rear door to make clean-out as easy as possible. I cut pieces of polycarbonate to fit inside the door and windows to winterize the coop when temps drop below freezing. The run is designed to follow the shape of the coop and is large enough to give our 5 chickens plenty of space to roam when they aren’t free ranging in the yard. The planter box runs the length of the chicken run, providing plants to munch on inside and shady vines that will eventually cover the outside.

Comments

Farmhouse table

Submitted by Camberjak on Tue, 06/30/2015 - 20:23

First large wood working project my husband and I completed. In love with Projects and plans by Ana white !

Built from Plan(s)
Estimated Cost
150 dollars
Estimated Time Investment
Weekend Project (10-20 Hours)
Finish Used
Minwax dark walnut and table top was pure white and sanded down and minwax dark walnut was rubbed on with a rag
Recommended Skill Level
Beginner

Comments