DIY Nativity
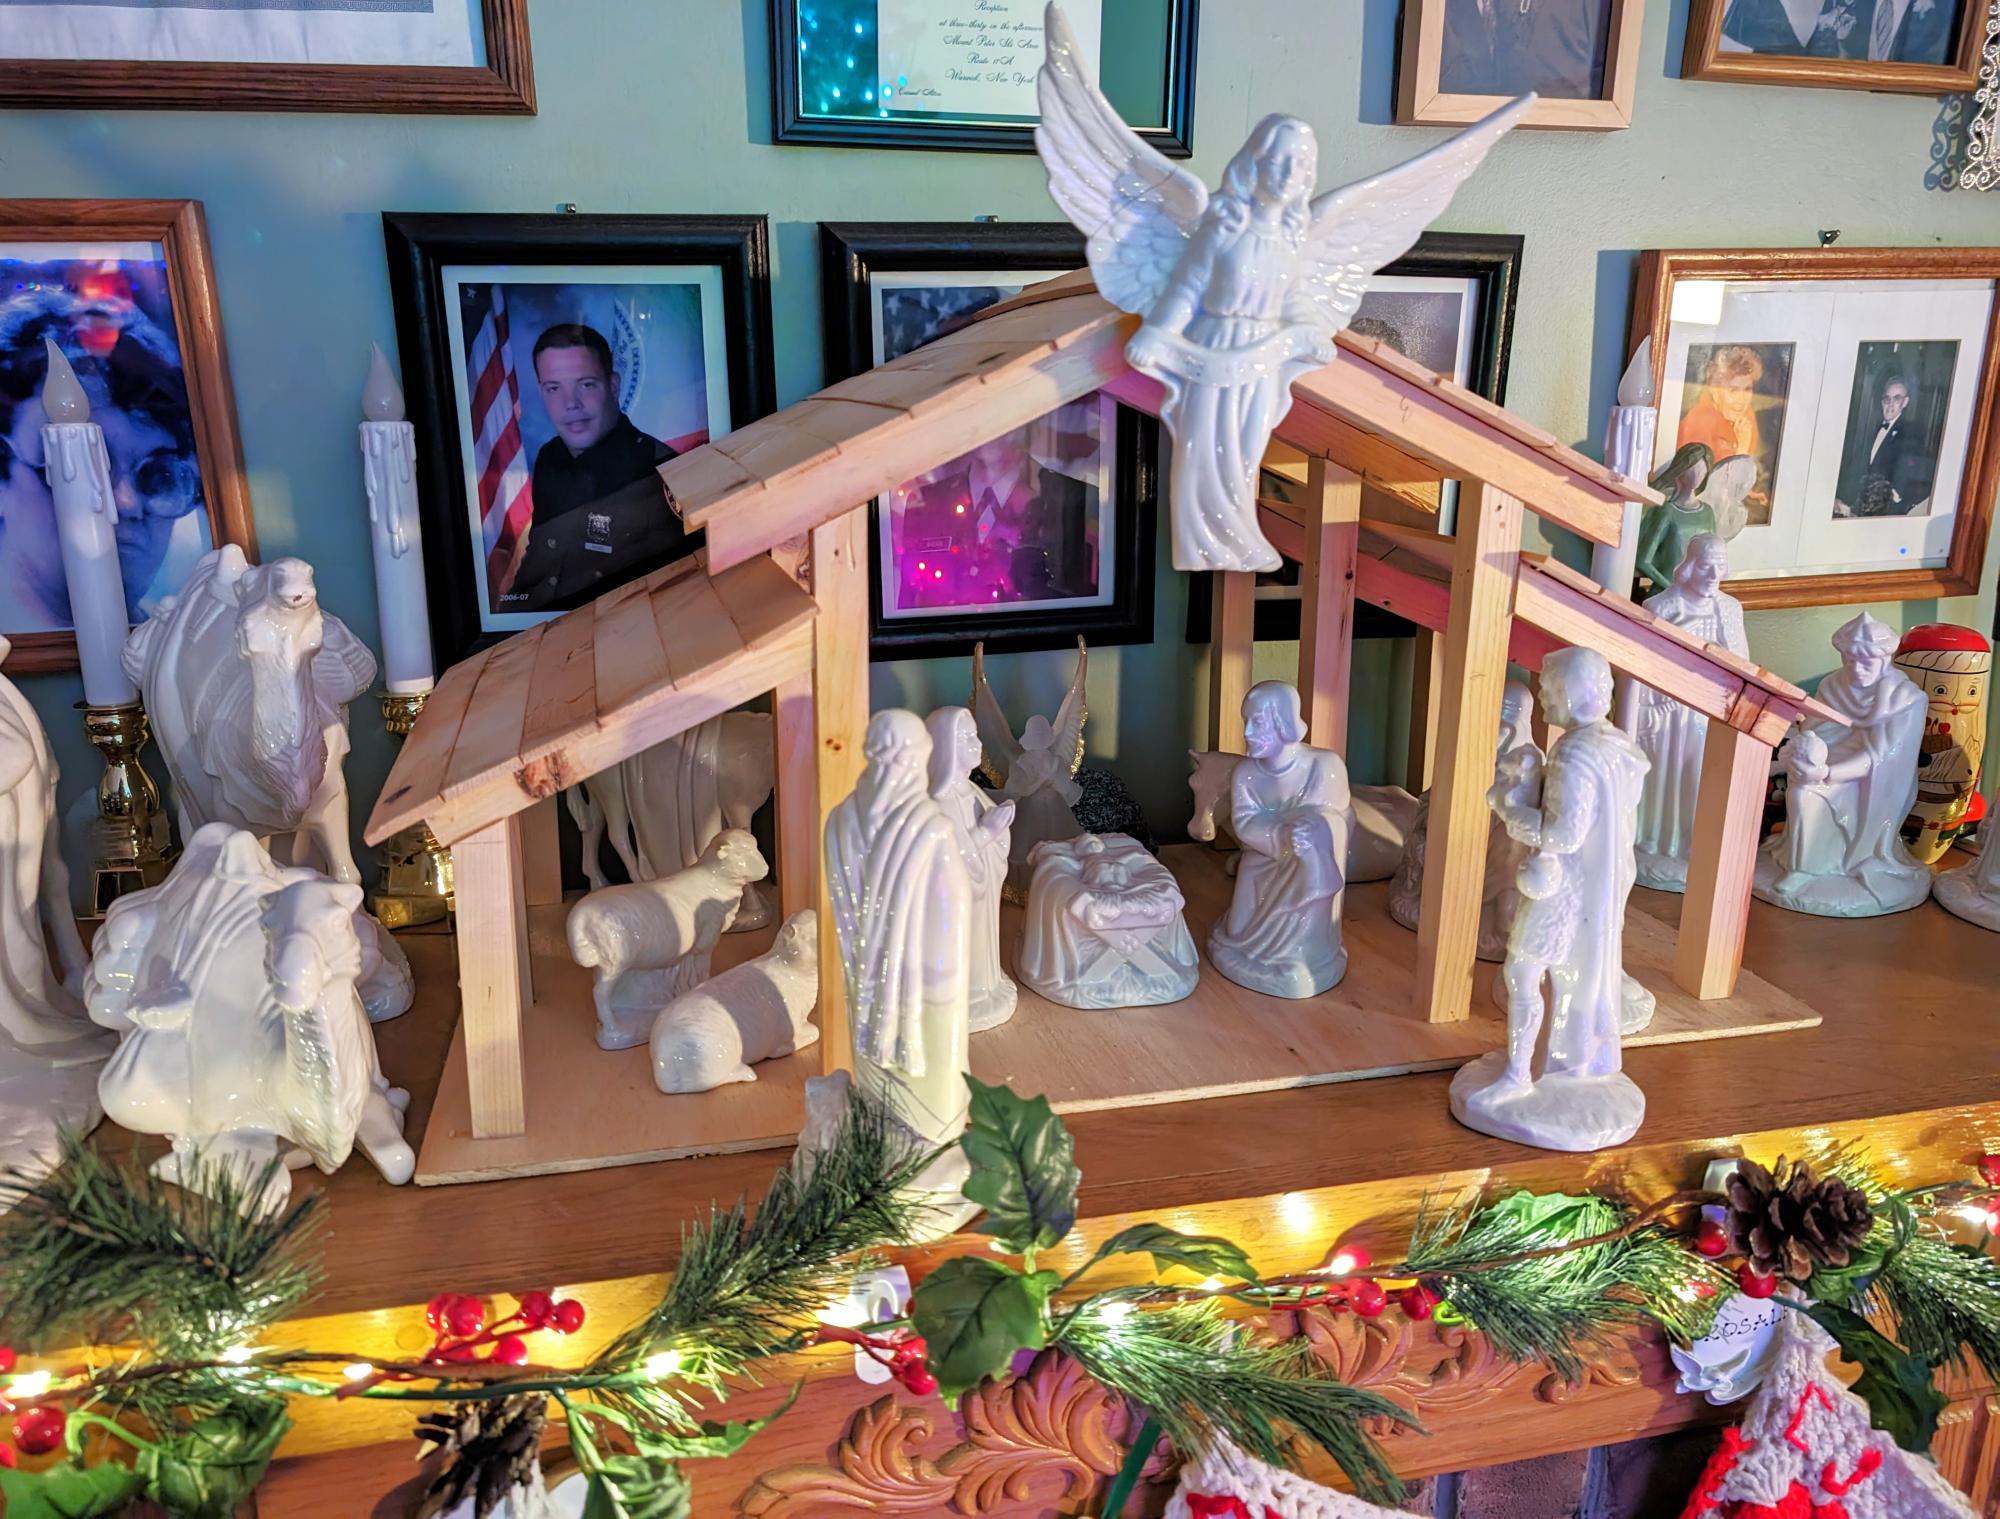
Well, it's not a barnyard play set, but there are farm animals in it. This is my wife's nativity set that her late sister made. Never had a barn till yesterday. All scraps from my shop. Keep the plans coming!
mccabechristopher

Well, it's not a barnyard play set, but there are farm animals in it. This is my wife's nativity set that her late sister made. Never had a barn till yesterday. All scraps from my shop. Keep the plans coming!
mccabechristopher
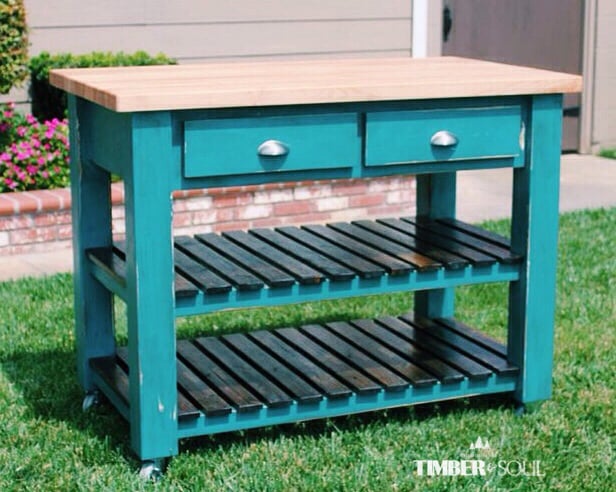
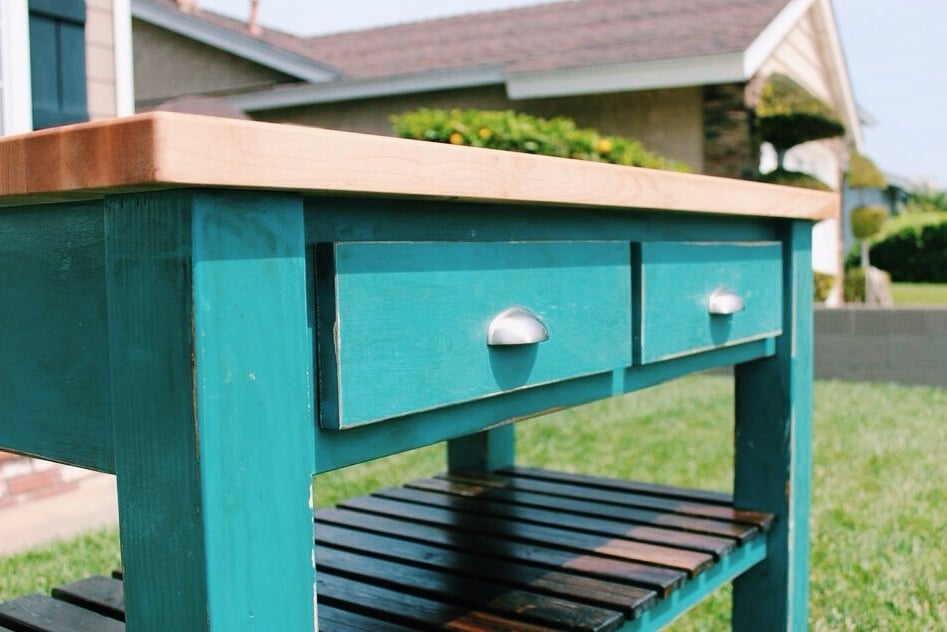
I built this from Ana's plans with some slight modifications. The top is built from hard maple and is an edge grain butcher block. I sealed the top with mineral oil and beeswax. The finish is distressed calypso blue. I also added 3" locking and swiveling casters.
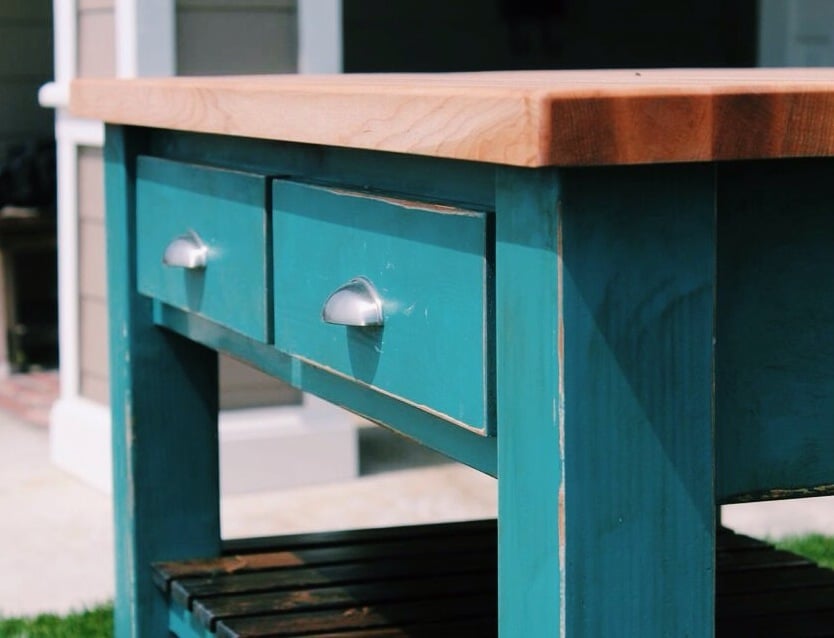
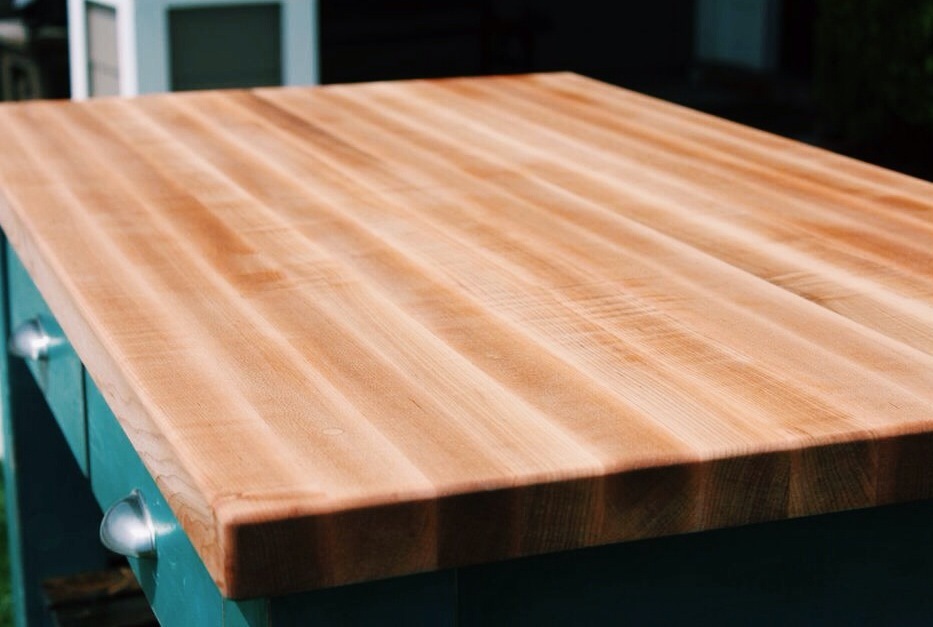
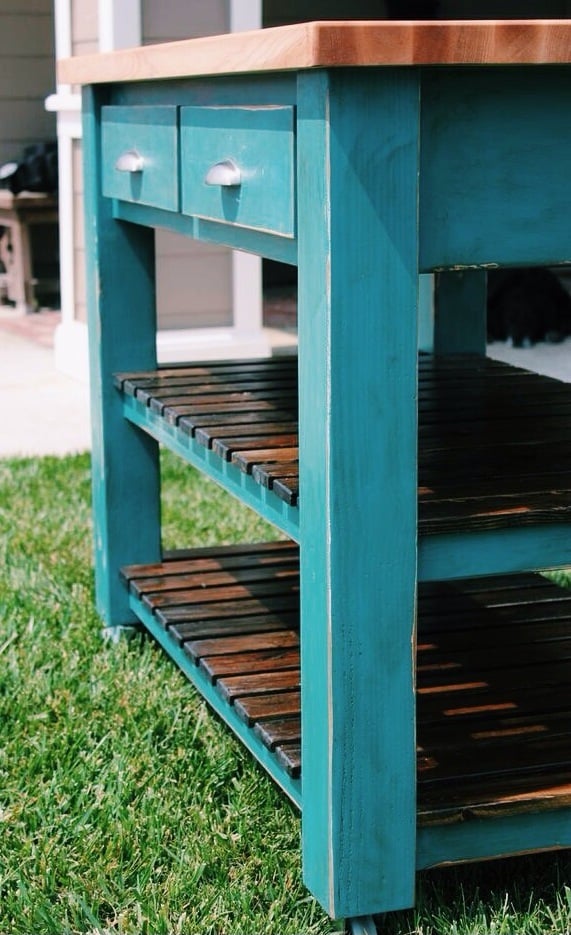
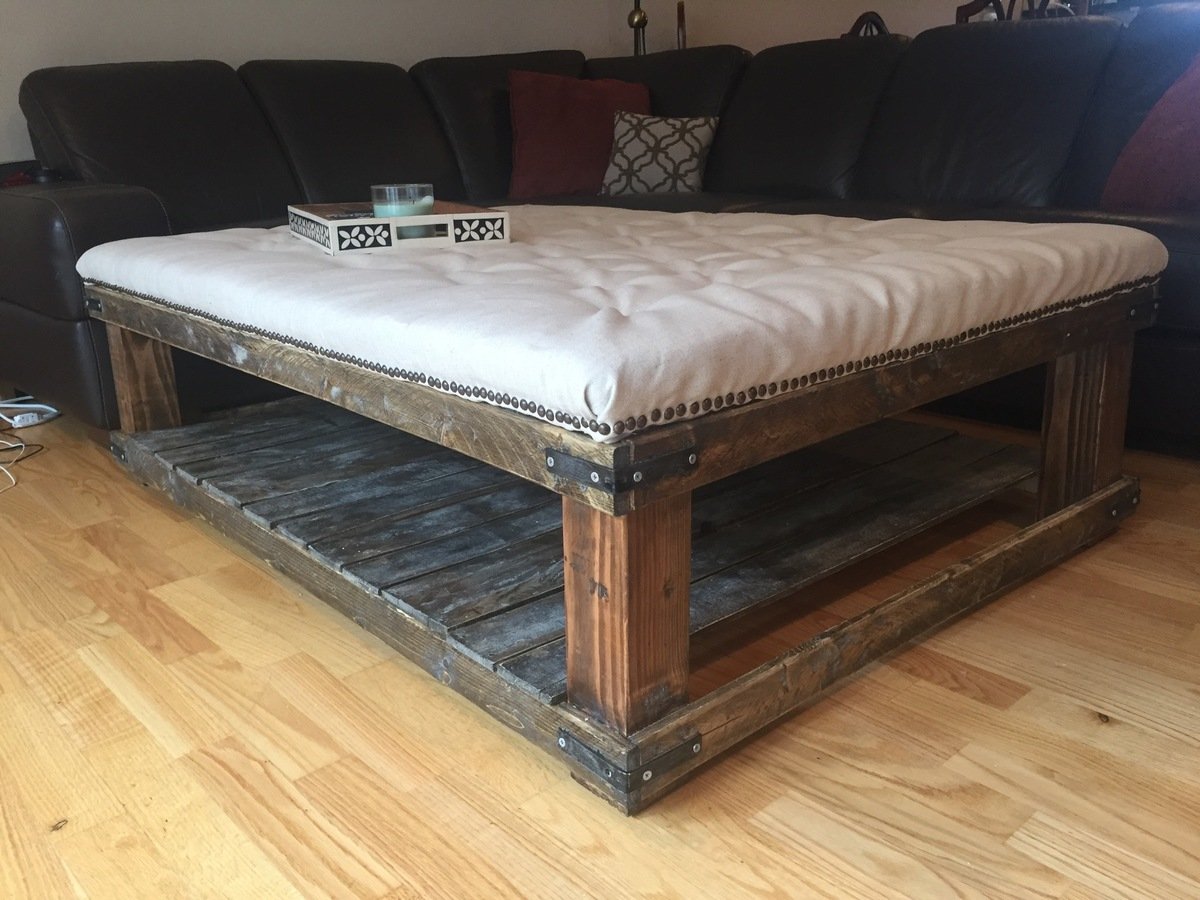
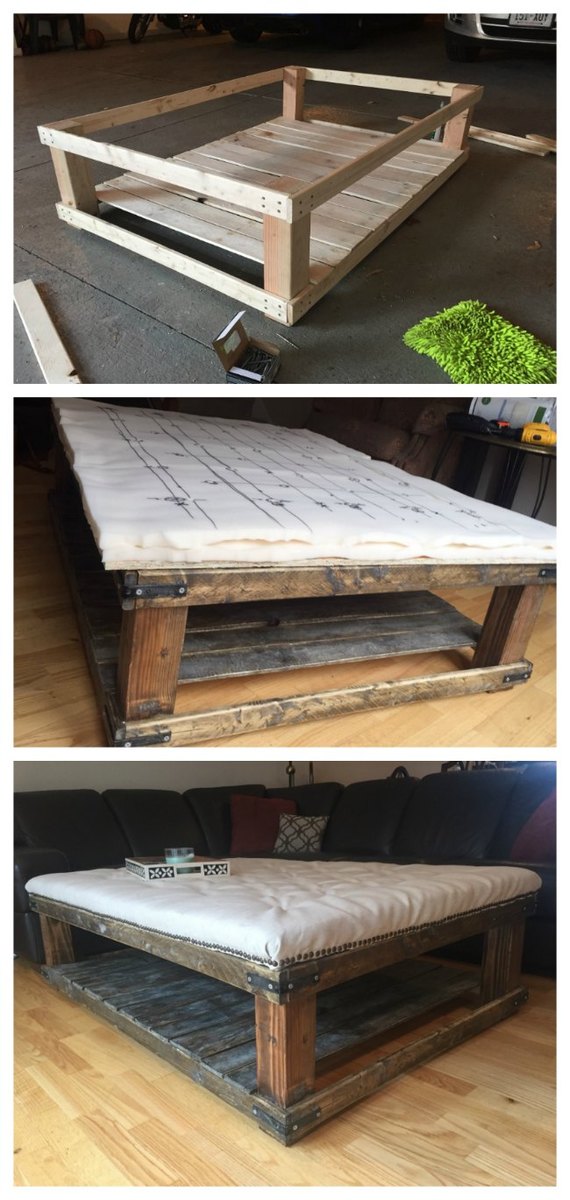
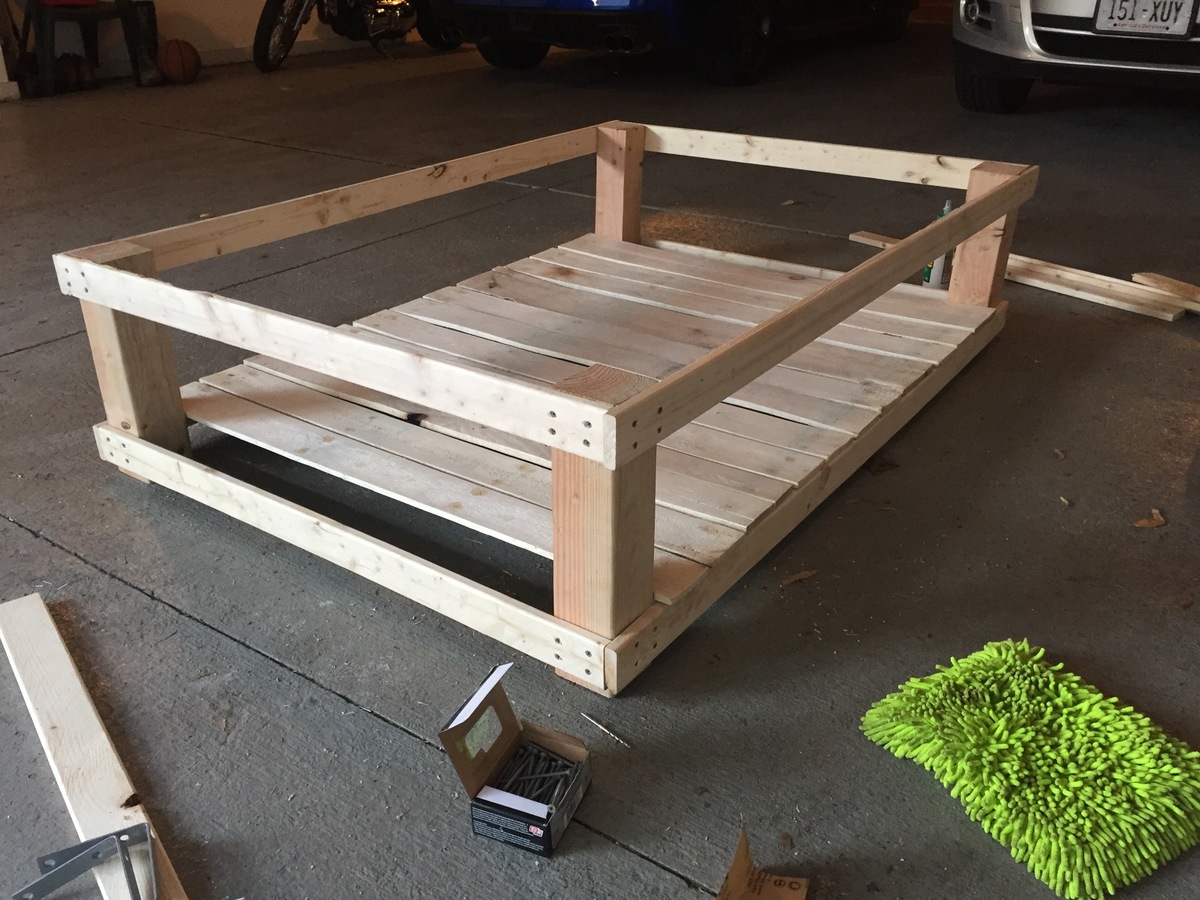
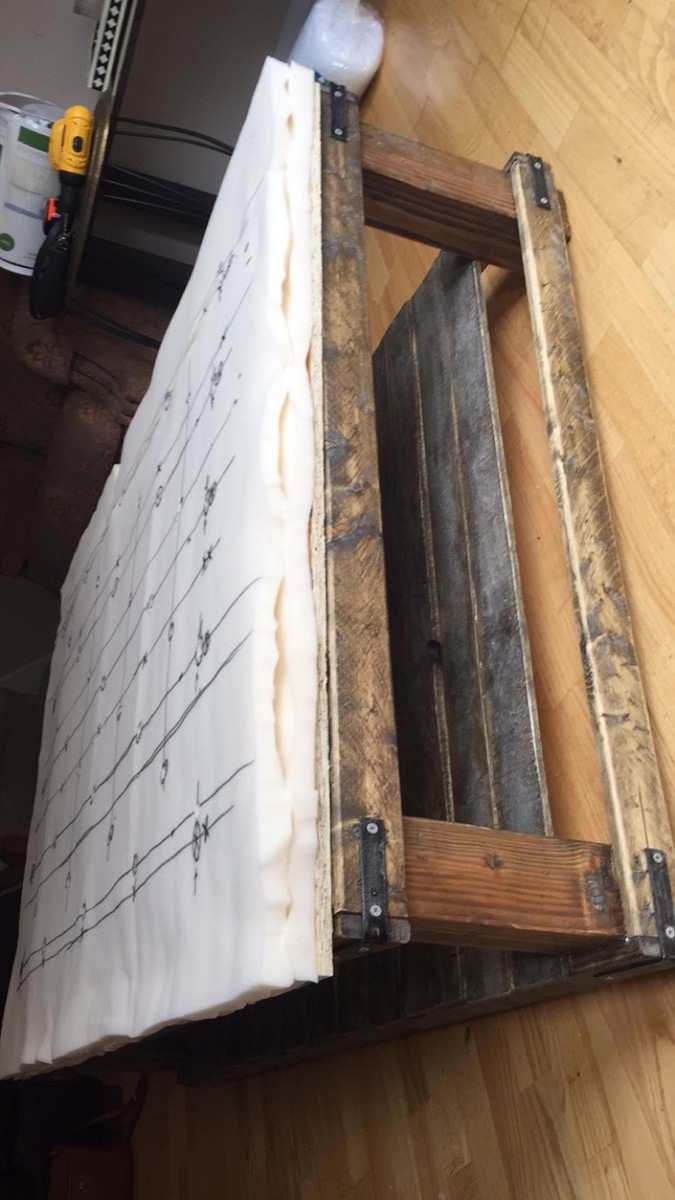
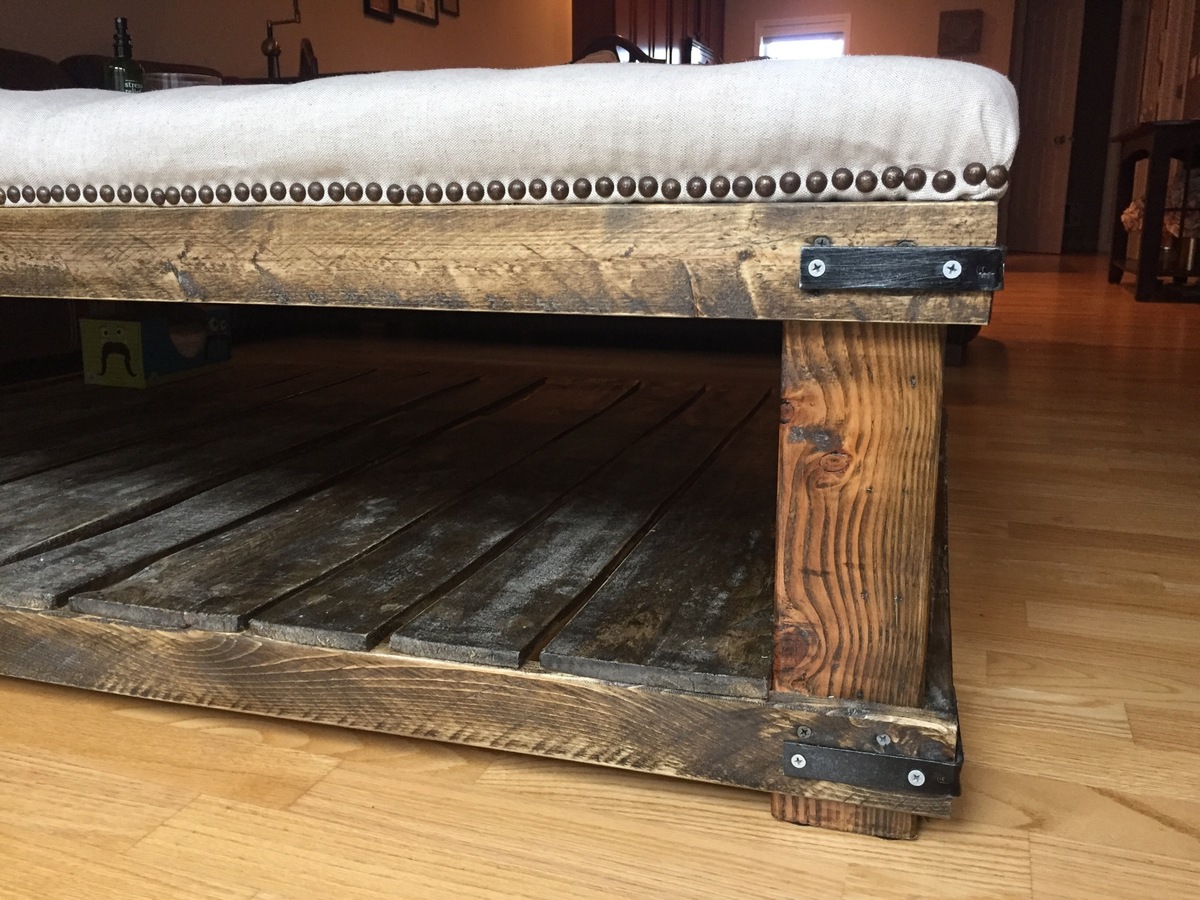
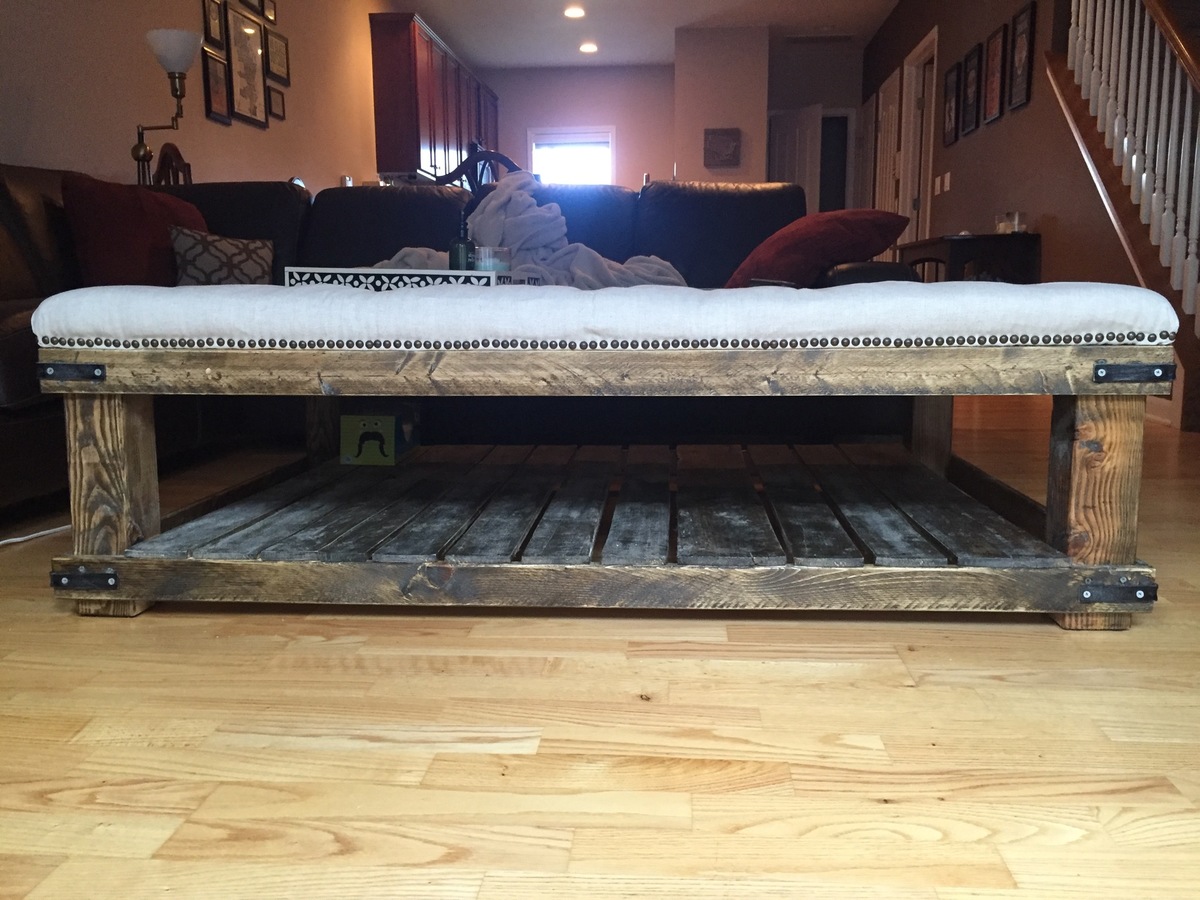
This project was inspired by the featured Diamond Tufted Ottoman plan. I combined the top with a customized plan inspired by the Cameron Coffee Table from World Market and Ana White's tutorial on how to create a weathered stain look like Restoration Hardware.
Tue, 07/26/2016 - 05:41
I'd like to build this piece. Are the plans available?
Built this loft bed for my girls playroom! They love it.
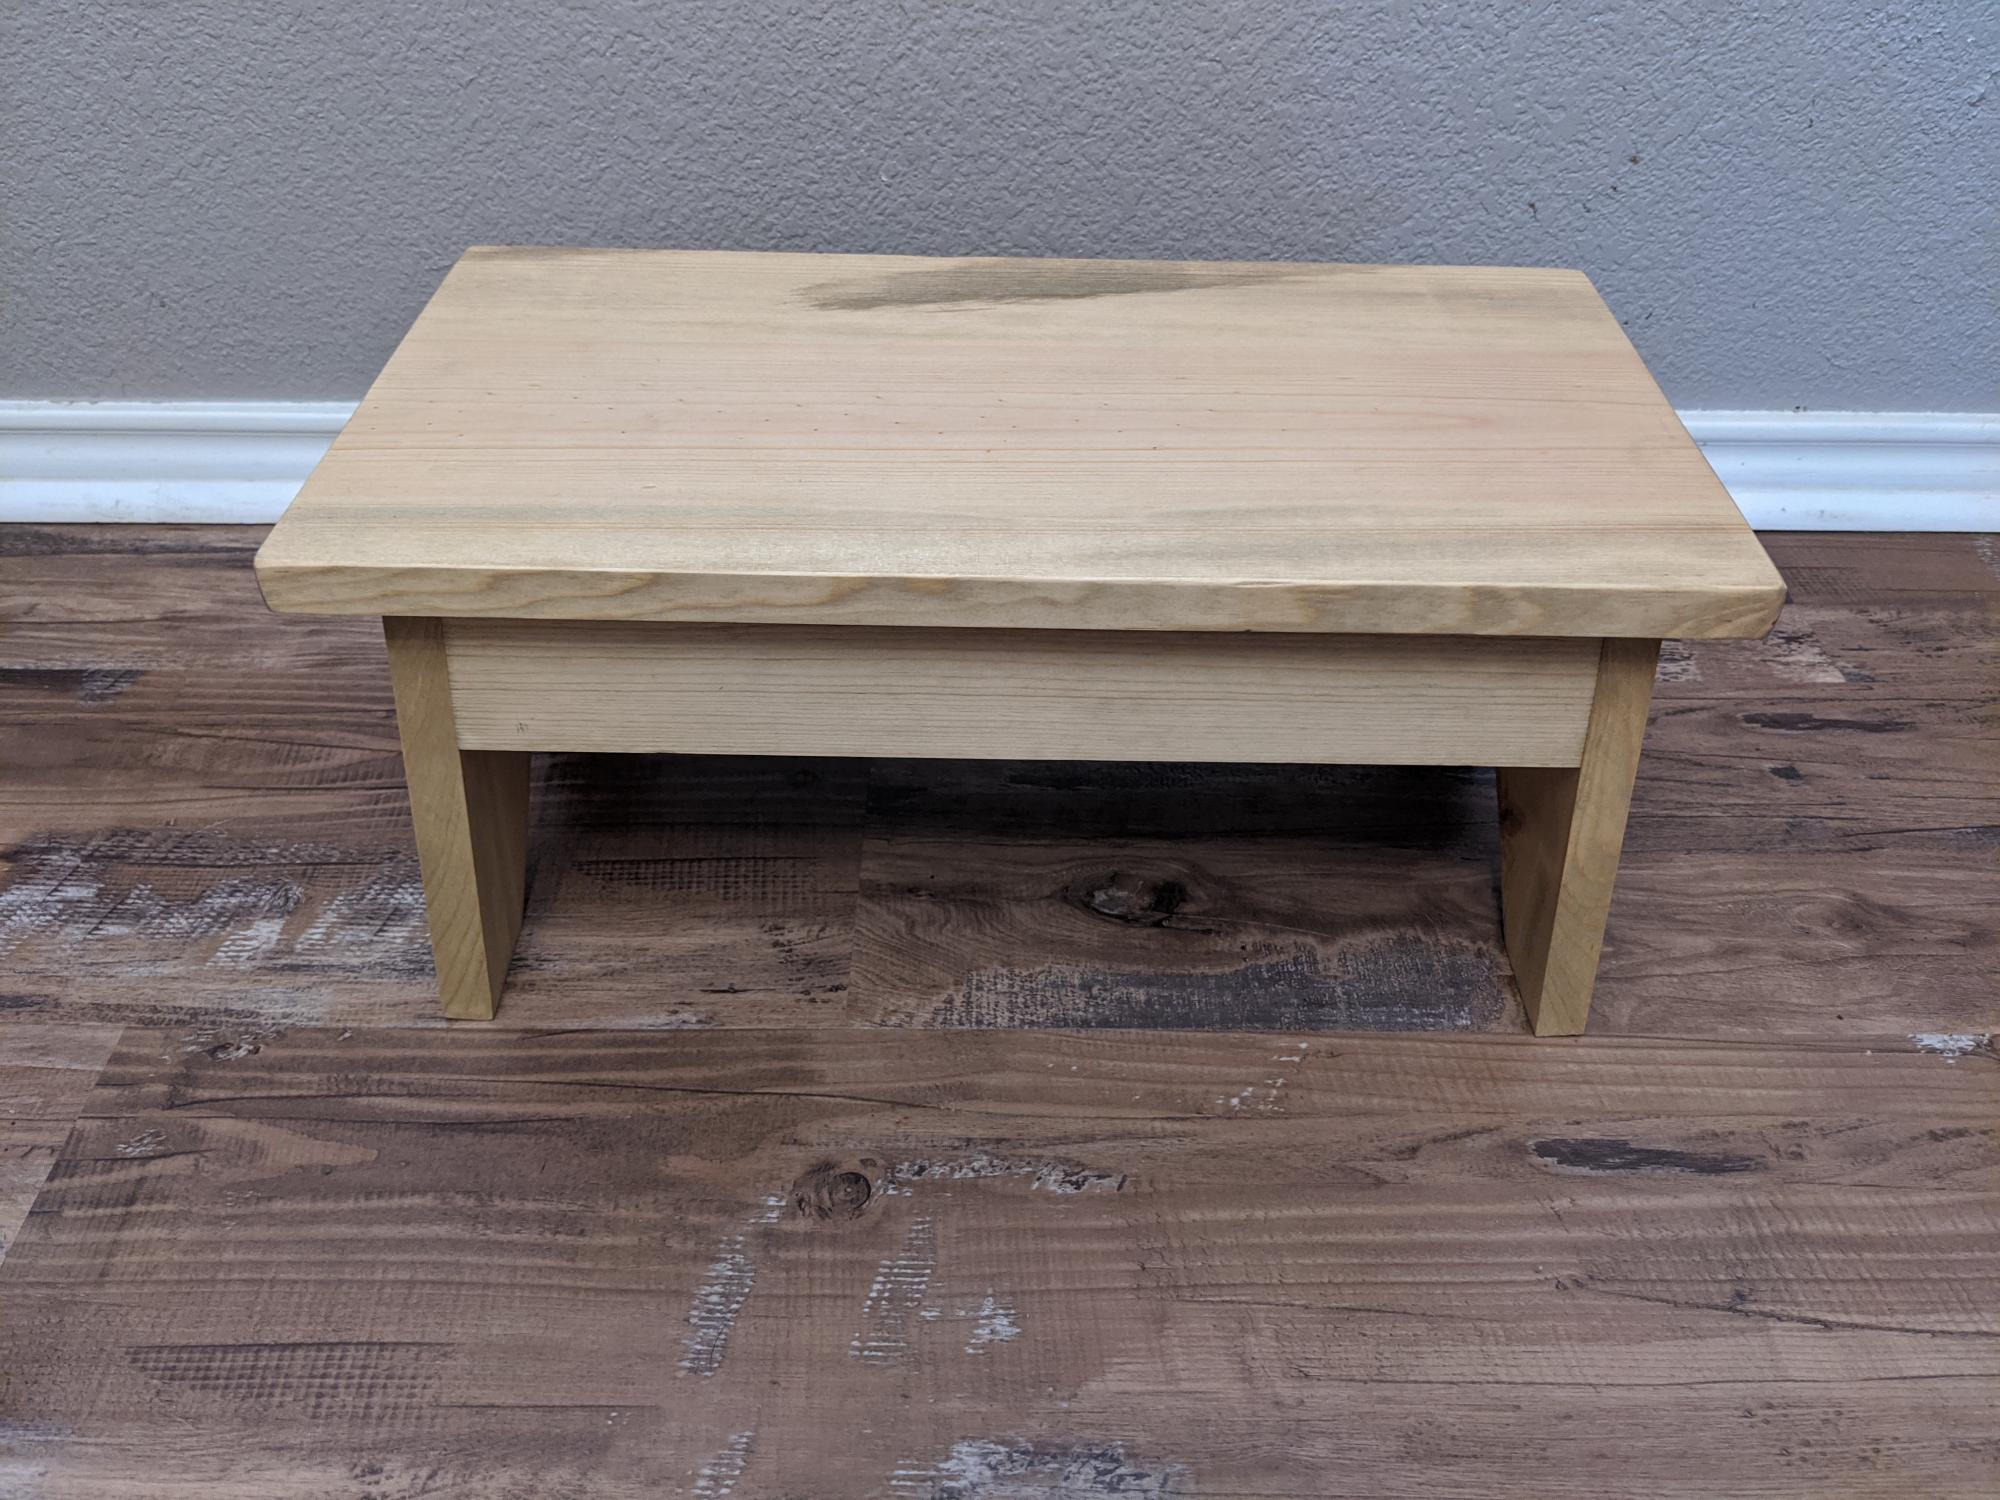
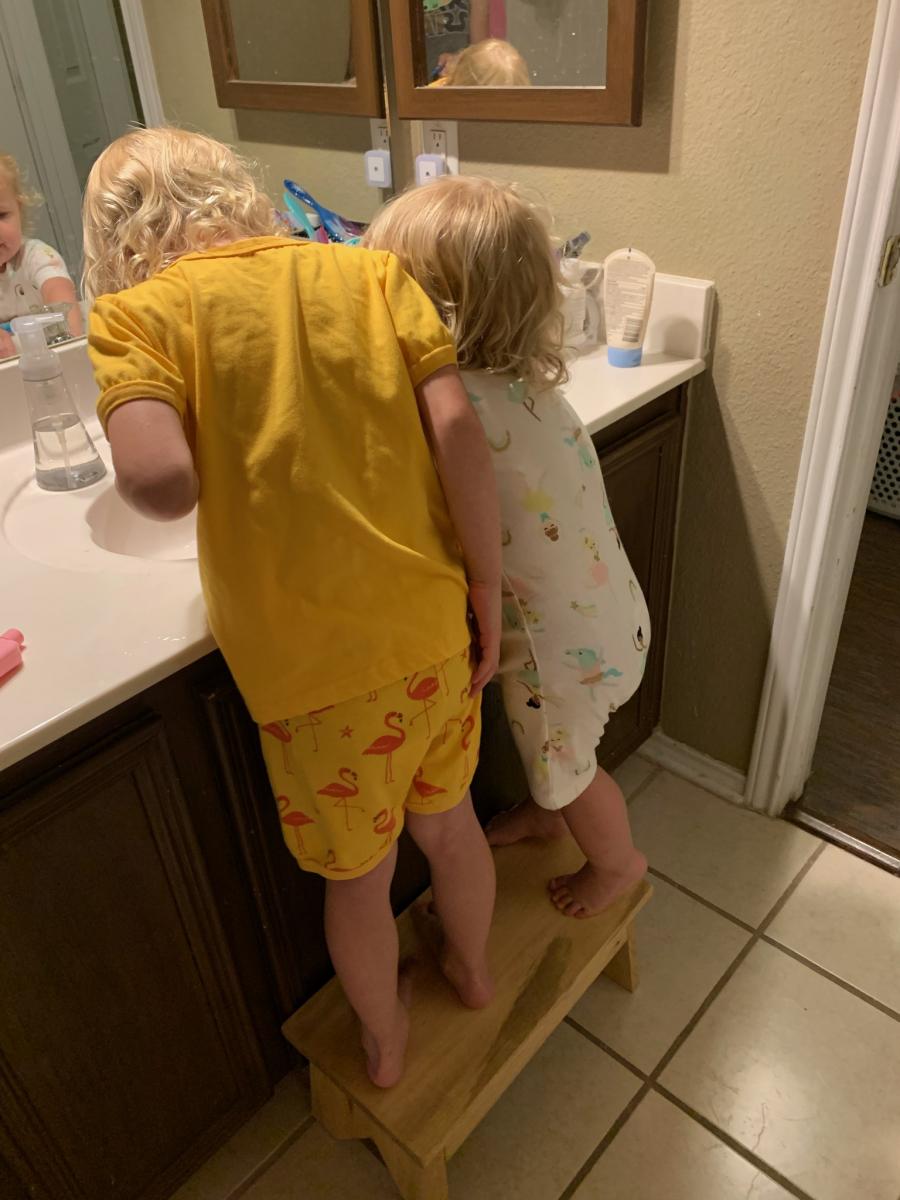
One of my coworkers asked me to build a new stool for her girls. I used the simple stool plans and she loves it.
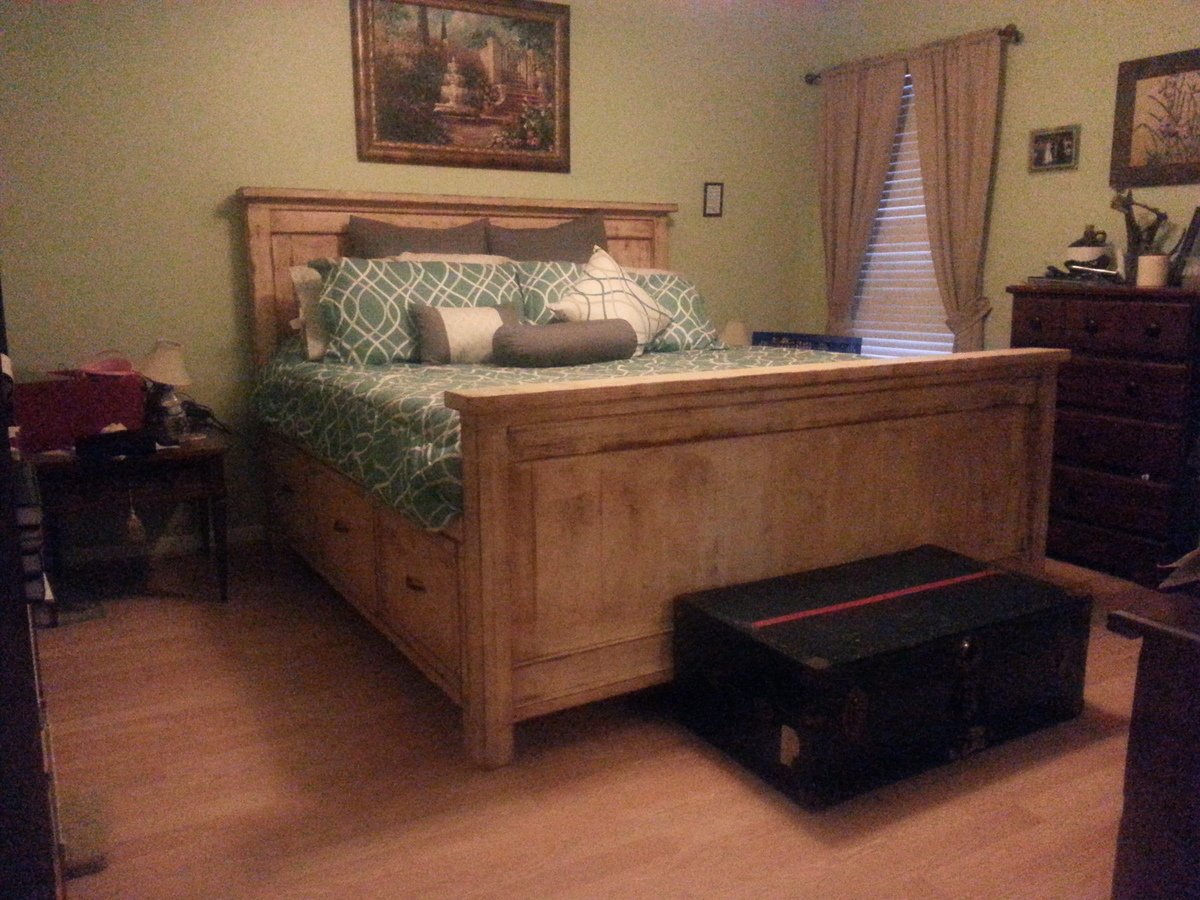
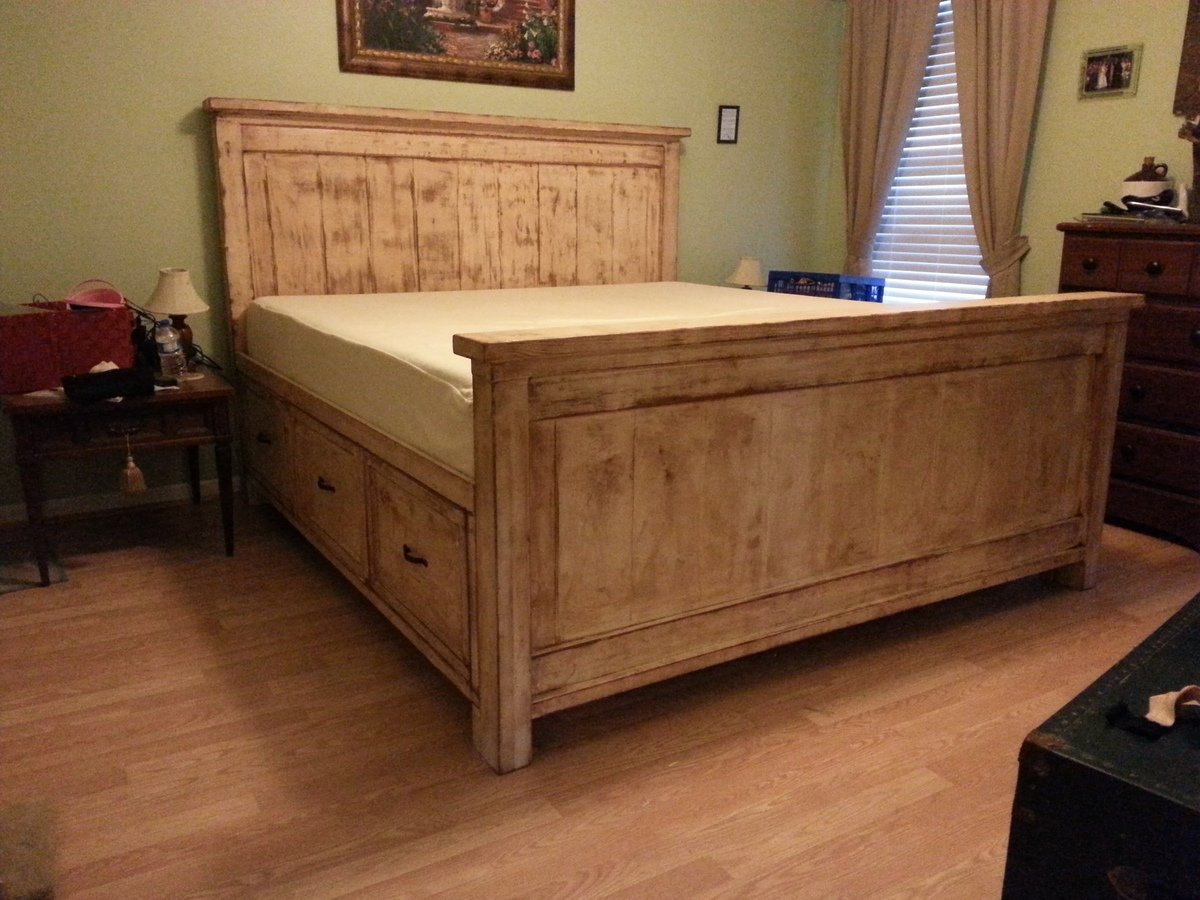
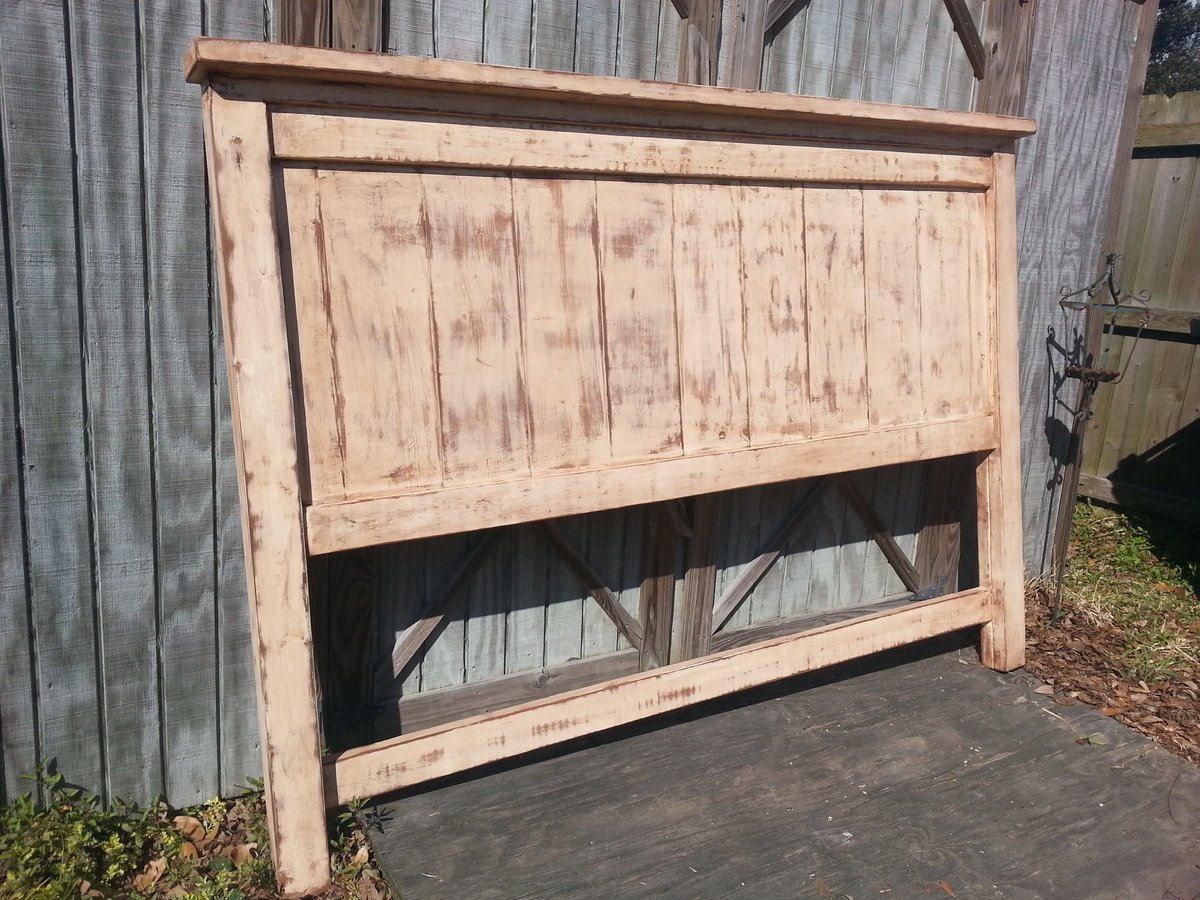
This is my biggest project to date; I put it together with a few modifications to the plans on this website (as I'm sure everyone does!) It will be my wife and my bed for quite some time and hopefully I can pass it along in the future. Seems sturdy as a rock and the additional storage will benefit us as our home has minimal closet space. The finish is a waxed-stained-sanded painted surface.
I broke this project into 3 phases: headboard, benches, and footboard. Juggling two kids and a wife, its hard to be able focus completely on a project without some (often welcome) interruptions.
One final note: this website introduced me to and this project confirmed that my favorite tool in my tool shed is the Kreg Pocket hole Jig; bought it thinking I would use it on a buffett table I built and have used it on every project since!
Wed, 12/24/2014 - 07:17
Could you tell me what modifications you made to the original plans?
Tue, 12/10/2019 - 21:03
I'm also interested in the modifications! I wanted to make the footboard taller, like yours is.
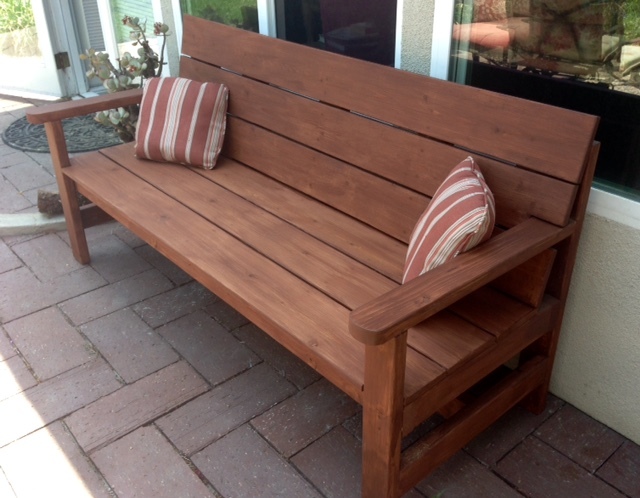
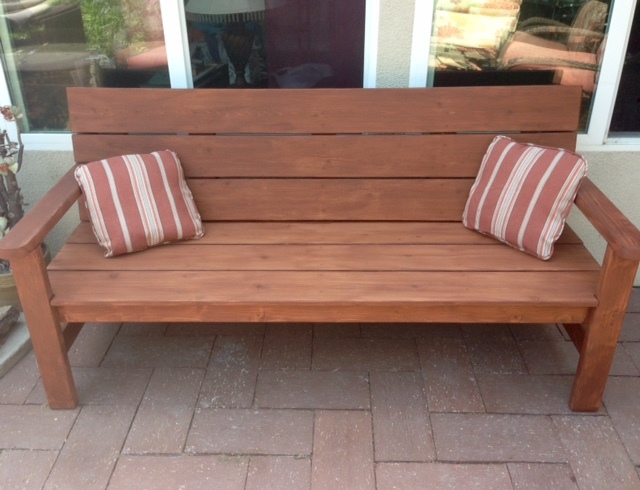
Great plans! I modified the bench by adding a slanted back (which enabled me to put the slats closer together), extending and curving the front of the arms and extended the seat to the outside of the legs.
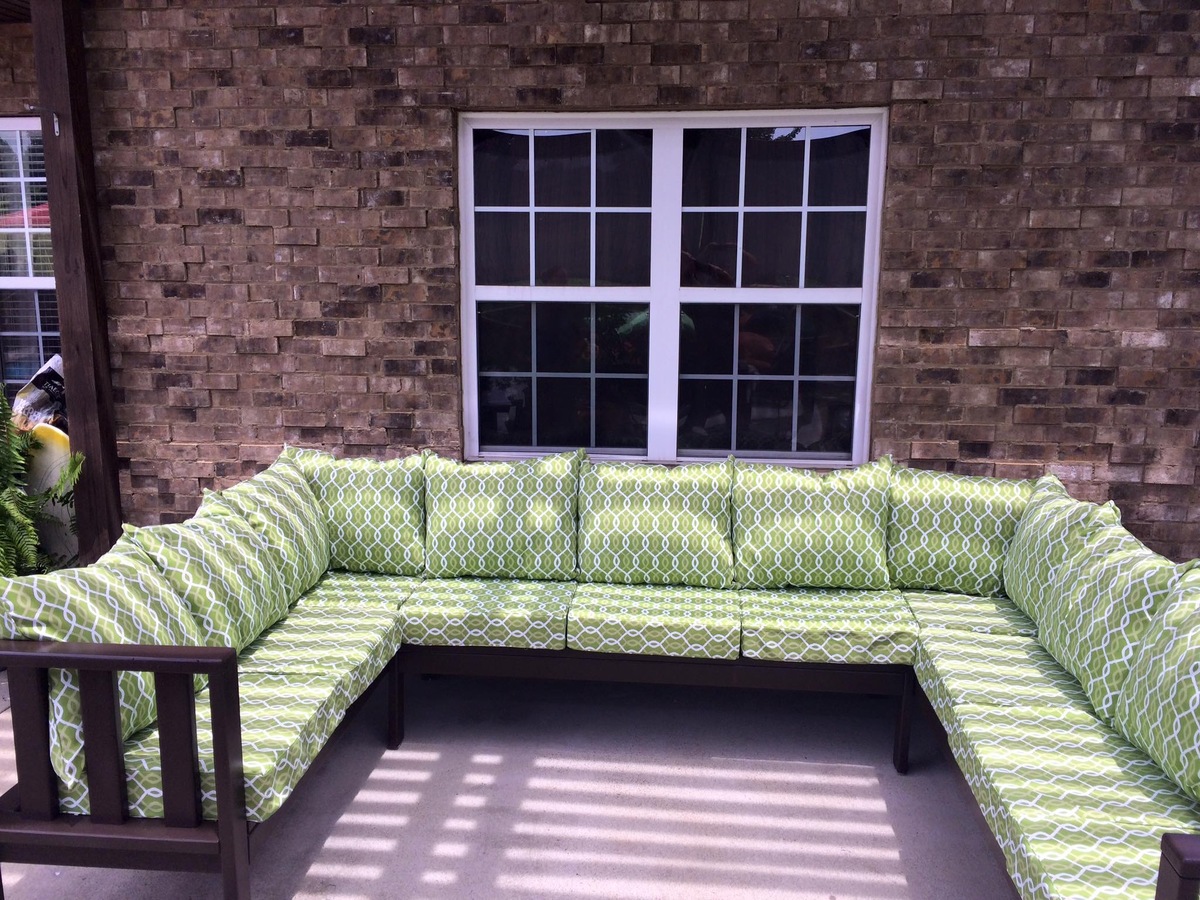
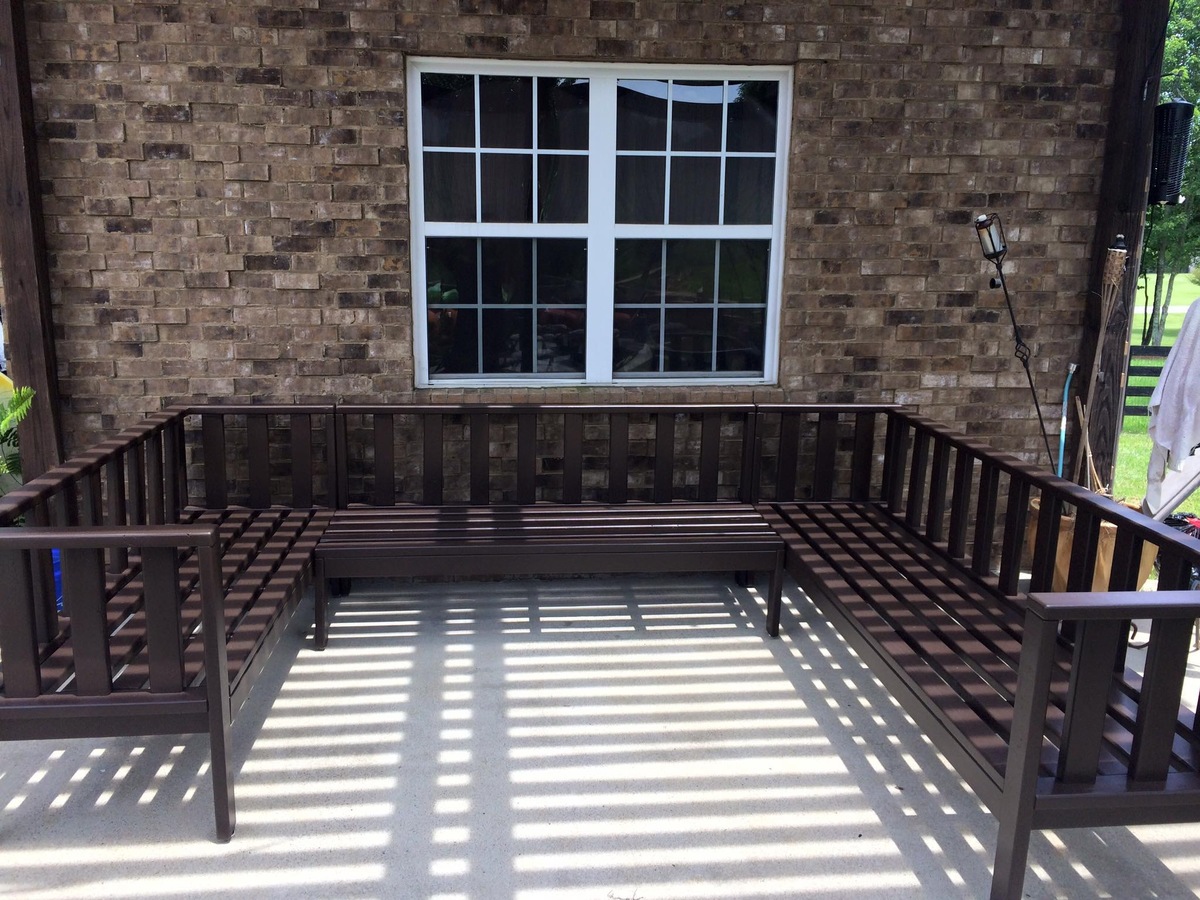
This was built off Ana's Outdoor Couch plans. I just made some additional things to it and made it larger.
I added the vertical back supports so the cushions don't slip out the back. I raised the seat height to 17".
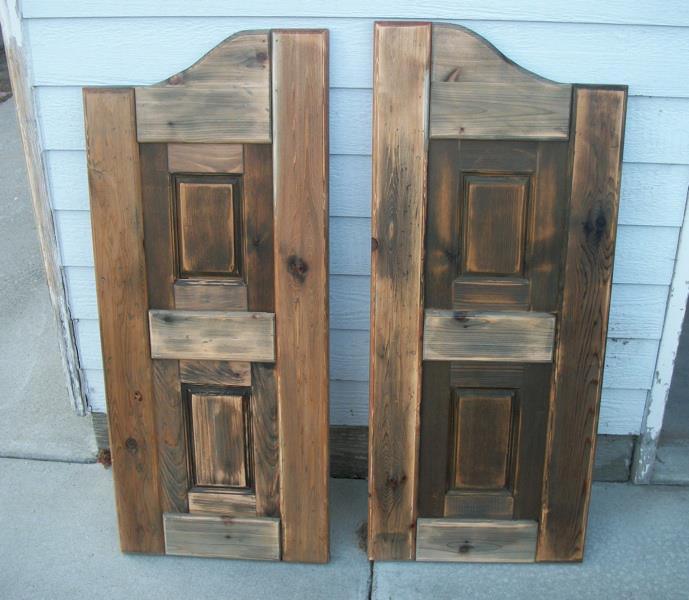
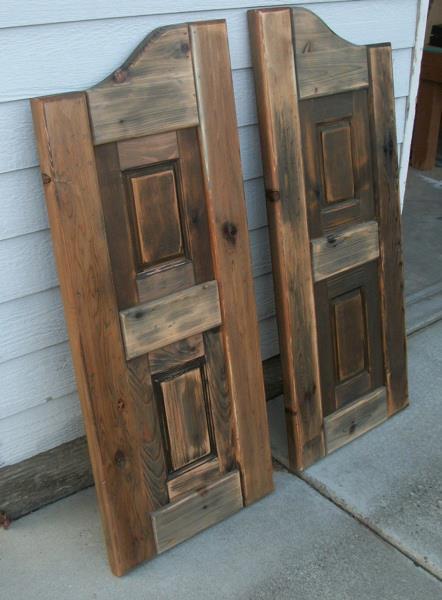
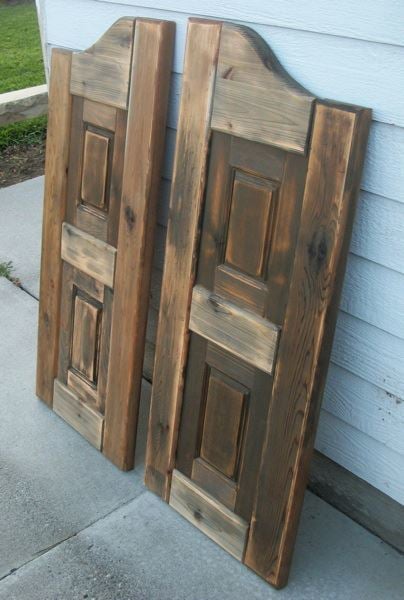
I built these doors for a very good friend of mine who actually helped me get started turning my new love for building (after finding Ana's site) into a way for our family to make some extra money.
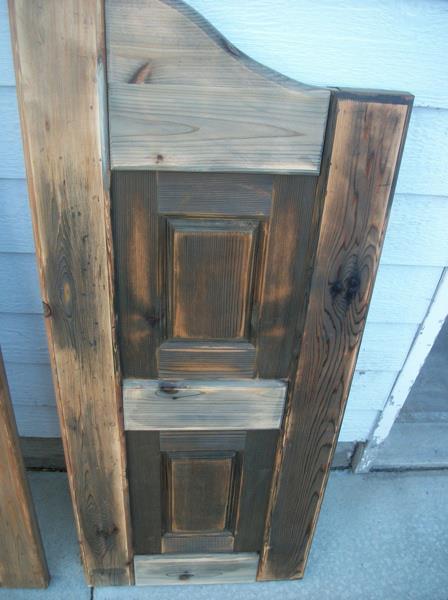
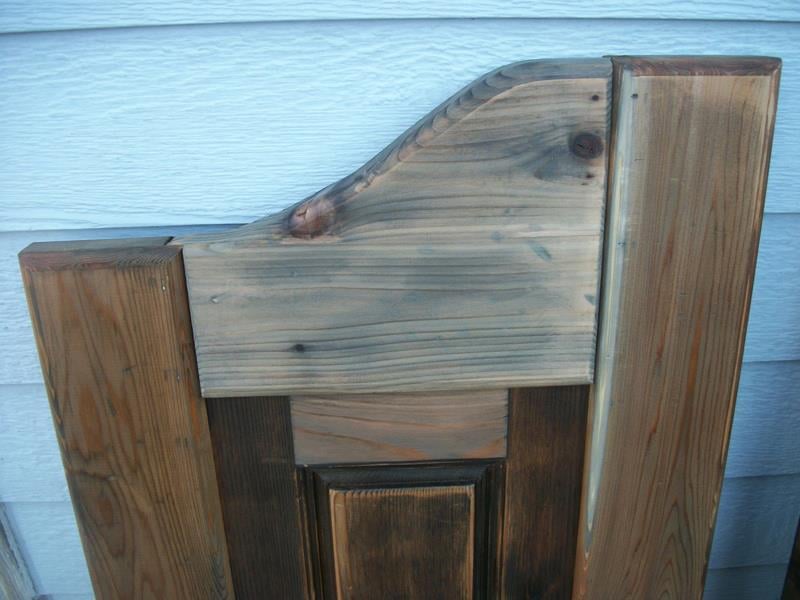
It took me a little while to wrap my brain around building something without using my Kreg Jig. I used a router table set up with some raised panels bits and put the whole thing together with glue and nails! Wonderful experience!
For the finish, I used a vinegar solution to give the cedar wood an old barn look. I think the final result turned out great and the final step was a clear coat sprayed on out of a rattle can.
Thu, 08/02/2012 - 10:51
These turned out great! I haven't seen this style of door in forever! They used to be really popular, I remember my Aunt and Uncle having these in the entry to their kitchen. They were the coolest thing ever when I was a kid! Maybe they are a making a comeback?
I'm really impressed with your routing skills, that's a task I have yet to tackle, but I've got the bits laying around waiting.
Nice job!
Thu, 08/02/2012 - 21:10
Thanks a bunch! My friend is replacing an old set of louvered doors that went into her laundry room. Her family are farmers and rodeo people so the western decor really fits in their house. Great western stuff there. They made a chandelier out of a wagon wheel! Really cool!
This was my first attempt at routing so I really appreciate your compliment! It's really simple if you can get the basics of it. I'm sure you'll do just fine when you get to that point. If I can do it, anyone can do it! Thanks again!!
Mon, 01/23/2017 - 09:32
I really want to try and build this for a closet. Are there any instructions for this? This is the first door of this style that I have come across that I absolutely love.
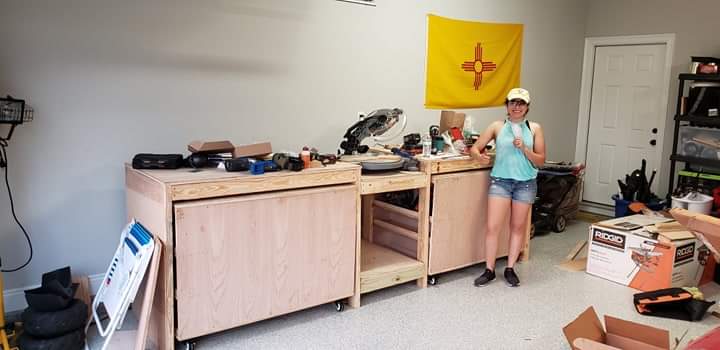
**From a Woodworker First Project Perspective**
Power Tools: I used a circular saw (Ridgid, lifetime warranty) for all of my cutting because it was the easiest tool to use once I got into a rythem for cutting plywood and other materials.
Other helpful tools: I had 2 height adjusting saw horses that made it easy on my back made by Kobalt. There were some mistakes in the beggining with keeping the lines straigt but a circular saw track (kreg) easily fixed that problem for most of the cutting. After awhile it got easier to steadily cut following a drawn line with no track (hubby was impressed). Overall, this project was a process of trial and error but I learned from every hiccup along the way. Next up, chicken coop... :D
**How It All Started**
While deployed I had a lot of time to imagine my very own personal workspace to complete DIY projects and when I saw this design I could not wait to get home and begin my new hobby. This project inspired me to really get serious about woodworking. Never in my life had I ever built anything from plywood and 2x4s, much less had I ever used a circular saw. I'm proud of myself for completing this from start to finish as a first project. Thank you Ana!
Peace and Blessings,
WP
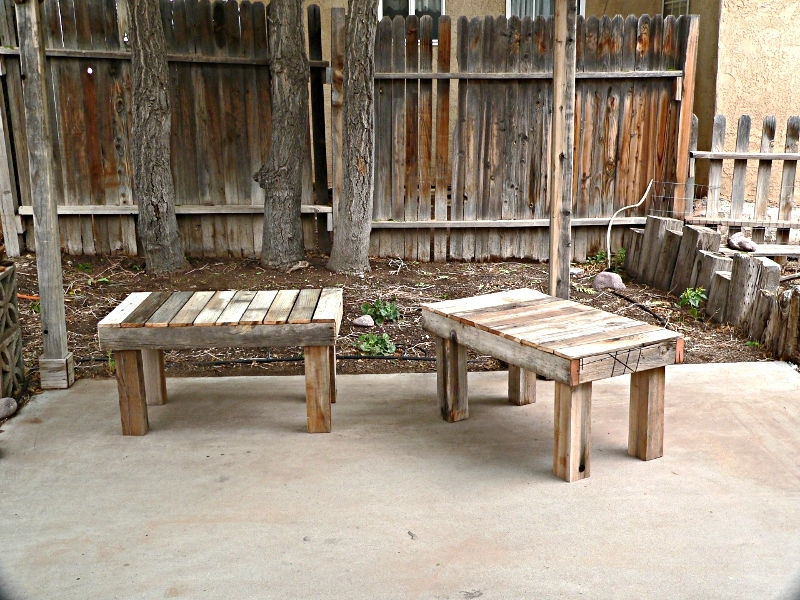
These are made from the 4x4 posts, 2x4 rails, and slats from an old wooden fence that weren't good enough to re-use when we repaired the fence.
It's close to the Simple outdoor bench, but I simplified the plan even more to take advantage of the pile of free lumber. Or maybe it's the Simple Outdoor Dining Table ... but a lot shorter.
CAUTION: Be careful to remove ALL nails, screws and bolts from the lumber you are reusing. If you can't get the metal out, mark that area and figure out a cut that won't hit it.
TIPS FOR RECLAIMED LUMBER:
* Trim the ends of the lumber square before you measure.
* Don't try to salvage split or rotted wood. Trim it off and see what you can do with the good bits.
* Plan your cuts so you have the least waste.
TOOLS:
10" Miter saw
Wood glue
Nail gun, with 2 1/2 and 1 1/4 inch 16gauge nails for gun (You could use deck screws if you have them)
Surform Pocket plane (wood rasp from Stanley tools)
CUT LIST:
For one bench, 21x36
NOTE: To cut a 4x4 cleanly with the 10" miter saw, put a thin shim behind each side of the 4x4
4 4x4 post scraps, 18 inches long (legs)
2 2x4 18 inches long (sides)
2 2x4 36 inches long (front and back rail)
10 fence slat pieces, 21 inches long (cut to fit the top after it is assembled)
ASSEMBLY:
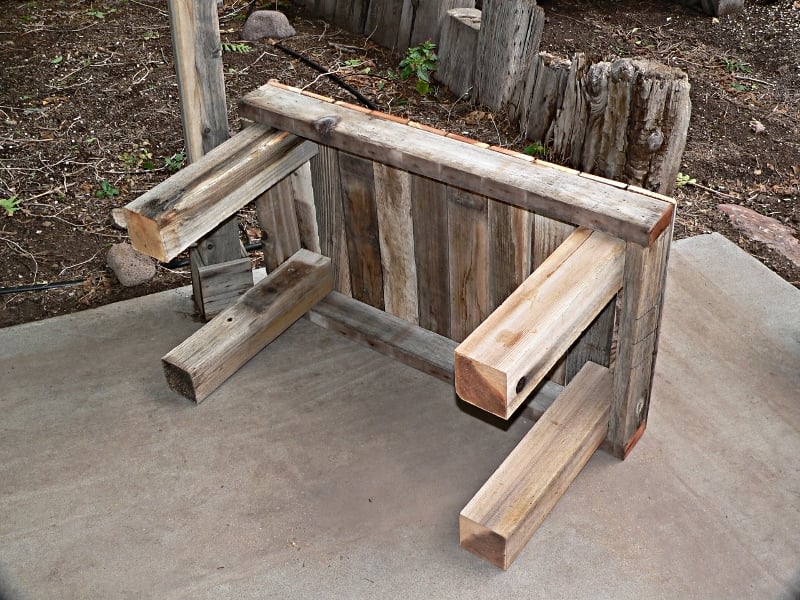
See the picture of the underside of the bench:
1 - Square up the legs with the end pieces, glue and nail.
2 - Square the sides with the legs, so the legs are inside the 2x4 apron, glue and nail.
3 - Align the 2 end slats with the edges of the bench and nail through them into the 2x4 apron
4 - Space the rest of the slats on the top, leaving 1/8 inch or so etween the boards for drainage. Nail them to the 2x4 apron.
FINISH: Use the wood rasp to round the cut ends of the slats and 2x4s. Rasp with the grain to avoid raising splinters. Lightly rasp the tops of the slats to smooth any really rough spots.
A table or maybe a buffet is planned, with the same construction method, but a bit taller. Tables are 26-29 inches, most buffets are 36". It depends on what will make best use of the remaining bits.
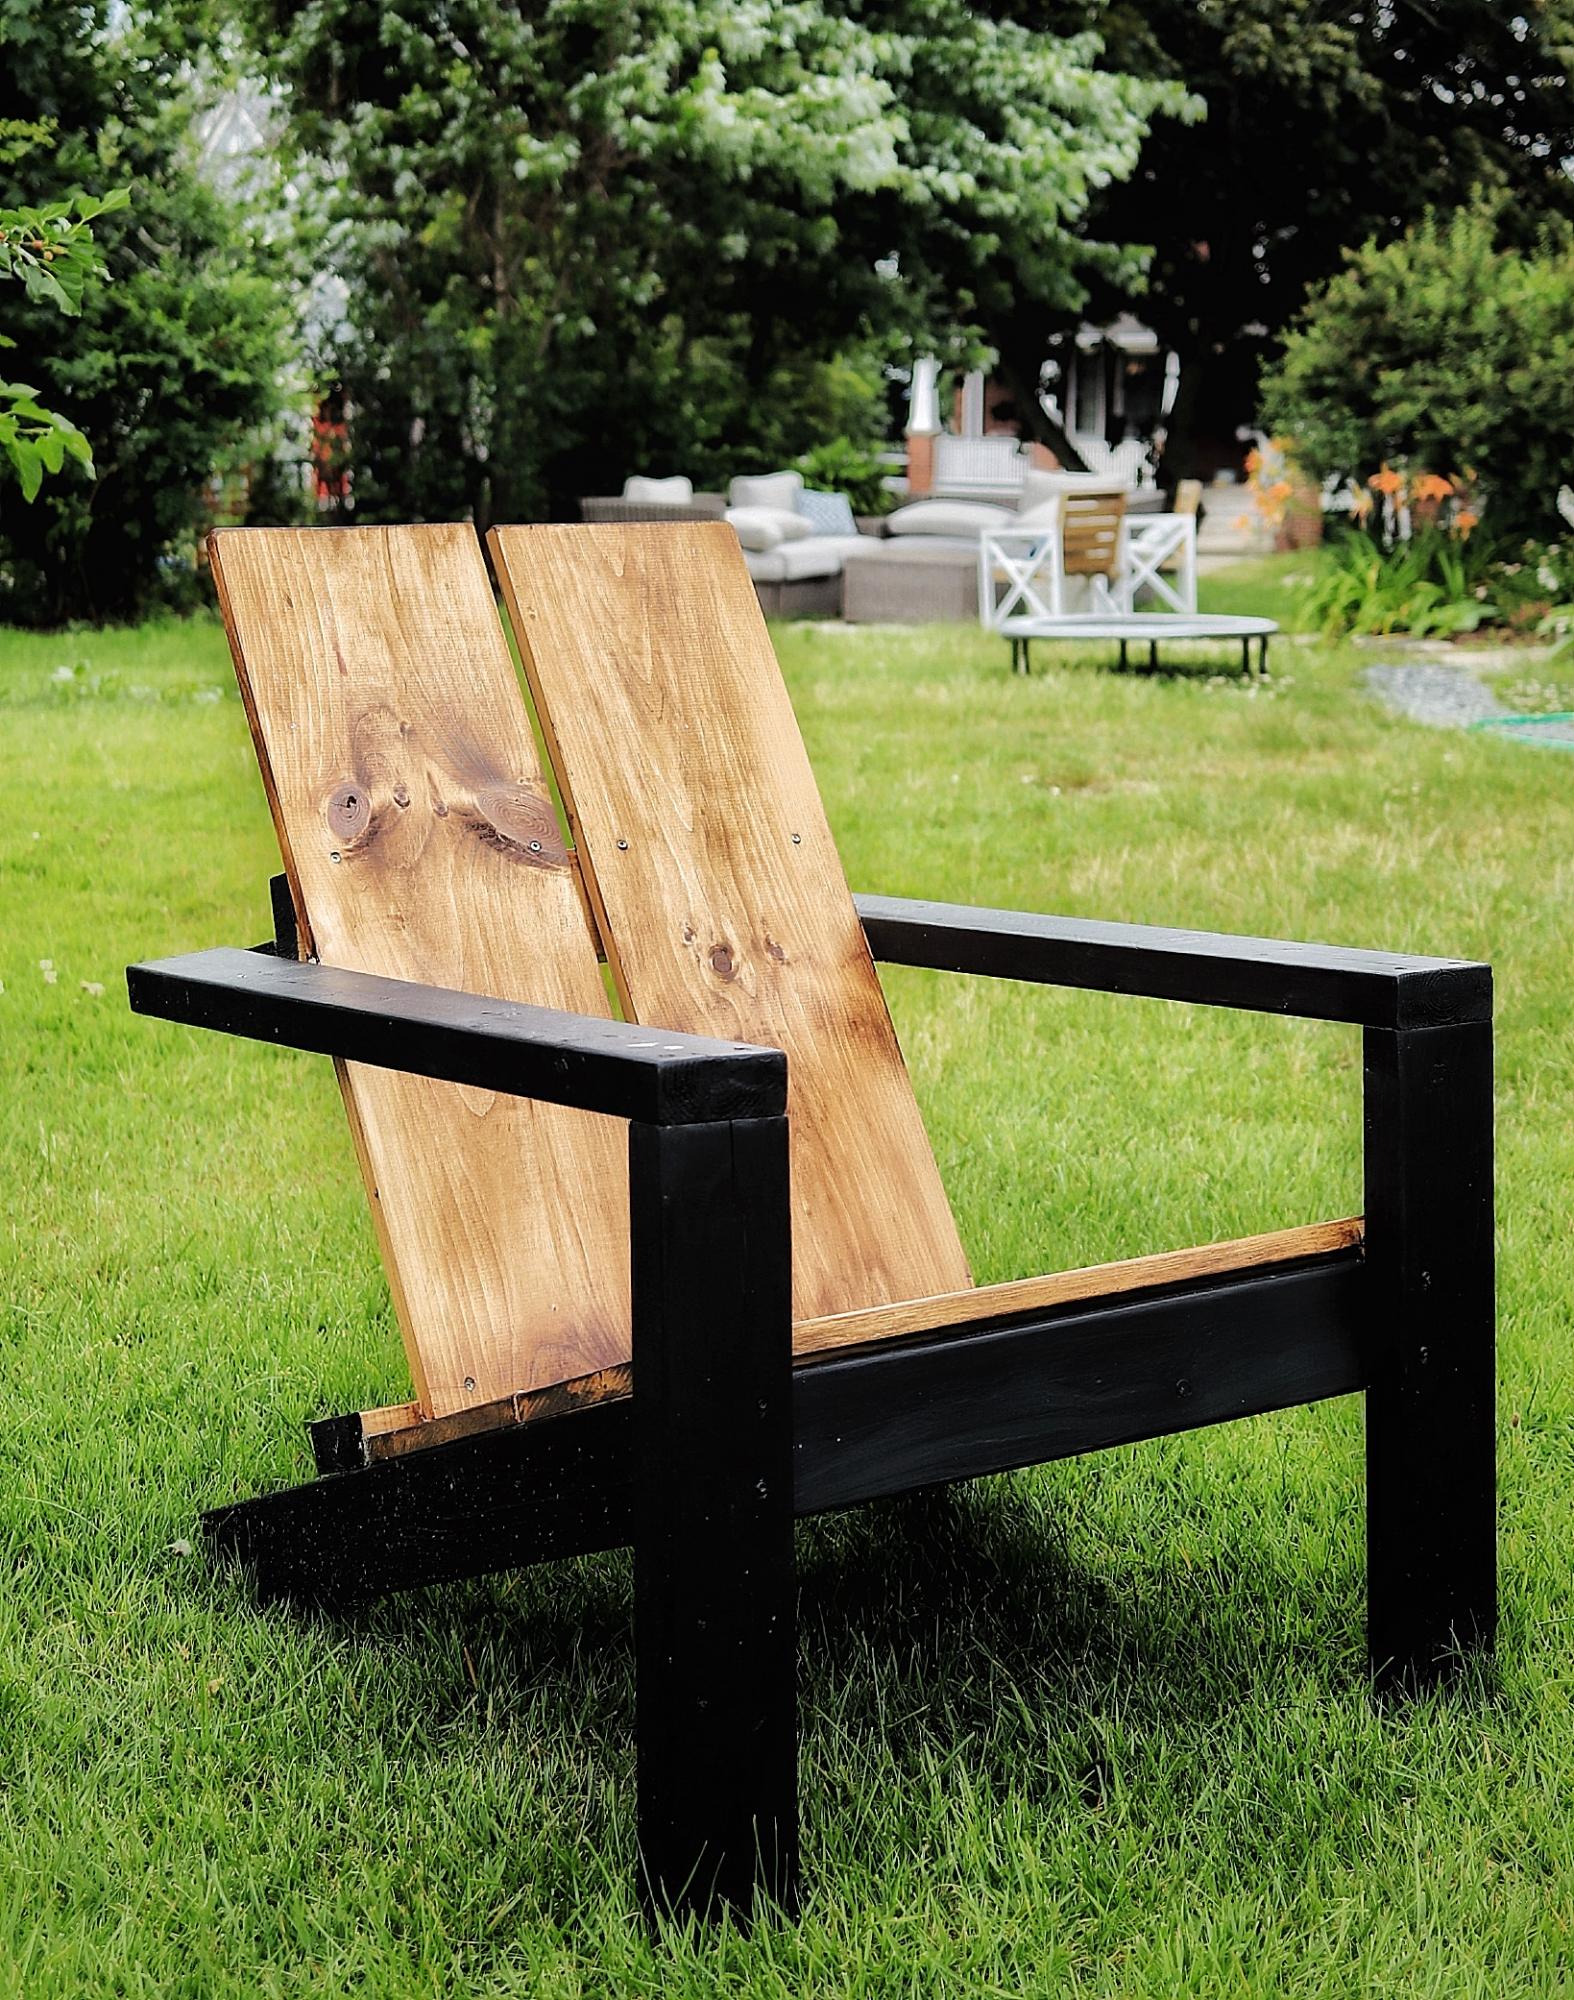
I was so excited to find the plans for these awesome chairs, I’ve built 7 this season already—the modification happened as an accident, but I loved the result !
Thu, 03/04/2021 - 10:59
This is absolutely gorgeous! I love the modification!
Changed up the plan a little, shortened the overall length, which changed the size of the door openings, but the biggest change was making four cabinet doors instead of two exposed sections and two sliding barn doors. Used Lowe's chalk paint products. Made this a dresser for our cabin in Maine.
Tue, 12/29/2020 - 19:01
I like it! Wondering what you used for the doors; did you use paneling or did you cut lines in 1/4" plywood to make it look like boards?
We modified this just for more stability around little ones. I also torched the Oak top so the grain would be more prominent and routered the edge.
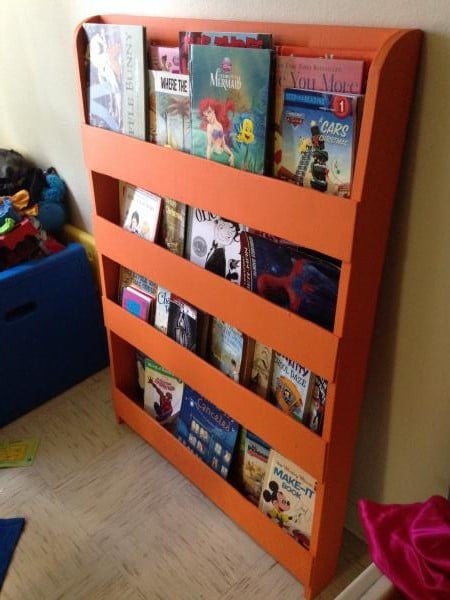
This was our first family project. My husband has built a lot of things, but I've been so inspired I wanted to start building things too! Our two older kids were involved as much as possible (hence the very orange color) and we had a lot of fun. I definitely need some practice cutting straight lines haha, but practice makes perfect! My kids love to read and it is eye-catching as it is functional!
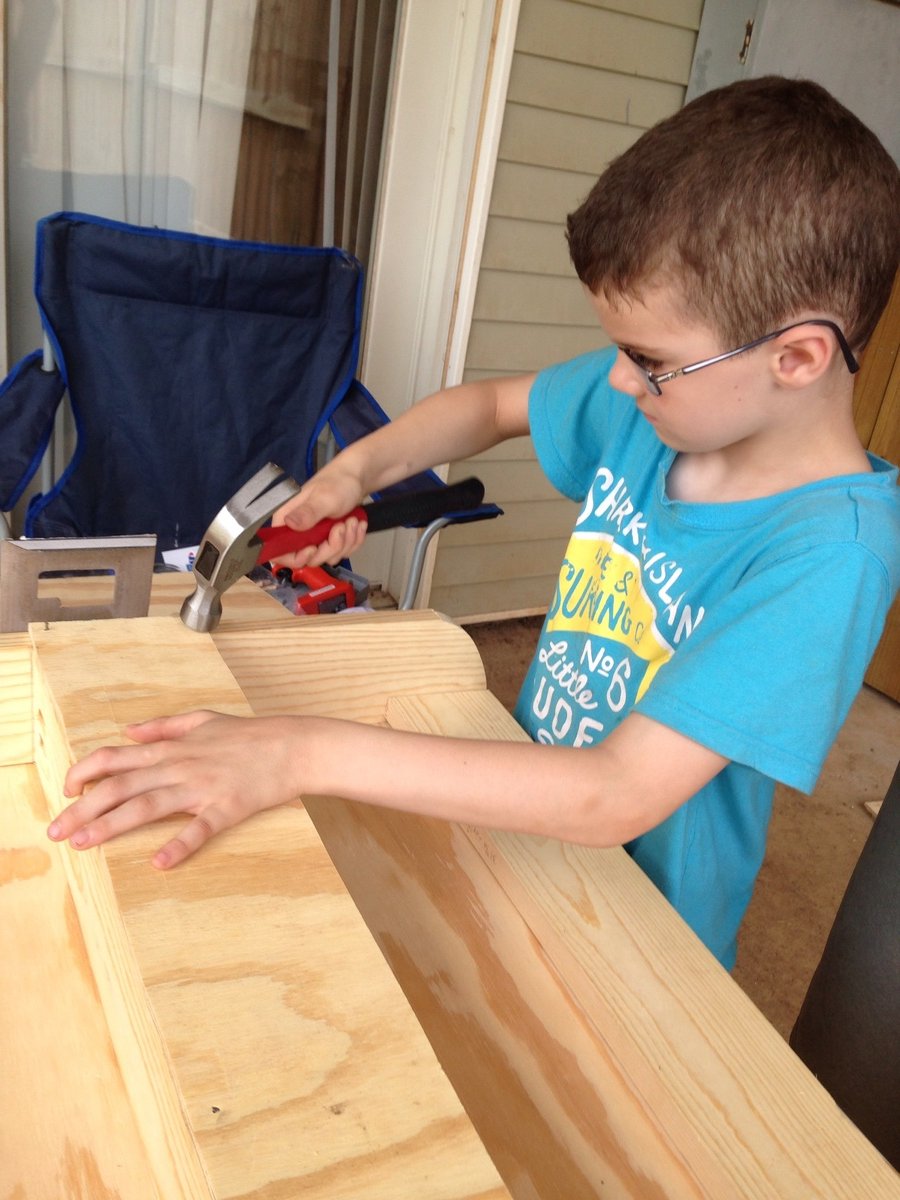
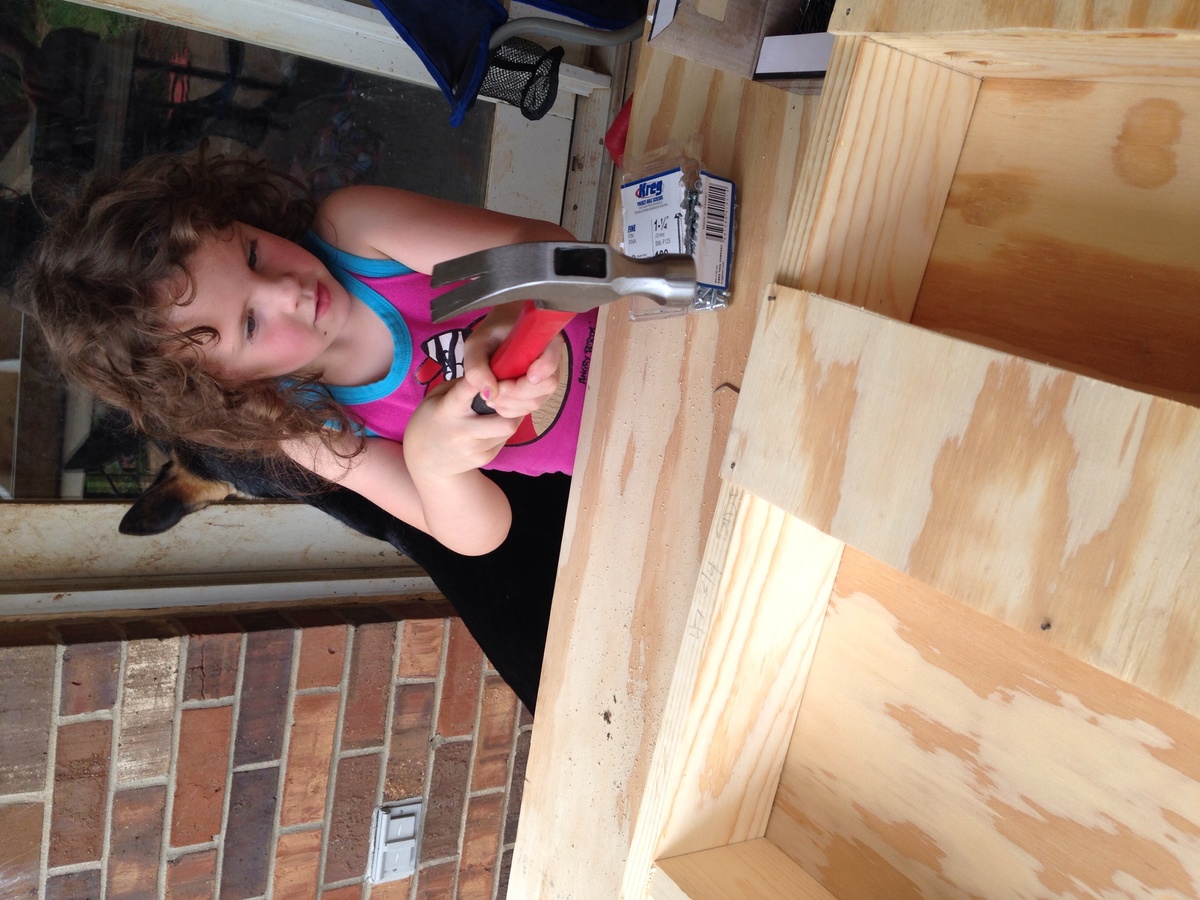
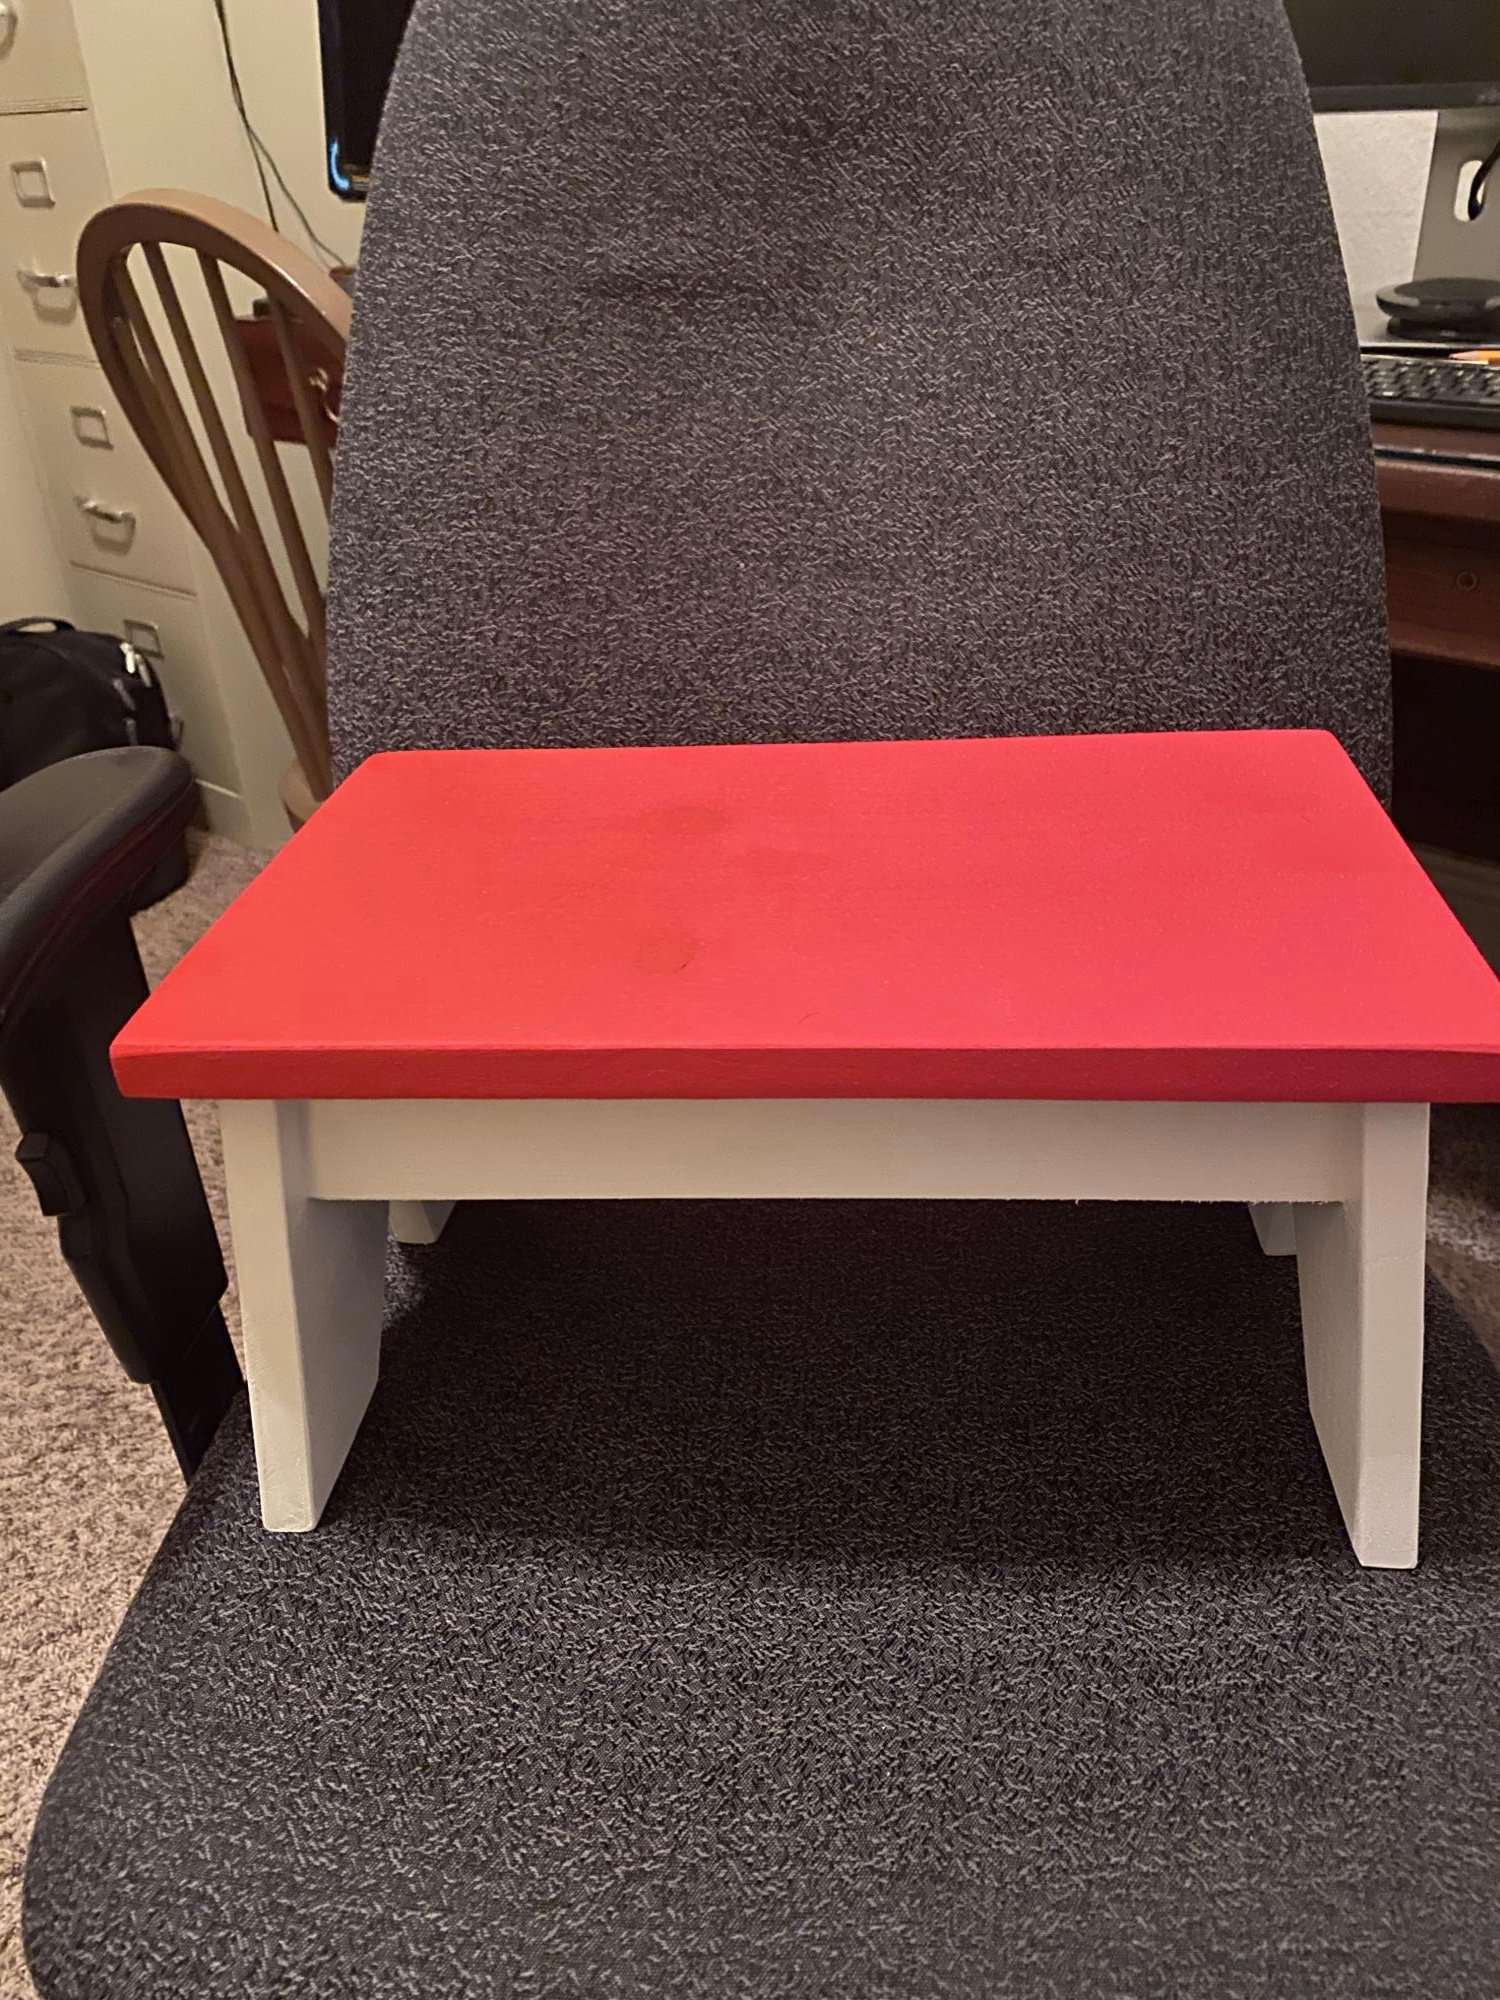
I made these for my team to thanks them for the way they have all stepped up this year in leading through the challenges we’ve faced in 2020 so far. Hope everyone is staying healthy and safe.
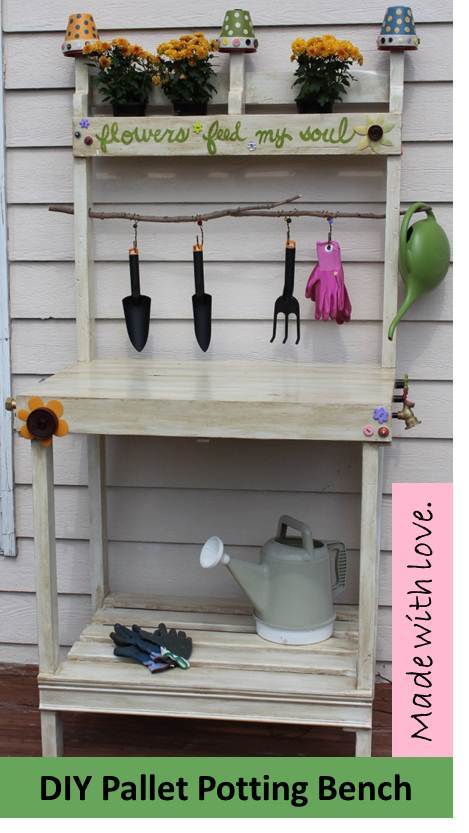
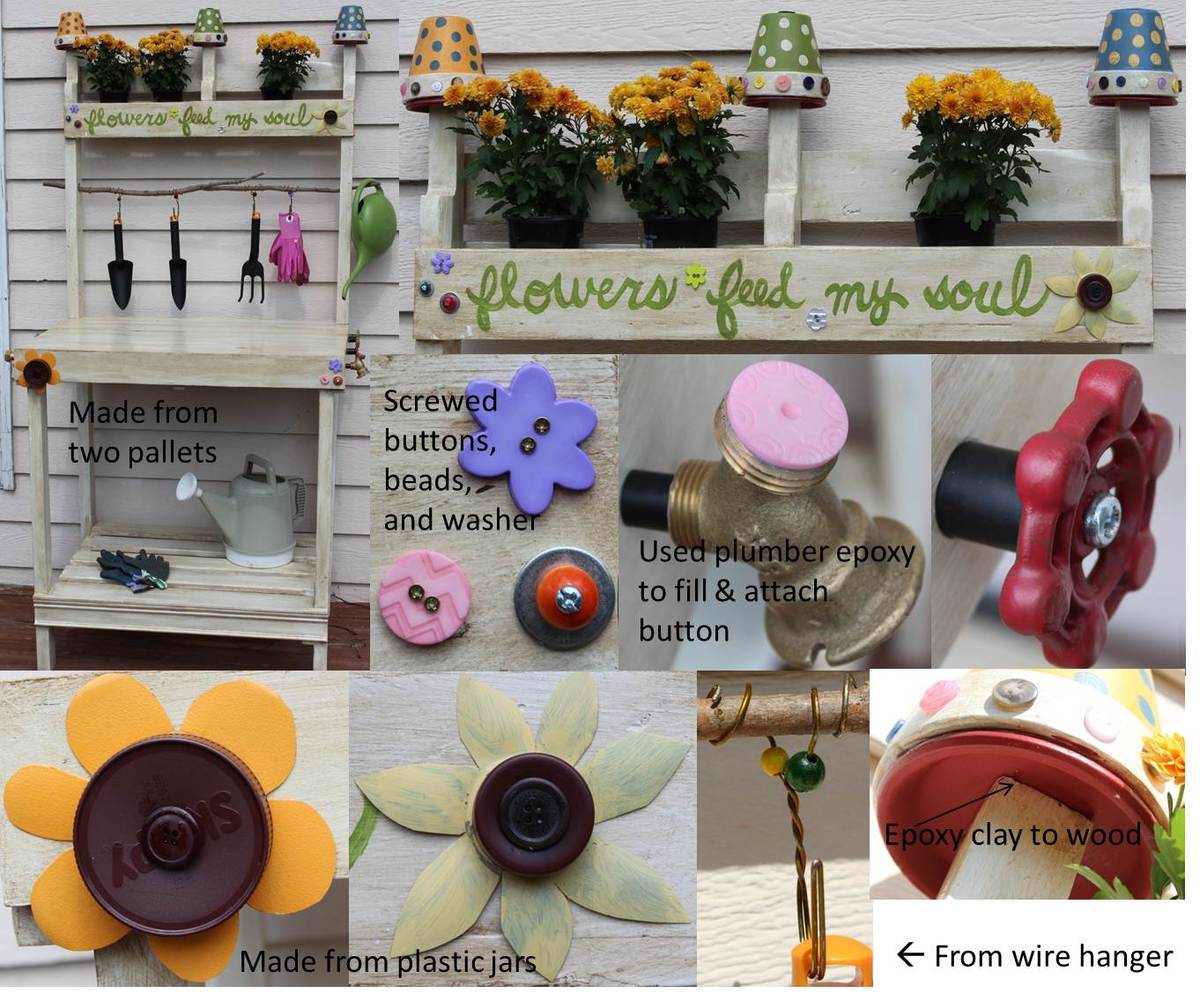
Made from 2 pallets, 2 x 6 x 8, leftover trim from my house, wood branch from my backyard. Attached shelf with pocket holes.
Accents:
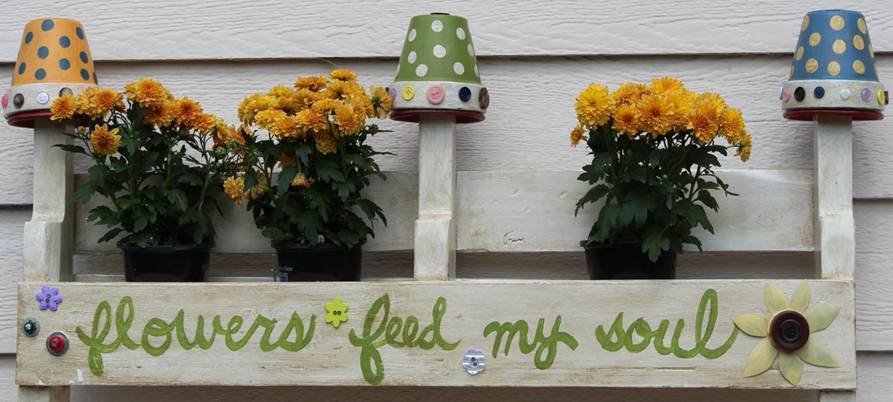
-Handpainted lettering; painted prior to glazing entire piece
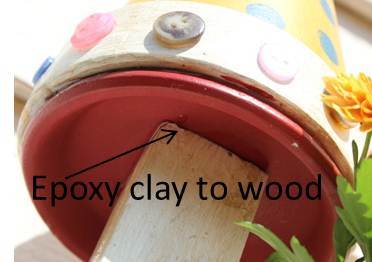
-Finials made from 4.25 inch spray painted and glazed clay pots and saucers coated with Valspar clear finish and attached together with epoxy; buttons attached to pots with E6000 adhesive
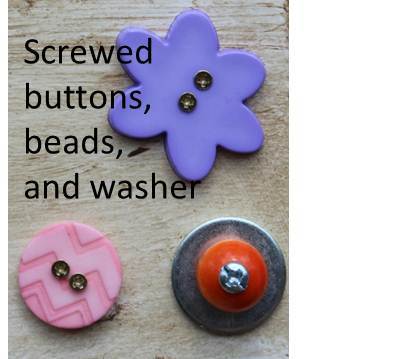
-Buttons attached mostly with small screws; a few with holes too small for screws were attached with epoxy
-Plastic flowers made from mayo and water bottles and lids; sanded, primed, spray painted, coated with Valspar clear coating; attached with screws
-Faucet knobs sanded, spray painted, glazed and attached with screws
-Plumbing pipe filled with plumber epoxy puttty; insert screw into putty before it hardened, then screwed into wood
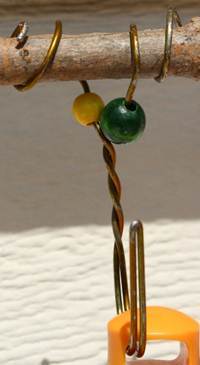
-Gardening tool hooks made from pant wire hangers with a few beads attached; wire simply wrapped around tree branch
Not sure that I will use pallet wood again since difficult to pull apart pallets, uneven and some split boards could not be used, and required tons of sanding for those boards that could be used. I think I paid more for orbital sanding pads than the cost of buying new wood. Will use pallet wood for other non-furniture projects not requiring a perfect finish.
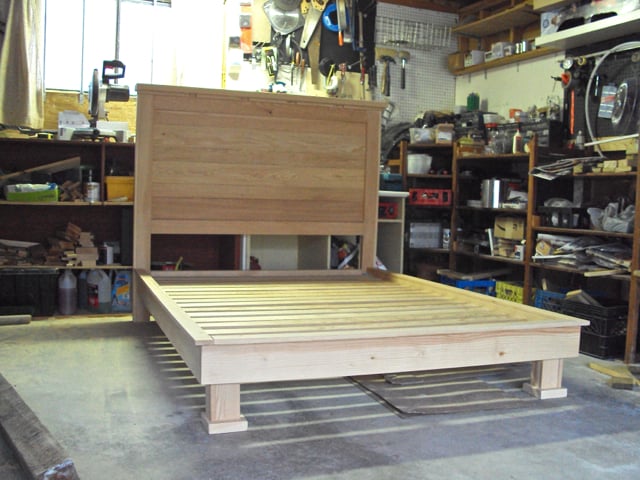
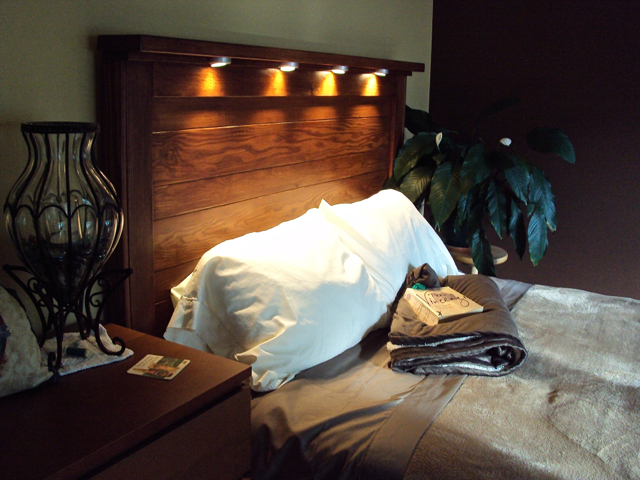
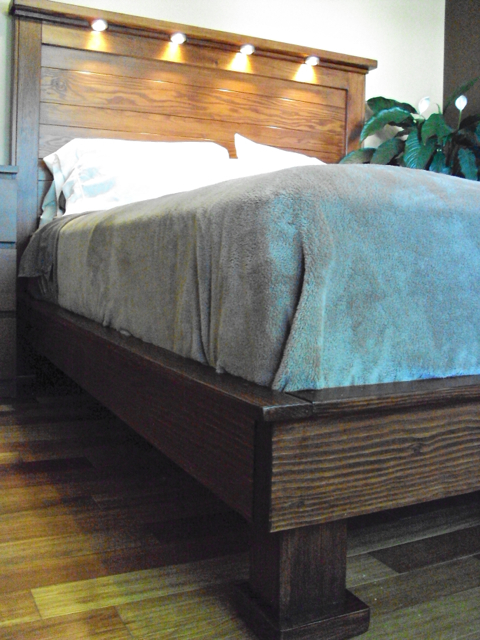
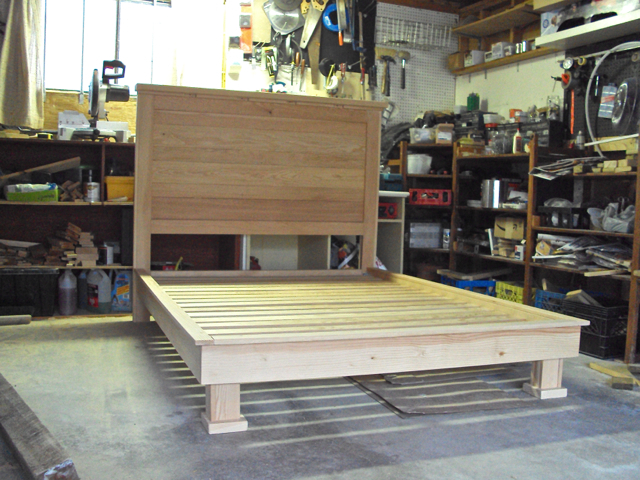
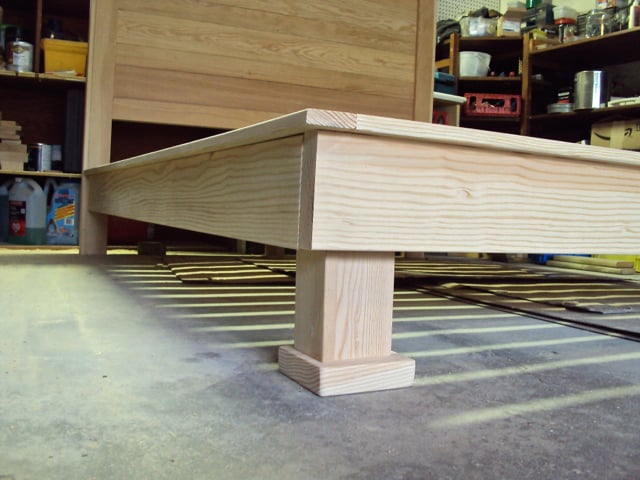
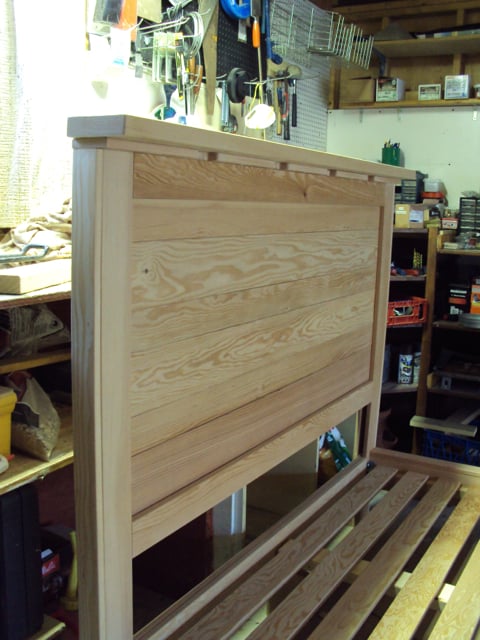
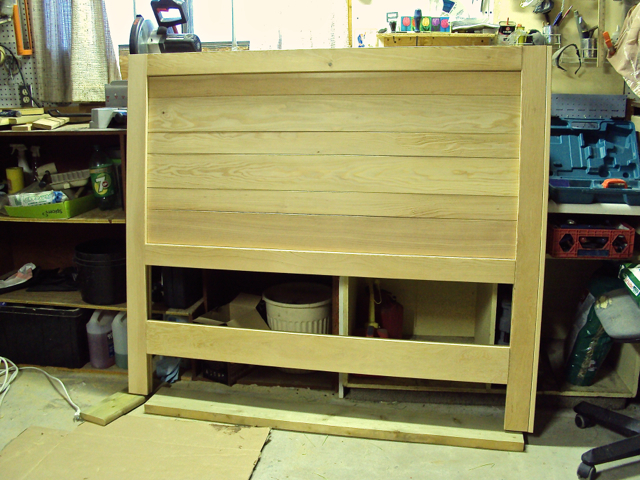
I combined the Reclaimed-Wood Headboard with the Hailey Platform Bed patterns, both found here on Ana's website to make my queen-sized bed. Alterations to the general instructions include: A 1x6 was sandwiched into the lower portion of the headboard to create the head of the bed platform (same as the panel pieces of the headboard). Another 1x6 was fastened from the back, the same as the other trim pieces. 4 holes for the light wires were chiseled out of the top trim, then a 2x6 was fastened across the top of the headboard to allow more room for the mounting of the lights. (these last 2 pieces flush to the back of the headboard instead of centered.) So the project was not too top-heavy I added a 2x6 center leg to the headboard. For even more stability I added a 4 x 4 leg to the center support of the bed portion. The lights are LED (Ikea) and the wires are fastened to the back of the headboard to keep them safe from pets, etc. The corners of the platform bed are held together with screwed-in knock-down hardware (Lee-Valley). Dis-assembly was important to me, so the bed could be moved from the garage to the house! I am not an experienced wood worker by any means, nor am I particularly fast. The plans I downloaded from this site were very detailed. The project was both fun and full-filling!
Wed, 07/09/2014 - 20:35
I'd have no idea where to get hemlock! Looks great, love the grain. You must be so proud!
Wed, 07/09/2014 - 20:44
The only wood cheaper than hemlock is pine! : ) I bought the wood at Windsor Plywood in Calgary, Alberta, Canada. It took the stain very well and I am very pleased with my choice. It is a softer wood than some, sands down very easily.
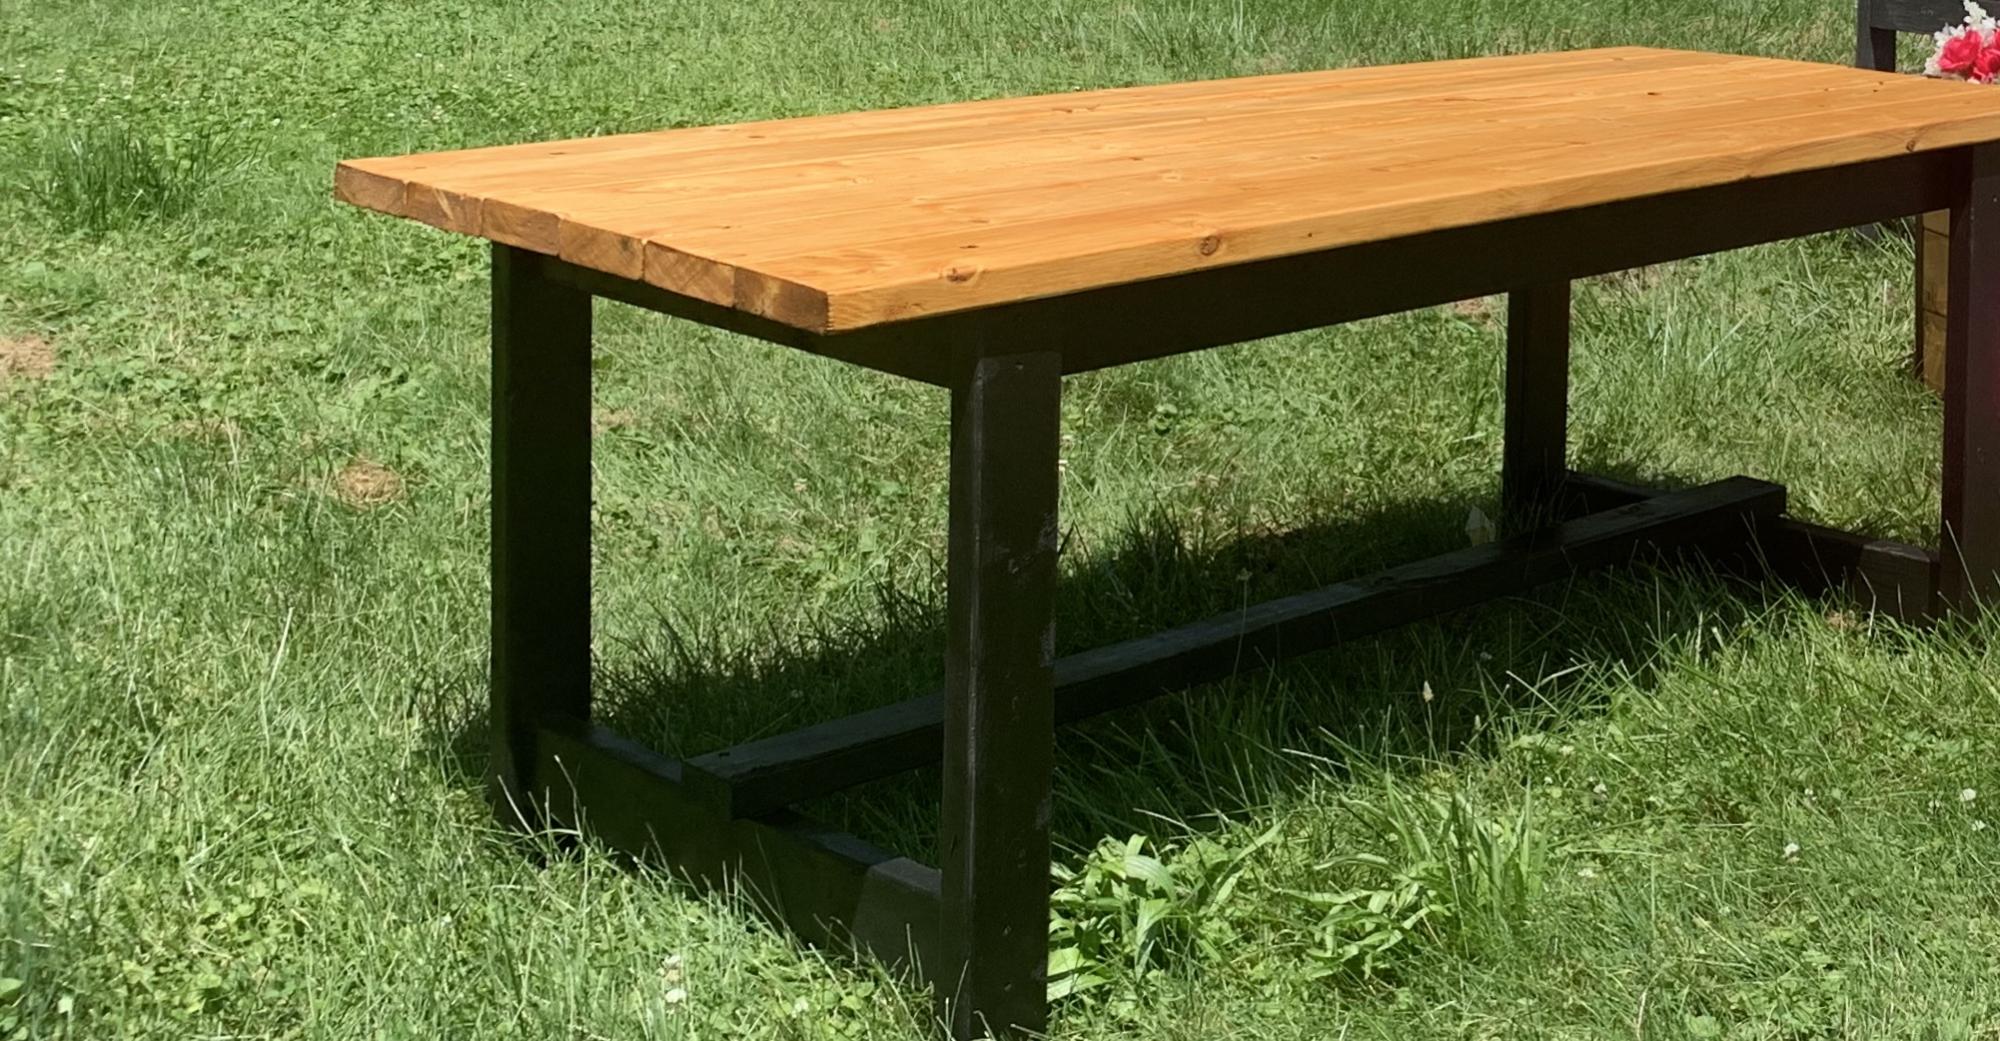
Another super easy plan to follow! I was even able to make adjustments really easily! This table is 6ft by 33in, because I needed it a bit smaller for the space. The table went together in about half a day. My new paint sprayer and orbital sander made my life a little easier but the heat has been obnoxious so it took a couple of extra days to get the finishes done! I did end up changing my mind and decided to stain the table top to match the sofa & sectional which were done in Olympic Maximum stain and sealant semi transparent in cinder.
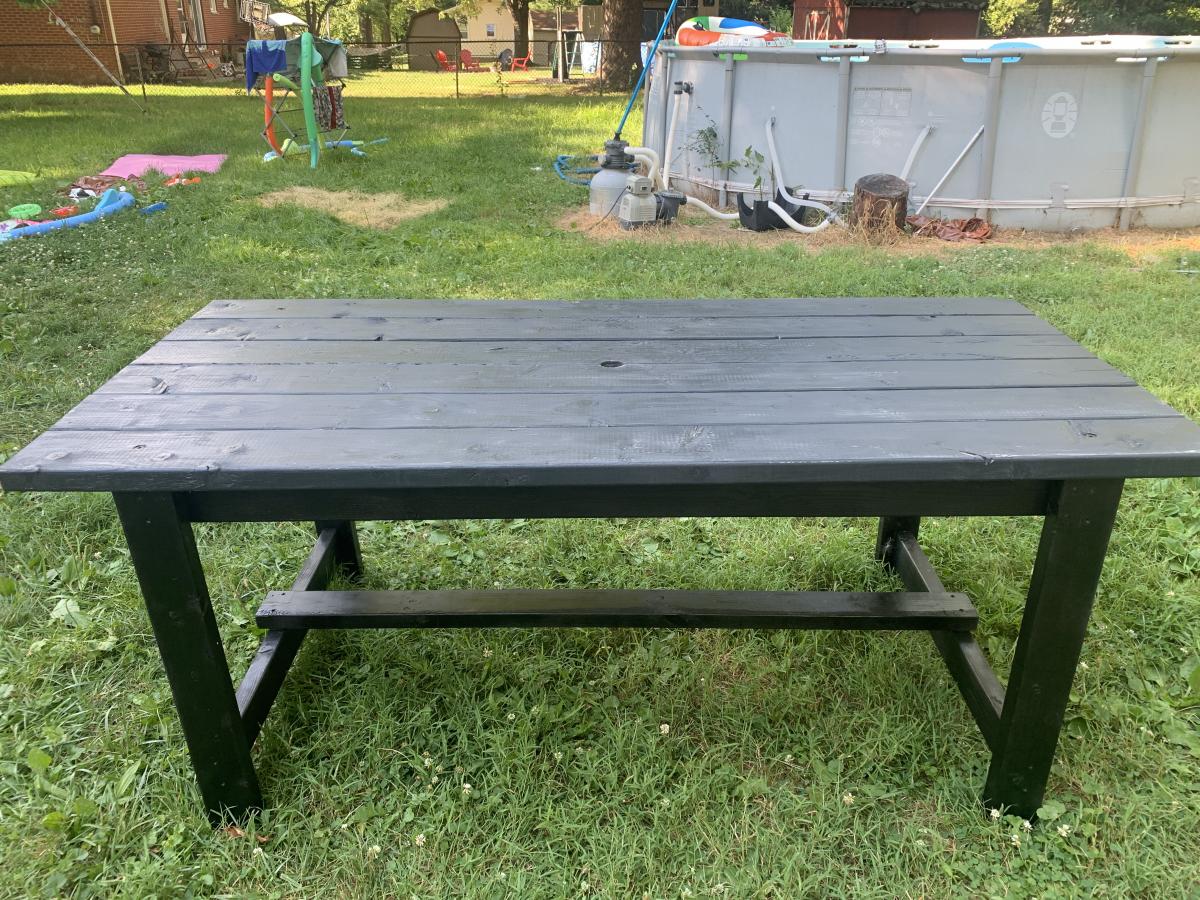

This was such a fun project! I’ve wanted to build a potting bench for years. I can’t imagine why it took so long take a shot at it, it’s such a simple build and only took a couple days.

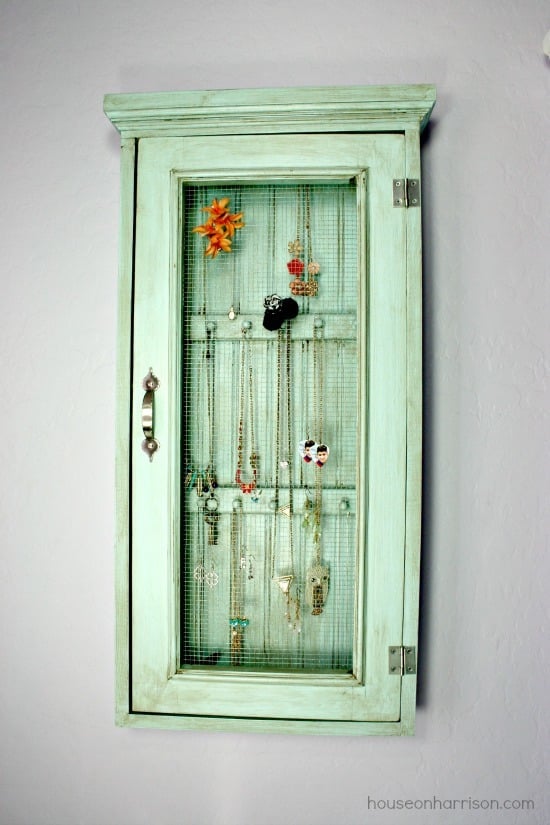
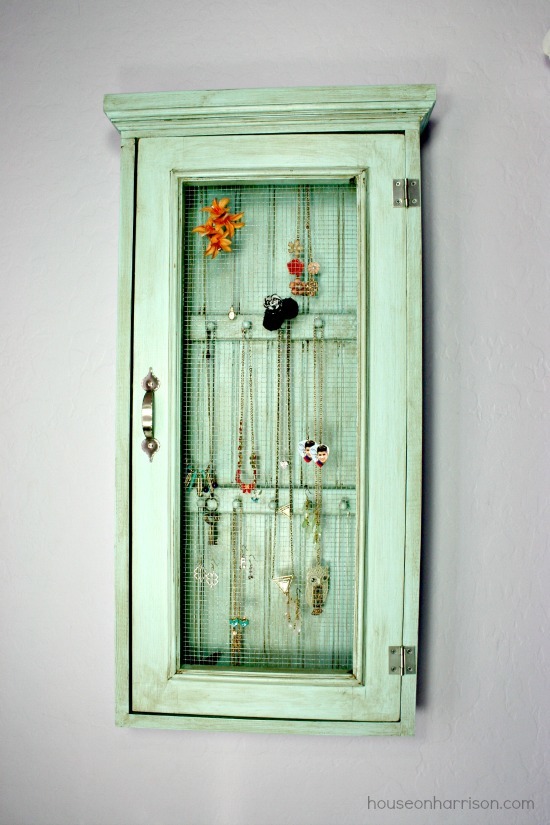
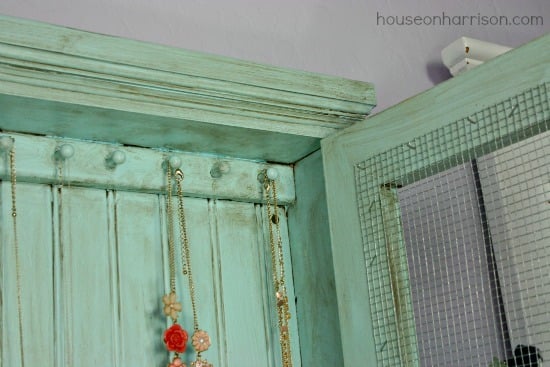
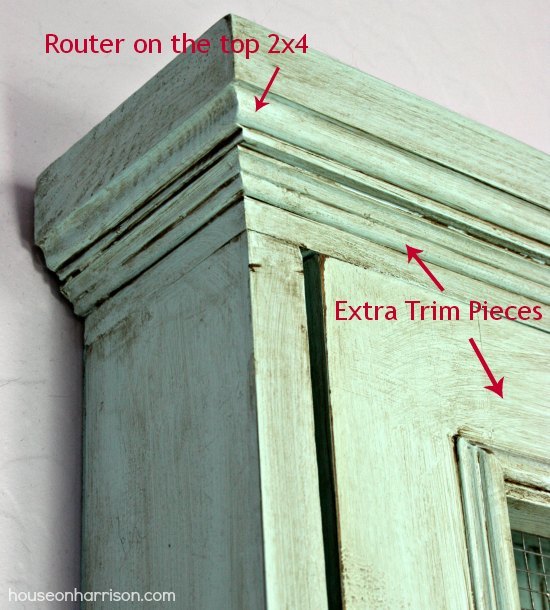
I made this awesome jewelry cabinet for my teenage daughter's room. It holds all her jewelry and then some, and it keeps it looking nice and organized. I followed the Wall Jewelry Cabinet plans, and made just a few minor modifications to better suit the style of my daughter's room. Plans were super easy to follow and this only took a few hours to build.
