Farm house 4x4 table & bench
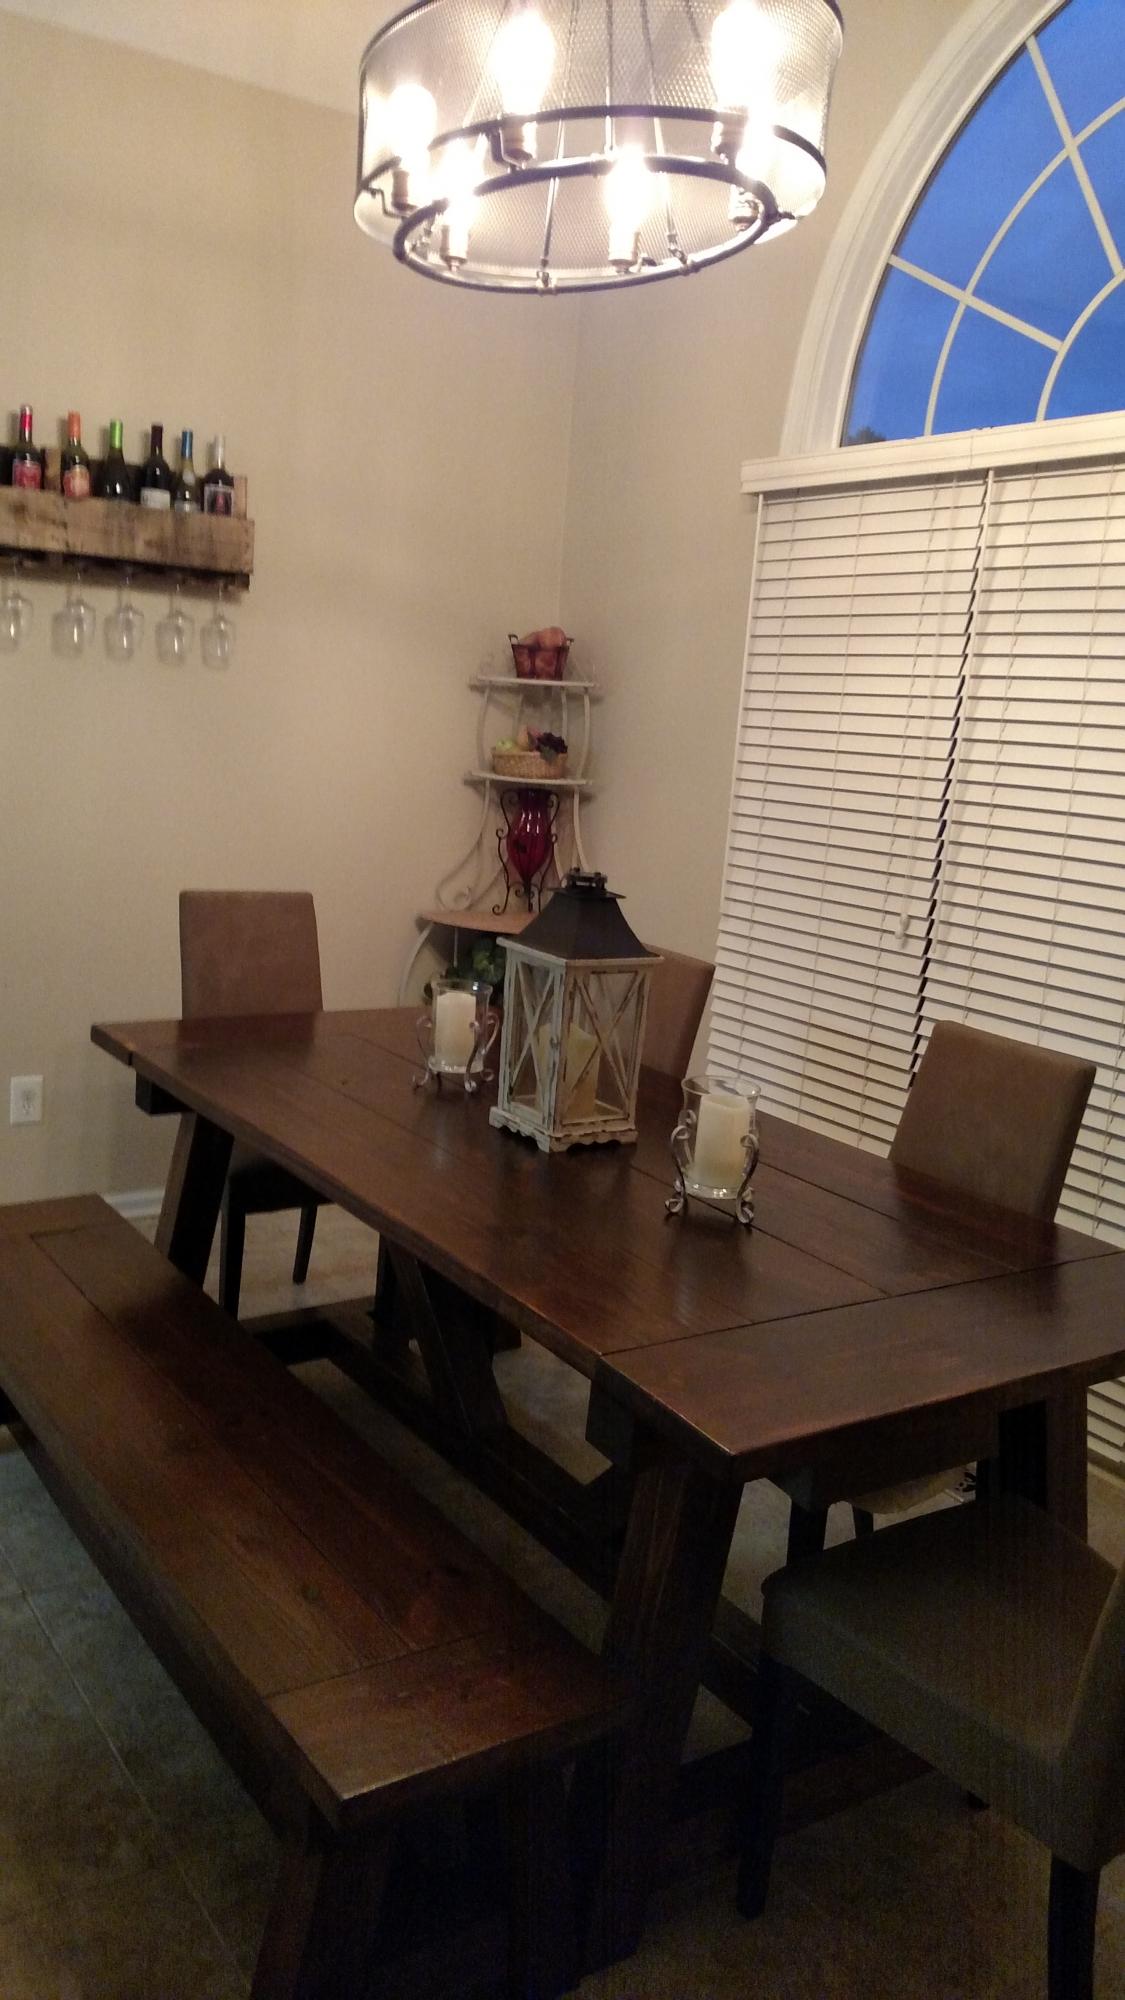
I loved making this, I’m totally in love with the color it turn into. Thanks Ana
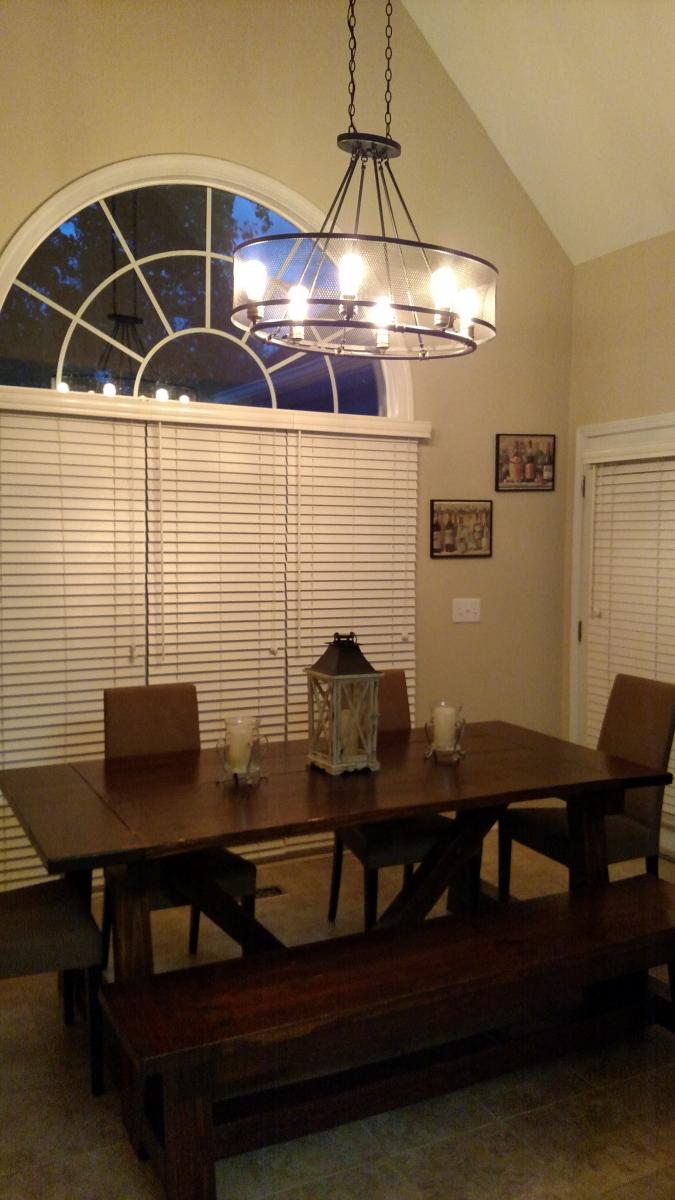

I loved making this, I’m totally in love with the color it turn into. Thanks Ana

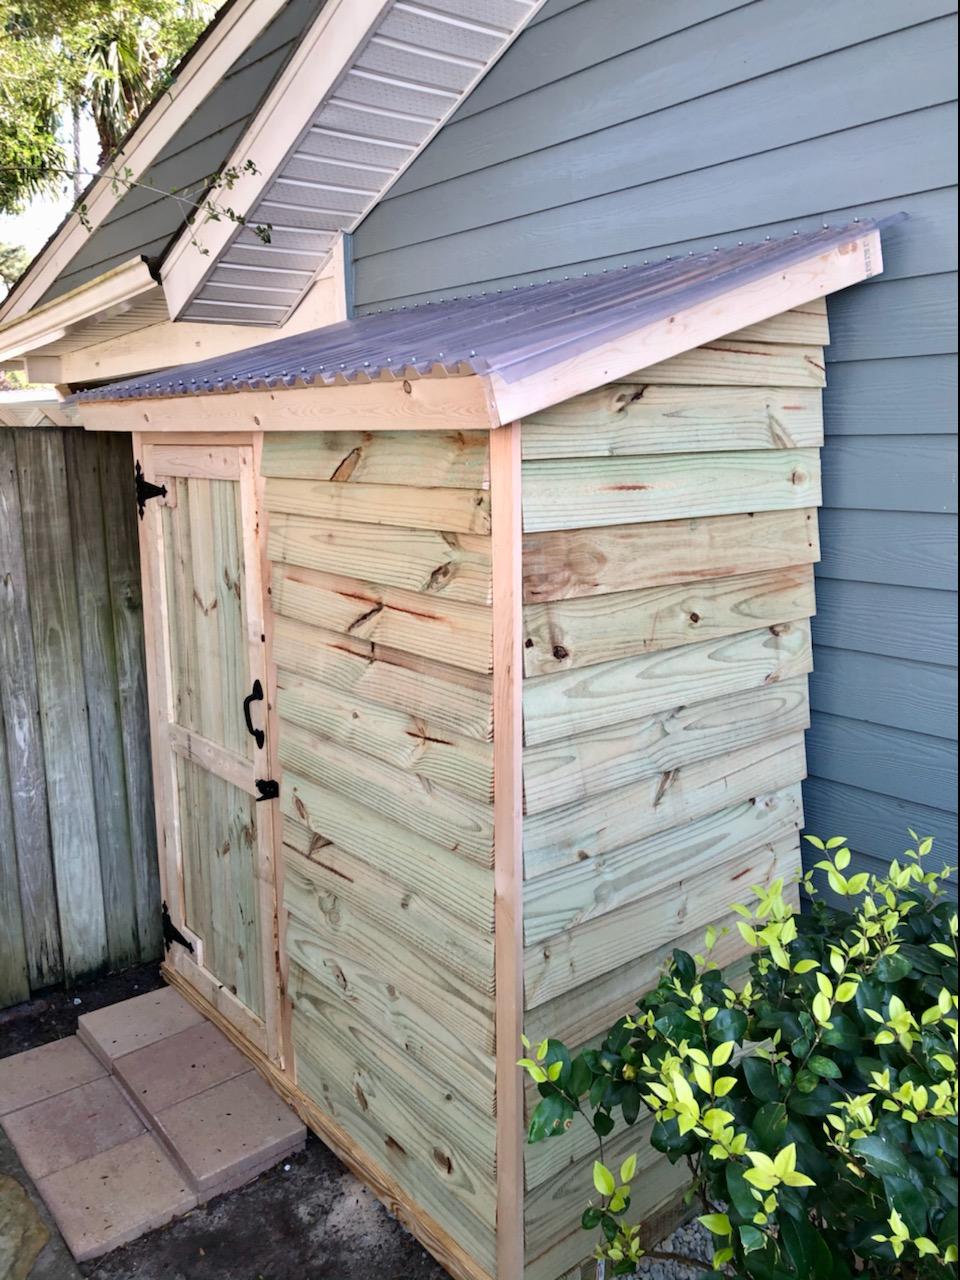
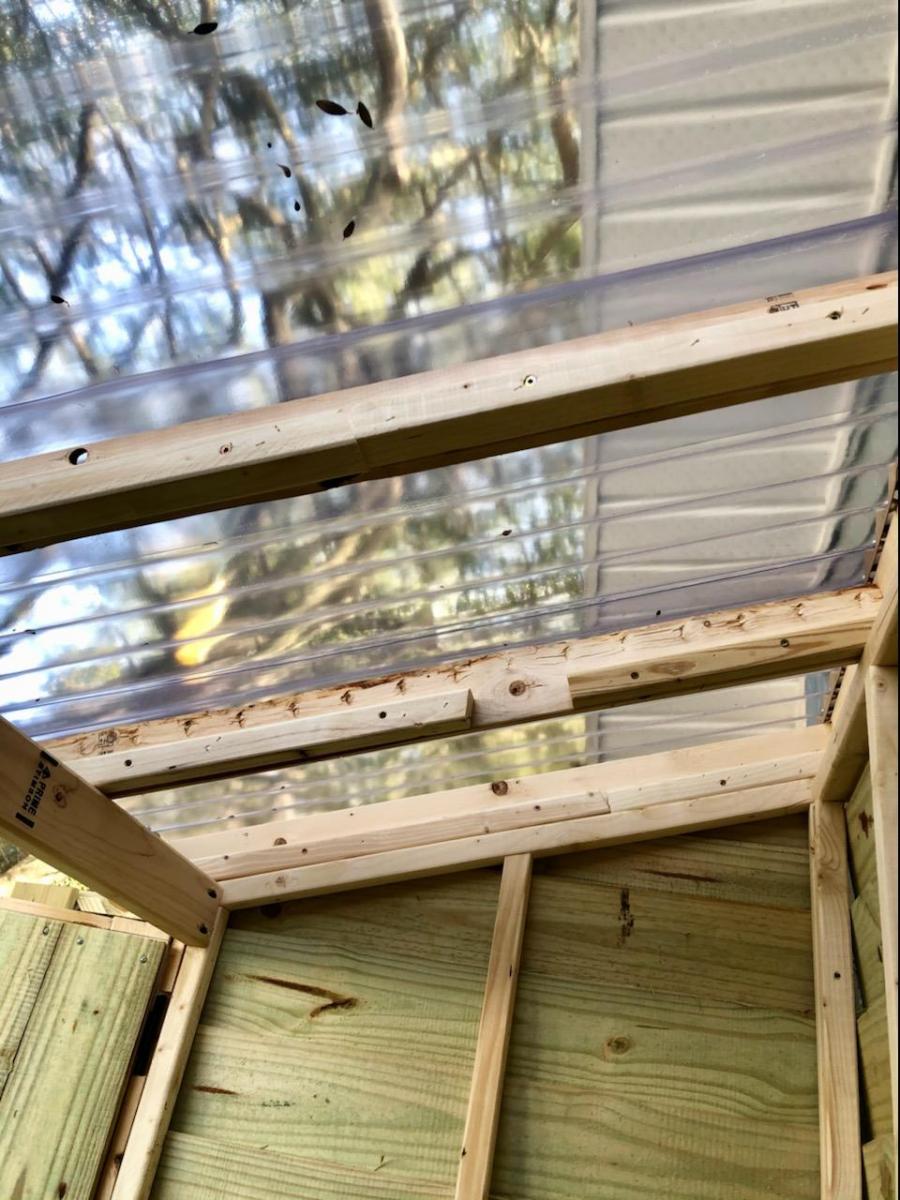
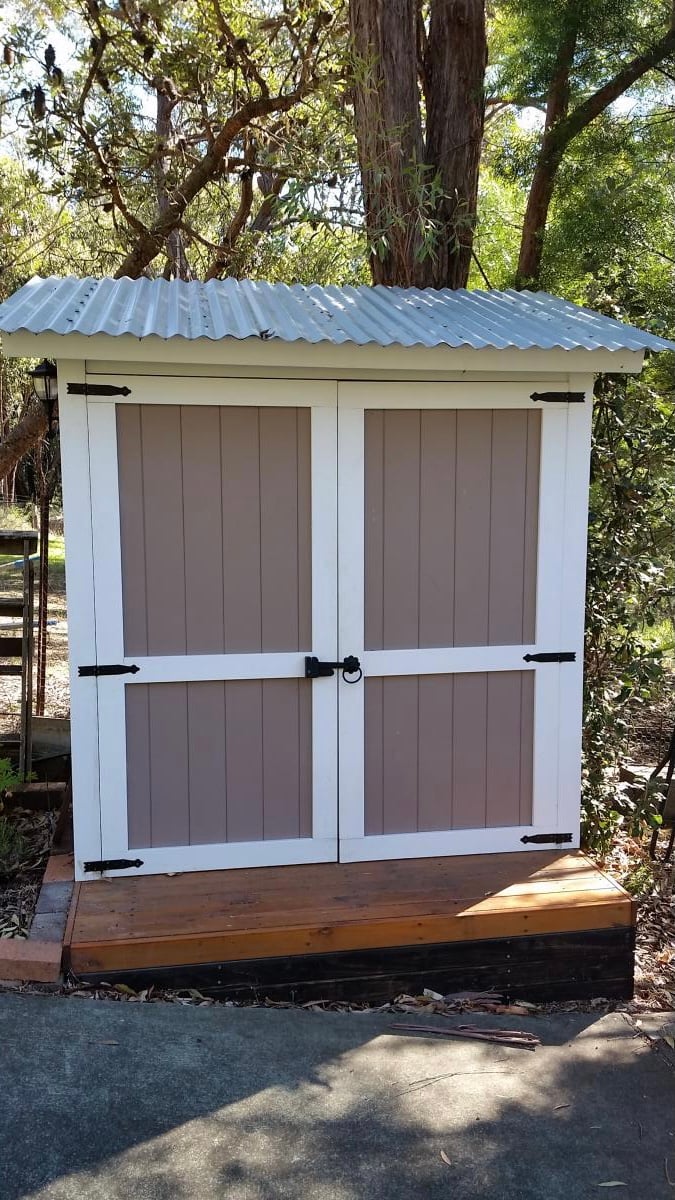
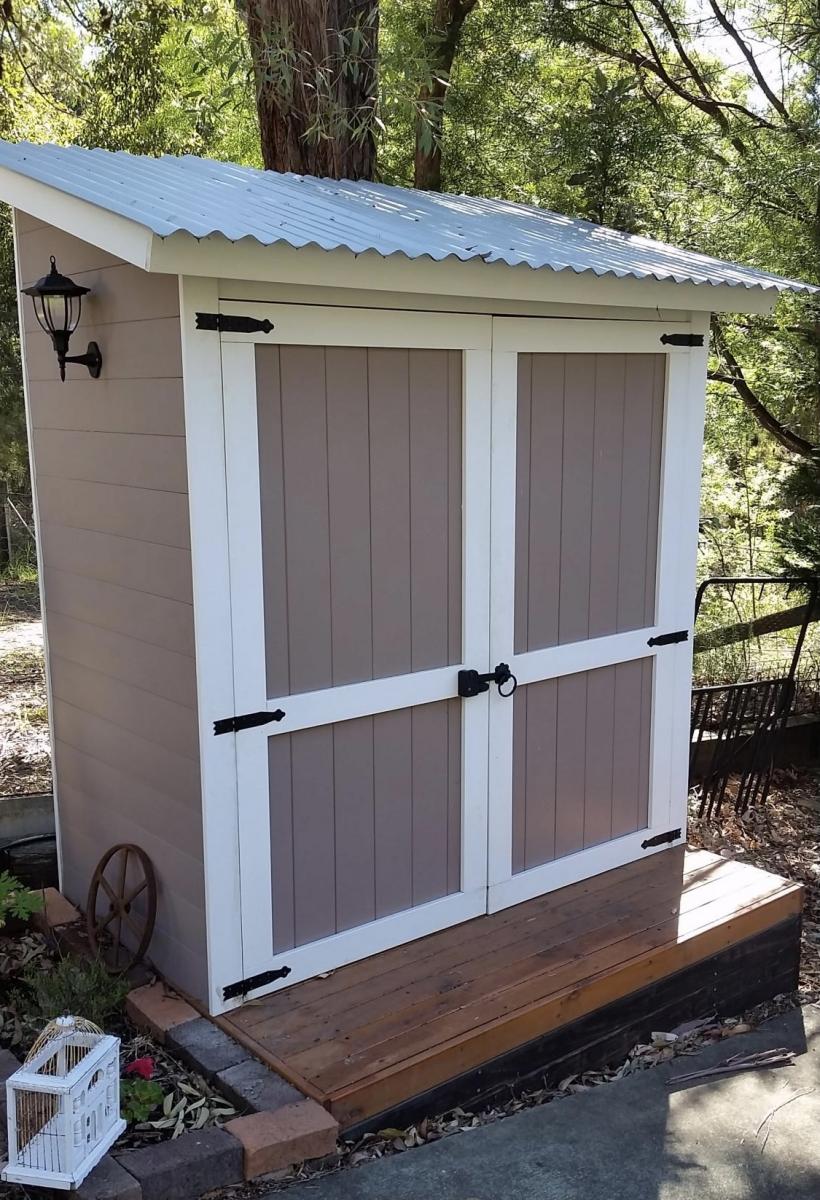
I absolutely loved these plans for this shed. I'm new to the site but I've been using your plans for things here at home... love it. I went with just one door to give me more places for shelves and I also went with a clear corrugated roof since it's shaded on that side of our house.
Mon, 03/15/2021 - 11:47
It's always nice to have additional storage options, thanks for sharing!
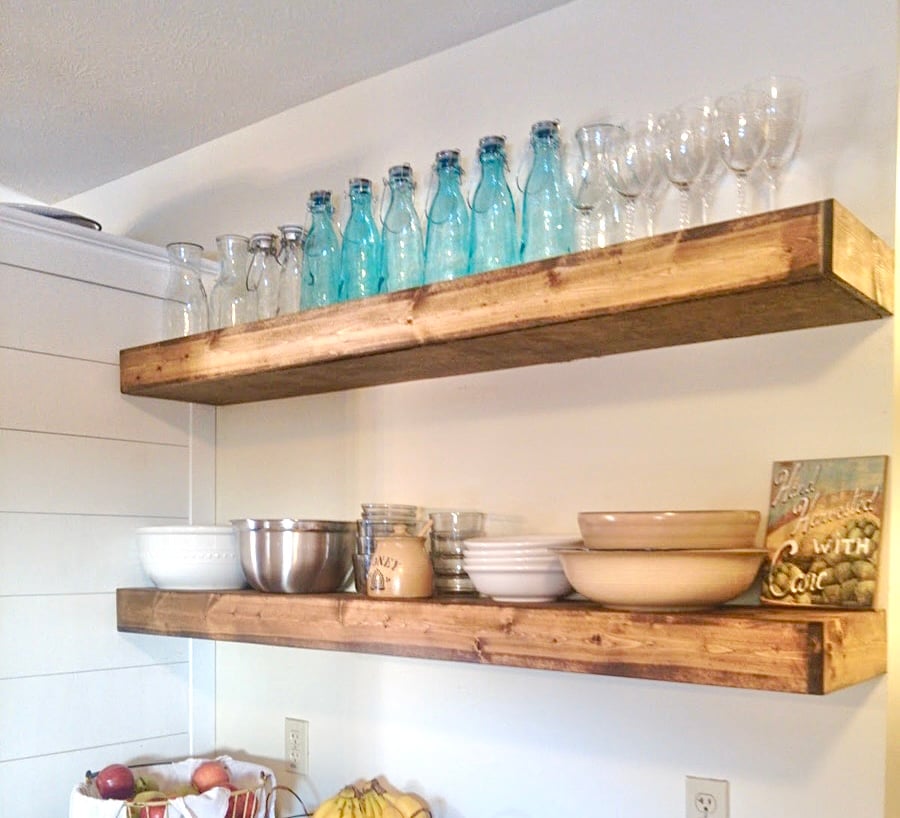
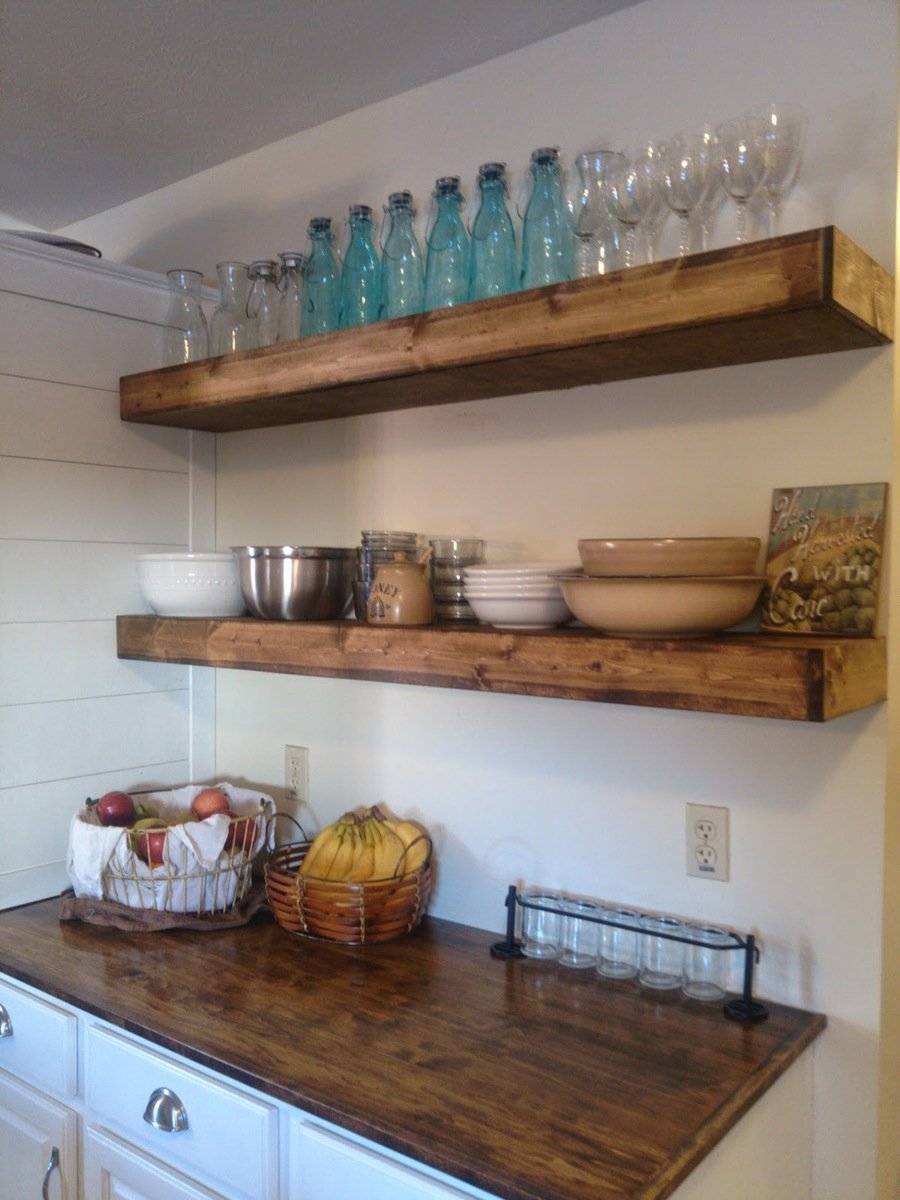
I built these shelves in an afternoon and they were really simple. I'm fairly new to building and using powertools so these are quite an accomplishement!
Mon, 01/19/2015 - 17:13
Gorgeous! I love the stain! This is a beautiful project!
In reply to Gorgeous! I love the stain! by Ana White
Wed, 01/21/2015 - 06:04
Thanks so much! The hard part is picking the next project!
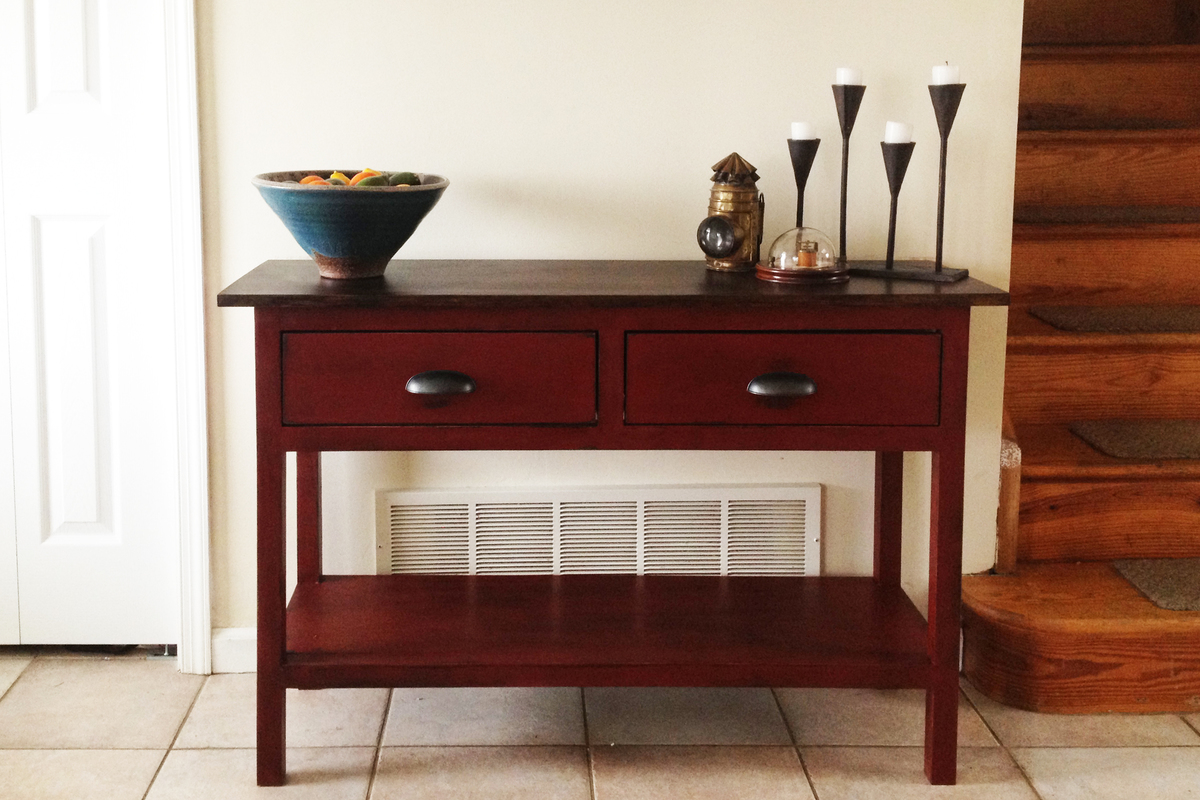
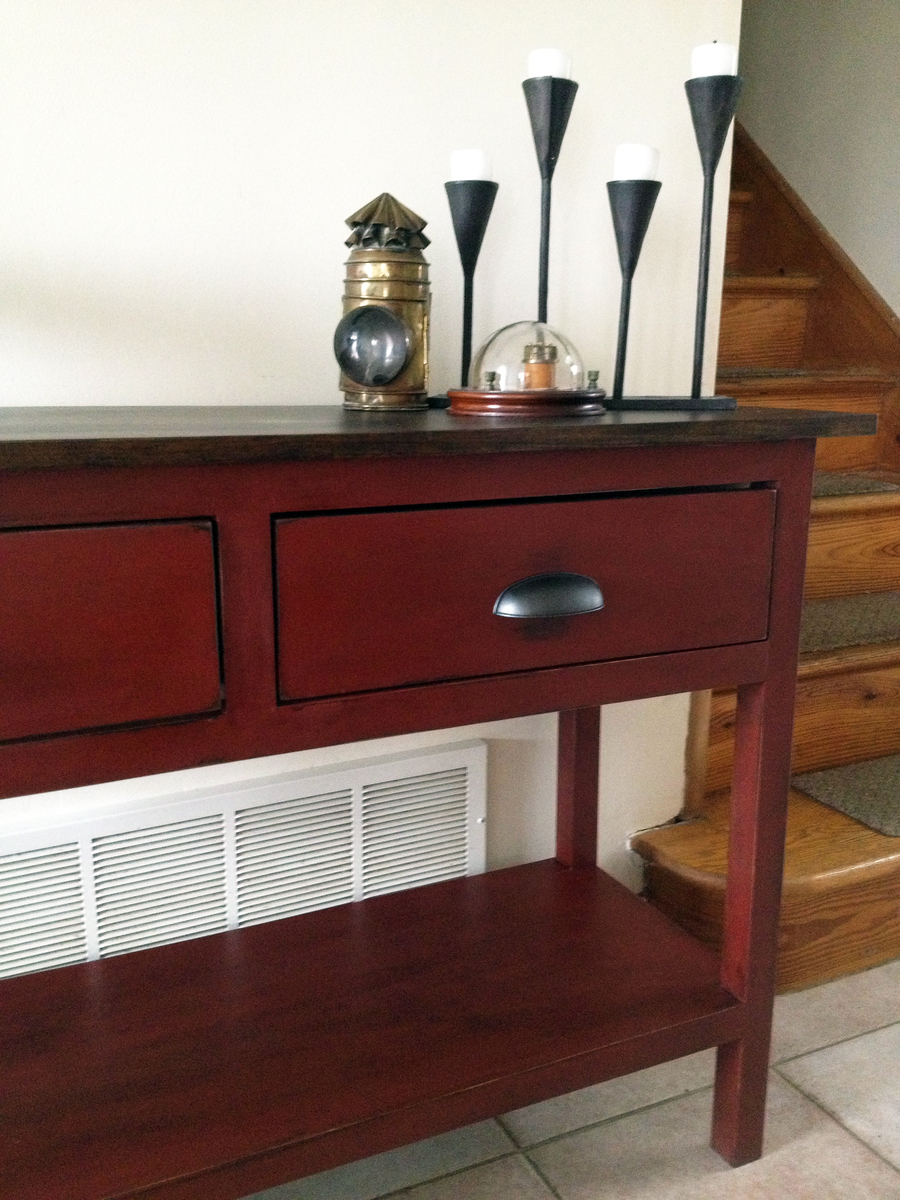
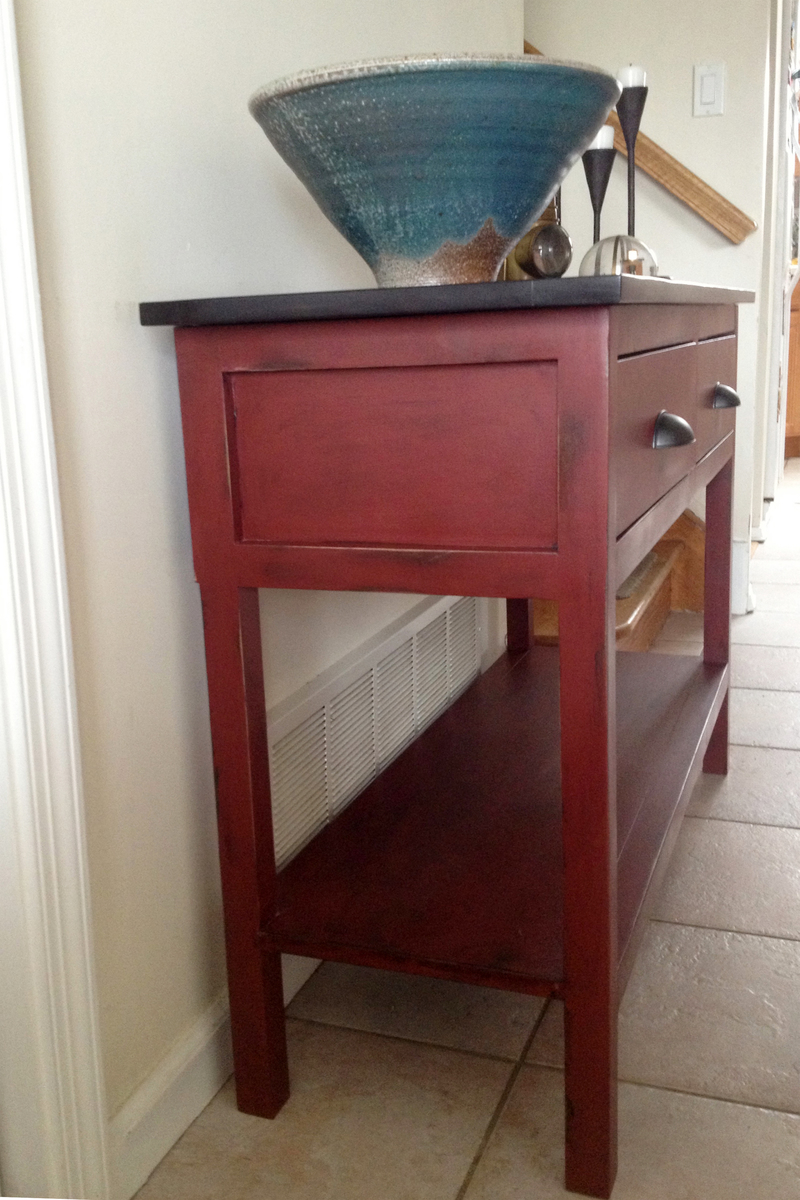
Not only was this my first furniture project from an Ana White plan, it was my first ever furniture project. I discovered this website and Ana's site through Pinterest and was inspired to build a table for my wife's craft room.
Leafing through "The Handbuilt Home," I found plans for a modern craft table, but decided I'd better get my feet wet first with a "smaller" project. Our front hall console table was a cheap, particle board piece from Target which seemed like the perfect candidate for replacement.
In retrospect, with drawer slides and hardware to contend with the craft table may in fact be an easier project than the console, but I found the plans straightforward and easy to read. Expecting to be intimidated by my own lack of experience, as the table came together I was, instead, continually inspired by my ability to actually build beautiful furniture for my home.
The most challenging part of building the console table was finding lumber, particularly straight lumber. Here in New Jersey, the local Home Depot and Lowes stores did not have a large selection of wood, virtually nothing beyond pine and most of that was visibly warped.
I eventually found boards that were relatively straight, though not perfect. As a result, getting the table perfectly square was an impossible task. For future builds I have already discovered some local lumber suppliers that offer a broader quality of materials than the big box stores.
The other part of this project that was really challenging was applying spray-on polycrylic. I never got a protective coat I was particularly happy with and decided to stop fussing because I feel like I was making things worse trying to correct my application mistakes.
In a few weeks I plan to add a layer of wax, which I hope will give the table a finish a more satisfying finish.
All things considered, especially as this was my first furniture project of any kind, I look at the beautiful console that now graces my front entry, dumbfounded that it's something I built from a small pile of wood. Many thanks to Ana White and her website and book for the inspiration!
Fri, 05/10/2013 - 10:52
Hi!
Amazing job! Would you please direct me to where you found these plans. I've searched all throughout this website and can't seem to locate them...
Thanks :)
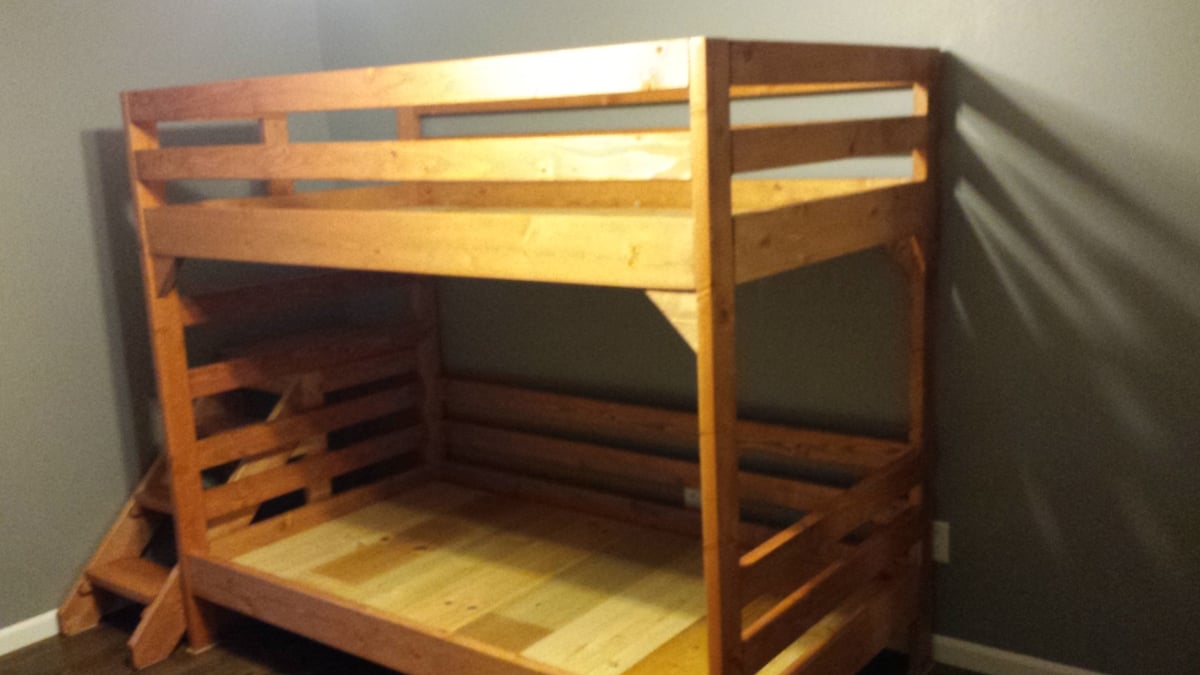
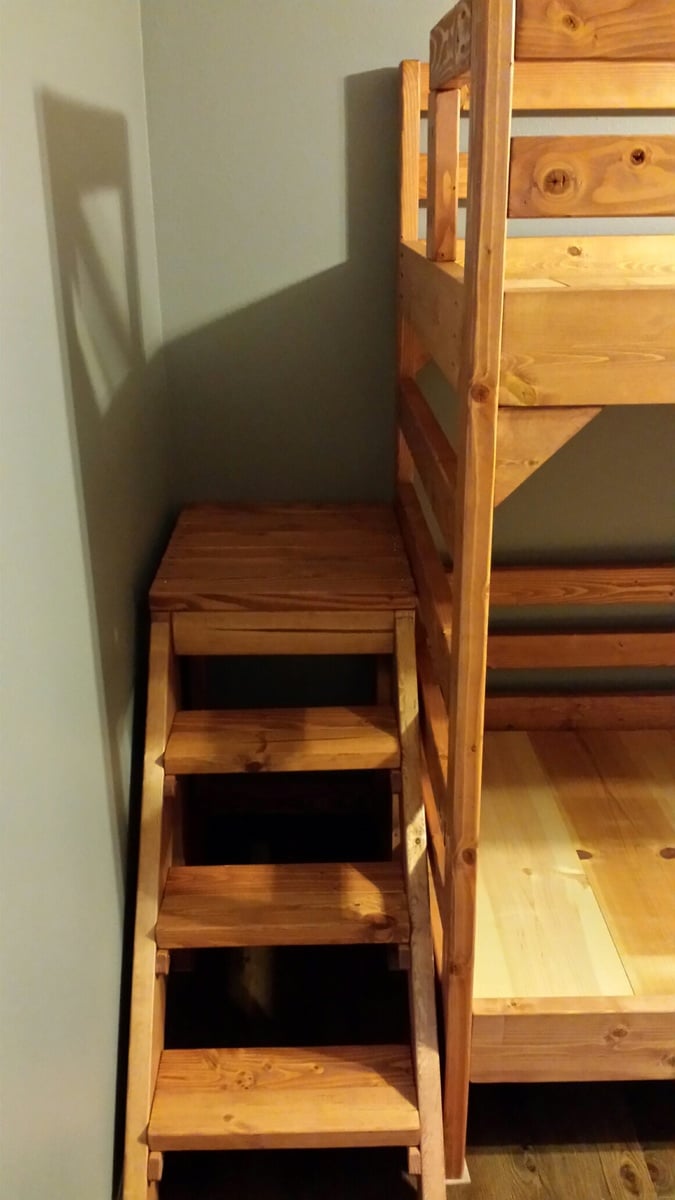
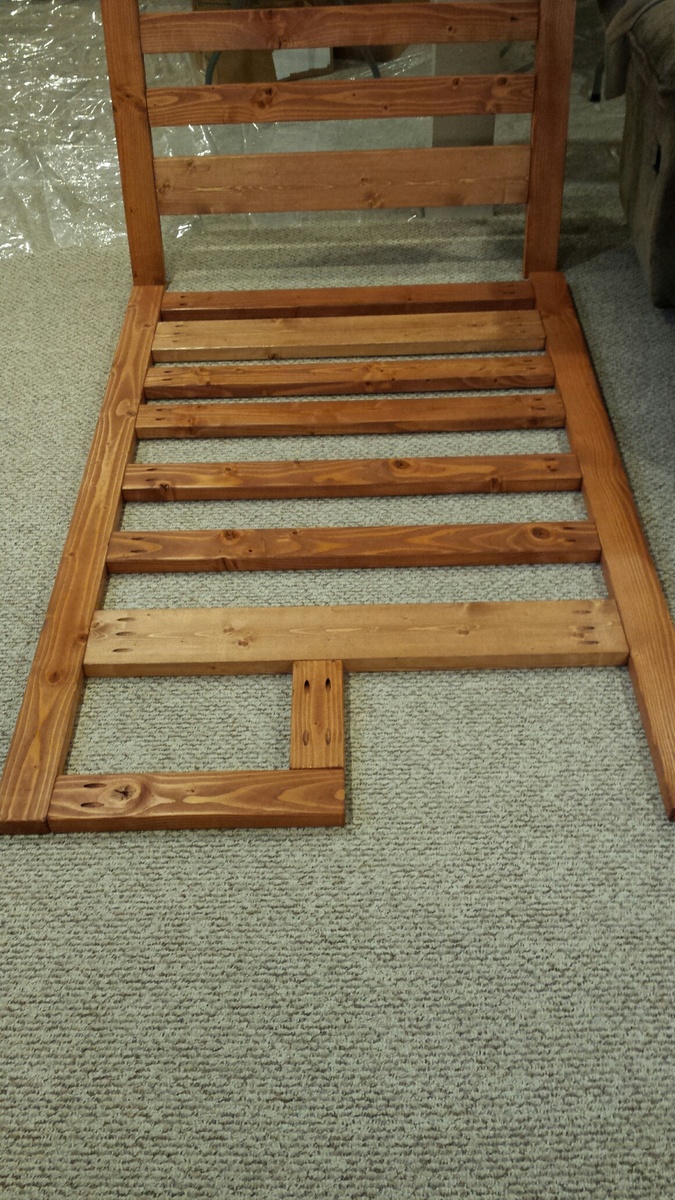
Using the Junior Height Camp Loft Bed plans...
I raised the height from 65 to 67 inches to better accomodate a bottom bunk. Added bottom rails and extra 2X4s for the head board.
I shortened the width and length of the stairs to better fit in the room, and in doing so, made a small mod to the post by the stairs to prevent the boys from falling down the stairs.
Kids Love them
Some added storage for small kitchen appliances
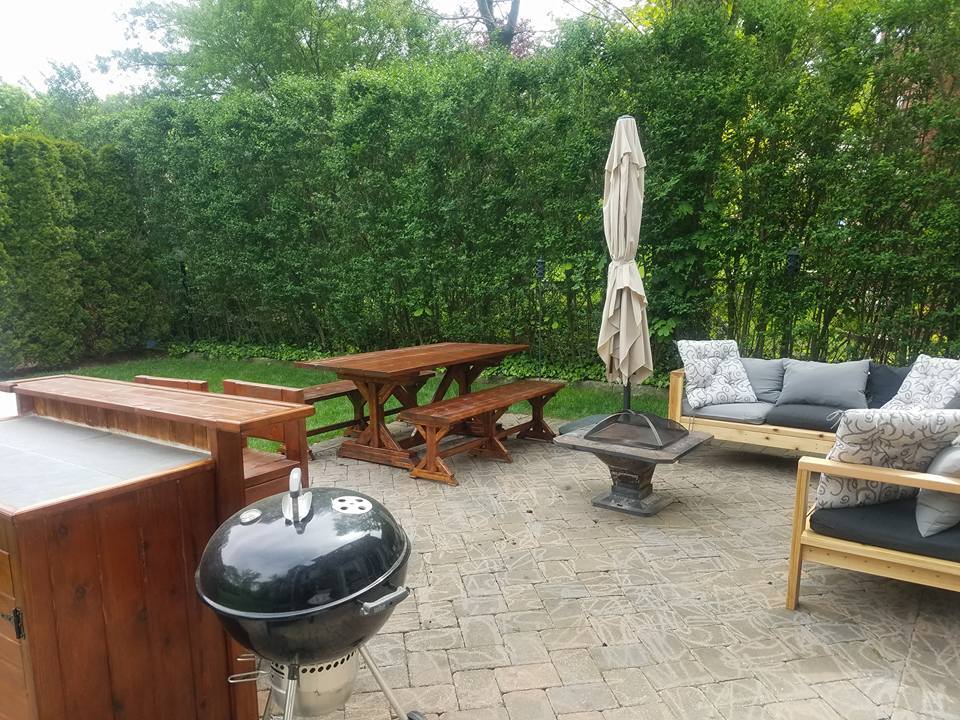
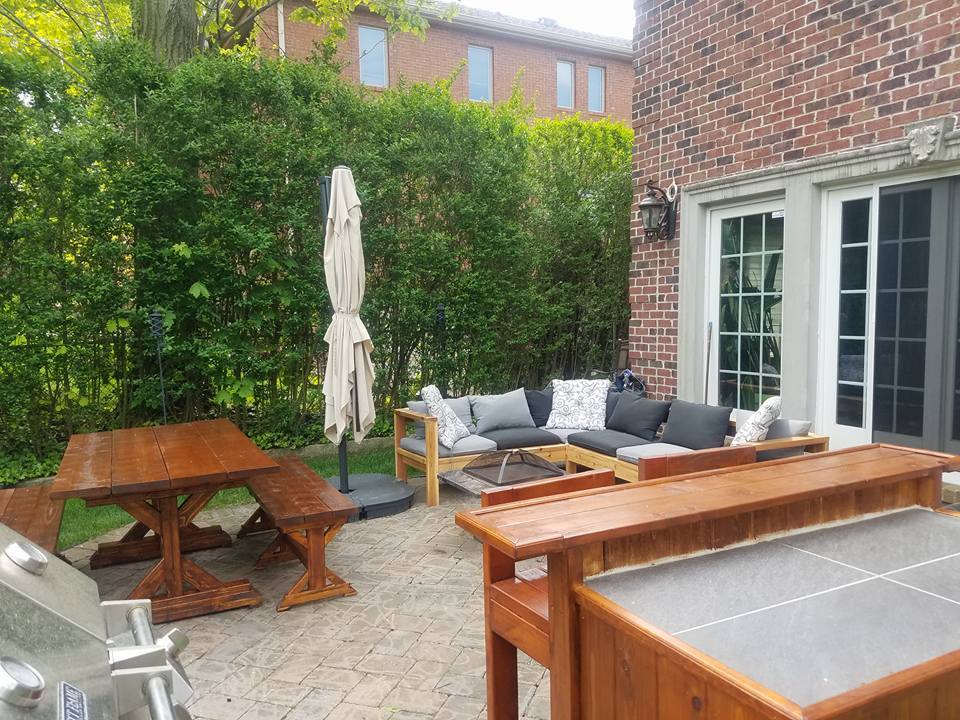
Started with building the 2x4 sectional sofa and the armless sectional. Liked the plans so much starting building the bar from my own design. Than completed the patio renovation with the fancy X farmhouse table and benches. Thank you Ana White for all the inspirations to redo my backyard patio.
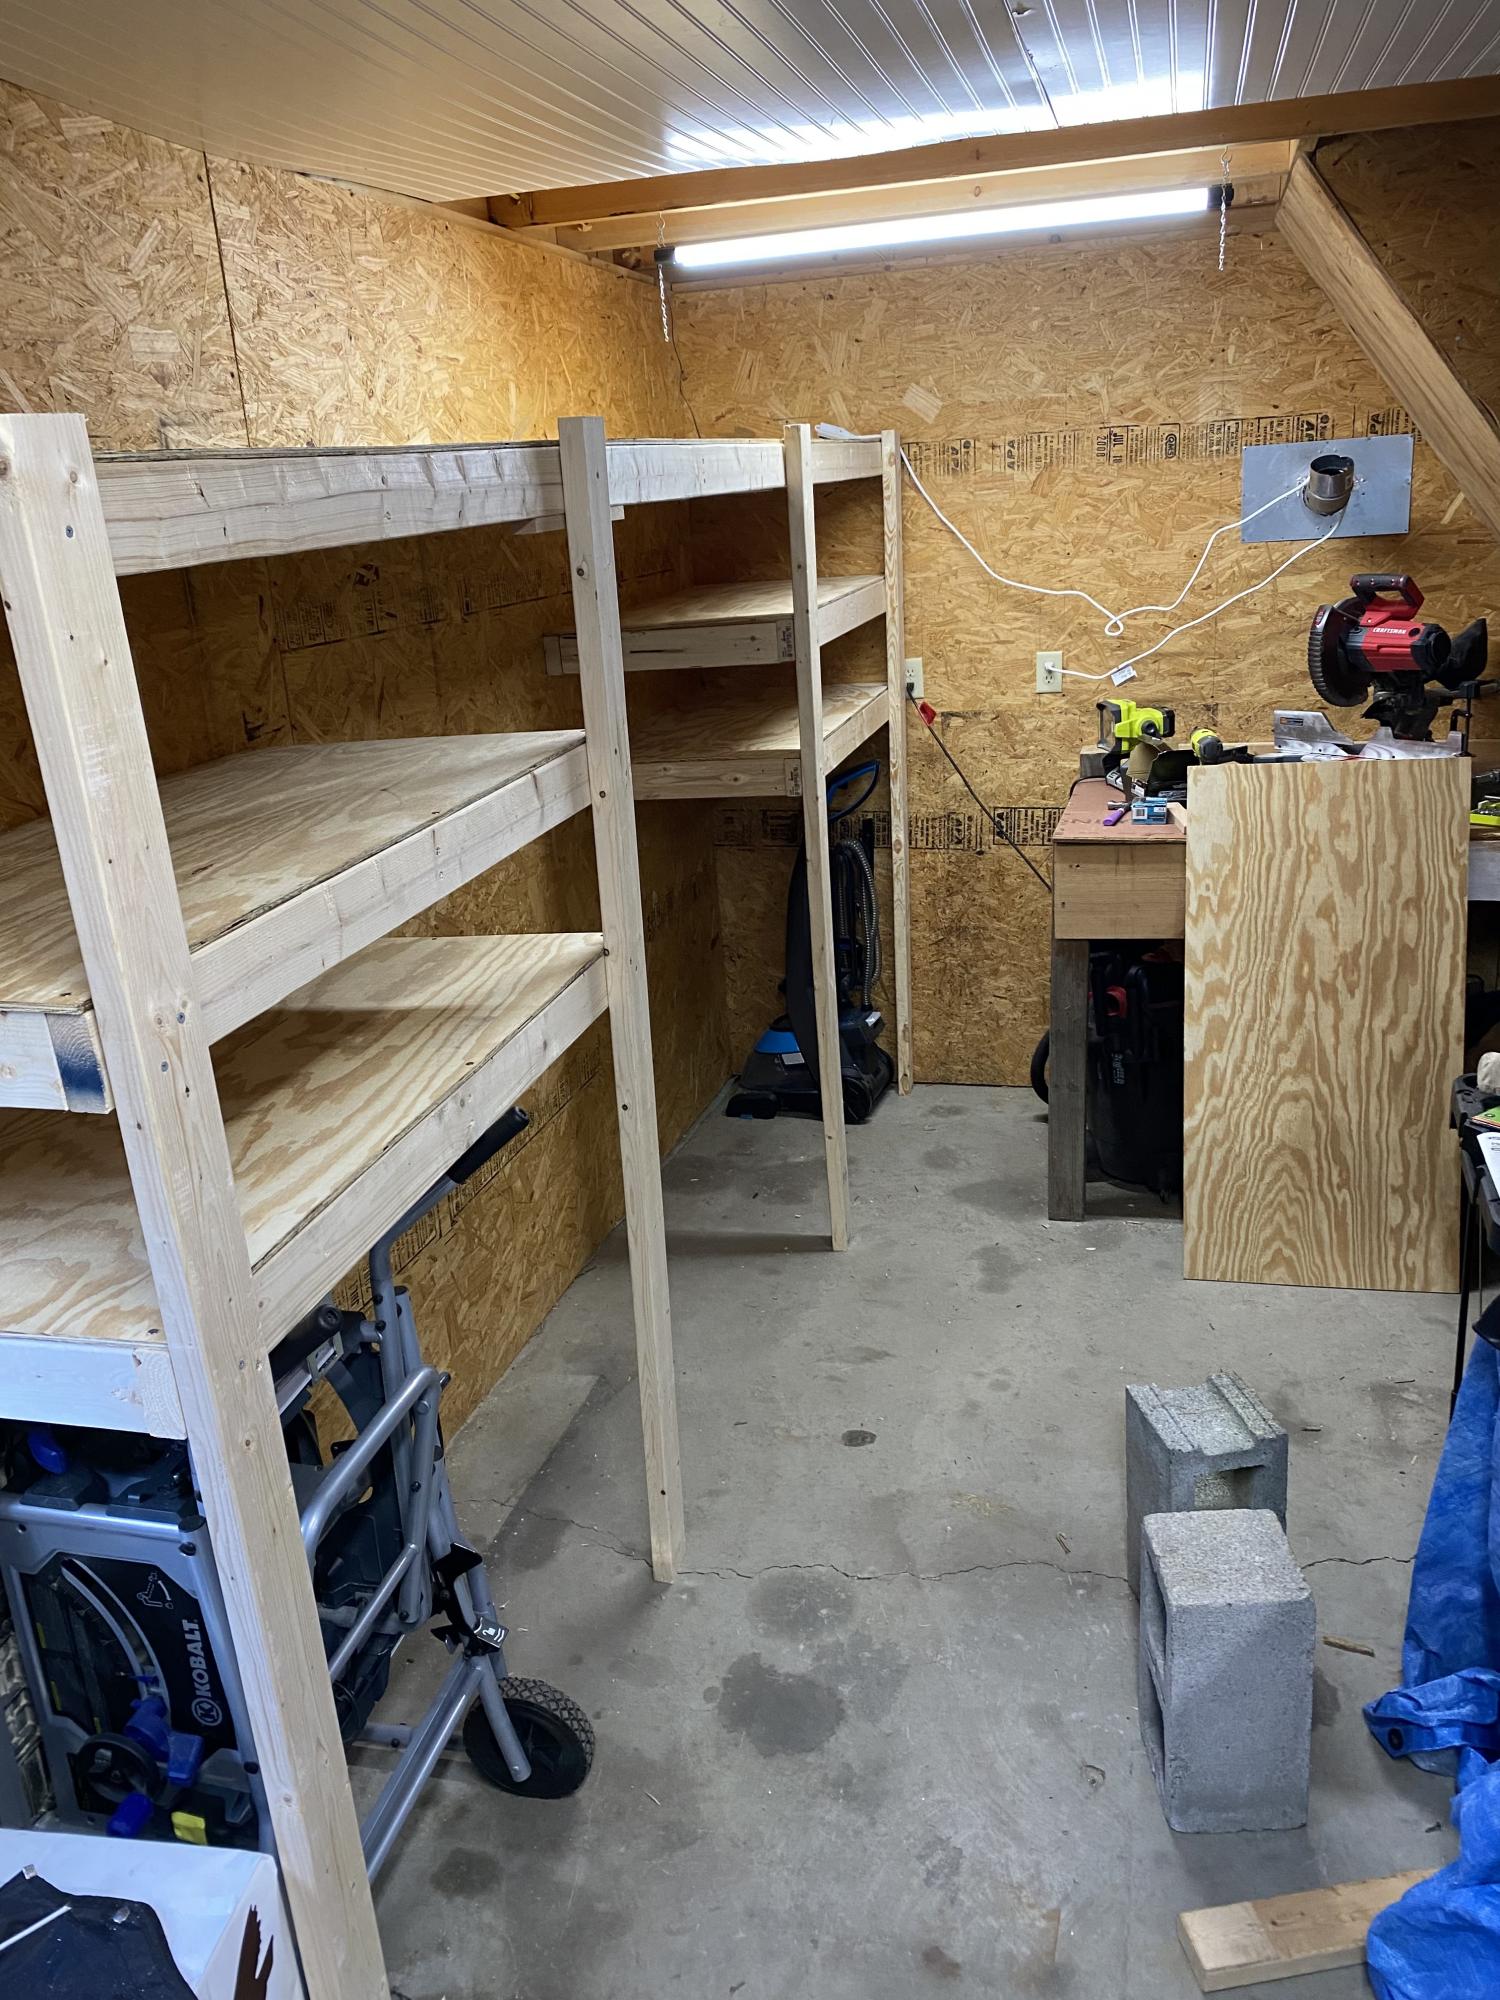
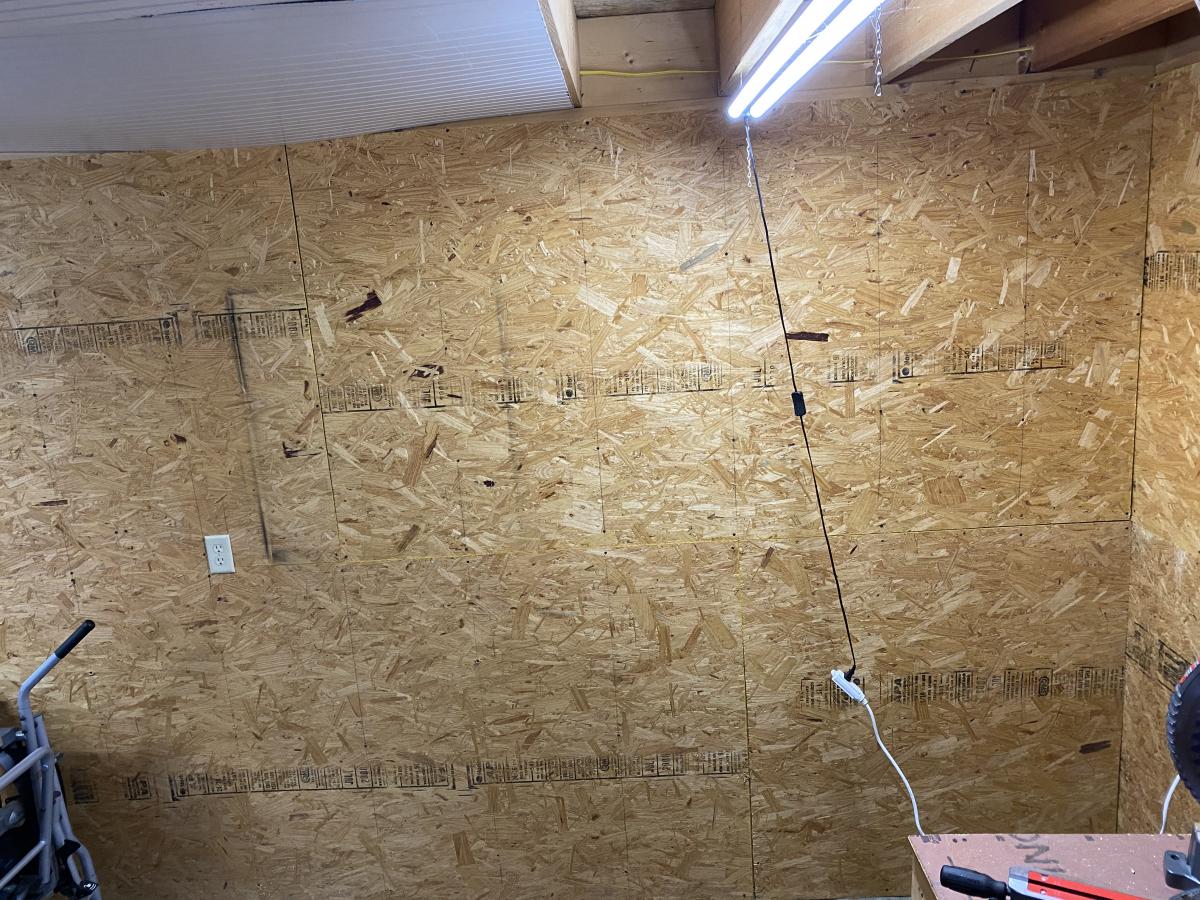
Took every pre-existing bit of rough, thrown up shelving the previous wonder tossed up and the garage walls. Moved the prior owner’s workbench build out of the corner, reinforced it, and relocated it to the center of the back wall. Spent the day building this unit in this corner of the space. Used modified version of plans below. Center gap is for a future build…rolling miter saw cart.
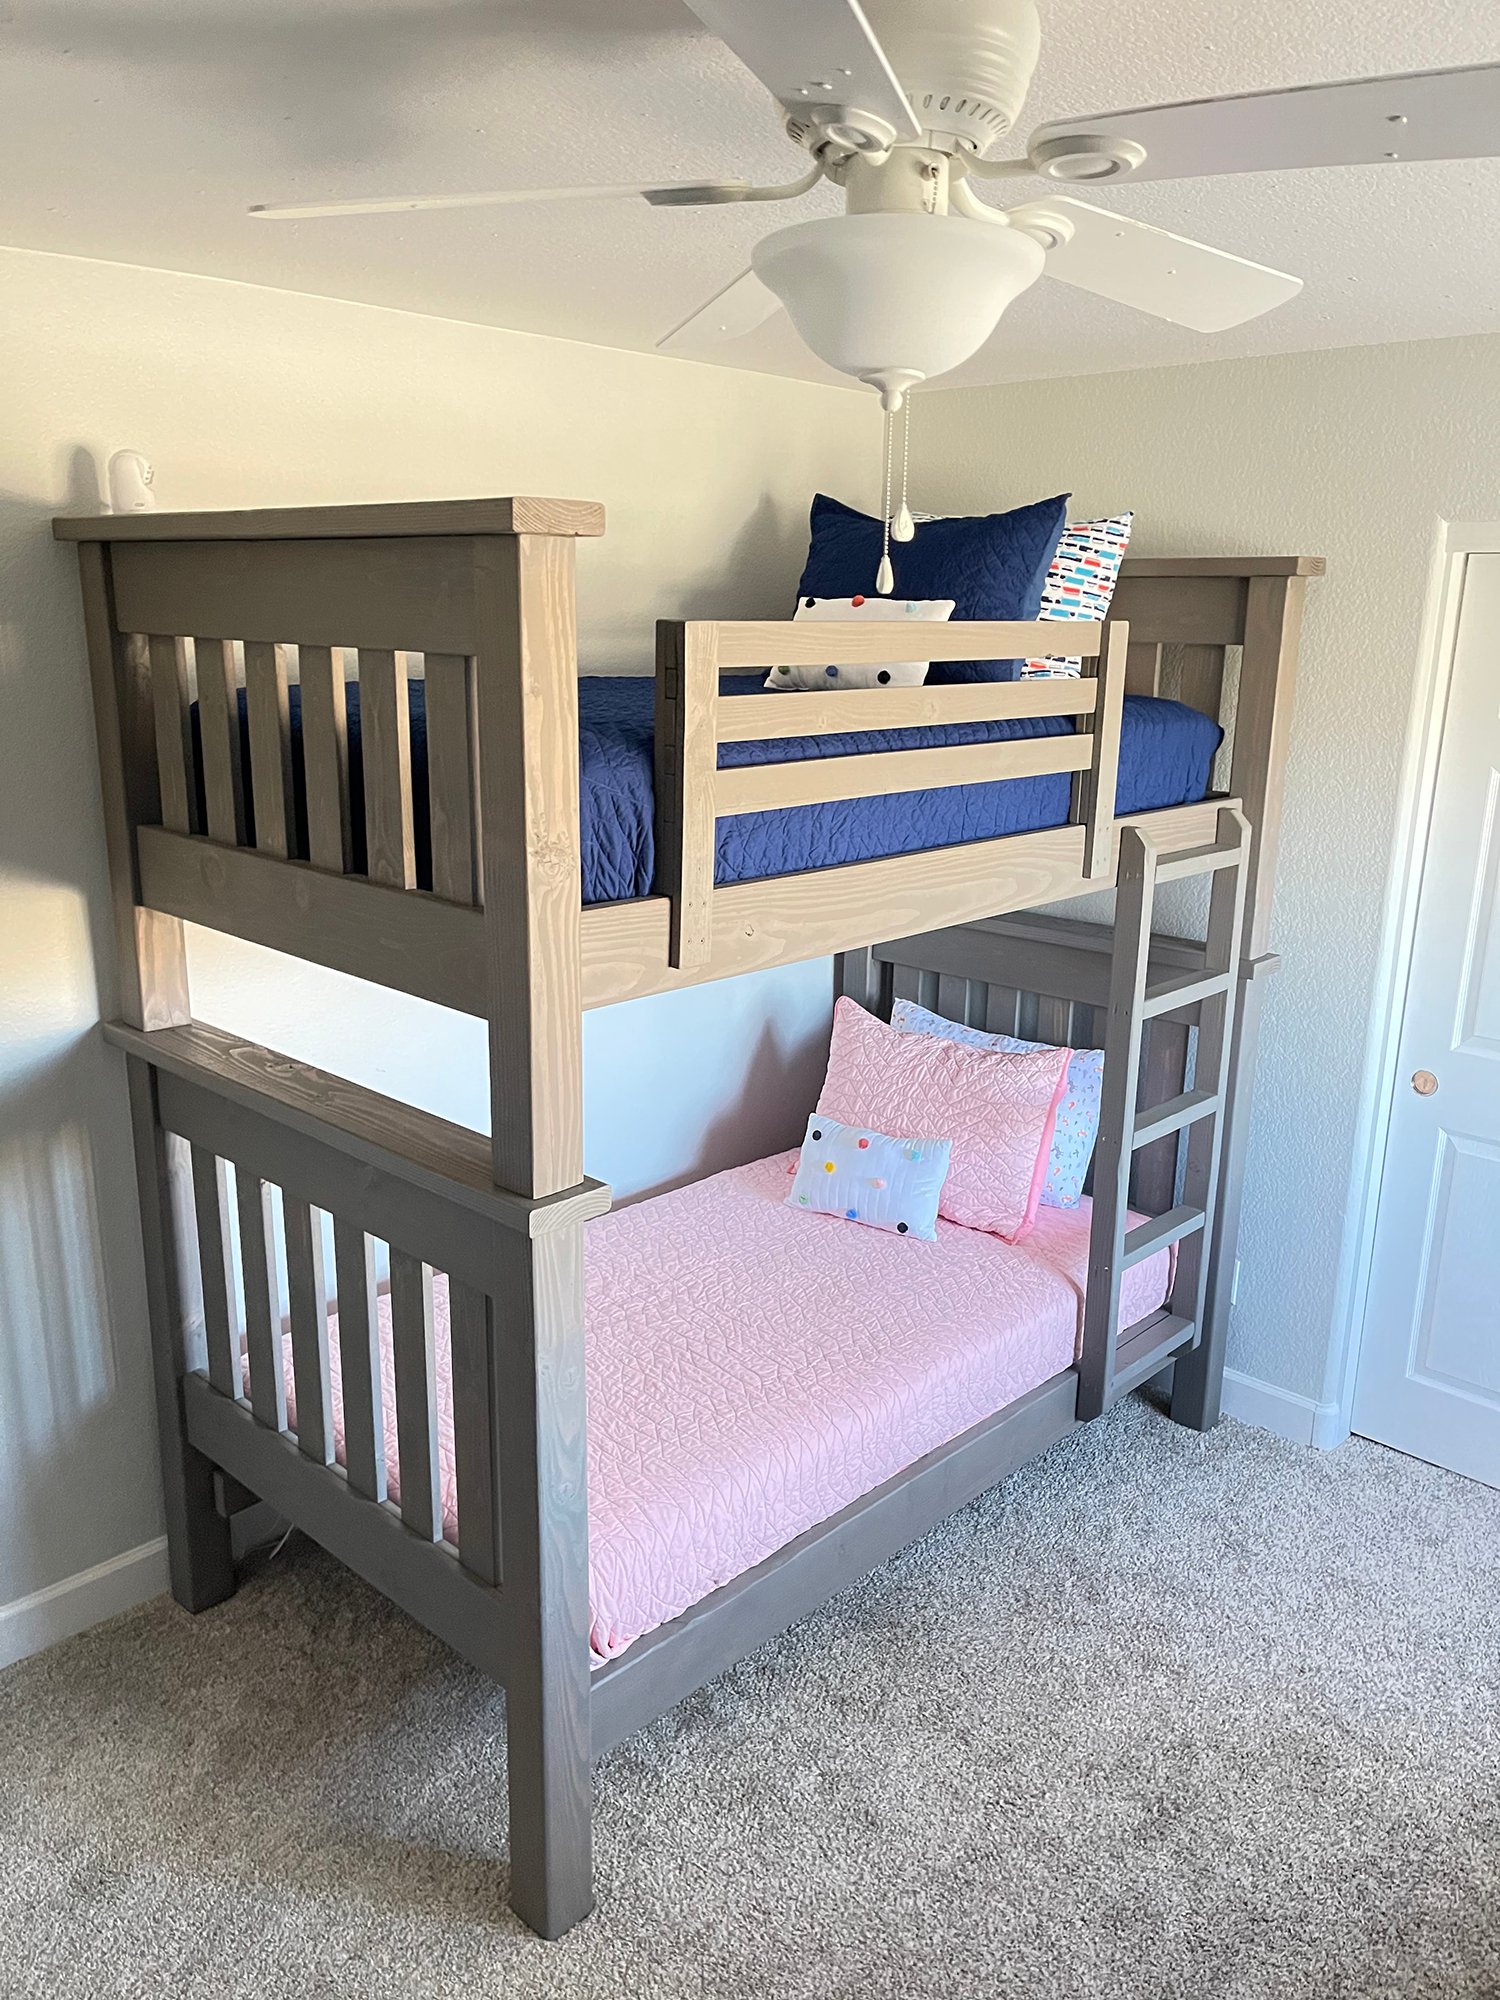
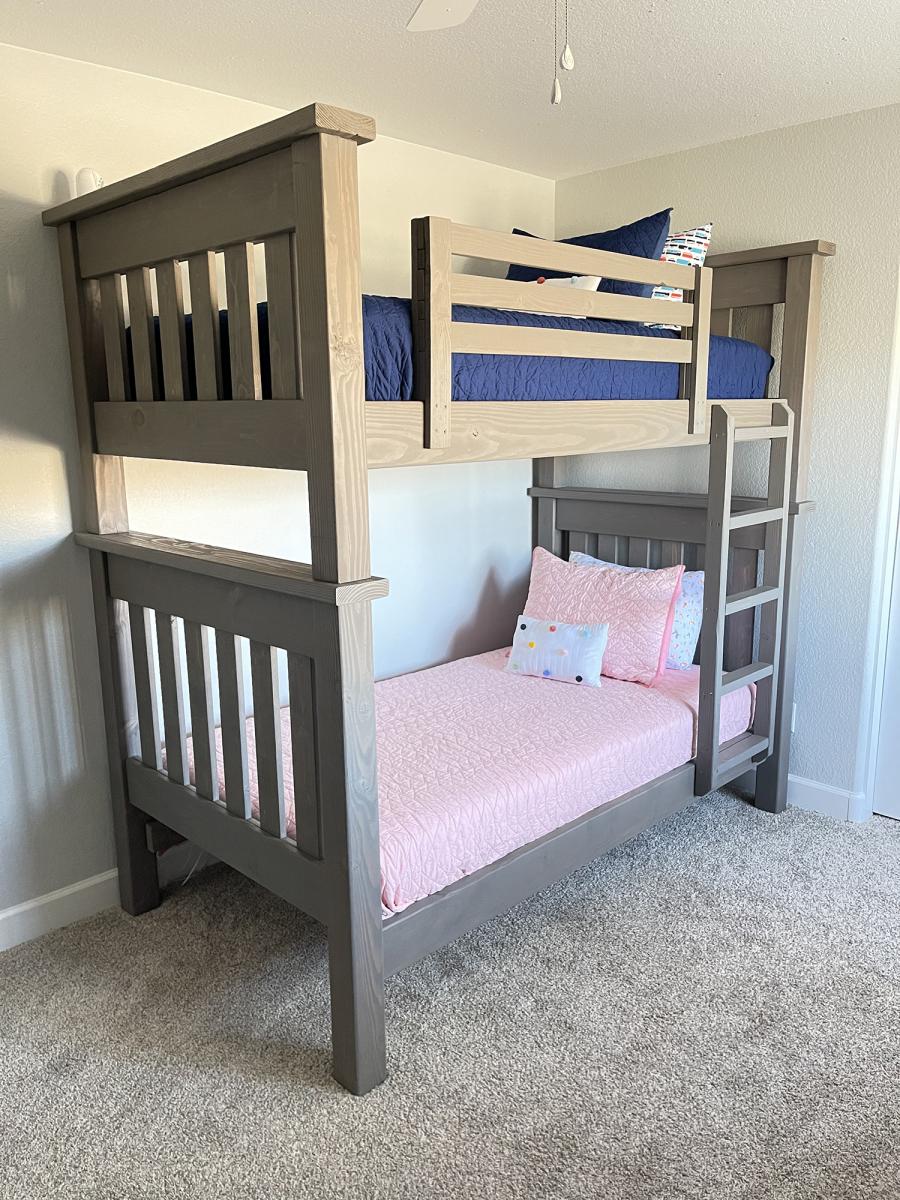
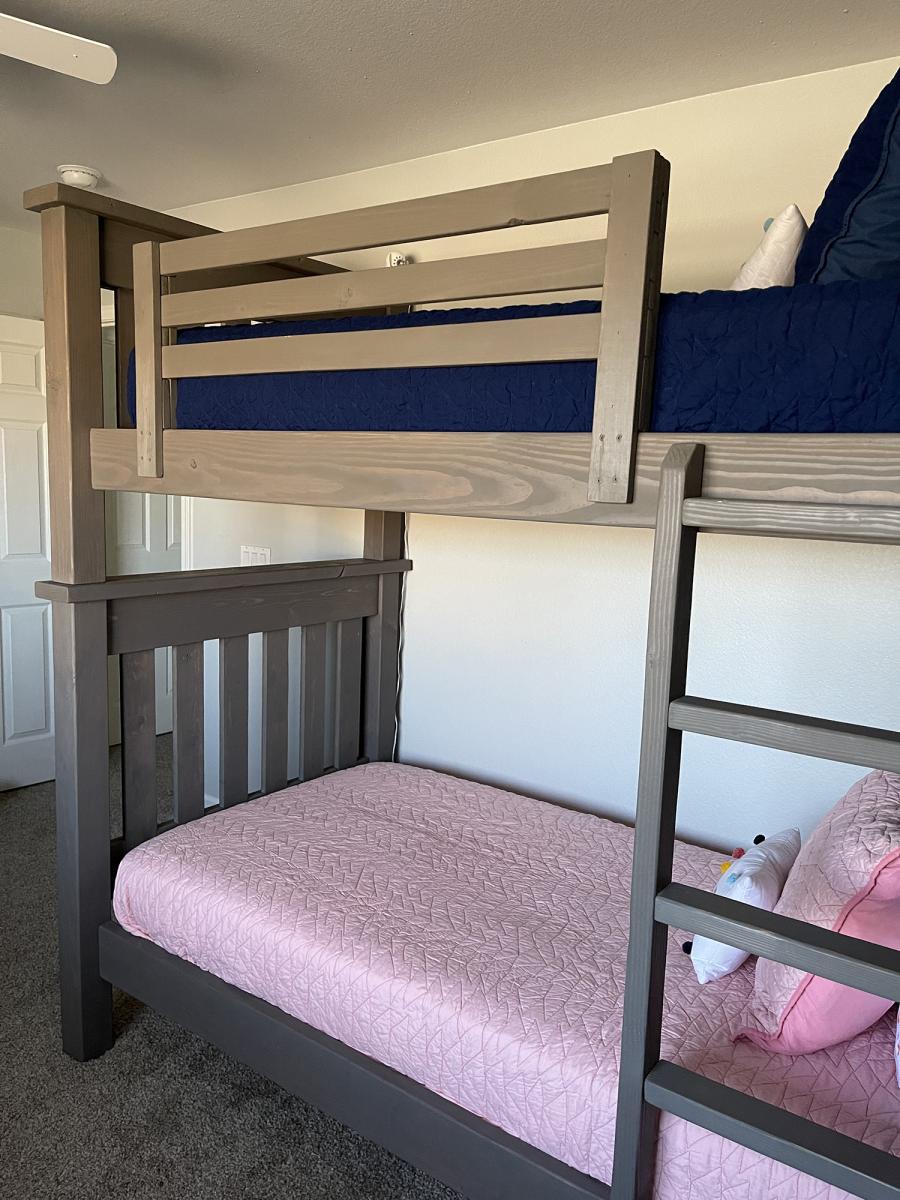
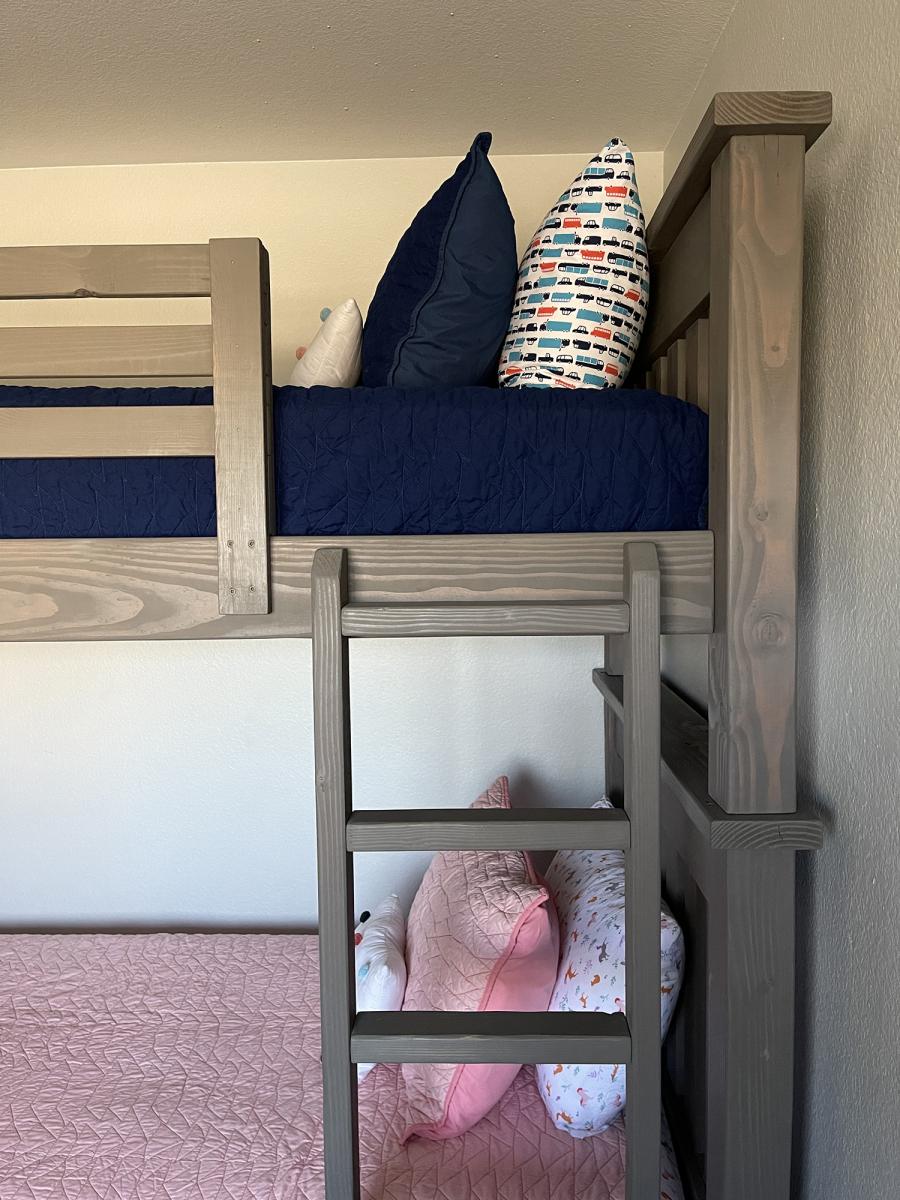
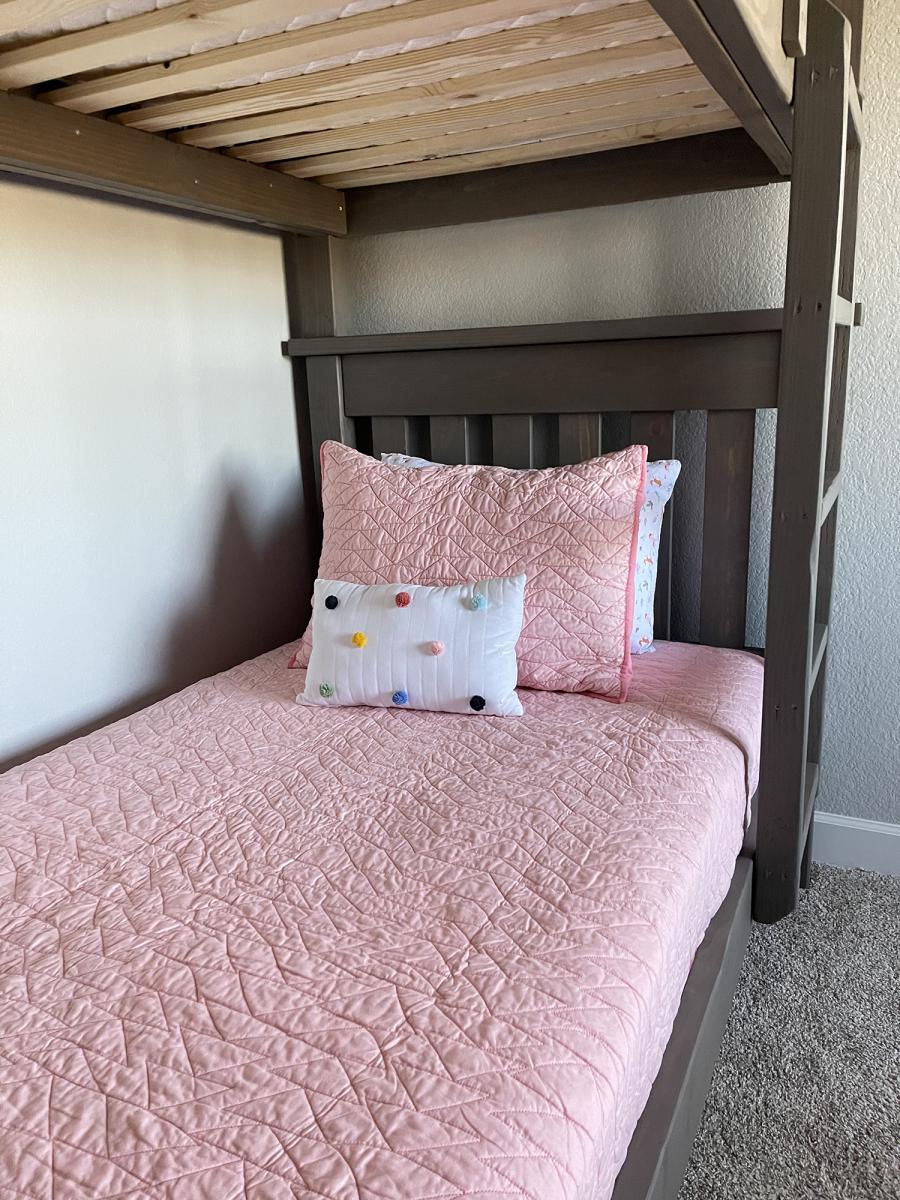
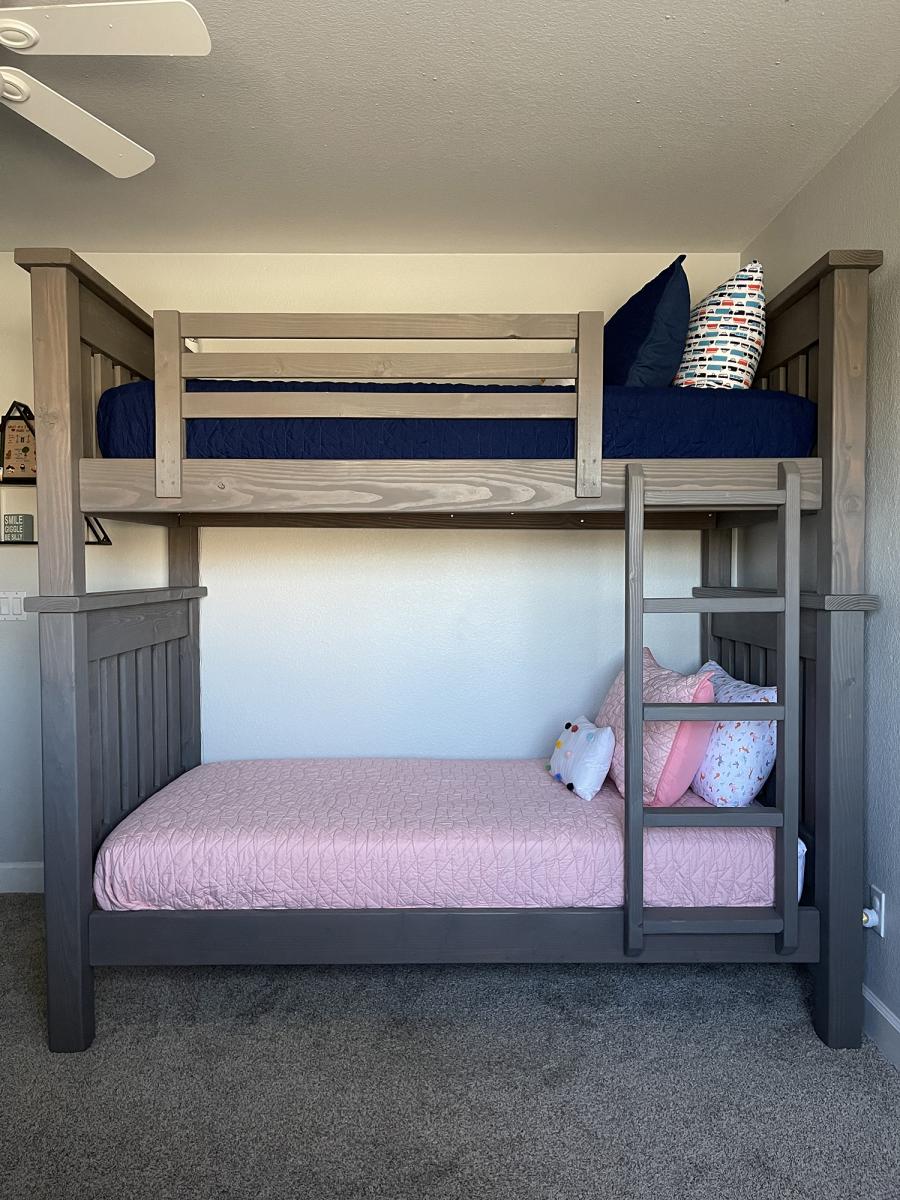
I searched high and low for the perfect bunk beds to buy for my four-year-old son and two-year-old daughter when our third child was on the way. We wanted something that had enough clearance between the top and bottom bunks so my husband and I could comfortably sit on the bottom bunk with our kids to read books before bed and it was nearly impossible to find a pre-made bed that fit that requirement in our price range. I was excited to find this plan because it looked like the perfect fit and we could modify it to meet our needs.
I built and stained most of the parts of the bed (while six months pregnant :P) and my husband did the final assembly. It took us about two weeks from start to finish since we could really only work during naptime and bedtime. We stained them with Behr water-based stain in Classic Gray. I love the way they turned out and they are super solid and heavy. My kids love them too.
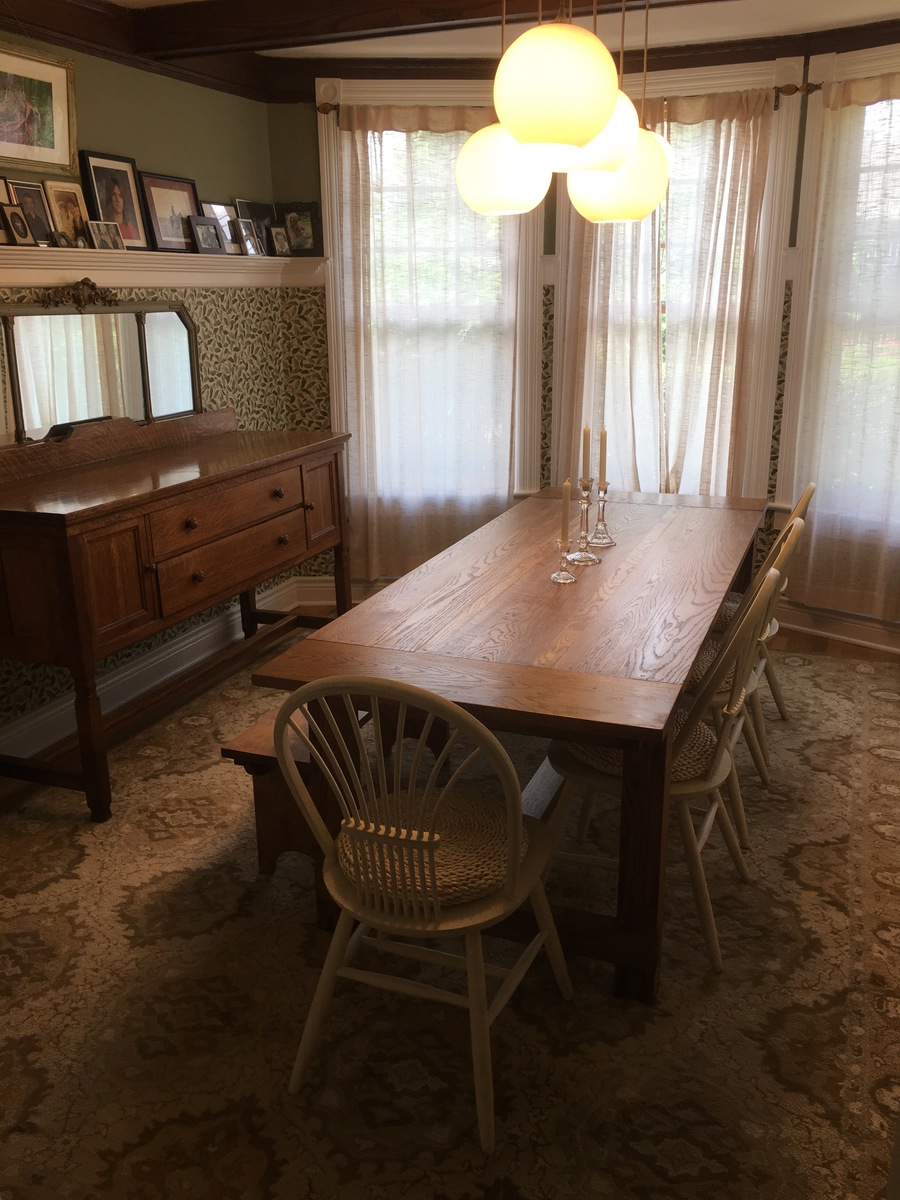
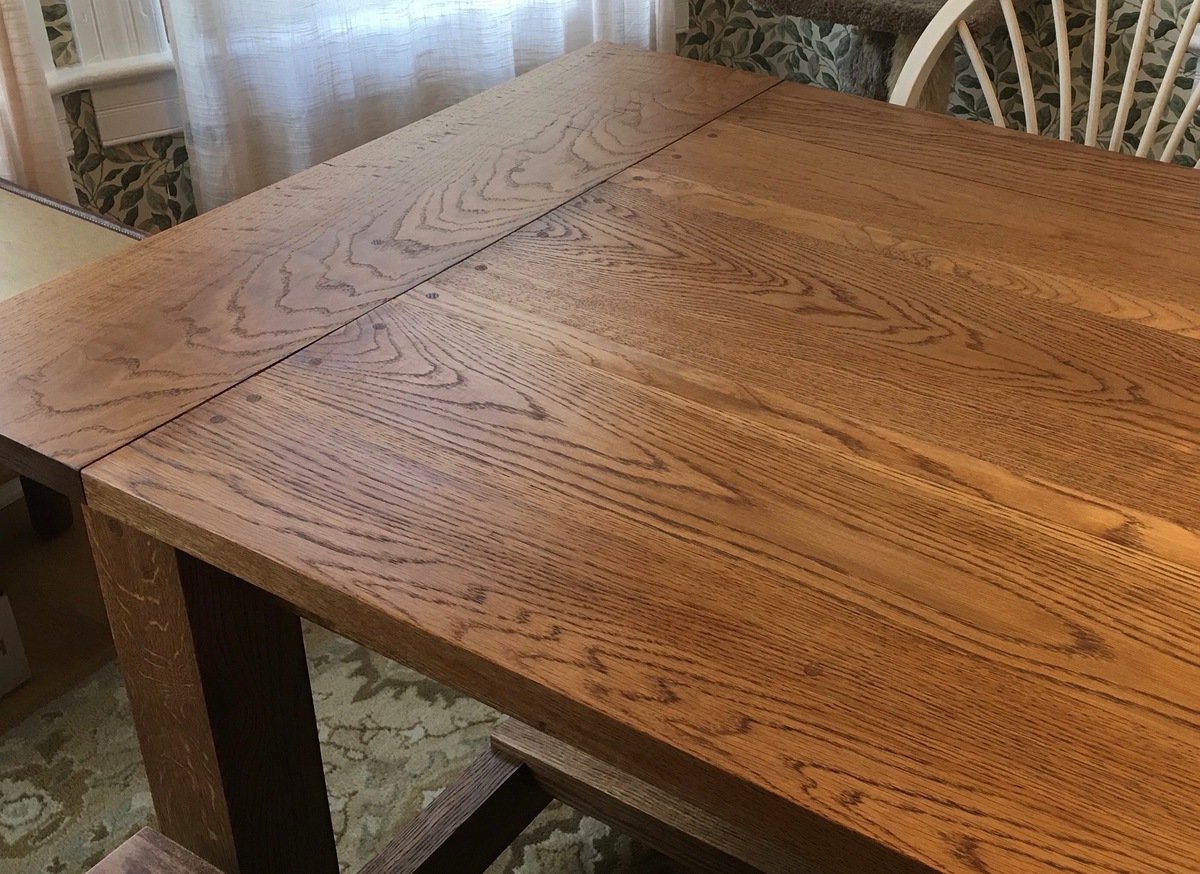
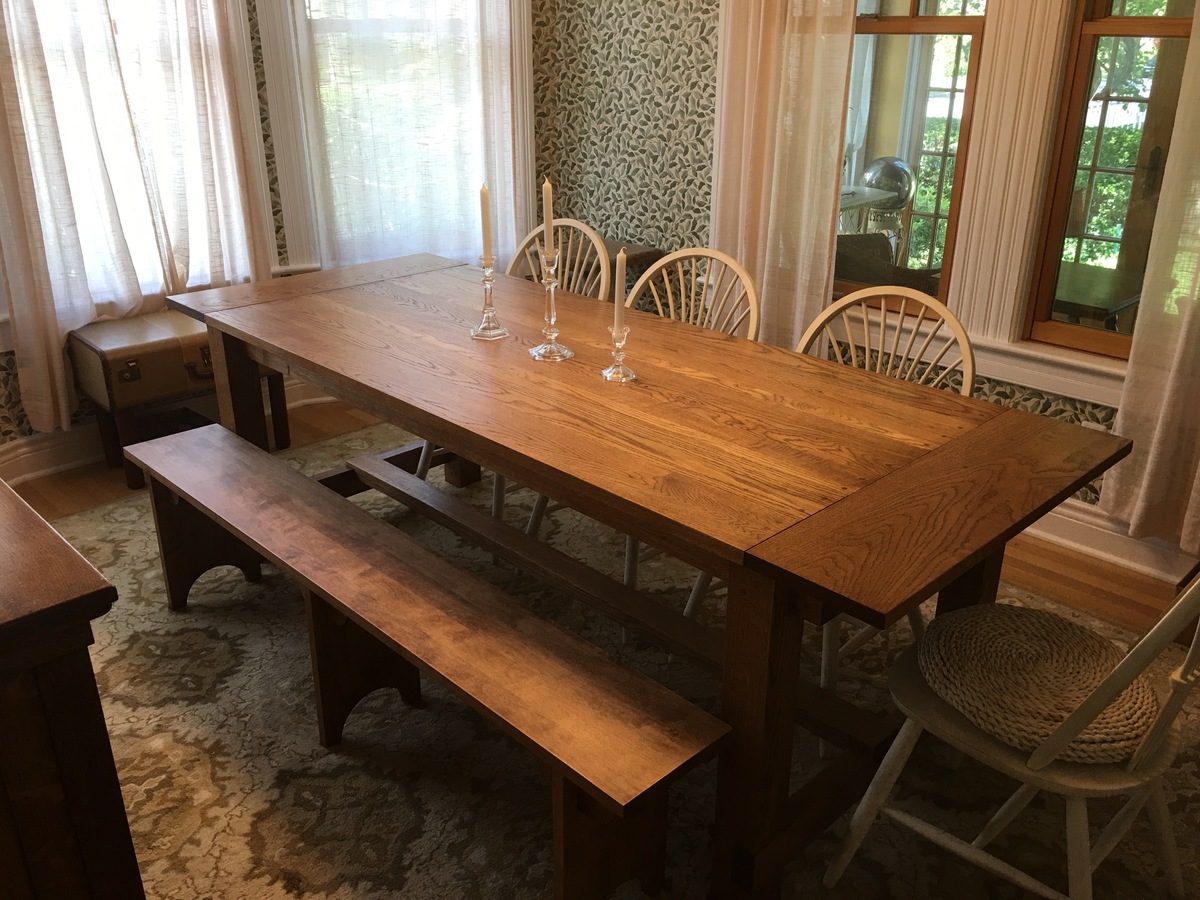
I built this using the Farmhouse Table plans, and we're thrilled with the results. My modifications included making the table longer and narrower to fit our dining room, and building it from some fantastic white oak from a local lumberyard called Boards & Beams in Fairfield, NJ. I used 5/4" thick boards of varying widths for the top, and created deeper overhangs at the ends by making the breadboard ends 10" deep. Unlike a more rustic version using pine, the lumber was extremely expensive, and the oak makes an already heavy table even heavier. Still, it is orders of magnitude less expensive than purchasing a custom table like this, and I only needed to "ship it" from my garage.
My idea was to match, as closely as my skills would allow, the antique buffet in the photo next to the table. Or at least to build something that would look good next to the buffet. My prior woodworking experience is limited to DIY carpentry and building plywood shelves and radiator covers. I am not a "mortise and tenon" woodworker (although I'd like to learn). The plans are excellent because this was the first "real" furniture I've ever attempted, and it is literally as solid as if it were carved from a single piece of wood. I rented a 12" compound miter saw from Home Depot to make most of the cuts in one day, which worked out extremely well. The visible screw holes I plugged with oak dowls.
If you decide to build this (or anything) from a hardwood, here are a couple mistakes I made early on that you don't want to repeat. First, EVERY screw into every piece needs a pilot hole. If you have even the slightest thought that your screw is about to strip or break, it is. Second, higher-quality wood is often cut larger than what you find in a big box store. A 2 x 4, which might be 1.5 x 3.5 from Home Depot, can be 1.75 x 3.75. This really matters a lot, and so you have to measure your actual wood and re-calculate every measurement accordingly. The upsides, for me, included fewer warped pieces, less splintering, and greater ease of sanding and finishing.
Thank you very much for posting these plans and for your excellent "how-to" on cutting out the notches.

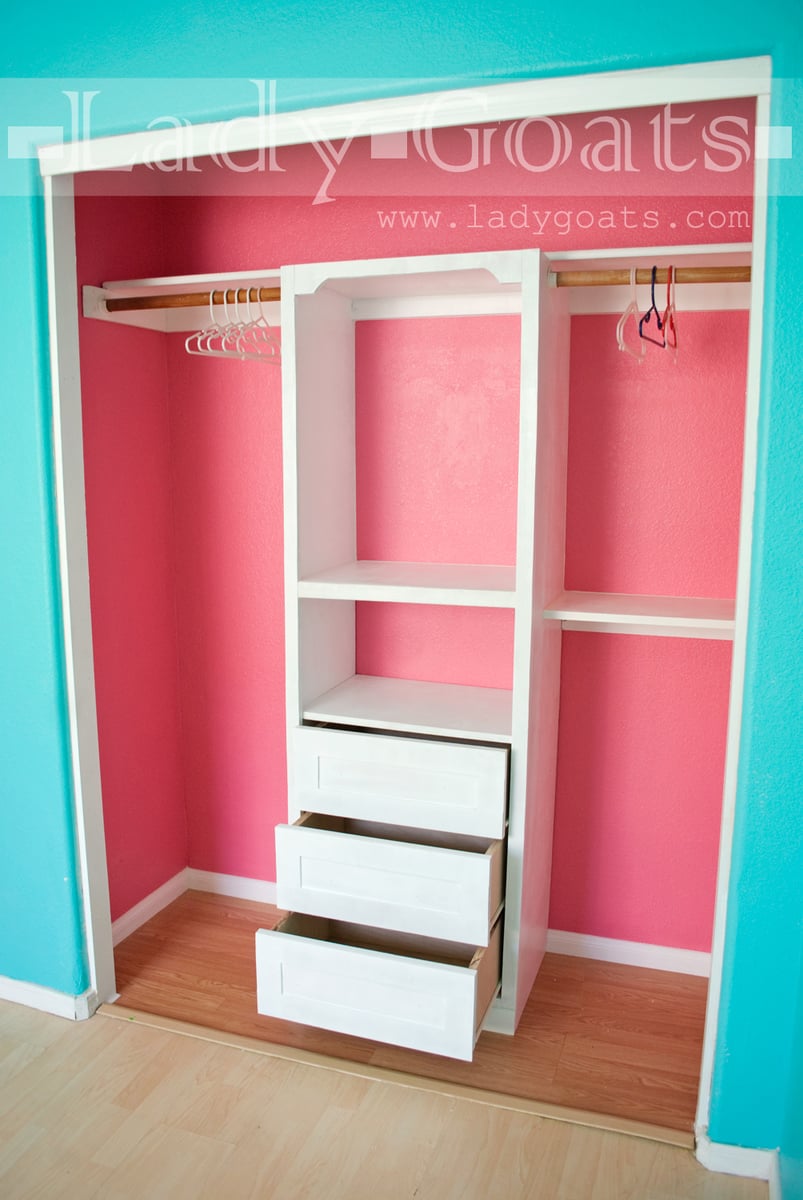
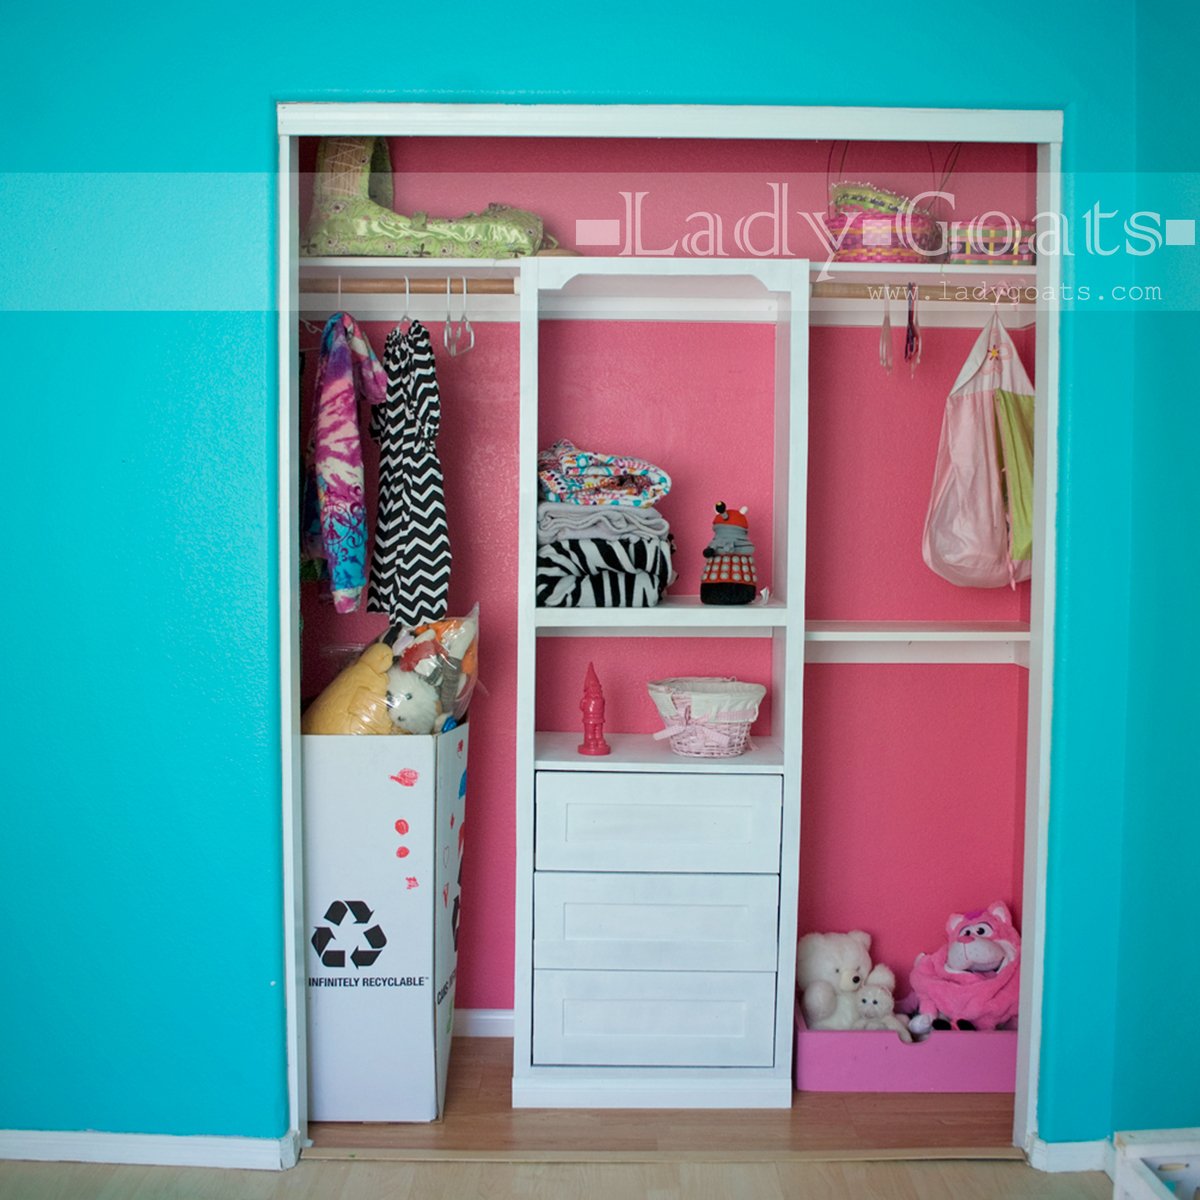
When I realized I was going to build the closet tower, i made sure there were plans for the drawers before beginning. Thankfully there were, so that made this a brainless build. Thanks, Ana! Read about the build, here.
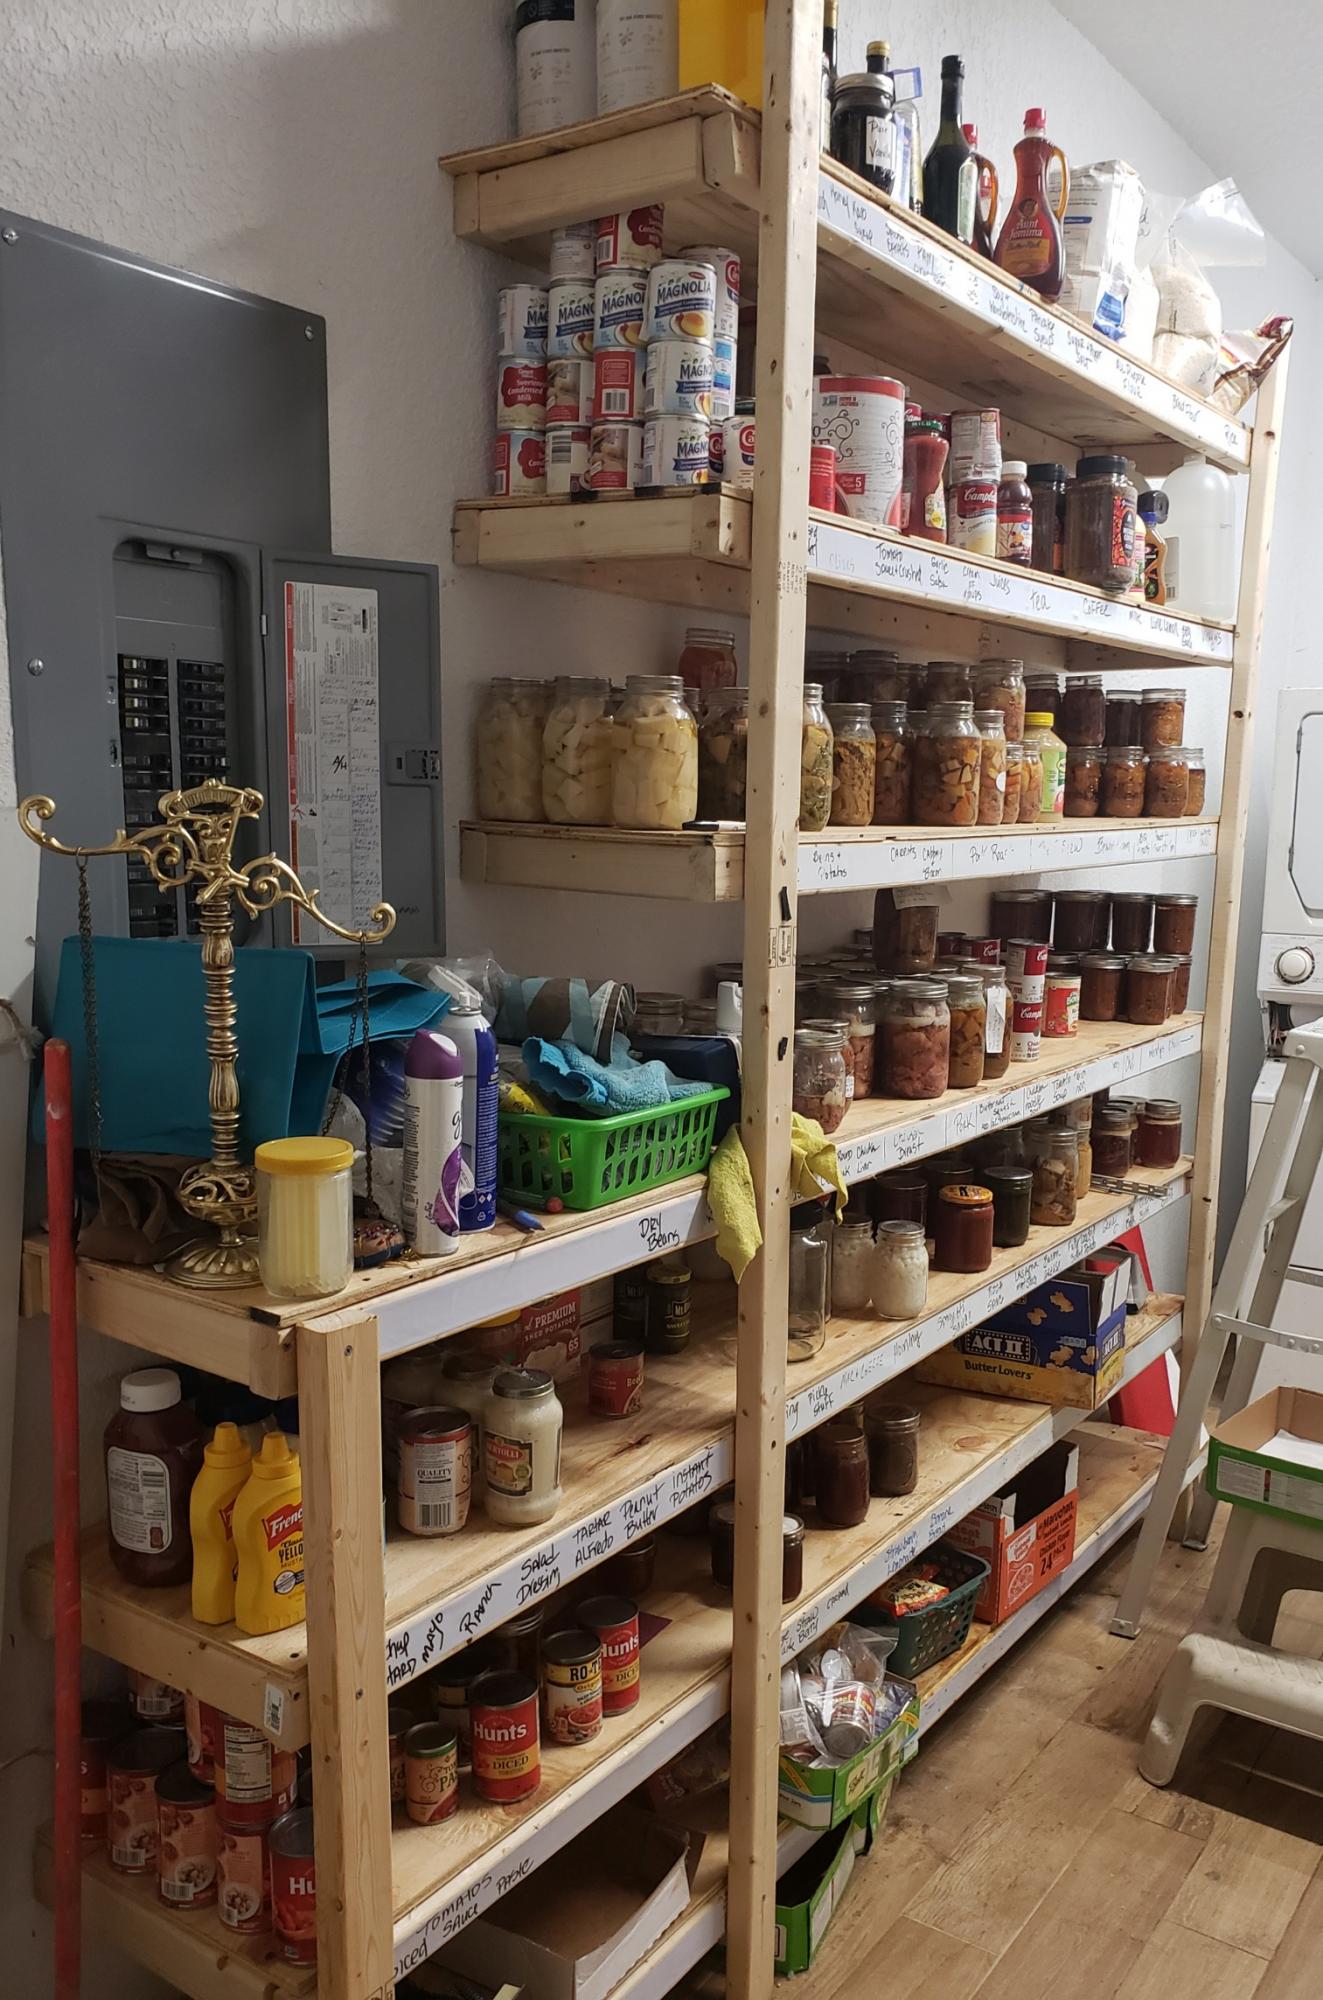
I was 58 when I built these. Super easy. I also built these in my kitchen to store all my gadgets..
Thanks Ana. You have so many things I want to try.
April E
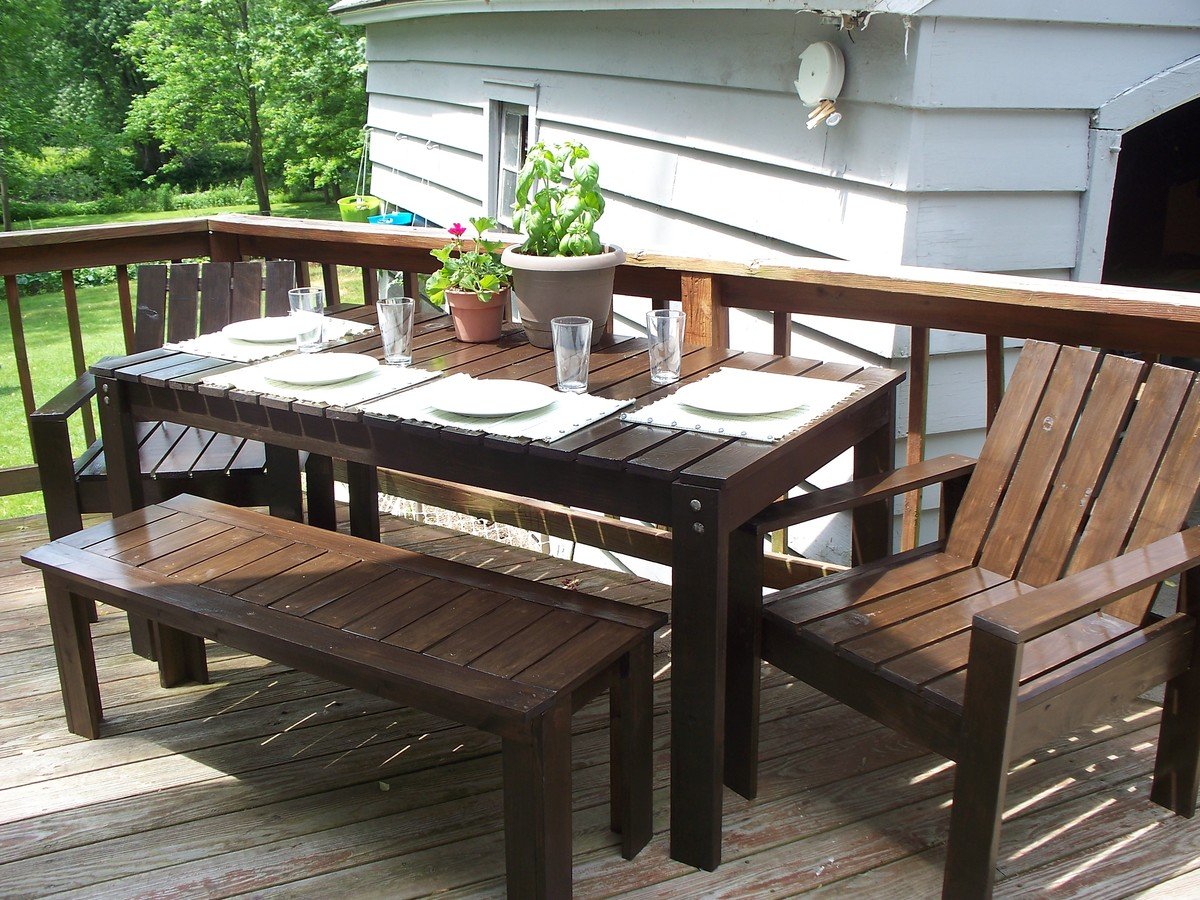
The outdoor bench was my first Ana project. It was so easy and rewarding that I immediately set out to build the rest of the set!
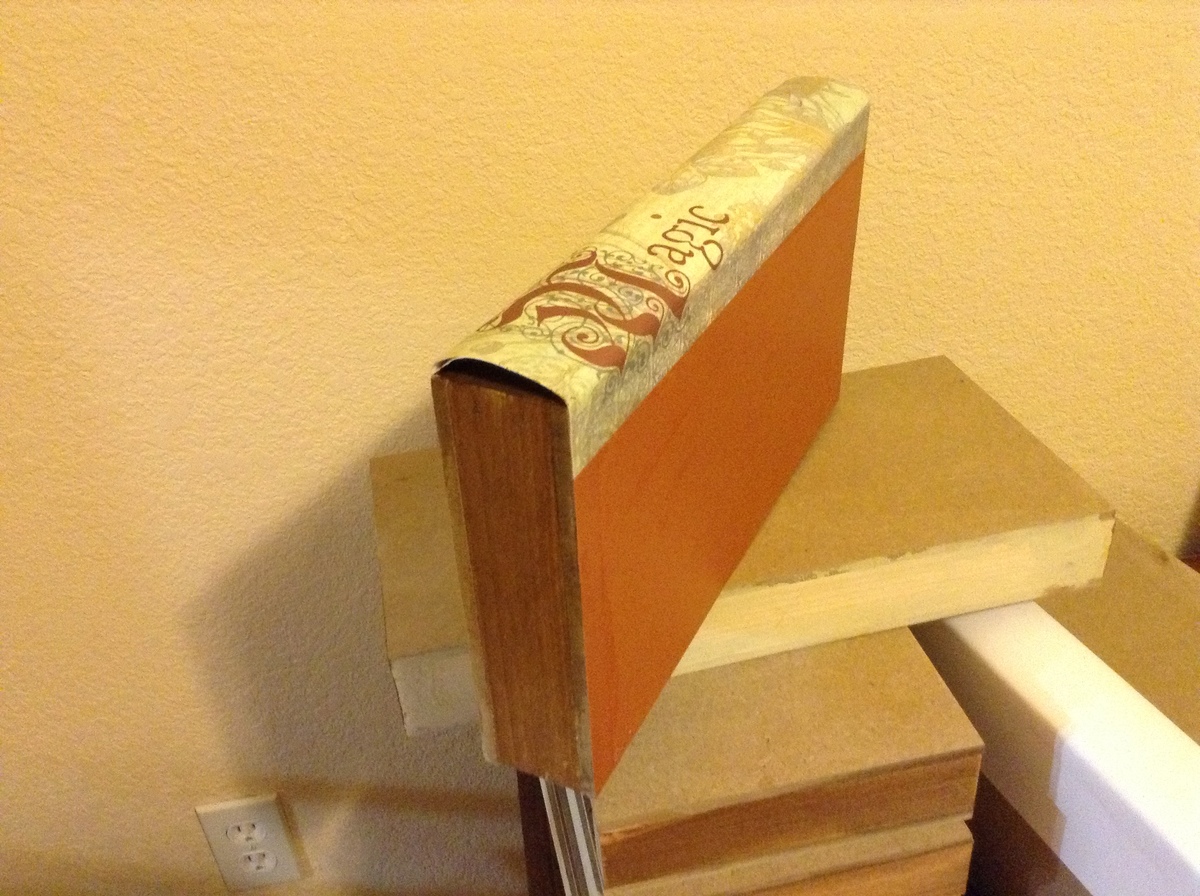
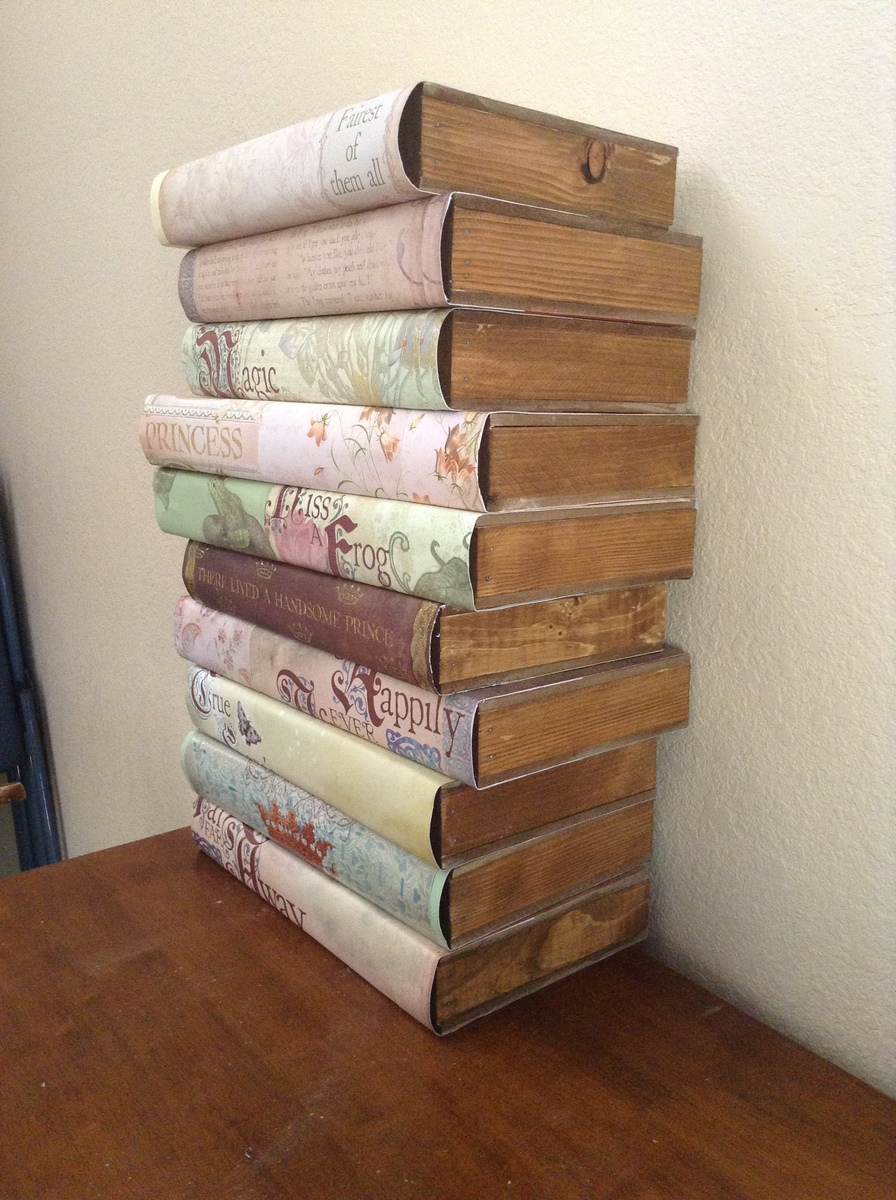
I wanted to make floating shelves. As I was making them, I got the idea to decorate them like books.
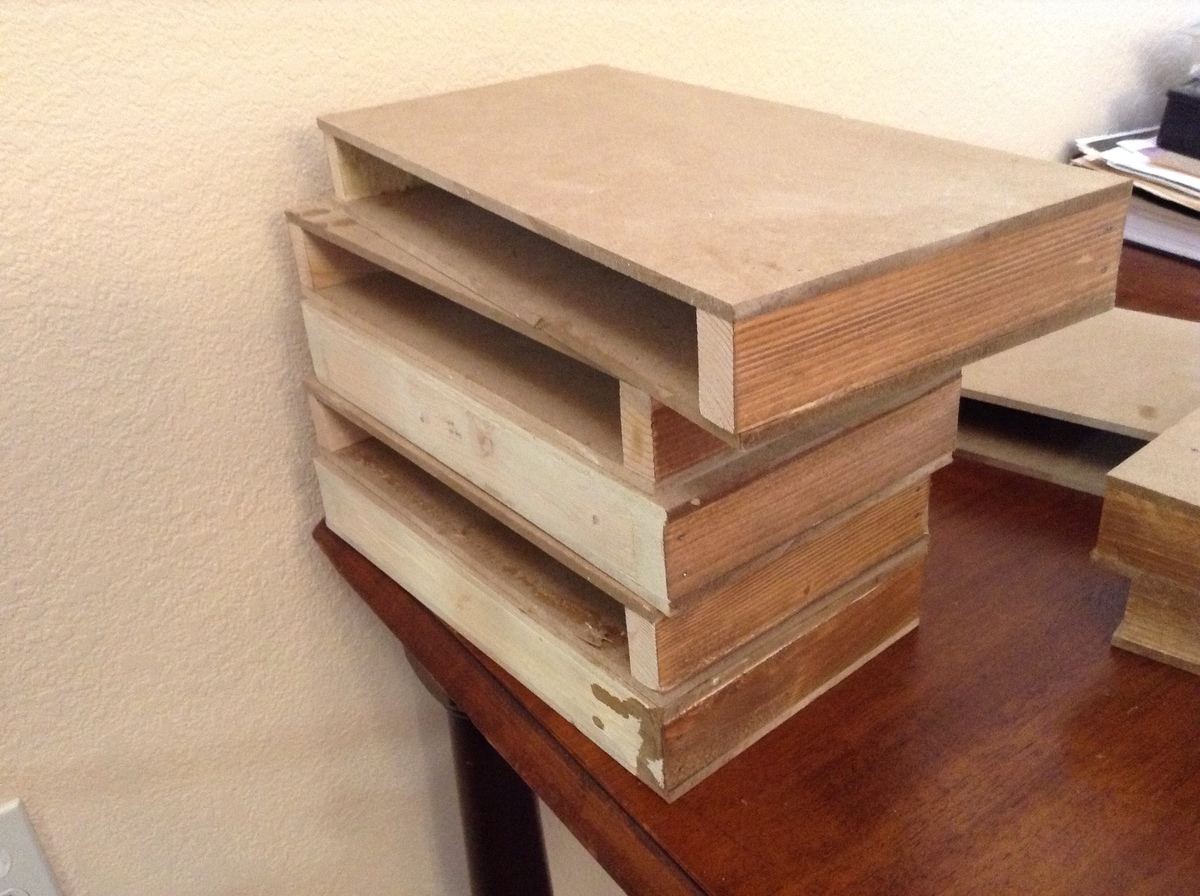
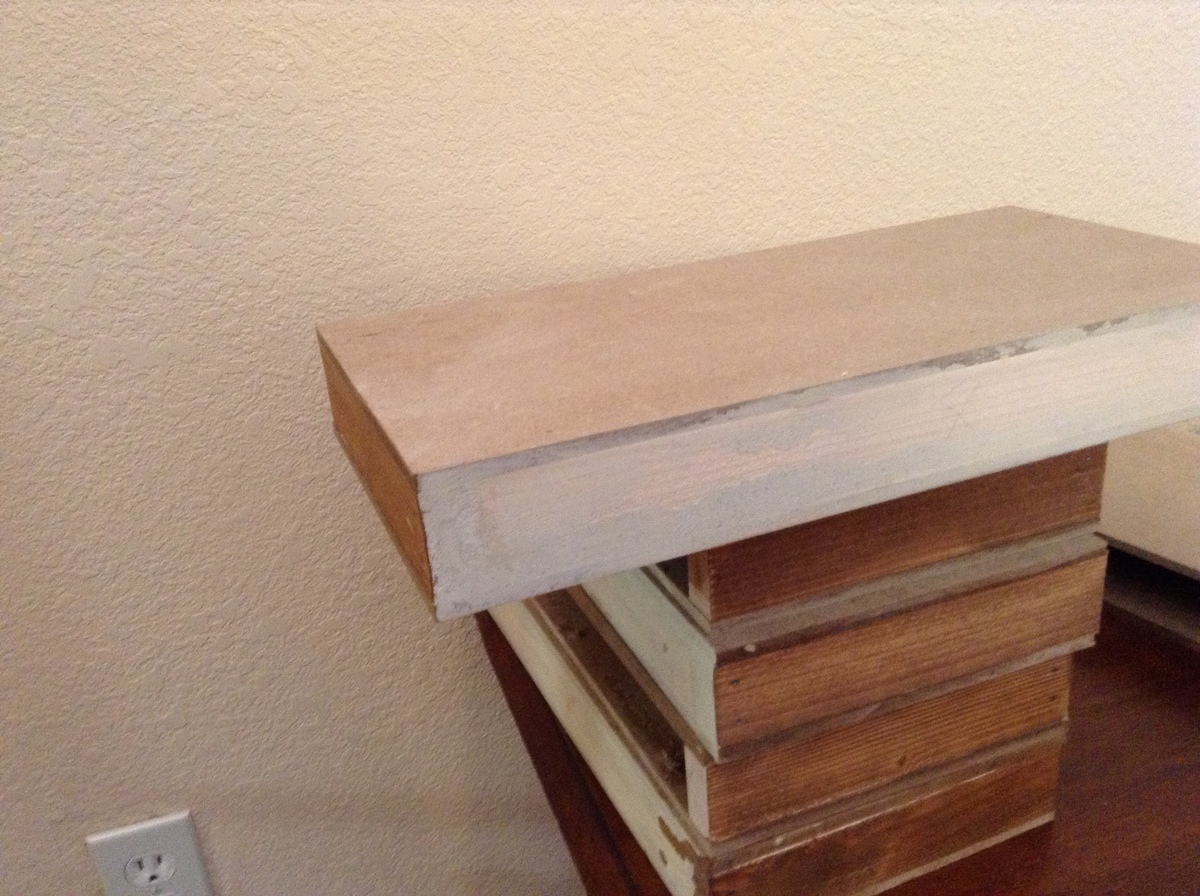
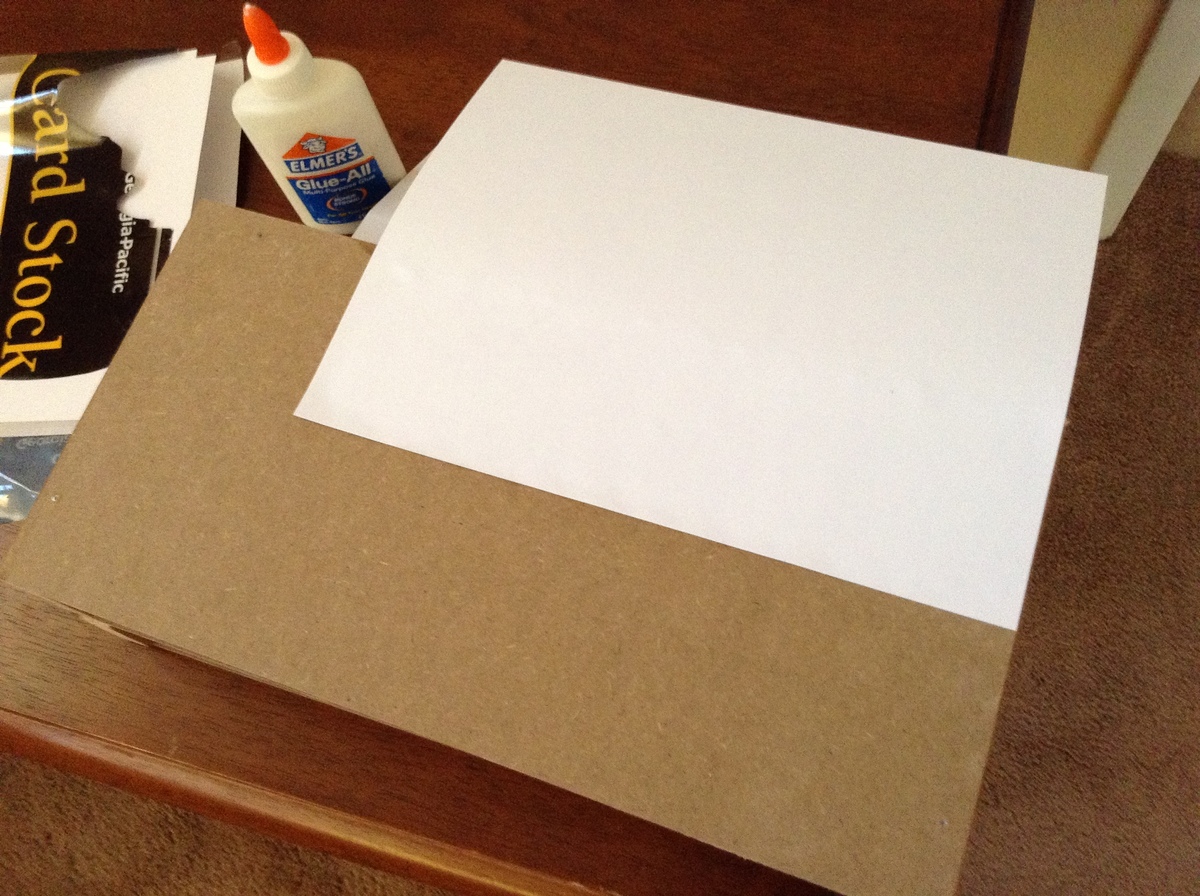
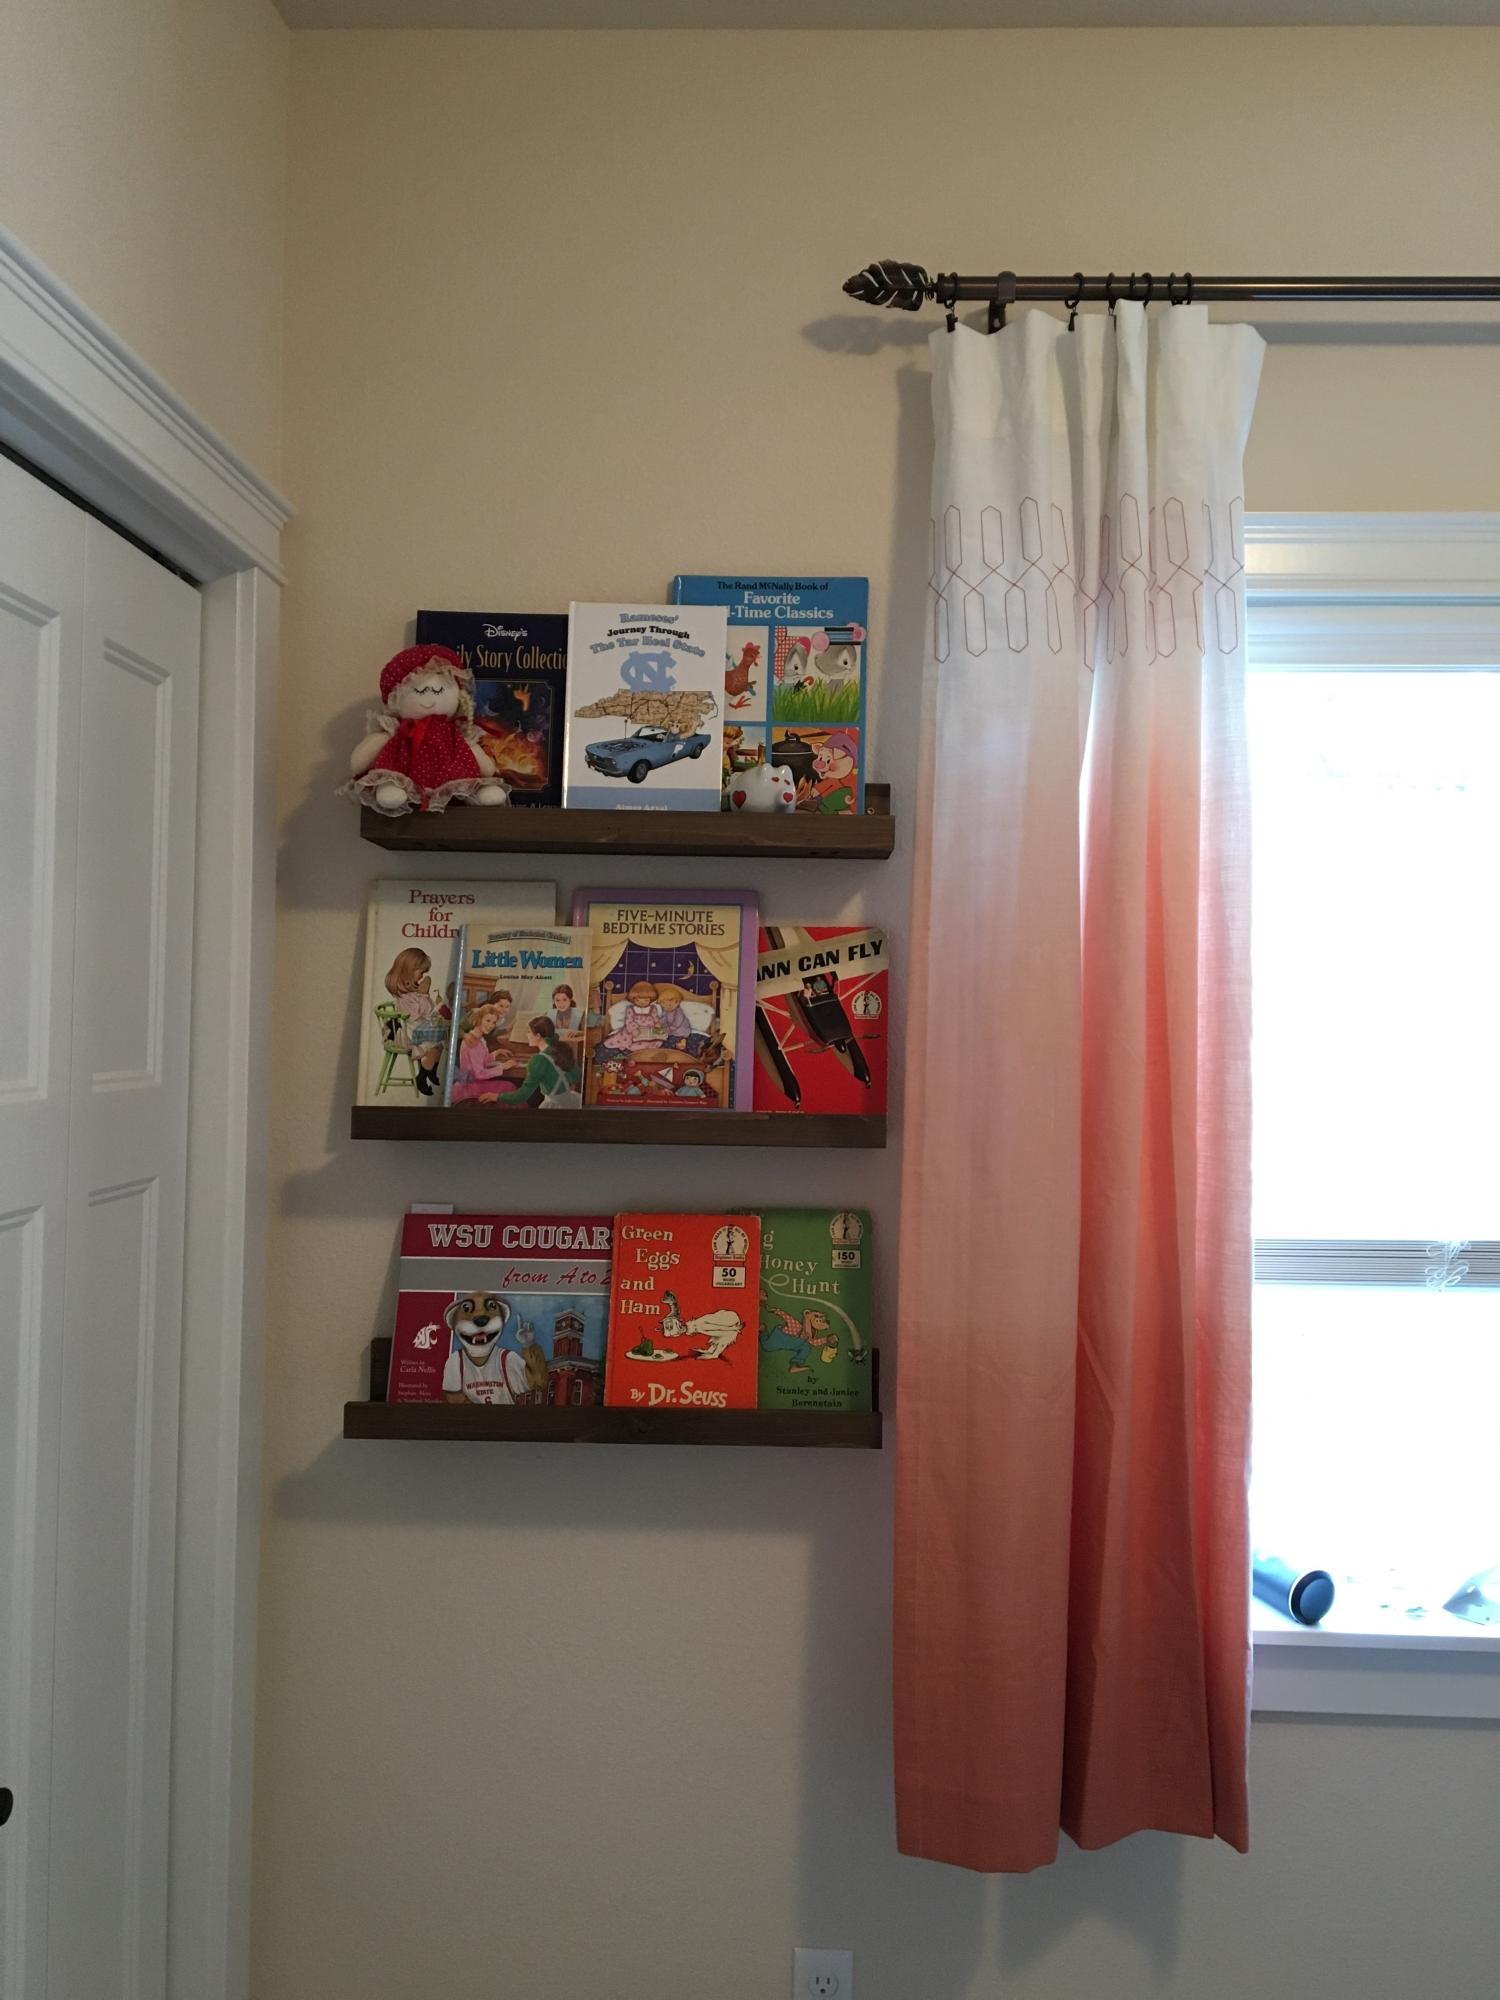
My husband and I built the 10 dollar ledges to use for book storage in our nursery. I love how they allow you to display the books as well as store them. This is the second time we have used this plan for wall decor in our house, and our fifth build overall from one of Ana's plans. I love all the fun options!
For the small size, we only needed three boards so it was inexpensive and they came out great.
This was the first good-sized project I built by myself. I finished it more than 4 months ago and it still makes me smile every time I look at it. :-) A simple, functional and BEAUTIFUL shelf that will work anywhere and for anyone! I was so impatient for it to be finished I didn't put poly or any clear coat on it and I'm still in love!
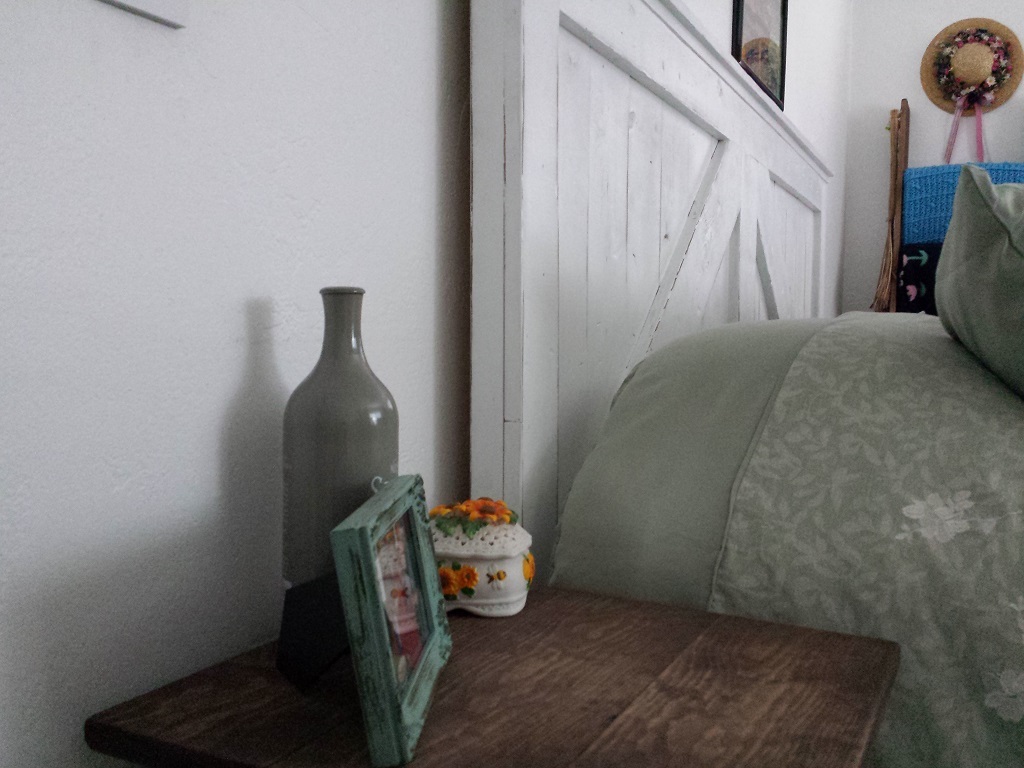
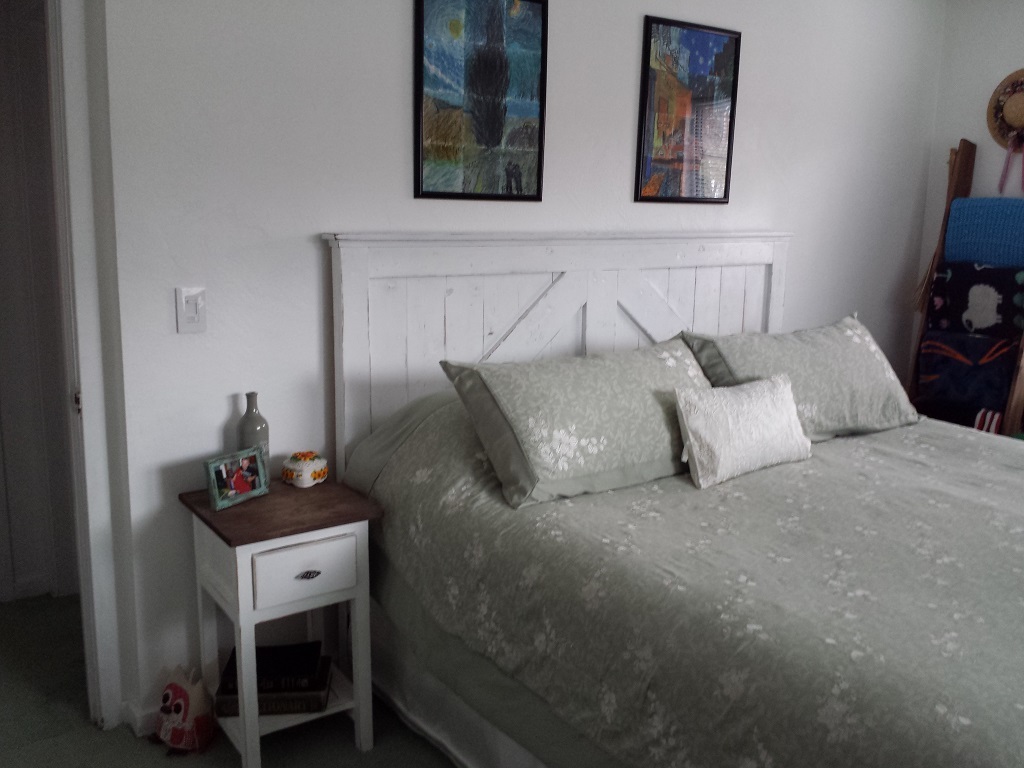
I built this headboard to coordinate with the nightstand, tv console and blanket ladder I had previously built. We recently purchased a King size bed and found ourselves in desparate need of a furniture makeover. I modified the plans to fit our bed, and wanted a beefier look so I used a combination of twelve 1x6s and three 1x4s as opposed to only using 1x4s for the panel back. I also used 1x6s for the trim as well. Legs were made of 1x4s, doubled up at the bottom for additional support. I built it so that the legs could bolt to the bedframe using lag bolts. I also wanted it to be a bit taller so I increased the height to 56" tall.
Fri, 04/10/2015 - 23:19
I also wanted it to be a bit taller http://wp.me/p5ZUhY-1S
http://ref.li/paYsW
http://bit.ly/1NdOcoW
http://wp.me/p5ZUhY-1P
http://wp.me/p5ZUhY-1D
What a great little feeder! I didn't put mine in the window yet, because the screens are on for the summer. I screwed a metal flange into the bottom of the bird feed then screwed a metal pipe into the flange. Then put it in the ground under the window. I'll add the suction cups and put it in the window in the fall. I love watching the birds!
This was my first big Build! Thank you Ana for the free and easy to read plans.
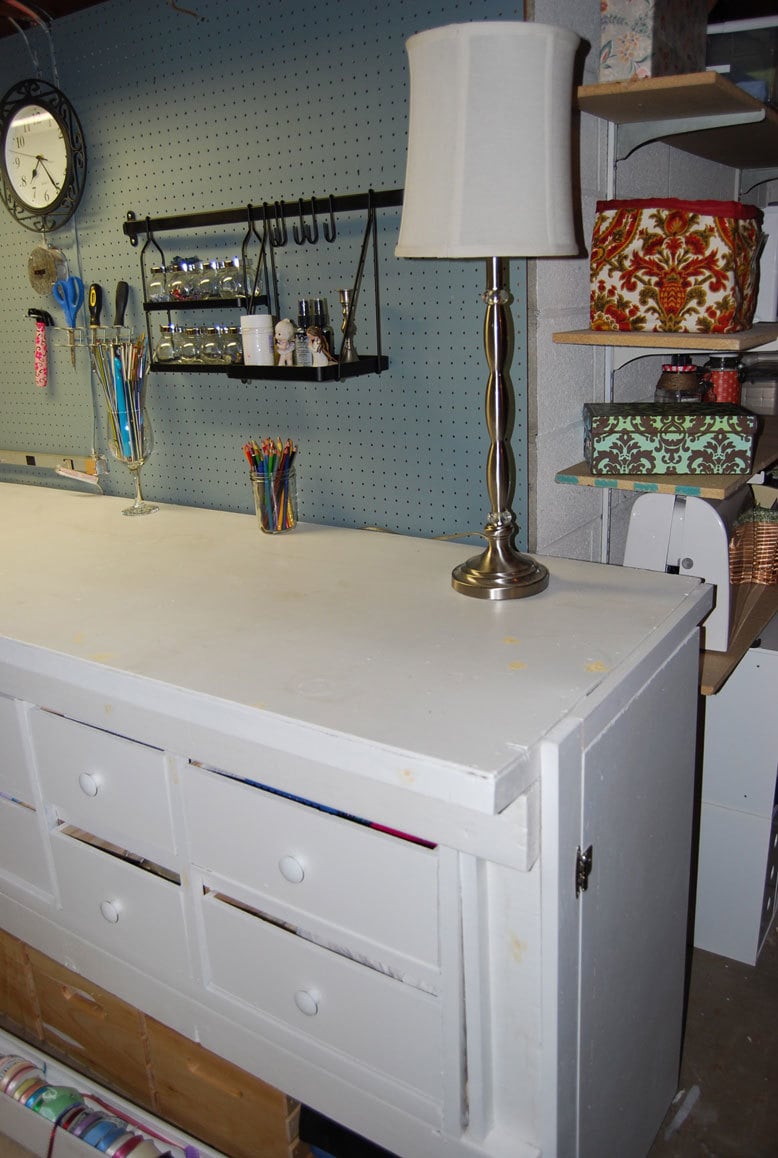
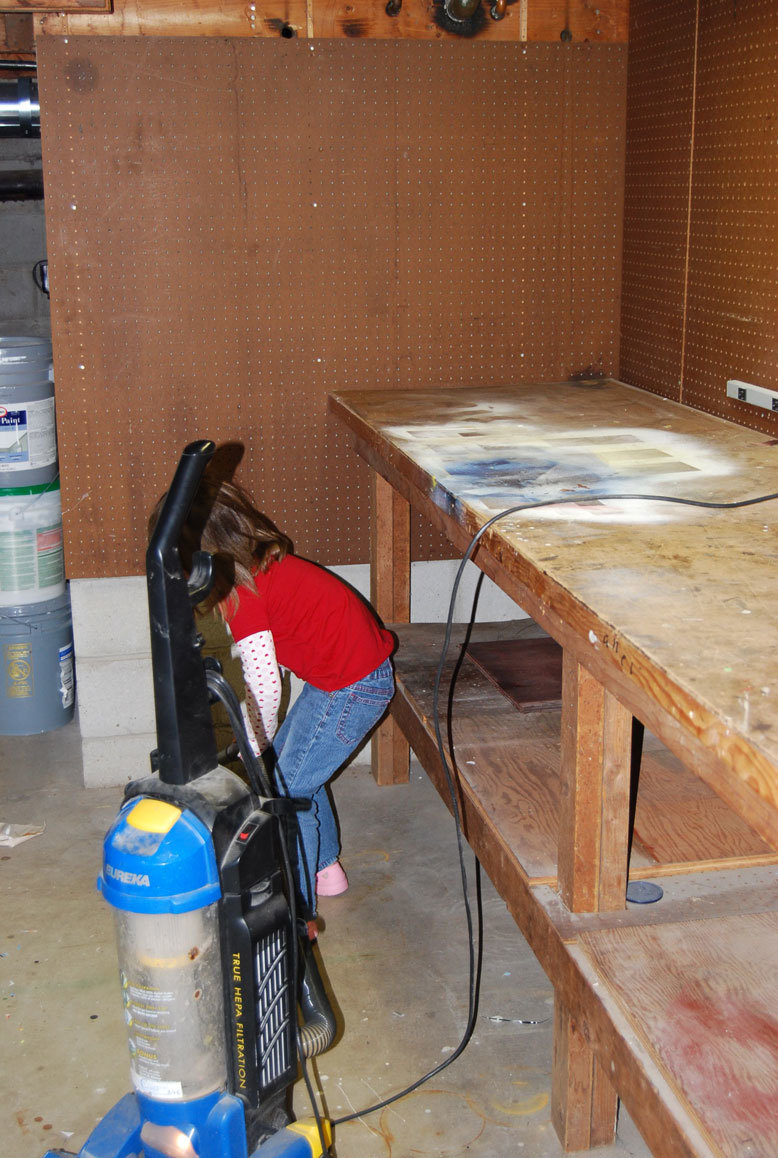
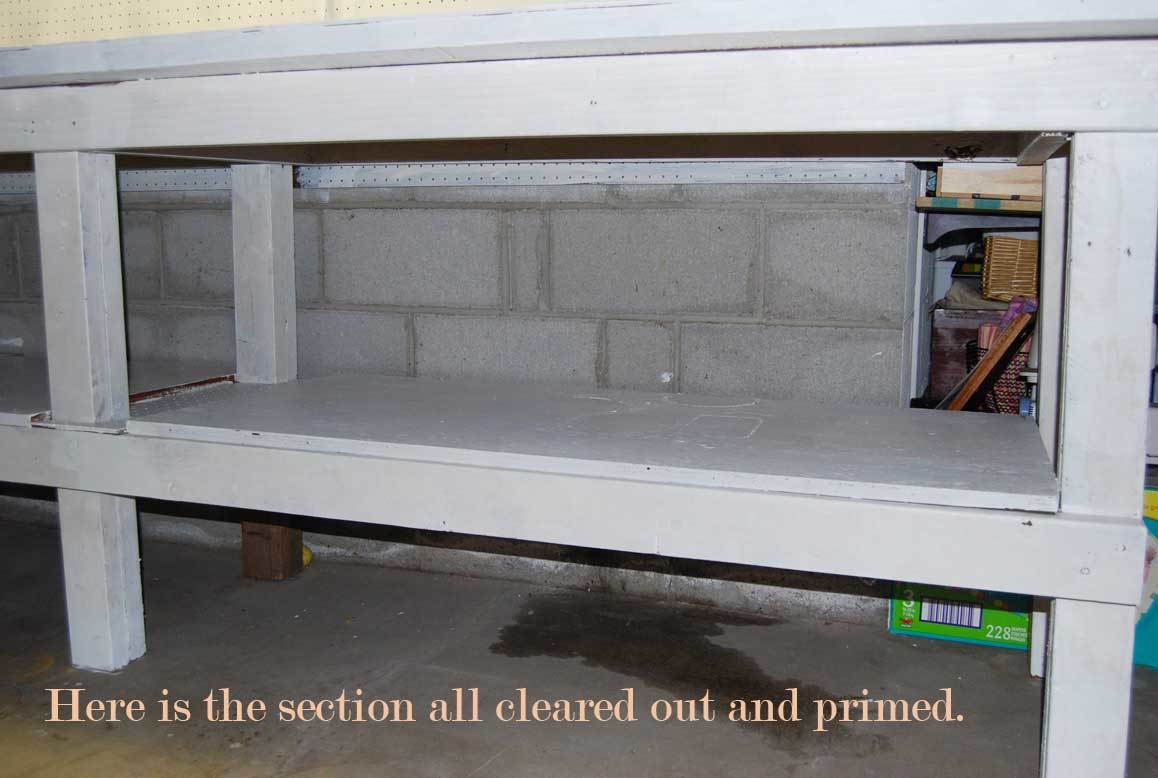
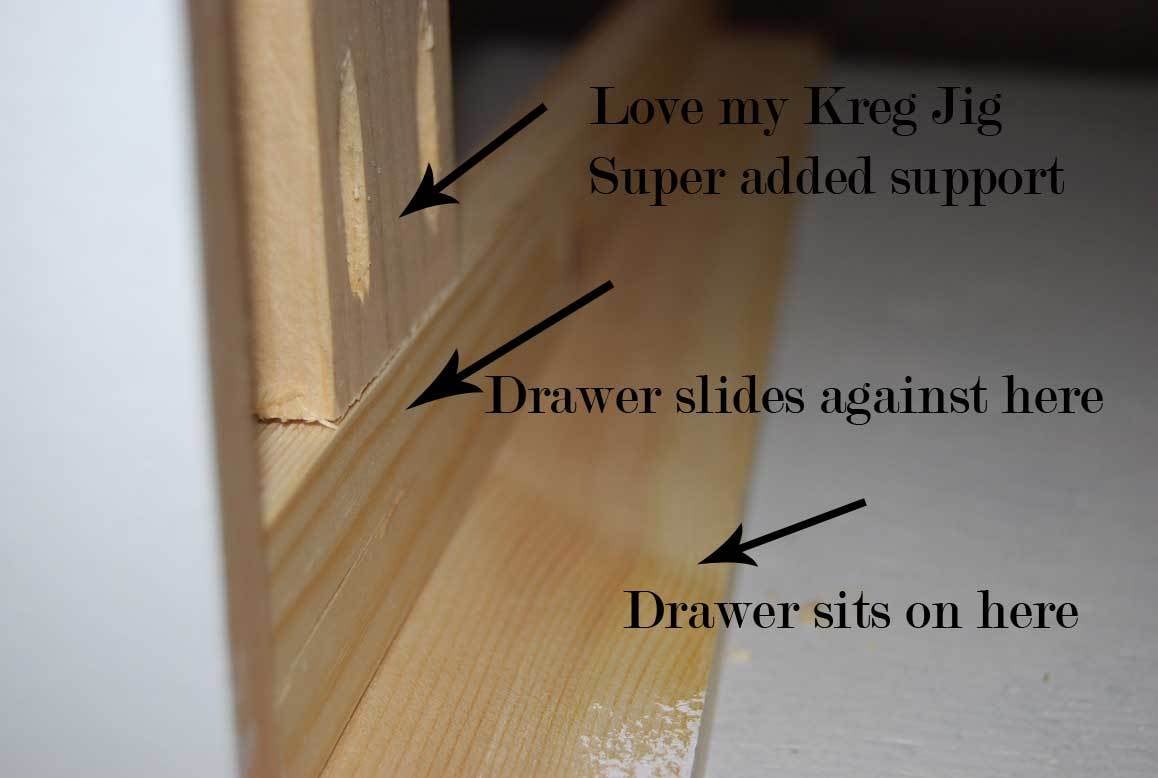
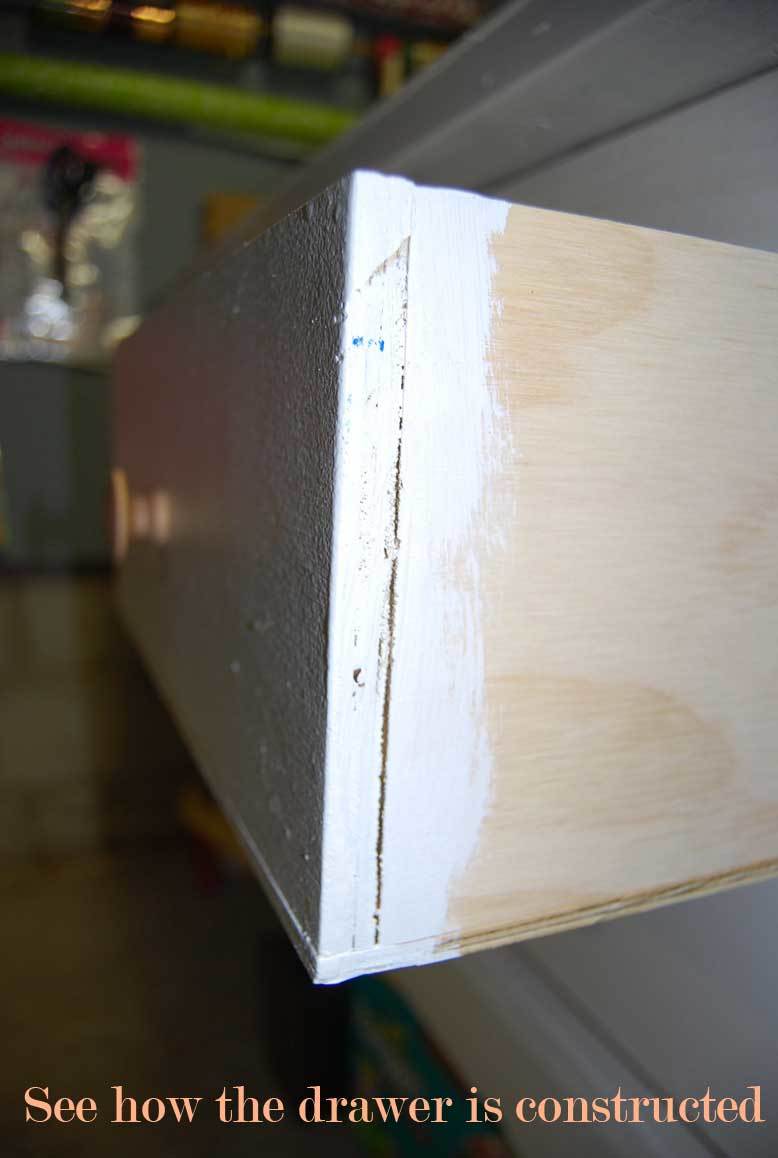
I had an old table that was in my basement. I wanted to re-do my craft room. I have been thinking and thinking about it. So when I saw Ana’s link to her drawer organizer – and how to install drawer slides – I thought – ok – now it’s time to do it.
I spent about a week drafting plans, making measurements. At first I was going to recycle the metal sliders I had left over from the kids dressers…but there wasn’t enough – and to do 12 drawers would be more money than I wanted to spend.
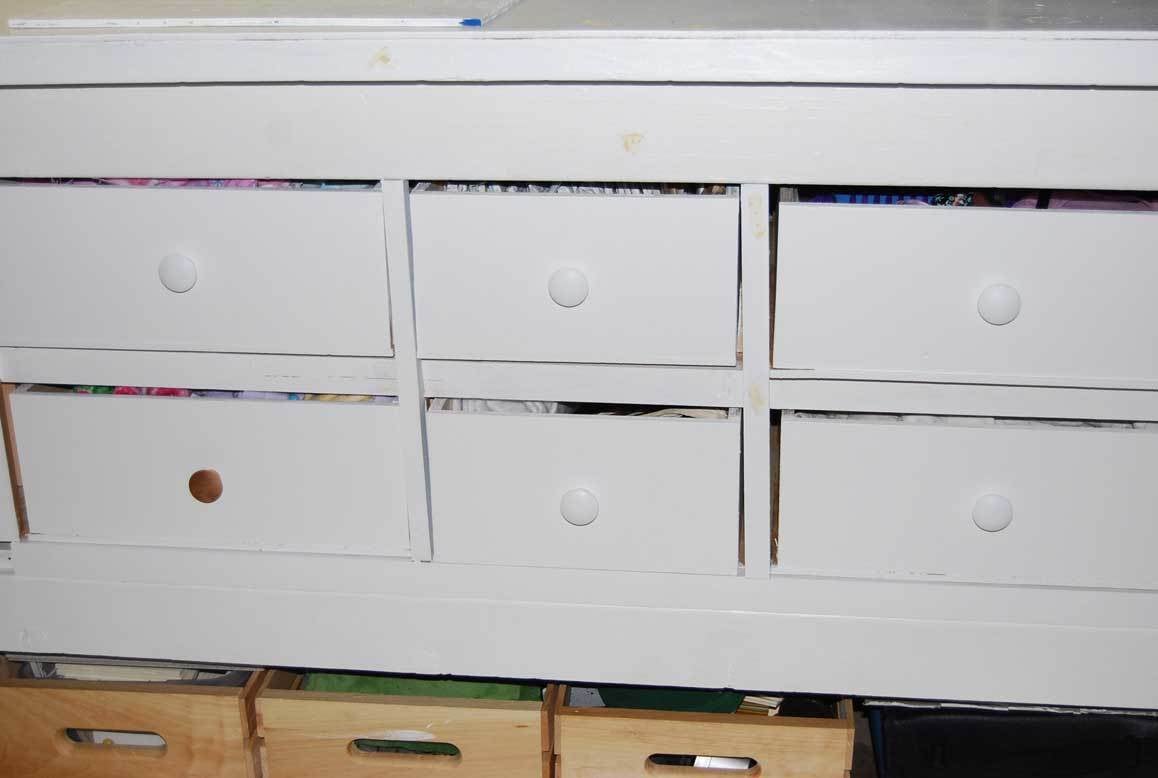
So – a trip to home depot – I was able to take this table that was just collecting junk – literally – to an organized and functional crafting cabinet – with huge deep drawers. There are 12 drawers in total. They are all 6 inch in height, 26 inches deep, and then there are 8 that are 16 inches wide, and 4 that are 12 inches wide.
Here are some before and after pictures – I have all the details on the build on my blog. I wouldn’t have been able to do it without Ana. Her plans and continual inspiration!
Comments
Ana White Admin
Thu, 02/25/2021 - 14:11
Fantastic Build!
Thank you for sharing, it looks fabulous!