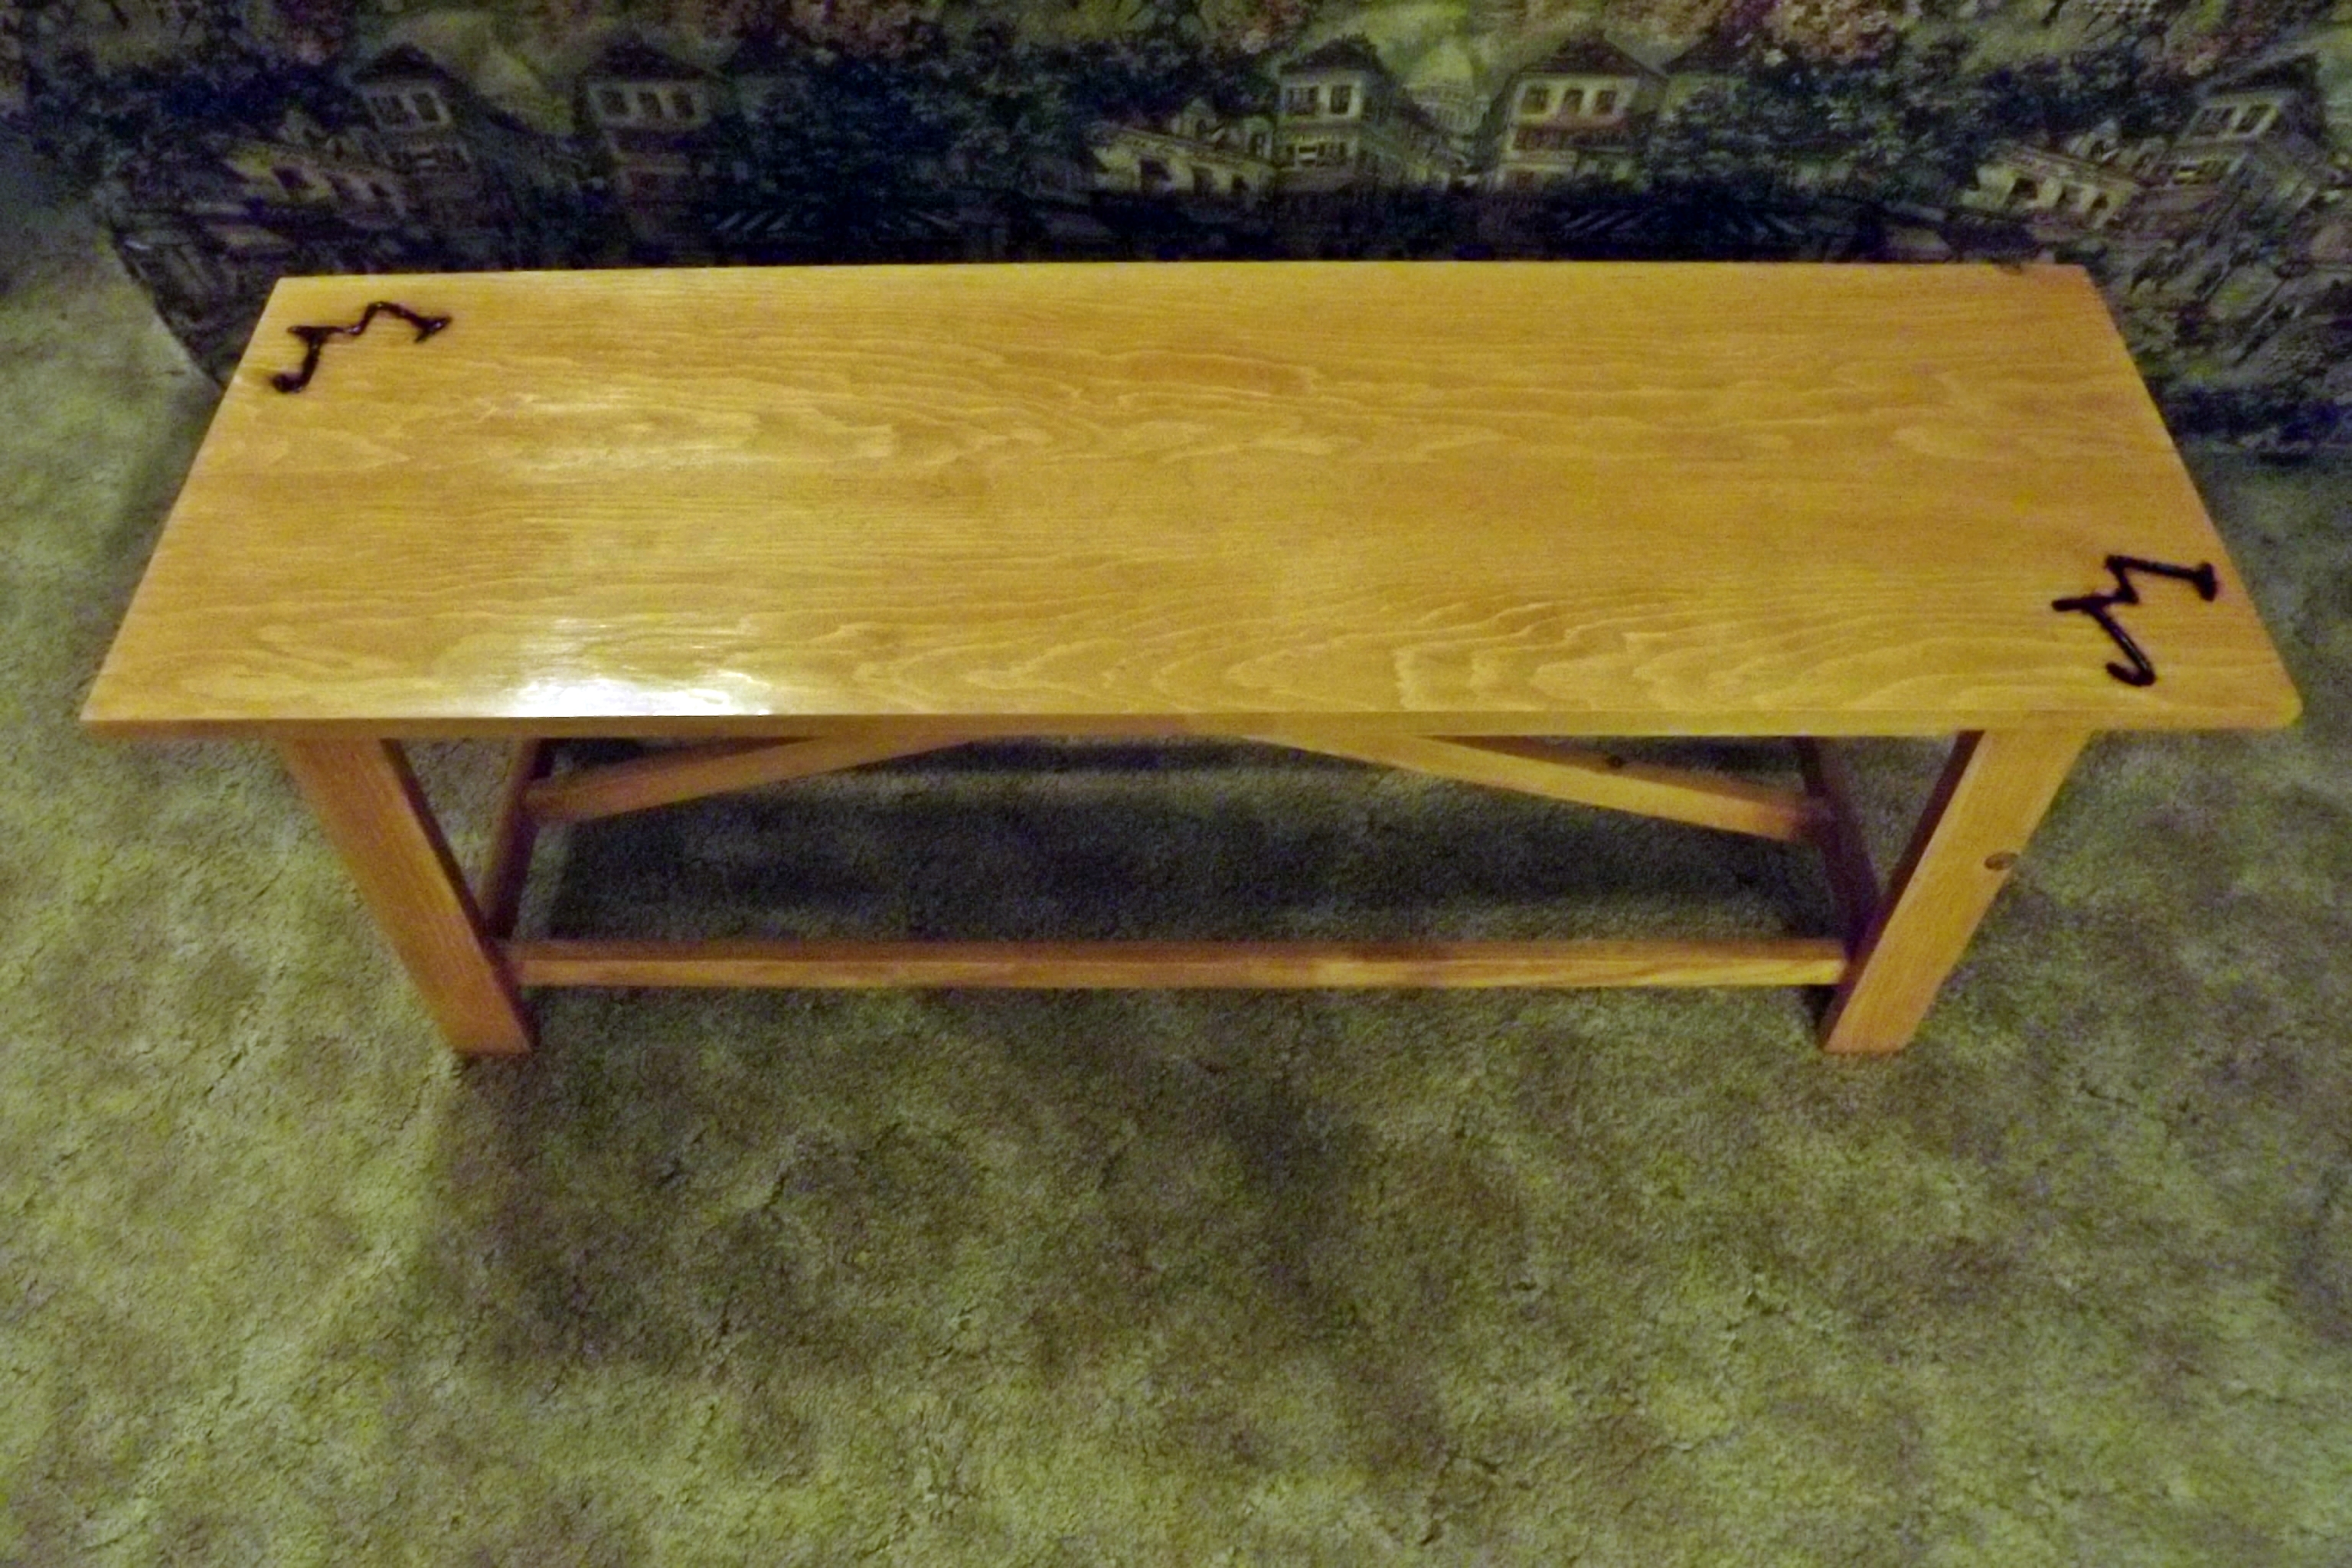
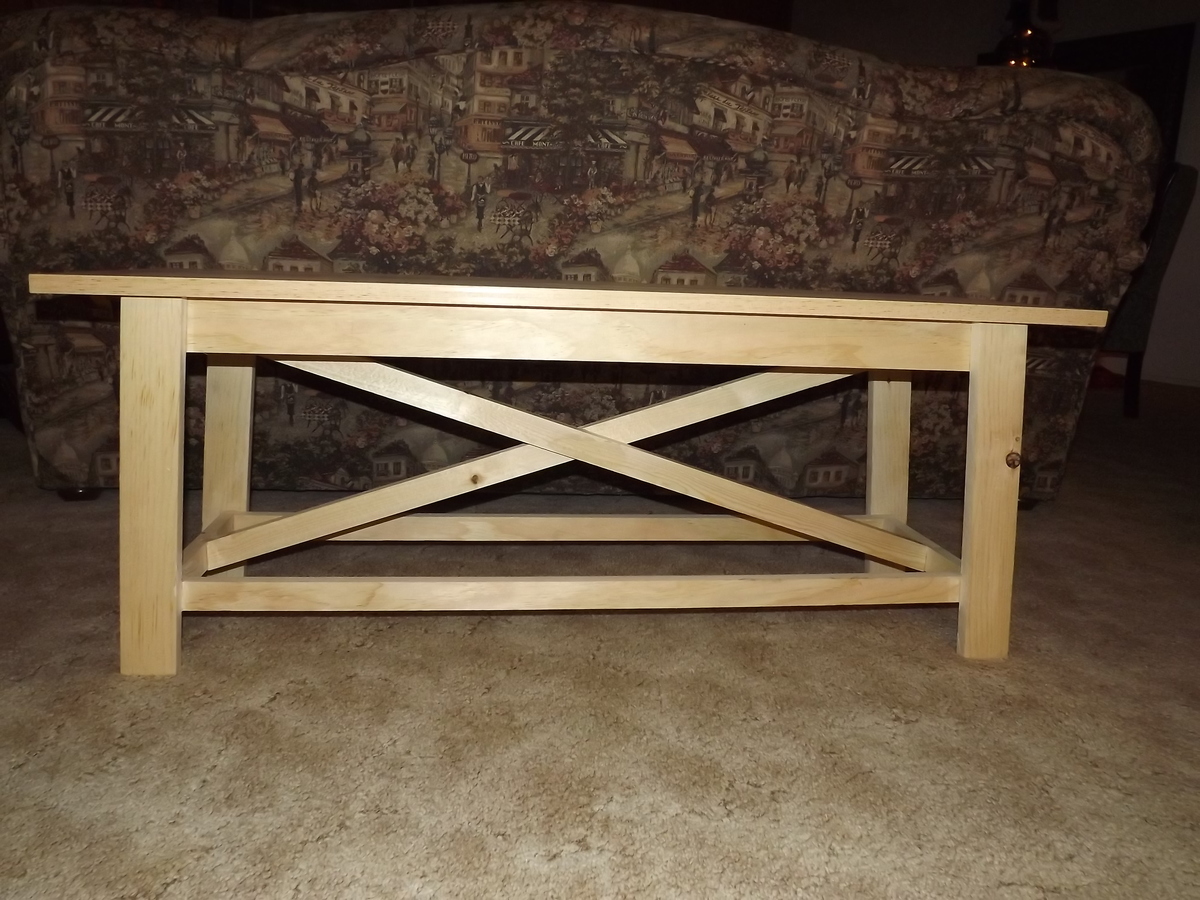
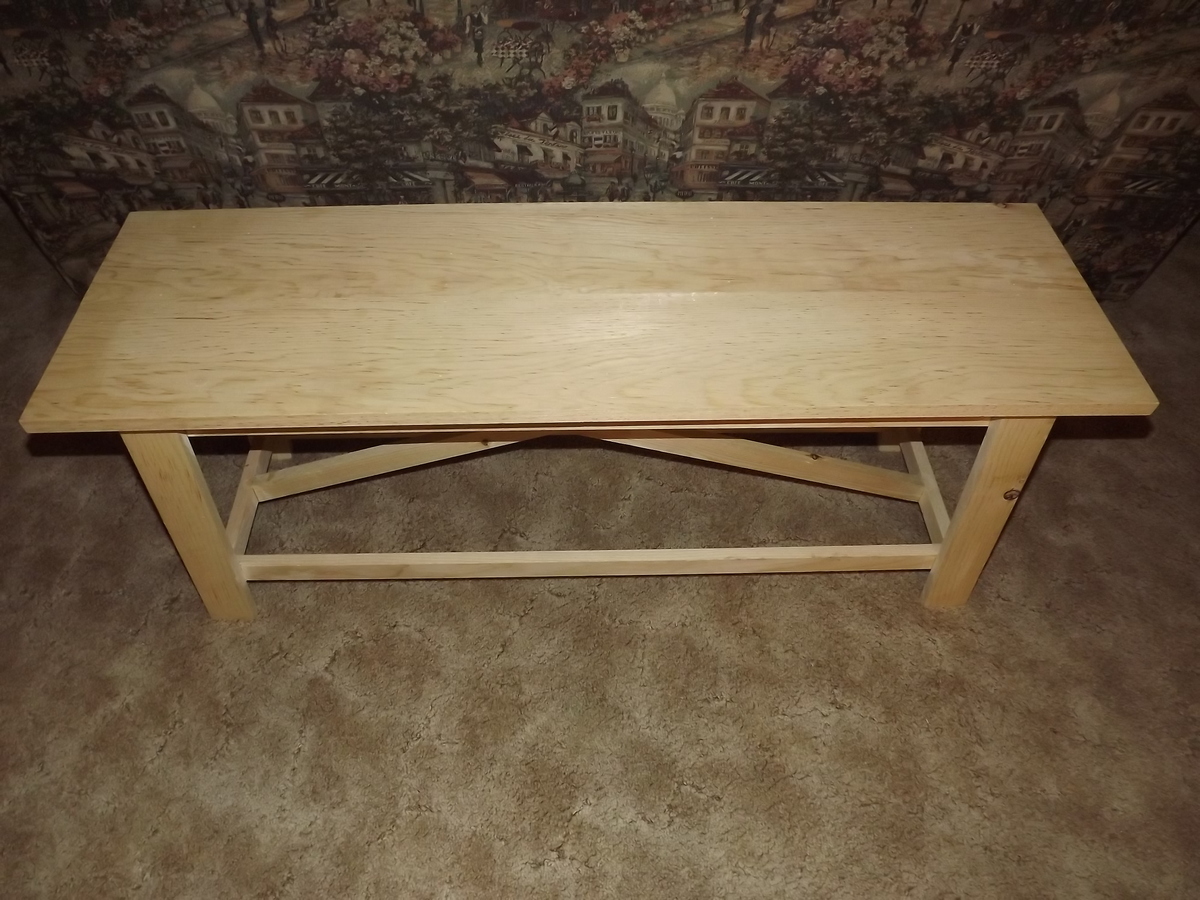
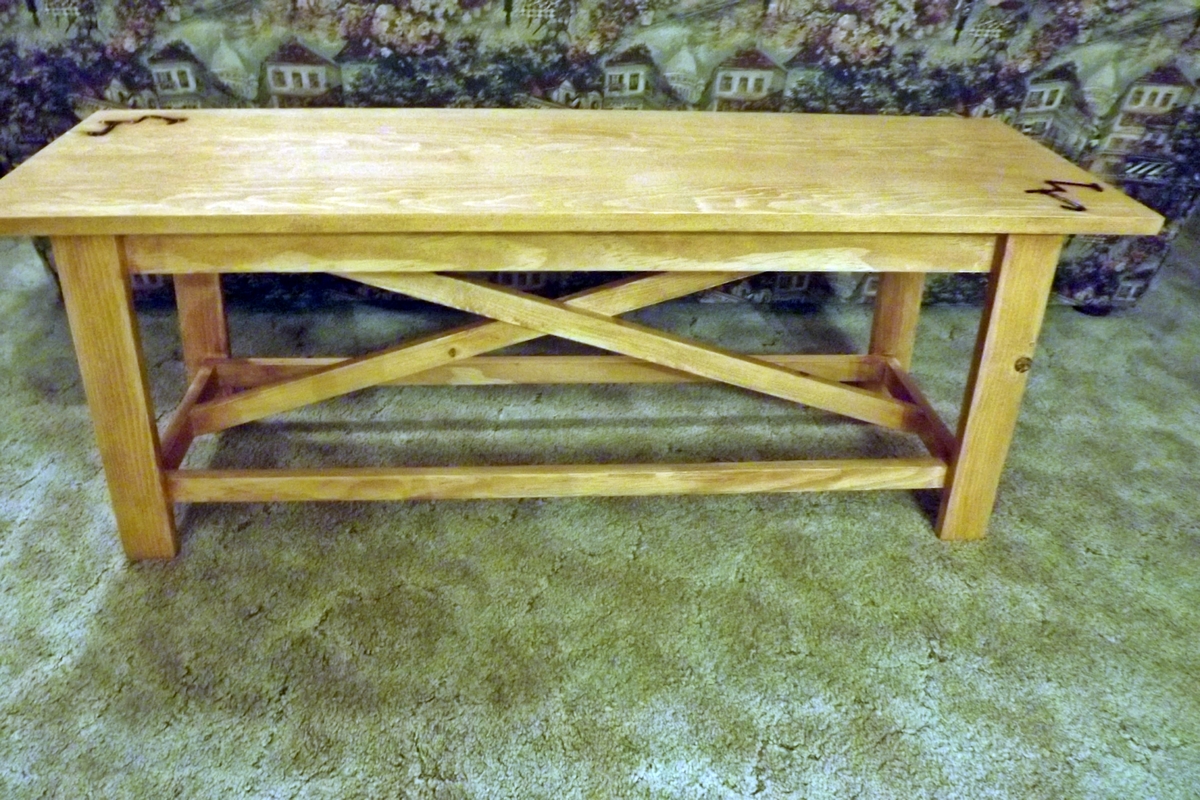
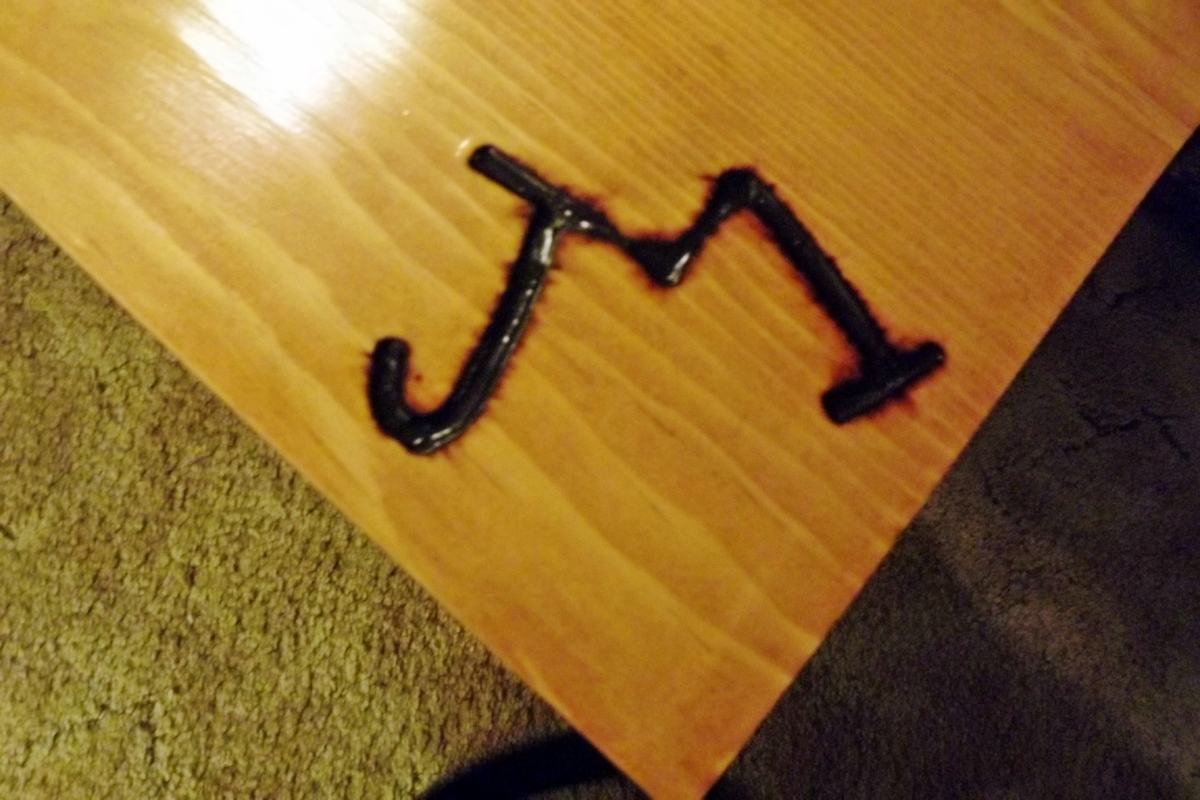
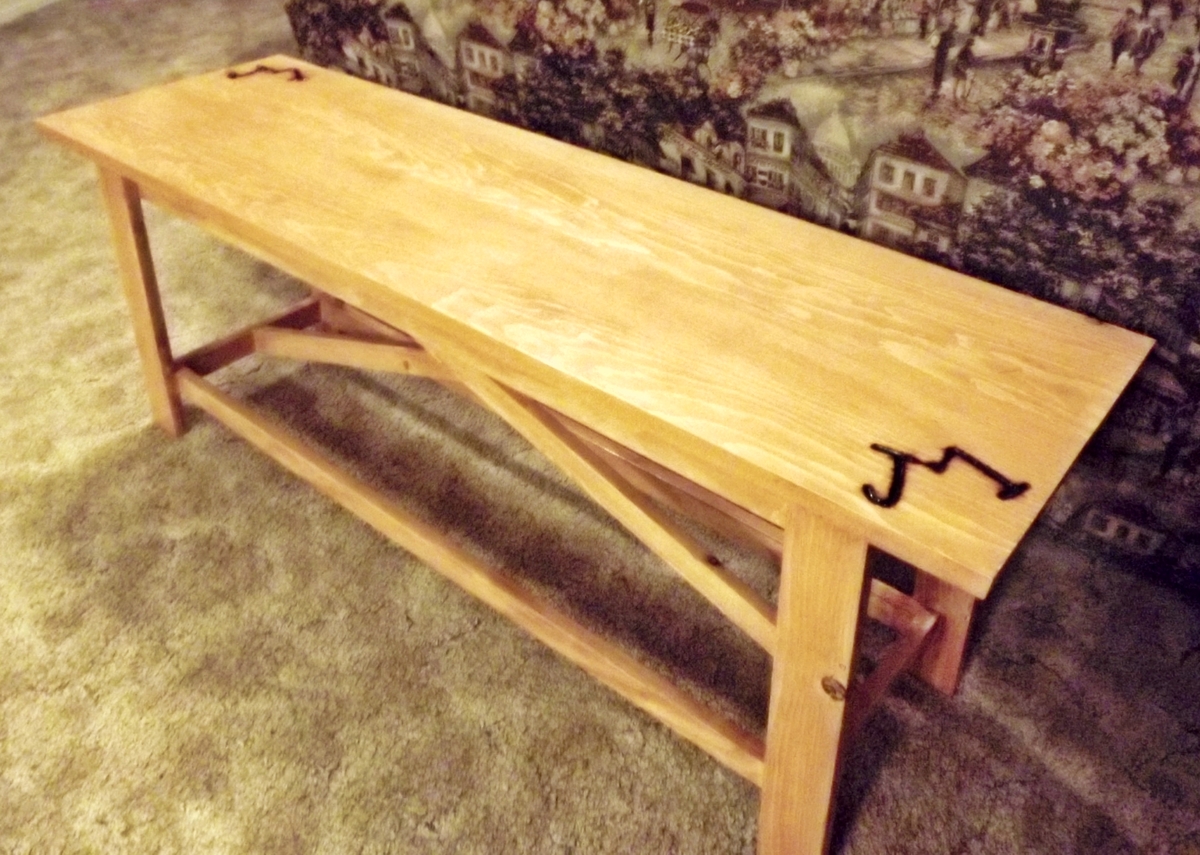
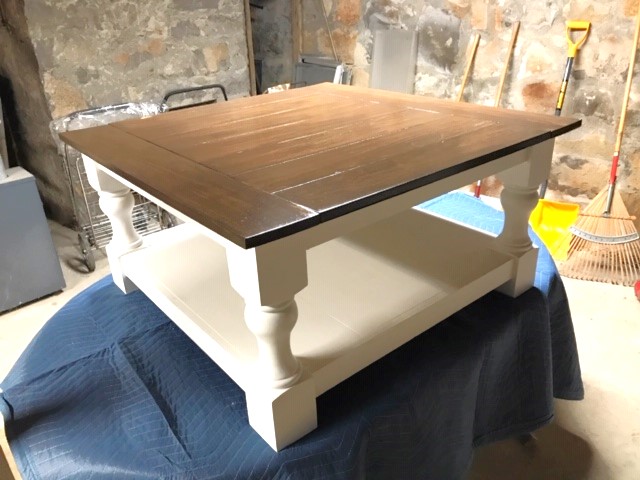
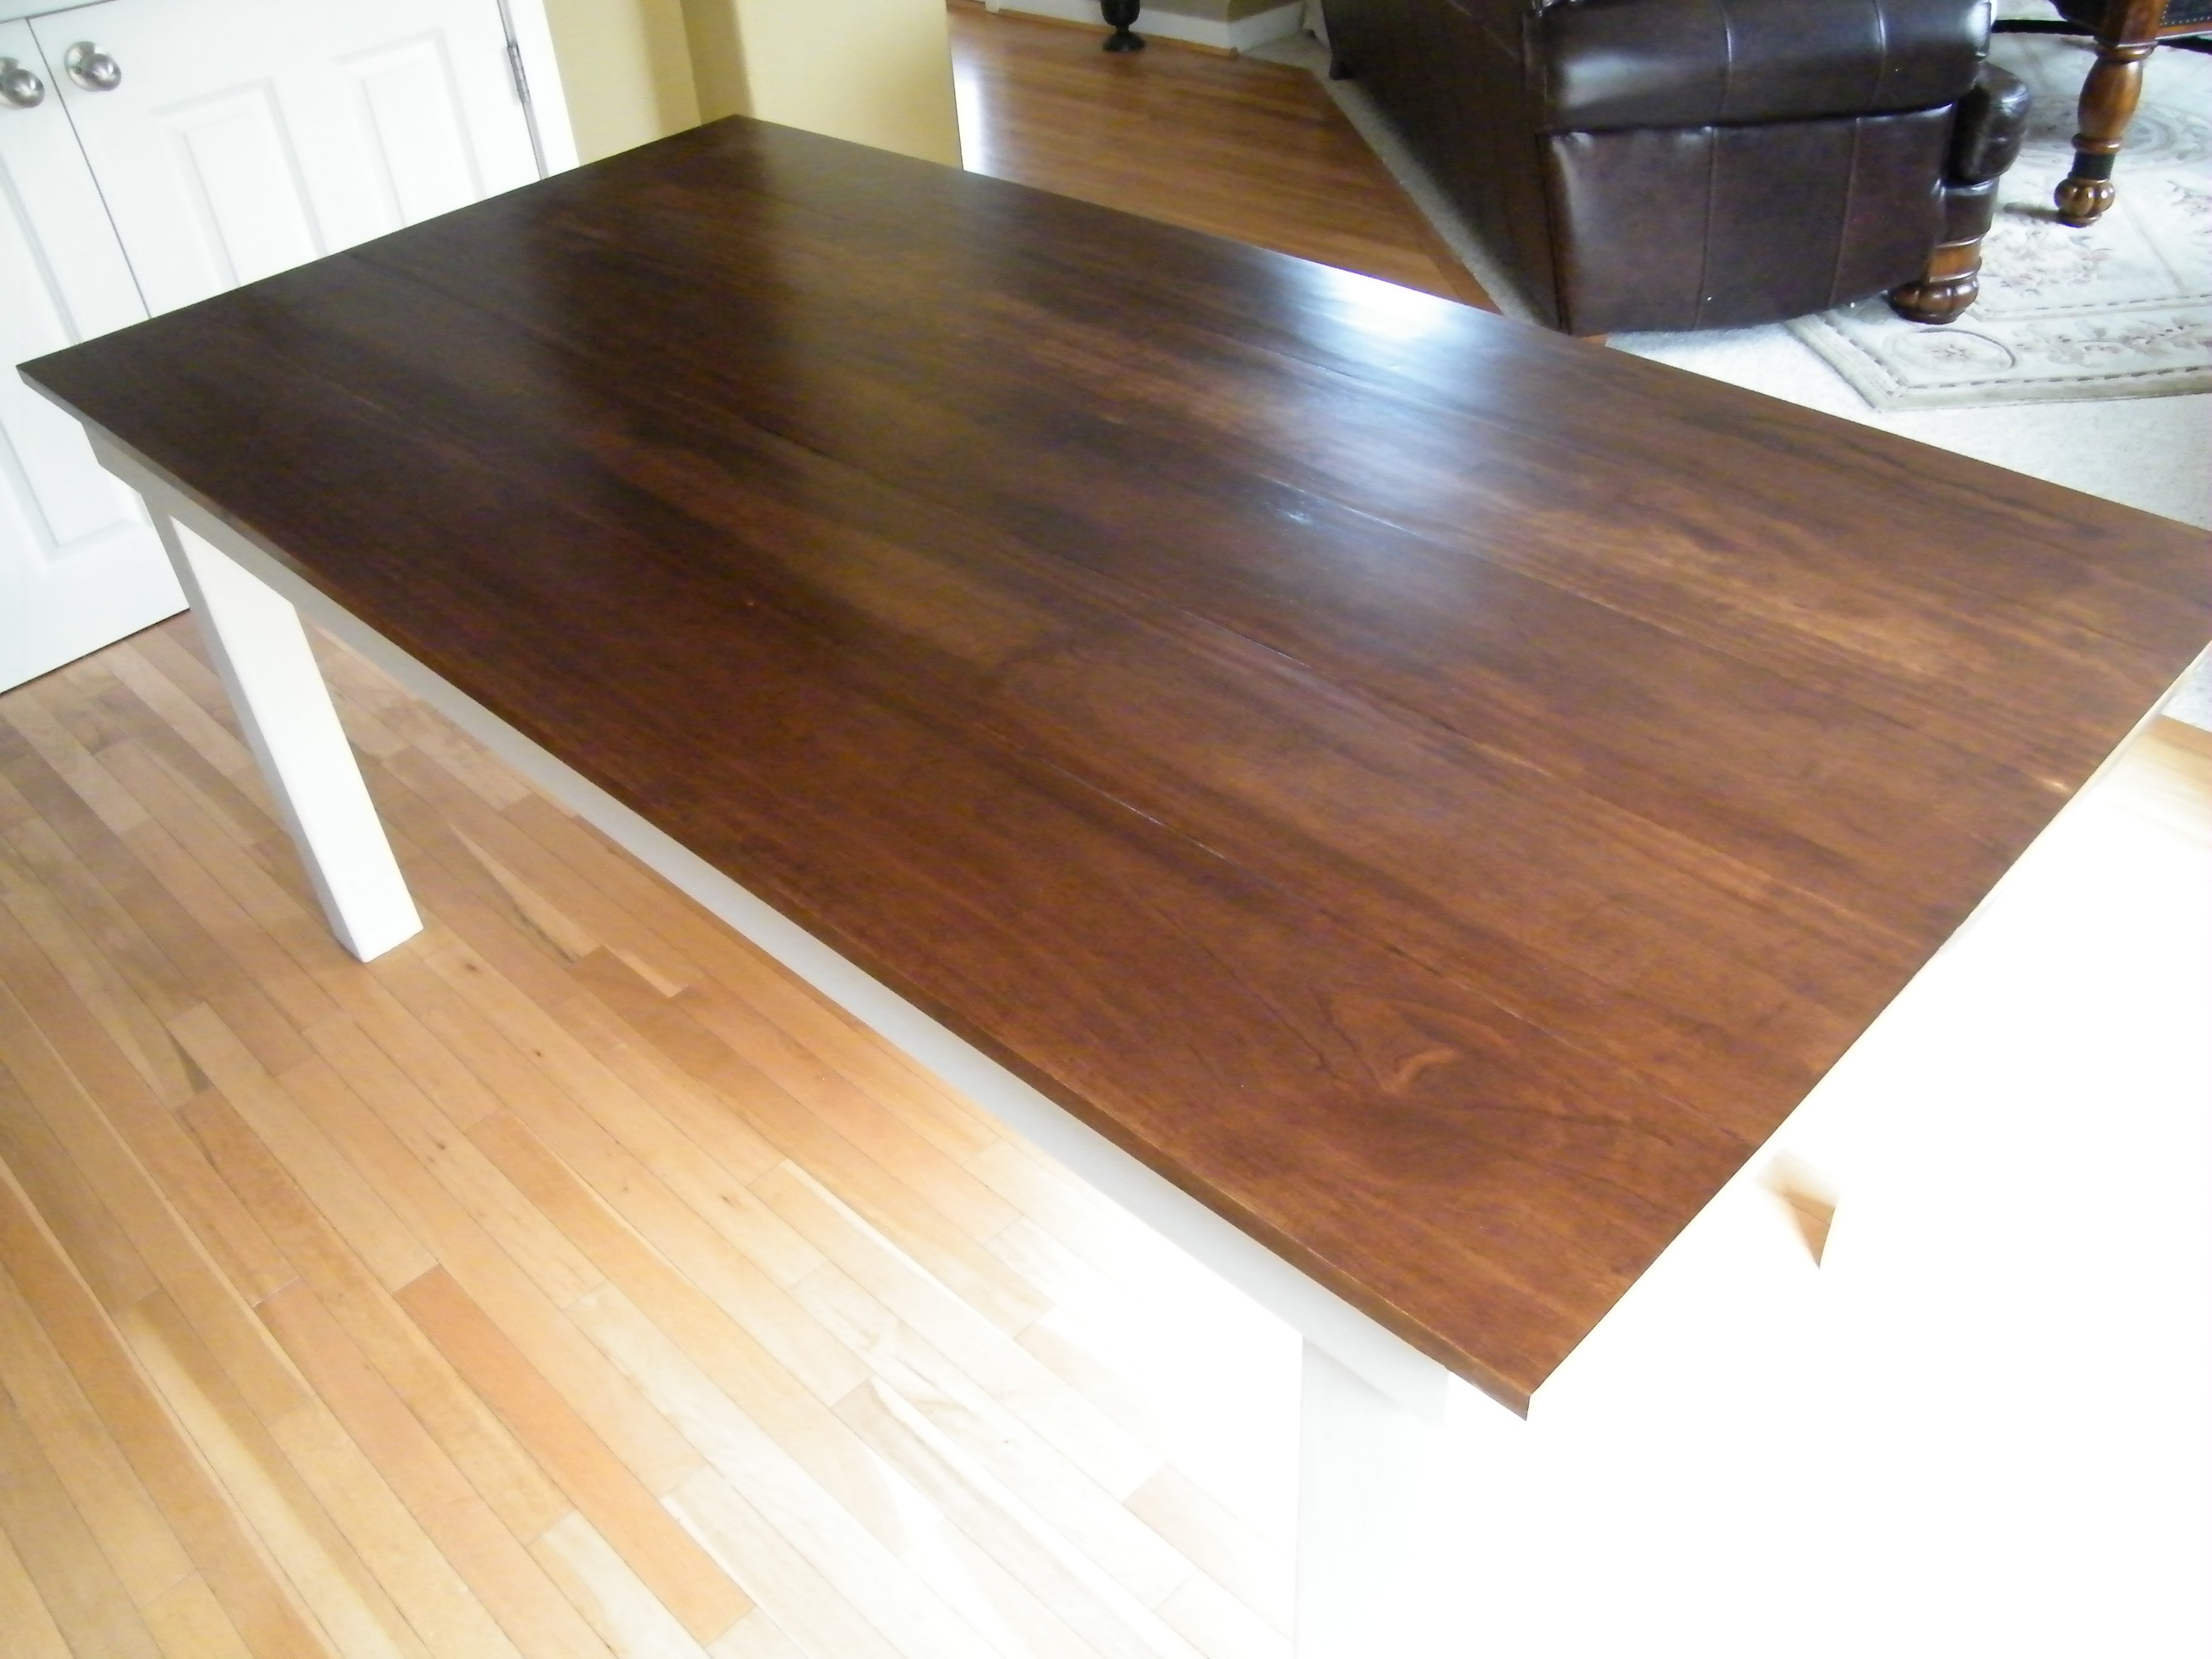
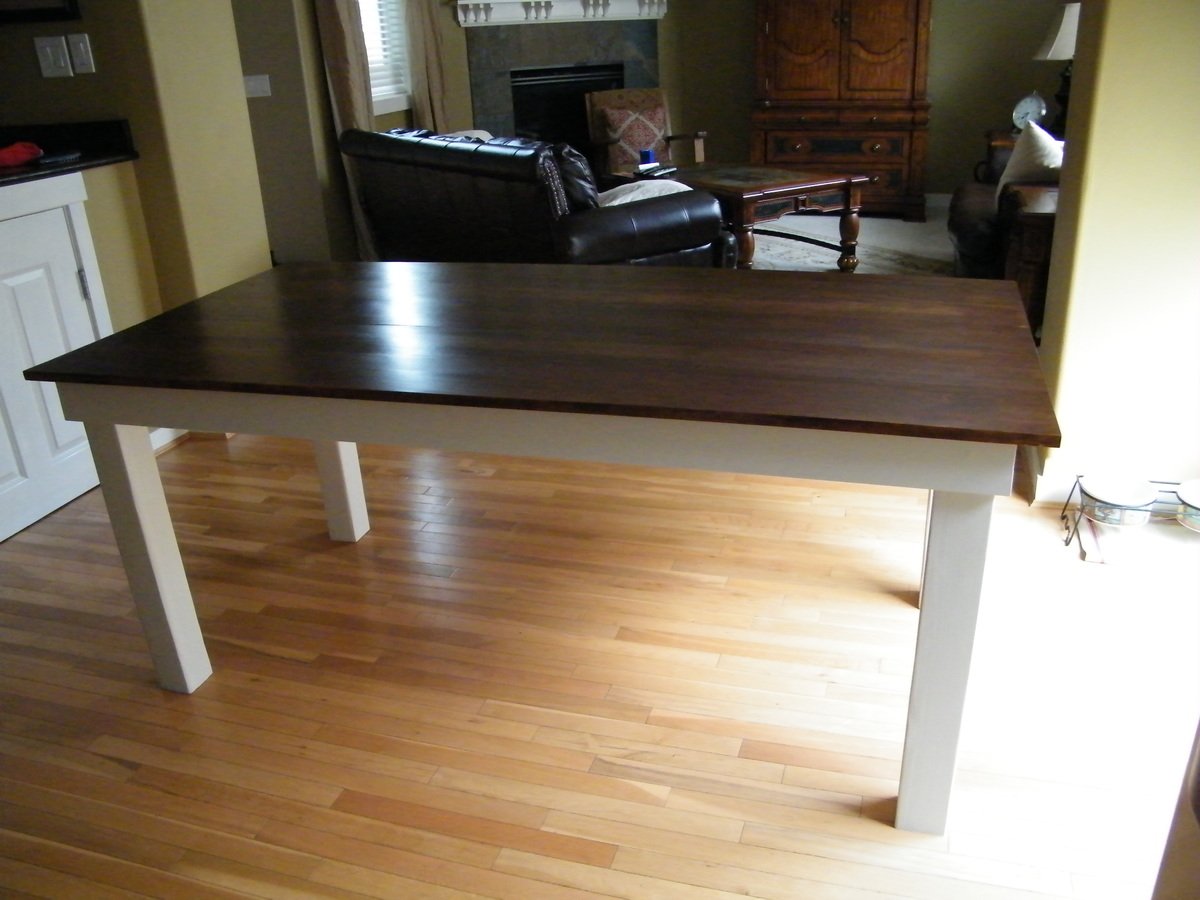
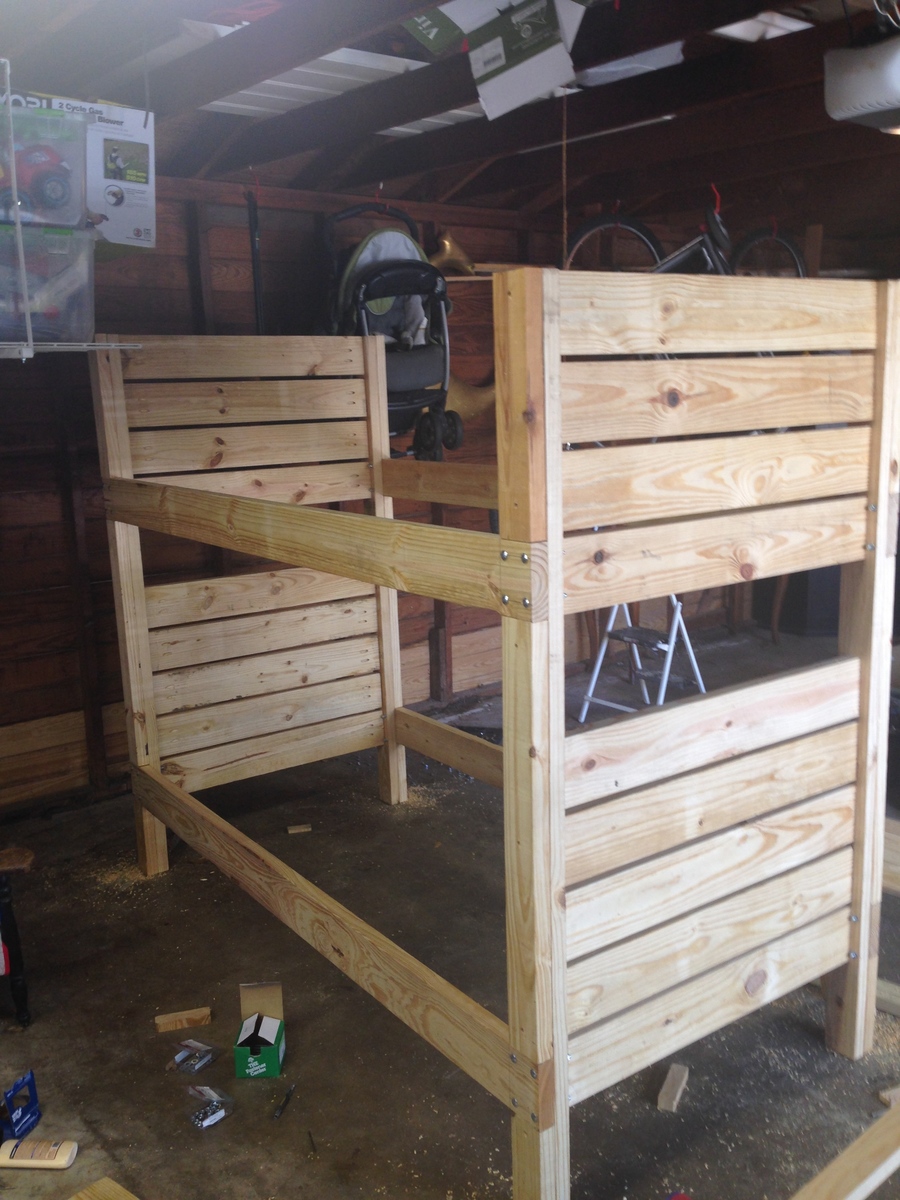
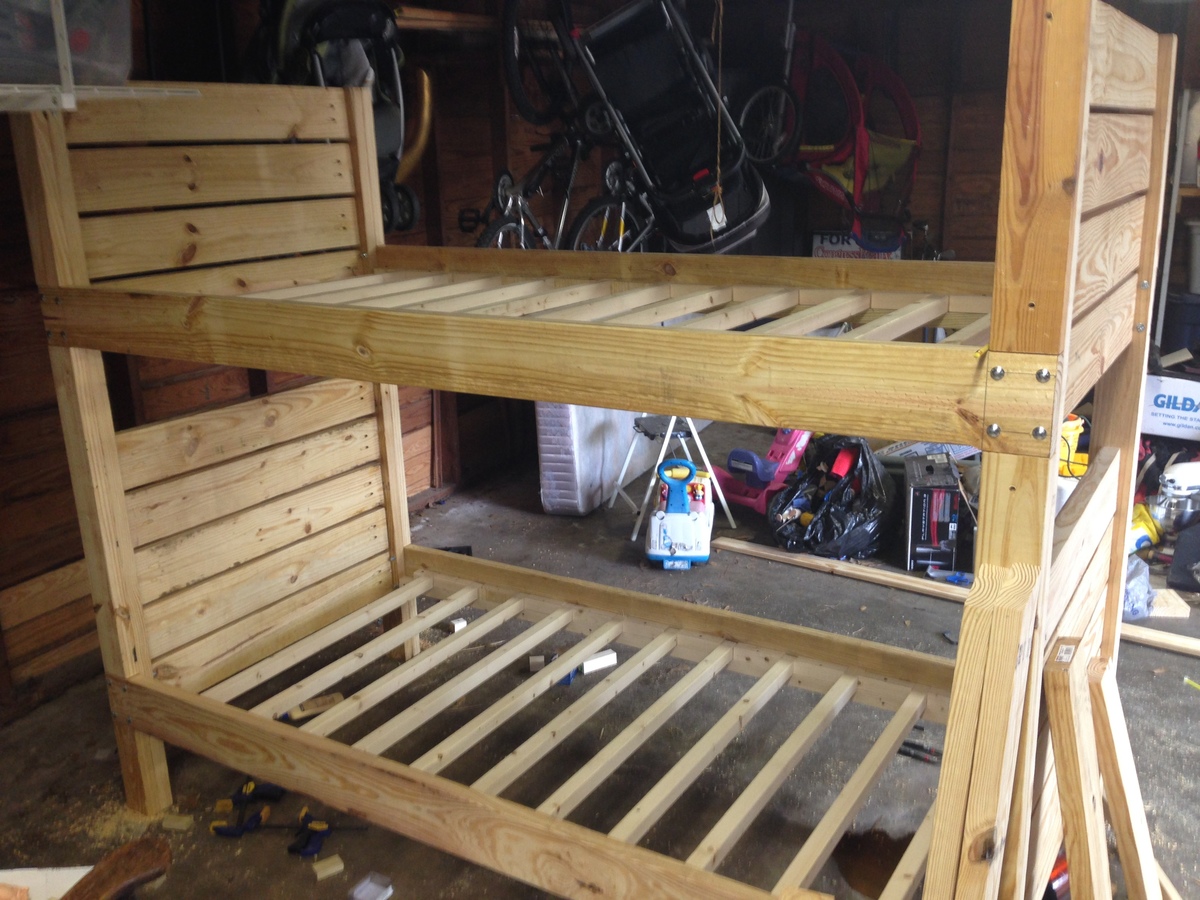
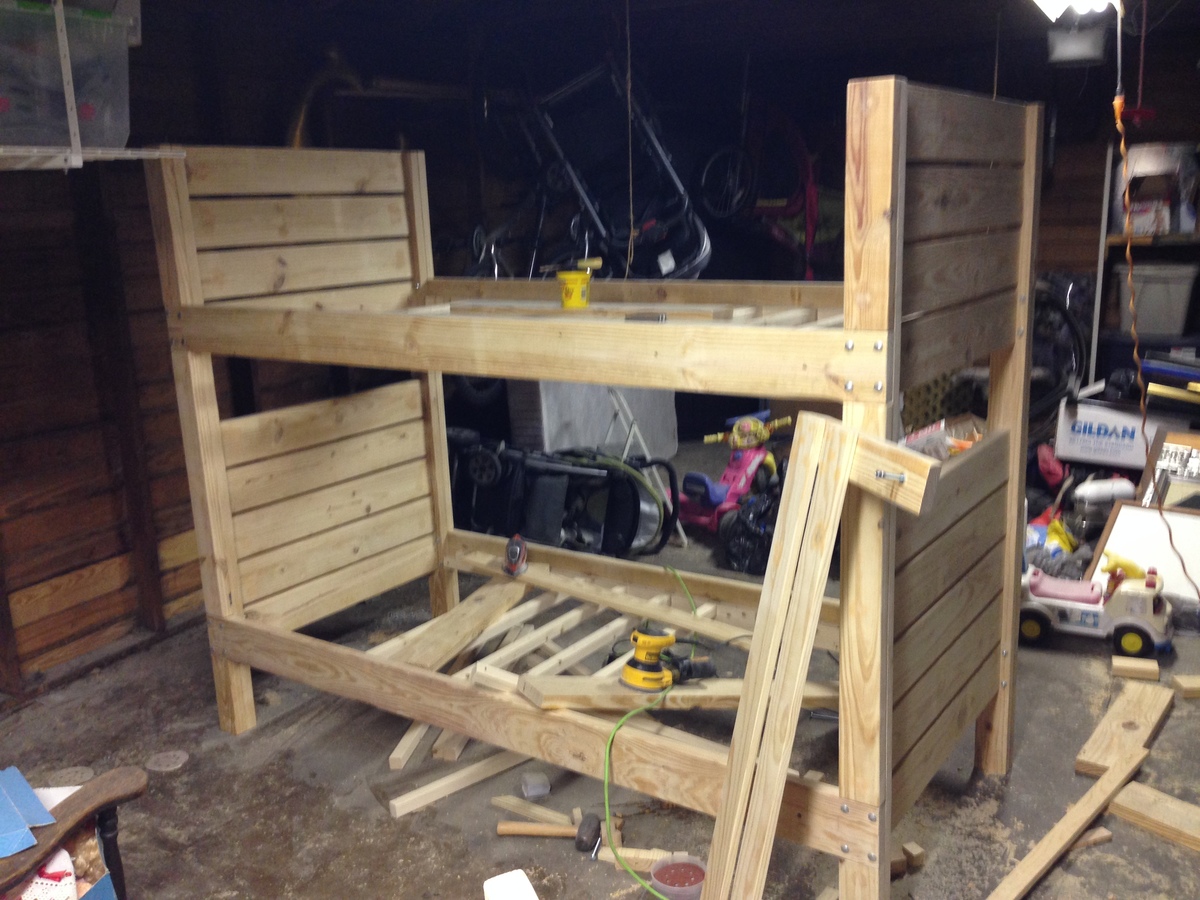
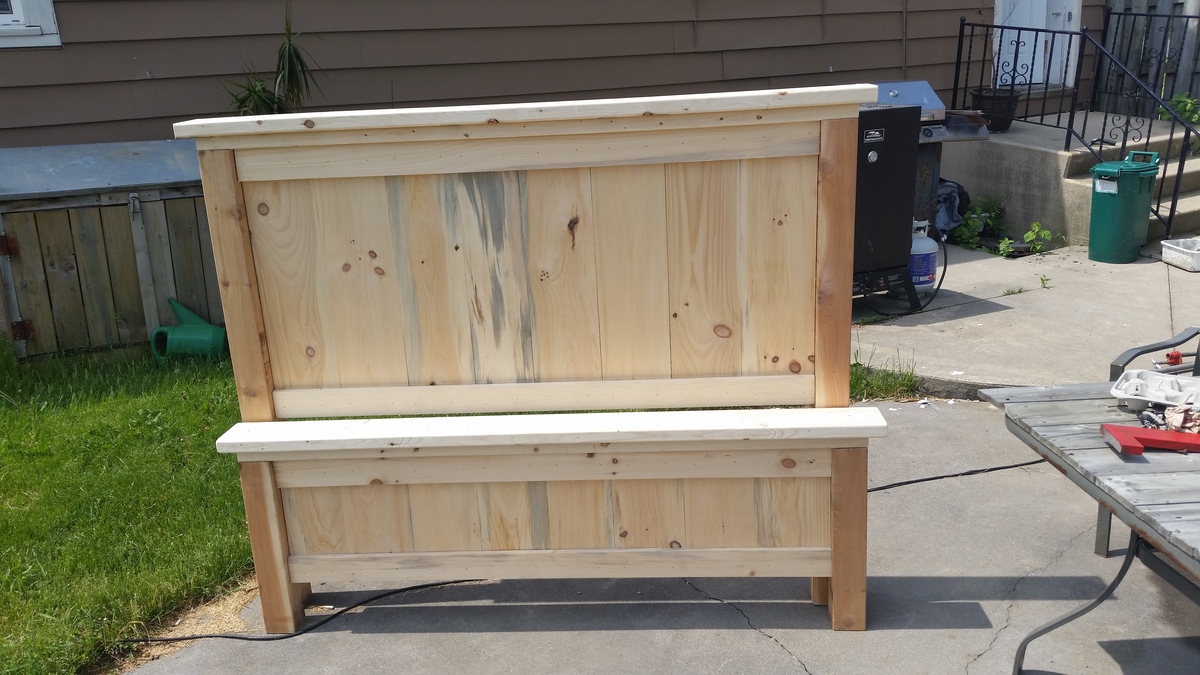
My farmhouse bed
Simple and easy to build from plans provided
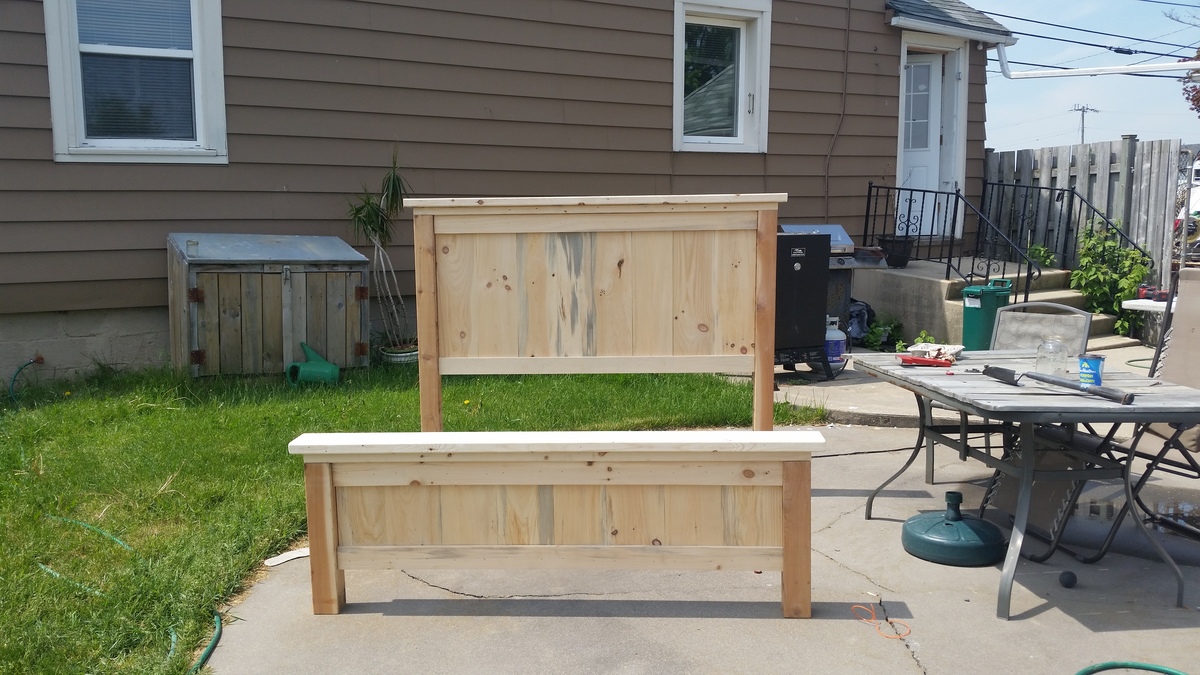
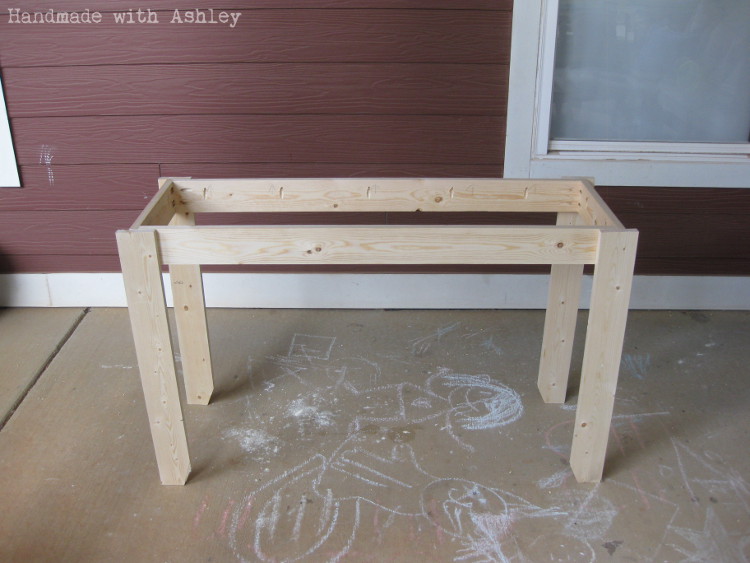
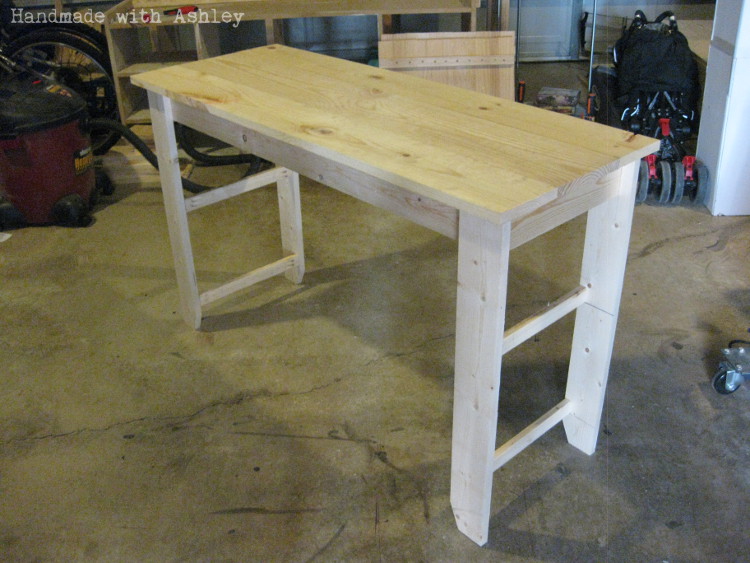
Built from Plan(s)
Estimated Cost
200
Estimated Time Investment
Afternoon Project (3-6 Hours)
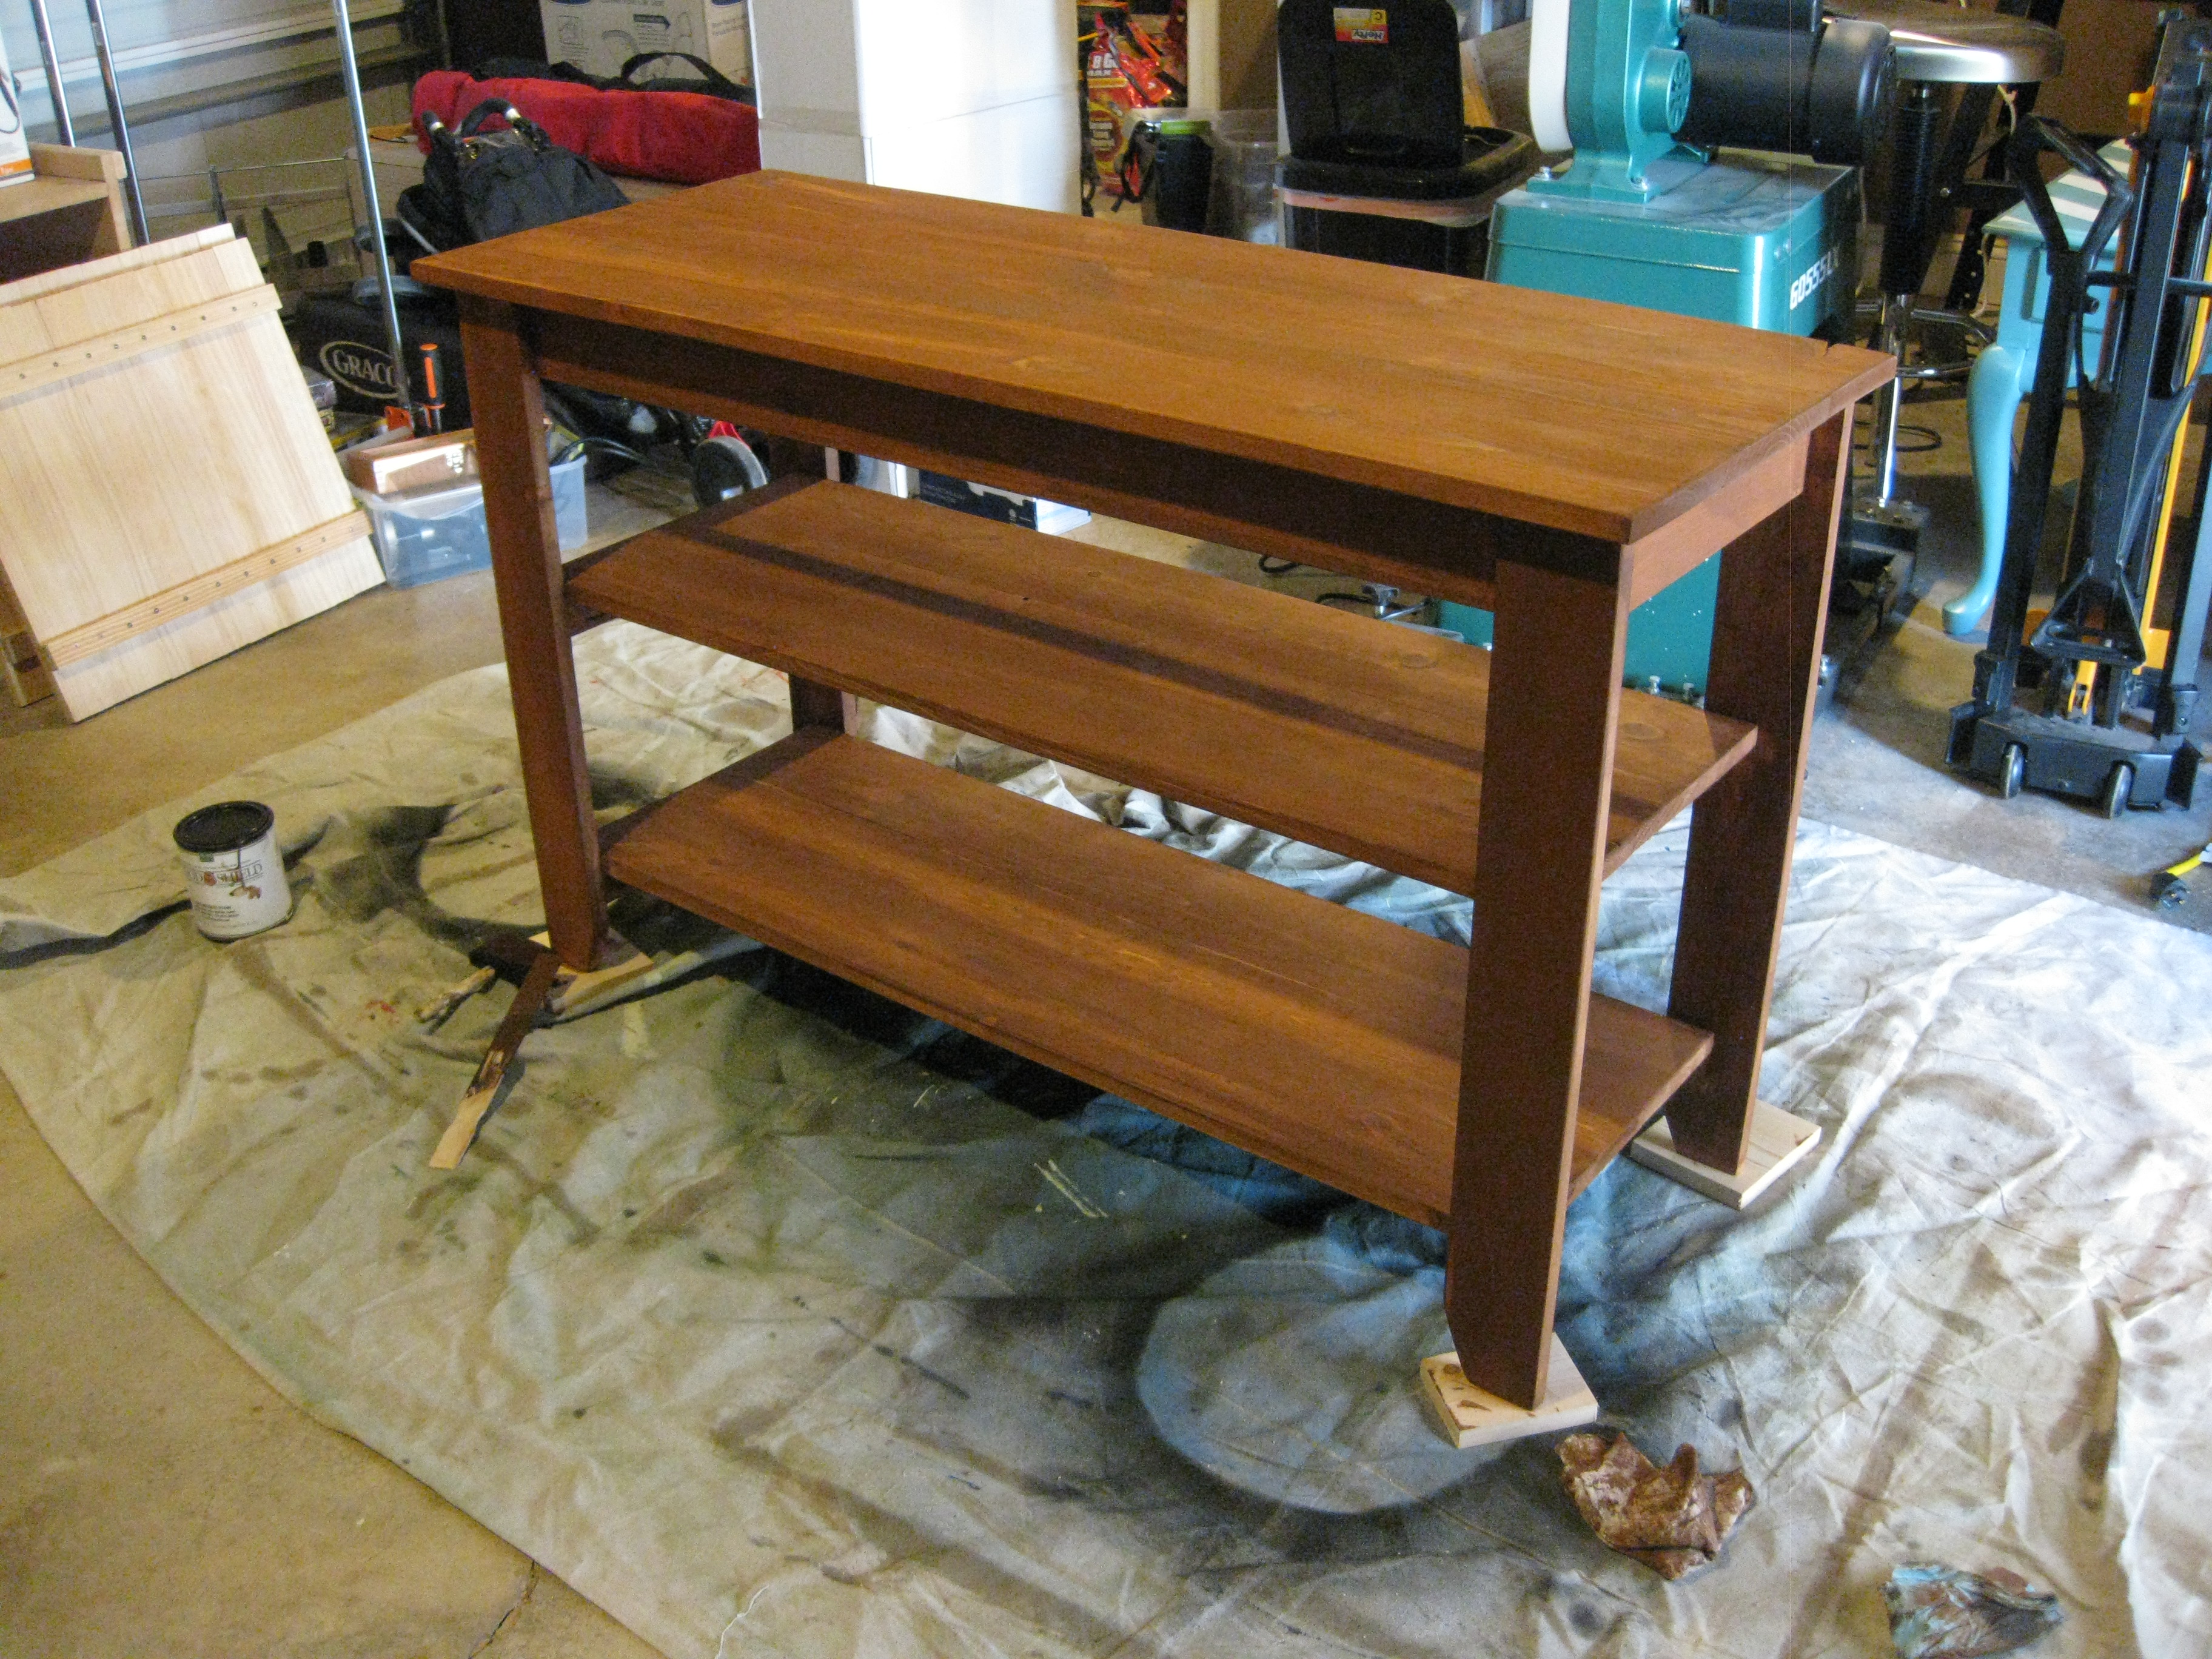
Finish Used
No finish yet we are torn between a dark stain or a white chalk look.
Recommended Skill Level
Intermediate