Truss Bookshelf
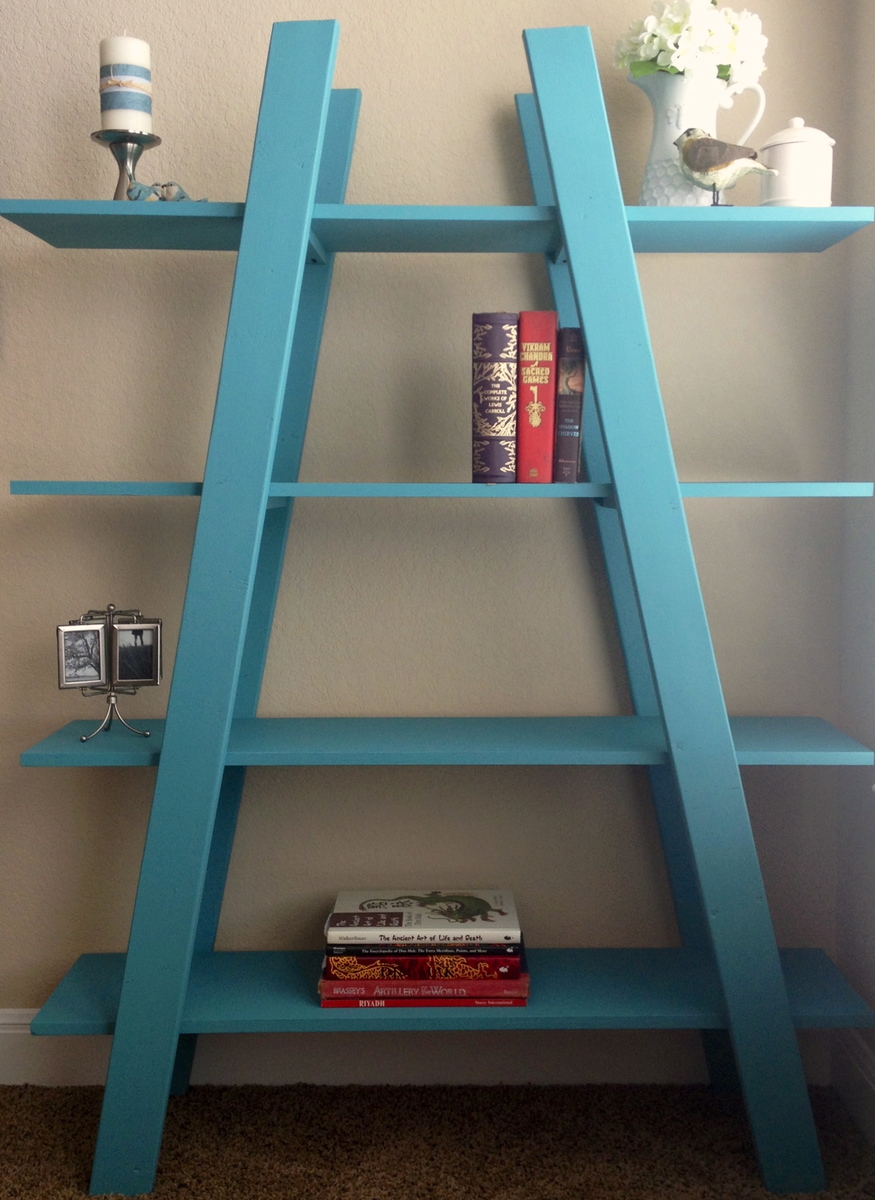
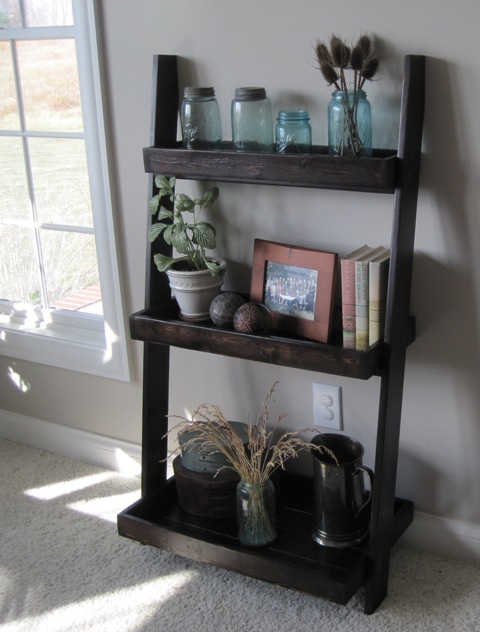
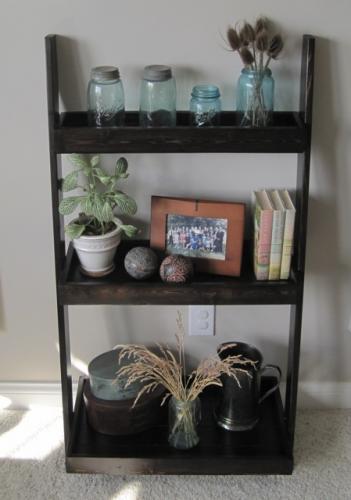
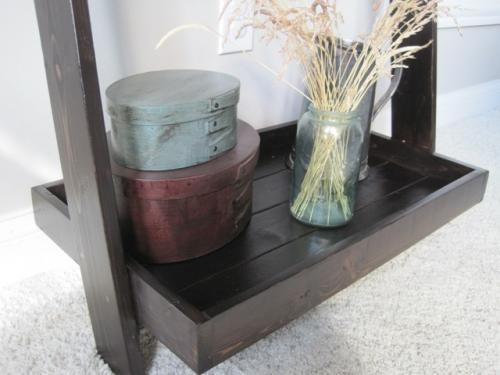
This was my first project and it turned out great!
https://www.etsy.com/listing/150638354/truss-bookshelf-pick-up-only-48-…


This was my first project and it turned out great!
https://www.etsy.com/listing/150638354/truss-bookshelf-pick-up-only-48-…

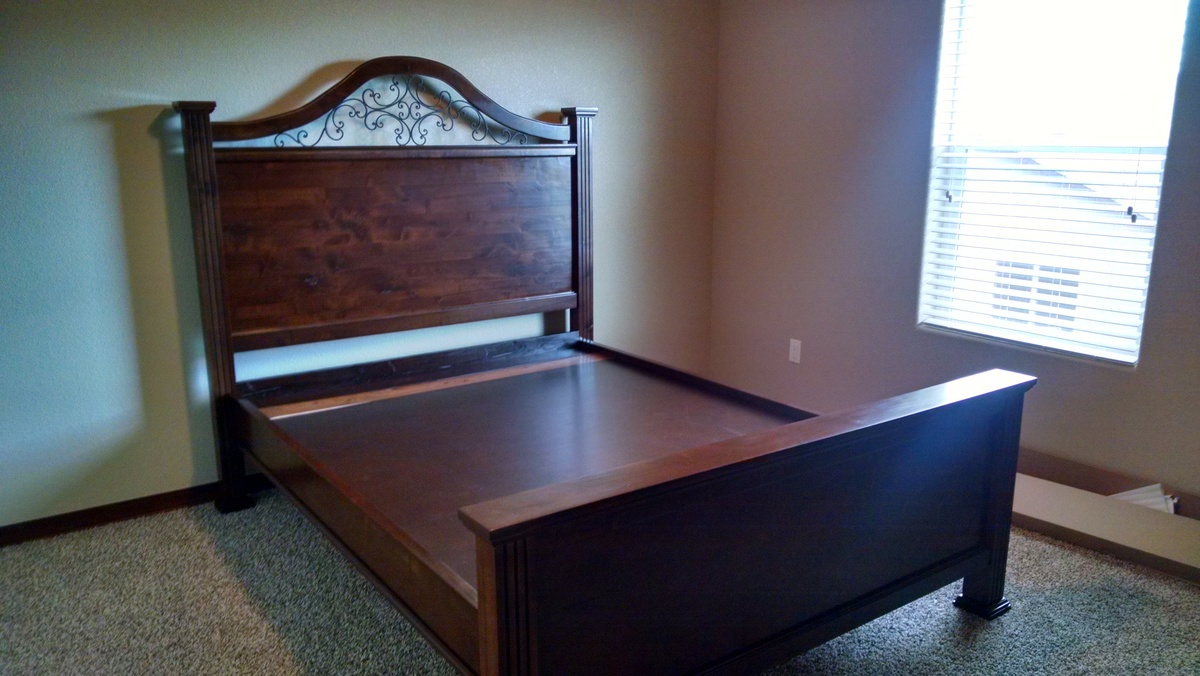
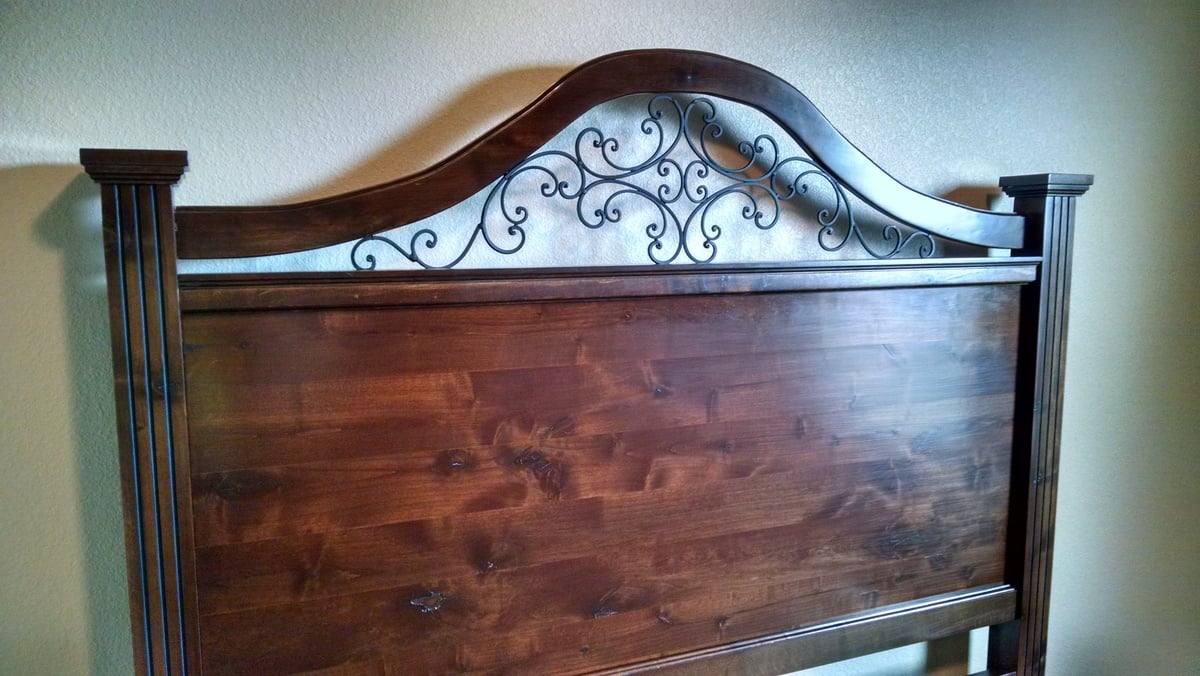
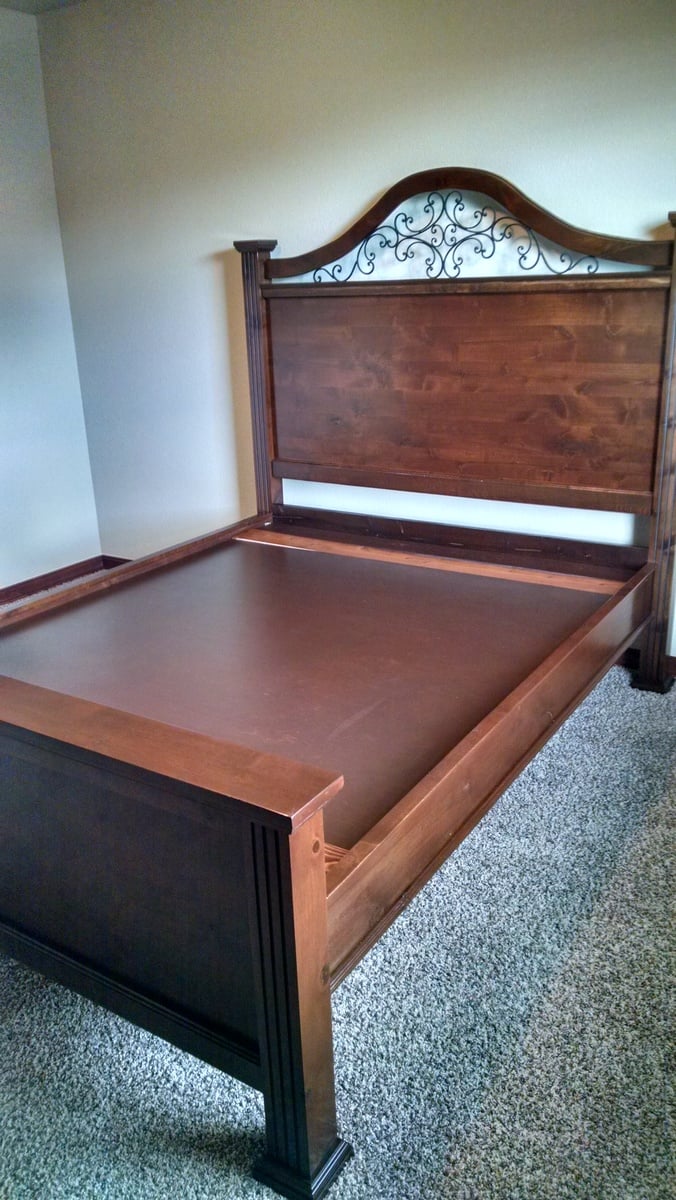
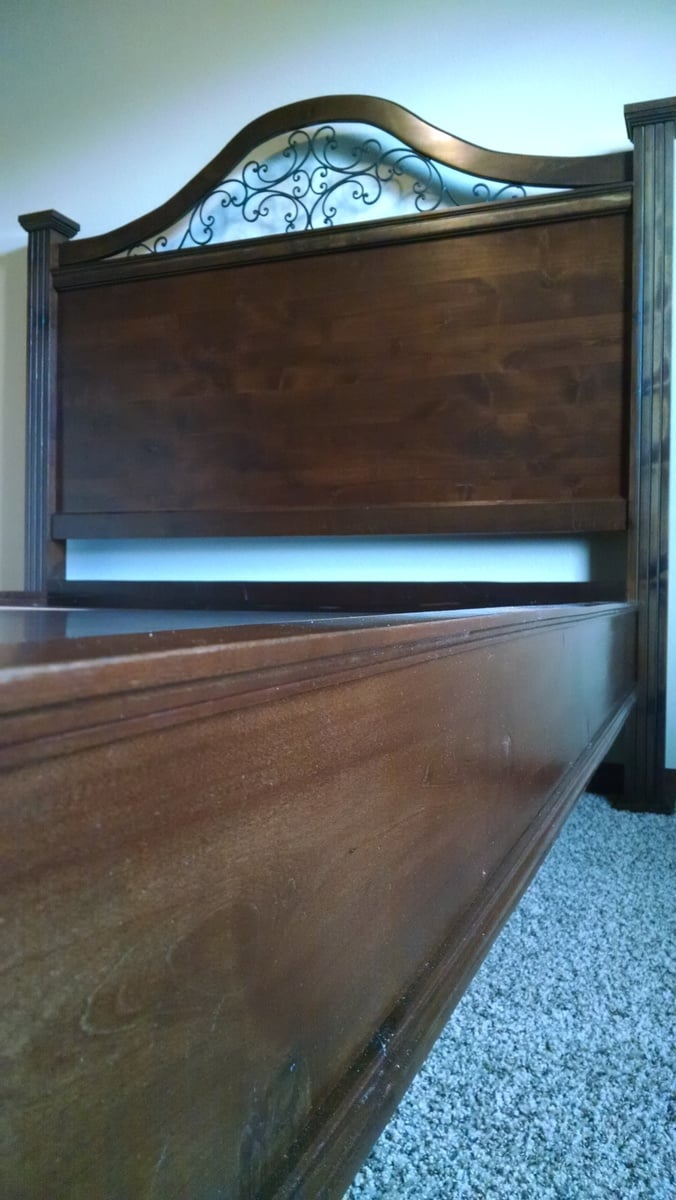
This bed frame is for my daughter’s new house, in the guest bedroom. She chose the design and got all the supplies to make it. The wood is knotty alder. It came out looking fairly close to the inspiration picture my daughter gave me to follow.
I used the Cassidy bed plan and made adjustments to accommodate the iron piece. The feet and top caps are made of one routered square with another slightly larger, unrroutered square stacked on top of it.
Thanks for the easy-to-understand plans. Everything I’ve learned about building has come from this awesome website!

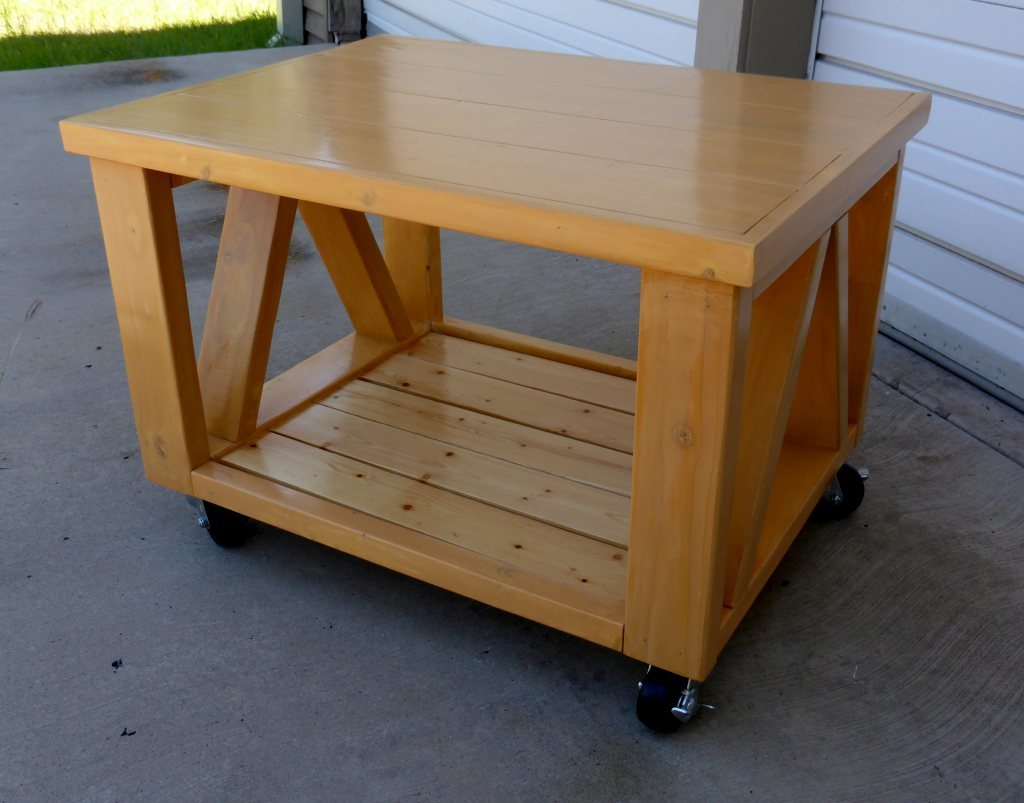
Shrink size and make double truss small coffee/project table. Select Minwax NATURAL BEIGE water base stain and got very warm, peachy color.

I built the console table and liked it so much I decided to modify the plan to make a whole set. I made two side tables , and a coffee table. This is also the first time I installed drawer hardware. I was a bit intimidated but after watching a “how to” video from Anna it was pretty easy. I’m working on finishing the coffee table now. The stain is weathered oak. They’re finished with gloss lacquer.


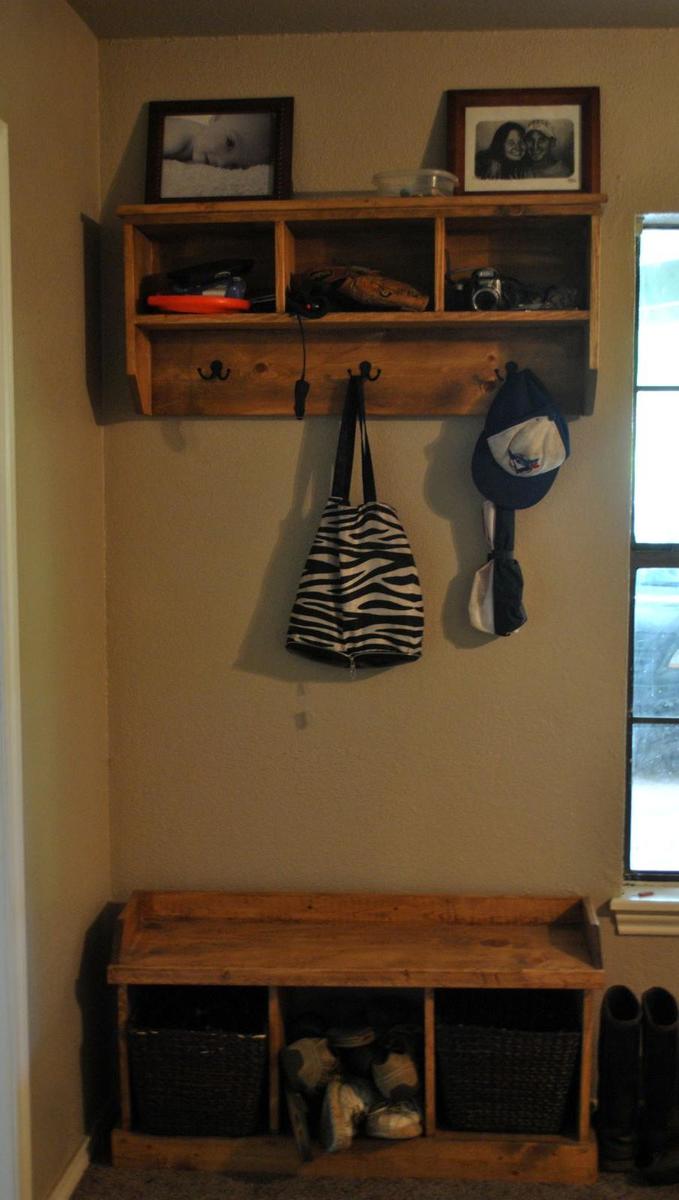
This is perfect for our front room- (most) shoes fit in the storage baskets, and the hooks are perfect for scarves and coats in the winter, towels and life jackets in the summer. The top cubbies hold gloves and hats, as well as sunglasses, umbrellas and sun screen.
Love this trunk! It was my first attempt at moulding and I probably should have practiced on scrap wood first (recommend)! But it turned out great and one of my favorite pieces (because it's filled with toys).
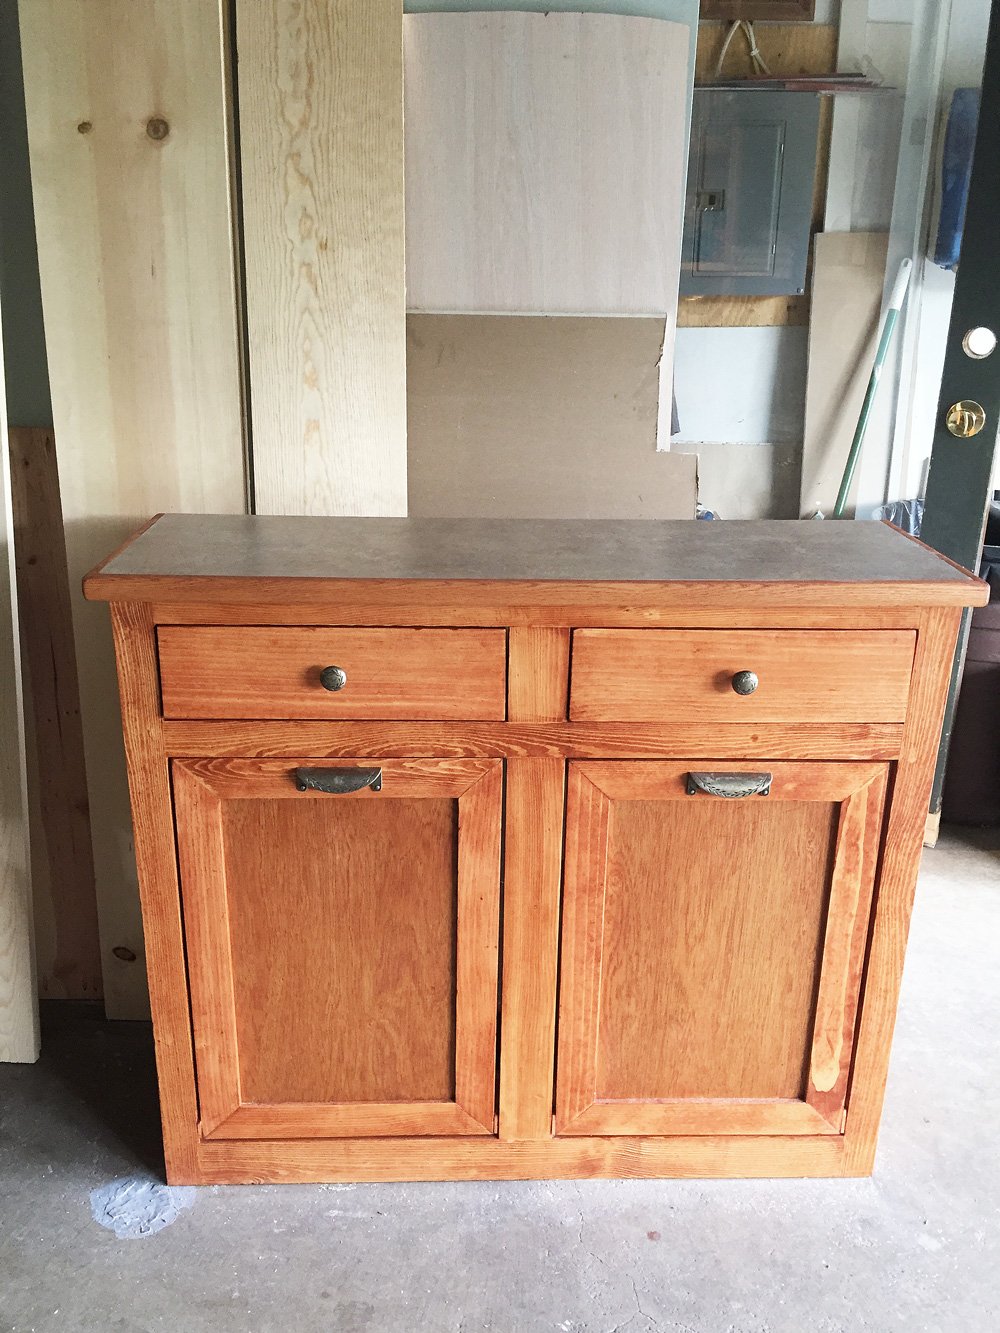
I used Ana's tilt out trash bin plans to help me build this fabulous center for use in my kitchen. I love the way it turned out!
Sat, 04/18/2020 - 19:04
Can i get the dimensions from you? I’m wanting to create the exact same thing with two bins and drawers.
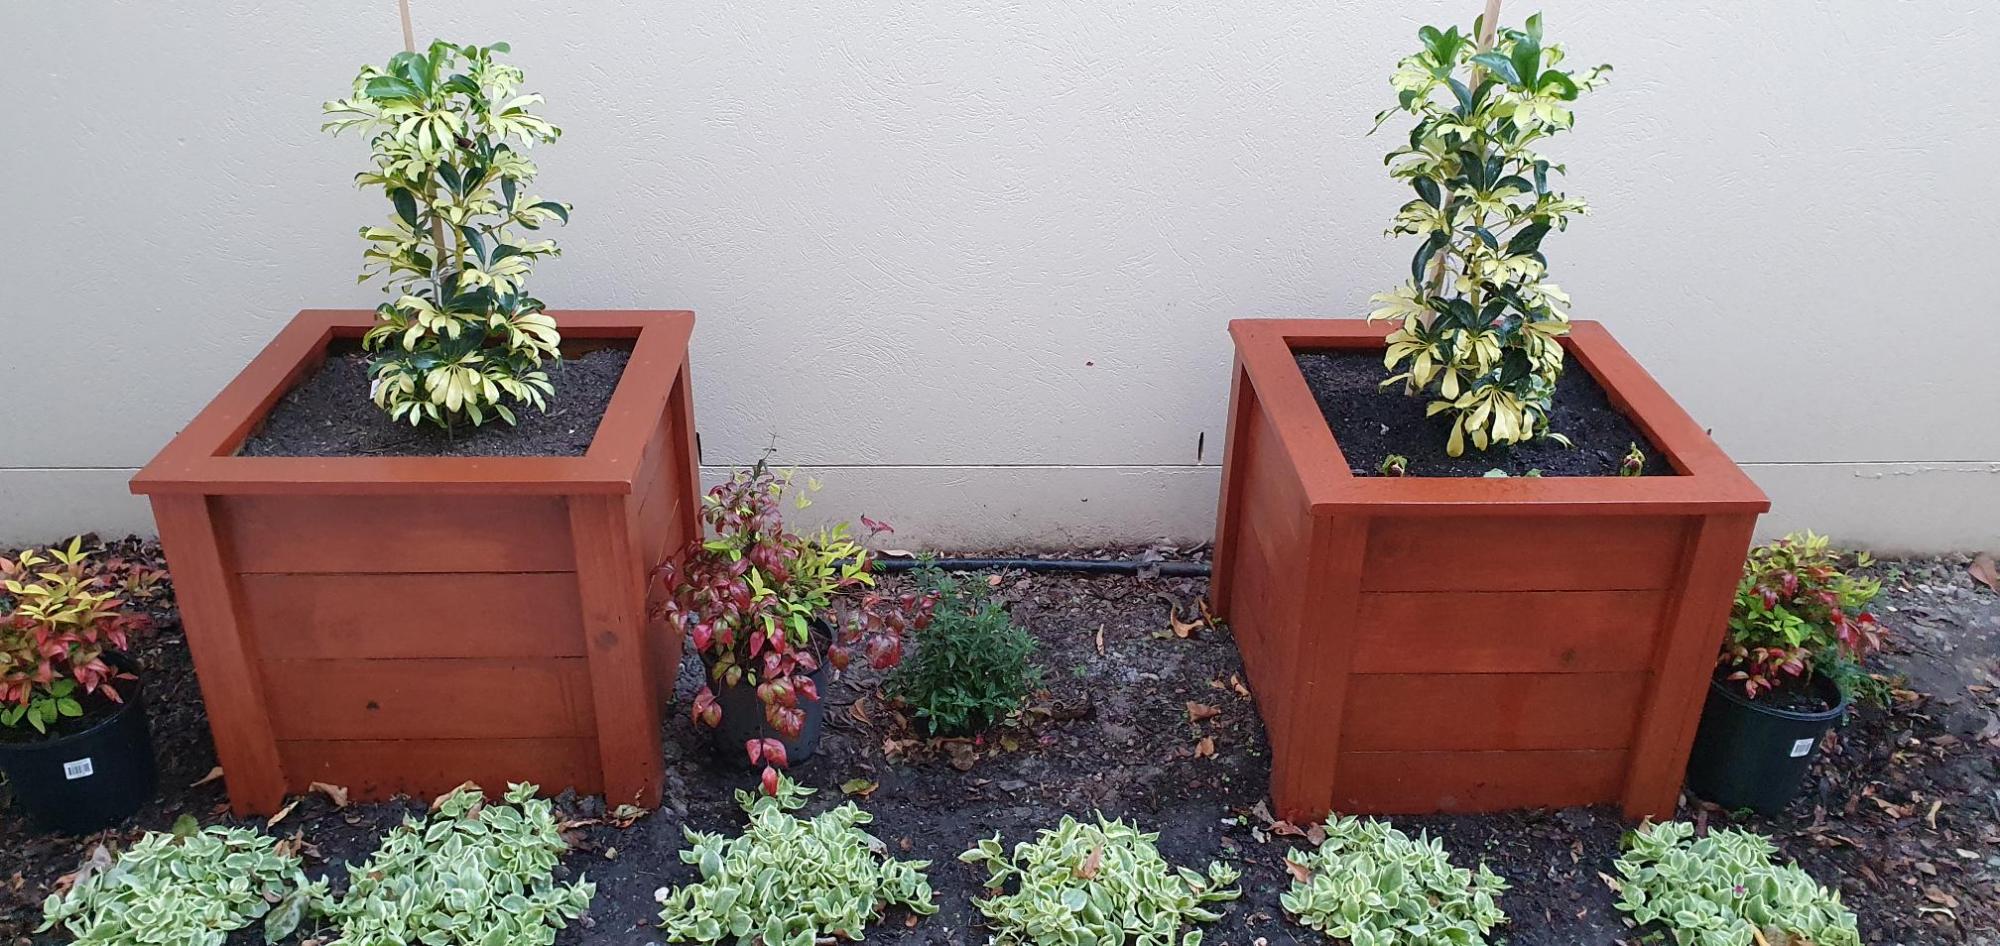
Greeting from from Queensland, Australia.
I decided to make a couple of wooden planter boxes for our garden at home, after watching Ana's video on the “Easy Build DIY Planter Box” made from cedar and painted white. I downloaded the plans, and then converted the measurements to metric. I did make a couple of alterations from what was shown in the video. Whilst I do not have a workshop at home, I attend a local "Men's Shed" where there is a large range of woodworking machinery available to use. Firstly, I used rough sawn treated pine 150mm x 25mm boards, which I dressed and cut down to size. The dressed timber looked great once I stained the boxes. Secondly, I have made the boxes without legs, so that they sit directly in the garden, and are filled with potting mix soil.
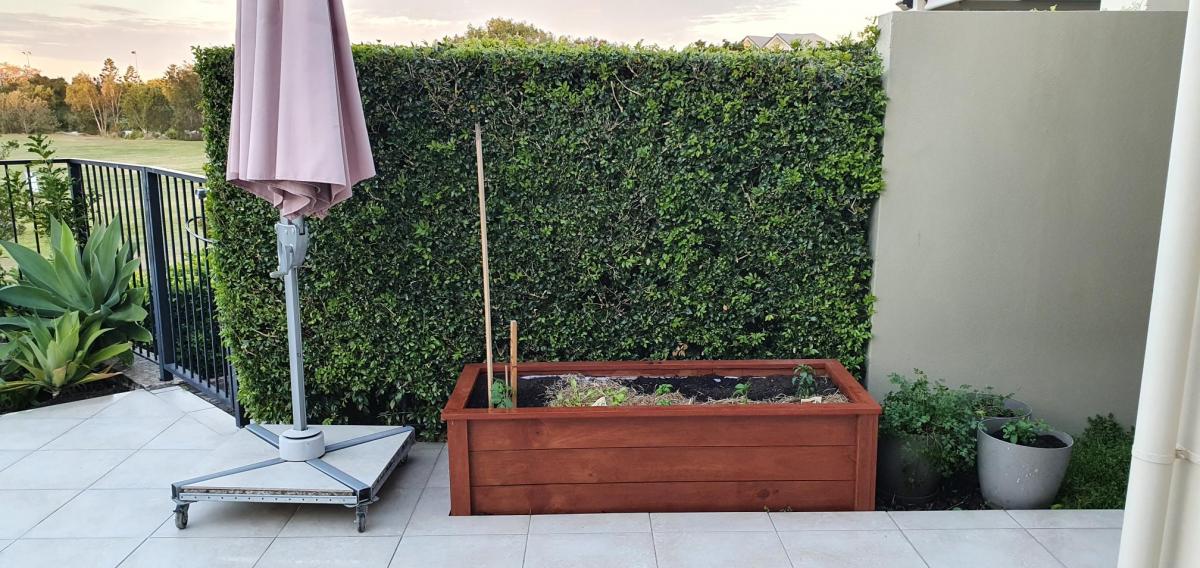
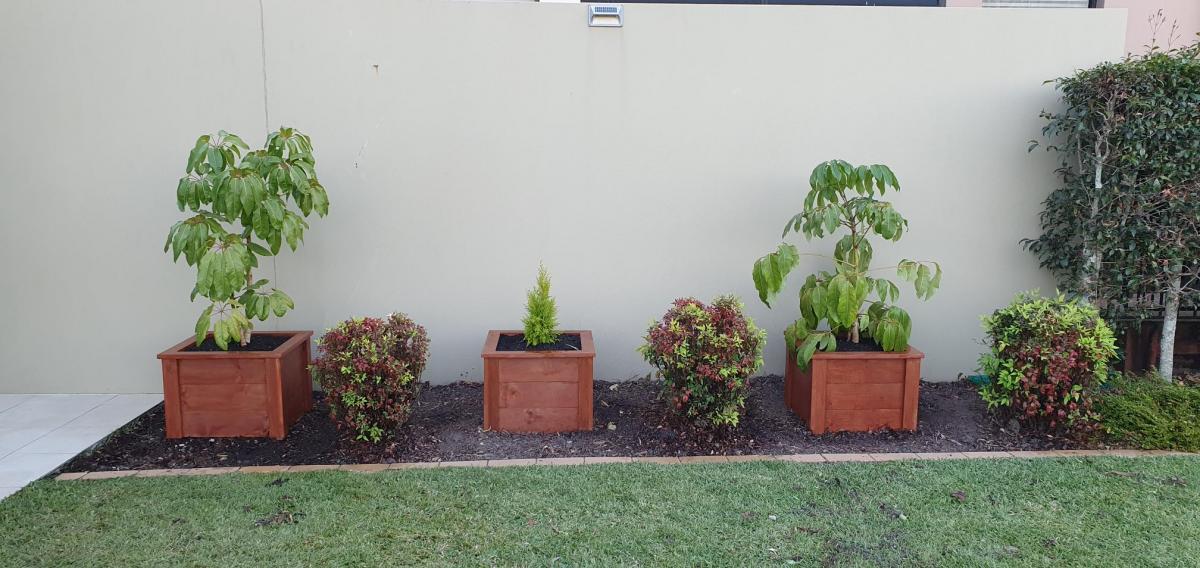
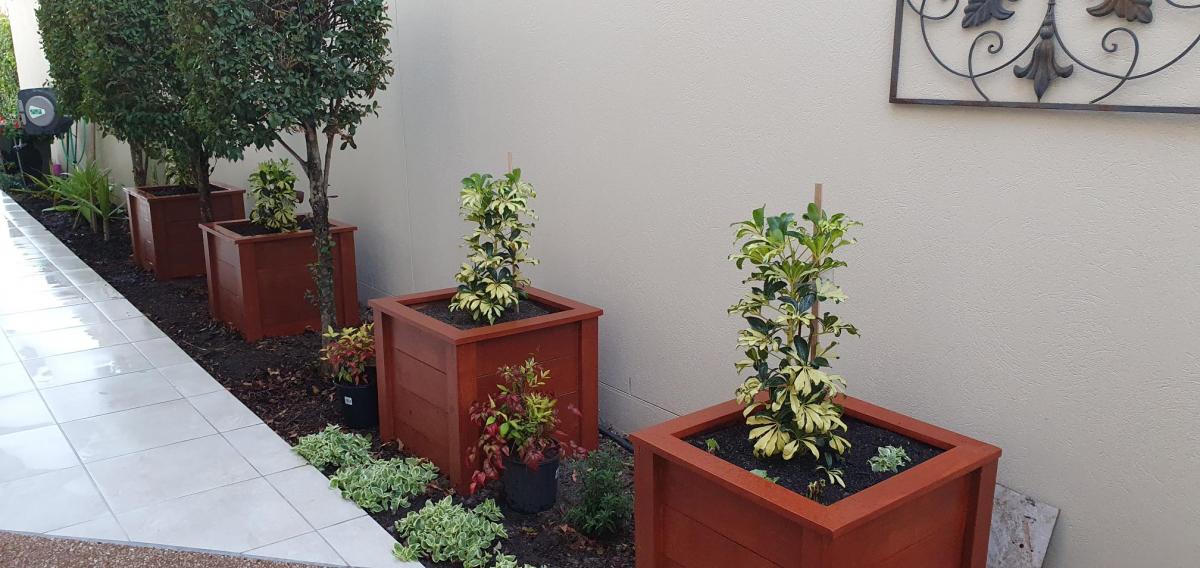
After making the first 2 planter boxes, my wife asked if I could make another couple. After that we decided another 3 planter boxes in a different part of the garden might be nice, so I made these the same. Then I made a longer planter box of the same style for vegetables and herbs.
Thanks so much, Ana, for the great plans and video, as well as the inspiration. Mind you, my planter boxes took a lot longer to build than the time you indicated in your video, but that is fine.
Cheers Noel
Wed, 10/06/2021 - 10:10
WOW, love them mods and how you were able to convert to metric! Thank you for sharing!
This was my second Ana White project and with this project I really began to feel like a builder. I did modify the plan to make it less tall to fit in the space I needed it for. I also added a front to the shelves because ultimately these were going to be used for starting plant cuttings and I want the front to cover up the plastic pots they are growing in.
The cost of the project is for 2 of the modified shelves and does not include the screws, putty, etc. Also, the time needed would change if you chose better boards than furring strips. Those take a lot of time to make nice at the start of the project. This would also go together quicker if you are only building one shelf instead of two (obviously!).
I'm very happy with the end result! I wrote 9 blog posts on building this project for a more in-depth look at this build.
My husband and I were discussing how fun it will be to take our little boy bowling once he is old enough to enjoy it. From that conversation I got the idea of building a miniature bowling lane. I was also inspired by Ana White’s #GetBuilding2015 challenge to make use of the large pile of lumber stored in my garage.
Tue, 04/28/2015 - 10:53
What a cute project! I'm sure there will be many fun times ahead. Thanks for sharing!
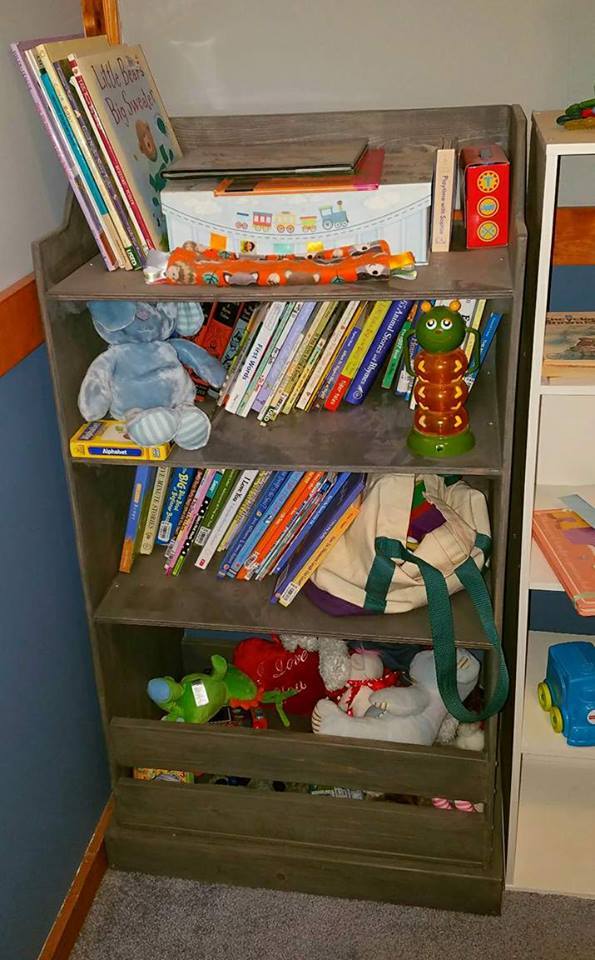
Project was super easy to build, and fits a TON of books and toys. Perfect for our nursery. Stained in Minwax Classic Grey with a satin poly finish.
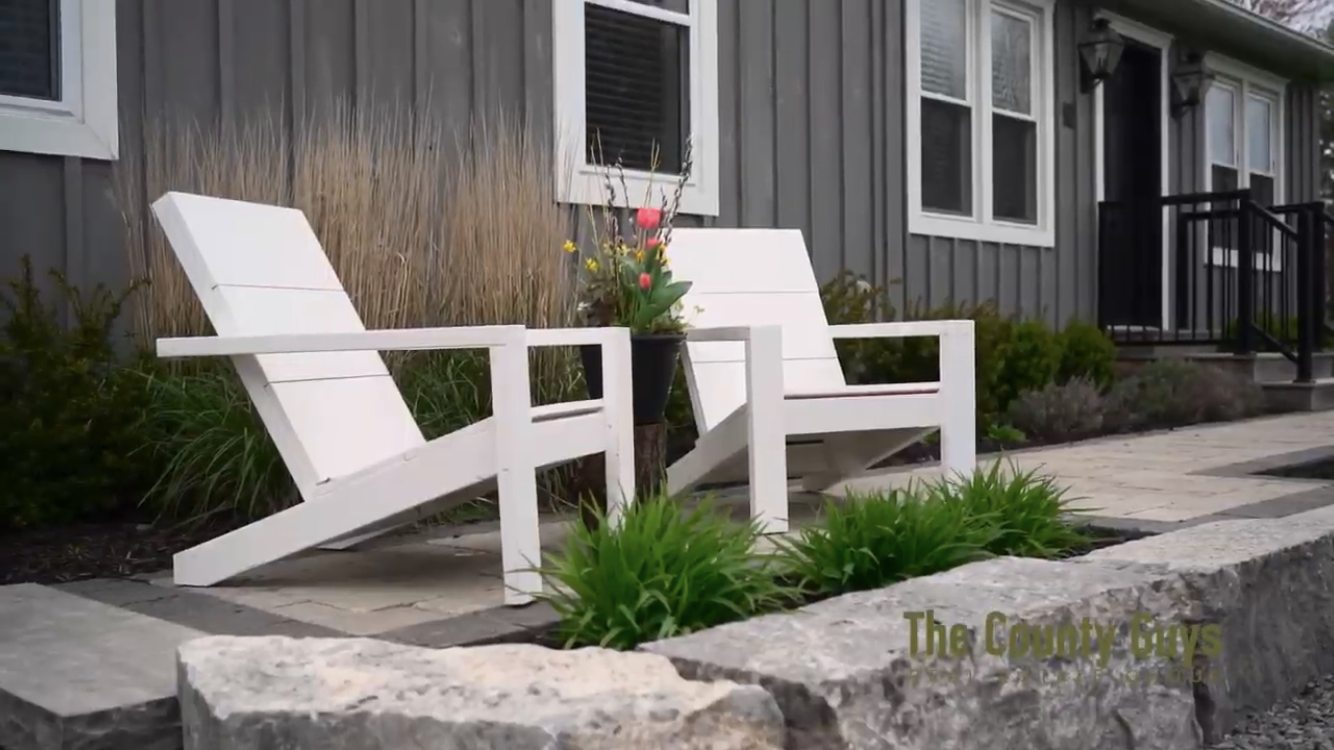
Built these chairs and stained them a solid white. They looked great in front of the house and complemented the gray of the house perfectly! Will definitely make these again (super easy!!) Thanks Ana for the plans!!

This was my first official attempt at wood working. We desperately needed outdoor furniture, but I couldn't find any modern pieces close to our price range. I finally worked up the nerve to attempt to build it for seating at a couples shower we were hosting at our house.
Thanks to Ana's well thought out plans and a Kreg Jig, everything came together really well.
I purchased the wood at a local wholesaler and saved lots over the big box stores. Although I did find the cushions at Lowe's.
I have an extra bottom seat cushion that I plan on using for an ottoman in the future.
At first the project was pretty intimidating, but it became much easier with each piece. My one recommendation is to lay all of your pieces out and carefully plan where you'll need the Kreg screws before you begin assembling.
Thanks so much Ana! I'm really looking forward to tackling more of your projects soon!

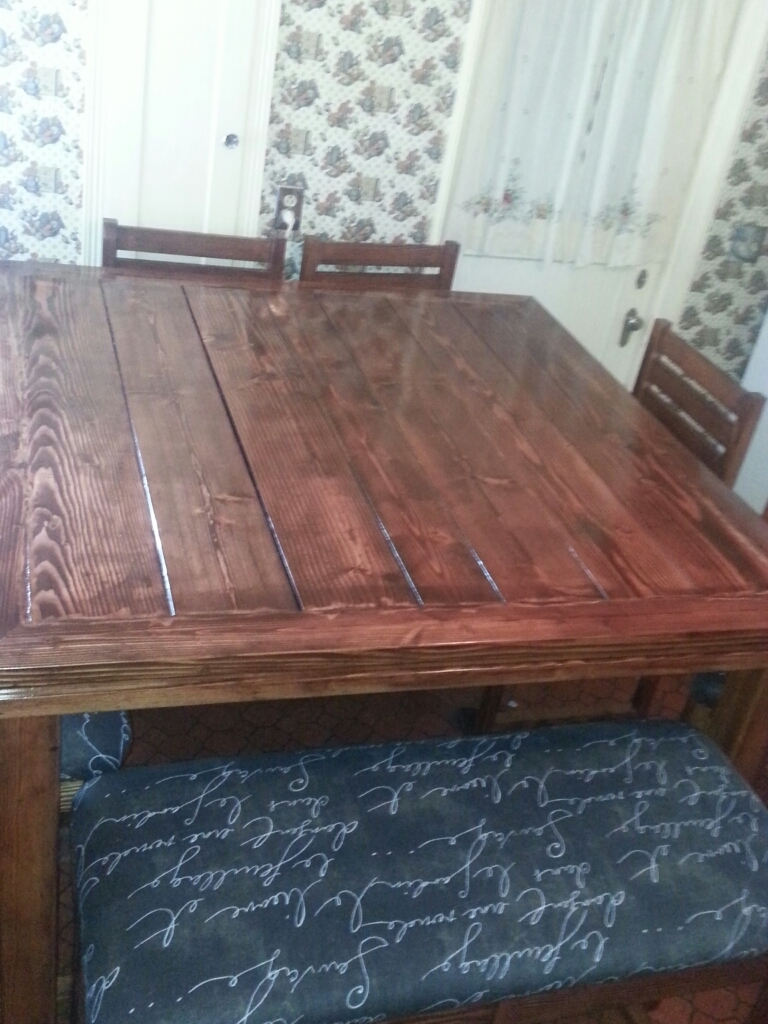
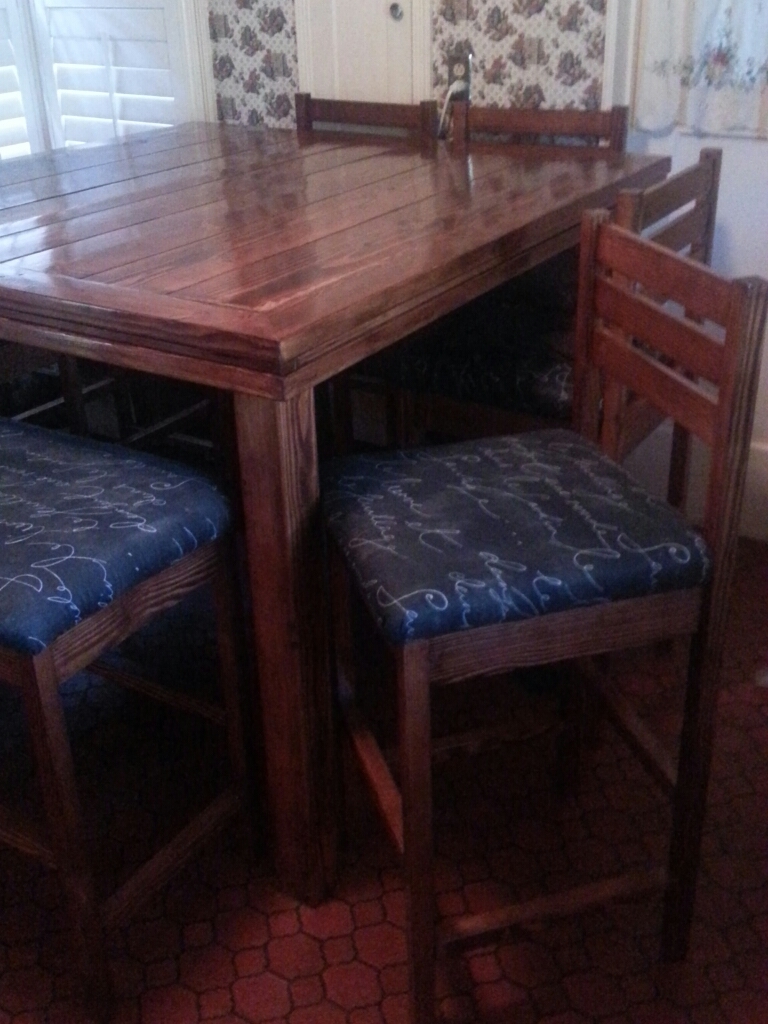
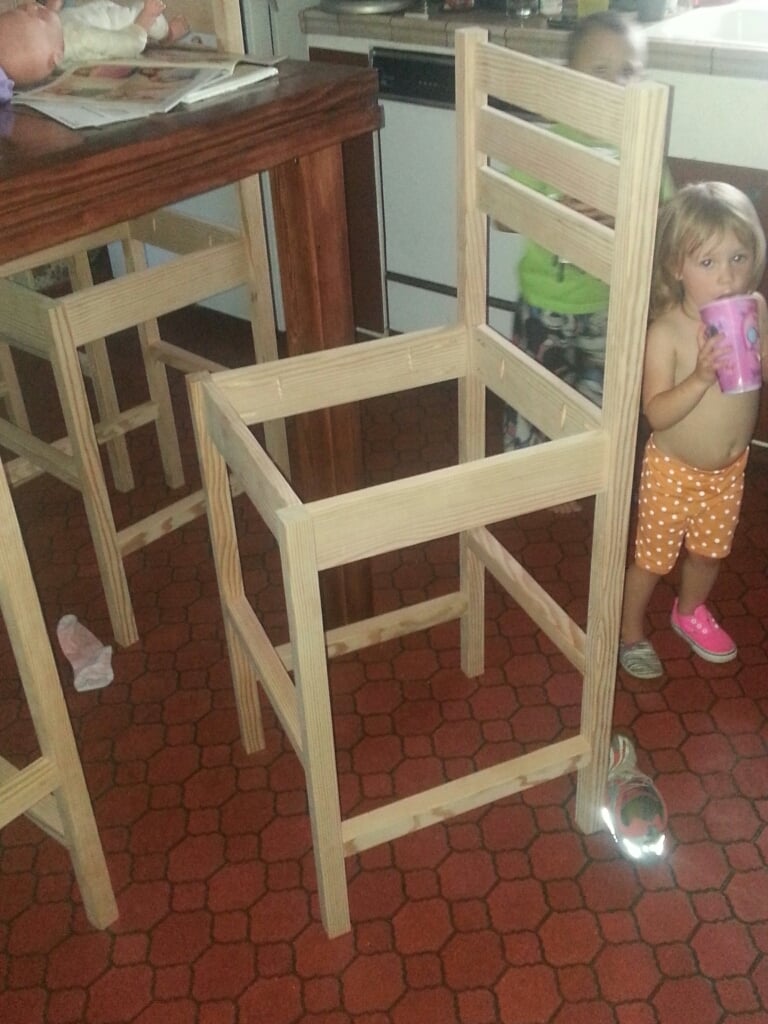
Bar height table witb 4 chairs and 2 benches. My mom wanted a new table big eight to sit 6 to 8 people, I think it can fit 10 though!


After getting ridiculous quotes for new cabinets, we searched out ways to save money. Ana White, your site has been a blessing! I have a construction background and was planning on doing everything except cabinets and electrical. I estimate that your plans and inspiration have saved us at least $7500.00!!! Thanks so much. We will continue to update as progress continues!

Mon, 05/04/2015 - 07:03
I can't wait to see the final product. Keep the pix coming. Will you be buying raised panel doors or going for a more craftsman style look with a 1x2 frame around the cabinet door?
In reply to Cabinet Boxes Look Good! by Heatherdee
Sat, 05/16/2015 - 07:08
Thanks for the encouragement, Heather! We are actually using Ana's plans and building our own shaker doors. The plans are awesome and we have discovered that we LOVE building cabinets!!
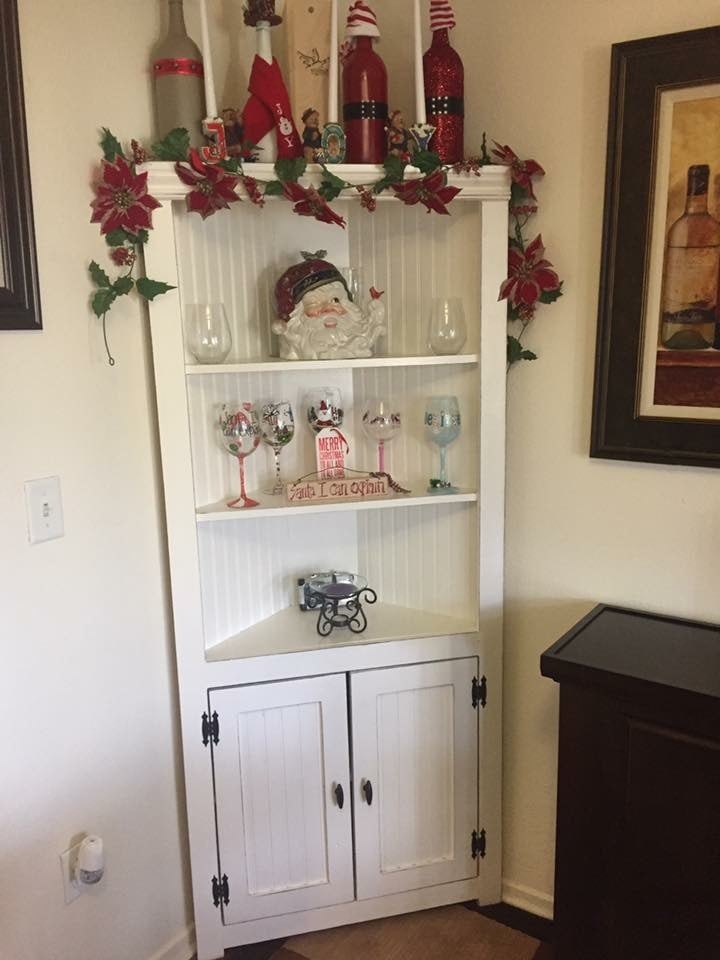
My husband built this for me. The doors were a bit frustrating for us as beginners. I really thought he was going to end my life over those doors really. I am very happy with the end result but it did sit inside of the house for over a month without doors. LOL I love this cabinet so much though. It's my favorite piece so far.
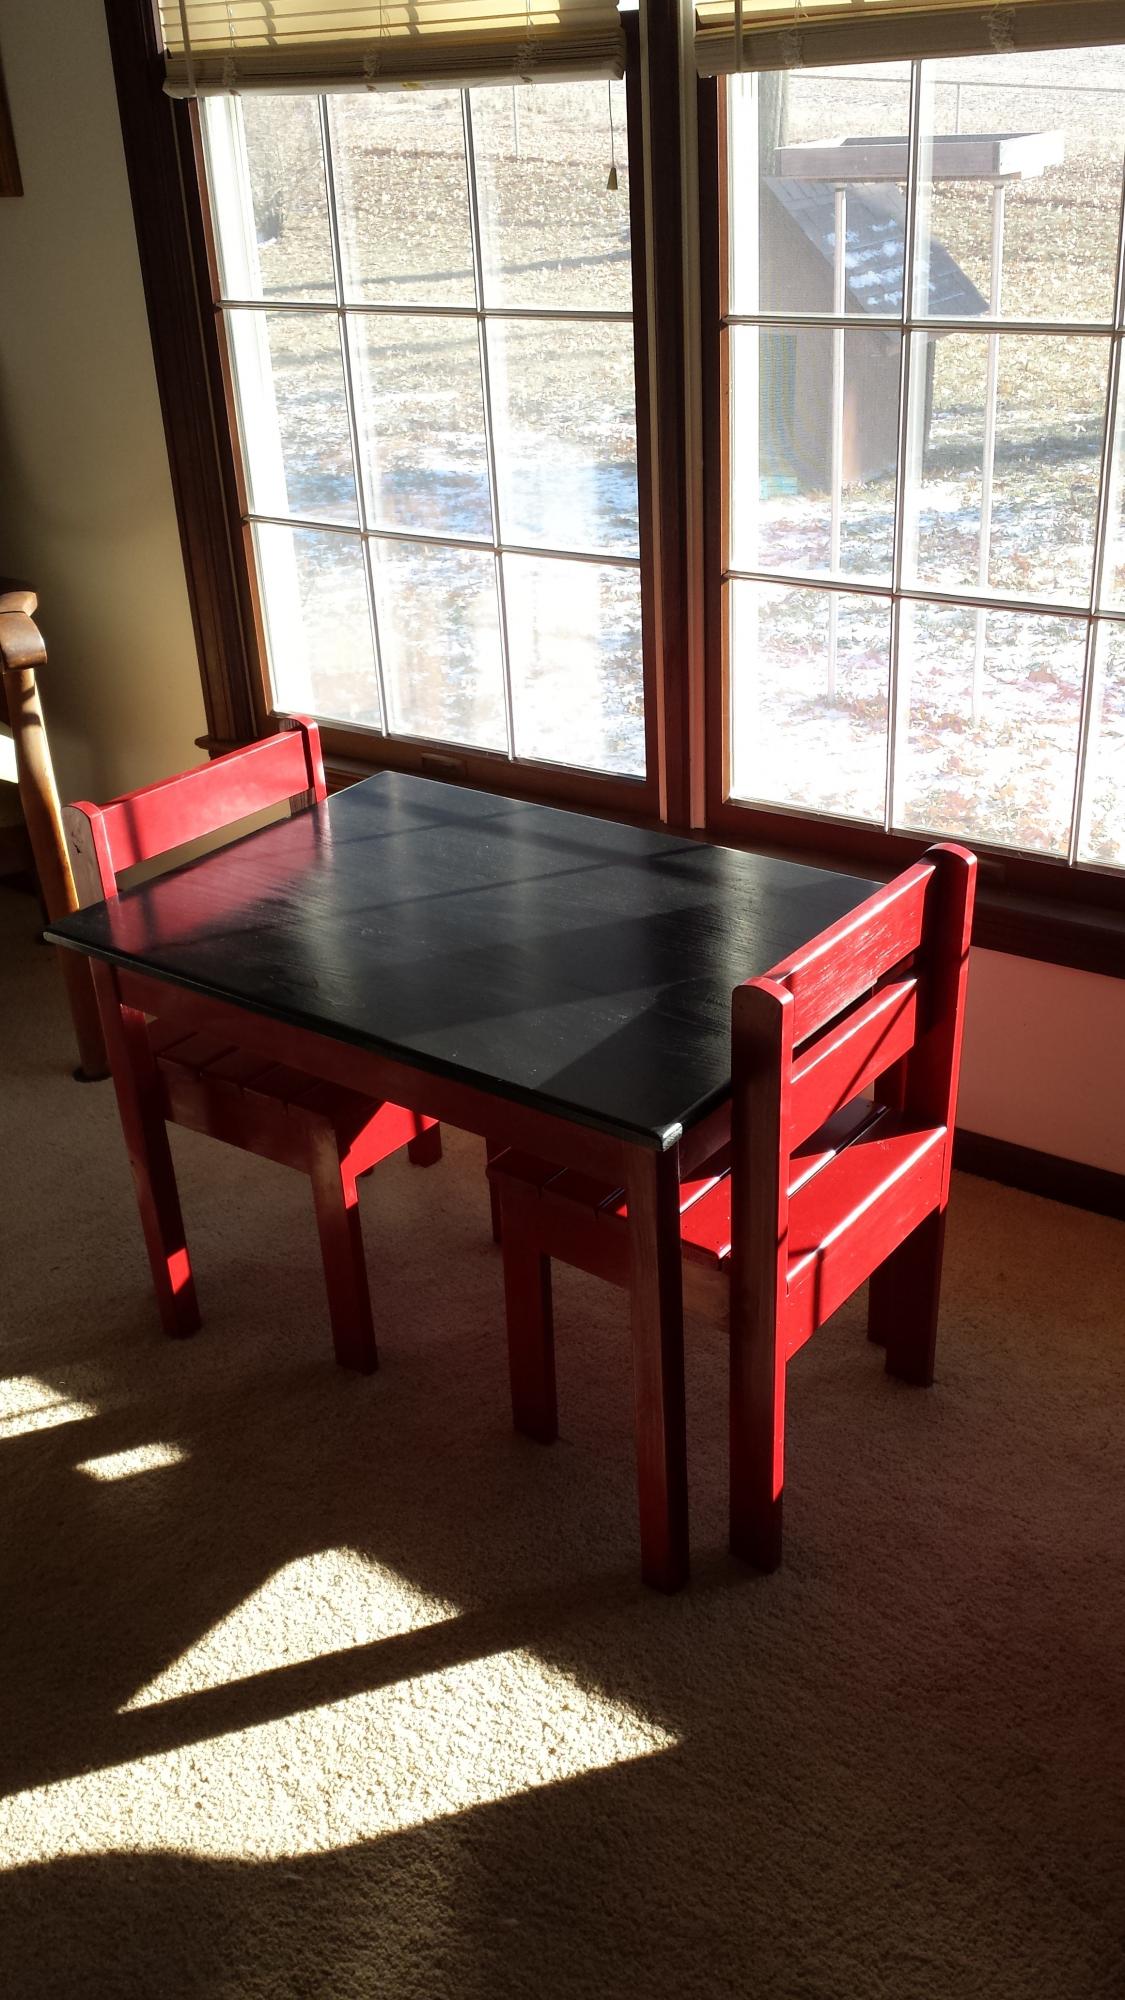
I've built four of these tables over the years for grandkids. One has already outgrown the table height so I rebuilt the frame and added longer legs. I modified it and use mortise and tenon joints, which has held up great.
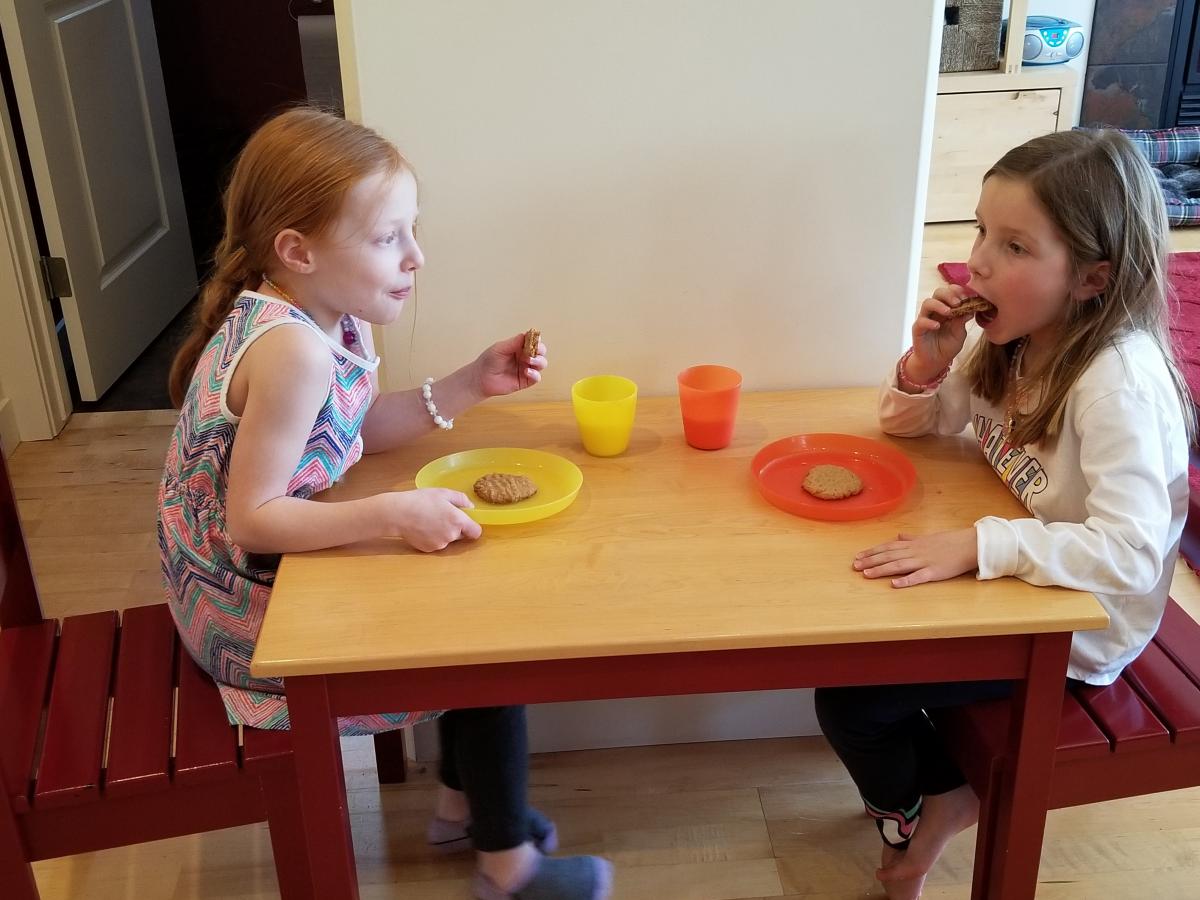
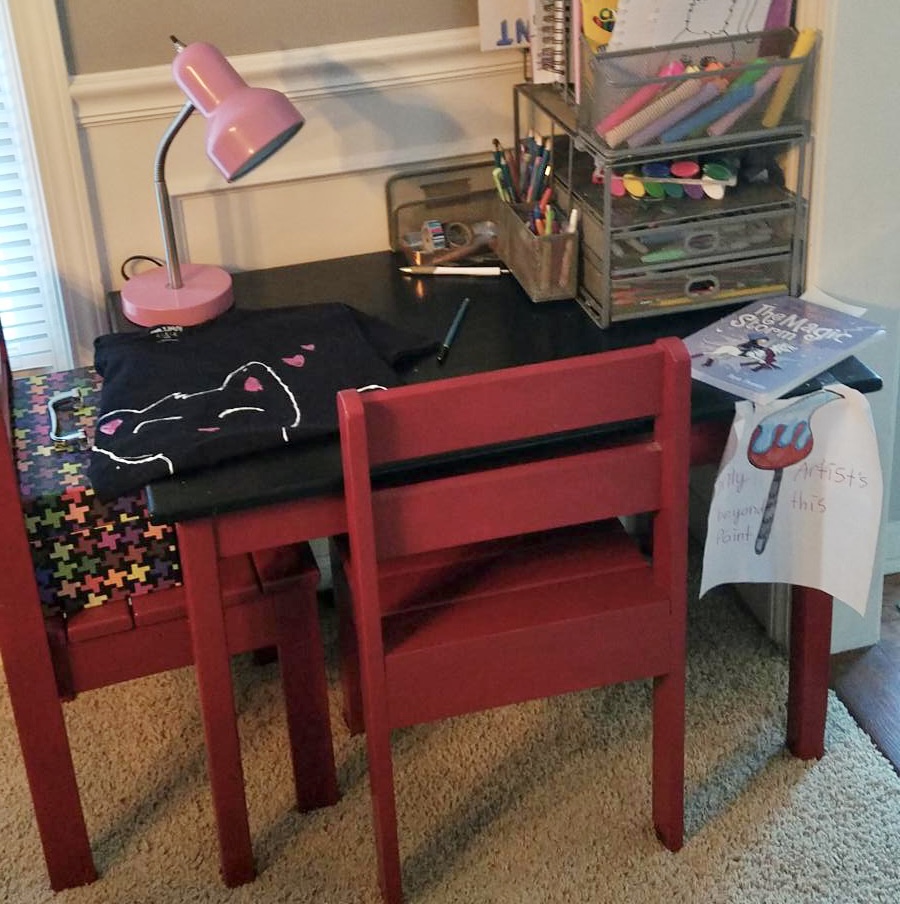
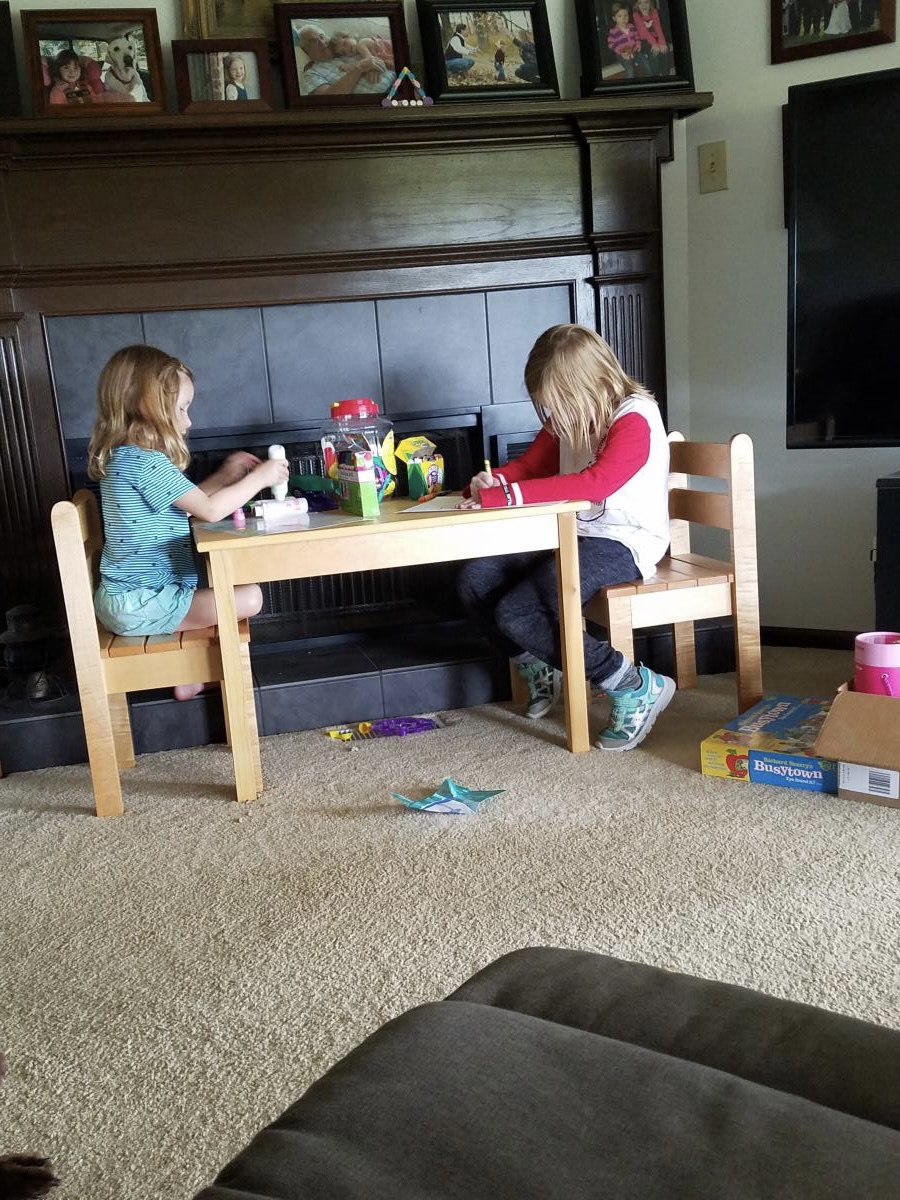
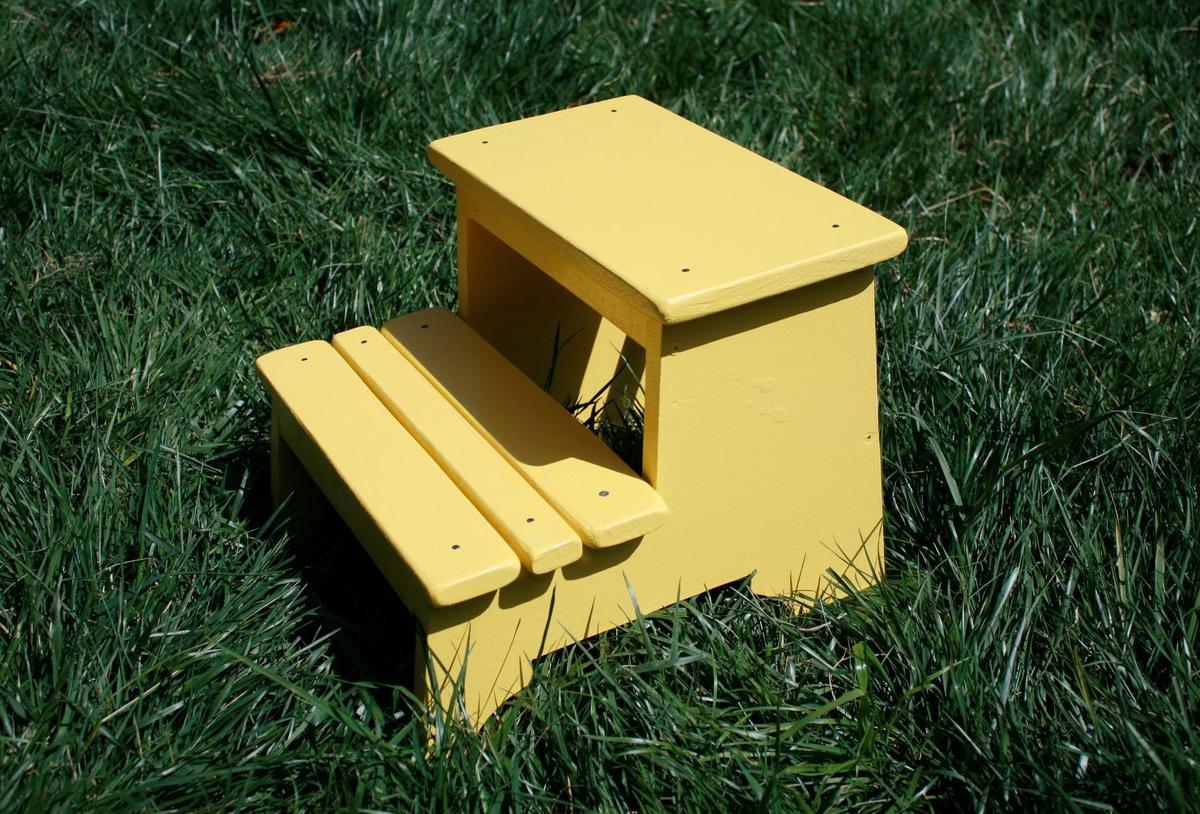
Finally built my first project with plans from the site. Just modified slightly to use the wood and tools I had on hand, but I love it! If I make another, I will be sure to make it with the legs angled out as Ana did. With two active toddlers, it would be a bit more stable..
My girls have nominated it as a "reading desk" and might not be as thrilled as I am about having it for them to use in the bathroom to wash their own hands! Great, easy plans. It would have been much easier to build with a pocket-hole jig, but maybe I'll get one for my birthday.
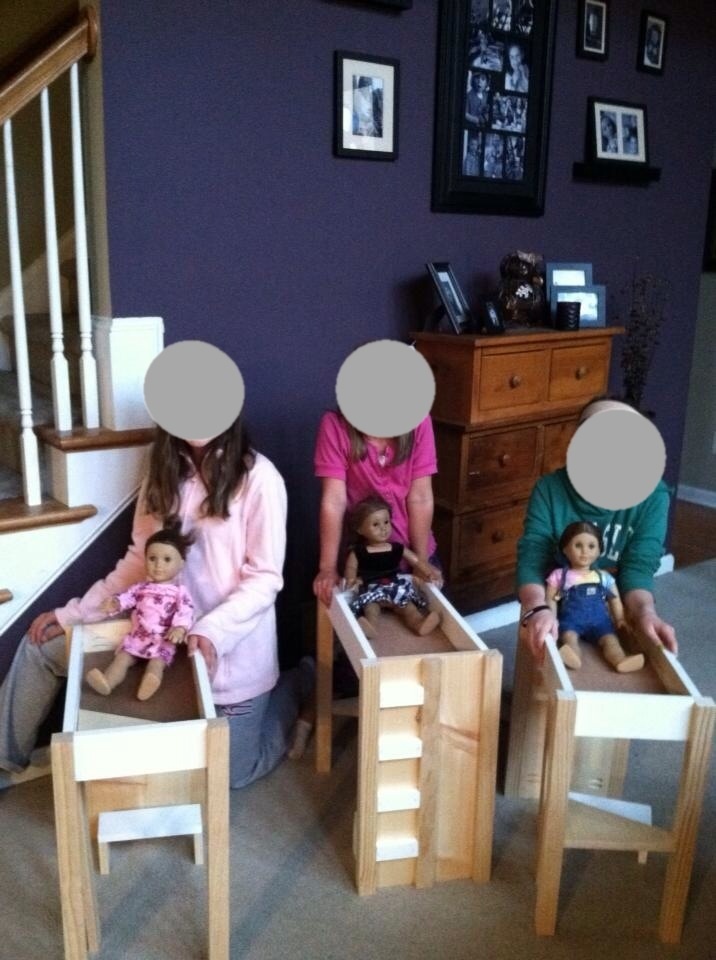
Made three of these beds with and for my best friends daughters.
Fri, 07/05/2013 - 14:11
Brand new to woodworking. About to dive-in with this American Girl Loft Bed project. From others' comments, it seems a Kreg Jig Jr. will be just fine. Yet another commenter suggested purchasing the Mini as well. Is this strongly suggested or can I get away with the $40 Jr. set? Thanks!
Fri, 07/05/2013 - 15:32
Hey Molly,
I used the Jr. You definitely don't need to buy the more expensive one. I even just built a long console table using the Jr. Good luck and don't forget to post pictures of the finished product.
Maureen
Fri, 07/05/2013 - 17:37
Thank you, Maureen! Reassuring to know!
Just got back from purchasing the Kreg Jig Jr, clamp, and wood. I felt totally out-of element.
I have had this loft bed pinned on Pinterest for quite some time now. Seeing your brag post AND knowing that it was your first project helped me to think I might be able to accomplish this.
Funny that you just built a console table. That is one of the top projects on my list if this all goes well.