First project
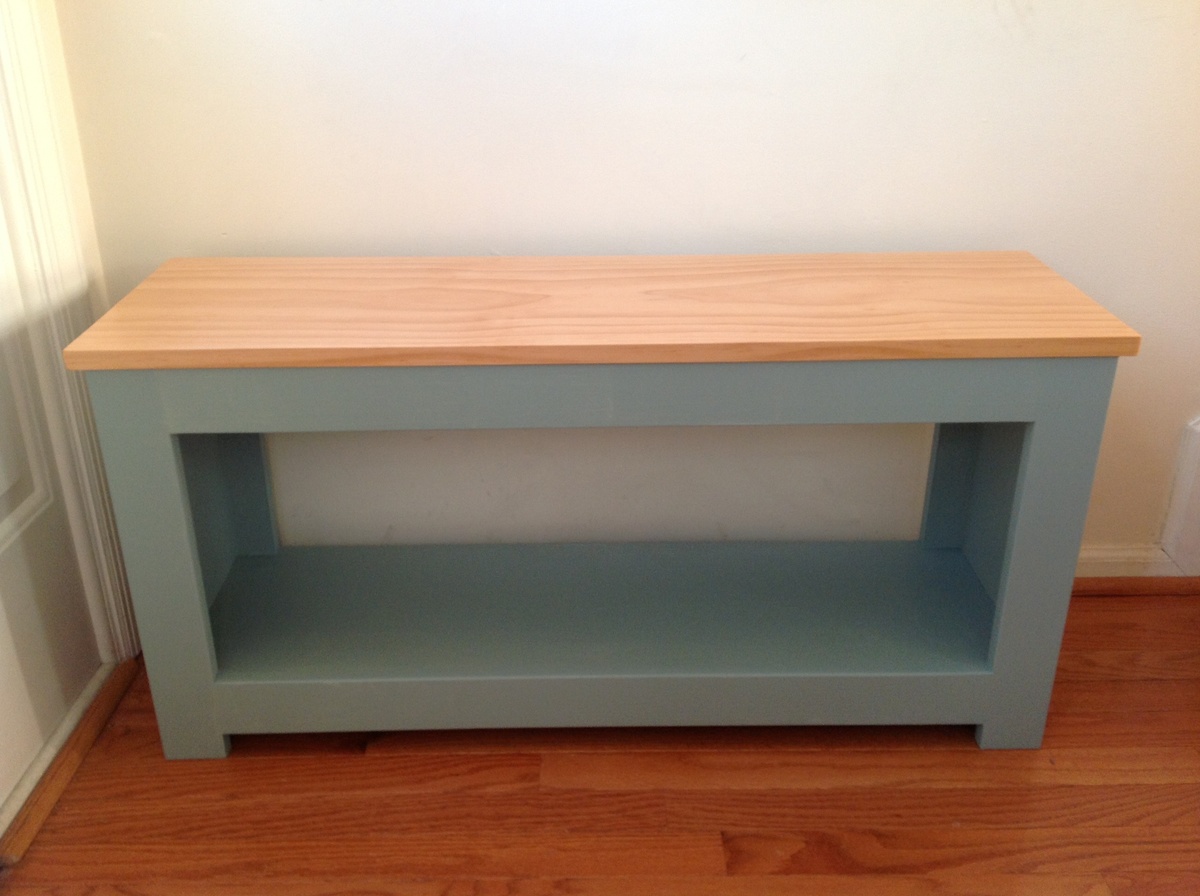
Used the plans for the spa bench to make a easy entryway bench...
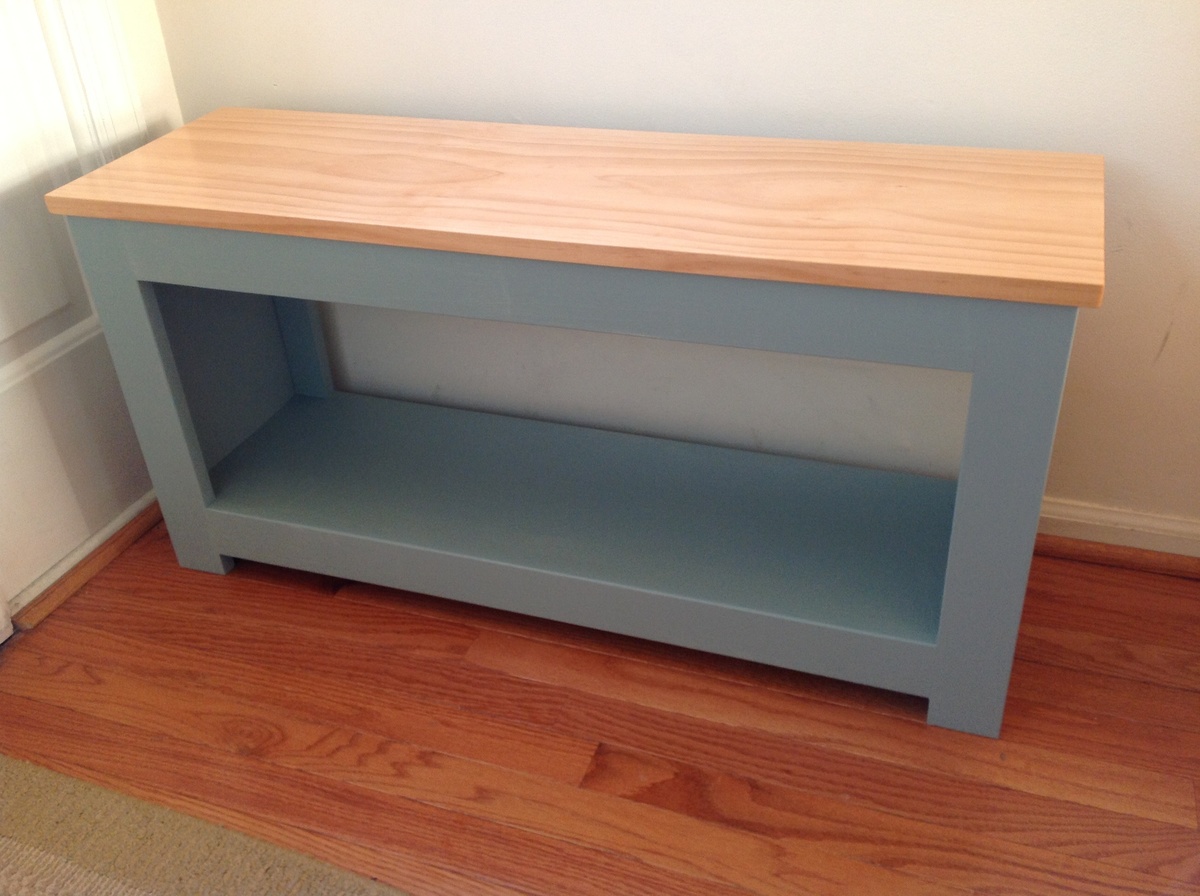
Base: Minwax's Ipswich Pine
Also added two coats of semi-gloss poly to the top piece for added protection.

Used the plans for the spa bench to make a easy entryway bench...

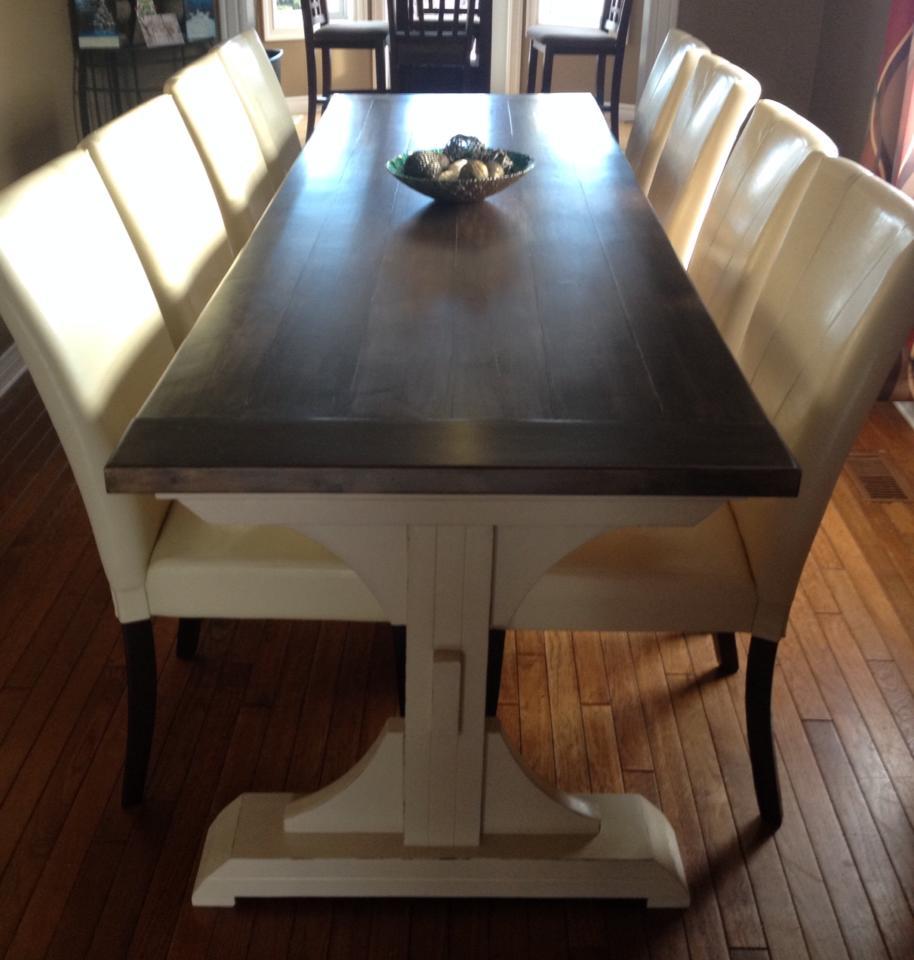
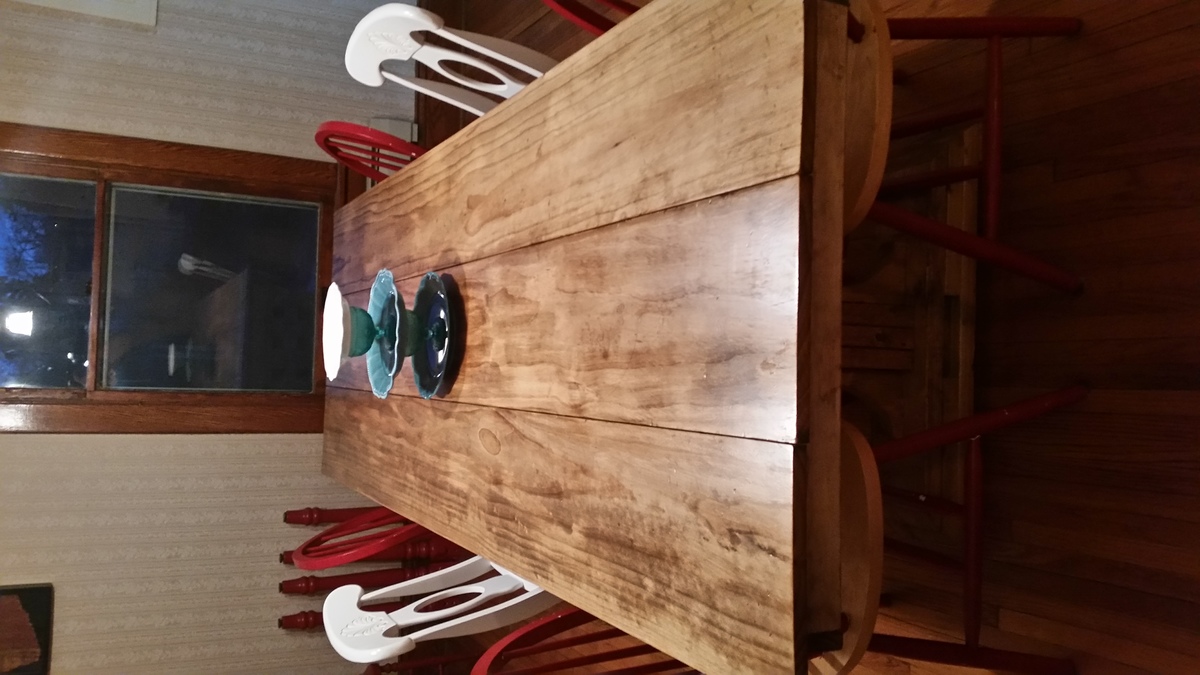
As a newly blended family of seven people, we needed a dining room table that would accomodate our family comfortably. With nothing suitable available locally and our joint interest in homemade projects, we searched for a plan we could work with. We were thrilled when we found this plan, which we customized to the dimensions of our dining room. We adjusted the length to 9' and the width to 33" and went with a plank and breadboard end top. We used a Tudor colour Minwax polyshade stain with a satin finish for the top. To achieve the worn look of the pedestals we used a torch to burn the wood, primed it with a primer sealer, painted it with furniture andcabinet paint (Armadillo) for durability, then scuffed/sanded the desired areas with a durable 60 grit sandpaper. Making the table ourselves allowed us to use a colour scheme which matched the chairs we had purchased. We will add, it was more time consuming than anticipated, but well worth it! We LOVE our new table!!
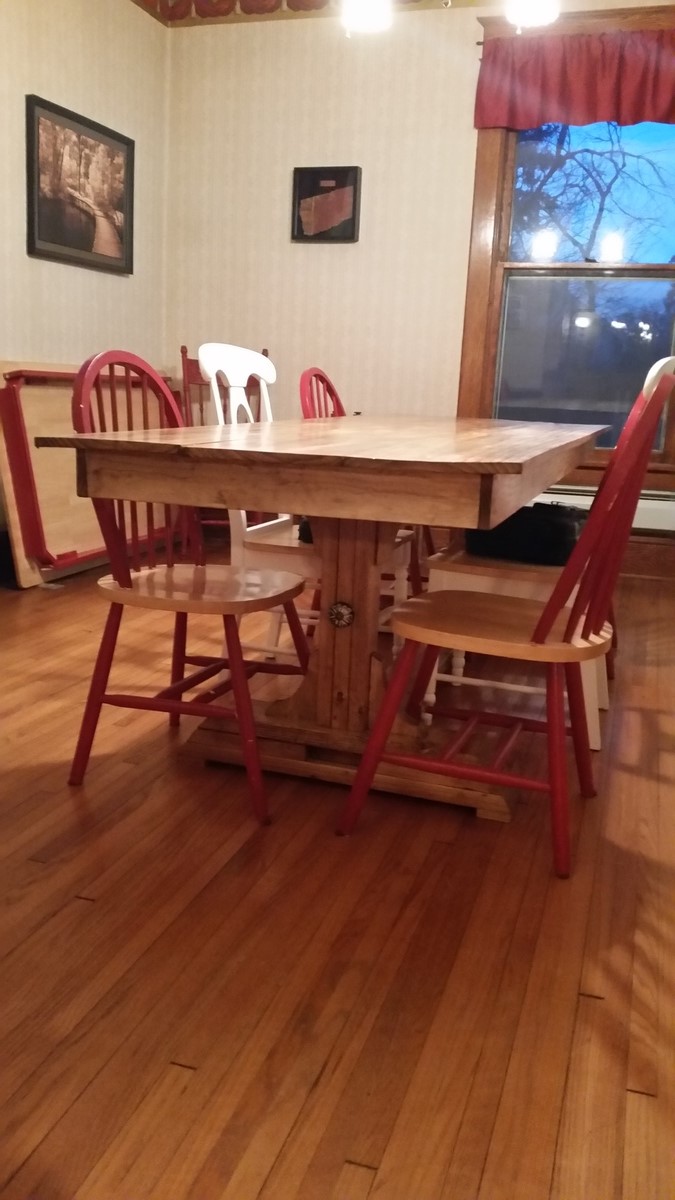
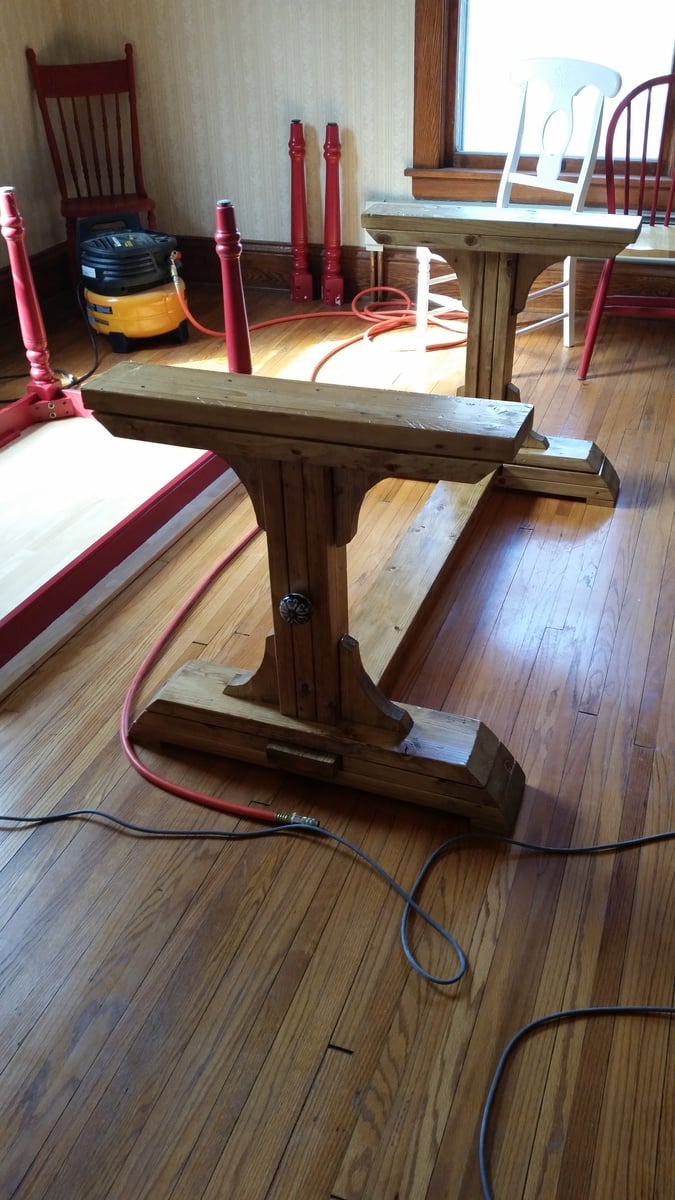
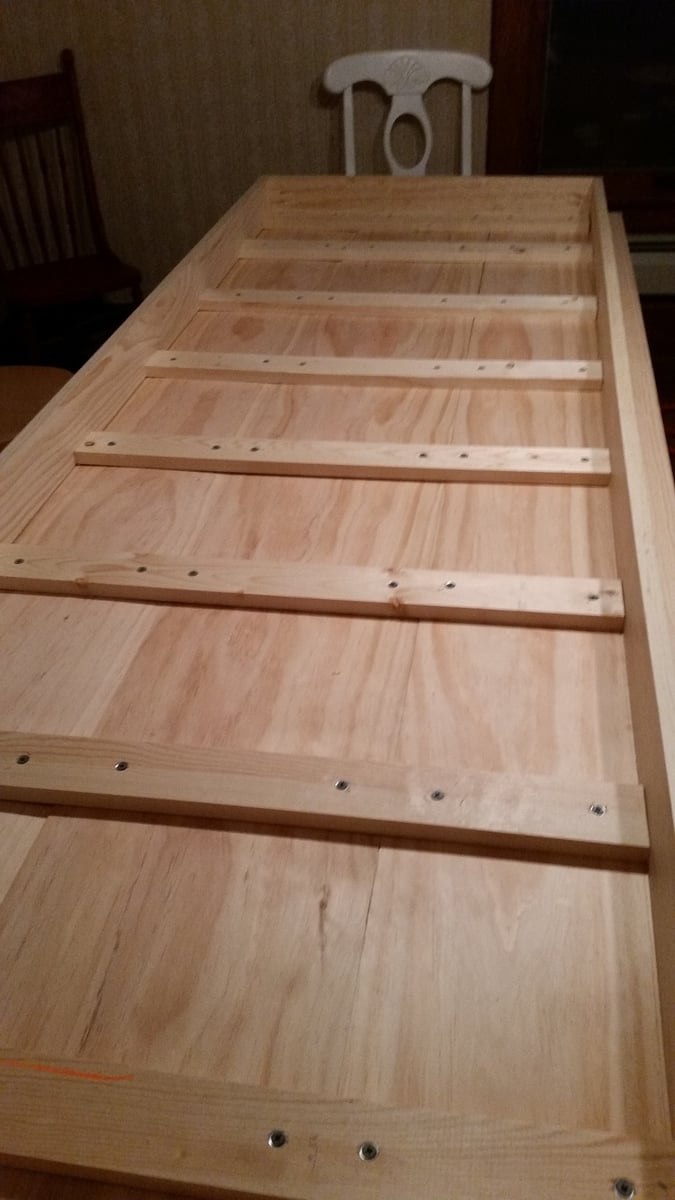
I'd been looking for a plank-style farmhouse table for quite some time. Couldn't find what I wanted to buy anywhere (and too cheap to spend the money even if I did), so decided to make my own table. Made up my own design for the table top, and then went looking for the right legs. I liked the pedestals on Ana's design a lot, but thought 3 was too many for my project. Looking at some of the other tables that had been done with only two, I decided I didn't love the high placement of the spanning bar when done with only 2 legs. So, I moved it down to the bottom of the legs instead, and added a couple of decorative knobs to make up for the lost visual interest to the pedestal columns. I'm not a particularly physically strong woman, but I was was able to do this entire build single-handedly, with very little previous experience assembling furniture (lots of diy experience doing other kinds of home improvement projects though). Only needed a second set of hands when finally lifting the top onto the legs at the end. Fun project overall.
Final table size is 8' X 33.5". Seats 8 comfortably; can fit 10 when needed.
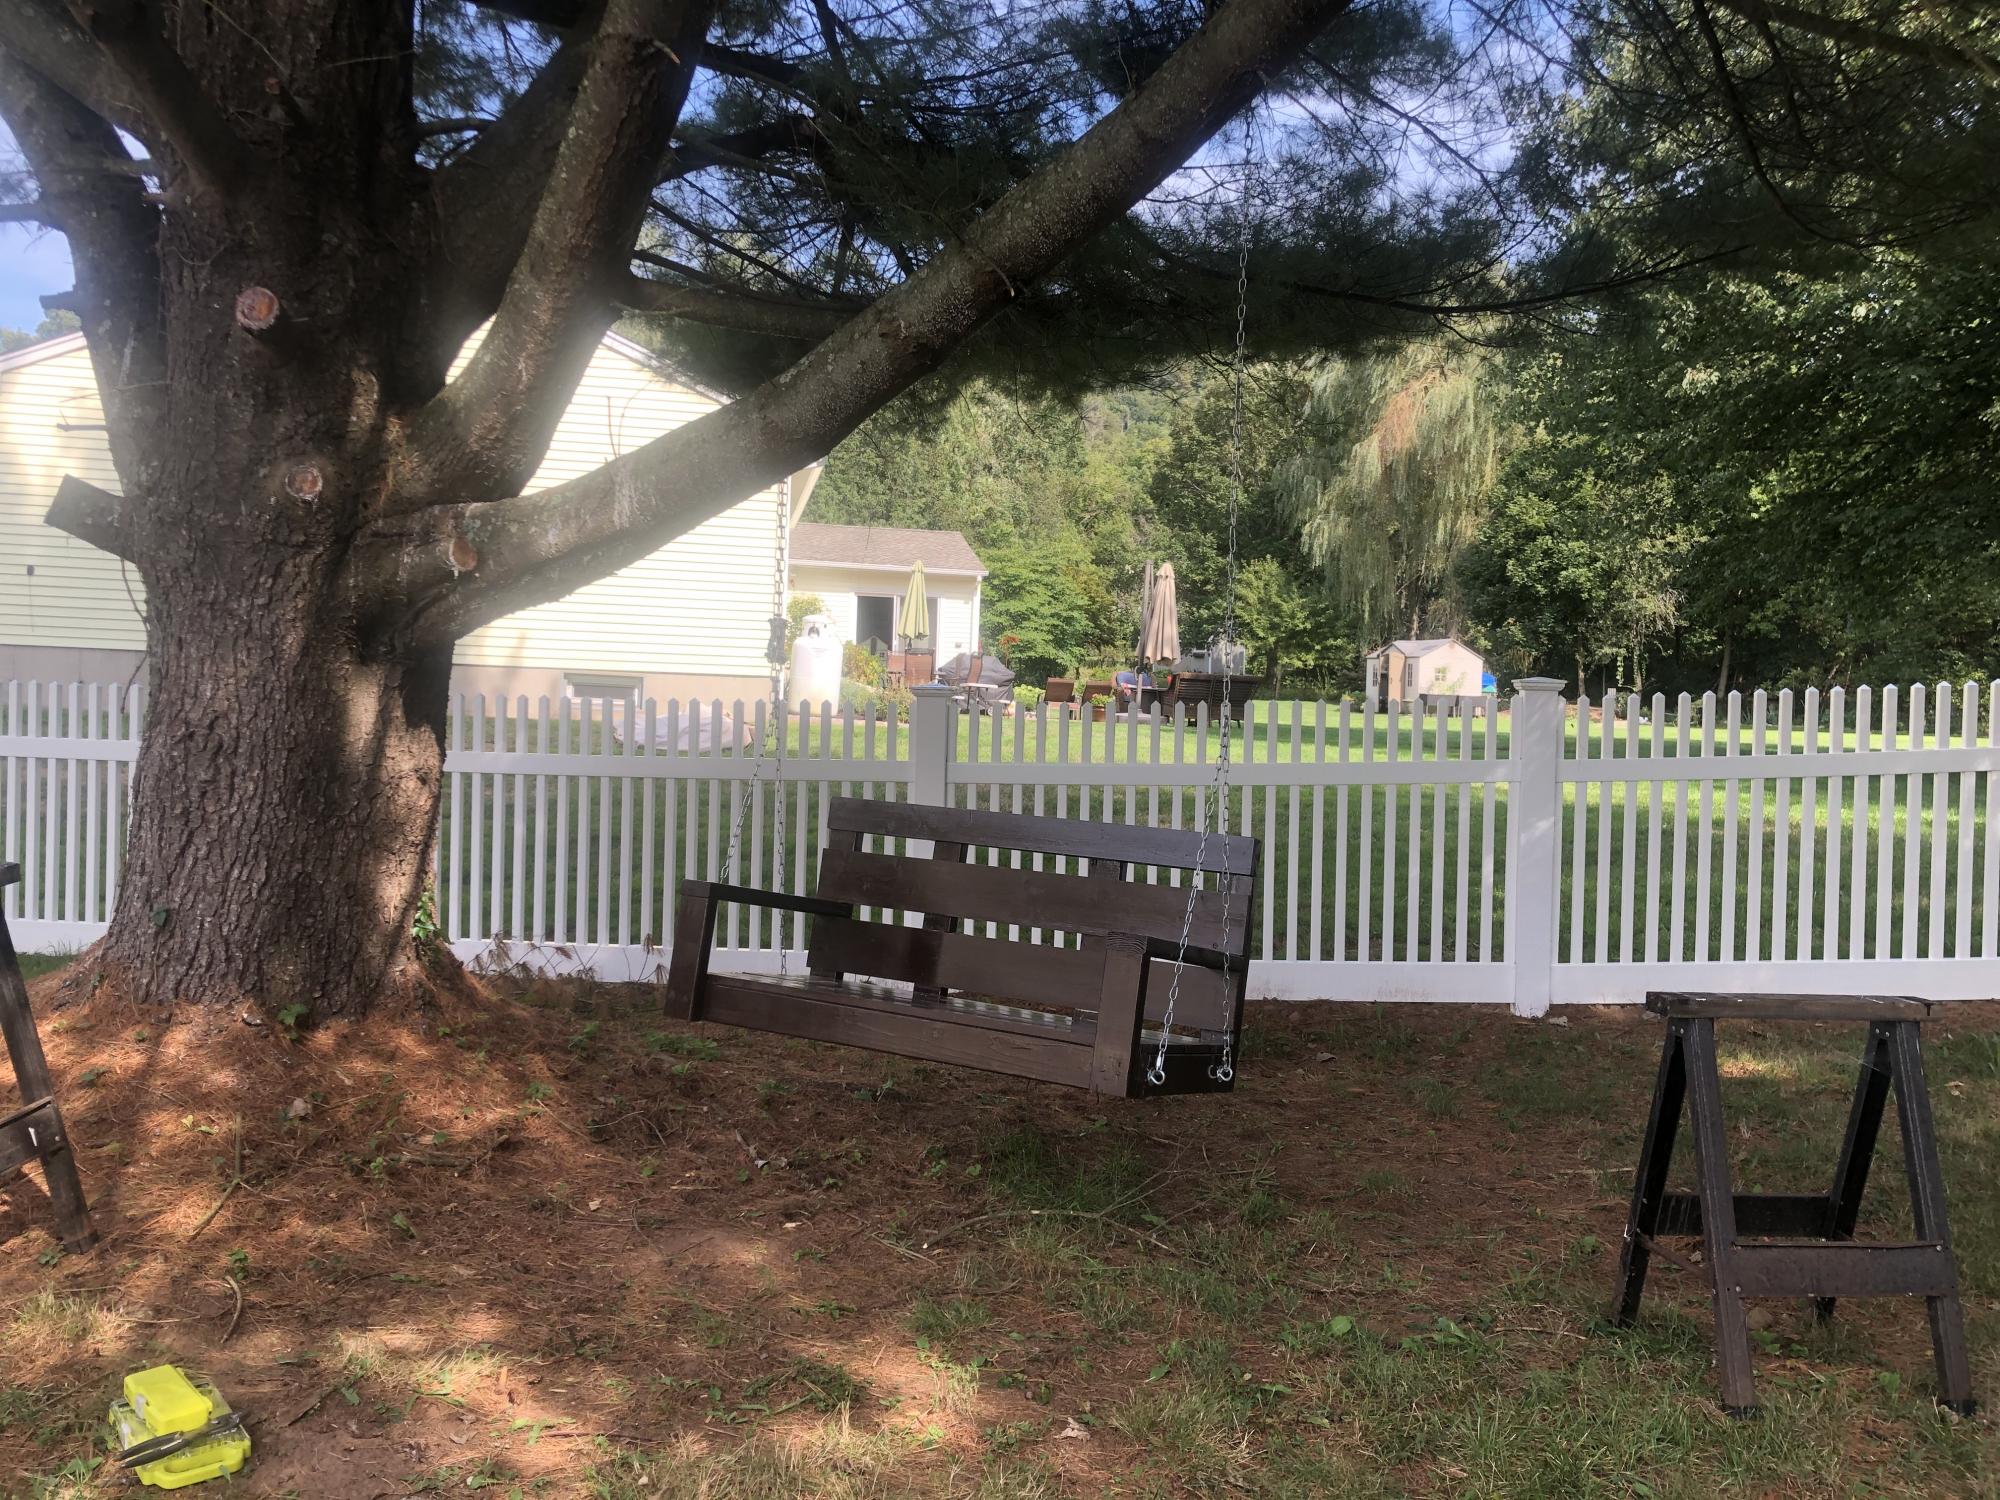
Awesome Tree Swing built in about an hour! Super easy plans to follow. Two quotes of Stain and Three coats of exterior Poly!

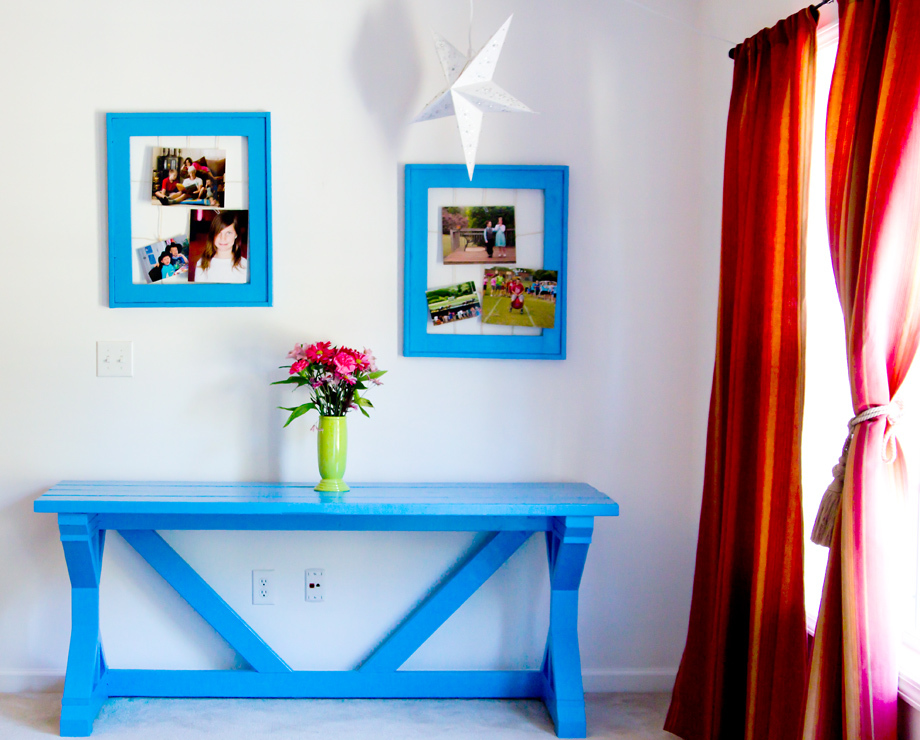
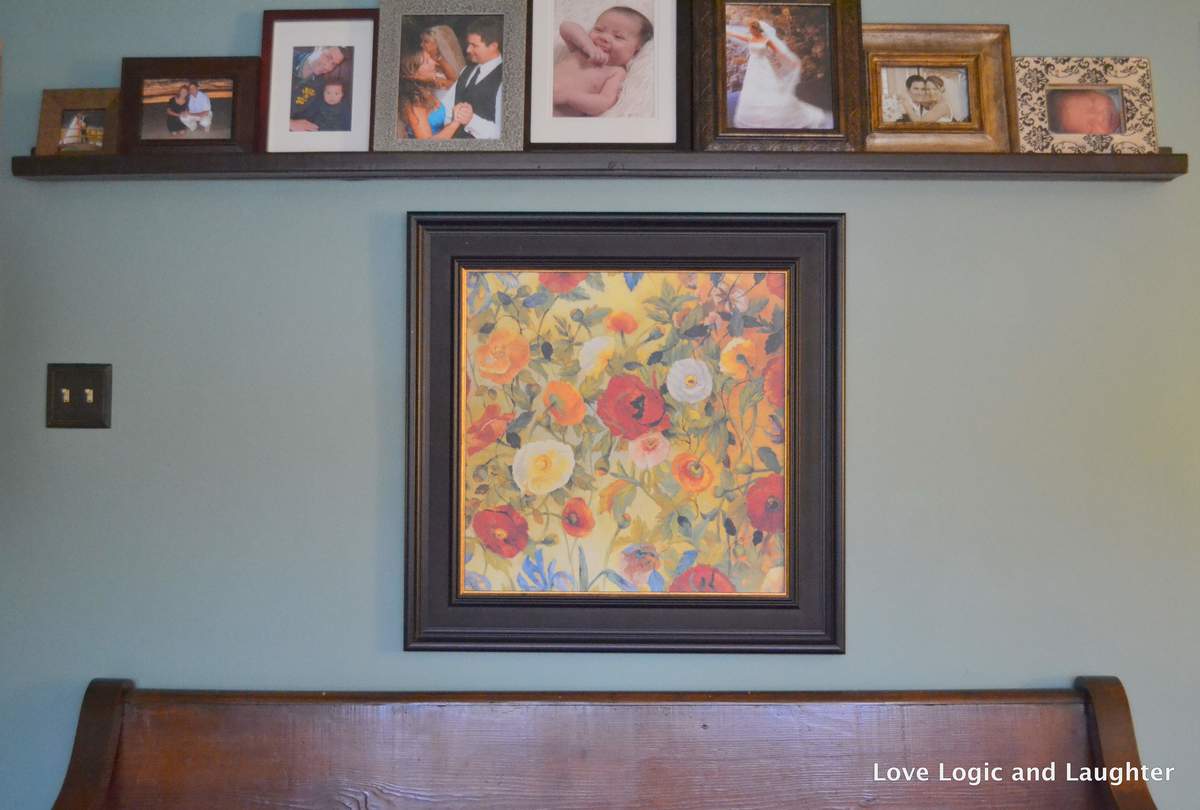
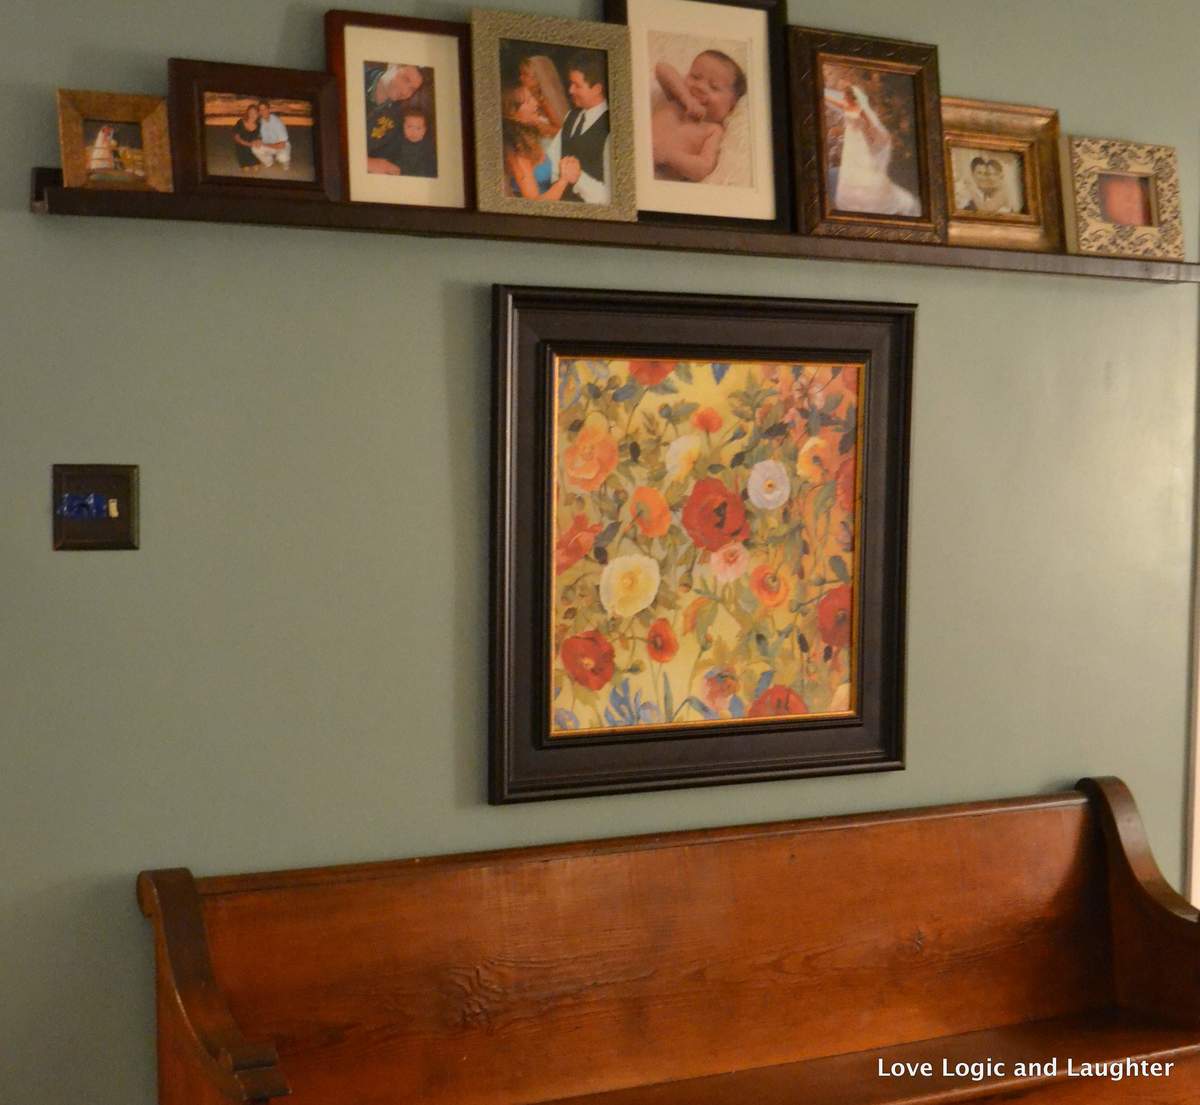
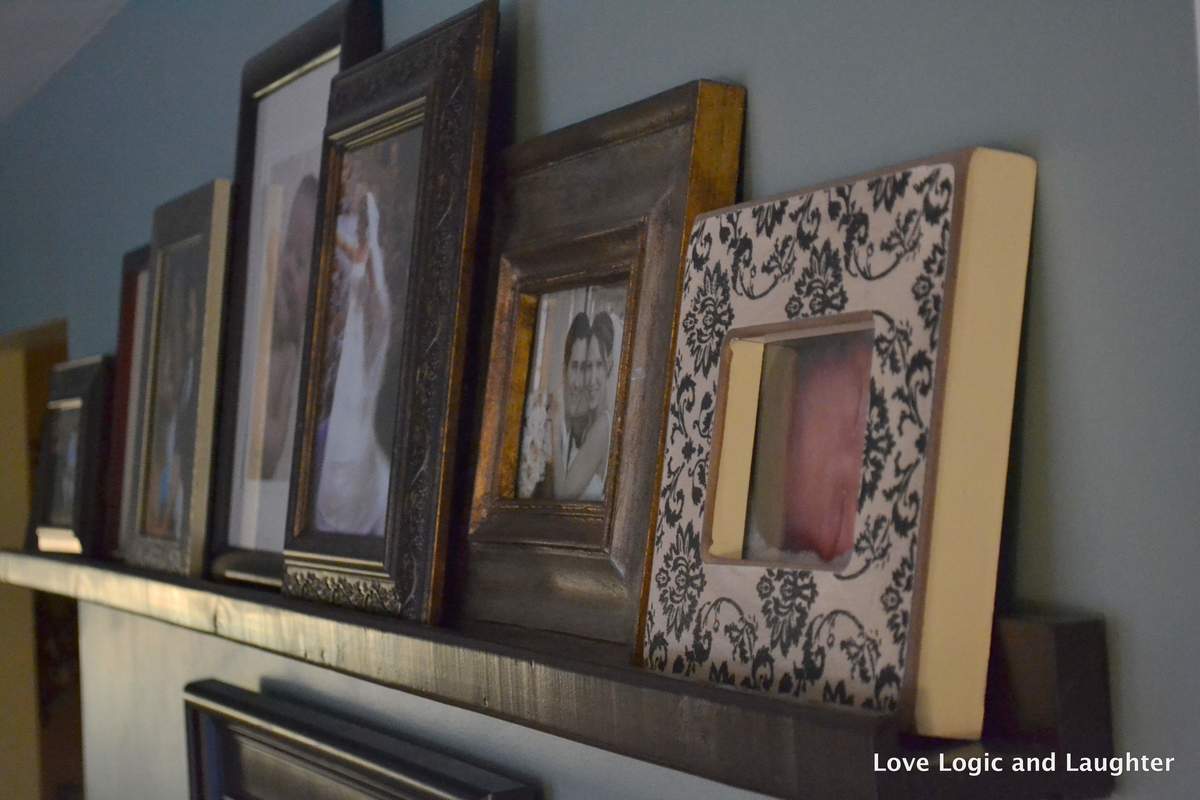
The table is the fancy x desk. This was my very first wood project. My first time using power tools and painting furniture. The picture frames are from Ana Whites book, The Handbuilt Home. They were my second project. This is located in the back of my frontroom. I love the color. Thanks Ana!
P.S. this was my first project, so I took my time.
Wed, 02/20/2013 - 21:32
Very nice! Love the color! So cheery and bright!
Thu, 02/21/2013 - 05:43
What a fantastic job! (the color is great too) I am choosing this plan as my first project as well. I have built small things before and I am familiar with how to use saws and such, but this is a build that I have been working up the confidence to tackle, lol. Wish me luck, cause this is the weekend I will be starting it :)
Again, you did a great job!
Thu, 02/21/2013 - 06:07
By the way, I agree with your last statement about asking the paint associate at your Home Depot for advice on which paint or technique to use, I am an associate at The Home Depot and the folks we have in our paint department are fabulous!! they are very knowledgeable and most have years of experience and a background in the painting trade.

Saw Ana's plan on Pinterest for the Rustic X Coffee Table and wanted it in my own home!


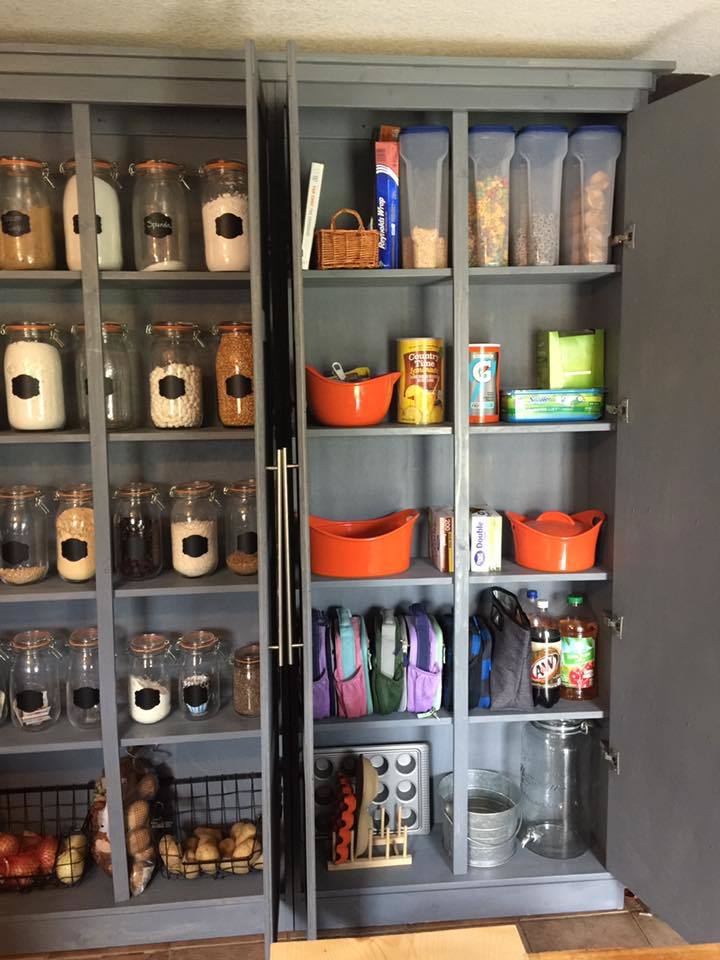
I modified the origianl plans by making the cabinet taller. I also built 2 cabinets and trimmed them both together to make it appear as if it is 1 giant cabient. It measure over 7 feet tall and just over 6 feet wide. I did add an additional 1x2 brace in the center of the cabinet to help support. I also cut an additional 1x4 to use a brace when anchoring it to the wall. I also chose to add an additional 2 trim pieces to each door because they are much taller than the original plan doors.


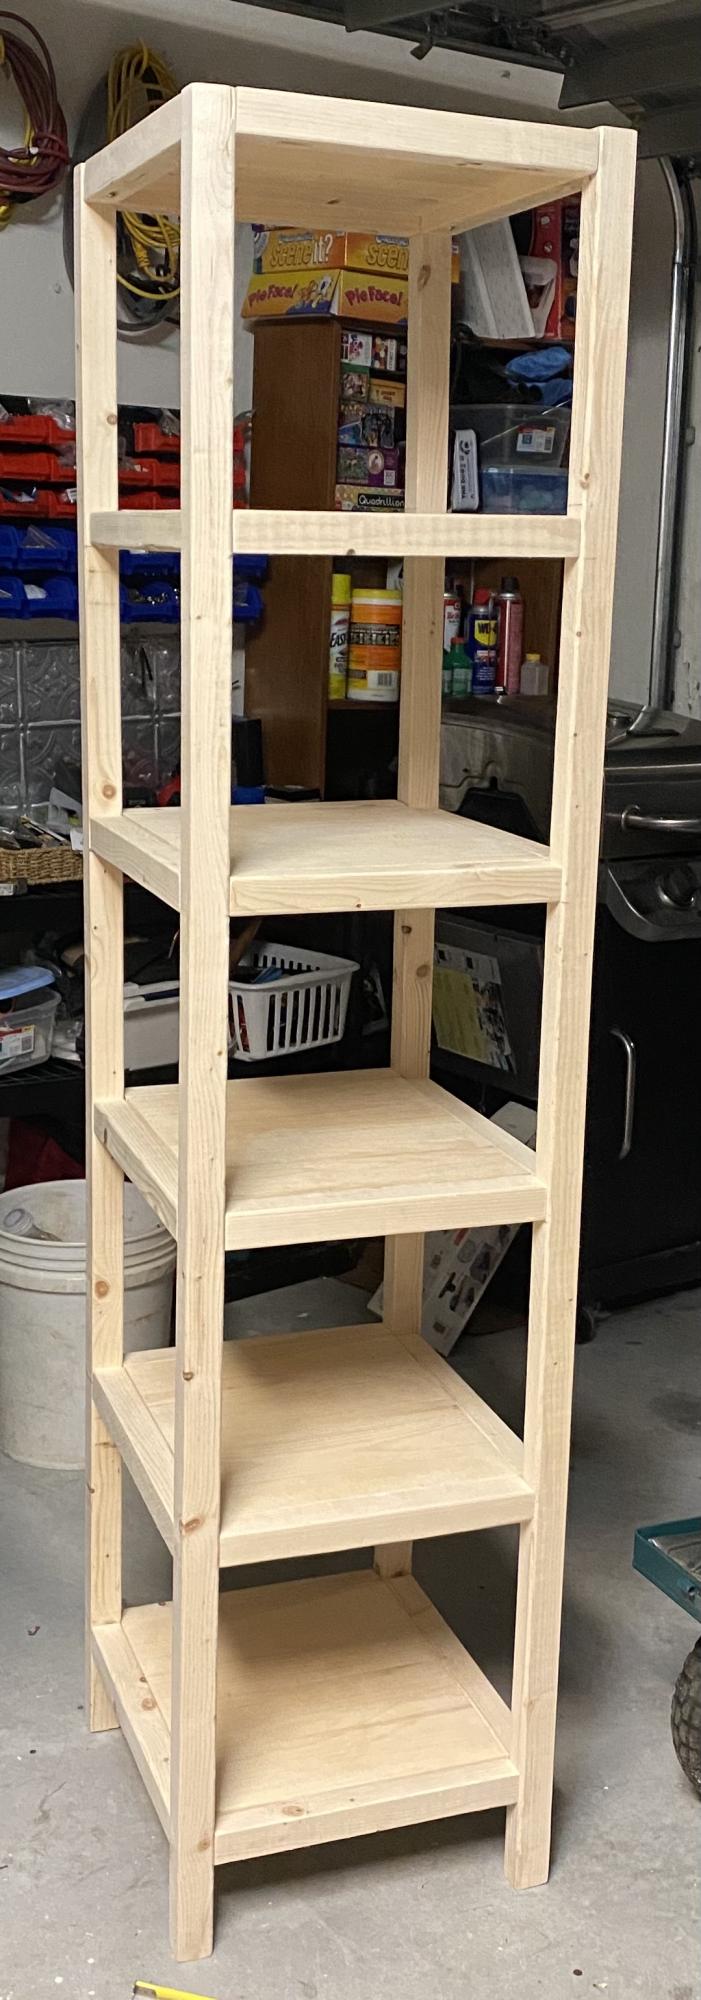
Unfinished pine bathroom tower shelves. I assembled all pieces with kreg jig and pocket hole screws. It was a quick and easy project.

This plan is from Ana's book, "The Handbuilt Home." Construction was completed over a weekend but the stain and finish took some time between cold weather and family needs. We started just before Christmas and finished by Valentines. Thus Tracey's Christmastine Present.
It is a sturdy table but it has some play along the length of the table. I like the plans for the support beam from the website better but we stayed with the book plans. The Pocket Holes were great to use. I am not sure I like finish nailing and glueing the sides to the legs, it seems it needs something stronger but we will see how this works over time.
I did not like mixing Pine 1x4's with the Douglas Fir but after seeing the finished stain it has an interesting look. You can see this on the photos of the legs. The wood was purchased from Home Depot and they did not have Doug. Fir 1x4's.
We only used two coats of Poly. Tracey did not want to wait any longer. The wood is soft as evidenced by the handwriting marks in the table from my daughters homework. Hey, she is doing homework at the table! Lots of "Character Marks" to come.
Overall it was a great project and fun to complete. Looking forward to some small tables and picture frames.


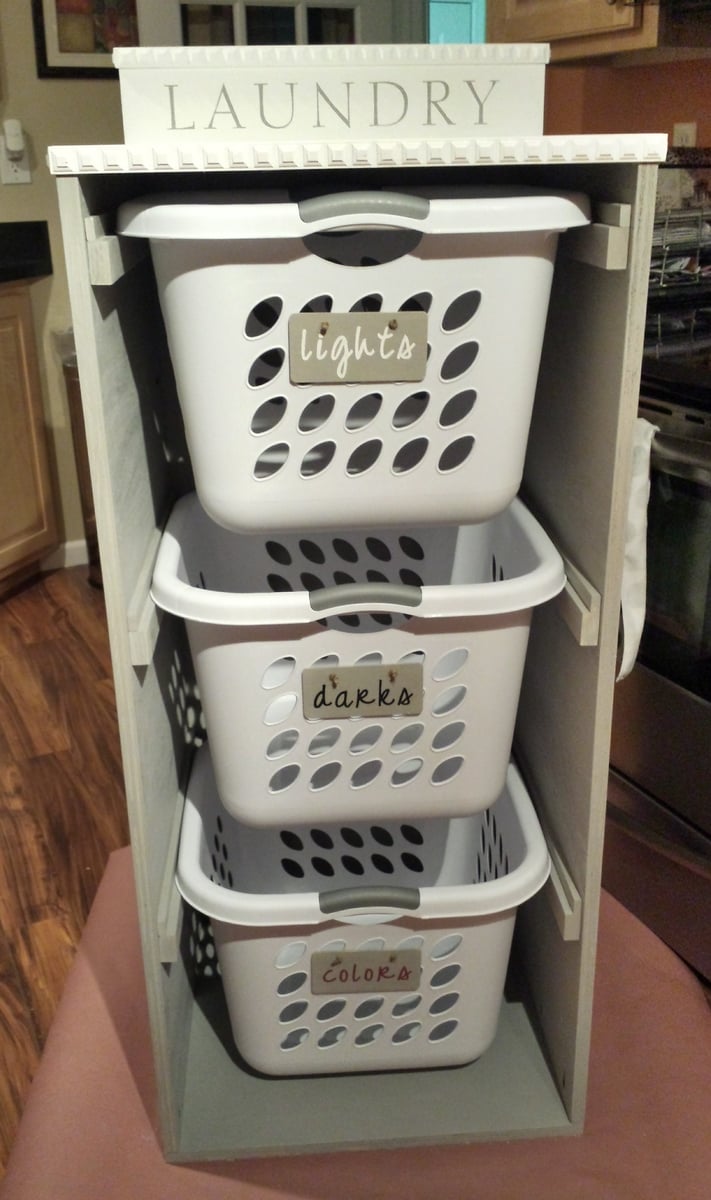
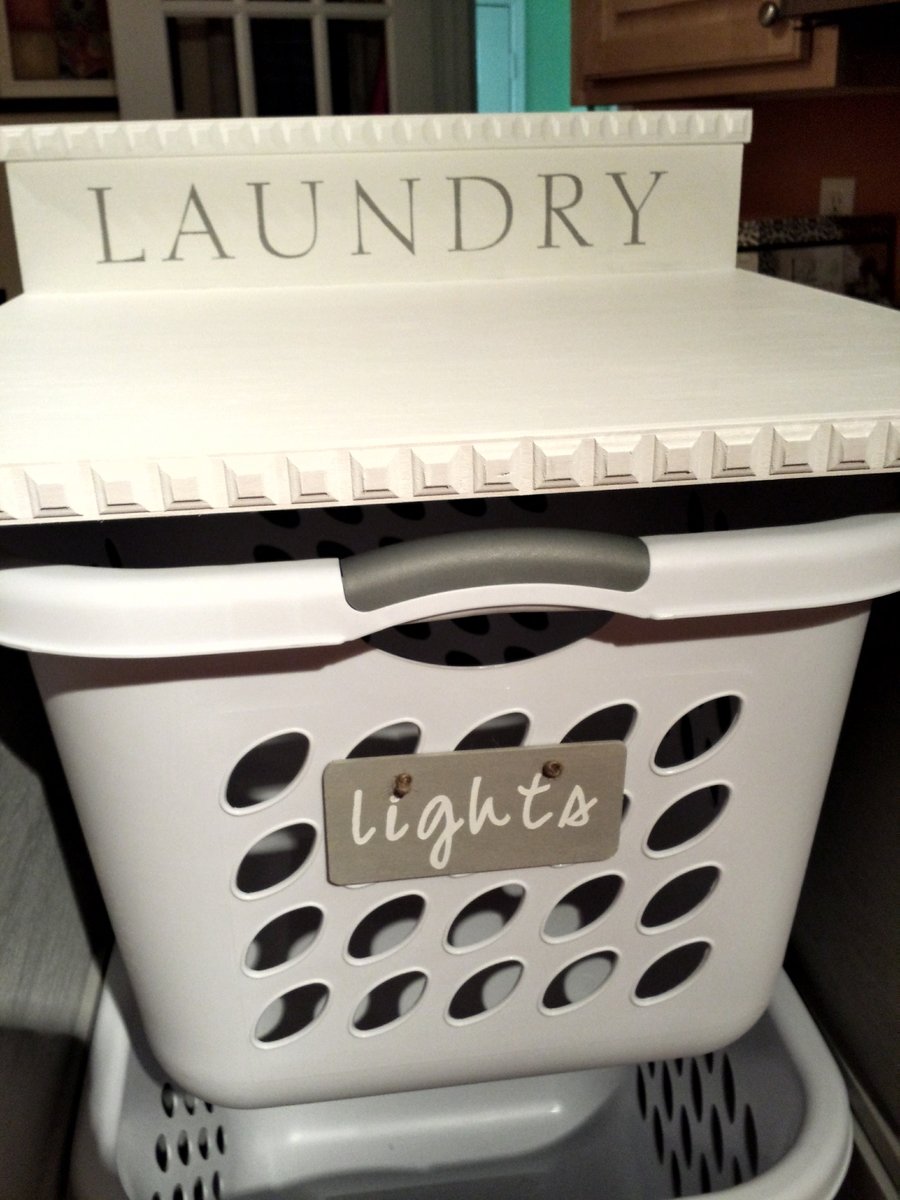
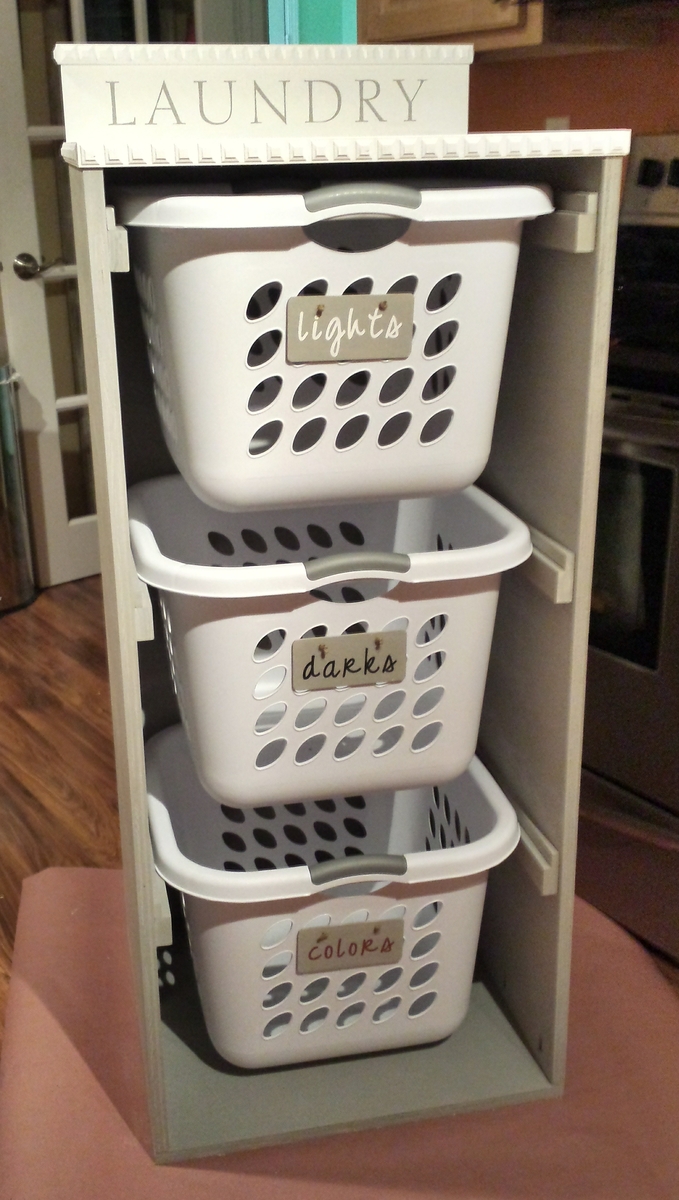
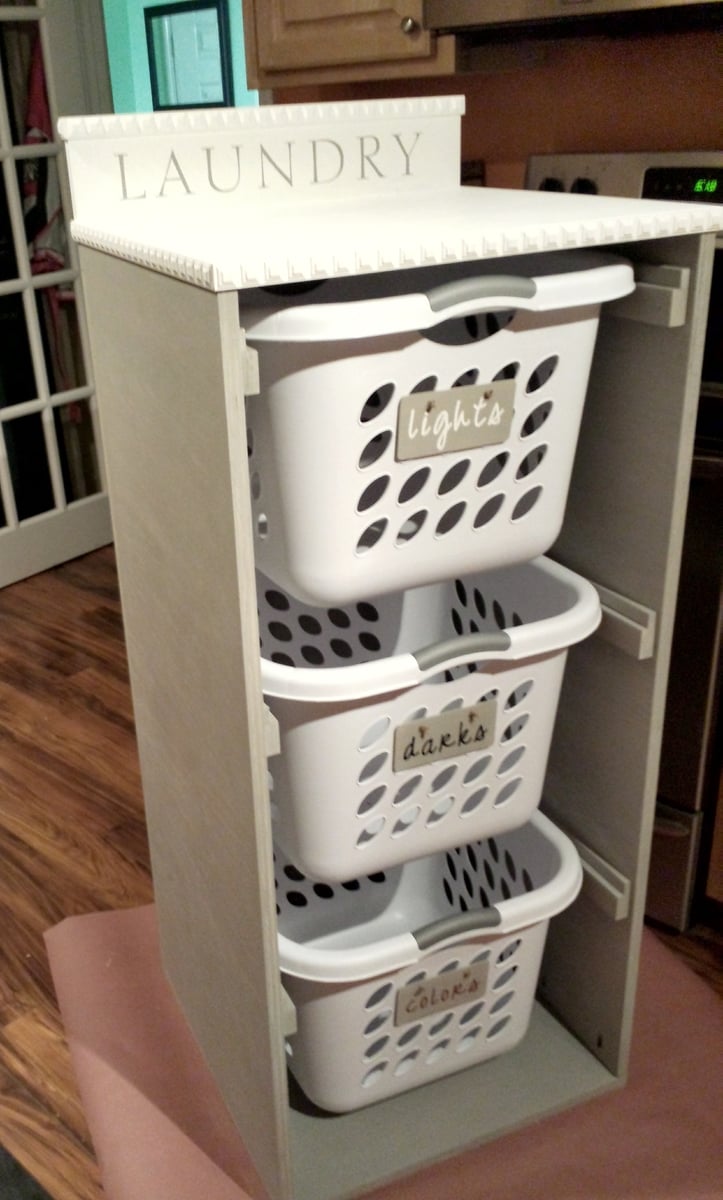
Used square laundry baskets instead of regular rectangular baskets. The square ones aren't as deep but are a bit taller so I had to modify the plans. I added a backsplash and some wooden tags to the baskets to designate them for certain colors. I also added some decorative trim and finished the bottom in a gray stain and used white chalk paint for the top.
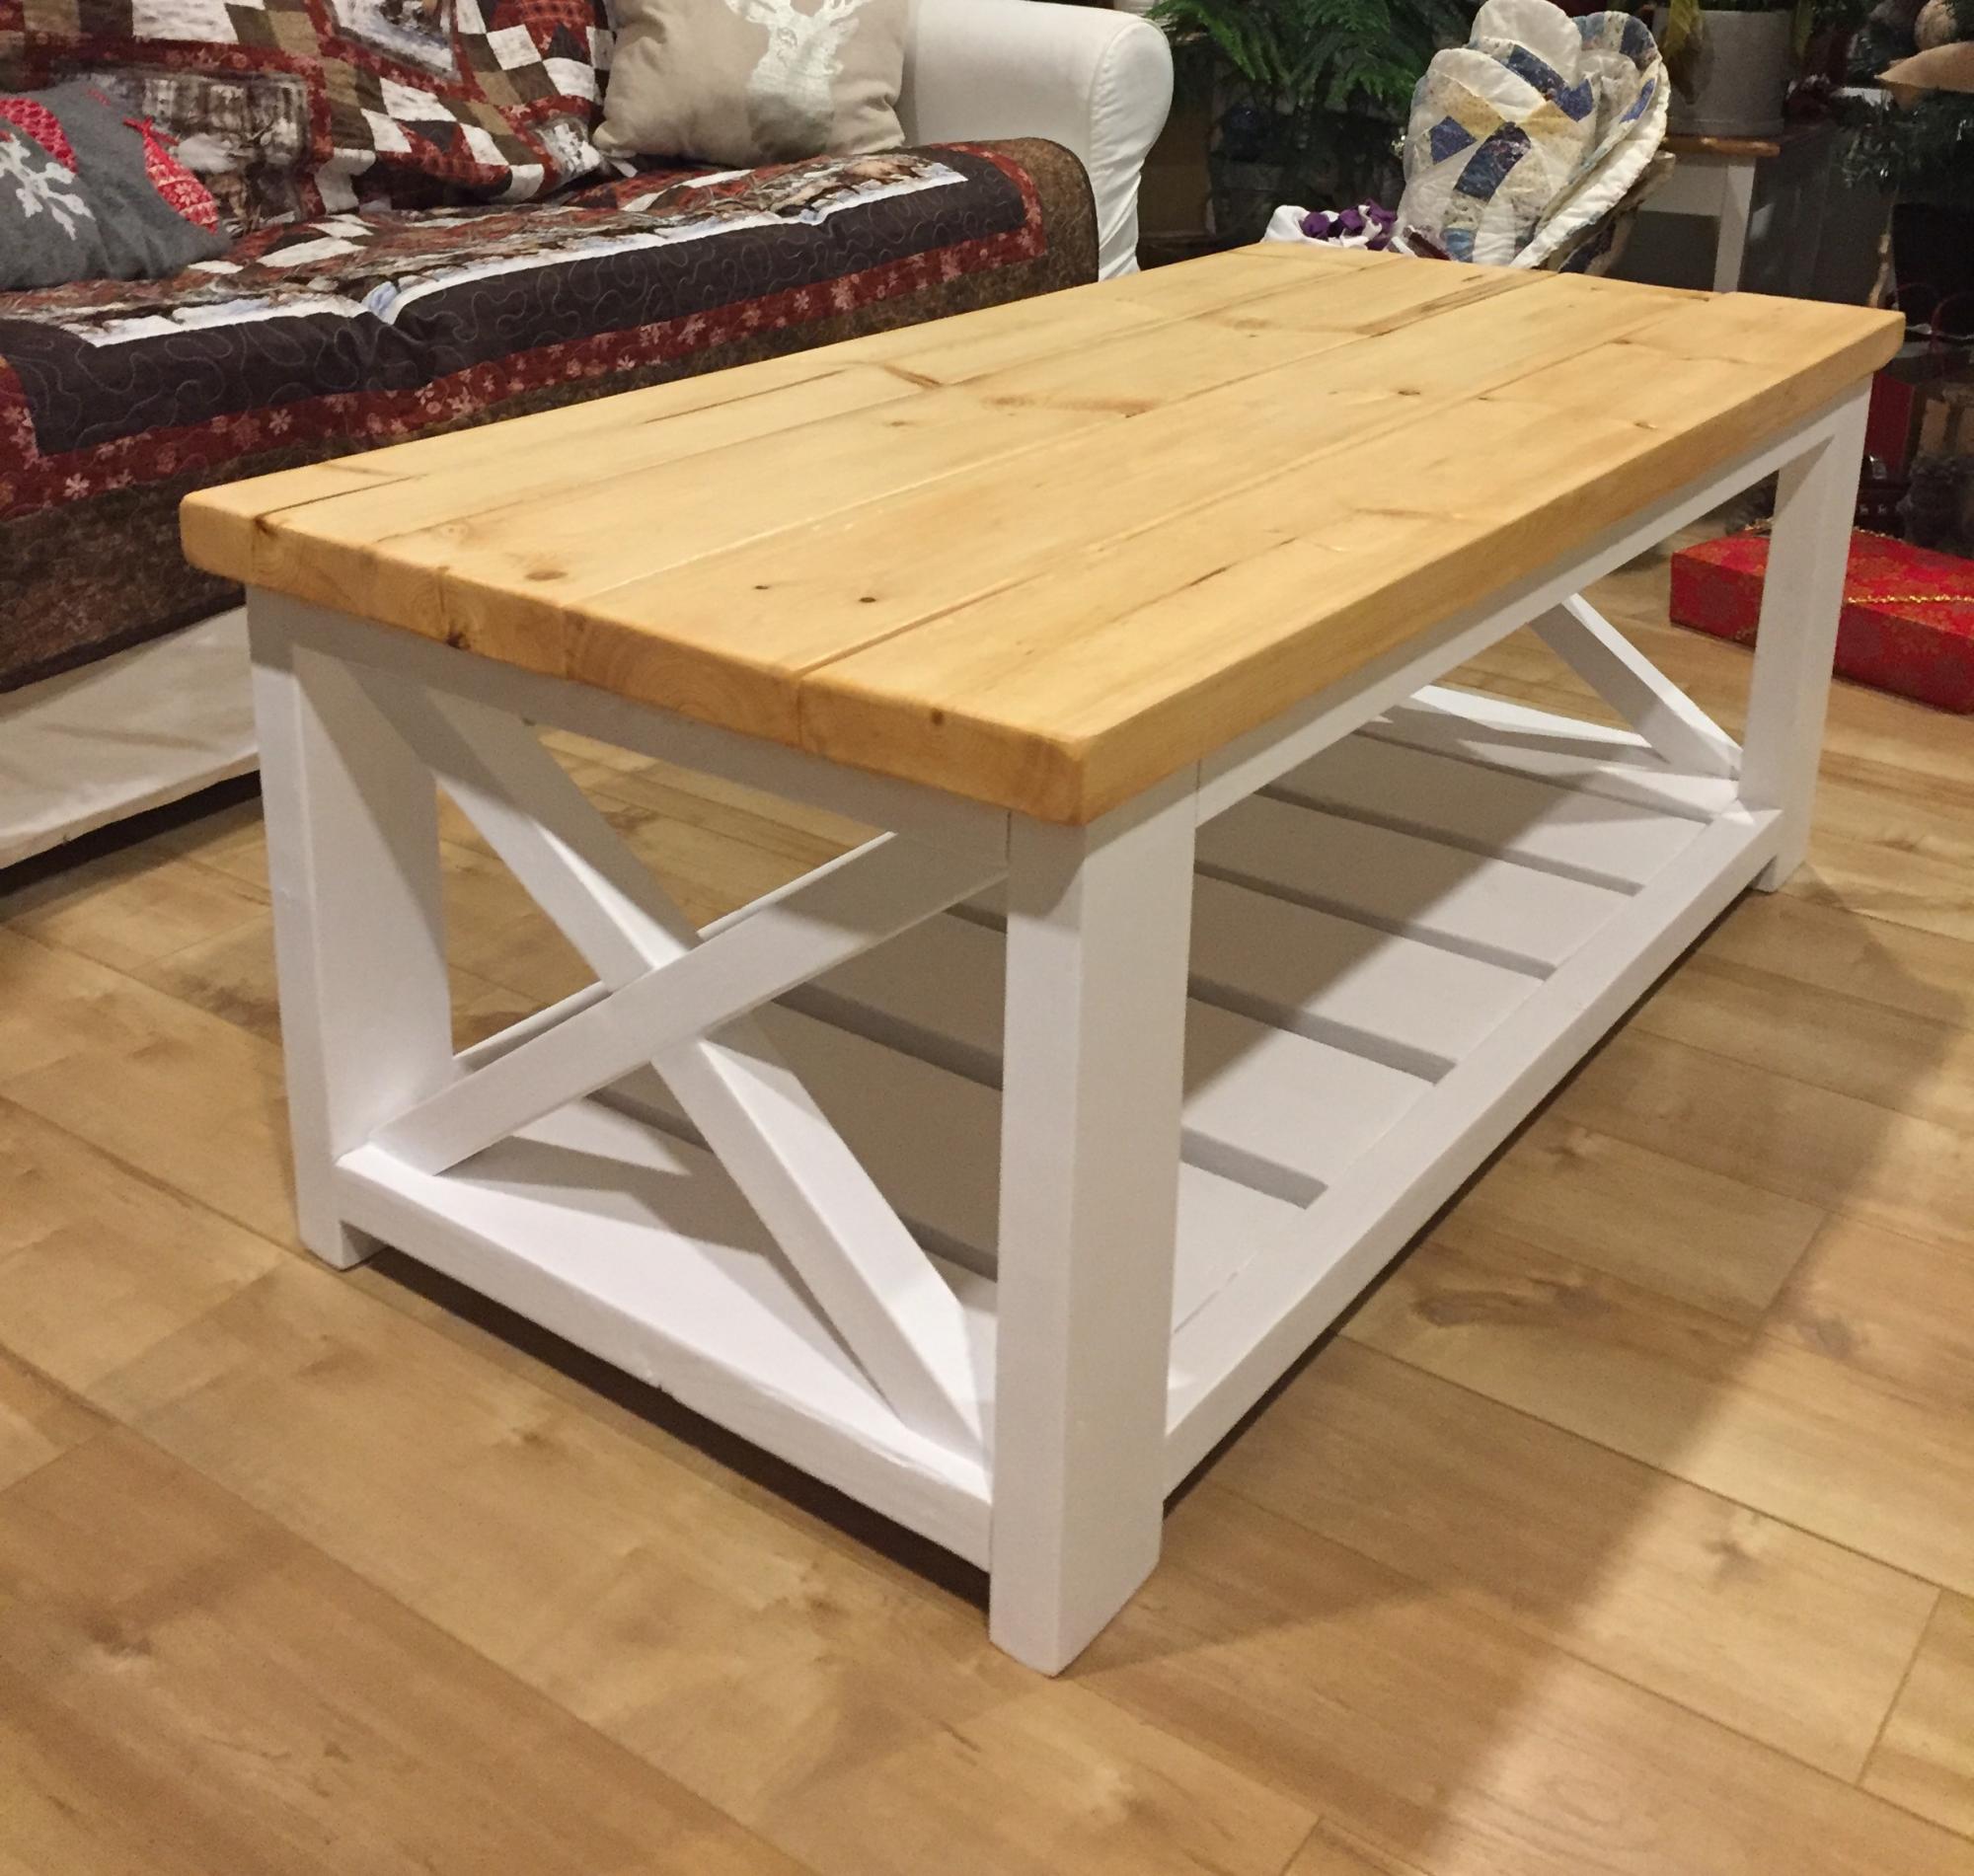
For my first solo project this table had enough challenges to keep it interesting but not overwhelming. I love how it looks in my home.

I followed the plans given, then painted it white and stained the roof with a dark finish.


Built this around Thanksgiving before I got a miter saw so took a little extra time with circular saw but worked just fine.
Modified the plans only slightly to include 3 seats for all our kids. On one side I put a vertical dowel rod that we can place sand weights over to counter balance the weight when all three are on it. I did use pressure treated pine for the parts that are resting on the ground so that it will last a little longer since it will usually sit in the grass.
Kids love it!
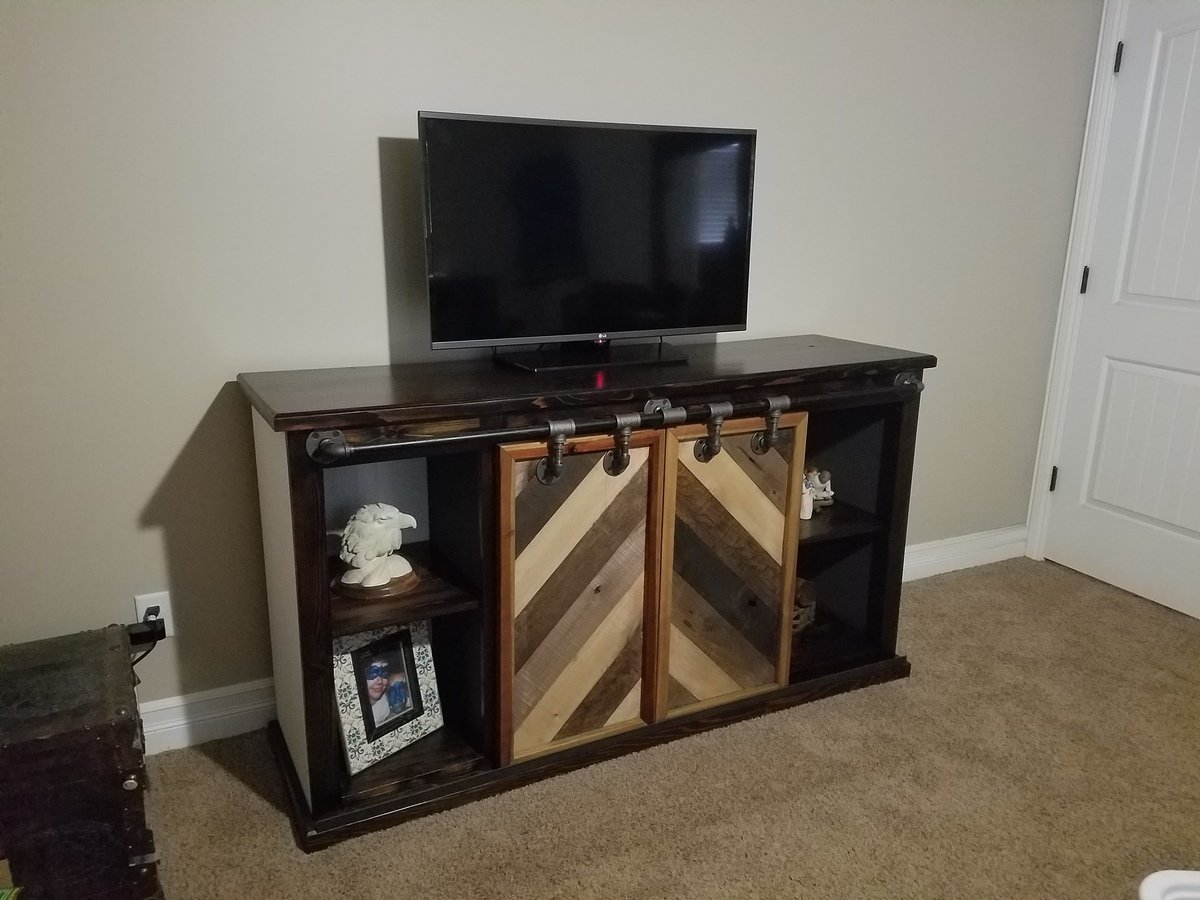
This was a fun project. It took nearly 3 months to complete. Nights, weekends and a few finish redo's :).
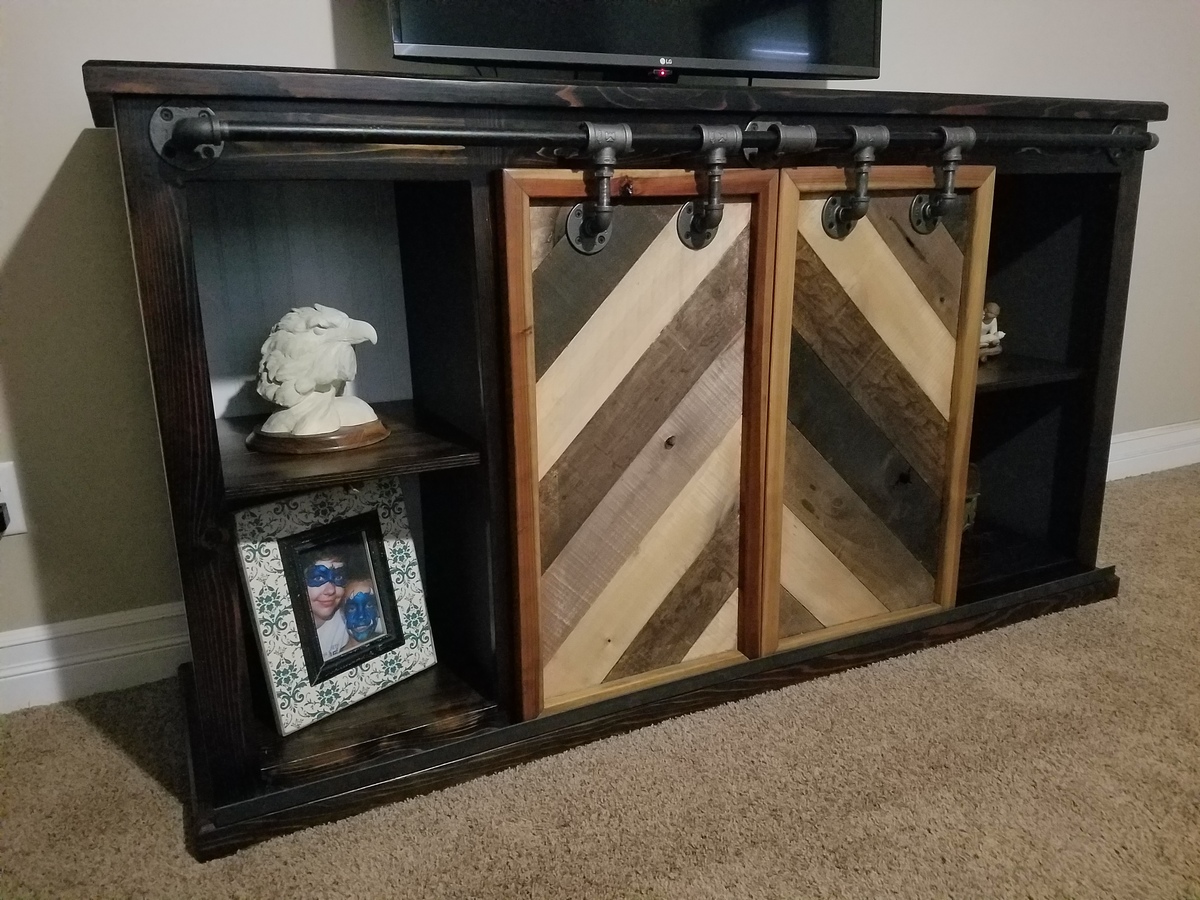
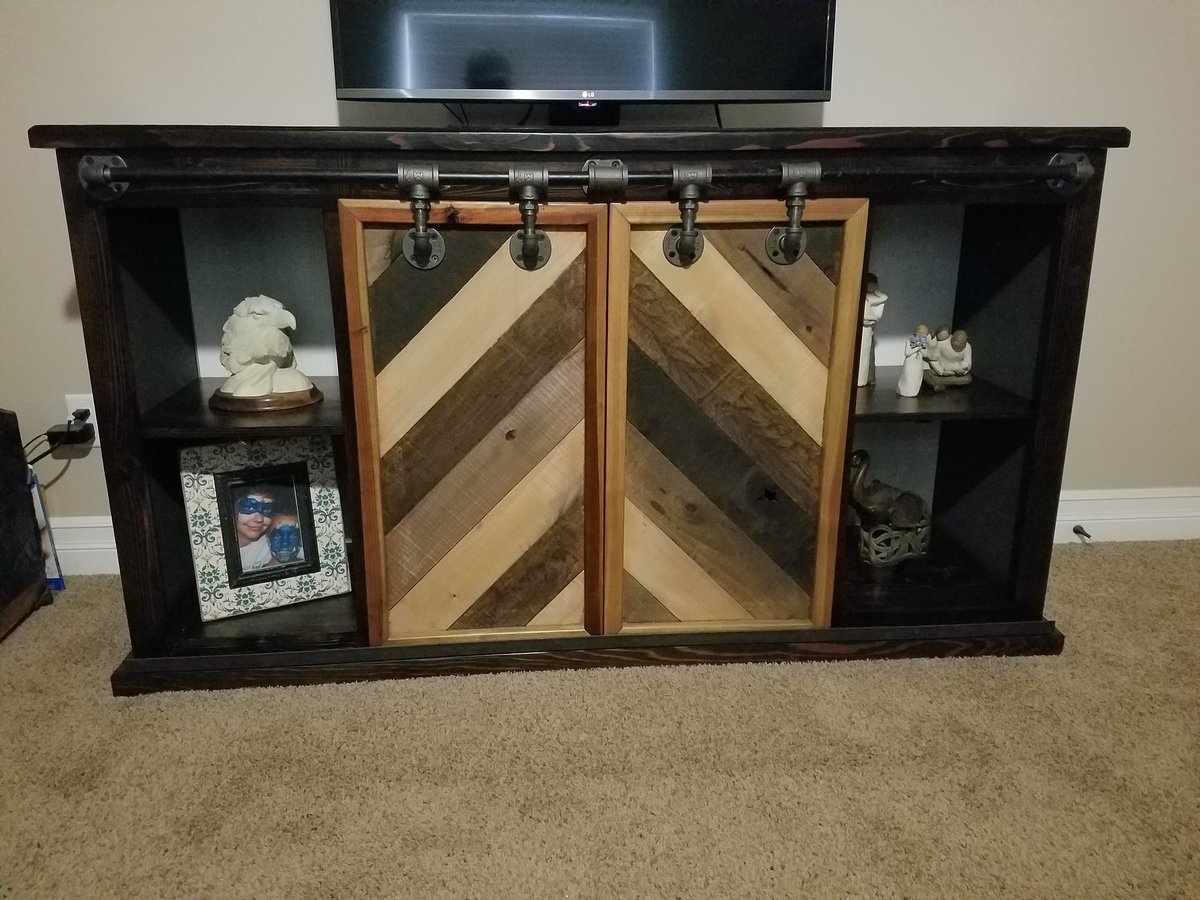
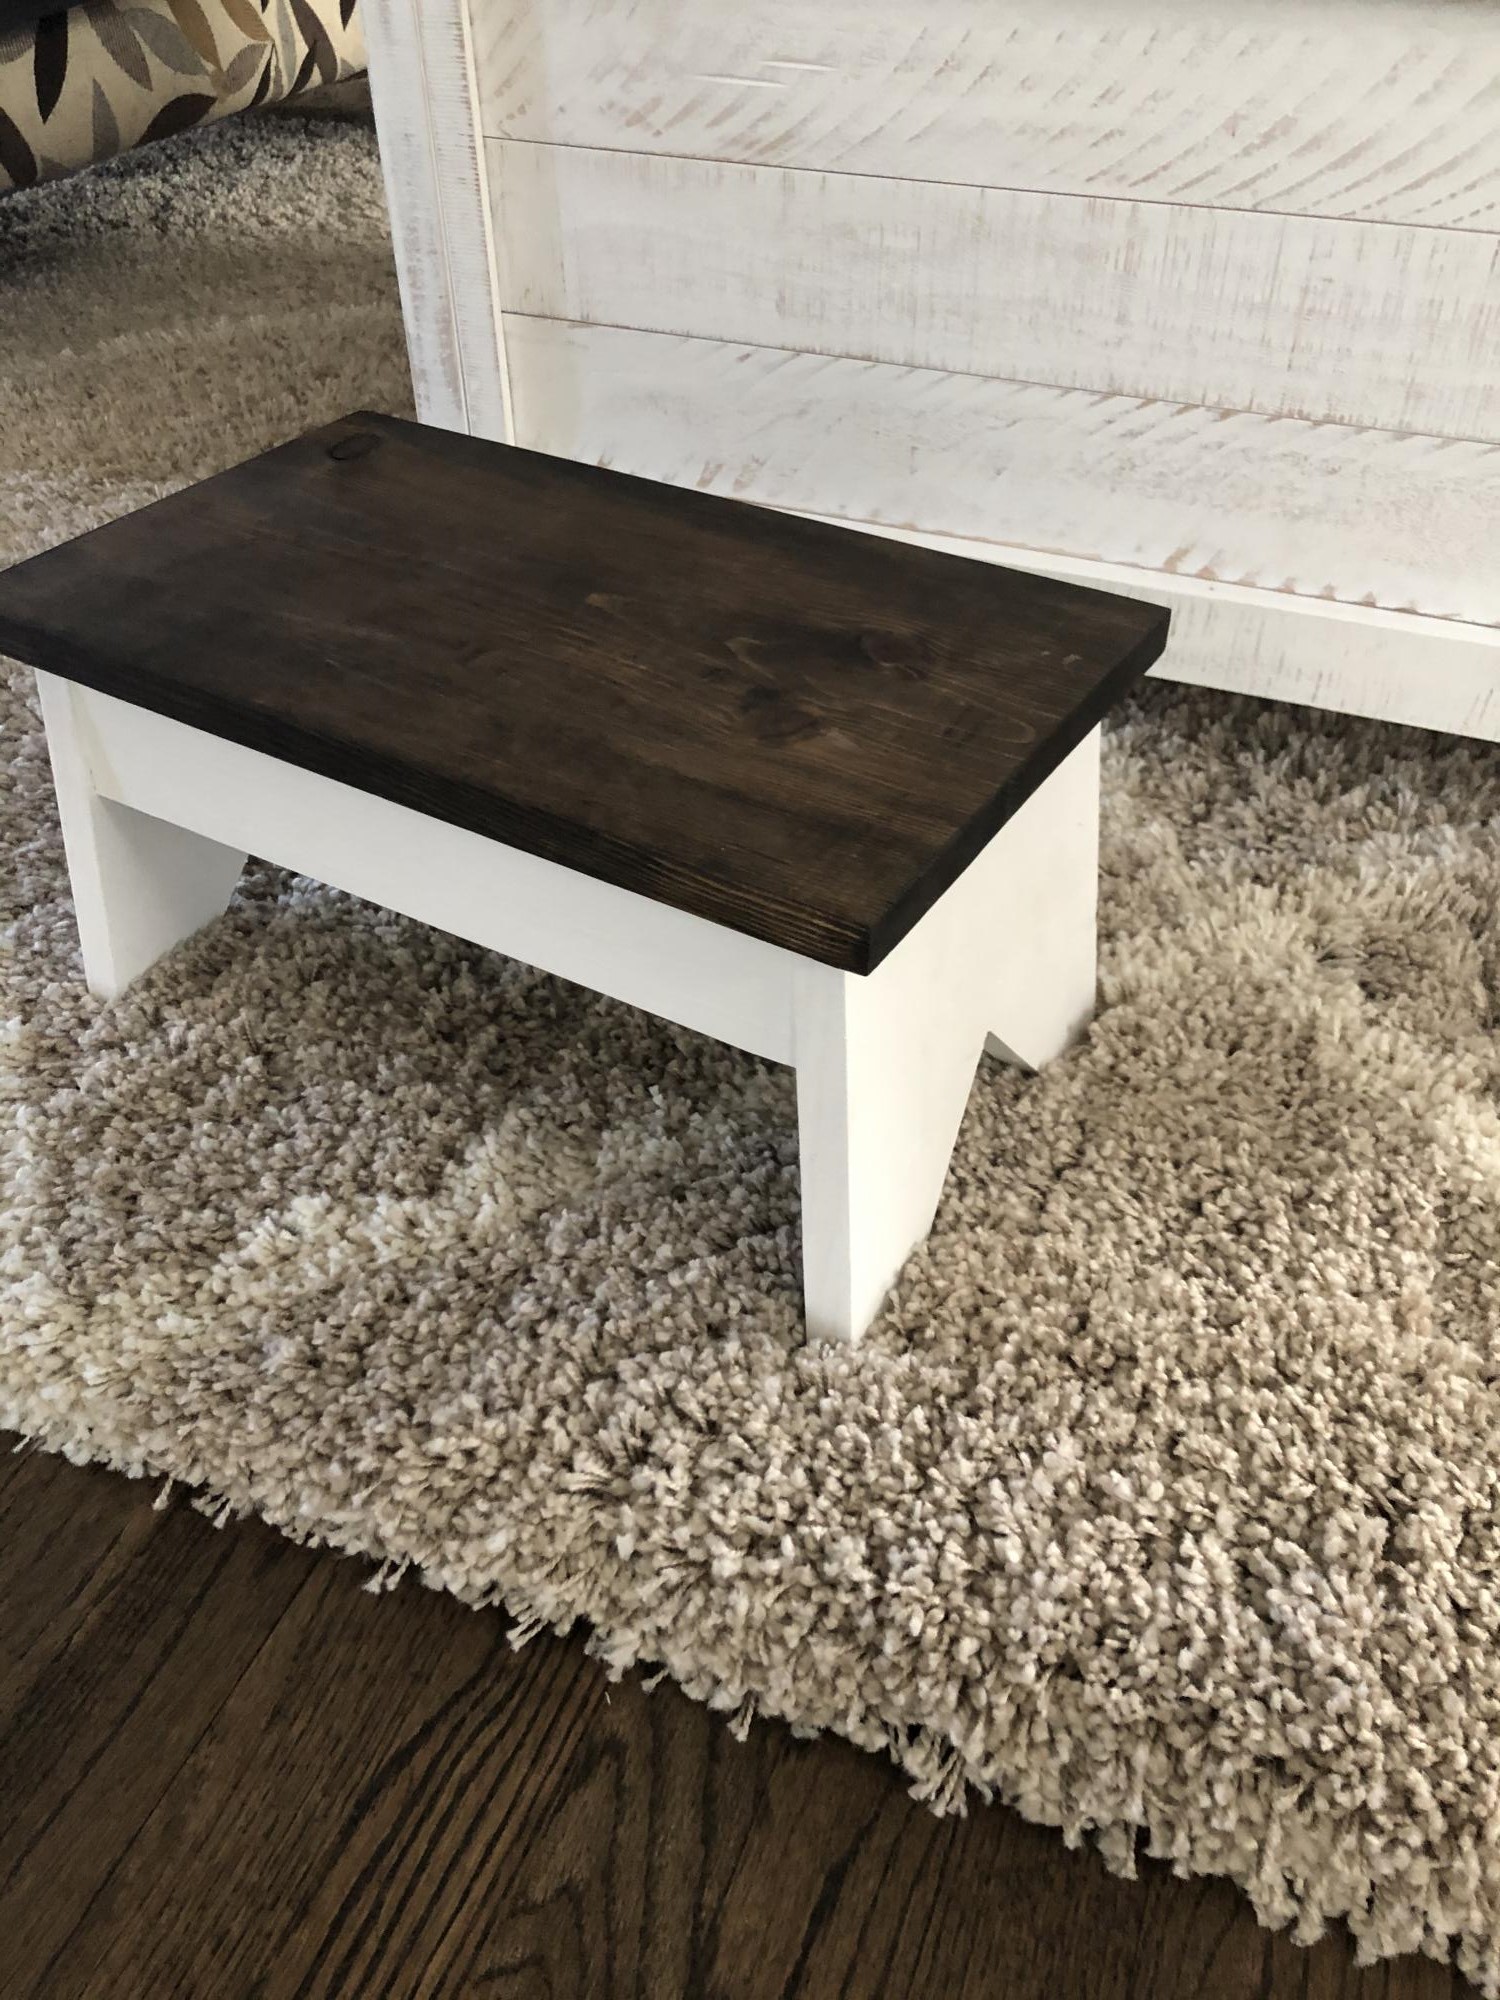
Step stool to match our living room set. Thanks Ana white for the plans!

My awesome husband built this bed for our 5 year old. My son loves it!
We didn't have room for the full steps so my husband changed those to a simple ladder vertically up to the platform.
We have our rocker under the bed right now but it's really too tight to stay there. All in all a great bed!

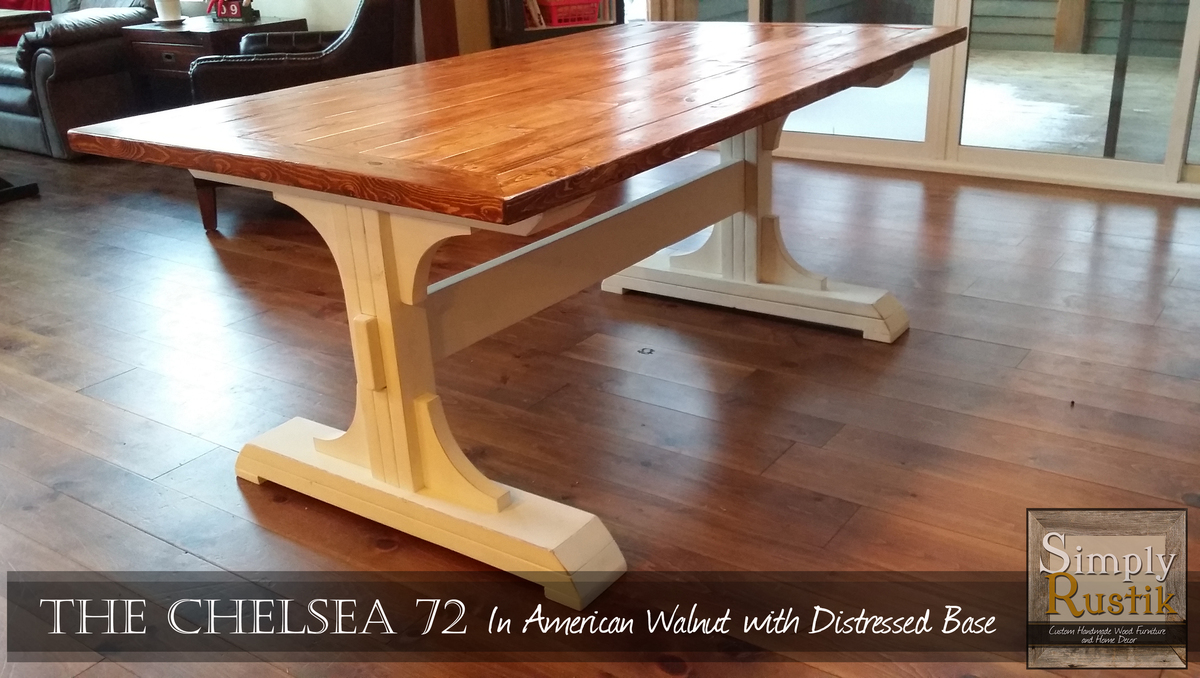
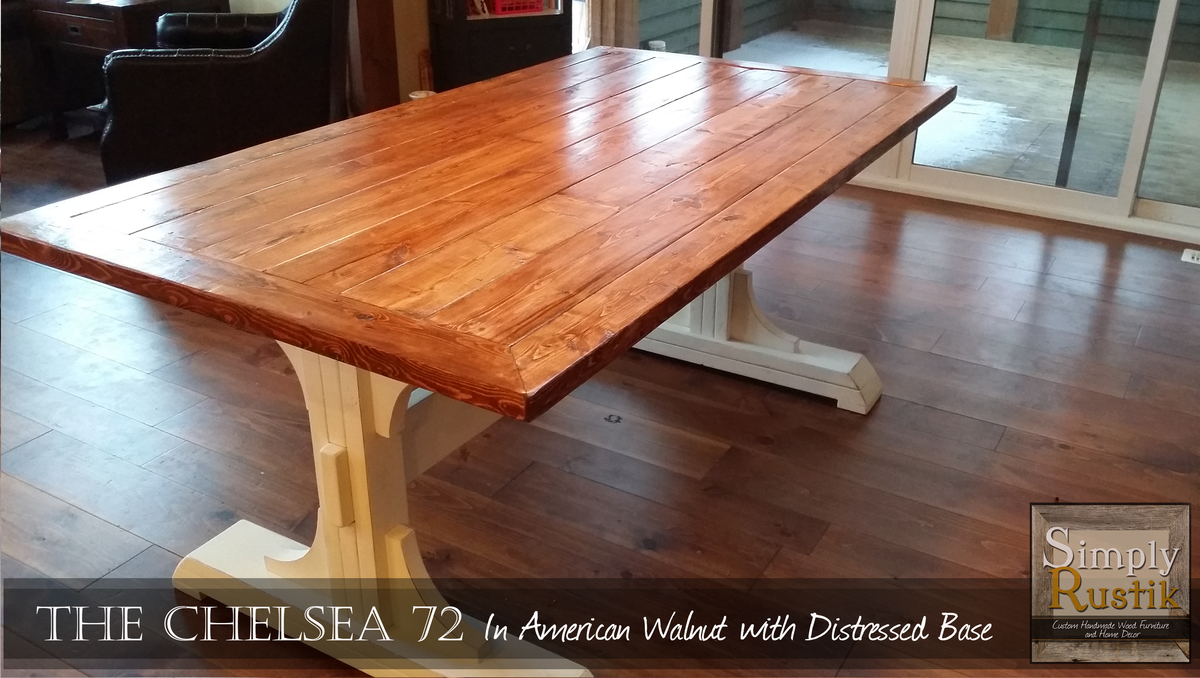
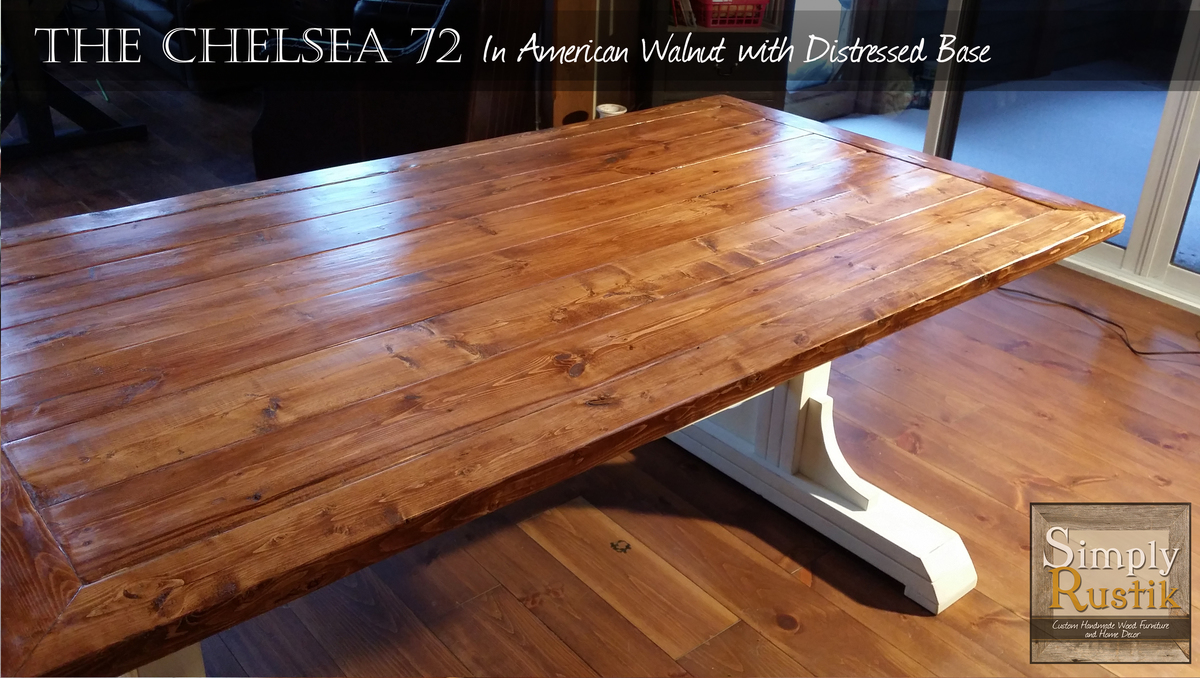
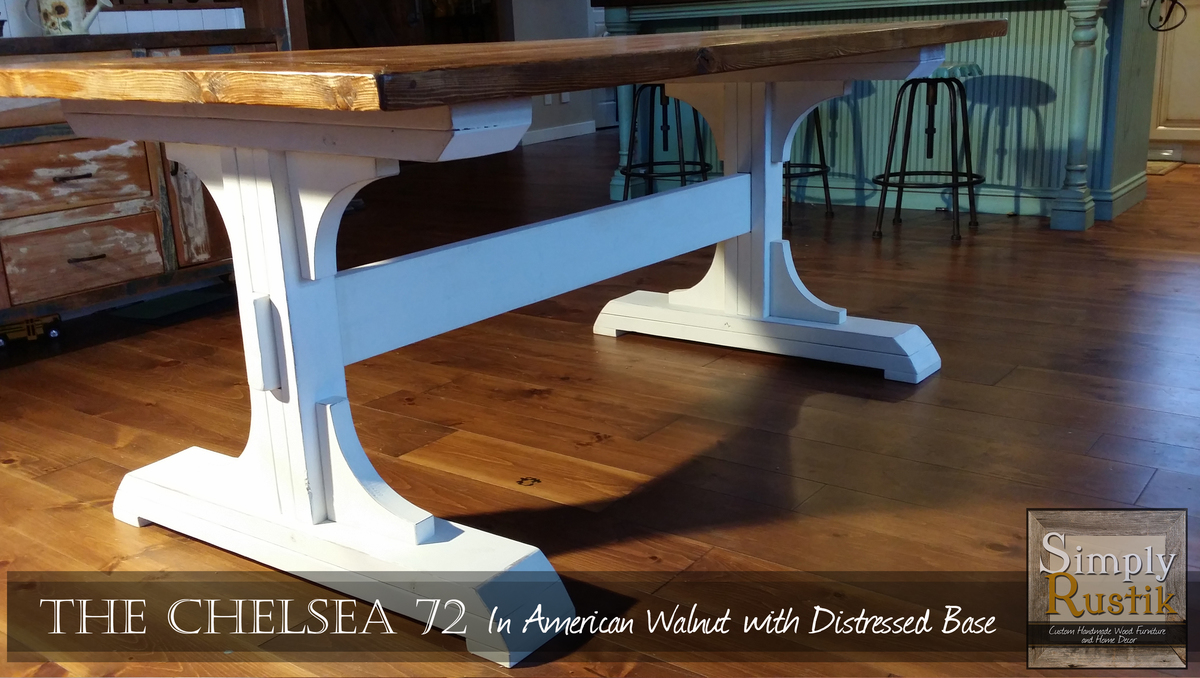
I based this build on the Triple Pedestal Farmhouse Table found on this site. I fell in love with the table and I just had to build one!
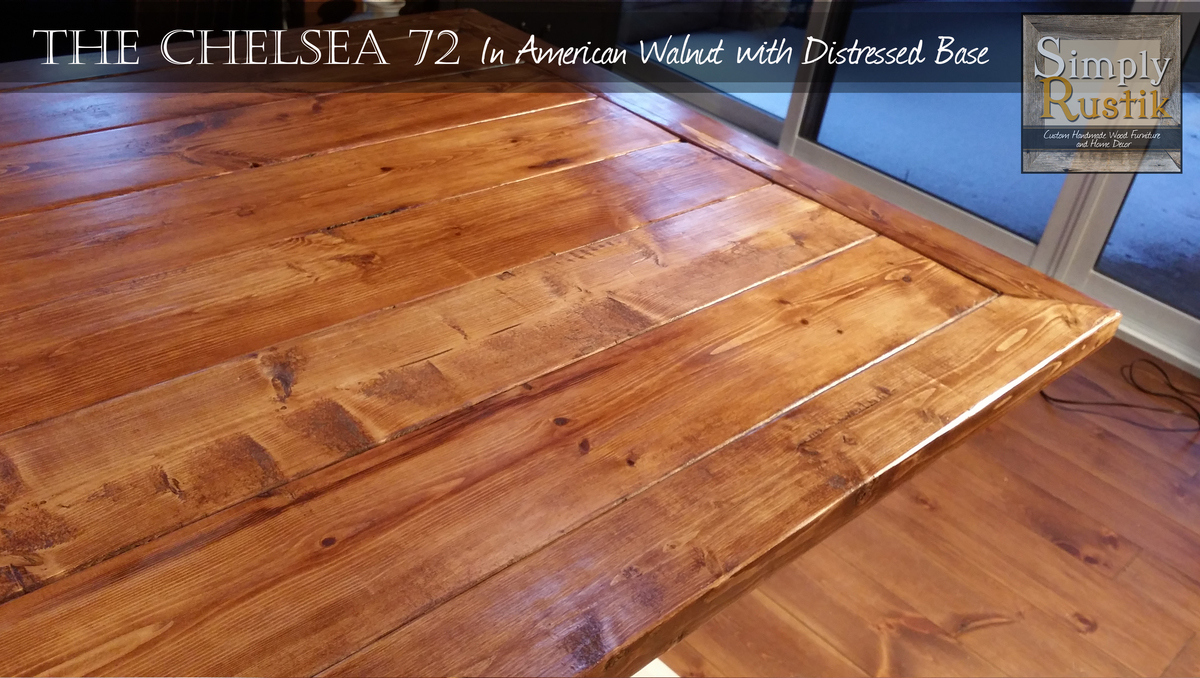
This table is only 72" long, so I ended up removing the third pedestal. I also removed the decorative apron that is pictured in the original plan. I also added a picture frame border using 2x4's with 45 degree angles on the corners. I think I like how this look turned out! I kept the legs the same size as the original plan called for.
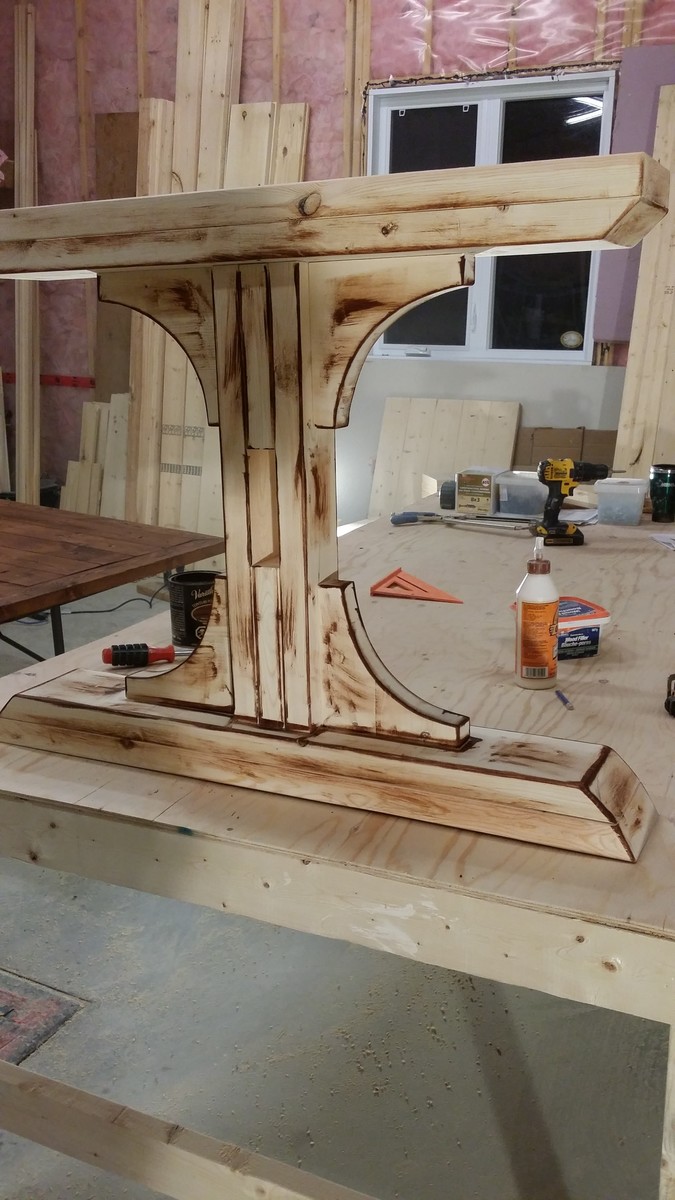
This entire build took me about a day and the staining process another 2-3 days. I stained the table top using Varathane's American Walnut stain and I painted the base using an off-white milk paint. But before painting the base, I stained the corners with the same American Walnut stain so that when I was ready to add the distressed look, I could simply just sand the paint until the stain appeared through the white.
Visit my facebook page for more of my builds!
www.facebook.com/simplyrustik
After watching Ana White's video on easy garage shelving on FB, I knew right away it was the perfect technique for adding shelves to my laundry room. The project was easy and turned out great! I did the majority of the work by myself, although my Hubby did help me with some heavy lifting at the end (we had to add the shelving before the front frame due to the walls on either side). The shelving unit itself took only a few hours to build. I painted it the following day making it a weekend project. We have considered adding trim to the front to give it a more finished look, but right now, it is serving its purpose. I will definitely use Ana's technique again. It was simple and straightforward! I loved it.
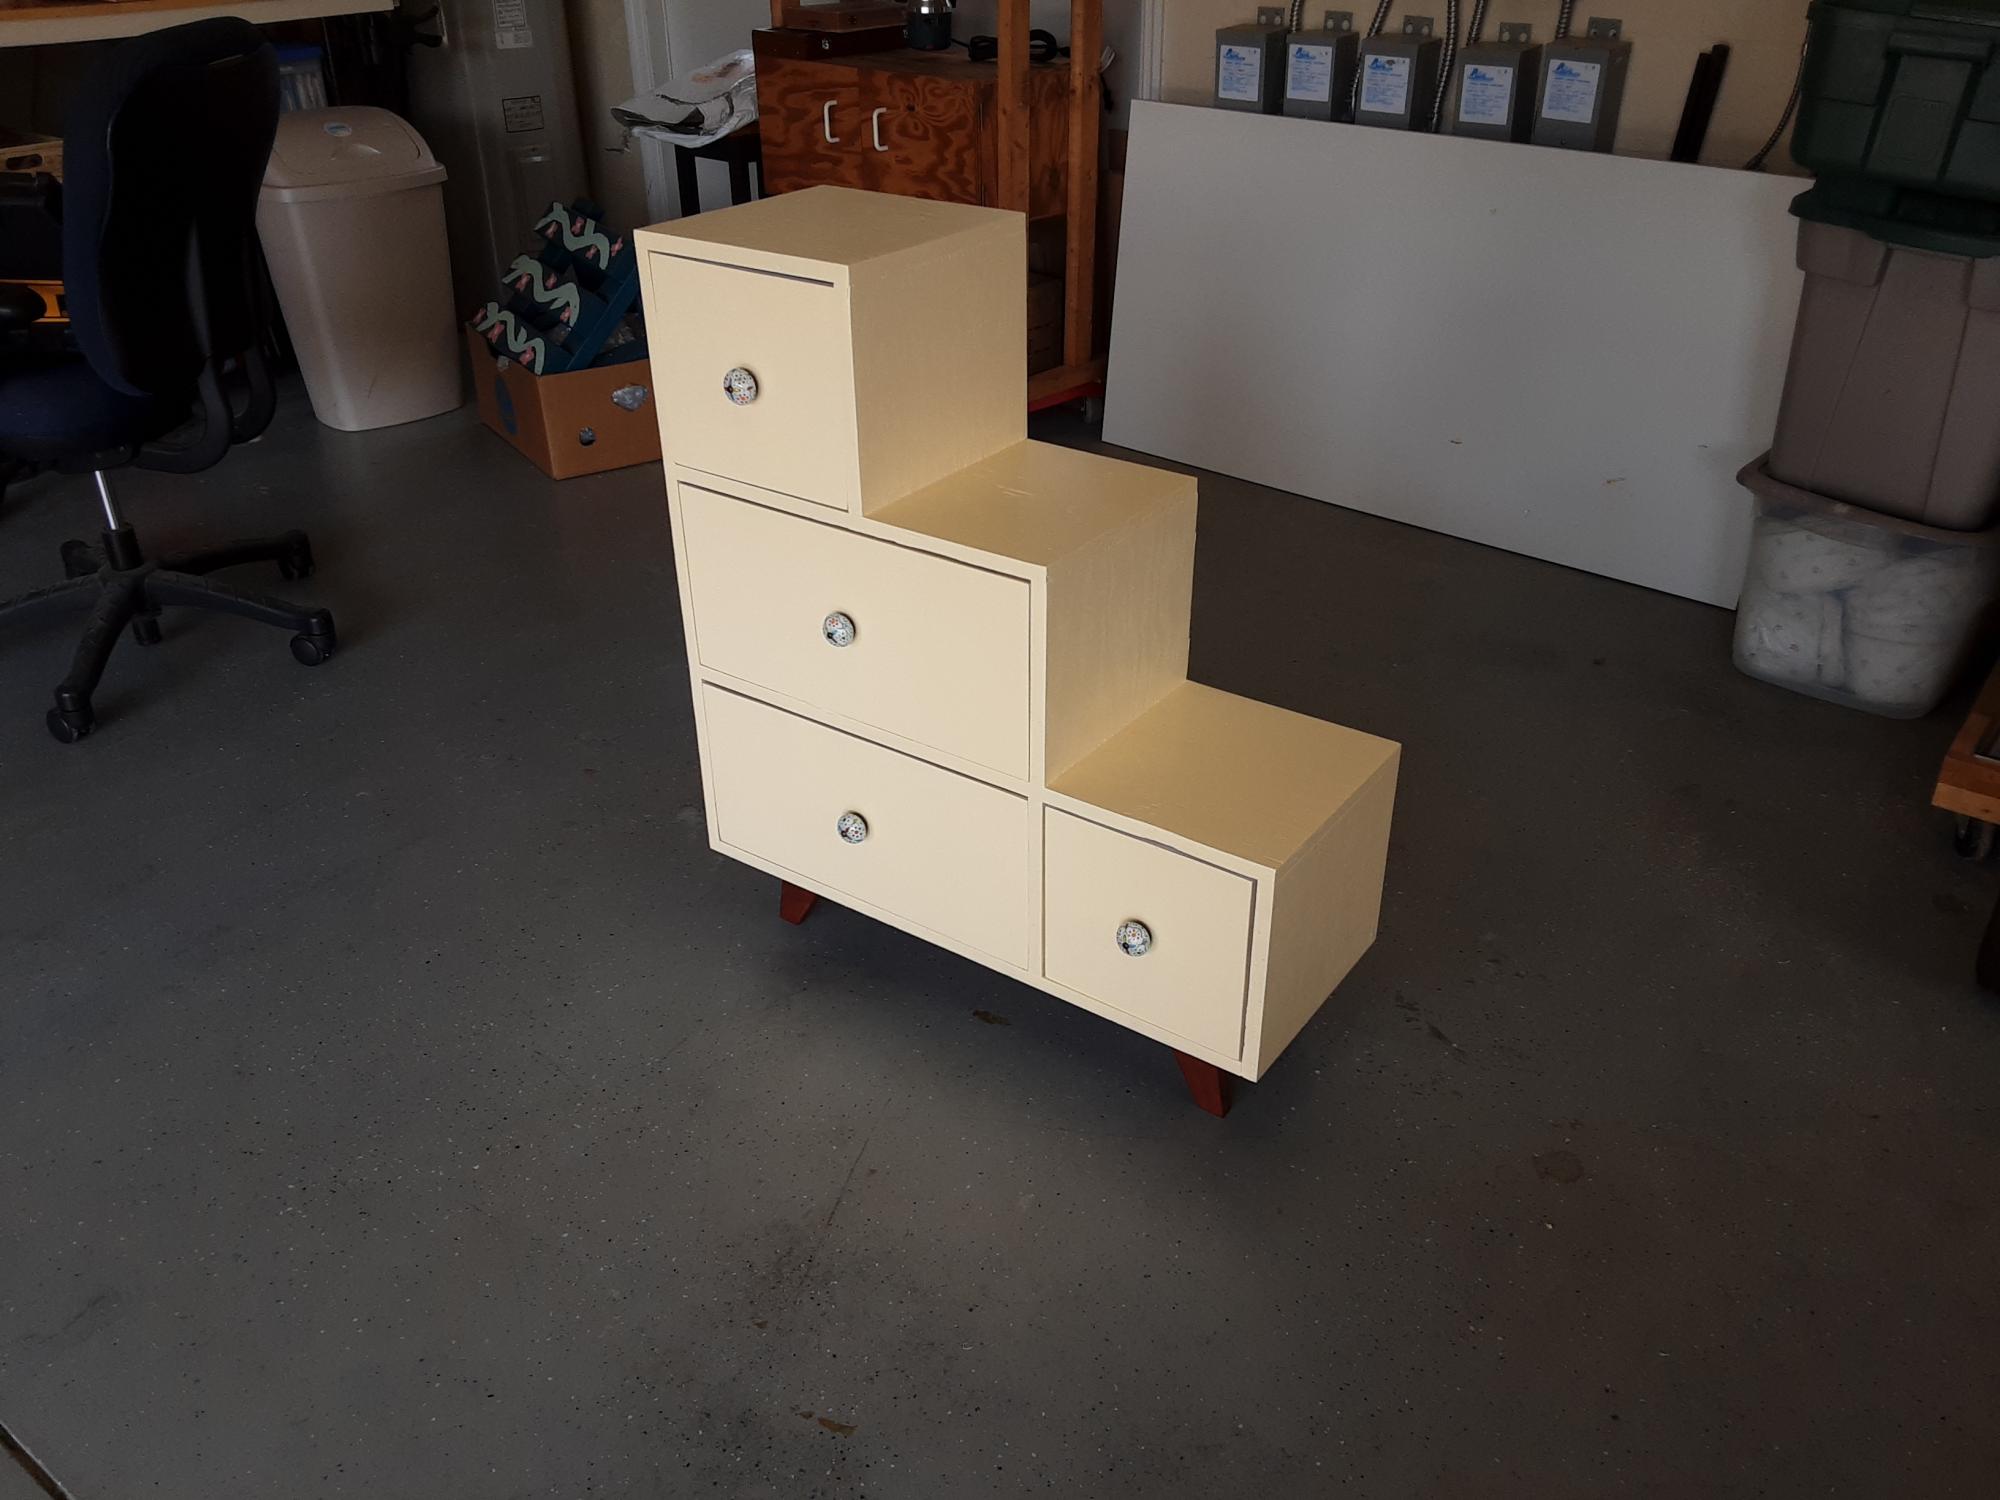
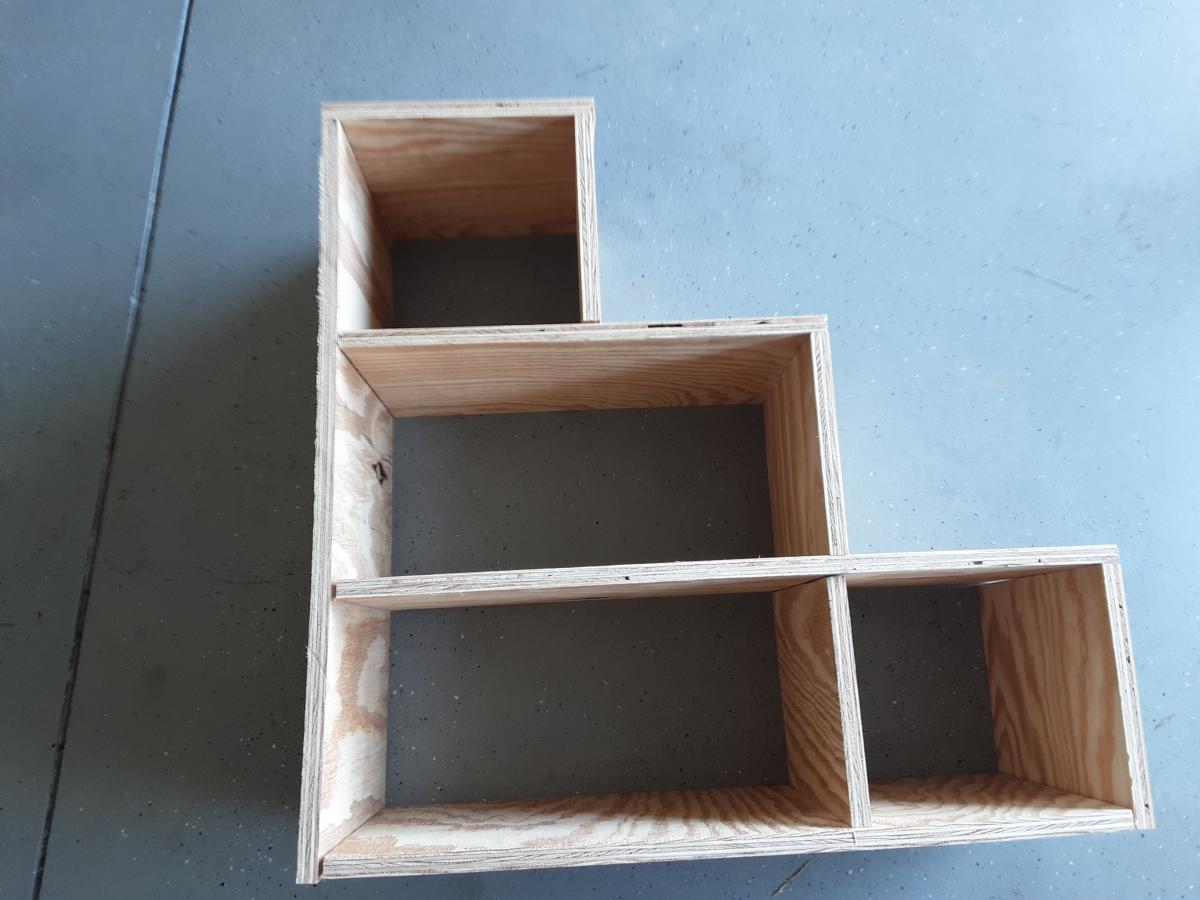
Step dresser inspired by a similar design from a boutique furniture store. We actually made three dressers using various dimensions from large, median and even small versions.
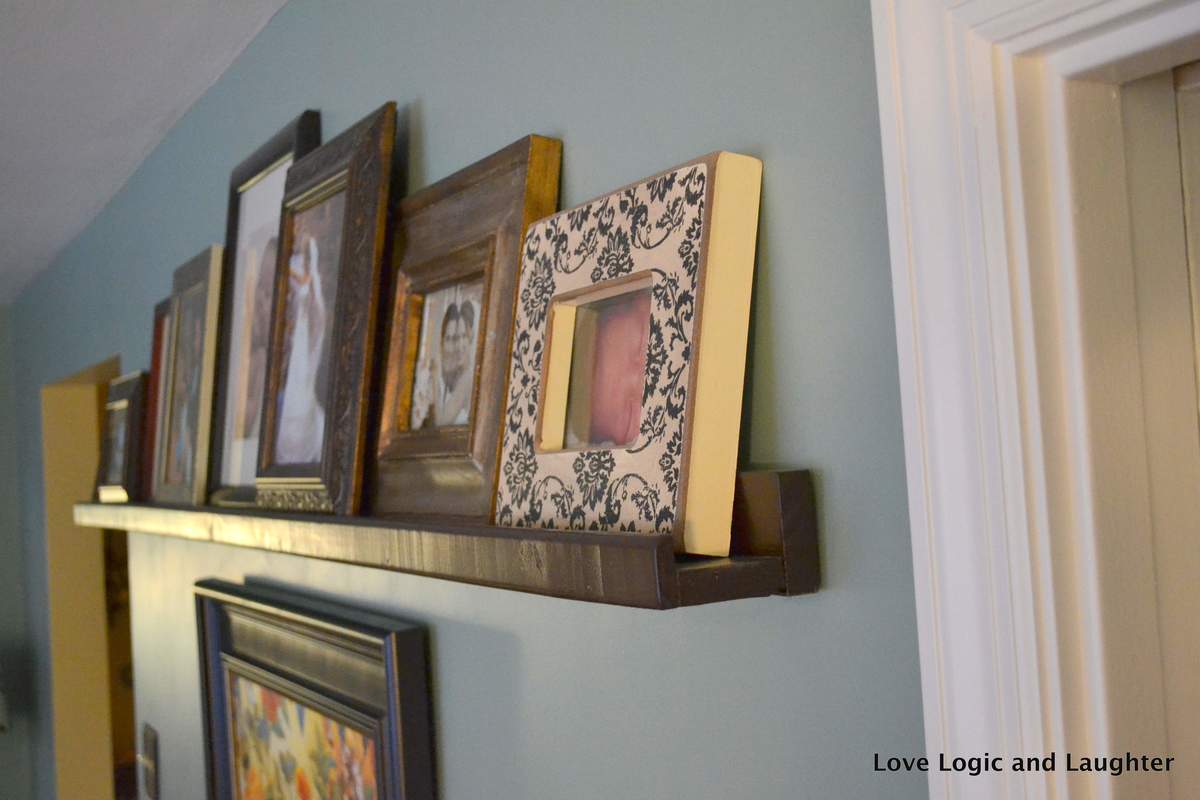
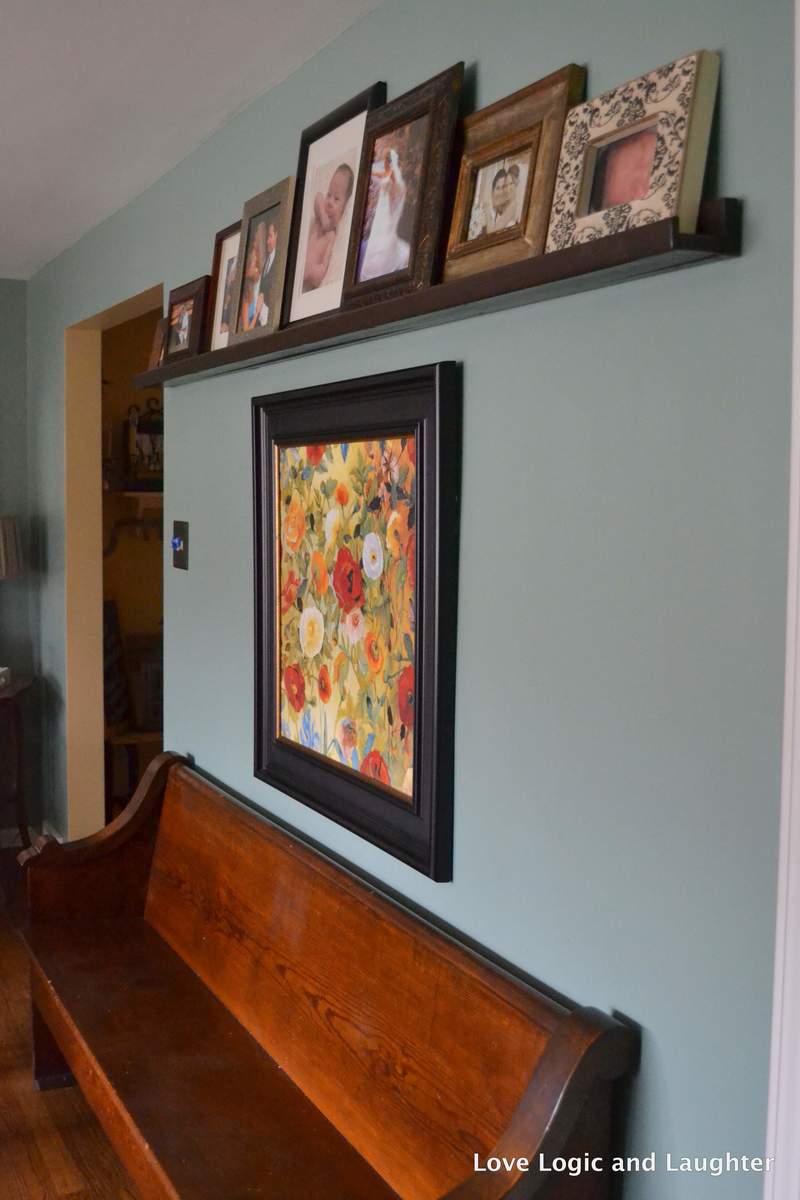
I had a long empty space of wall that I wanted to fill. I wanted something similar to the Pottery Barn Ledge Shelves, but I needed it to fit a specific space so I decided to make one myself. I am pretty happy with it... I made it before I had my mitre saw, otherwise my cuts would have been a bit cleaner. So it has a bit of a rustic look to it since my cuts were all done with a hand saw. It was an easy one nap DIY! And best of all, we had all the supplies (wood, screws, nails, nail hole filler and paint) in the basement from other projects.
Comments
JoanneS
Mon, 02/18/2013 - 17:37
Beautiful project!
Beautiful job! Congrats on your first project! It looks really super and I love the finishes you used!