Farm table and two benches
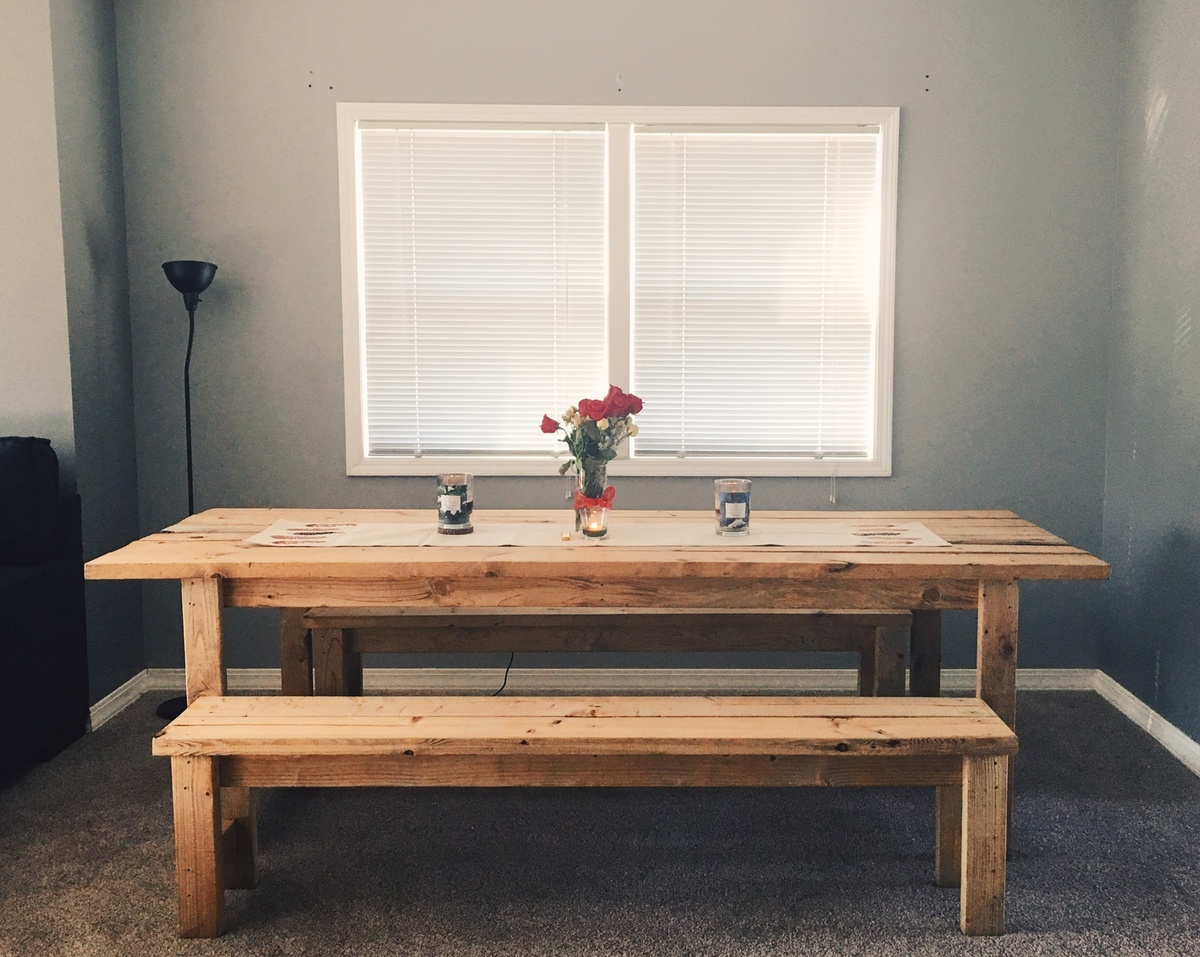
We made this table and two benches from the plans! We used 3” self tapping deck screws because we couldn’t find any in the 2-3/4” mentioned in the plan. Love the result! We used danish oil in medium walnut.
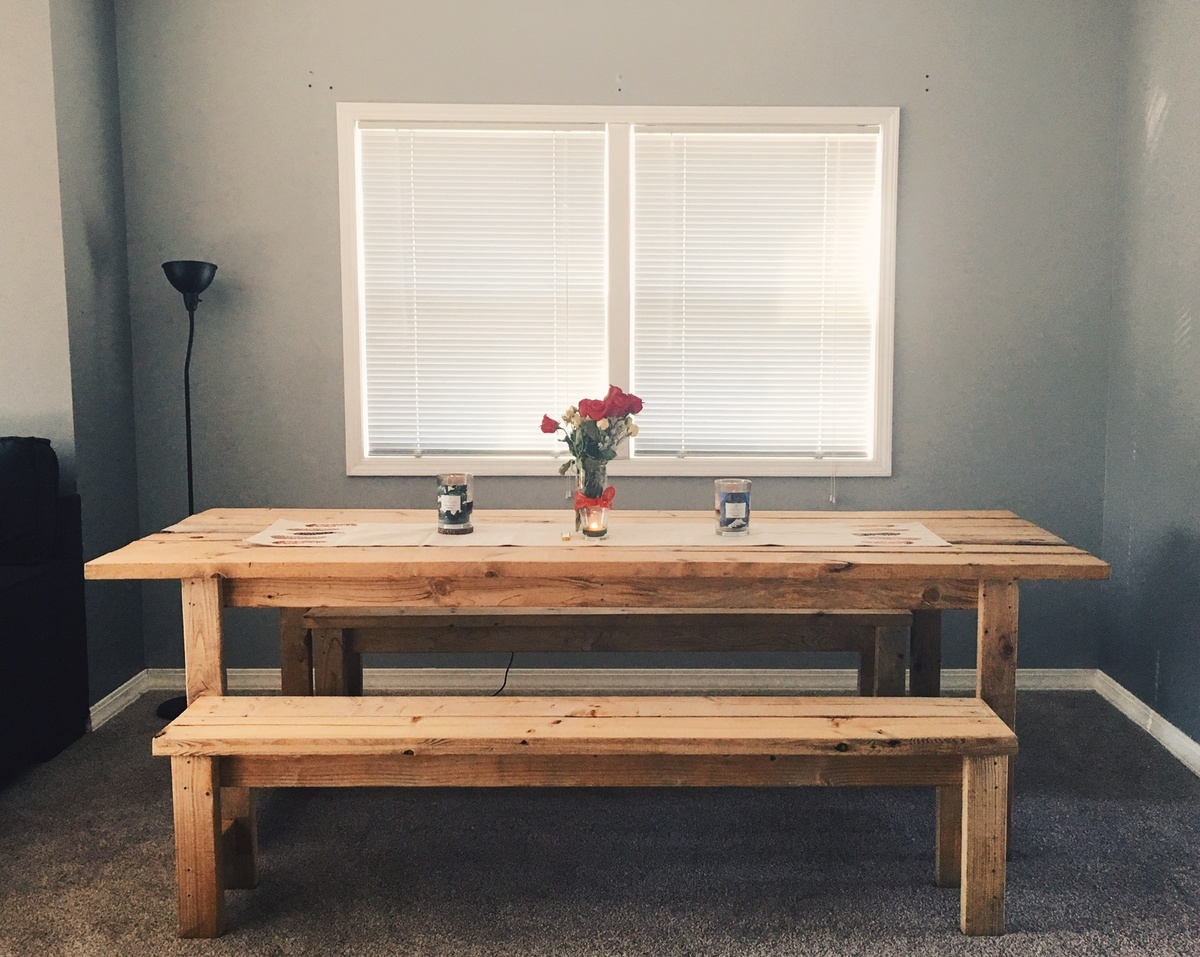
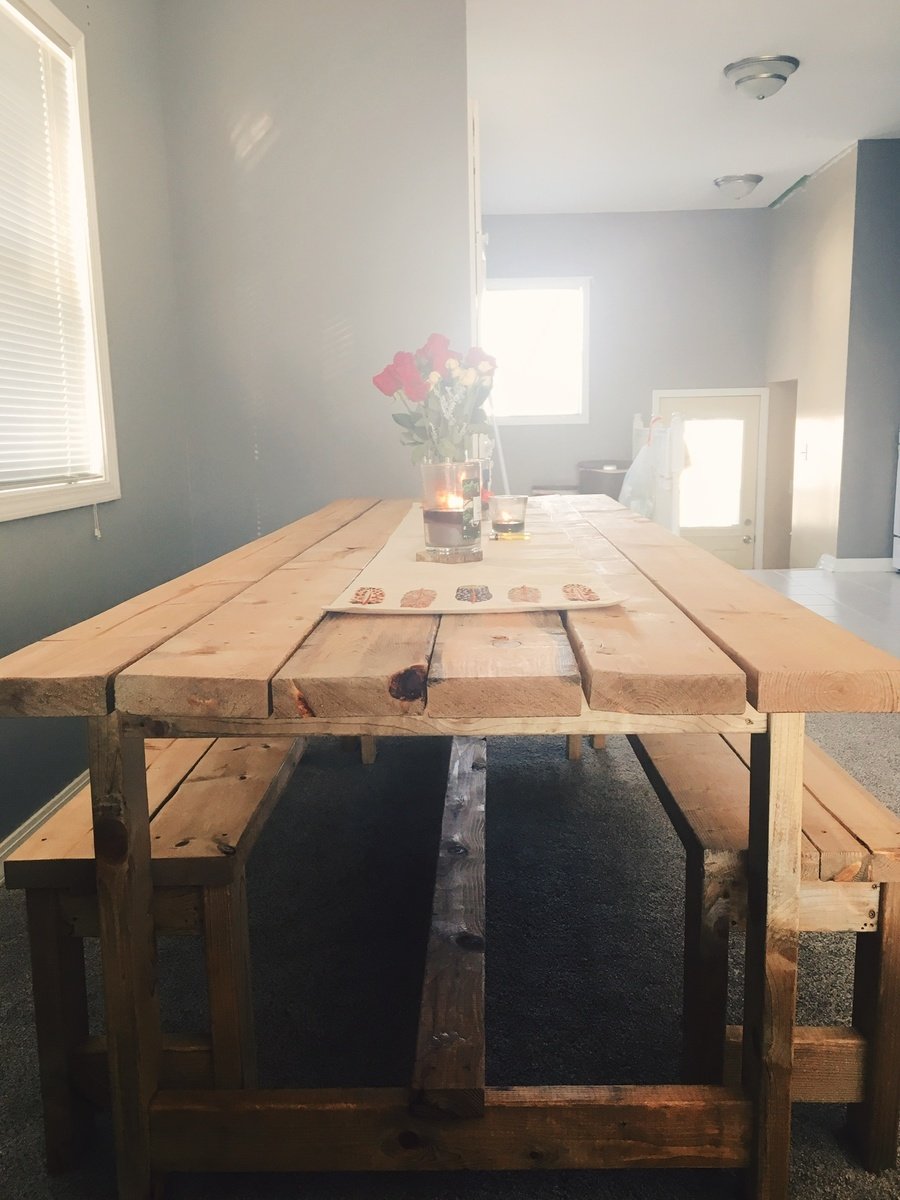

We made this table and two benches from the plans! We used 3” self tapping deck screws because we couldn’t find any in the 2-3/4” mentioned in the plan. Love the result! We used danish oil in medium walnut.


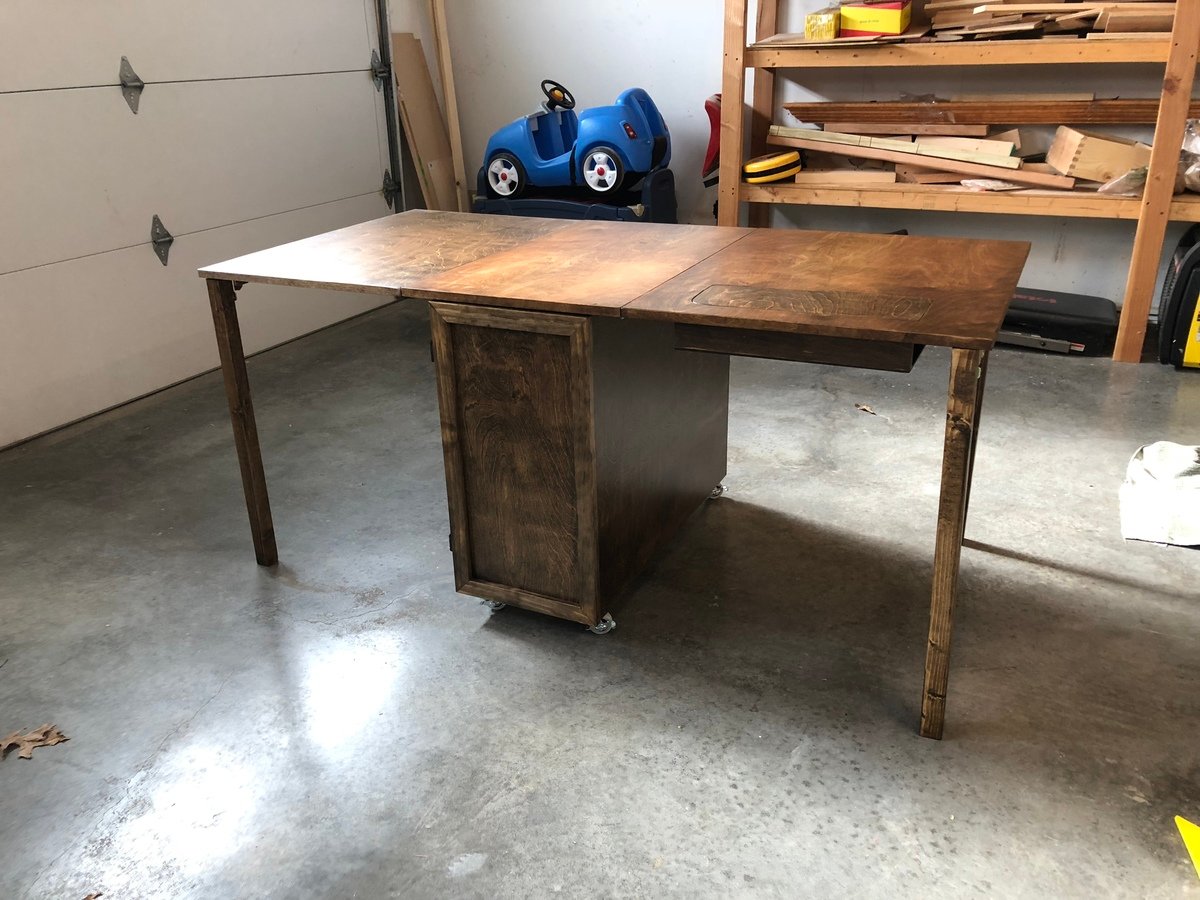
Great project and my wife loves it. I added a door, locking hinges, and made a custom cutout with shelf for the machine to sit flush with the table. I switched to piano hinge for the leaves and locking hinges for the 2x2 legs. Turned out great.
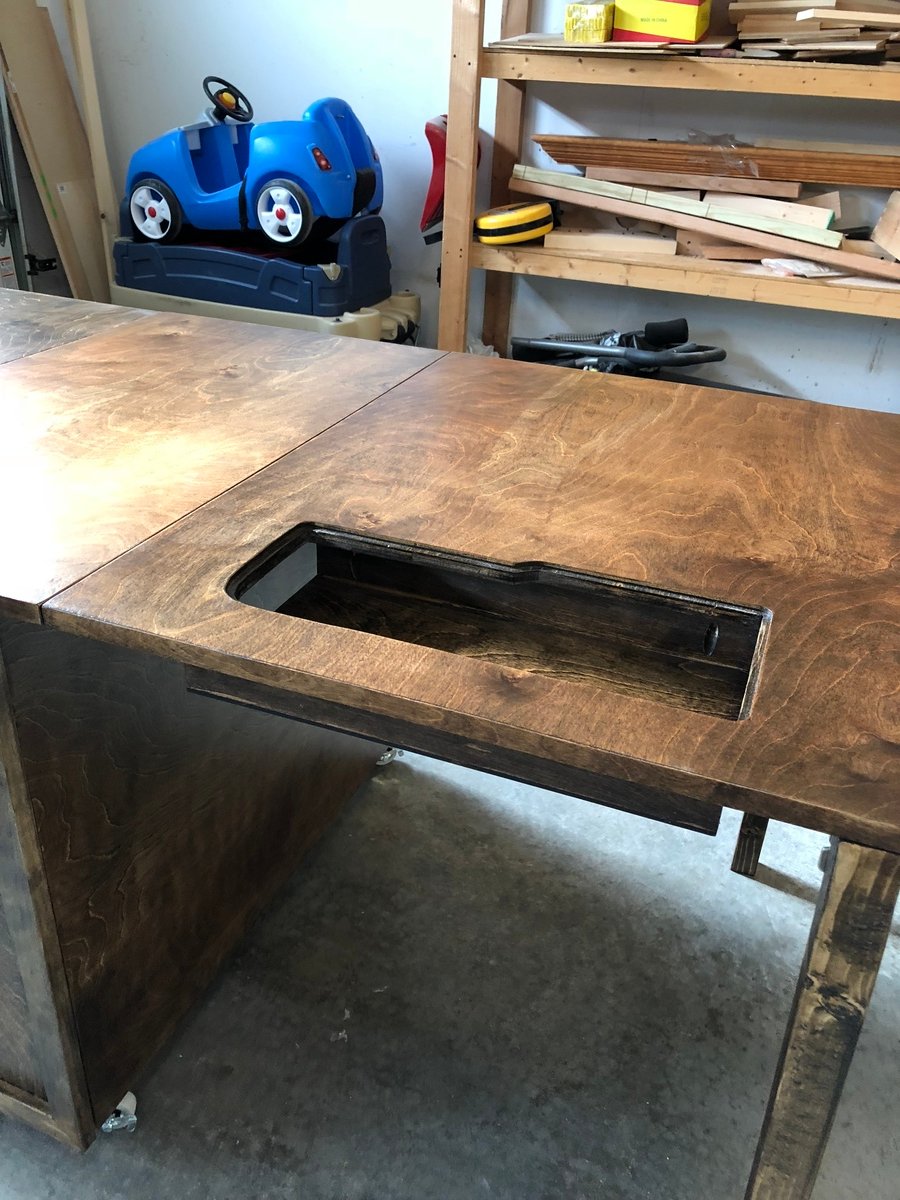
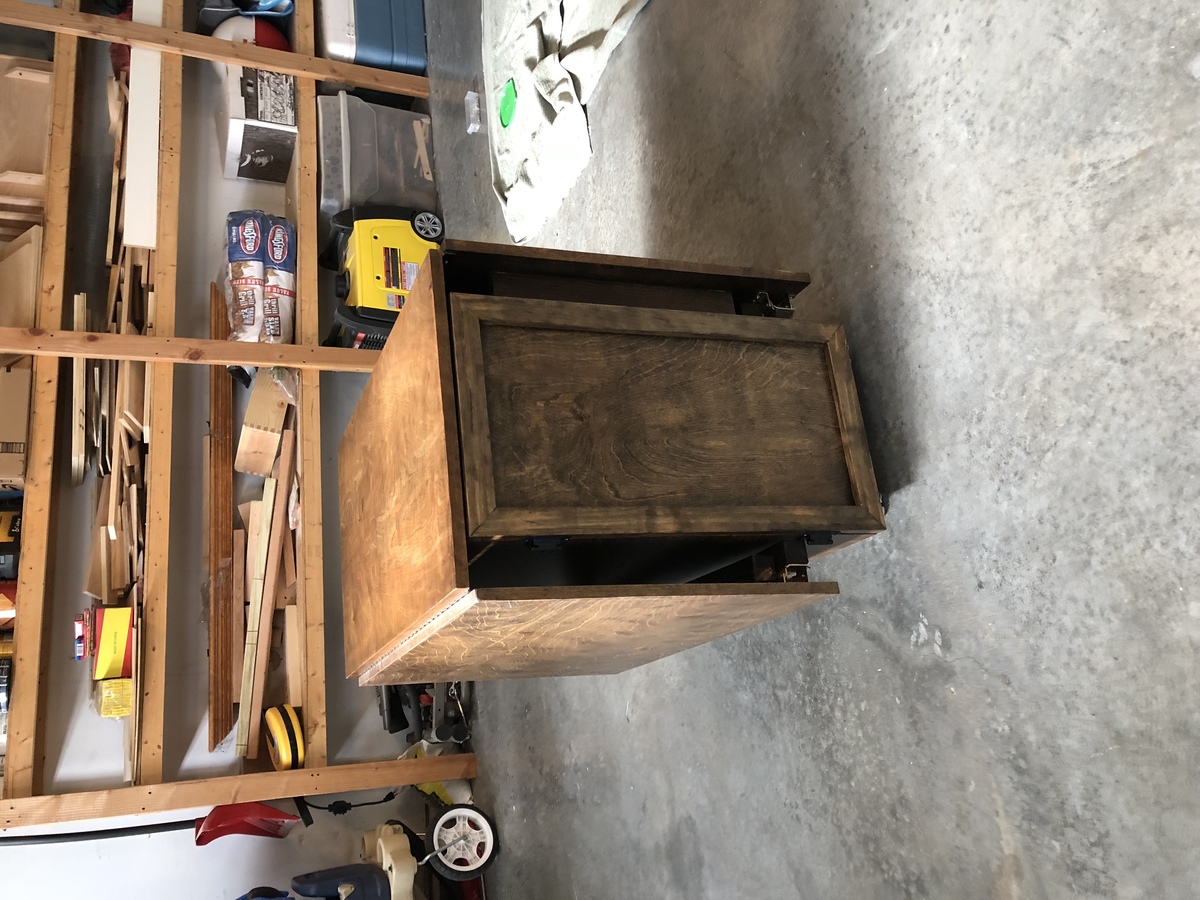
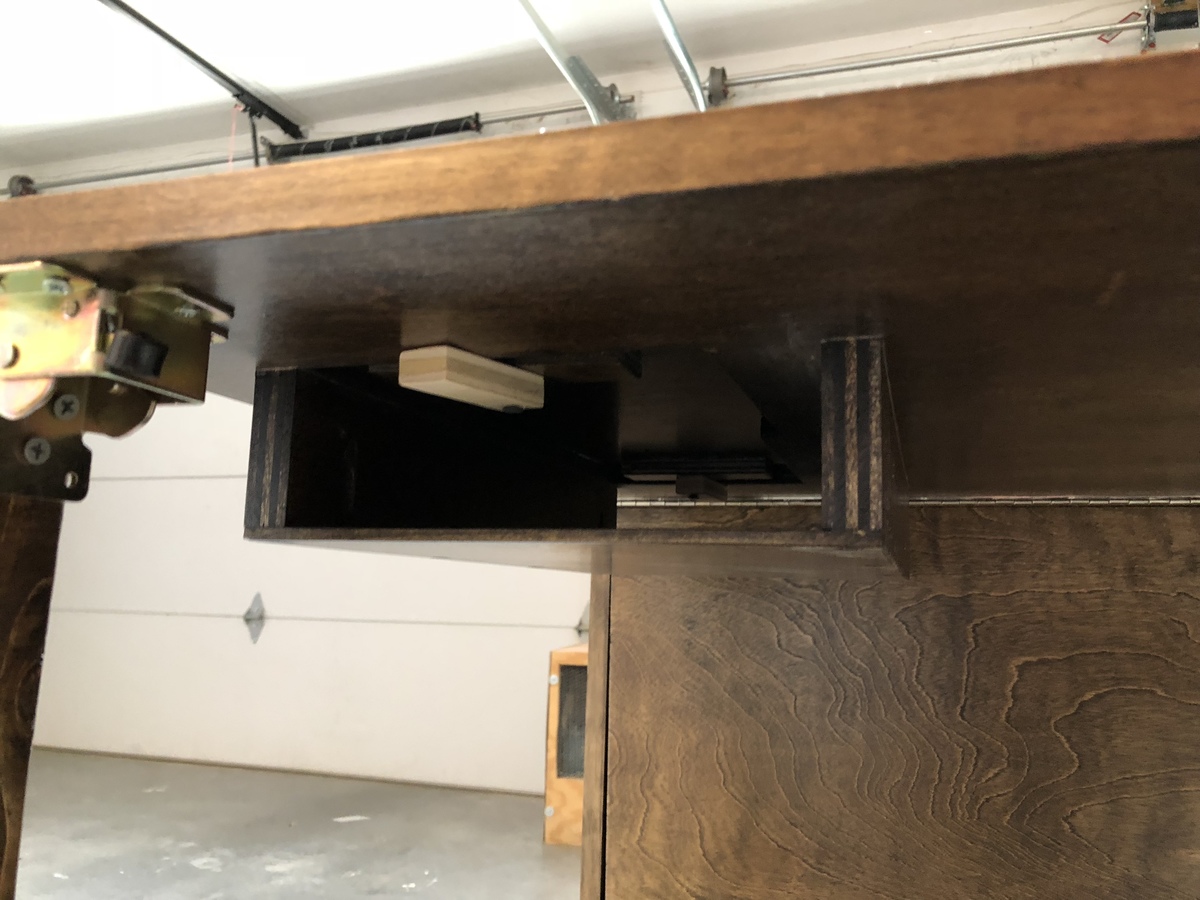
This was my first project from Ana's website and I'm hooked! I'm a beginner, but thank goodness for my Dad's help because I have a lot of learning to do!
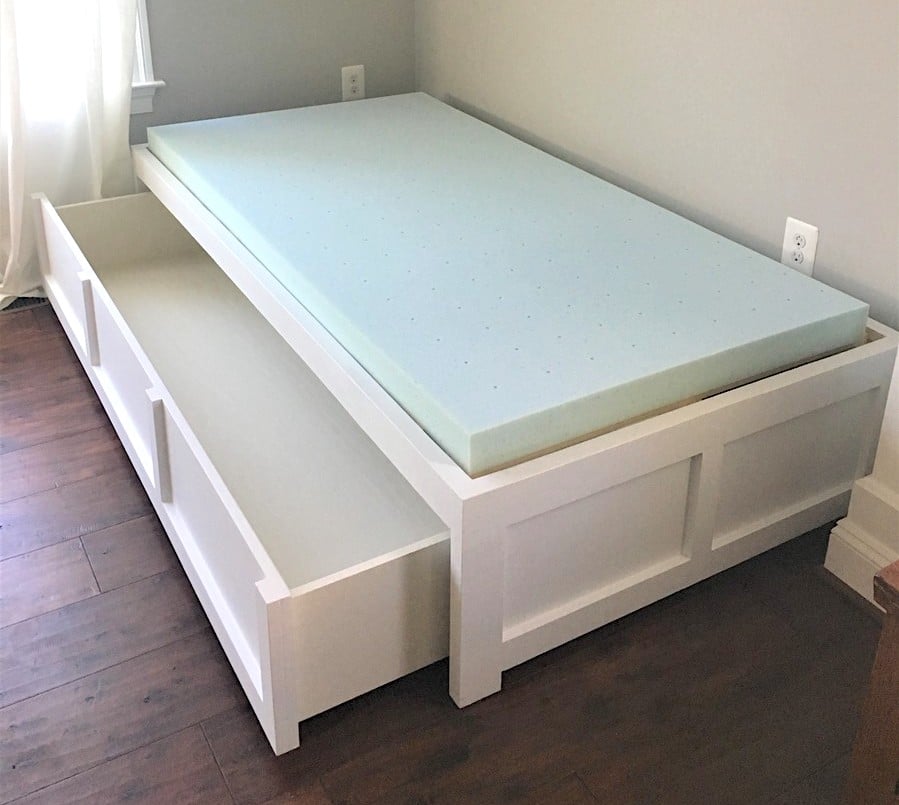
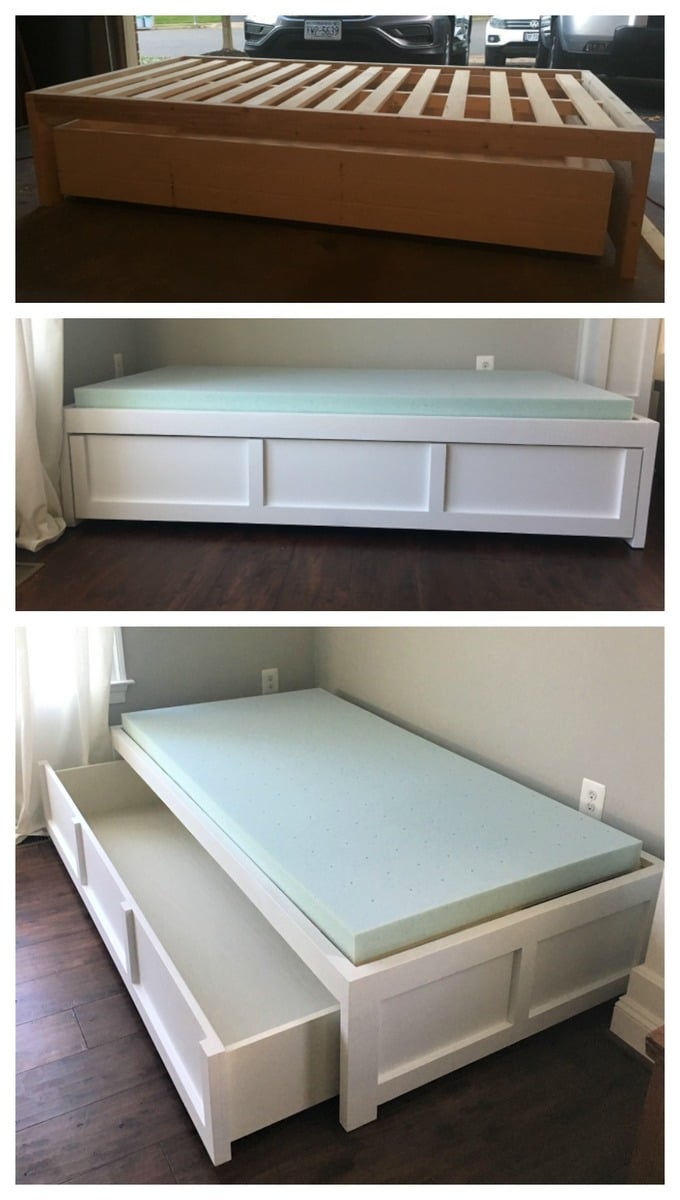
I wanted the drawer to be 1 drawer instead of 3. I feel like it looks cleaner (without having to adjust 3 drawers constantly to make it look good when you push them in). I was thinking the bed could actually be used as a trundle bed in the future too! I use this to store toys right now and it is Awesome!
I increased the bed size to fit a twin mattress and increased the height of the bed slightly so that the drawer would be a little bit deeper. We also added a back to the bed and carried around the trim to make all sides look the same. We added a bumper to the back and sides of the inside of the bed so the drawer is easy to push in and fits in snug. Finally we reinforced the bottom of the drawer with more 1x4 boards so that if a child does sleep in it, it would be more sturdy. I now have kids come over and jump into the drawer (literally) and I'm glad we reinforced it.
The changes we made did add to the cost and our time (as well as being newbies), but I think it's worth it and the bed turned out beautiful!


Sat, 01/15/2022 - 08:02
Any chance you have your cut list for this? Will the trundle storage drawer fit a twin mattress in it? Also, you say you increased the bed size to a twin, was the original not a twin too?
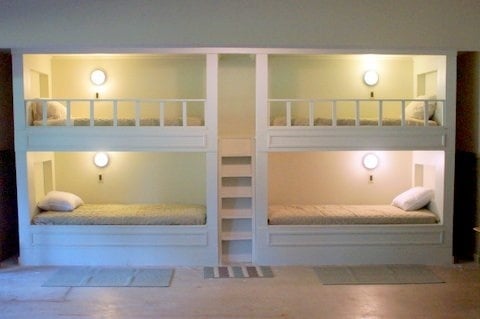
This is a set of bunk beds that I made for my daughter Alicia for their getaway home at Canadian Lakes, MI. Now their children can invite their friends and have a fun place to sleep.
Fri, 07/19/2013 - 02:37
Wow! This looks absolutely amazing! I like the light and shelf in each bunk too. Spectacular!
Fri, 07/19/2013 - 04:45
Newfey, these are awesome! I've seen pics of this type of bunk over the years, but never anybody attempting them as a DIY from a non-professional, unless you are one? Either way, they certainly look professionally done. Love, love, love!
Fri, 07/19/2013 - 07:56
I am not a professional by any means and have a limited tool supply. My daughter sent me a picture and asked if I could make them for her. It was a big project as their getaway home is 165 miles from where I live. It took quite a few weekends to complete.
Fri, 07/19/2013 - 09:24
That was one of the problems, I had no plans, only the picture as a reference. It was a design as I went along and needless to say I gave a sigh of relief once that I saw the mattresses fit into their places.
Fri, 08/30/2013 - 06:48
I've been viewing pictures of these style bunkbeds for a while. I'm almost certain I could come up with something but most definitely lose my sanity along the way. This would be great in my girls room and you did an awesome job!
Sat, 07/25/2015 - 20:25
Ana I am looking to see if you have actual plans for a quad bunk bed? Also what about a quad corner bunk bed? We are trying to put our 4 girls in one large room and this would really help make it work!
Mon, 07/27/2015 - 21:11
I have been looking for plans for corner (L shaped) bunks. And haven't had much luck. I haven't purchased the following plans so I can't vouch for them but I am considering them:
http://stonebreakerbuilders.com/product/built-in-bunk-bed-plans-4-bed-c…
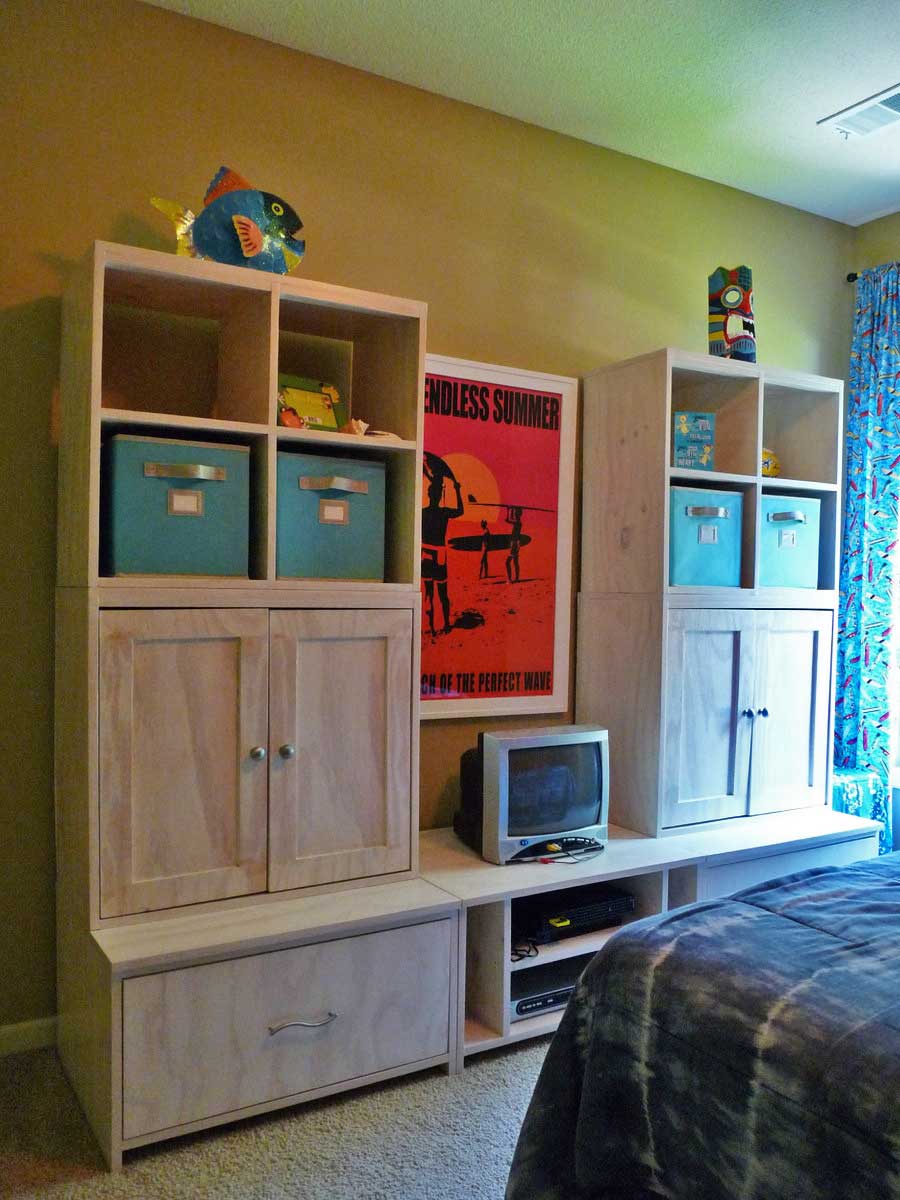
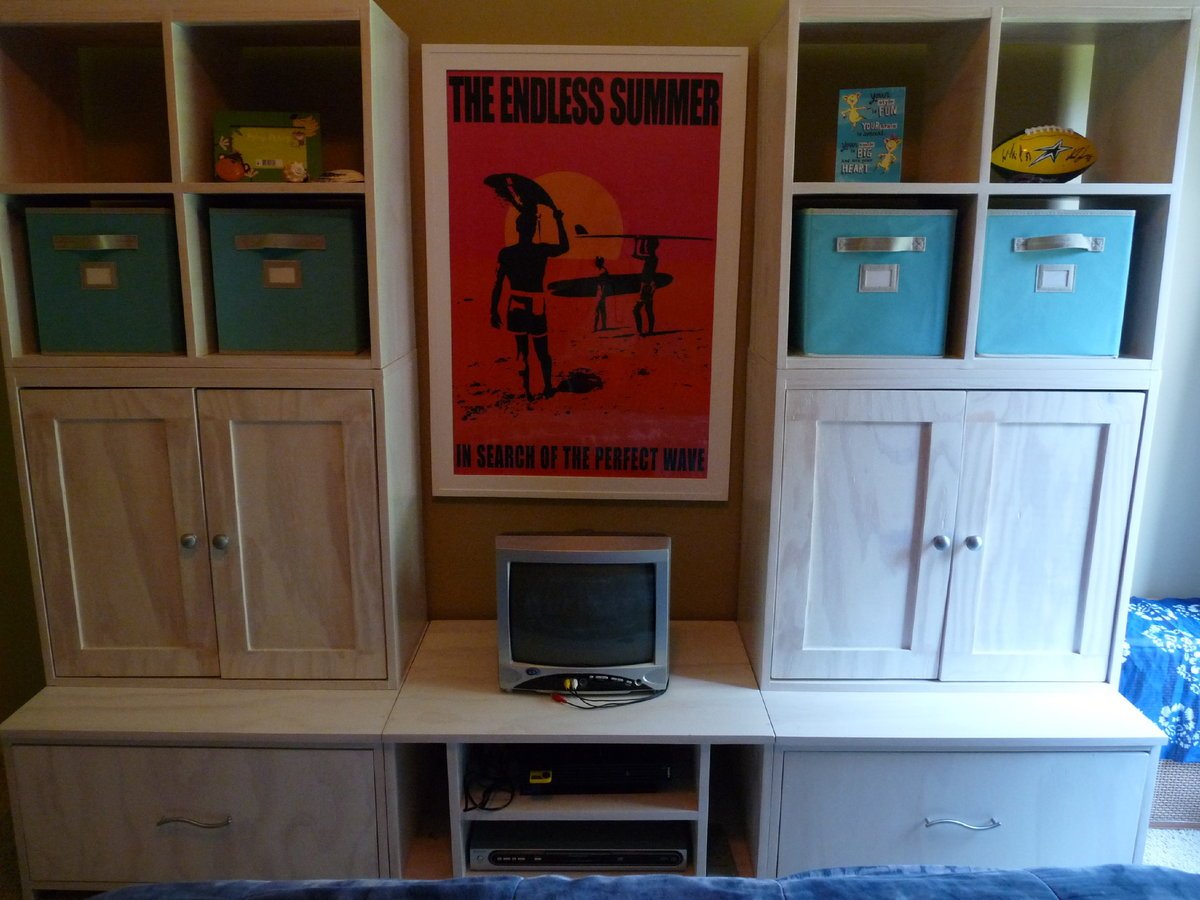
My husband and I built this for our son's bedroom using all five of Ana’s series of plans for the cubby wall system. We did pretty well, especially considering that it was our very first building project. We made the media component of the wall unit the same width as the two sides since we didn’t need it to fit a wide screen TV. My hubby was thrilled that the drawers went together beautifully. The doors turned out a little “off” -- luckily the room has a beach theme so this piece fits right in with the beach shack look!
Thu, 08/04/2011 - 01:55
Congratulations! It's gorgeous and an awesome organizational tool for the room...
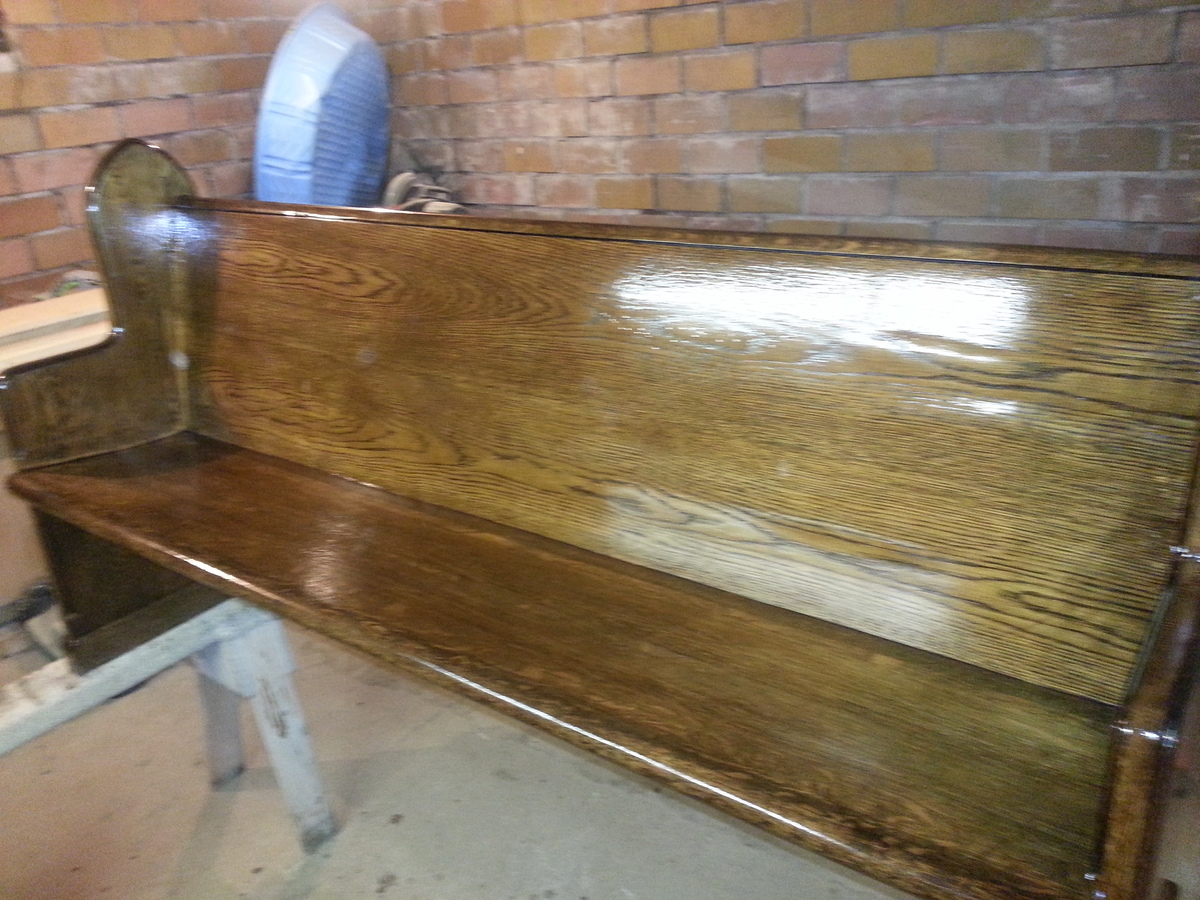
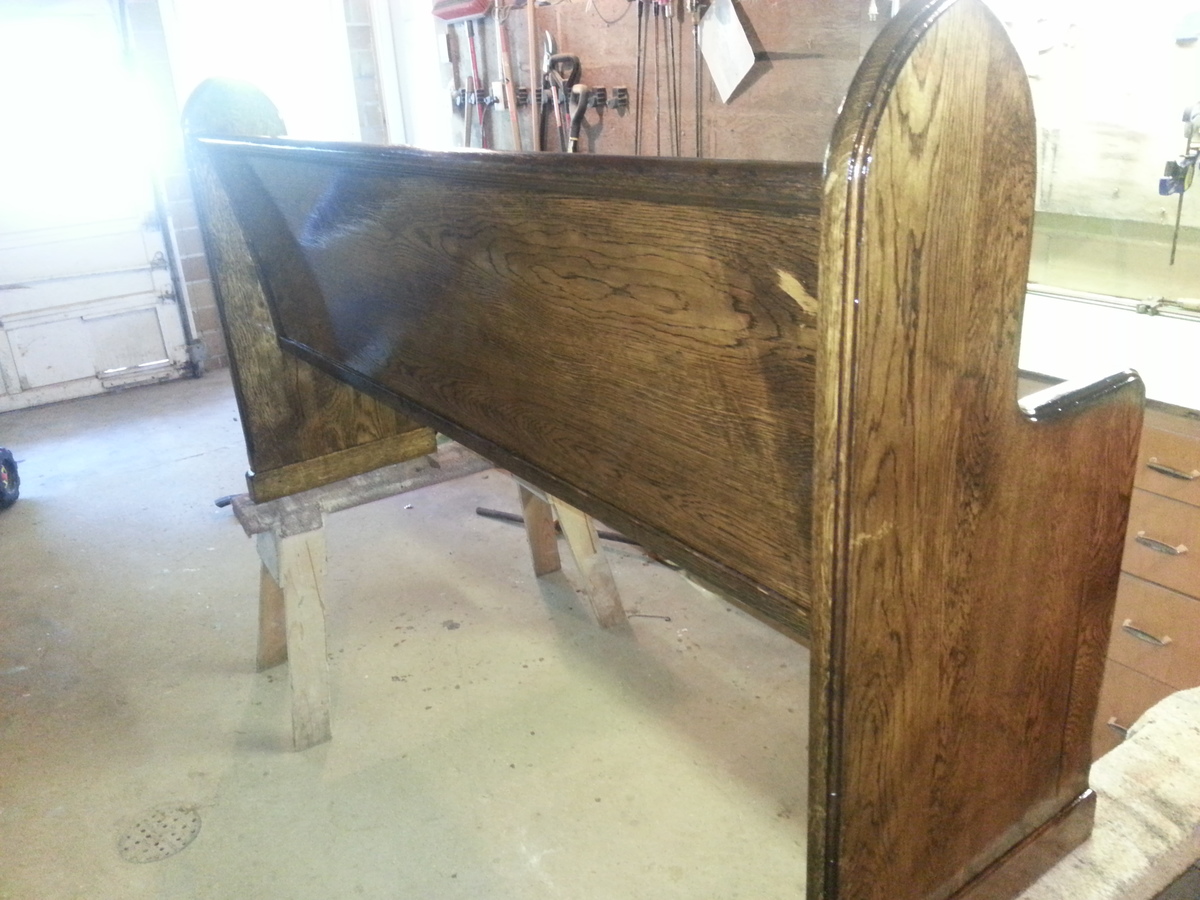
I redid a very old church pew fro one of my friends. It's origins is from one of the original churches in our home town. (There was SO much lacquer on it) This church pew was in bad shape, I had to take it totally apart and re-glue and pocket hole jig every wooden piece together because it was falling apart.

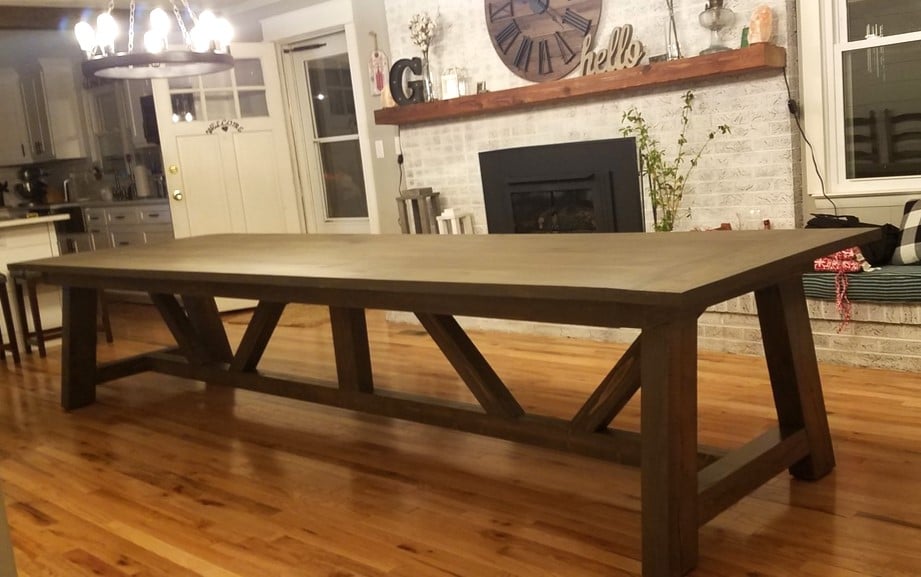
I made a 14 foot table using Ana's plans. I am remodeling my parents house that they built in 1966. I was able to use some 4x6's for the legs from walls that I took down.
Tue, 06/04/2019 - 20:07
Hi that looks amazing! I’m looking to make the same size table. Could you please tell me the measurements of your legs? Also what length support boards did you use. Thanks
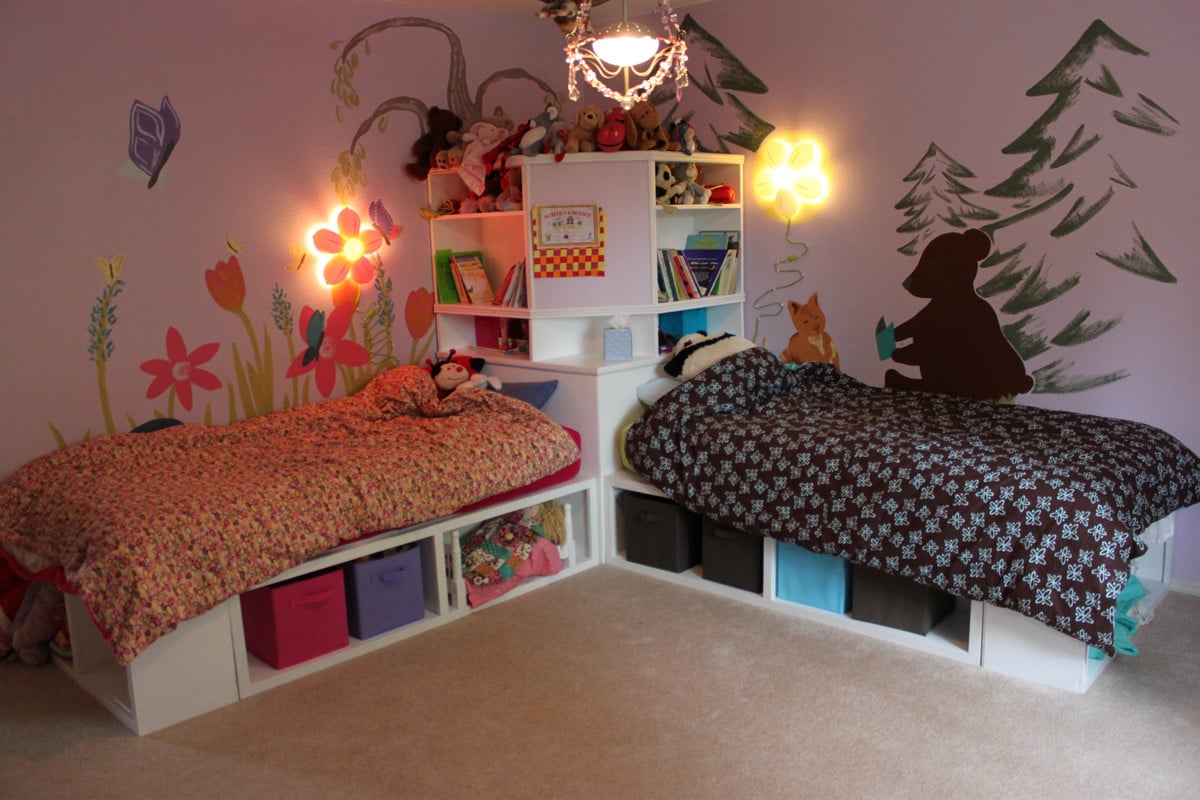
When we moved into our new house, I figured it was time to replace my girls's mattresses on the floor with actual beds. so I set about making the twin storage beds with corner unit. I primed all the wood prior to cutting and assembling, and that made things go much faster. Assembling the corner unit was tricky, since i really didn't want to have sanding and much paint in their bedroom. (i loaded in the beds first and the corner unit a week later). I added trim that wasn't on the plan, and also used the magnetic paint on the center area, although it makes a weak magnetic surface. All in all, I LOVE the way it turns out and no one can believe that I built it and didn't buy it... (although it seems obvious to me when you look closely LOL)
Fri, 11/04/2011 - 11:42
It looks great, and I love what you did with the walls! Free hand with paint, or decals? Either way, its darling and clearly gives each girl her own space.
We have the same lamps - quite popular :)
I am trying to figure out a clever way to put three girls in a (huge) room and I think something like this or a bunkbed combo would make it fun and new for them..
Sun, 01/08/2012 - 18:36
Where can I find the plans for the top half of the corner unit.? Your beds are exactly what I want for my girls. Thanks for sharing.
Mon, 10/08/2012 - 17:25
I see the plans for the beds and for the top part of the corner unit but what about the bottom part. please HELP I'm I totally missing it?
Mon, 10/08/2012 - 17:25
I see the plans for the beds and for the top part of the corner unit but what about the bottom part. please HELP I'm I totally missing it?
Mon, 10/08/2012 - 17:25
I see the plans for the beds and for the top part of the corner unit but what about the bottom part. please HELP am I totally missing it?
Mon, 01/18/2016 - 06:30
The links to the top and bottom of the corner unit seem broken; is there still access to these plans? Thanks for your help!
Fri, 11/18/2016 - 17:24
I have been round and round where are the plans for the Hutch?
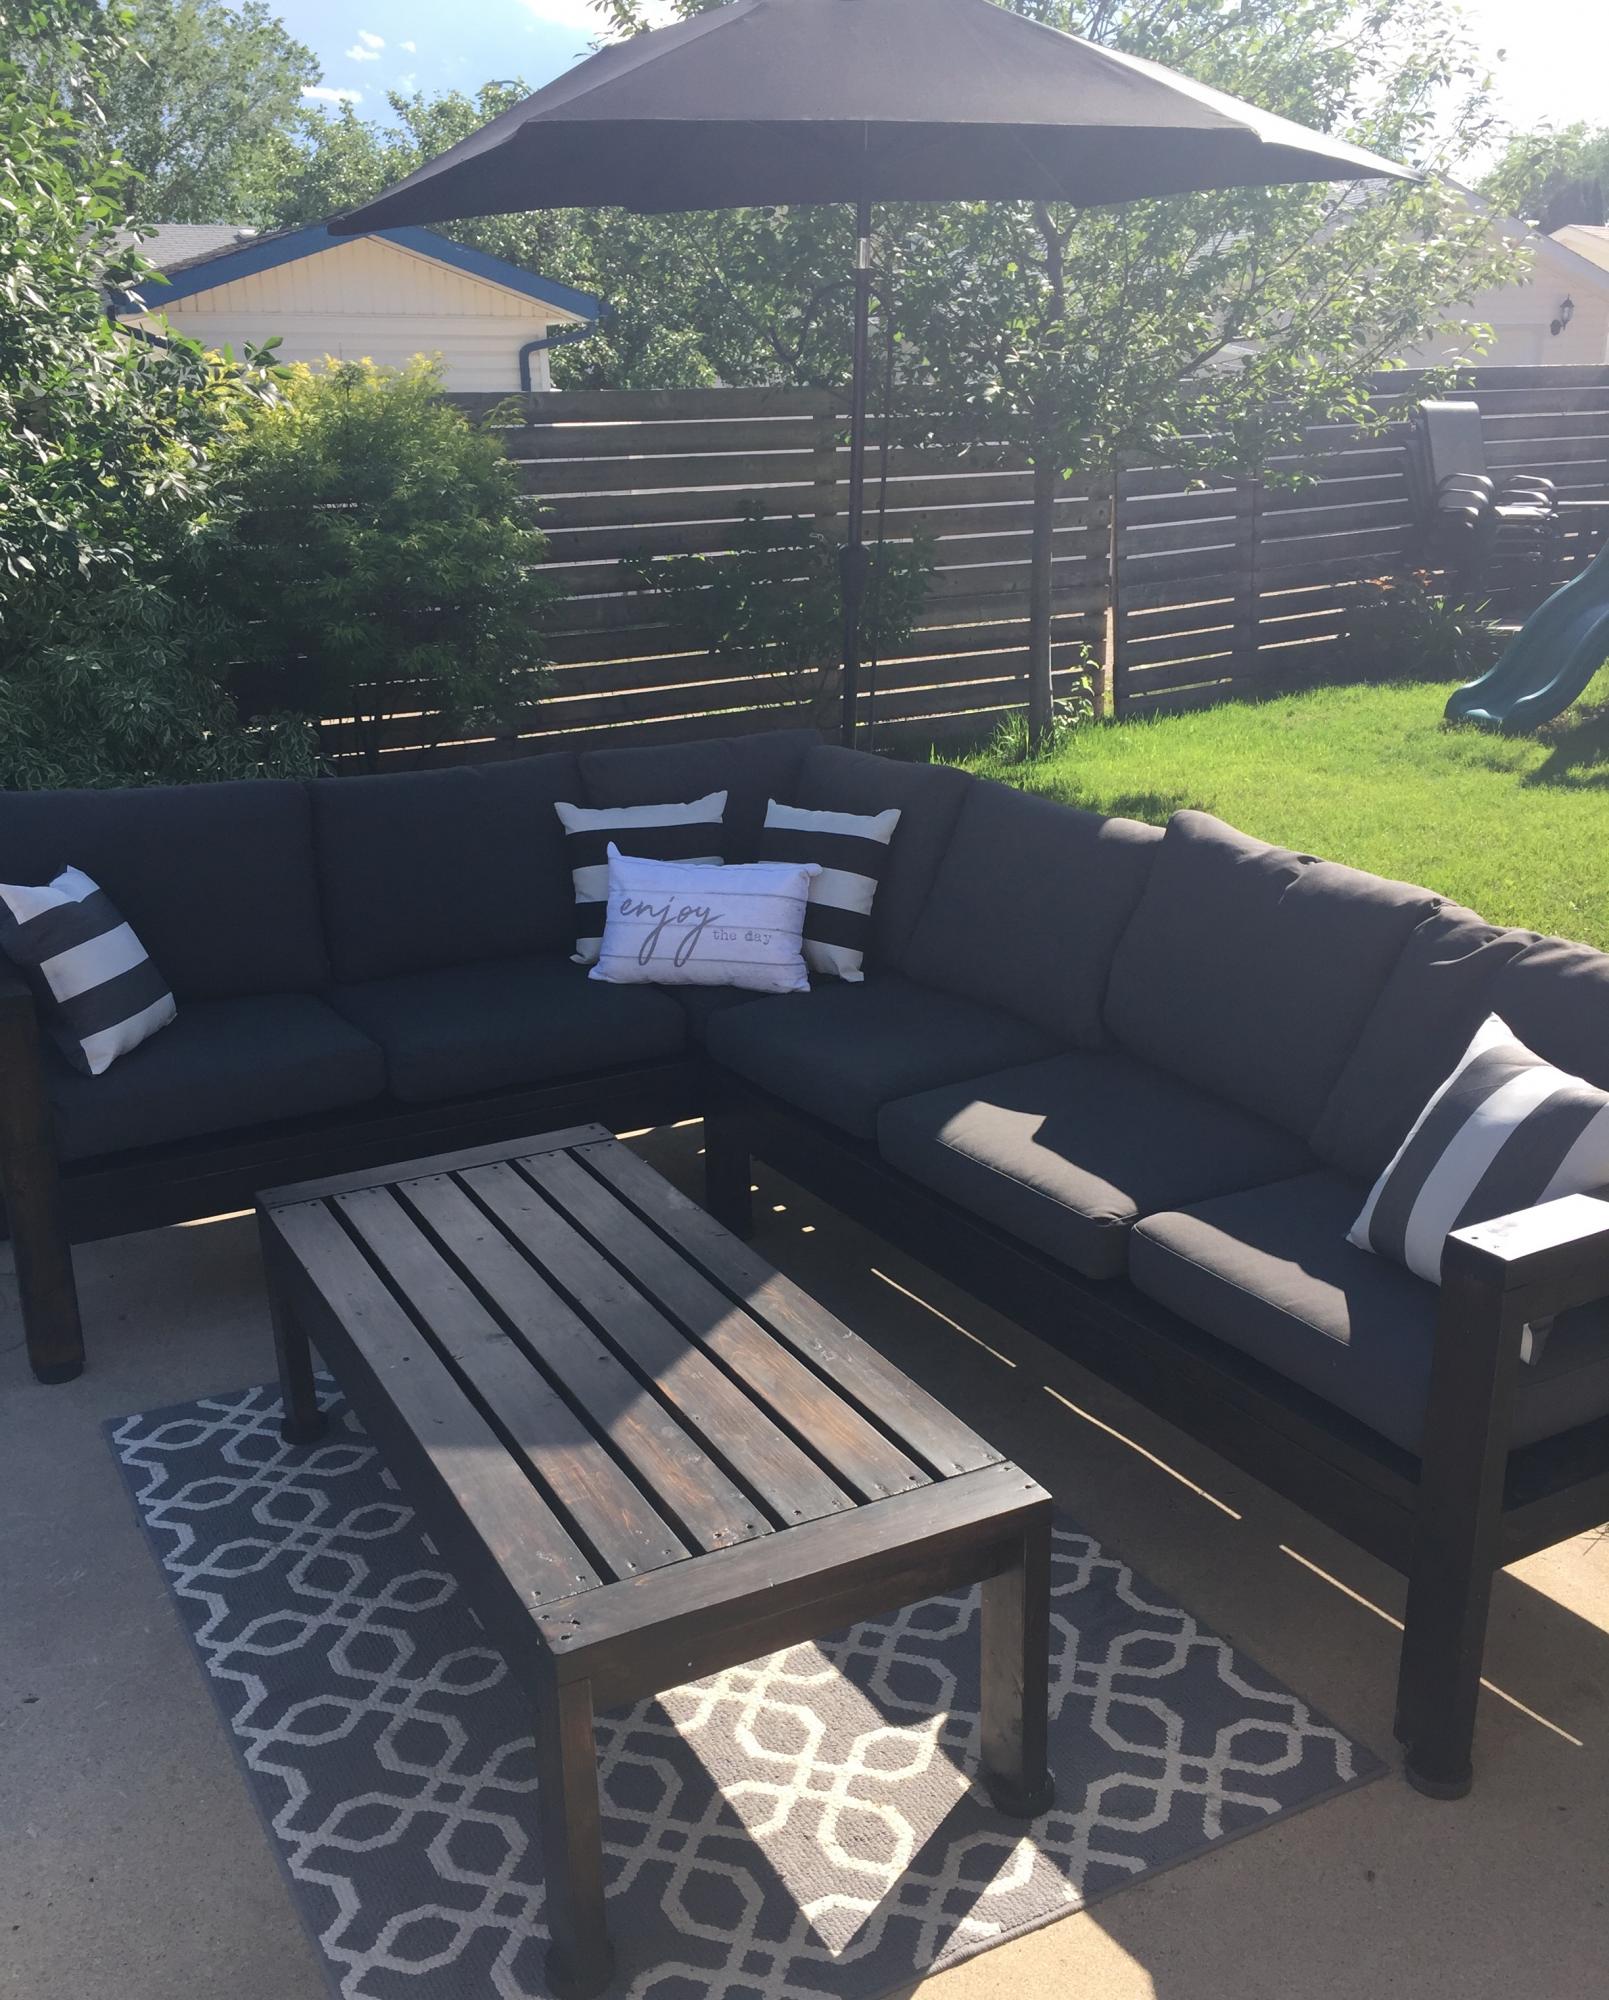
This was so fun to build!! We finished in two days and then I took many more days to stain and varnish🤪 The plans were easy to follow and the finished furniture was just what we’d hoped for. We bought our cushions from Ikea and they fit perfectly to Ana’s dimensions - we didn’t make any modifications.
Canadian DIYers - Hockey pucks under the legs of the furniture to keep all the rain we’ve had from soaking up into the wood 🇨🇦 🏒🇨🇦
Mon, 06/07/2021 - 21:39
Are these the 24 3/8 x 24 3/8 cushions at Ikea? I am just starting this project and was going to extend the length to 74" instead of 72". But yours seems to fit just fine as is.
Cheers!
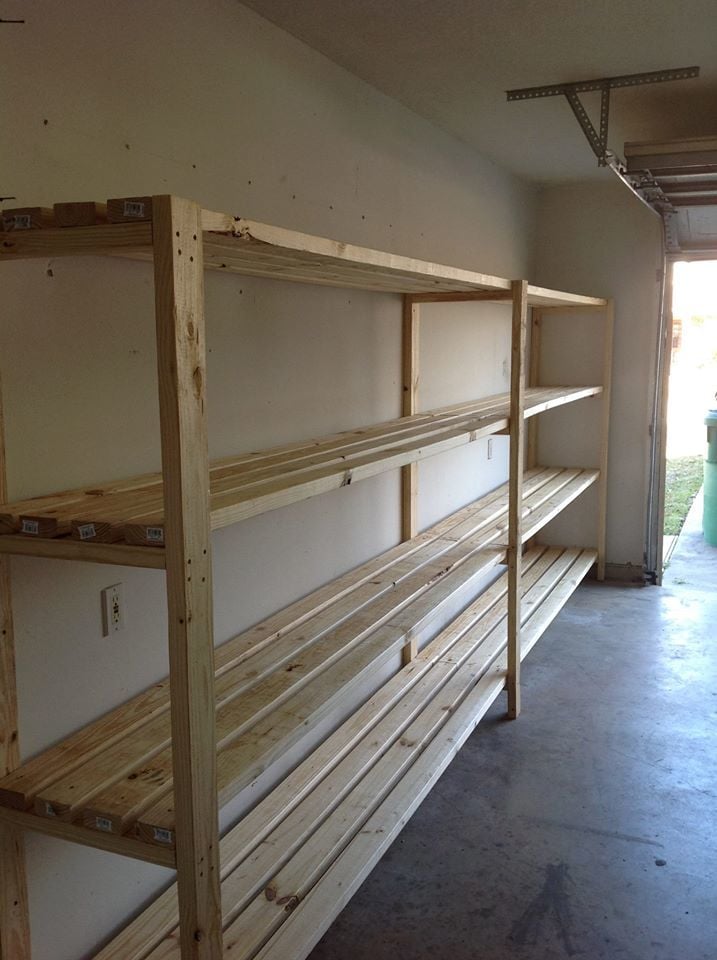
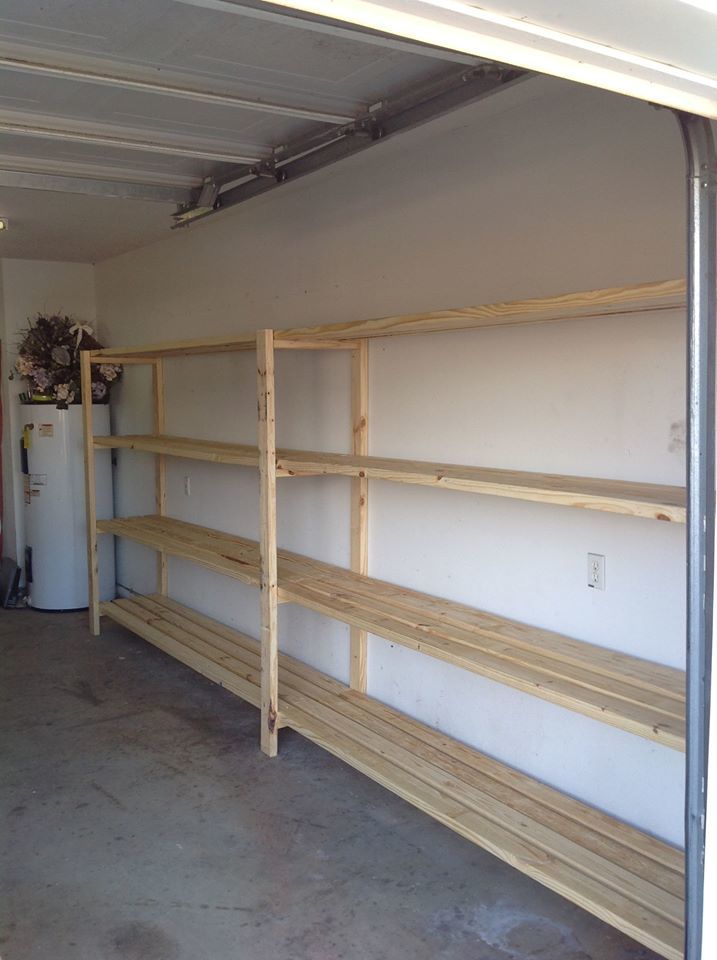
Thank you for the plans! Love the shelves!
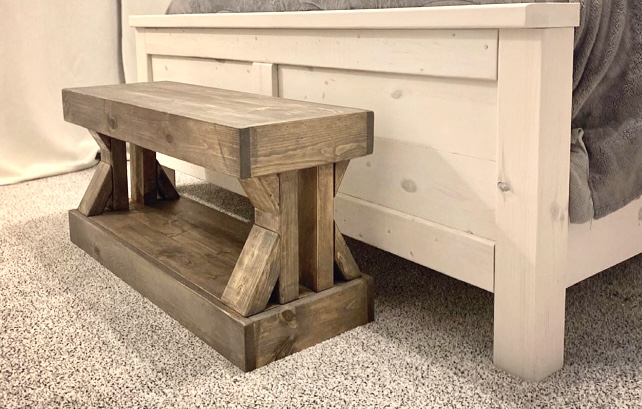
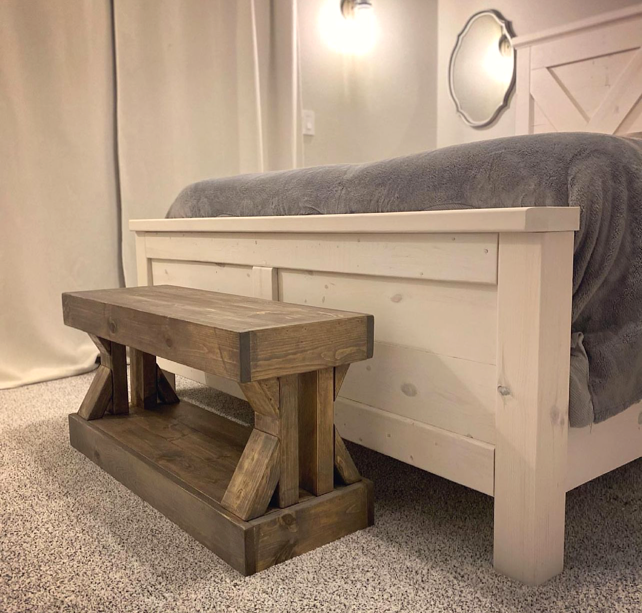
With all my bed frame scraps, I was able to build a small bench for resting and so the hubs doesn’t bump into the old ottoman when walking around the bed. by Mmade
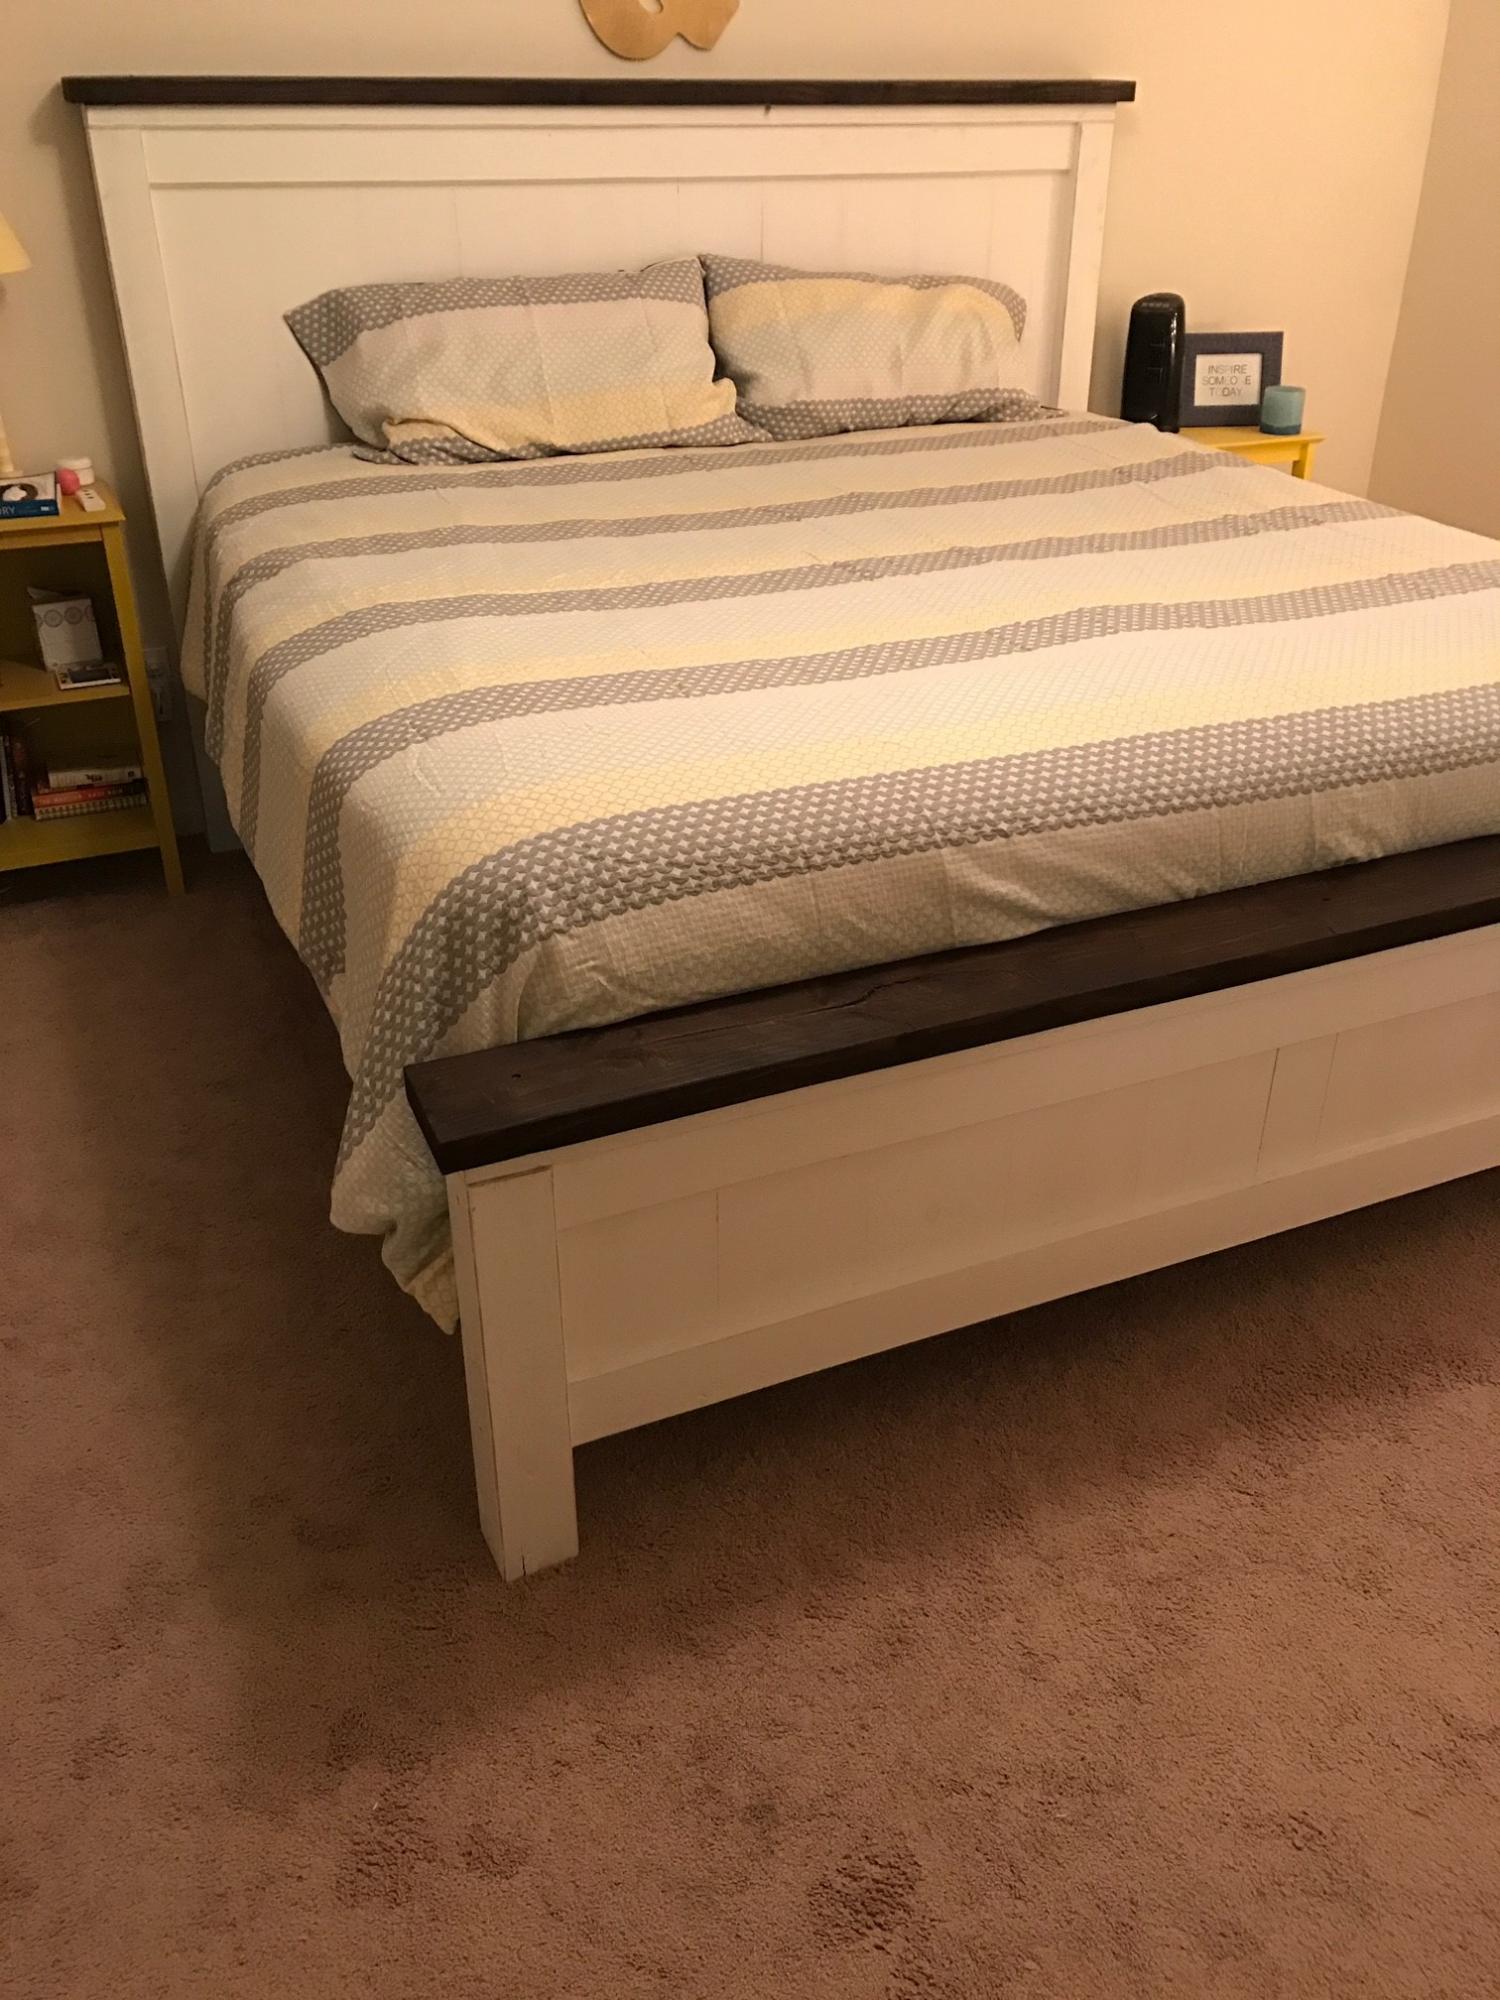
My wife wanted a new King bed frame, and we were searching around stores to find one that she loved. All of them were close. but not perfect, and also way too expensive. I told her I'd just build one! It was my first woodworking project, and it came out exactly what we wanted. We even had some fun Saturday nights sanding and painting together.
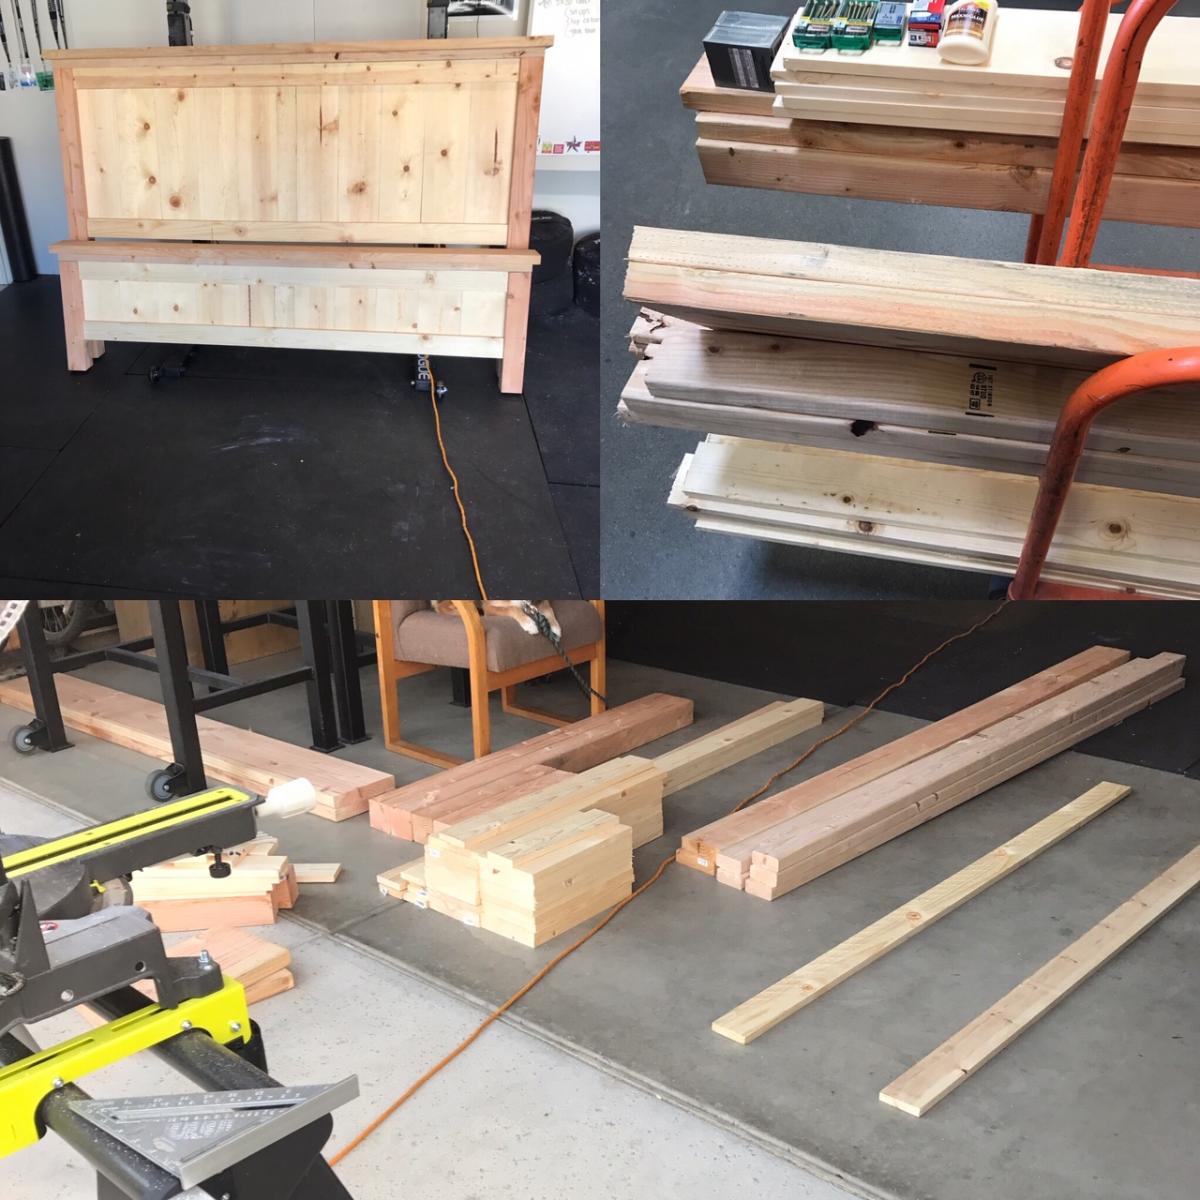
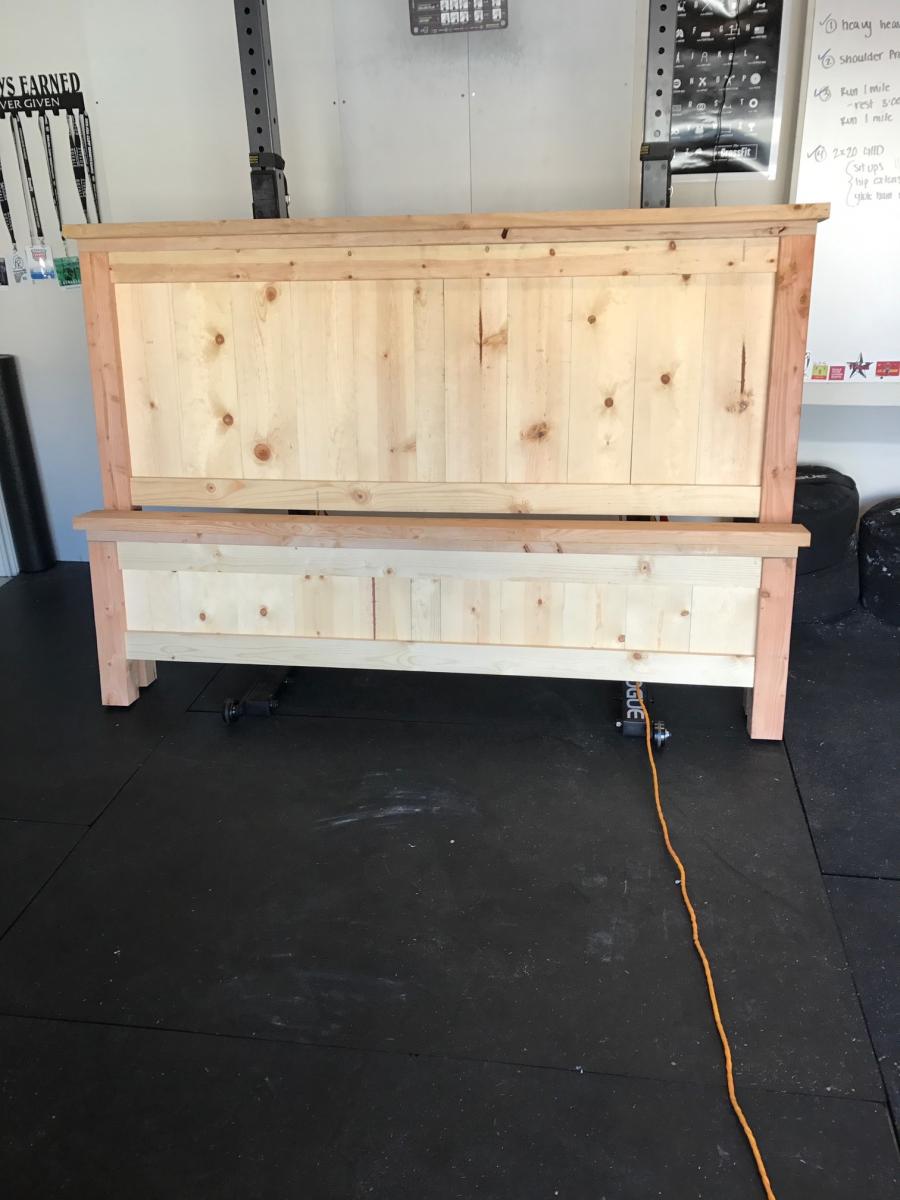
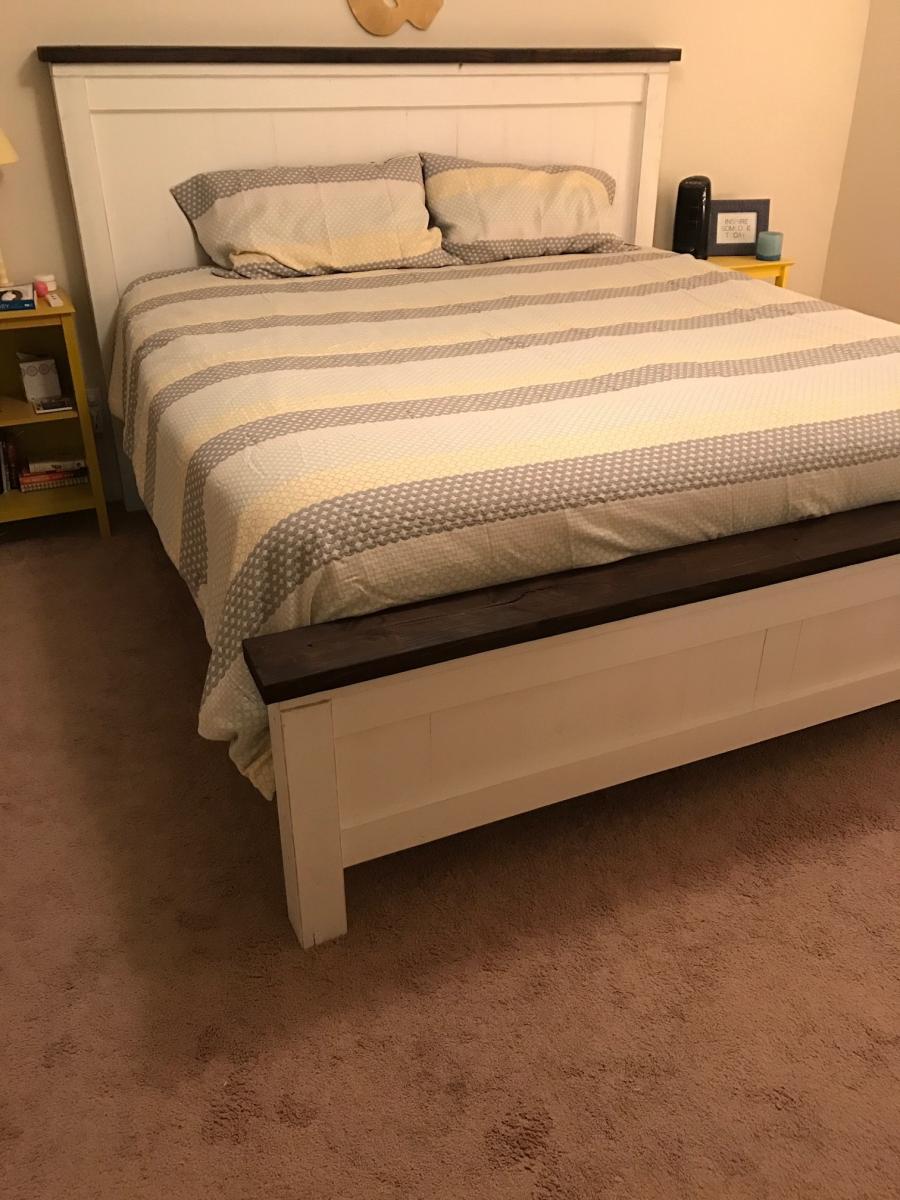
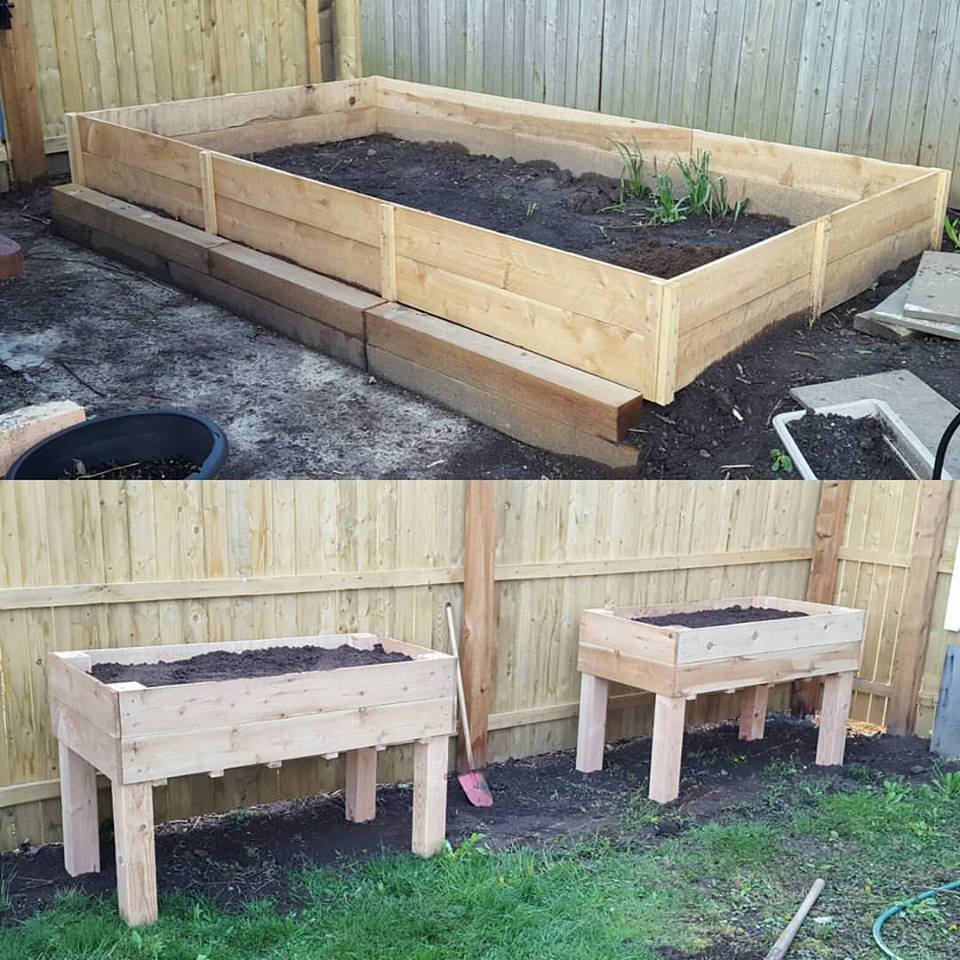
I'm only moderately handy and these were fun and pretty easy.
Learned a lot and got better as I went along.
I found ways to make it as cheap as possible, probably did all three projects for 150 bucks.
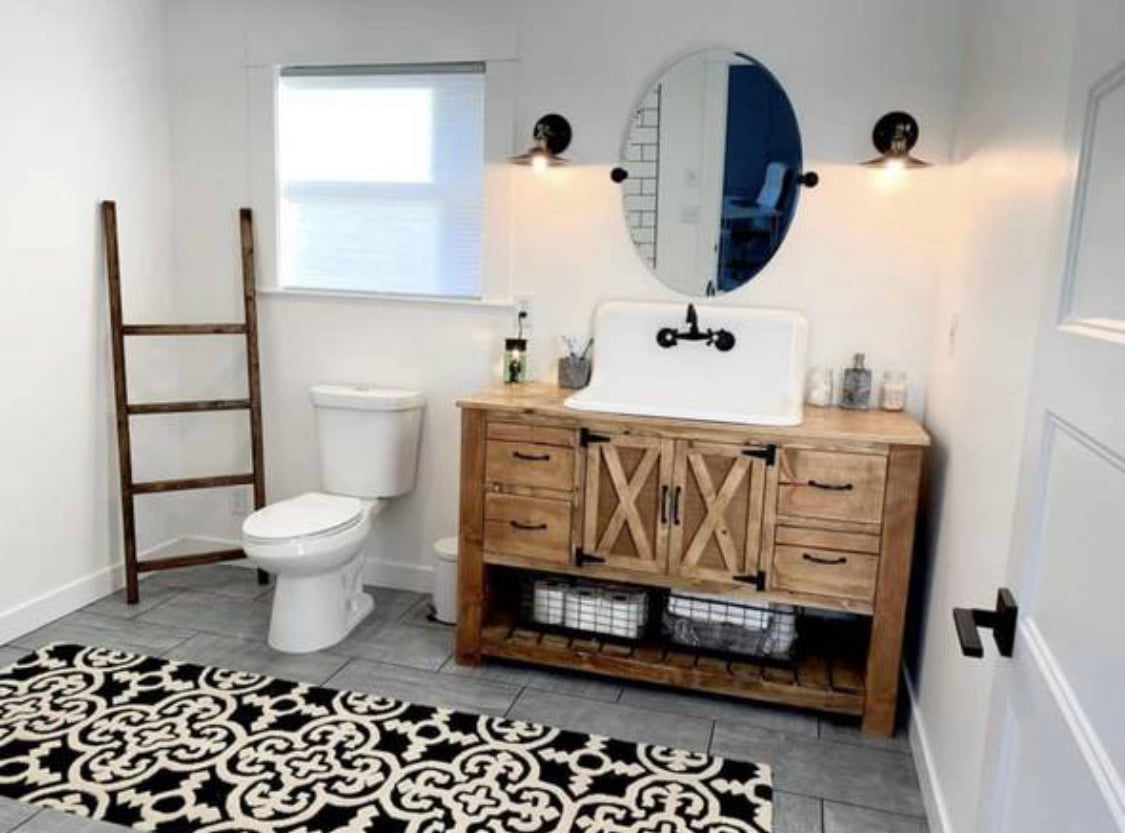
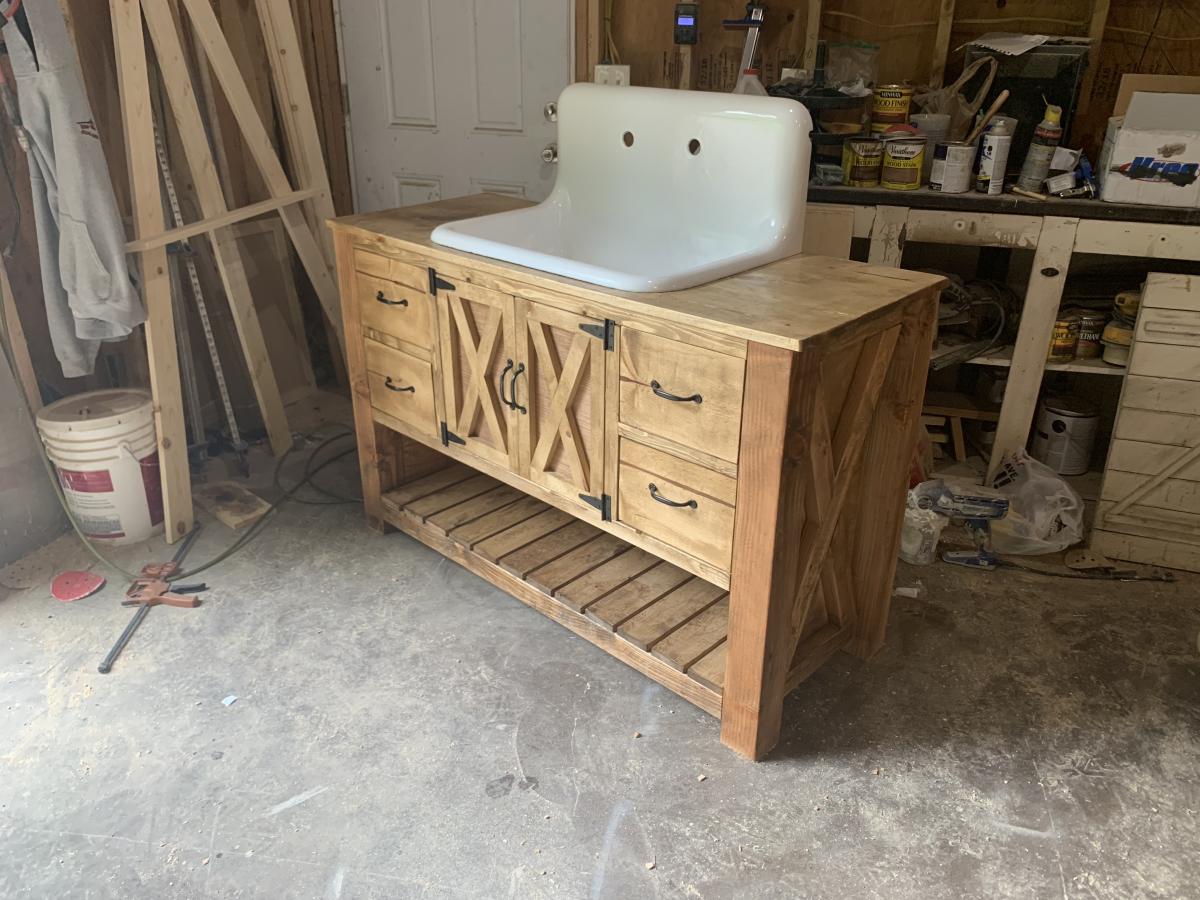
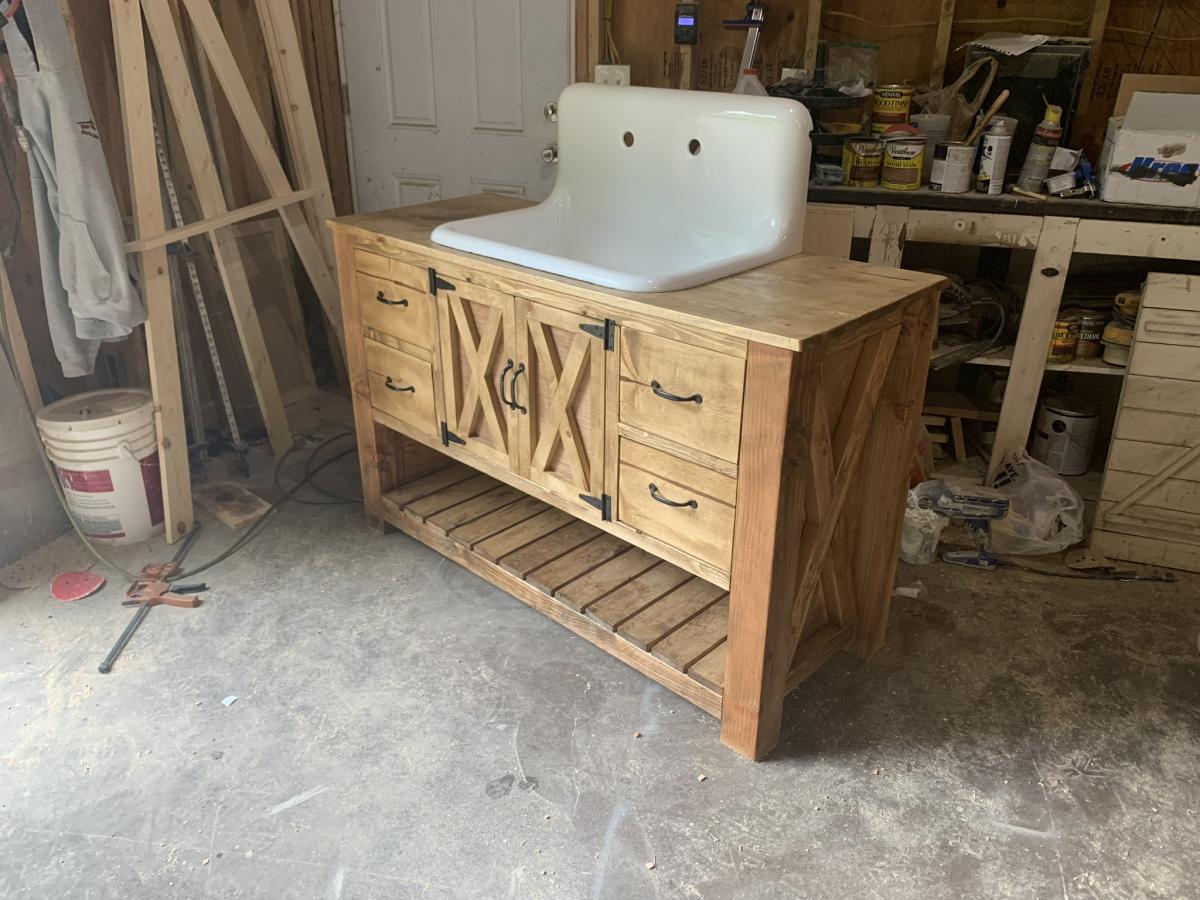
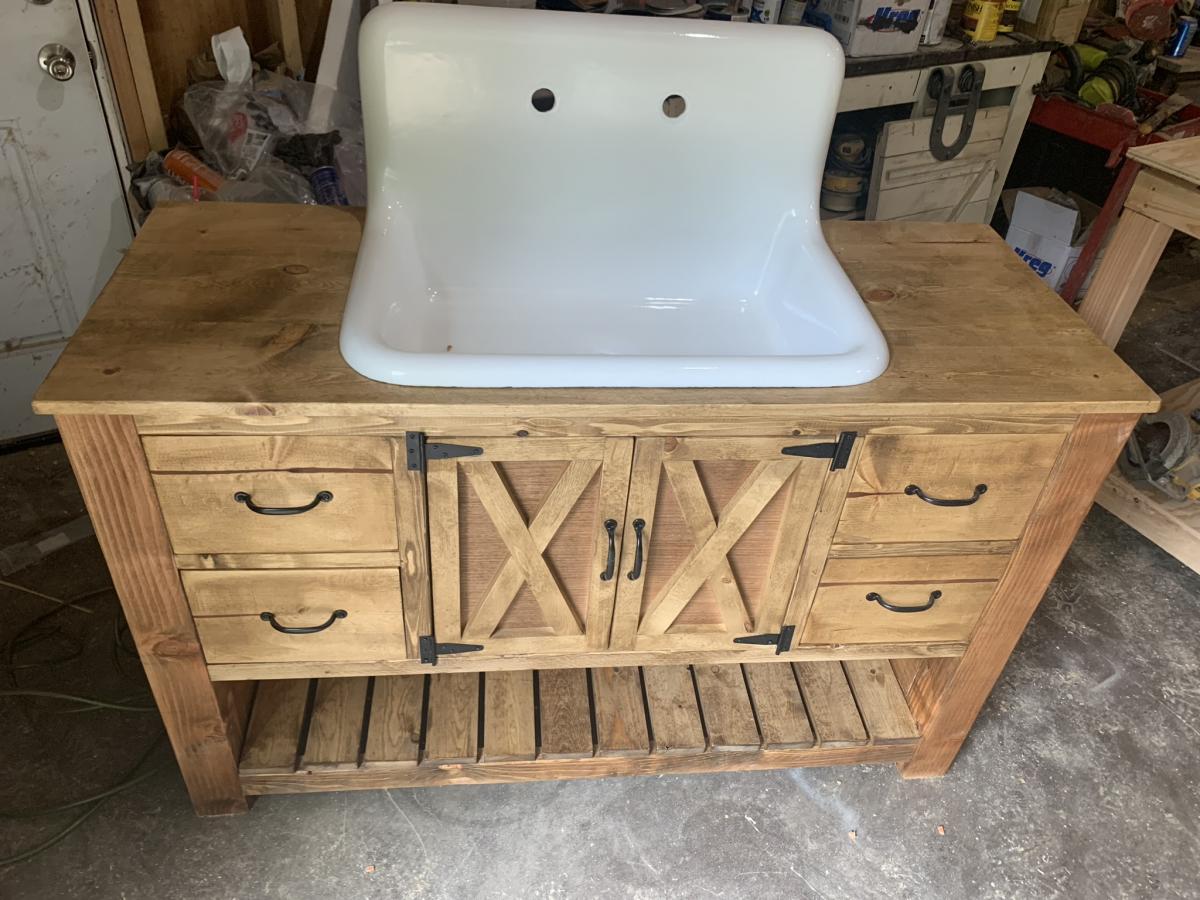
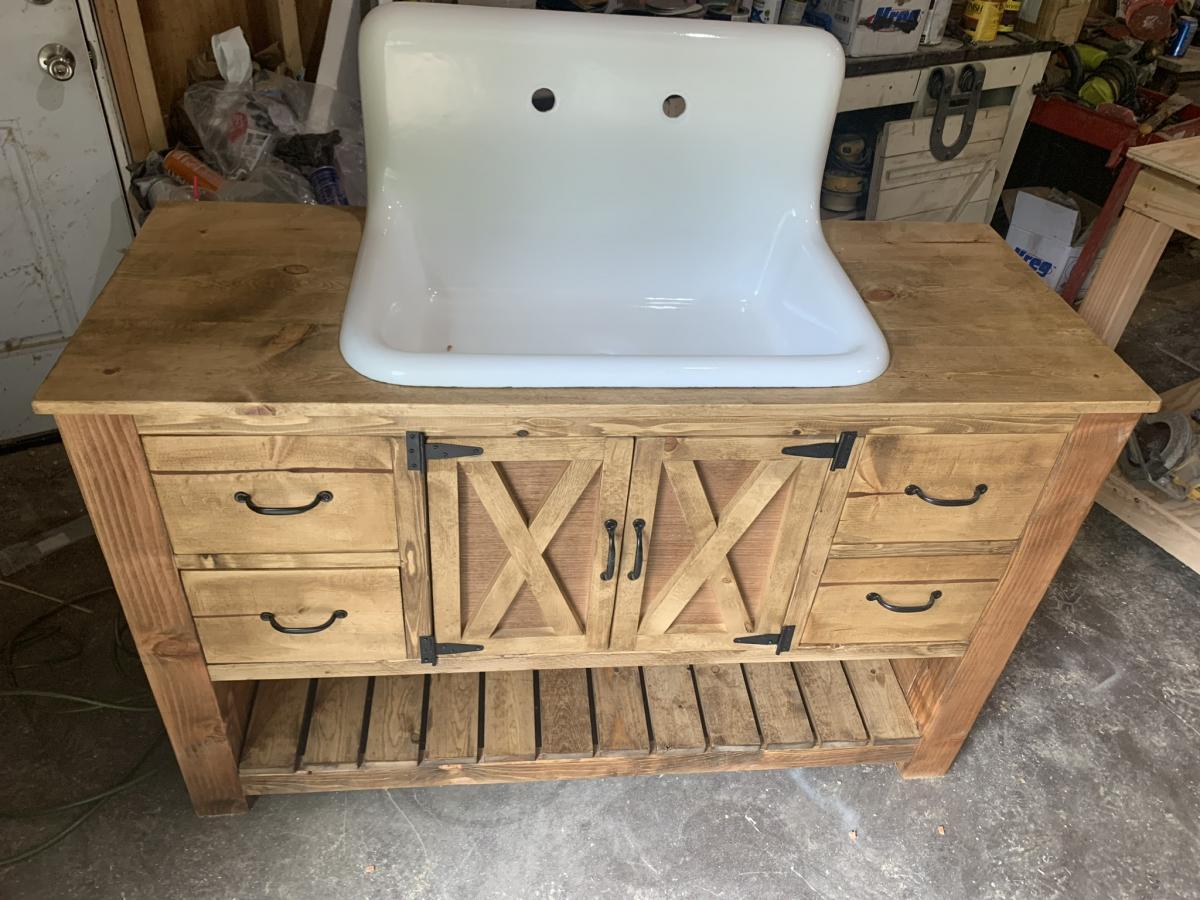
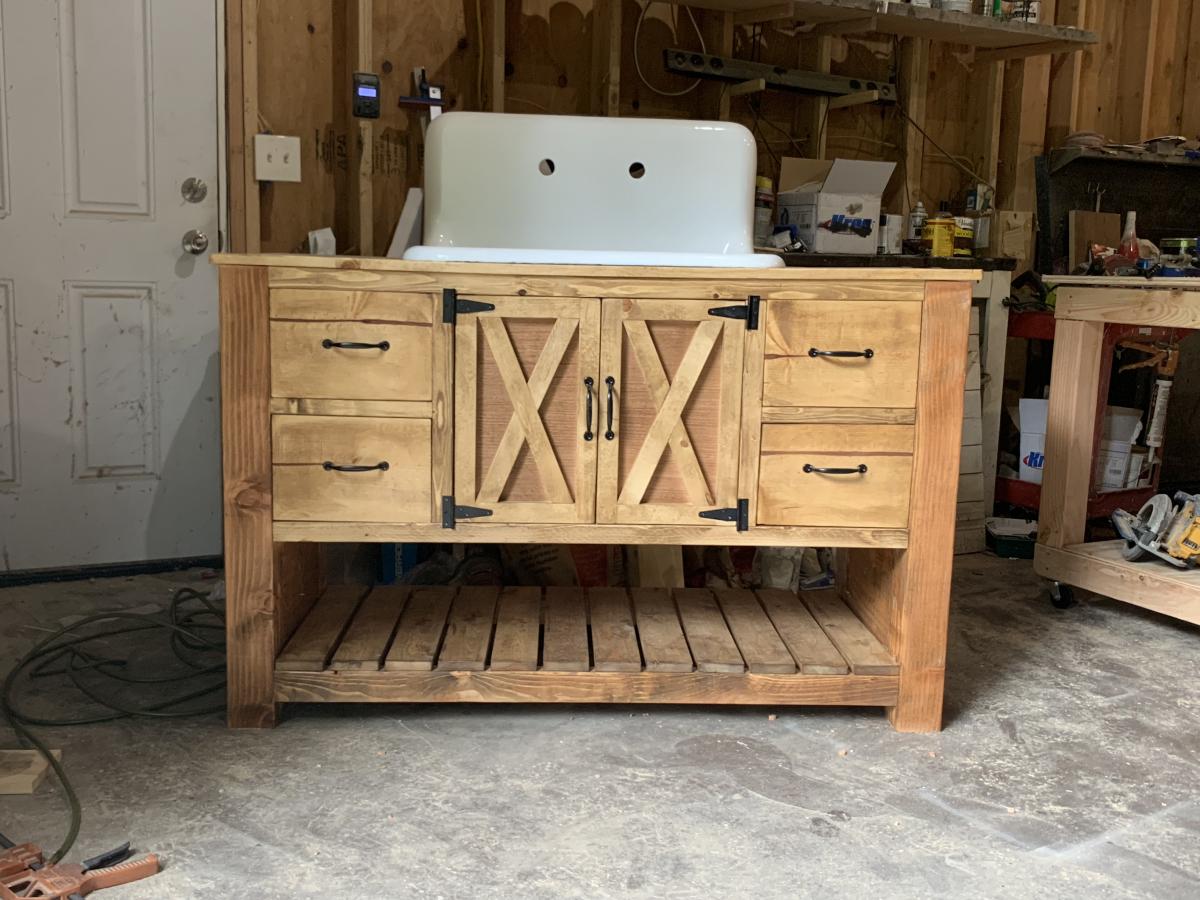
Hand made bathroom vanity check us out on Facebook marney Marie
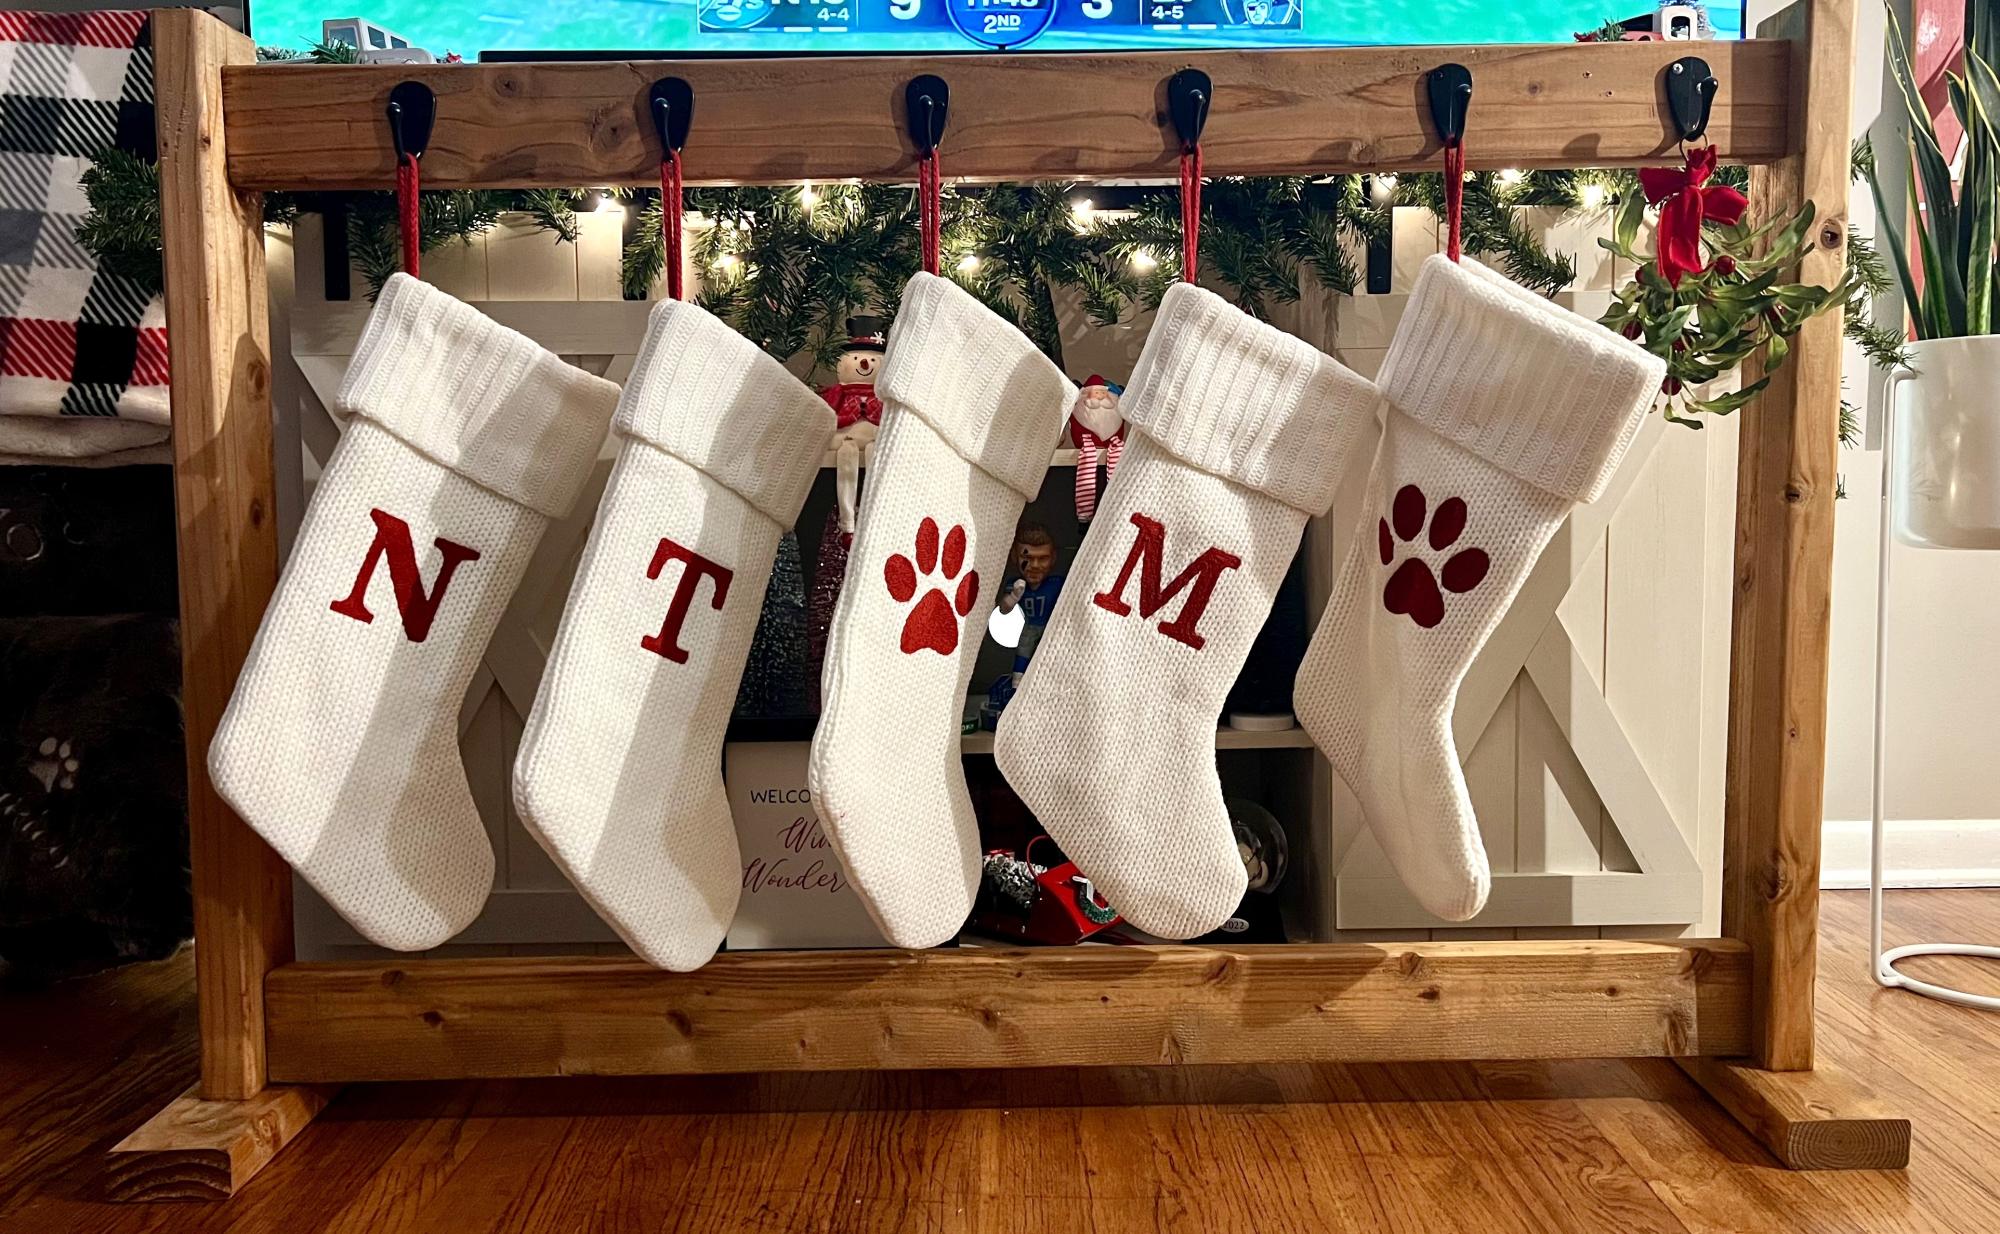
Wood Stocking Stand built by Nico
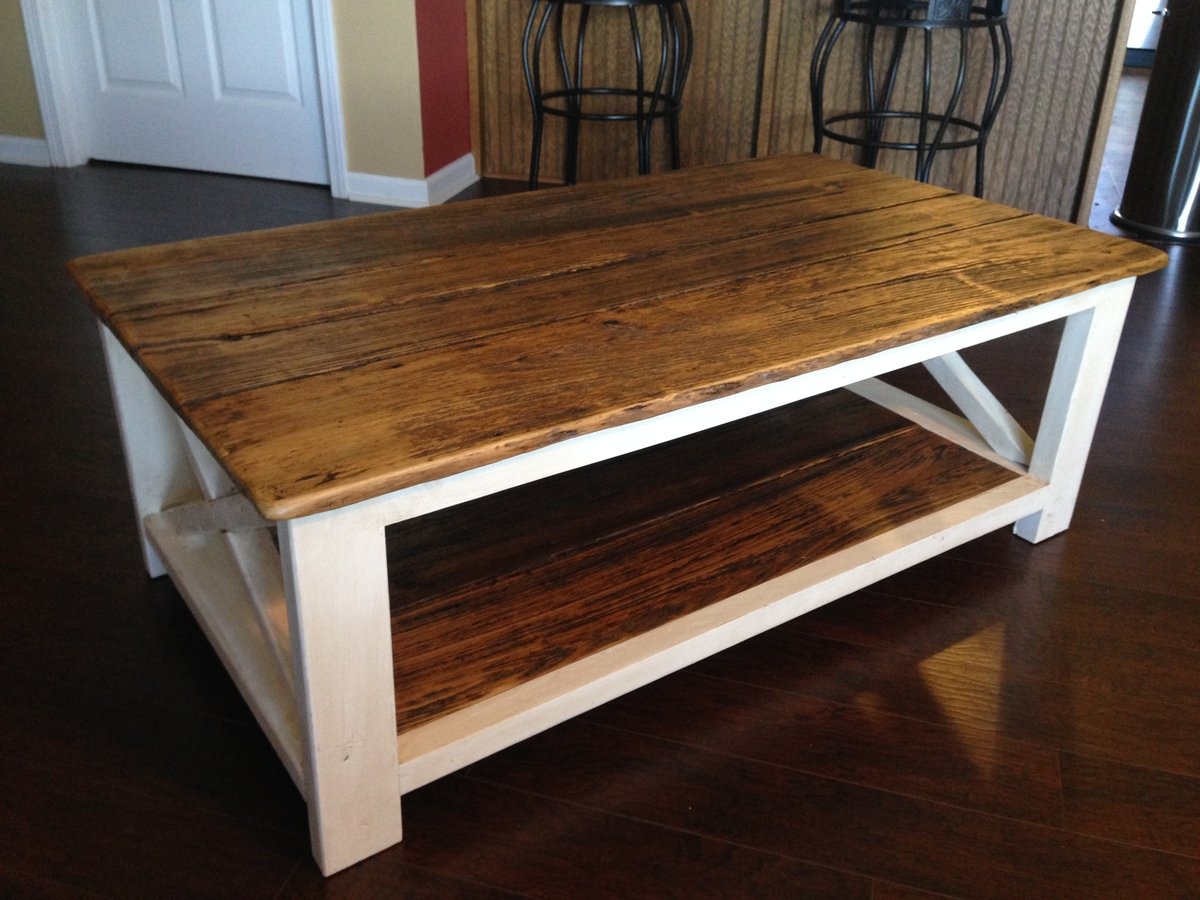
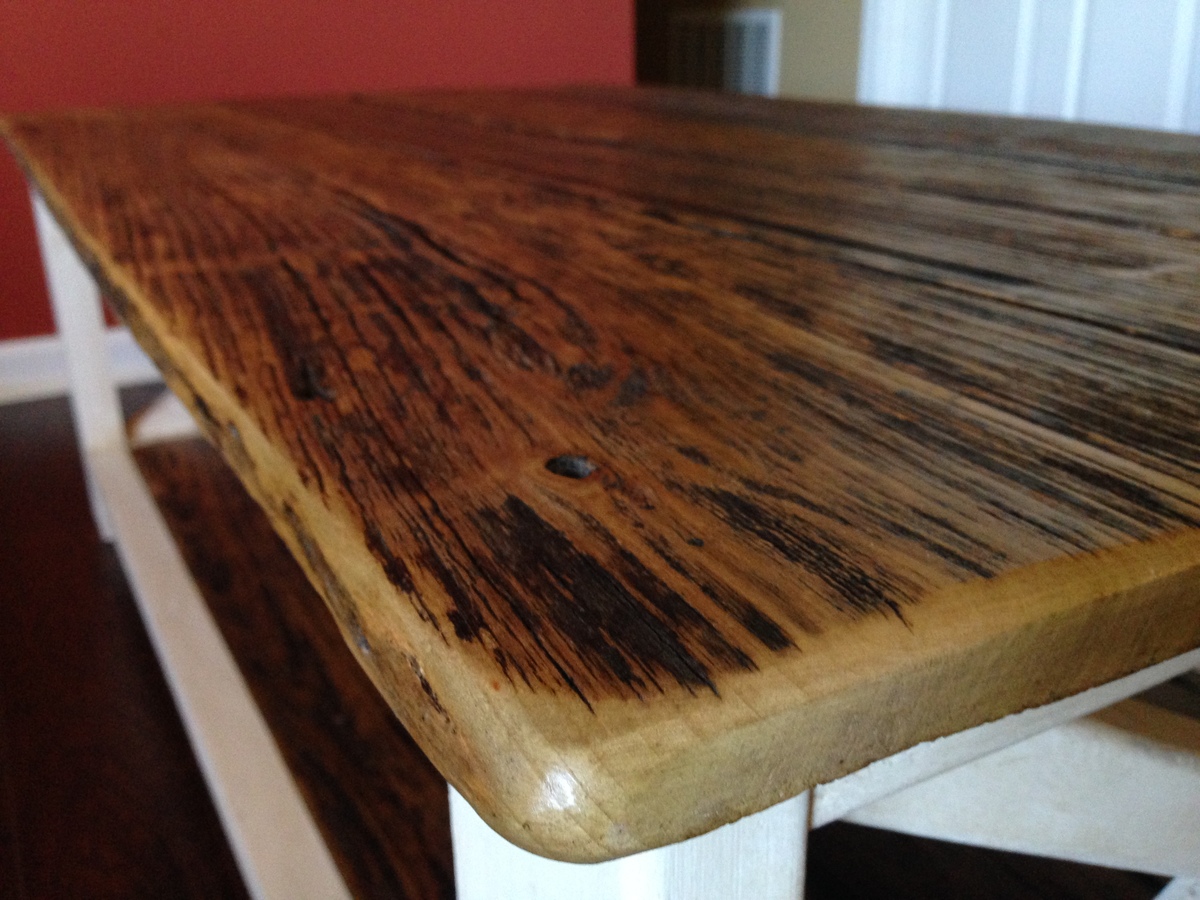
Built this rustic x coffee table from some 2x4's and repurposed barnwood. Finished it off with some white paint and antiquing wax on the frame and lacquer over the barnwood.
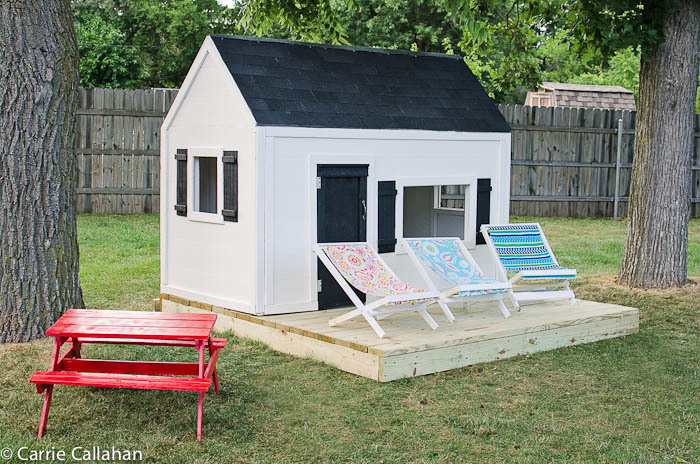
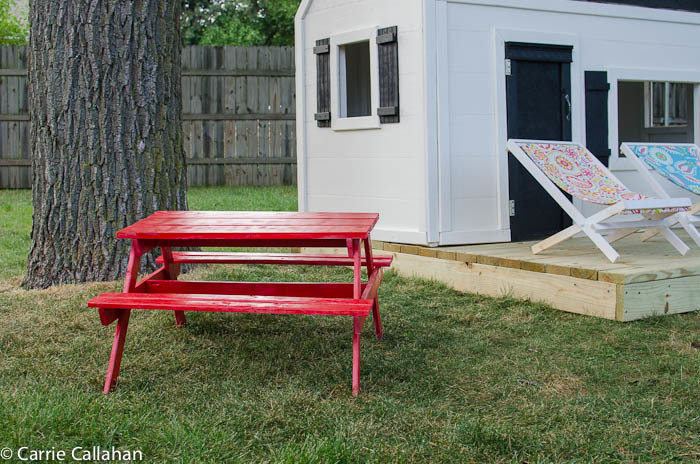
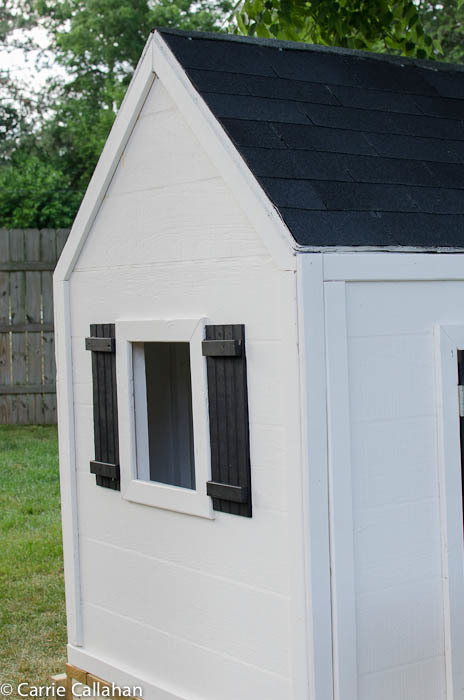
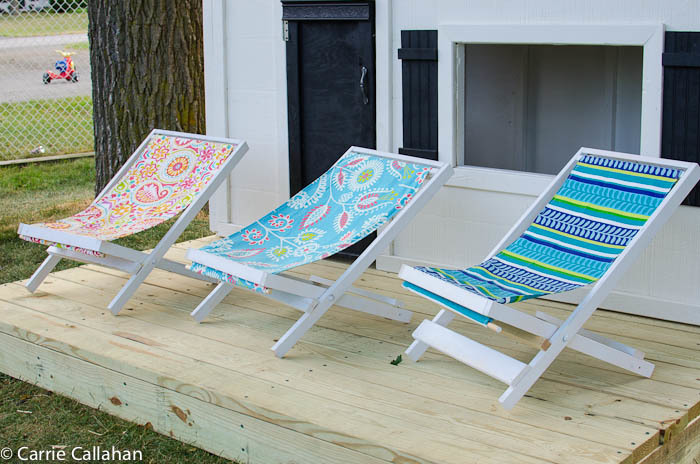
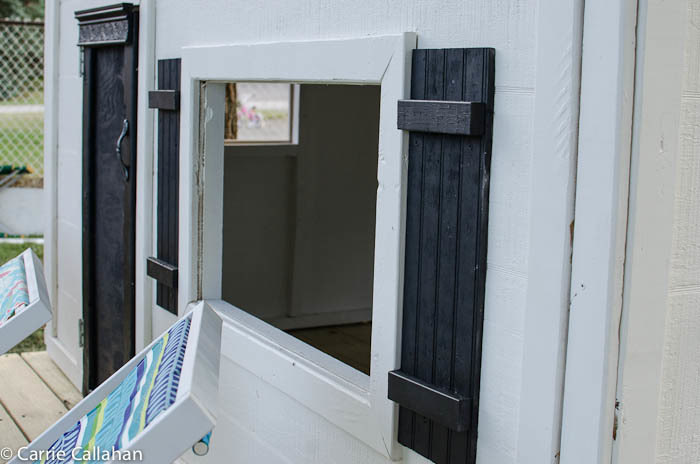
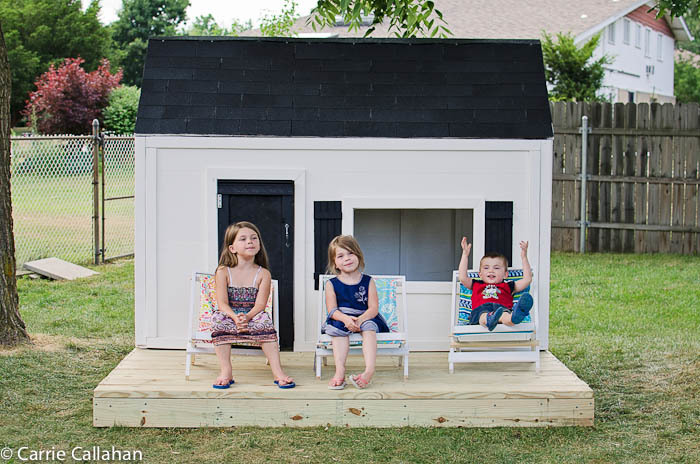
I went a little out of control on the week of the 4th of July - I set out to build a picnic table, 4 sling chairs, a deck and a playhouse - and I did!!!! I owe Ana a great debt of gratitude for these amazing plans and empowering me to do it! I built the picnic table and the sling chairs as I was waiting for primer and paint to dry on the frame, inside and outside of the house. For the shutters - I scrounged around the garage and found some leftover wainscoting, and put a leftover 1x2 on them. The door frame wasn't straight - so I added a piece of leftover trim from my daughters bed I built. My only next step is curtains for the windows. I even moved the full kitchen set I built the kids a few christmas's ago into their. They have only been playing with it for 2 days and I can't drag them out of it!!!
I've been wanting to buy or make a sandbox for my son for a couple of years now. Since seeing this on Ana White I knew I had to make it. My son is 4 yo and I didn't think the 4' square sandbox would be big enough for him, so I made it bigger. Ours is 6' square. Materials: 4@1x8x6' 12@1x6x6' 2x4 - used leftovers from another project 8 hinges 4 handles decking screws Cut lengths: 2@1x8 cut to 71.5 (long sides of the box) 2@1x8 cut to 70.5 (short sides of the box) did not cut the 1x6 boards (top planks) - actually designed the other boards to fit their length to prevent cutting (saving time) (note that original plan uses 1x4 planks - I used 1x6s so I could use the same number of planks but cover a larger area) 4@2x4 cut to 11.5 (arm rests) 4@2x4 cut to 18.5 (back supports) followed instructions for assembly otherwise. At my husbands suggestion we put the handles on the sides and can easily open from either side - prevents having to lean over to the middle to open (back saver) I finished the project in 4 hours including clean up and a couple of small breaks. This is my first Ana White project. It was a lot of fun to build and I hope my son will enjoy it for years to come!

Sat, 09/01/2012 - 20:59
Wow, this is just what I need! I've been wanting to make a sandbox for under the playhouse but the other plan was too small. This would be great for the little guys. Thanks!
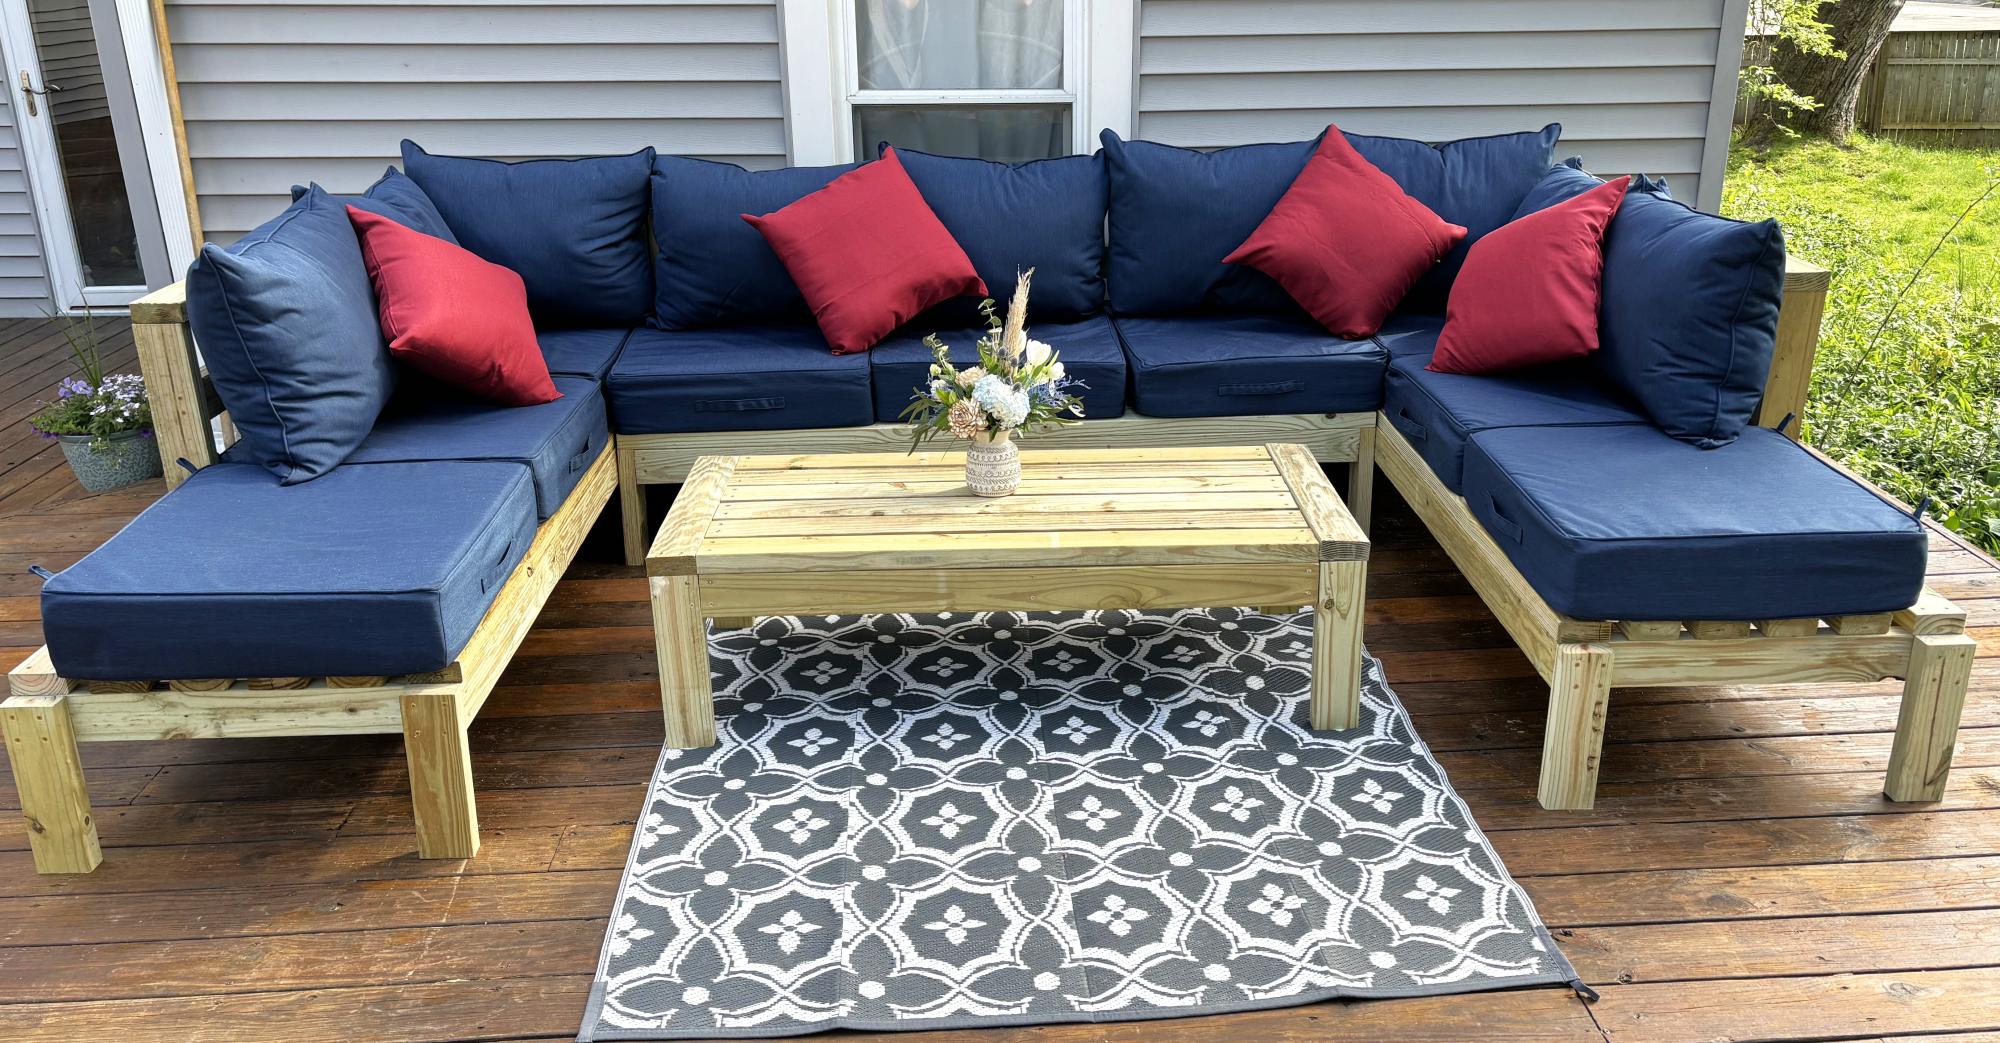
I used the armless chair plan, and altered the one armed plans to make two chaises. Then I increased the size slightly to accommodate the 25x25 pillows I bought. This took about 12 hours with one person working. I am super proud of it! Finished today, and will eventually stain after the wood has dried out a little. Thank you, Ana, for making straightforward plans that gave me the confidence to do my first woodworking project!
Andrea in Michigan

Modified the plans of the outdoor sofa and sectional piece to create this set, then added cushions from IKEA.

Wed, 02/21/2024 - 10:27
I'm building the sectional this weekend, and saw your addition to the end piece and am going to steal your idea. Very nice.
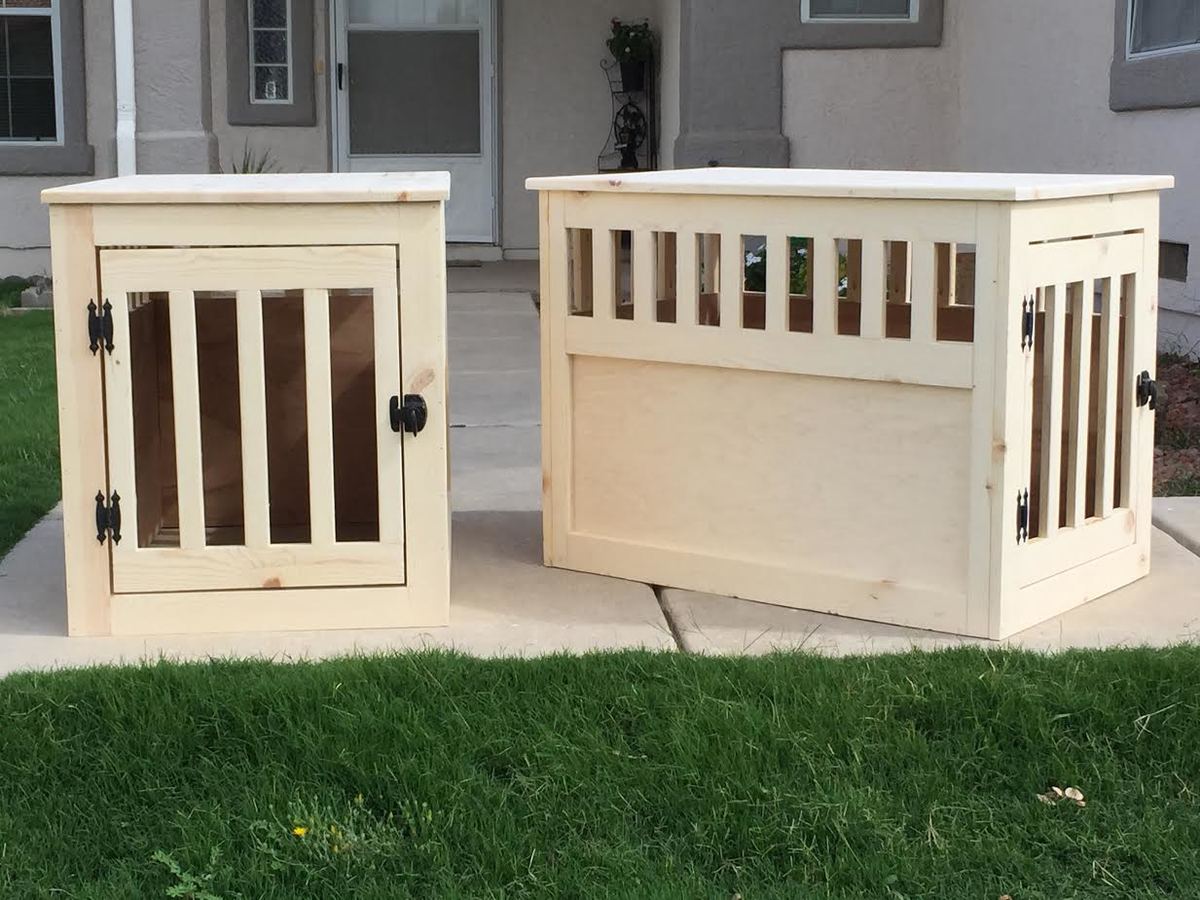
Someone on Facebook reached out to me after seeing a gallery of some items I've built from this site. She asked if I could build a couple of the large pet kennel end tables from the plans posted here. This is the final result. This was a very fun project.