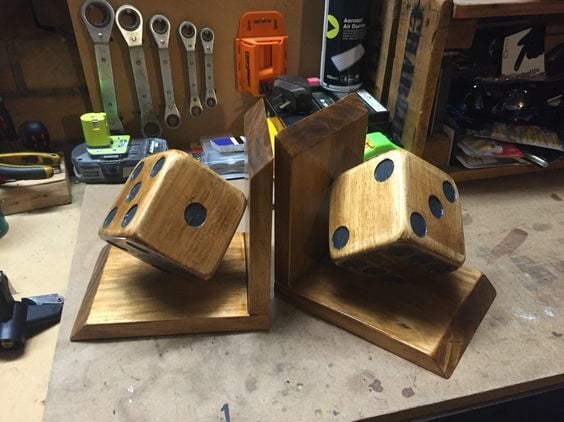
Dice Bookends
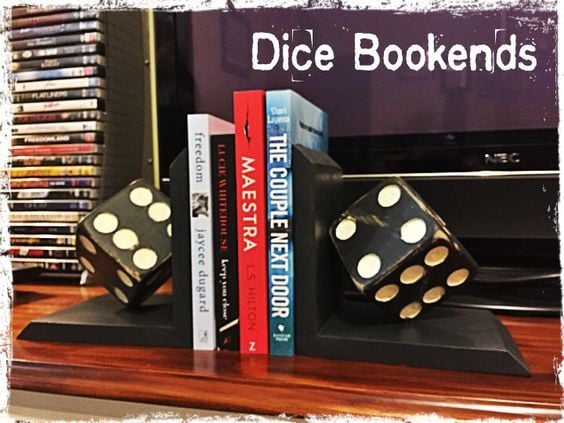
I made these bookends with 4x4 offcuts and pine scraps.
I couldn't decide what colour I wanted so I made 3 sets. White, charcoal and stained timber.
I think I like the charcoal best.

Estimated Cost
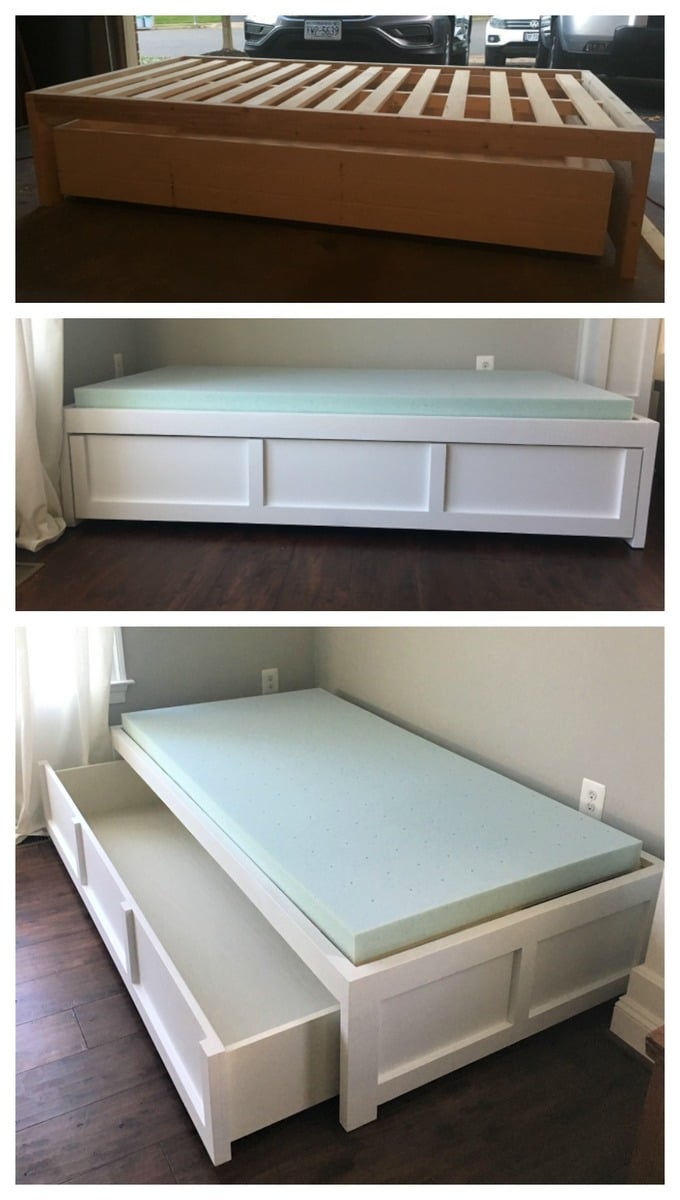
$0 because I had made a bed and bookcase and had plenty of offcuts.
The hardest part was getting dice dots layout correct.
The hardest part was getting dice dots layout correct.
Estimated Time Investment
Afternoon Project (3-6 Hours)
Finish Used
Charcoal Chalk paint, distressed then clear coated.
White Chalk paint, distressed then clear coated.
Charcoal paint, Stained then clear coated
White Chalk paint, distressed then clear coated.
Charcoal paint, Stained then clear coated
Recommended Skill Level
Beginner