Corner Cabinet
![](/sites/default/files/16603114_10210042069620772_1795812345938916794_n.jpg)
built to fit messy corner. wife loves it there!
We LOVED this project for our patio! The cost in lumber was minimal. The design is simple and lovely. We can fit 8 comfortably by adding 2 chairs at the ends of the table in addition to the benches. Thank you for these plans, Ana!
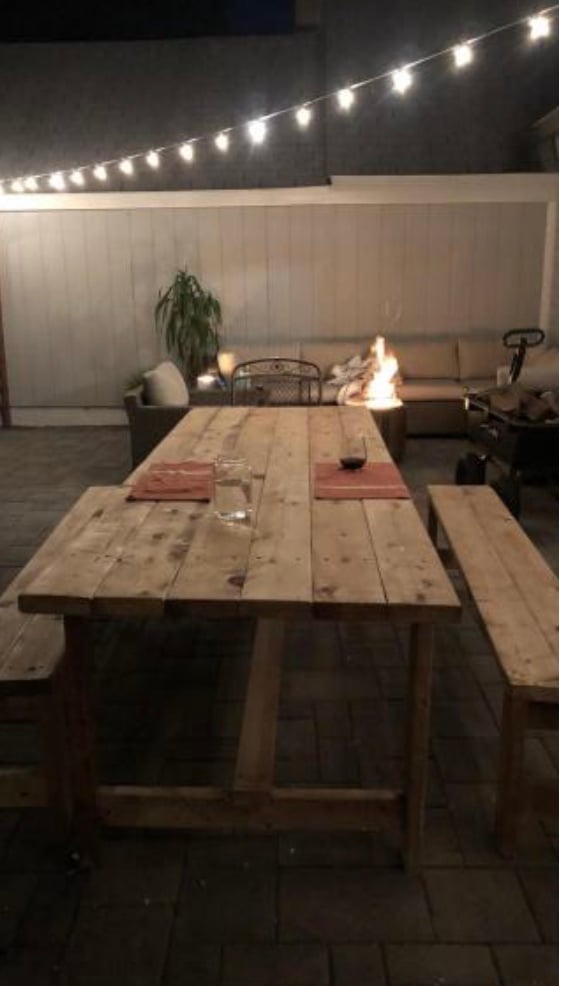
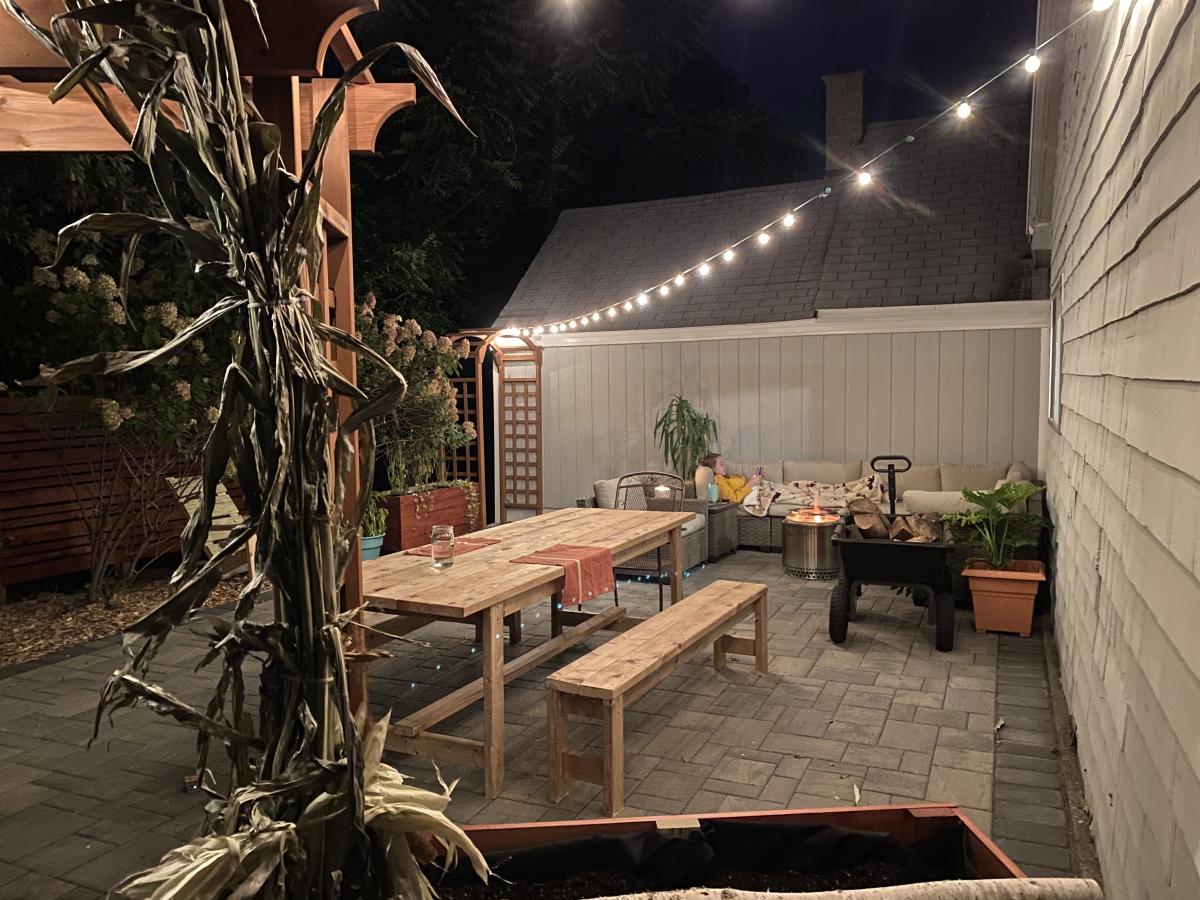
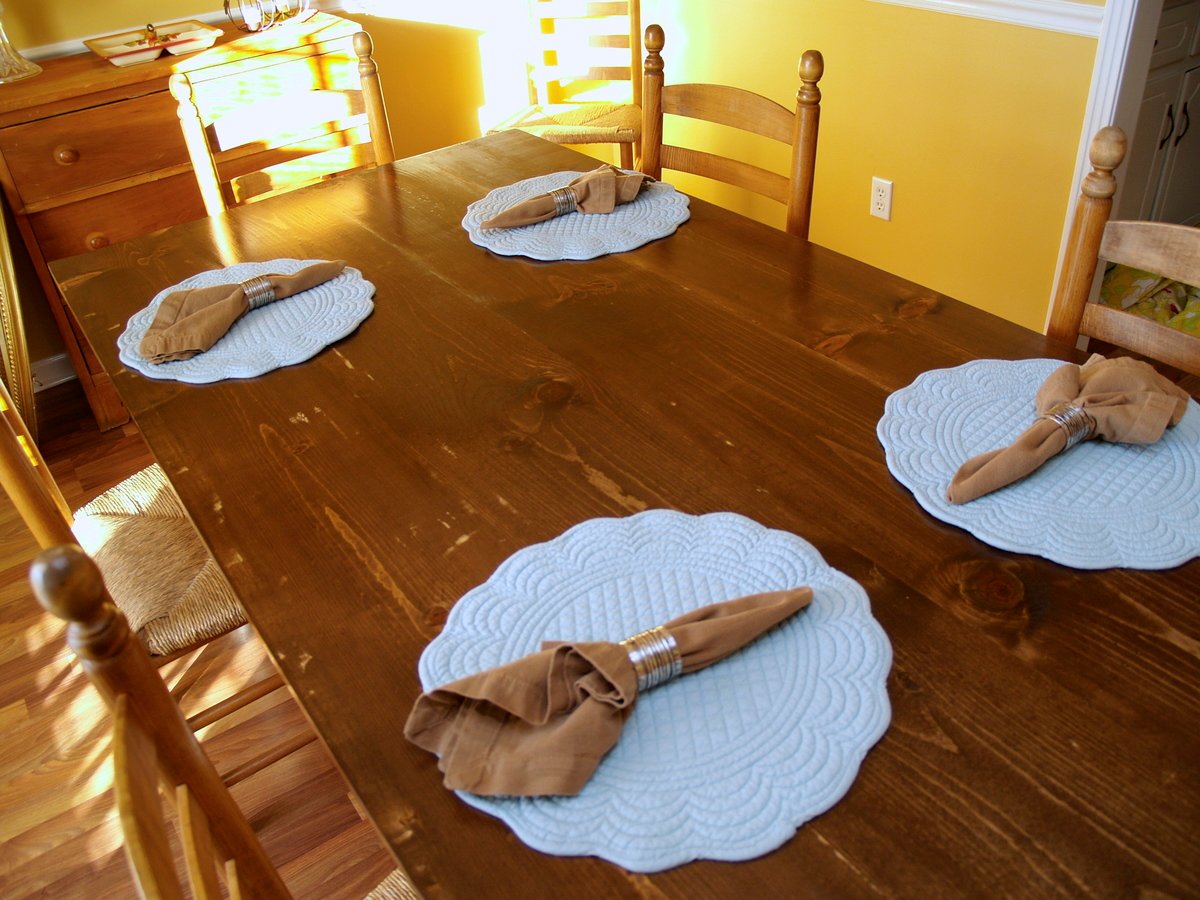
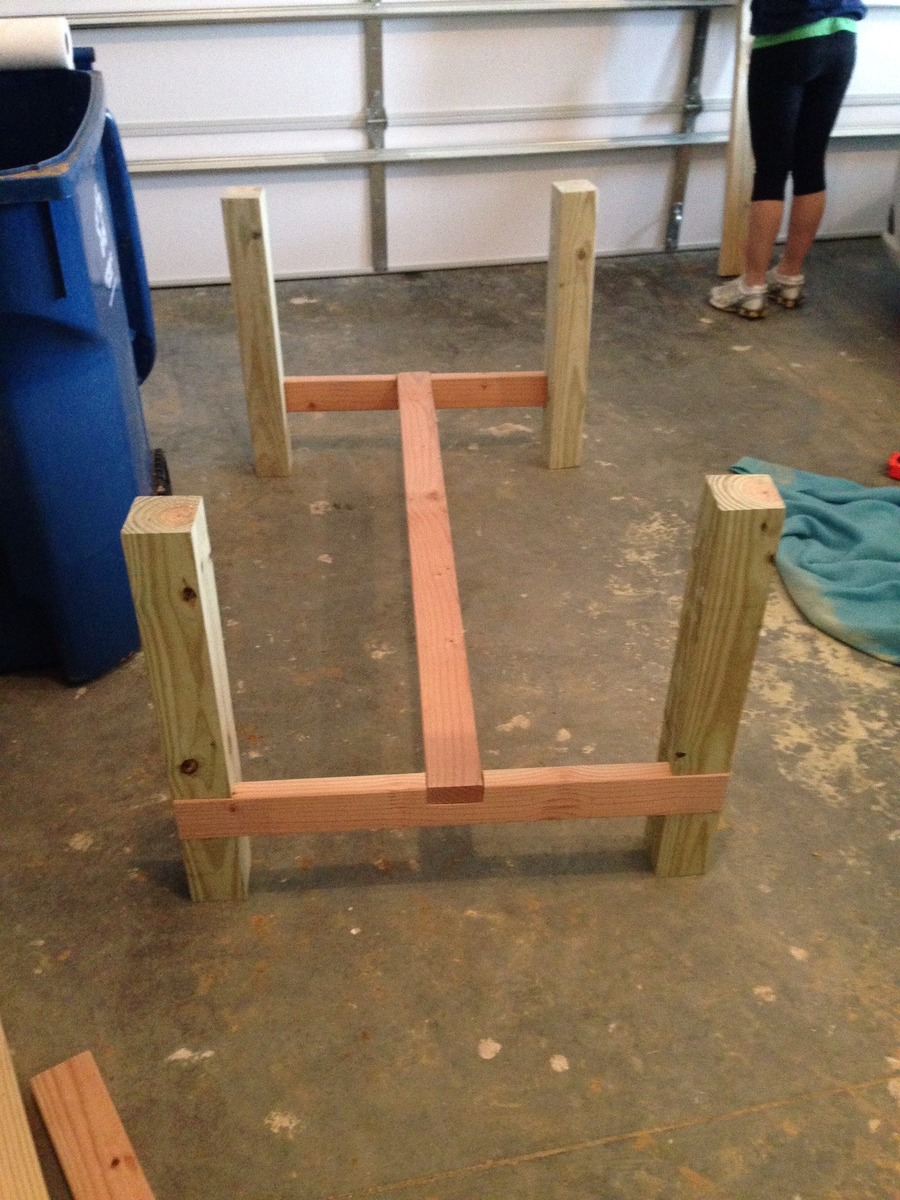
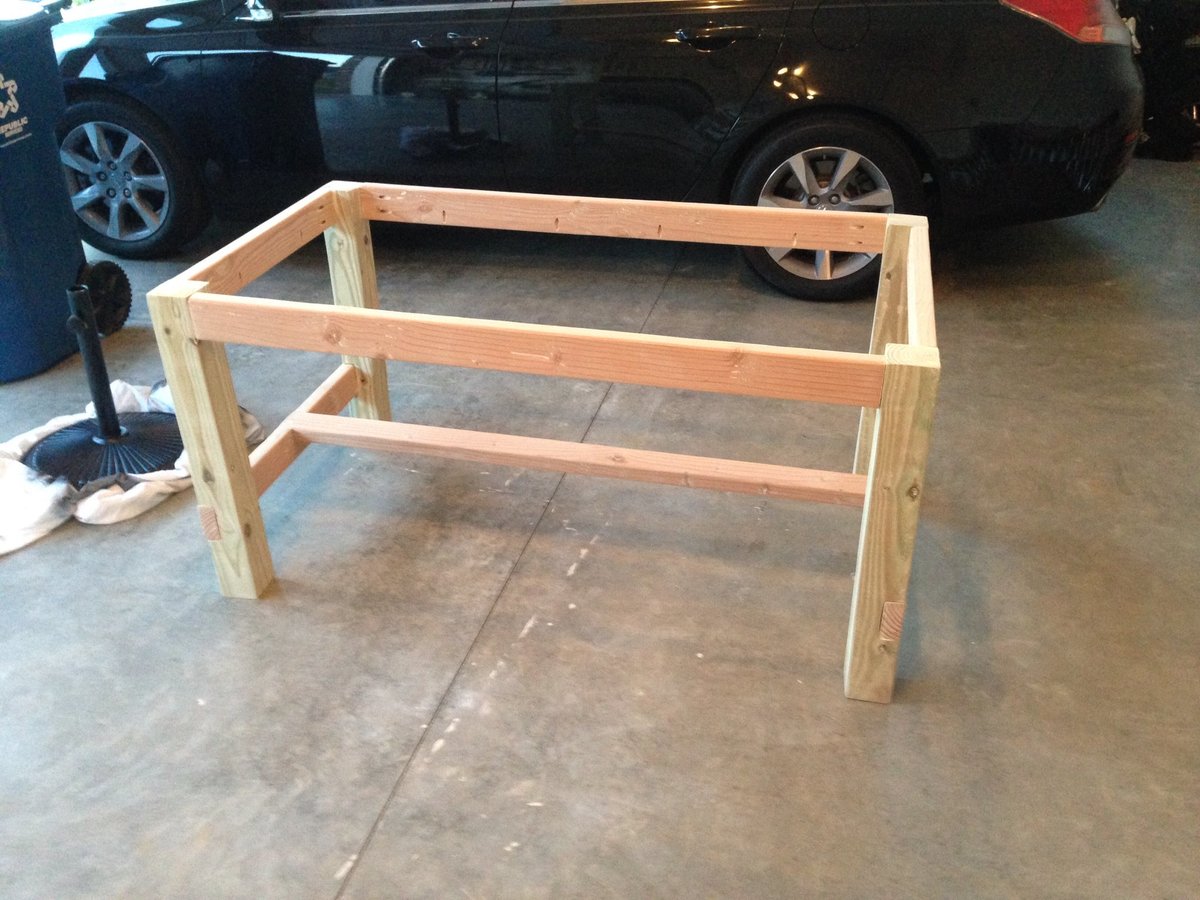
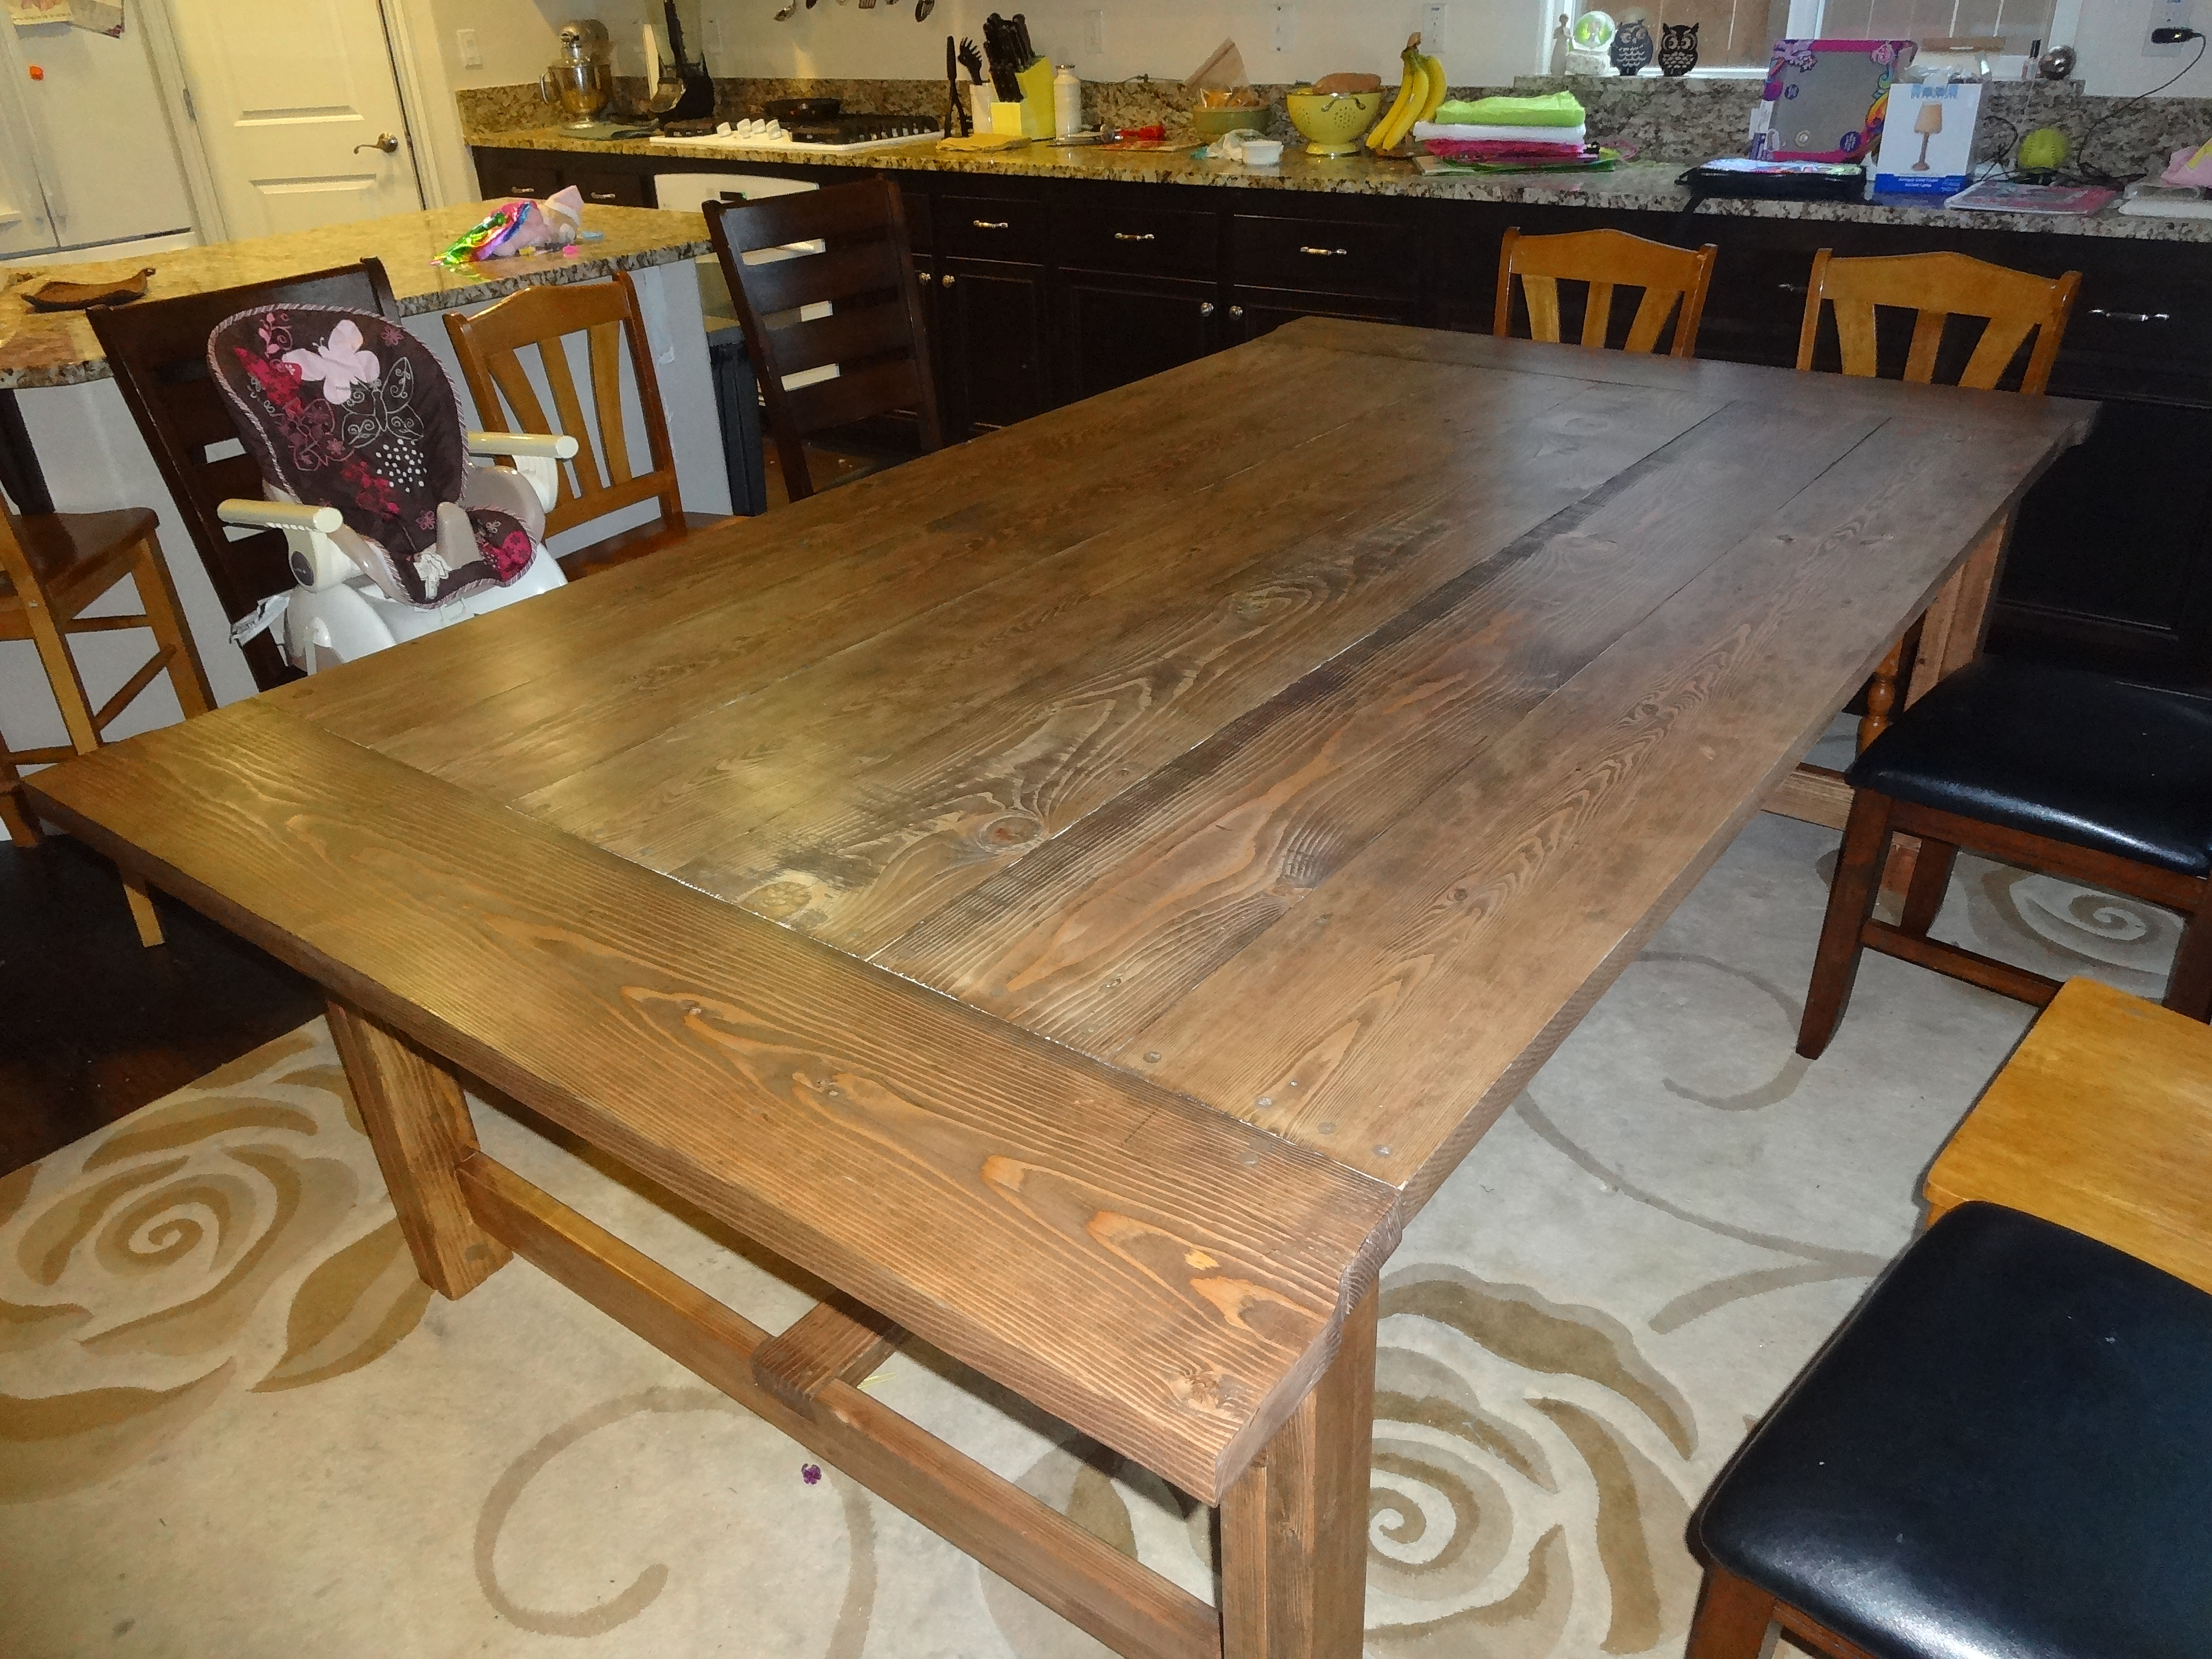
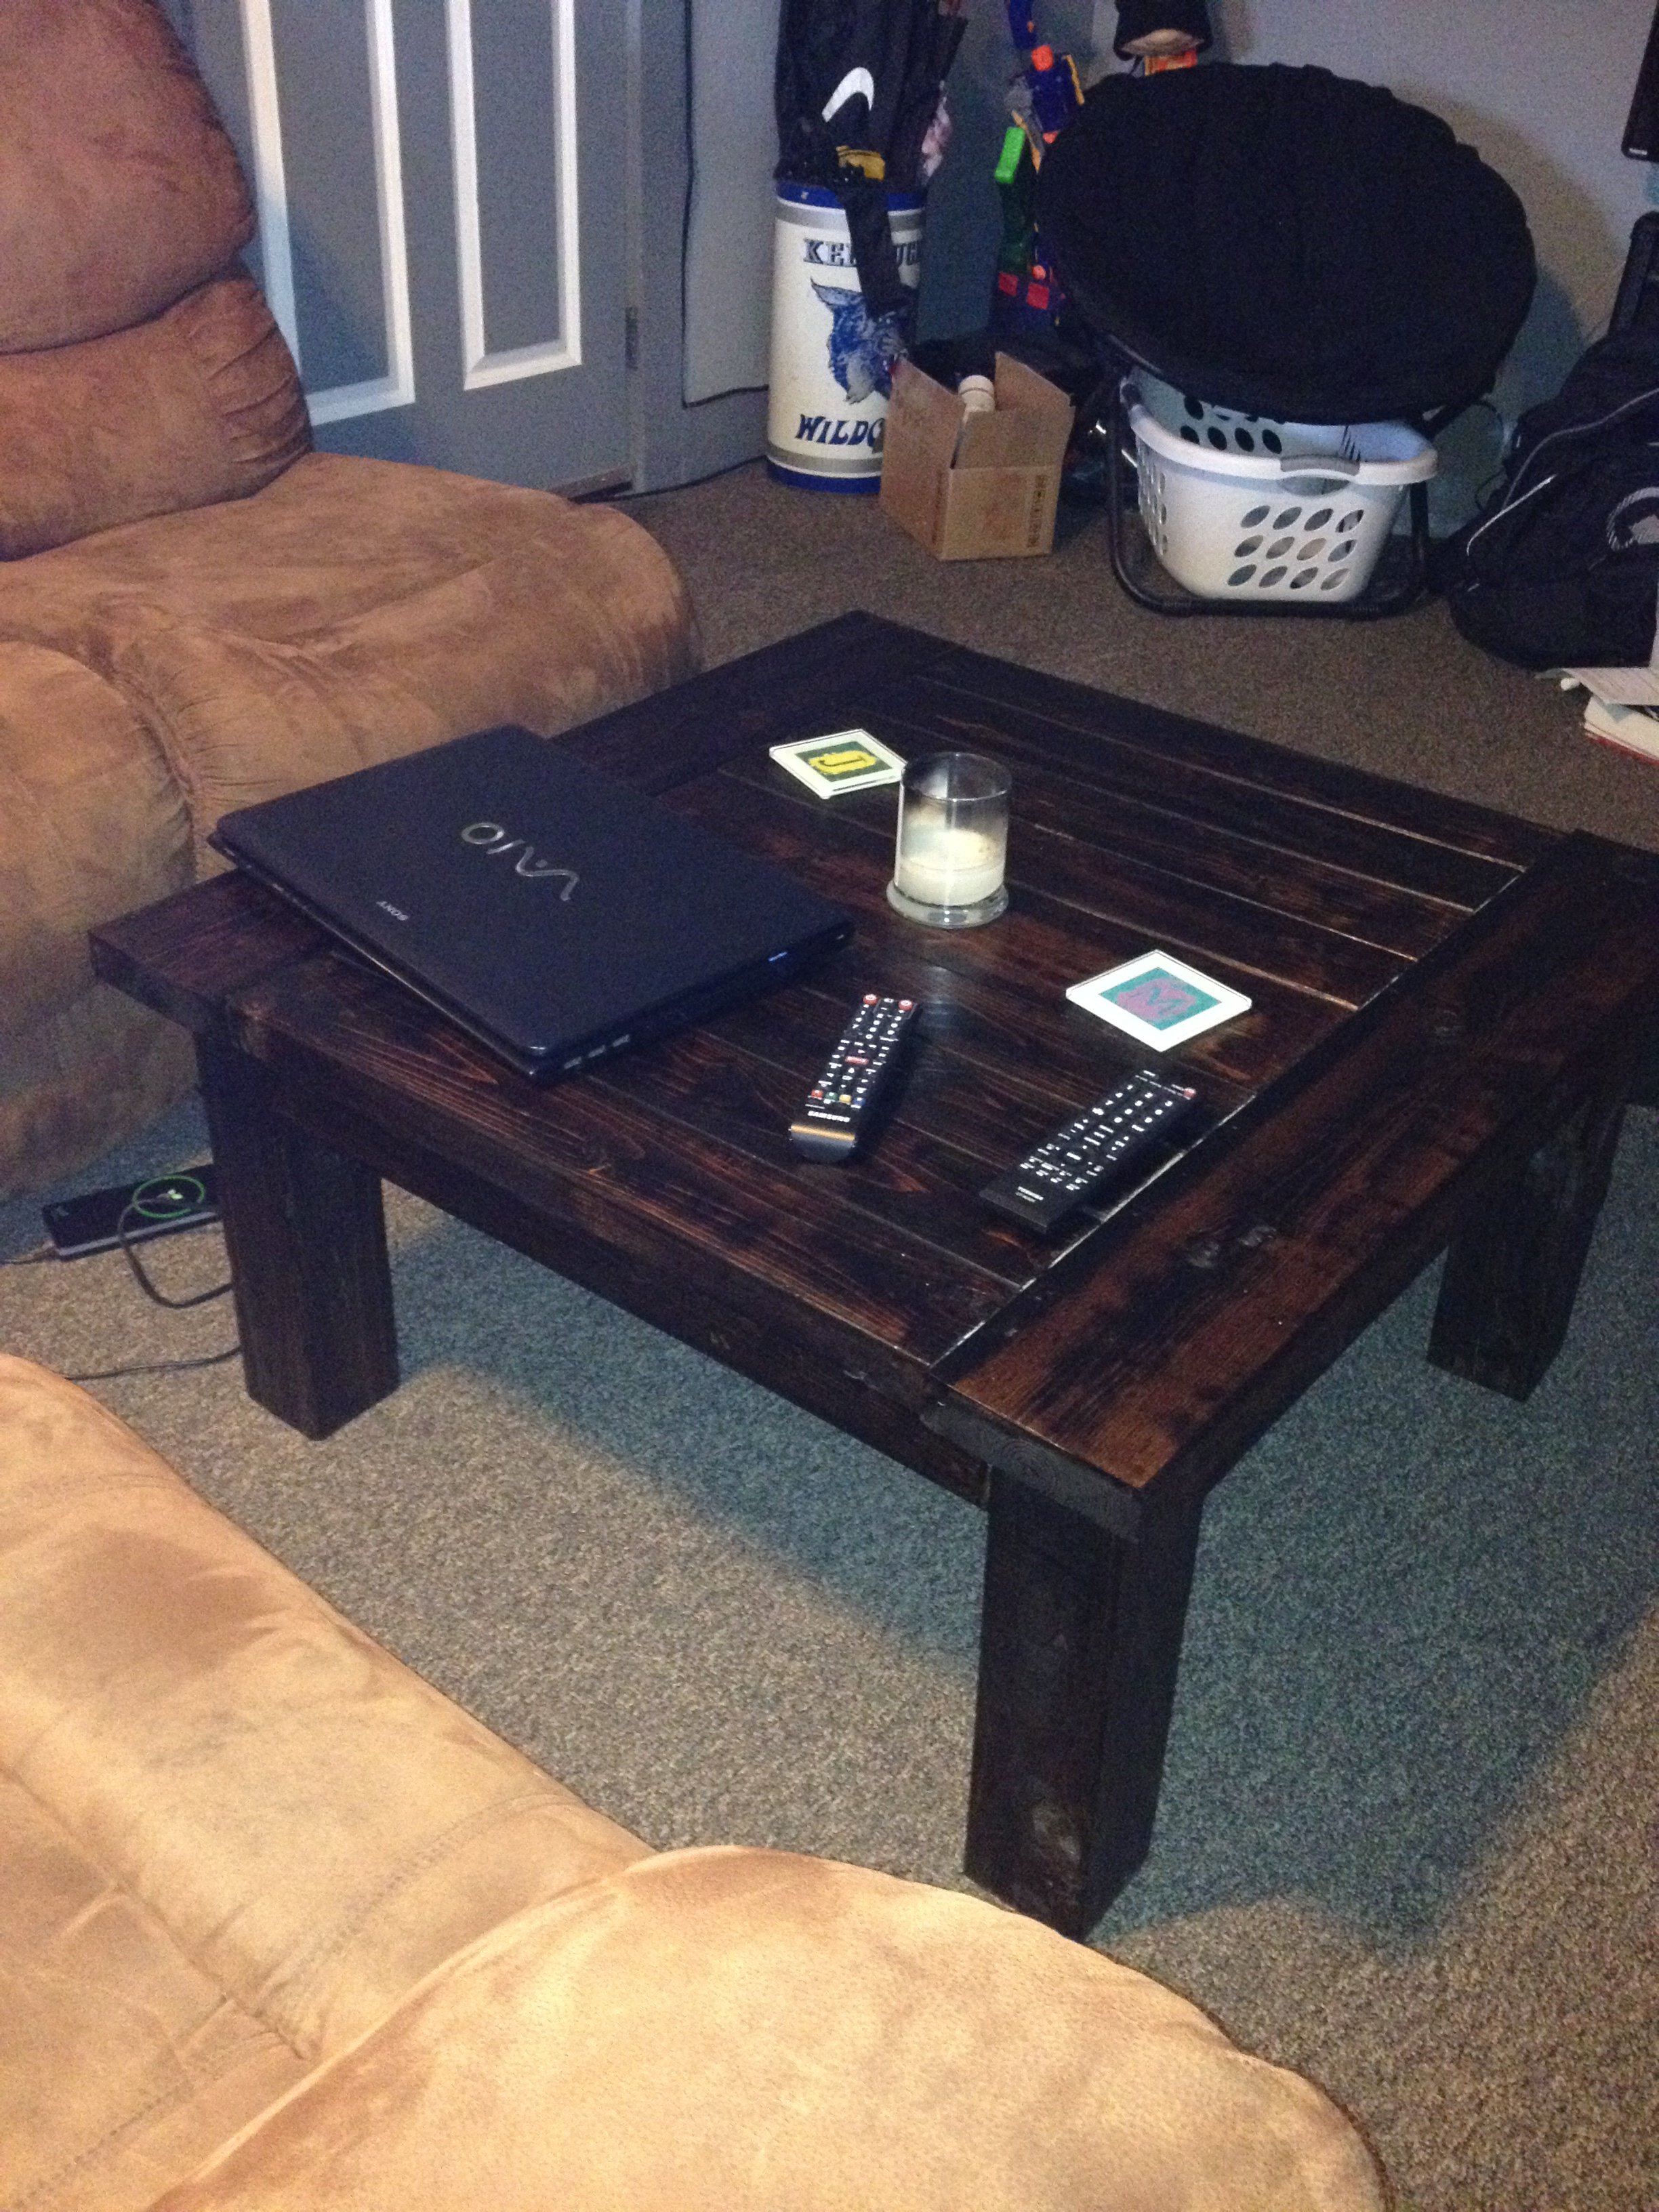
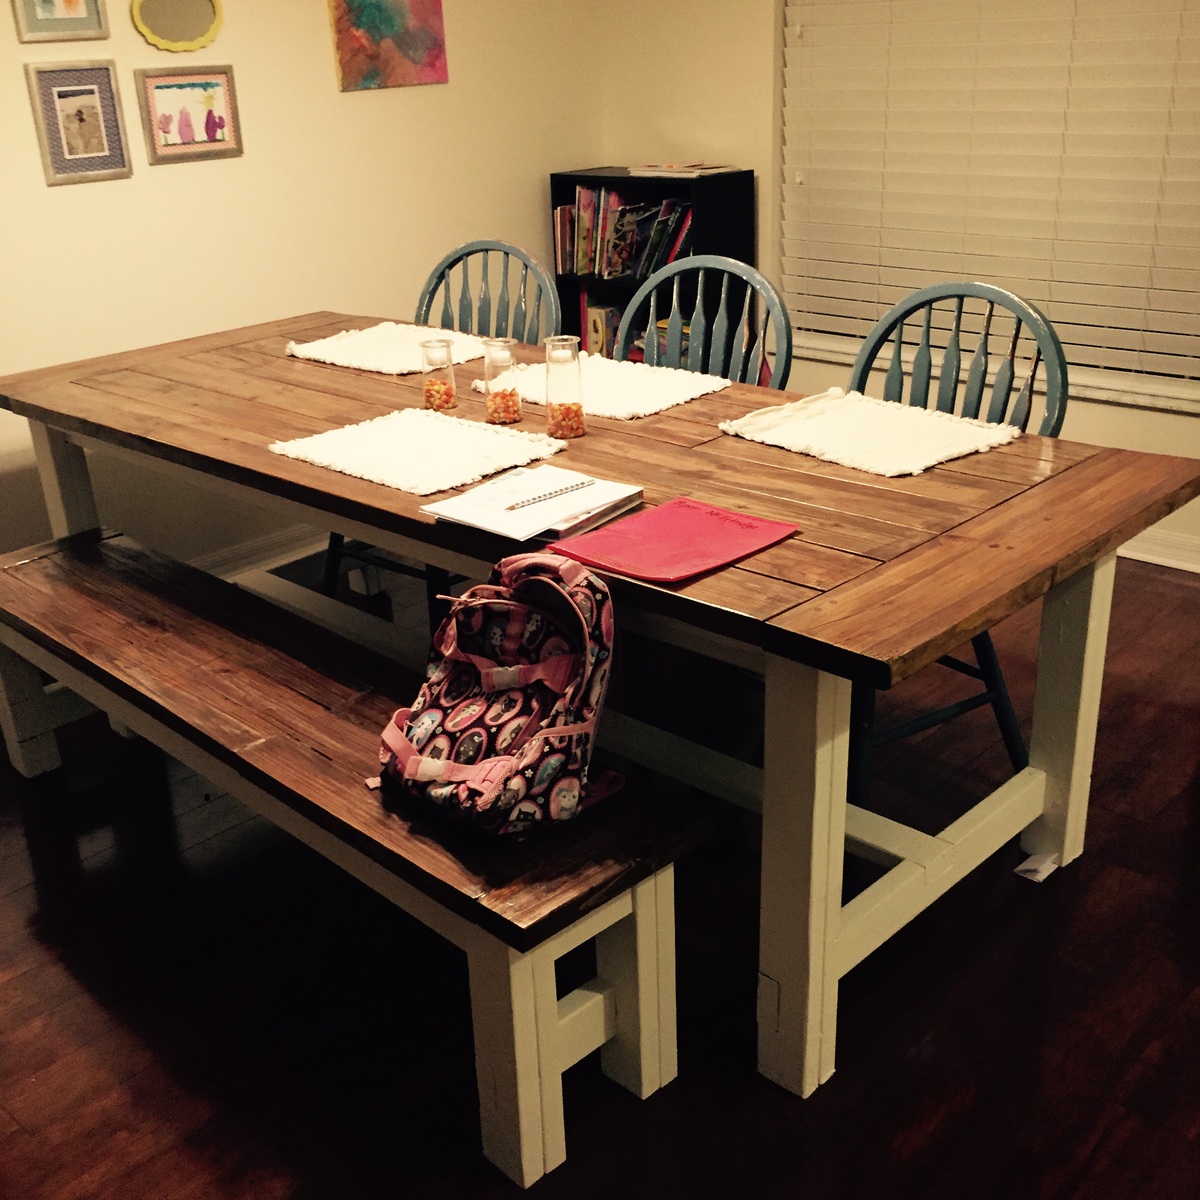
My husband and I decided to tackle this as our second woodworking project together. We have been wanting a larger dining table that would comfortably seat 6 people and easily squeeze in 8 if needed. We decided to build Ana's turned leg farmhouse table, adjusting the dimensions and choosing slightly different legs. These variations better suited our dining room space.
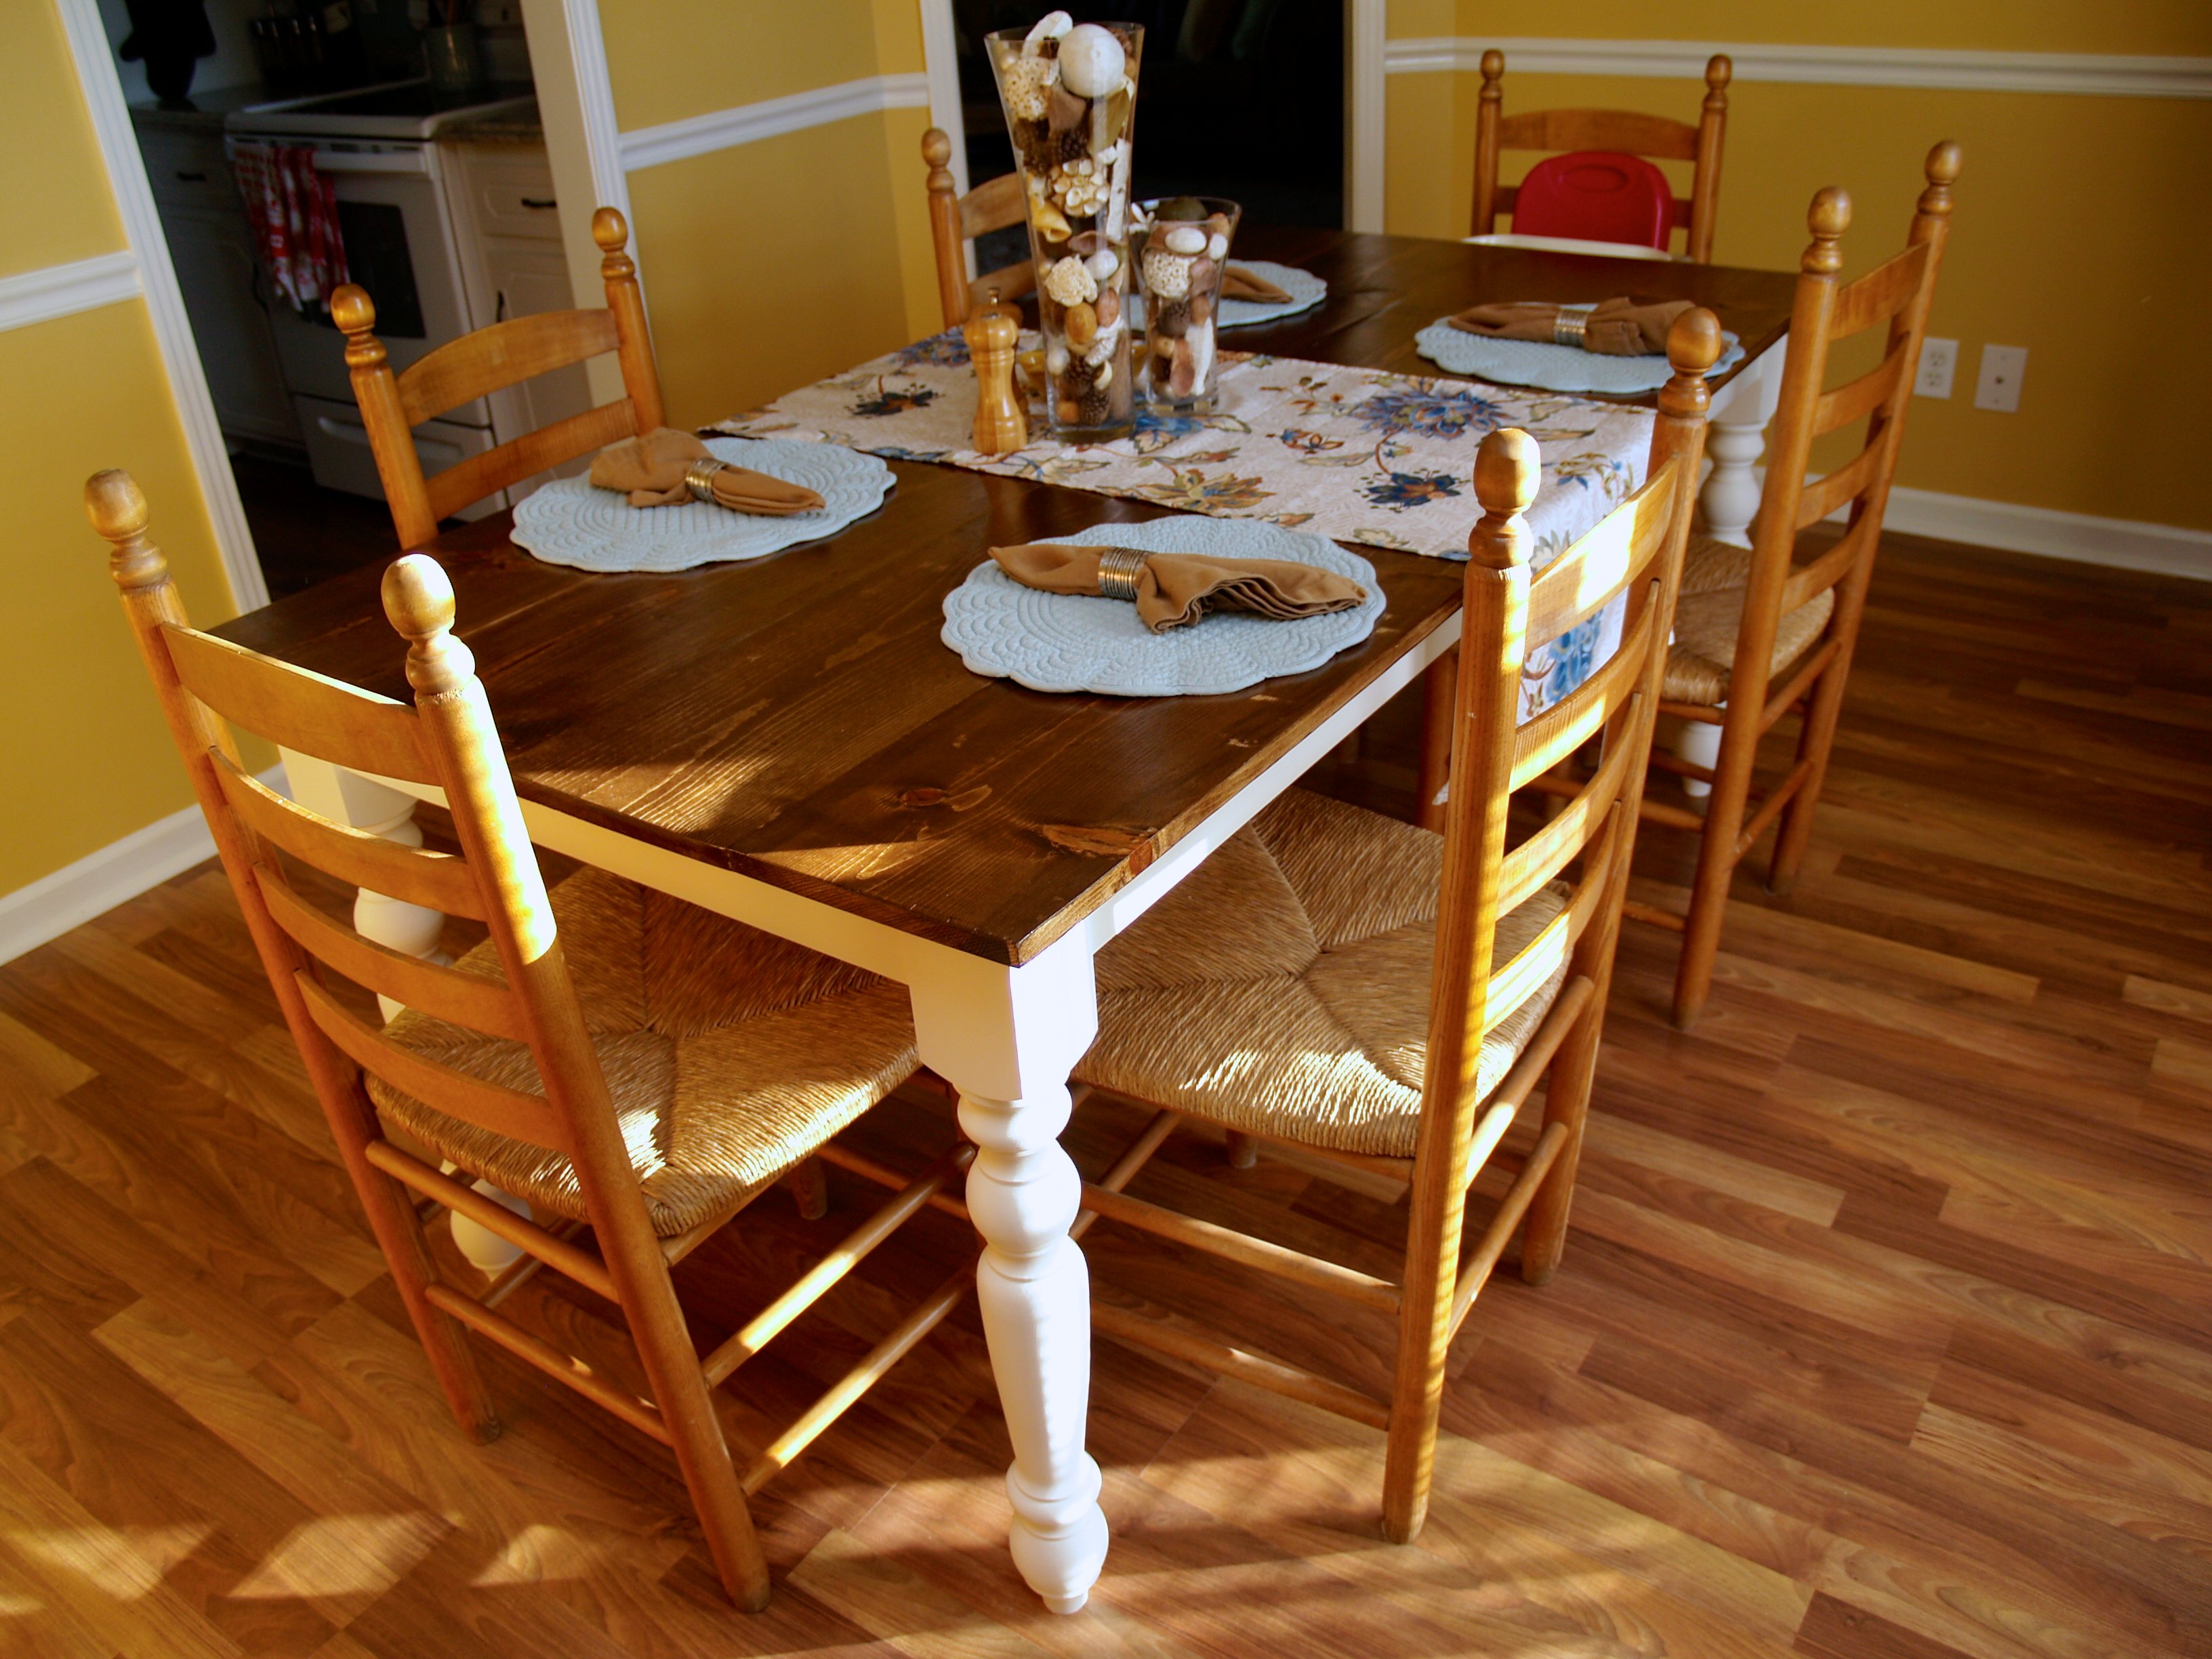
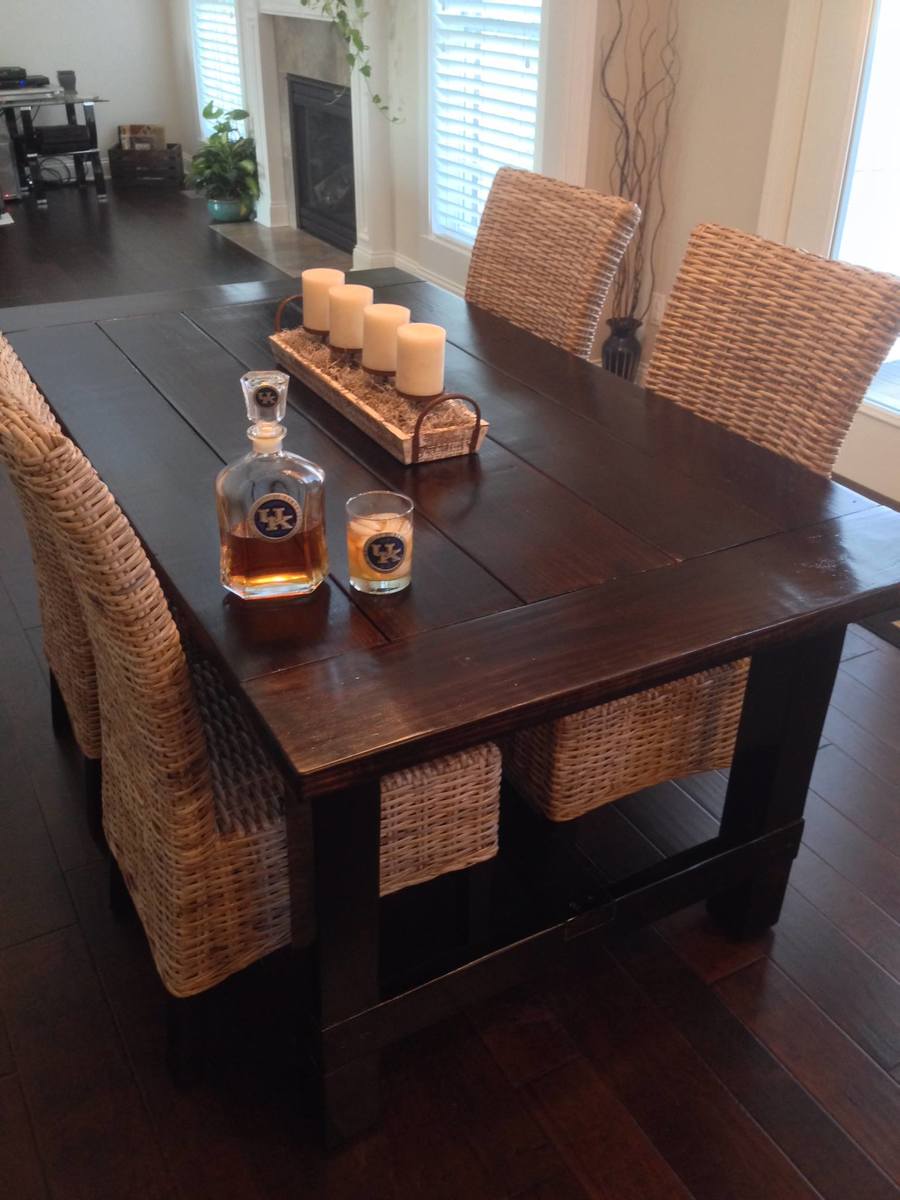
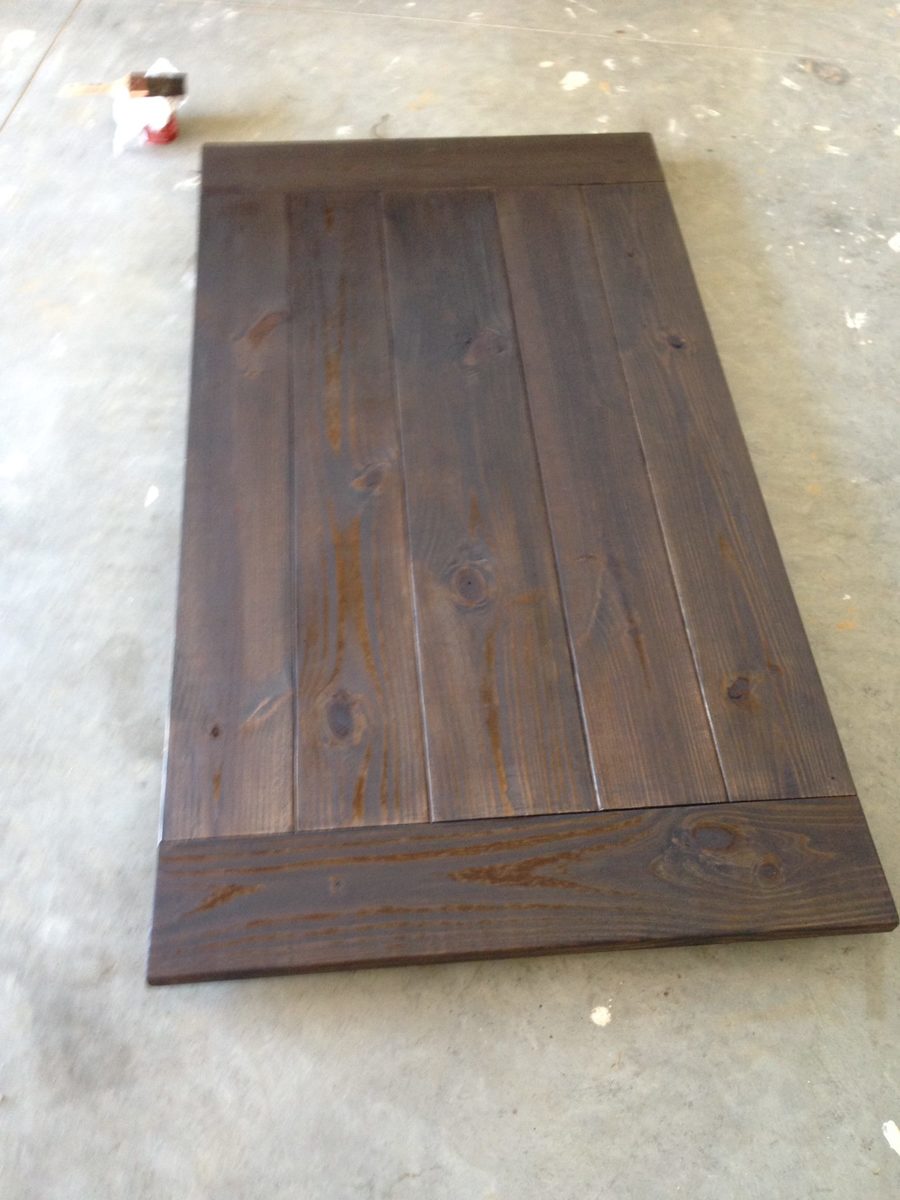
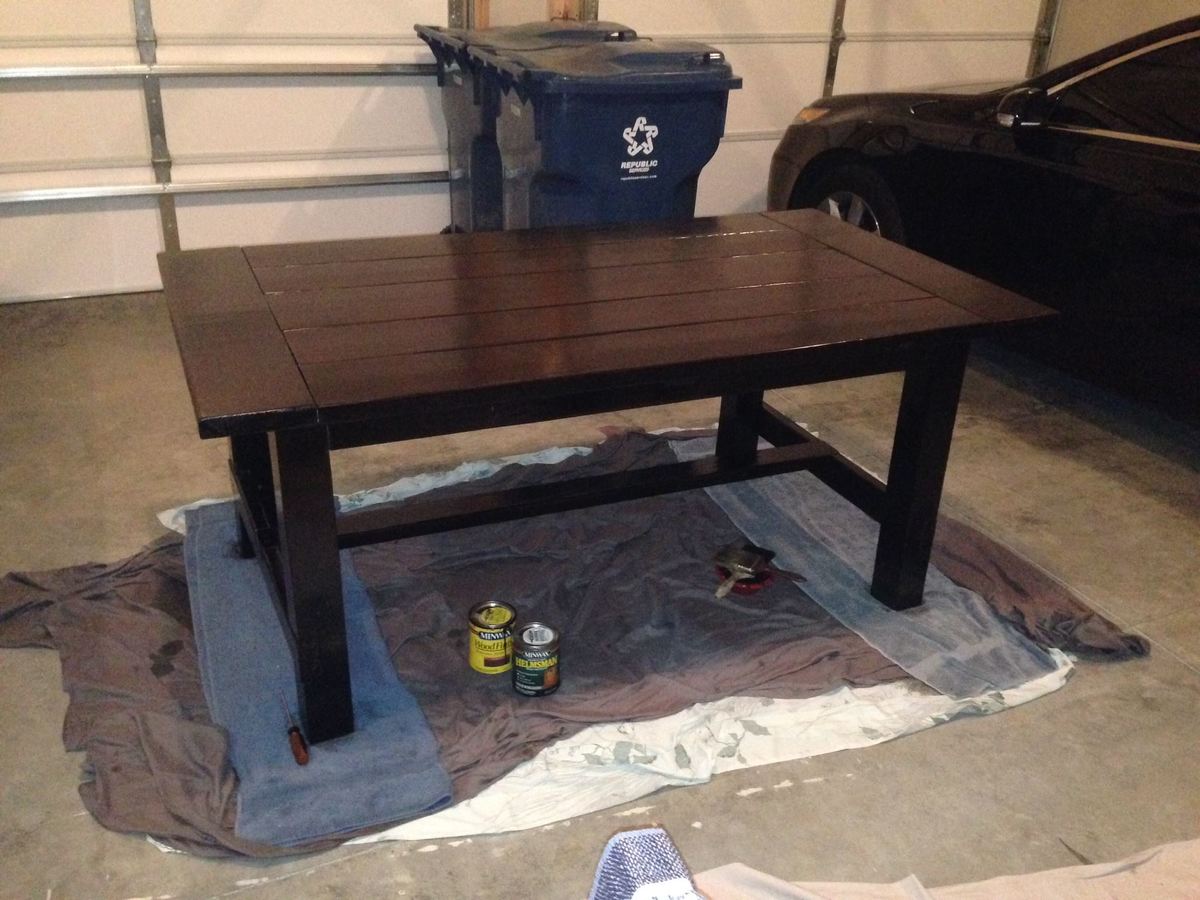
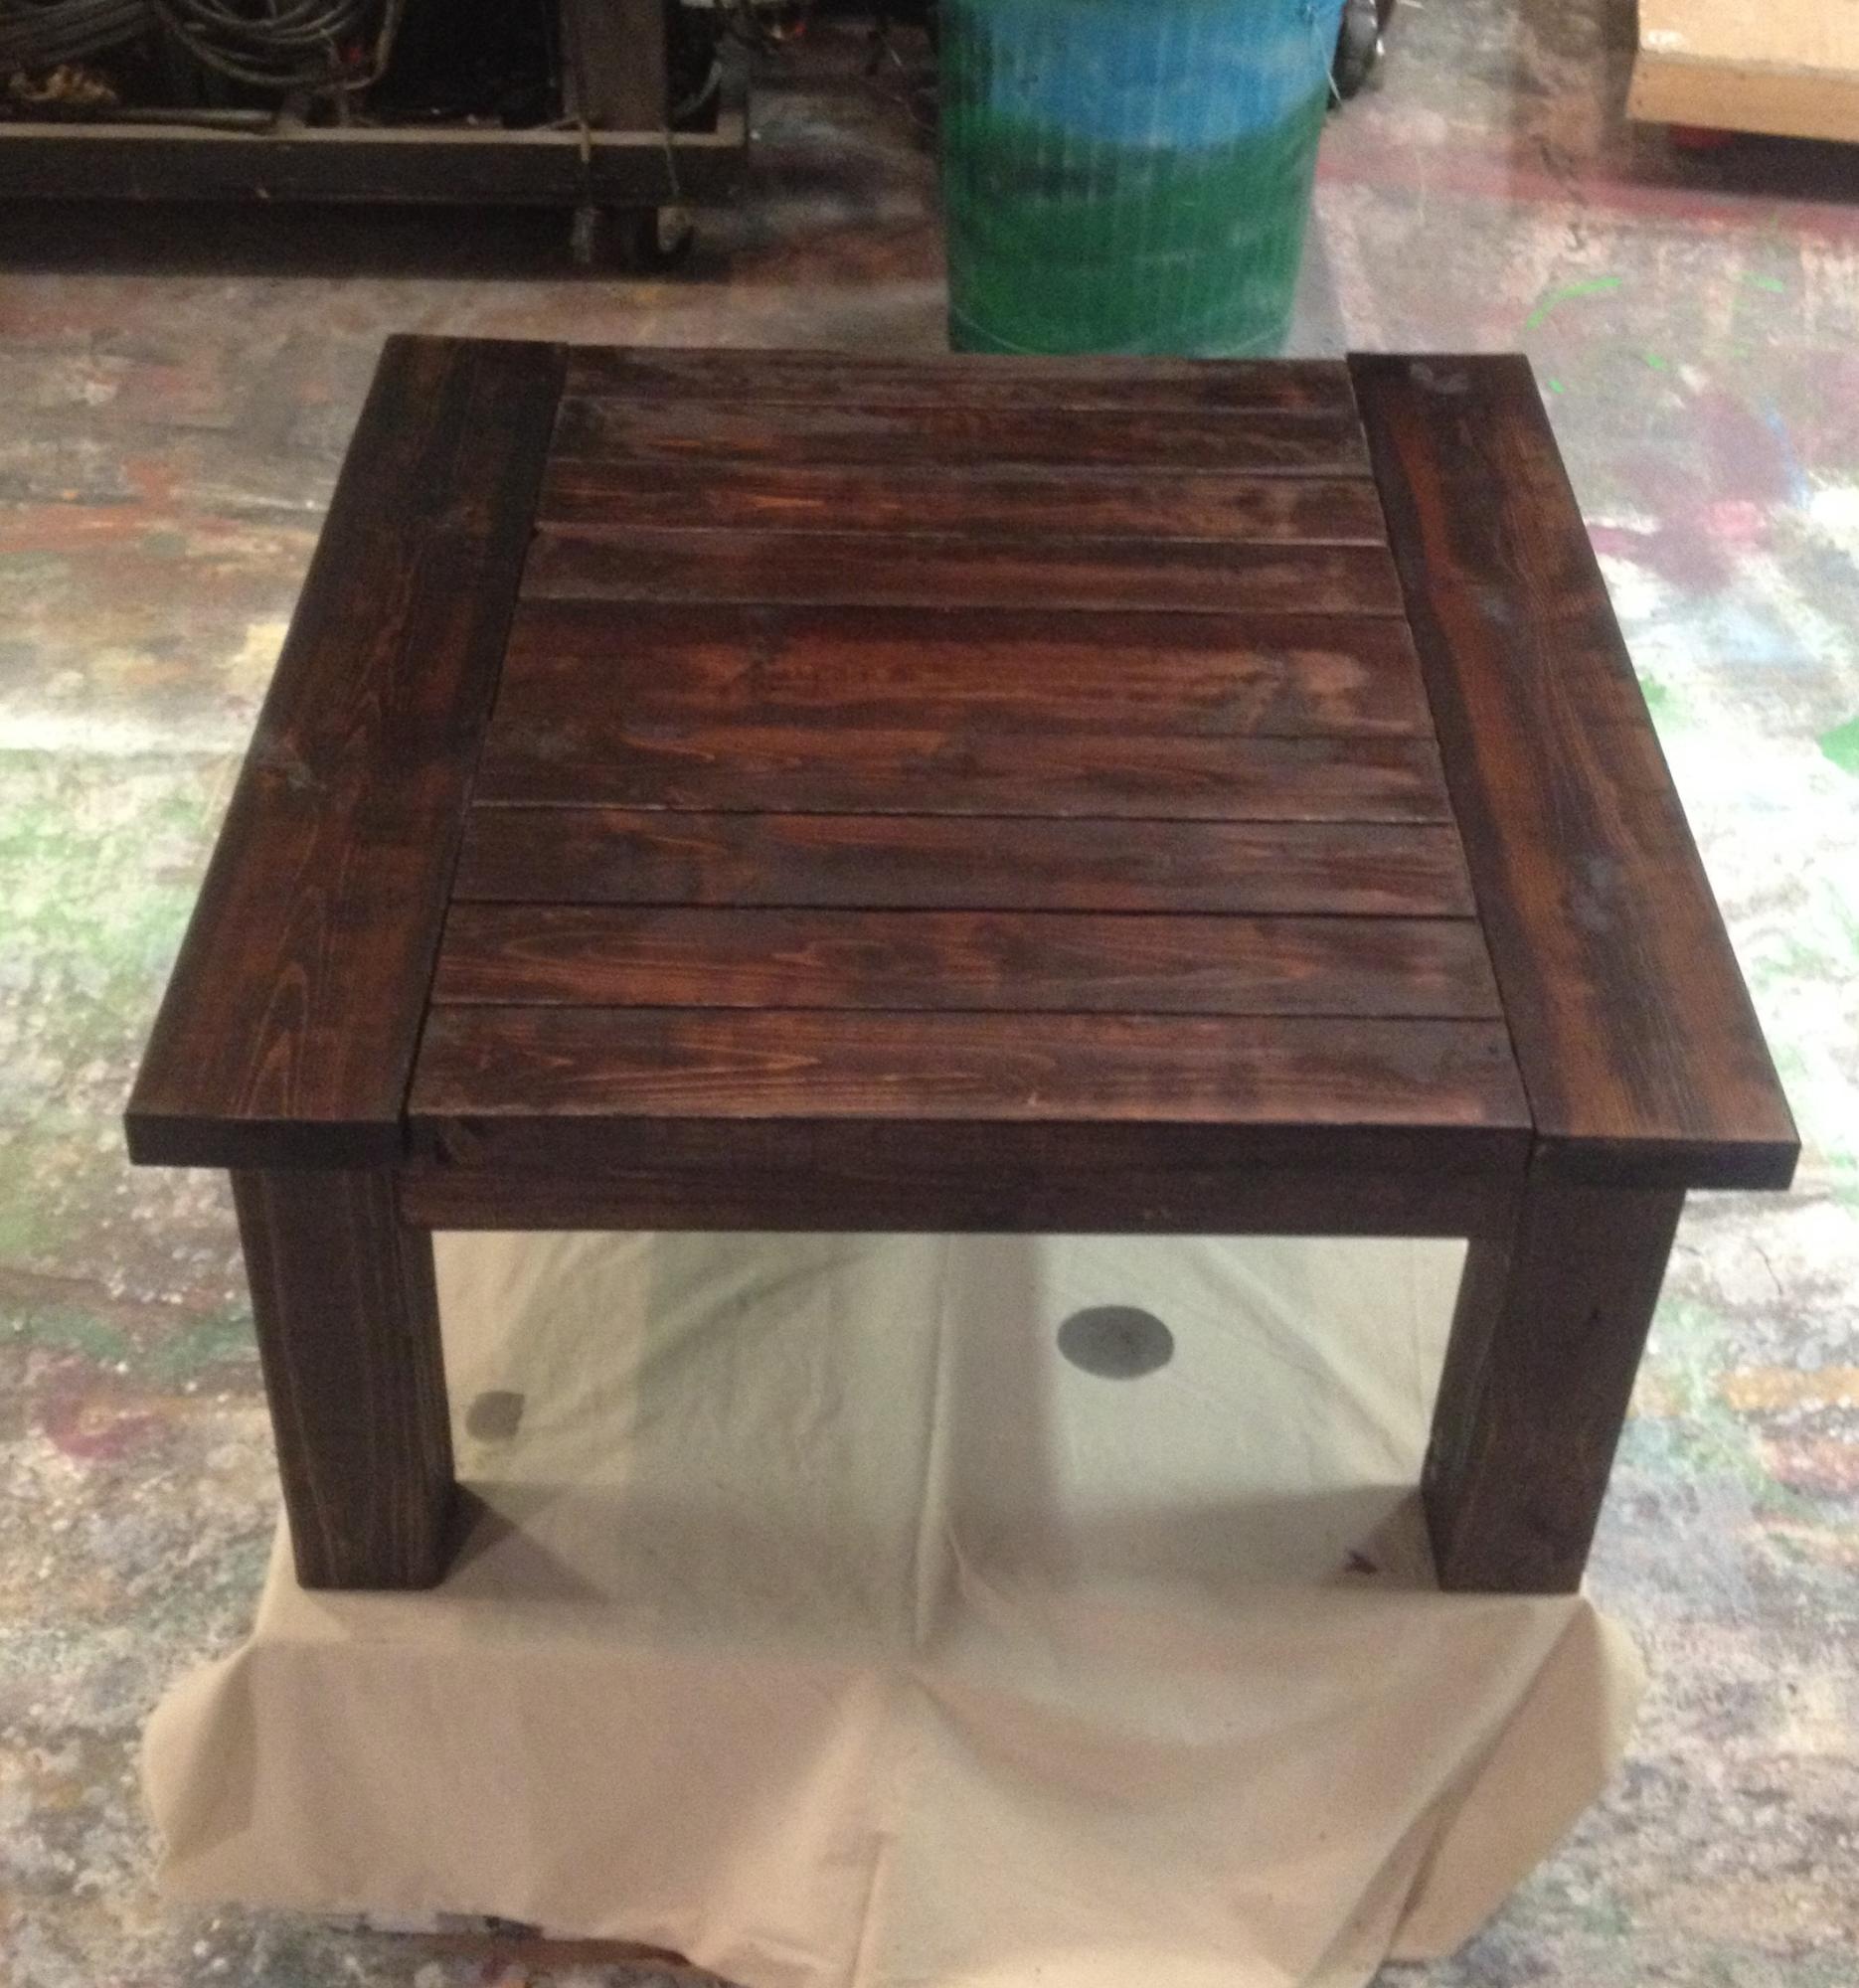
We purchased the "Modified English Country Dining Table Legs" in soft maple and 3 1/2" diameter from Osbourne Wood Products, which totaled $136. The rest of the lumber was made up of pine boards from Lowe's, which totaled around $40-$50. When assembling the 1 x 10 boards to make the top, we used a biscuit joiner to help our slightly bowed boards stay flat. Once the table was fully assembled, we painted the base in Lowe's Antique White (satin finish) and stained the top using Minwax's Special Walnut, then applied at least two coats of Minwax's polyurethane in satin finish.
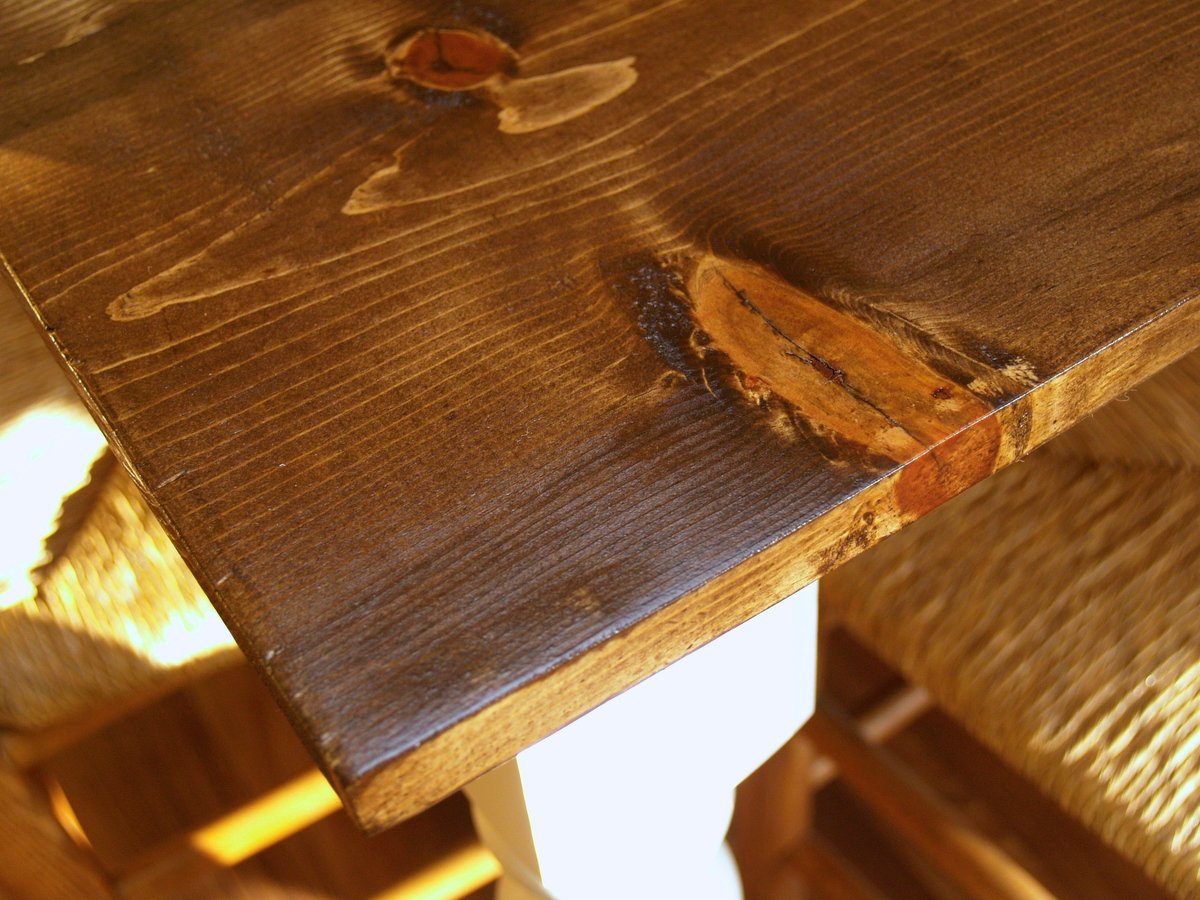
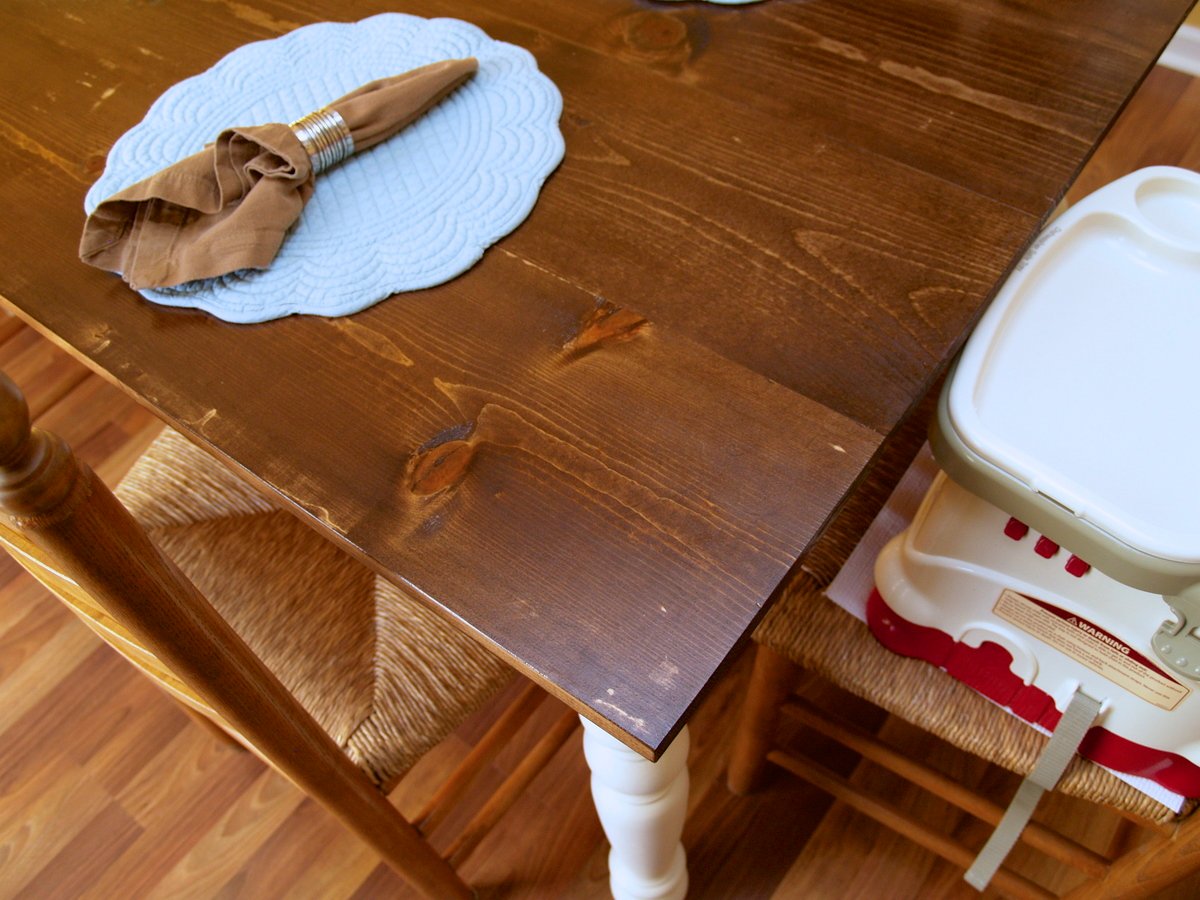
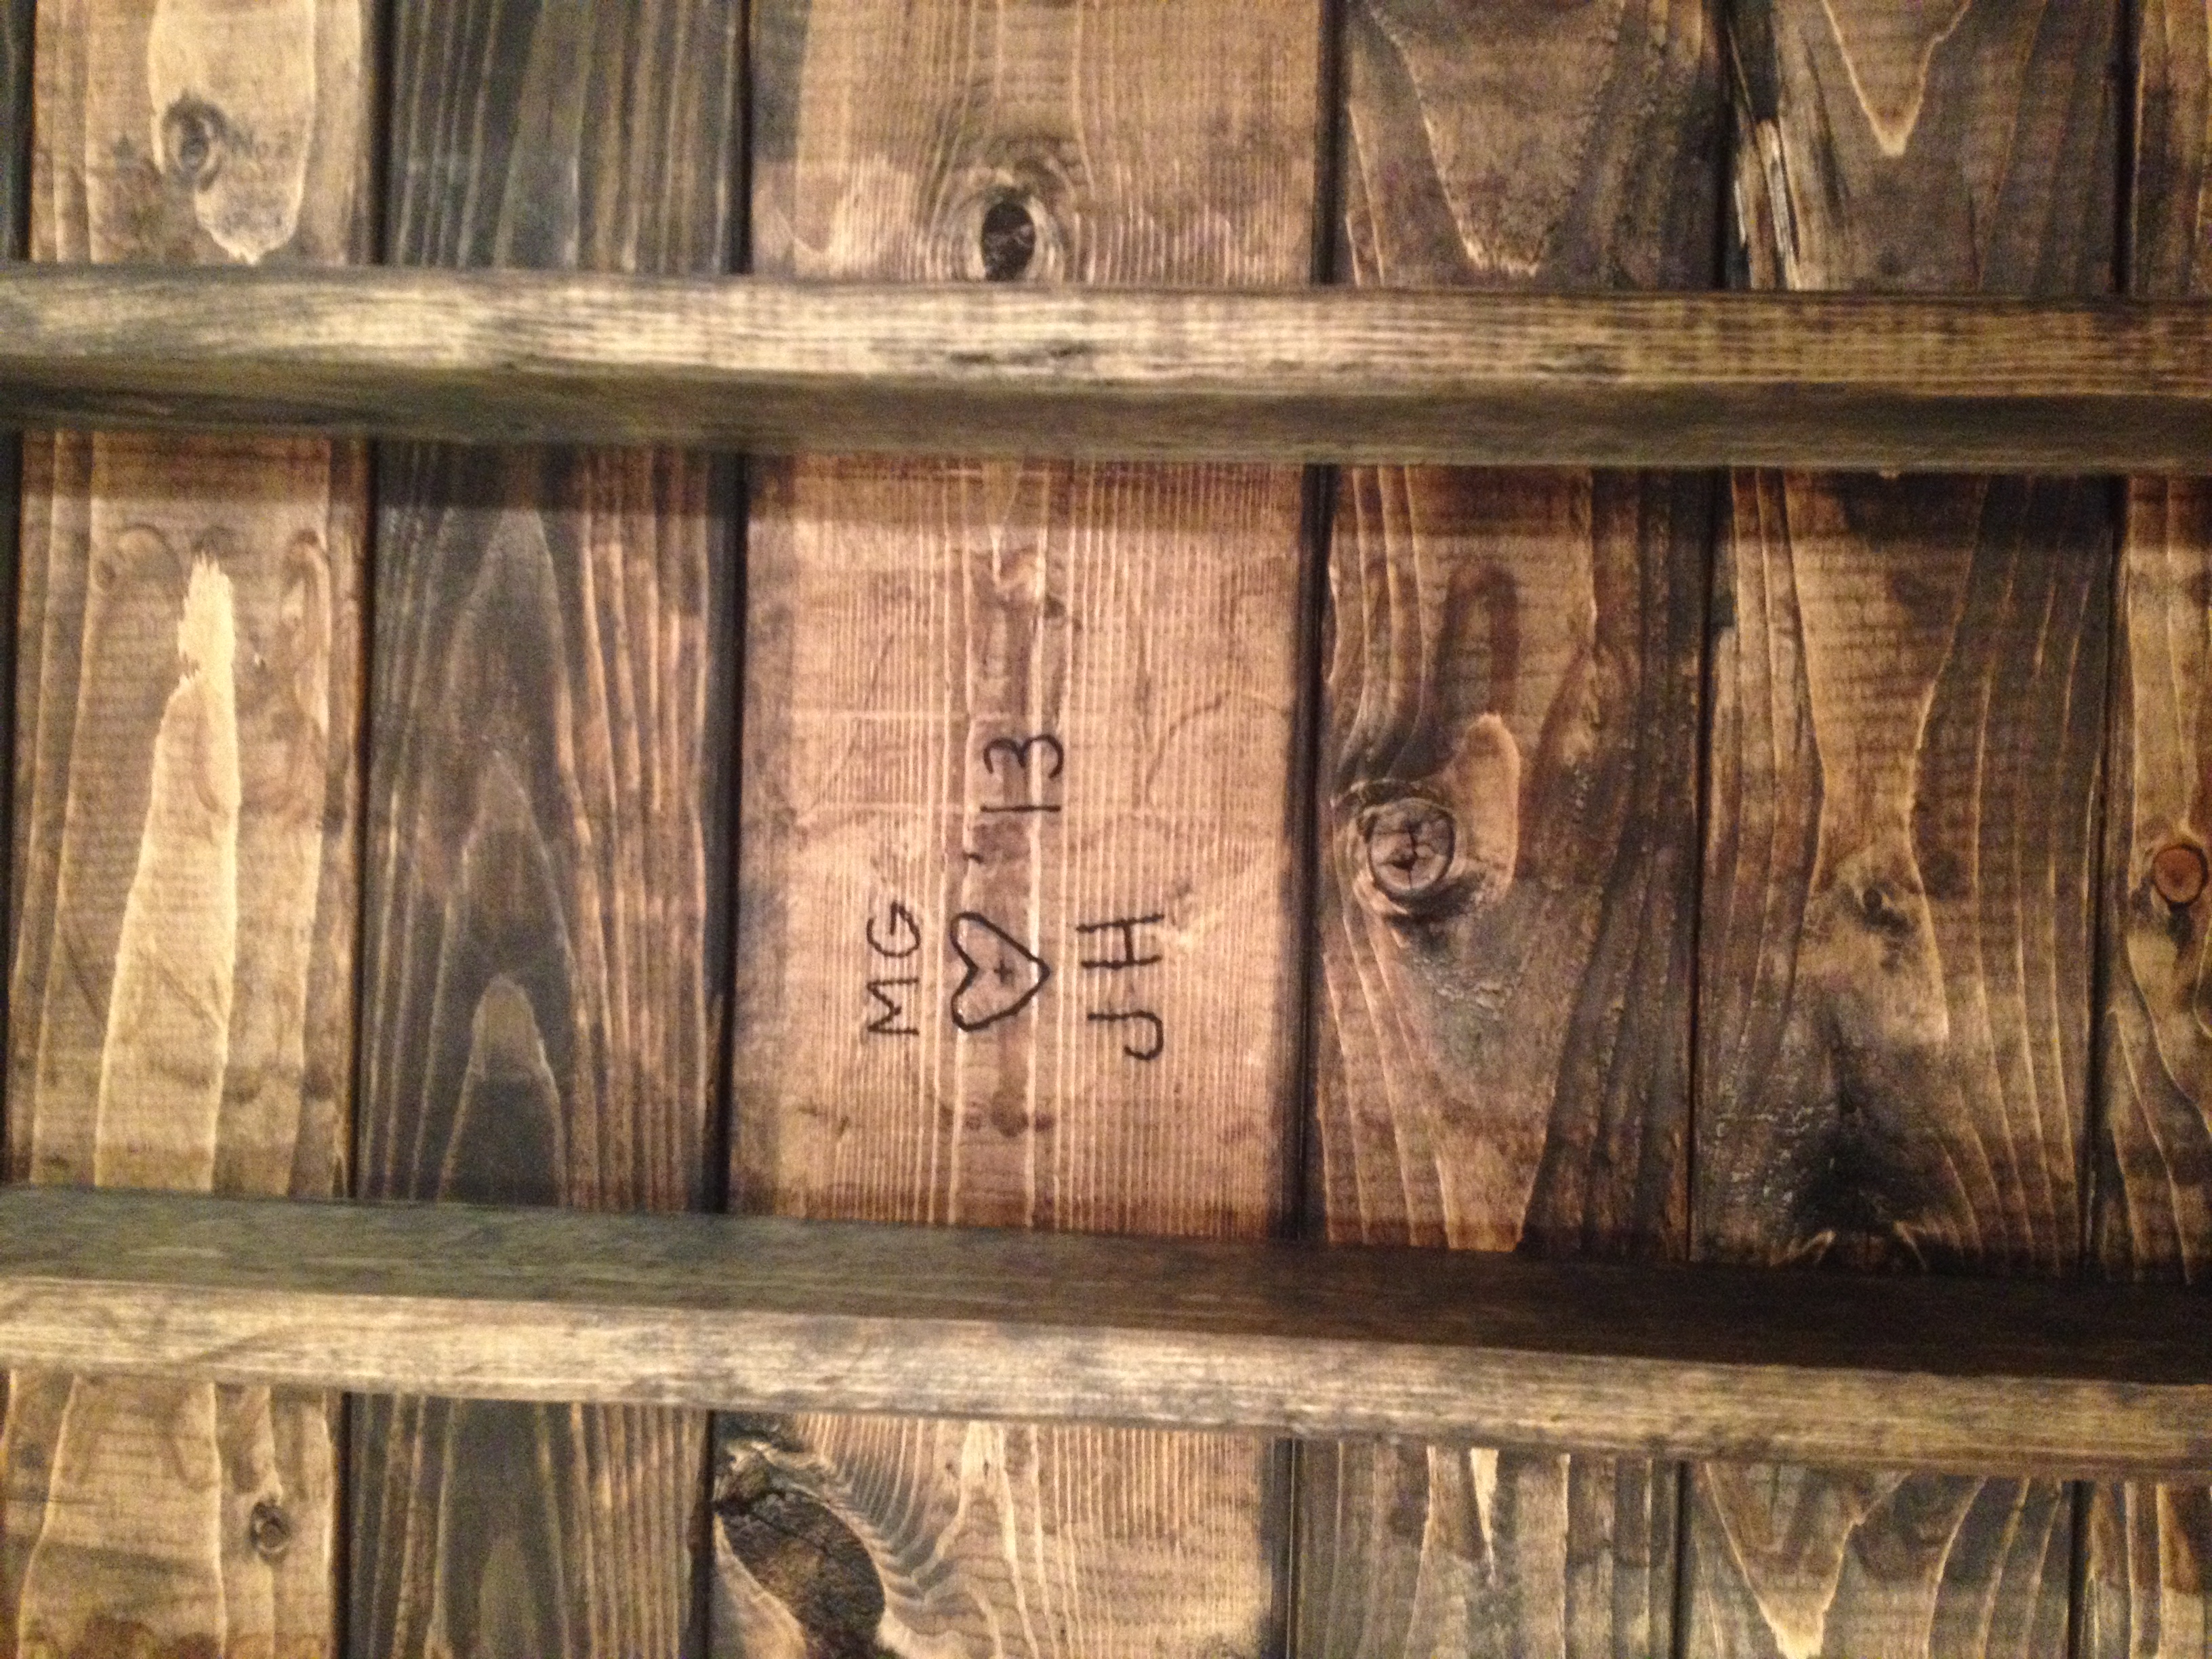
We made a couple of mistakes along the way which actually worked out for the best, giving the table some rustic character. Being relatively new to woodworking, we neglected to thoroughly wipe the 1 x 10 boards of all wood glue before the glue dried, making it difficult to remove later with sanding. Some wood glue remained, which showed up later once boards were stained. We ended up liking how this turned out to give it some charm and more of that 'handmade' look.
When we wanted a barn for our children to play in and use for their farm we discovered that nothing could be found to fit our fancy online. So with the use of some pictures of old barns and basic ideas we started on our very first wood project. Our tools consisted of a sawzal a table saw and cordless set of tools. Many hours later we have this to show for it. We used lots of scrap wood and bought only the hinges, latches and one sheet of plywood so our costs are skewed from someone trying to do it with new material.
Made the tall planters to her exact measurements. Used fence pickets but stained them with an orange cedar stain. Put 'em near the fire bowl (and near a quickly made set of AW's Adirondack side tables). Took me a full day to measure, cut, nail and stain. I'm a novice so, this project challenged and pleased me! #speedsquareangles
This is only the second project I've done, and I think it turned out great. I modified the measurements so that it fits 3 on each side and 2 on each end, 10 total (but it can seat more; the table is huge).
All I have is a band saw and a drill, and that's all I needed! The legs and support are Doug Fir from HD. The top is all 2x10's that I bought at a lumber yard so that they would have it kiln-dried and have the edges re-sawn. The only 2x10's I could find at the big box stores were green.
I finished it by sanding with 100 grit paper (I read not to over-sand doug fir for staining purposes), stained with one coat of Special Walnut (two coats on the breadboard ends), and 4 coats of satin poly.
This table is a tank. So glad I assembled it indoors, as we would have had trouble getting it in the house after it was all put together!
Leaning Ladder Desk - Made By Tara Holmes - Australia - 2017
I used scrap 1x2 and 1x3s, added a piece of chalkboard painted plywood to make a fun wall decor for my kids. I resized Ana's plans to fit my scraps, all dimensions are listed in my post link.
Mon, 01/21/2013 - 15:09
I saw the brag post and was motivated to make my own chalkboard today. I was in a need of a message center and thought chalkboard would be a perfect addition. I was at home and had no scraps of wood and no chalkboard paint! Normally, that would be a problem!
Luckily, I had an old wood crate, paint, and non-sanded grout! Voila...enough to make a chalkboard message center! Thanks for the motivation!
Here is a link to the finished product!
http://re-storedesign.com/2013/01/21/wood-crate-message-center-diy-chal…
Next time I am in my shop I am going to make a craftsman style chalkboard for my studio!
We took the origional plans and used that as the basis for ours. We re-designed it for our size needs on Vectorworks, a design program that we usually use for working in theatre. We bought all of our supplies at Lowes for around $80. Fortunately for us we have a fully stocked scene shop avaliable for our projects. We built it one day then the next we sanded it and stained and sealed it. Its a nice heavy table that we LOVE. we wanted a project to make something nice that will last forver, but still be cheap because we are on a college budget. We used an engraver to put our initials on the table so one day we can show our kids what we can do.
Fri, 11/14/2014 - 13:40
Great Job on this! Love the dark stain that you chose!
Barn door console built by Kathryn and Scott Winkler of K&S Coastal Furnishings in Pooler, GA. The hardware is a custom design by Scott and Kathryn sets it off with her one of a kind chippy finish. Fb.me/kscoastal
We saw this project a few months ago and I knew I had to add it to our holiday decor. Once it was built, it took a few weeks to figure out home to decorate it and came up with the 12 Days of Christmas using a Chalk Couture design. Still learning, had a few mishaps with the brad nailer, but I'm super happy how it came out!
This was my first project that I've built and I feel really great about how it turned out!
Thu, 01/24/2013 - 14:25
Great job! Your bookshelf looks solid and the color is crisp against the darker wall. Love the frames too!
So.....my Daughter has this American Girl doll, and she loves it. Then she saves up $75 to buy this HUGE Horse...why? I have no idea, but she loves it.
At Christmas time, Ana White was so kind to post diagrams for building a Horse Stable and with a few minor changes (shingled roof, golden hooks, some stain) I built it with my new Kreg jig (that was my Christmas gift from Santa).
Hope you enjoy the pictures . . .
Ana - Thank you, I enjoy your site and you certainly will be hearing from me in the near future.
Thanks for all you do :-)
Sat, 01/26/2013 - 09:59
I love your modifications. What a great idea to use shims for the roof! I might have to copy this. Great job.
Sat, 01/26/2013 - 10:15
Oh I love this!!!! I can't tell you how giddy up happy I am to see the horse stable! Love the roof and the gold hardware too - so cute! Thanks for sharing, truly made my day!
Sat, 11/23/2013 - 19:18
Oh, I'm in love with the shingles!
My daughter is getting her third AG doll, Saige, for Christmas and my sisters are getting her the horse too. Well, you can't have a horse without a stable too, right?
I've got all the supplies to build the stable and now all I have left to figure out is how you attached the shims to the plywood for the roof. Any suggestions would be fantastic and much appreciated!
Modified width to fit the closet. Prep work of sanding and painting took longer than we thought it would; assembly inside the closet was simple but definitely a challenge in the small space. At 81", the top shelf was higher than intended so had to remove front slat in order to be able to use it - will make the next one slightly shorter. But love the final product and am now on a mission to get all the cheap wire shelving out of the house!
This is the first project I have ever built. It was super satisfying to make.
Mon, 12/14/2020 - 09:53
Awesome space, thank you for sharing your first project, love the finish!
We needed a bench to hold shoes and bags on the foyer, and this plan fit the bill. I stretched the bench one foot so 3 kids could sit on it and to add one more cubby. I used pocket holes everywhere I could, so I had to modify the assembly order. We're excited to start using our new bench!
I have made several of these now and love them.
We have very little storage in our house and wanted someplace to store board games. This works great in the dining room. I made the hardware using patio door rollers and used my jigsaw to cut steel and aluminum bars to fit. I hammered the ends of the track in a curve and put a track on the bottom of the cabinet to keep the doors more flush against the cabinet. I spray-painted all the metal and bolts to match. It is 36" high, 13" deep and 63" long. I didn't use the center board in the front because I wanted to accomodate for larger games.
Comments
Ana White Admin
Mon, 02/13/2017 - 11:12
Perfect!
Thanks for sharing!