Community Brag Posts

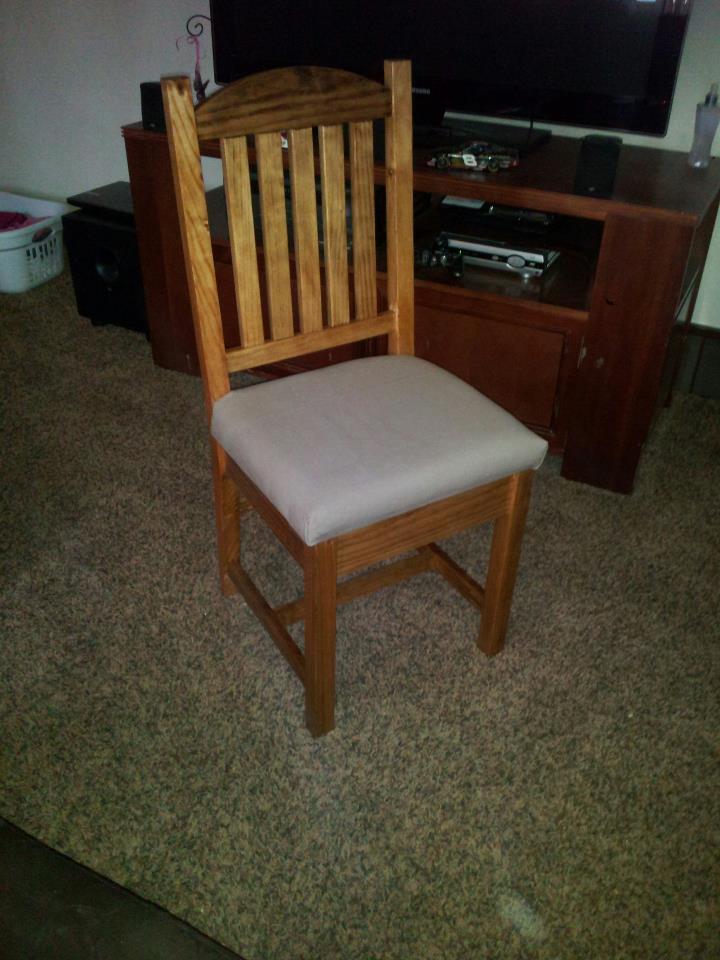
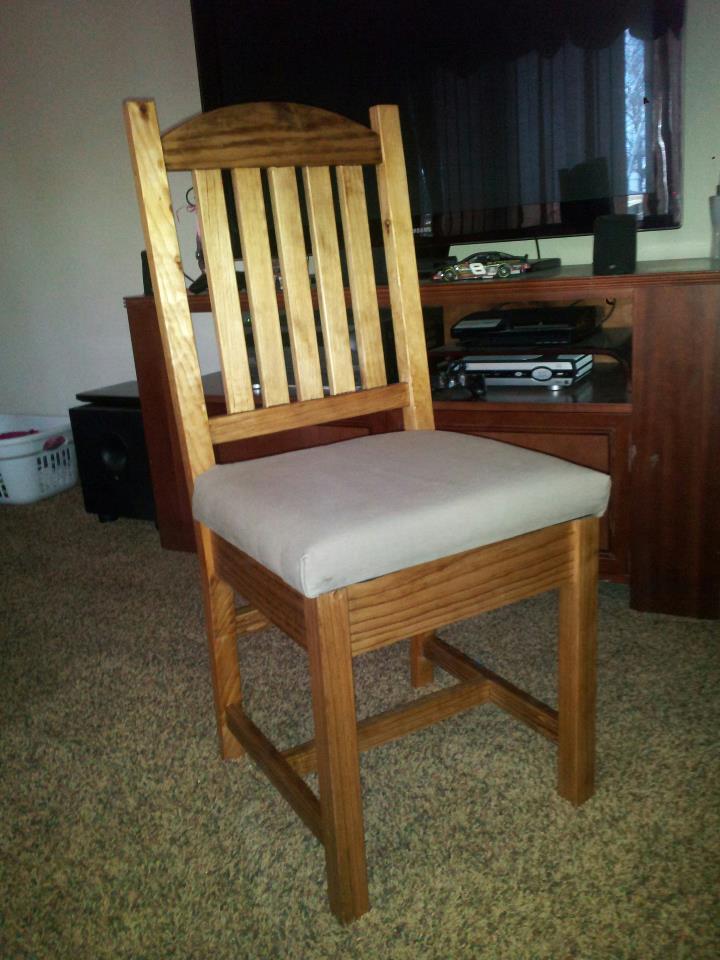
Classic Chair made simple
Submitted by danaxboo on Sat, 11/03/2012 - 16:15

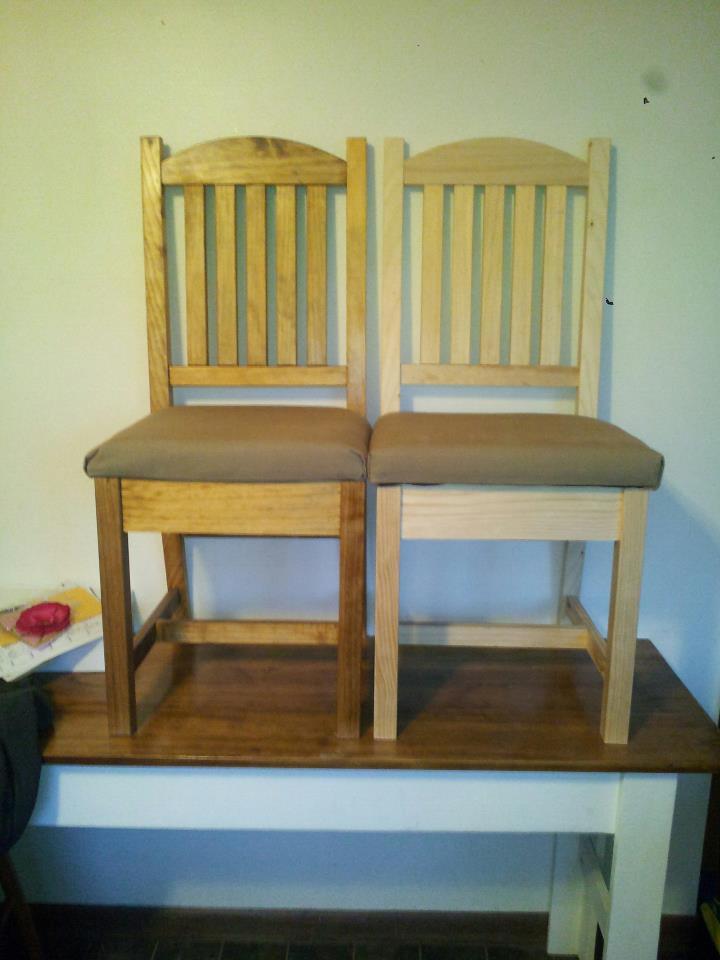
This is a build a month in the making... I started and assembled 3 chairs but just couldn't get them exactly the same, so I labeled them "garage chairs" and went on to the next project. It wasn't until the BF surprised me with a router and router table that I started dreaming of chairs again!! (It also helped that I begged and begged for a band saw for my birthday hehe) I built the Narrow Farmhouse Table for a homework table for my kids, and have been itching to create chairs to match. :)
I made a template for the chair leg, and arch for the top of the chair. I cut the legs down using a jig saw, and then used the router and cut them to the template. EXACTLY THE SAME! SCORE!! The rest was just following instructions. I did make the legs a little taller, and the whole chair more narrow.. Gotta fit 5 kids at this homework table!! The seat cushions were a breeze (they scared the crap out of me until I did it and realized how darn easy it was) and then just searched the internet until I found a back design I liked :) ANA IS AWESOME!!! And to think I used to spend my days sleeping or watching TV. I don't know if I've ever been more happy OR productive in my life! Finish is golden oak. Thanks again Ana!! I've saved thousands in the last few months DIYing and building building building!!
Estimated Time Investment
Day Project (6-9 Hours)
Finish Used
Golden Oak
Recommended Skill Level
Beginner

Comments

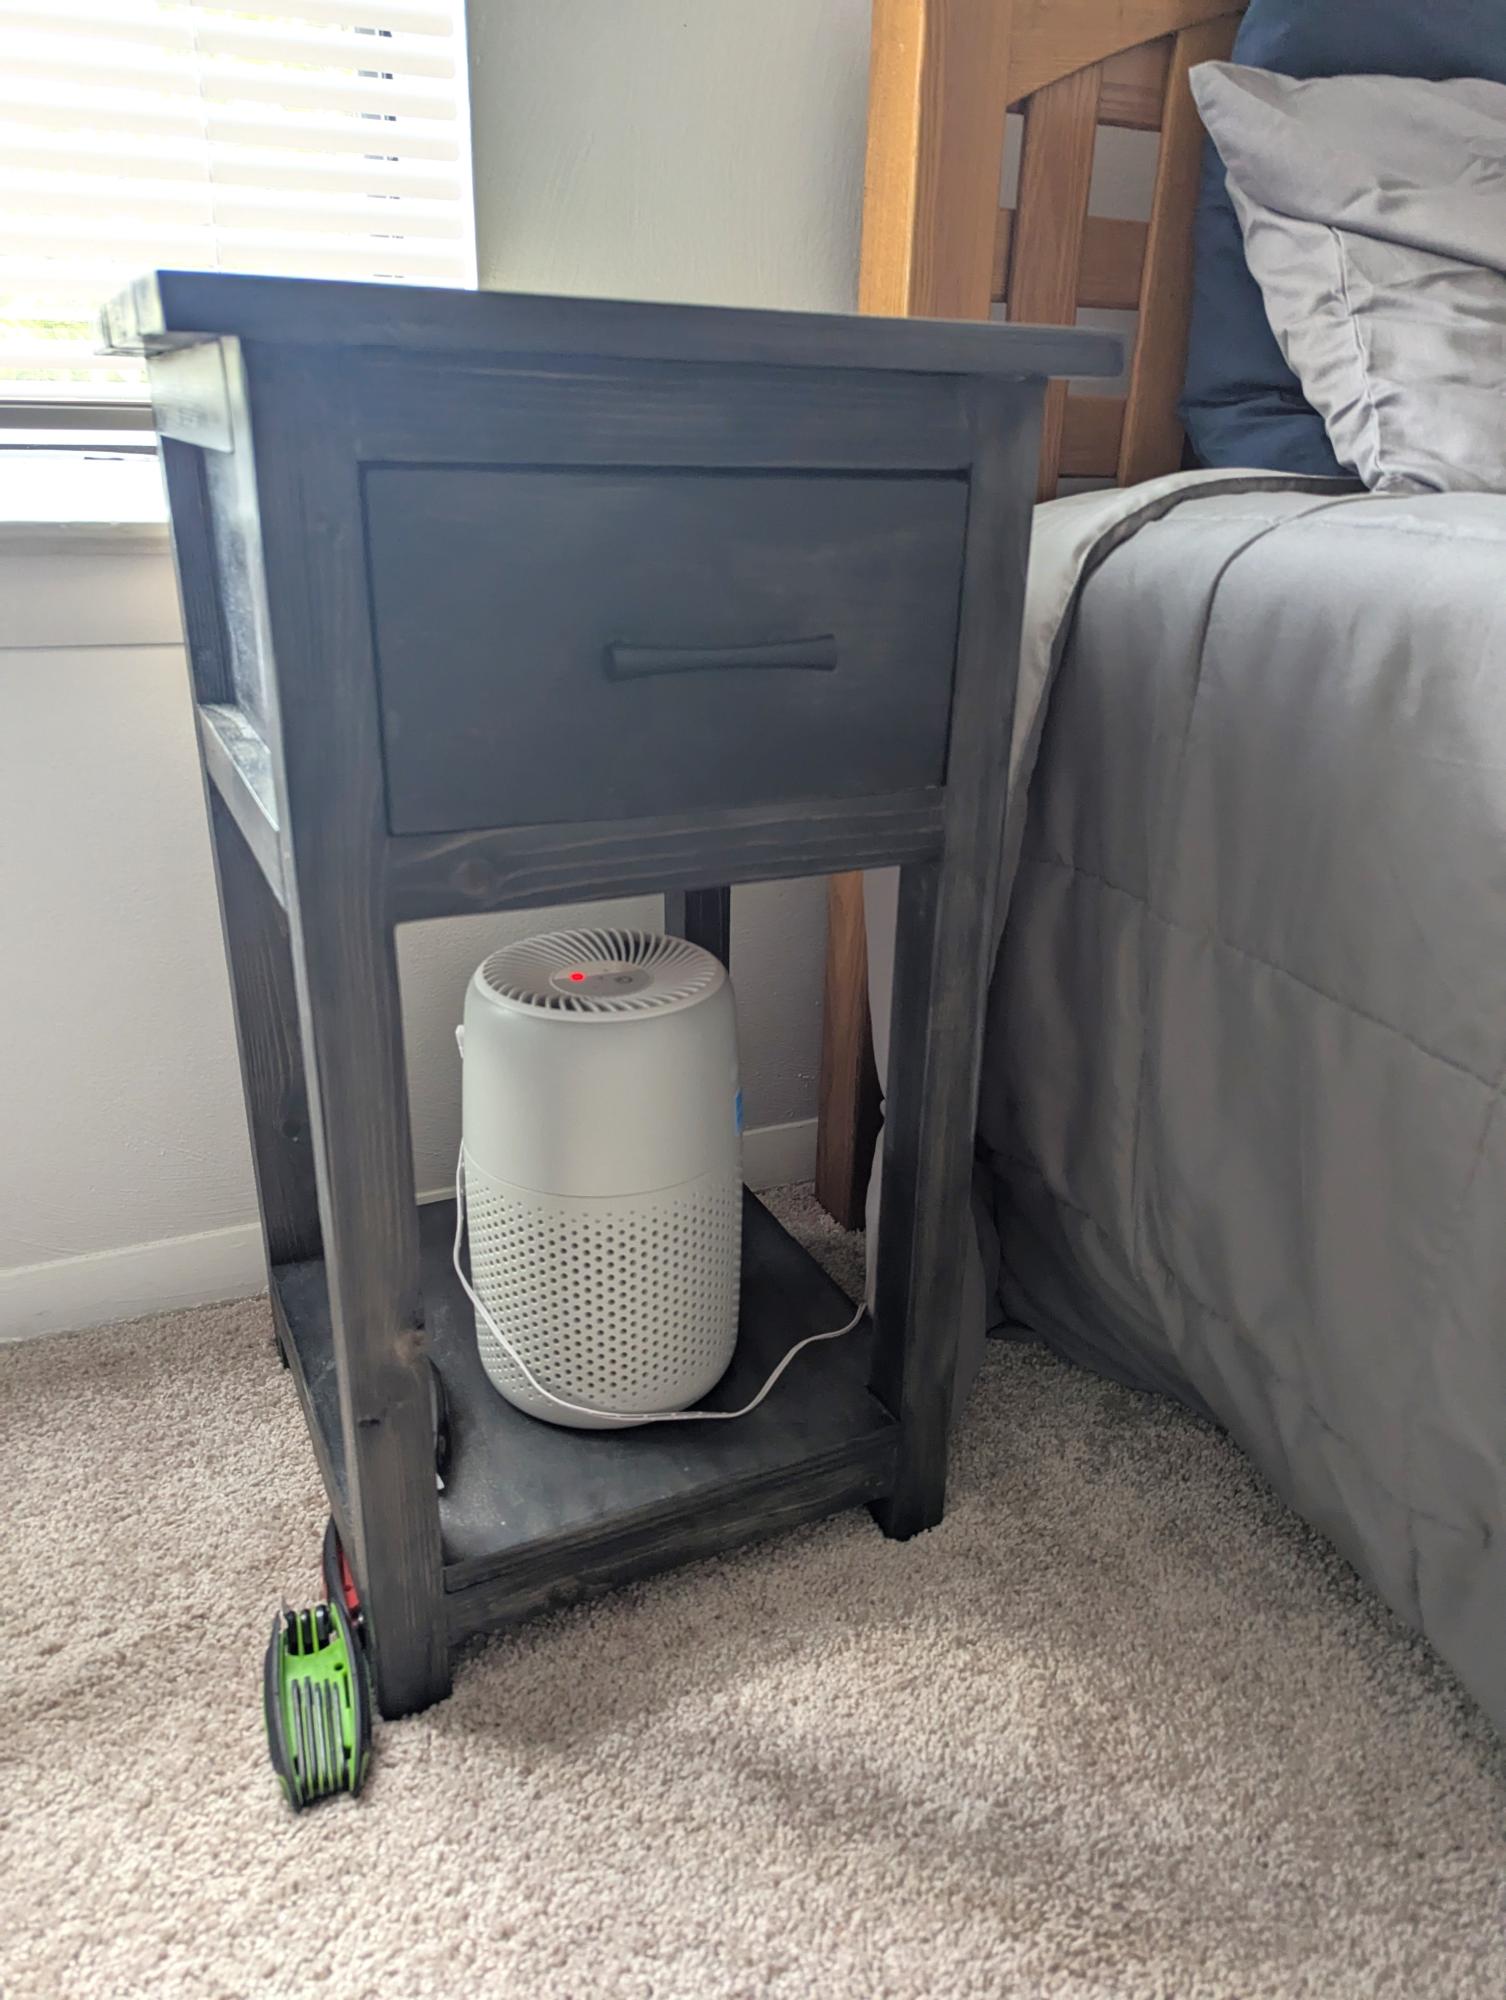
Tryde Coffee and End Tables - Douglas Fir

Submitted by RebelOne on Wed, 08/20/2014 - 23:15

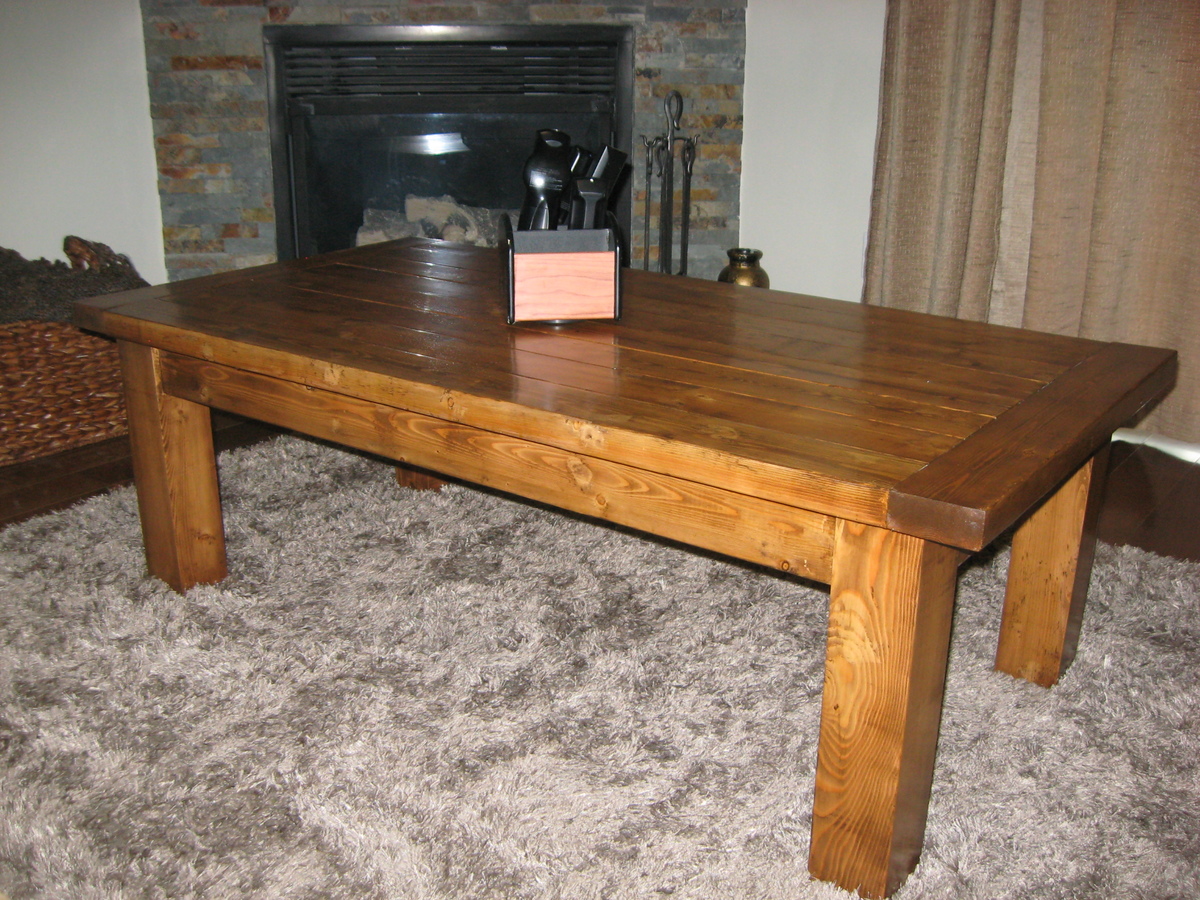
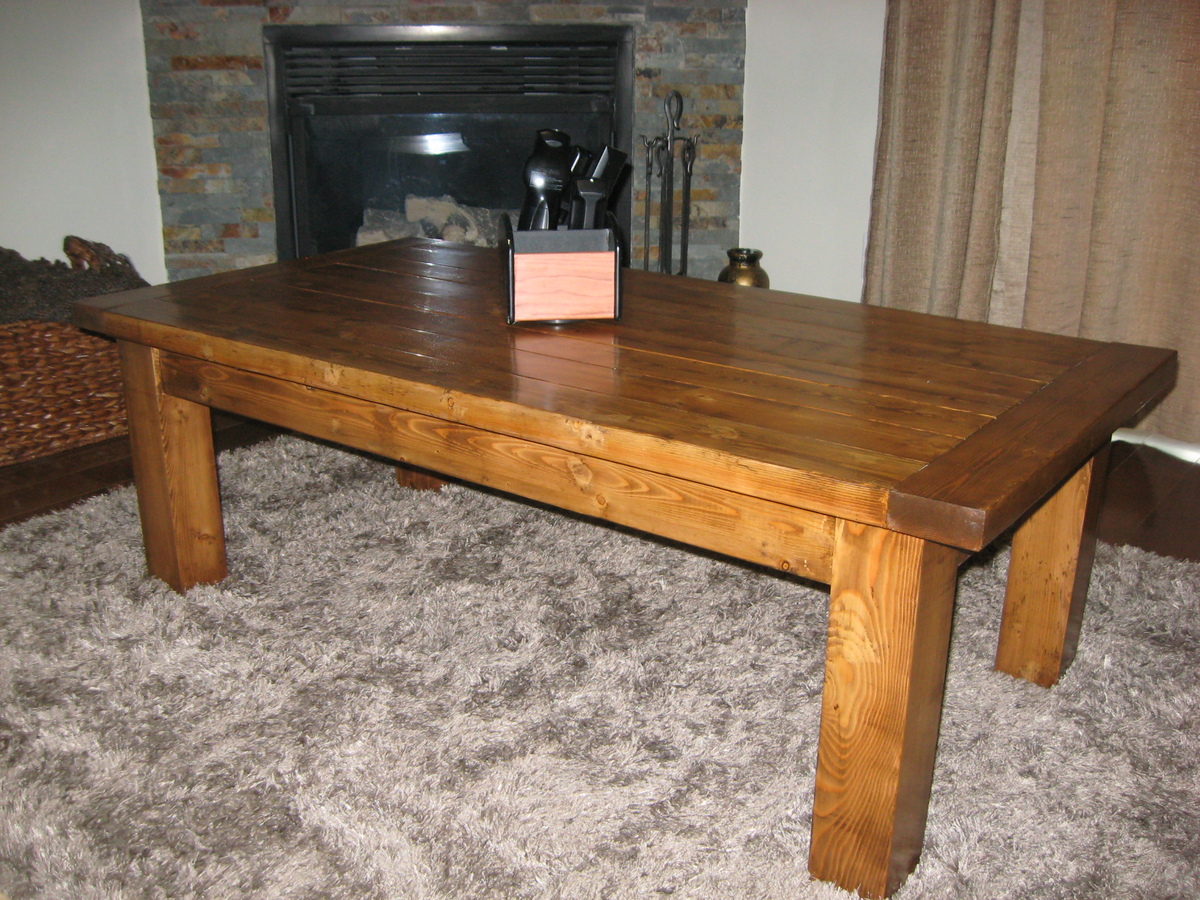
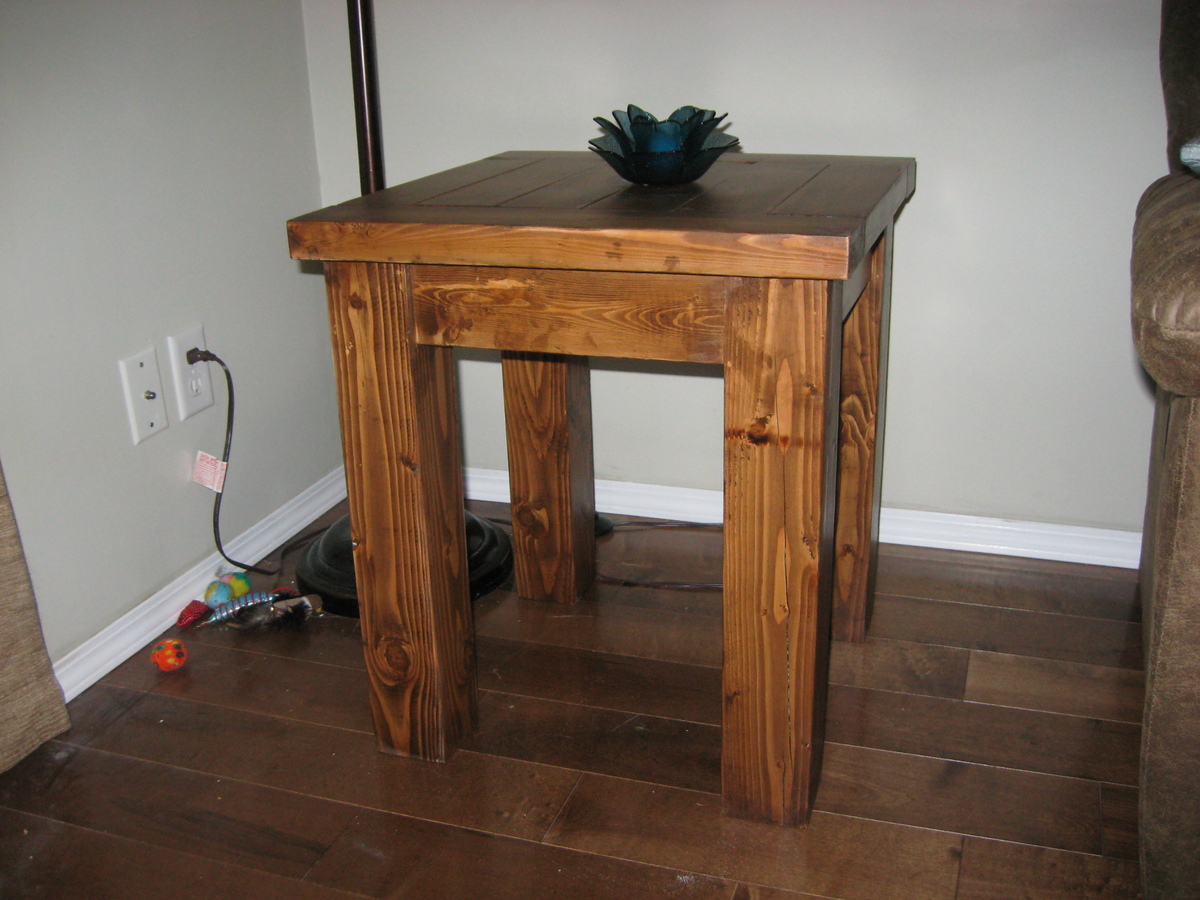
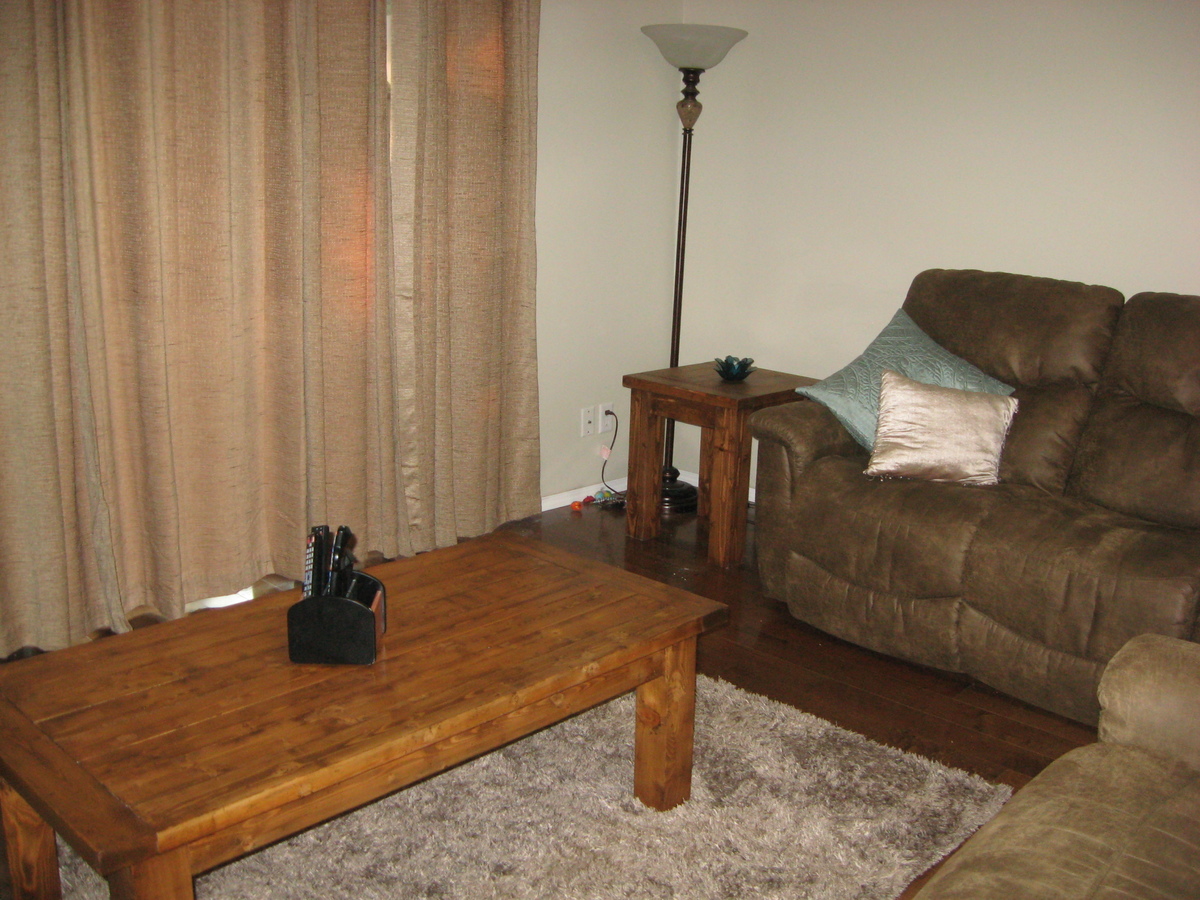
Although handy - these are the first pieces of furniture I have ever created. Used only 2X4 and 4X4 pieces - Douglas Fir right out of the lumber yard - not kiln dried wood. First time using pocket hole equipment - was worth getting the premium kit from Kreg's - drilled close to one hundred holes. Other than the equipment, the materials totaled less than $200 for all three pieces. $120 for the wood and another $80 for screws and paint products. Sanded the wood to a 220 finish and applied a Gel Dark Walnut stain and added 5 coats of clear satin from Minwax. Tried the wood conditioner on a test board and did not see not much difference so I decided to go without on all 3 pieces of furniture that I built. Experimented with different stainable wood fillers from Elmer's. Quite happy with the result - just in time for a visit from mom and dad. Total time for three pieces - close to 40 hours but worth it.

Estimated Cost
$200
Estimated Time Investment
Week Long Project (20 Hours or More)
Finish Used
Sanded the wood to a 220 finish and applied a Gel Dark Walnut stain and added 5 coats of clear satin from Minwax.
Recommended Skill Level
Intermediate

Comments

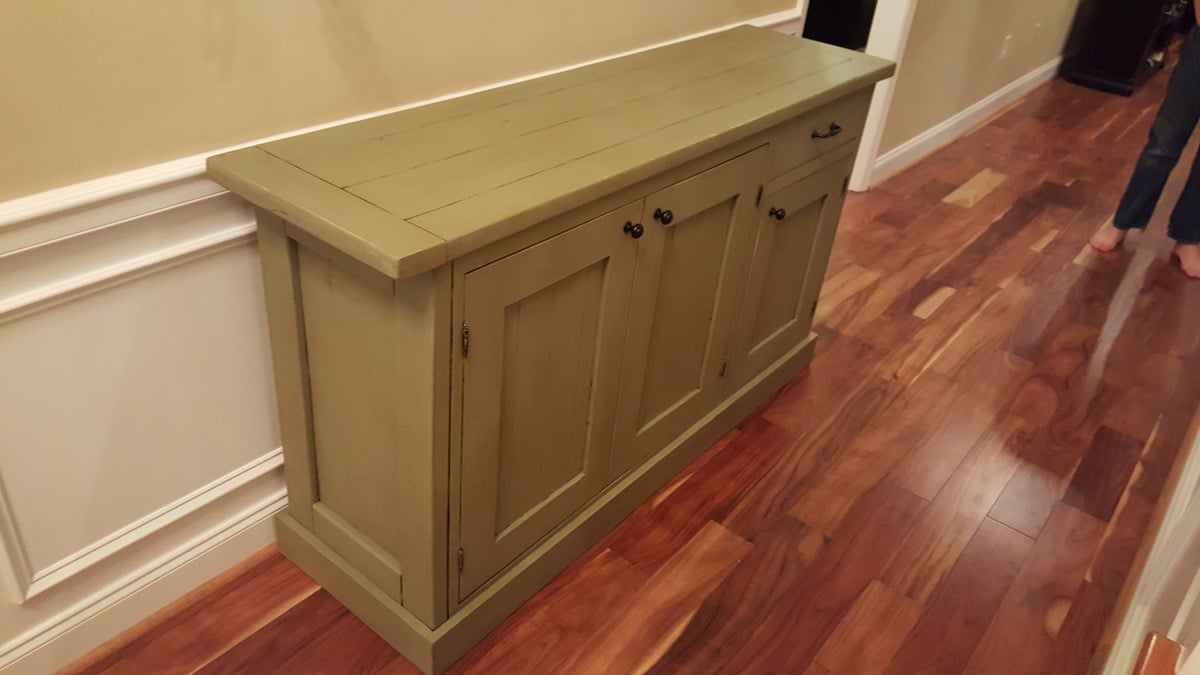
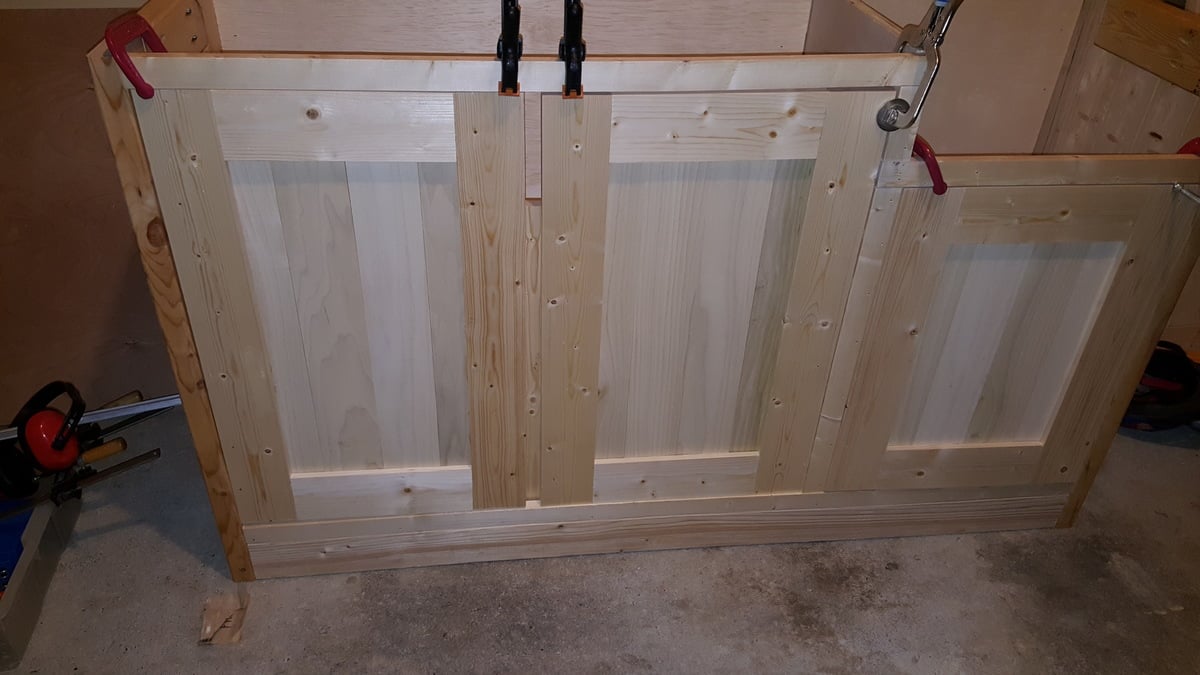
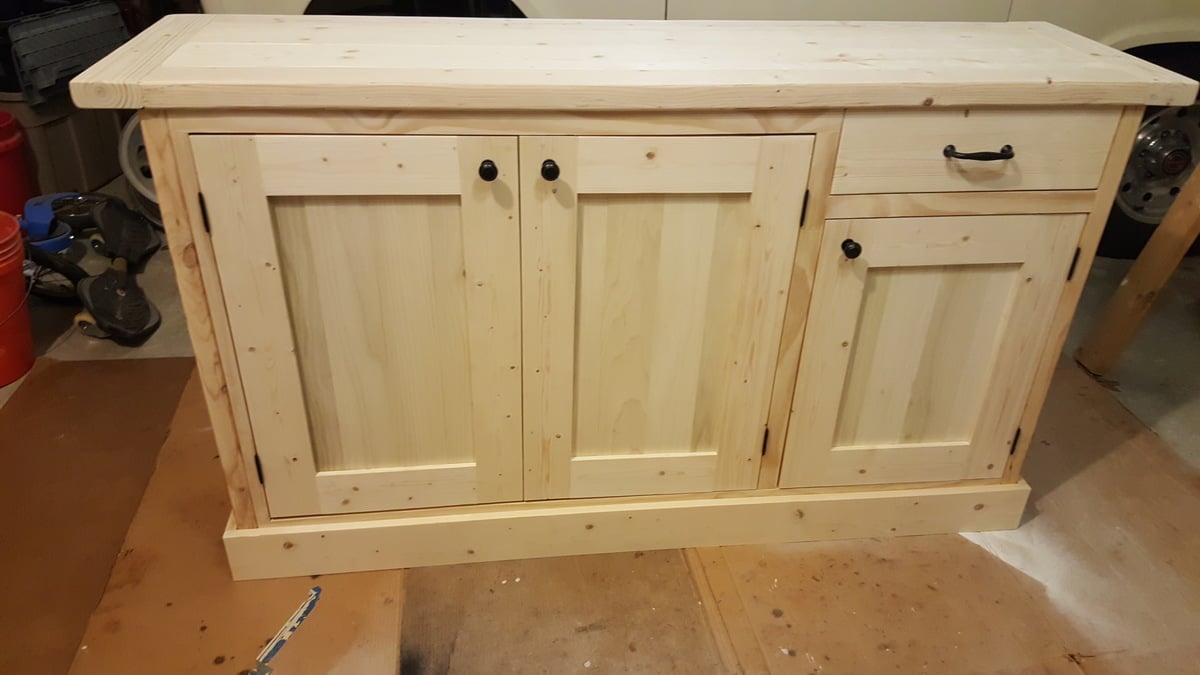
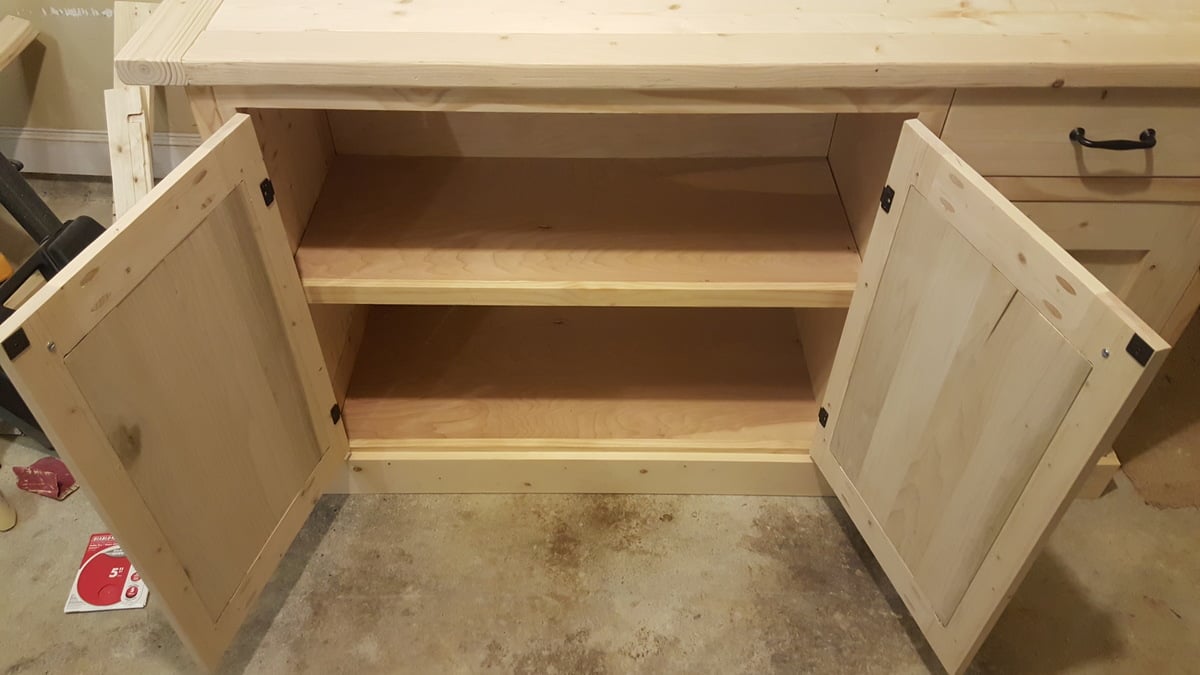
Hallway Buffet

Submitted by Anonymous (not verified) on Fri, 12/09/2016 - 13:20

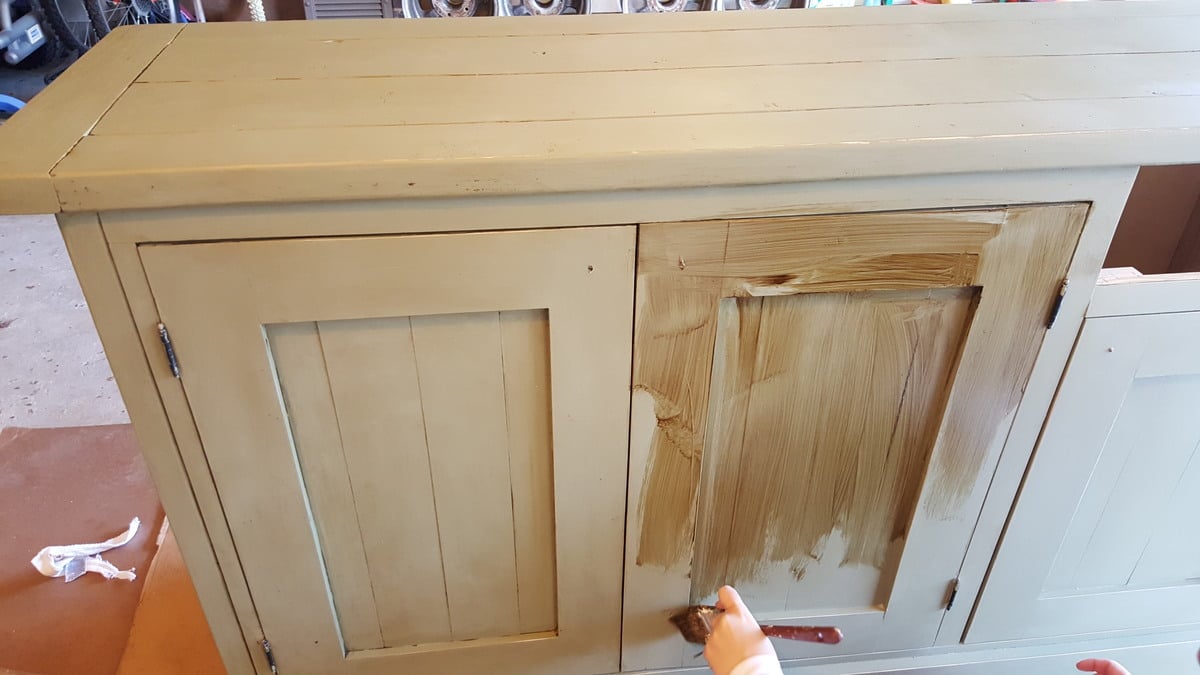
I built this slightly modified version of the buffet for my wife.  She LOVEs it and did a great job finishing it with Annie Sloan paint and a wax (she's the finishing expert in the house).  Plans were right on and I'm very pleased with the final product.  Thanks for a great website and plans!  Getting ready to undertake a dining room table now.

Estimated Time Investment
Week Long Project (20 Hours or More)
Finish Used
Annie Sloan Chaulk Paint with Dark Wax
Recommended Skill Level
Beginner

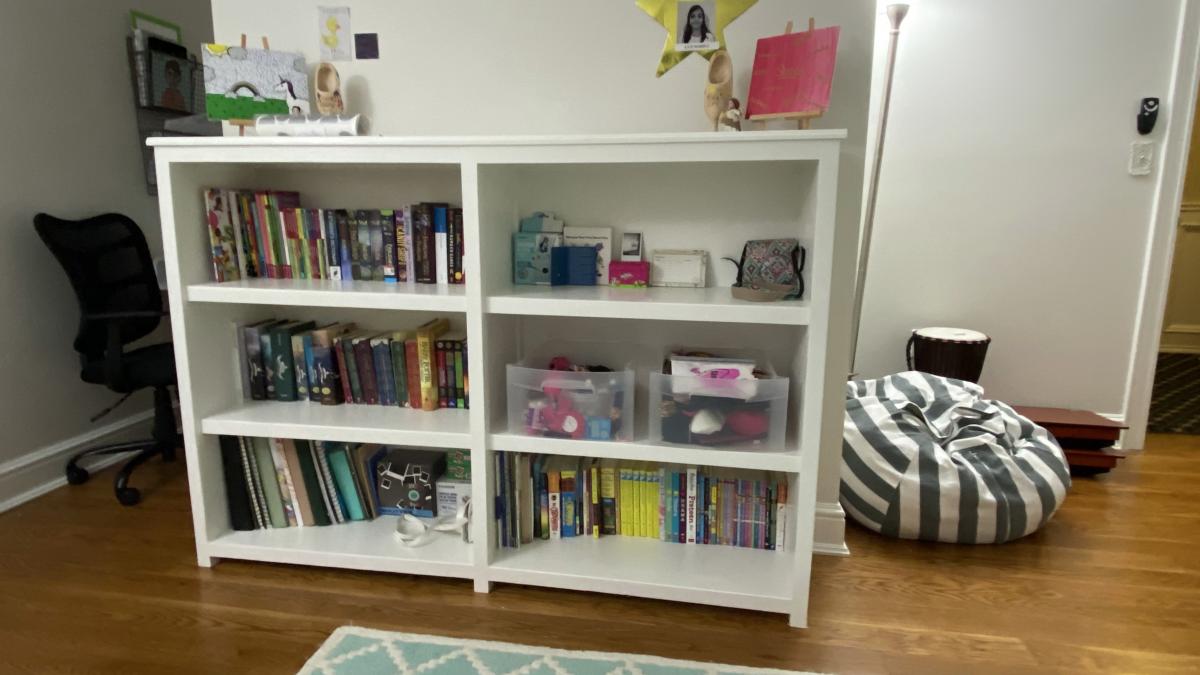
Kentwood Style Double Bookshelf

Submitted by Anonymous (not verified) on Sun, 08/23/2020 - 06:15

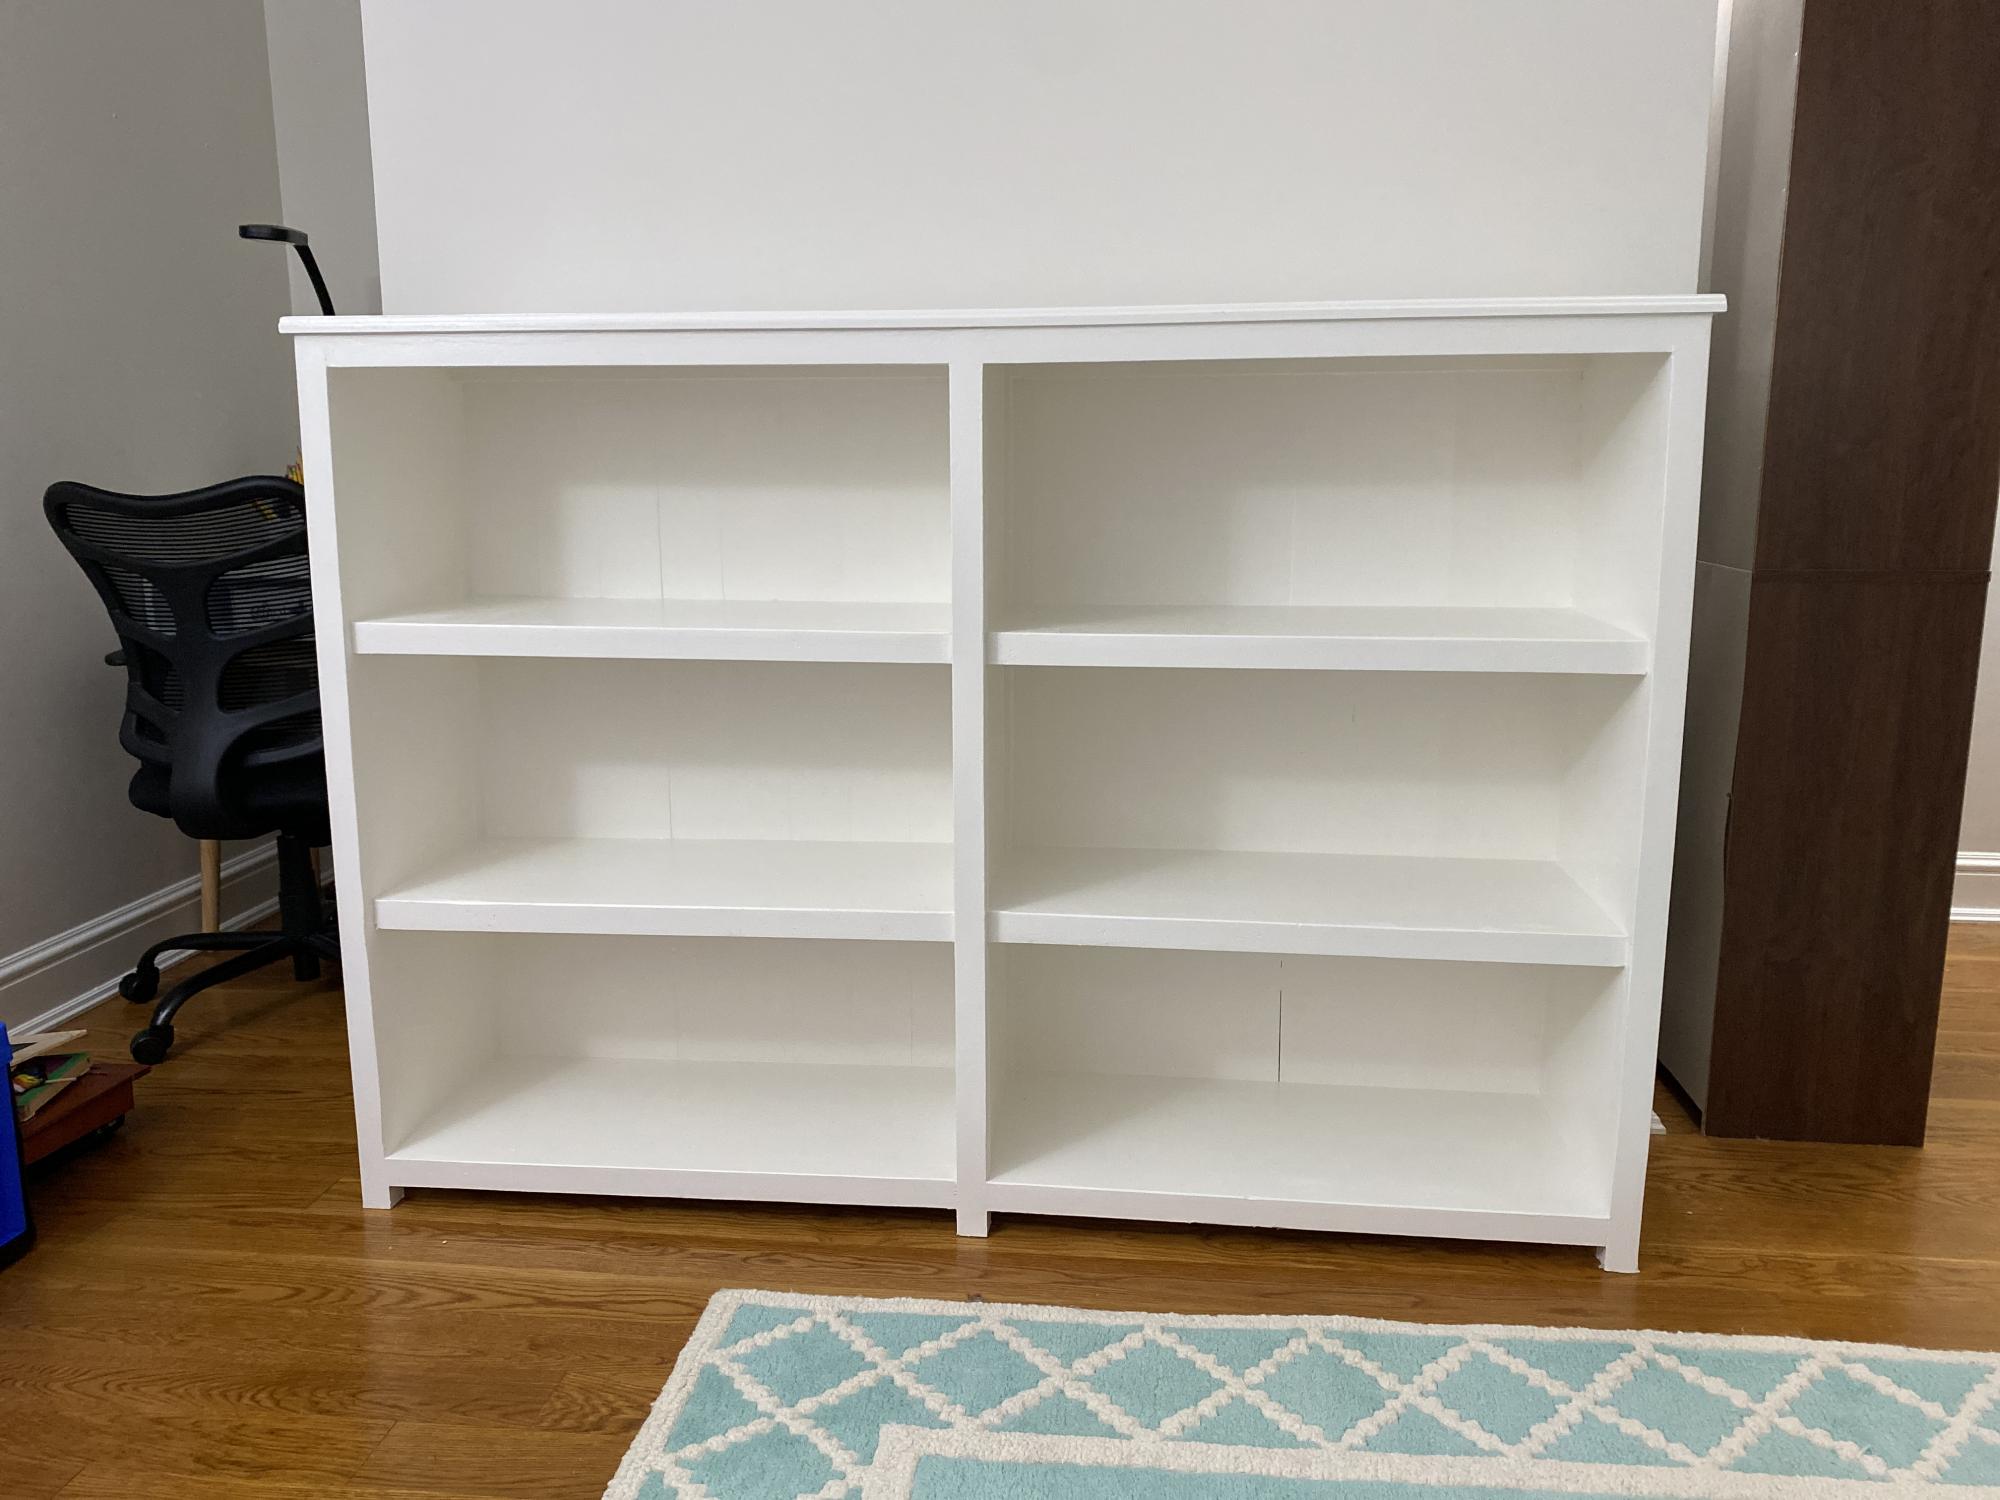
This was my first project, and I did it together with my two oldest children (13 & 11).

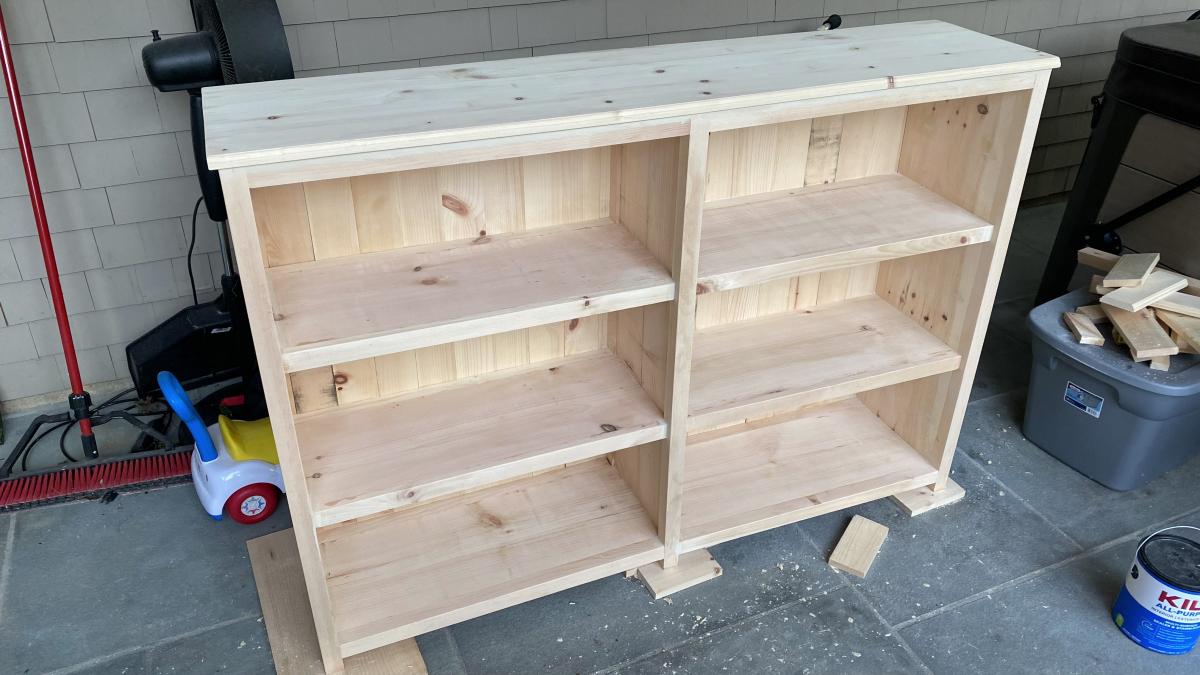
We started with the basic Kentwood Bookshelf plan, but wanted to have it a little shorter to make use of the tabletop. We also wanted it wider to fit a specific location in my daughters' room.

Broadly sticking to the Kentwood instructions, we measured the longer space we had and what that would mean for each of the measurements for the cuts. It was tricky to get the measurements right for the 1 x 12s in the middle which had to be a little longer than the 2 x 2 and 1 x 2 frame fronts to fit snuggly, but we got there.

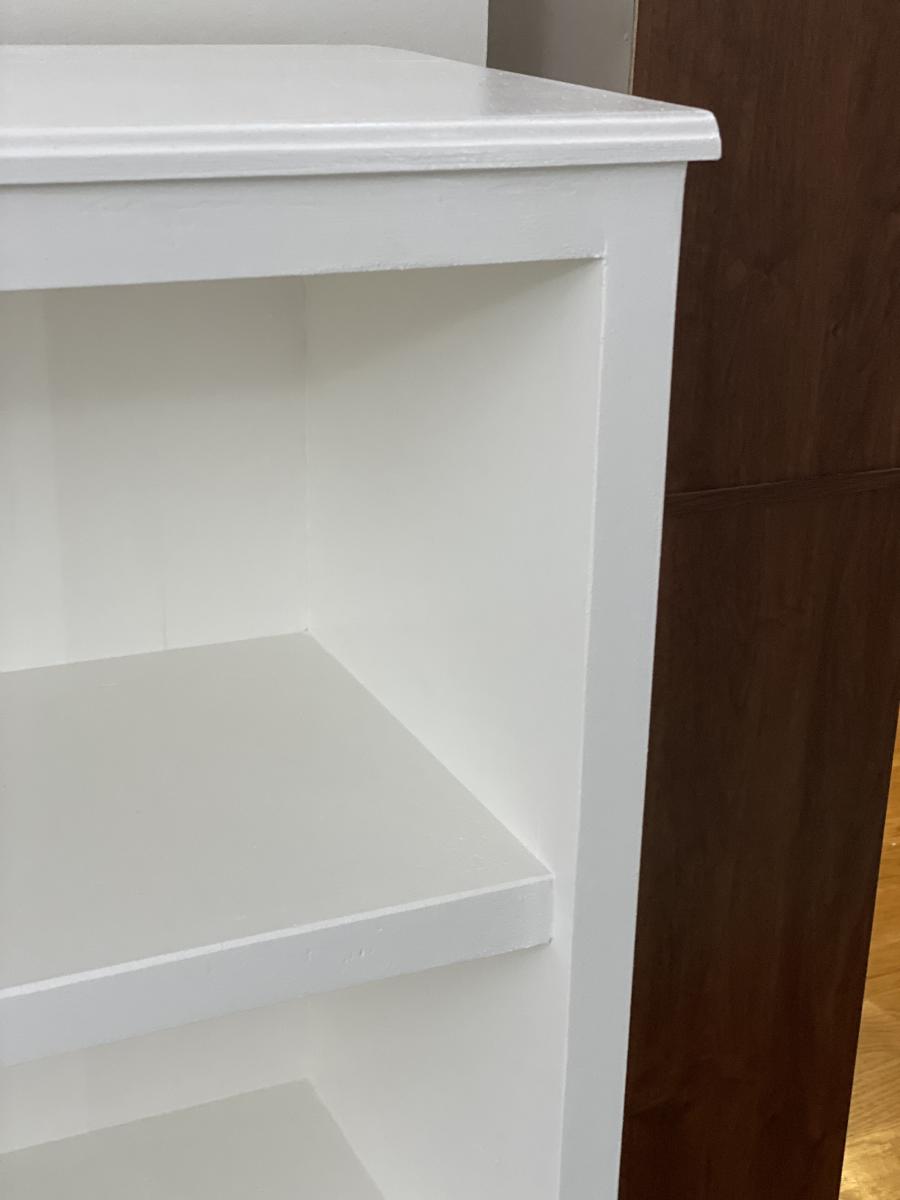
We finished the top and back with 1 x 4 boards instead of planking. It added cost and weight (whole thing probably weights 150 pounds), but hopefully it will last a long long time. We routed the front edge of the table top to give a nicer finish.

Painted it white in the end. Tried to put a clear coat over it, but made a mistake of using an oil-based clear coat which turned the whole thing yellow. Had to sand it down and repaint. Ugh. Lesson learned!

We're very happy with the results.

Estimated Cost
$300
Estimated Time Investment
Weekend Project (10-20 Hours)
Finish Used
White paint which matched the trim in the room it's in.
Recommended Skill Level
Beginner

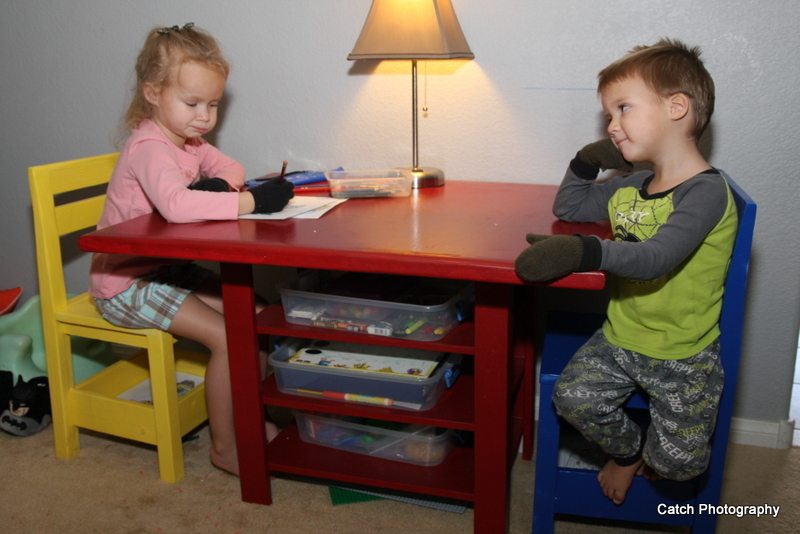
Kids Storage Table with extra storage

Submitted by redhead_61 on Mon, 11/05/2012 - 17:05

I wanted a table with storage, I added a couple extra "shelves" This was the easiest design to do this with. Just be sure to add from the top shelf to the bottom if you are using a Kreg Jig. You might want to pre-paint also . My shelves are 5 inches apart to fit perfectly my little flat style containers for art stuff and playdough.

Built from Plan(s)
Estimated Time Investment
Afternoon Project (3-6 Hours)
Recommended Skill Level
Starter Project

Stain & Paint Finish

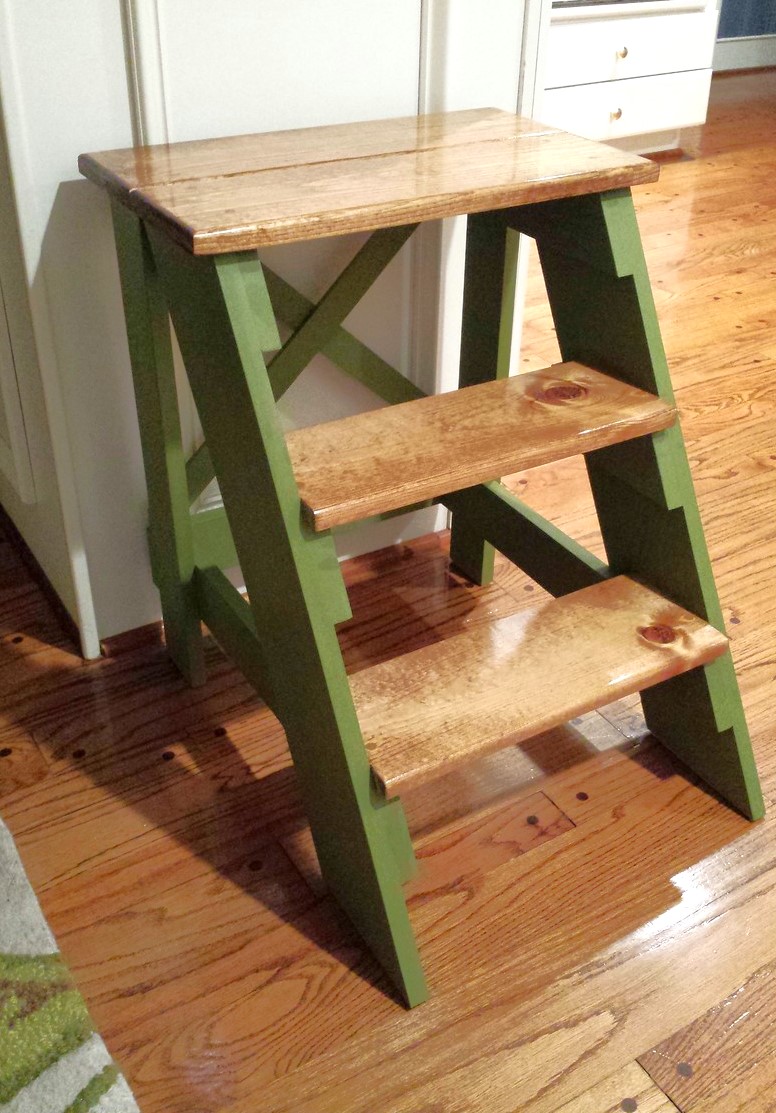
Submitted by ajstormy85 on Sun, 08/24/2014 - 18:19

Did the multi-finish on the step stool. On the steps, I used the Minwax Pre-Stain Conditioner, followed by Minwax 'Early American' stain and then Minwax clear gloss polyurethane. The rest of the stool was painted with DIY chalk paint. The paint is 1 cup flat paint (Valspar Jungle Thicket) mixed with 1/3 cup plaster of paris and 1/3 cup water. The chalk paint portion was finished with the Minwax Finishing Paste Wax and gave the flat paint look a nice sheen.

Finish Used
Minwax products (pre-stain conditioner, Early American stain, clear gloss polyurethane; DIY chalk paint (1 cup flat paint, 1/3 cup plaster of paris, 1/3 cup water); Minwax finishing paste wax on chalk paint part
Recommended Skill Level
Beginner

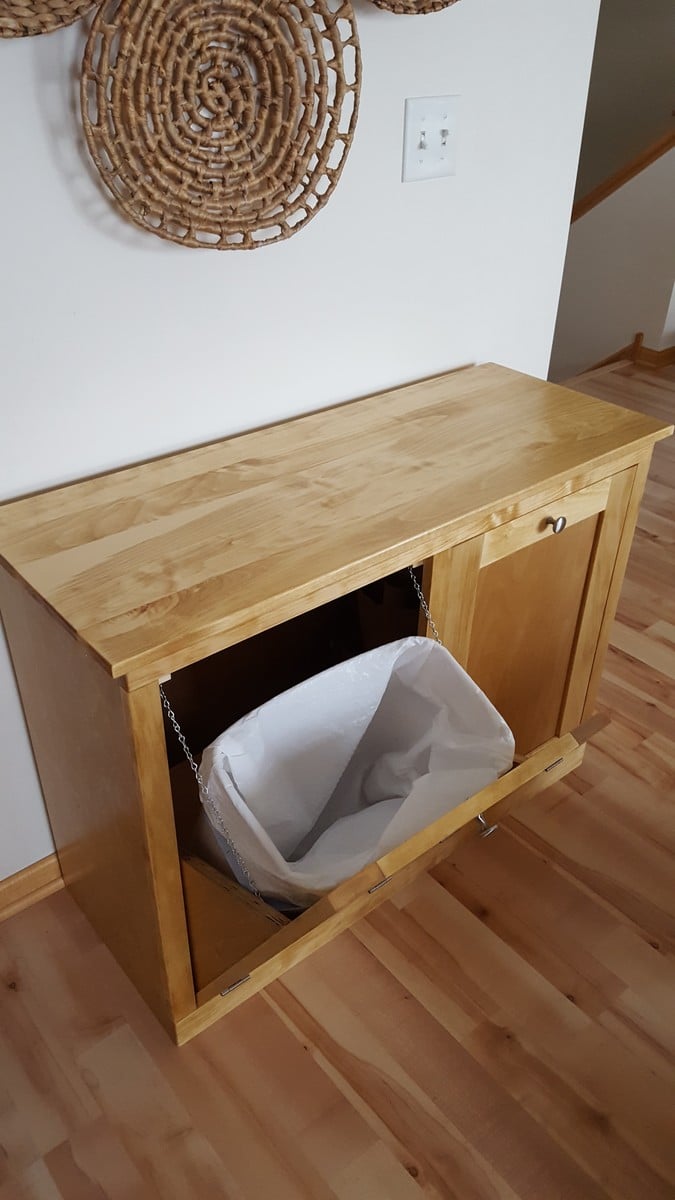
Tilt-out trash/recycling cabinet

Submitted by Anonymous (not verified) on Mon, 12/12/2016 - 11:56

Tilt-out trash/recycling cabinet made with aspen stained with a combo of Minwax Natural and Golden Oak.

Estimated Cost
Materials: $110.00; Labor: priceless
Estimated Time Investment
Day Project (6-9 Hours)
Finish Used
Combo of Minwax Natural and Golden Oak to match other furniture in the house.
Recommended Skill Level
Beginner

Comments

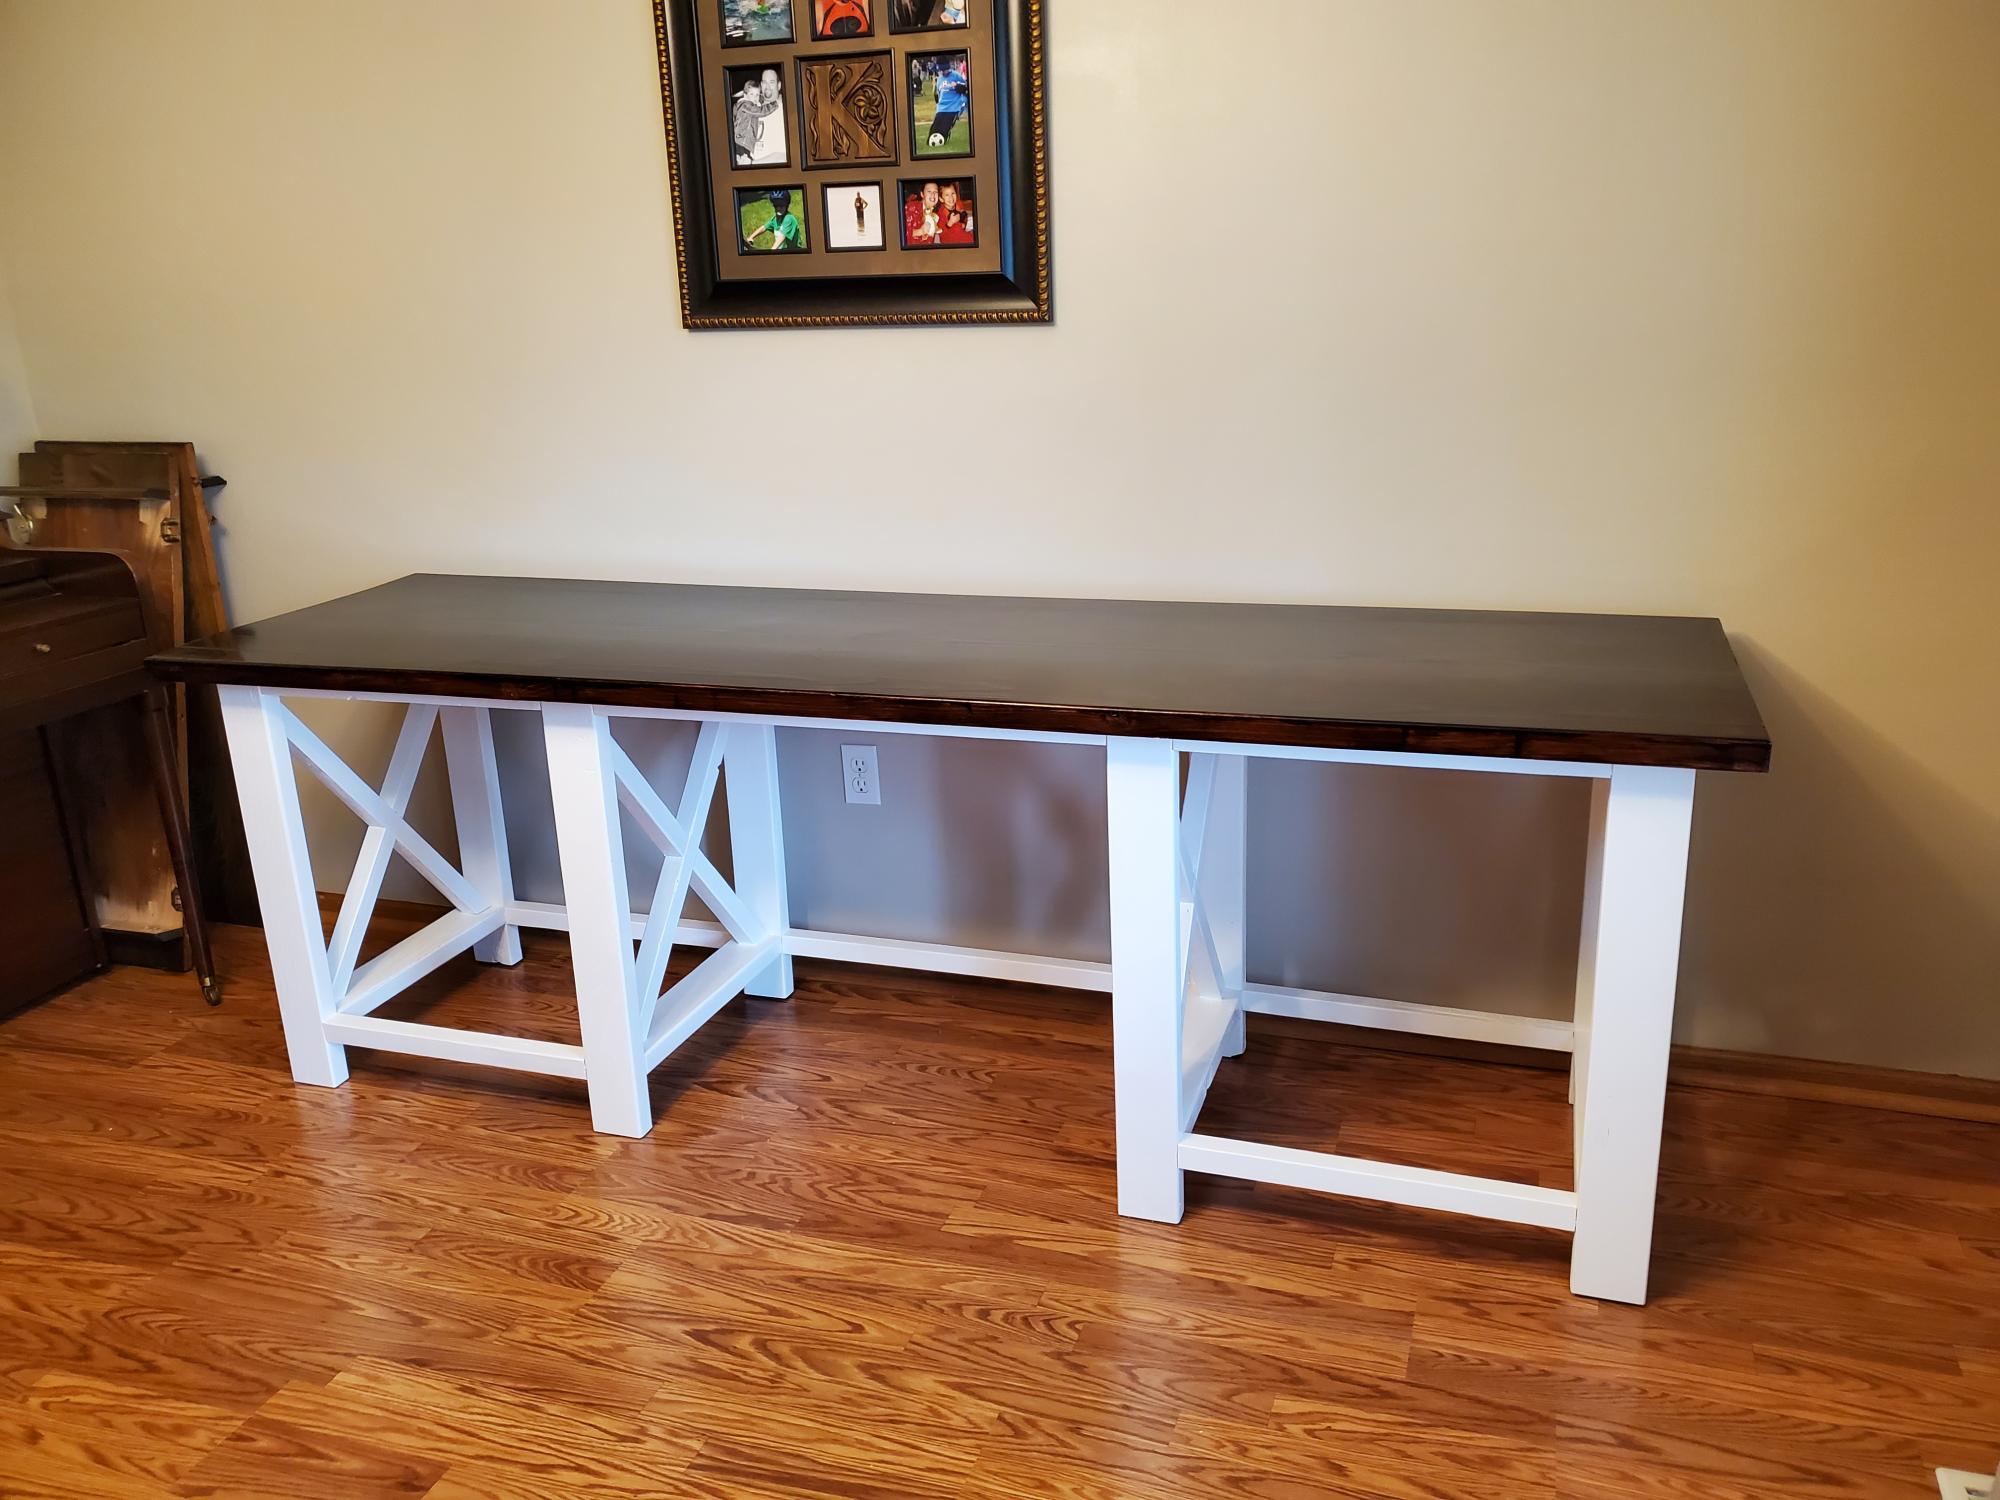
Farm House Desk

Submitted by Anonymous (not verified) on Tue, 08/25/2020 - 16:27

After learning I'll be working from home permanently, I asked my husband to use his talent to make me a desk. I have been sitting on a barstool since March and it just wasn't comfortable.

Viola. An Ana White farm house desk. It turned out wonderful and I'm so much more comfortable. He just needs to add the shelves when there is room in the garage again (he's now fixing our son's car with his brother!)

Built from Plan(s)
Estimated Cost
100
Estimated Time Investment
Weekend Project (10-20 Hours)
Finish Used
White enamel paint and minwax polyshades
Recommended Skill Level
Intermediate

Modified Farmhouse/Pottery Barn Bed Frame

Submitted by Tailer426 on Sat, 11/10/2012 - 10:08

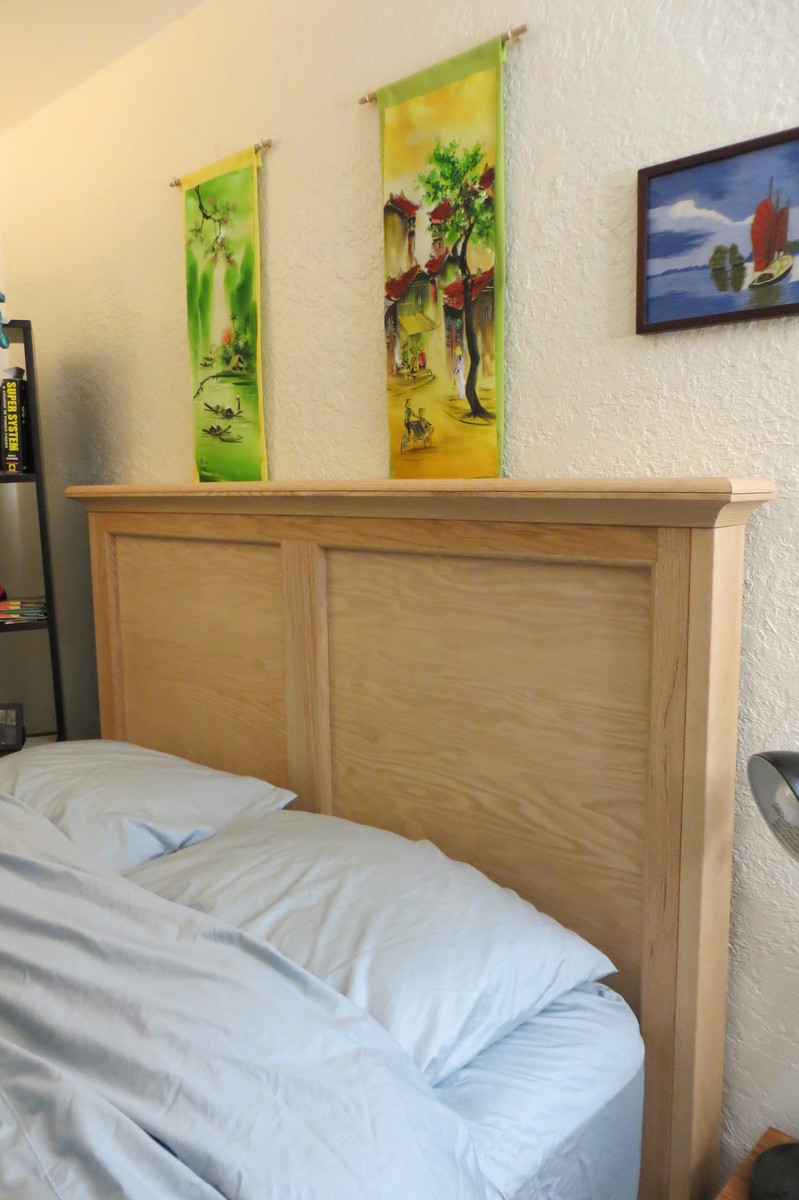
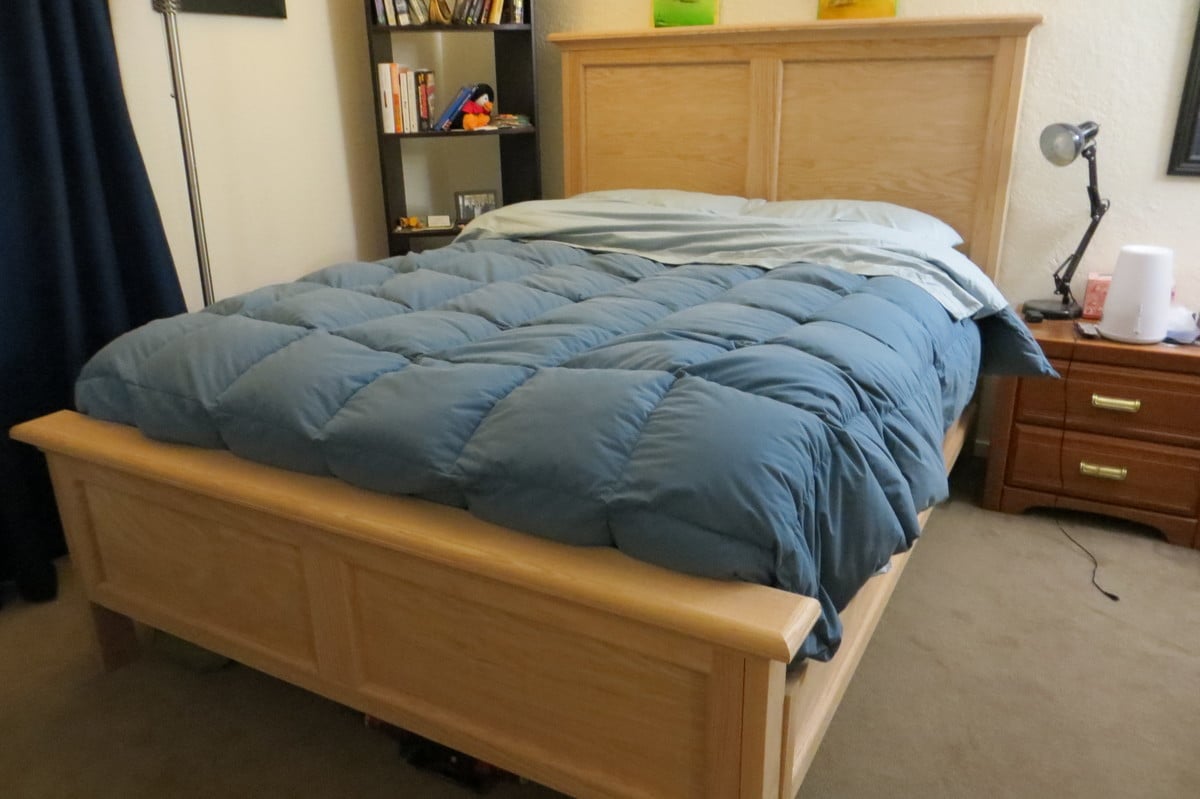
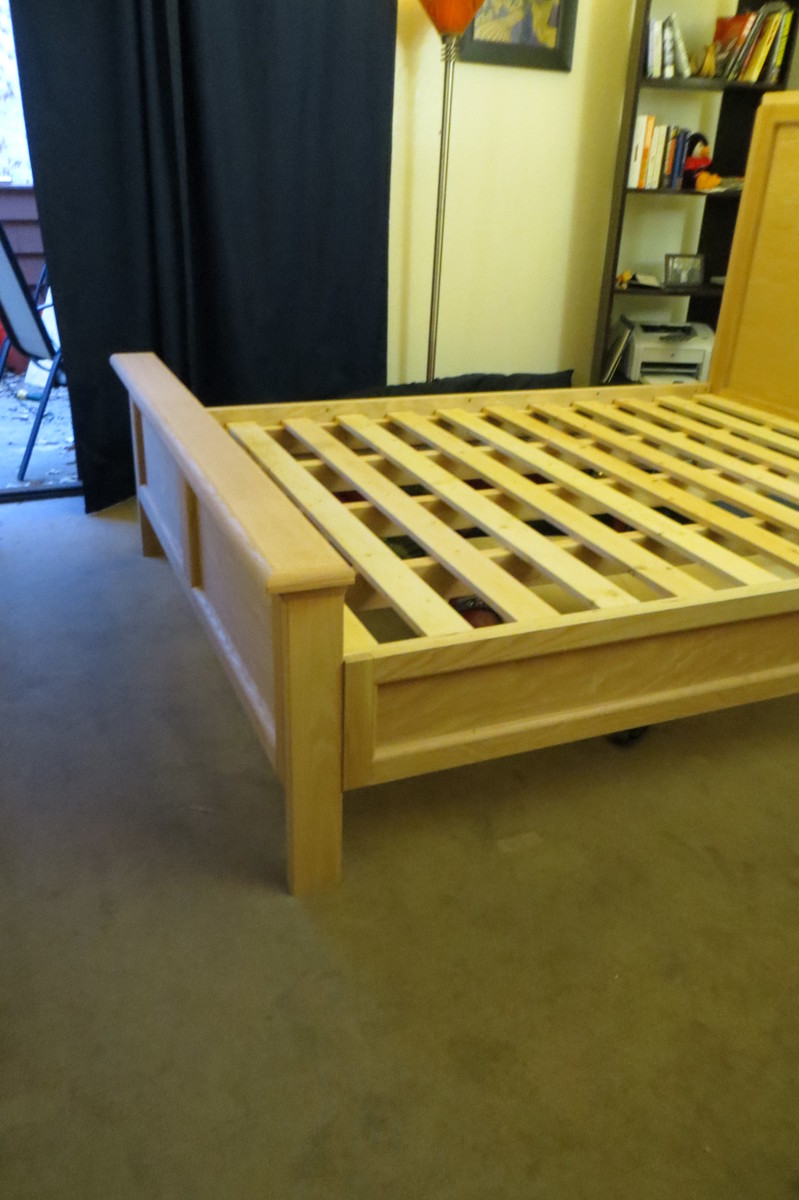
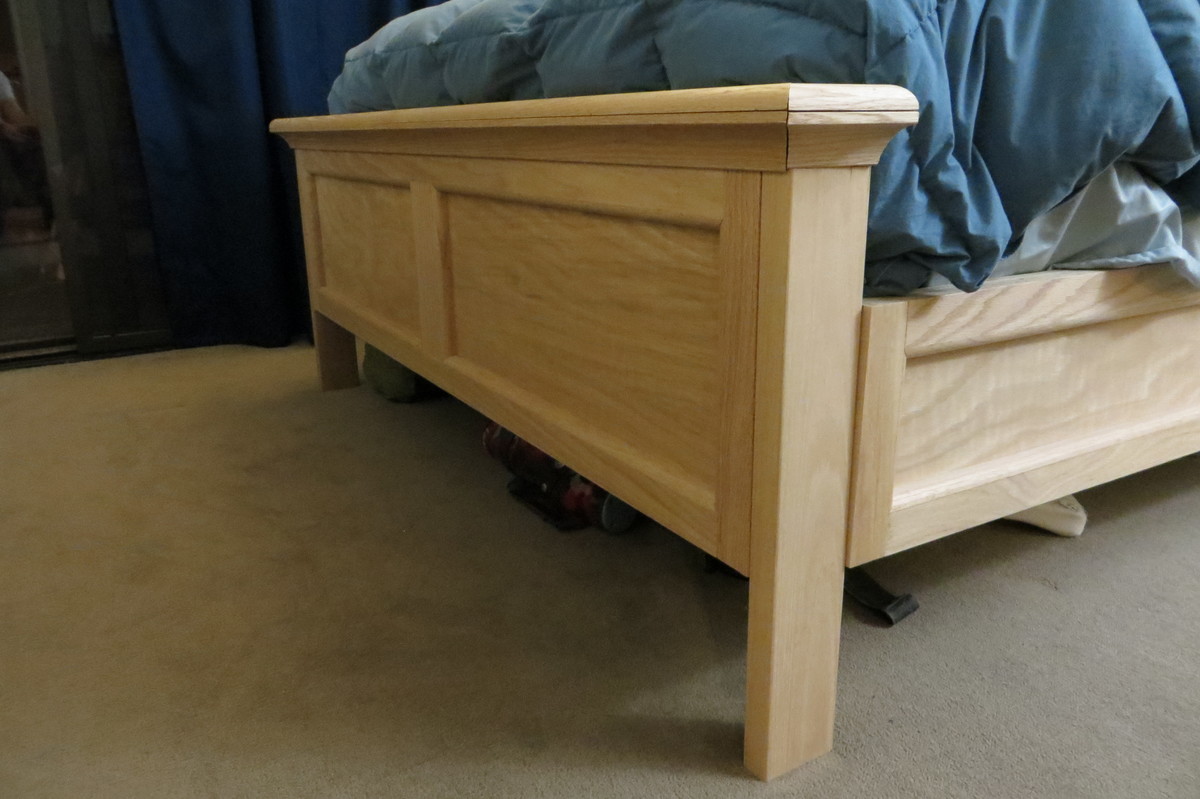
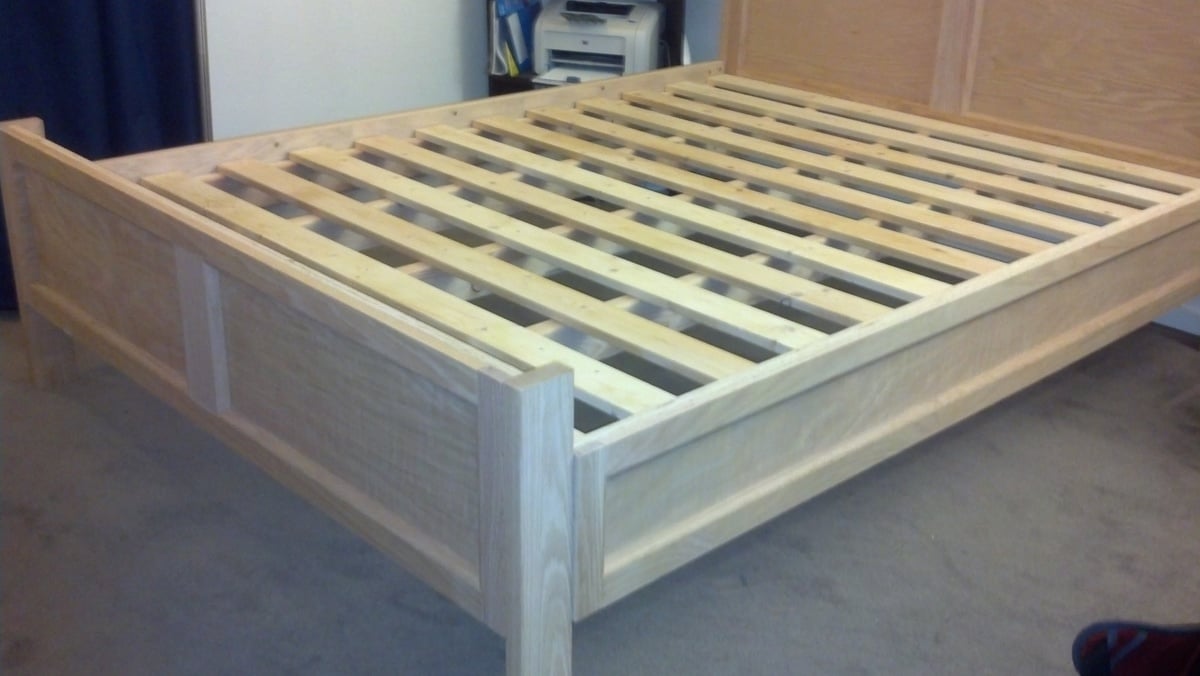
This was my second big project and I went ALL out! I was inspired by the modified farmhouse bed, but completely modified it to look like the Hudson bed from Pottery Barn. I designed it completely on my own too. All of the exterior is oak and the frame is fir and pine. This bed is super sturdy and sleeps great!

The sides, footboard, and headboard are made from oak plywood outlined by oak 1x2 and 1x3. Then added 1/2"x3/4" oak shoe molding for the indentations. The top of the footboard and headboard has 1.5" cove molding topped with quarter-round.

The total cost of all the material was $430. But I have enough leftover oak plywood to make a matching night table. I still need to stain it, but I love the raw oak smell and feel.

My only tools to create this was a circular saw, drill, screwdriver, miter box, and sander. The frame itself took only a few hours. All of the hand cutting of the molding and careful angles took most of the time (20+ hours) since it was my first time ever doing anything like this. The cove crown molding was especially difficult.

So....what color should I stain it?

Built from Plan(s)
Estimated Cost
430
Estimated Time Investment
Week Long Project (20 Hours or More)
Finish Used
None...yet.
Recommended Skill Level
Advanced

Comments

Elisha (not verified)

Sat, 11/10/2012 - 12:30

Beautiful! I love my farmhouse bed too. Doesn't it feel so good to cozy up into something to sturdy and know you made it with your own two hands? I don't know if it goes with the rest of your furniture, but I like the blonde color it is now. Maybe just seal it with Polyacrylic or wax so it doesn't yellow?

Queen Pallet wood bed

Submitted by naomi on Fri, 08/29/2014 - 08:07

I made this bed for my son and his girlfriend.

I used pallet wood and new pine for this.

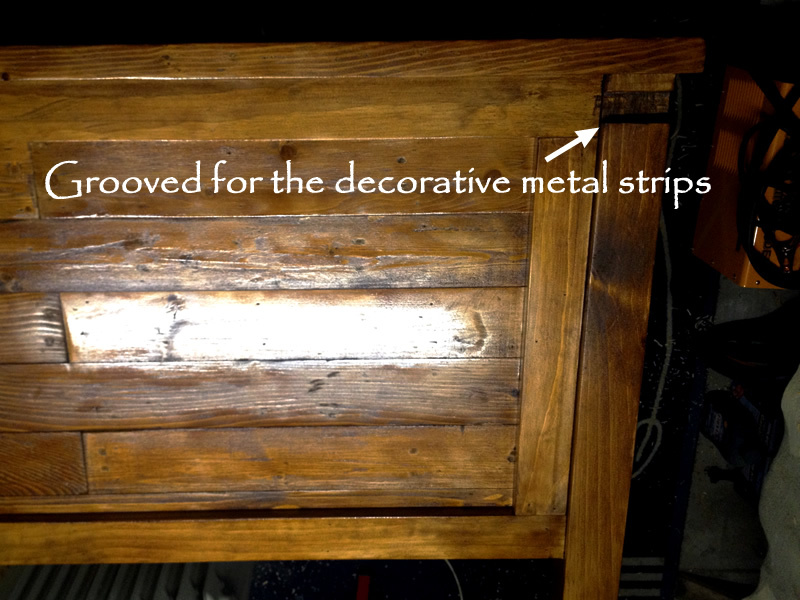
I also added two metal strips to the headboard for decoration.

The headboard is connected to the siderails with 2 bolts straight through the side of each leg. The siderails are on the inside of the headboard.

The siderails are connected to the foot of the bed with 2 bolts straight through the foot into the end of the siderails. I added a third fake bolt to balance the look.

Estimated Time Investment
Week Long Project (20 Hours or More)
Finish Used
Teak Stain
Recommended Skill Level
Intermediate

Comments

naomi

Wed, 10/15/2014 - 07:25

Hi EarthyByBike,

I had previously built the queen farmhouse bed and this bed was modeled from that one. I basically ran the boards vertical instead of horizontal. It uses most of the basic techniques as the farmhouse bed. I took the ideas from the farmhouse bed and then just changed it up a bit.

I can't remember the exact height of the bed but I think it was 165cm.


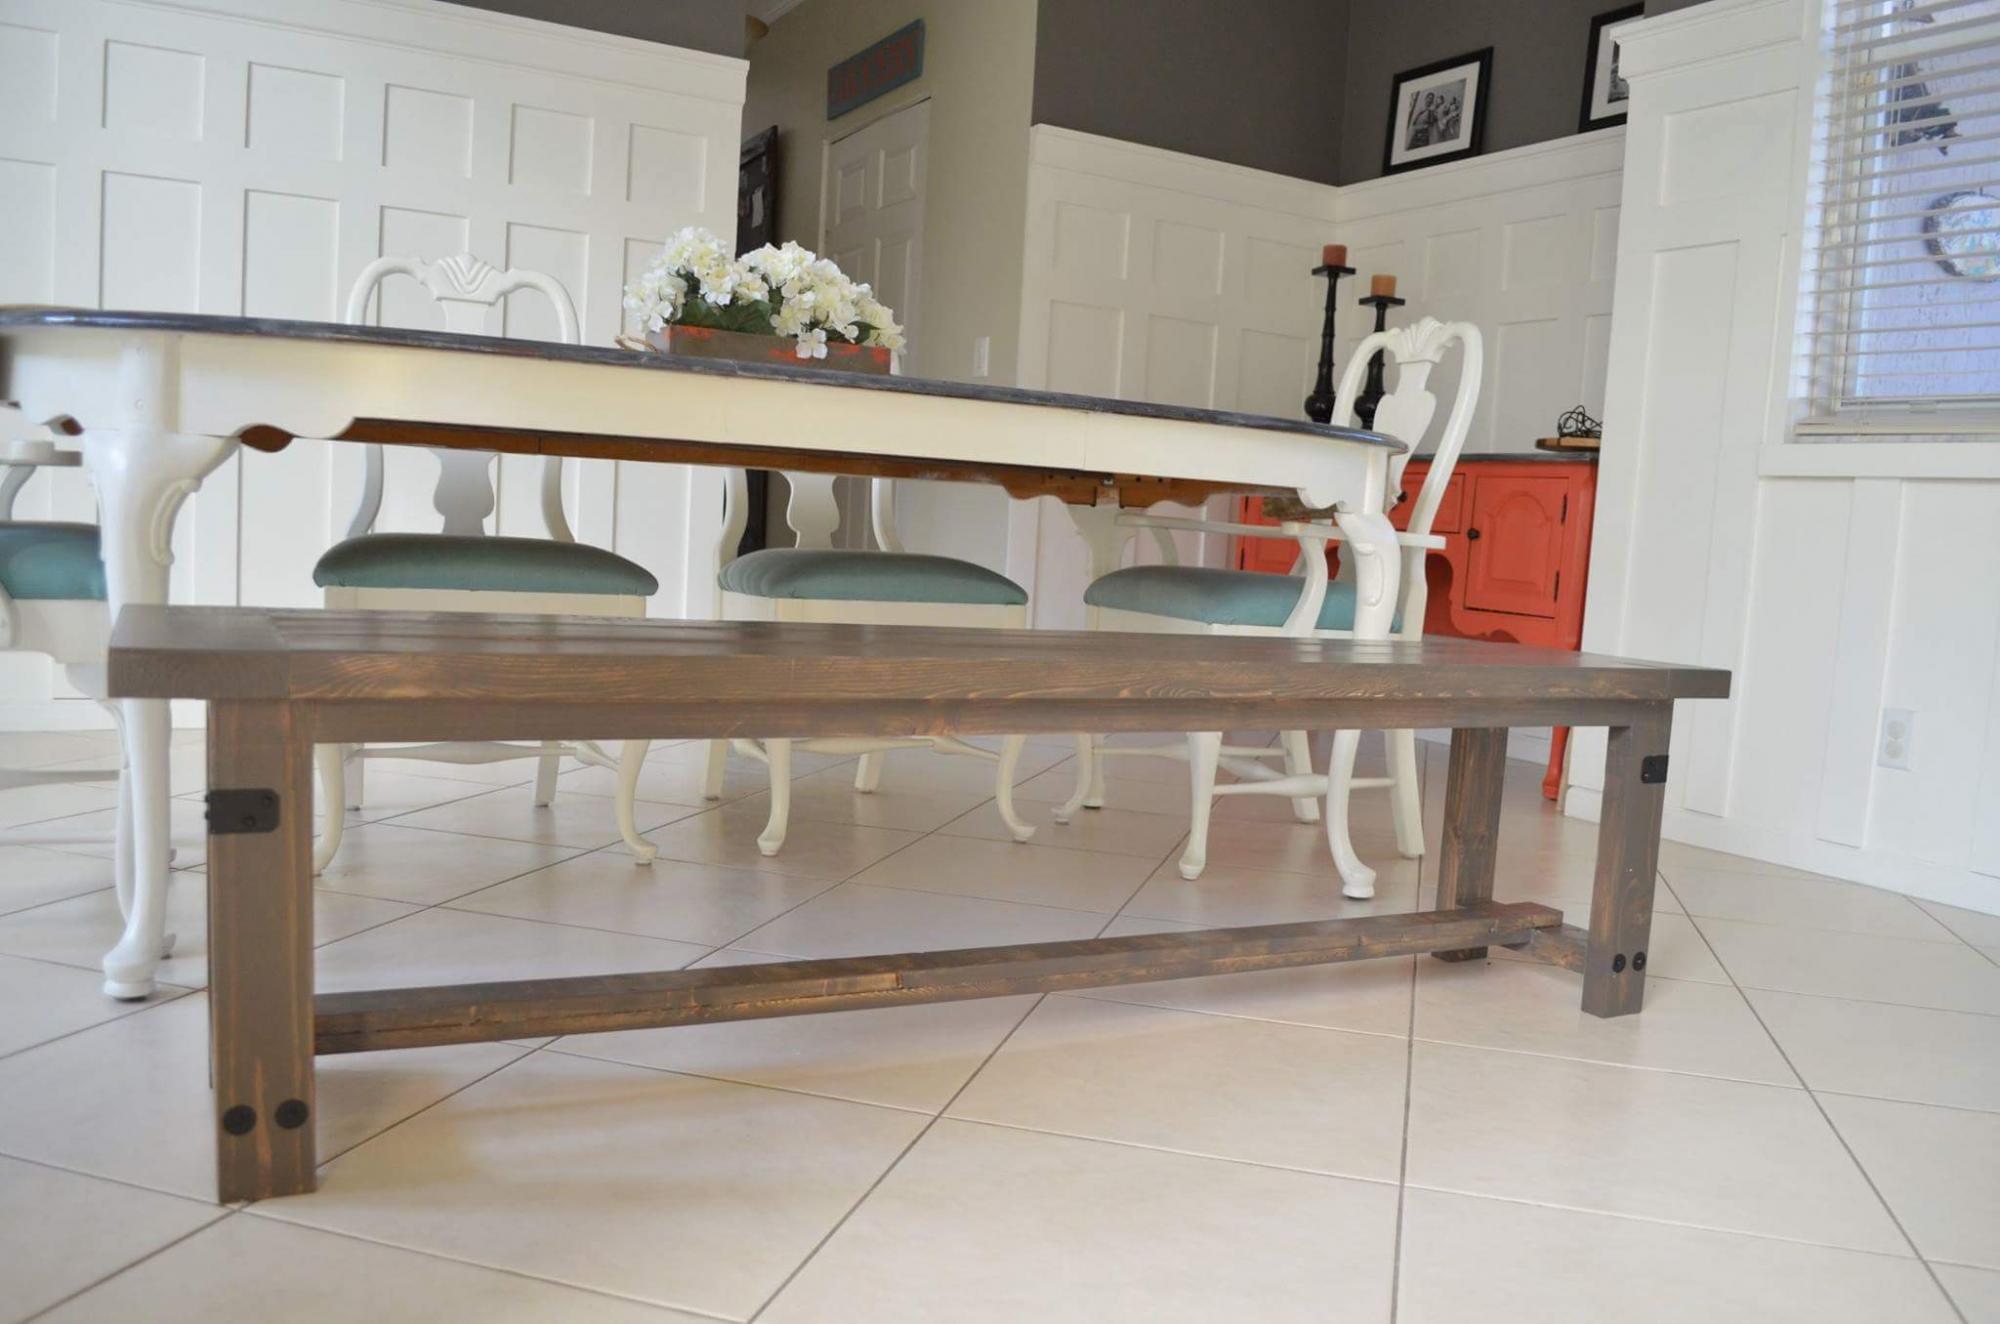
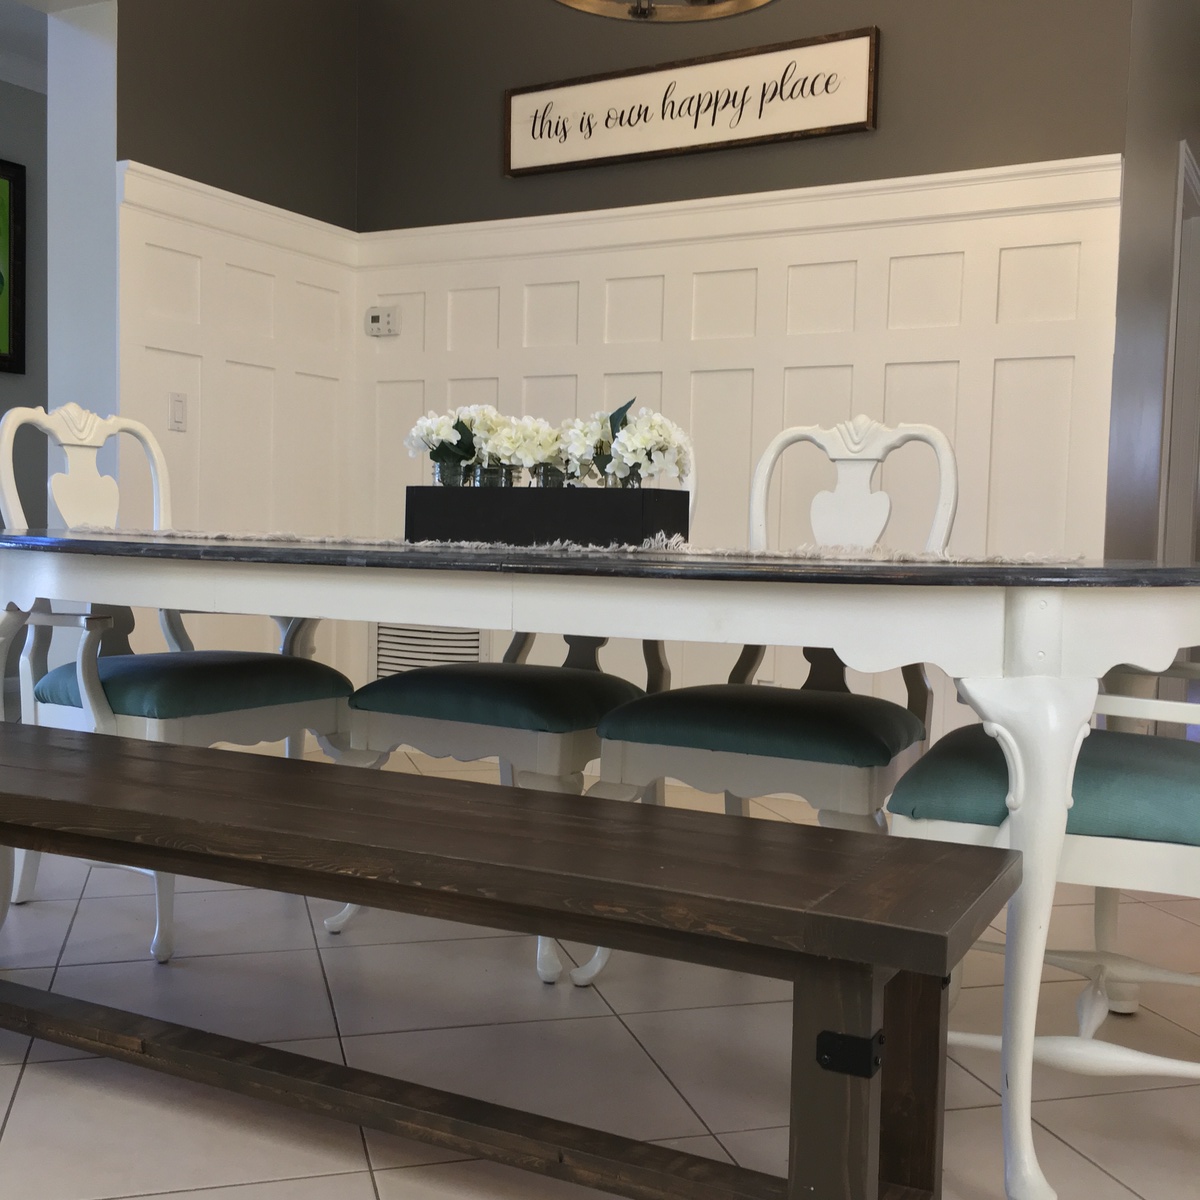
Industrial Farmhouse Bench from Shanty2Chic

Built from Shanty2Chic Industrial Farmhouse Bench Plans


Pine and Main builder for the South Florida Area.

Estimated Cost
$60
Finish Used
Finished with Varathane products. Stained with Briarsmoke Premium Wood Stain and top coat is Triple Thick Polyurethane
Recommended Skill Level
Beginner

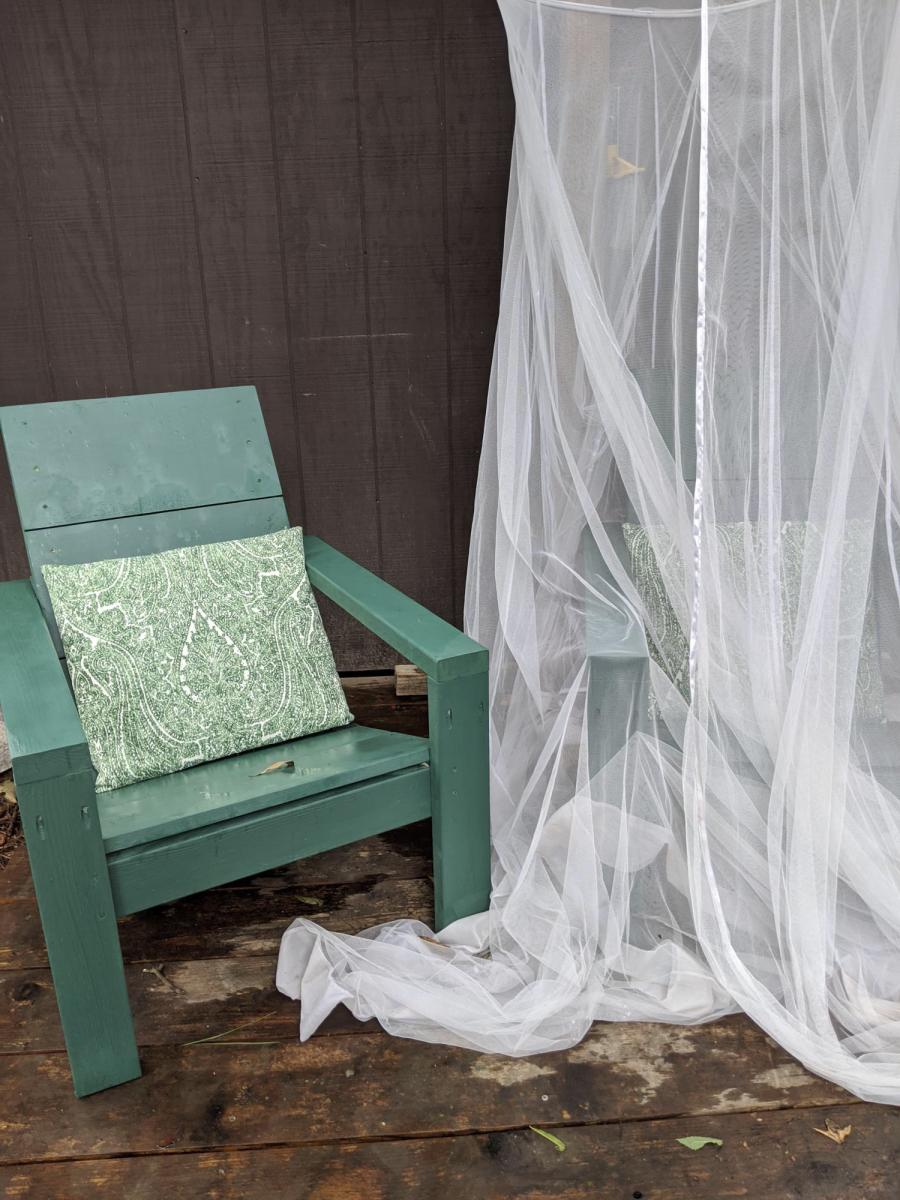
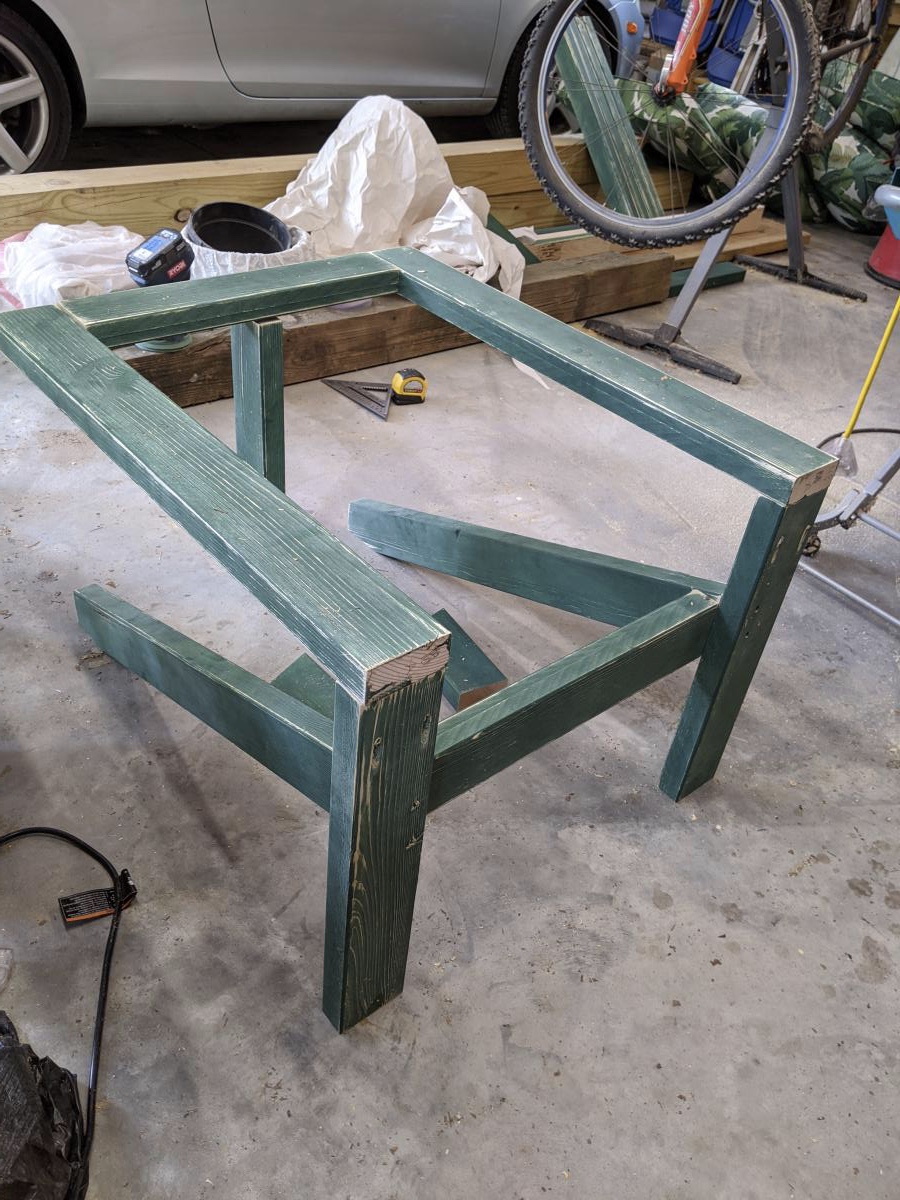
Modern Adirondack Chairs

Submitted by Anonymous (not verified) on Sun, 08/30/2020 - 18:57

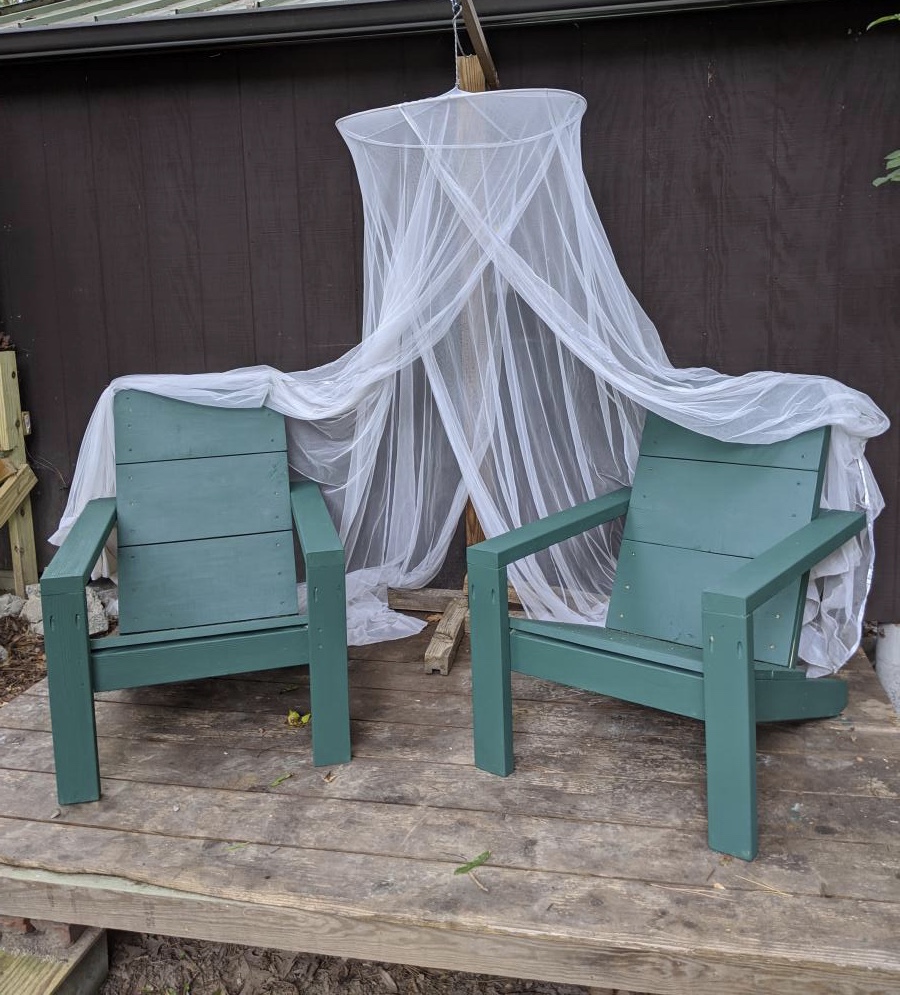
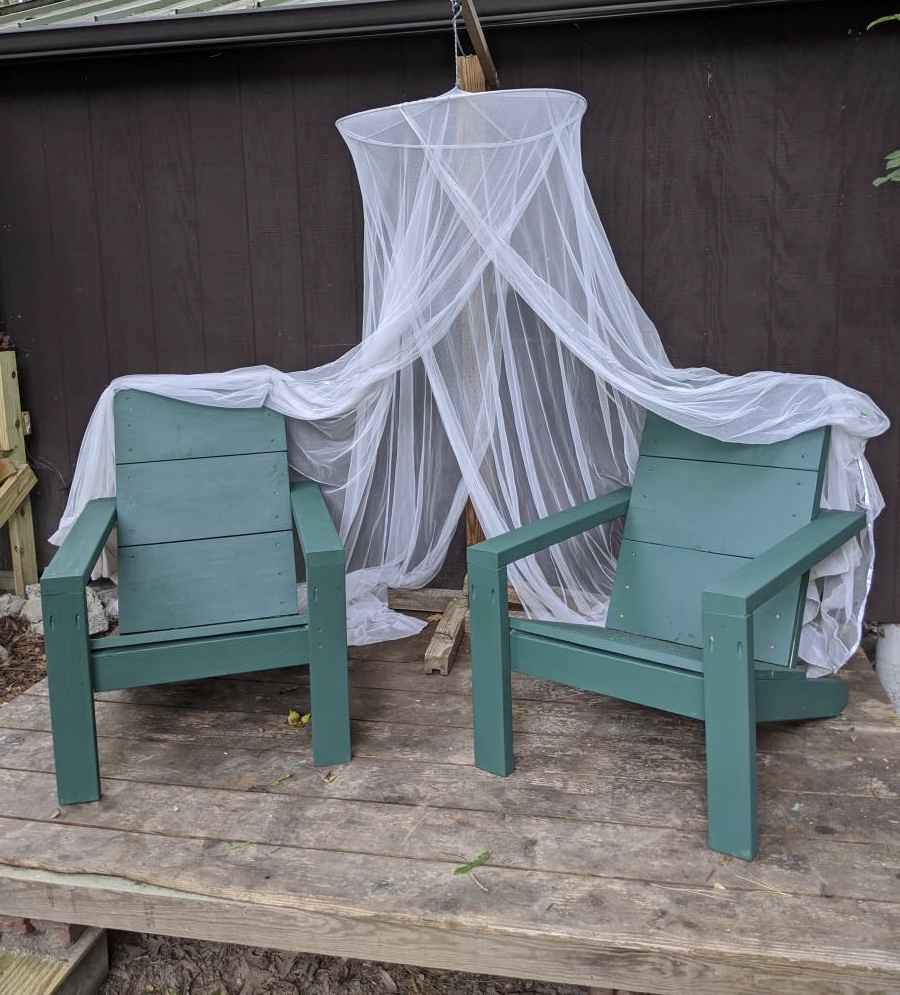
I followed Ana's plan to make this pair of woodsy chairs to go on the deck of our little shed in a wooded area behind our home. My only modification was that I had to purchase 1x10 for the decking and rip it down to size with my table saw. And I had to add a mosquito net!

Estimated Cost
60.00
Estimated Time Investment
Day Project (6-9 Hours)
Finish Used
Bear exterior flat paint. I pre-painted first coat before construction, then sanded and applied 2nd coat after construction.
Recommended Skill Level
Beginner

Our back yard table

Submitted by PnP on Mon, 11/12/2012 - 12:57

My wife and I loved the design. Our first project, we managed to do it over a weekend, I will upload the pics of the benches later. We love it, thanks for the guidance.

Estimated Cost
$85
Estimated Time Investment
Weekend Project (10-20 Hours)
Recommended Skill Level
Beginner

Loft Bed

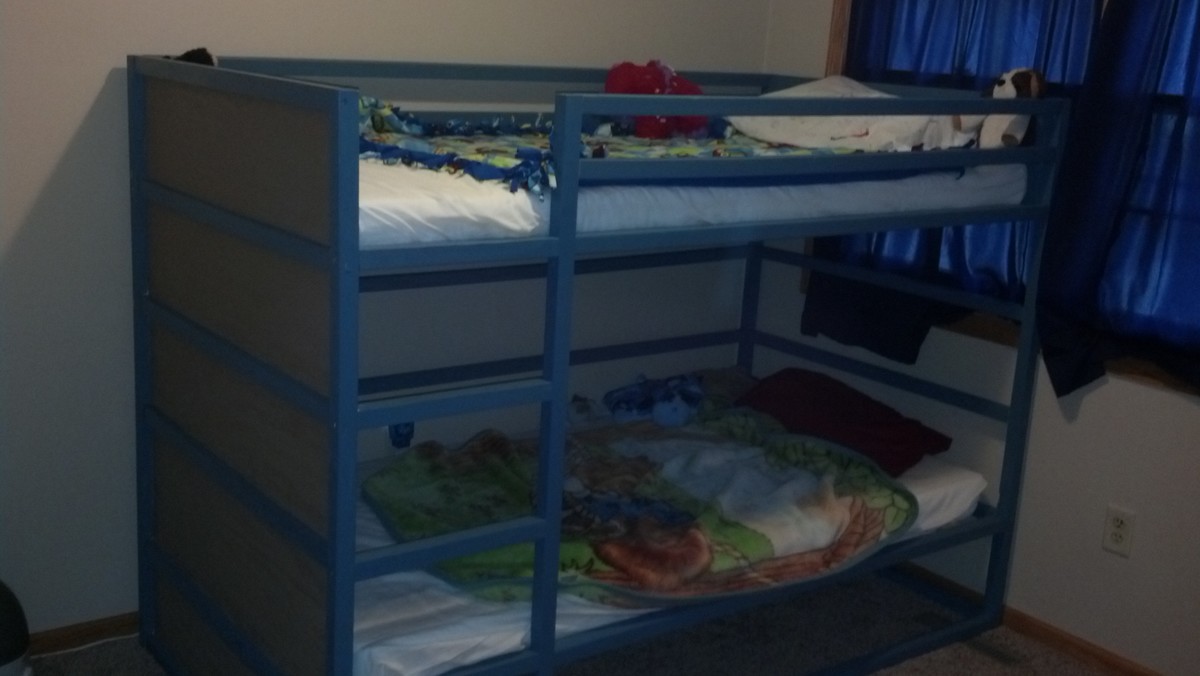
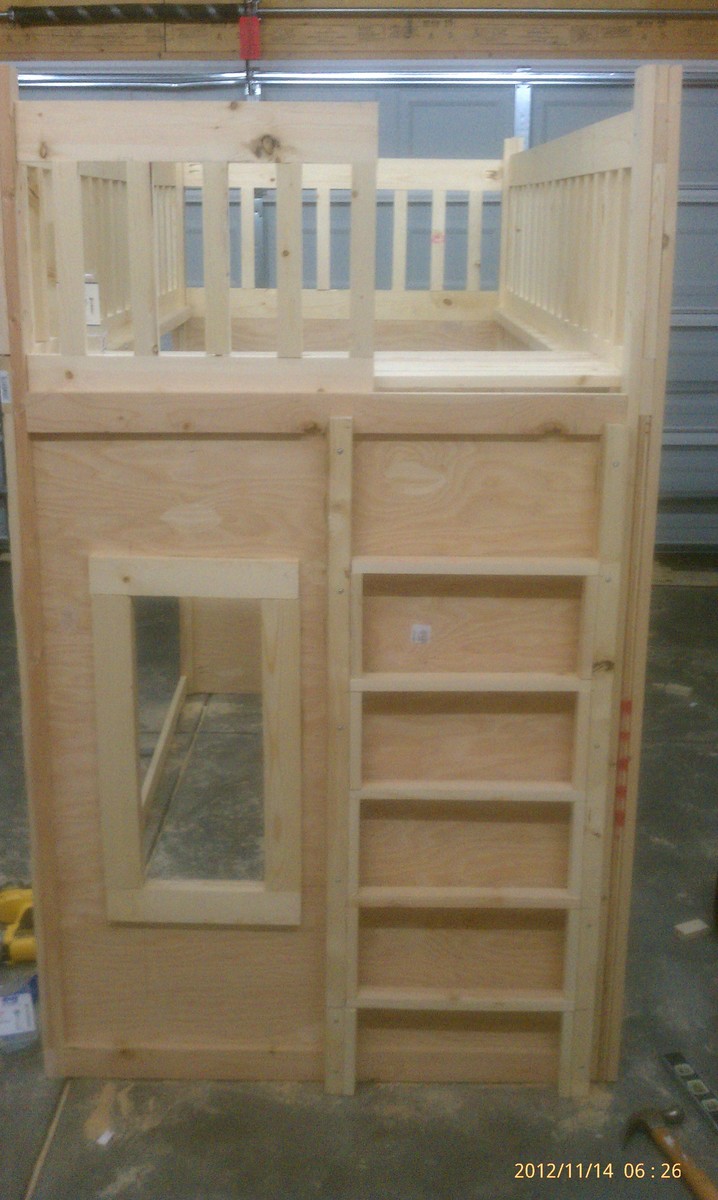
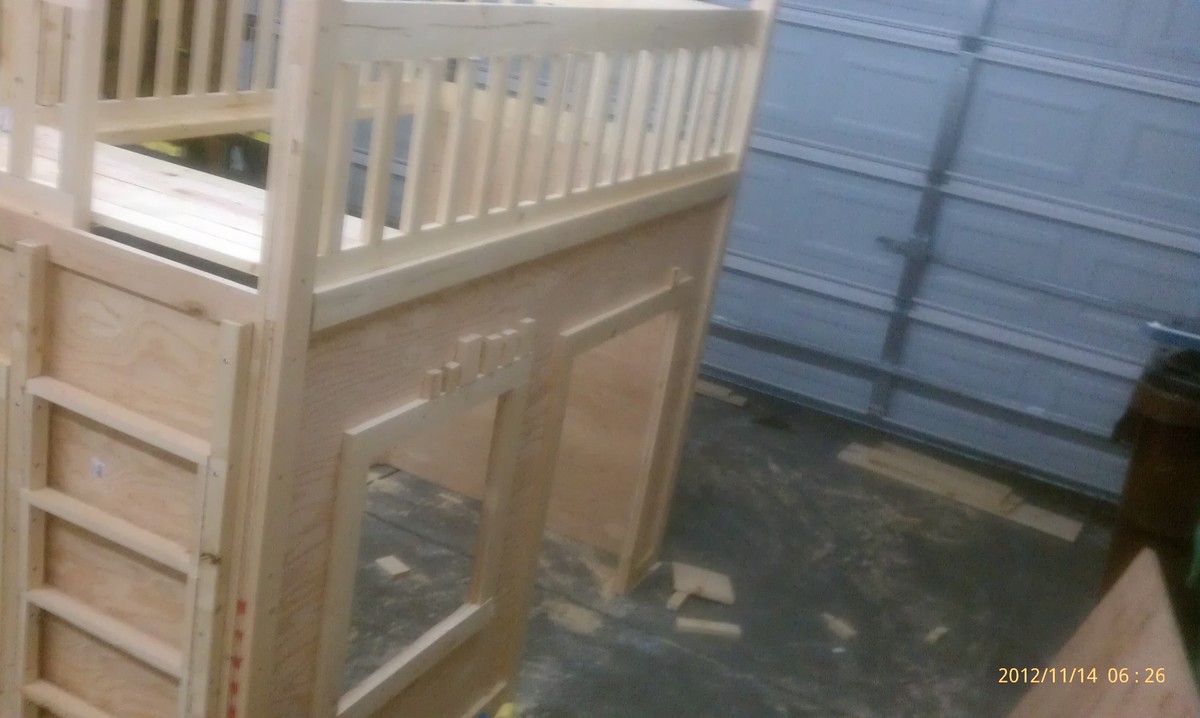
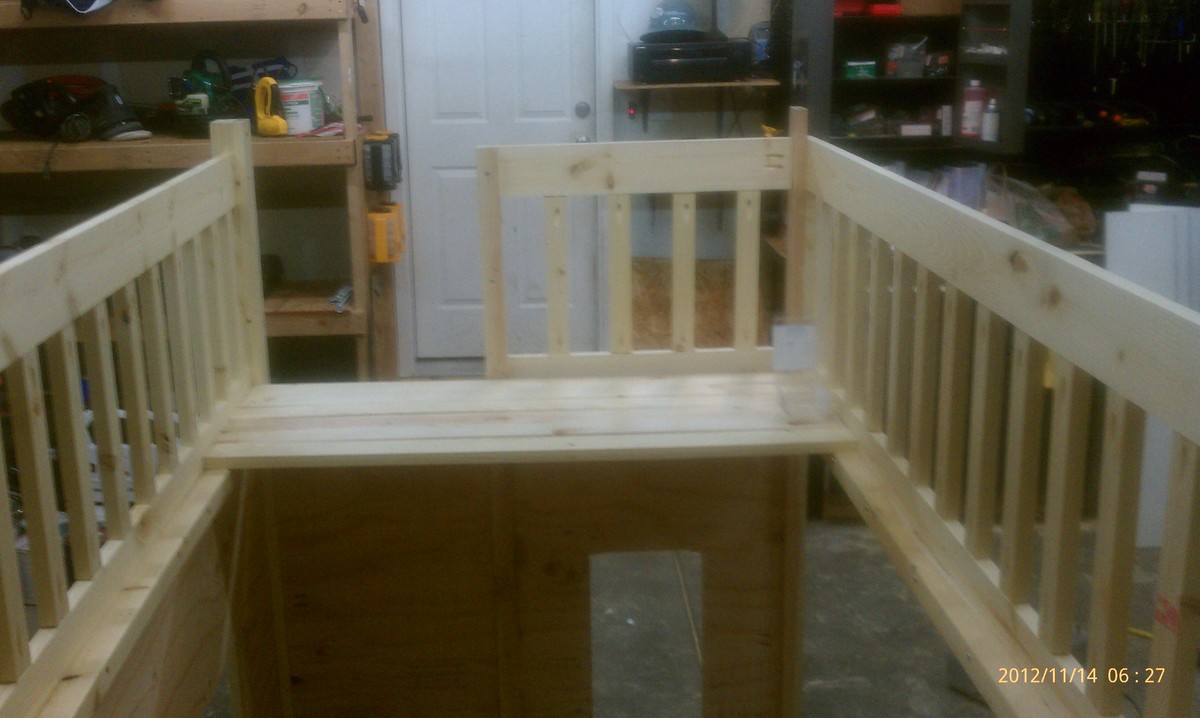
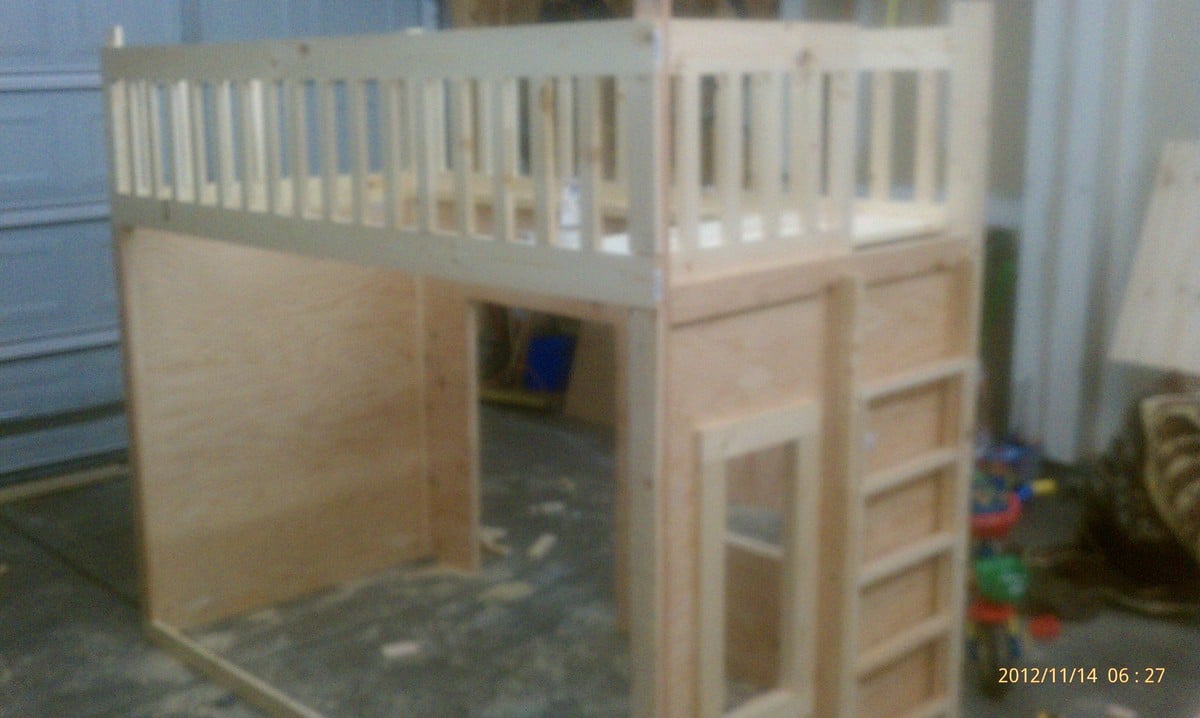
This is a loft style bunk bed. the original plan has the bottom mattress resting on the floor. instead of leaving the mattress on the floor we raised it up to the level of the bottom ladder. In the original plan the bed frame is only 48" high and we changed it to 58".

Estimated Cost
$175
Estimated Time Investment
Day Project (6-9 Hours)
Finish Used
We used Dutch Boy cabinet paint
Recommended Skill Level
Beginner

Grandy sliding door w/ Fireplace Insert

Submitted by Anonymous (not verified) on Mon, 12/19/2016 - 11:09

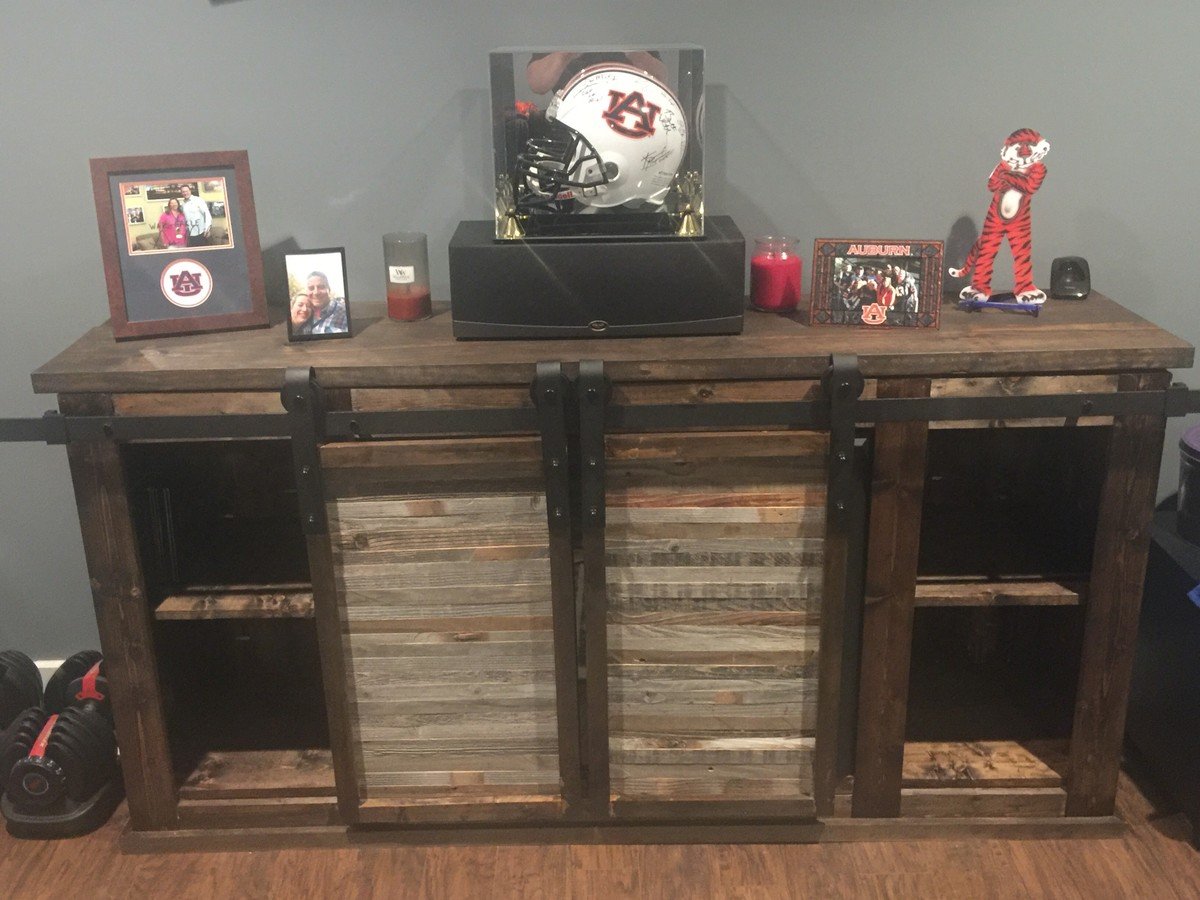
This was my first "major" furntiure project. I used the plans and modified for a 36" fireplace insert.  

Thrilled with how this turned out!!!  Thank you!
Built from Plan(s)
Estimated Cost
Lumber was around $100 or so. Insert was $300.
Estimated Time Investment
Weekend Project (10-20 Hours)
Finish Used
Miniwax dark walnut - 2 coats
Recommended Skill Level
Beginner

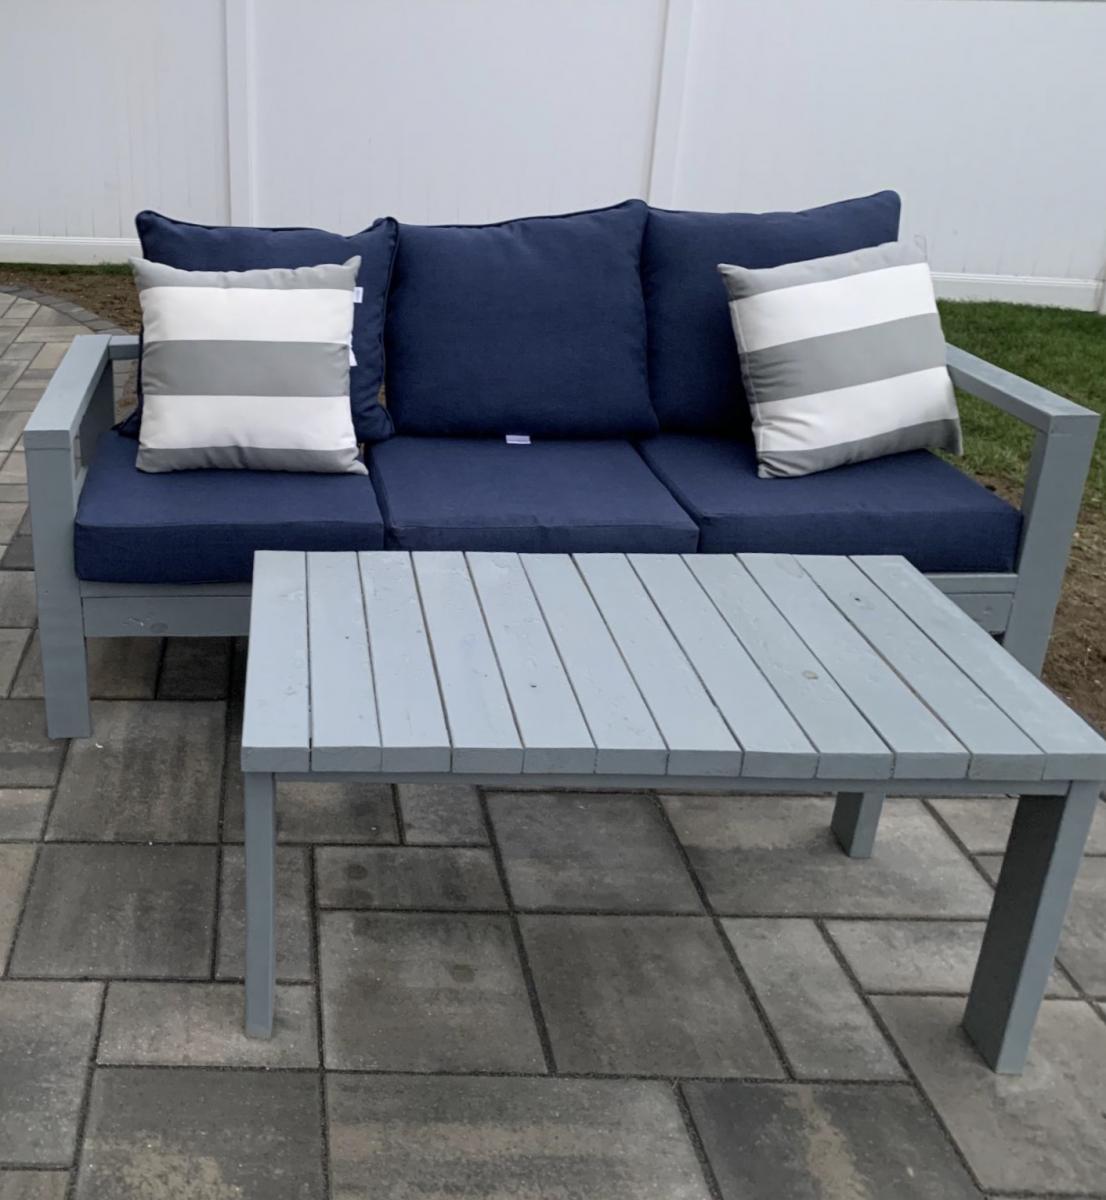
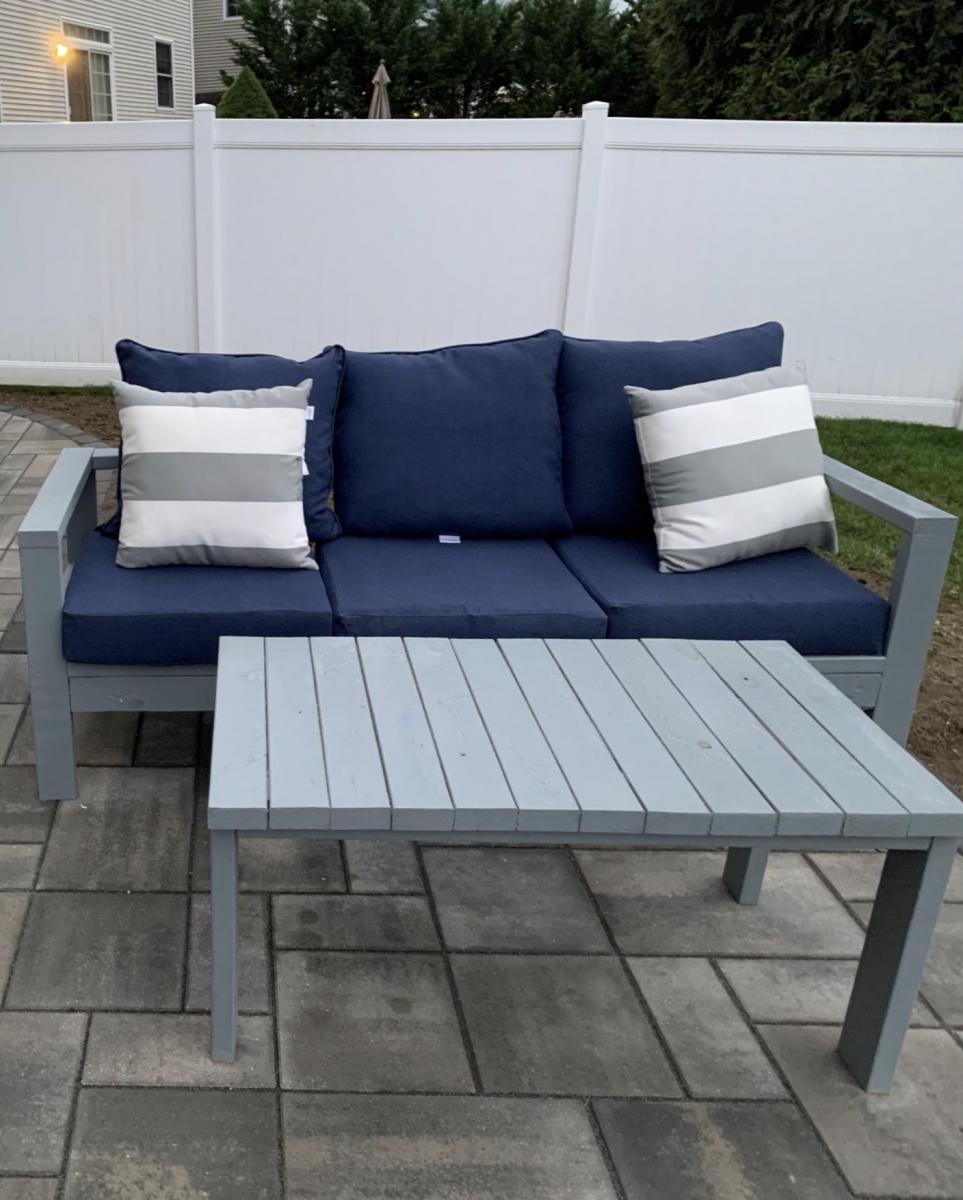
Outdoor Sofa

Submitted by cbecksOSU on Mon, 08/31/2020 - 18:43

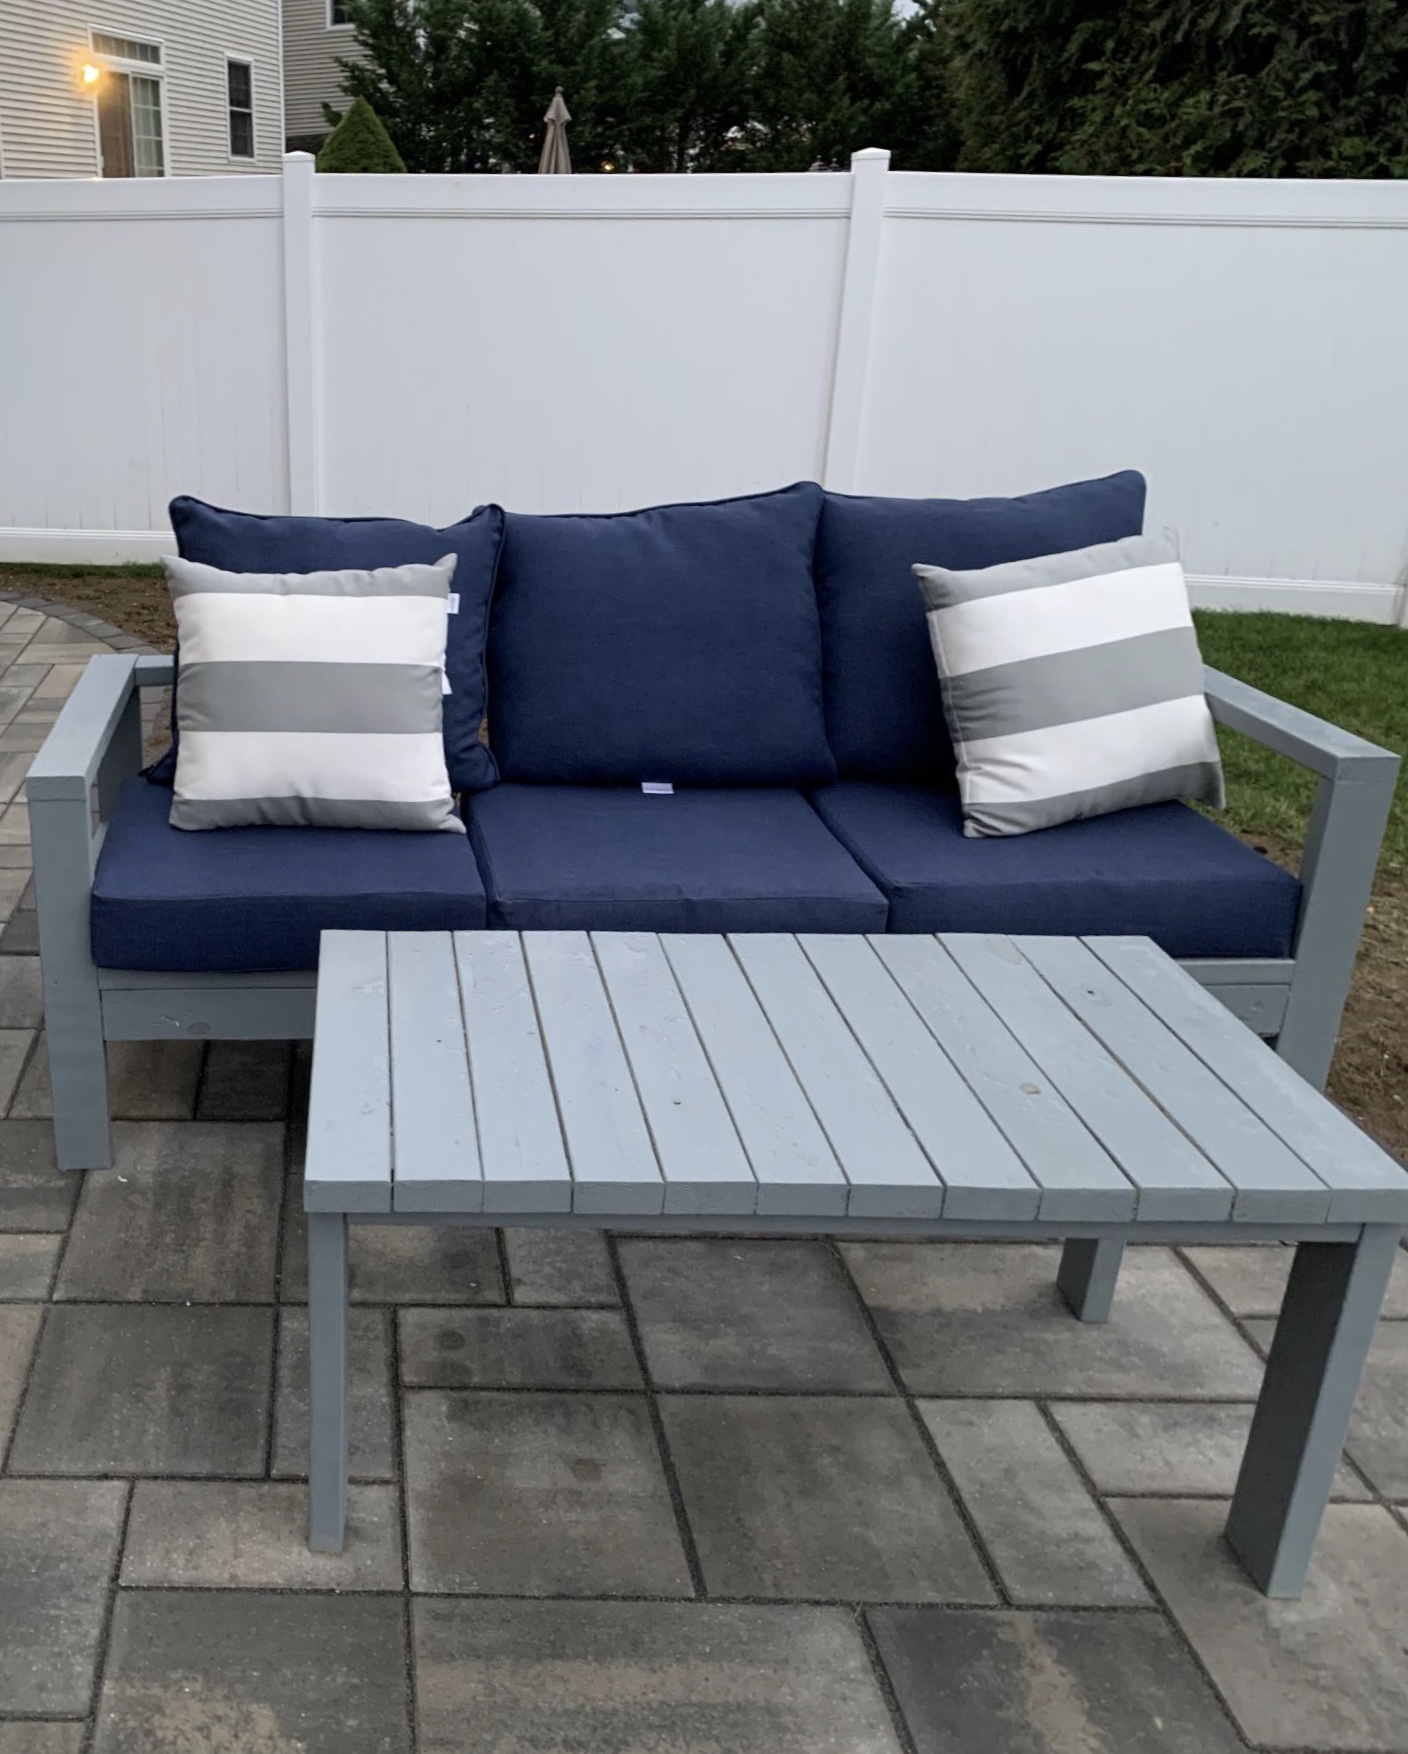
First DIY project ever. Came out so good I built another

Built from Plan(s)
Estimated Cost
$300
Estimated Time Investment
Afternoon Project (3-6 Hours)
Finish Used
Georgetown Gray Arbor Coat (Benjamin Moore)
Recommended Skill Level
Beginner

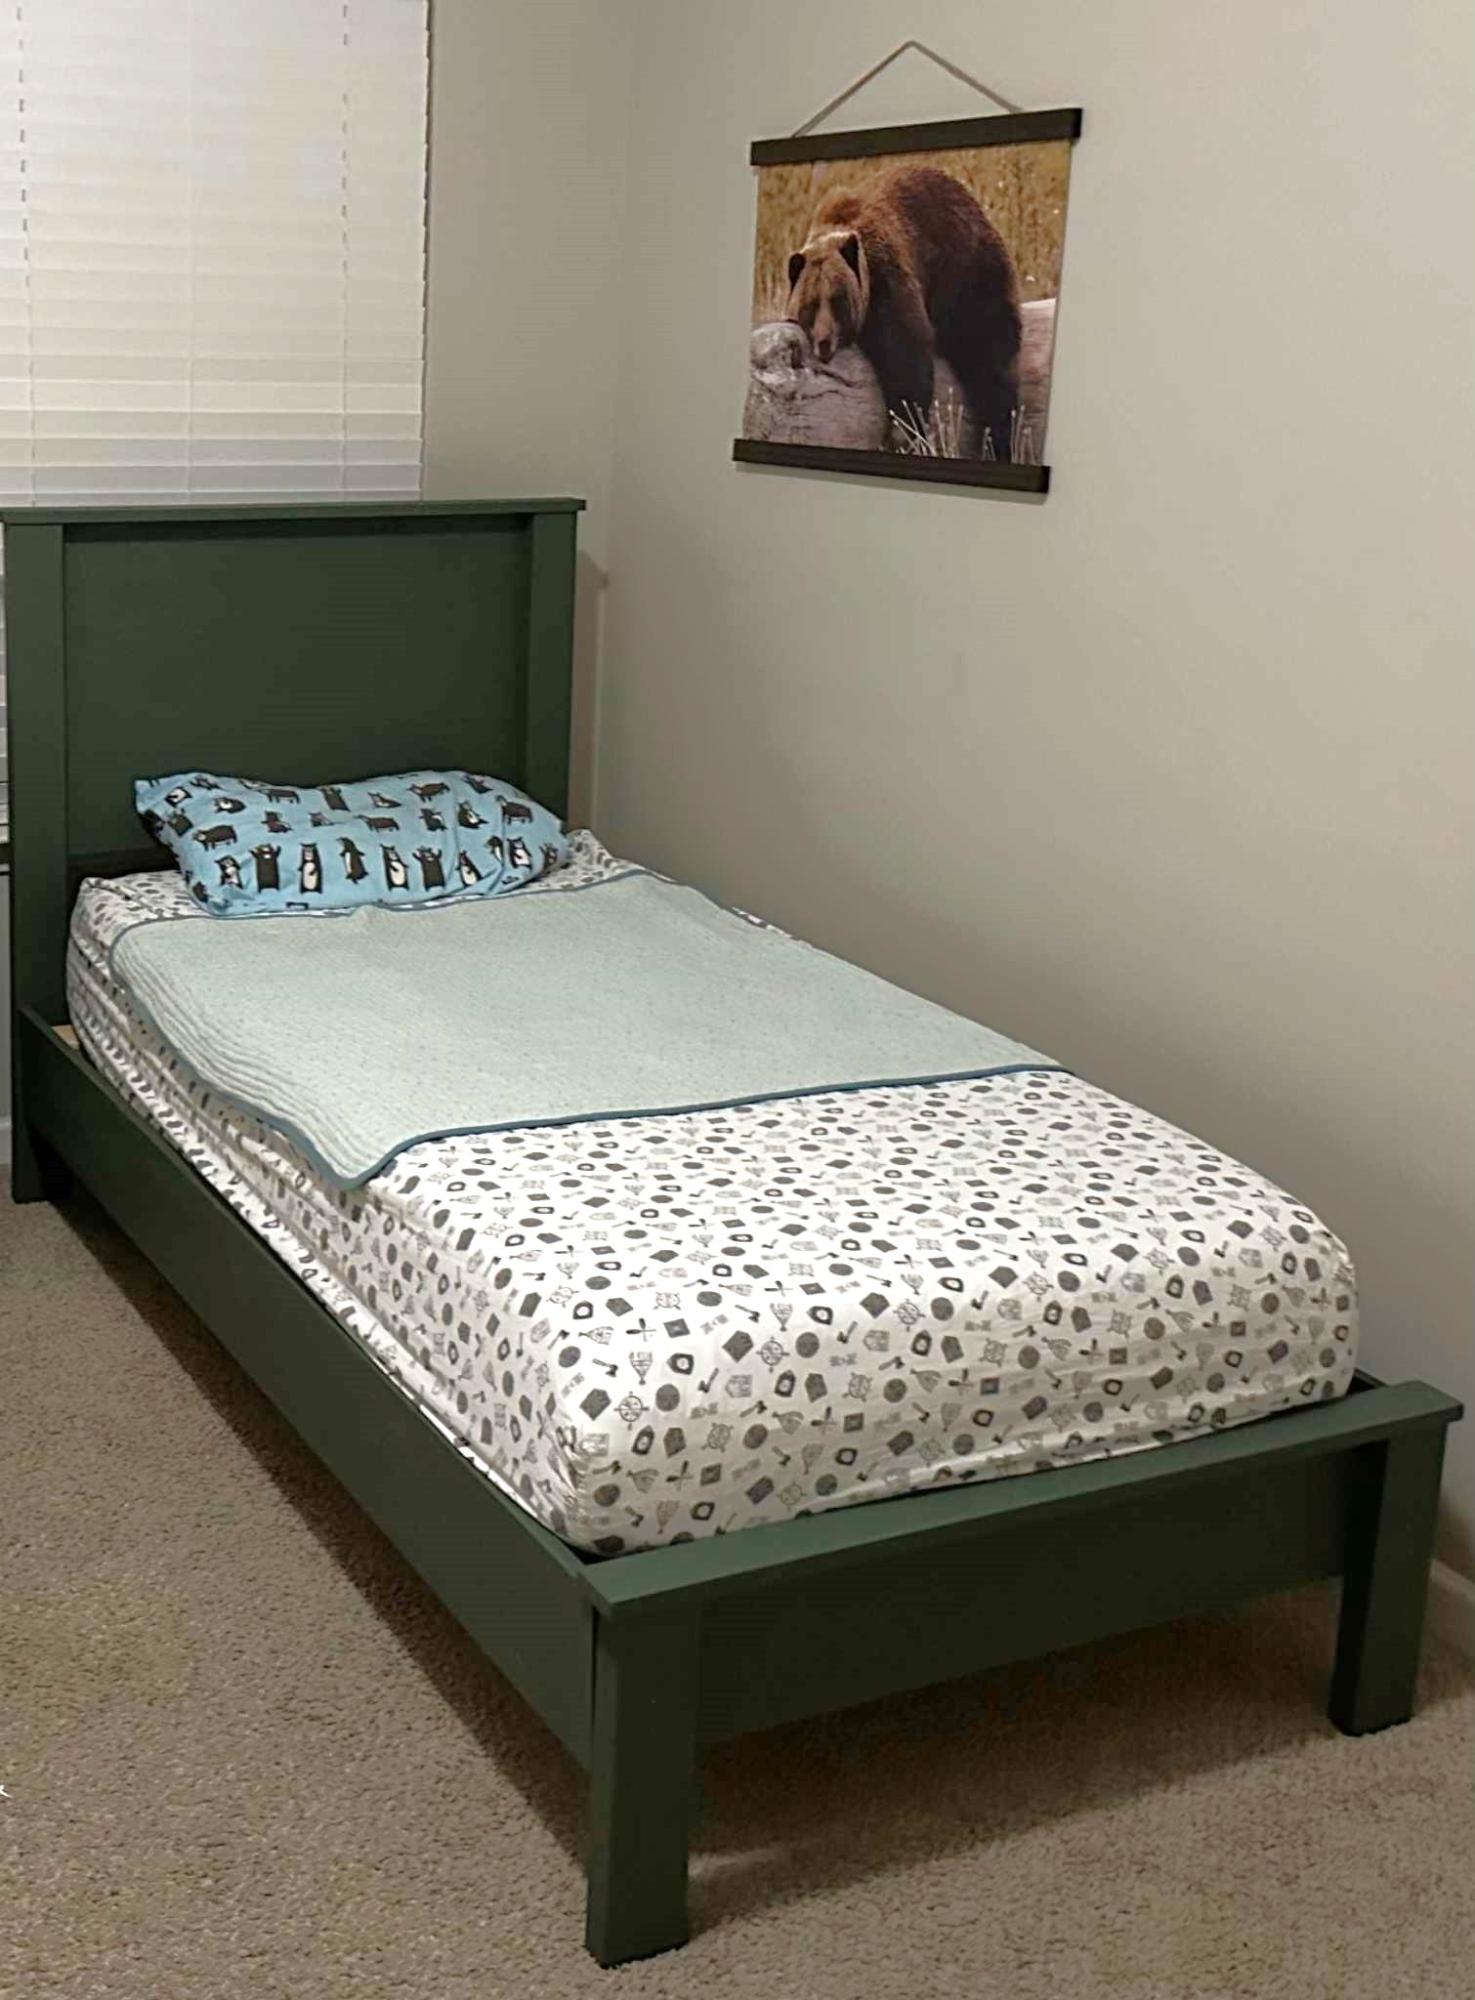
Simple Panel Bed

Submitted by Anonymous (not verified) on Tue, 08/27/2024 - 14:47

I built a simple panel bed using Ana White’s tutorial and plans. It is a big boy bed for my 3 year old and we love it! I think it turned out so awesome and I am so impressed with how nice it looks. Thank you so much for these amazing plans Ana!

Nikki at titusmom.com

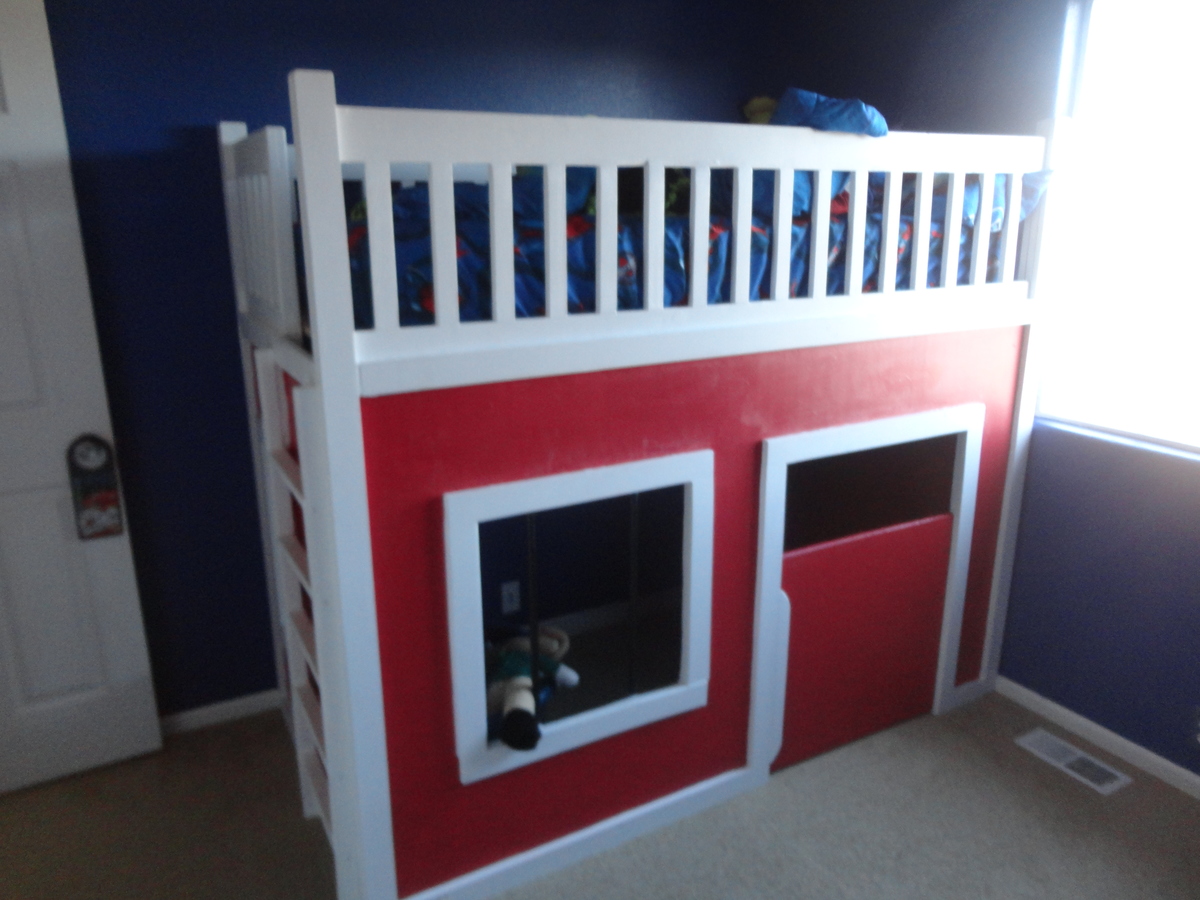
Ayden's Hideout

Submitted by Scobo01 on Mon, 11/19/2012 - 13:32

This was my first build using these plans. We found it intuitive and enjoyable. I did all the building and sanding and my wife did all of the painting. Once we completed it, we moved it to our sons room and re-assemblied. When it was up, our two little ones played on and in it all night. Our 3 year old daughter would not sleep in her own bed after seeing this...so we let them spend the night together. My son loves it! What a good time we had. I think this will be the first of many Ana White builds for us.

Estimated Cost
$375
Estimated Time Investment
Week Long Project (20 Hours or More)
Finish Used
Paint
Recommended Skill Level
Beginner
Back