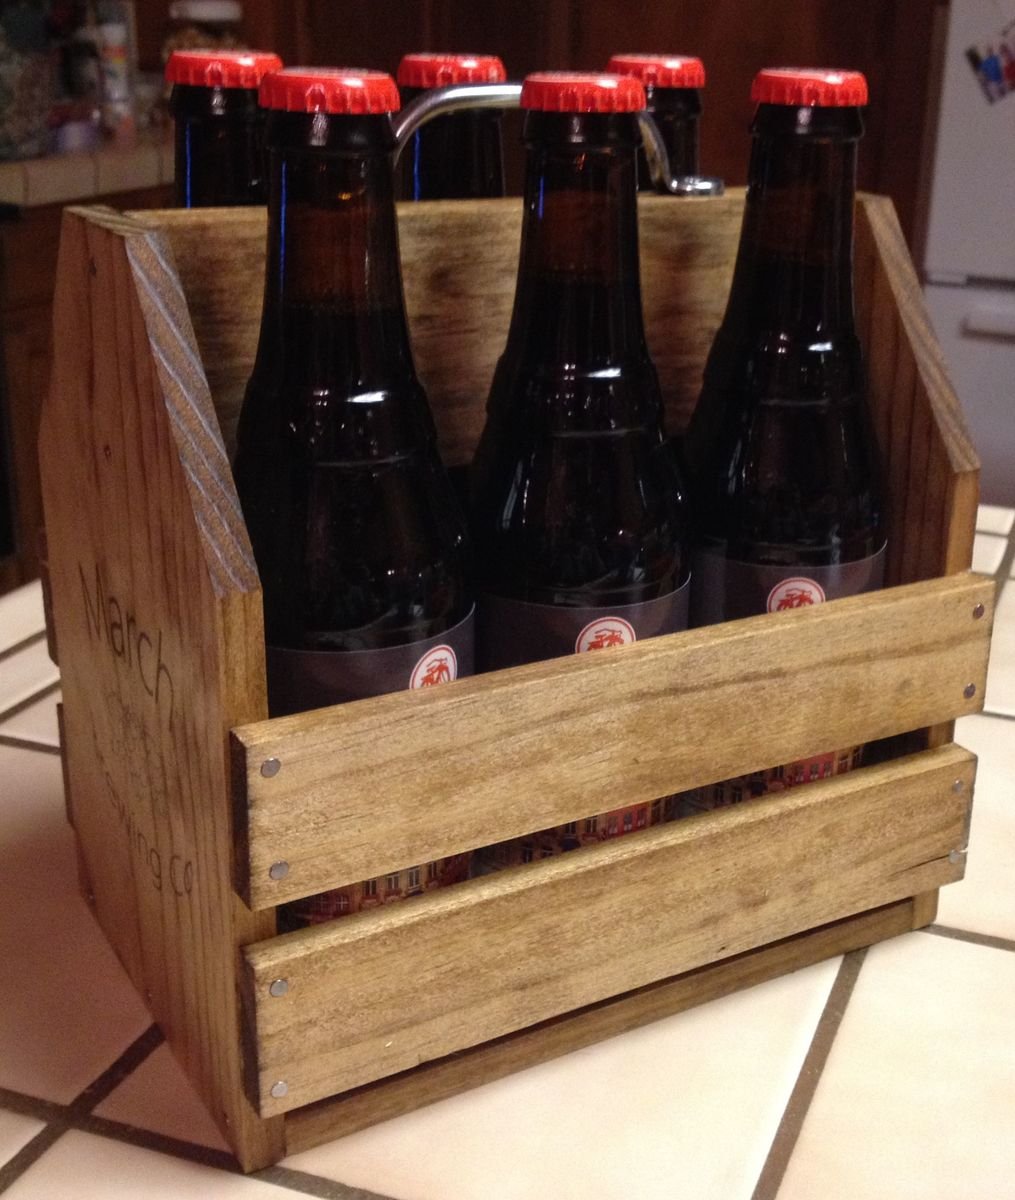
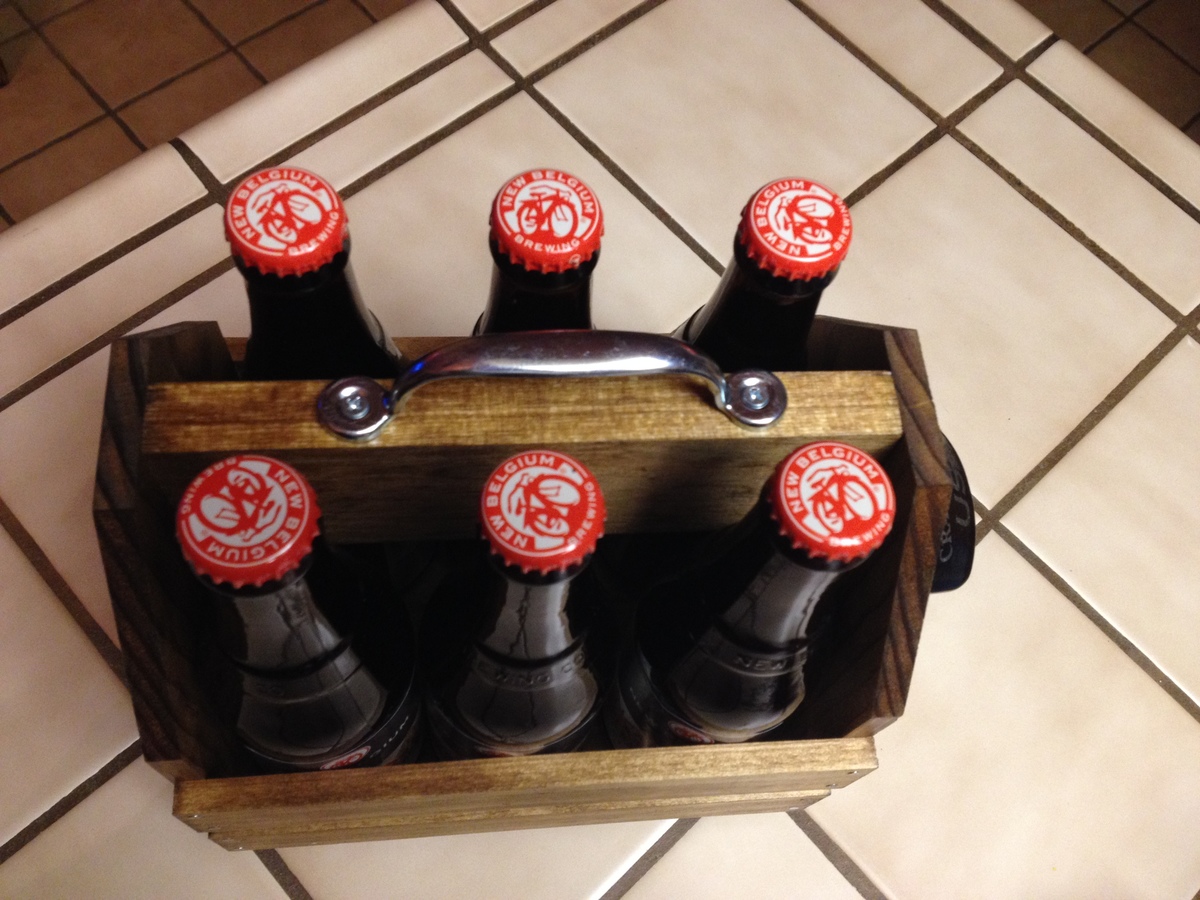
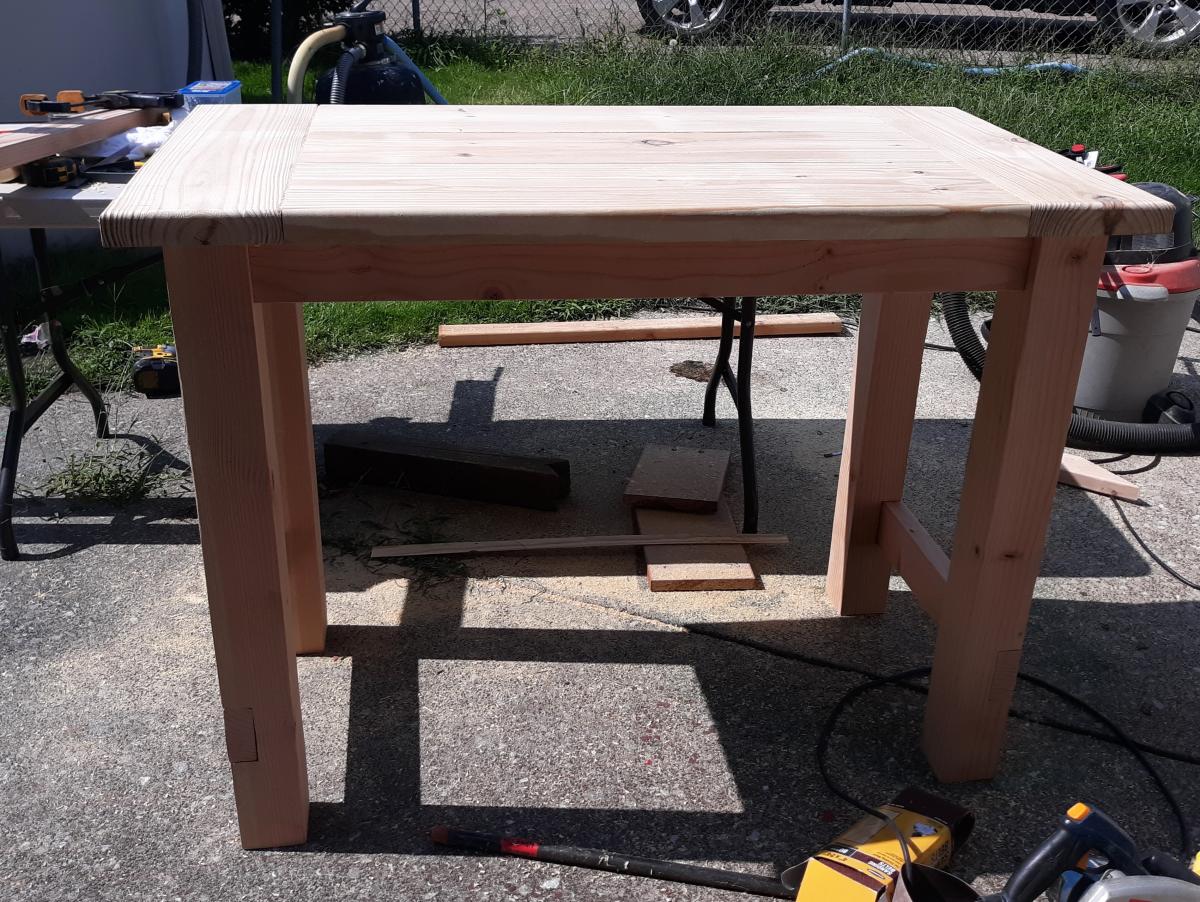
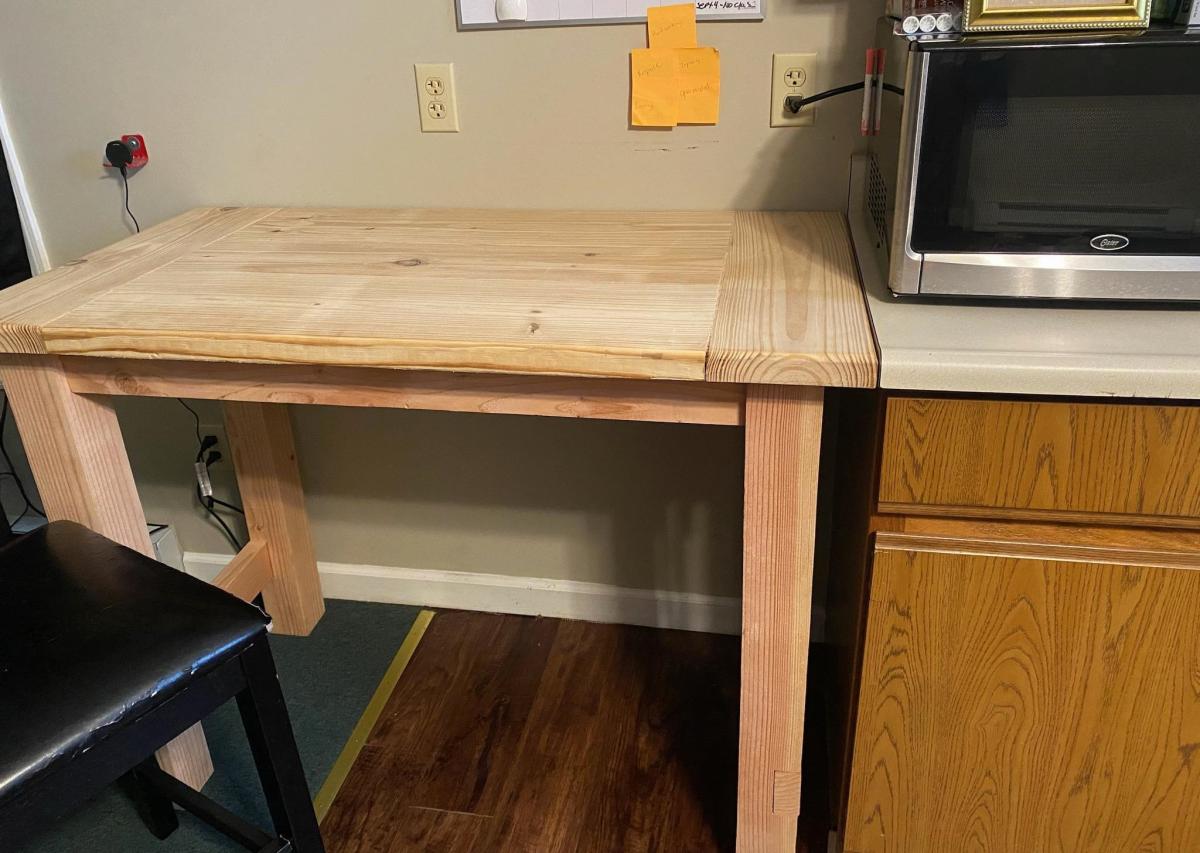
6-Pack Carrier
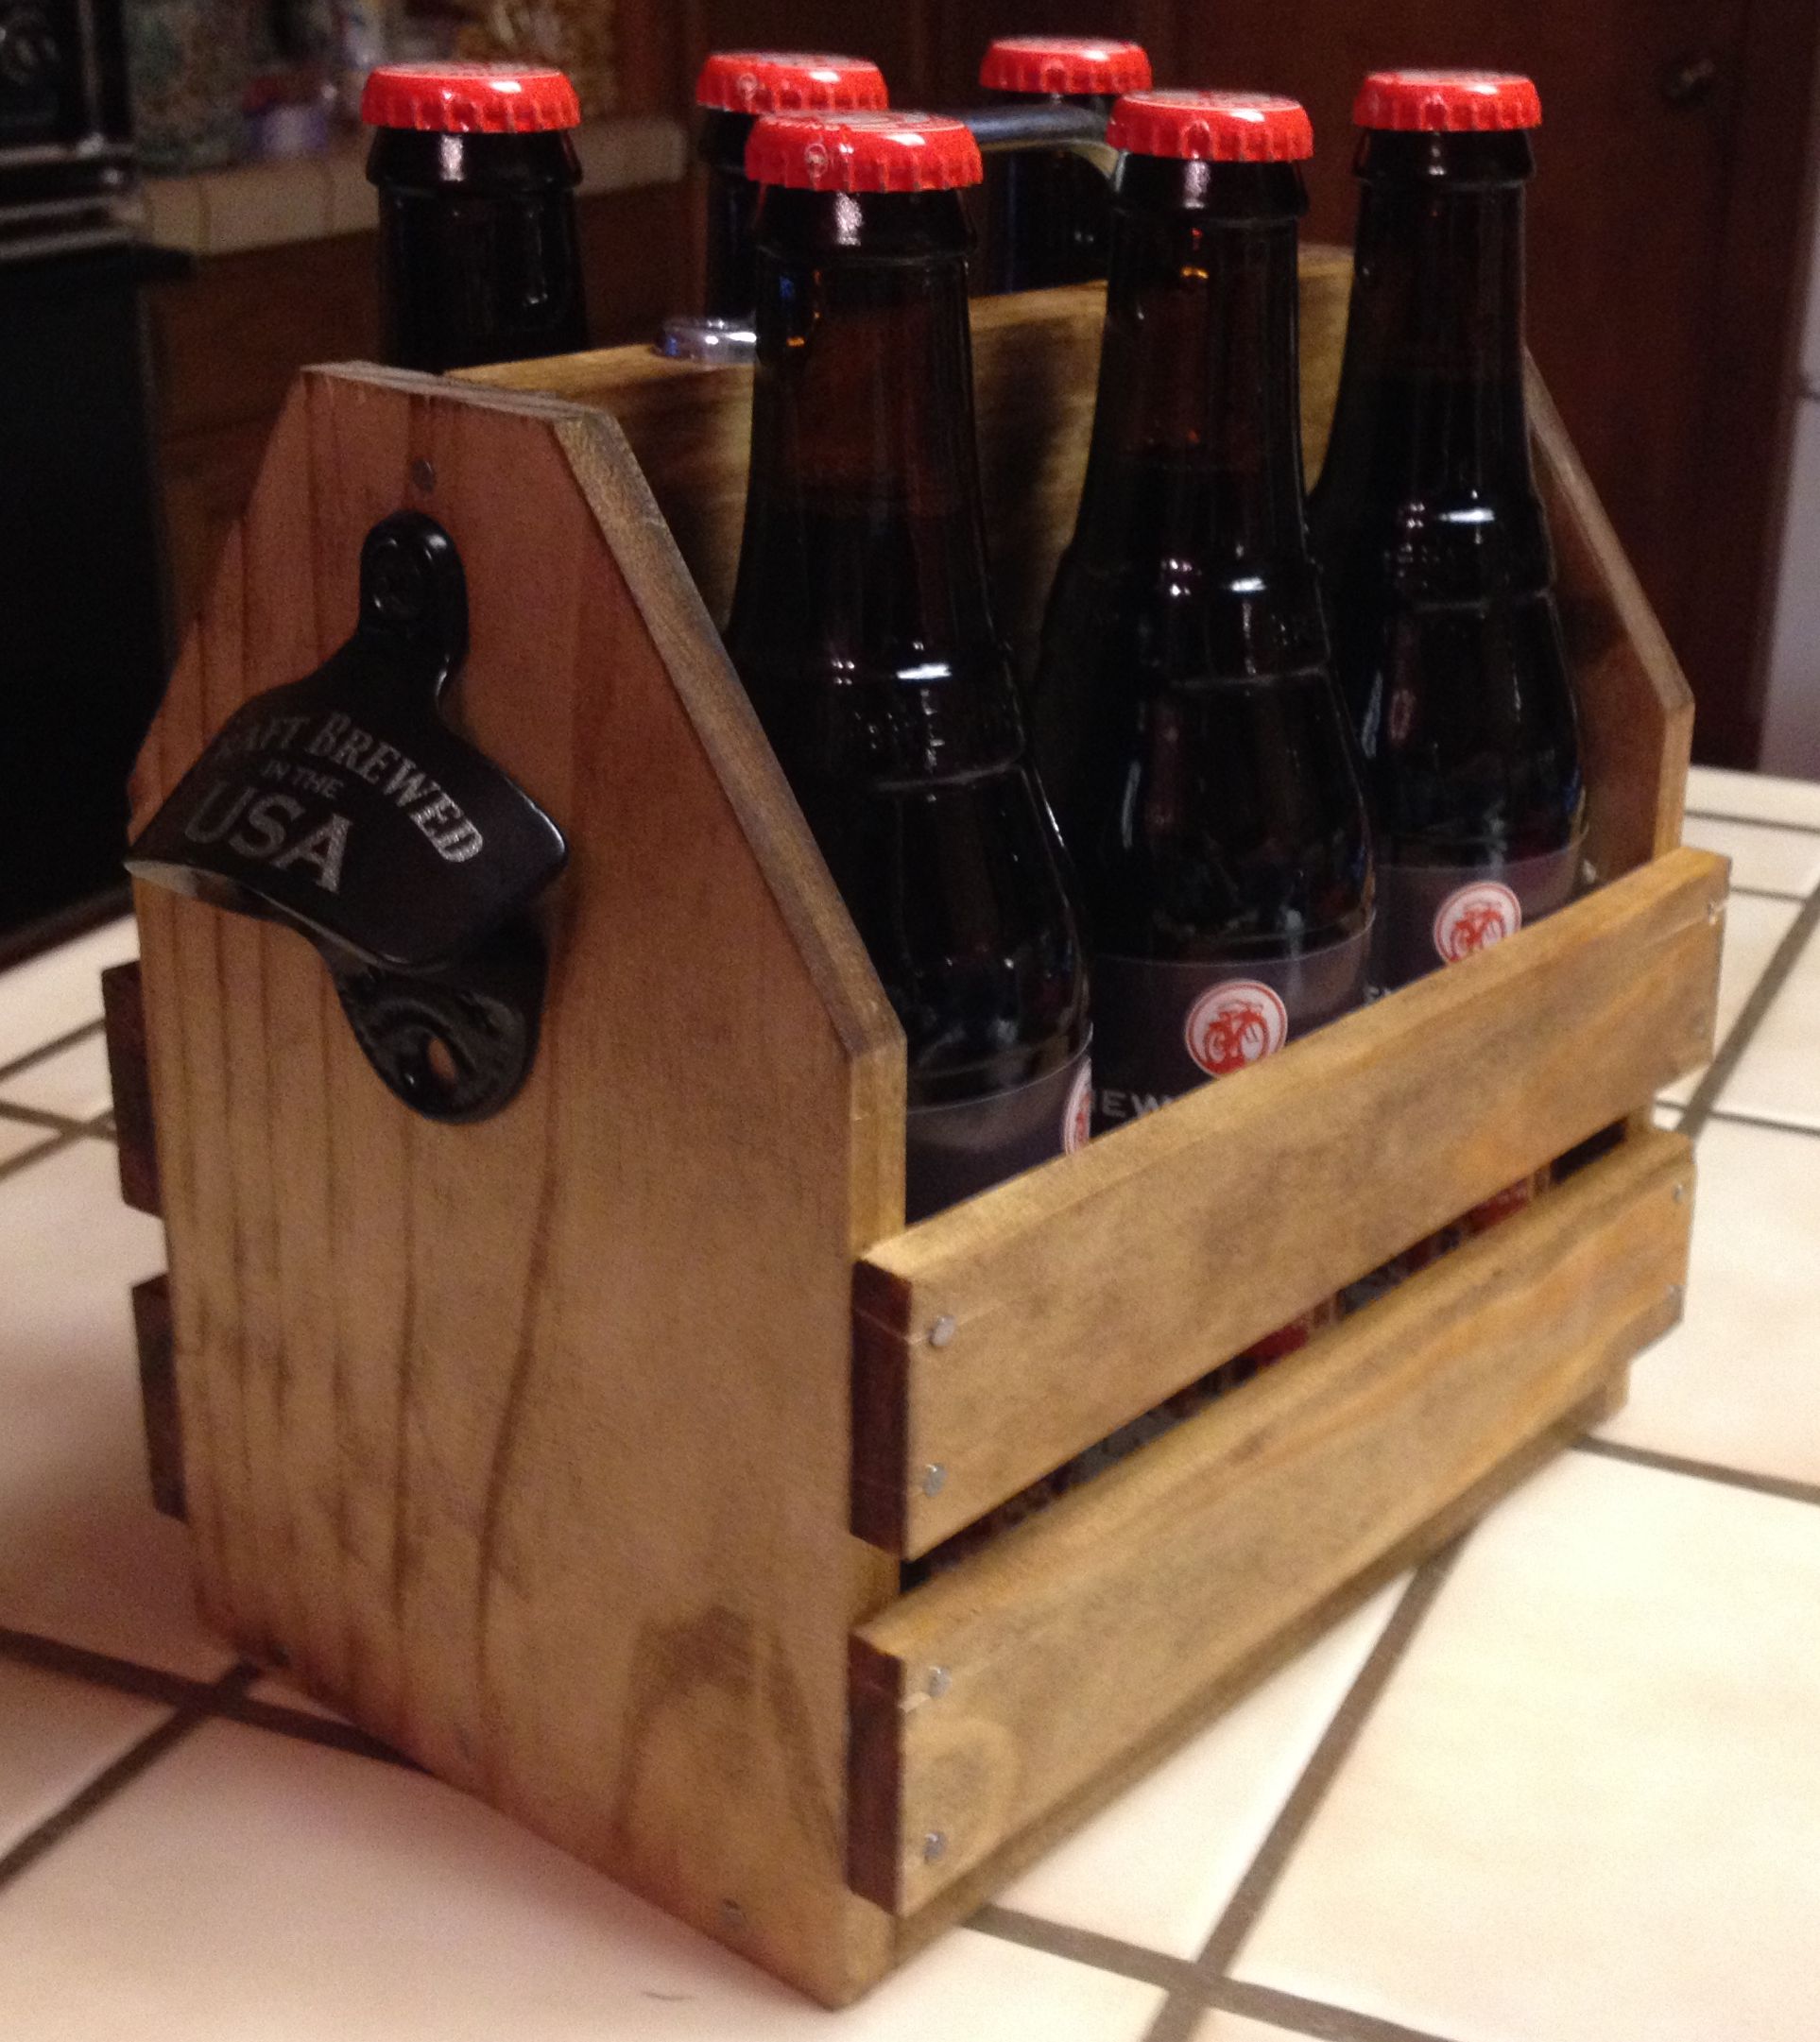
I've seen a couple of photos of "bottle caddies" for sale and I figured I could make my own. Seemed easy enough. I used 3/8" project wood from the Blue Store. I made the six-pack carrier for my neighbor who has been teaching me how to make all-grain homebrew.
Estimated Cost
$20 (including hardware and bottle opener)
Estimated Time Investment
An Hour or Two (0-2 Hours)
Finish Used
Danish wood oil
Recommended Skill Level
Starter Project


Comments
tommybo76
Tue, 01/21/2014 - 14:56
Looks great!
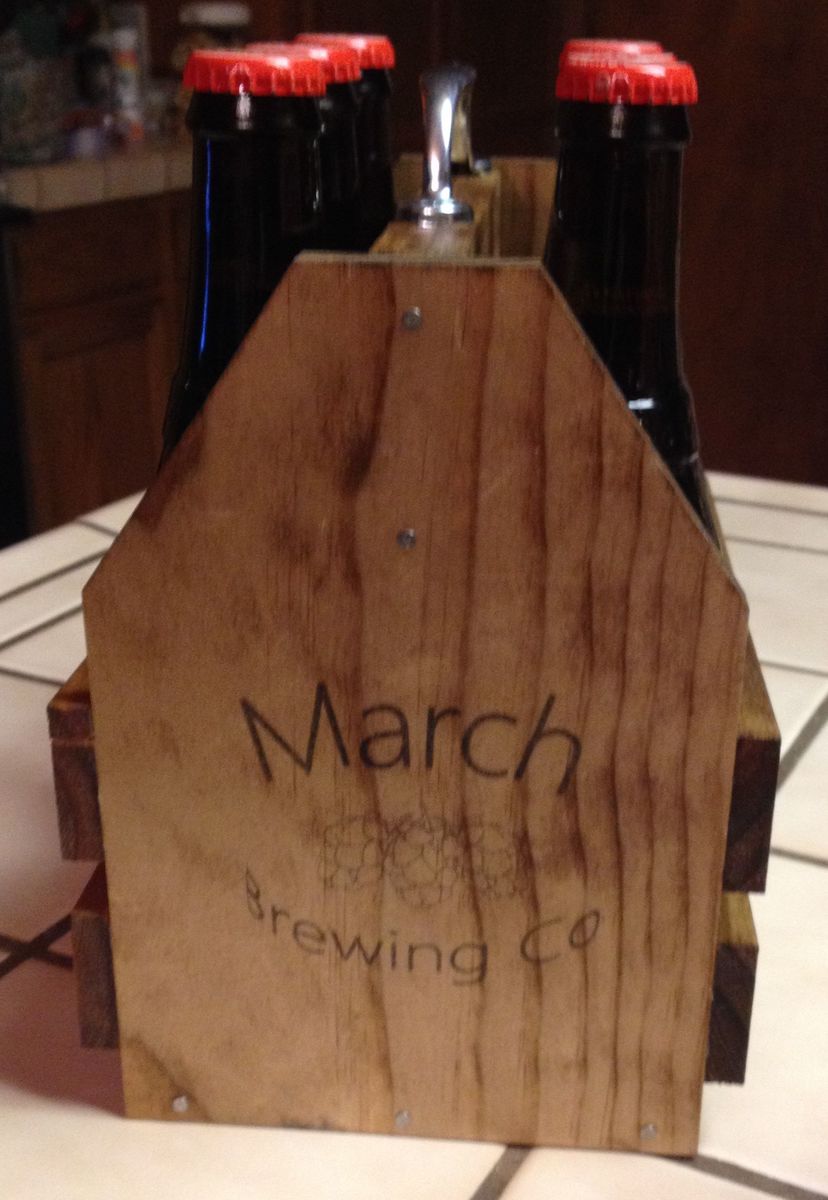
I home brew myself and I think this is a fantastic idea! How did you go about putting the label on the side?
In reply to Looks great! by tommybo76
stacynabby
Tue, 01/21/2014 - 17:37
Thanks!
Actually, it was quite, quite easy. You just have to run wax paper through your inkject printer. I followed this post here:
http://www.unexpectedelegance.com/2011/09/01/wax-paper-transfer-tutoria…
I've done the transfer a couple of times. The possibilities are endless!
tommybo76
Thu, 01/23/2014 - 07:09
Thank you!
This will come in very handy for lots of projects. I really appreciate you sharing this with me!
Debbie742
Thu, 11/27/2014 - 05:49
Beer tote
I checked the PDF and can't seem to find the plans to make this. Are they available??
debbie.
Wayneferguson
Wed, 12/24/2014 - 05:03
Awesome Christmas Present Project
I just finished making some similar wooden 6-pack holders as Christmas Gifts and they are awesome. These are such a great idea for a homemade present too. Take a look at my slightly different take on this project at http://www.photowayne.com/?p=62