20$ lumber rack with 2x4s
We built this lumber rack for about 20$ of 2x4s. It was an easy build and uncluttered our garage.
"I still can’t believe my mom and I built this beautiful fireplace.” - Megan Shaffer on Instagram
Built this as a platform bed for guest bedroom. Nice, sturdy bed.
Sat, 09/29/2012 - 04:11
I Love this Bed. Would love king size dimensions. This is exactly what I have been looking for.
my very first project! i surprised myself on how AWESOME this desk came out! although im not a huge fan of the finish i selected but i can live with it. i also used oak plywood (which i will never used again), poplar and i also used cedar planking for the backing and drawer base. i learned a lot from this project, mostly what not to do for the future, like use plywood.
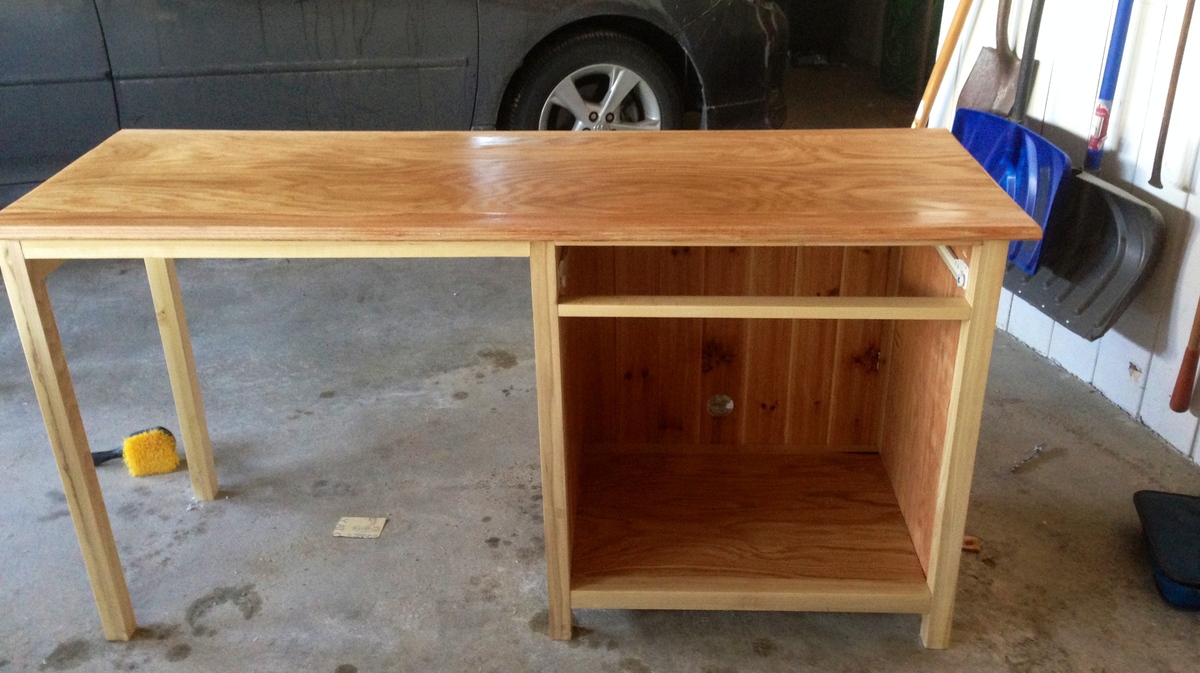
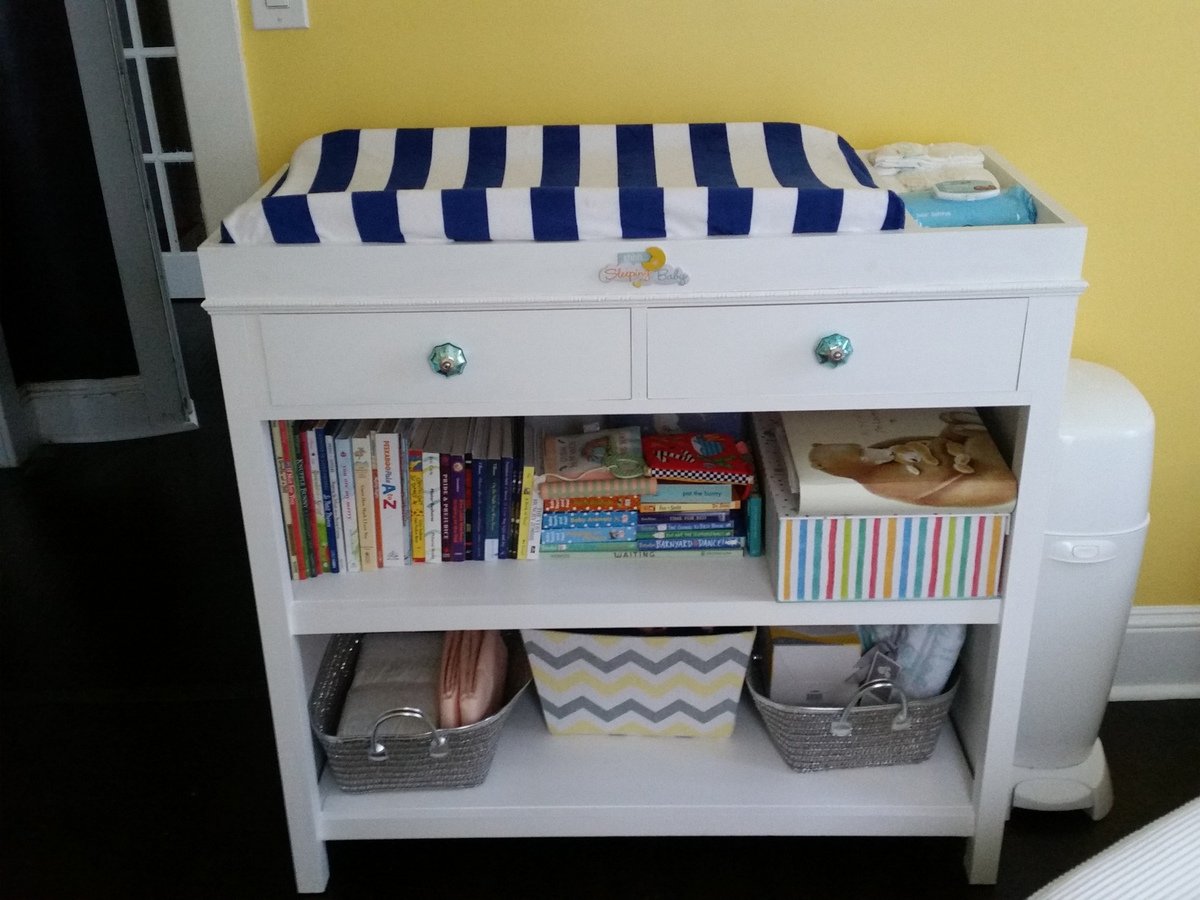
My wife and I wanted a changing table that could also function as a bookshelf, so after a quick Google search, I found the Ana White Ultimate Changing Table plans. I modified the original design by making the legs 36" and by adding side and back panels so that the piece could convert to a bookshelf when the baby gets older and we no longer need it to be a changing table. This was easy to do by using my table saw to cut 3/16" stopped grooves in the legs before attaching to the table and slotting in 1/4" plywood cut to fit before attaching the tabletop. Opted not to cut rabbets for the back panel as it would have changed the measurements for the drawers by recessing the rear 1x6 apron by 1/4".
My wife and I are very happy with the results and the amount of storage we now have. She's so happy in fact, that I will apparently be building one of these for each future child as well! Thanks Ana White for the straightforward and easy to follow plans.
We built the full sized Farmhouse bed and stained it with gray stain. Are building a trundle to put under later this week. We added 3 inches to the height to be able to add the trundle.
Farmhouse side table by Home with Jules
This was an older hutch, oak in color. I took off the top glass doors off, put wood putty where the hinges were. I lightly sanded the hutch and cleaned it with TSP. Finally I primed and then painted black first. I used a candle to put wax on the area's I wanted to look distressed. After the black dried, I lightly sanded again, before I sprayed the red paint on. I lightly sanded the hutch once more, concentrating on the black to show through. Finally I glazed the hole hutch in a black. Black baskets were added to add to the appeal.
Thu, 01/07/2016 - 13:11
Which paint color and brand did you use for black paint and red paint? Thanks!
Wanted to build a cabinet for the entrance and liked the look of the Rustic X console but wanted drawers and doors too. Second piece from mainly own design just incorporating those Rustic X ends.
The piece is 6ft long for the main cabinet part.
Found the hinges off the internet and just trying to find some matching drawer pulls now. (Any suggestions greatly welcomed).
Fri, 04/04/2014 - 14:01
I love it! What great mods, and it turned out looking like a classic!
I have this site bookmarked for rustic hardware but haven't used them yet. They sell those same hinges and some pretty drawer pull options.
http://www.directfrommexico.com/rustic-hardware.html
In reply to How beautiful! by romanweel
Wed, 10/08/2014 - 19:23
Hi thanks for the kind comments. I did get the hinges from Direct from Mexico site but ot found any drawer pulls or door handles on there I like yet.
In reply to Gorgeous Piece! by Ana White Admin
Wed, 10/08/2014 - 19:25
Thanks for the comment. Nice to hear you like my work :-)
I wanted a place for a flag pole, but I didn't want to put one in the ground or screw into my siding, so I modified the cedar planter to hold a flag pole. It was a fun project! Check out more here!
I made this table for my two boys to do their homework on so I modified it a little to make it shorter.
I used reclaimed 2x4's for the base and MDF for the table top.
DIY Stocking Stand - Reader build
My son has been falling/climbing out of his crib. My wife wanted a toddler bed as soon as possible, which meant yesterday. She has had this in mind for some time considering she made this marvelous quilt for our little dude. The bed is pretty crude from a joinery standpoint. It's just butt joints with glue and screws. The dimensional lumber gives a nice break on the pocket book, especially when it's free from helping someone move it into my truck. The joints get some spice by button plugs. It's not finished with anything special, just some 120 grit. I figure we will probably paint it to match his new room in the house we are moving into next week. I wish I could have made it out of pocket holes entirely but the box o' screws wasn't in the budget when the wood is free and the 2-1/2" screws are given to you. Bottom line is that my wife is happy with her hubby the the little stud muffin is happy with his "big boy" bed.
Modern farmhouse bench used as entryway bench/storage
TV console table made of poplar wood. Shaker style inset doors. Solid wood construction. Painted with General Finishes Milk Paint and High Performance Top Coat.
Adjusted the height of the back to better support back cushion.
Angled back and seat boards for relaxed fit.
Used pine boards for side of chair.
Made for my sons house. Just made a few changes to top with 2x6 and bottom with 1x6's.
ANW
This is a farmhouse style kitchen table that I built for Mom's little kitchen. She needed more counter space and more storage space and had the perfect corner for it to fit in. These are based off my own plans which I have not published on Ana-White yet.
I needed more storage for our TINY kitchen. I found the nursery armoire plans and asked my dad to help me build it for a pantry! We modified it some by making it taller and adding more shelves inside (sorry no pics of that). For the doors I wanted to do something fun so we cut lots (over 700!) of small pieces of wood and inlaid then in a herringbone pattern - IN LOVE! For the handles we used copper pipe and I am IN LOVE with those too! Enjoy!
~ Maggie
Thu, 04/10/2014 - 18:32
You did a marvelous job on this, that herringbone inlay is amazing!
Thanks Ana for your amazing tutorials, you are starting to help bring my house to life!
I ask my kids and spouses if they would like me to build something special for Christmas each year . Last year I surprised my daughter with a beautiful coffee table. This year she said Dad can you make us a TV stand that is a similar look to the coffee table. She provided me dimensions and had this piece in time for Christmas. Love your website Ana.
Thad