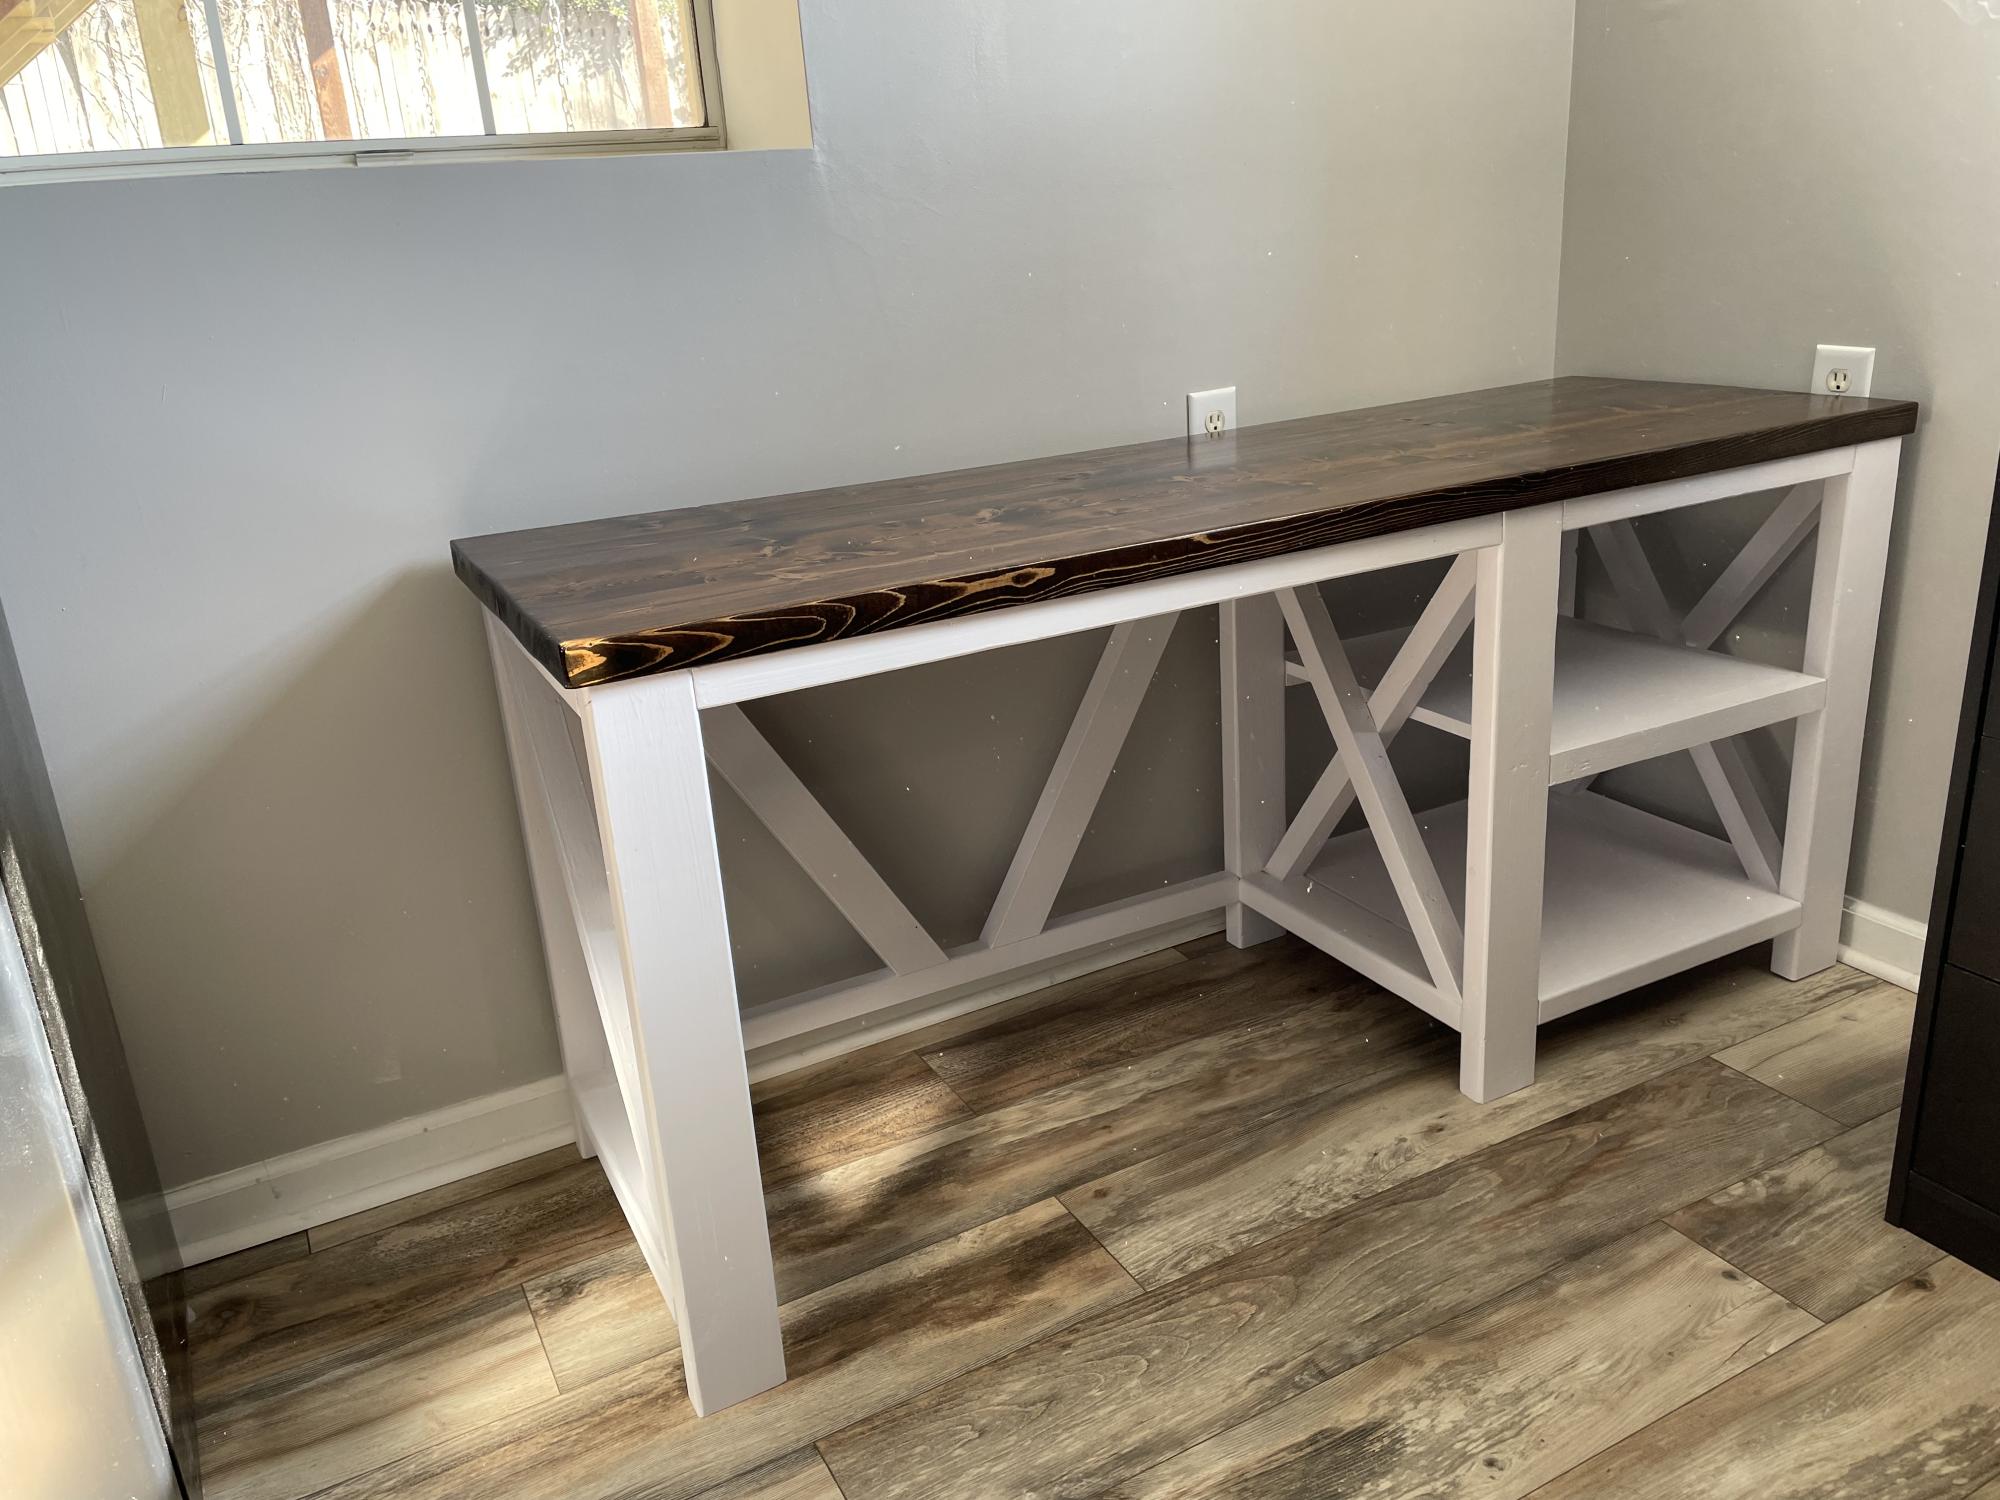
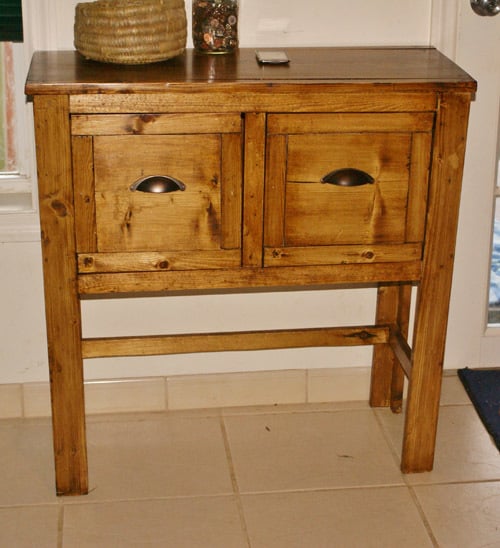
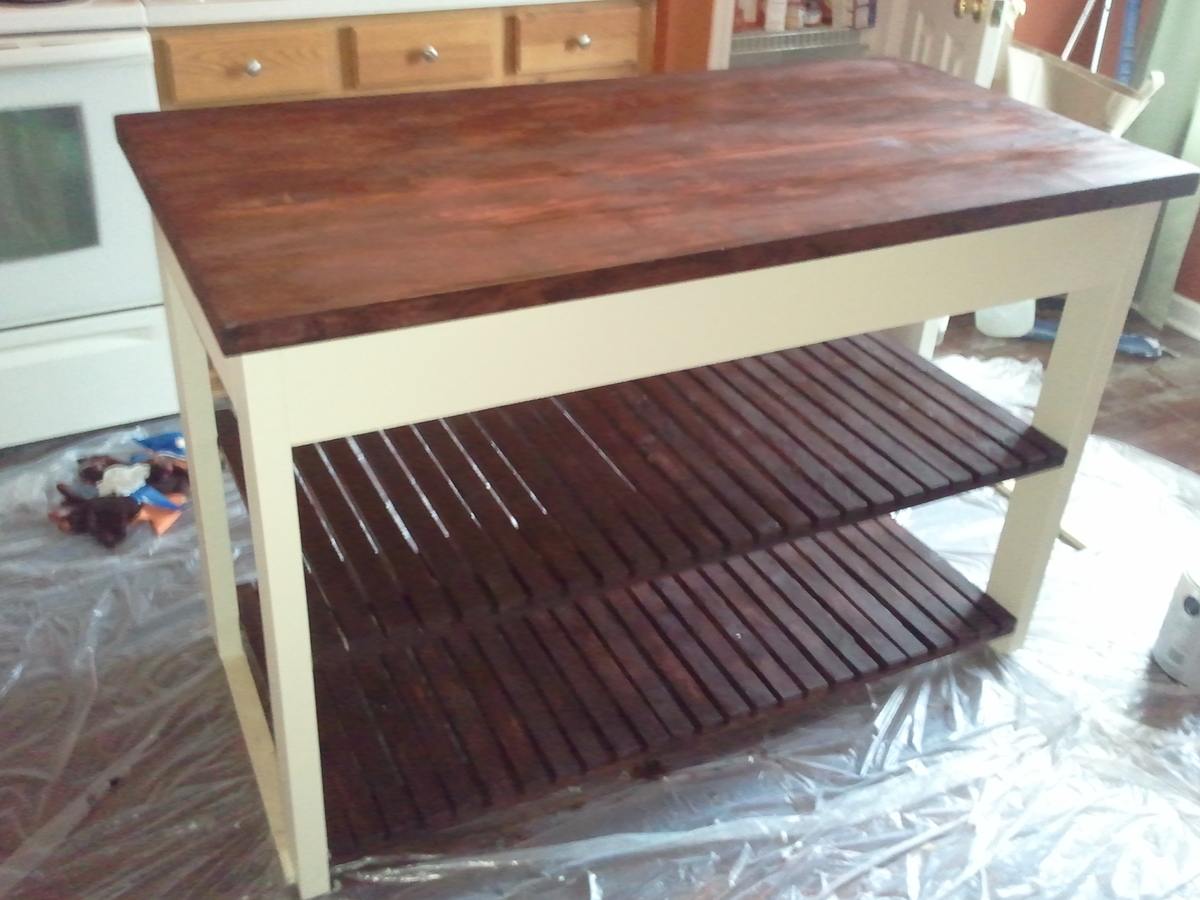
Kitchen island
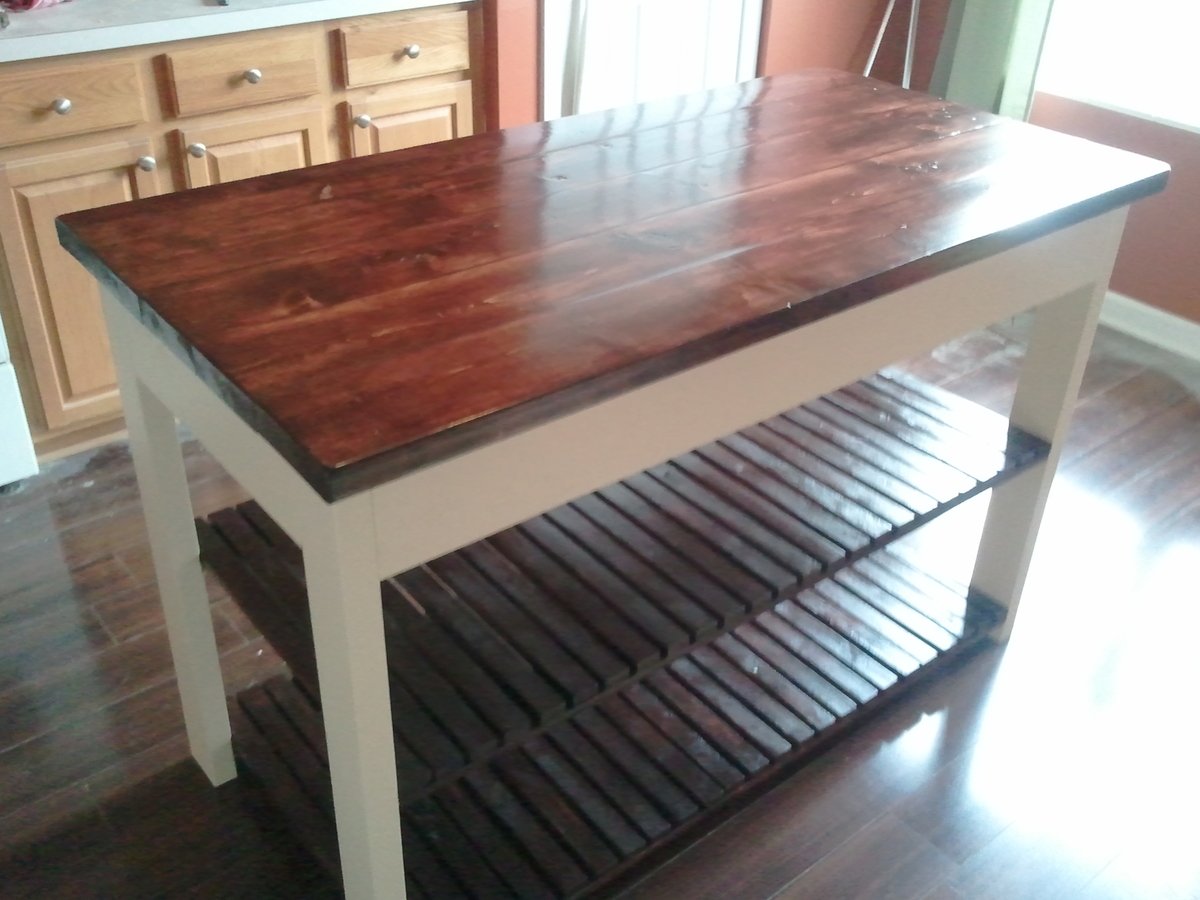
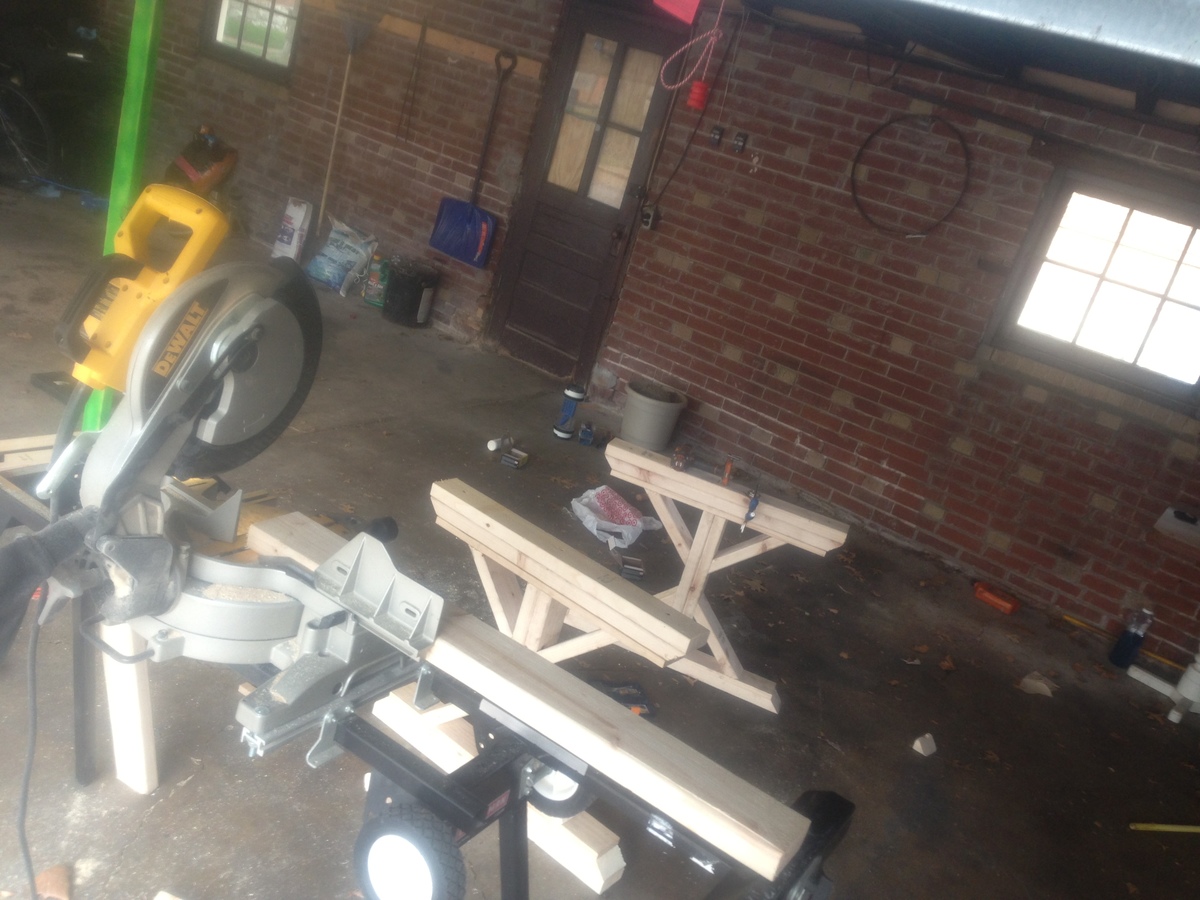
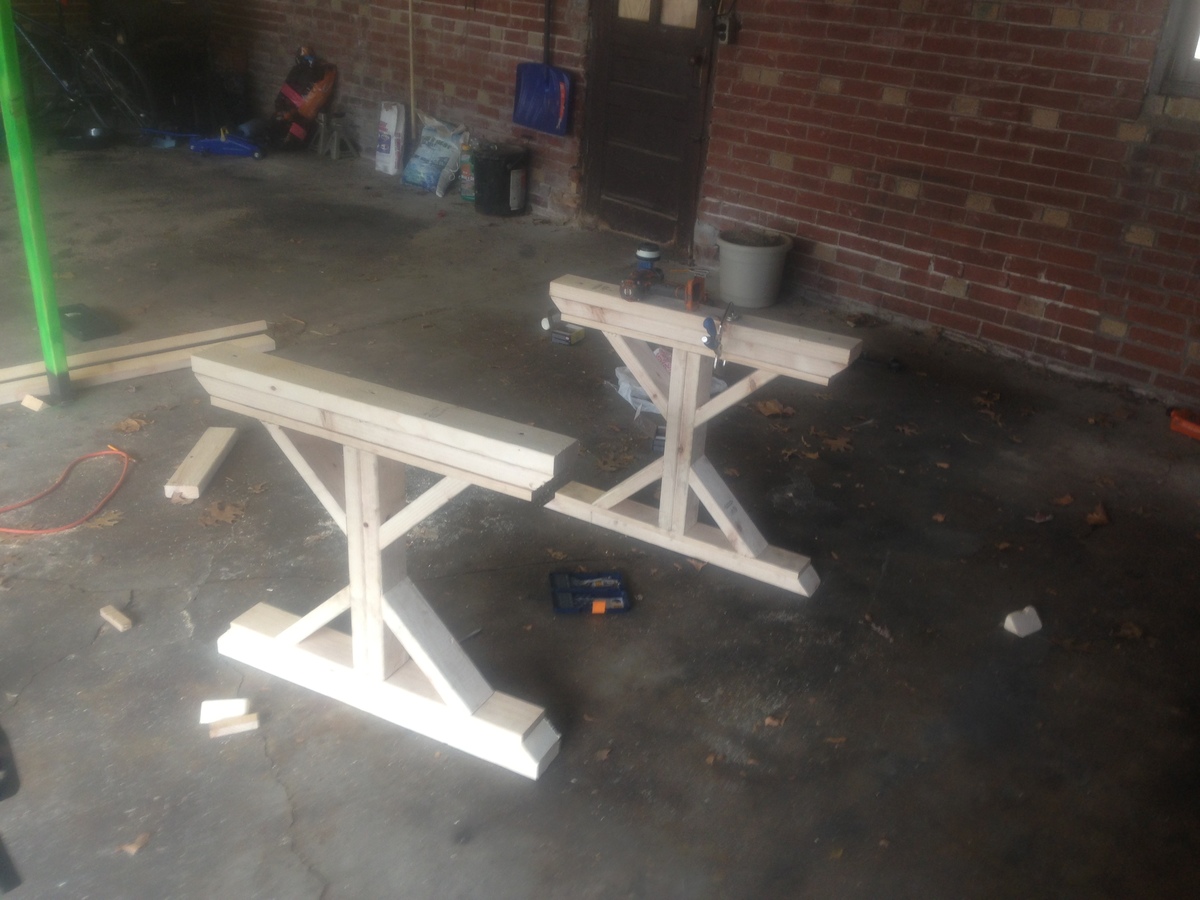
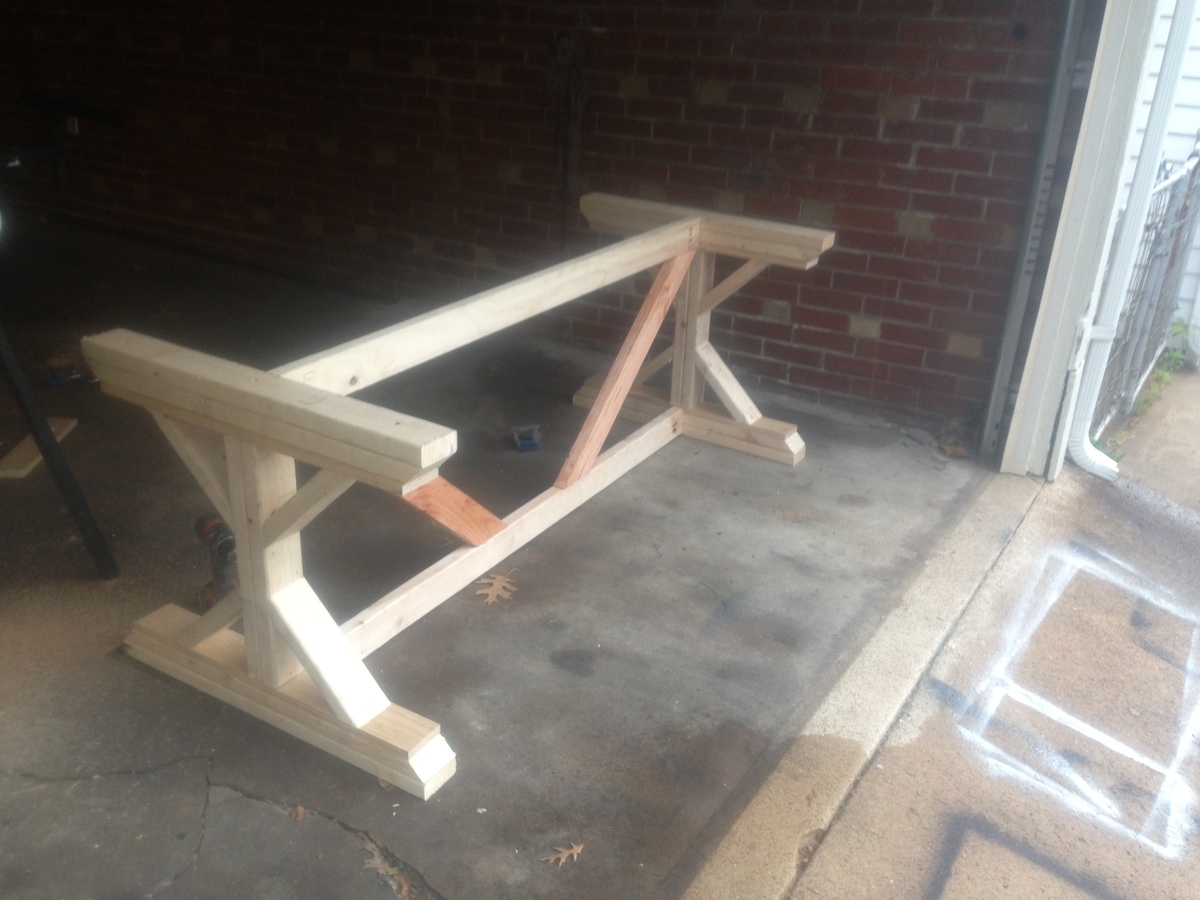
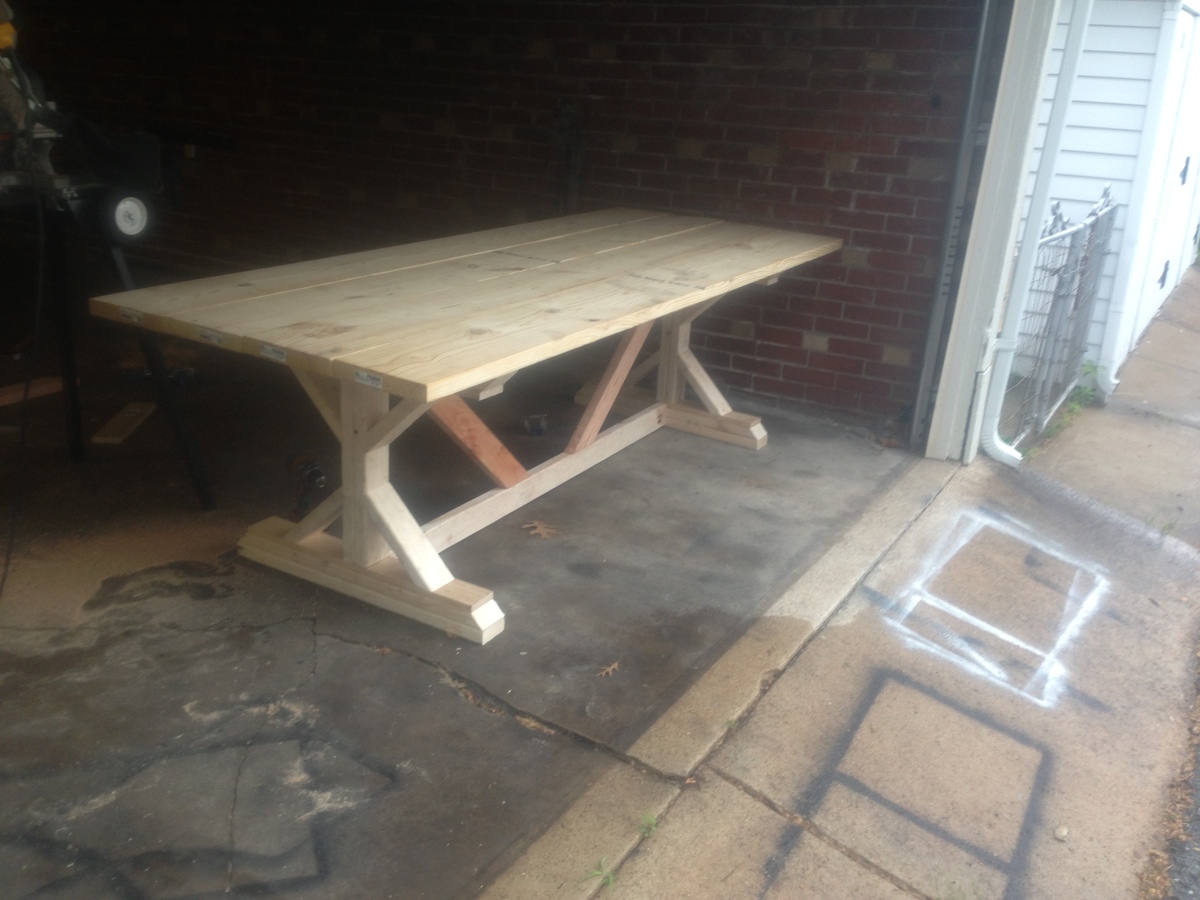
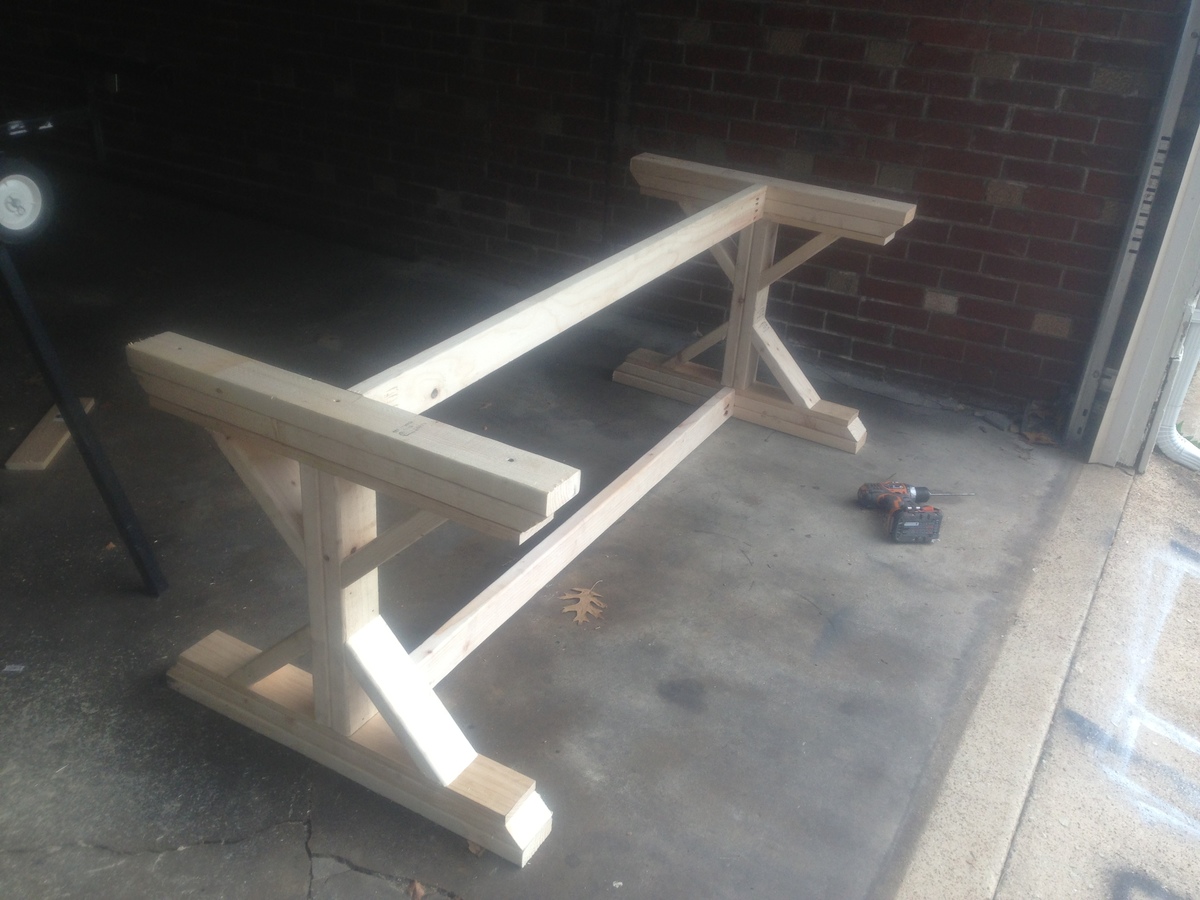
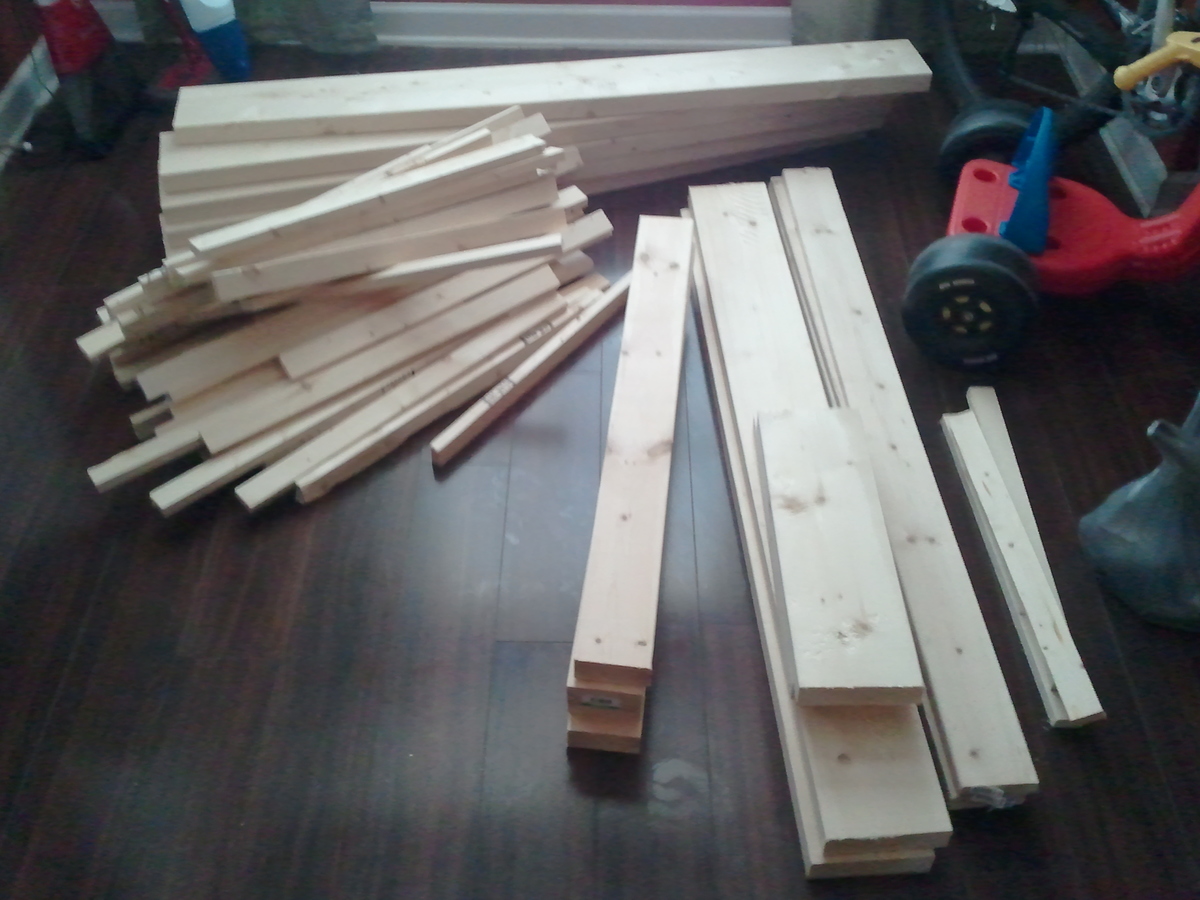
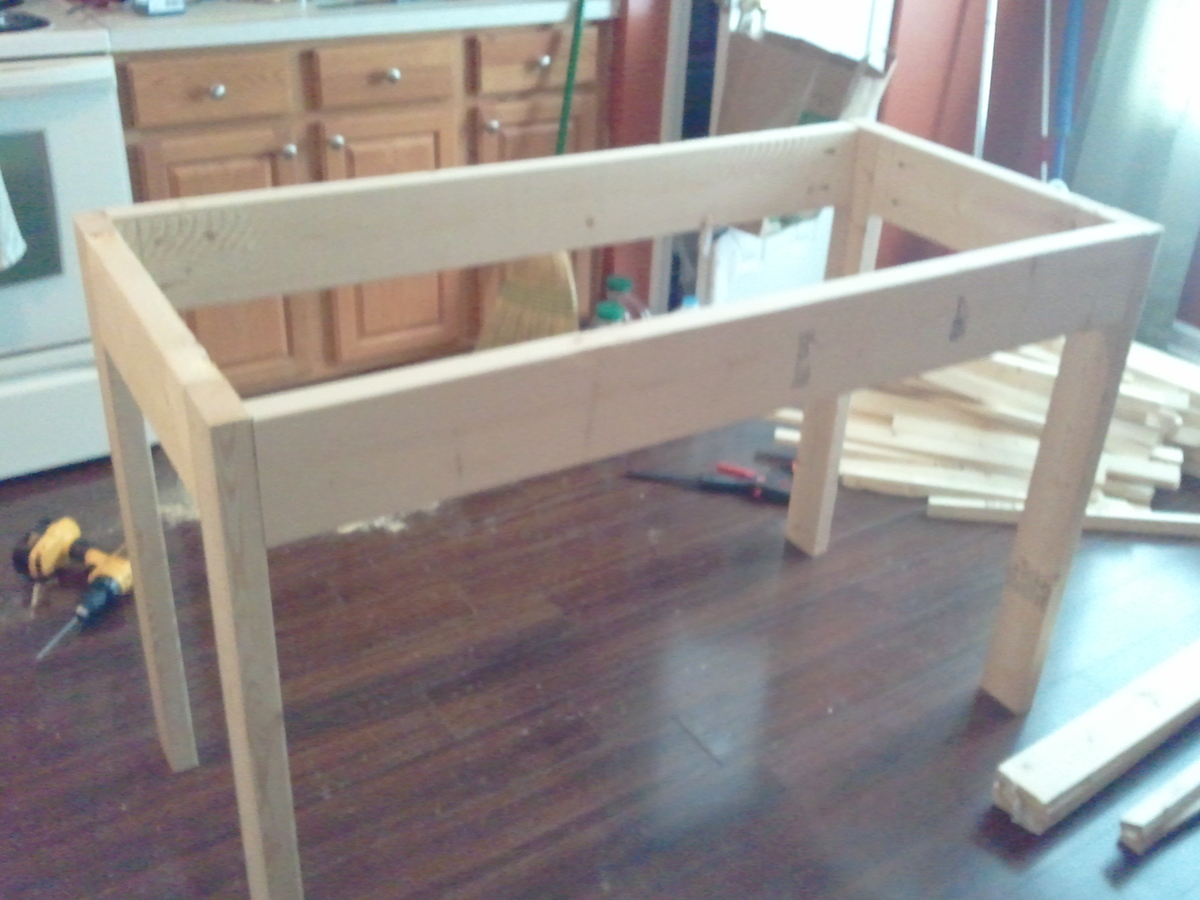
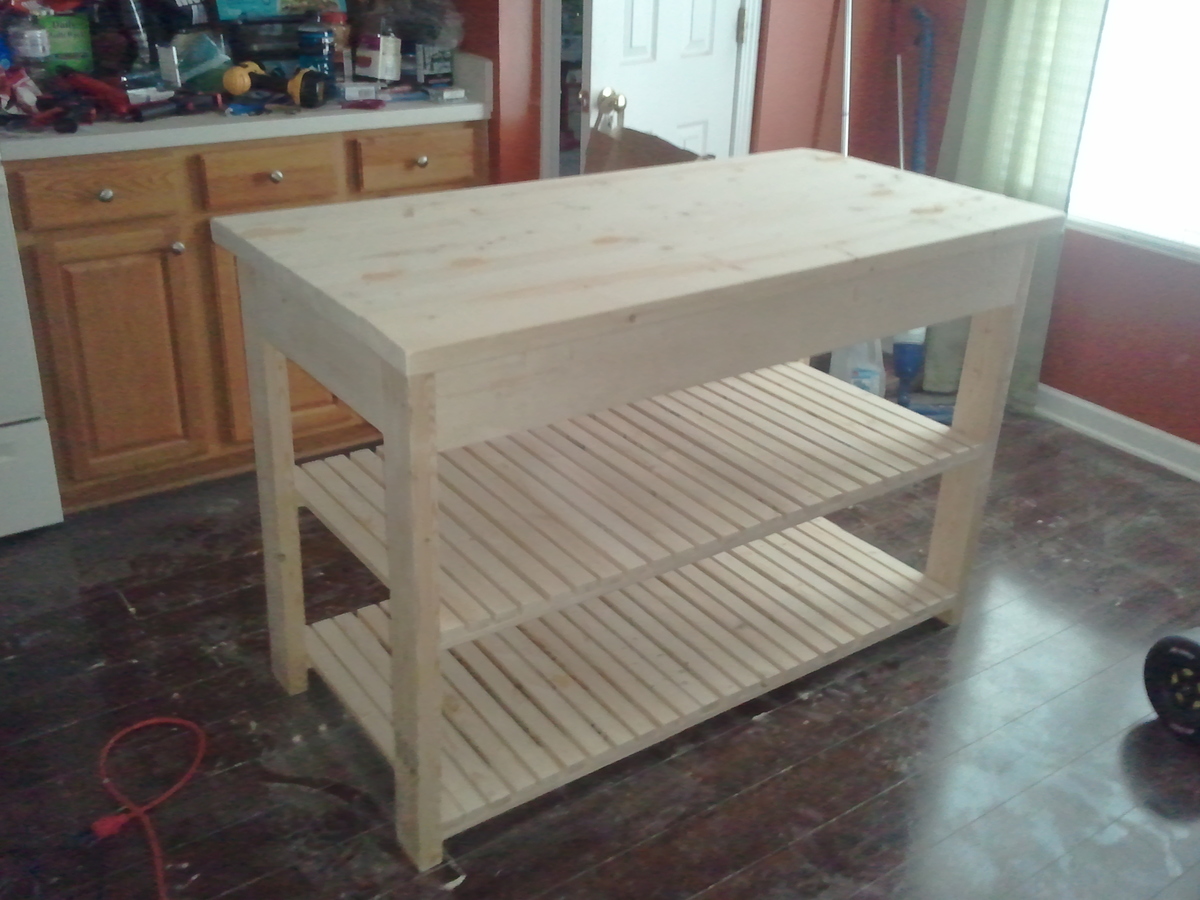
Needed a kitchen island and loved this plan when I found it on your website. I have tools to cut the lumber but thought I would let Lowes cut the lumber to save me some time. Ha! Made small corrections with what you need like just 2 2x4s to make the 4 legs. Like Ana said, it's all about math. Thank you for the plans. Friends already wanting me to make one for them, ha. Ps...my dad is sold now on the kreg jig!
Built from Plan(s)
Estimated Cost
100
Estimated Time Investment
Weekend Project (10-20 Hours)
Finish Used
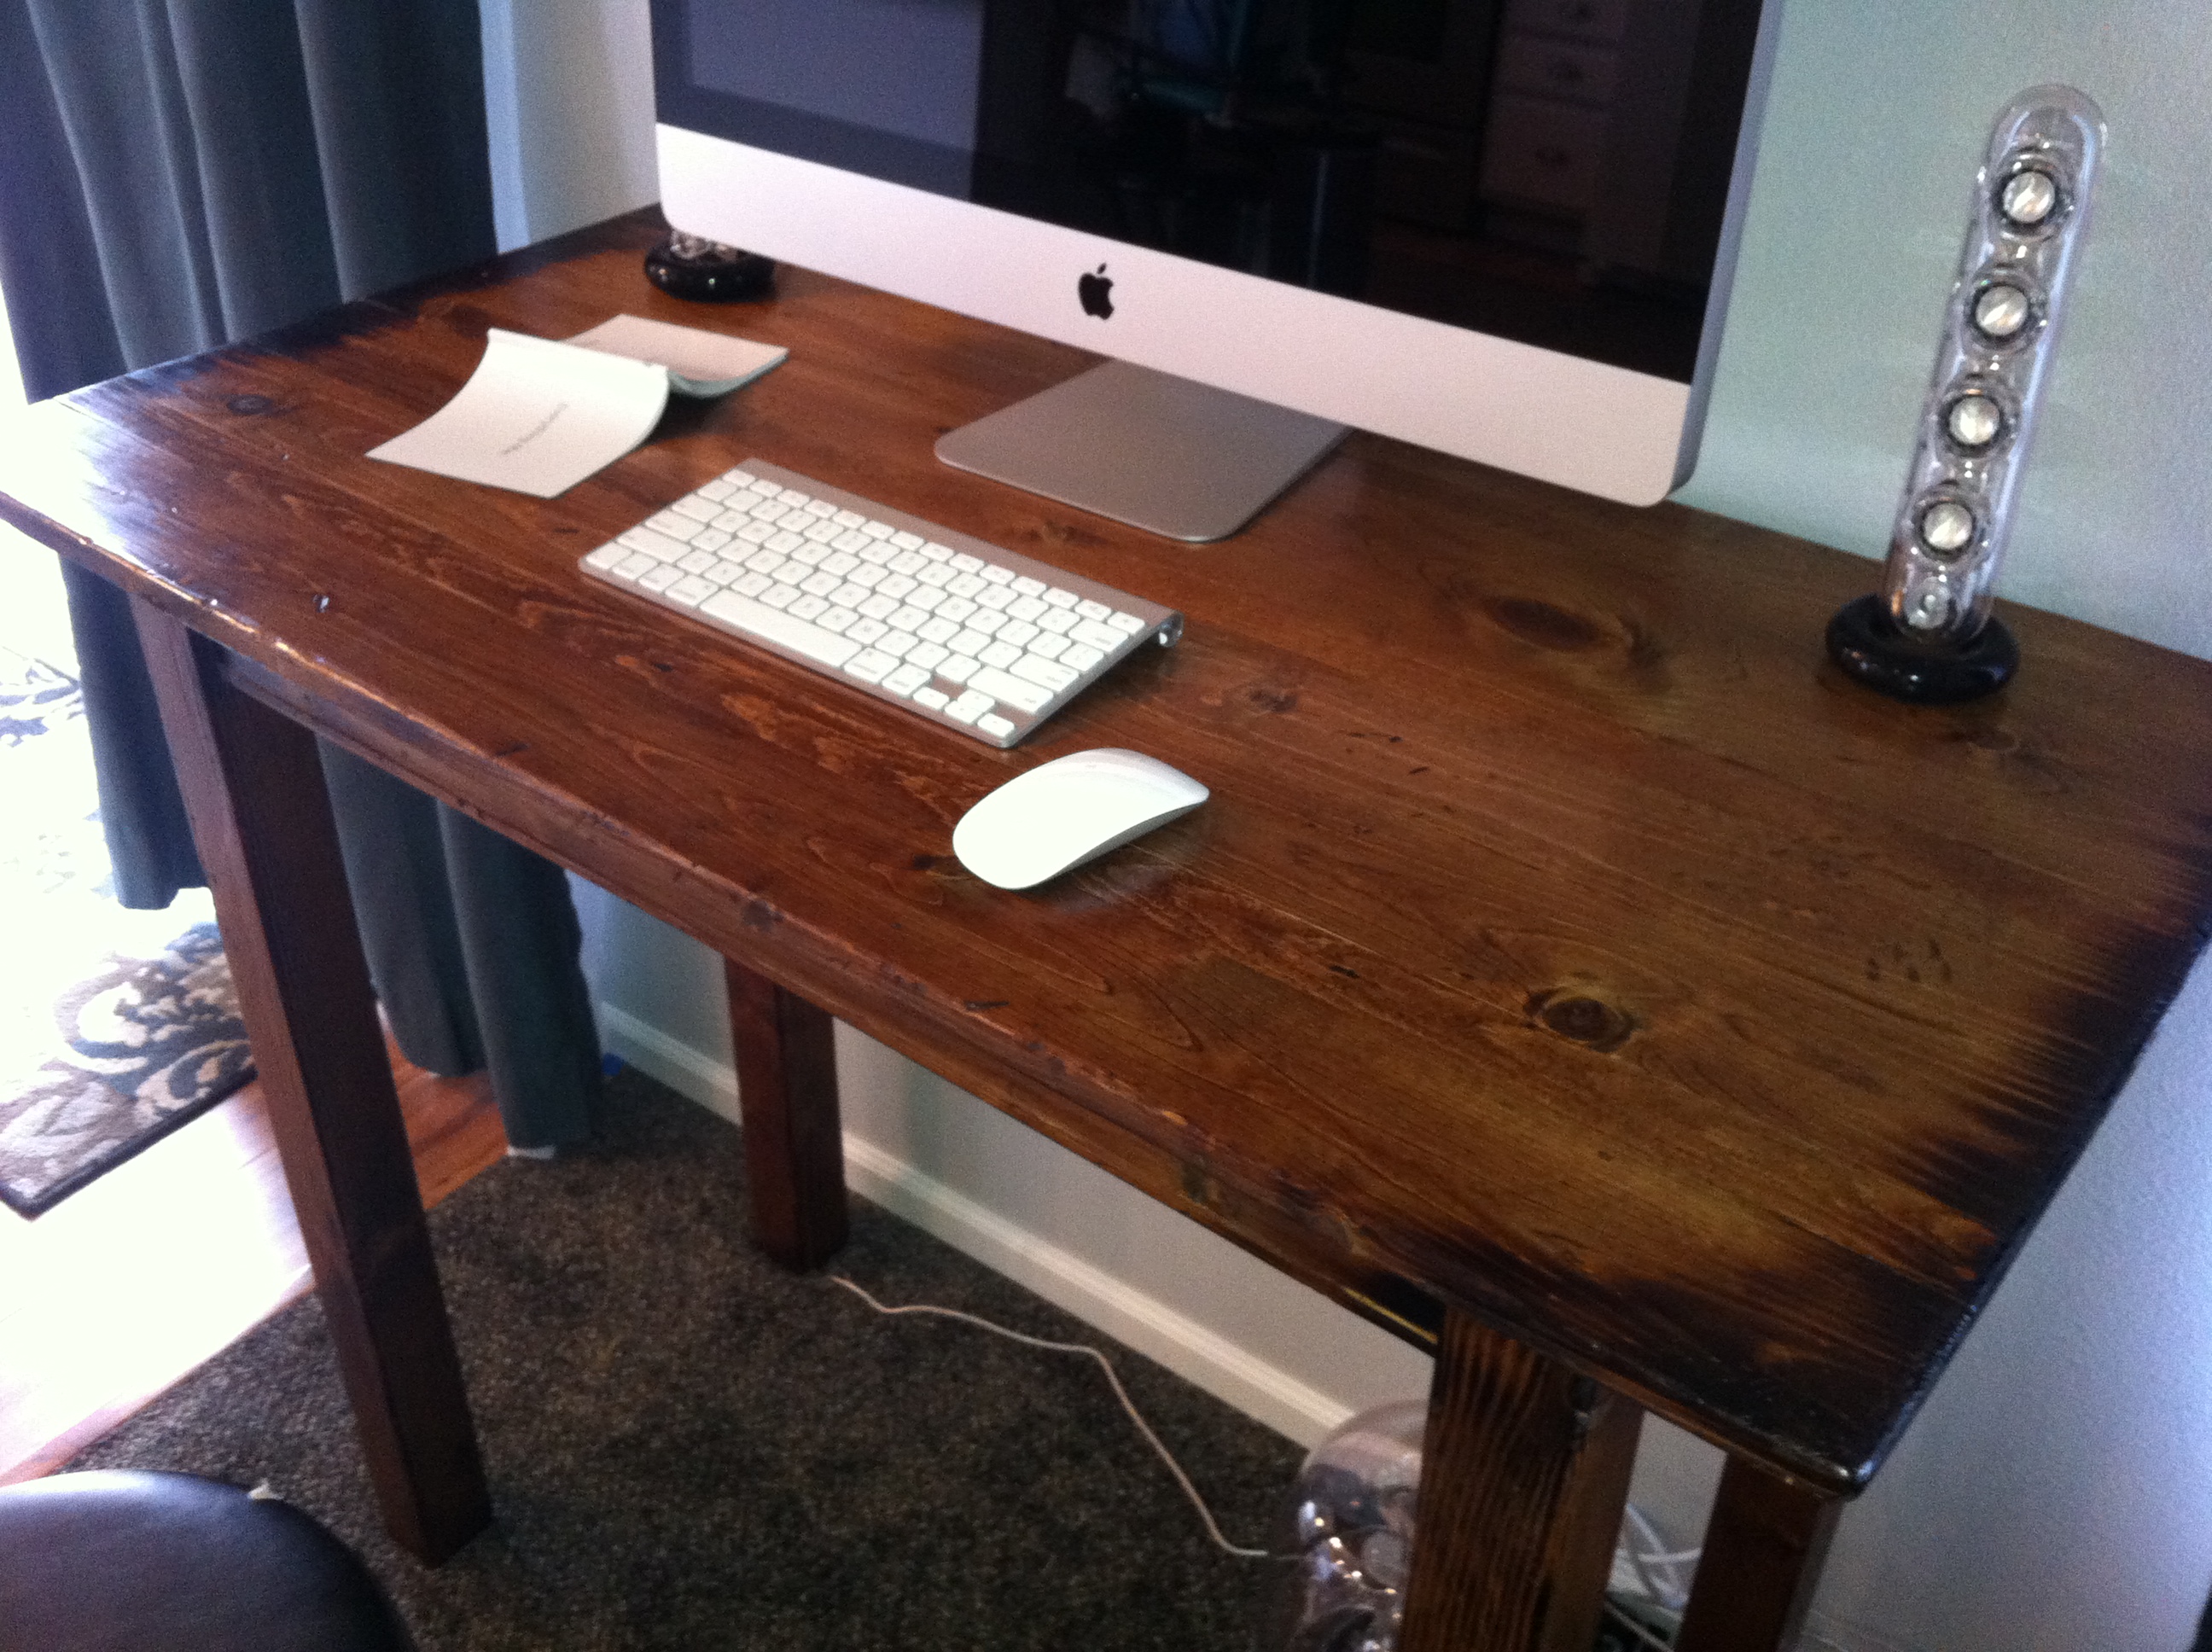
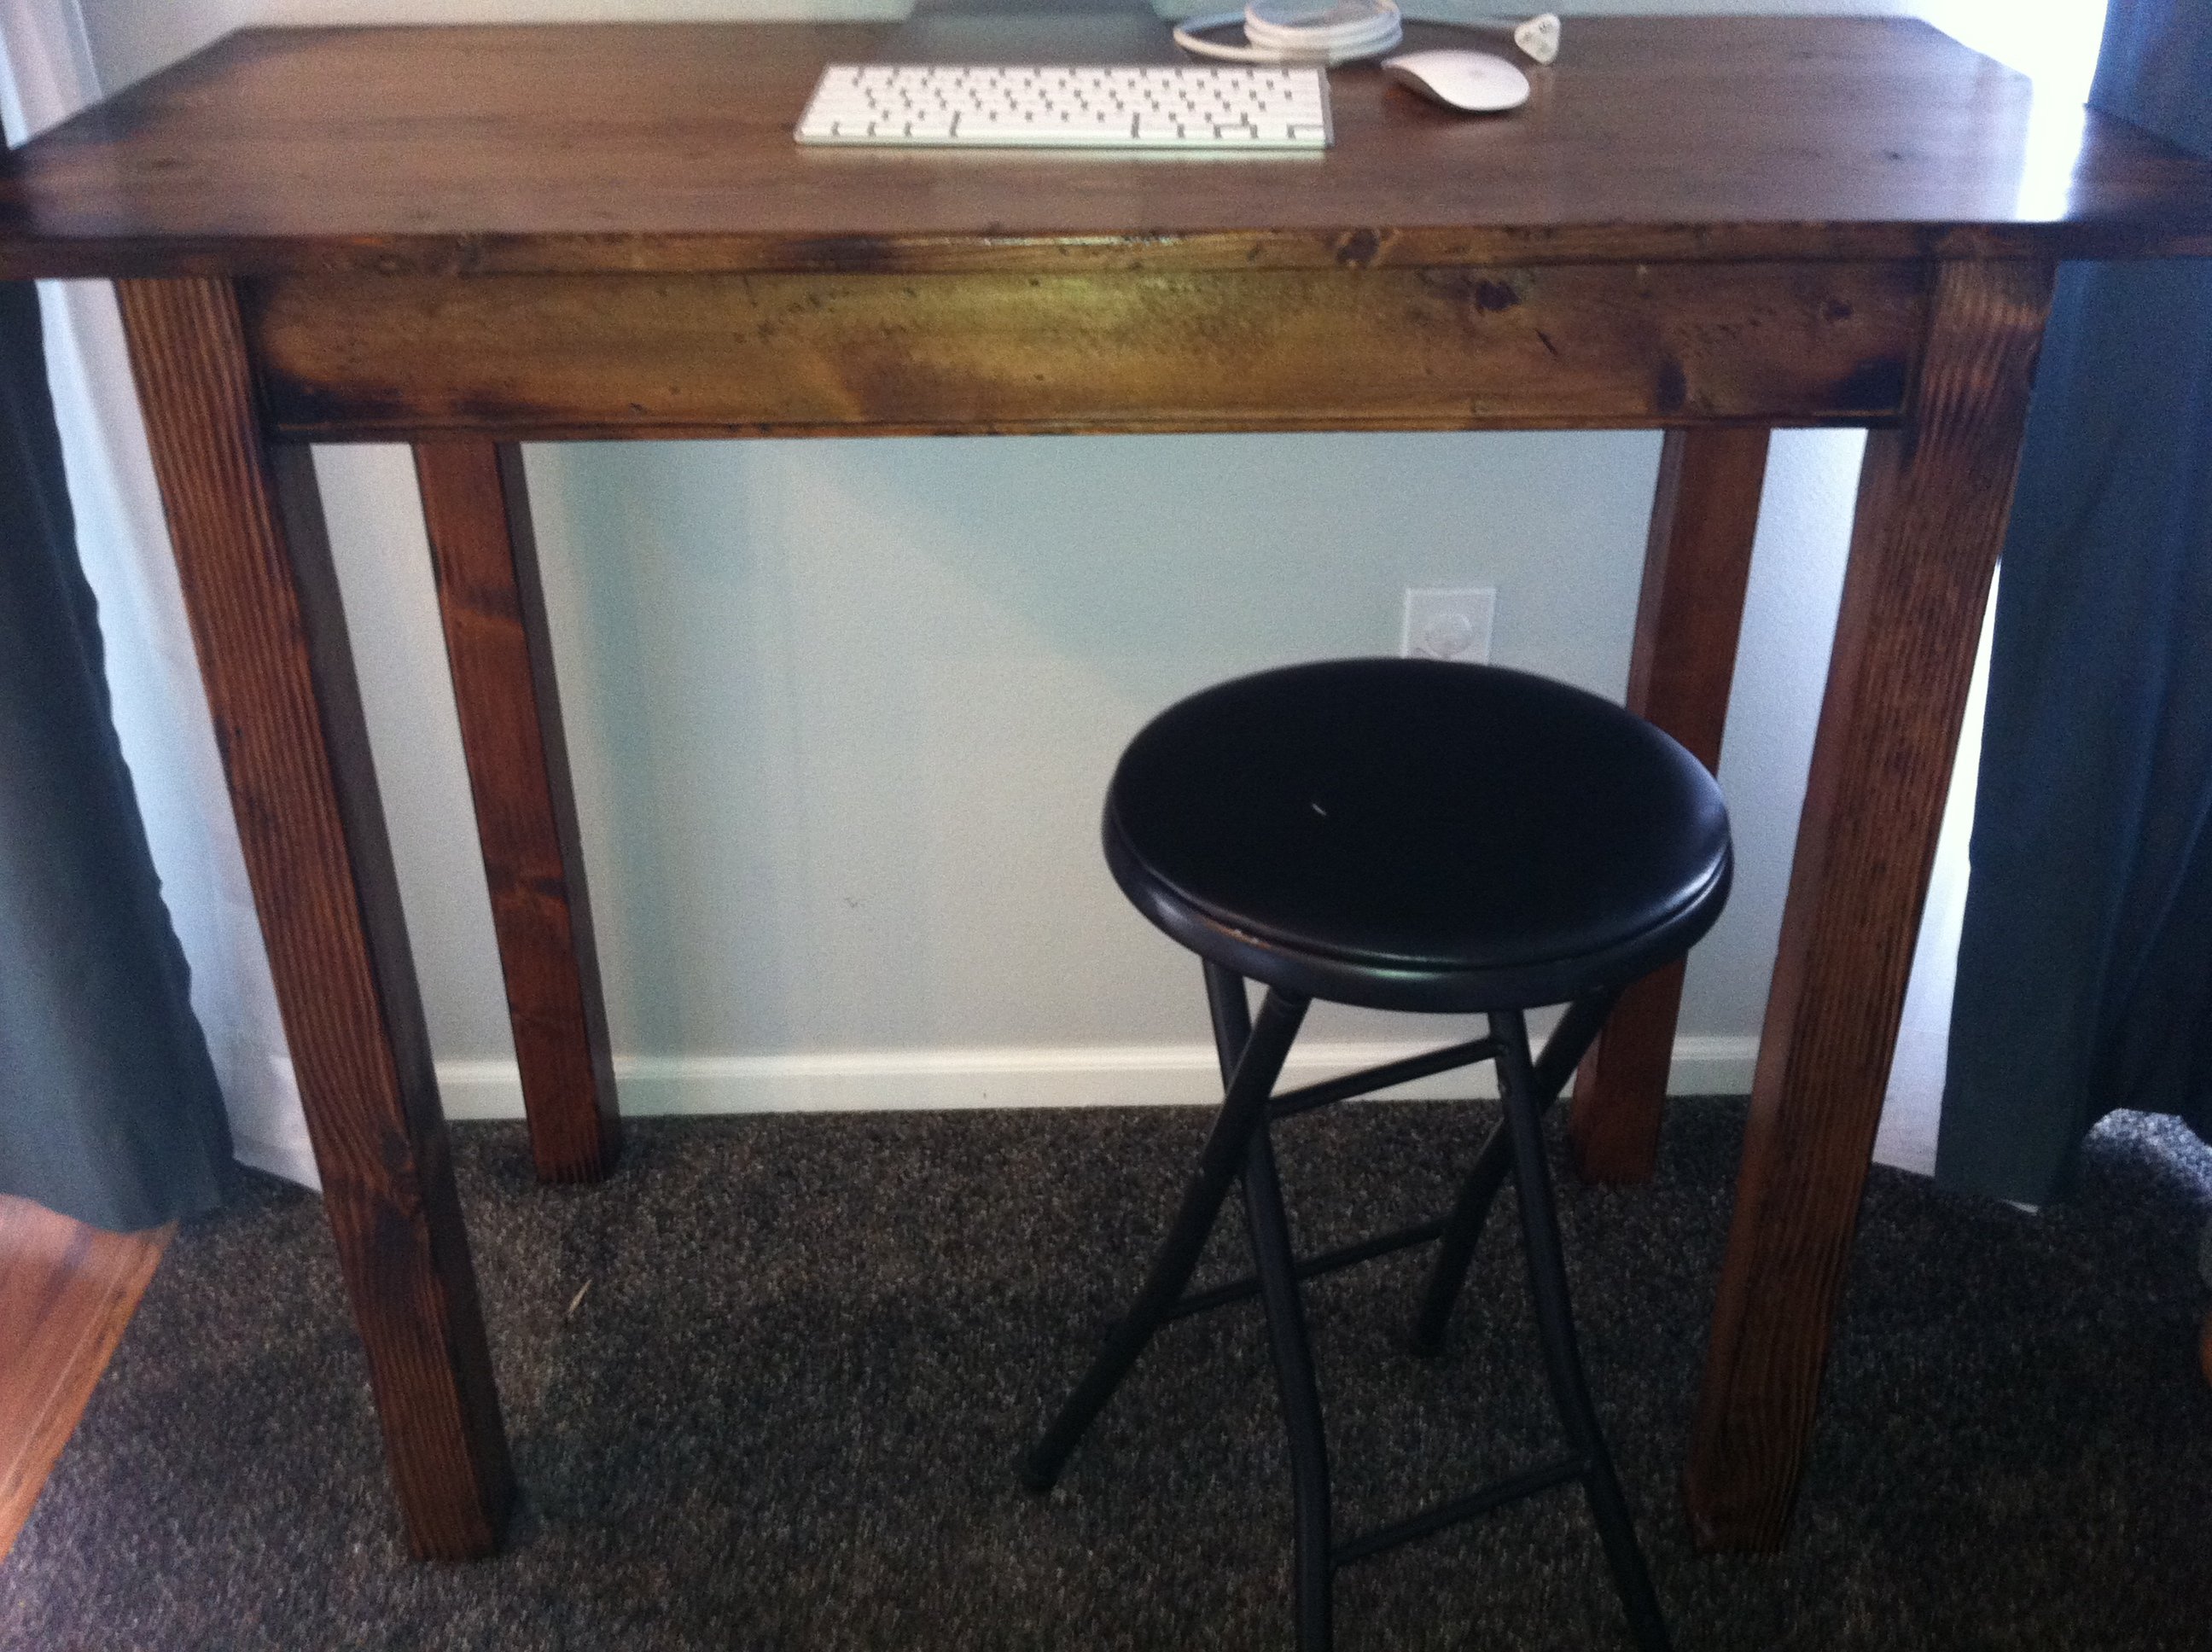
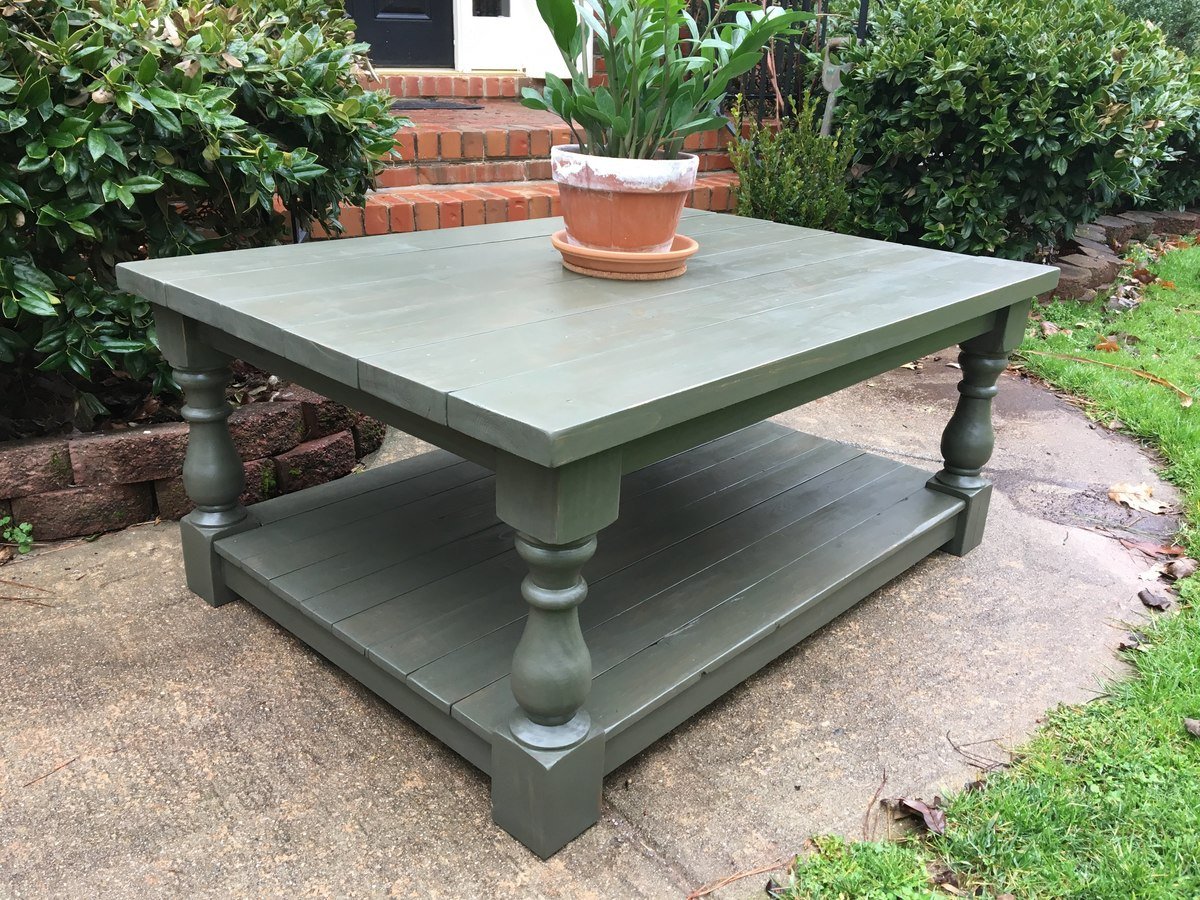
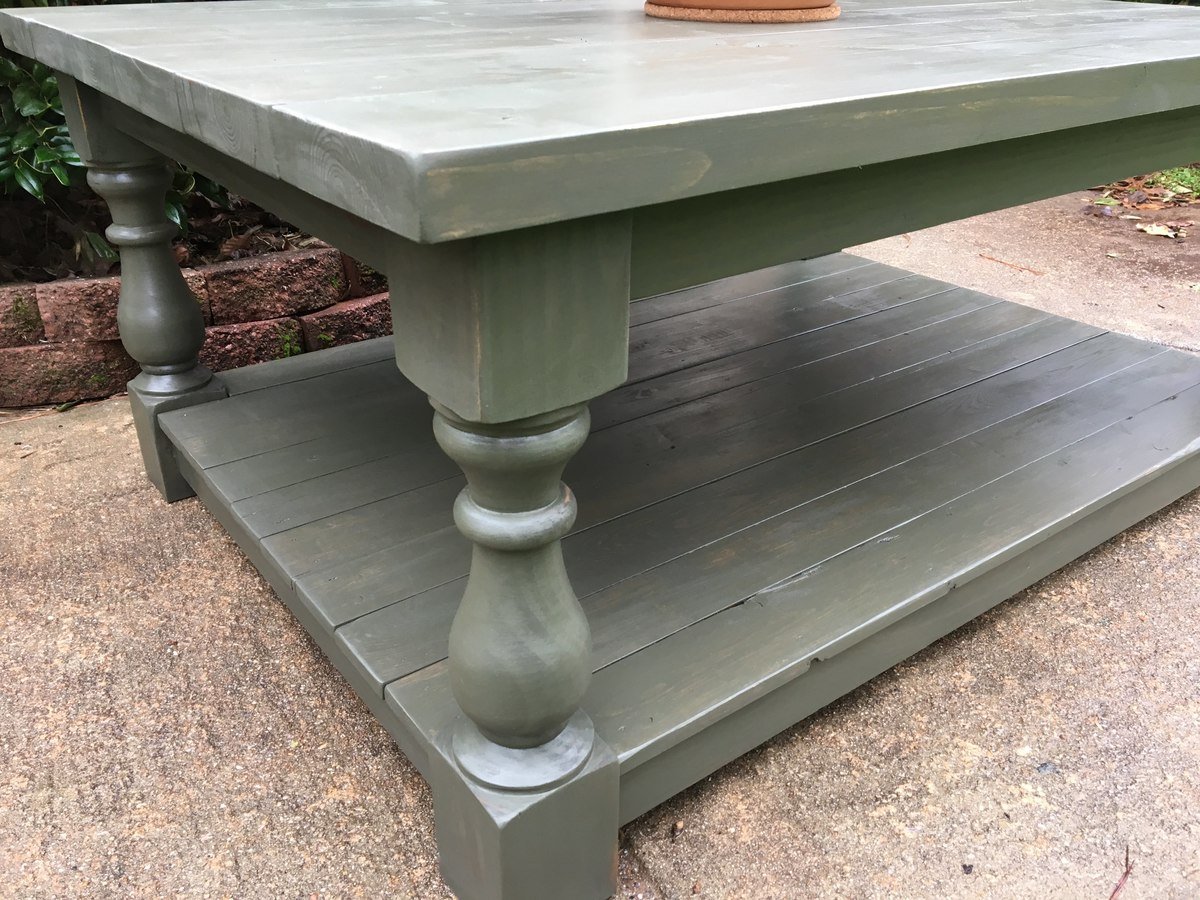
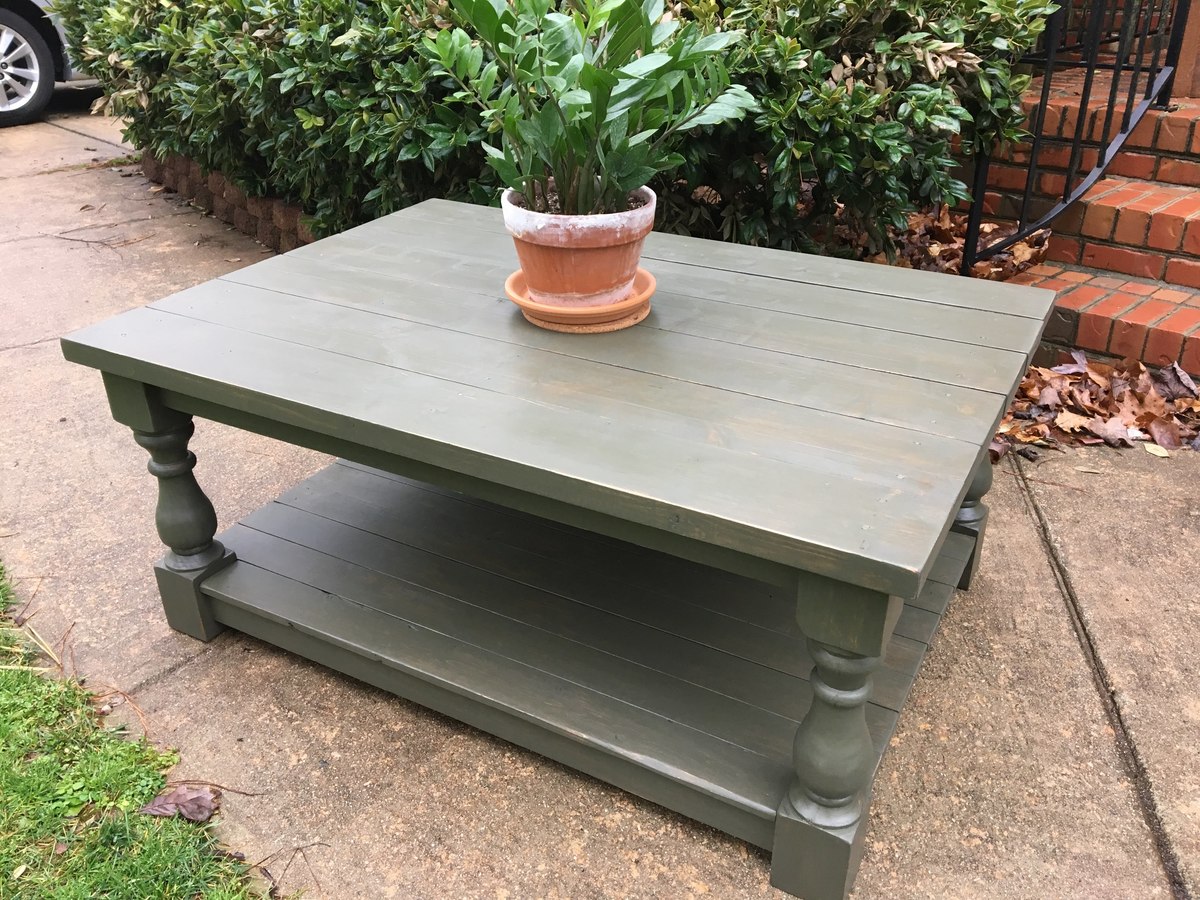
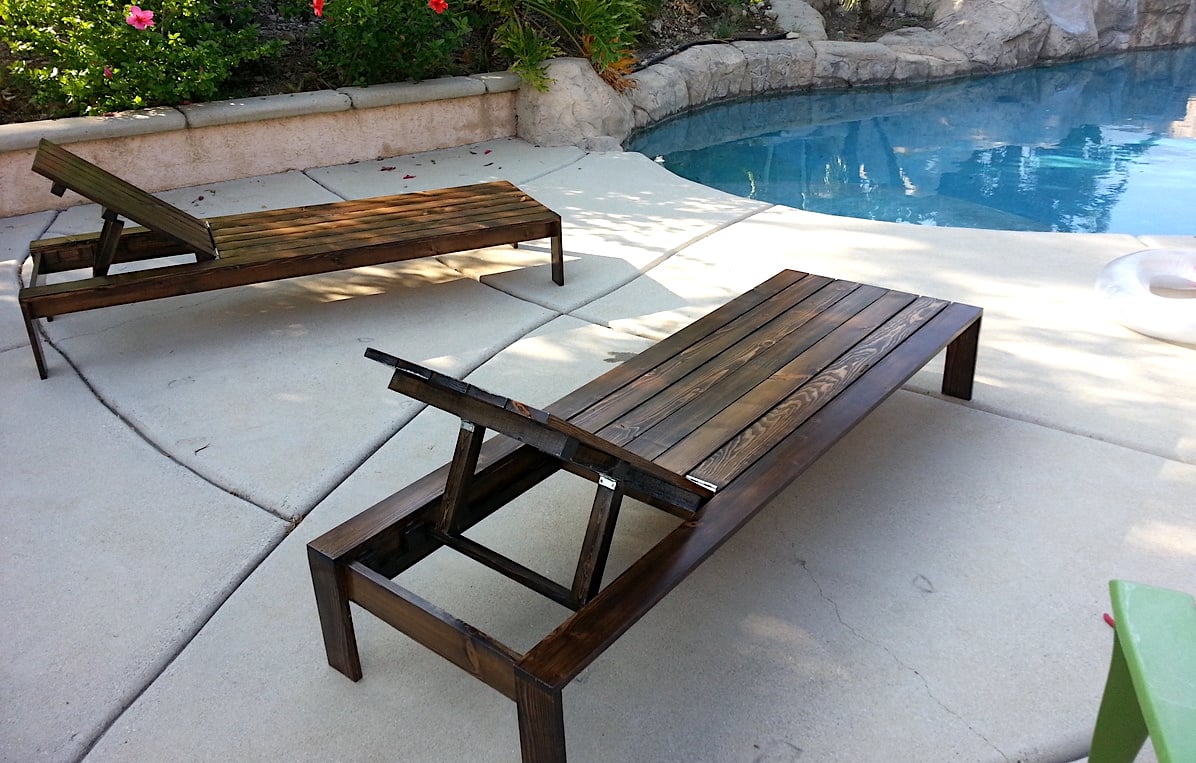
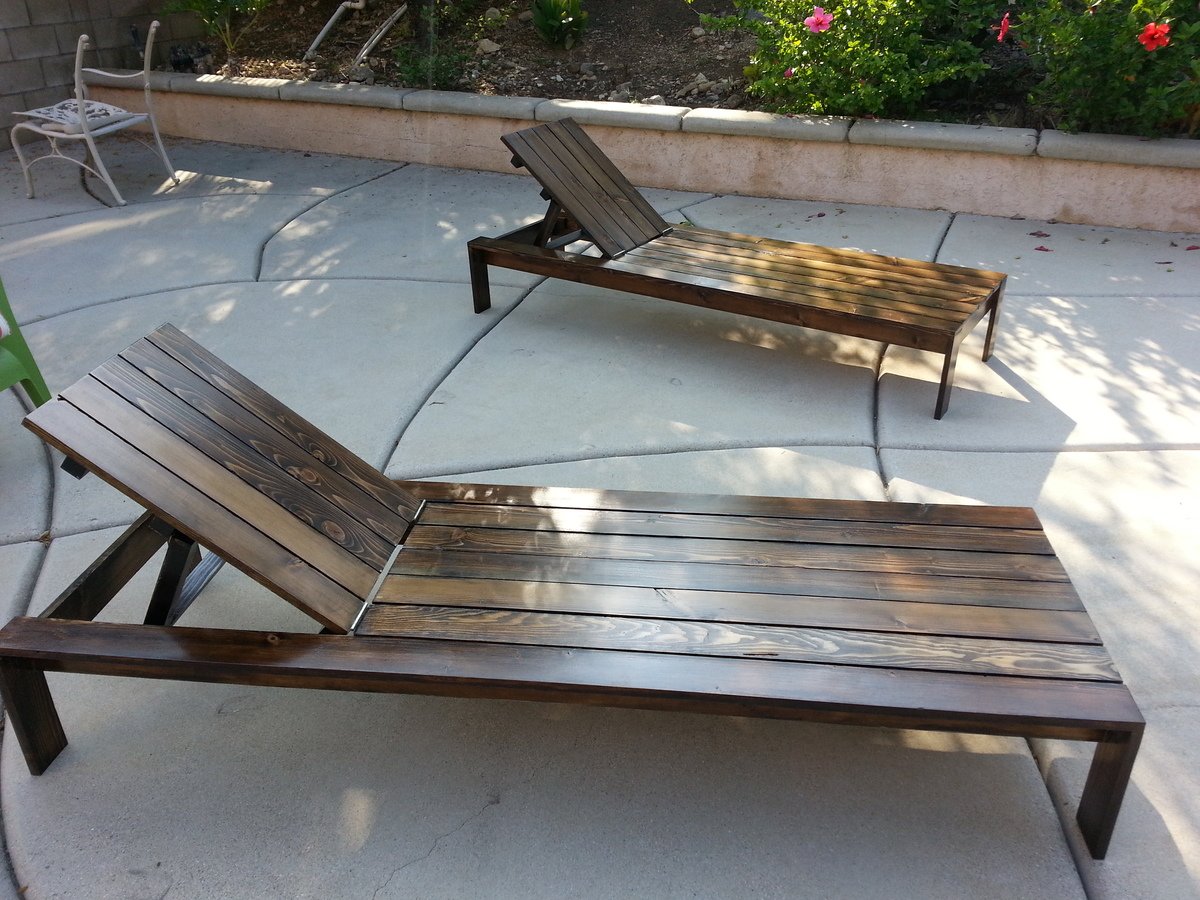
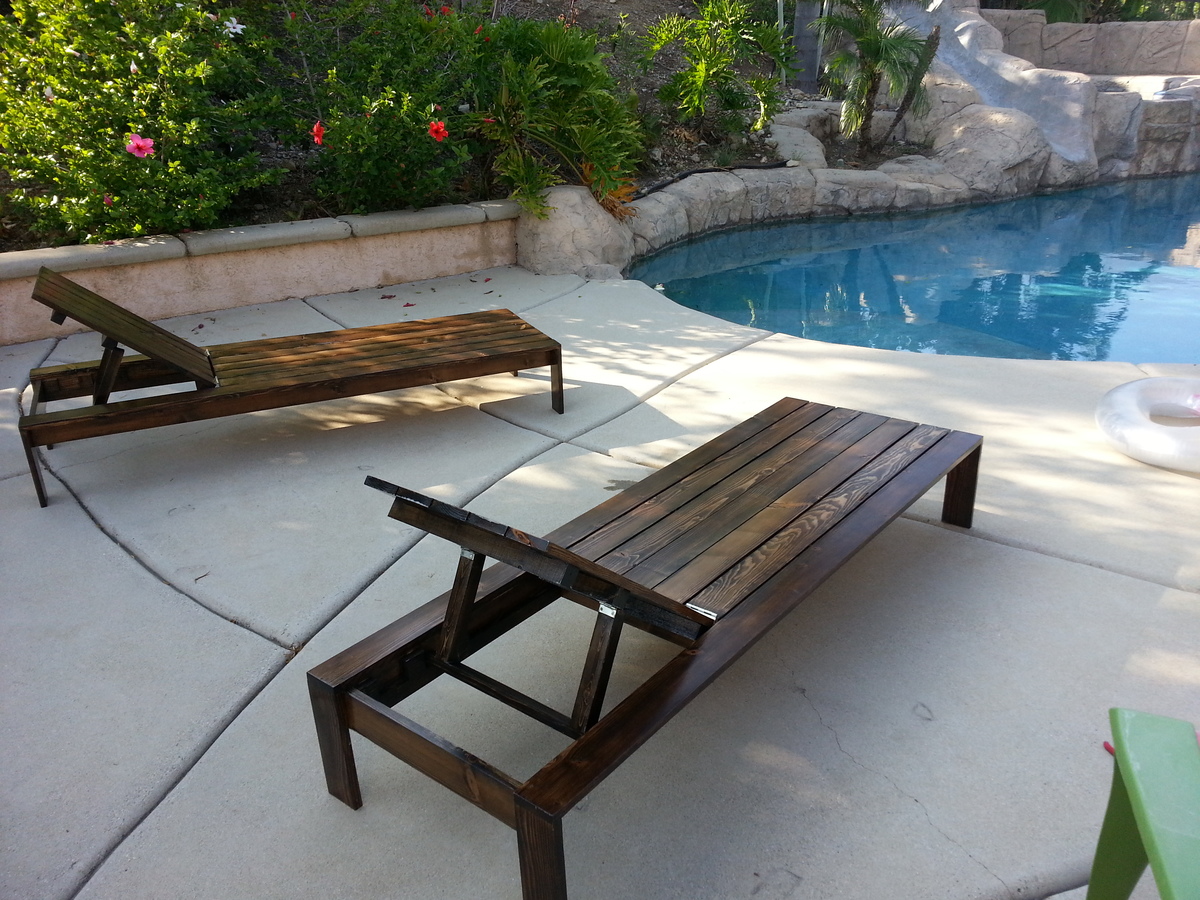
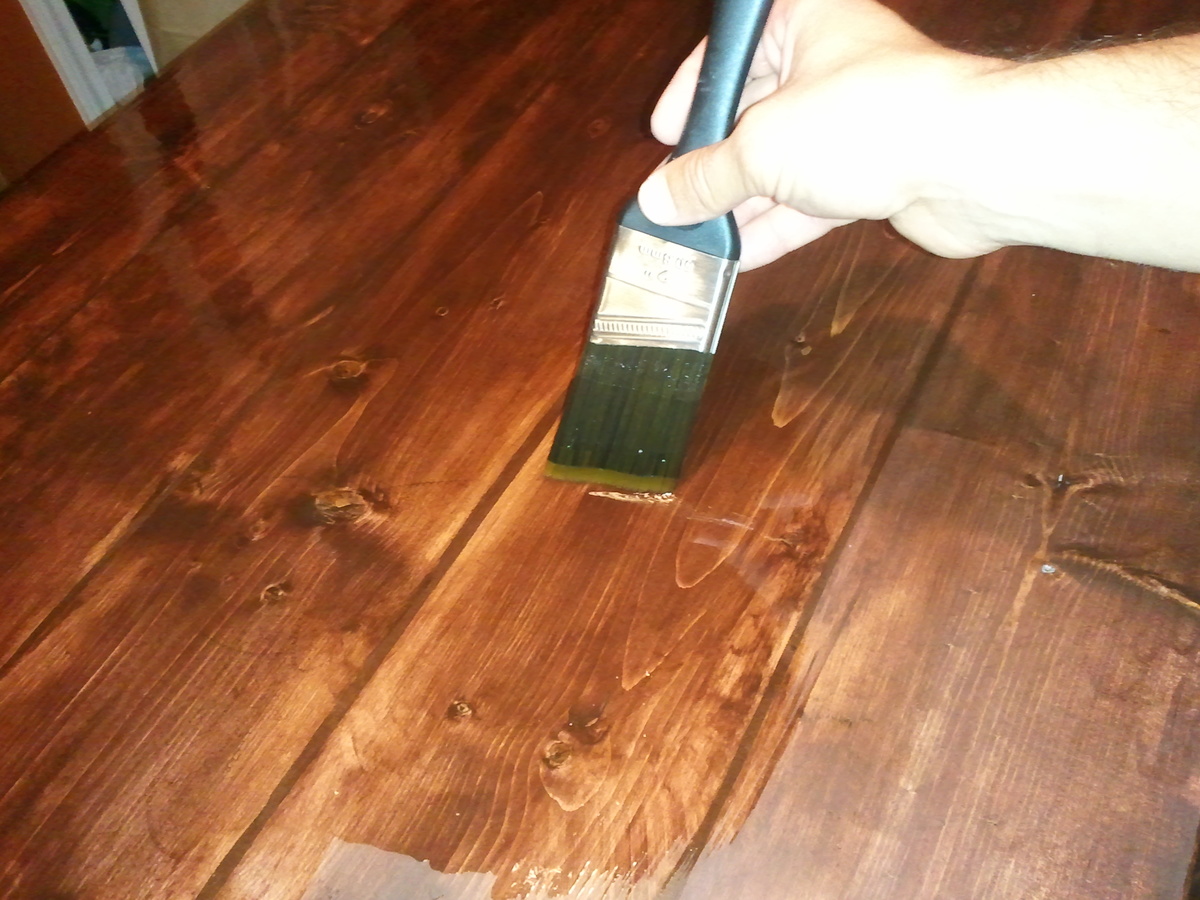
Heavy cream color paint. 1 coat of red elm gel stain by minwax. Left it on for awhile to get a good dark color. 3 coats of minwax semi-gloss polyurethane.
Recommended Skill Level
Beginner