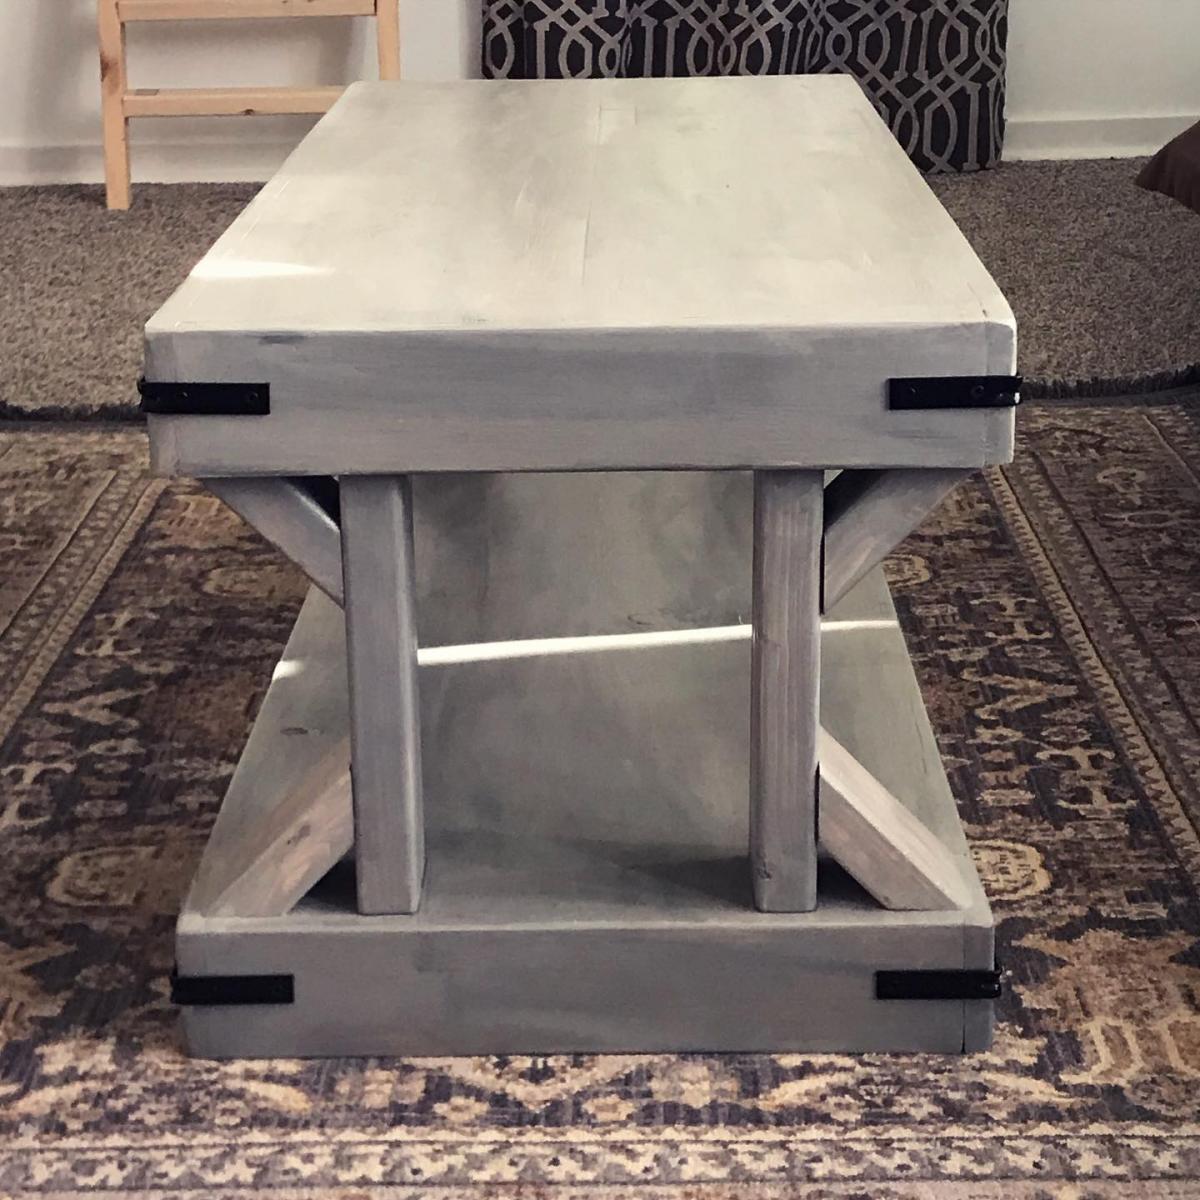
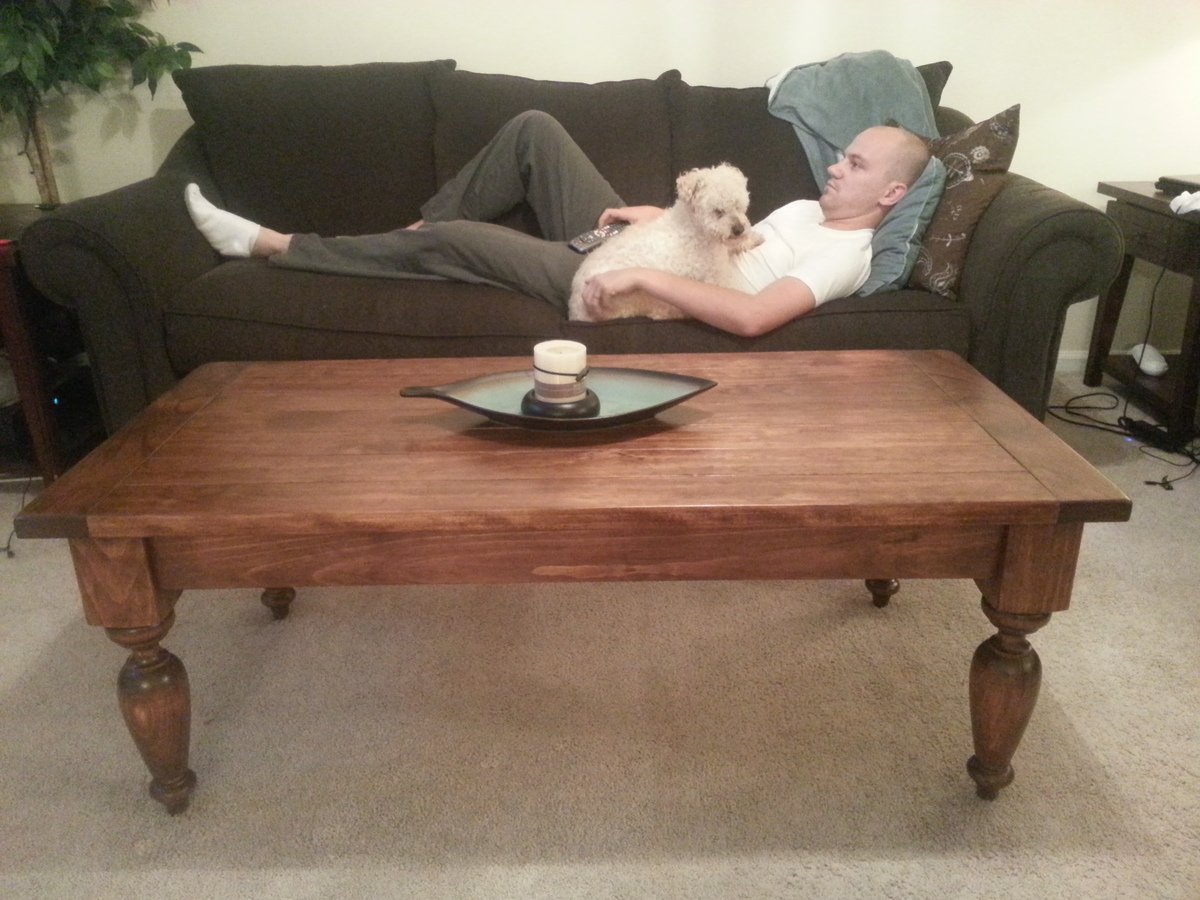
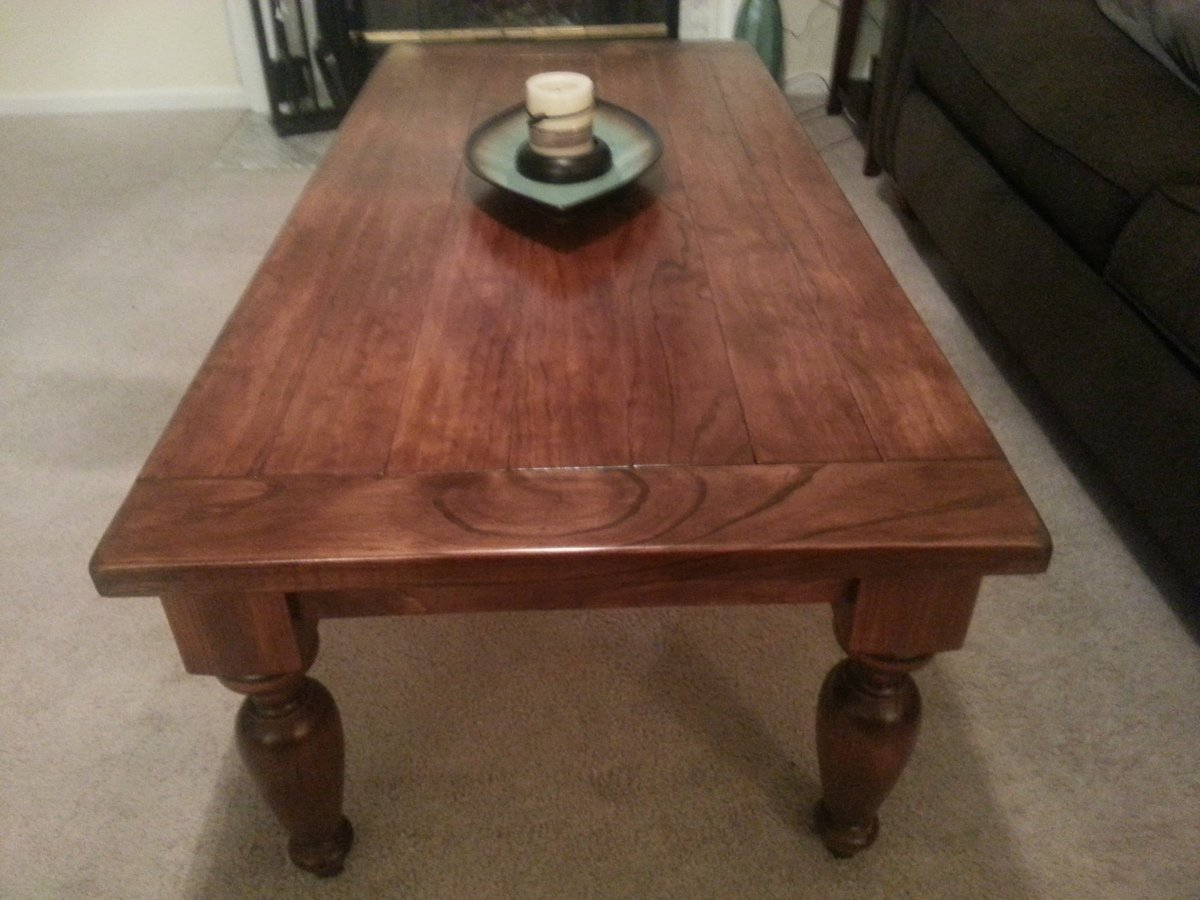
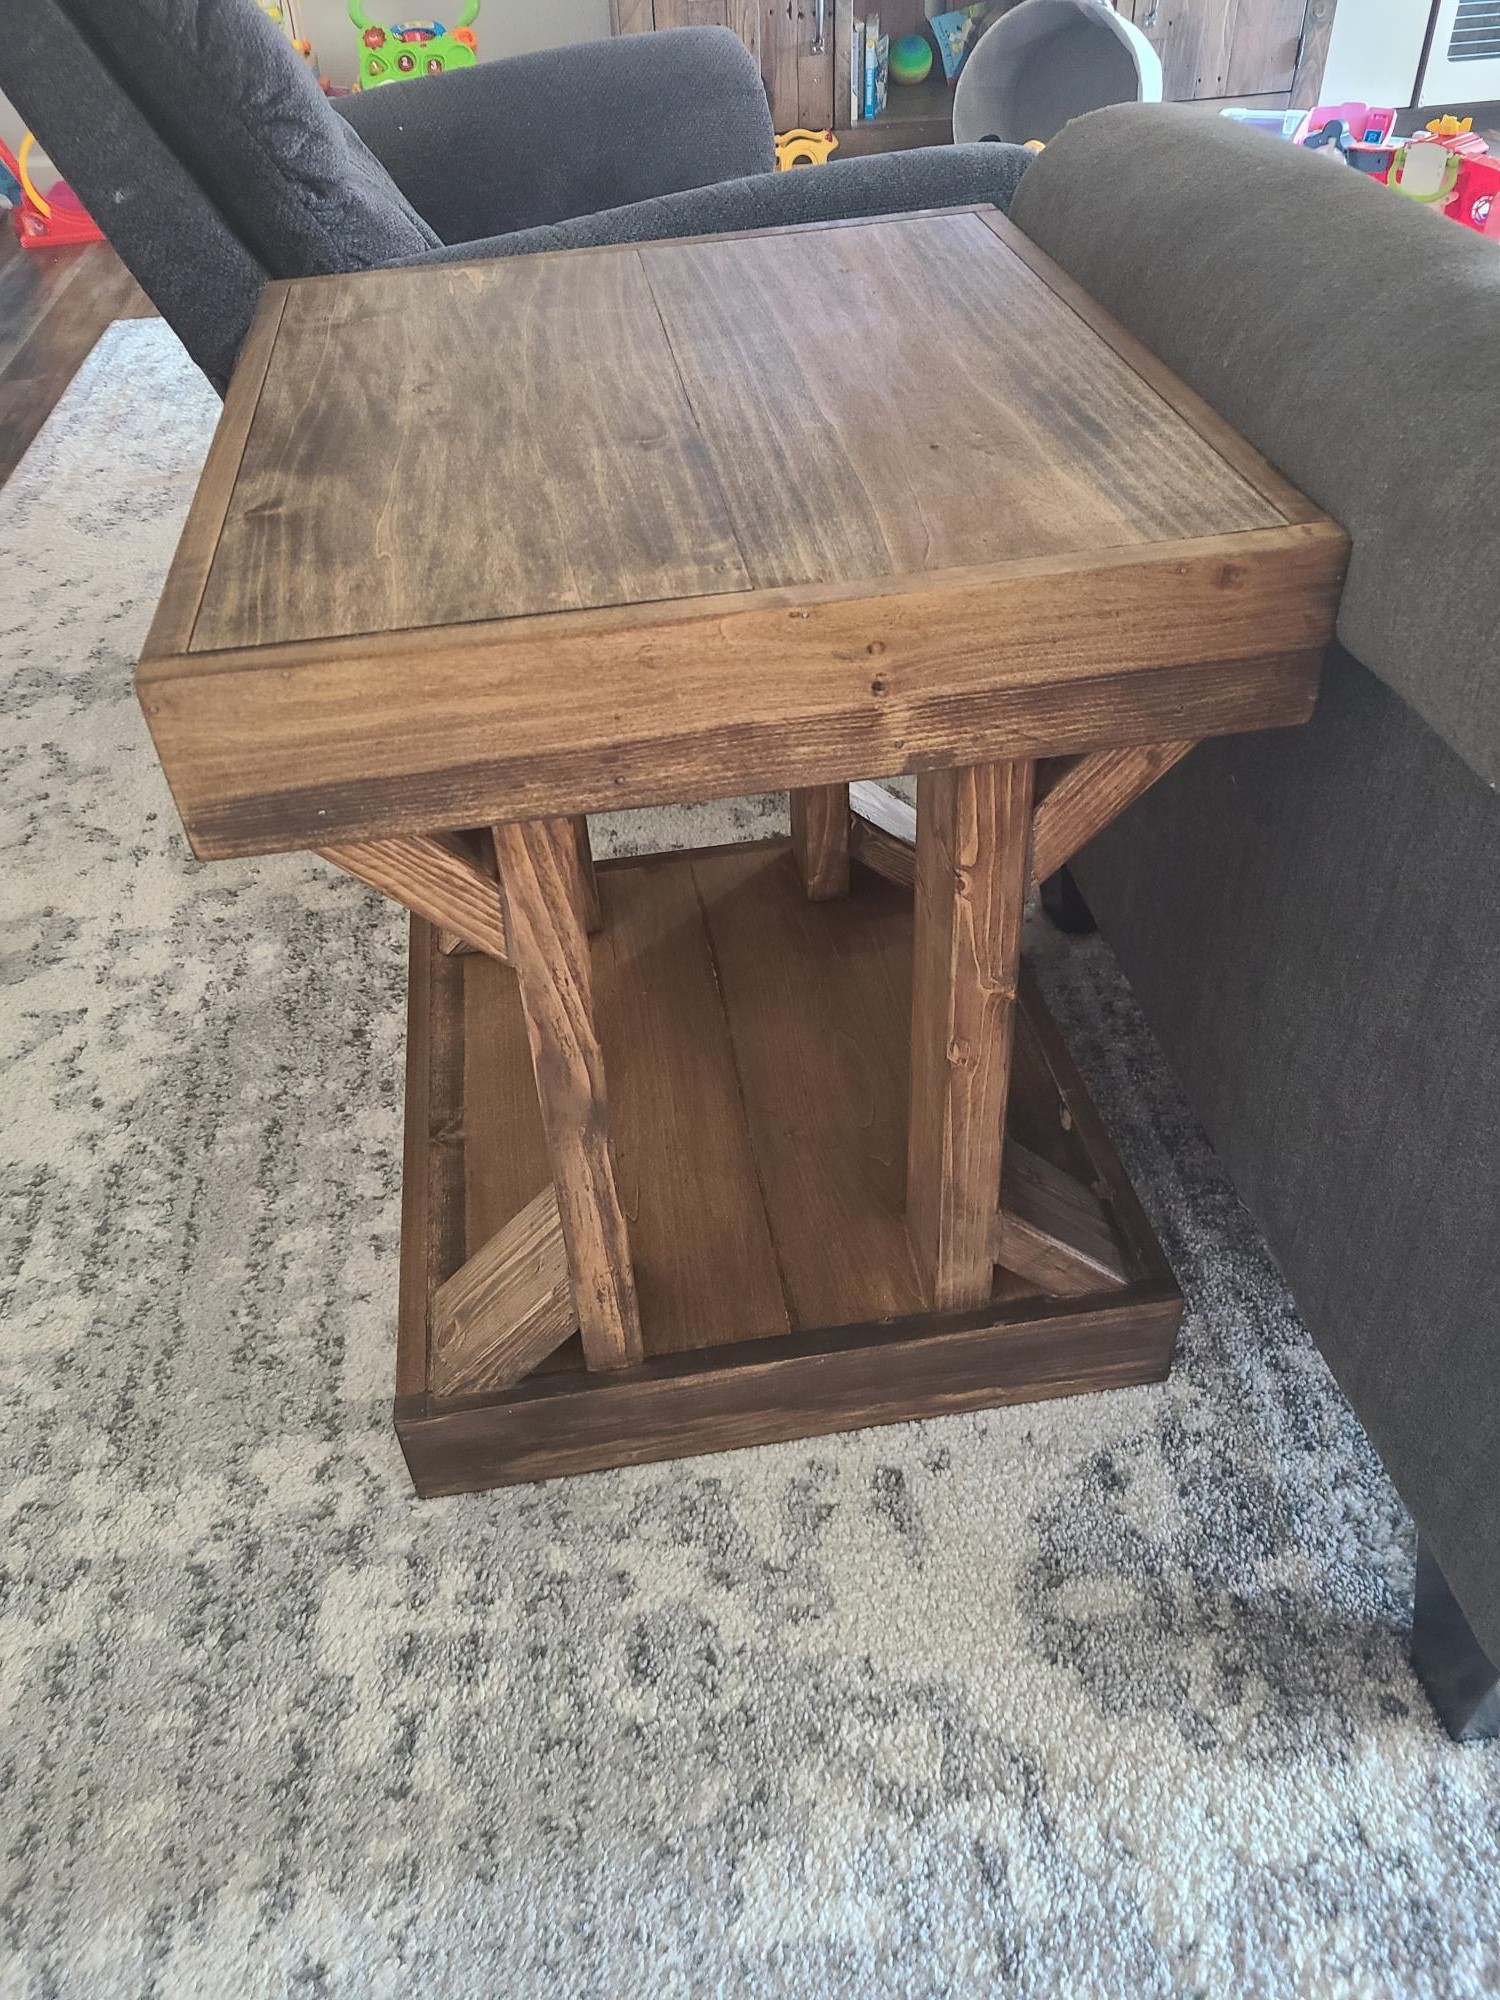
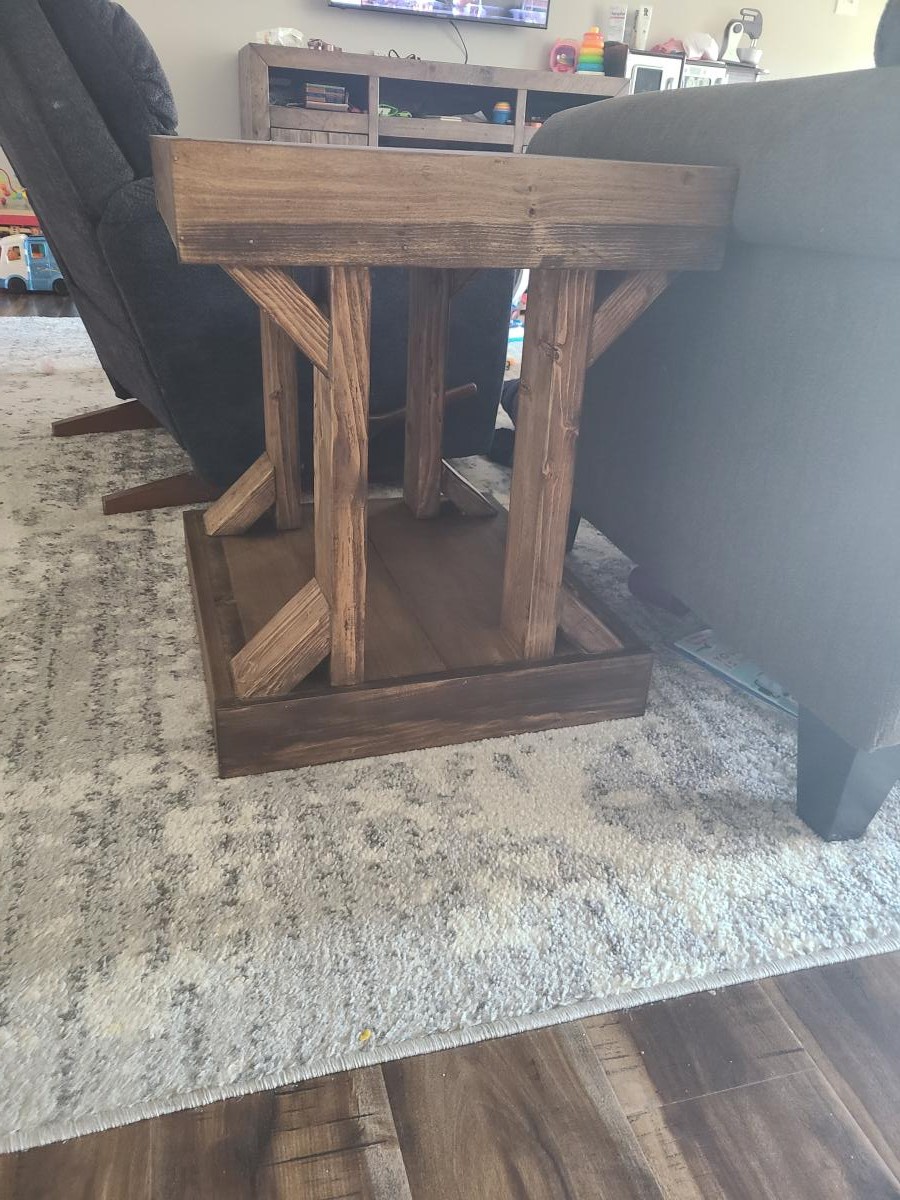
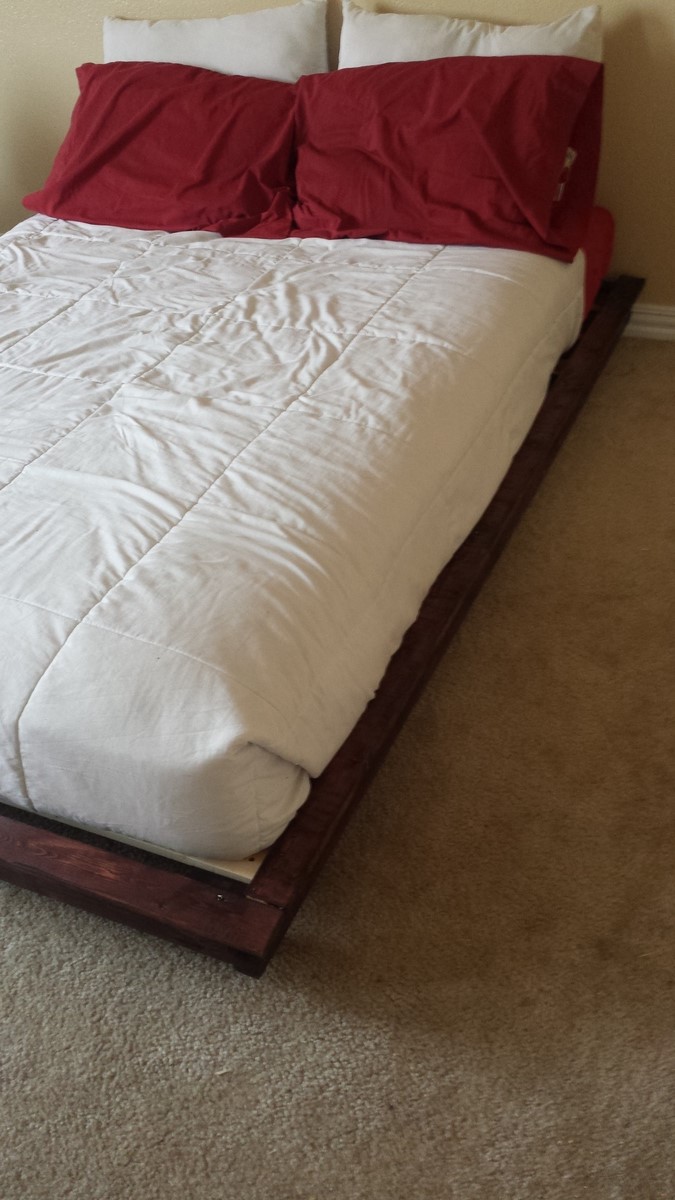
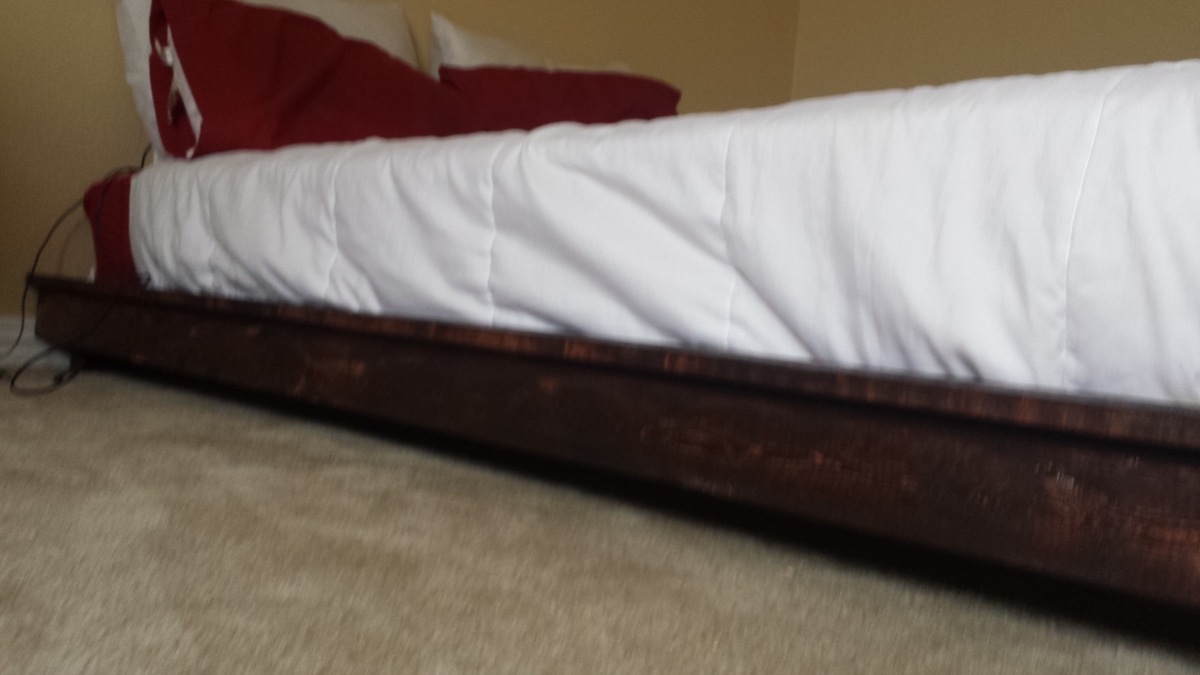
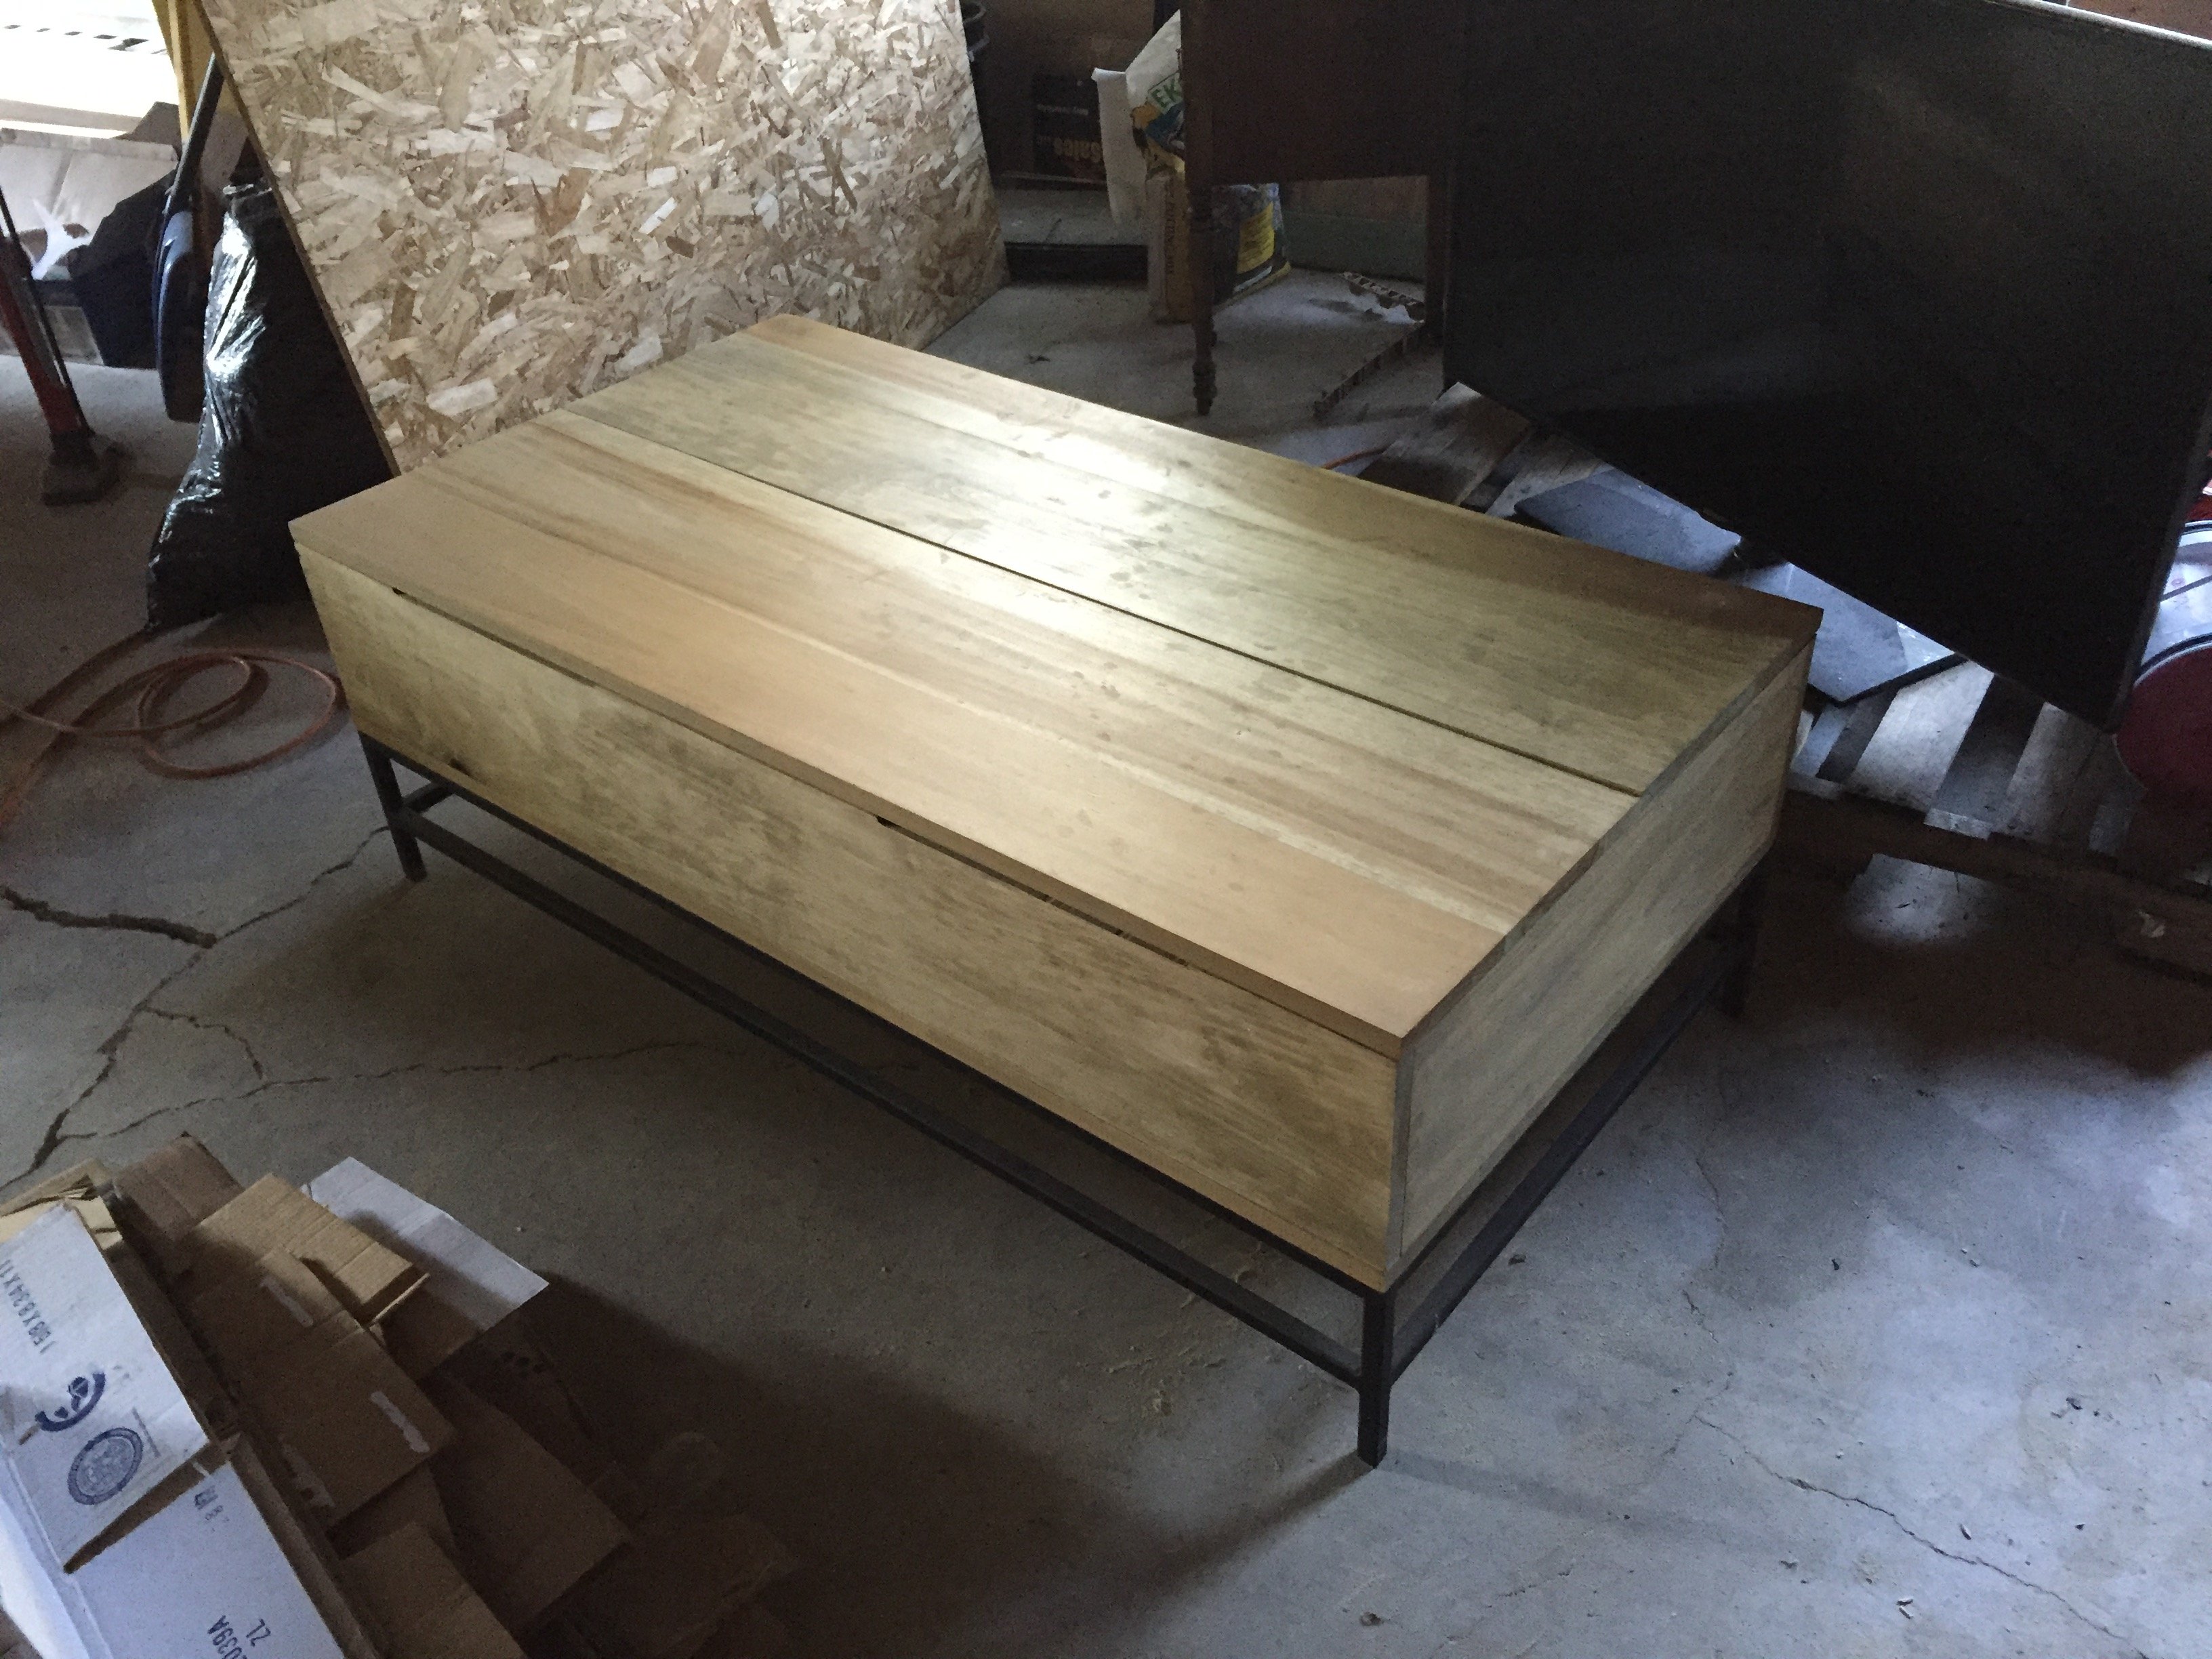
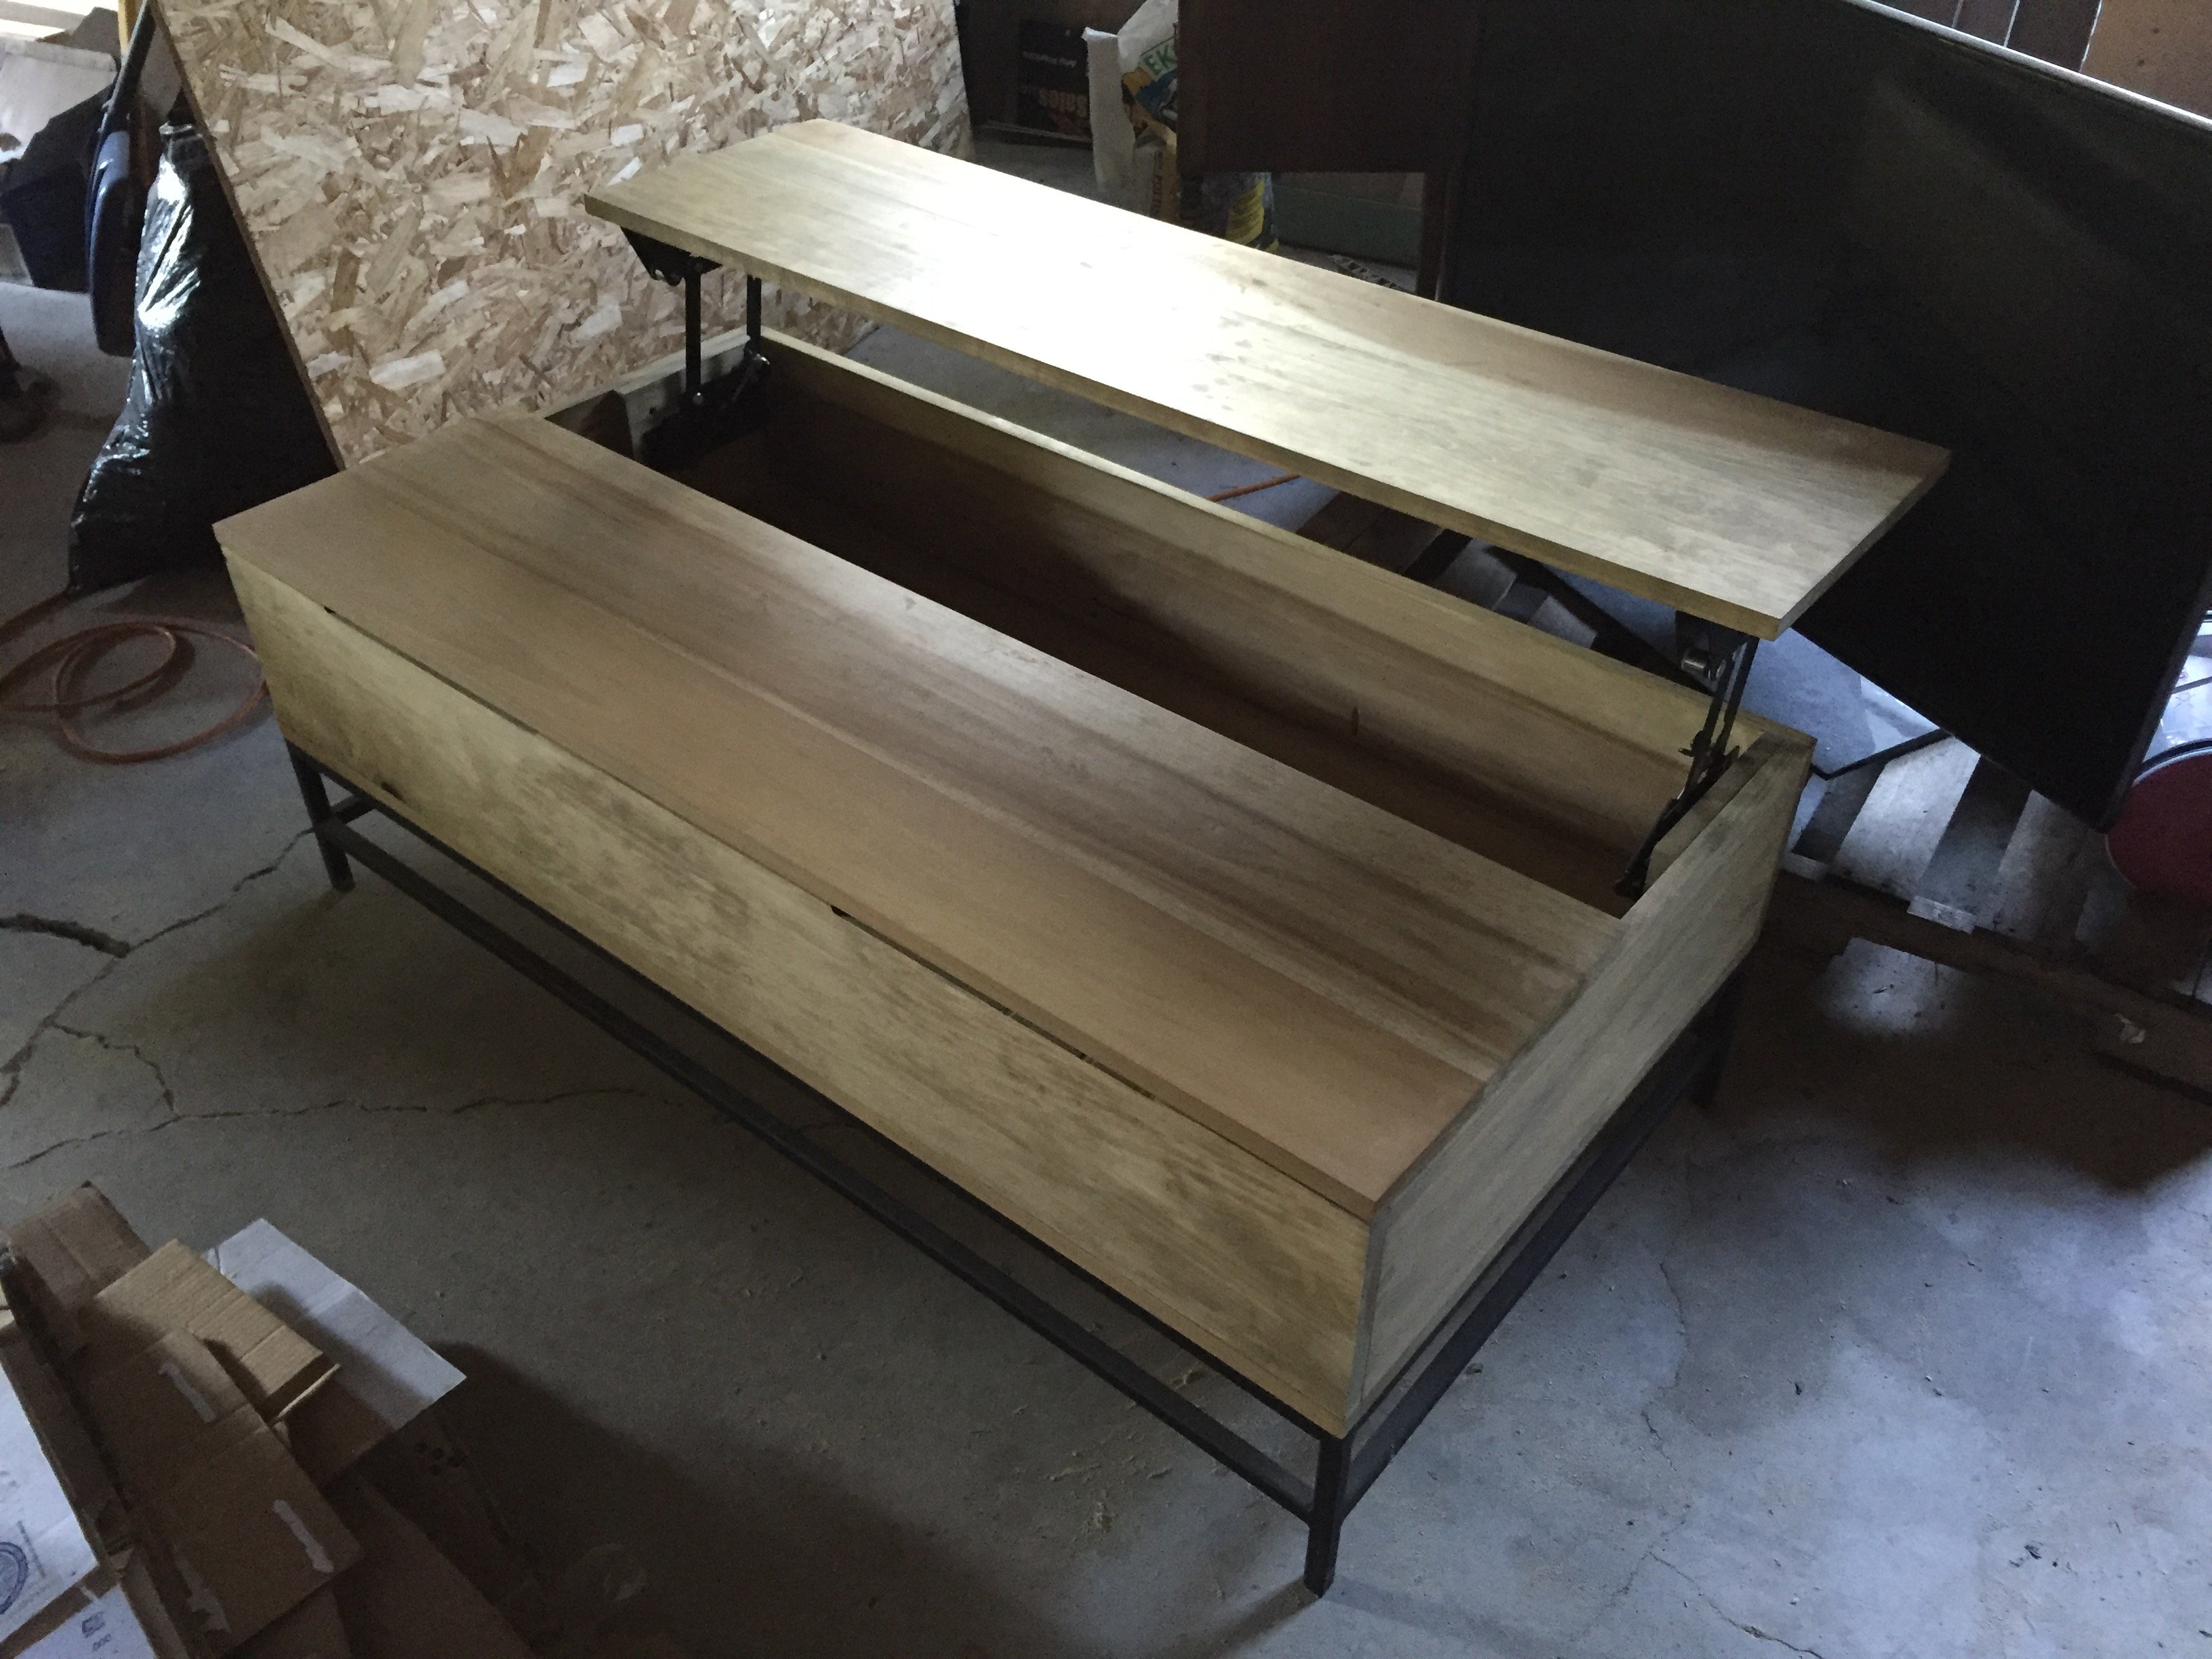
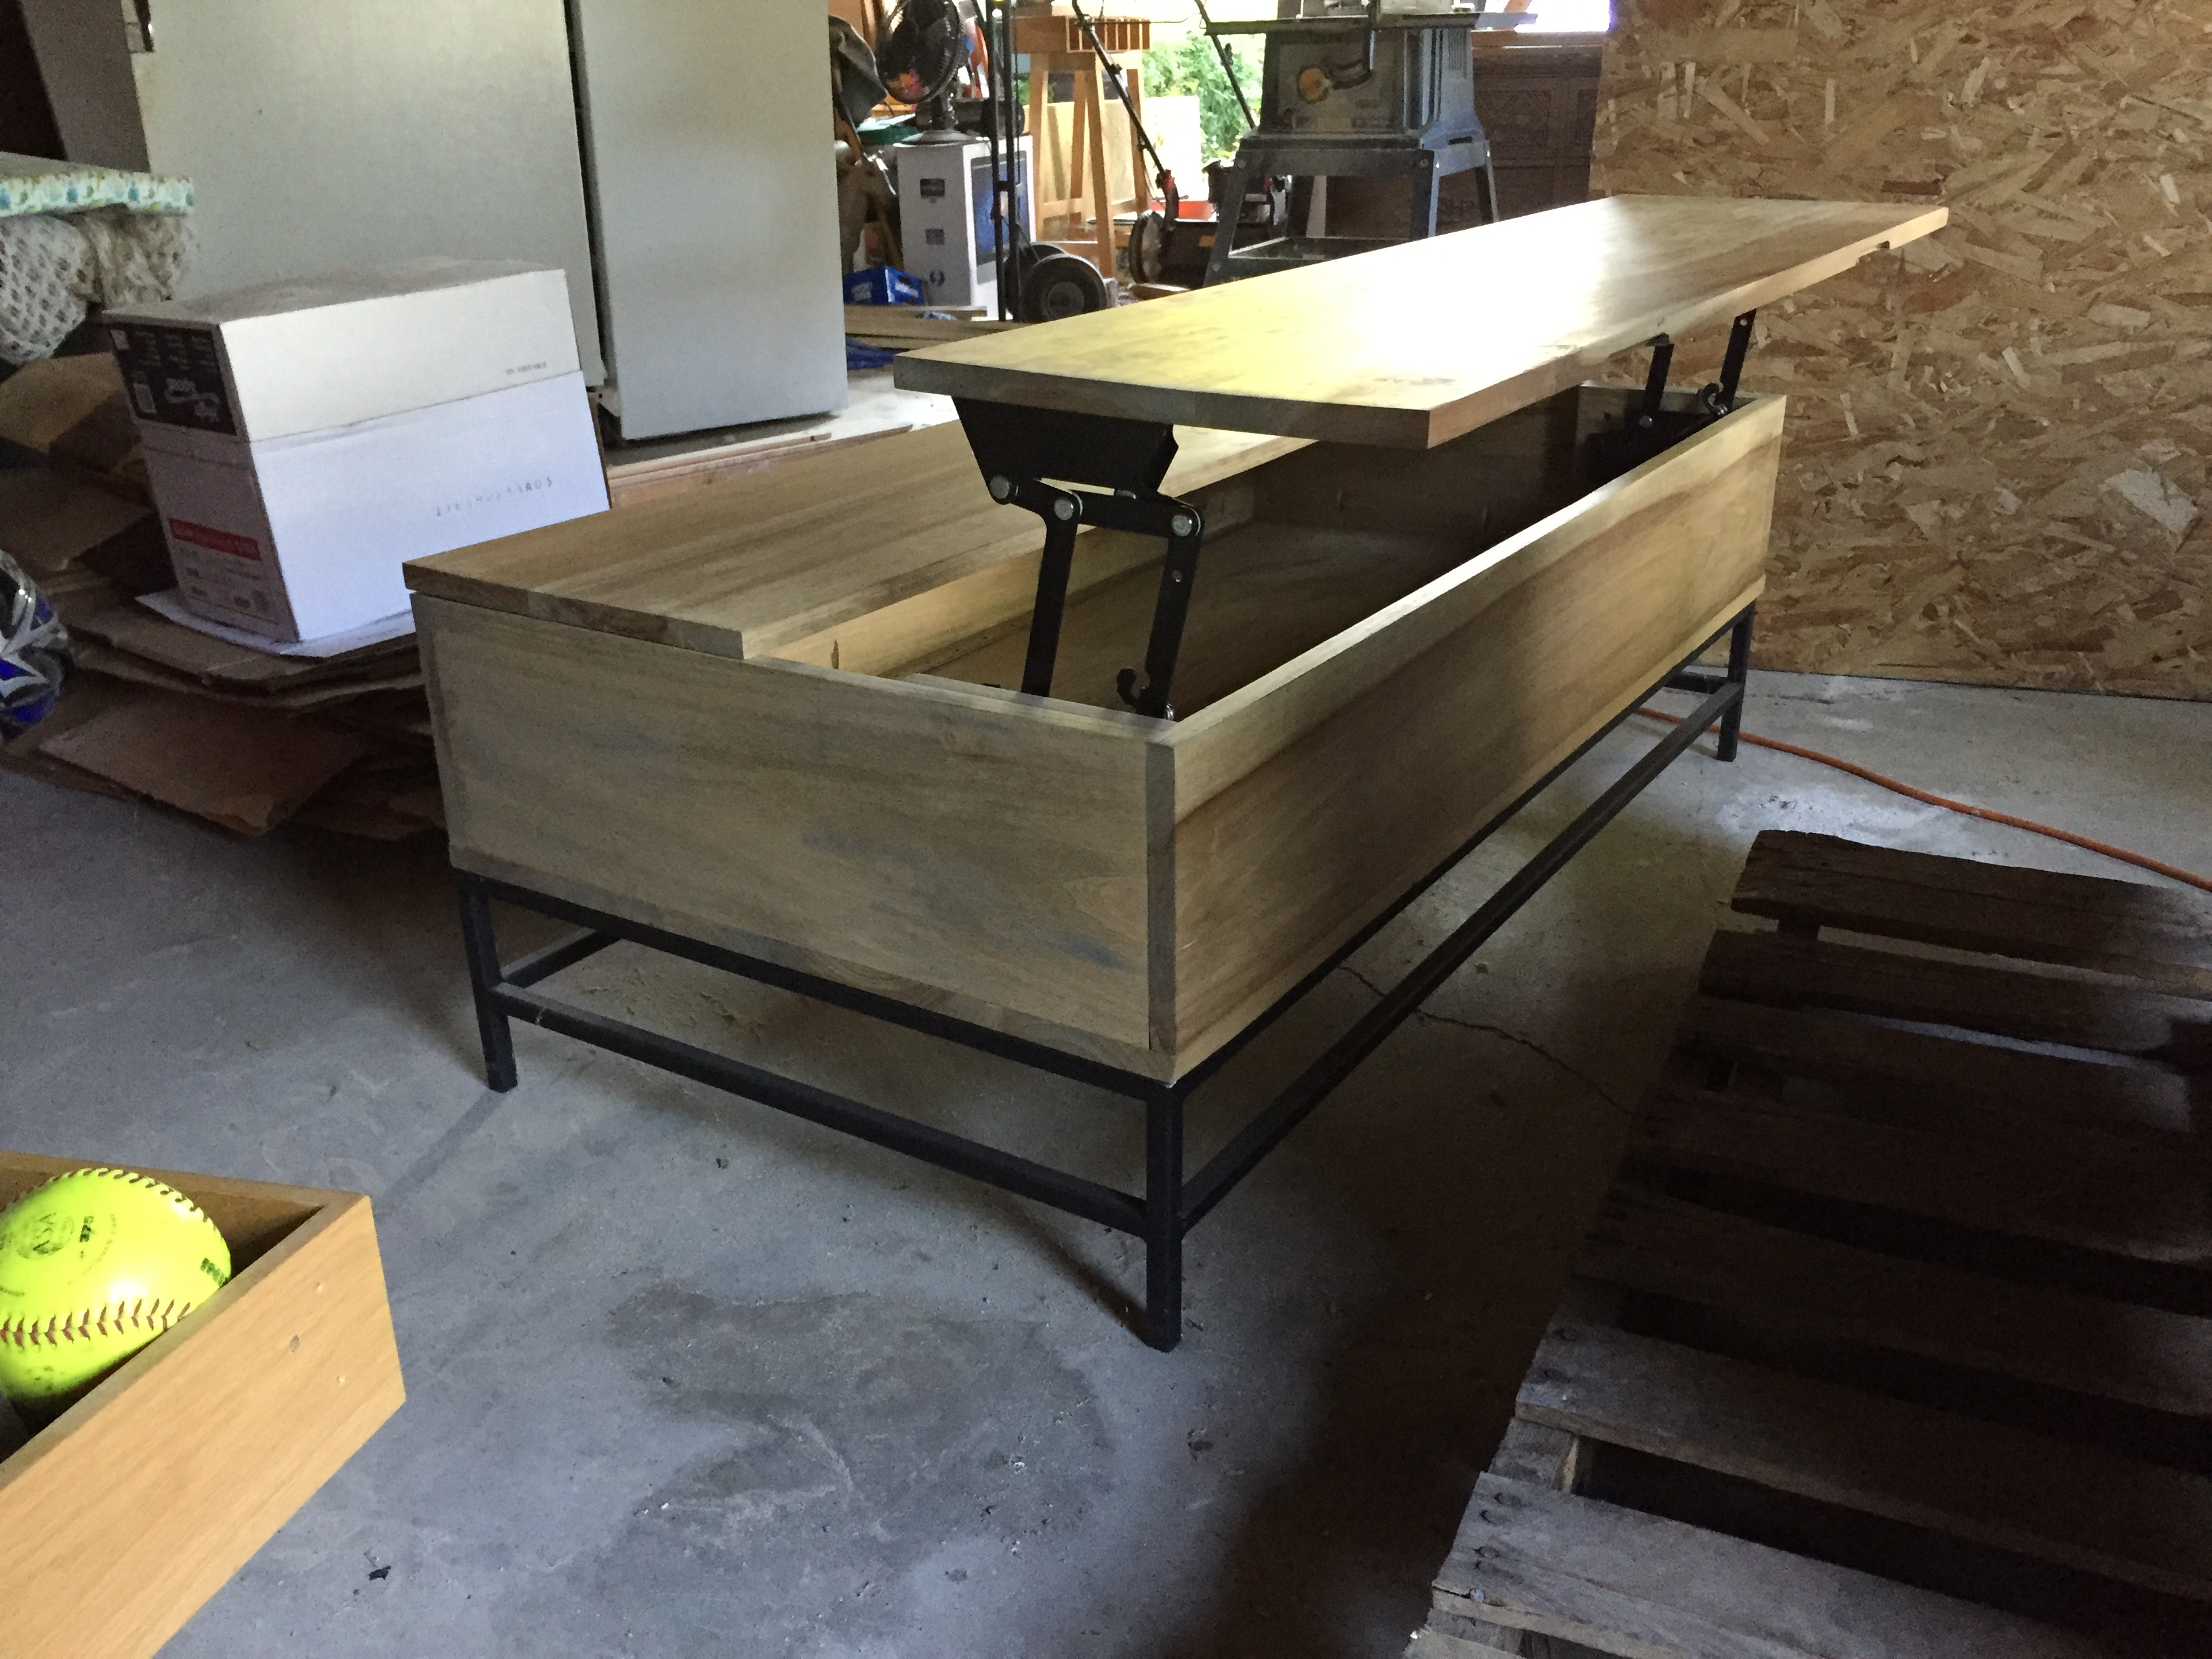
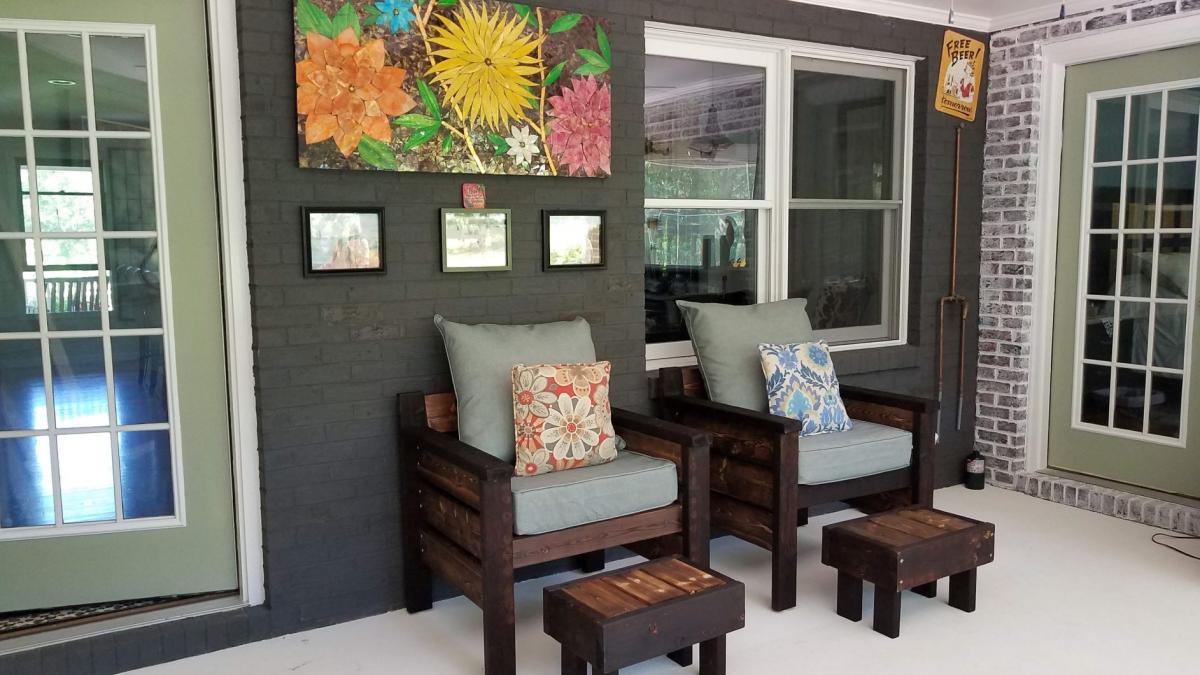
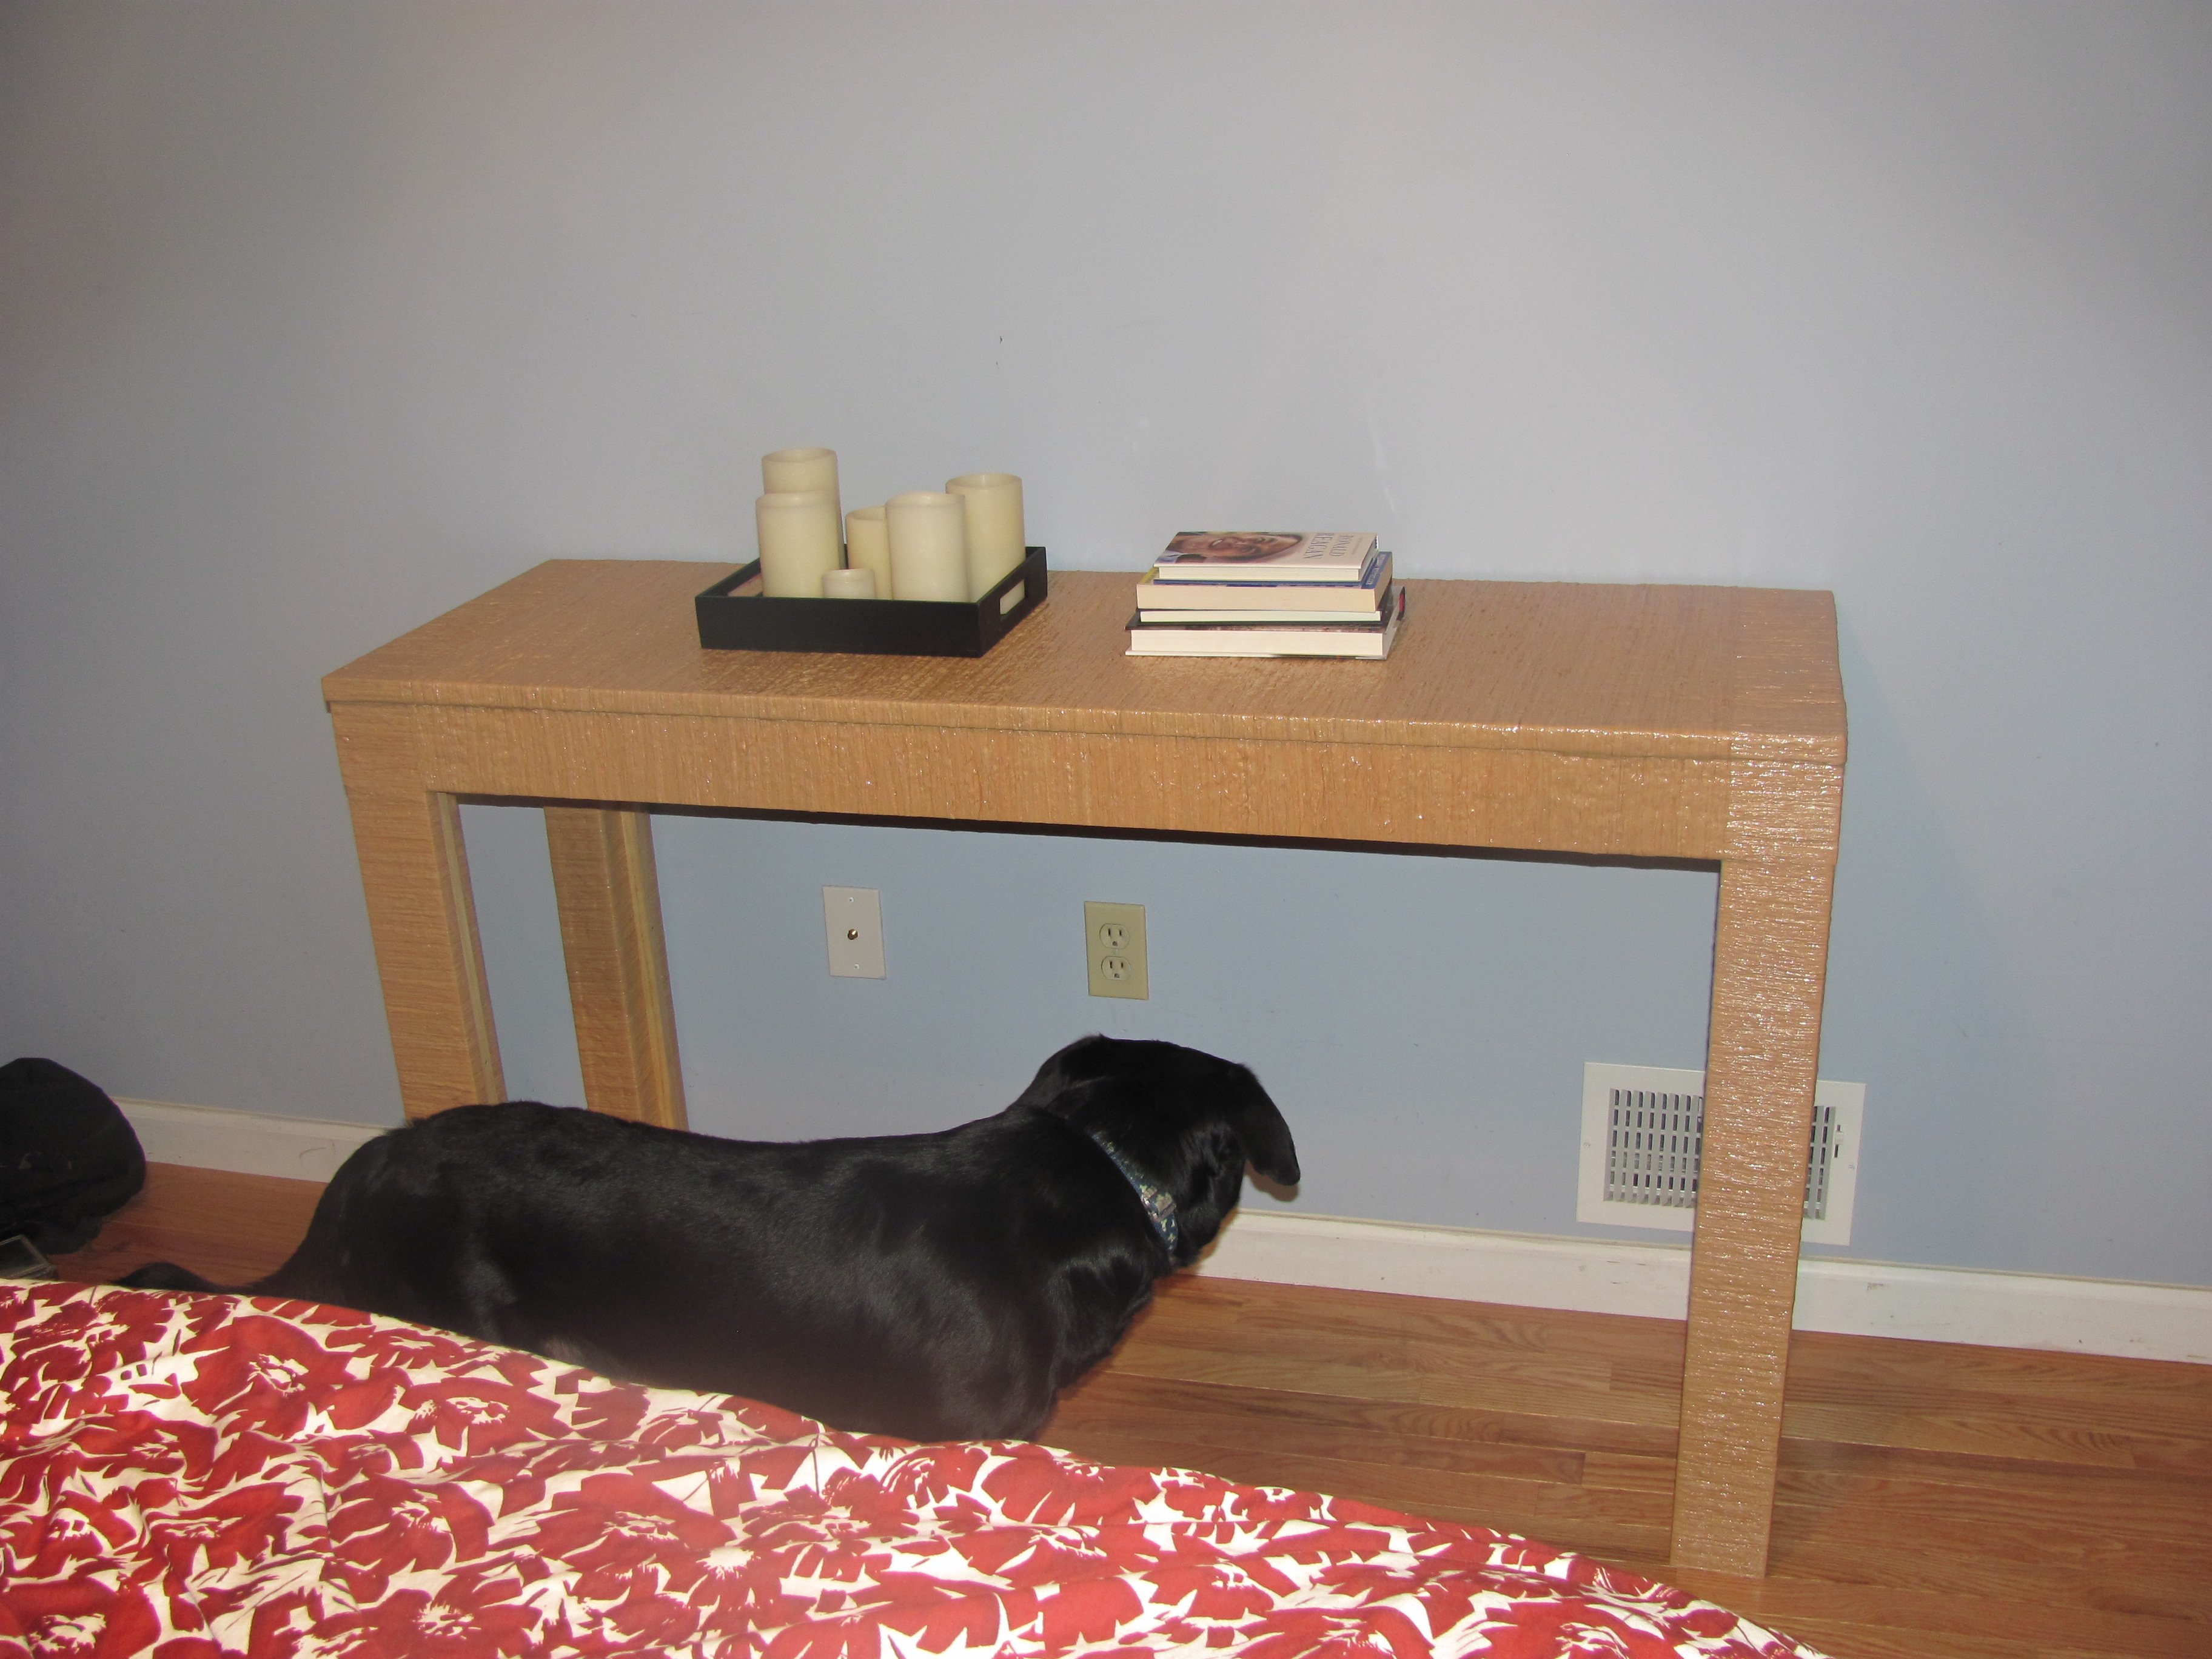
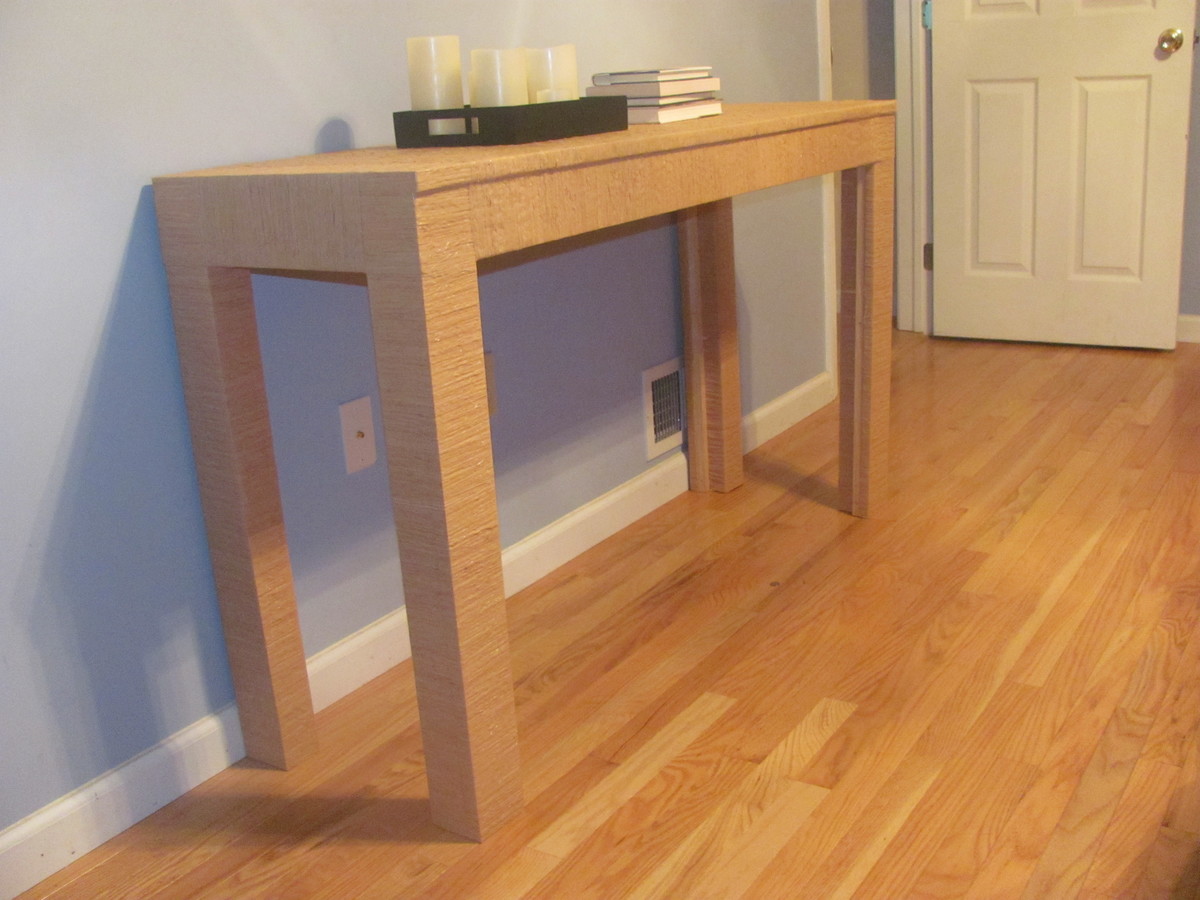
Double dog coffee table crate
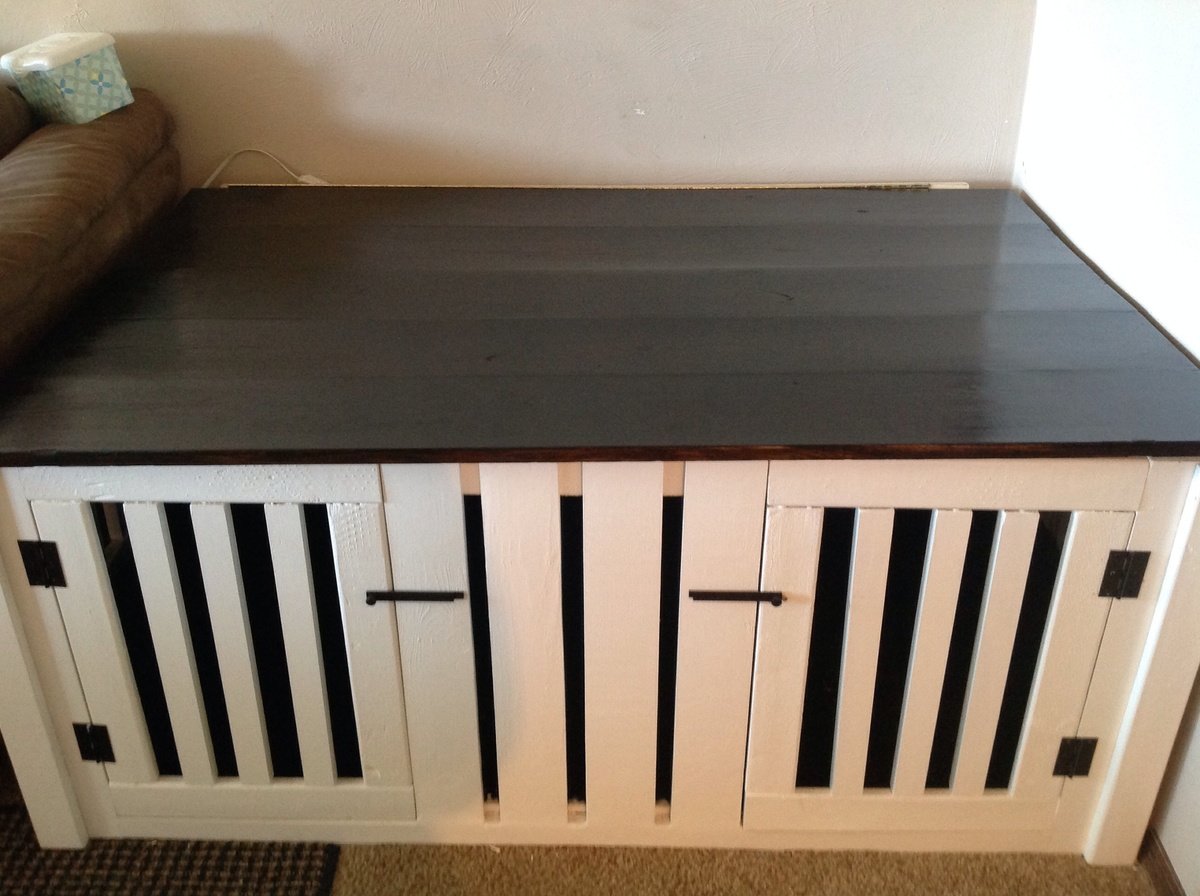
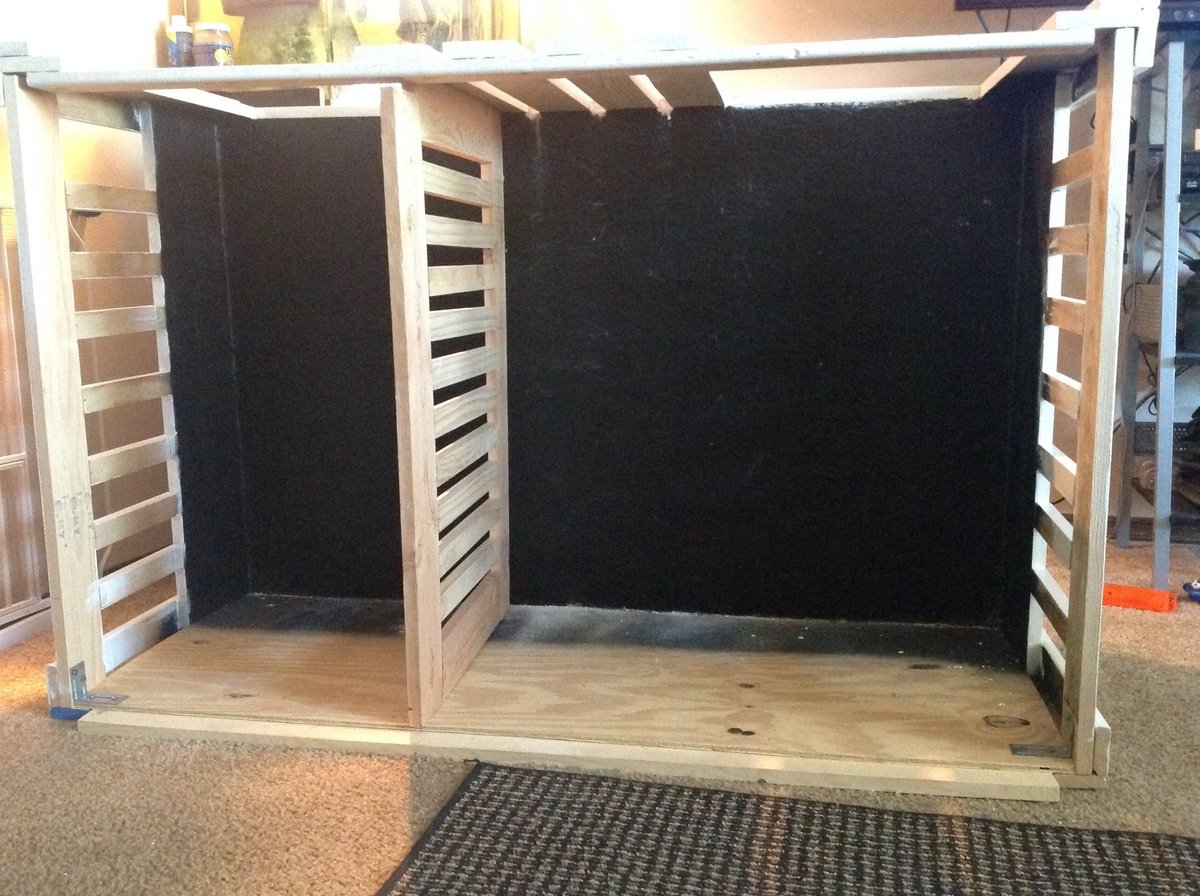
I LOVE the way this turned out! I used truck bed liner for the floor and the sides because one of the dogs is still a puppy and truck bed liner is TOUGH and waterproof (in case of accidents)! I made one side of the crate huge and one side small to match the size of our dogs. The really nice thing is that you can't tell by looking at it that it is two different sizes inside. This looks so much better than those ugly wire or plastic crates.
Built from Plan(s)
Estimated Cost
$85
Estimated Time Investment
Weekend Project (10-20 Hours)
Finish Used
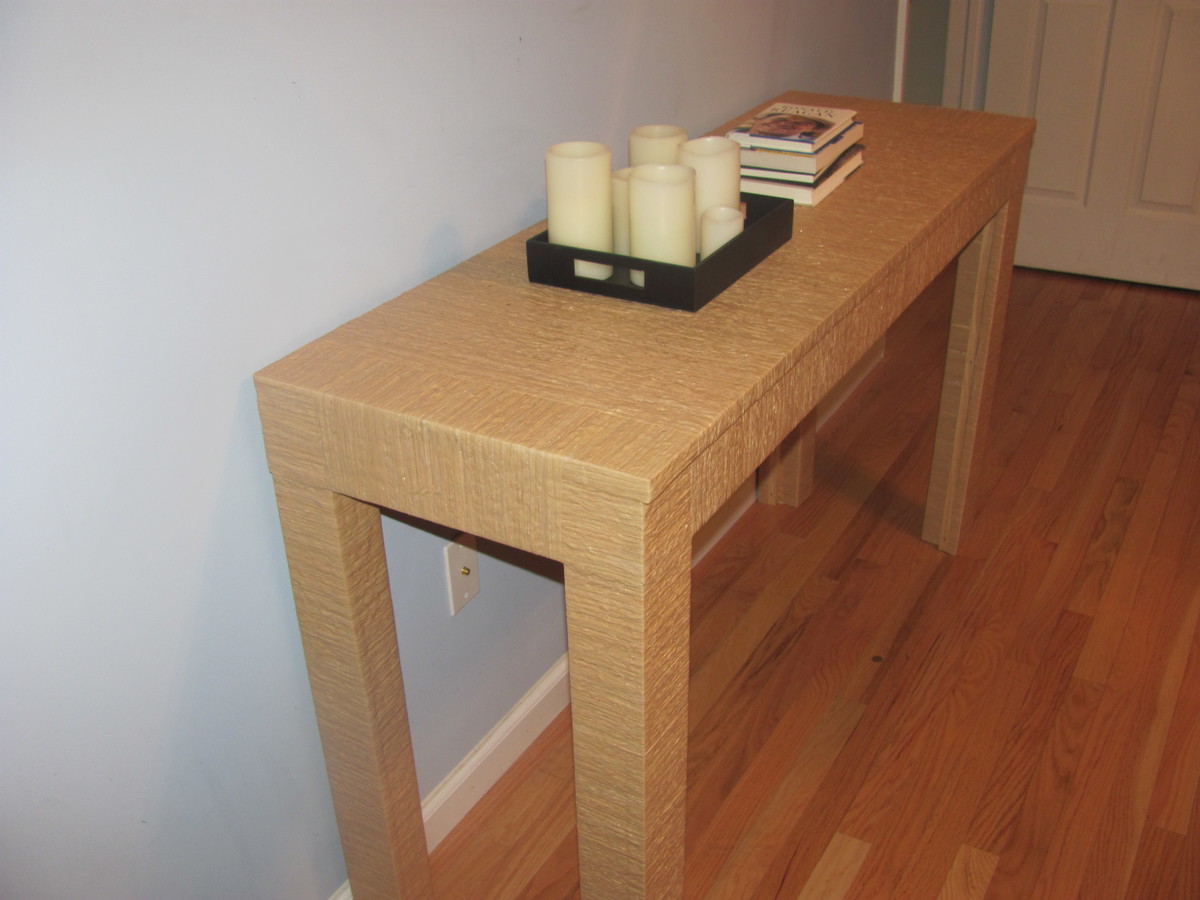
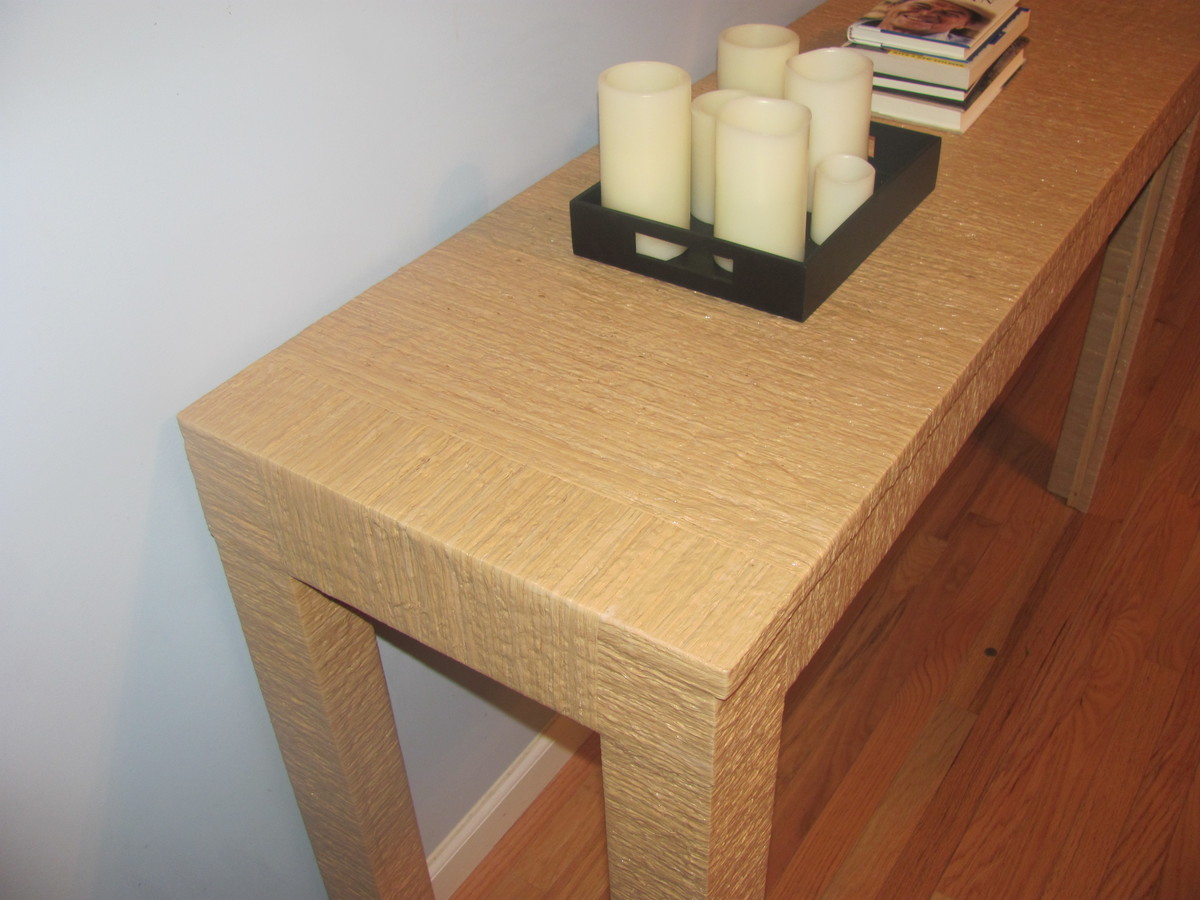
I primed all of the wood except the lid. On the interior I sprayed truck bed liner over the primer. On the outside I used Beyer high gloss "parchment paper" color. (I used high gloss so dog dirt, dander and fur would be easy to wipe off). I used Minwax wood prep first and then I stained the top with Minwax espresso. It took about 3 coats of stain to get the color I wanted and 2 coats of paint after the primer.
Recommended Skill Level
Beginner


Comments
misticreek
Fri, 01/23/2015 - 08:44
Beautiful - how big?
I plan to do a crate/table similar to your design - how big are your dogs and compartments??
Thanks a lot!!
Misti