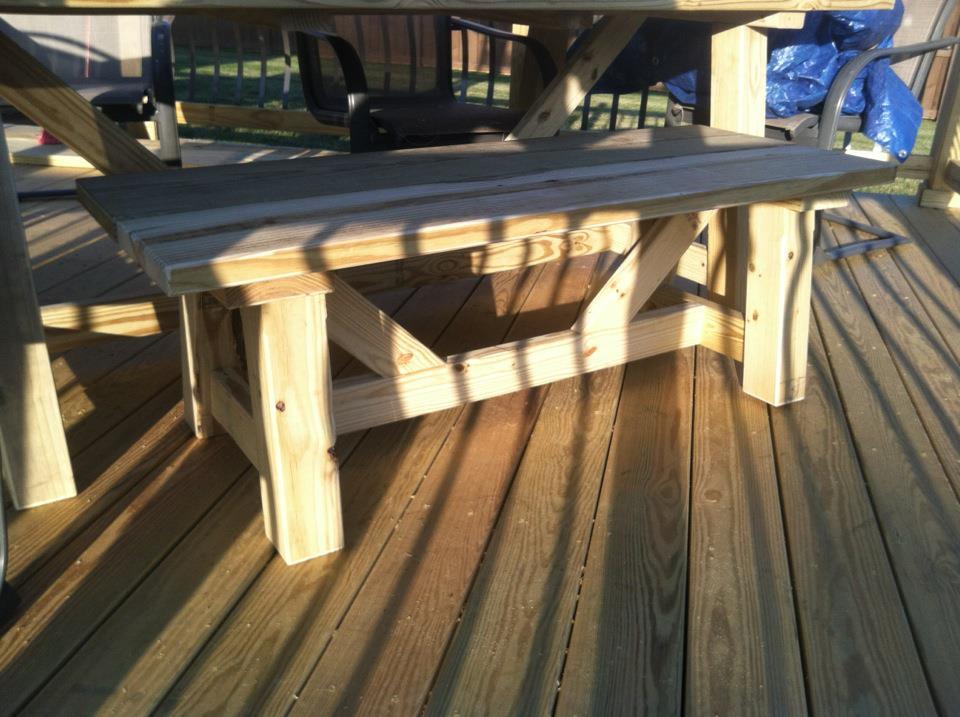
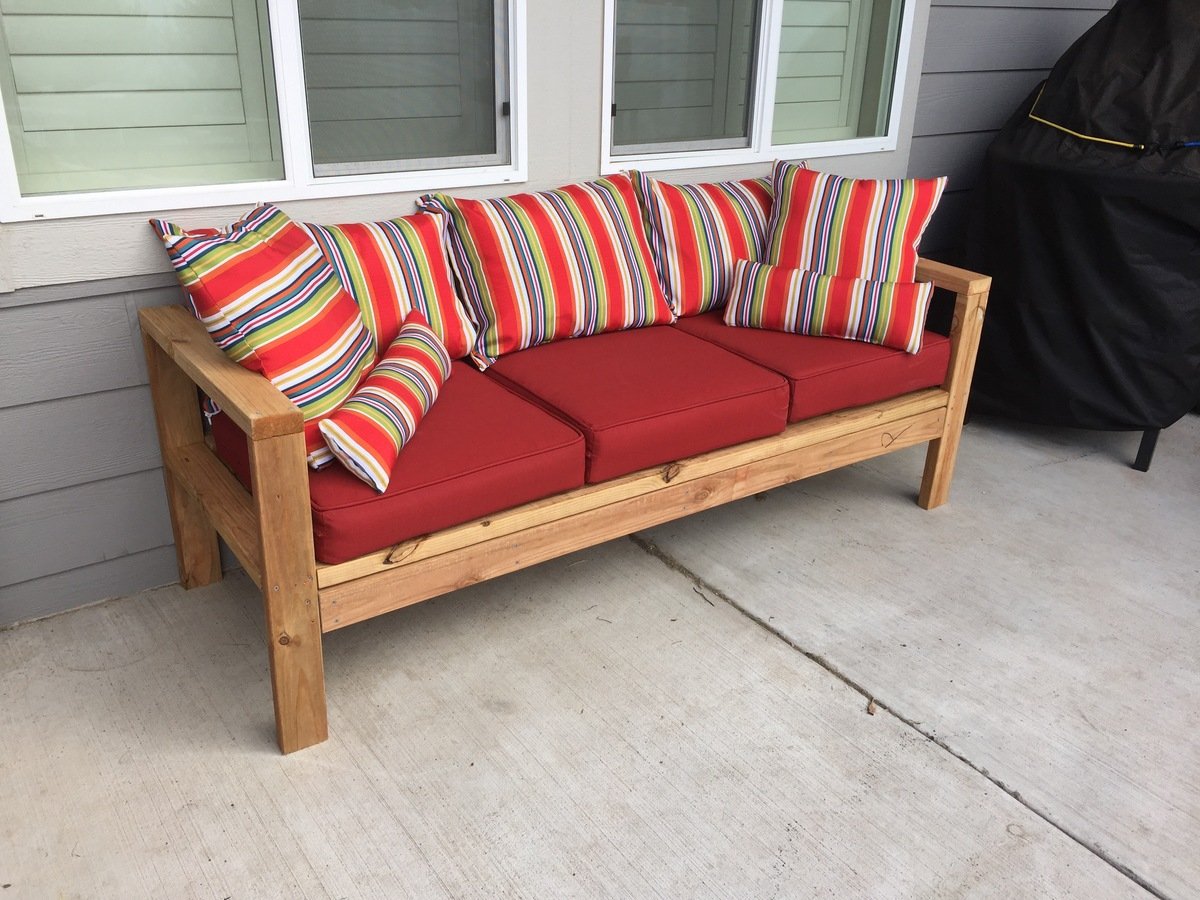
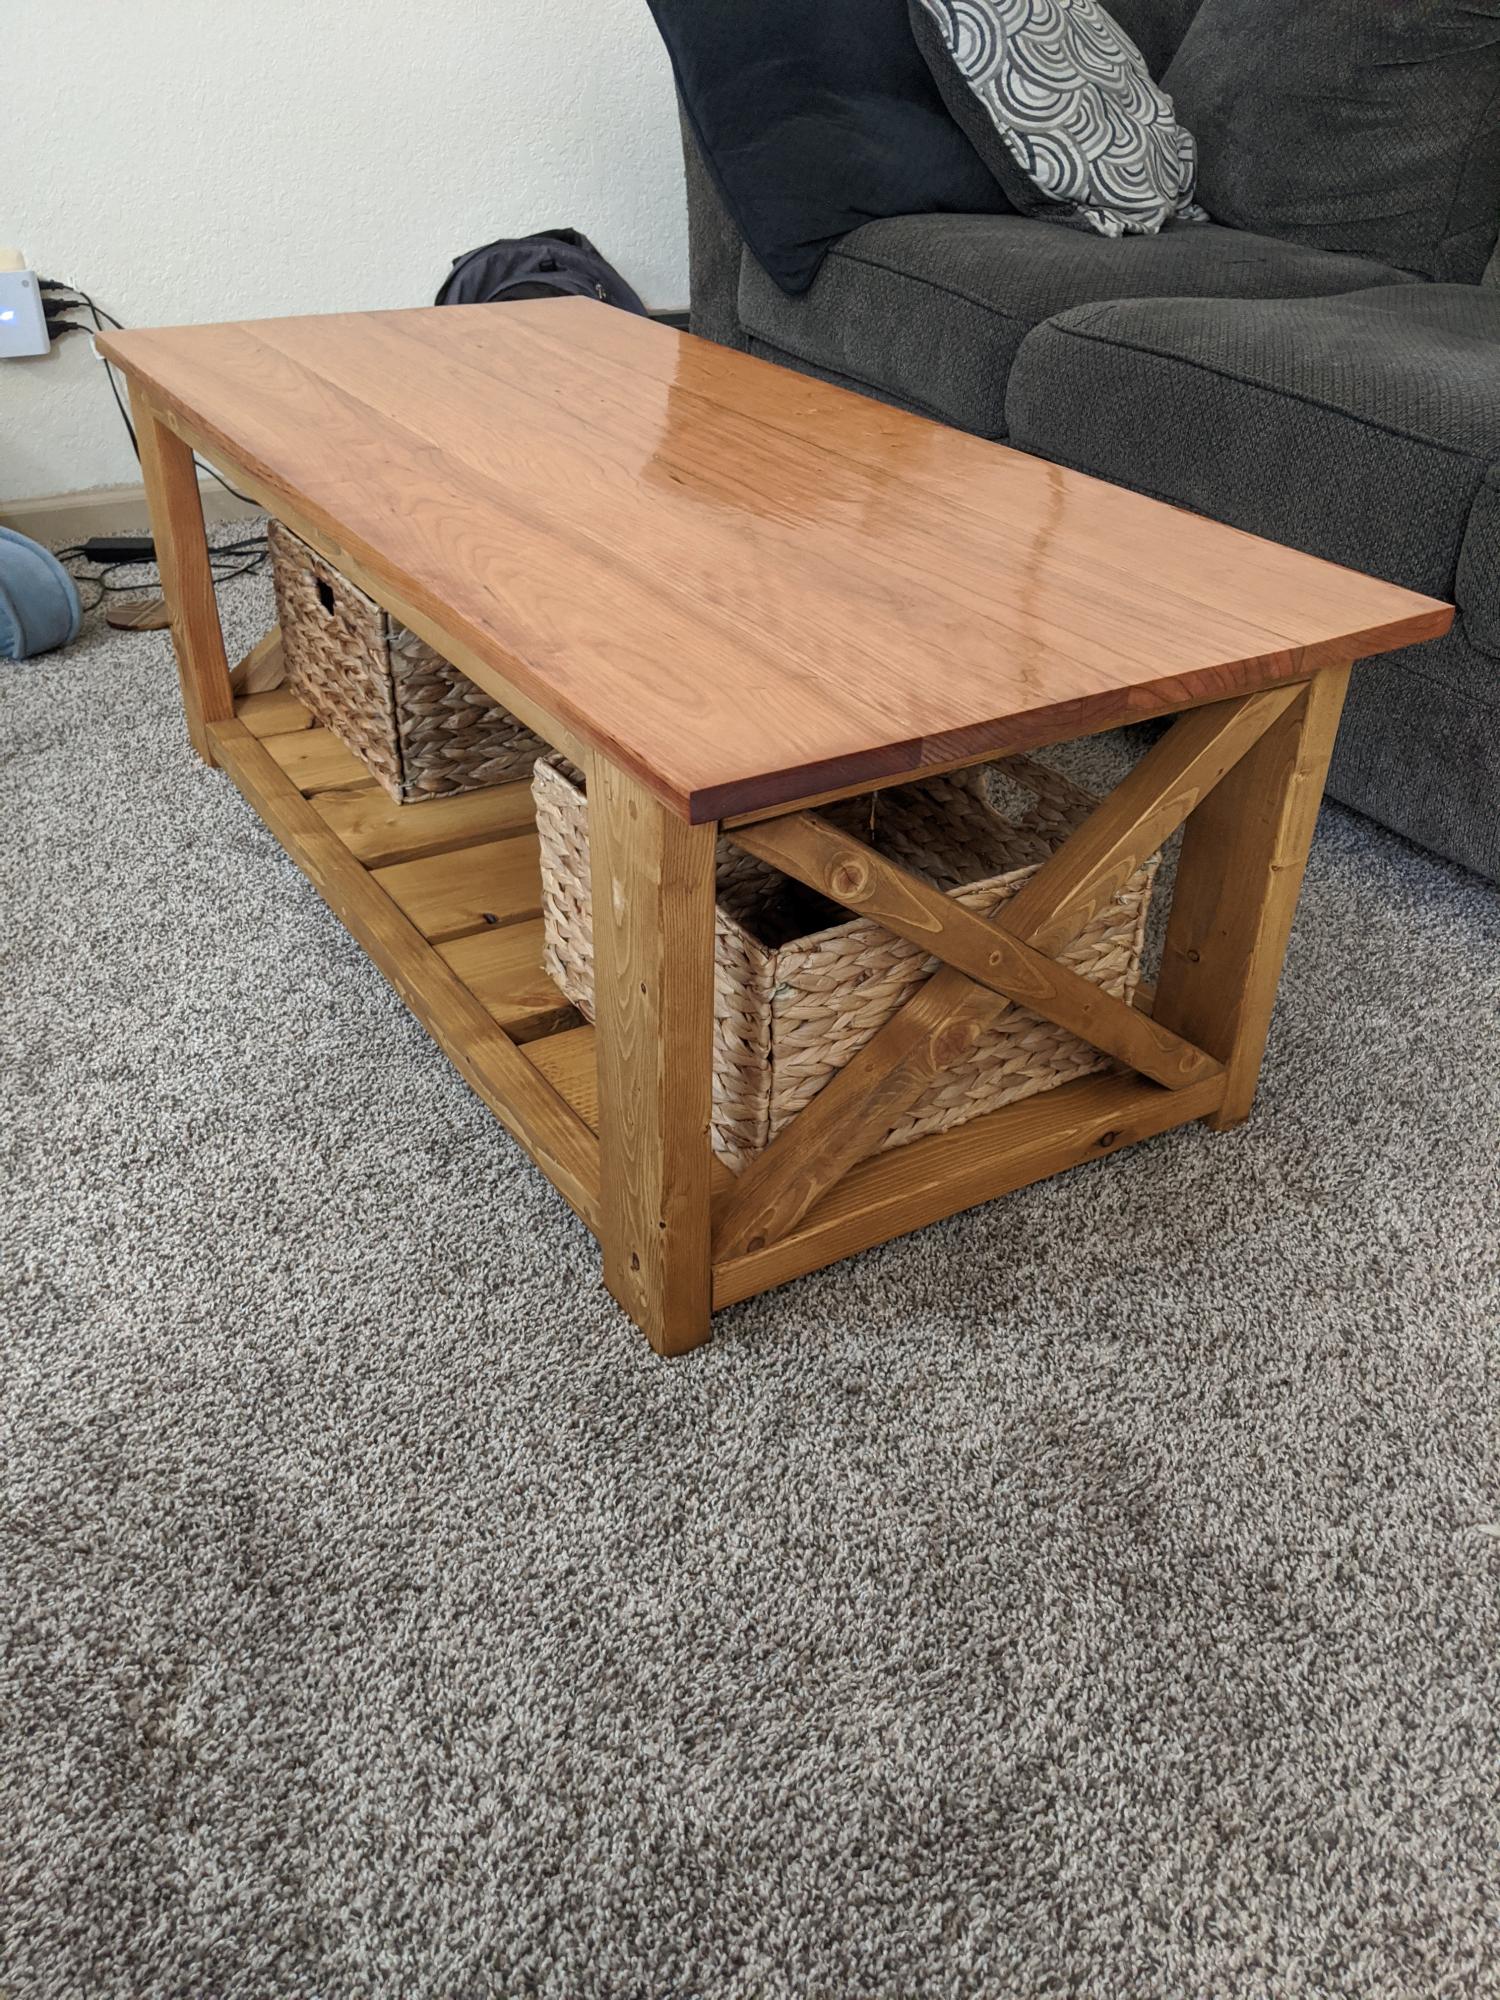
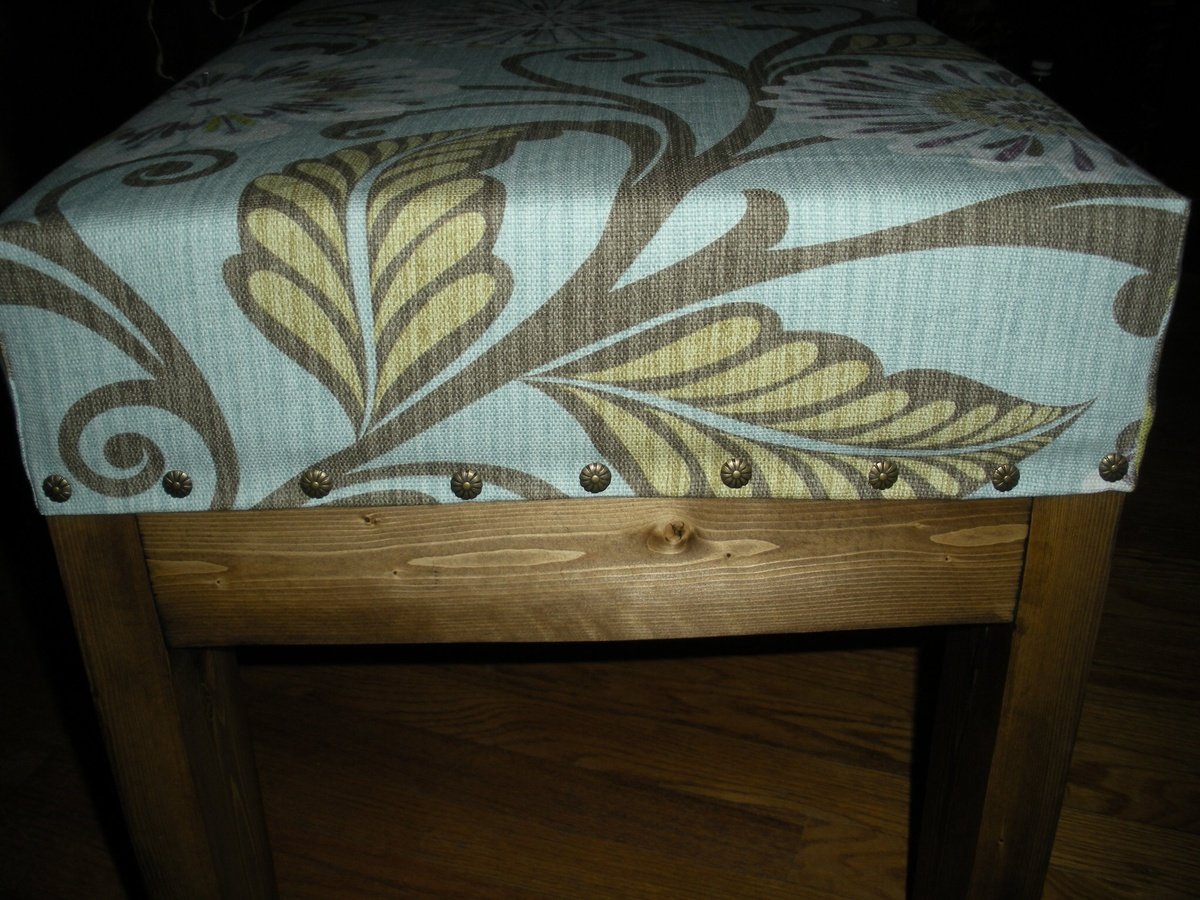
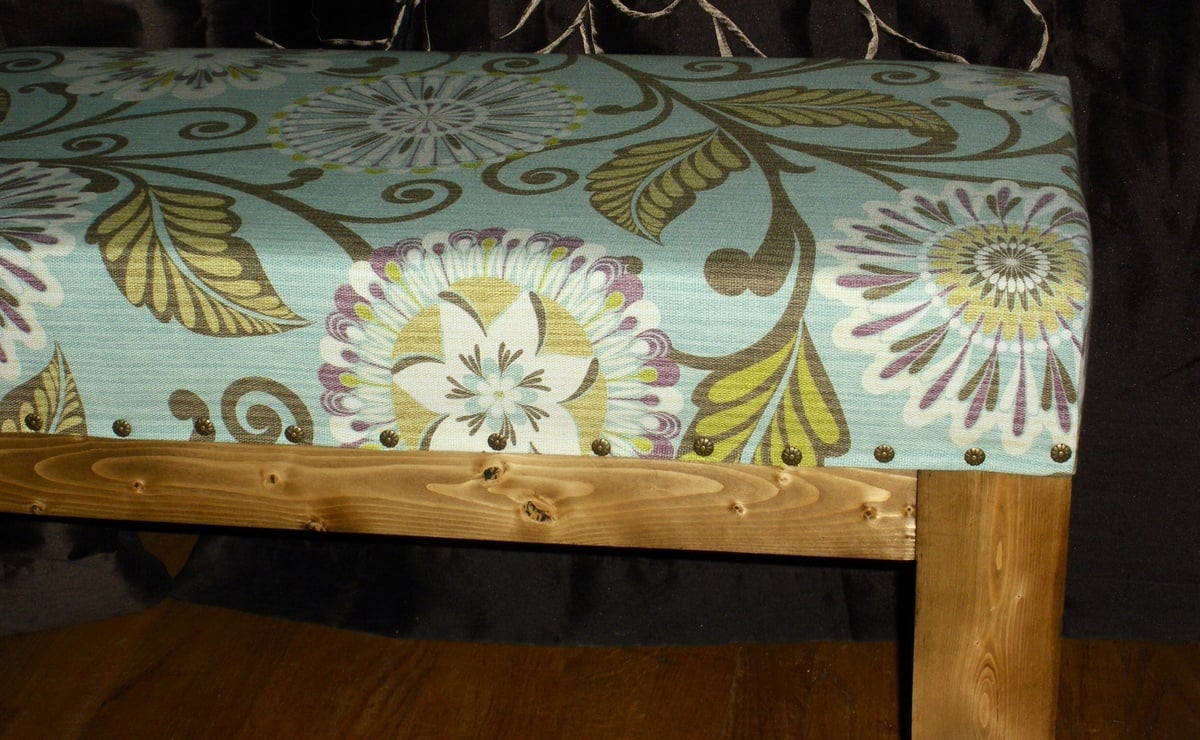
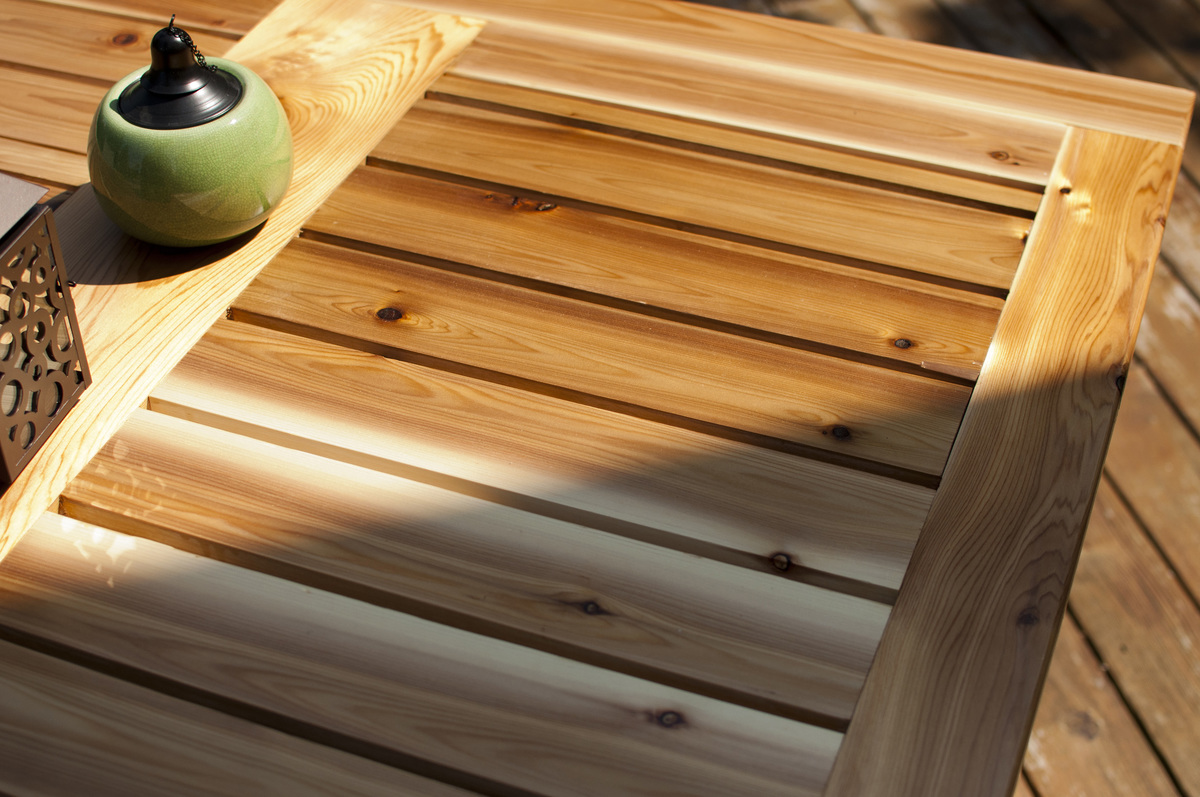
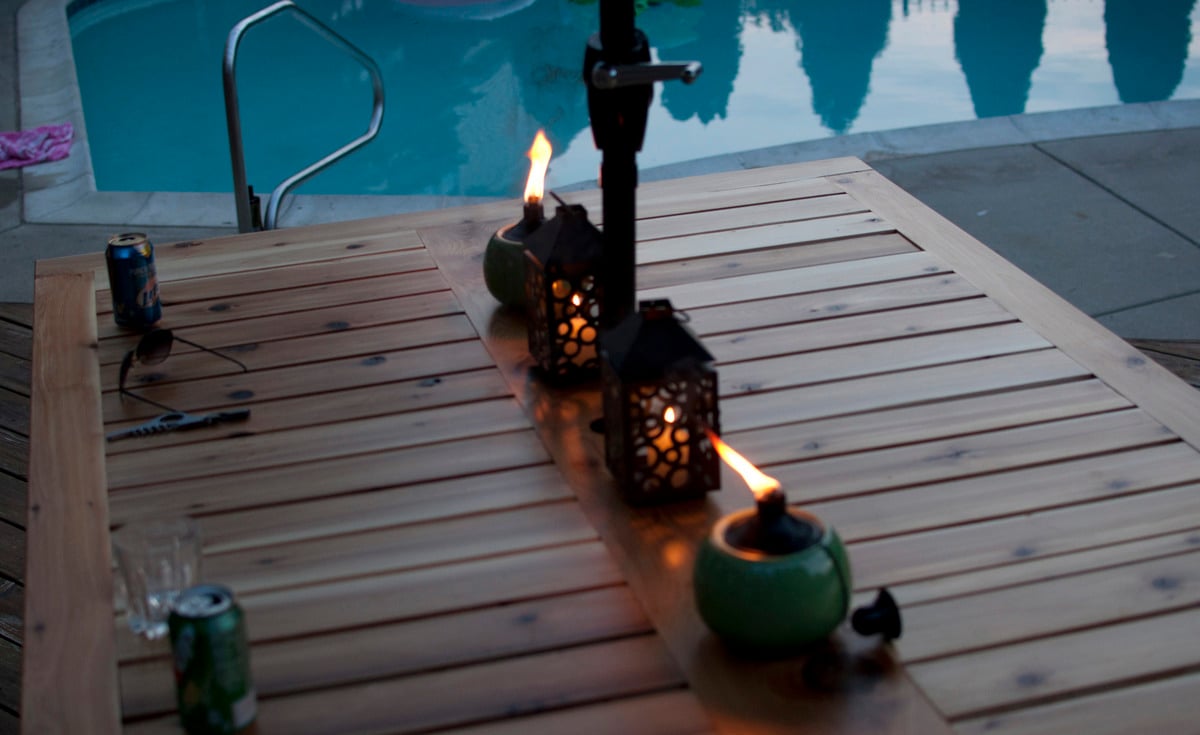
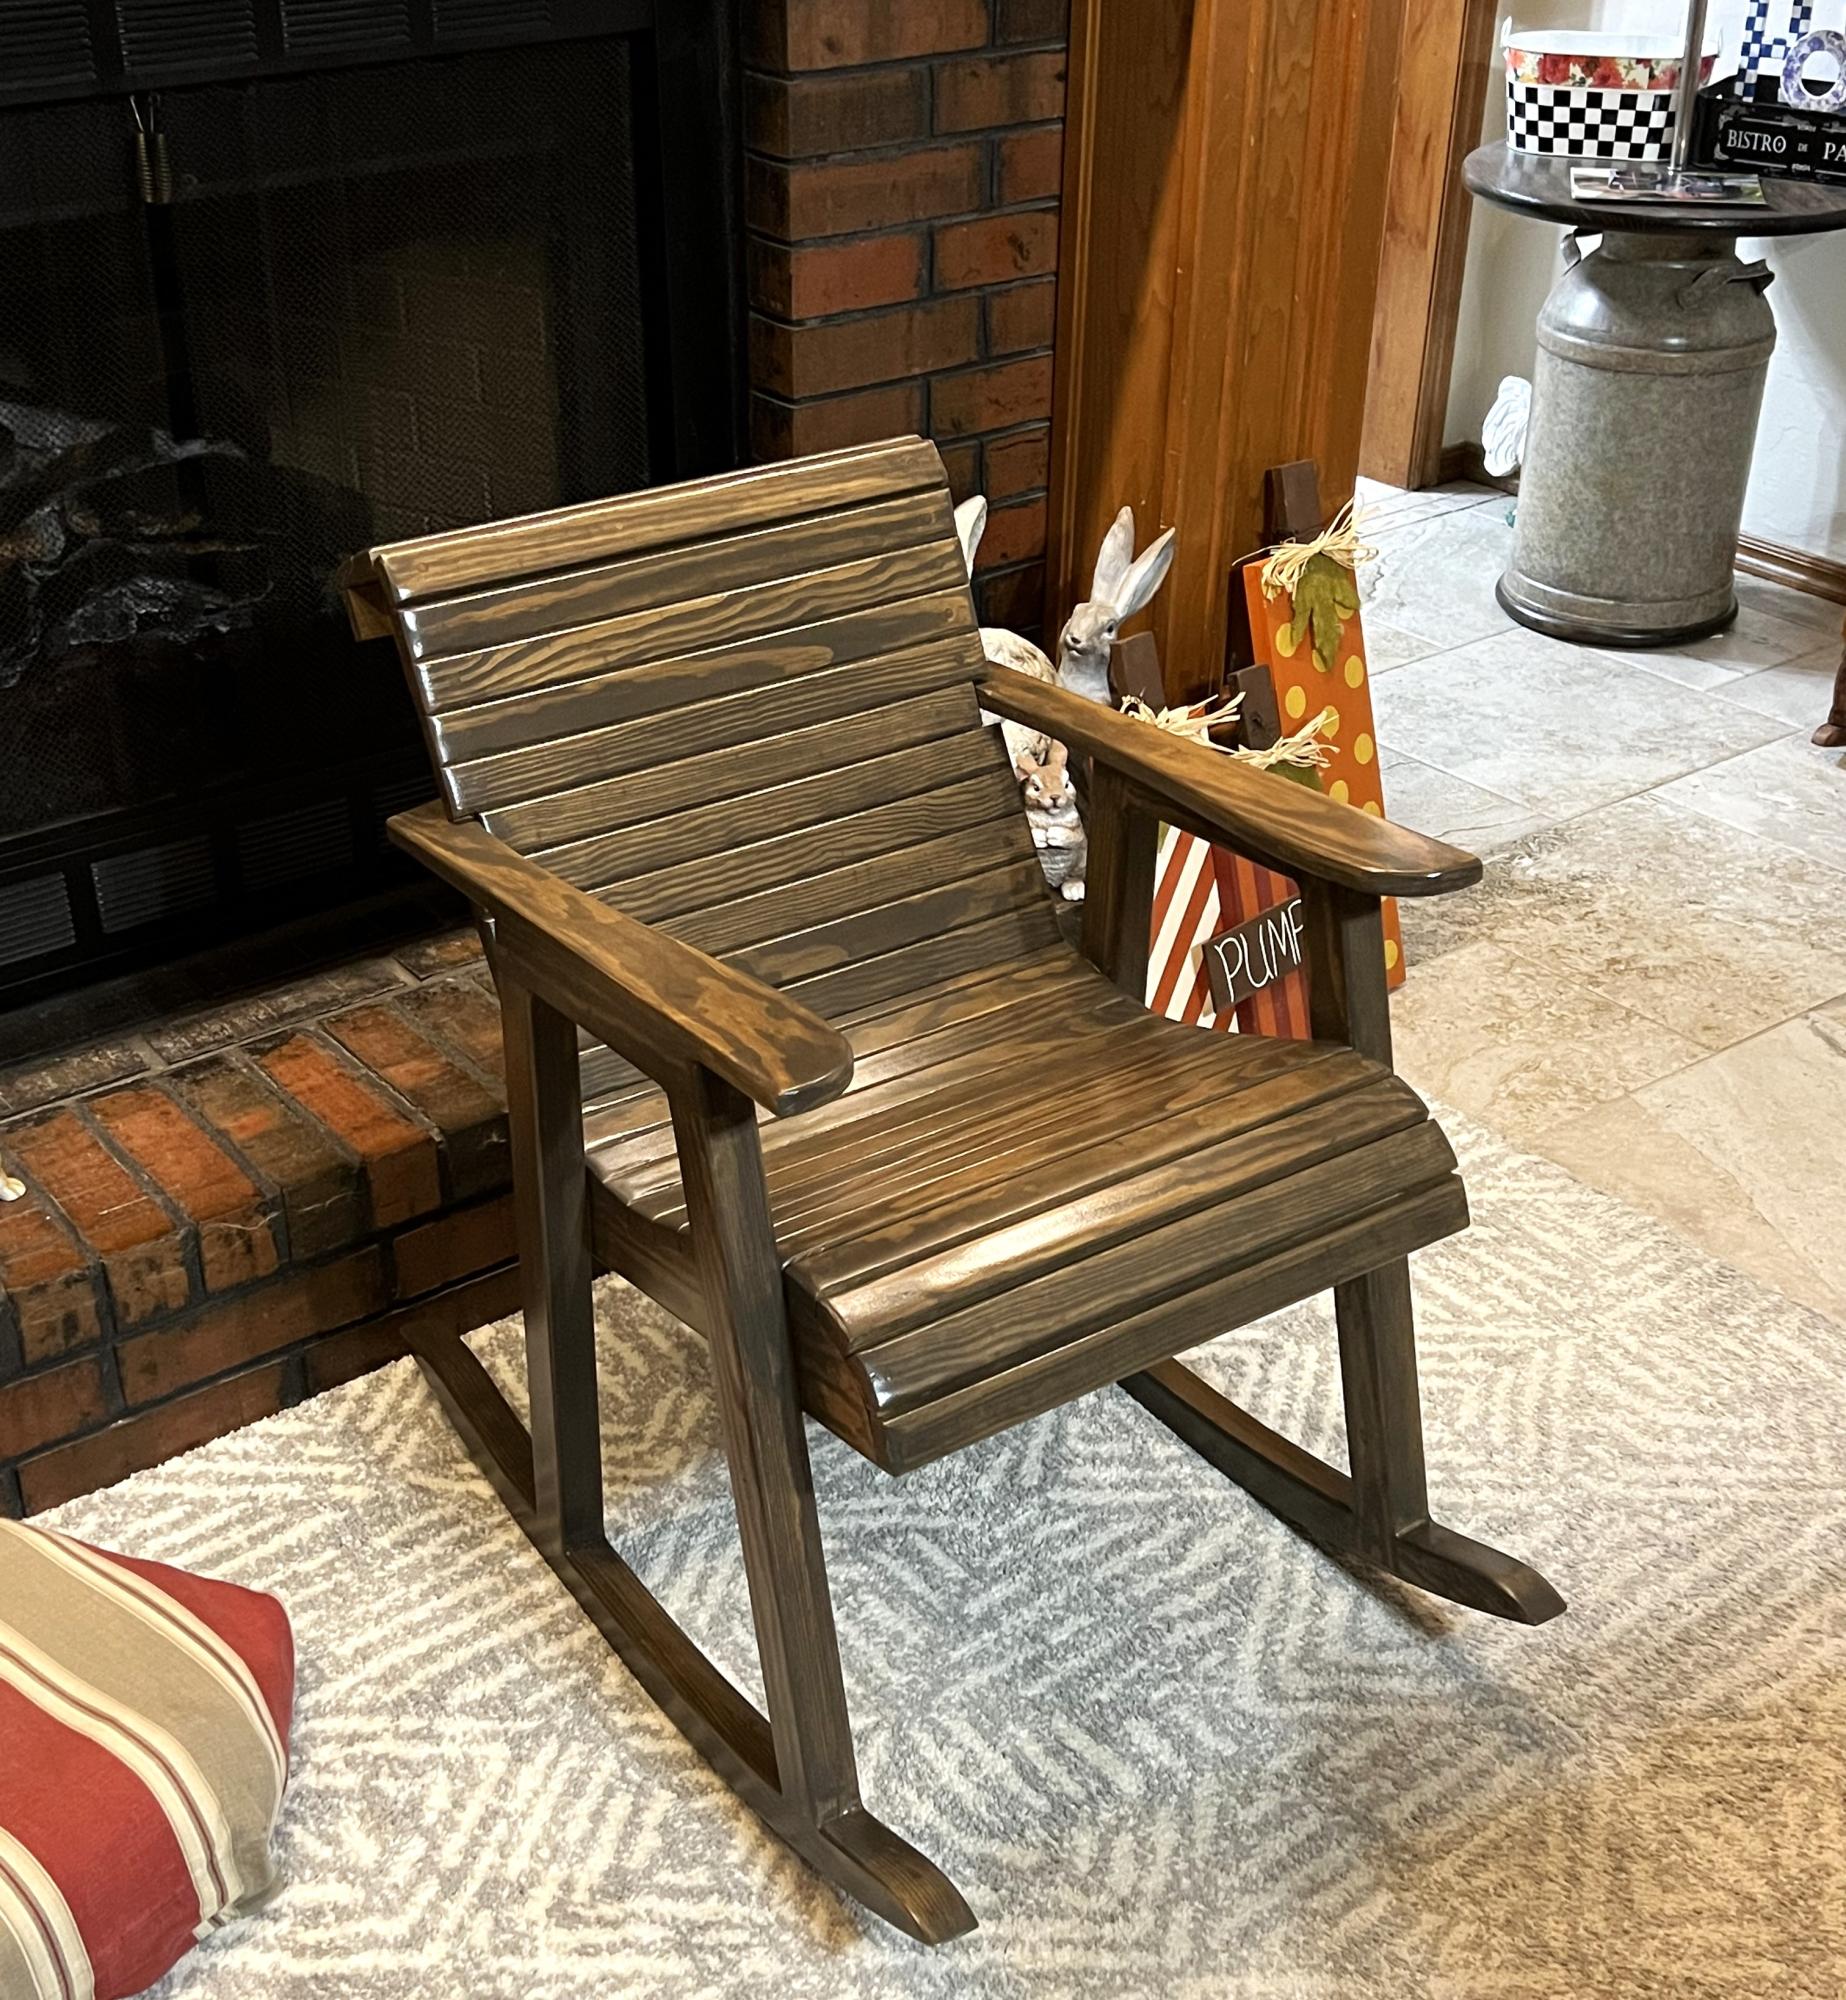
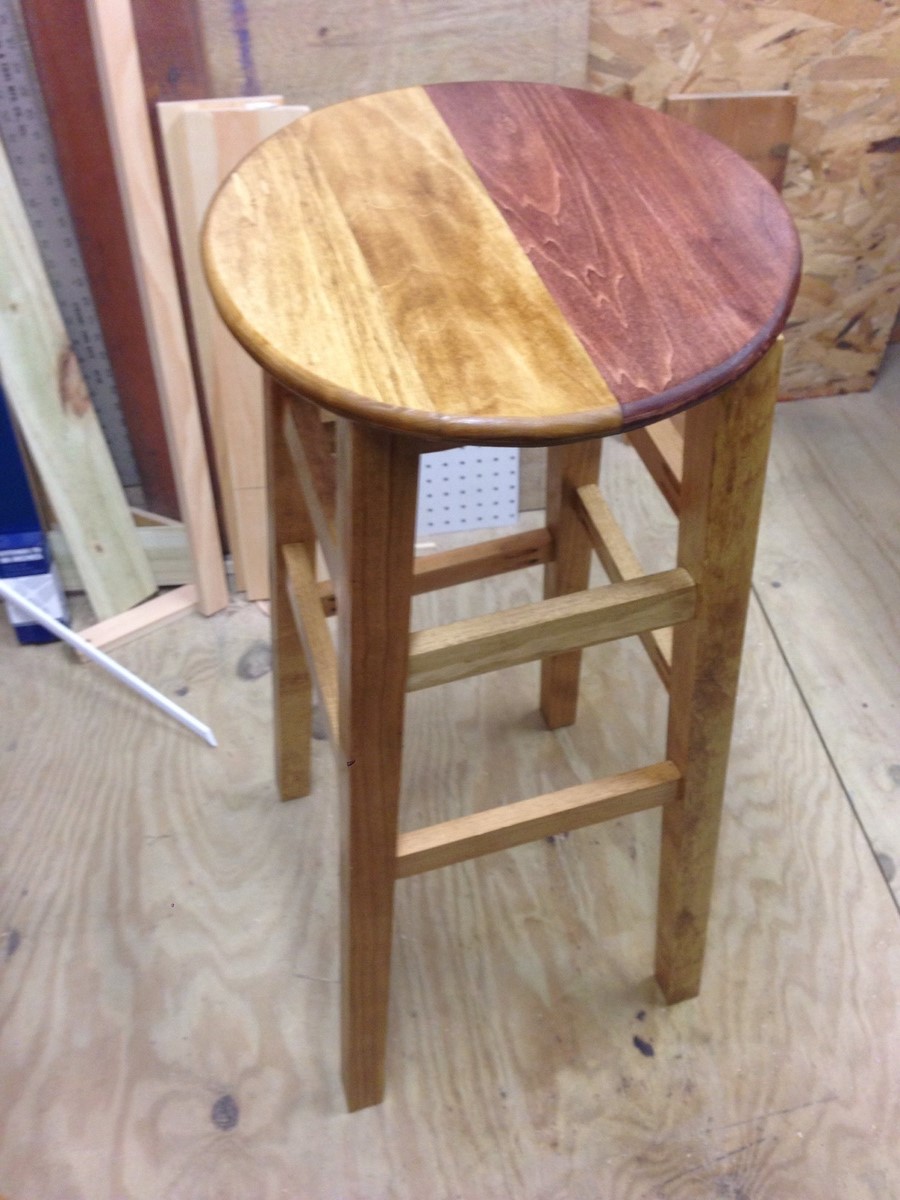
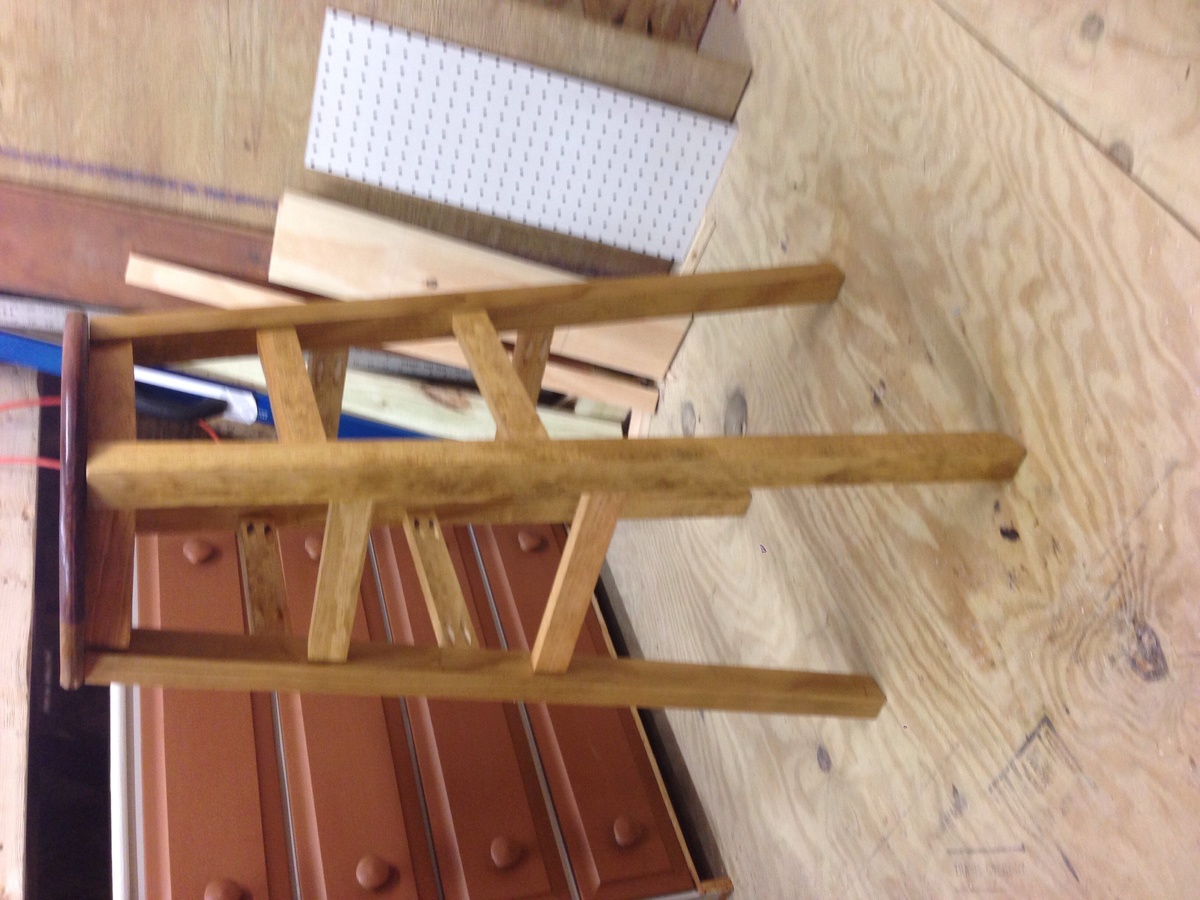
Community Brag Posts

Rustic console without X

Submitted by Sb1212 on Fri, 10/28/2016 - 11:51

I was new to building when I built this. The X was very scary for me so I chose not to add them. 

Estimated Cost
$50
Estimated Time Investment
Day Project (6-9 Hours)
Finish Used
Dark walnut
Recommended Skill Level
Intermediate

Corner hutch

Submitted by Soni_max on Wed, 07/22/2020 - 15:05

Built this for a friend. She ask for it to be built with Chicken wire for that Country feel. I think it turned out really nice.

Number Cubby Shelf

Very easy project. It took a few hours from beginning to end including measuring, cutting,assembling and painting. I used salvaged wood from a pallet I got for free. The only cost for this project was for a can of spray paint. Great shelf for the playroom to organize art supplies. You can see more details of this project in my blog: http://blueberryjunkie.com/uncategorized/diy-number-cubby-shelf-a-potte…

Built from Plan(s)
Estimated Cost
$5.99
Estimated Time Investment
Afternoon Project (3-6 Hours)
Recommended Skill Level
Starter Project

Farmhouse Table - Pocket Hole Plan - Modified

Submitted by bsarrett on Tue, 07/22/2014 - 14:06

In addition to adding two matching benches (idea from another post based on this plan), the following changes were made to the original plans:

1. Shortened the length of the table by about 14 inches.
2. Cut notches into the leg posts for the aprons to rest in.
3. Eliminated the stretchers (my wife didn't want them).
4. Cut the square 4x4 posts to an octagon shape (wife didn't want square legs)
5. Trimmed edges of 4x8 and 4x10 boards (wife didn't want the notches in the top caused by the rounded edges).
6. Used biscuits in addition to the pocket hole screws to assemble the table and bench top pieces.
7. Used a 1/2" rounding bit and router on the top and bottom edges of the table and bench tops.
8. Attached 3-1/4" Floor Protector Gripper Furniture Feet to the bottom of each leg.

End result: a very happy wife!

Estimated Cost
Around $150 for lumber, hardware and finishing supplies.
Estimated Time Investment
Week Long Project (20 Hours or More)
Finish Used
I used oil-based stain and polyurethane in the finishing of this project. Before appliying the stain, I used Varathane Premium Pre-Stain Wood Conditioner to provide a better coverage on the pine. For the top of the table and benches I used Varathane Premium American Walnut wood stain. For the legs I used Varathane Premium Sunbleached wood stain. I then applied 2-4 coats of Varathane Satin Oil-Based Interior Polyurethane (two on the legs, three on the bench tops and four on the table top)..
Recommended Skill Level
Intermediate

Made 2 twin kentwood beds!

Submitted by Anonymous (not verified) on Mon, 10/31/2016 - 13:27

Made two of these twin Kentwood Beds for my boys by myself! Super easy and a never study bed! Can't wait to decorate their rooms now!!

Built from Plan(s)
Estimated Cost
$100
Estimated Time Investment
Day Project (6-9 Hours)
Finish Used
Minwax Stain and Spray on clear coat
Recommended Skill Level
Beginner

Mud Kitchen

We live in the south so we opted for treated wood. We weren’t able to locate all the connectors to combine sink sprayer and water hose so we ended up just getting another garden hose and sprayer. Works just as well. We used Smokey Mirror exterior stain to add some color. Didn’t have all the tools handy so we opted for a farm style sink that sits on top of the wood. Kids loving it so far, they have been playing non stop. Thanks for the great plan.

Built from Plan(s)
Estimated Cost
60
Estimated Time Investment
Day Project (6-9 Hours)
Recommended Skill Level
Beginner

Farmhouse Island

Submitted by scrapkali on Mon, 10/01/2012 - 12:11

I loved everything about this island, and knew I needed it for my craft room.

This was my first try at furniture building, and the step by step instructions were amazing, and so simple. It took me about 5 hours to build, and another 2 to sand/paint.

For the top, I used a table top from Ikea, and also added the rod and baskets from Ikea to the end of the island for holding craft supplies.

Estimated Cost
$225
Estimated Time Investment
Day Project (6-9 Hours)
Finish Used
Latex Paint
Recommended Skill Level
Beginner

Comments

Channing Desk and Hutch

Submitted by brittanyj on Fri, 07/25/2014 - 09:06

Made this desk custom for a friend and I am so happy with how it came out. Took around 4 days with finishing. I didn't put a back on it because drilling those holes for cords always goes rather splintery. If he wants a back we can easily put it on. The top ended up having strange coloring with the Dark Walnut stain, I think because of the wood filler, but I like it because it gives it a rustic old world kind of look. I saved a lot of money by hounding the scrap bin at Home Depot several times a week, looking for wood on Craigslist, and raiding my leftover stash. I modified the side so there was a tower partition and a shelf on shelf pins- courtesy of Kreg shelf pin jig. I used moulding I had sitting around to cover the exposed edges of plywood.

Built from Plan(s)
Estimated Cost
30
Estimated Time Investment
Weekend Project (10-20 Hours)
Finish Used
wood conditioner, Rustoleum Dark Walnut stain, floor poly (just what I had lying around). Applied stain with sponge brush, then wiped excess. same for conditioner. poly applied with paintbrush.
Recommended Skill Level
Intermediate

Very easy garage shelving

Submitted by Anonymous (not verified) on Sat, 11/05/2016 - 23:22

Wanted some easy storage shelving that didn't break the bank.  These were perfect!  $79 is what it cost for ours (which includes the $20 Kreg Jig).  Lumber was only $58.68 and I bought and extra 8 foot 2x4, so it could have been slightly cheaper!  

Estimated Cost
$60 for lumber
Estimated Time Investment
Afternoon Project (3-6 Hours)
Finish Used
Boxes, Totes, camping equiptment
Recommended Skill Level
Beginner

Grandkids built Cedar Planter

Submitted by atlayank on Sun, 07/26/2020 - 18:22

Two of my grandsons built this cedar planter after I did the cutting of the wood. They did all the measuring and put it together very nicely!

Built from Plan(s)
Estimated Cost
15
Estimated Time Investment
An Hour or Two (0-2 Hours)
Finish Used
Natural
Recommended Skill Level
Starter Project

2x4 Laundry Basket Organizer

Submitted by vendo on Sat, 06/29/2024 - 10:07

This is my first time building for resell, I learned a lot in the process. This is an easy beginner friendly project with a 2x4 frame and 1x top. I love that you can stack them or put them side by side. This plan is also easy to modify for basket size or height! Thanks Ana

Seasonal And Holiday

Magnetic Spice Rack Drawers!

Submitted by biz_kid1 on Fri, 10/05/2012 - 09:10

So our oven died back in July and we ended up having an unplanned mini kitchen remodel. One of the things I wanted to implement was magnetic spice racks in drawers, simply because we had a little space left on either side of the oven. Note: we hired a contractor to modify the existing cabinets because we had already been without an oven for over a month by the time home warranty decided they would have to replace the oven and we knew us doing it would take too long - a whole different, LONG story (read about that here: http://christinashaw.com/?p=1203).

But if you want to read more about the magnetic spice racks (which I LOVE, LOVE, LOVE, by the way!), you can read about that here: http://christinashaw.com/?p=1168

Recommended Skill Level
Intermediate

Side table

Submitted by sparkyht55 on Mon, 07/28/2014 - 17:06

My Dad wanted a table for his chessboard to sit on with the wood from the board to match the table. I had seen this design on the website and liked. It was different then the last table I built, so a new thing to learn. This is my 3rd wood project. Not an overly challenging build, but like anything, special attention to getting everything square and (lesson learned) drilling the 2x2 with the pocket holes, ensure they are lined up, centered and the correct depth. It came out very nice, and I'm sure Dad will enjoy.

Built from Plan(s)
Estimated Cost
about $40
Estimated Time Investment
Weekend Project (10-20 Hours)
Finish Used
Two toned oil based stain on pine. For the top used pecan stain and espresso and polycrylic finish from: http://ana-white.com/2012/12/minwax-two-tone-oil-based-stain-pine
Recommended Skill Level
Starter Project

Modified TV stand

Submitted by Sb1212 on Mon, 11/07/2016 - 22:49

This measures 70in wide. I added a second shelf as well. I used plexiglass in the doors. I really love how this turned out!

Built from Plan(s)
Estimated Cost
60
Estimated Time Investment
Weekend Project (10-20 Hours)
Finish Used
Valspar Olympic Black paint satin finish
Recommended Skill Level
Intermediate

Comments

Farmhouse Table & Bench

Submitted by frmoody on Tue, 07/28/2020 - 17:22

I've built tables from this plan several times. This one was a little different in terms of the colour wanted. I also beefed up the support in the table frame itself.

Estimated Cost
$120
Estimated Time Investment
Weekend Project (10-20 Hours)
Finish Used
Varathane "Worn Navy" mixed with some "Espresso" to darken it up. Then followed up with three coats of satin varathane. Table support was first painted a diluted black and then two coats of a diluted white were applied with light sanding in between coats to reveal some of the dark.
Recommended Skill Level
Intermediate

Bucket Garden with 2x4 Frame

Submitted by Anonymous (not verified) on Mon, 07/01/2024 - 13:25

Bucket Garden made out of 2x4s and painted with outdoor paint for many seasons of use.

Jeff DeVries

Murphy Bed - queen

Submitted by fielden_m on Mon, 10/08/2012 - 08:15

Taking the plans for the full sized Murphy bed (http://ana-white.com/2010/03/plans-a-murphy-bed-you-can-build-and-affor…) I added a few inches to convert to a queen and raised it off the floor 5 1/2 inches with removable fence post toppers.

The yellow head board lifts up and stores inside the frame when up. If I had it to do over again, I would sand and paint as I built. Thanks to Ana, I now have a guest room!

Estimated Cost
$150
Estimated Time Investment
Week Long Project (20 Hours or More)
Finish Used
wood was sanded, primed and painted
Recommended Skill Level
Intermediate

Comments

Cindy from Indiana (not verified)

Mon, 10/08/2012 - 11:13

Holy smokes! Great job! I just got my early birthday present - a Kreg Jig Master System!!! One of the first things I will be building is a murphy bed, so thank you for the inspiration.

It looks great!

nasrockswell

Wed, 04/24/2013 - 19:55

I love your adaptation of Ana's plans. Would you be willing to share the dimension for the queen murphy? Thank you!

fielden_m

Fri, 07/26/2013 - 18:51

I fudged the plans by adding to the width and height to make up for the change in bedding but also for the hinges and detachable feet. Measures will differ based on your hinges and feet.

vgb777

Mon, 04/29/2013 - 14:32

I am wondering what king of hinges you used for the bed. Did you use continuous (piano) hinges or regular door hinges? How wide are they? I am not sure what the acceptable width for the hinges is to be safe. Thanks.

fielden_m

Fri, 07/26/2013 - 18:47

I used 3 5" gate hinges. They are thick enough to leave a gap of 3/8" between my base and the part of the bed that swings down.

phelan1202

Wed, 06/12/2013 - 16:35

What were the altered measurements and exactly how did you raise it? I really like Anas plan except that the mattress was so close to the ground. I want to make this for my apartment and I'm painting the outside like a tardis. (:

fielden_m

Fri, 07/26/2013 - 18:50

I raised it 5 1/4 " using fence post toppers from home depot. The fence post toppers unscrew for upright storage. You could leave them in for a more dramatic look but I liked the cleaner lines with them out until needed

intrigued89

Sat, 11/02/2013 - 15:33

Would you be willing to share the dimensions you used when building your queen murphy? Even if they aren't exact, it would be such a big help to me!

rfpeterlin

Sat, 12/28/2013 - 03:33

That is definitely an attractive and well finished project. I am interested in how you finished the legs. I see in the second picture (bed in closed positions) where the toppers may have attached. Where do you store them?

fielden_m

Sat, 12/28/2013 - 22:56

In that same picture, if you look at the bottom 6 inches of the closed bed (under the hinge) there is a storage section where I hide the legs when the bed is raised. It is otherwise dead space and made for an easy storage conversion at the last minute.

Ben Childs

Sun, 01/10/2016 - 17:02

Can someone please help me I see this can be adjusted for a queen size bed. I don't know how to adjust the measurement to make it work. 

Ben Childs

Sun, 01/10/2016 - 17:04

Can someone please help me I see this can be adjusted for a queen size bed. I don't know how to adjust the measurement to make it work. 

John Deere Green Barn Shelf

Submitted by Veronica P on Wed, 07/30/2014 - 22:08

After finishing my boys' new John Deere room and tractor bunk bed (also posted), I saw this plan and thought it would be the perfect thing for some extra toy storage.

Yes, I know, barns are supposed to be red. Everything else in the room is John Deere green and I had paint leftover, which is not cheap. So green it is! I used my new paint sprayer for the first time on this project and am thrilled with it. I would recommend it to anyone who dislikes painting as much as I do. I bought the Wagner Flexio 590 which comes with a detail sprayer as well as the full size and I'm very happy with both.

Thanks to Ana for the well laid out, easy to follow plan and also for helping me create a big boy room that my boys love!

Built from Plan(s)
Estimated Cost
$60.00
Estimated Time Investment
Weekend Project (10-20 Hours)
Finish Used
John Deere green paint plus primer, black & white paints, white paint marker for the shingle detail and satin polyurethane.
Recommended Skill Level
Starter Project

Comments

Veronica P

Thu, 07/31/2014 - 09:38

Thanks so much for your comments. It's so nice to hear positive feedback since I'm very new to this! My 3yr old is quite particular about everything being in its place, I'll pass along that you liked his animal placement. Lol :)

Homework Table and Chairs

Submitted by Anonymous (not verified) on Sun, 11/13/2016 - 14:08

Needed a small "homework" table for my 6 year old. Looks more appealing in the living room than the Disney Princess table she's has since she was 2. Super simple build and very affordable!! This is my 3rd project from Ana White and definitely not my last.  

Estimated Time Investment
An Hour or Two (0-2 Hours)
Recommended Skill Level
Beginner
Back