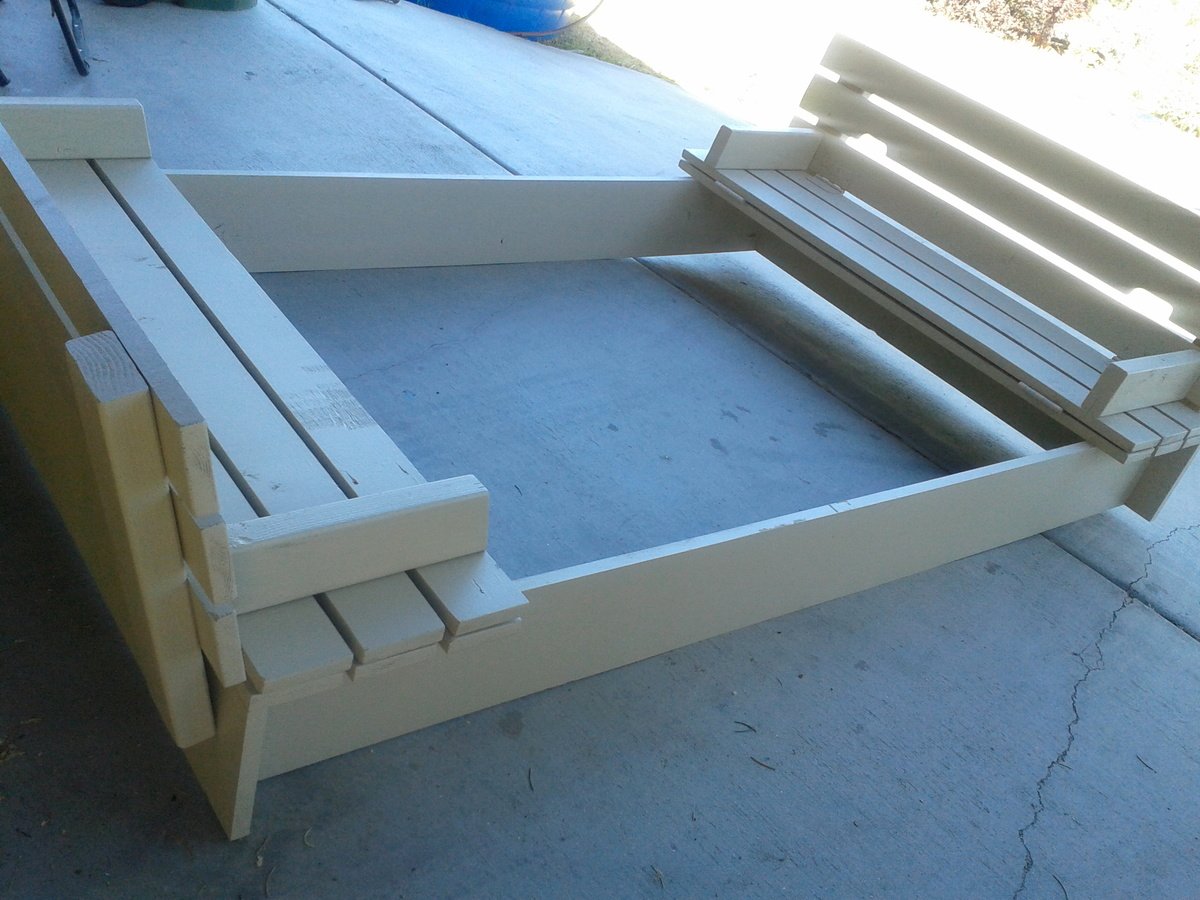
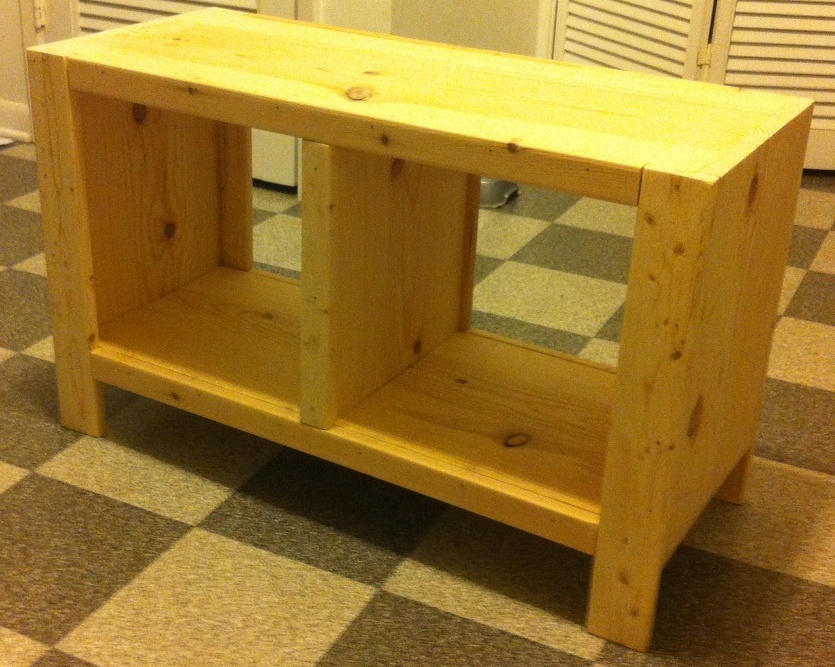
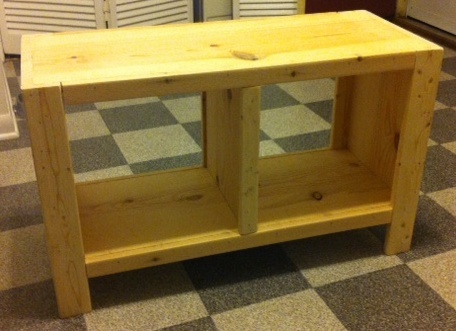
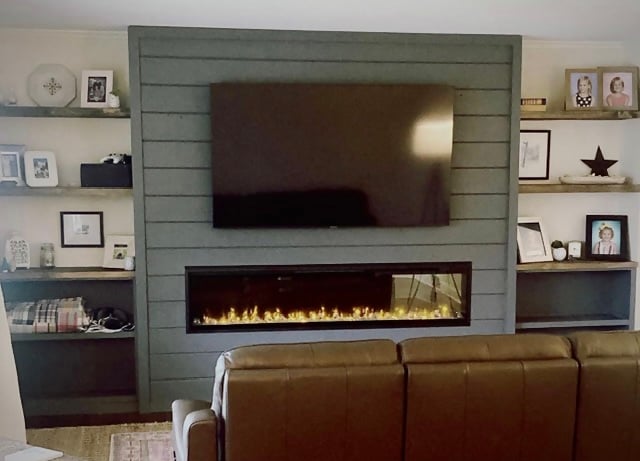
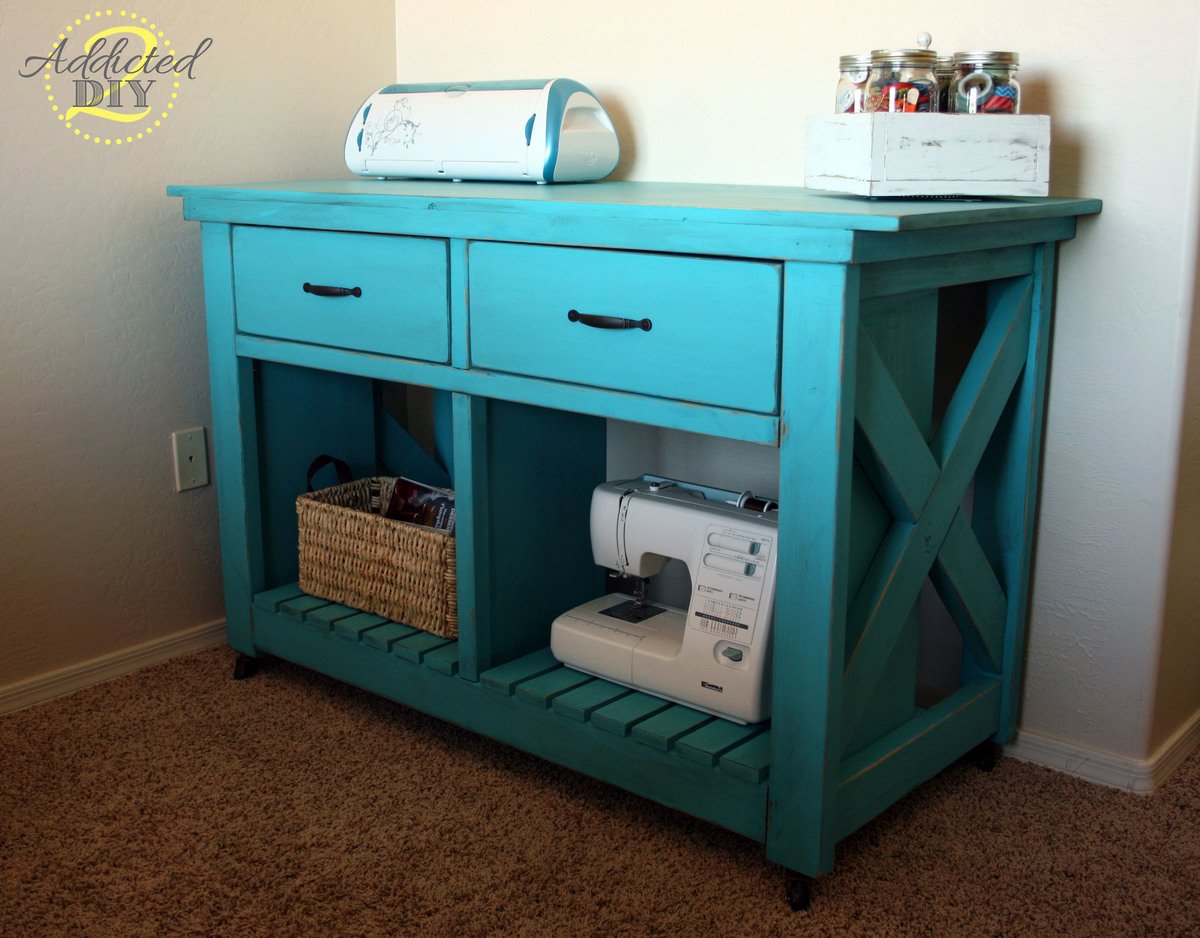
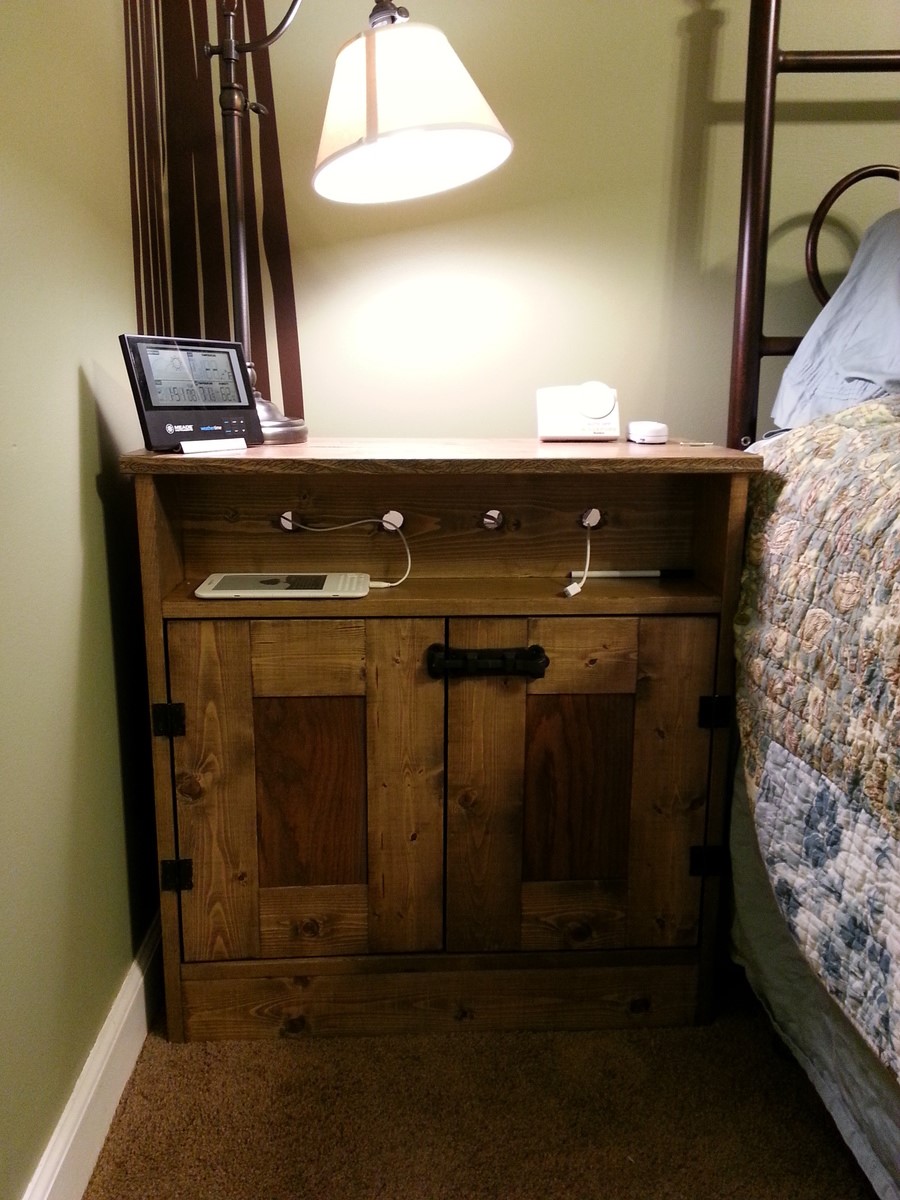
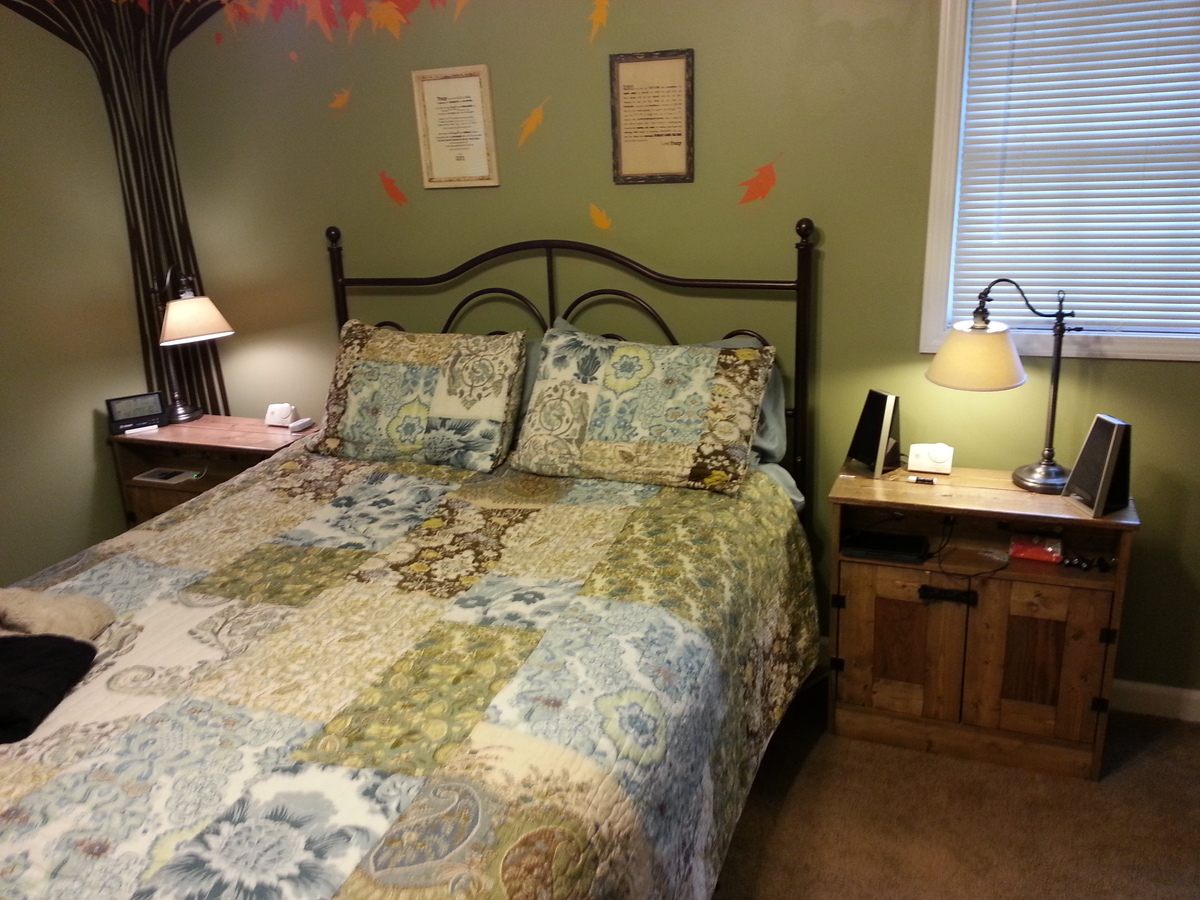
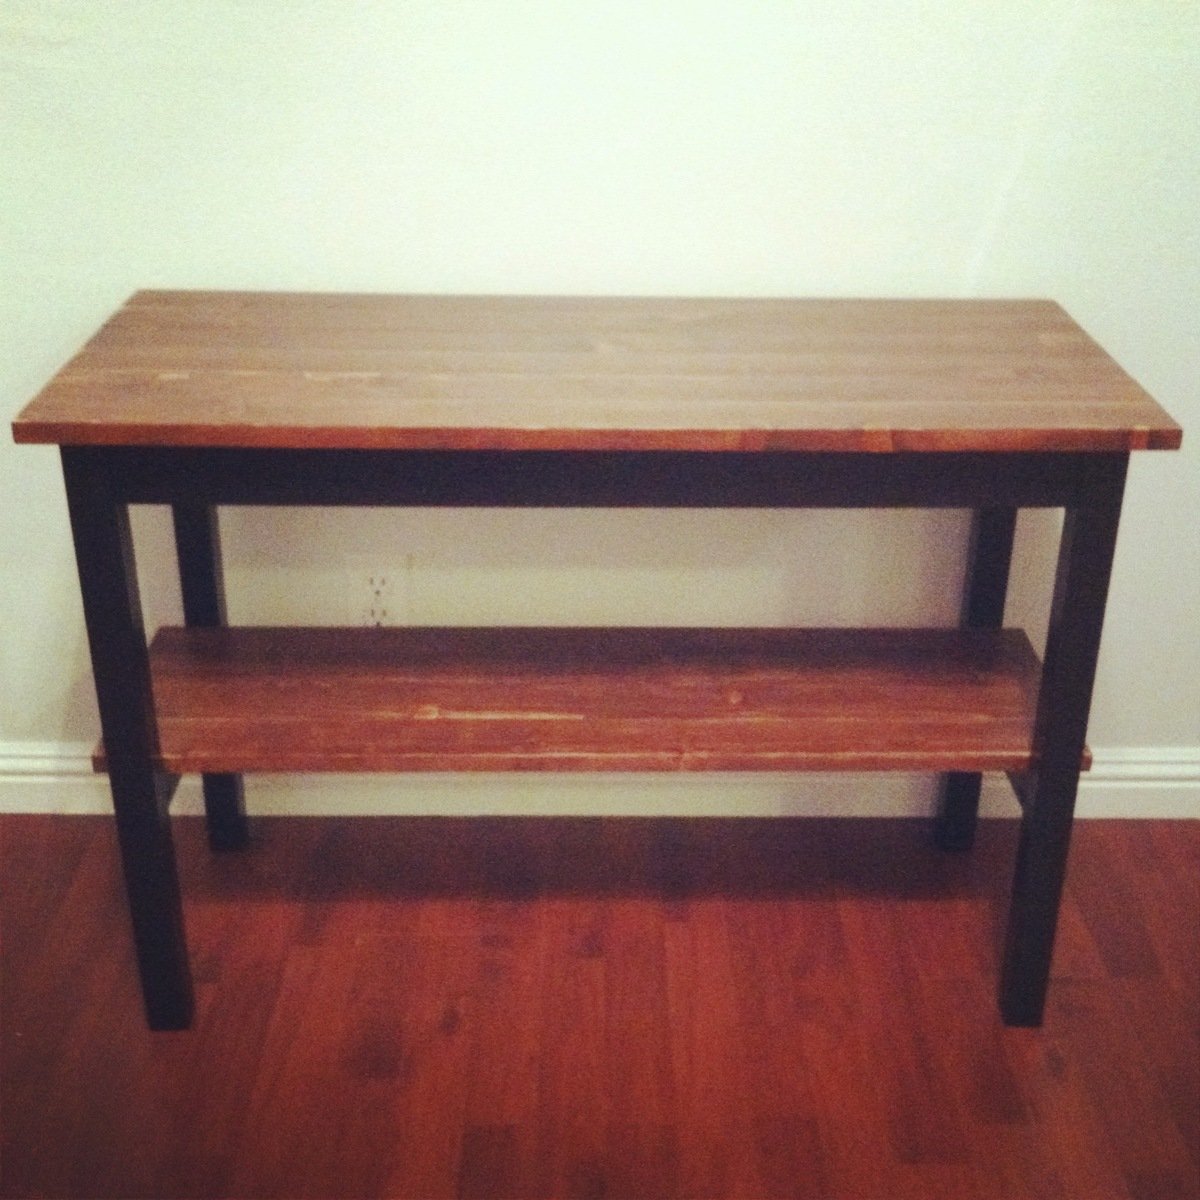
TV Stand
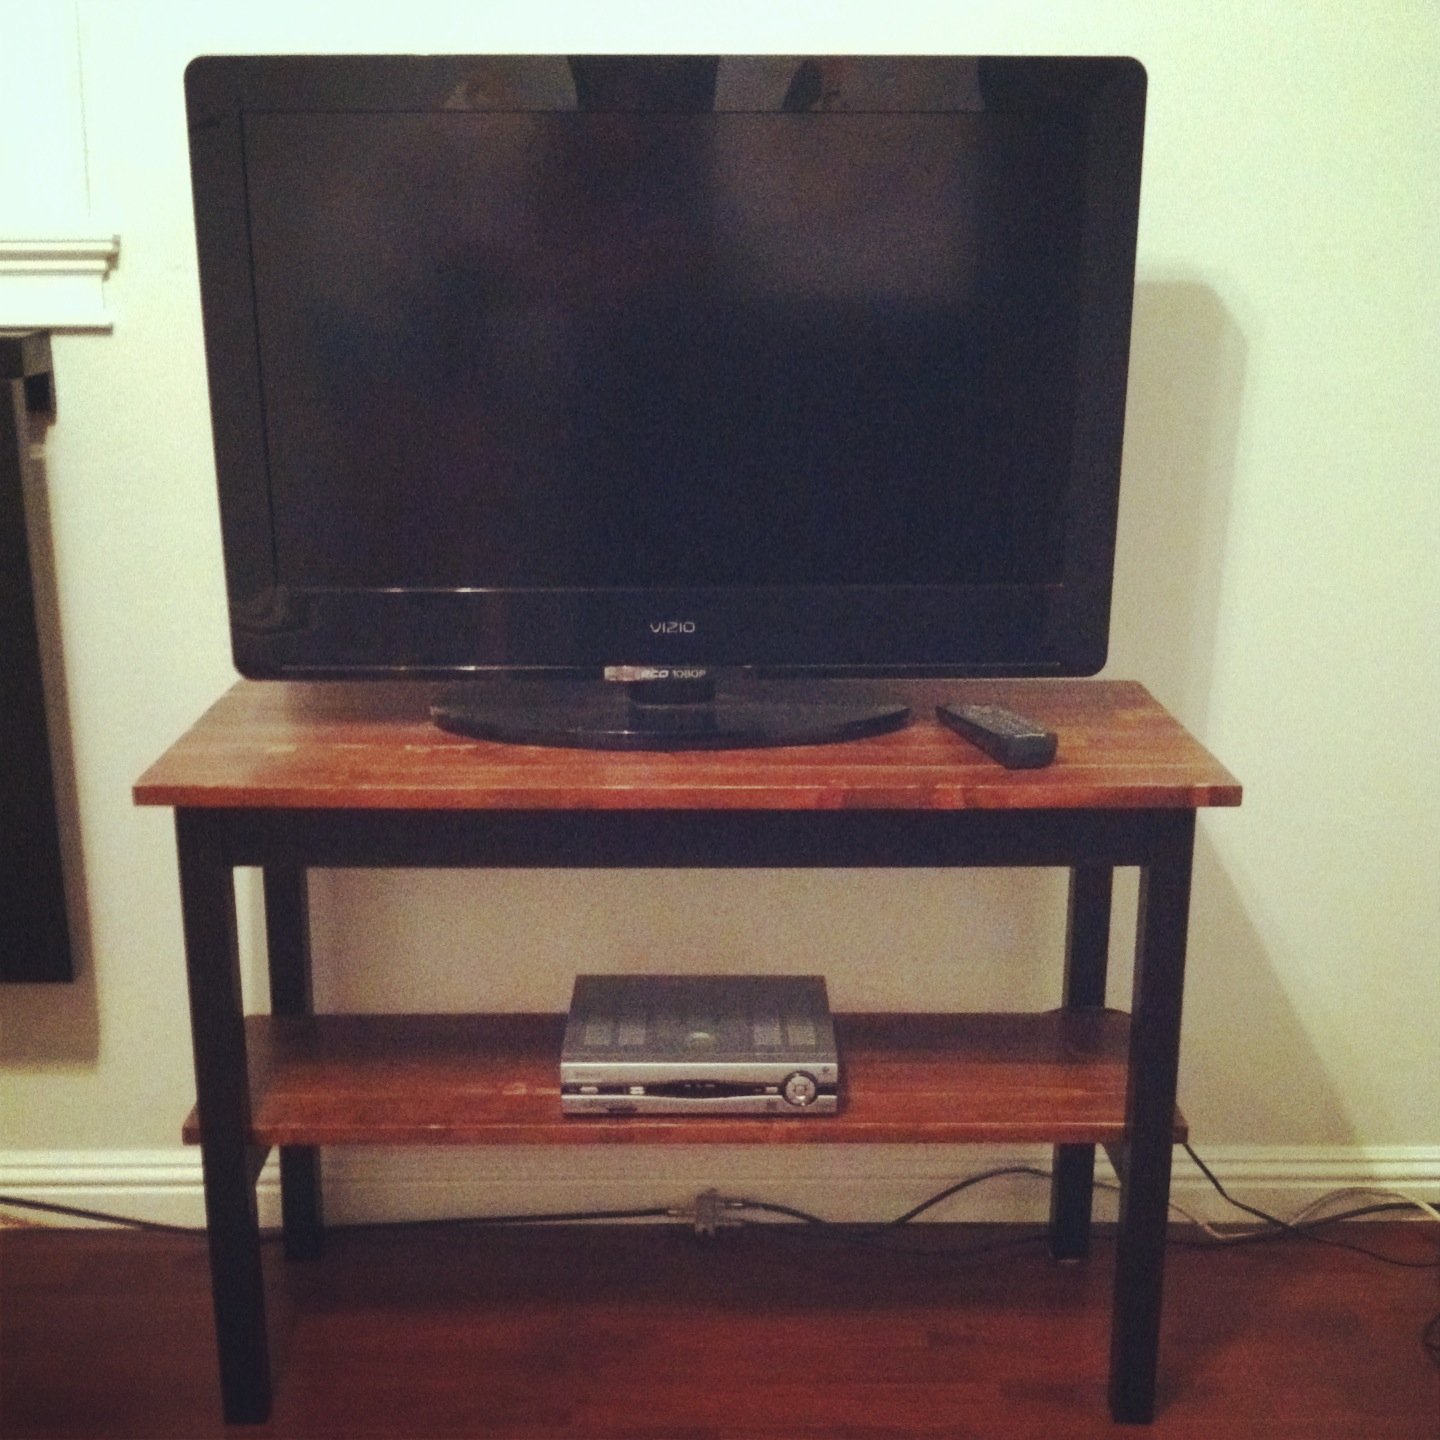
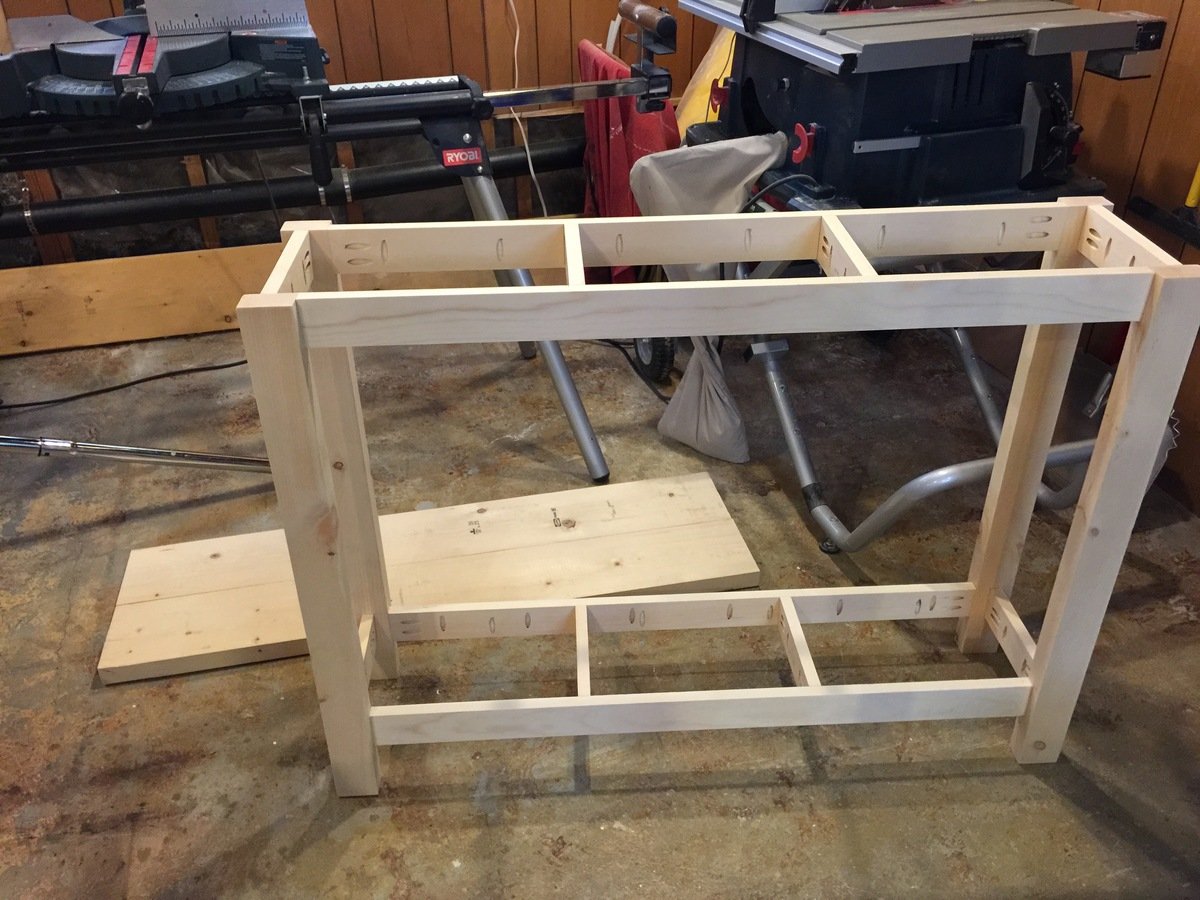
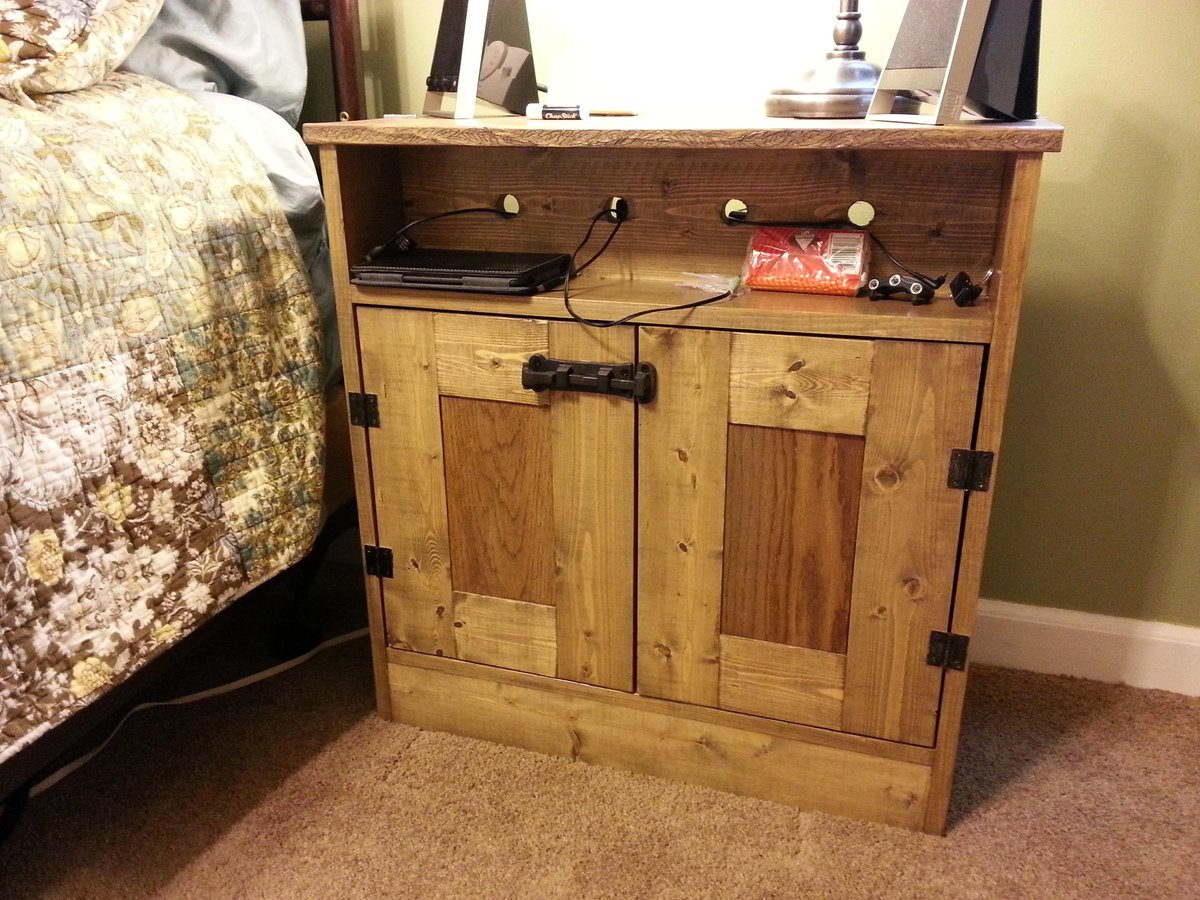
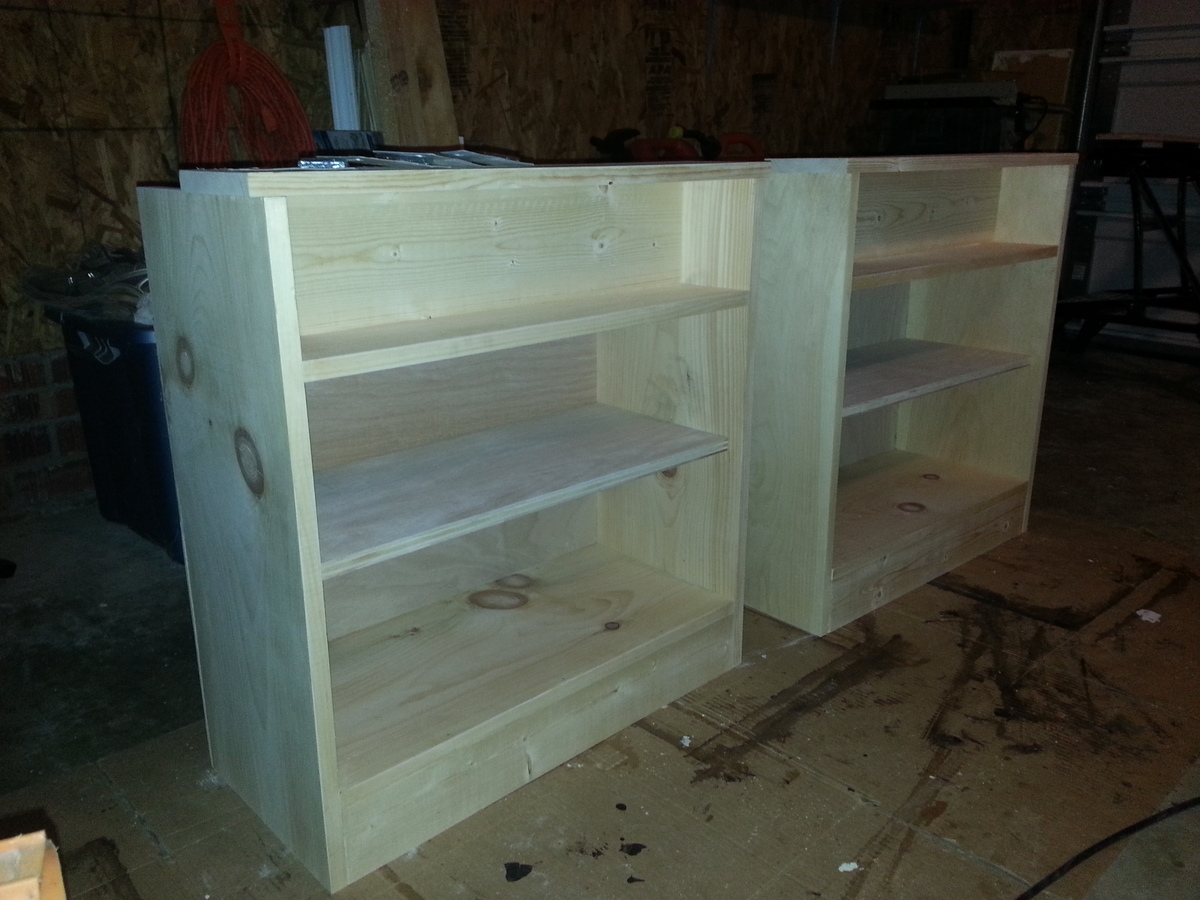
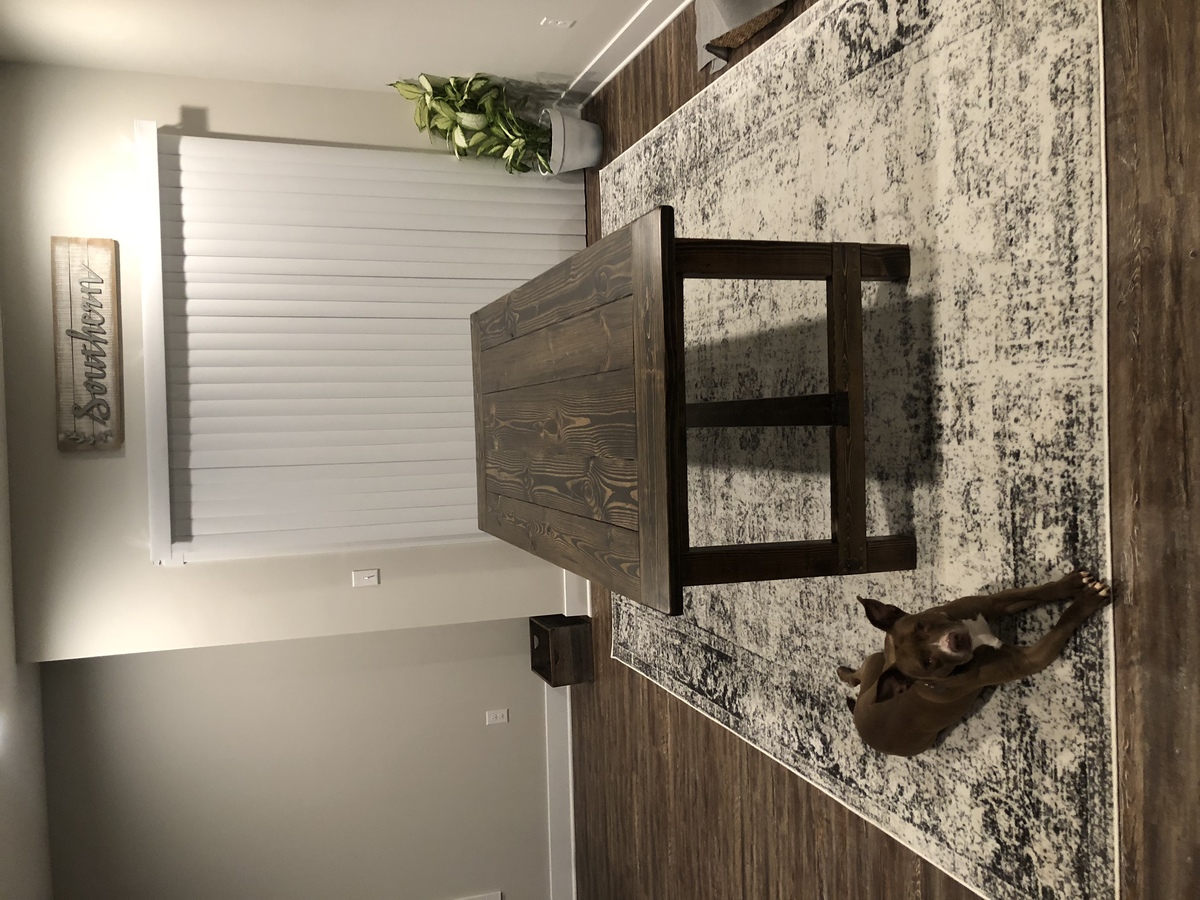
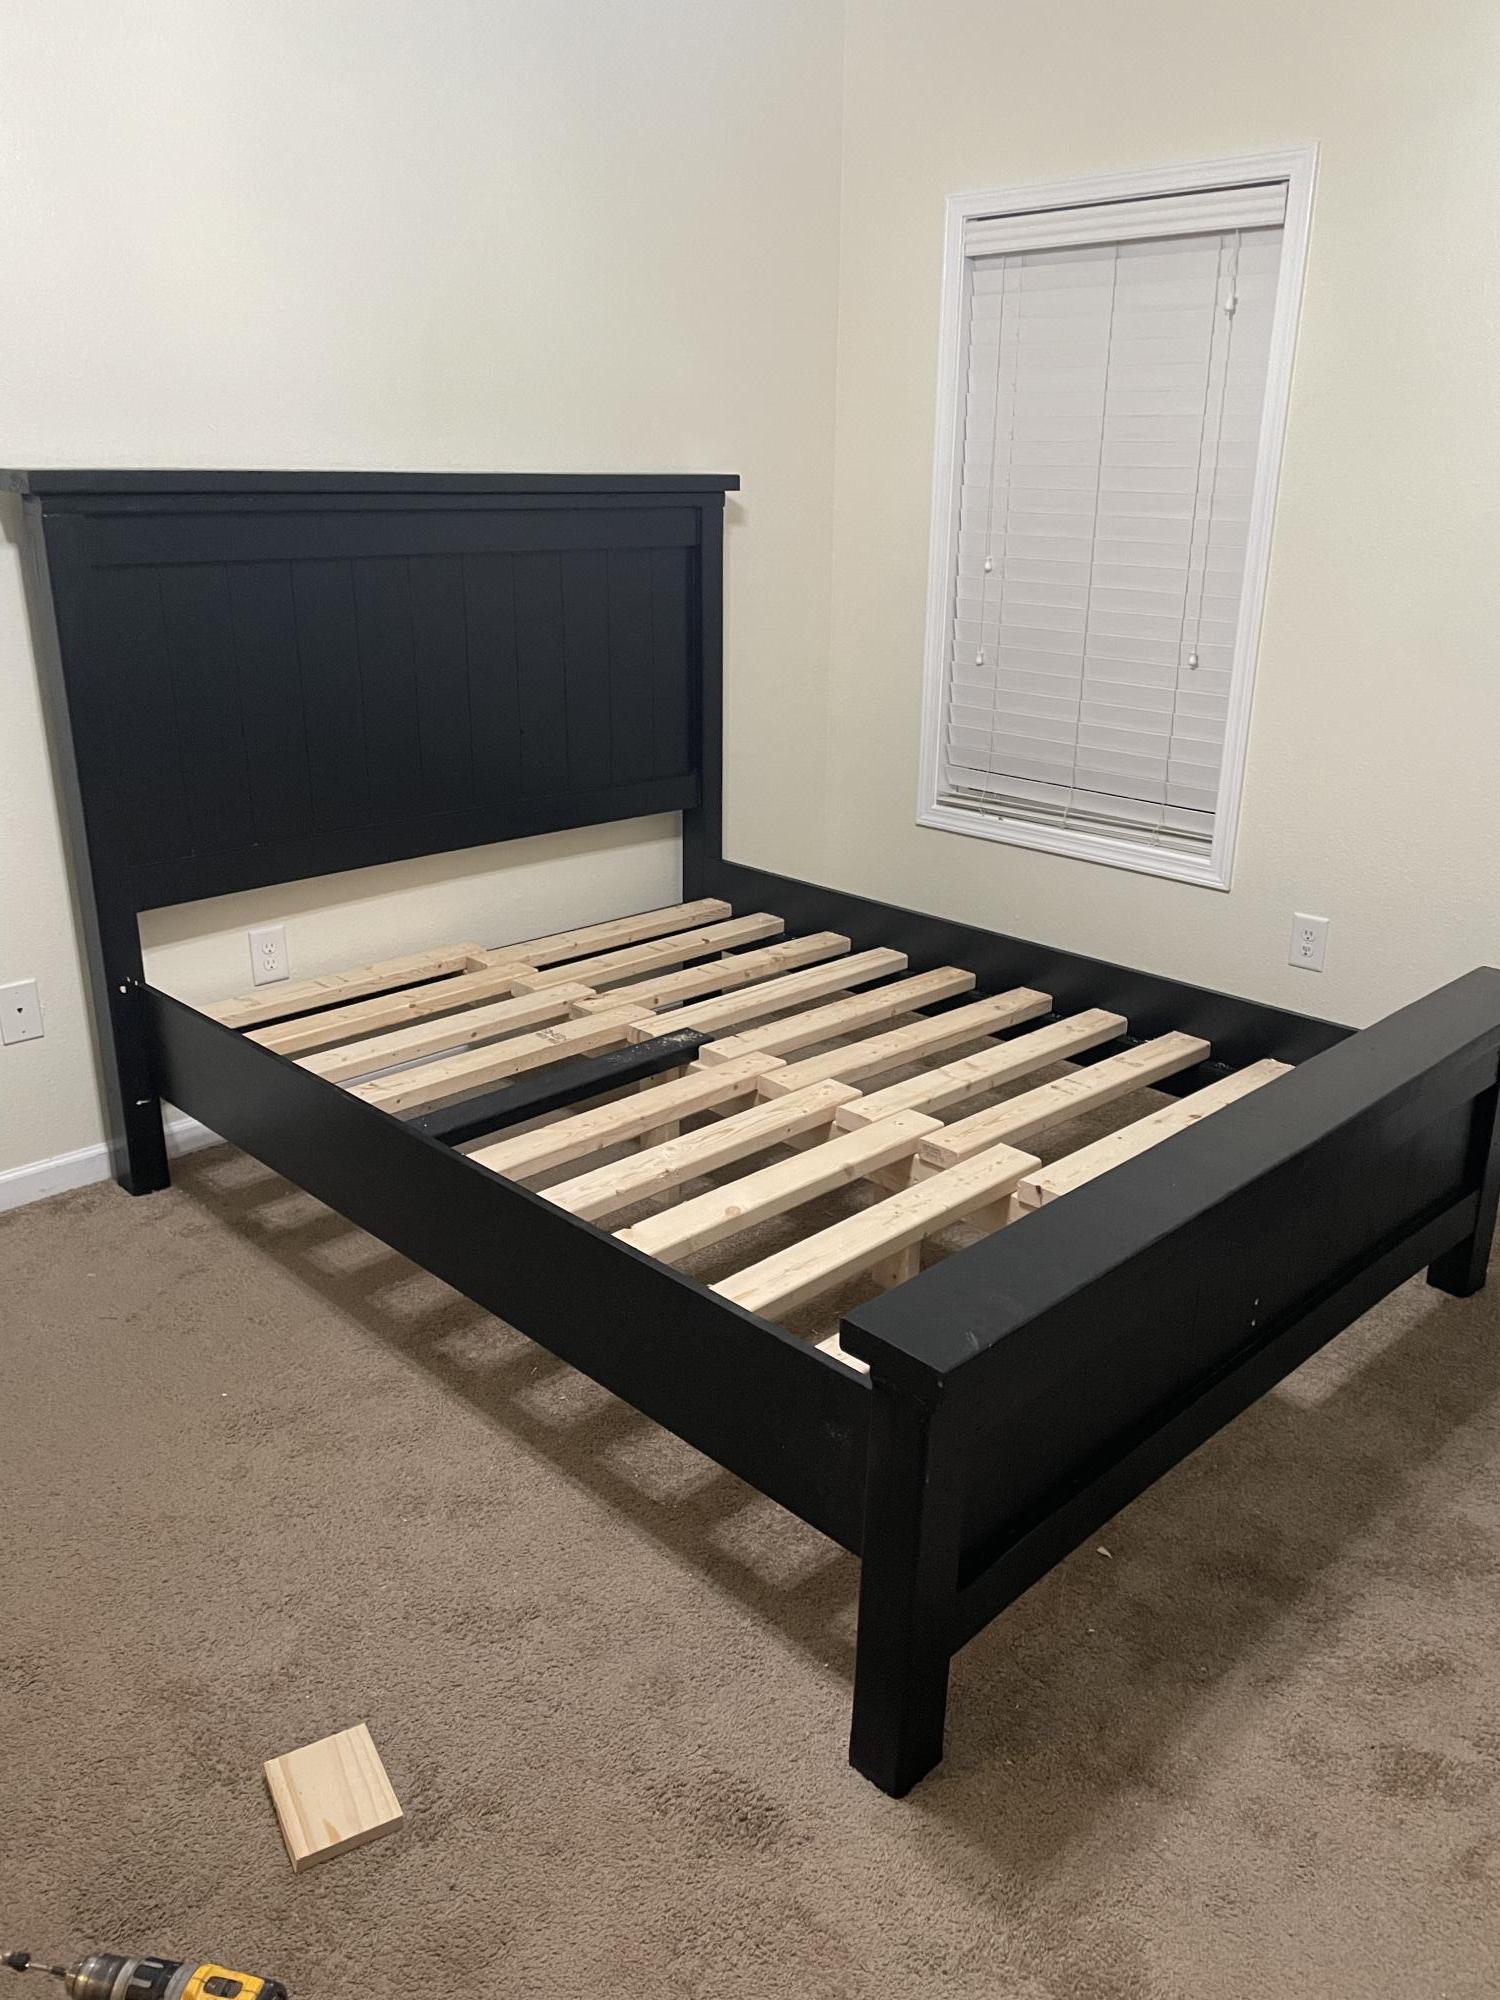
I started with Michaela's Kitchen Island plan, but reduced the dimensions and material sizes. I used 2x2s for the legs and 1x3s for the rest of the project. Everything was kreg jigged together. This project would've taken less time but the drying time for the stains ate up work time! :)
Built from Plan(s)
Estimated Time Investment
Weekend Project (10-20 Hours)
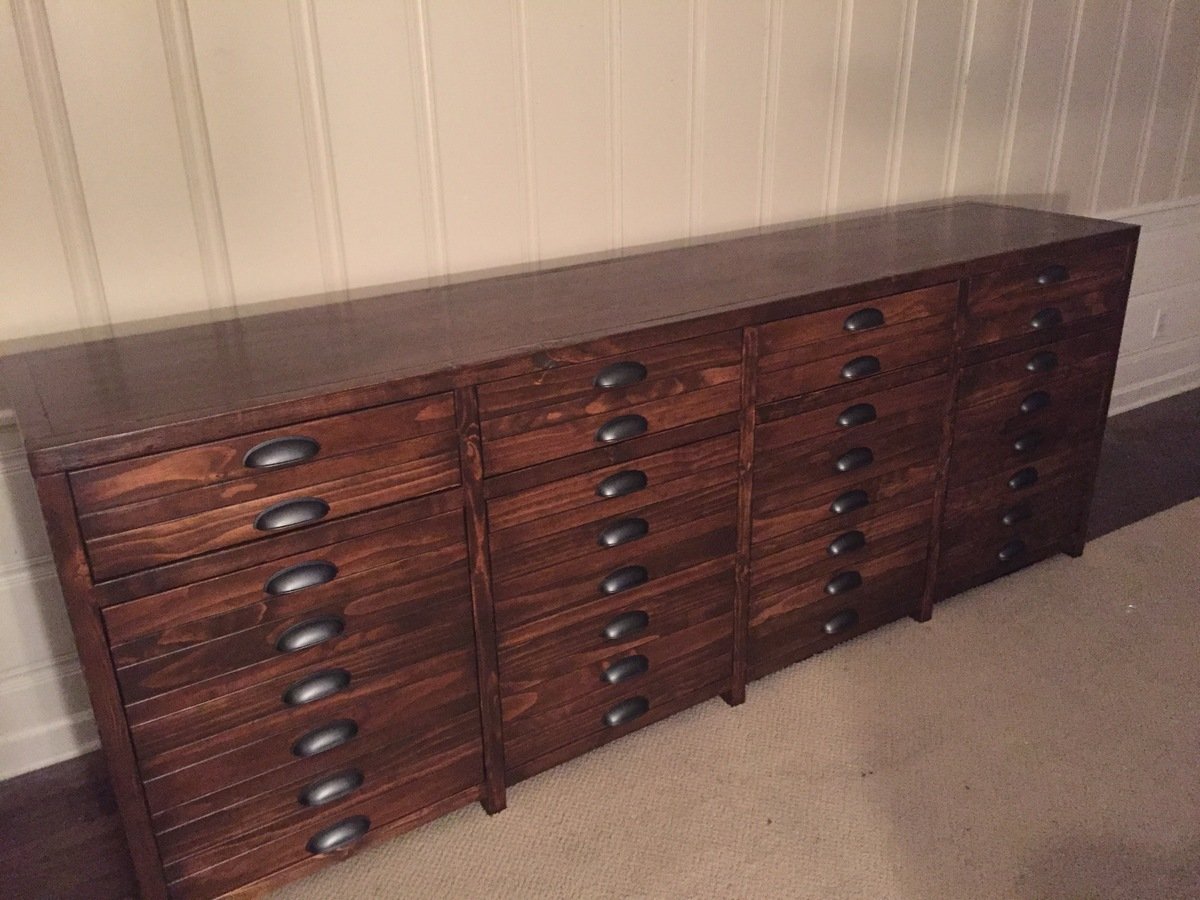
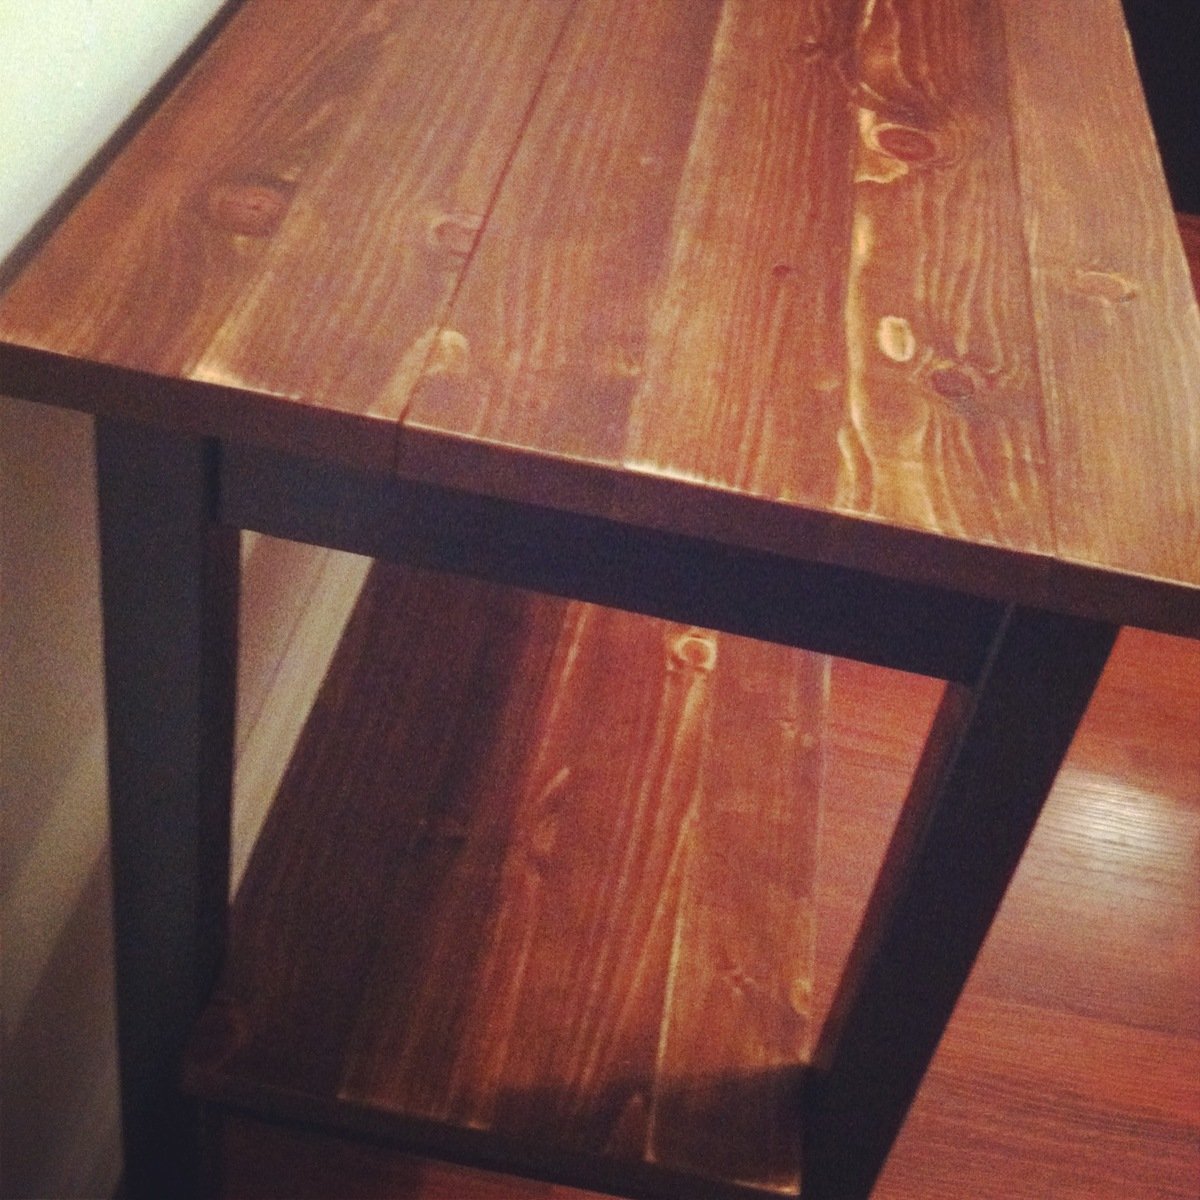
Finish Used
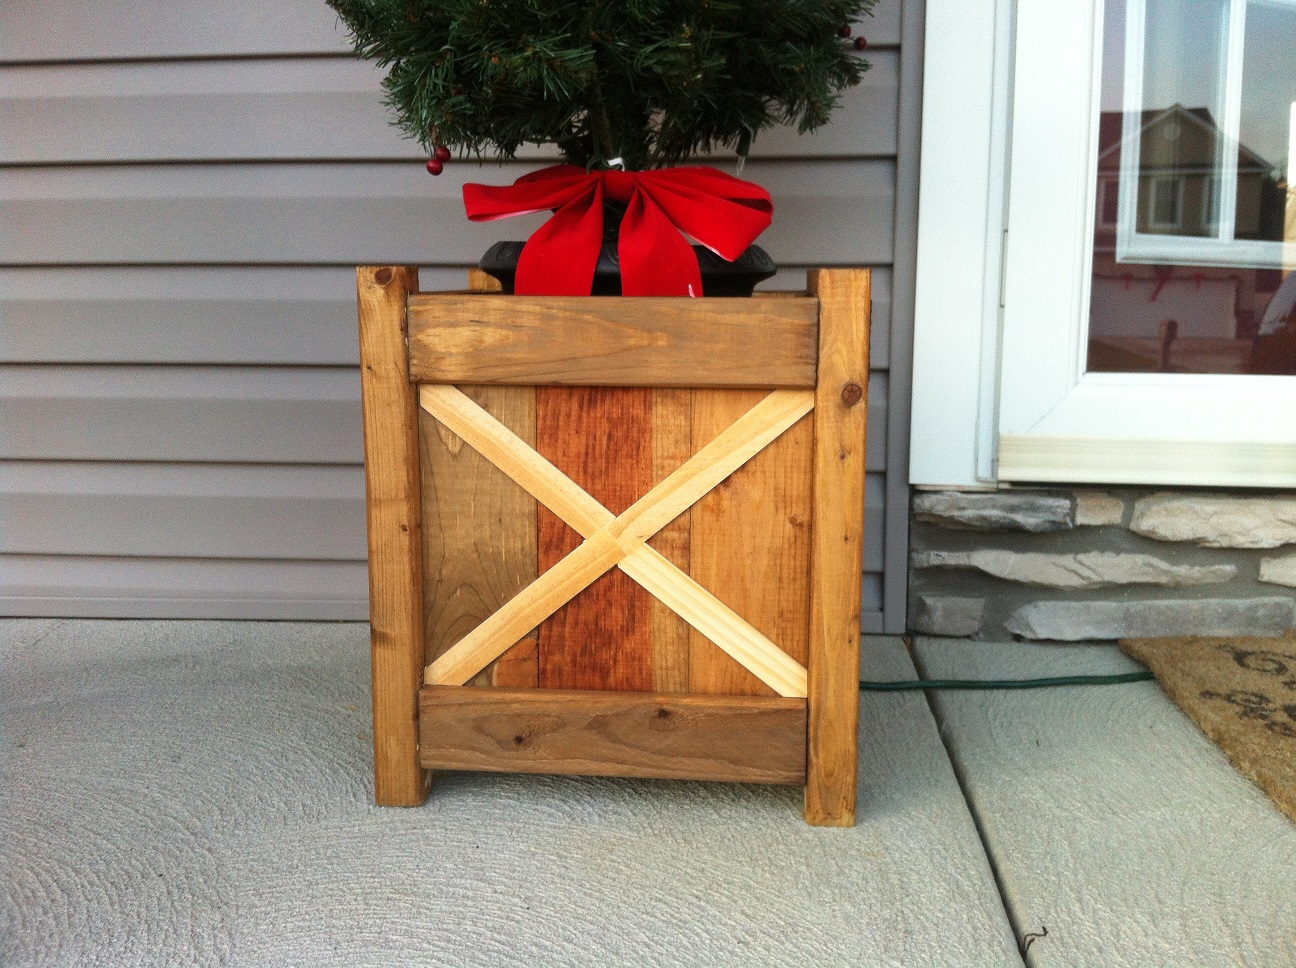
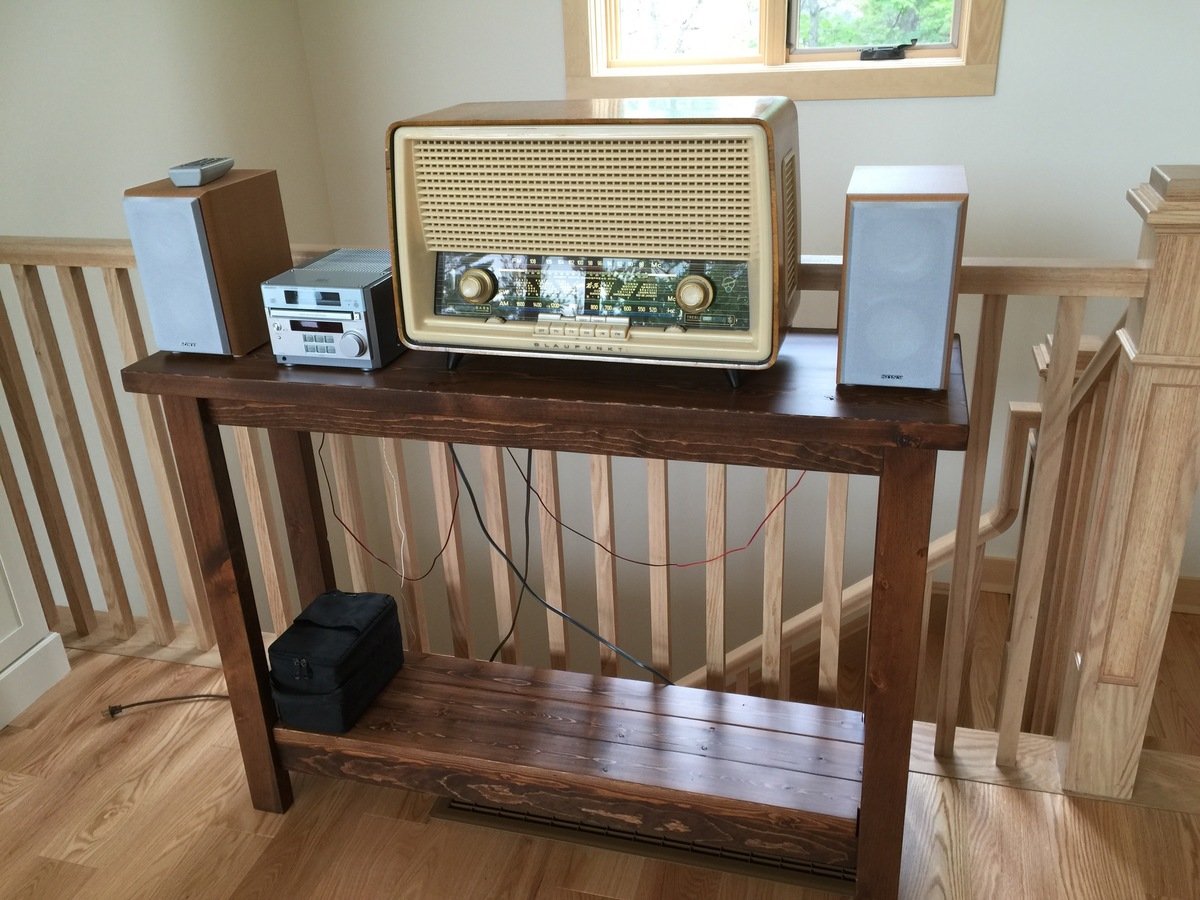
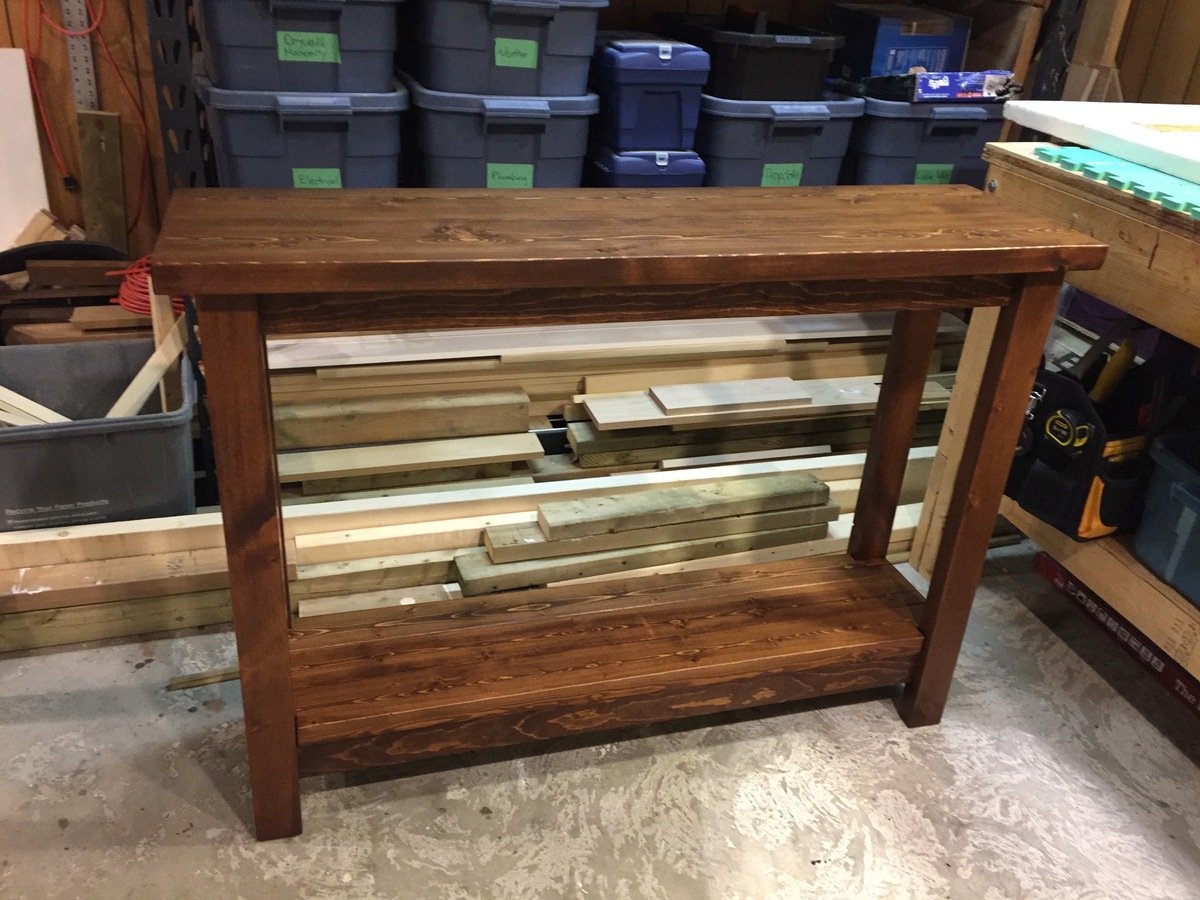
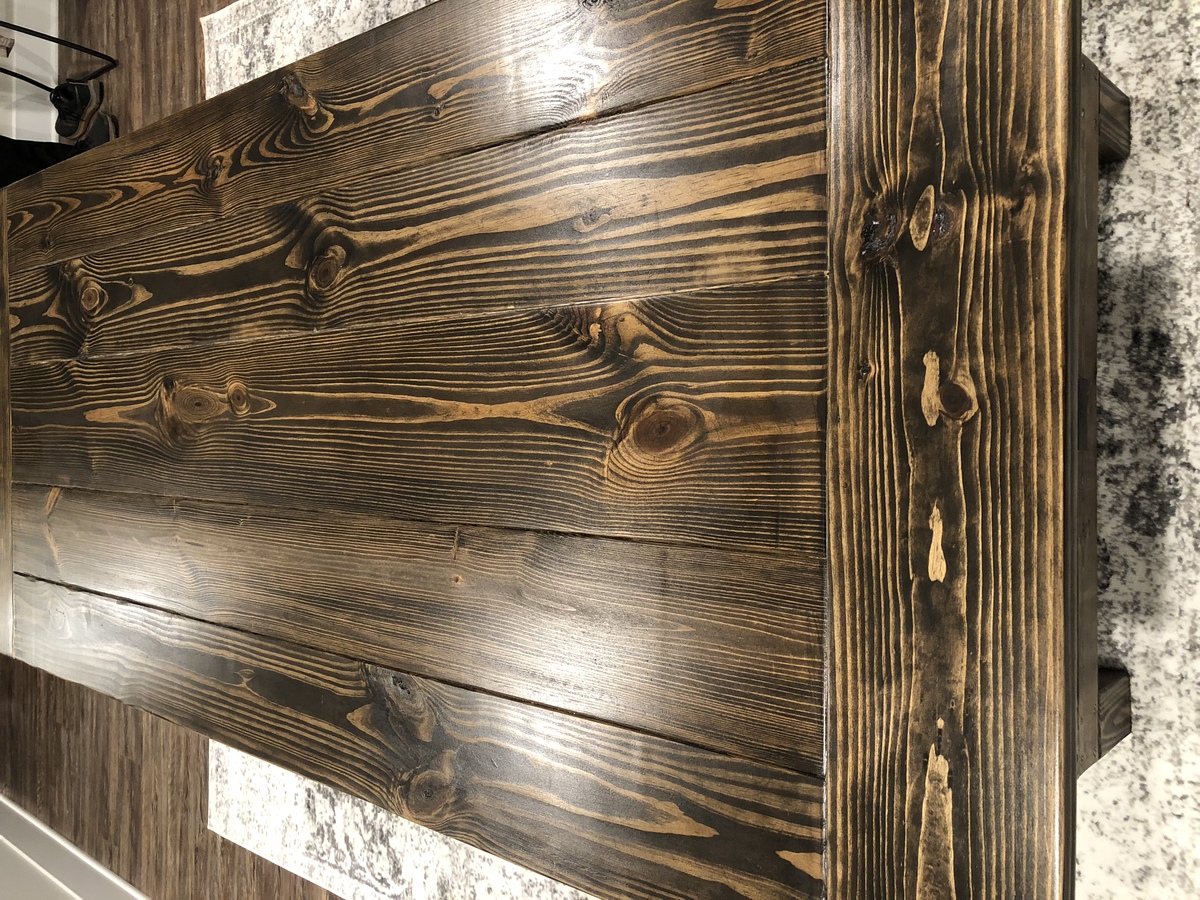
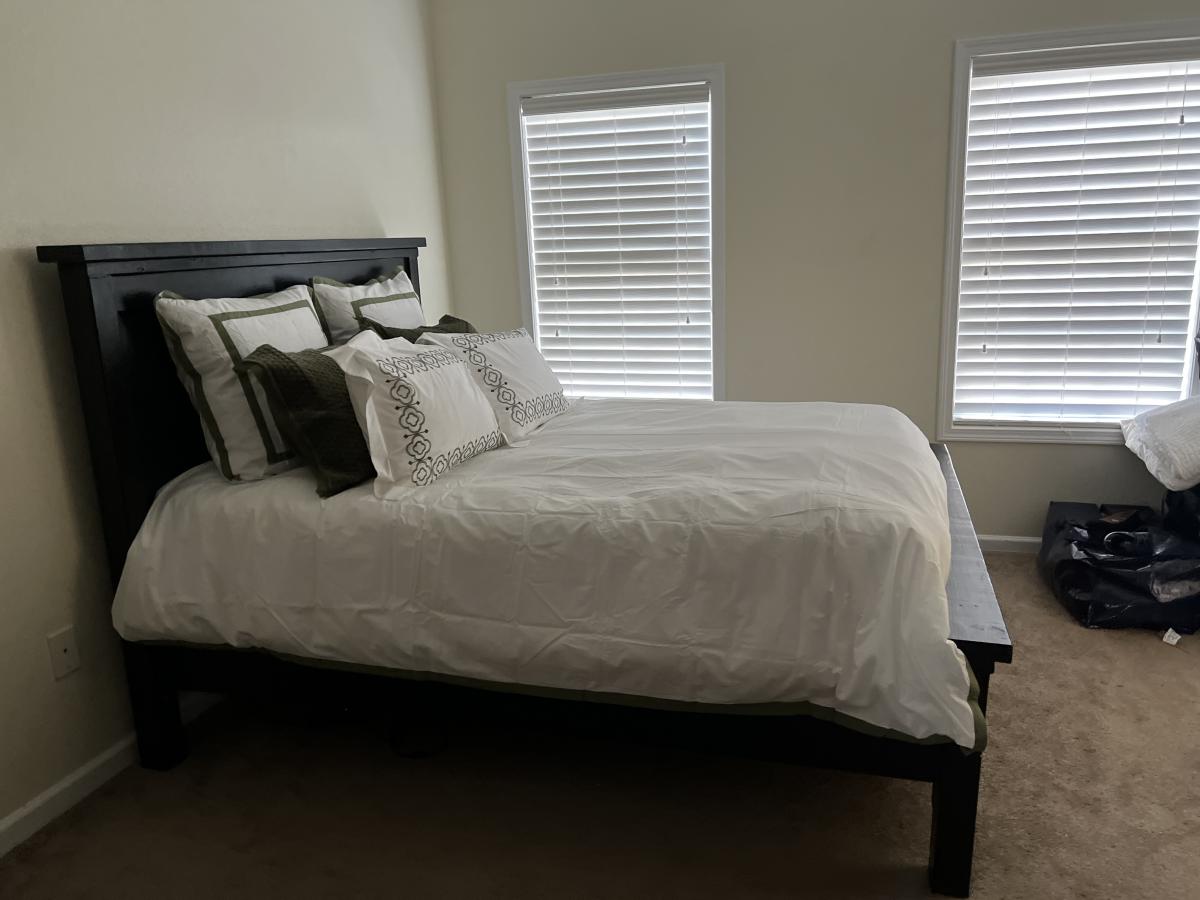
I used espresso poly stain for the frame and Rustoleum's wood stain in American Walnut. 2 coats each and then sealed the tops with a poly sealer in clear gloss.
Recommended Skill Level
Beginner