Community Brag Posts
New Locker!
This was such a fun and easy build! I love, love, love it! I work at a lumber yard, so I was able to have my awesome lumber guy get me some good straight boards. Straight boards are a must! I had my husband help get the first peices screwed together, but after that, it was easy enough to do myself.I don't have a cool nail gun, but I do have a rockin' hammer drill that did the job. I also don't have a kreg jig (birthday wish!) but using stainable/paintable wood putty, the finish came out great.I used the screws I had on hand, 2 1/2 drywall screws, and 1 1/2 finish nails for the frame.I used 1/4 Lauan for the backing, I painted it before nailing it on.
Super fun easy build. It feels nice to build my own stuff, and my husband it totally diggin' me using the power tools:)
Kyli
Built from Plan(s)
Estimated Cost
$60
Estimated Time Investment
Weekend Project (10-20 Hours)
Finish Used
To finish I sanded with my random orbital sander (120 grit), primed twice, and painted twice, sanding between coats. I'm pretty sure I used the color Playa Azul from Do It Best.
Recommended Skill Level
Beginner
My incredible chicken coop and run!
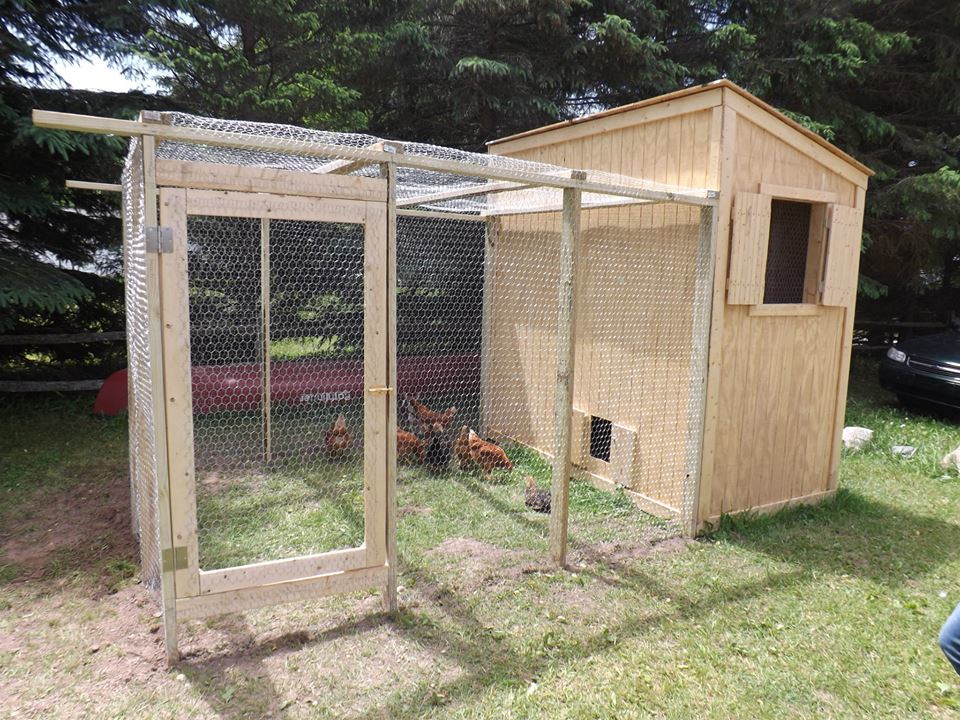
This was my first attempt at building anything....ever. It was so incredibly fun and I certainly learned a lot. My 8 little chickens are loving their new home and I can't wait to build my next project!
Built from Plan(s)
Estimated Time Investment
Week Long Project (20 Hours or More)
Recommended Skill Level
Intermediate
Comments
Wed, 06/19/2013 - 11:51
Chicken Run
Hello! Could you repost the picture / info on your chicken run? I keep getting "page not available" and I've been trying for days :O) I think I want to build that chicken shed (too big for 3 hens?? It's just so cute!) and a run like that to go with it! Thanks! Have a great day!
Rustic Whitewash Box

We recently got a new puppy and the toys were all over the house. I decided to make a simple yet practical box for his toys....I'm sure the box will be chewed up soon :)
Wood type: Pine
Finish: Water based polyurethane, Minwax walnut stain, white acrylic paint.
Cut List: Only one 1" x 6" x 8' board was needed for this box.
Full detail instructions on my blog:
http://www.woodworkingfourdummies.com/blog/rustic-whitewash-box
Cheers,
Ian


Estimated Cost
8 dollars
Estimated Time Investment
Afternoon Project (3-6 Hours)
Finish Used
Water based polyurethane, Minwax walnut stain, white acrylic paint.
Recommended Skill Level
Starter Project
2x4 Rustic Outdoor Bench
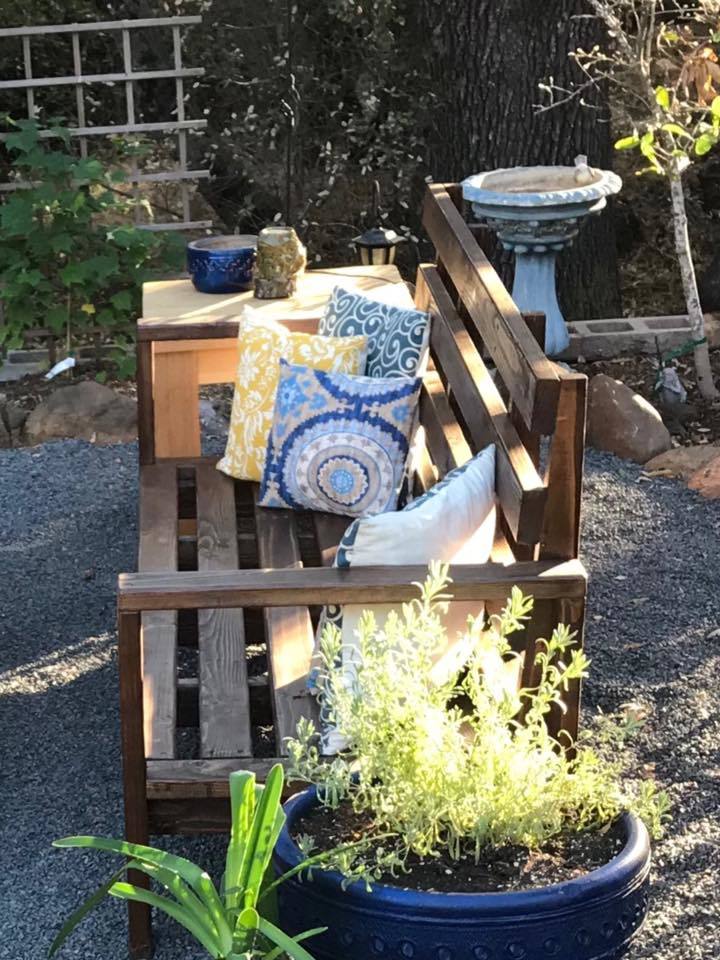
Submitted by Carla Santiago on Facebook -
We did a bench, I got your plans off Pinterest. We just put a slight slant to the back and we love it. Thanks for the great plans.
Built from Plan(s)
Recommended Skill Level
Beginner
Raised Garden Bed Variations
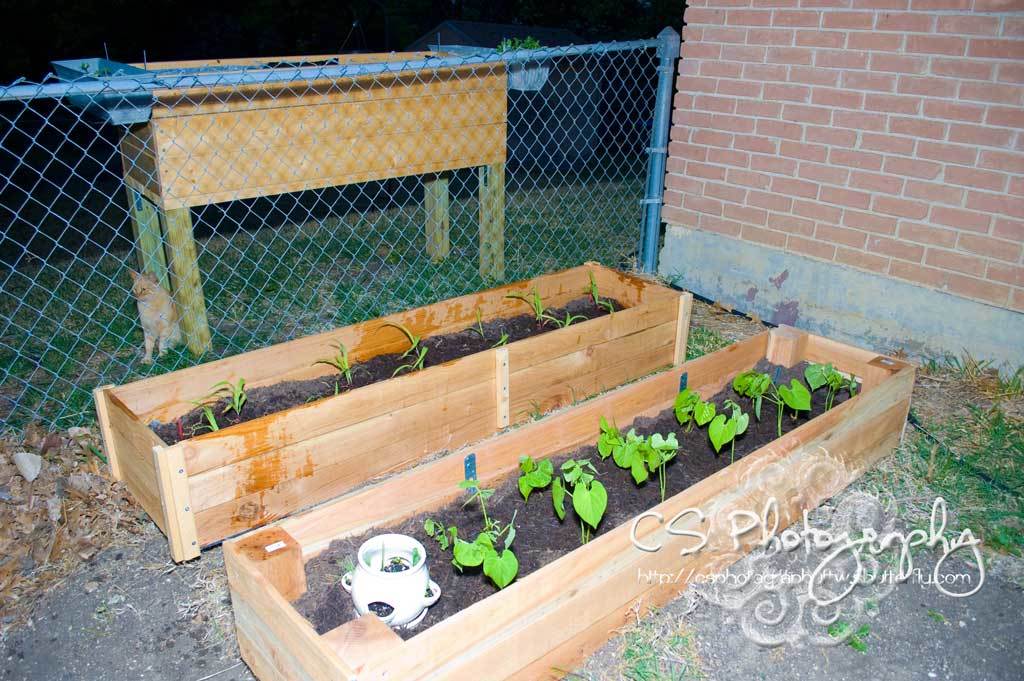
Our 1x6 cedar fence posts were like $2.39 each, but the 1x4's were $1.17 each, so $9.36 for the cedar plus about $2.50 for the trim. But on the 2nd bed, we opted to use 4x4 @ 8' cedar that I got for half off (@$8) because there were 3 "beat up" pieces left. So our total was @ $13 each.
Built from Plan(s)
Estimated Cost
$13.00
Estimated Time Investment
An Hour or Two (0-2 Hours)
Finish Used
No finish
Recommended Skill Level
Starter Project
Play Kitchen Extreme Remodel
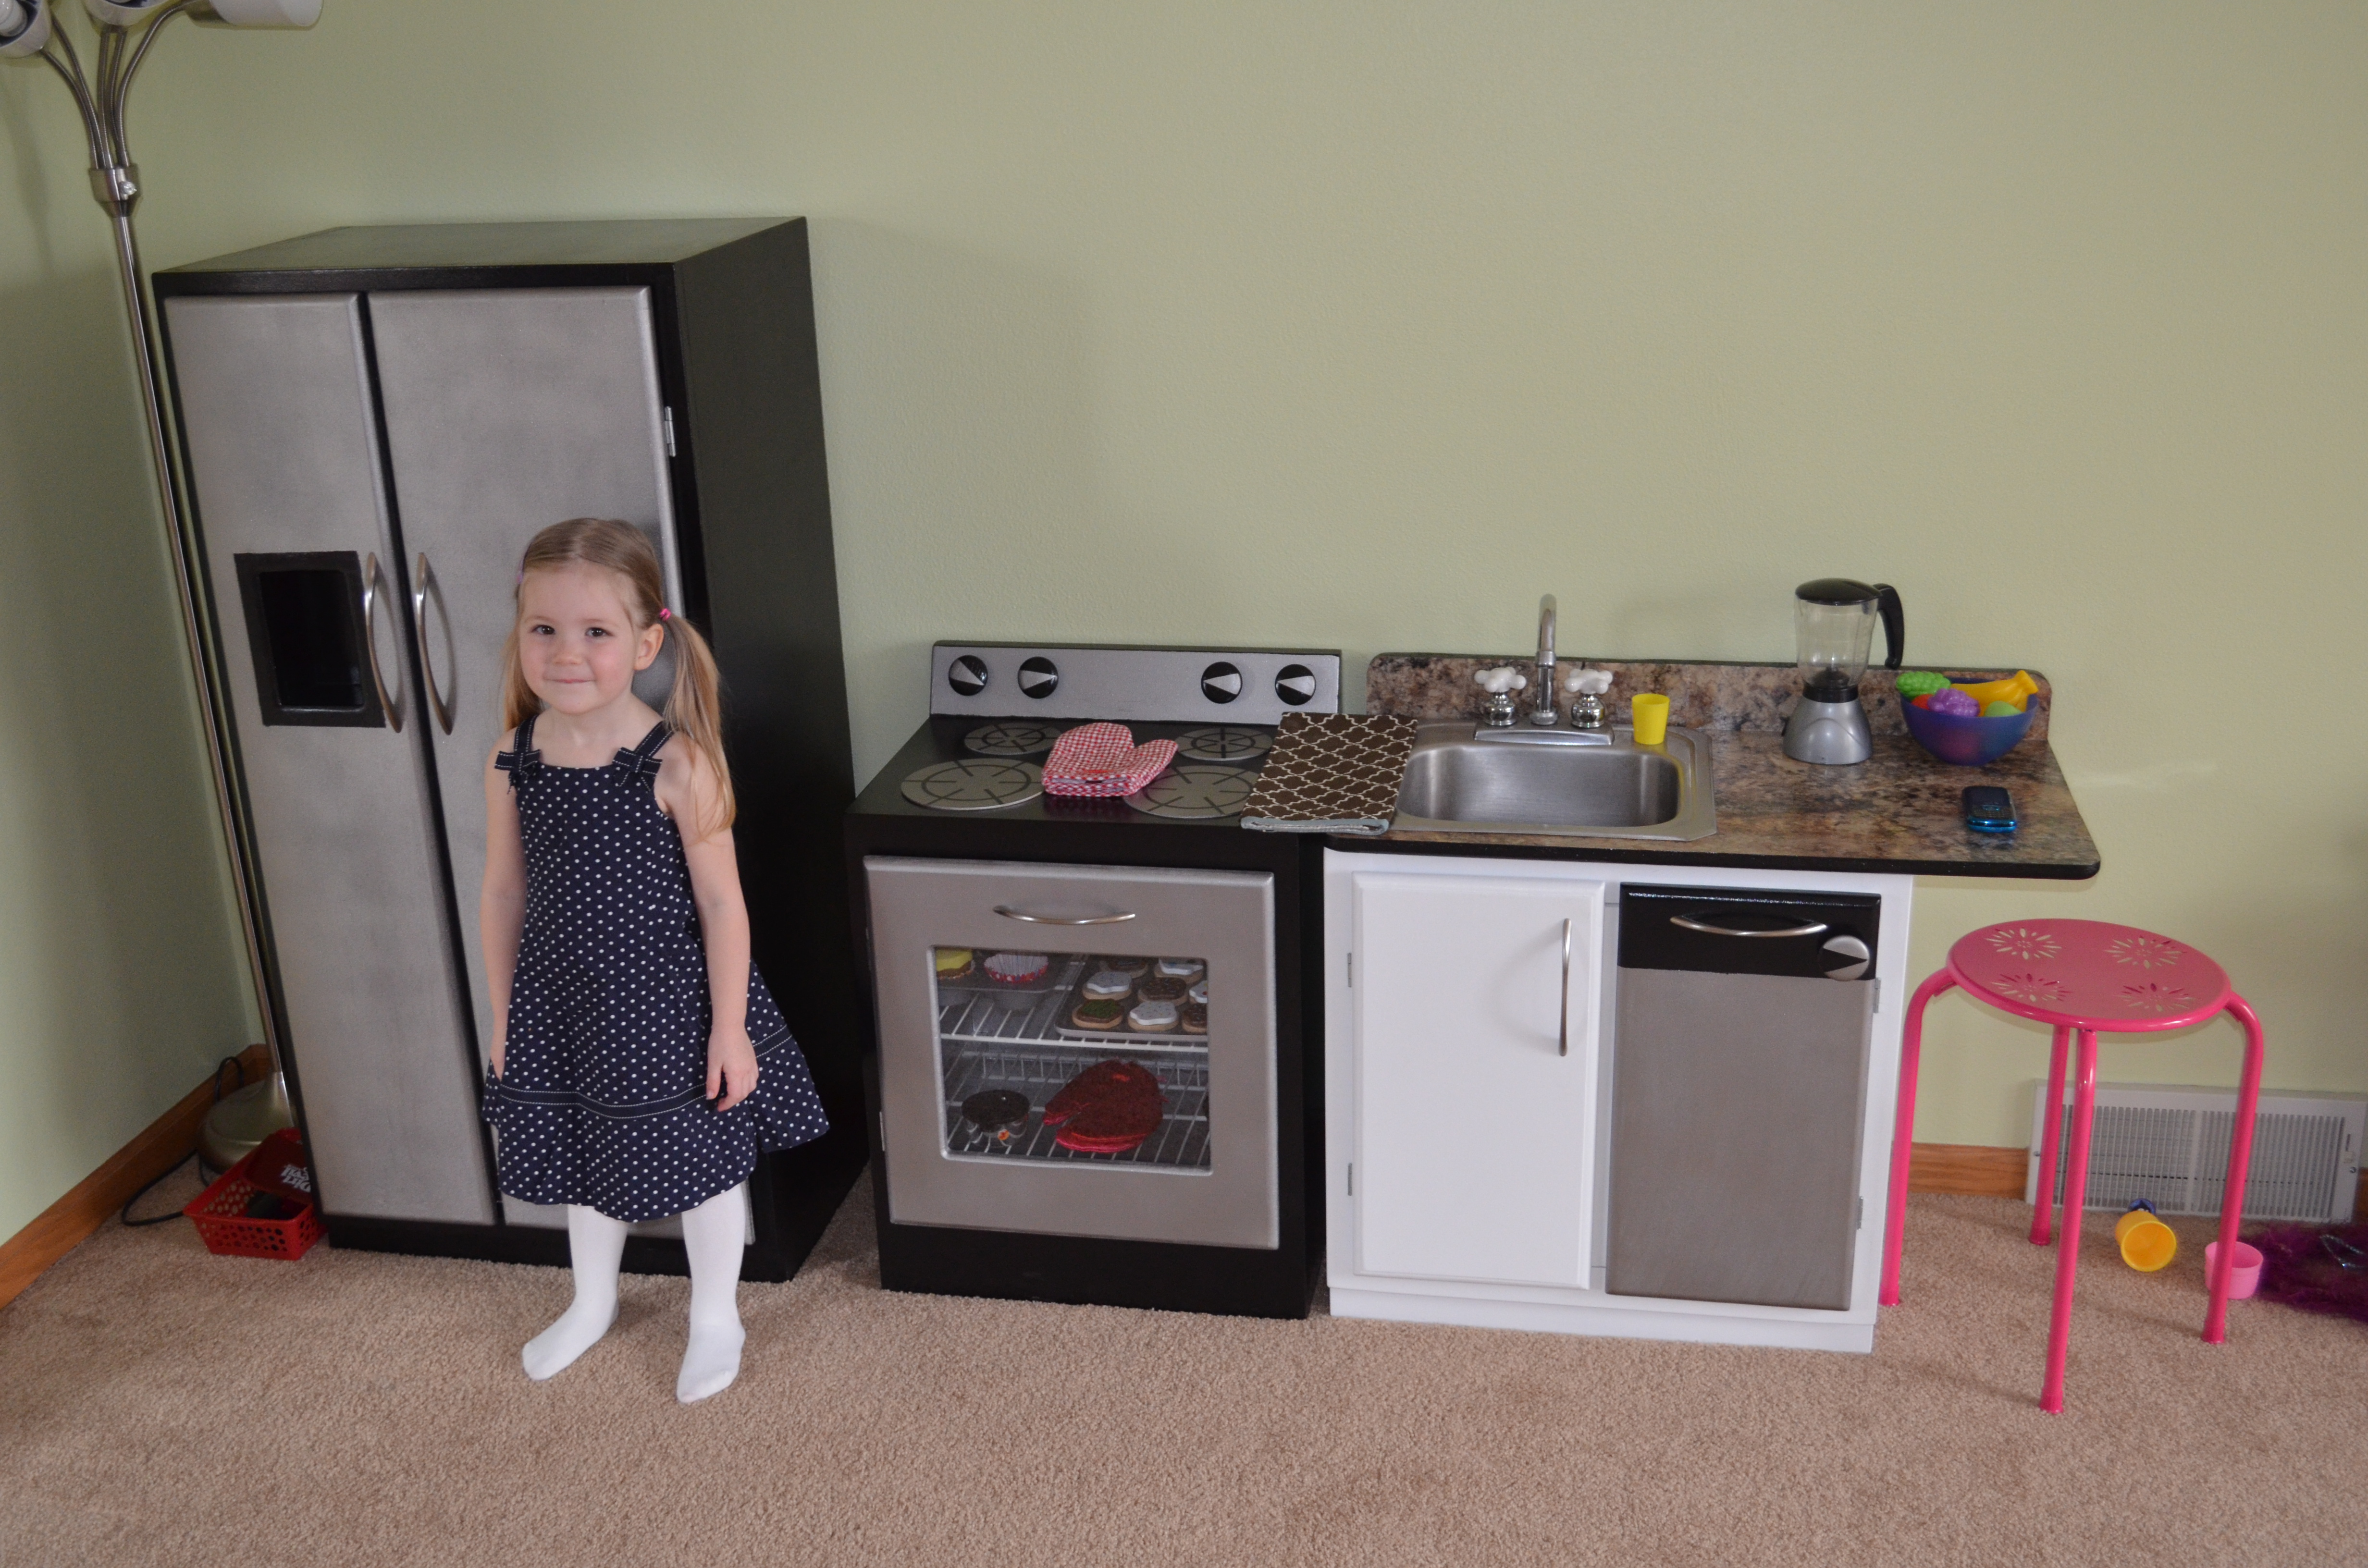
My wife and I were perplexed about what to get my 2nd daughter for her 3rd birthday. We were also tired of all the plastic around the house. I was browsing and saw your kitchen plans.
Interestingly, one year ago we remodeled our main kitchen when my wife was 8 months pregnant. So we used our kitchen as the model and built a smaller scale version for my daughter. Complete with stainless appliances and accessories. The counter/backsplash was the sink punch out from our main kitchen counters that I kept after I installed them.
My daughter was thrilled with the way it turned out!
Estimated Time Investment
Week Long Project (20 Hours or More)
Finish Used
Kilz, Rustoleum magnetic primer/black enamel/, stainless steel spray paint, white latex
Recommended Skill Level
Intermediate
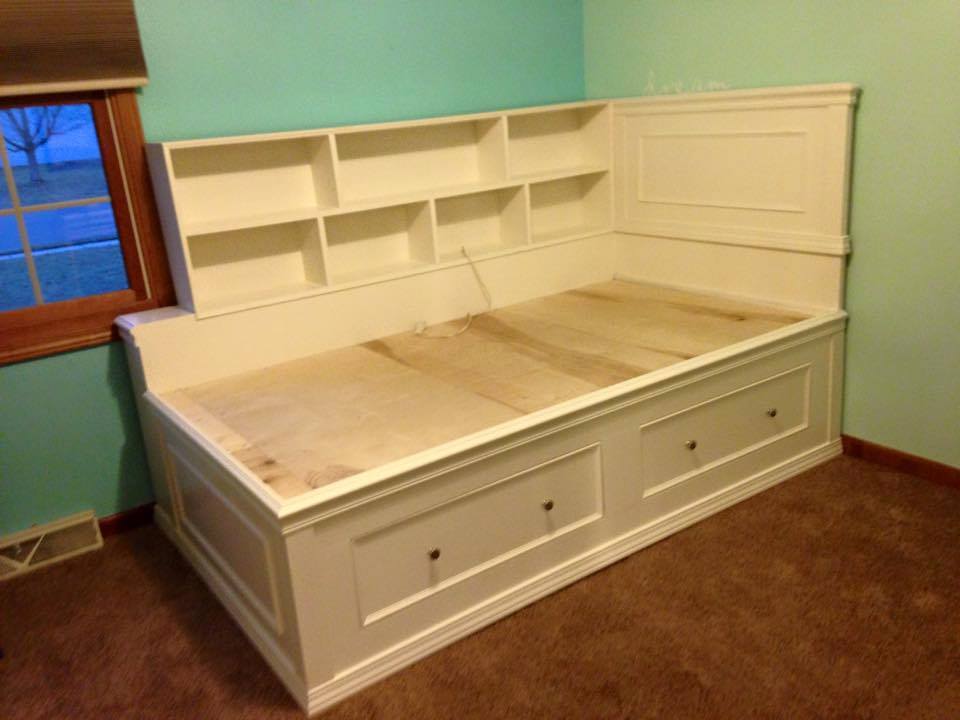
Twin captain bed
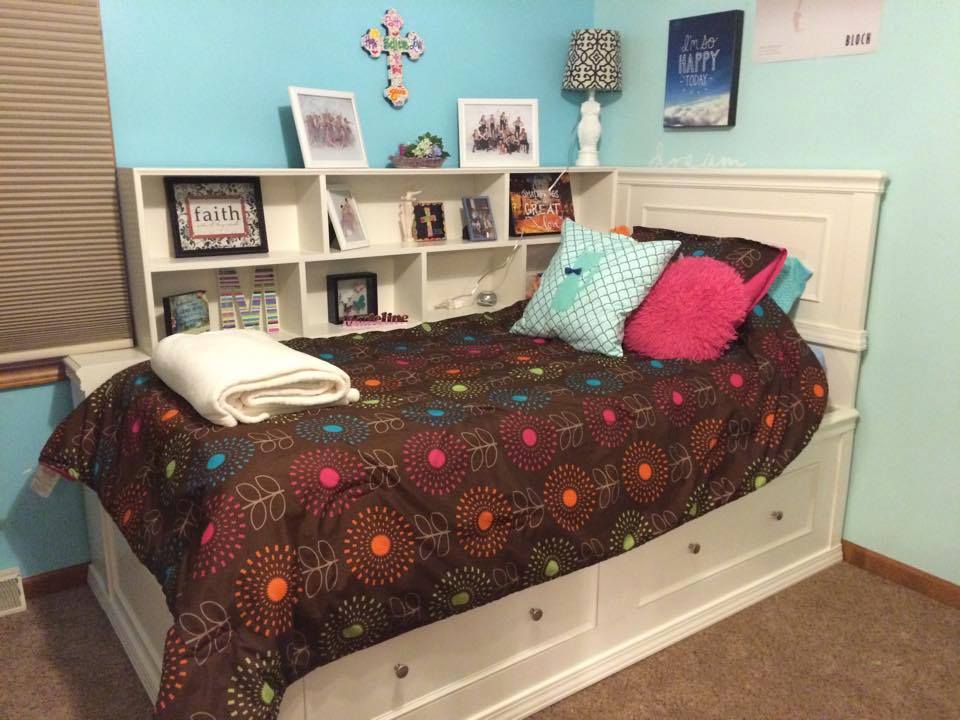
This bed was built custom for the girl who ordered it. She wanted both a bookcase headboard on the long side and a traditional headboard. The bookcase headboard could not block the window and needed to have access to the outlet behind the bed. The bed was designed to match a dresser that had already been purchased. The drawers below give additional storage.
Estimated Cost
$550
Estimated Time Investment
Week Long Project (20 Hours or More)
Finish Used
Primed and painted with 2 coats of flat latex paint.
Recommended Skill Level
Advanced
Comments
Chunky Media cabinet
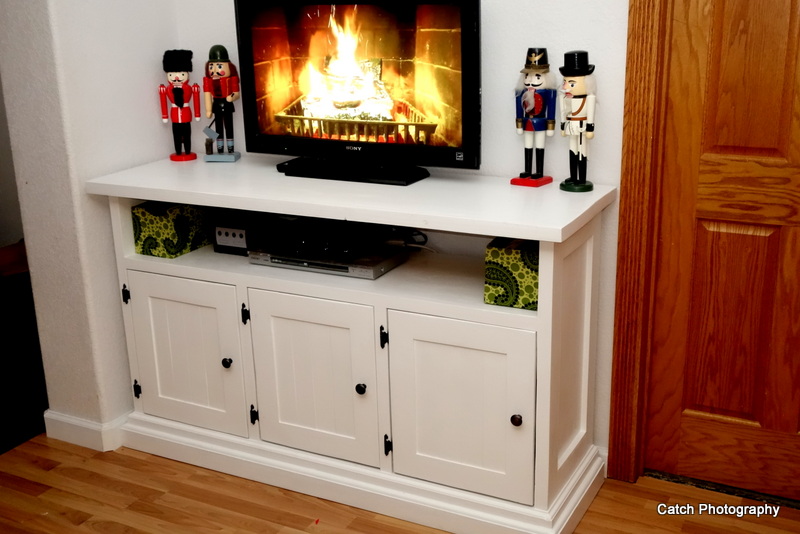
This was loosely based on one of the media cabinets on this site. I built it to fit this spot exactly and used many of the same design elements as in the Leighton media Suite I built several years ago. One thing I want to mention I did with this design that is a FABULOUS idea in all media units. Inset the back of your lower section. I hate not being able to run the top of my "counter" flush with the wall because the back of my unit or bookcase is running into all the plugs in the outlet. I left a little larger of an overhang than I normally wood to clear the baseboards and I inset the backing of this peice about and inch inward to leave lots of room for all the chords to just hang there but be hidden. They are much more accessible and now the top of my unit is flush to the wall.

Estimated Cost
$80
Estimated Time Investment
Weekend Project (10-20 Hours)
Finish Used
Acrylic hard finish white paint.
Recommended Skill Level
Intermediate
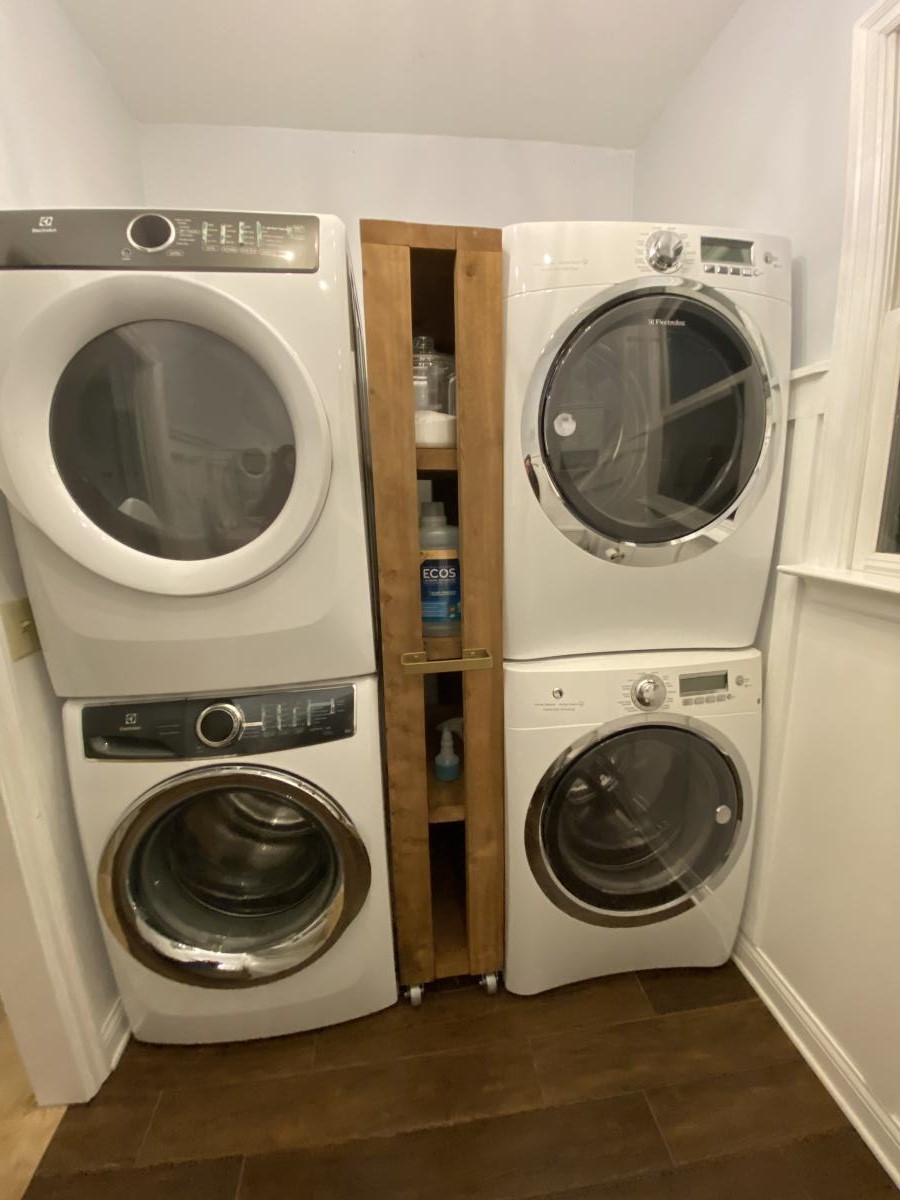
Rolling shelf turned laundry cart
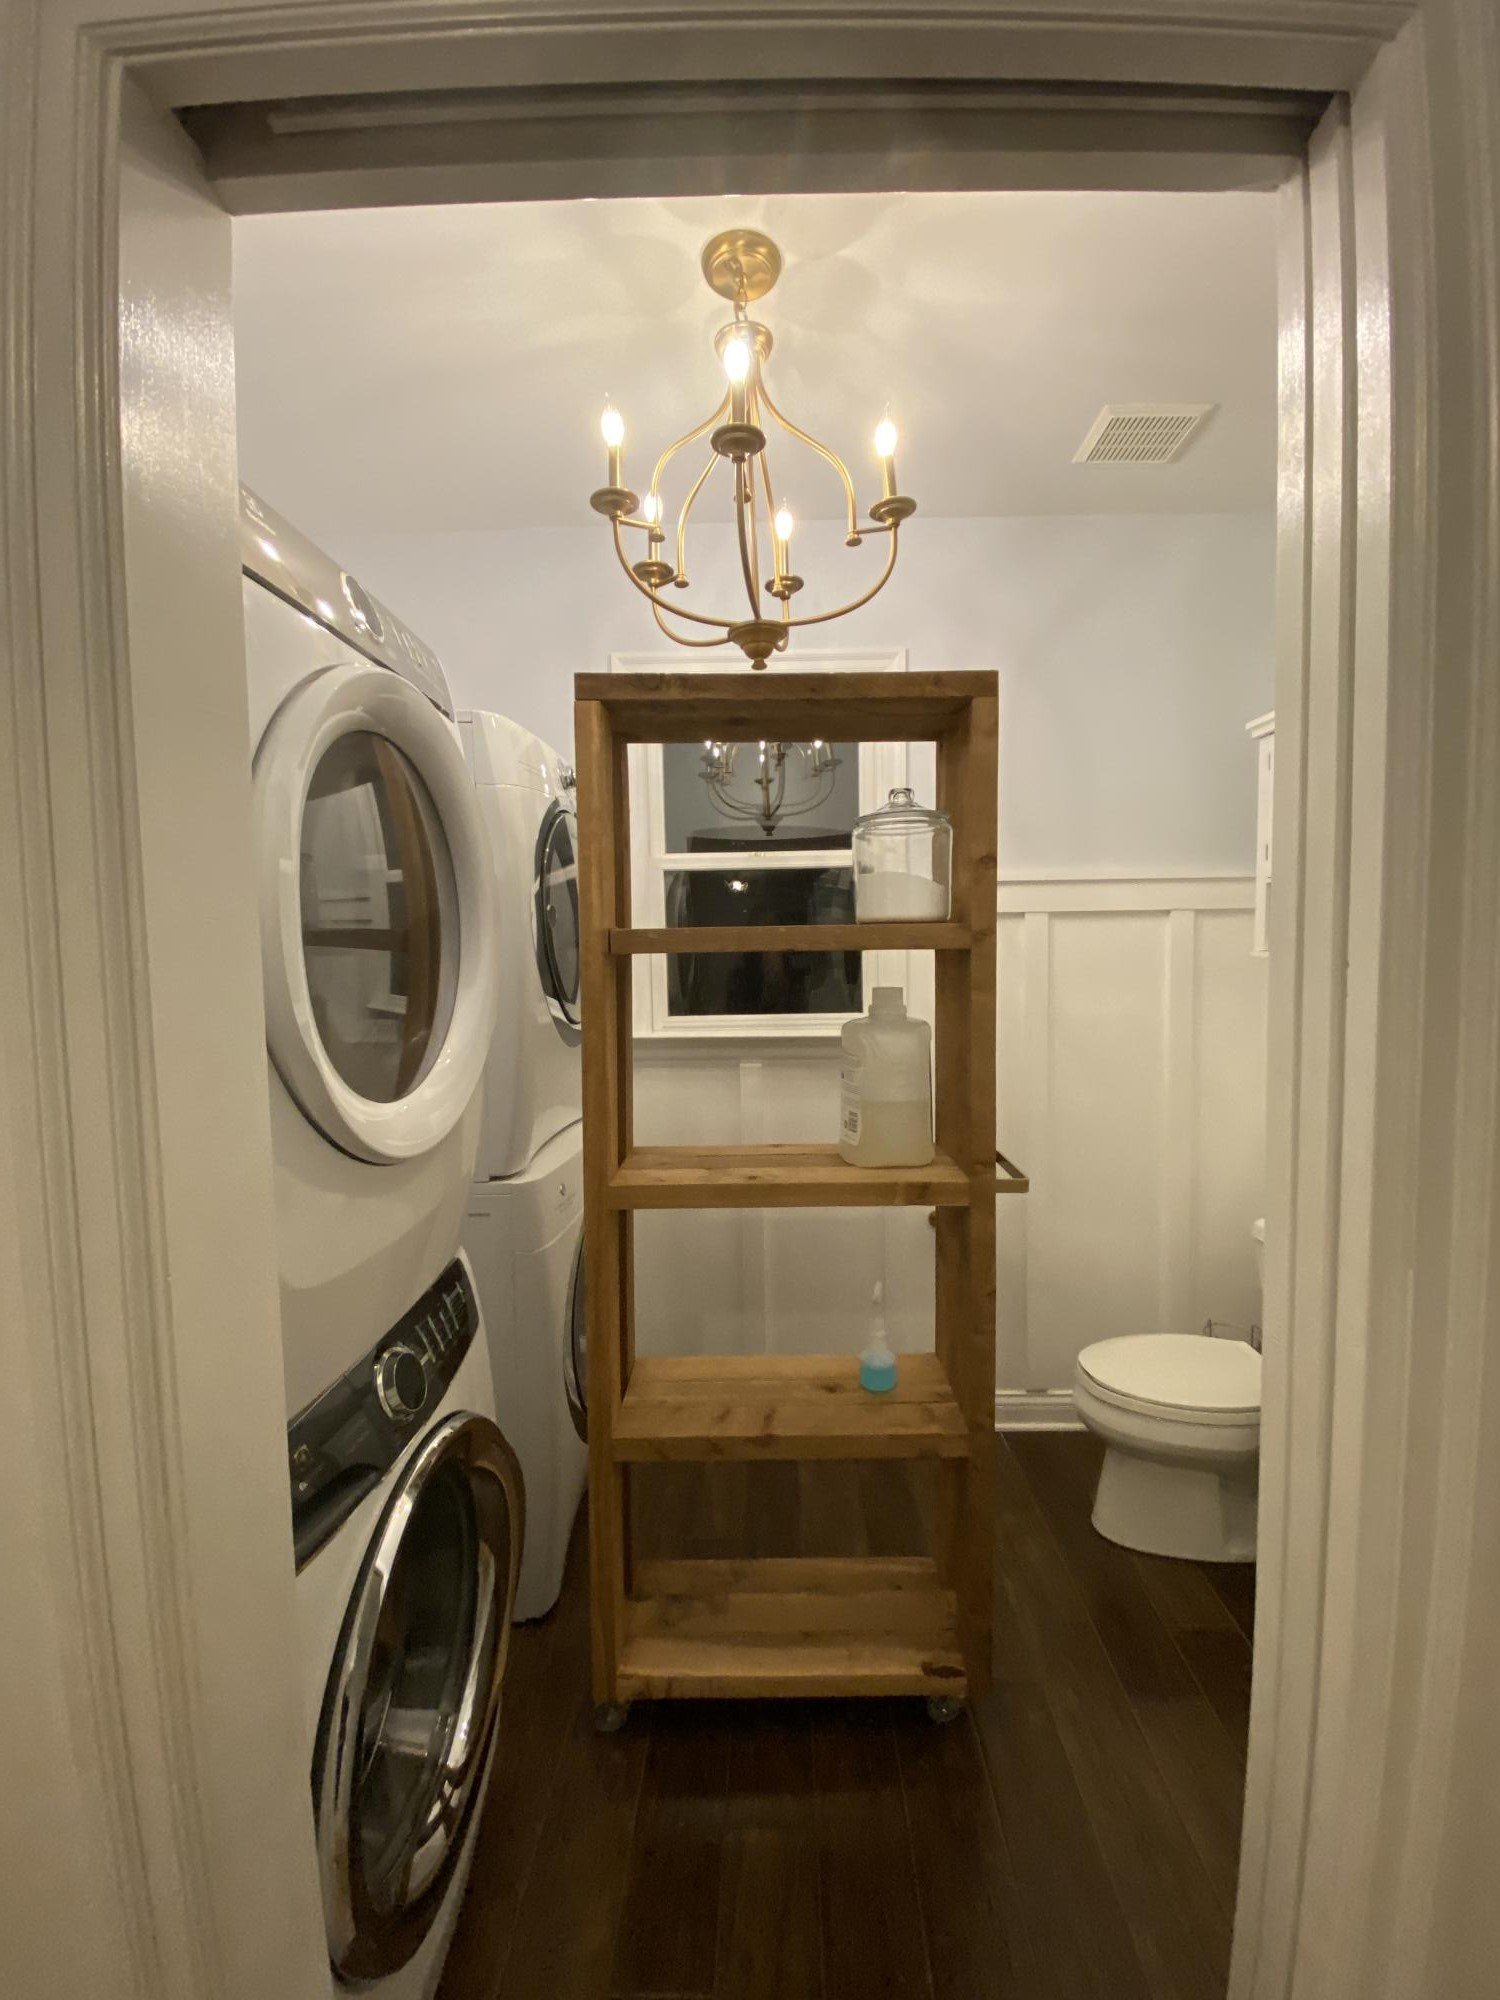
This is my first build! It came together really easily. I modified the dimensions to fit my space. I didn’t add the black pipes, simply because I couldn’t find all the pieces, or the corner brackets, and I think it looks great without them. I added a handle (a towel bar I found on Etsy) to pull it in and out. I used rough cut cedar, and have not finished it. I’m not sure if I will. I wanted to spray paint the wheels, but the person that helped me attach them (a.k.a. my dad) was ready to to help me before I had them painted! But I love it, and it really adds functionality and stoage to this little gap between our washers and dryers.
Built from Plan(s)
Comments
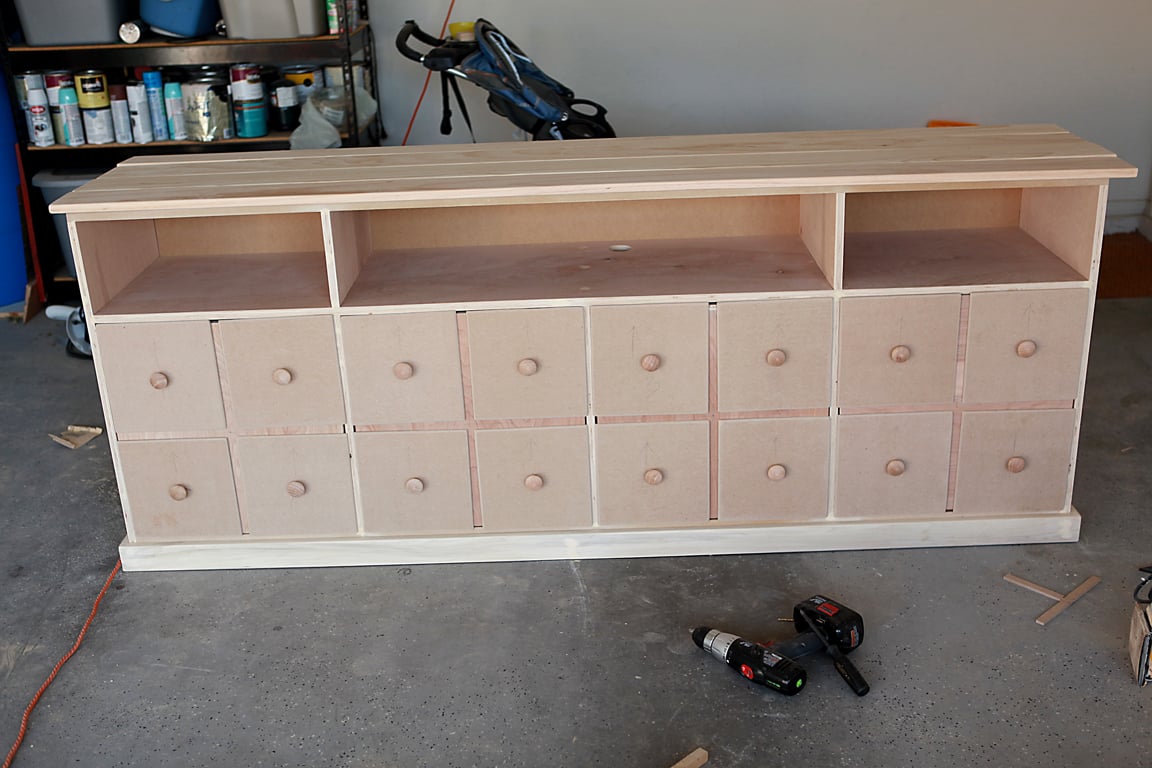
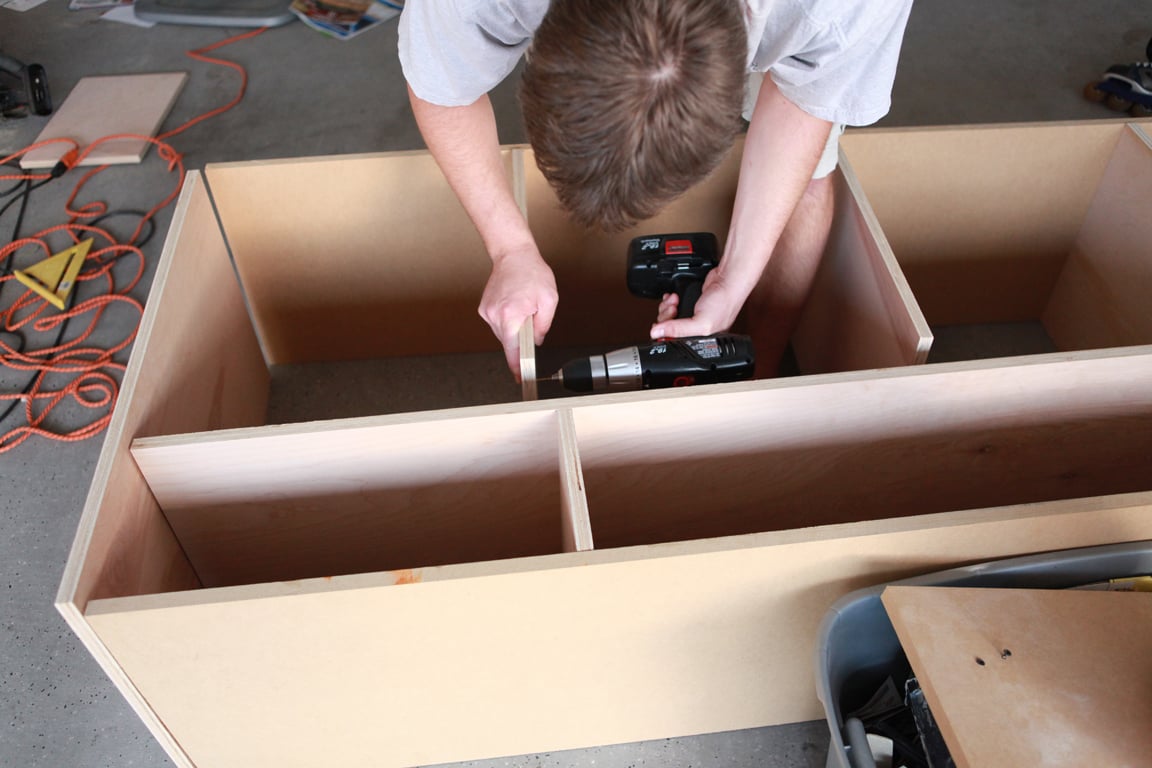
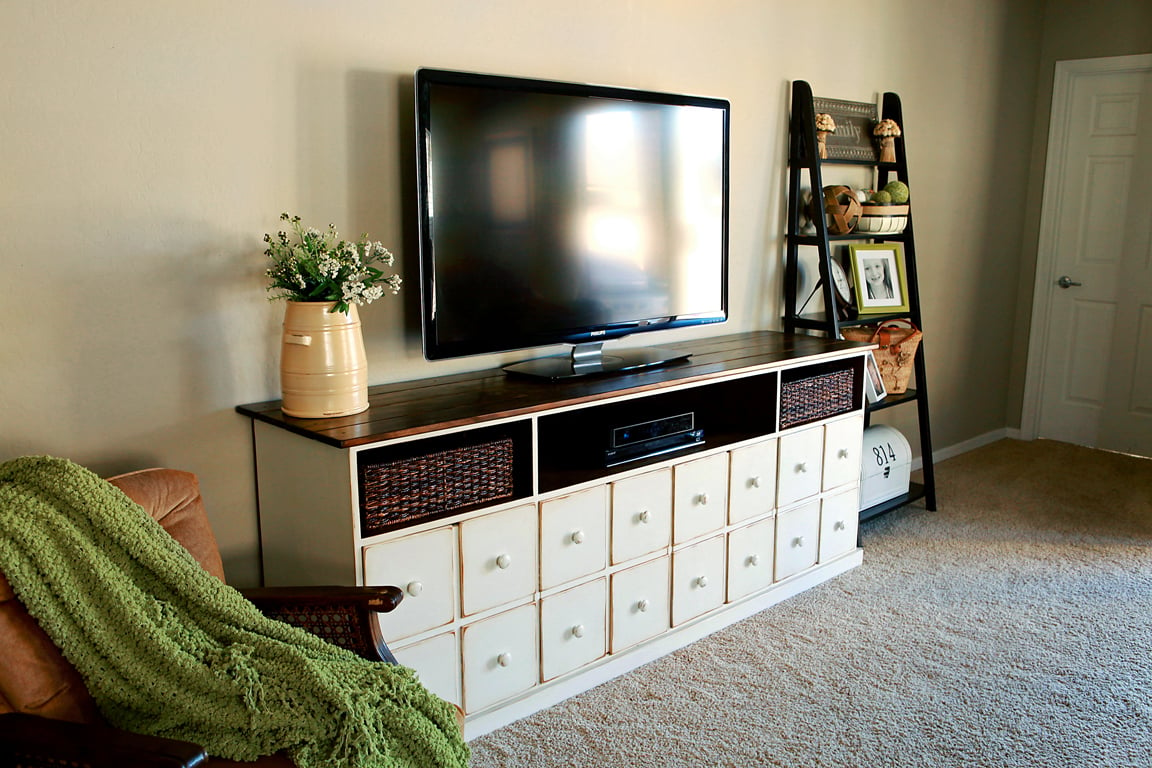
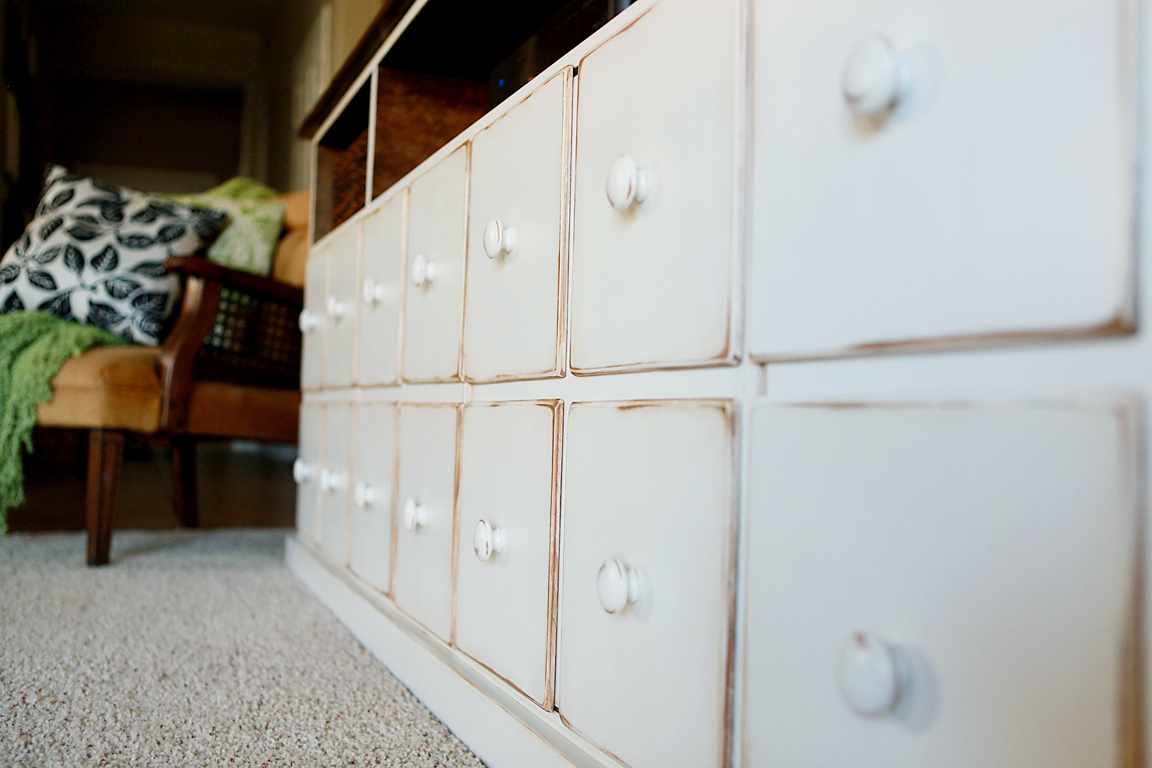
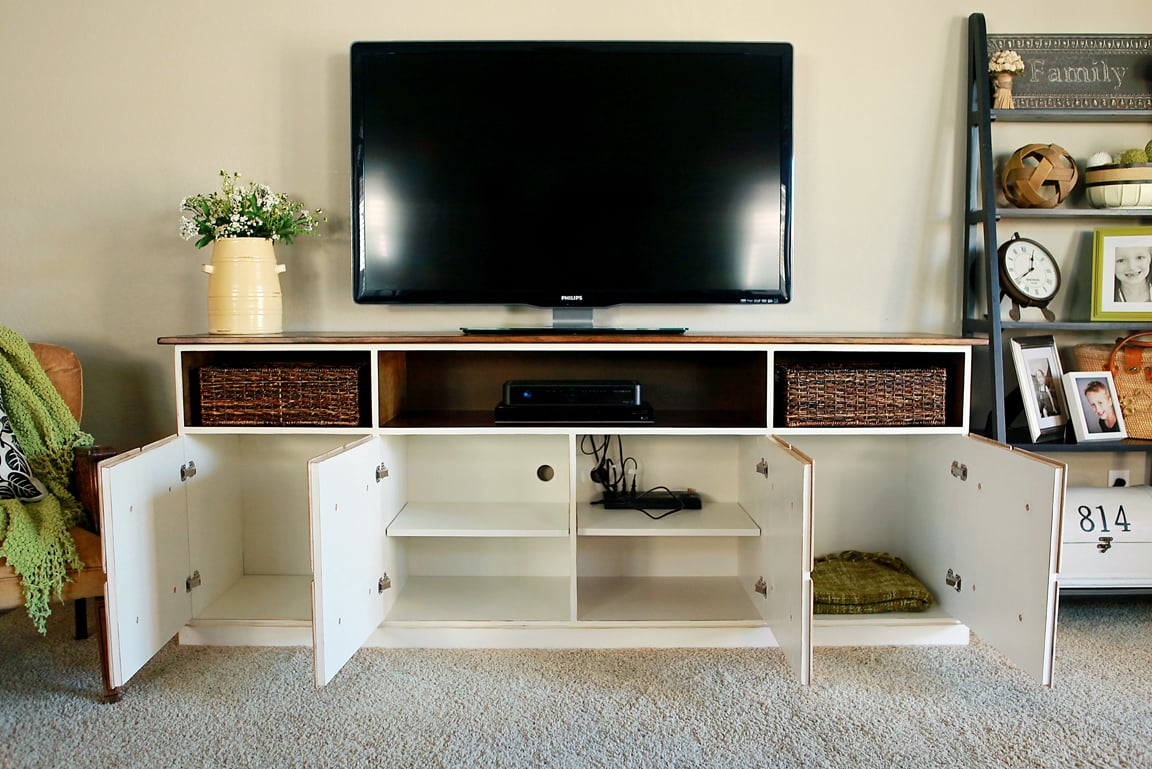
Apothecary Media Console

My husband and I worked on this in the evenings. It took us about a month, just because we didn't have the time to devote all at once. We modified Ana's plans for the Apothecary Media Console to accomodate a surround sound bar in the center and to custom fit our baskets. We went with 4 cupboards to keep a uniform look. The faceplates were painted before we permanantly attached them with gorilla glue. . . one of the last steps. The finished cabinet is approximately 86 inches wide by 33 1/2 inches tall by 18 1/2 inches deep.
Built from Plan(s)
Estimated Cost
$350.00
Estimated Time Investment
Week Long Project (20 Hours or More)
Finish Used
wood filler,
gorilla glue,
minwax wood stain - dark walnut,
minwax wipe on poly,
Valspar color match interior latex paint,
Valspar clear mixing glaze,
Glaze mixed with Olympic paint sample satin "Pumpernickel",
polycrylic,
150 fine sandpaper
gorilla glue,
minwax wood stain - dark walnut,
minwax wipe on poly,
Valspar color match interior latex paint,
Valspar clear mixing glaze,
Glaze mixed with Olympic paint sample satin "Pumpernickel",
polycrylic,
150 fine sandpaper
Recommended Skill Level
Intermediate
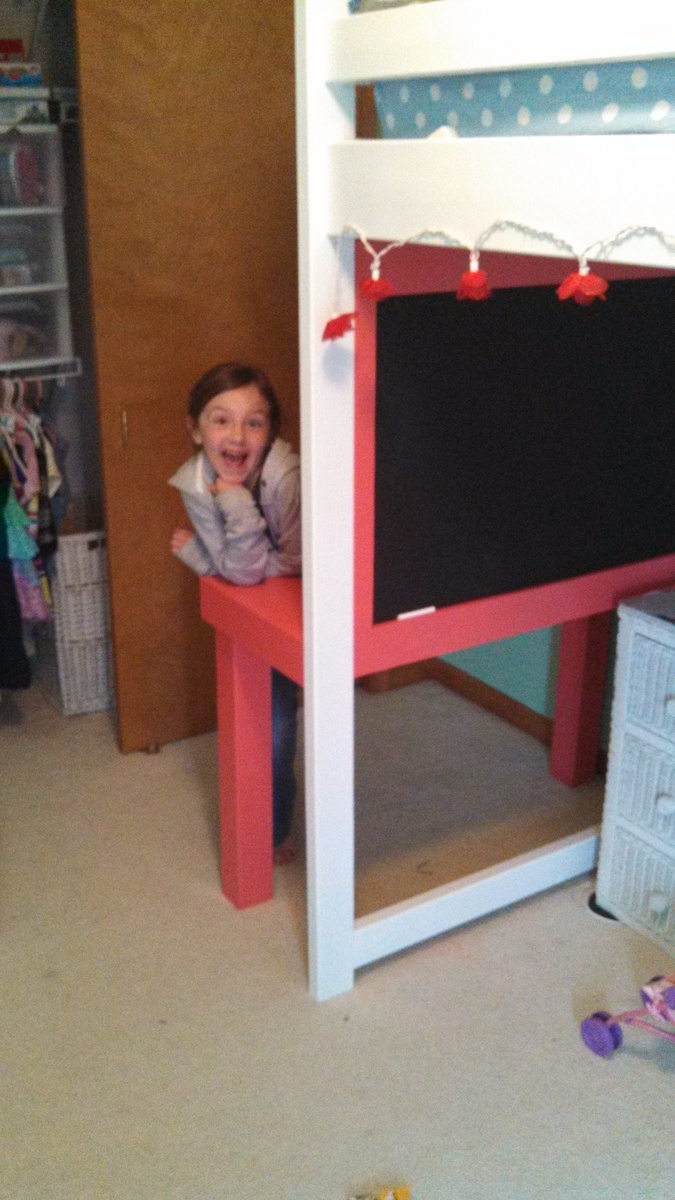
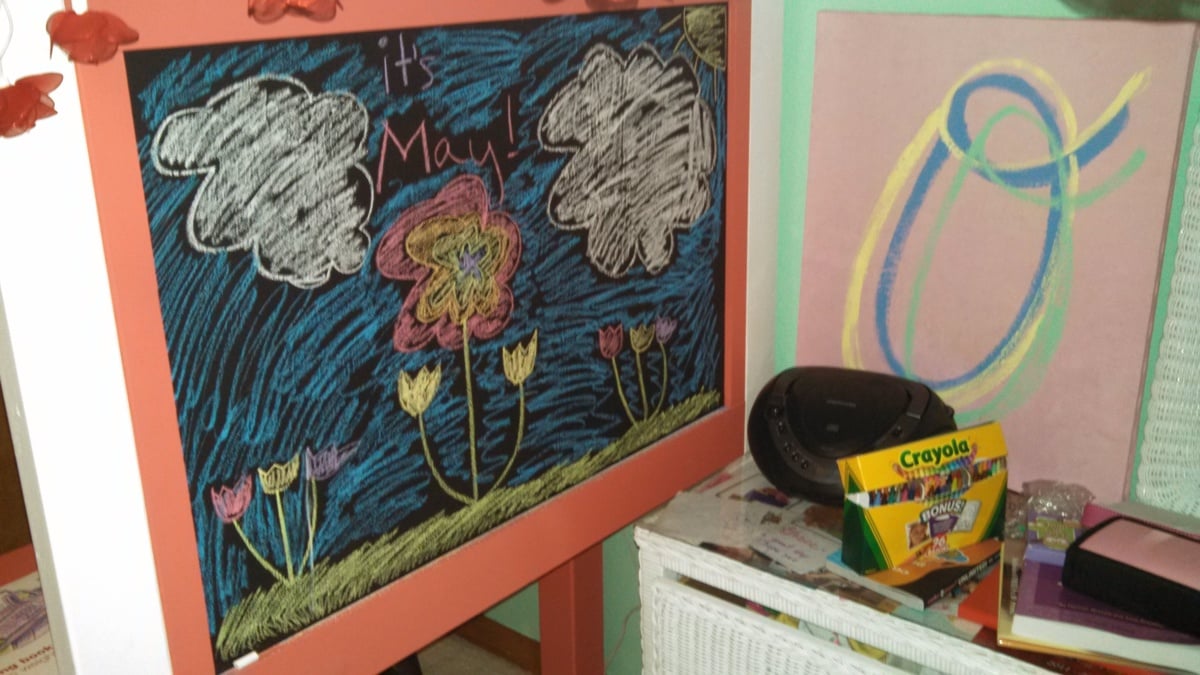
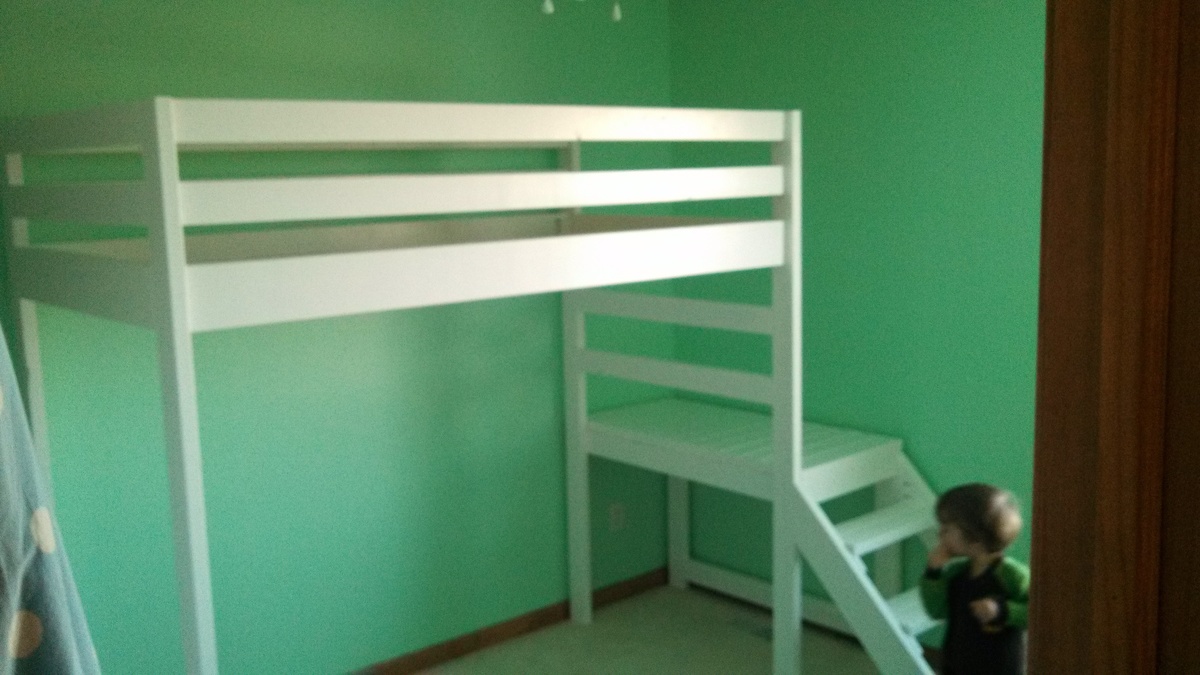
Camp Loft Bed w/Add on Desk & Chalk Board
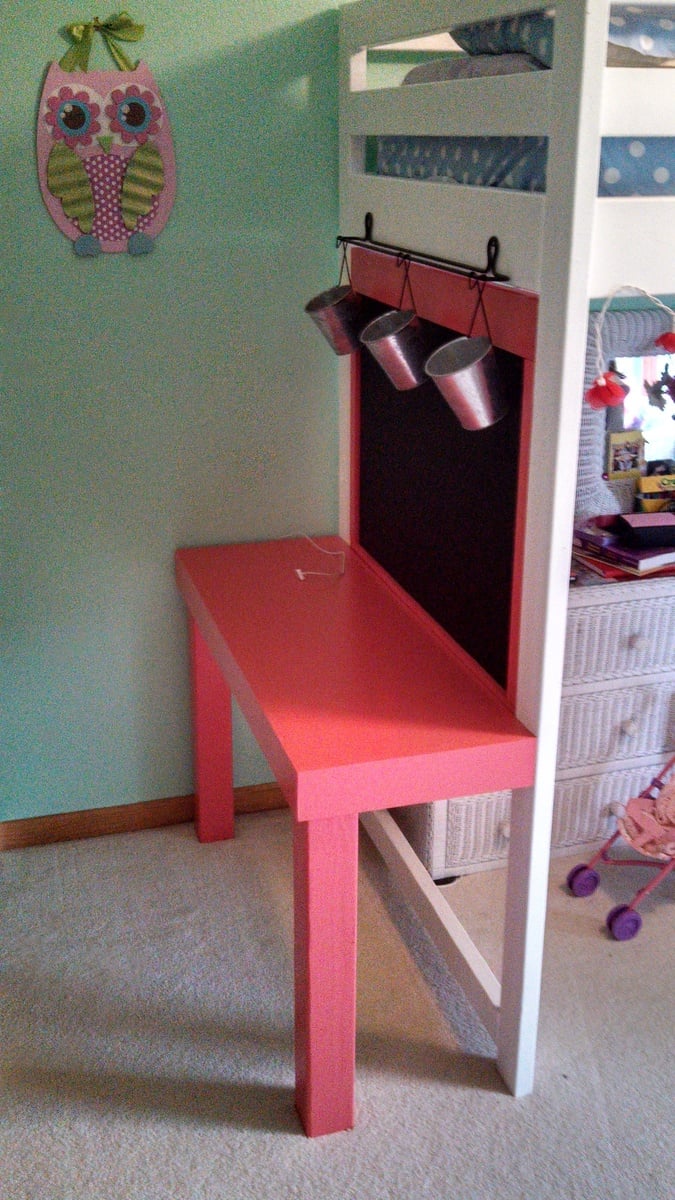
I added a small attached desk to the Camp Loft bed plans and framed a 1/2 inch sheet of scrap plywood painted with chalkboard paint. i then Reused an old "hanging herbs" fixture bought from IKEA for art supplies. My daughter calls it her "Art Studio"!!
Built from Plan(s)
Estimated Cost
$50
Estimated Time Investment
Afternoon Project (3-6 Hours)
Finish Used
Semi gloss enamel paint and Rustoleum chalk board paint.
Recommended Skill Level
Beginner
Comments

Fri, 06/28/2013 - 13:35
I love that your daughter
I love that your daughter calls it her art studio. Adorable! and the color is perfect!
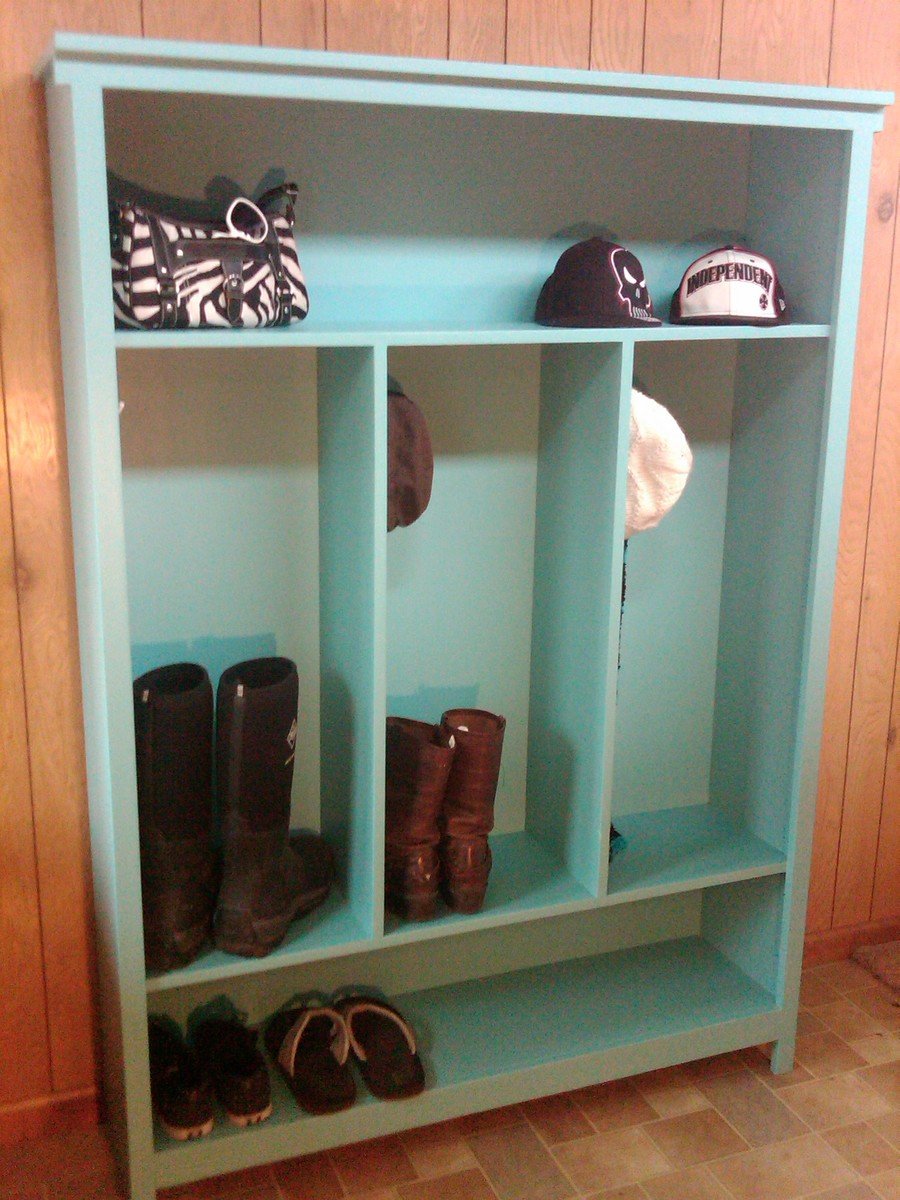
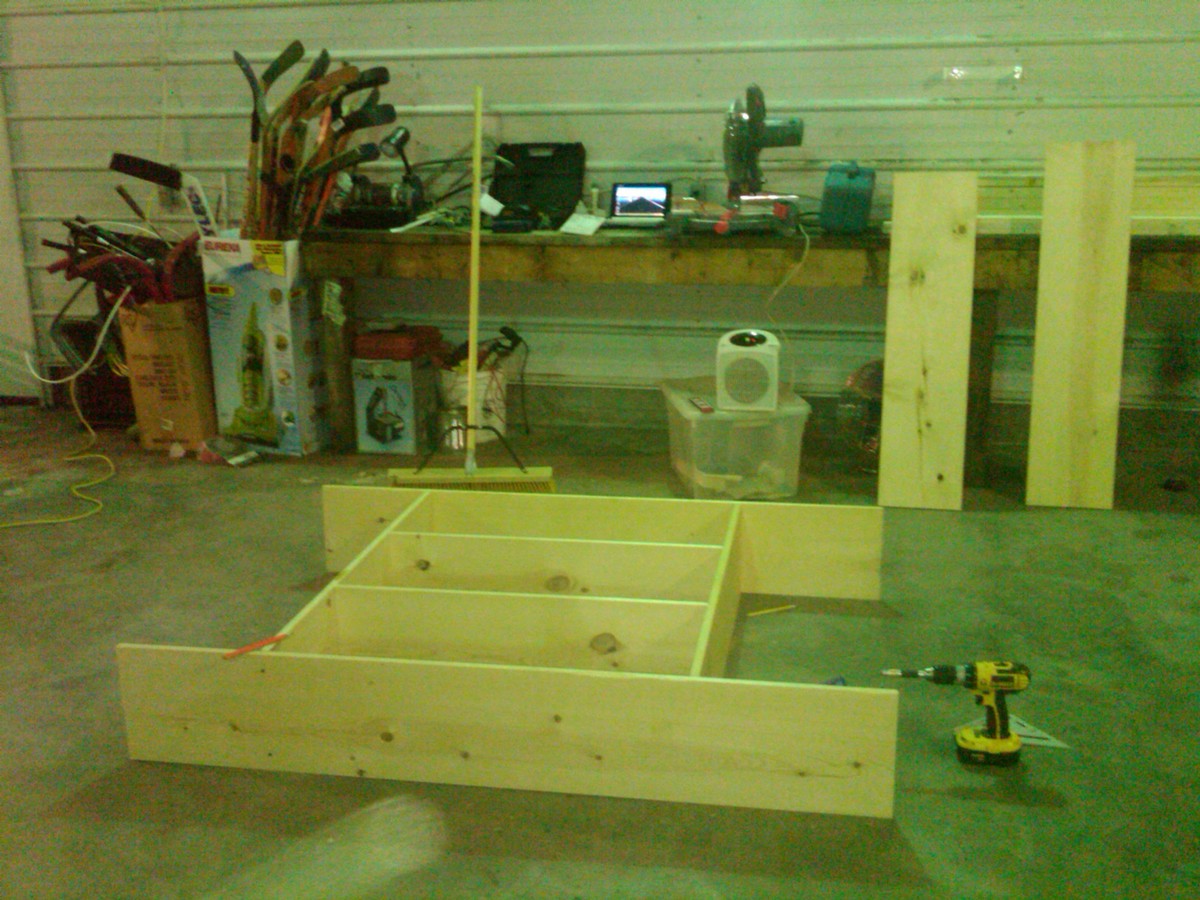
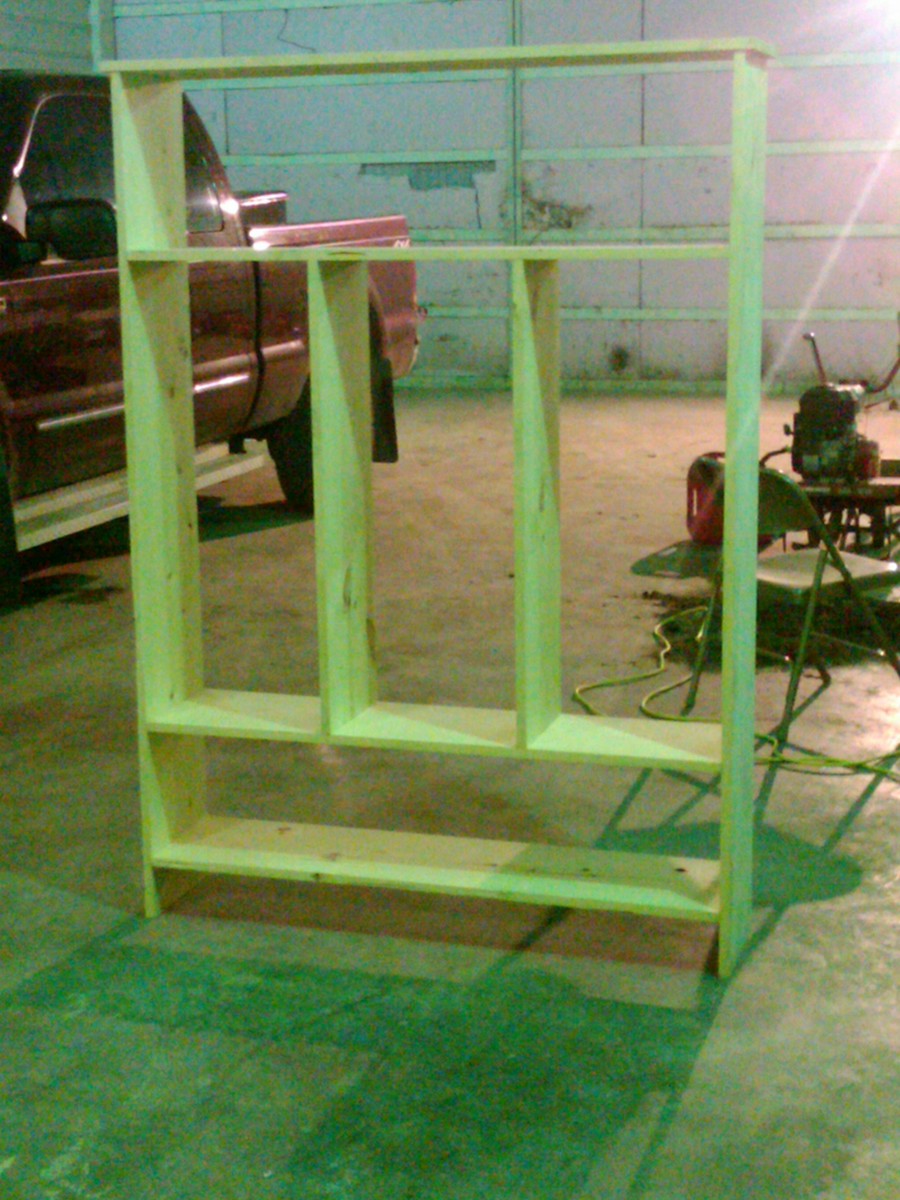
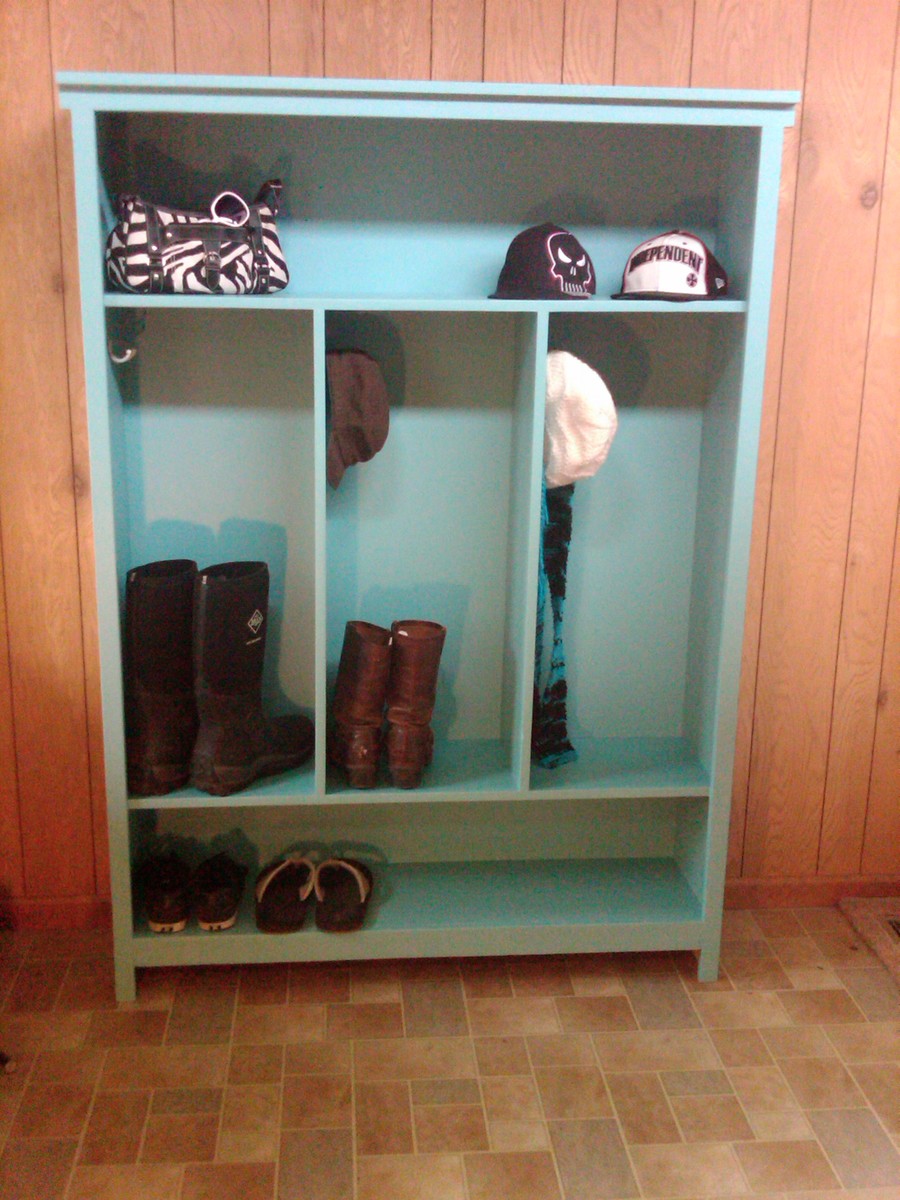
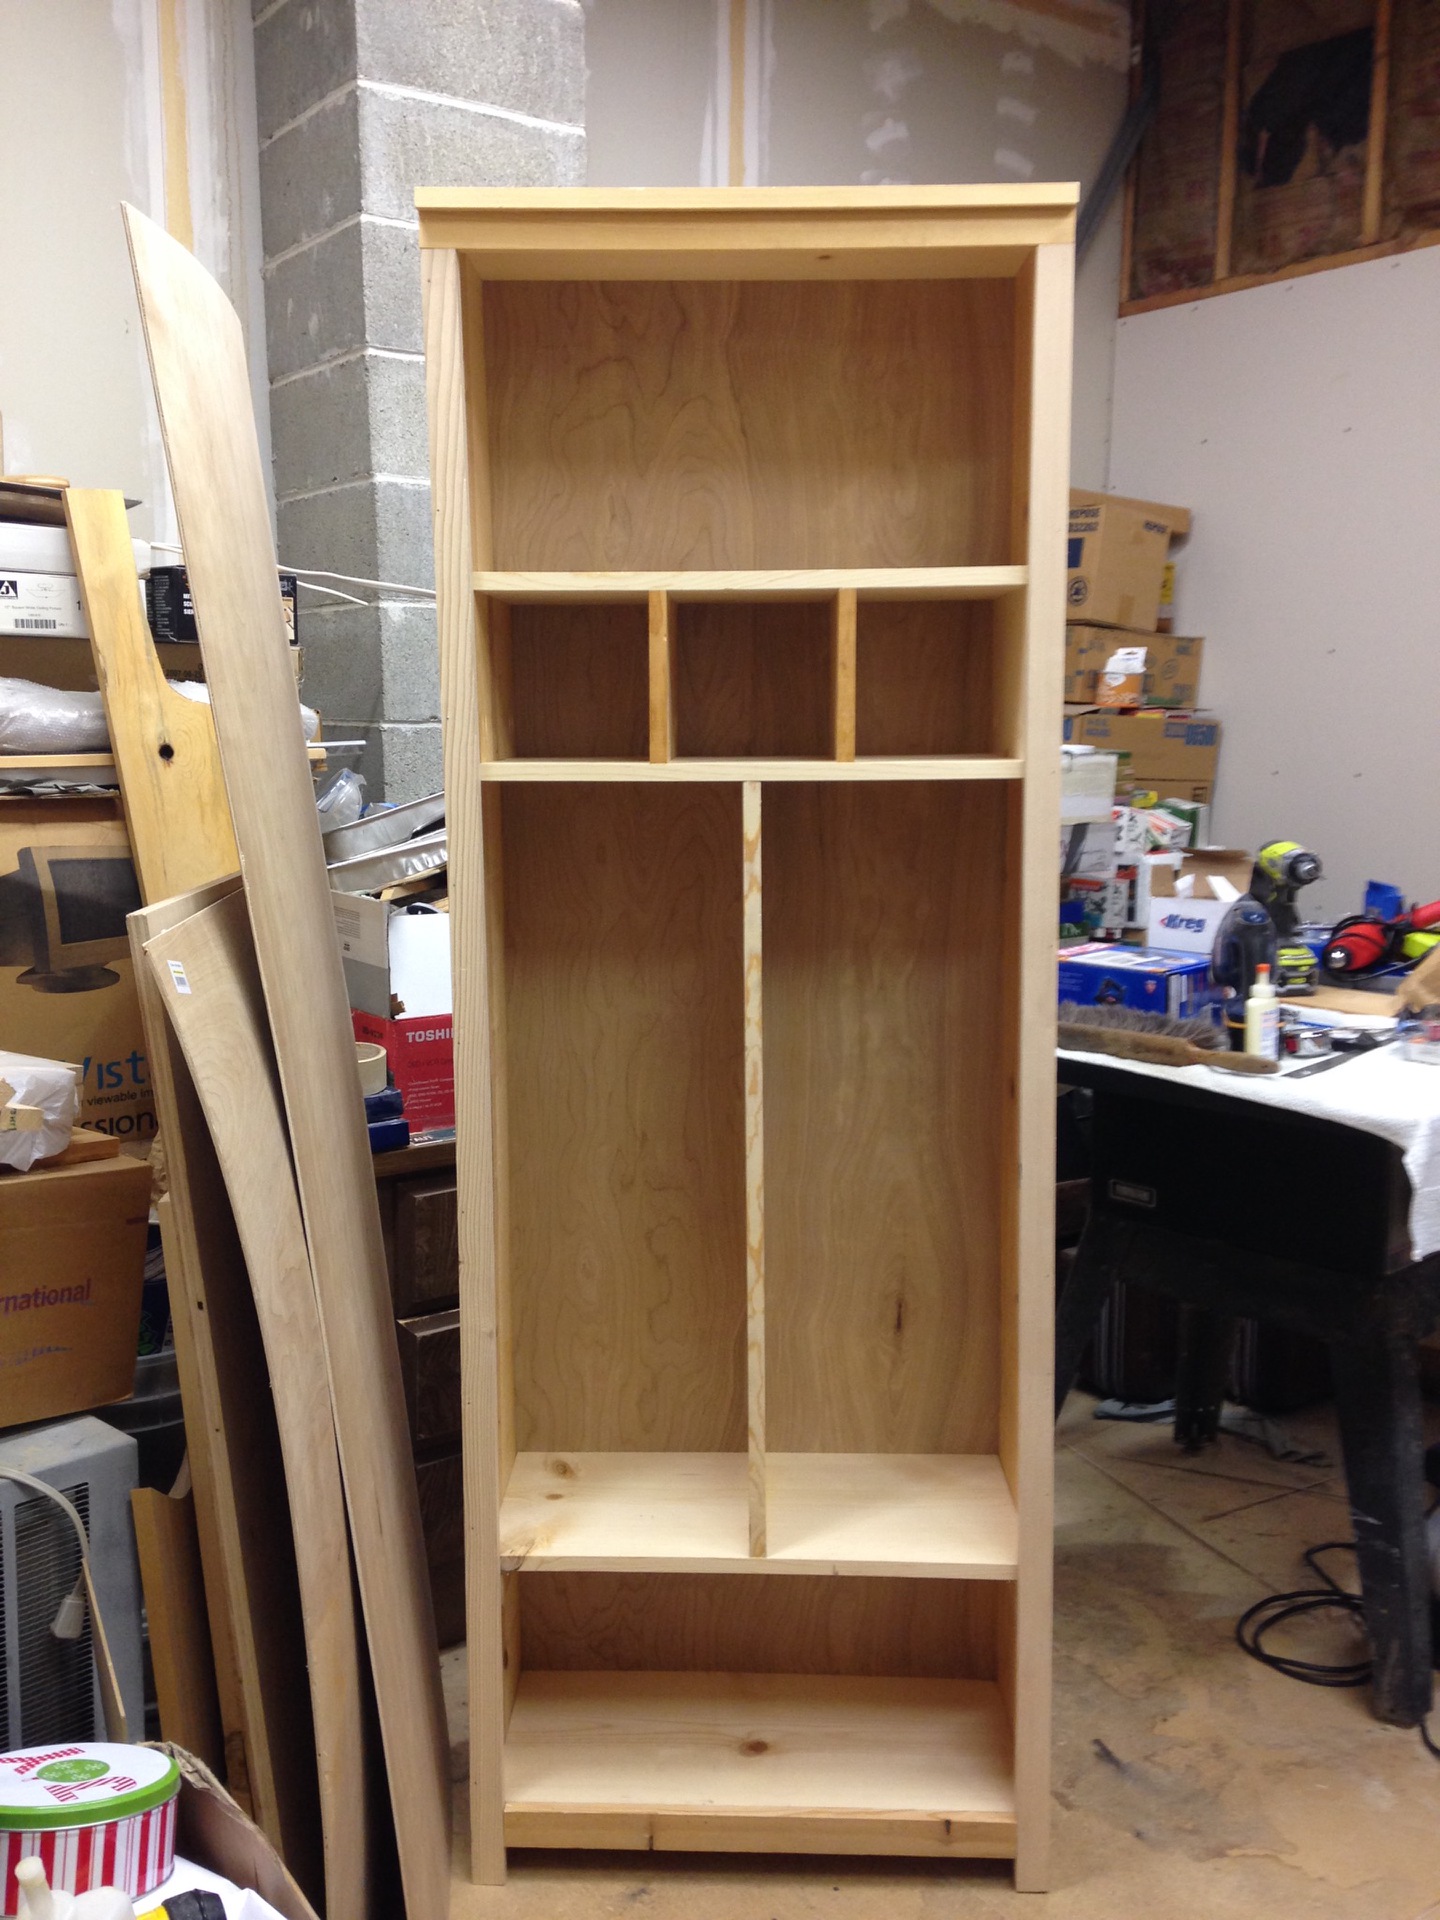
Entryway Locker
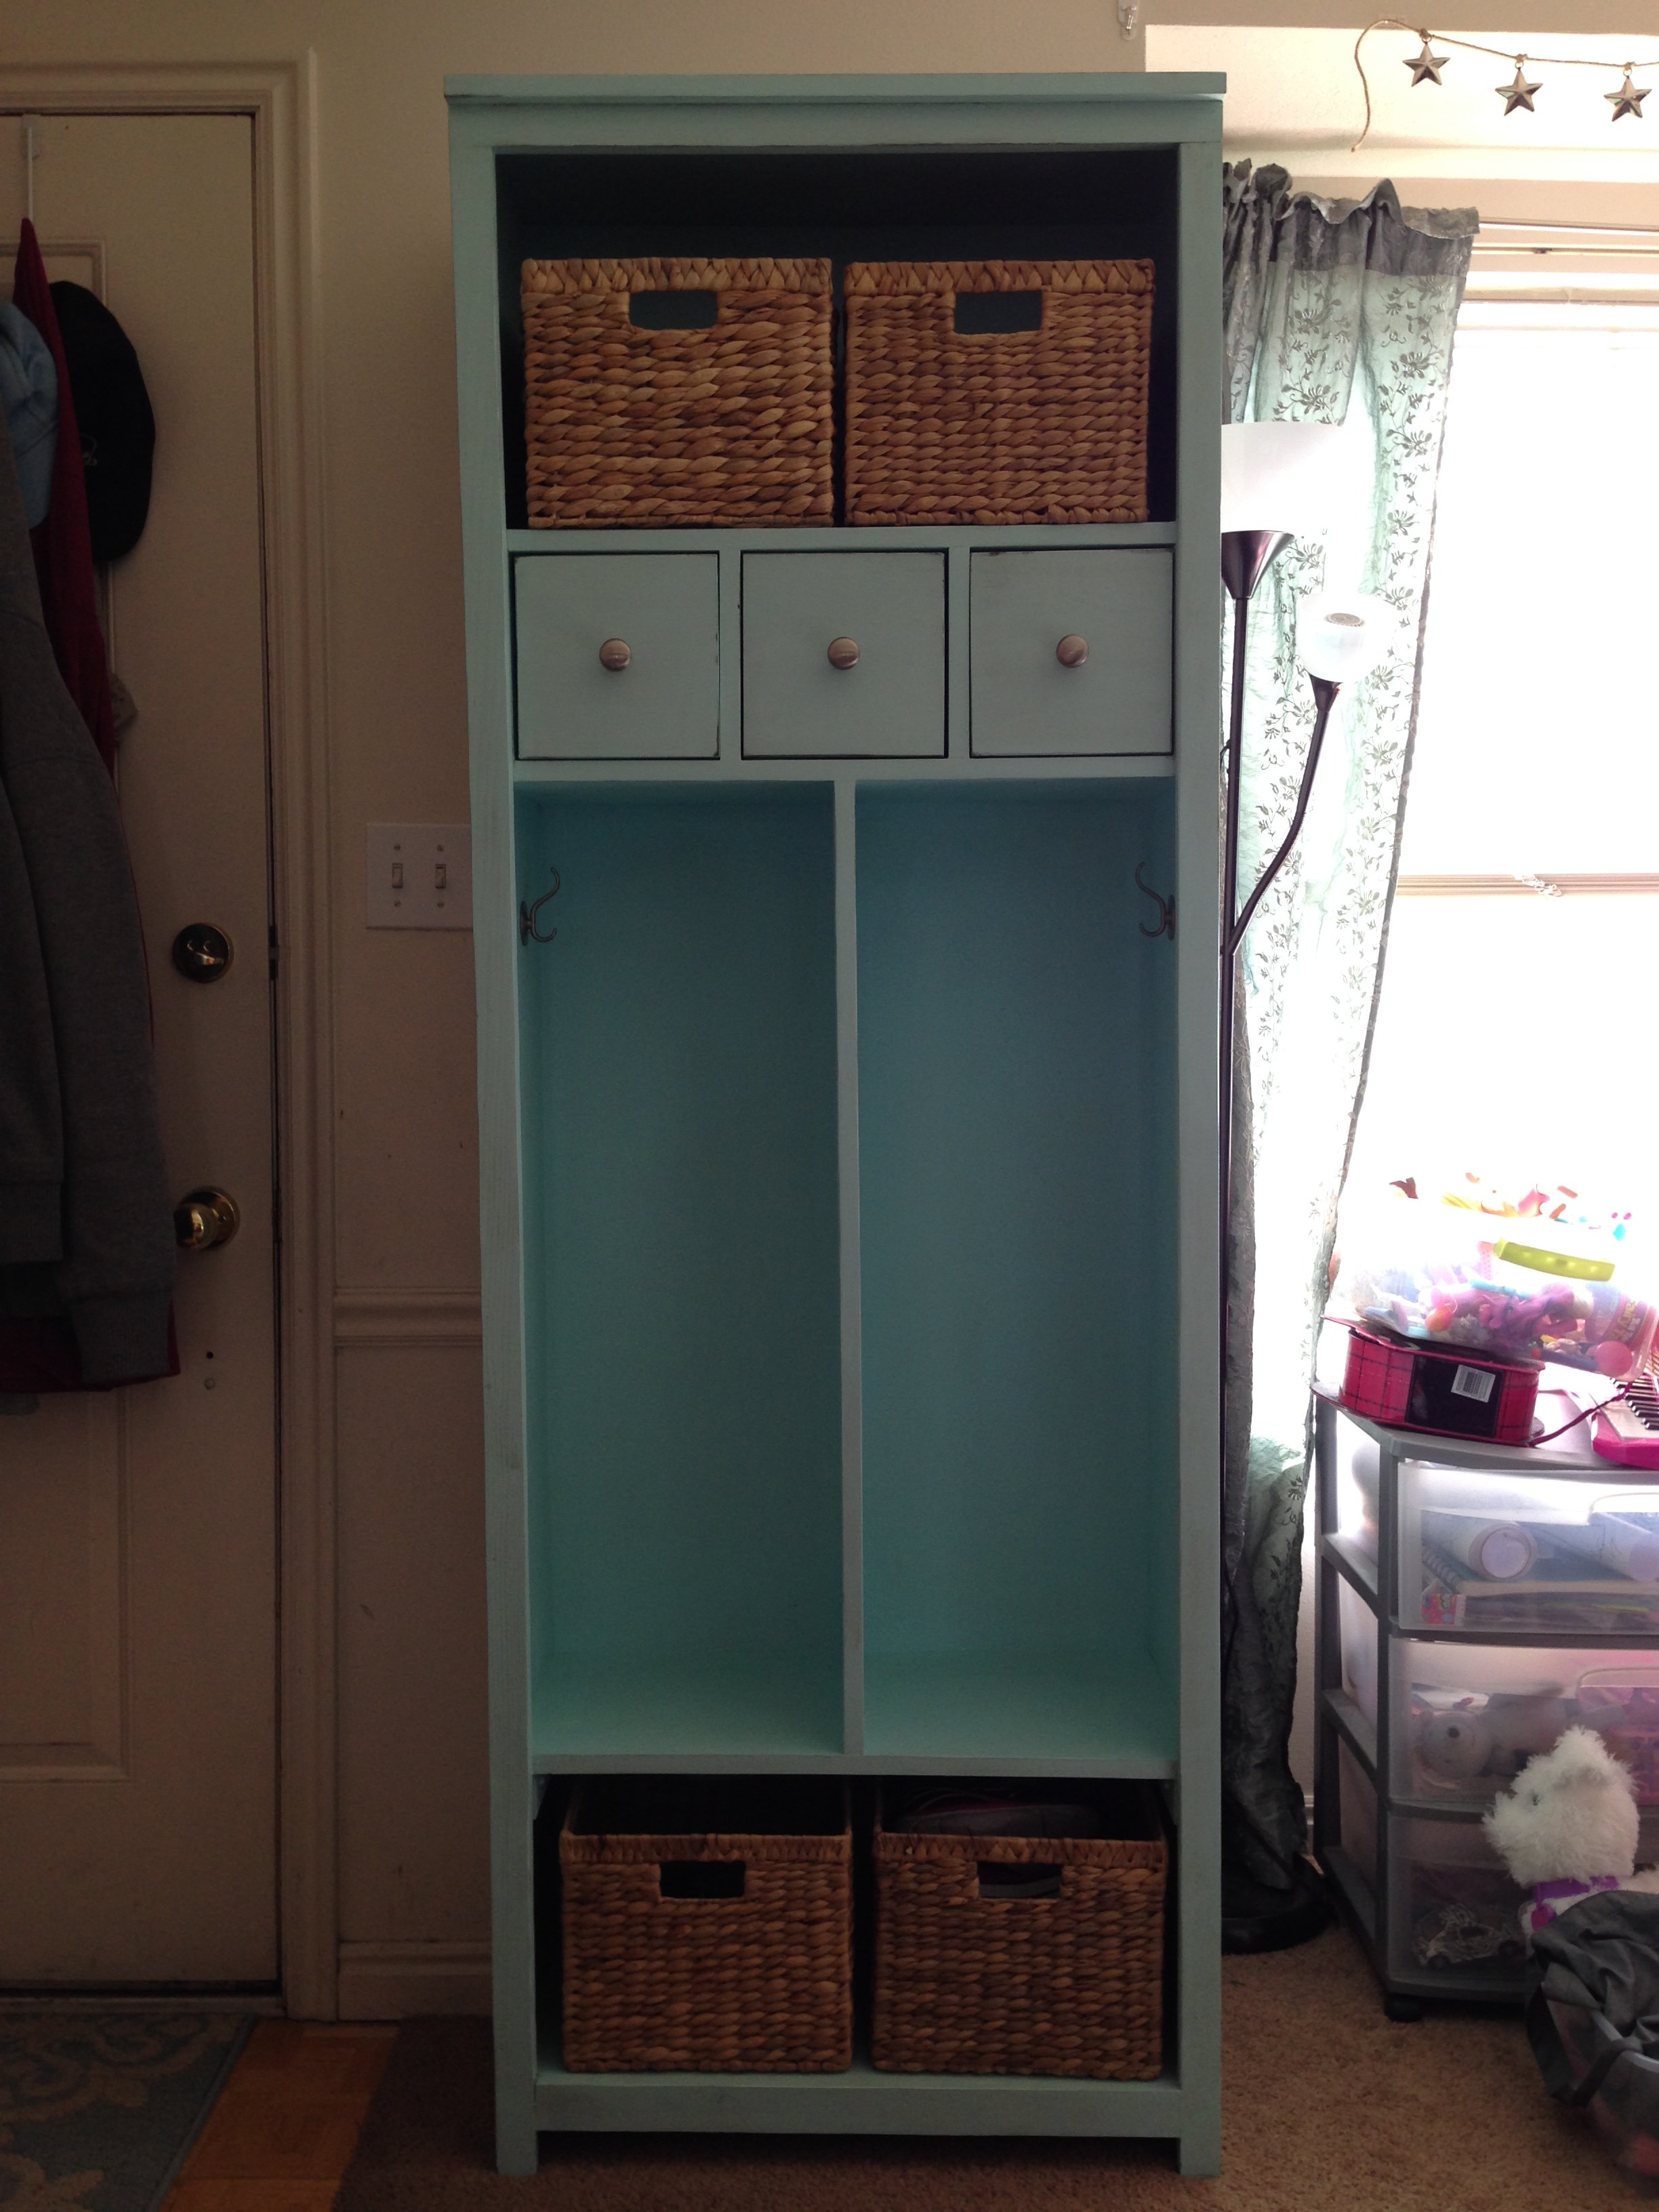
We built this entryway locker using Hillarys plans. It turned out amazing and it gets more use than any piece of furniture in our house at the moment.
Built from Plan(s)
Estimated Cost
We used wood that we had around already for this project, so I an unsure.
Estimated Time Investment
Week Long Project (20 Hours or More)
Finish Used
Chalk paint and wax with some distressing.
Recommended Skill Level
Intermediate
Bench
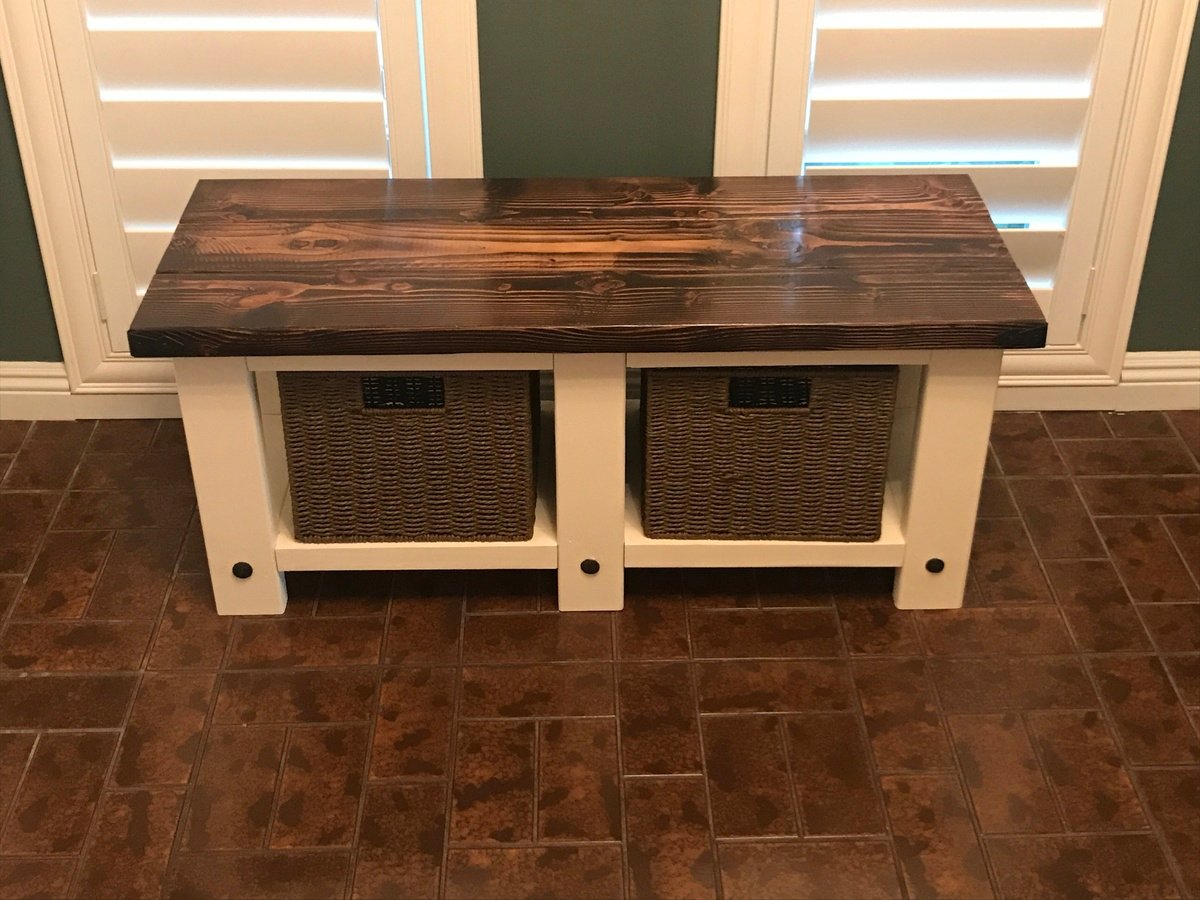
I needed a place for my kids to put their shoes so I shrunk the plan for the X Console and made it fit my entry way. I love it!
Built from Plan(s)
Estimated Cost
$60
Estimated Time Investment
Weekend Project (10-20 Hours)
Finish Used
Paint, stain, and Kilz Sealer
Recommended Skill Level
Beginner
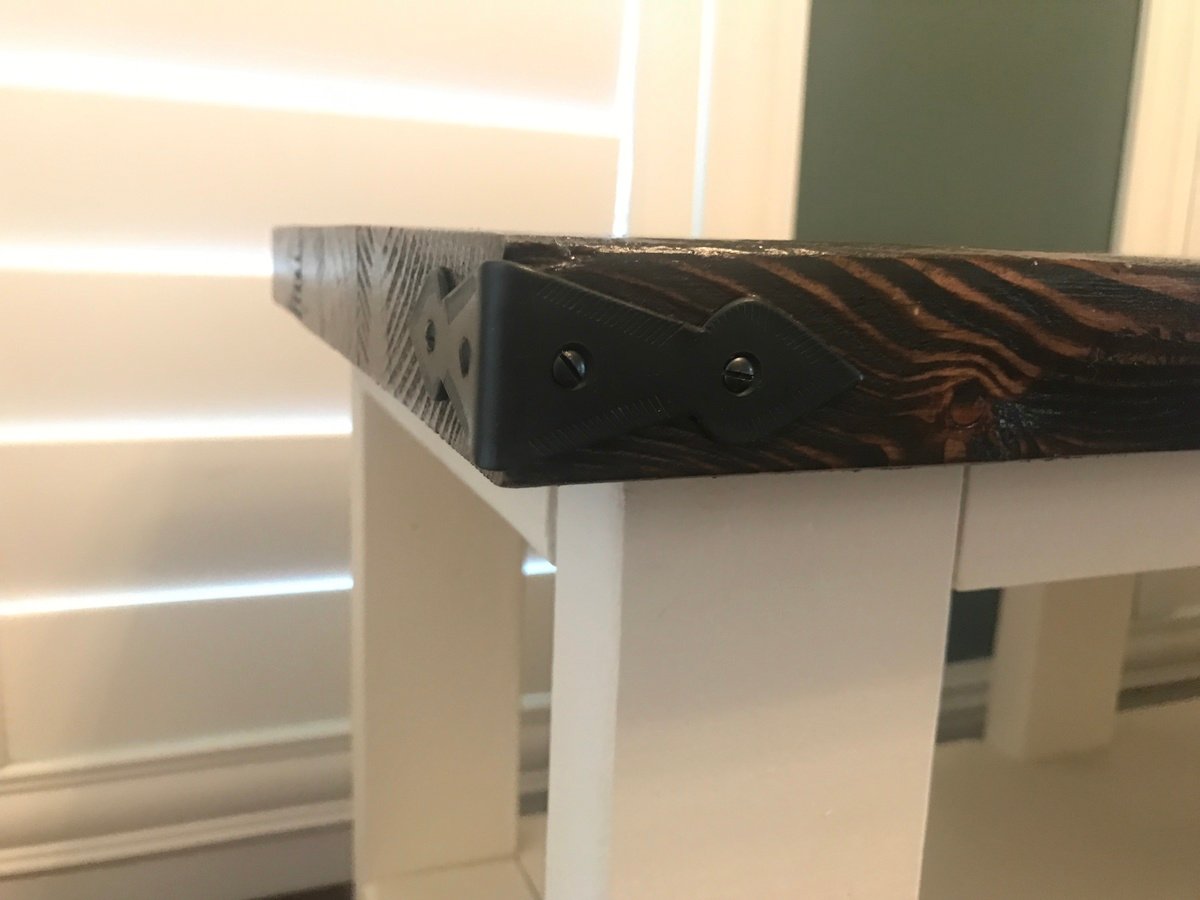
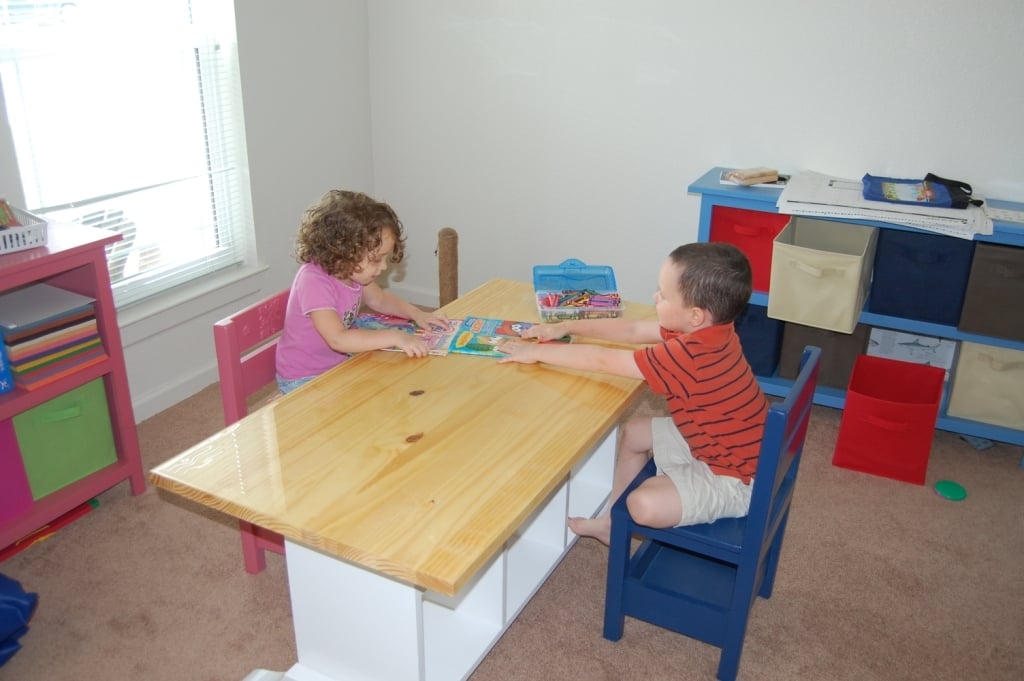
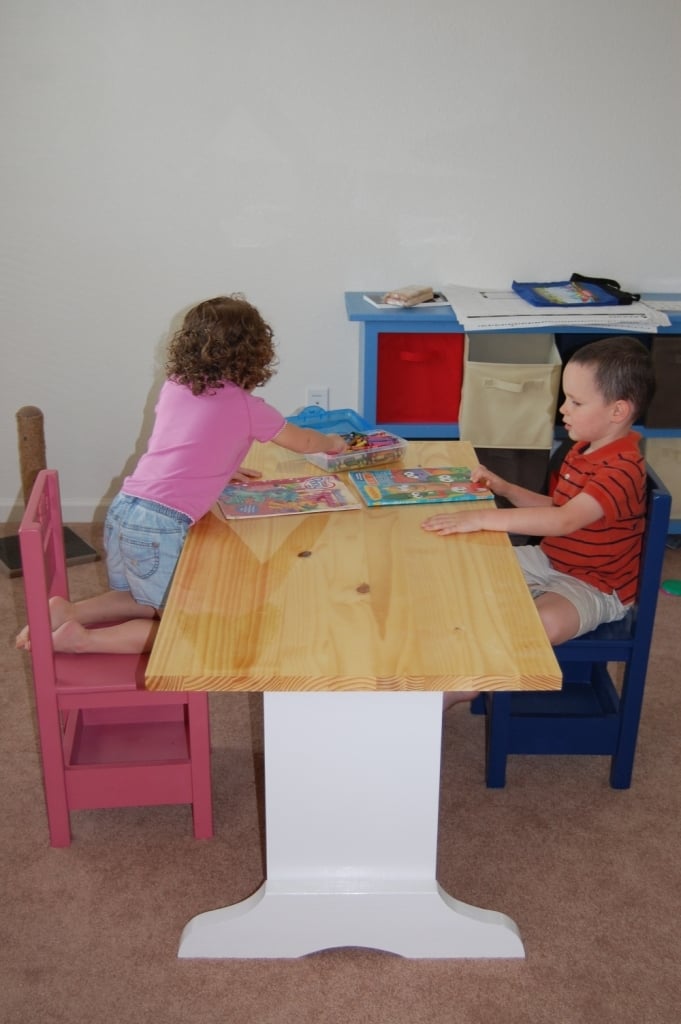
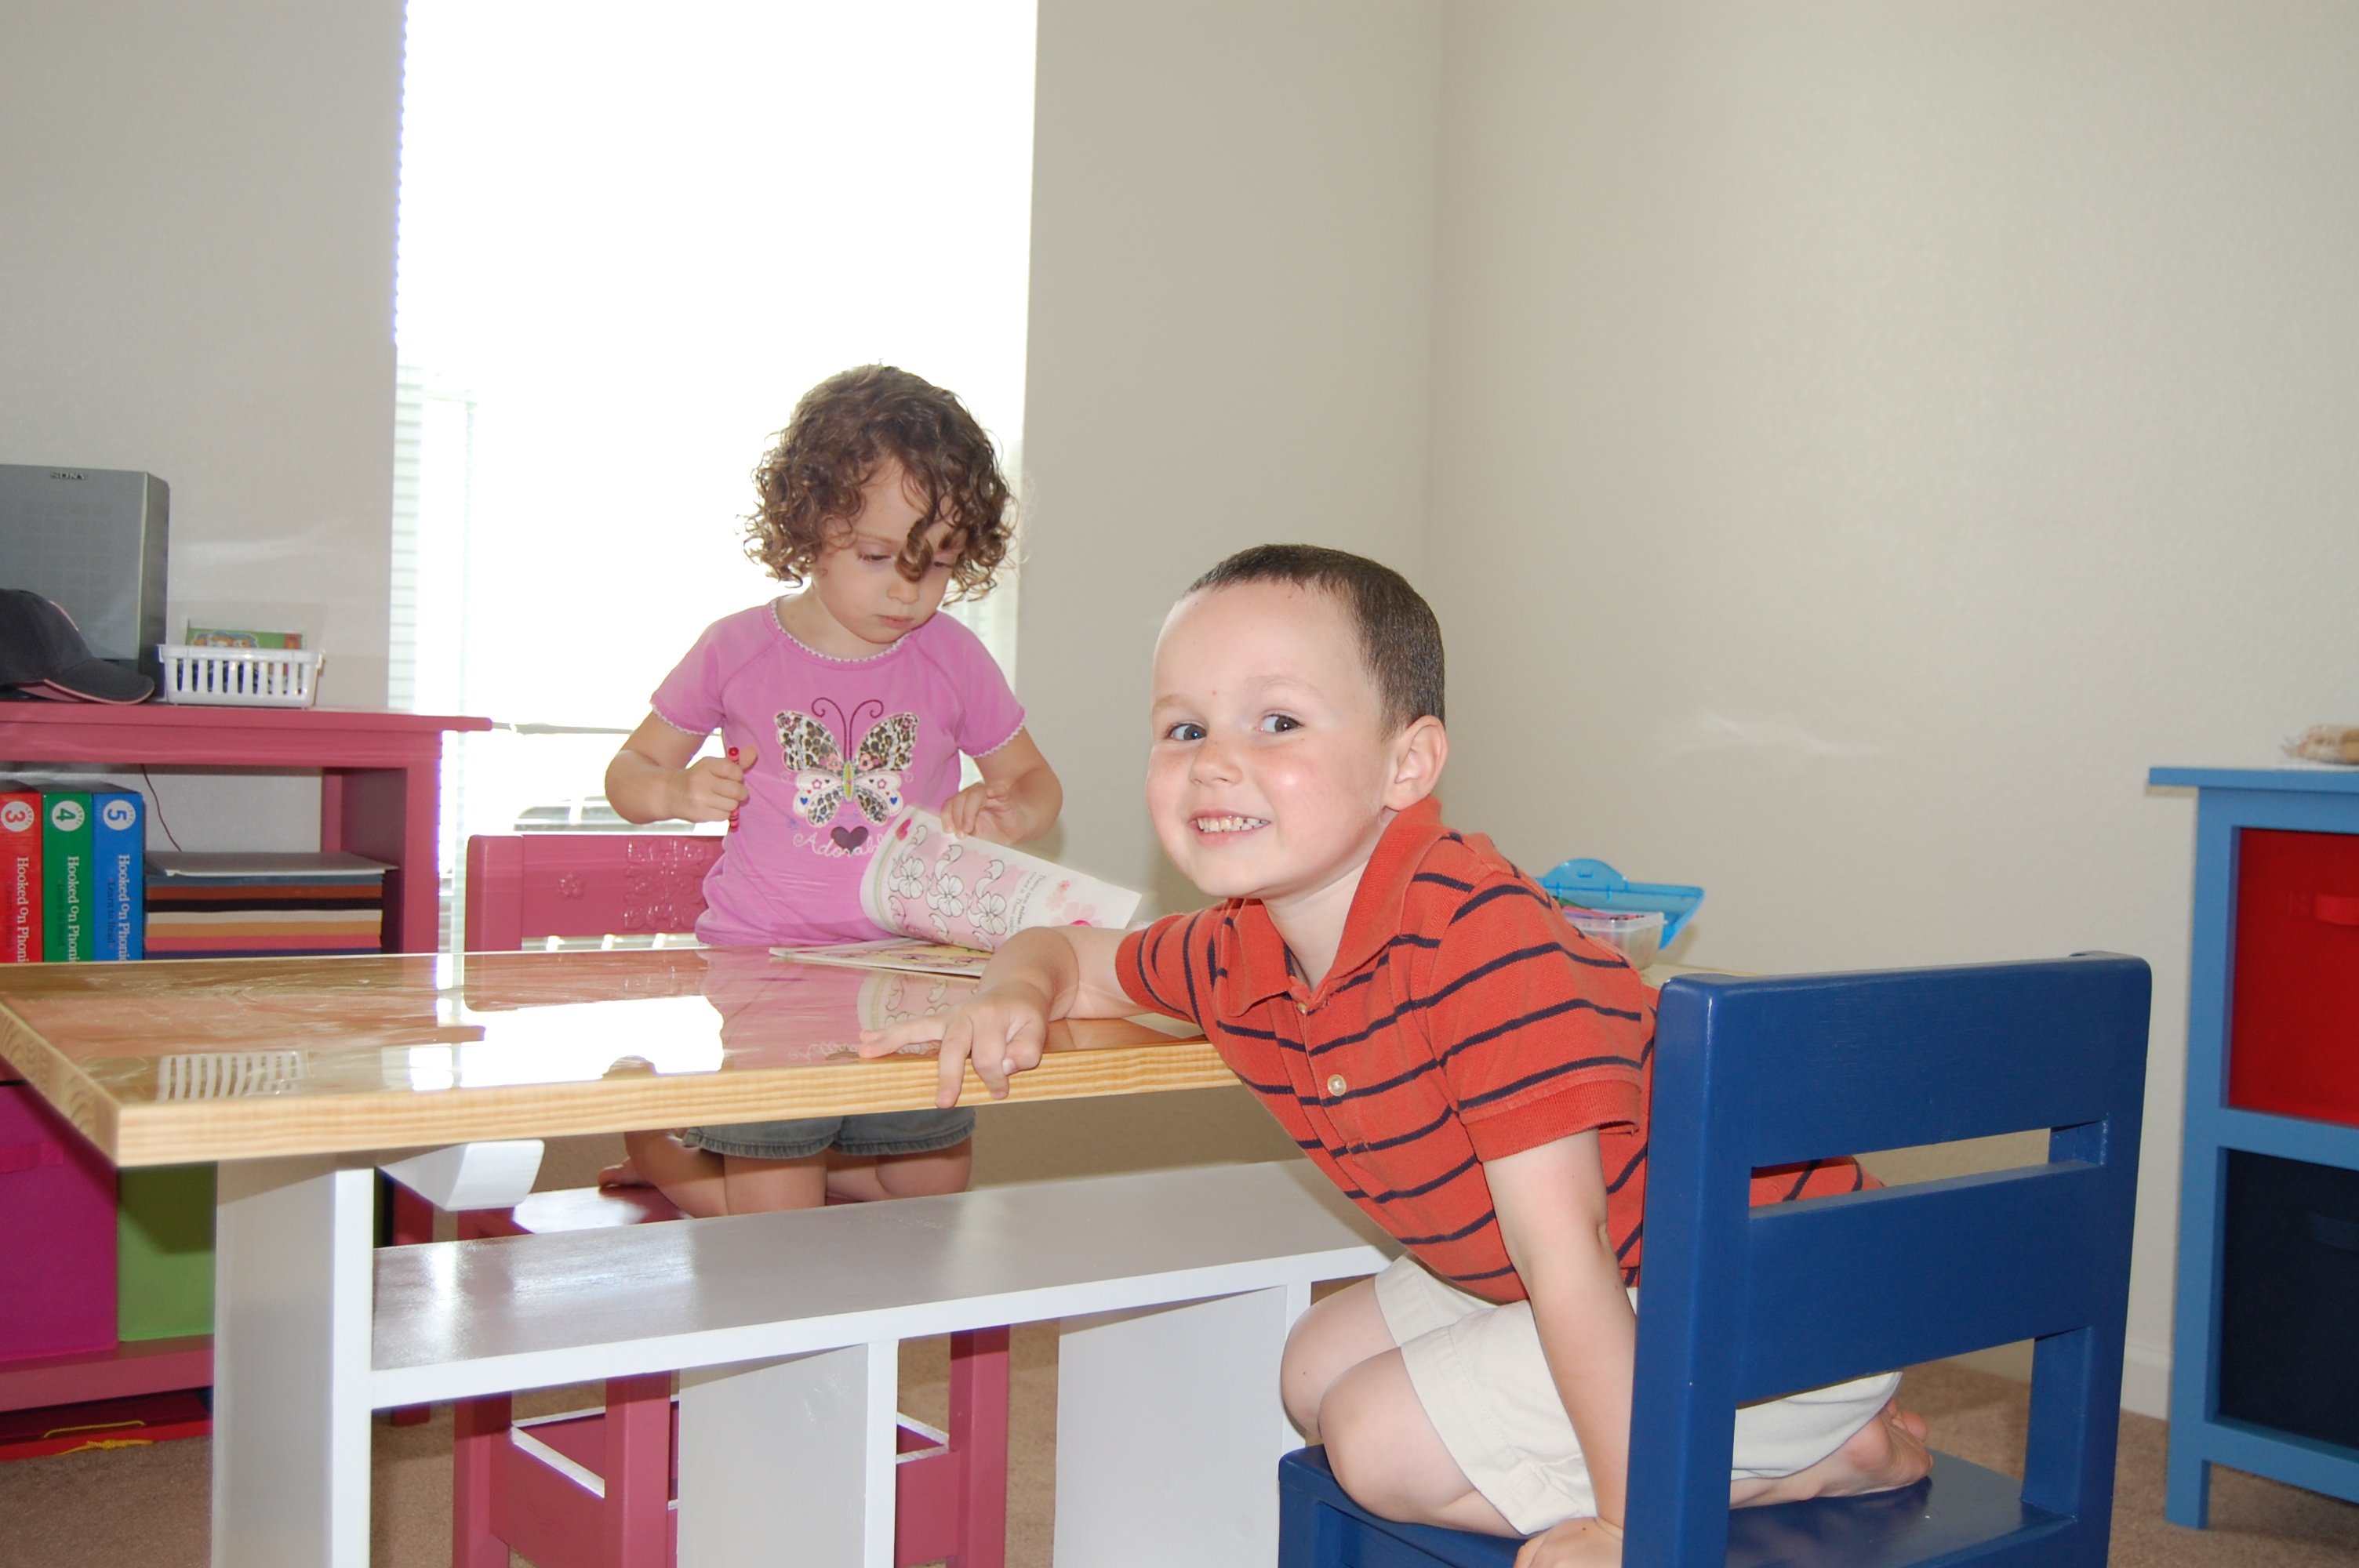
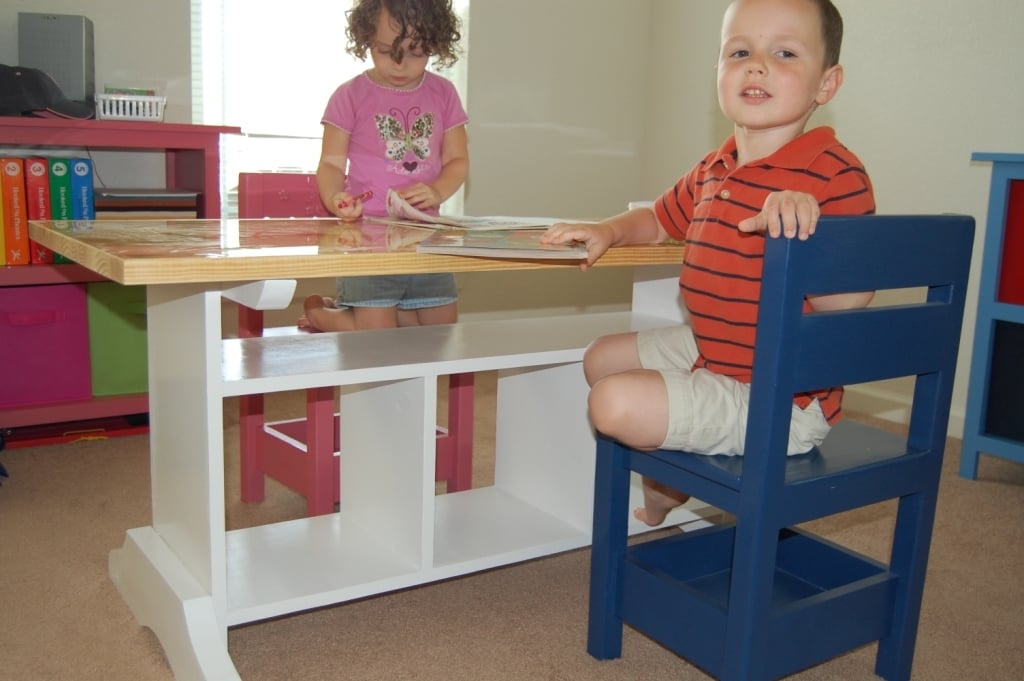
Children's Homeschool-Craft-Play Area in our Living Room - 3 of Ana's plans

My husband just finished the Elementary Trestle Table from Ana's plans. I painted the base white and he polyurethane'd the pine project panel for the top. He also used "Super Glaze" on the surface for a thick shiny protective coating. I made the Storage chairs from Ana's plans last year, they were my first real project. I also made Grace's Bookshelves a while back, you can see them a little in the background, one is pink and one is blue. We love Ana's plans and are always printing and planning what we're going to build next.
Built from Plan(s)
Estimated Cost
$60
Estimated Time Investment
Weekend Project (10-20 Hours)
Finish Used
Paint, Poly, Super Glaze
Recommended Skill Level
Beginner
Comments
Wed, 02/07/2024 - 06:16
Nice Table
Love the shine on the table.
Do you have the plans for the table? I made this table and the chairs in 2020, but now can't find the designs for the table. Thank you for any assistance.
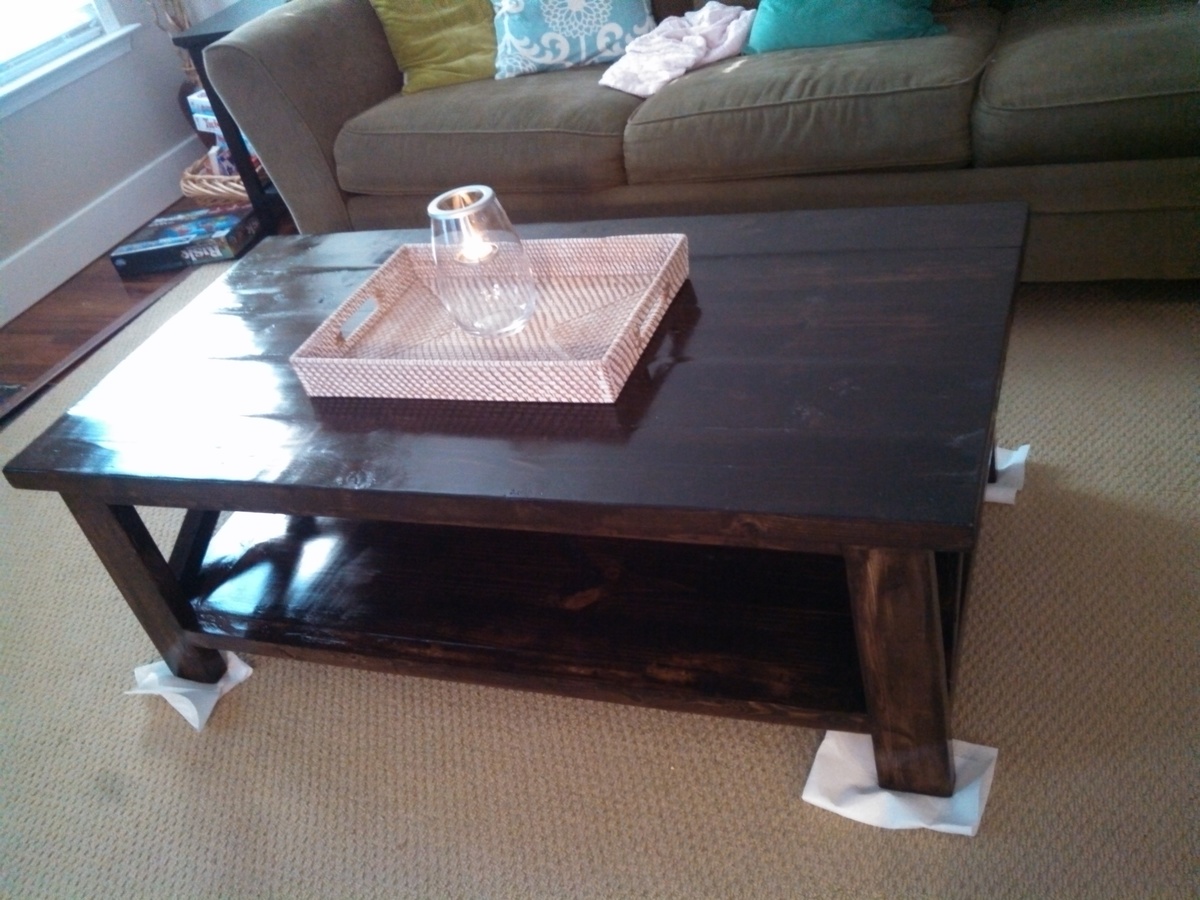
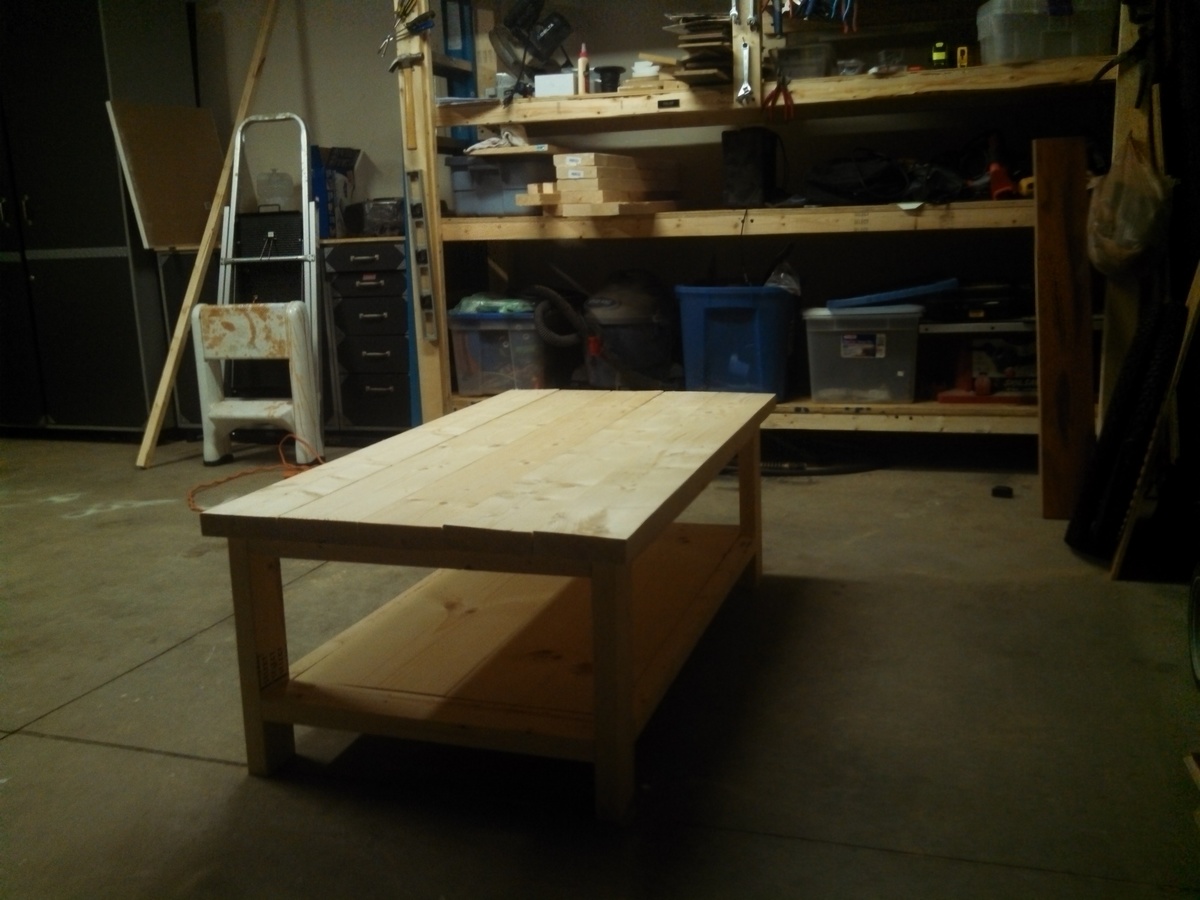
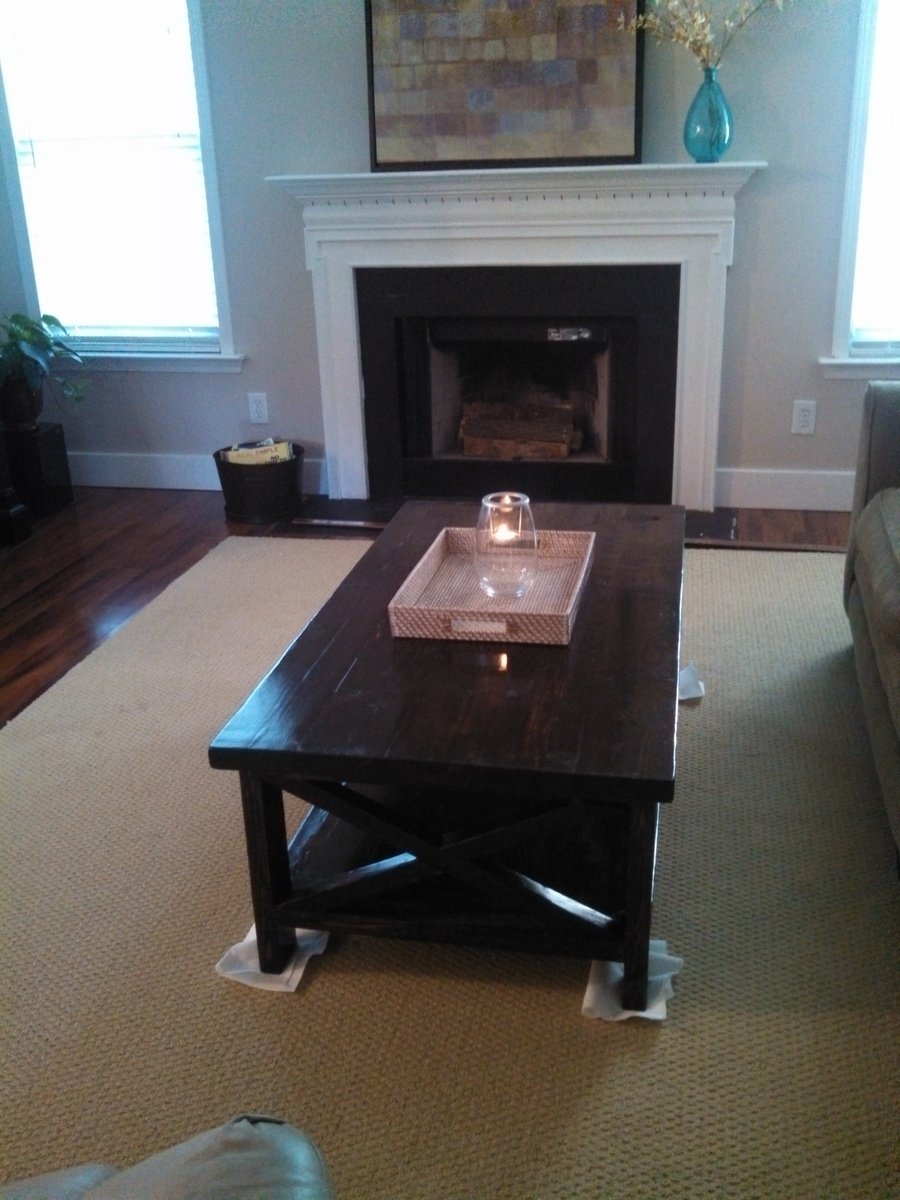
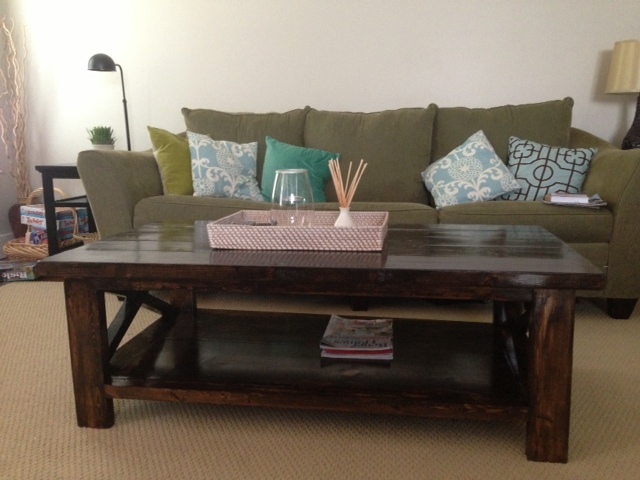
Rustic x Coffee Table
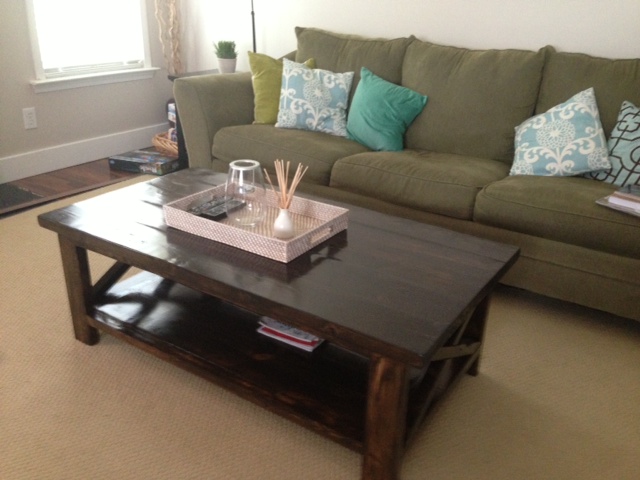
This was my very first project. People ask me how much it cost me to make it, and I don't know that you can quantify the satisfaction of making our own furniture. The whole family helped in making this table. We elected for the Rust-o-leum Kona stain and then a semi-gloss poly. i think my next project will be a kitchen table, some built-ins as well as taking my son's favorite college team logo to embed onto a chair. Thank you for making the available and easy to follow.
I worked on this in the evenings after work so it took more than a day or two to complete. Plus sanding, staining and finishing if done right took over the course of a couple of nights.
Built from Plan(s)
Estimated Time Investment
Weekend Project (10-20 Hours)
Recommended Skill Level
Starter Project
Comments
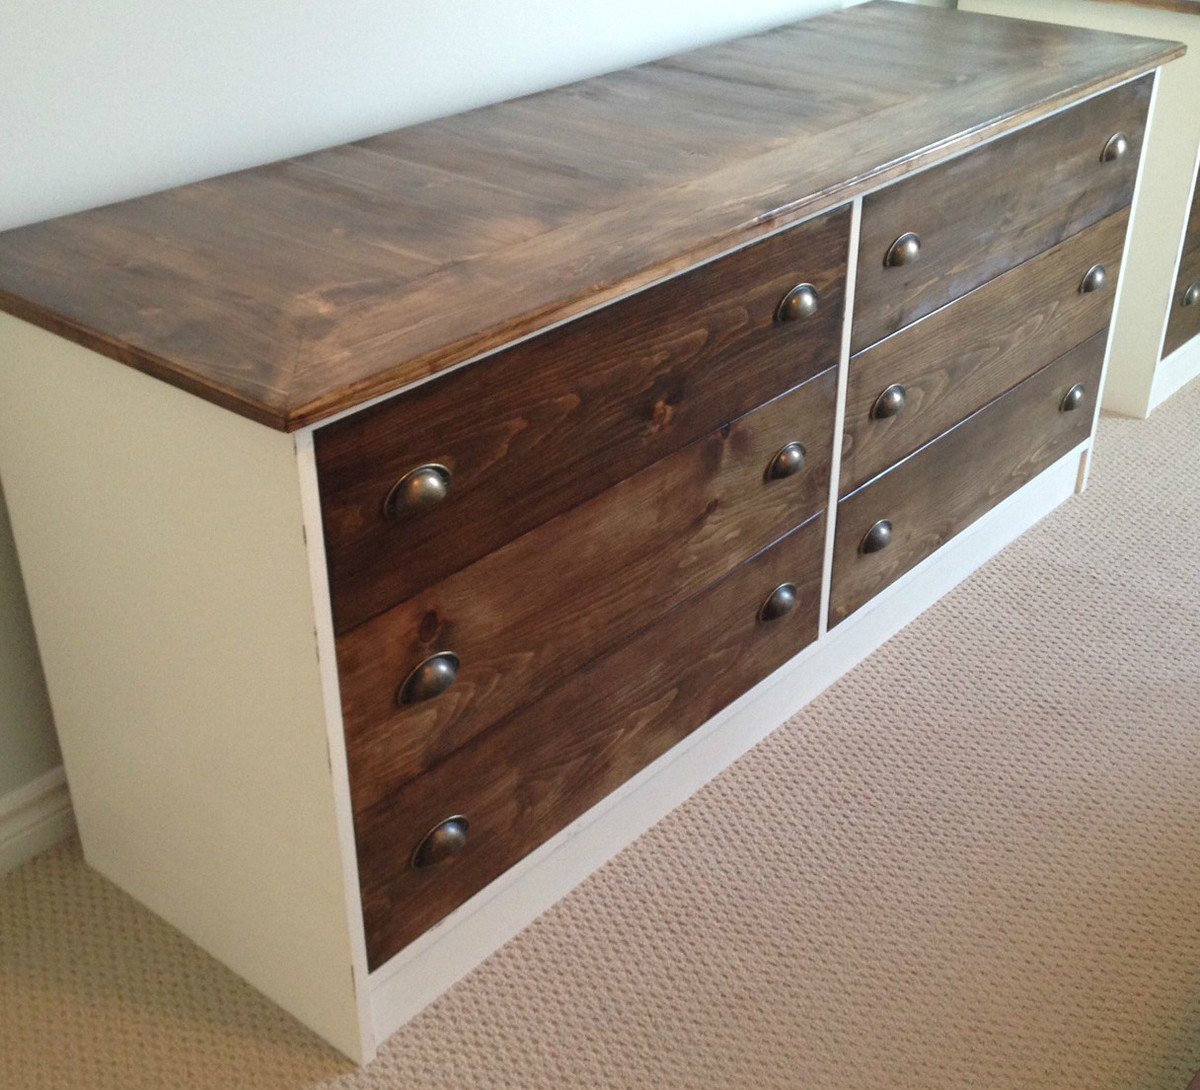
Dresser Makeover
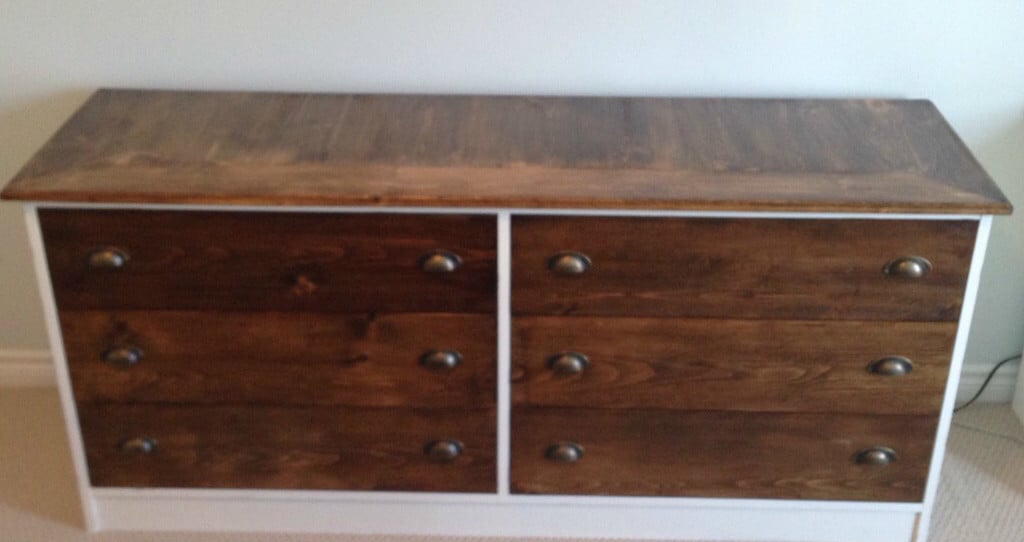
I finally finished the bedroom set, this one the last piece (and the biggest dresser).
More info on this 1970's bedroom set here:
http://www.woodworkingfourdummies.com/blog/dresser-set-makeover
Cheers,
Ian
Estimated Cost
$200 for entire bedroom set, 2 night stands and 2 dressers.
Estimated Time Investment
Weekend Project (10-20 Hours)
Finish Used
MinWax Walnut Stain
White Paint
Polyurethane
White Paint
Polyurethane
Recommended Skill Level
Intermediate
Comments

Tue, 05/26/2015 - 08:44
Like your blog
Checked out your blog. I really liked it, but I couldn't find a way to follow though. Nice job on the makeover too!
Wed, 06/03/2015 - 05:30
http://www.woodworkingfourdummies.com/
Glad you liked my blog!
In the top right, there are black buttons for Facebook, Pinterest and twitter where you can follow me.
thanks,
Ian
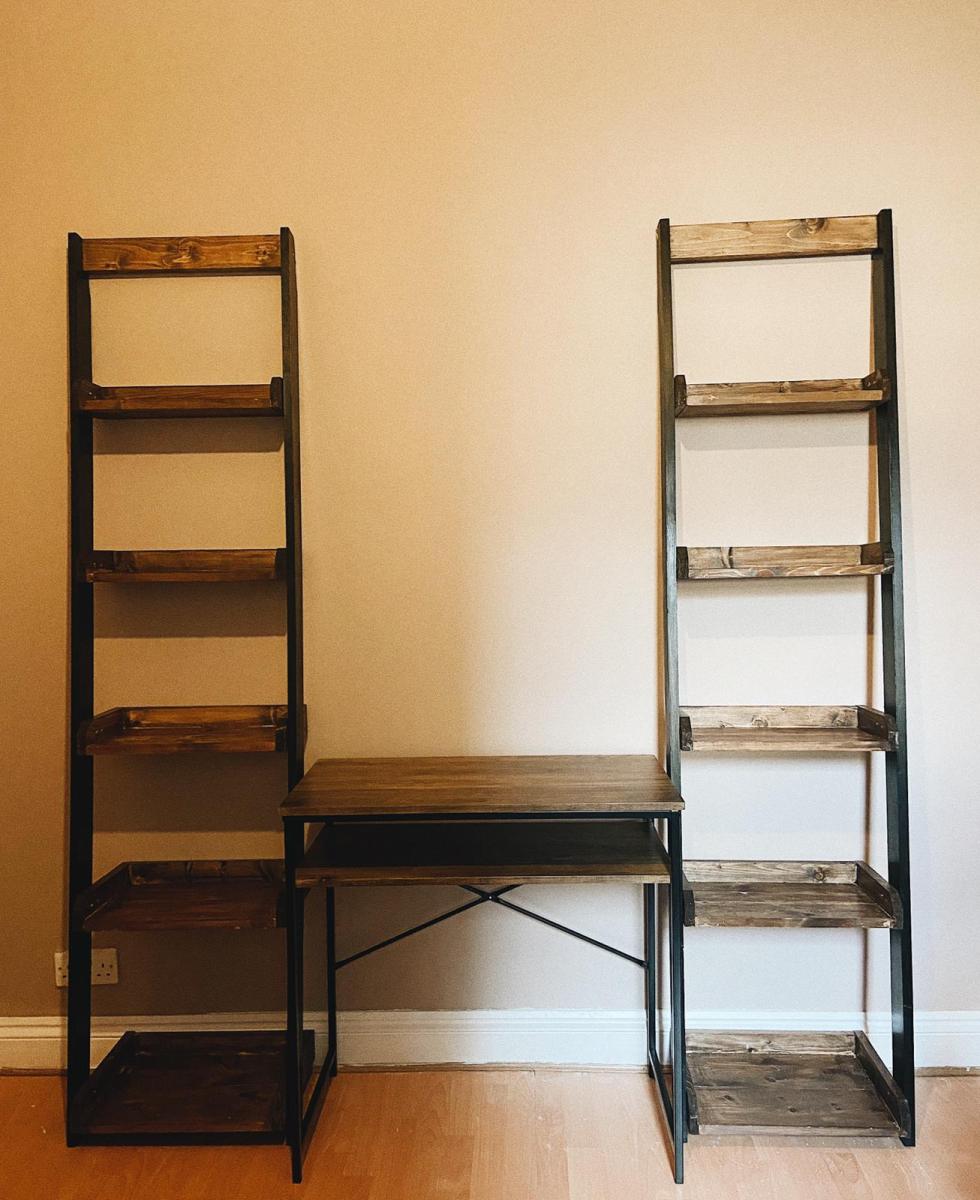
Ladder shelf
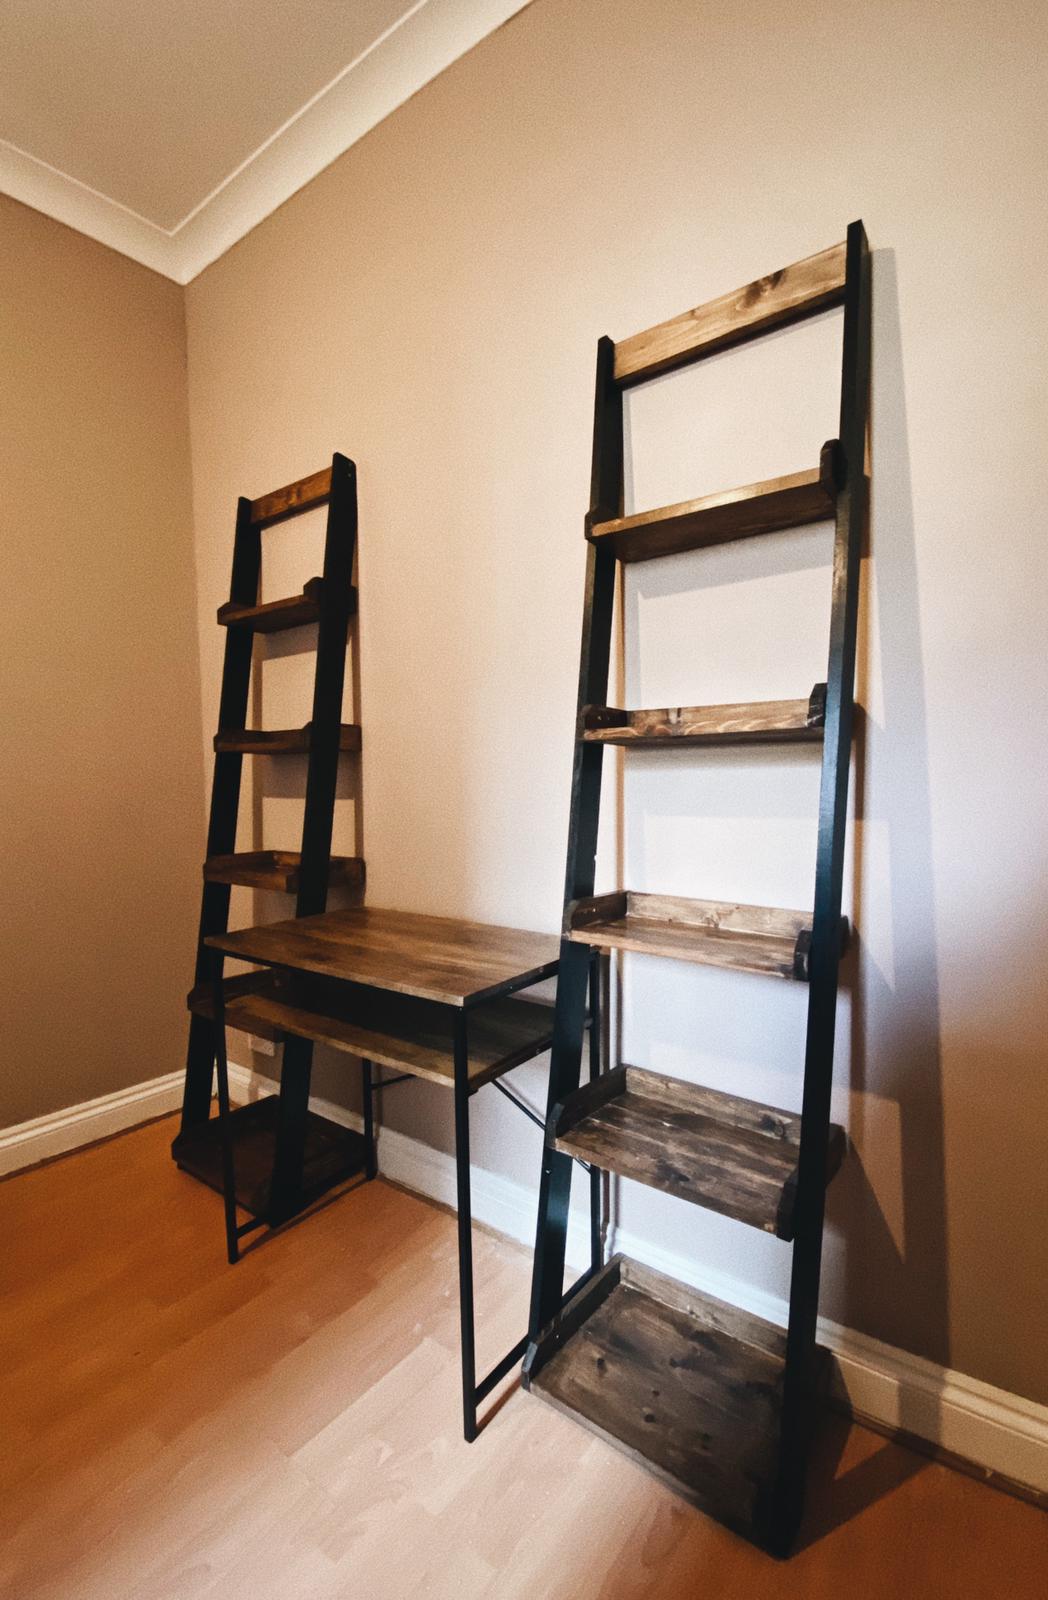
I saw your video and it was perfect for a small room. You made it look easy but it was hard work but worth it in the end.
Comments
Library Bookcart

This was a fun, easy project...and perfect solution for the book clutter. I got some good practice rounding off corners (invested in a belt sander) and cutting out the handles. I beleive the baskets my wife bought for the bottom shelf cost double the entire project.
This is by far the best site I have ever found for wood projects.
Built from Plan(s)
Estimated Cost
$25
Estimated Time Investment
Afternoon Project (3-6 Hours)
Recommended Skill Level
Beginner
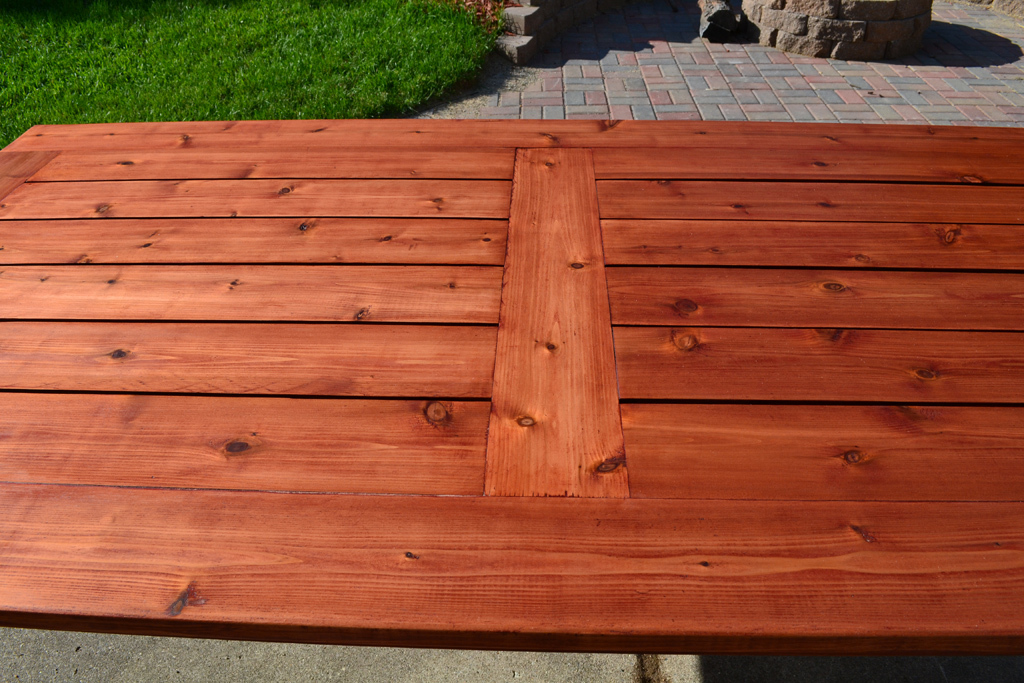
Beautiful Cedar Patio Table
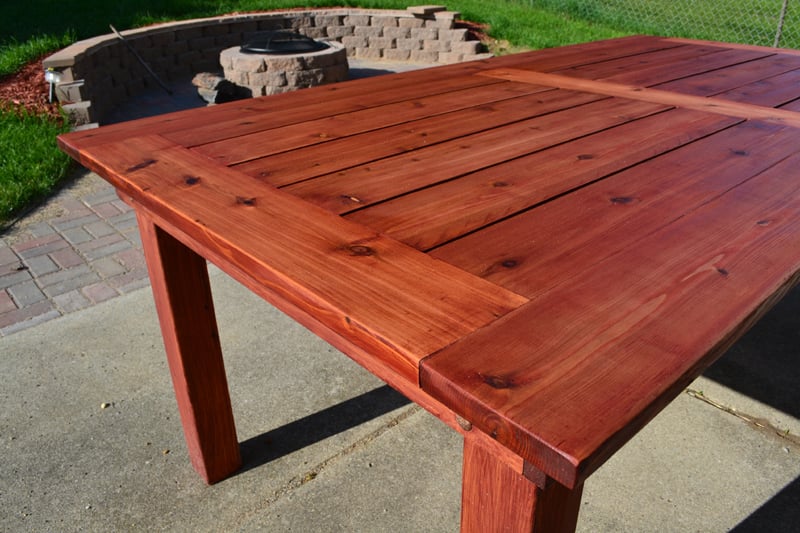
Slightly more elegant version of an outdoor cedar patio table. This is made from 100% cedar and joined using Kreg pocket hole screws. The finish is 2 coats of Sikkens Cetol MRD that has been hand rubbed on using a cloth, with 24 hours of dry time between coats.

Built from Plan(s)
Estimated Cost
$140
Estimated Time Investment
Weekend Project (10-20 Hours)
Finish Used
2 coats of Sikkens Cetol MRD, hand rubbed with cloth.
Recommended Skill Level
Beginner
Comments
Wed, 06/19/2013 - 23:22
Love your take on this table!
I really like the way you modified this design and I would like to duplicate it. I am curious about how you changed to framework to accommodate table top with the boards running lengthwise. The original design has the framework running lengthwise, so I am assuming you added framing that runs perpendicular. Is there any way you could include pictures and measurements of the framework under the tabletop? Thanks. Great work!
Thu, 06/20/2013 - 07:13
More details on my build on my website
Hi odpdxo, you should check out my website:
http://www.bryanpryor.com/2013/05/22/diy-cedar-patio-table/
I have a lot more details, including a full sketchup model for the build of this table posted. I think it will answer all of your questions.
Fri, 06/21/2013 - 14:58
Wow that's beautiful! Are
Wow that's beautiful! Are you going to make benches to go with it?
Xmas wall tree shelf
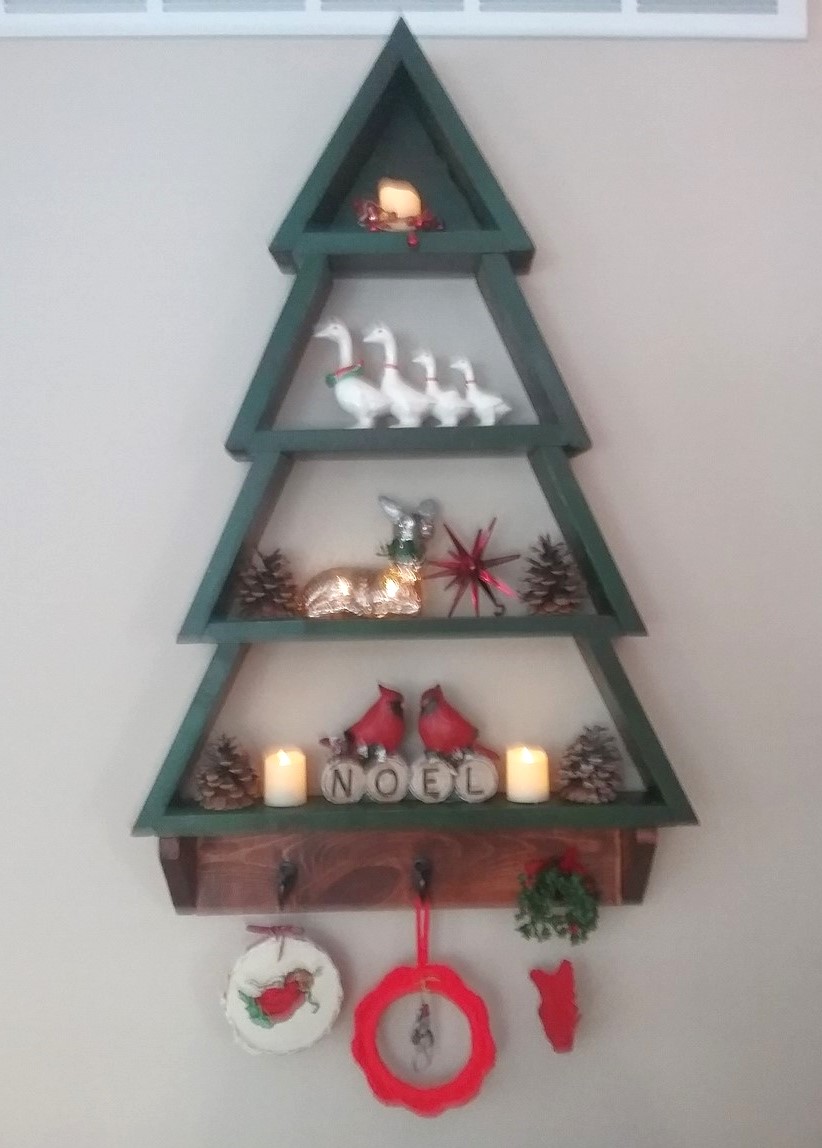
I've loved this little tree shelf since it was first published, but thought the angle cuts might be too difficult. I was wrong. It was simple and fun, with an extra pair of hands. Made a few minor changes. Merry Christmas & thanks for the cute plan!
Built from Plan(s)
Estimated Cost
Maybe $10, including paint, but not stain
Estimated Time Investment
Afternoon Project (3-6 Hours)
Finish Used
Rustoleum hunter green paint & Miniwax stain
Recommended Skill Level
Intermediate
Seasonal And Holiday
Comments
Ana White Admin
Sat, 11/06/2021 - 17:46
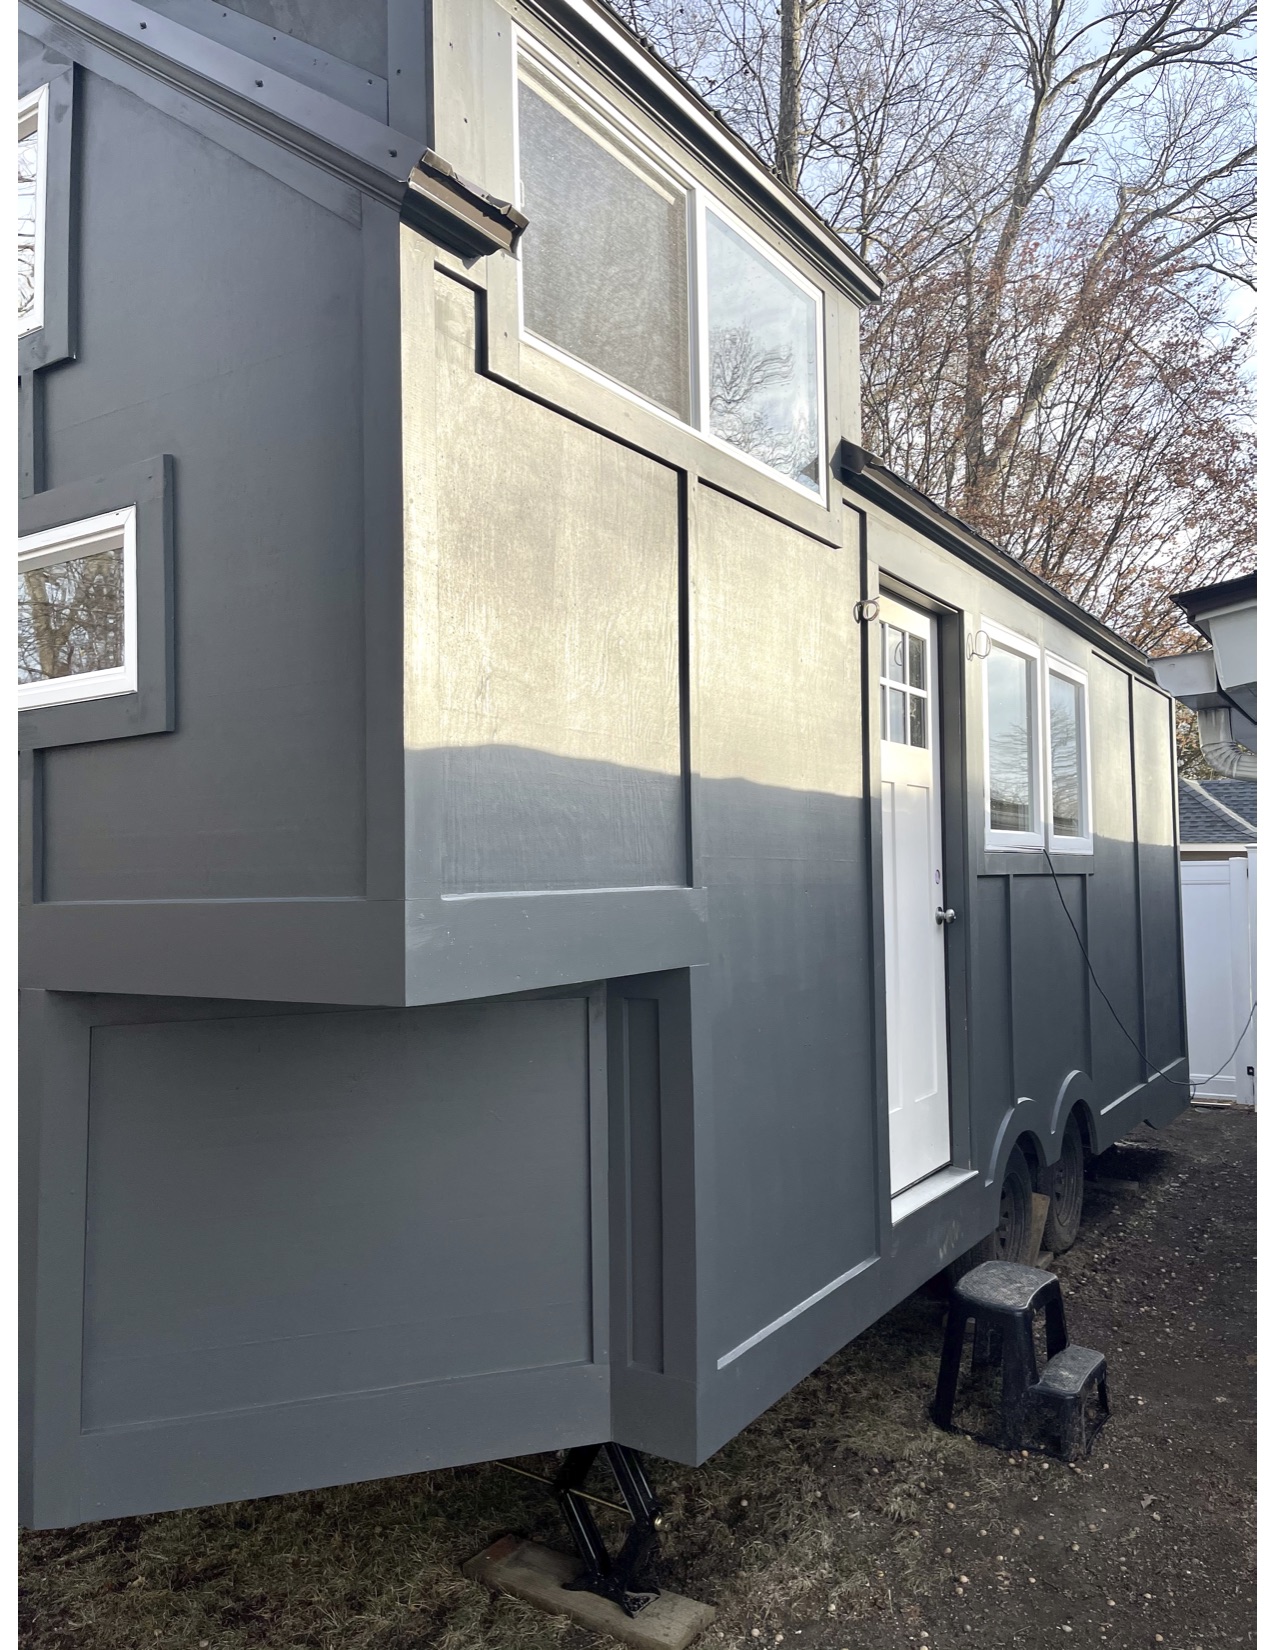
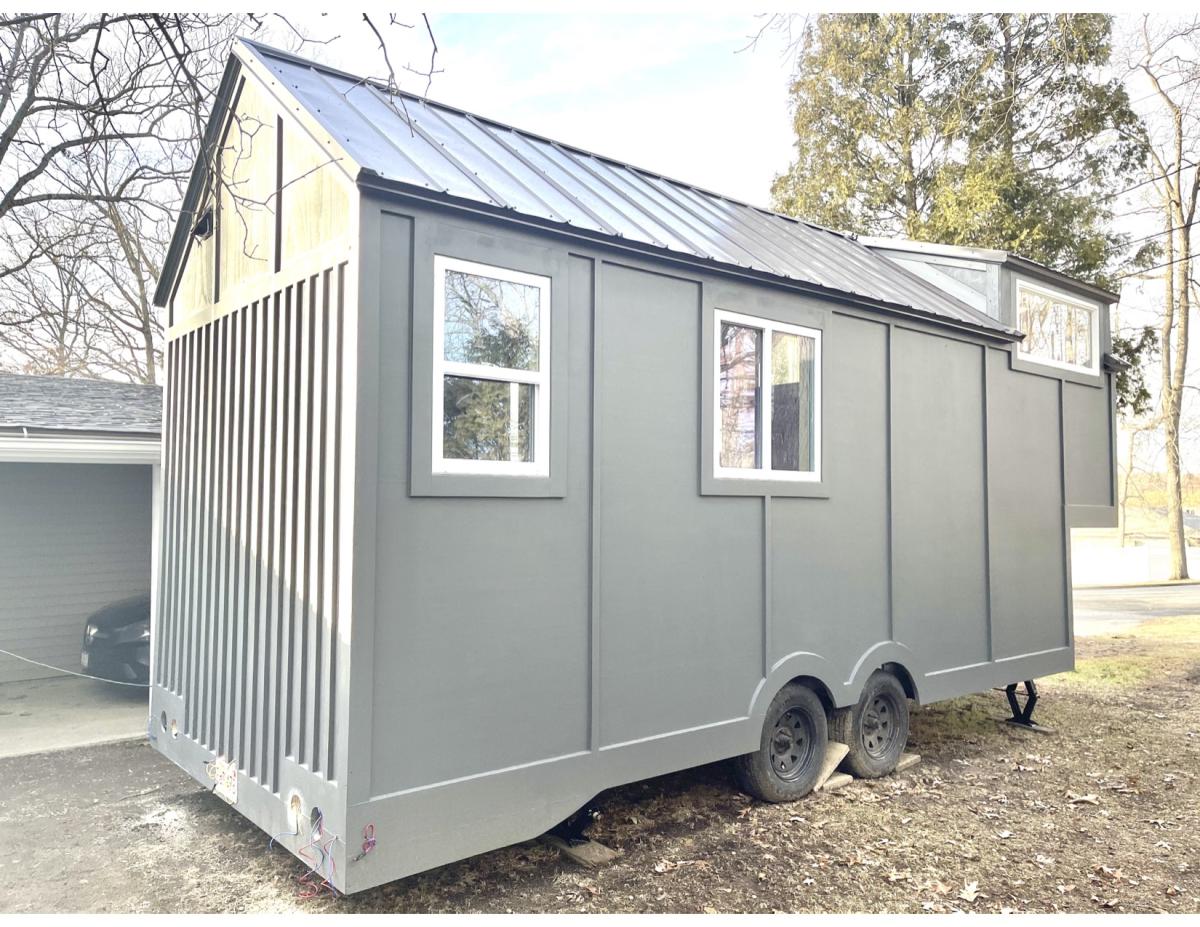
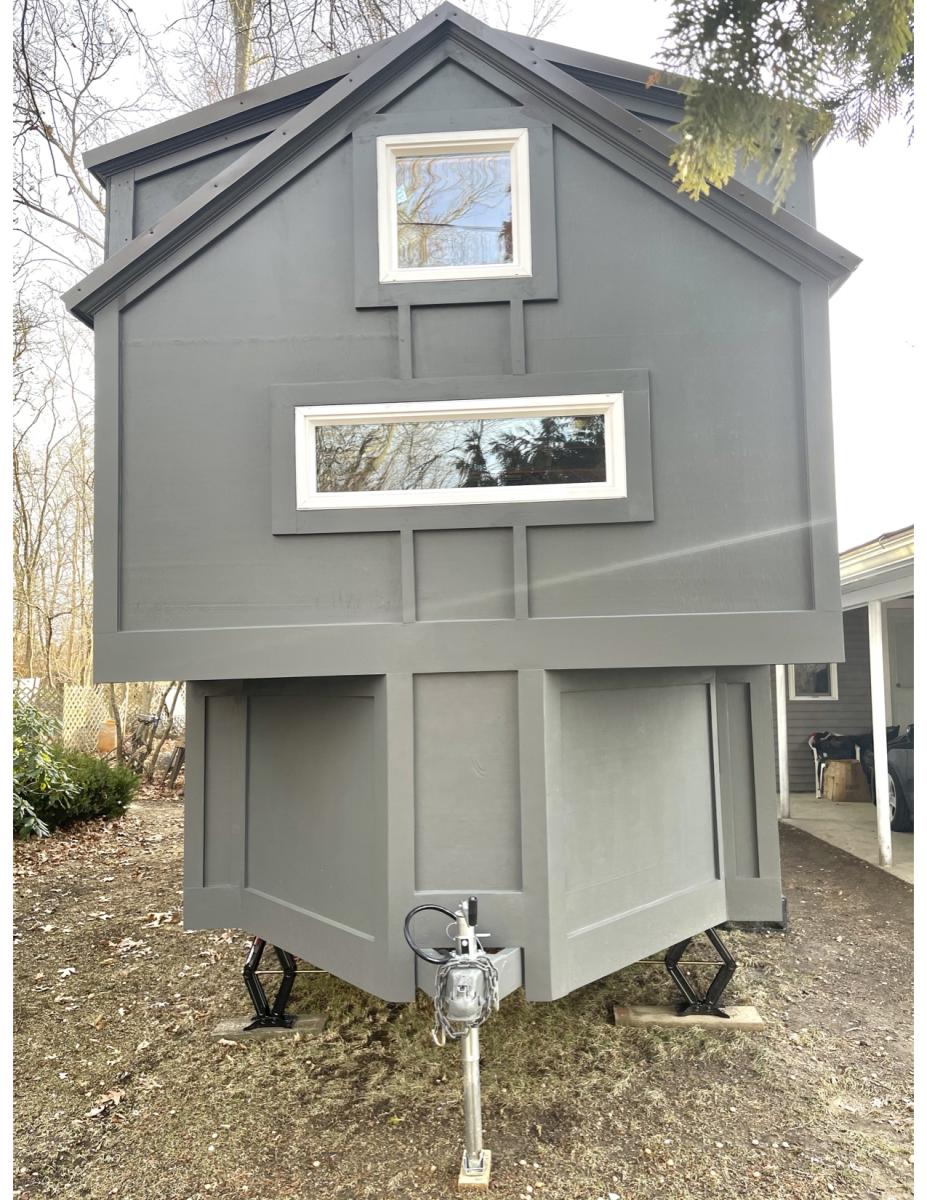
Amazing Tiny House!
That looks beautiful, we'd love to see the inside when it's all done!