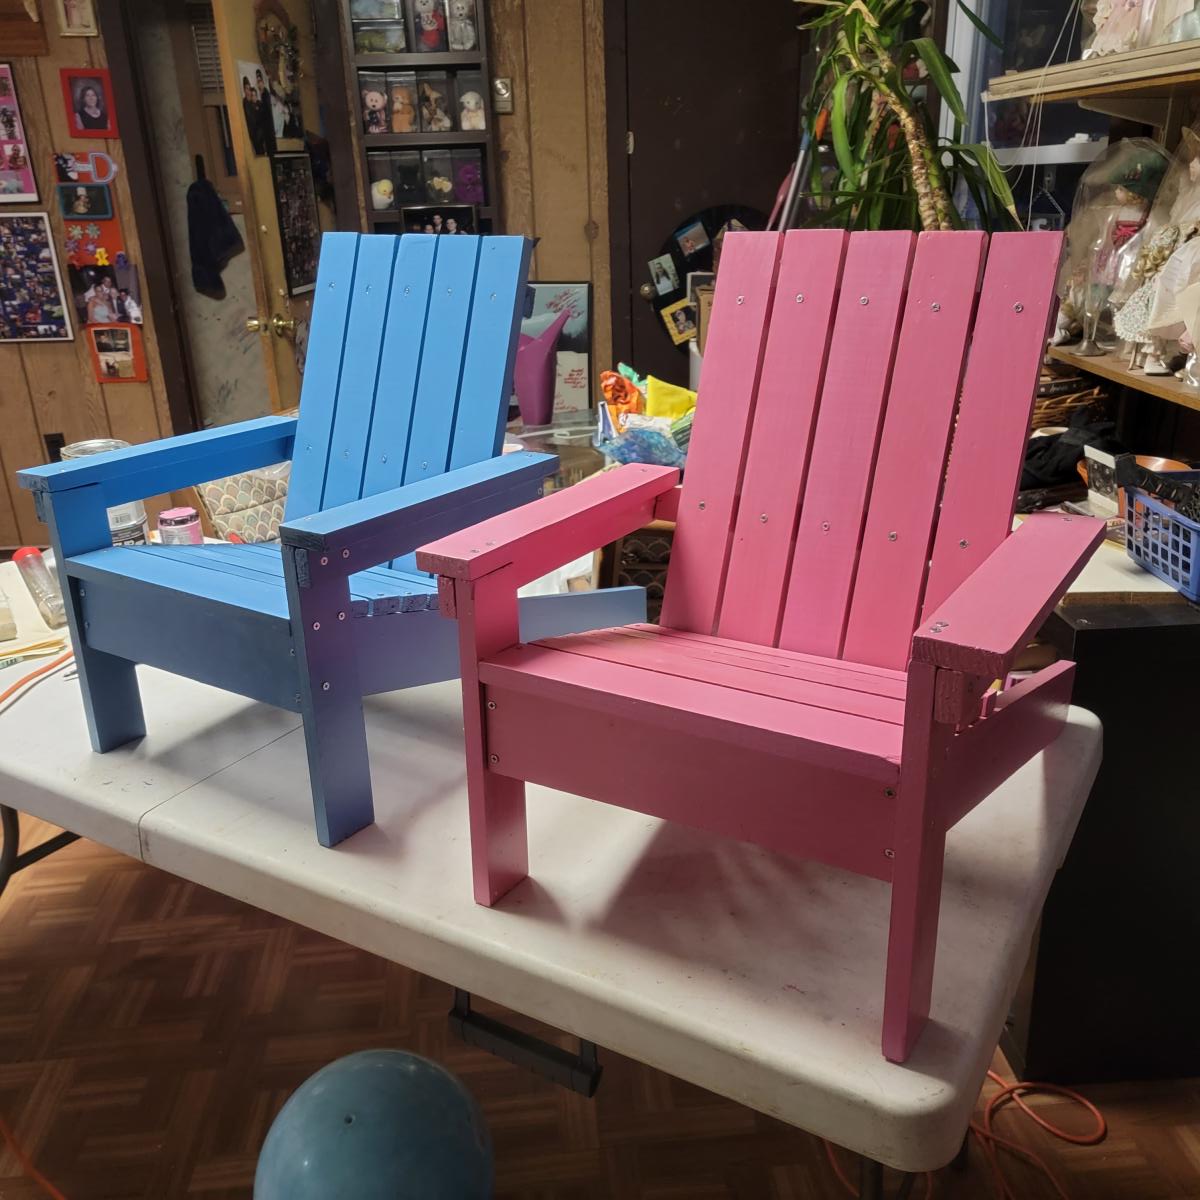
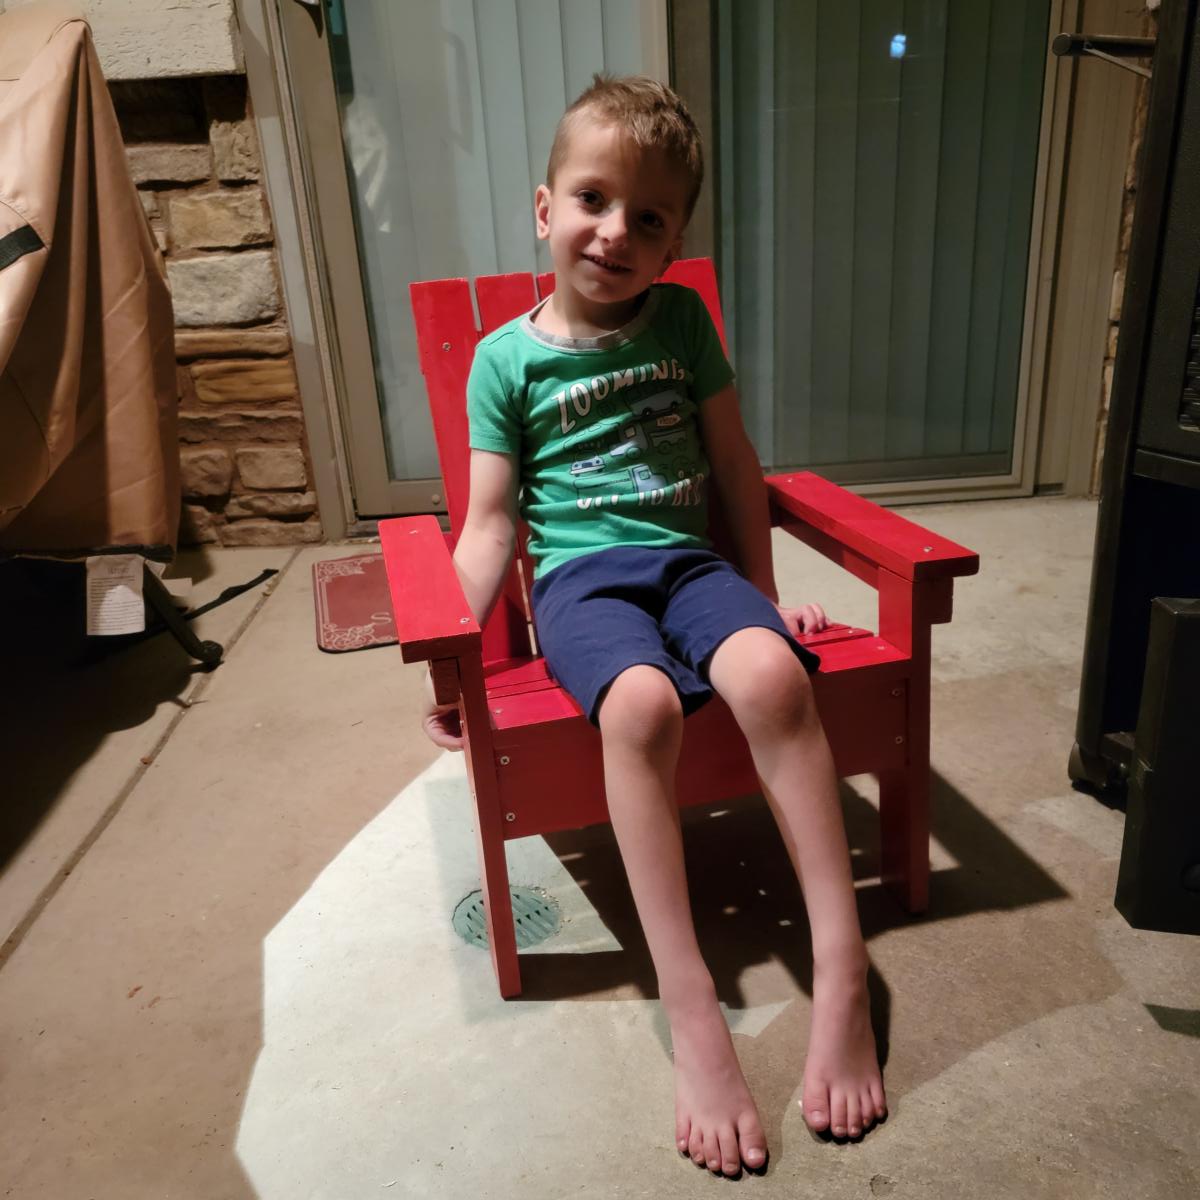
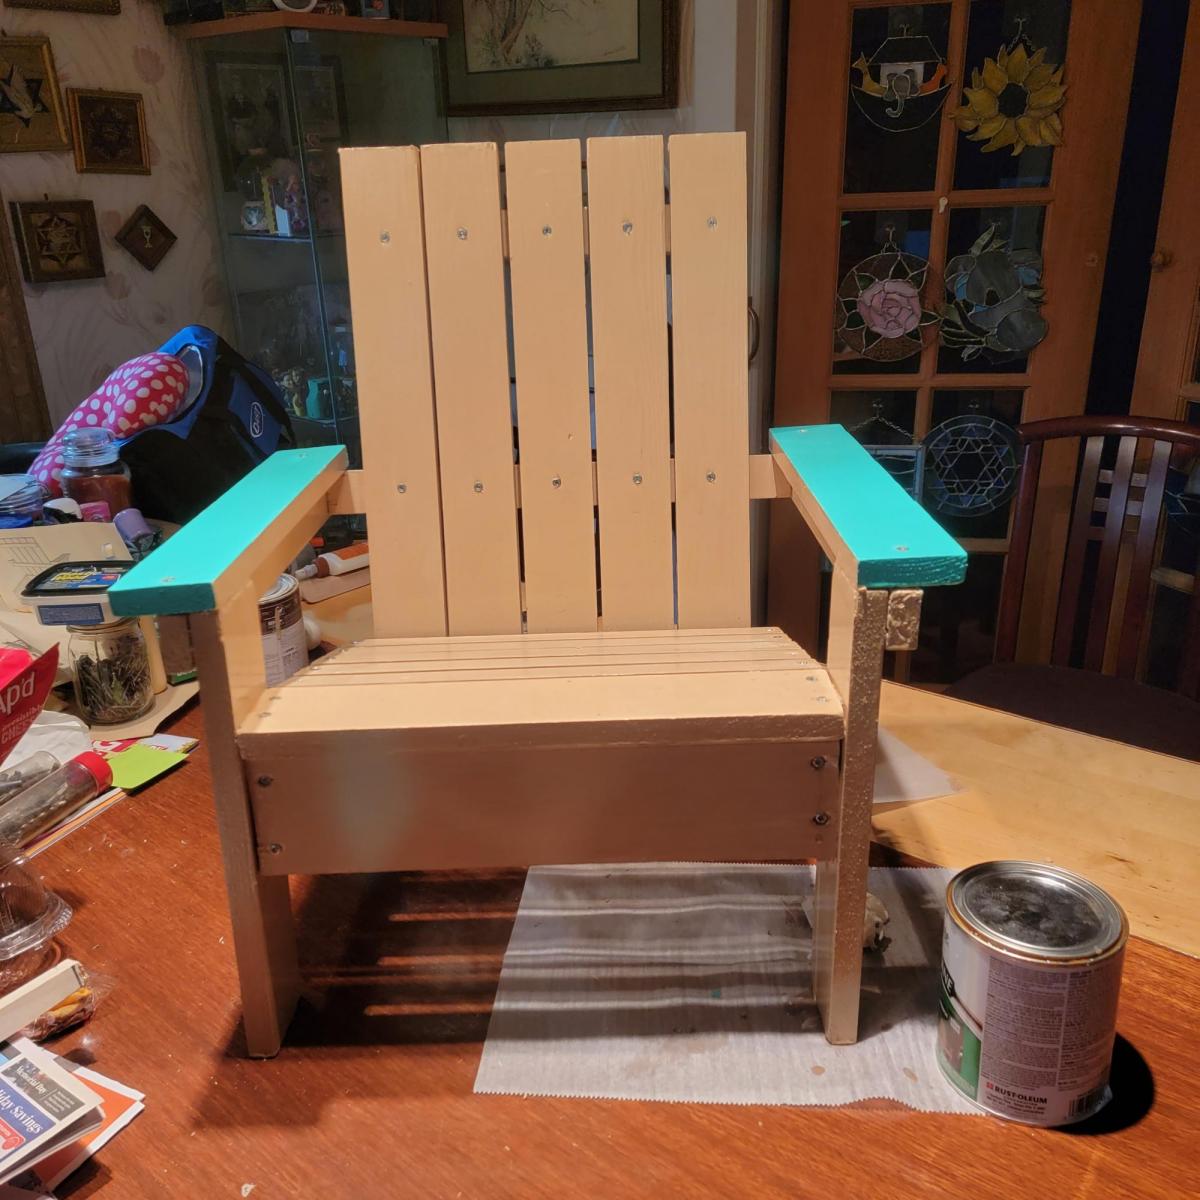
Lounge Chair
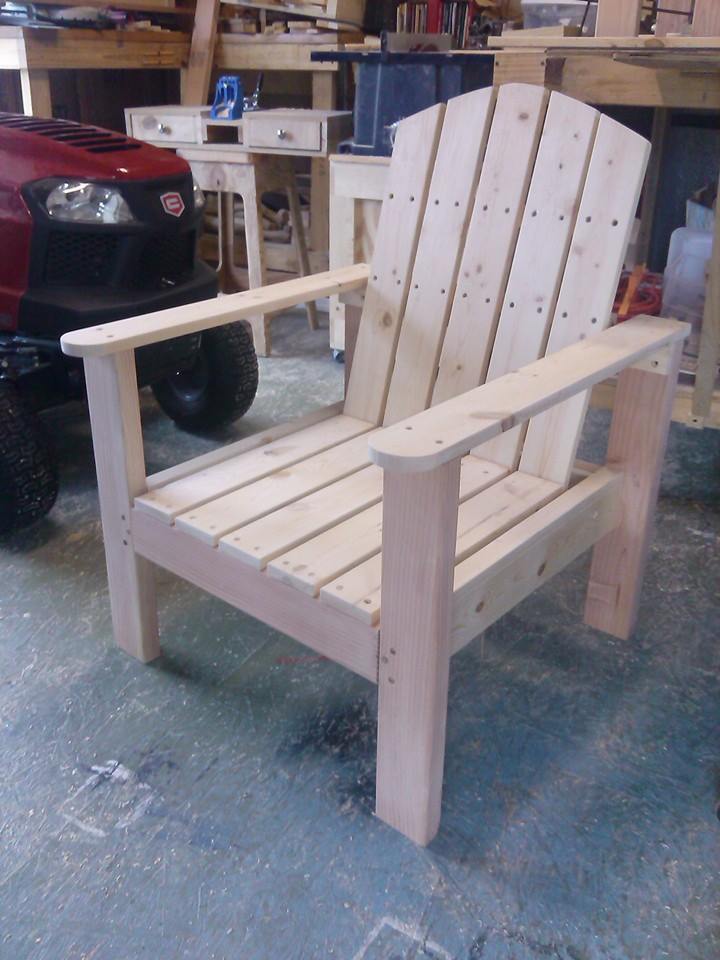
Modified the arm rest and the back to my liking.
Built from Plan(s)
Estimated Time Investment
Afternoon Project (3-6 Hours)
Recommended Skill Level
Intermediate
Modified the arm rest and the back to my liking.
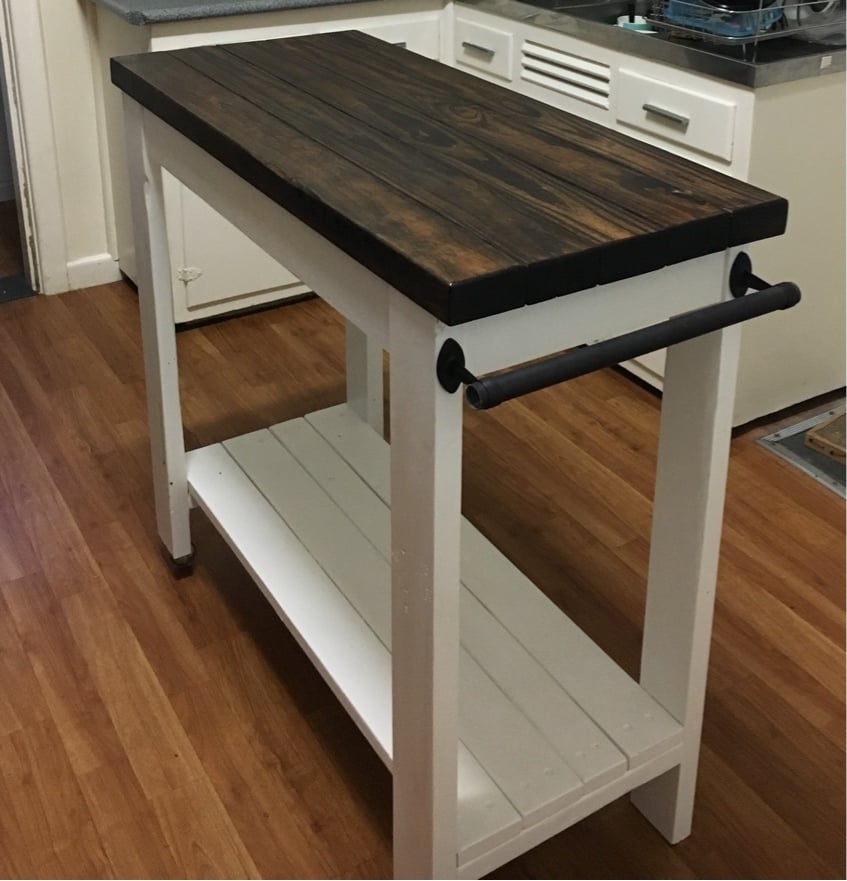
Base was made from recycled timber and the top was made with new pine.
The rails were made from curtain rails.
One end has wheels for easy moving.

In reply to Amazing! I love the two tone by Ana White
Thu, 09/07/2017 - 05:50
Thank you :)
Sun, 08/11/2019 - 22:41
Hi,
All of the base was made from free pallet Wood and the timber top was one line length of new timber which cost about $8 and the wheels I had in the shed and the curtain rail was a couple of dollars from Bunnings. The paint and stain I already had.
I hope this helps. 😀
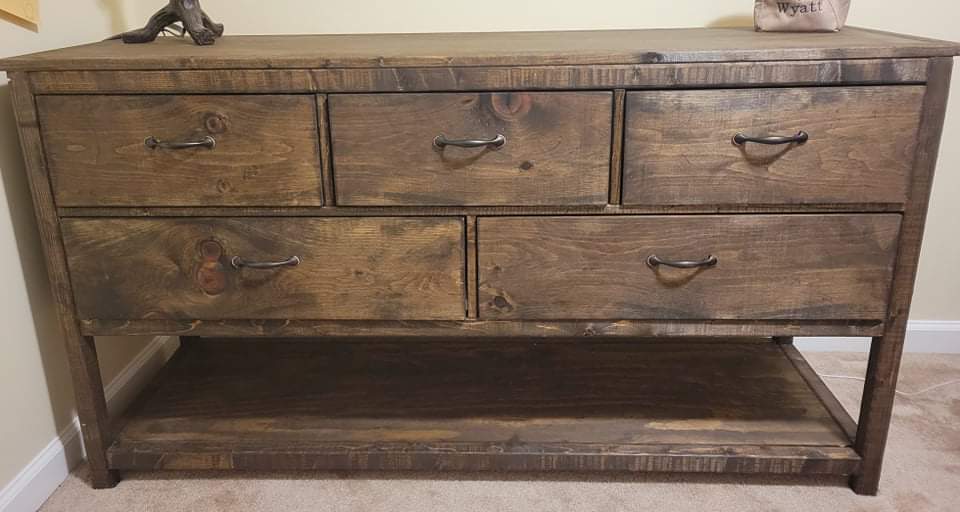
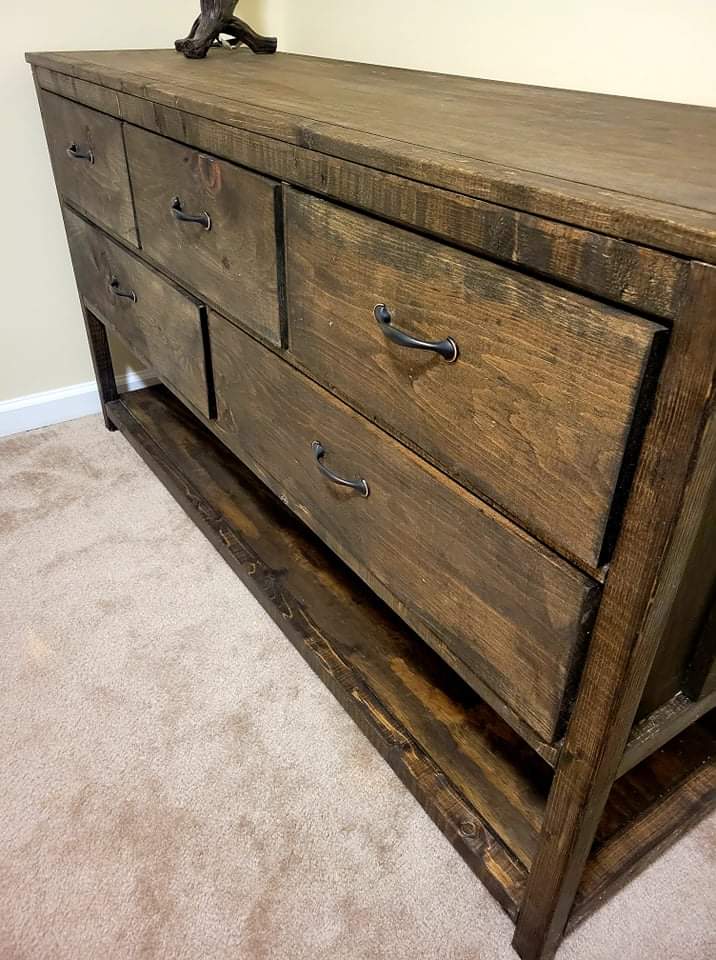
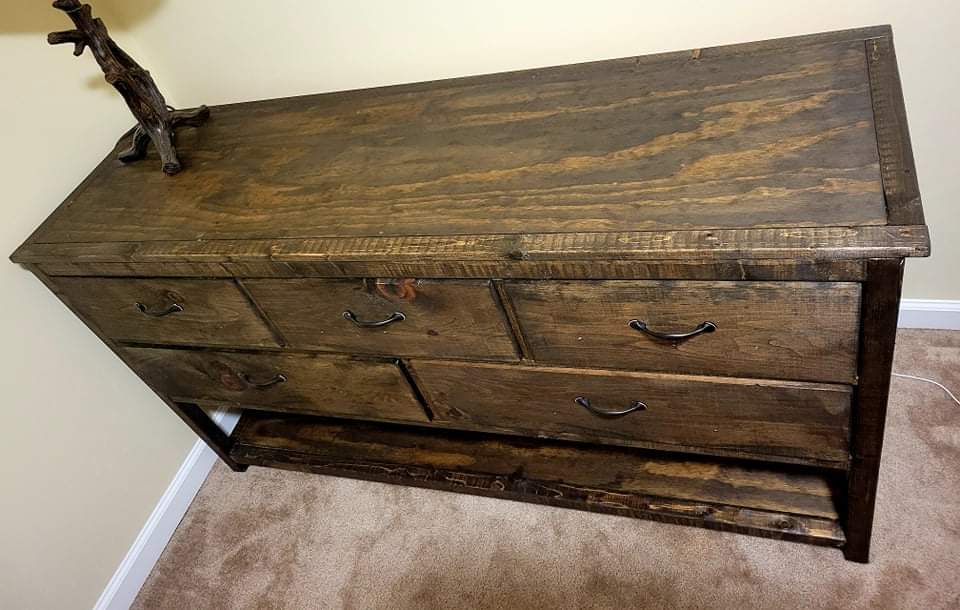
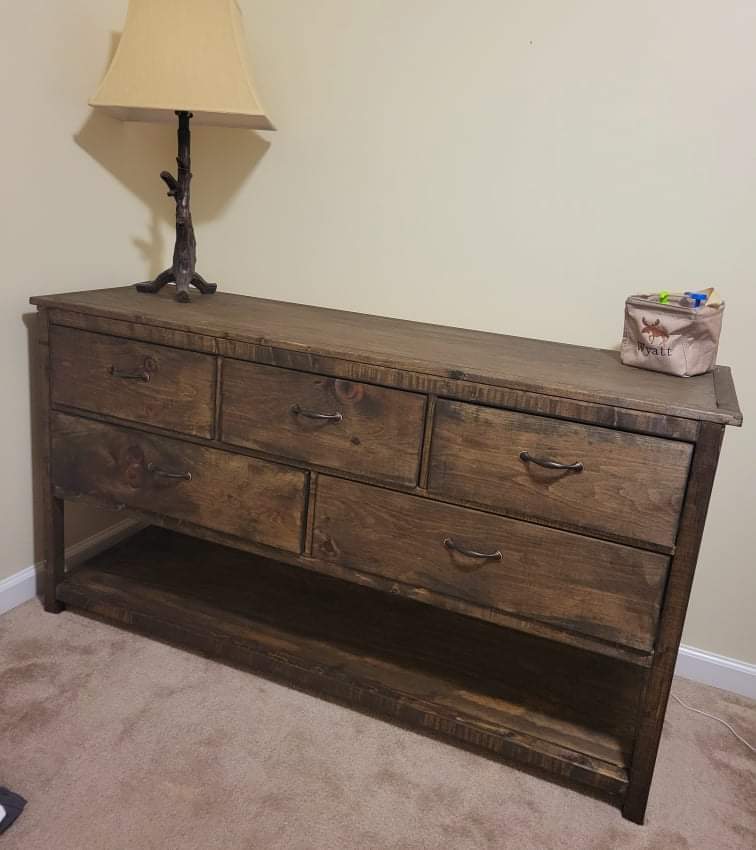
We found ourselves in need of upgrading our 4 year-olds dresser situation. This dresser answered the call and then some. We really like that it's short enough that he can access the top, and wide enough that the risk of it tipping over is fairly non-existent.
Jacobean finish to match his bed.

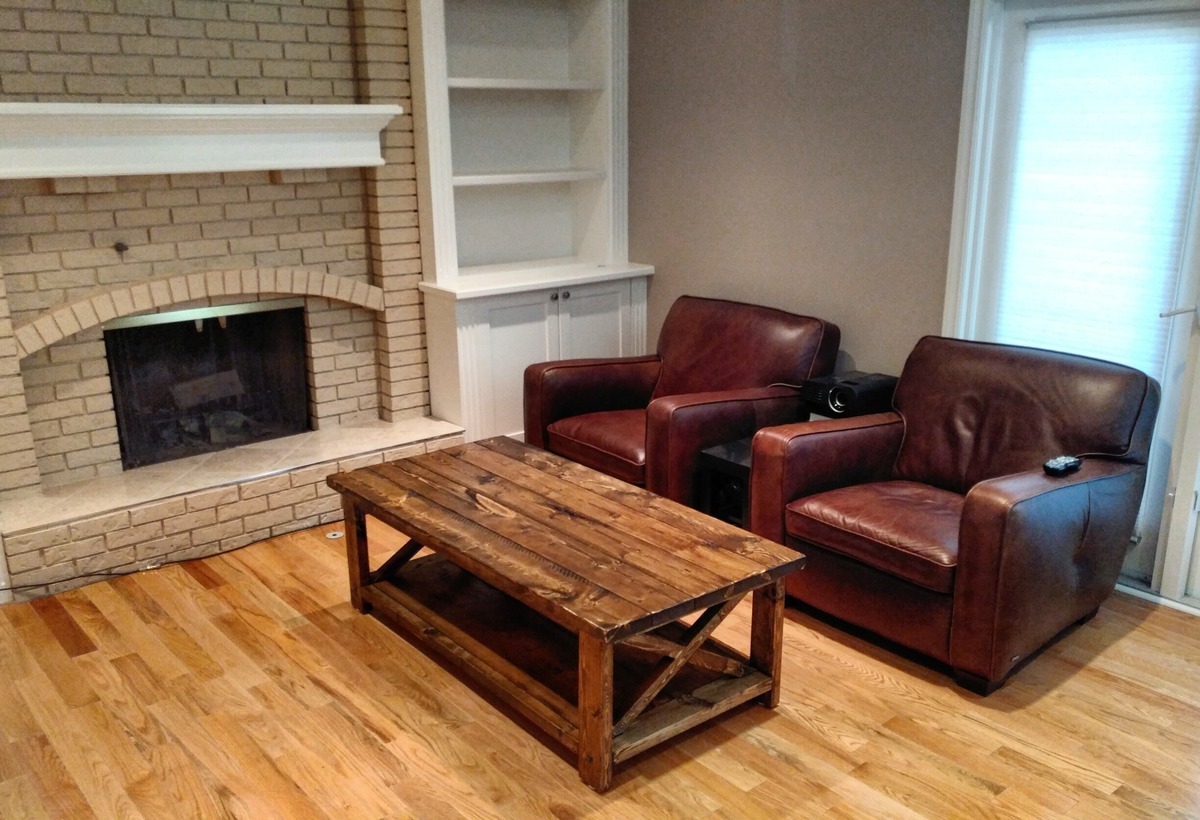
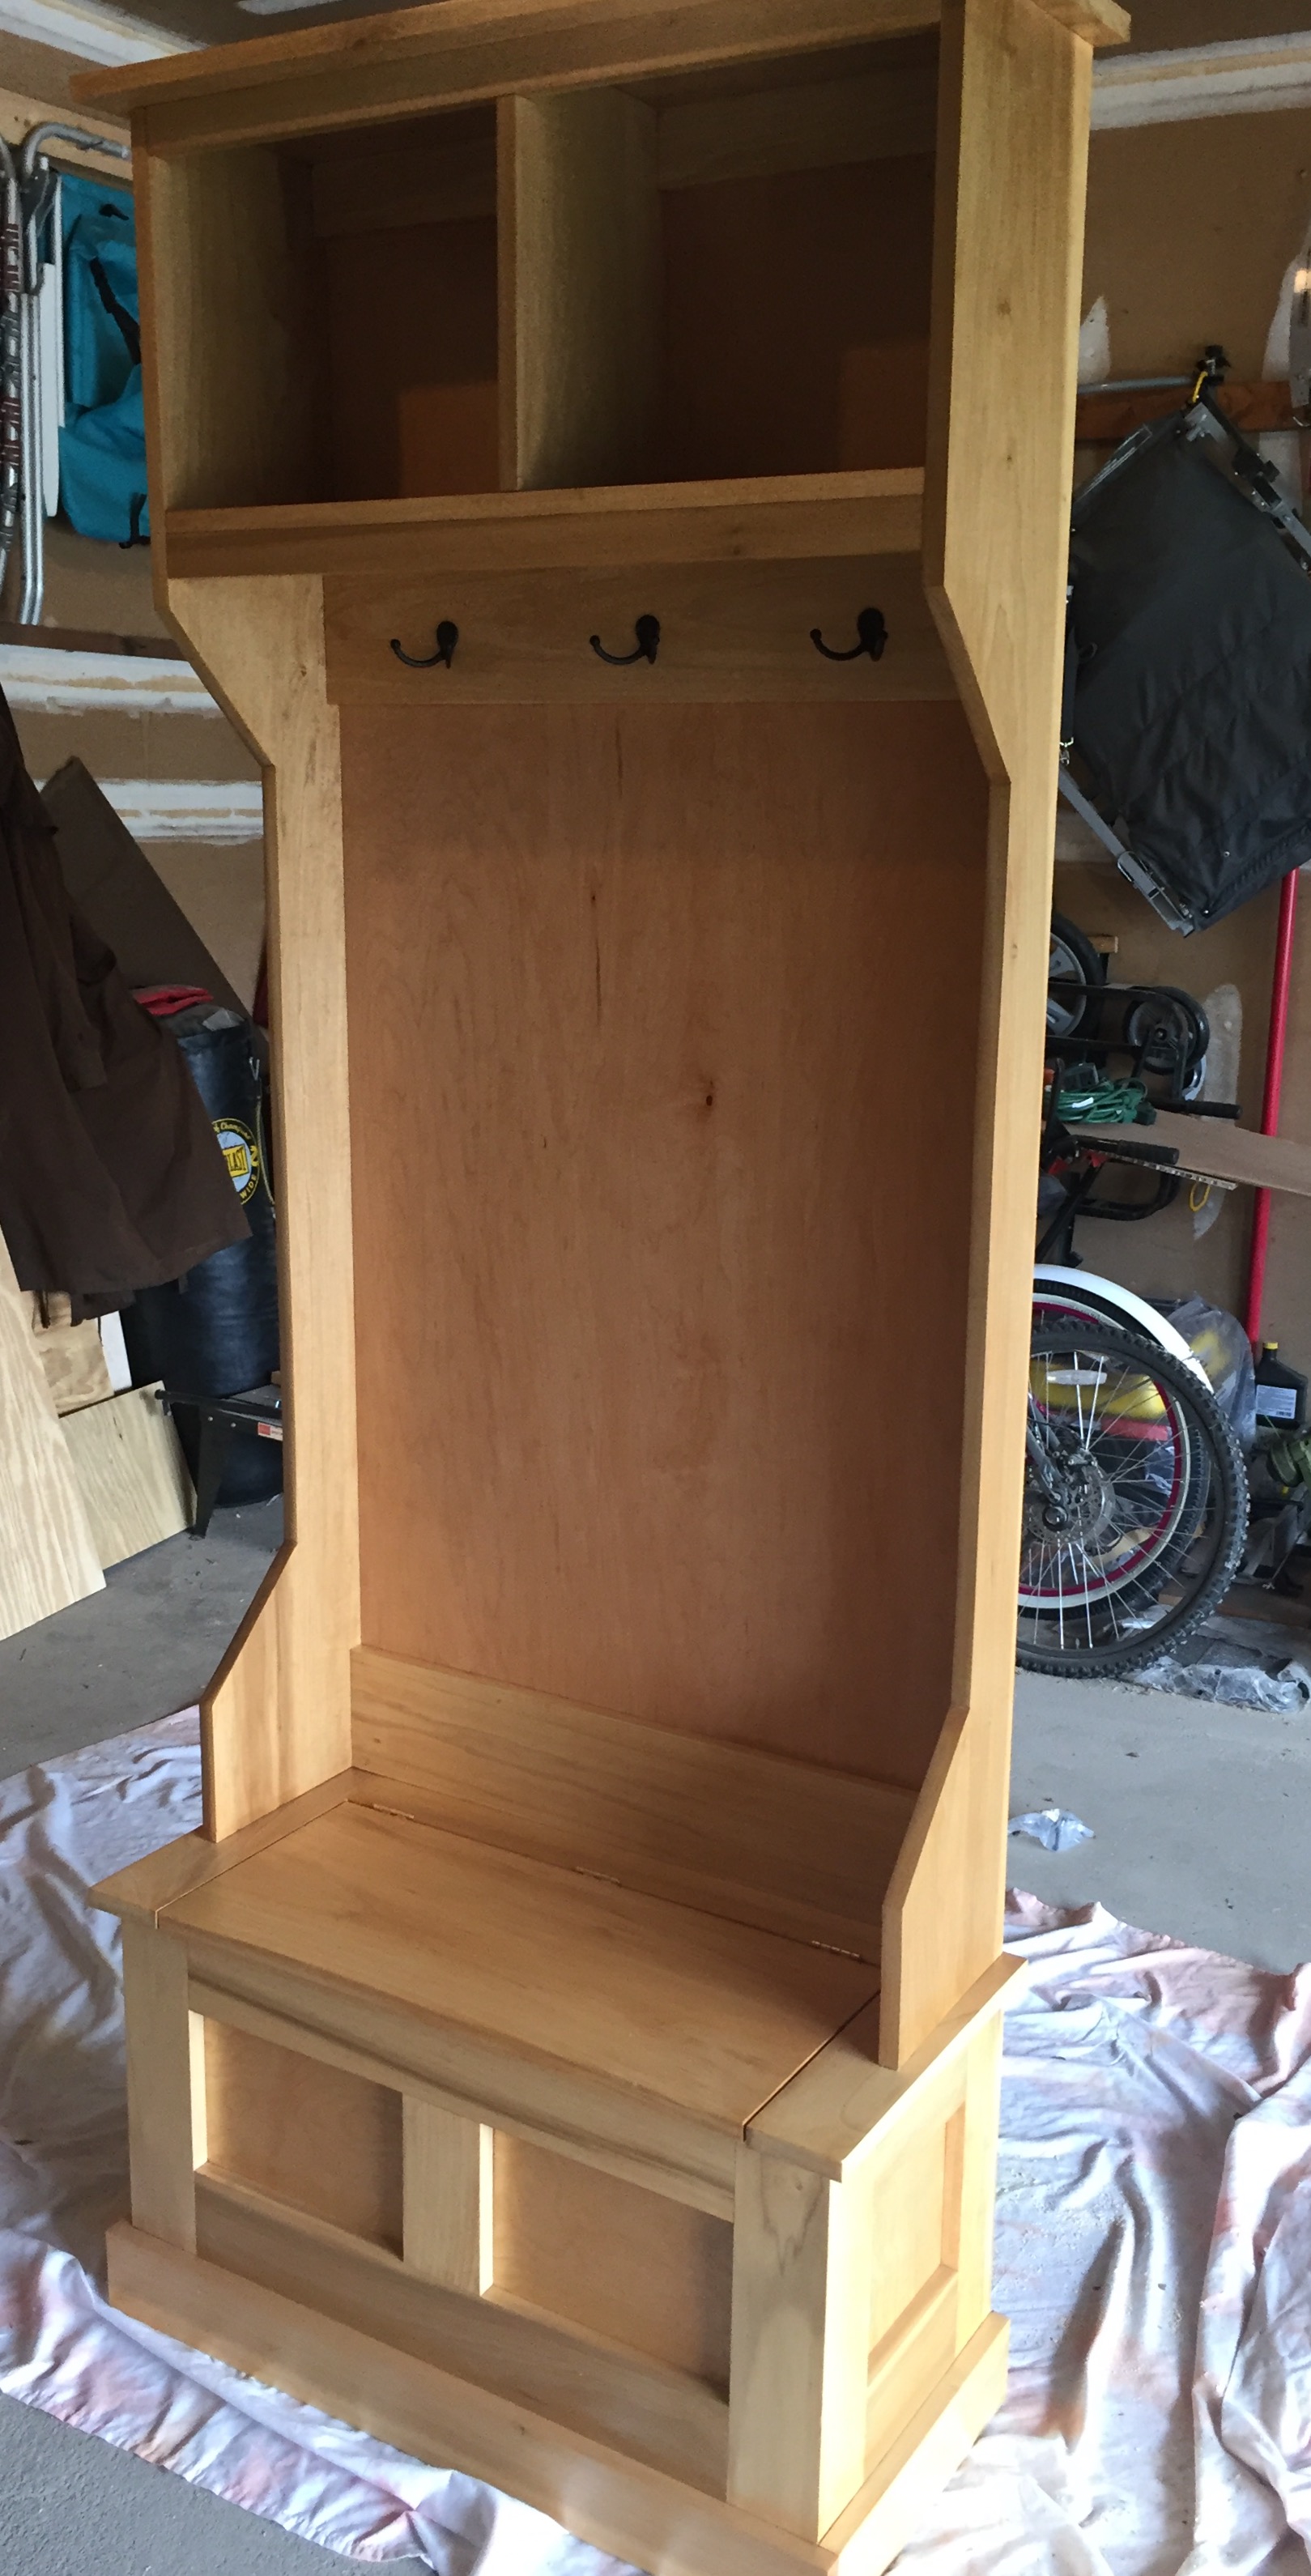
As soon as I saw the "Rustic X Console" table, I knew I wanted it !! I love the rustic look without being too country. I needed something to hold all the TV components (cable box, DVD player, etc) as well as kids toys. Something that would store what we have now and transition with us through the years. As the kids gets older and toys start to move out, I can still use it! We modified the plan by adding a small shelf at the top to hold our media stuff. I like having the very top free from clutter. Everything is tucked away but still easy to access. It's perfect !!
We finished it by using a green paint wash with leftover paint from our kitchen (3 parts paint to 1 part water). It worked perfectly. We can still see the wood grain and it adds a little color without being too overpowering.


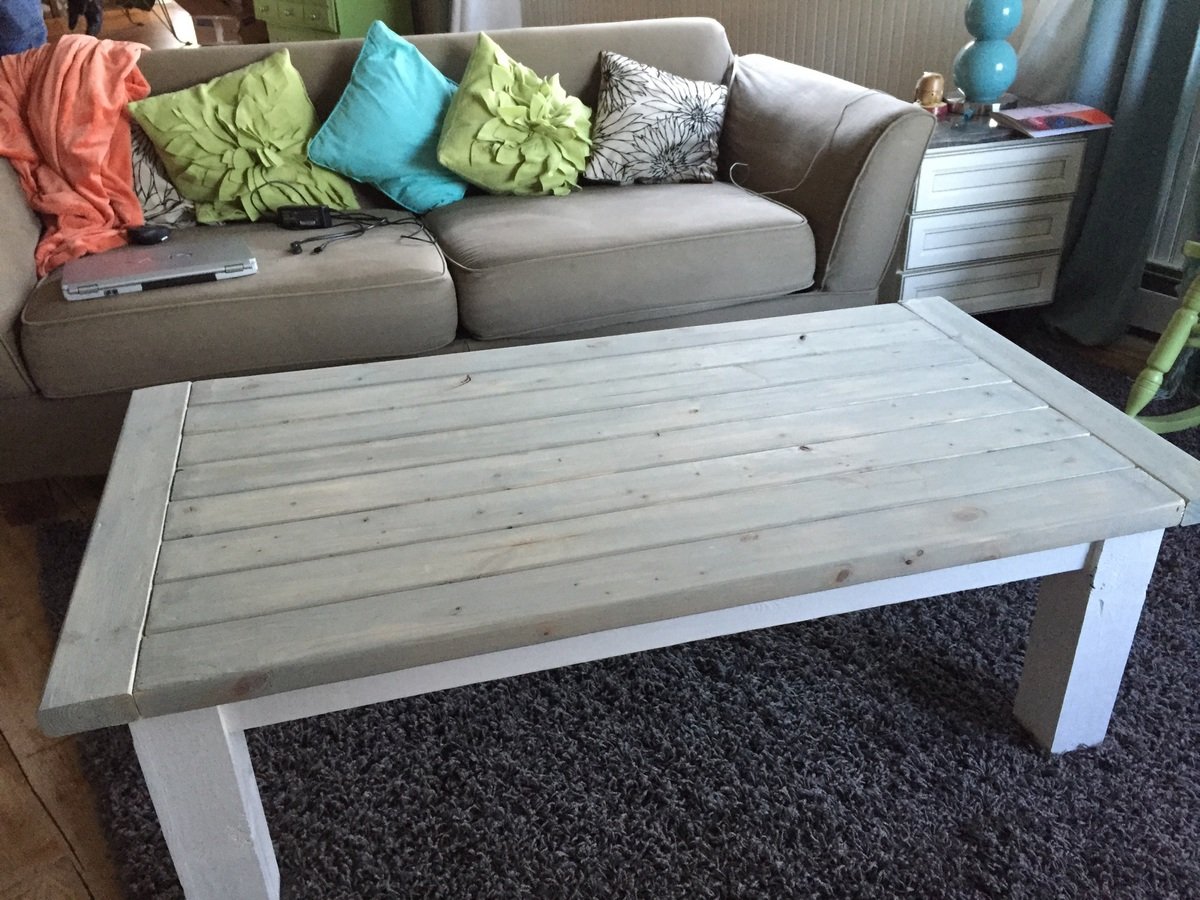
My boyfriend built this for me as a birthday gift. It is absolutely beautiful, he did a great job - especially with limited carpentry experience! The top is stained with pickled white stain tinted with gray, and the bottom is painted white.

Farm style computer table. Simplistic so the design does not naturally attract your attention, but once you notice it, you notice the beautiful details.
Of note, make sure you sand ALL corners before calling the project complete. Otherwise you'll be banging your knees and bleeding all the time.


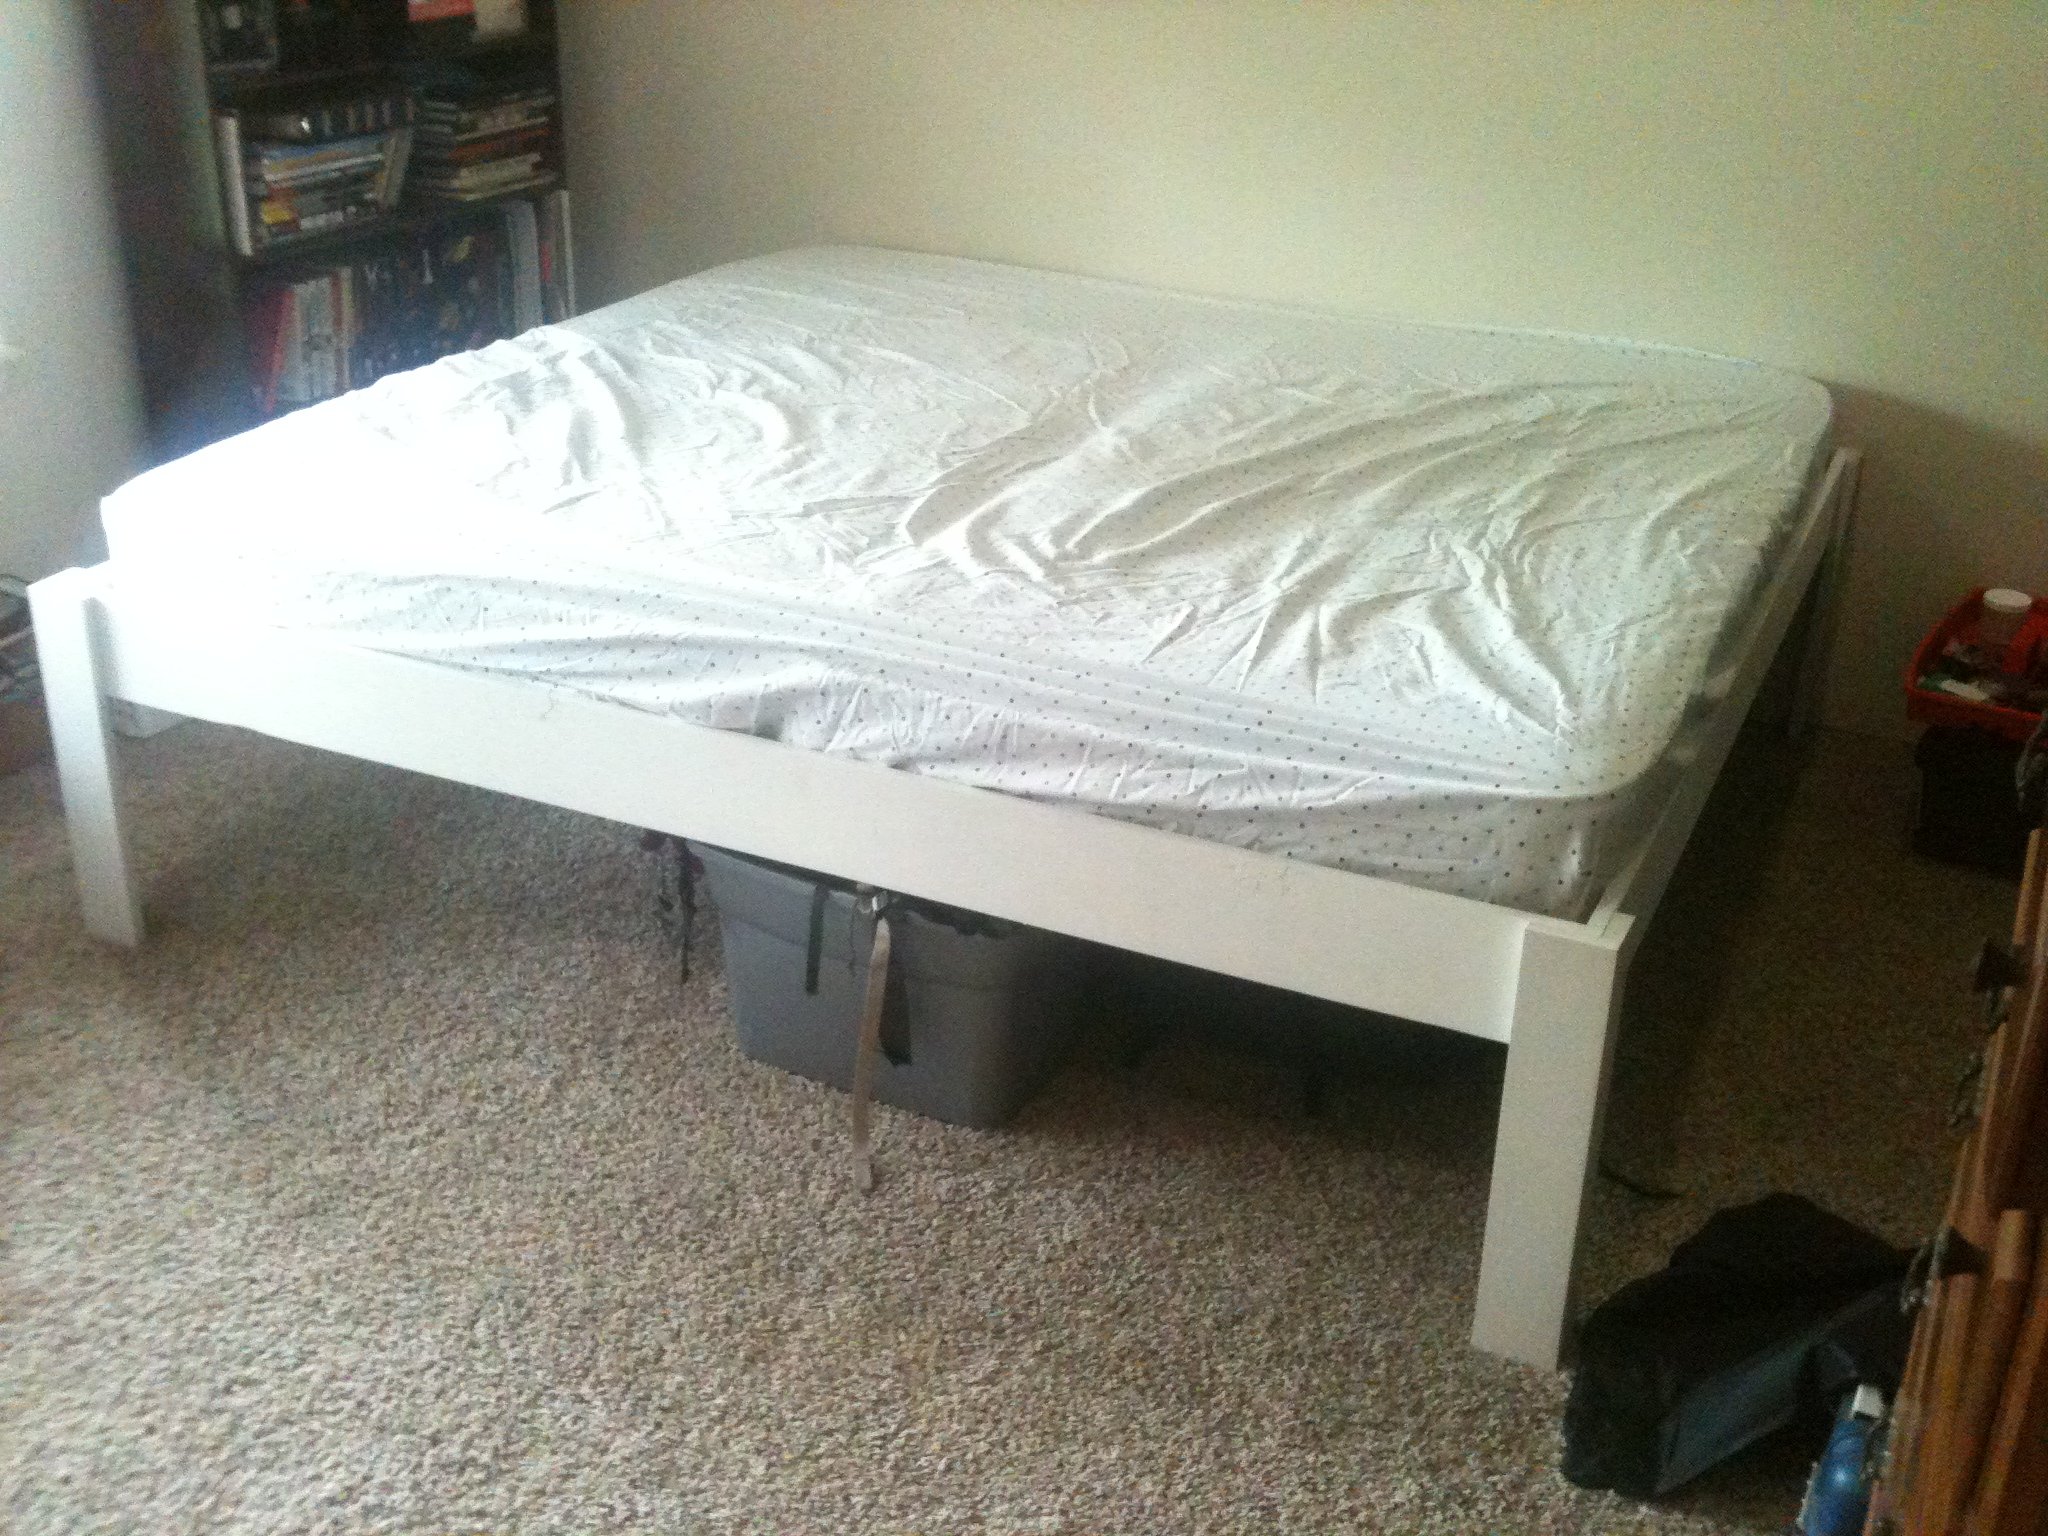
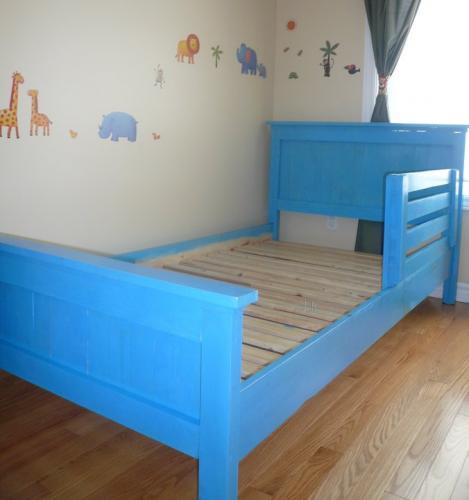
With a child on the way, our house has been undergoing some changes. We were in need of a guest bedroom for family members and needing to store my wife's childhood twin bed with a hidaway twin underneath that was set up in the room that would become the nursery. We also needed to clean all the backpacking gear out of the closet in the nursery room to get ready for it to be taken over by all the baby stuff. I decided a "King-sized" bed out of the two twin mattresses would be a good solution as it would keep us from "storing" the two mattresses and meet the guest bed need. After I came across the plans for the fancy farmhouse bed, I knew if i just added some height to it, I could meet the storage need too! There's 14'' on my version of the fancy farmhouse bed between the carpet and the rails, plenty of room for medium sized plastic tubs to slide in and out (as seen with the "test tub" in the picture. Under my bed there are currently 9 tubs, two large suit cases, a PA speaker, Power speaker head, a large double sleeping bag, and a little room for more. I'll try to add pictures when I finish the room out with night stands (wine crates mounted to the wall), a bedskirt, lamps, and a headboard. Once I got the wood home, it was a fast build. The slowest part was painting
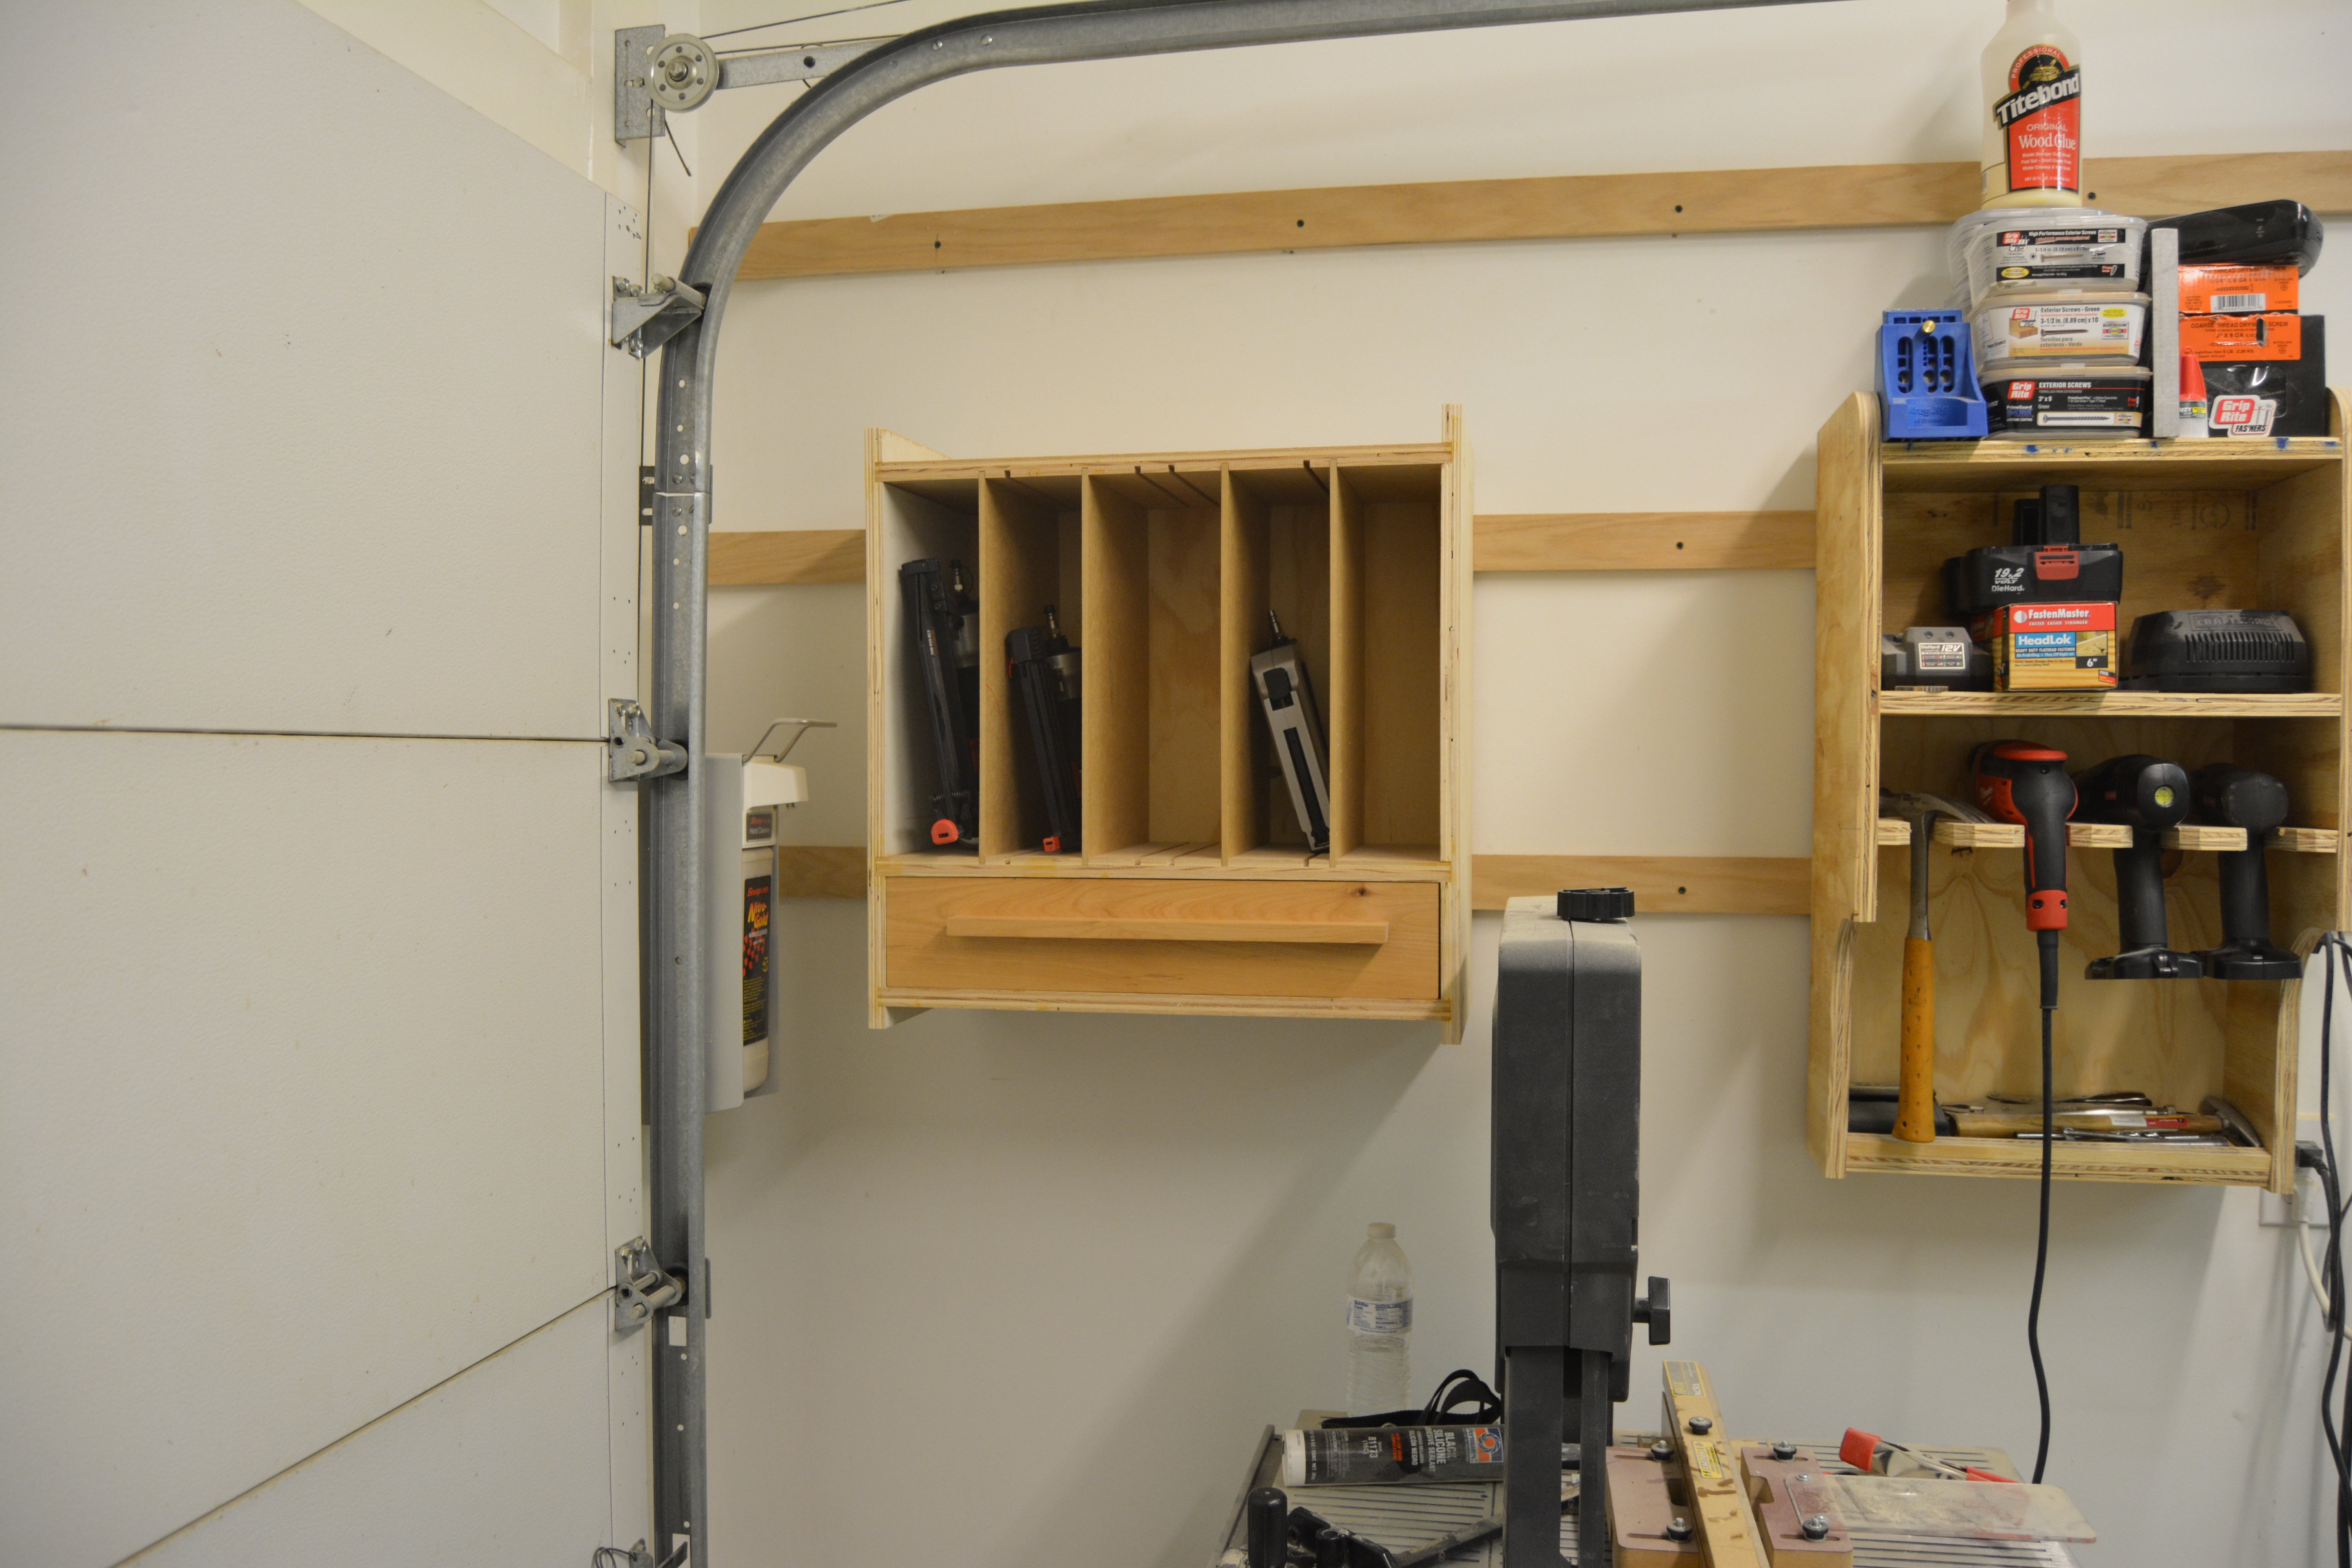
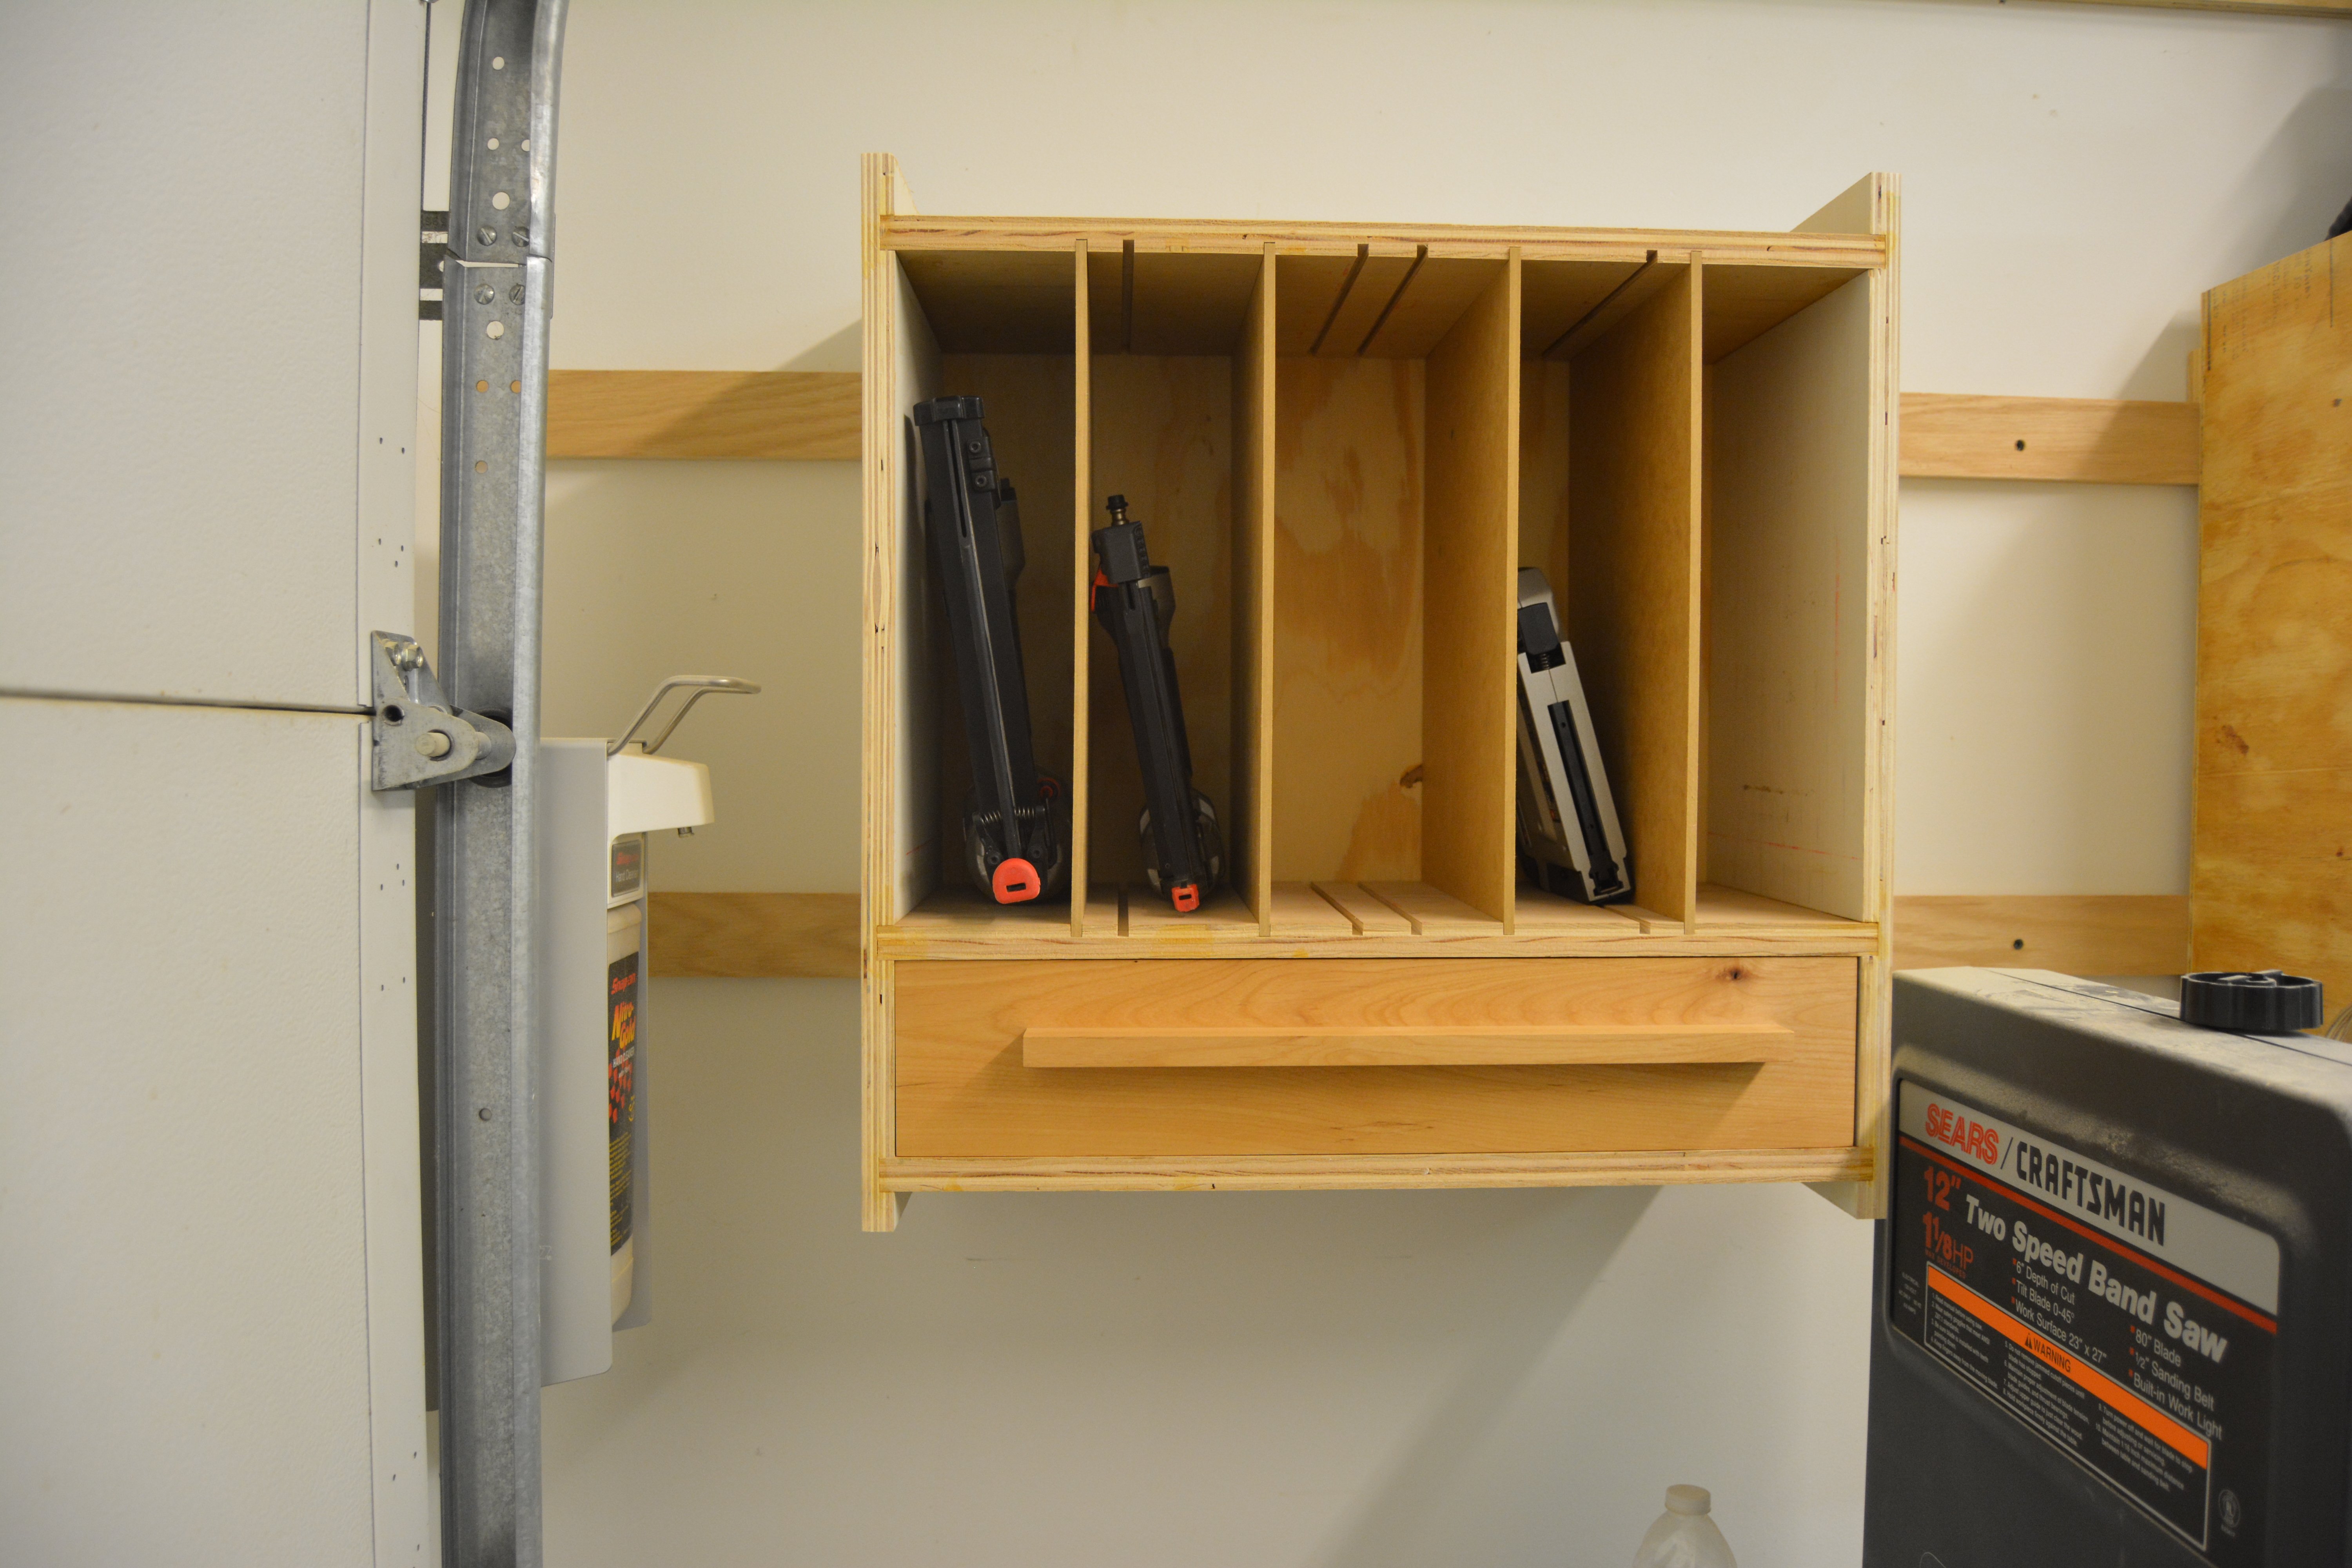
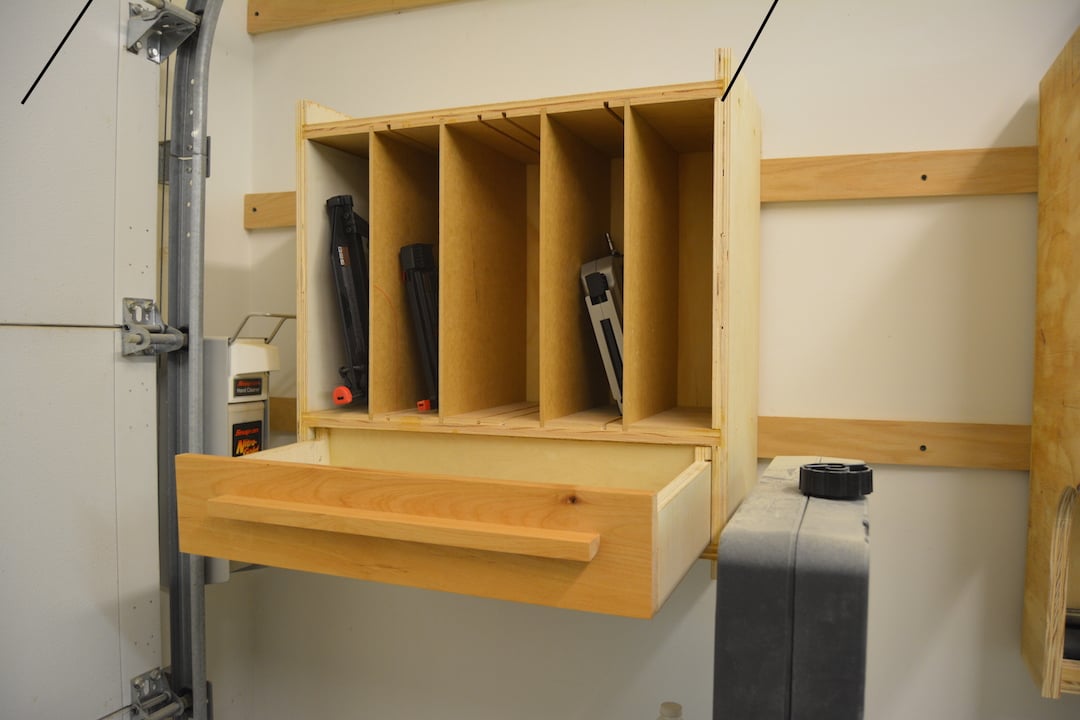
This week was a collaboration between me and Brad at FixthisBuildthat.com. I made a slight variation of his hanging tool cabinet to store my nail guns. More details at my website: http://www.lanebroswoodshop.com/2015/03/nail-gun-cabinet.html
YouTube video: https://www.youtube.com/watch?v=BUHnkjojlWc
This was my first ever DIY project and I have to say I even impressed myself!
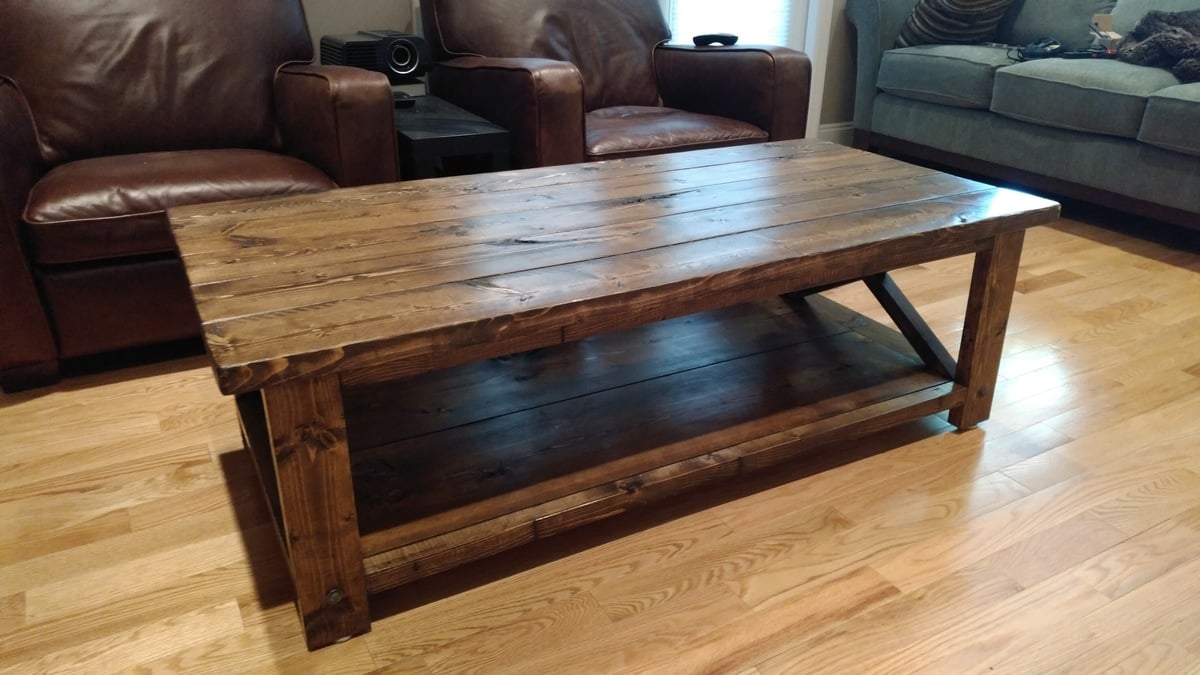
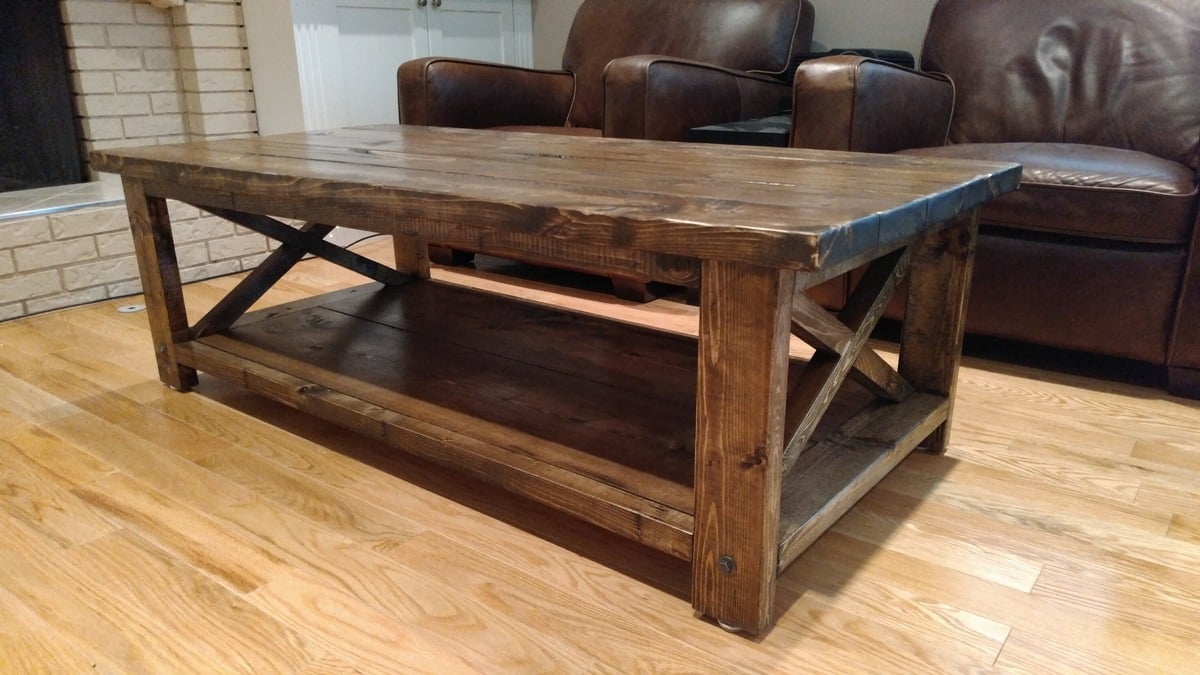
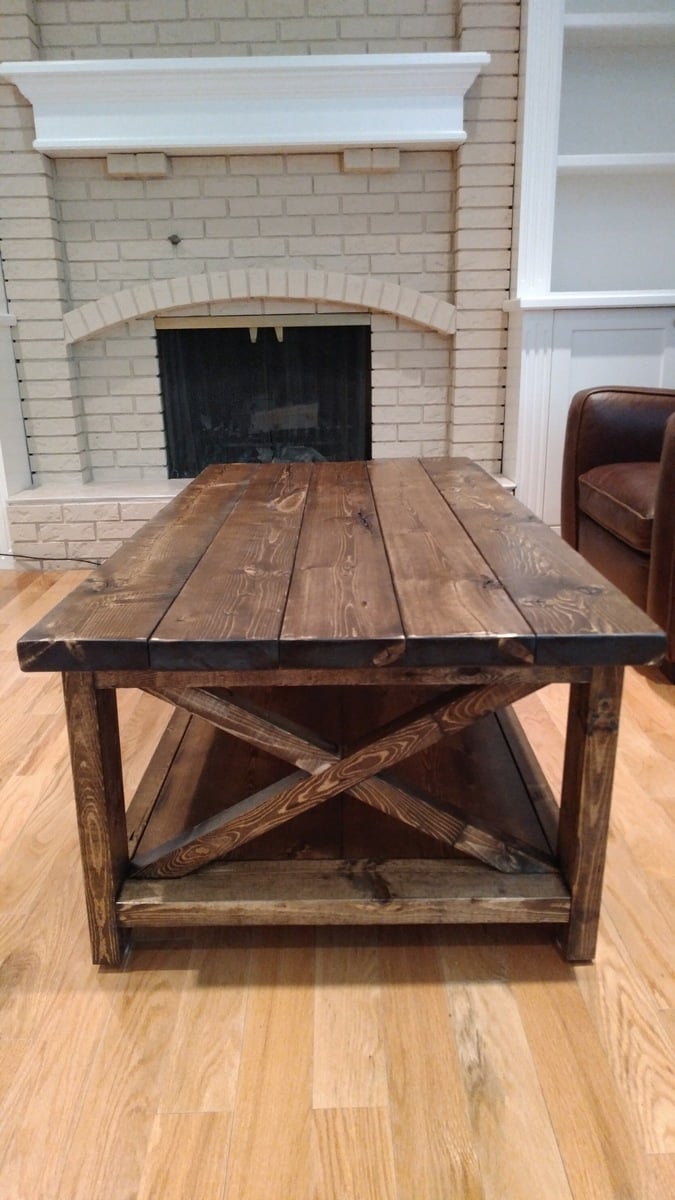
I modified the plans slightly as I wanted a longer version of this table. Despite lengthening the table, I found a way to use less wood. Instead of the 5 - 2x6 studs suggested, I bought 3 - 2x6x10s. To accomodate the longer tabletop, I needed to extend the side trim and 1x12, but at 58" top length, these cuts were 47", meaning no extra wood was required (just a little less room for error).
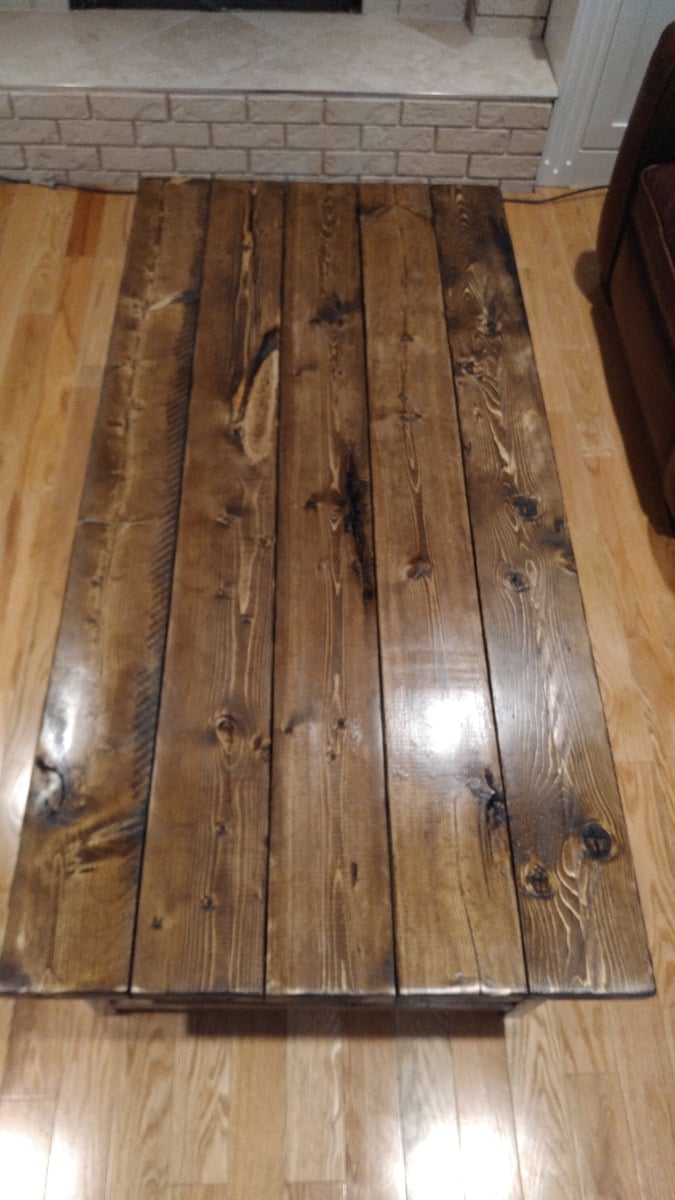
I also used 3/4" cedar strips to mount the 1x12 since I do not have a pocket hole tool (see last photo).
For the finish, I applied Minwax wood conditioner, Dark Walnut for 14 minutes, then Classic Grey on top of the still wet walnut stain for another 10 minutes, followed by two coats of the Fast-Drying Satin Poly.
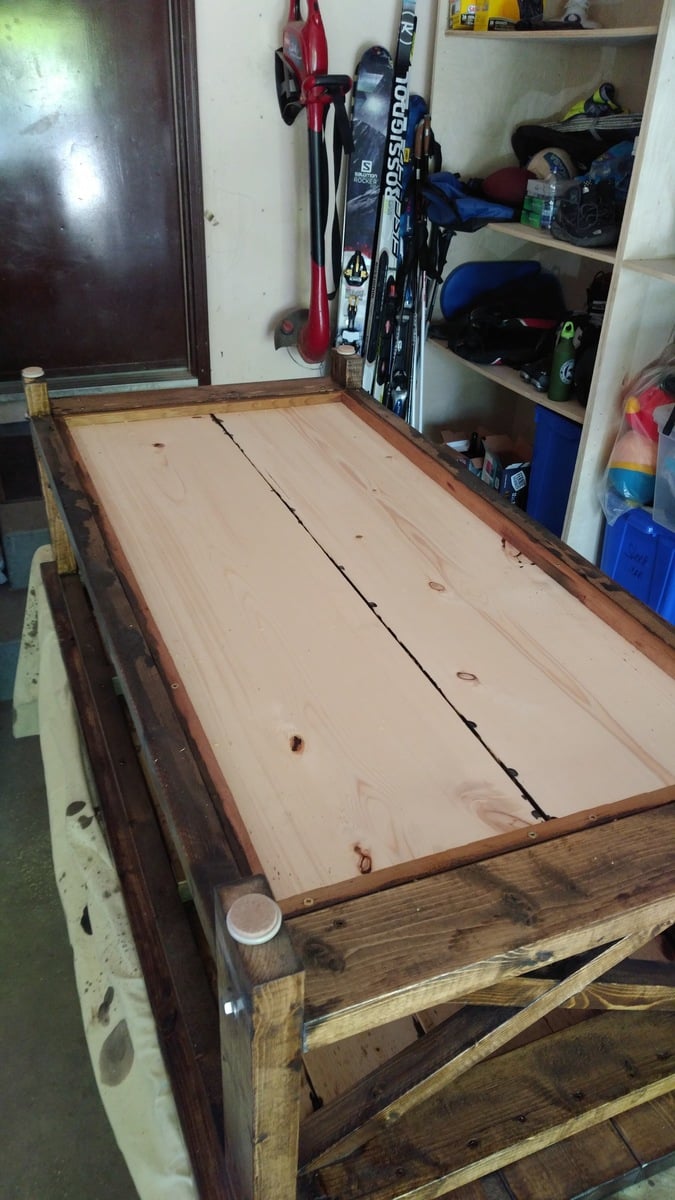
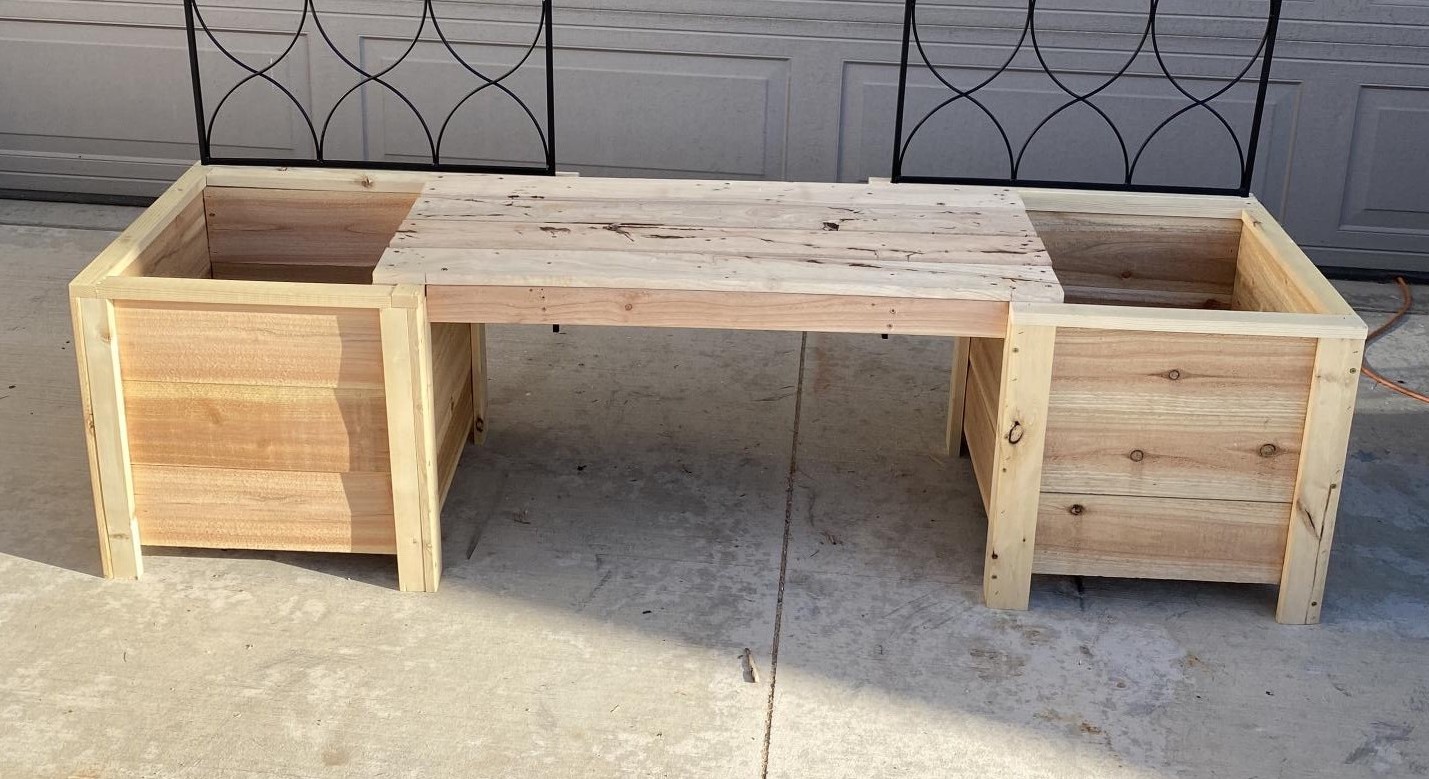
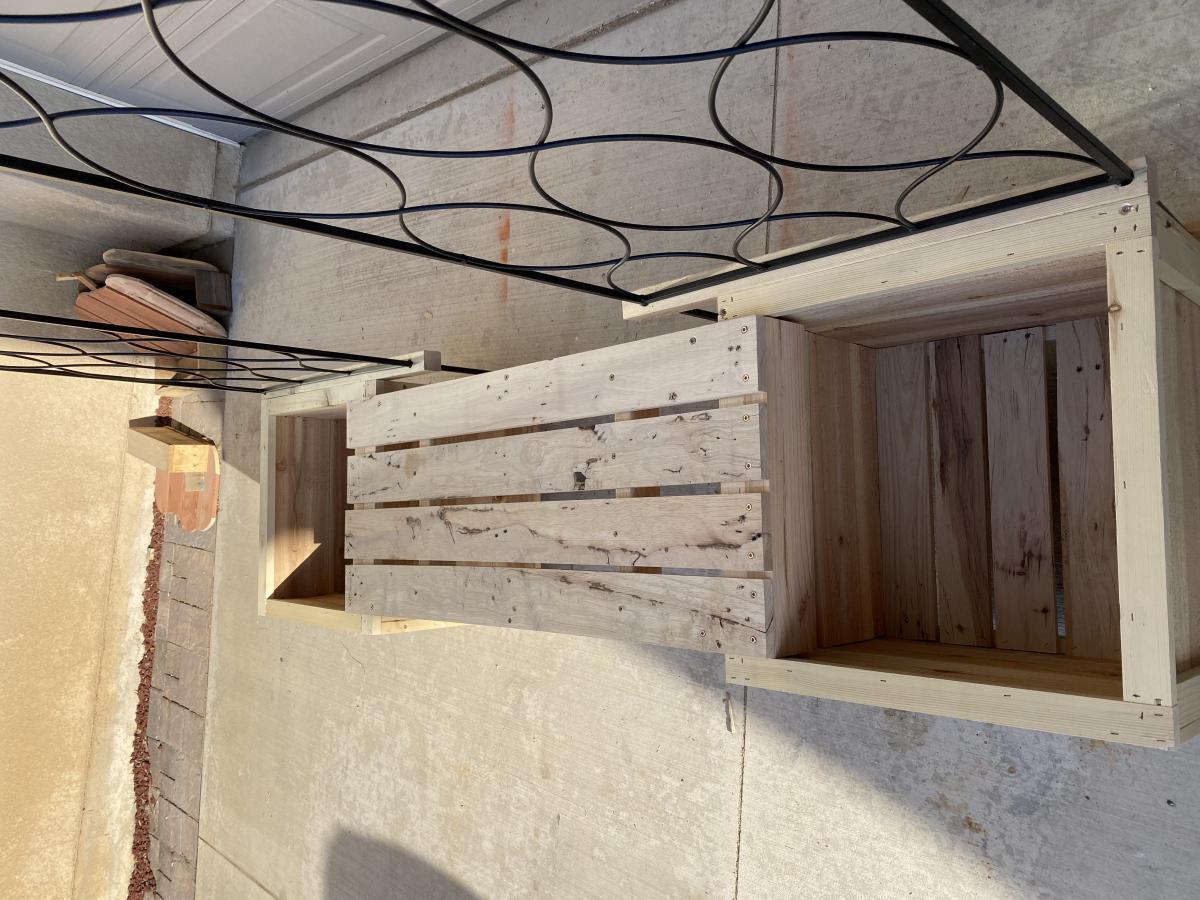
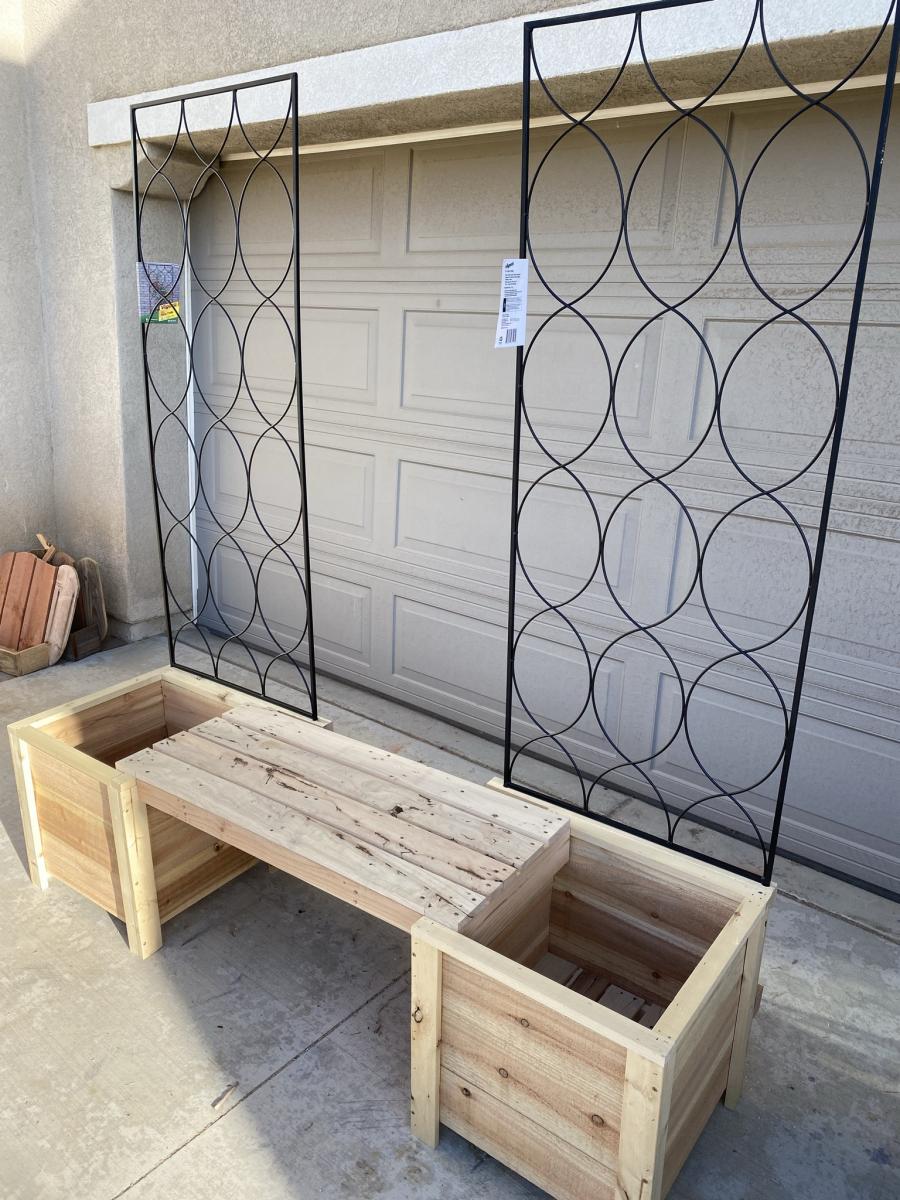
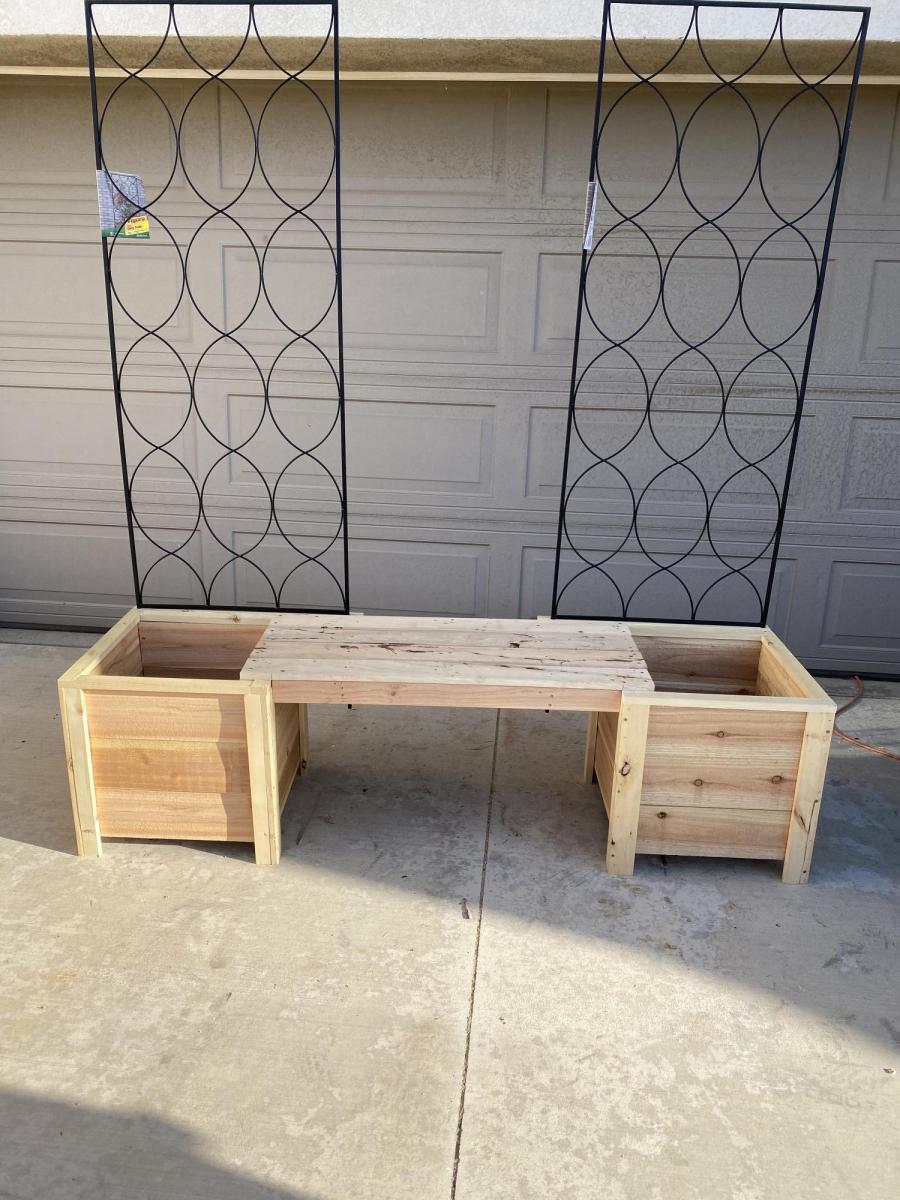
I made the boxes from plans, but added bench and trellis from my own design.
Just finished the Twin-sized Farmhouse bed, I love the easy to do plans. The only power tools I used were a jigsay & drill.
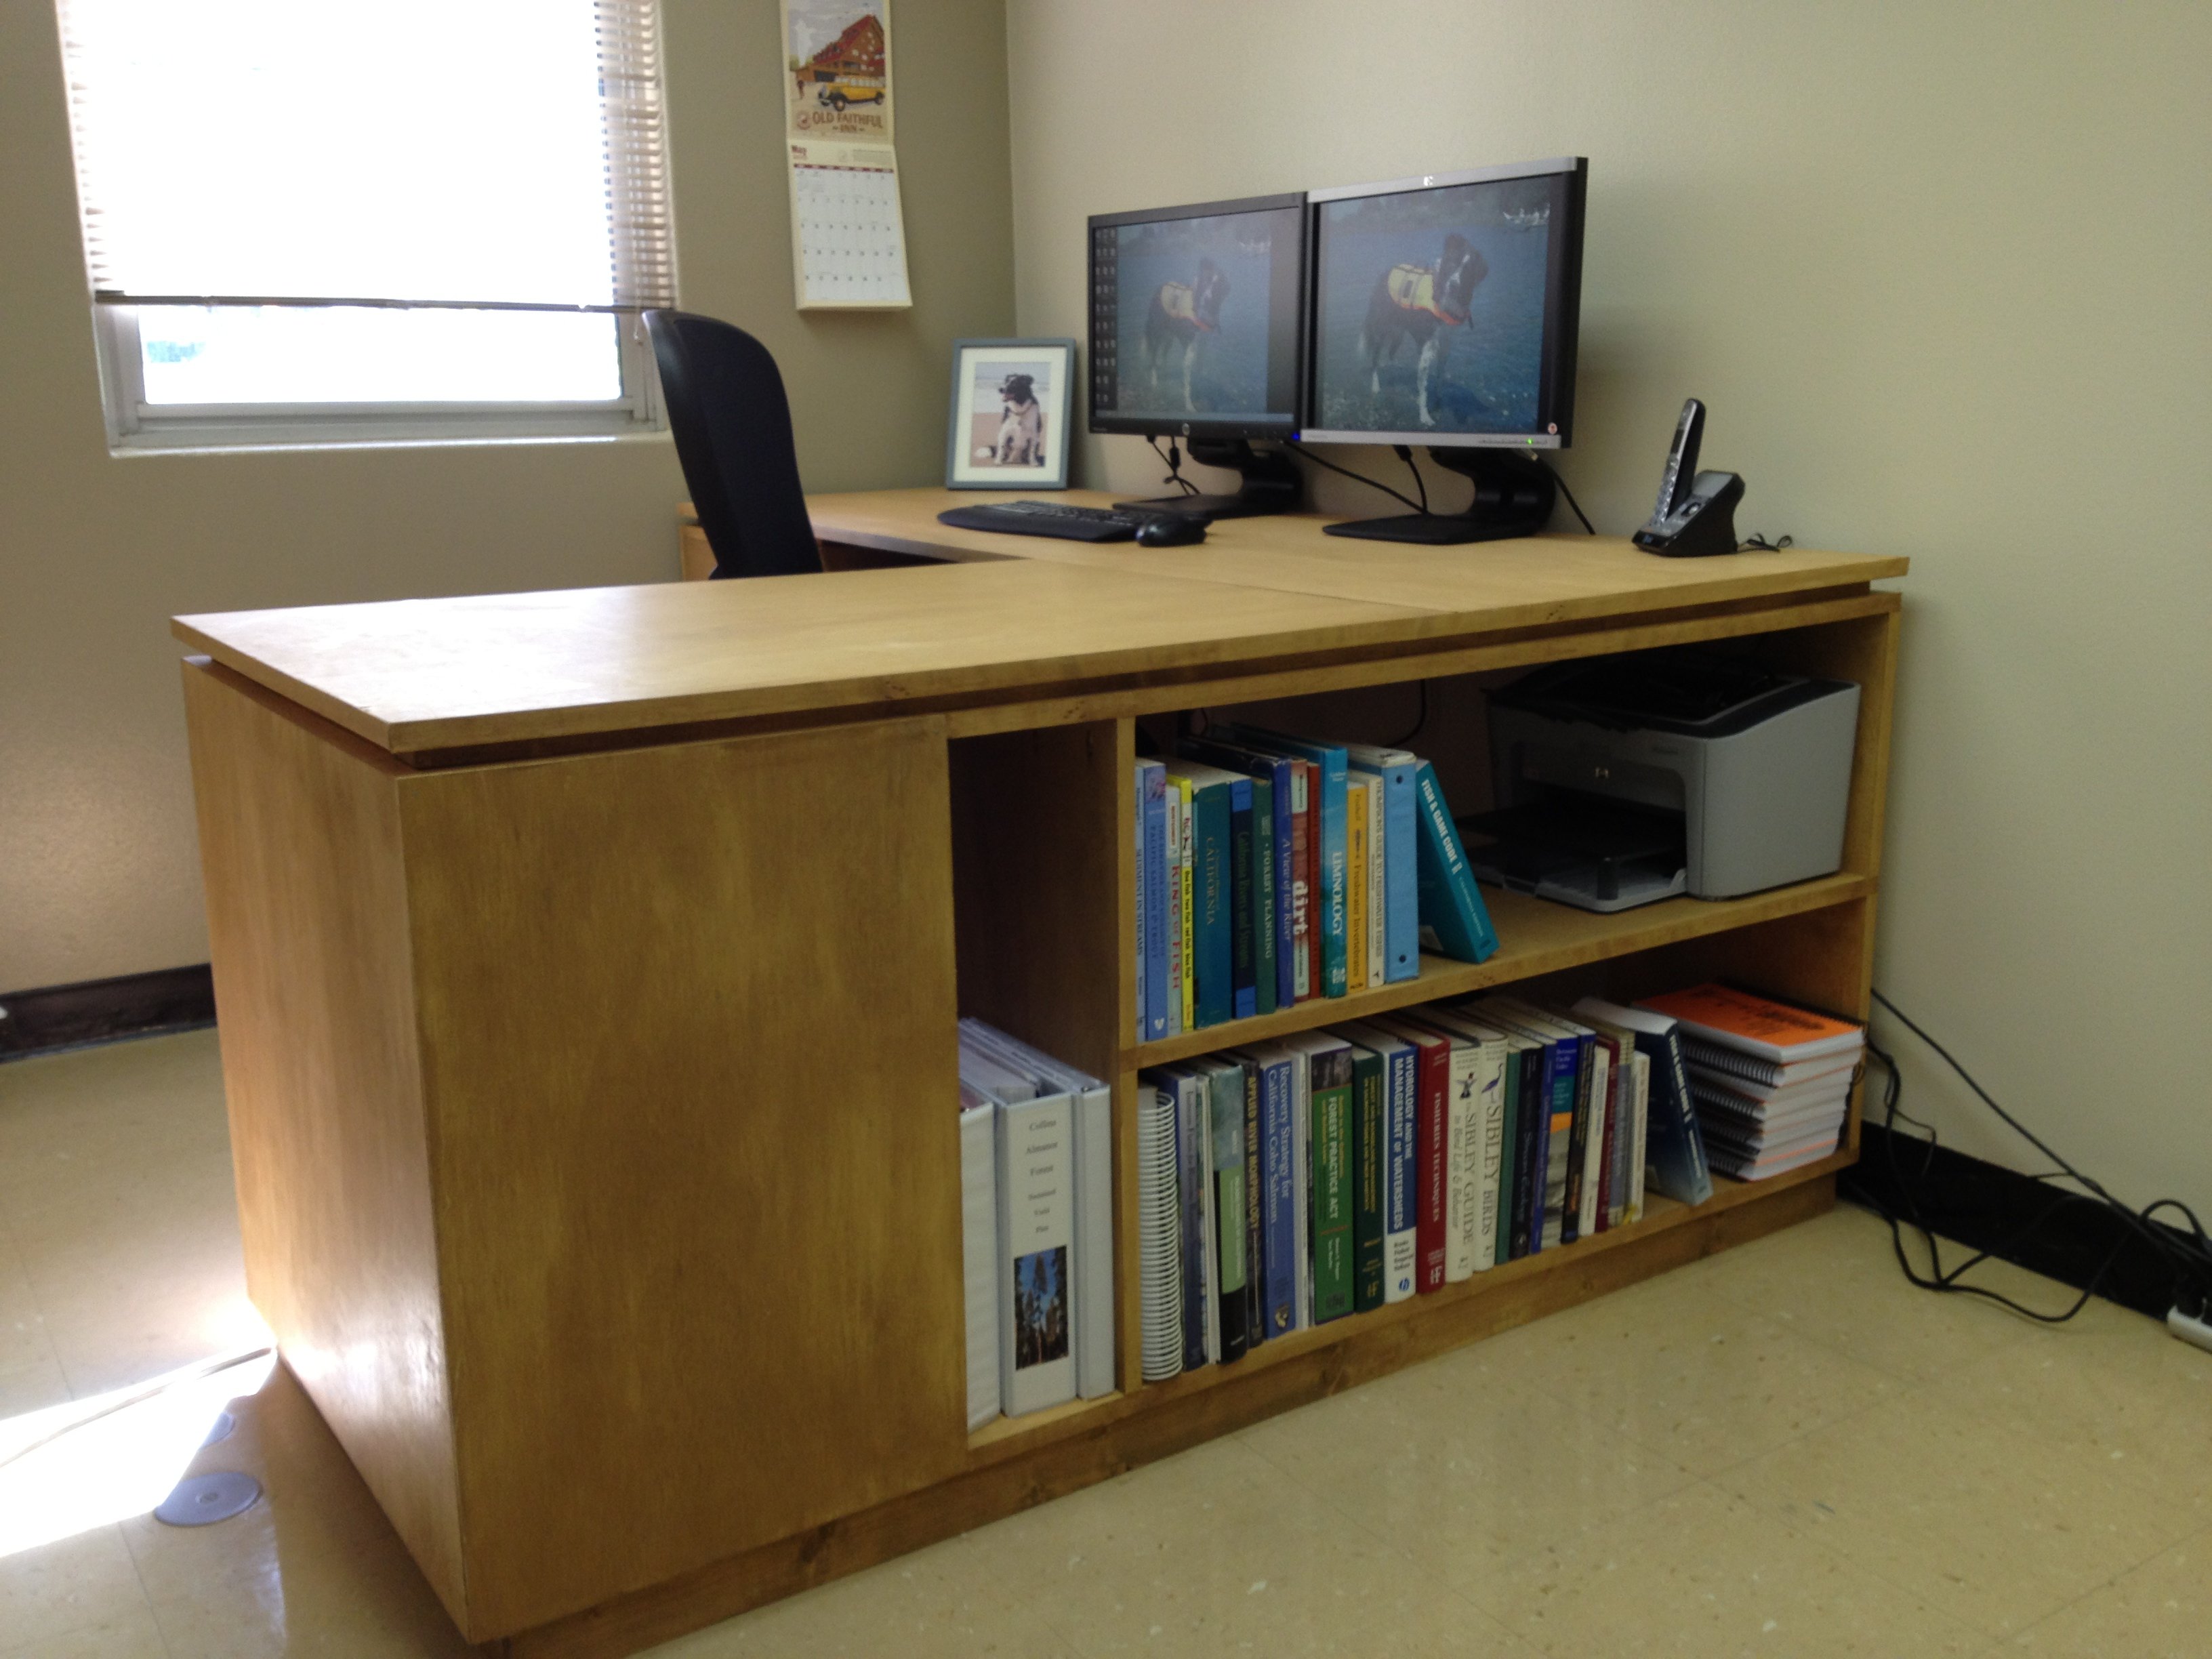
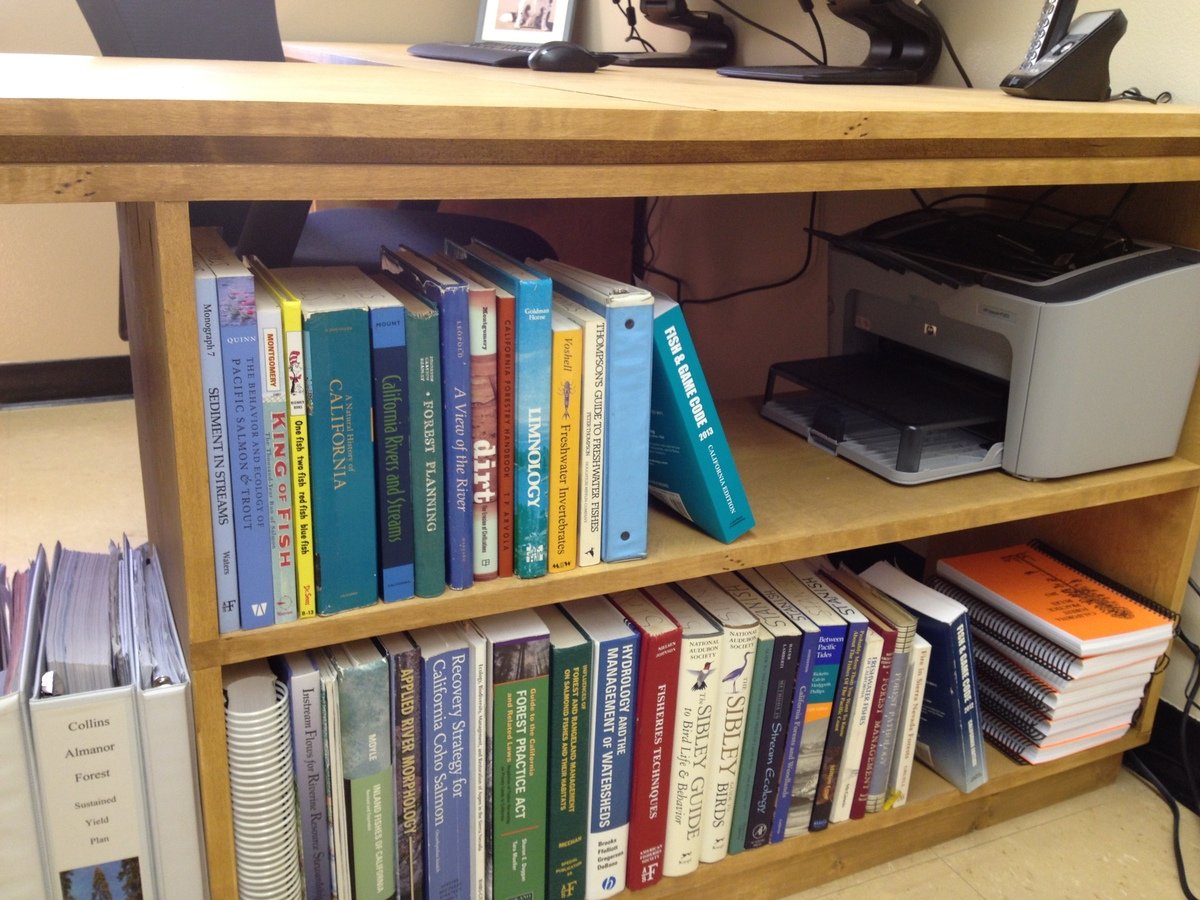
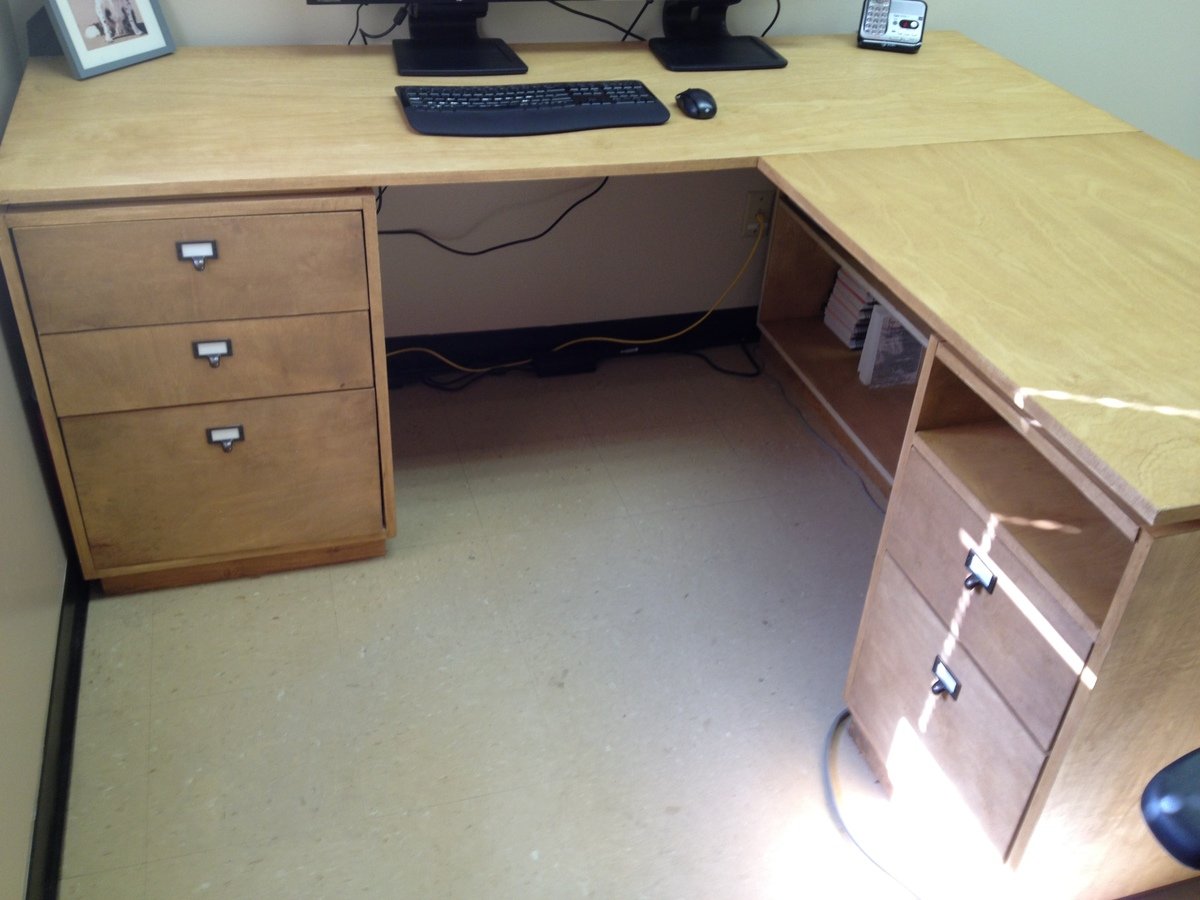
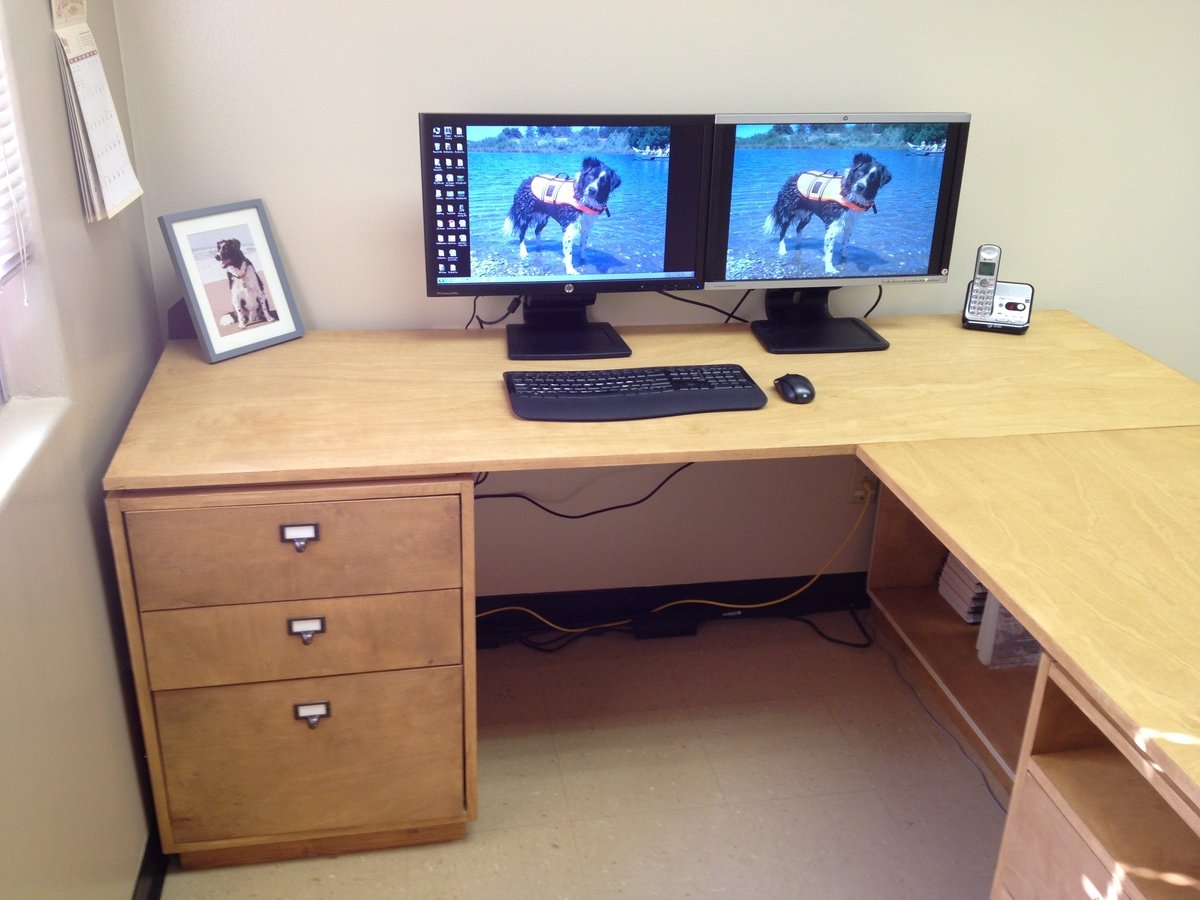
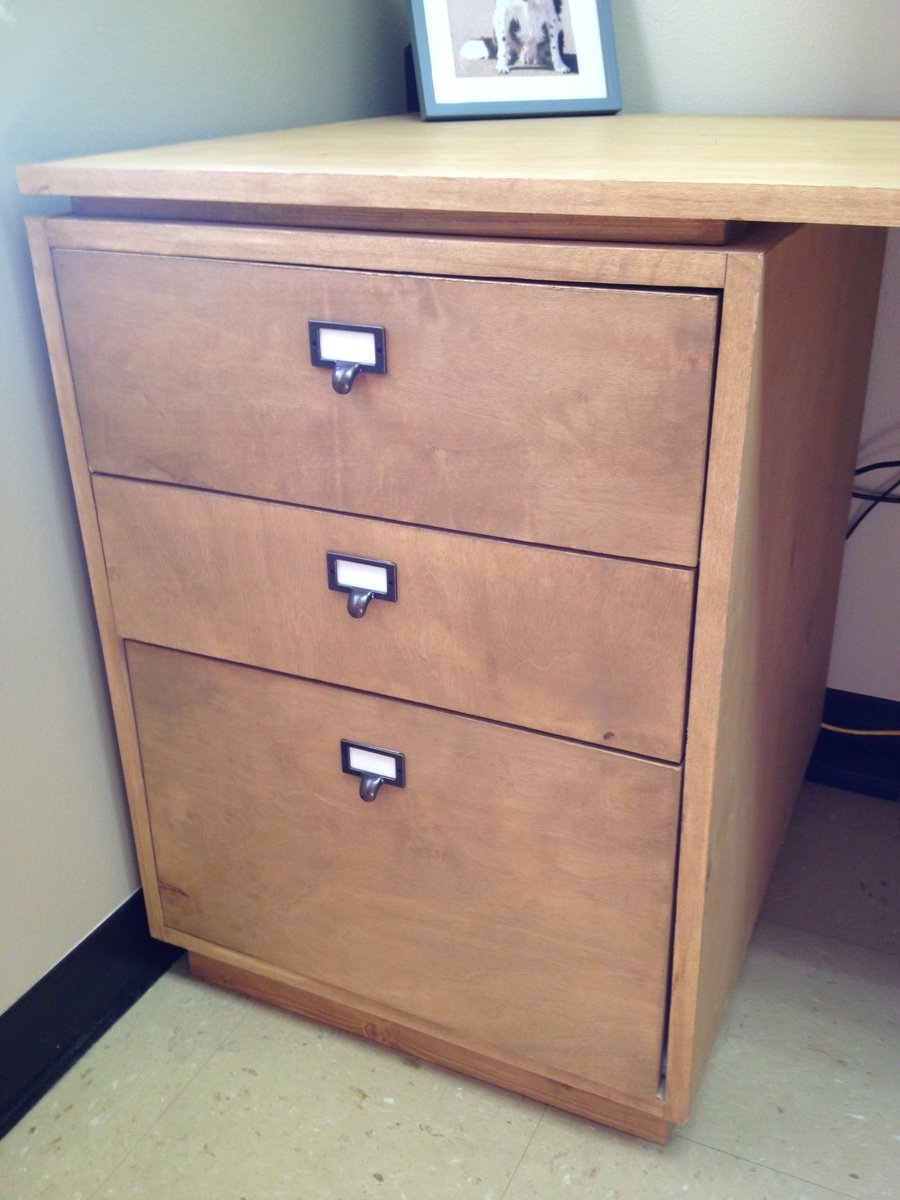
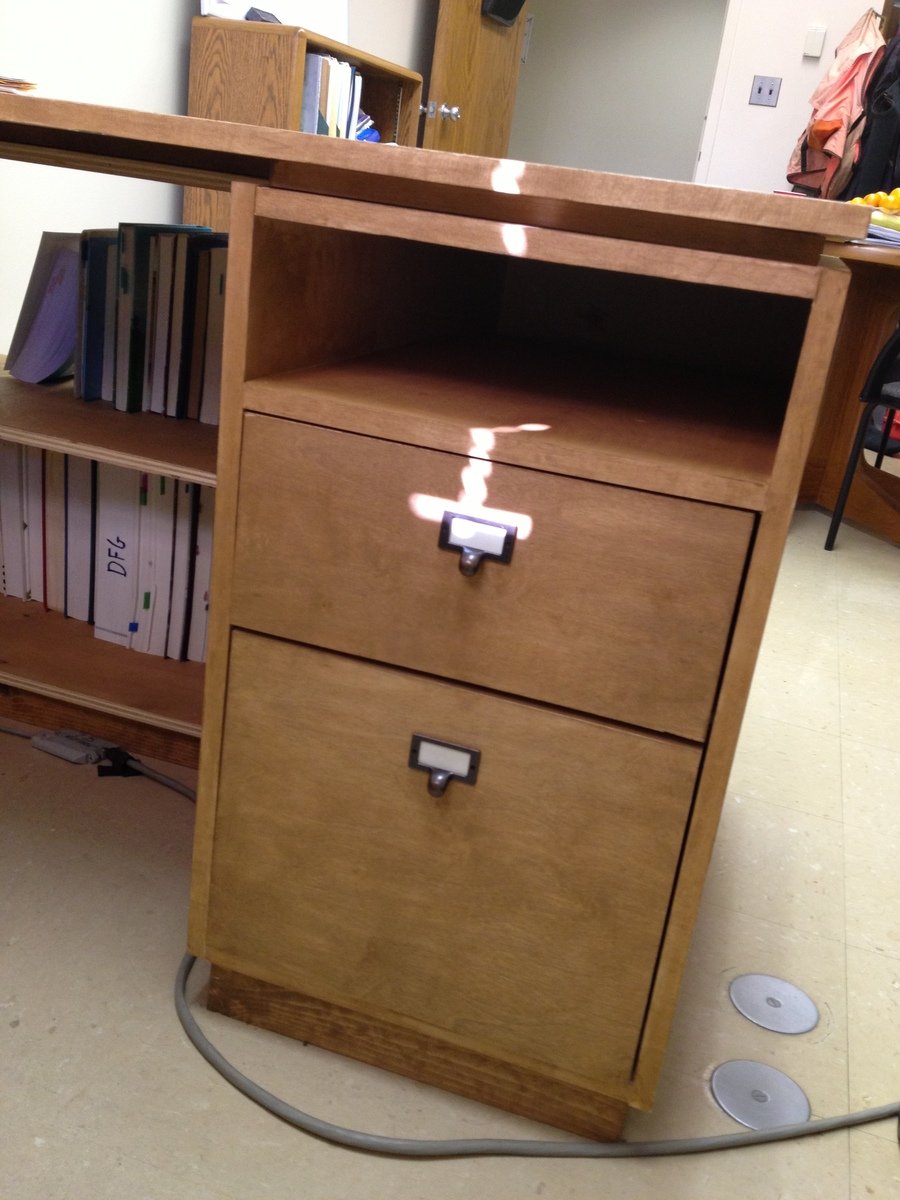
I've been meaning to build my own desk for my office and I wanted to stay true to the Eco Modular design. But, then I was offered a huge promotion with a larger office in a city 3 hours away. The space already had the "executive style" desk made by prison industries, so I thought I would replace it with with the "executive style" based off the Eco Modular design. I used Purebond plywood, cut all of the pieces at my house, put them in my car, drove them 3 hours to the new office, and crossed my fingers that it would all fit...and it did! The drawer faces were a bit more of a challenge, getting everything sized properly, but it's all come together. I like having the shelf on the one side to get my printer off the desktop. More room to spread out.

We were using a 1970's dresser set which was constructed of mdf wood with a laminate teak exterior . I decided to do a makeover that would match our bed. Instead of simply painting, I decided to use solid wood (pine) and get rid of the poor laminate drawer fronts.
More photos and tips on my blog about this project:
http://www.woodworkingfourdummies.com/blog/dresser-set-makeover
Cheers,
Ian

Great Plans! Thank you so much. My first go at a piece of "fine" furniture and I couldn't be happier with how it turned out.

Used single V-Groove on the head and footboard.
Modified the bed slats to be easily removed
Modified the sideboards for easy removal.
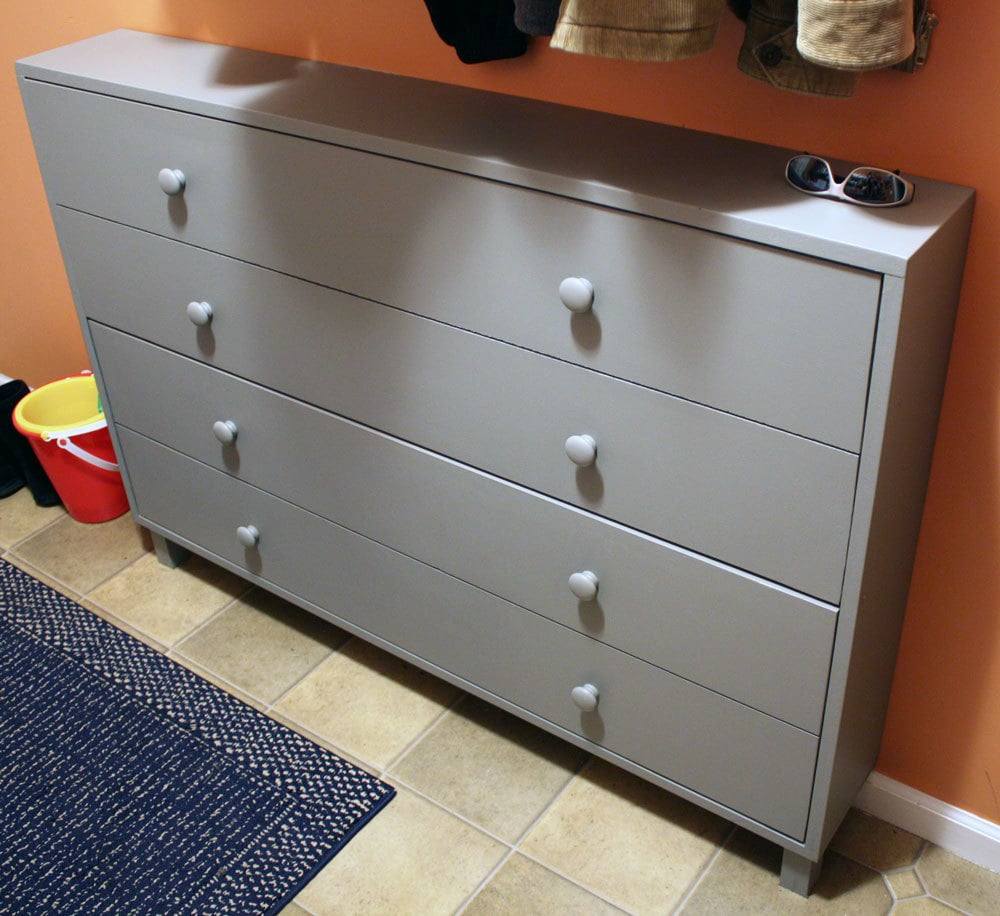
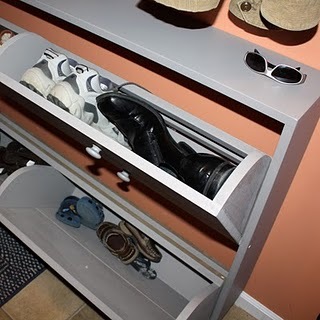
We have two young kids who don't want to take their shoes and put them away (as well as two adults who are the same way) so I asked my hubby to make Ana's shoe dresser. He did a great job and we were so excited with how it turned out!
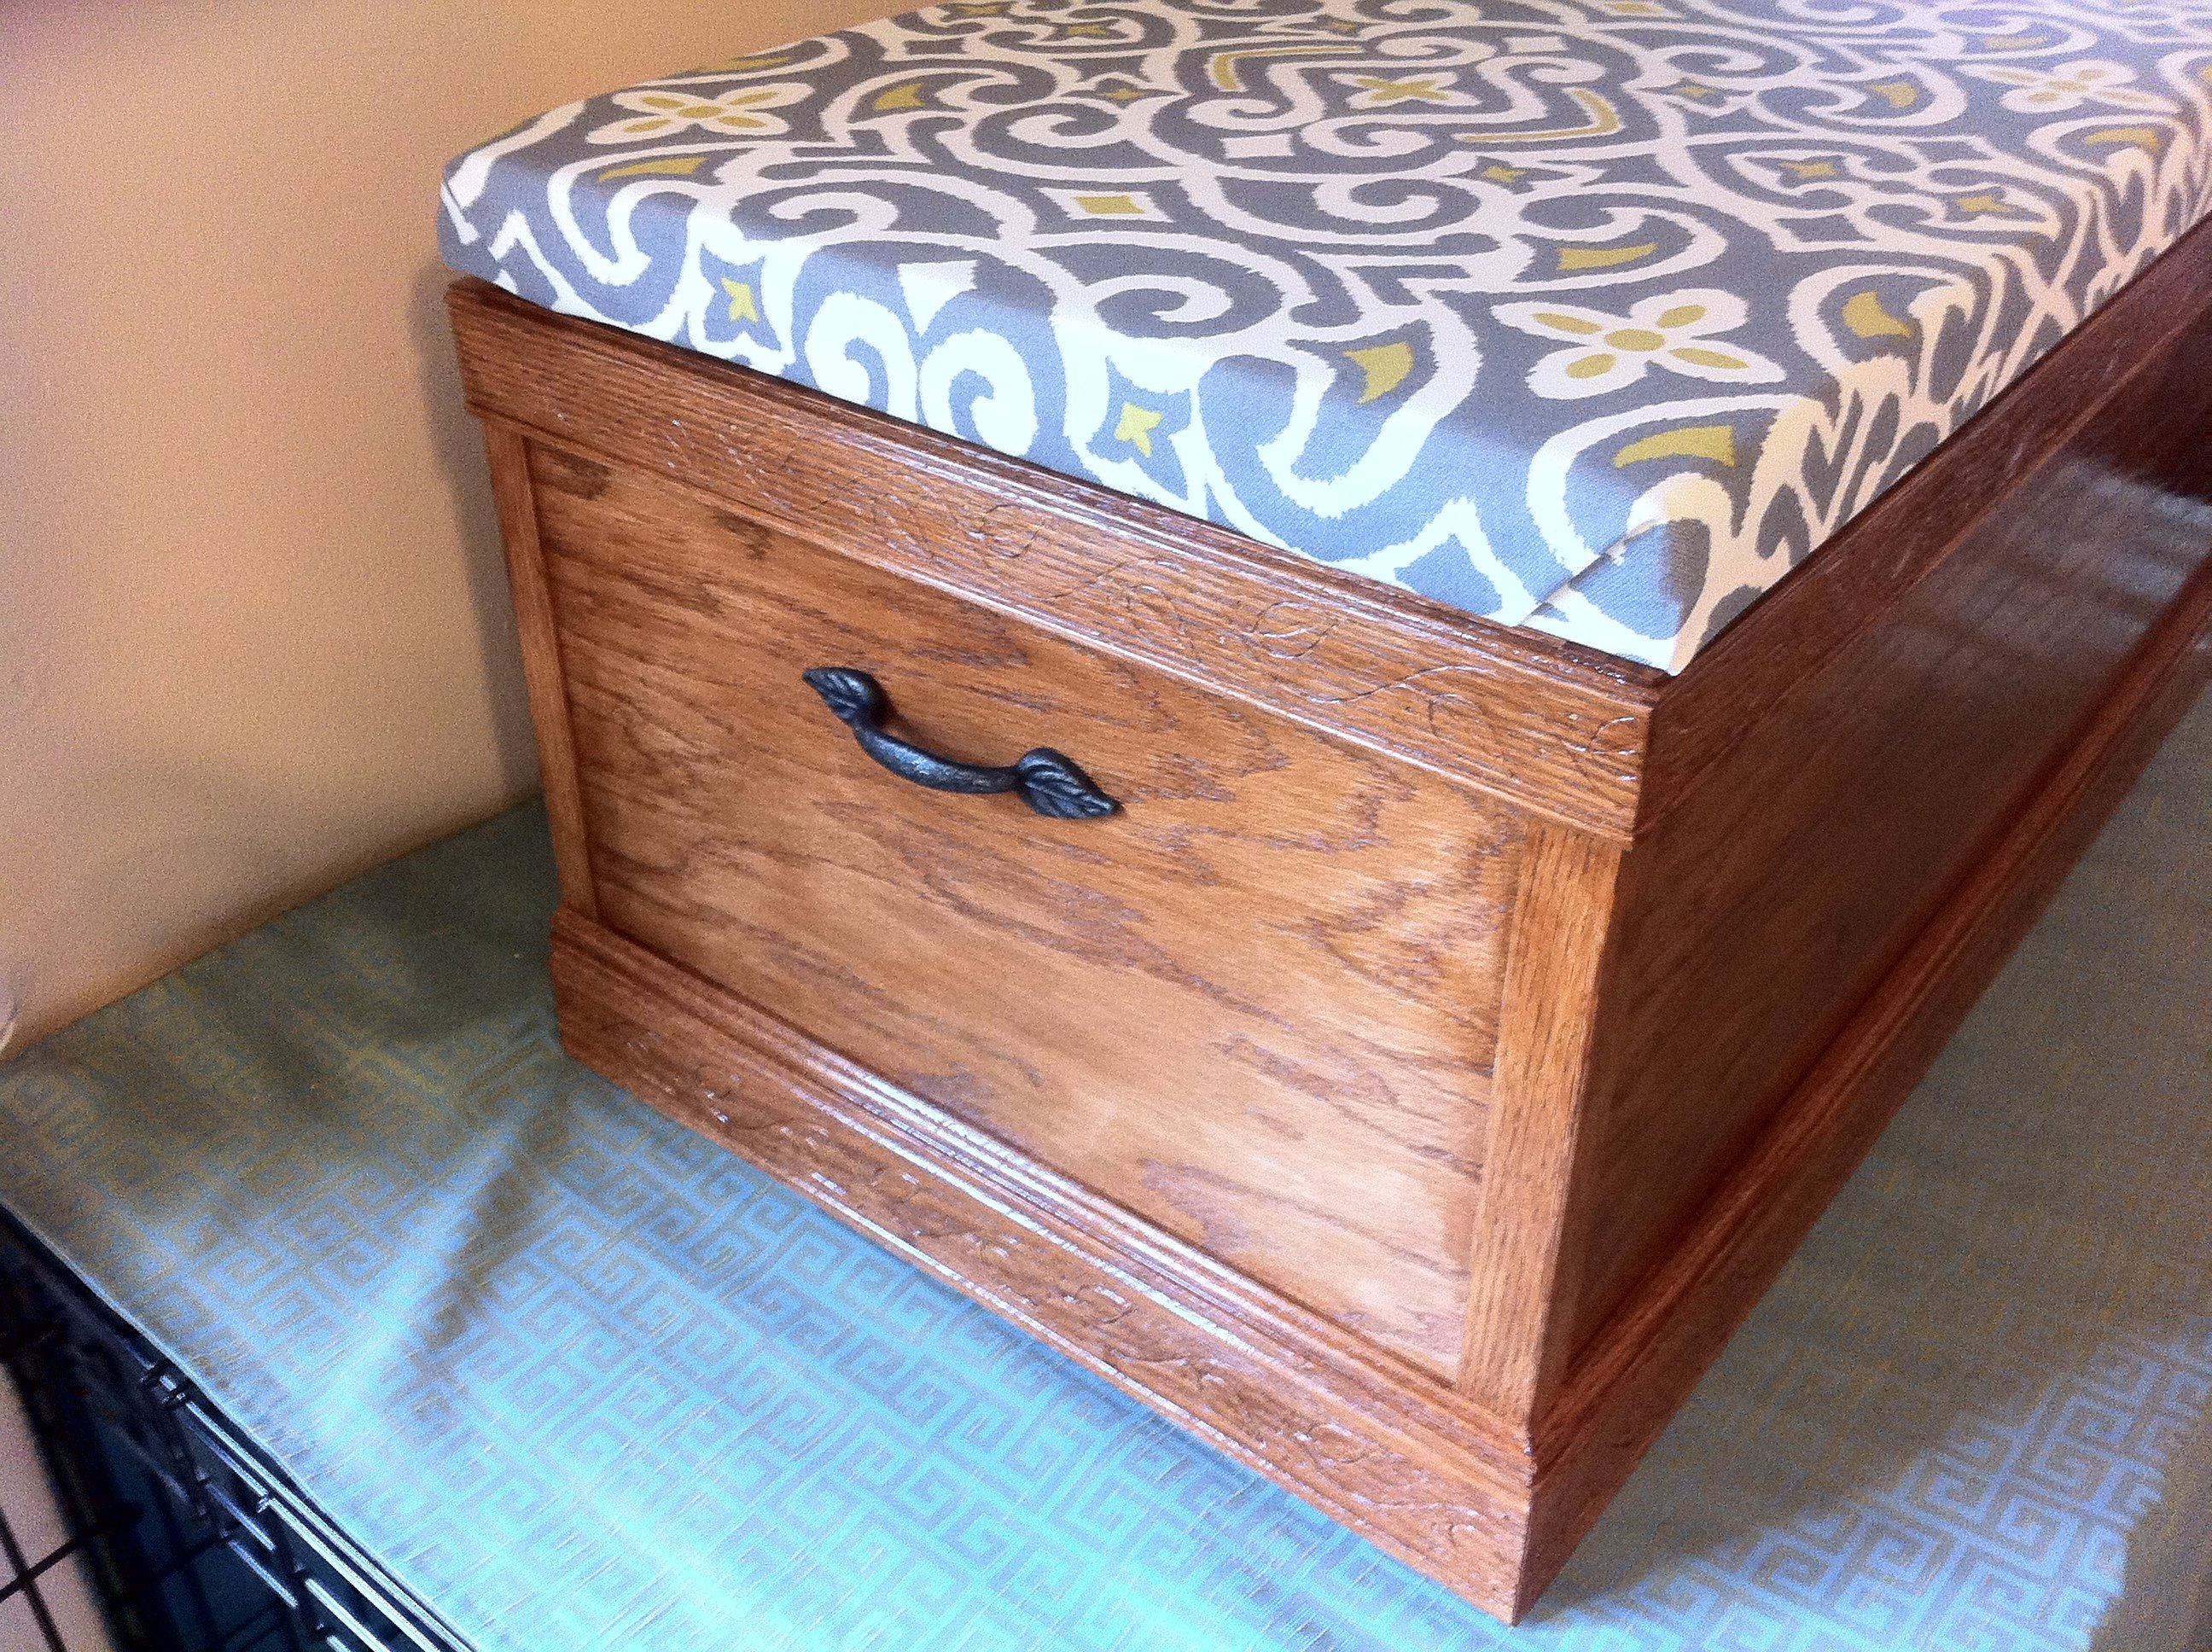
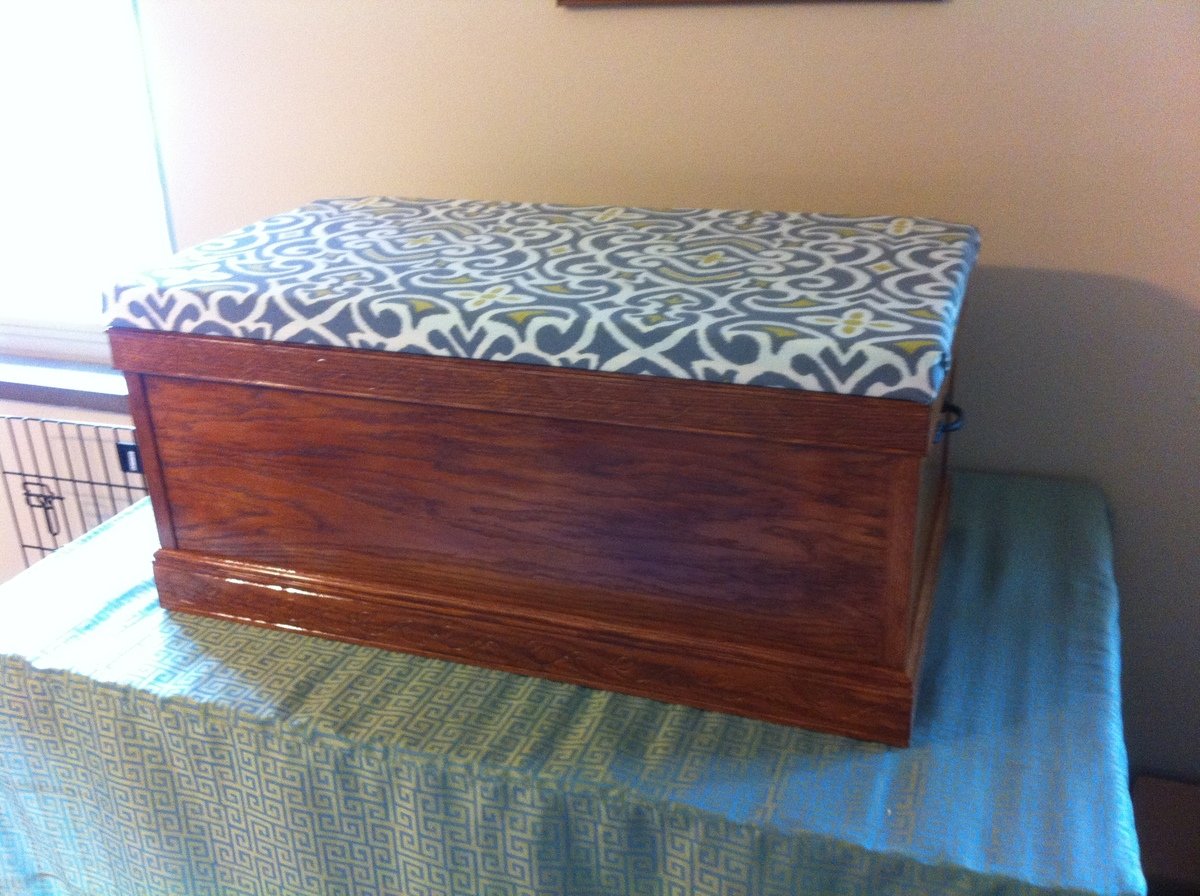
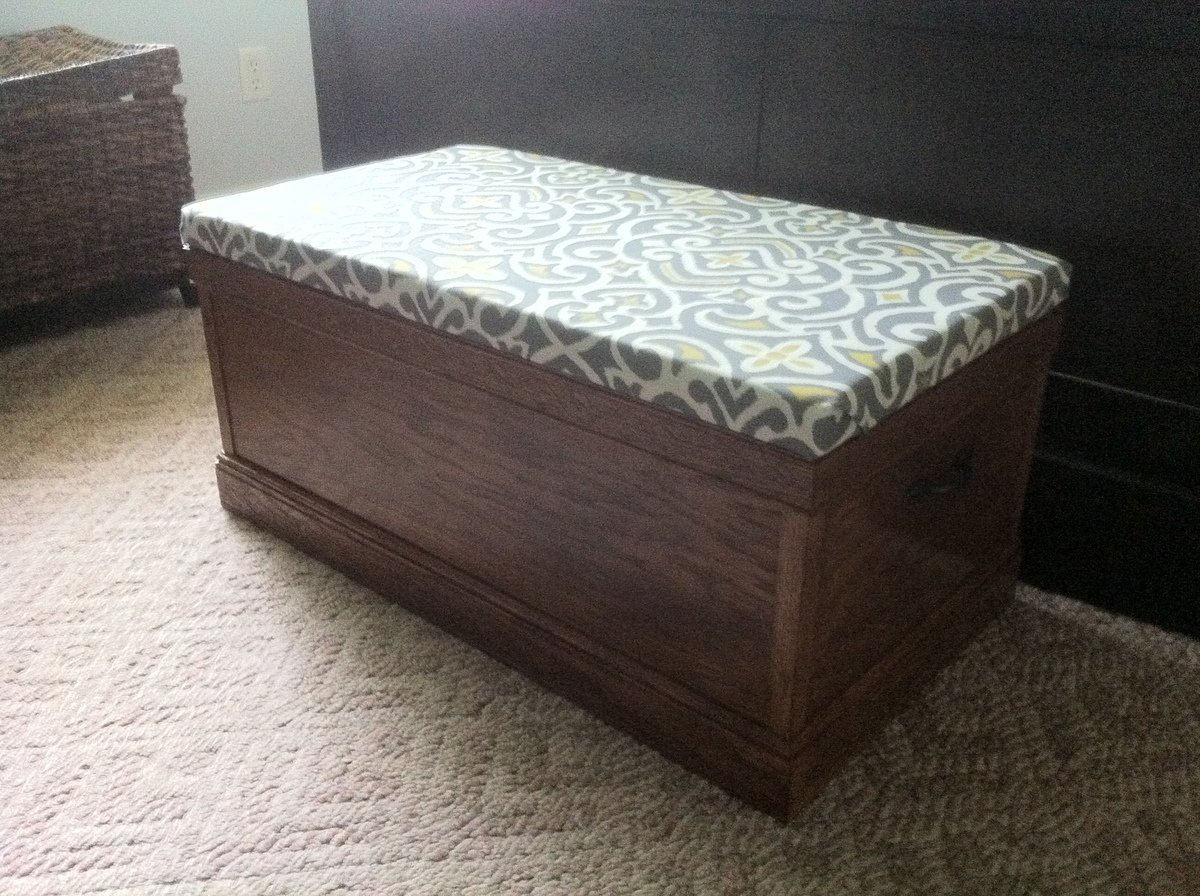
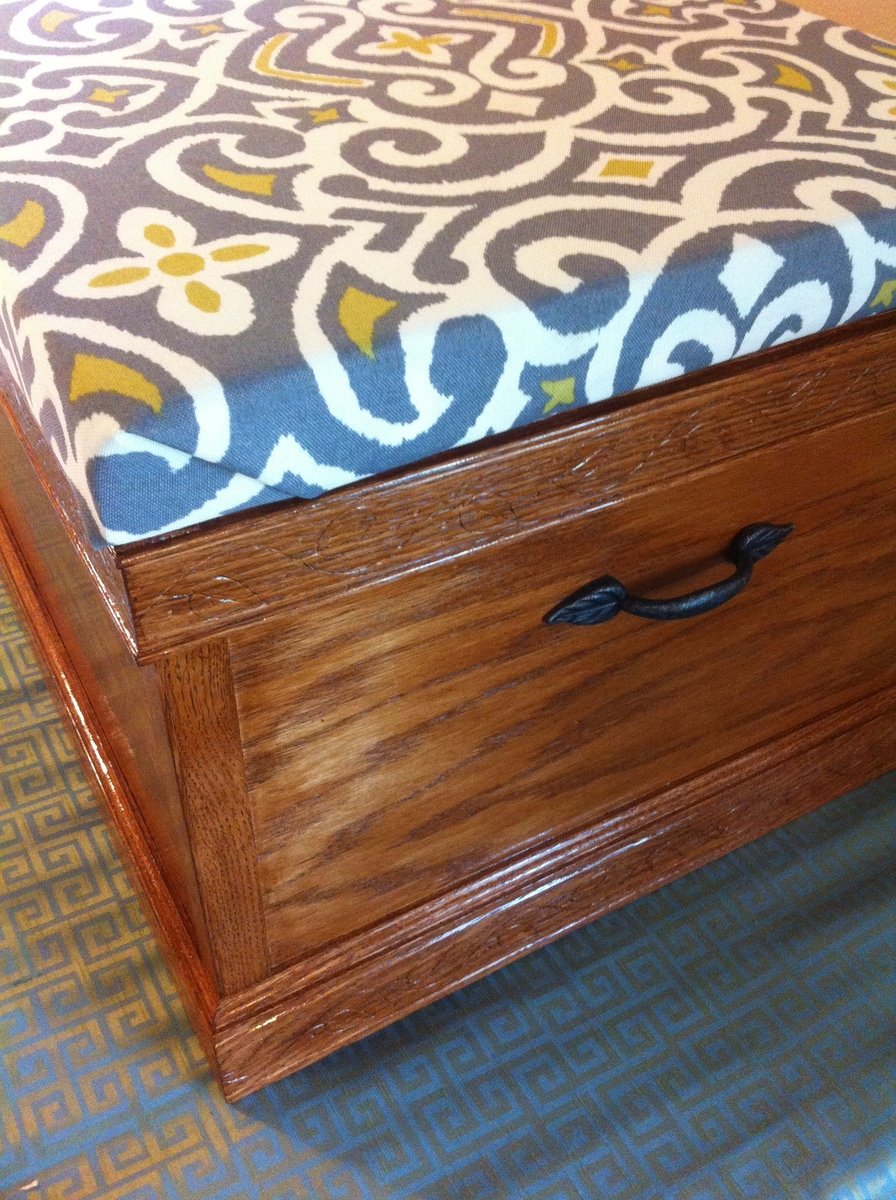
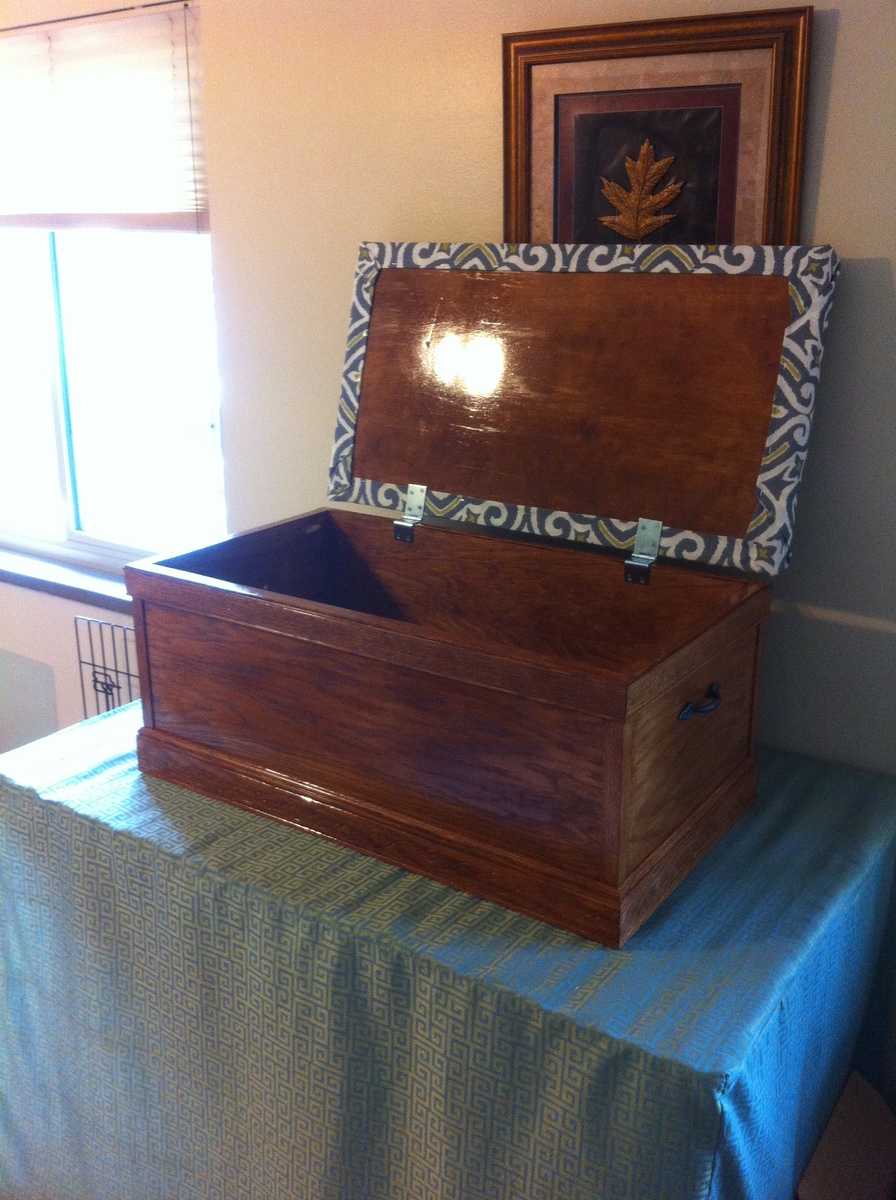
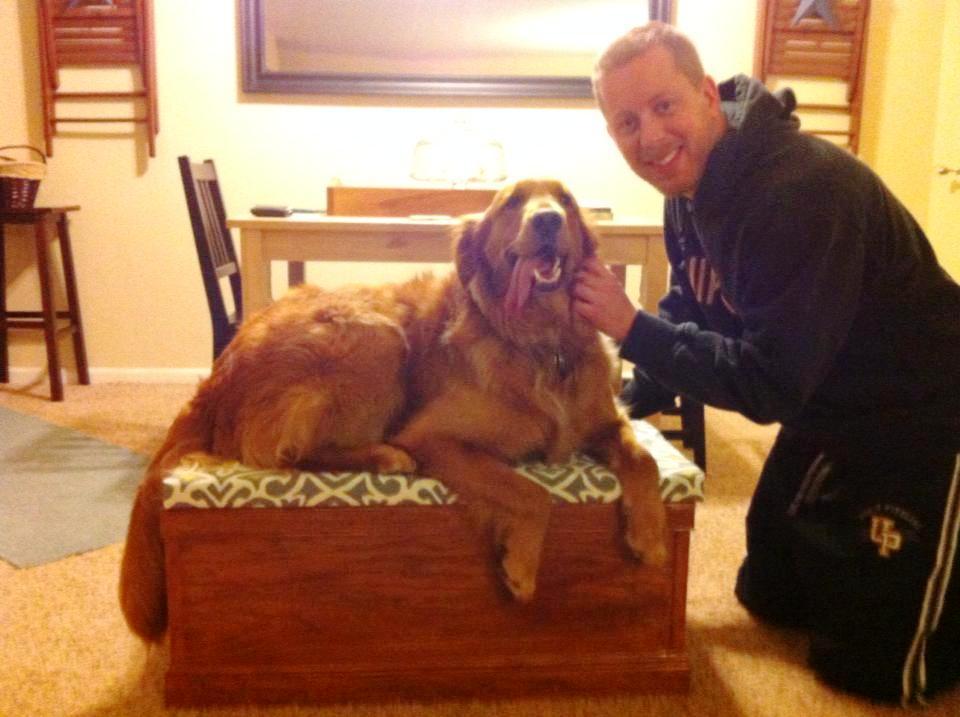
My wife and I have a 2 year old, 85lb, golden retriever named Lily. She has a tough time jumping up on our bed and has hurt herself on a few occasions. I was inspired to build her a step, but also wanted some storage. When I saw the Becca Trunk I knew I had to build it!
I used oak ply and solid oak for the trim, including some decorative leaf inscribed trim for the top and bottom. My wife and I picked out some outdoor furniture fabric that was stylish and would hold up to a big dog jumping on it. She used some firm padding and staple gunned the fabric to create a really neat and clean look (I am lost when it comes to that stuff, but she is a genius with scissors).

I followed the plans exactly and made this sand box for my friend and her children. Simple! Thank you so much!!!

We modified the plans from the outdoor sectional to fit a single 22x24 pillow. We also made it a little longer and added back slats to provide some additional support. I guess it looks a bit like a hybrid between the outdoor sectional and an adirondack chair. Really easy build. I think it took about 3 hours to cut, sand, and build, and then a few coats of stain and spar urathane and we were ready to go!
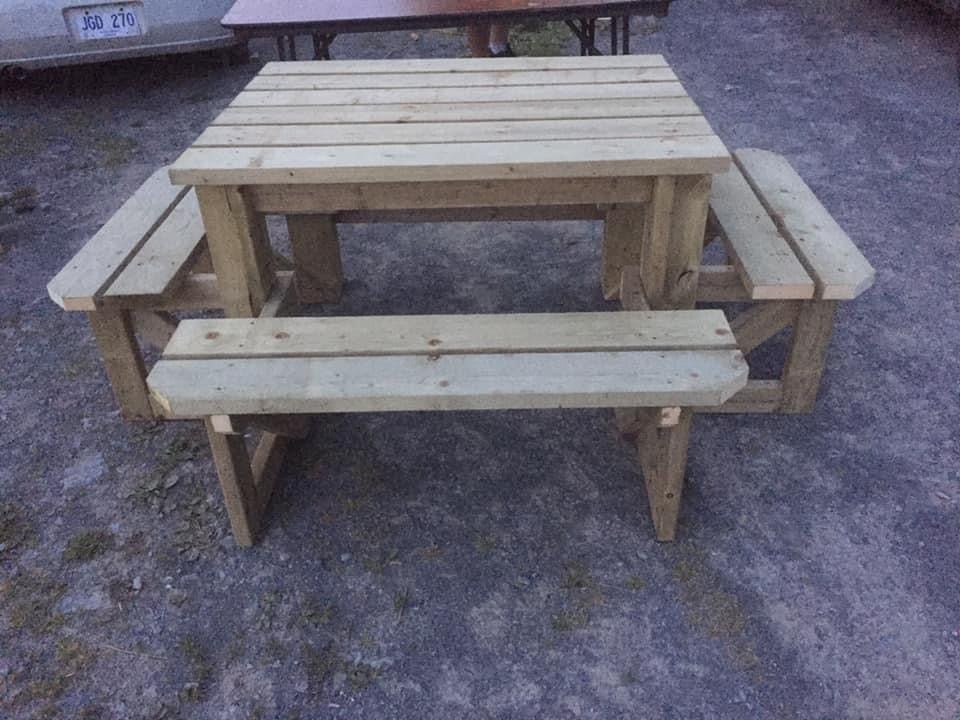
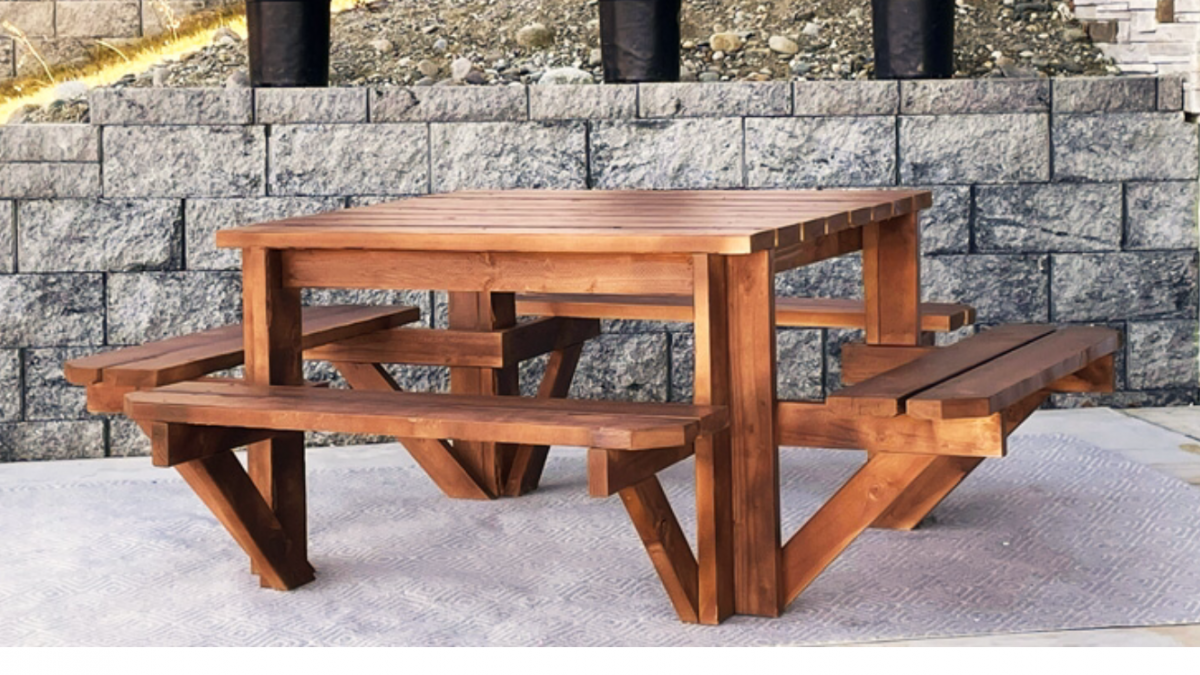
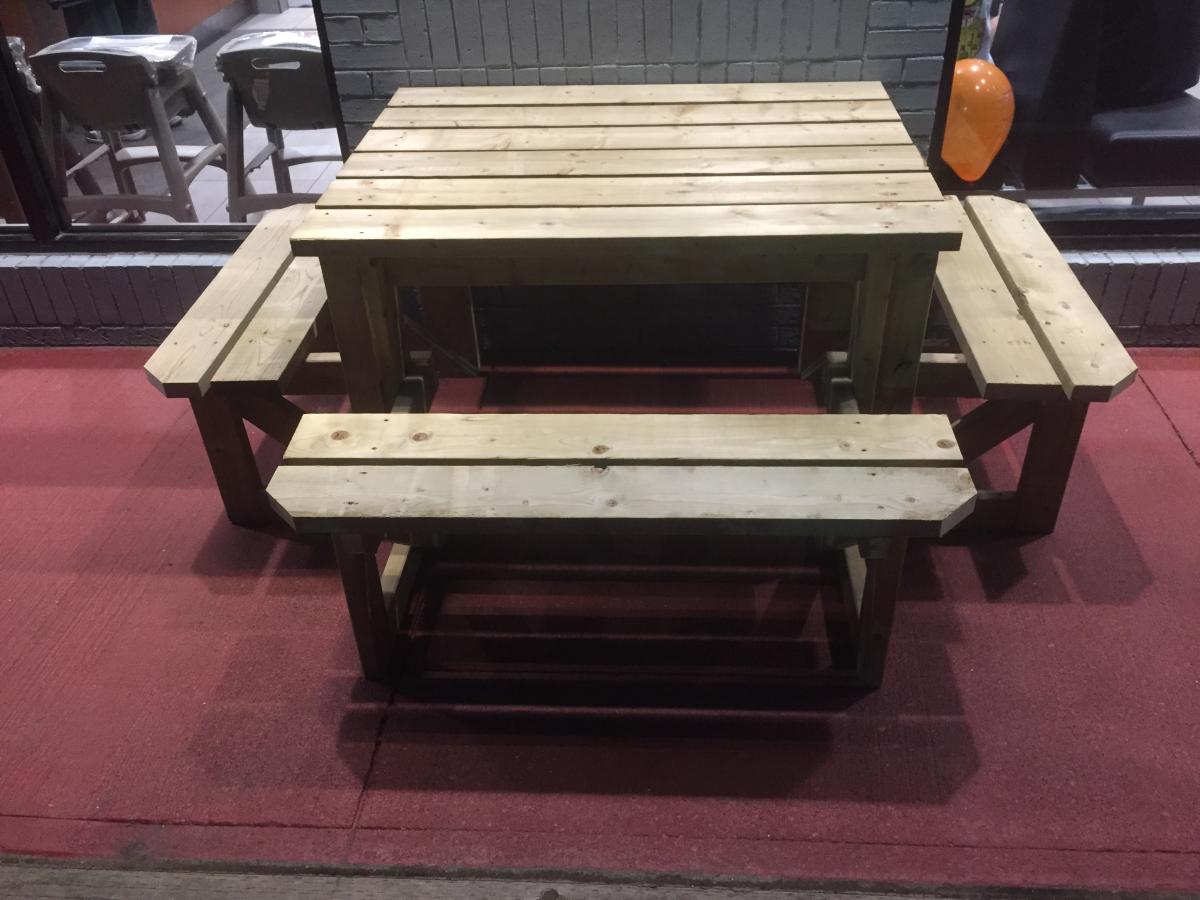
We built 2 of these tables for the McDonald’s in our area for the front of their building. With a few modifications to fit the space. We made the top of the table a foot smaller so it’s 3 x 4 feet. We also put extra bracing on the legs so the table would not tip over if one person was to sit on it. I love this table and will be making one for myself


Comments
AmyWood1
Sun, 05/01/2016 - 10:59
?Plans?
I LOVE this mod.....anyway you could share your plans?
AmyWood1
Sun, 05/01/2016 - 11:35
?Plans?
I LOVE this mod.....anyway you could share your plans?
gmhurley
Tue, 06/23/2020 - 08:59
Modified arm rest and back
Hi, are plans available for this modified chair design? I like that the seat pan appears to be flat and the Adirondack style to the back slate.