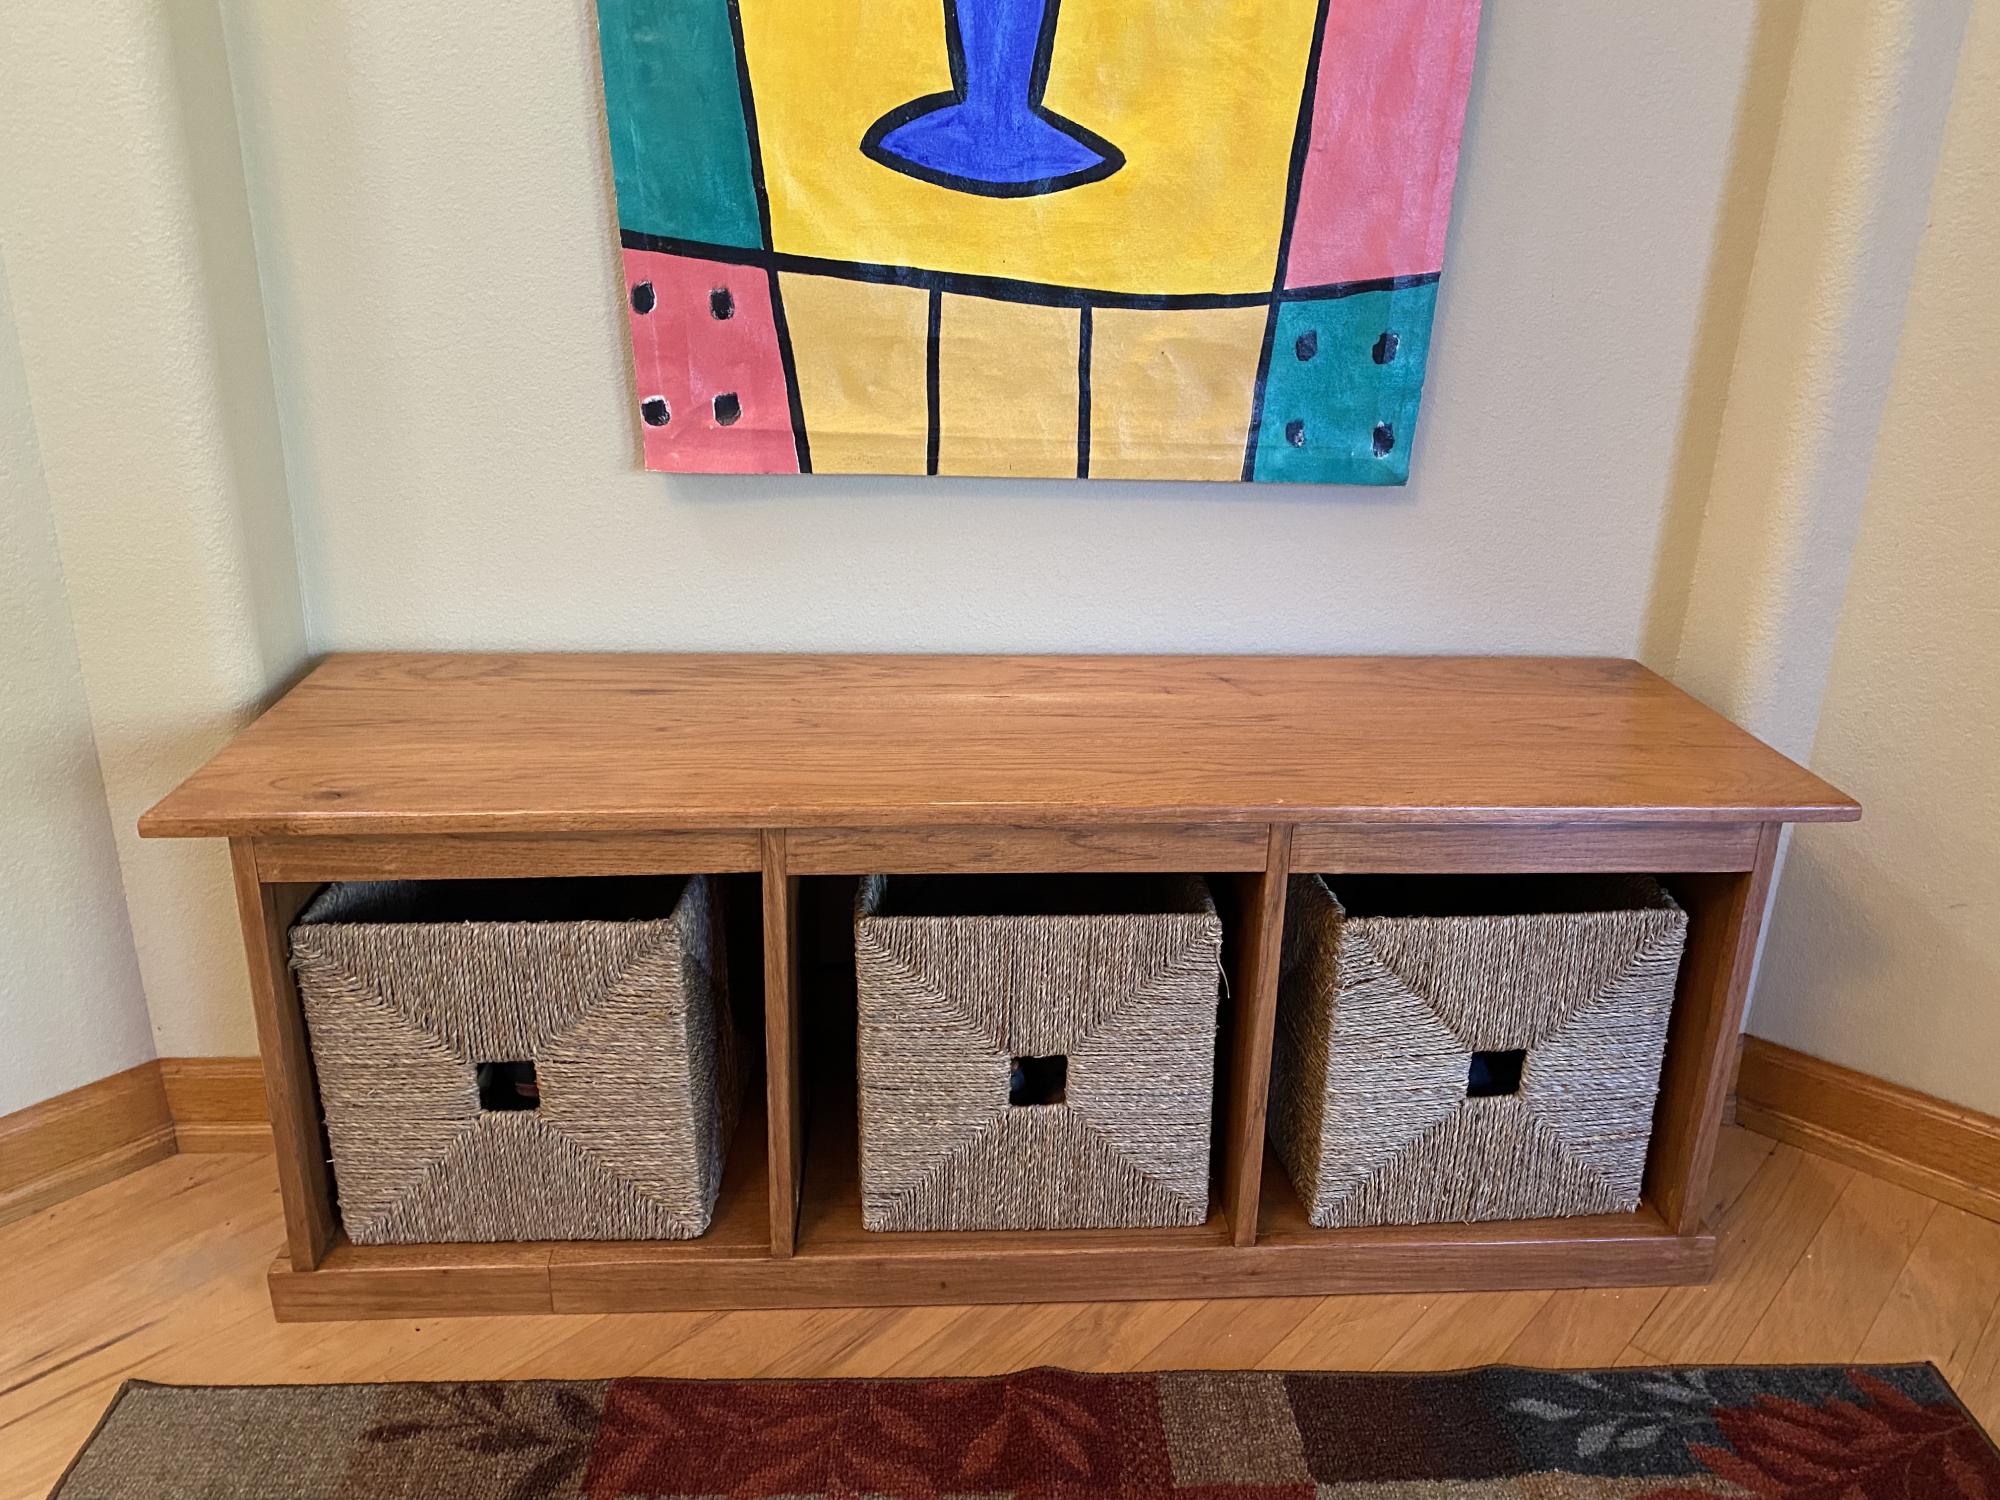
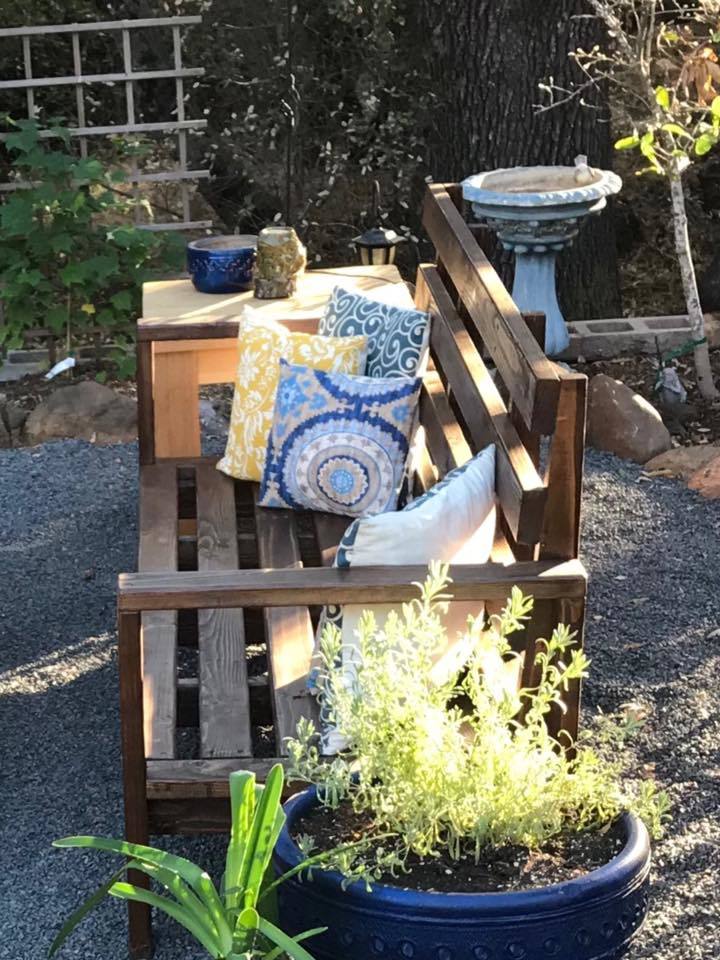
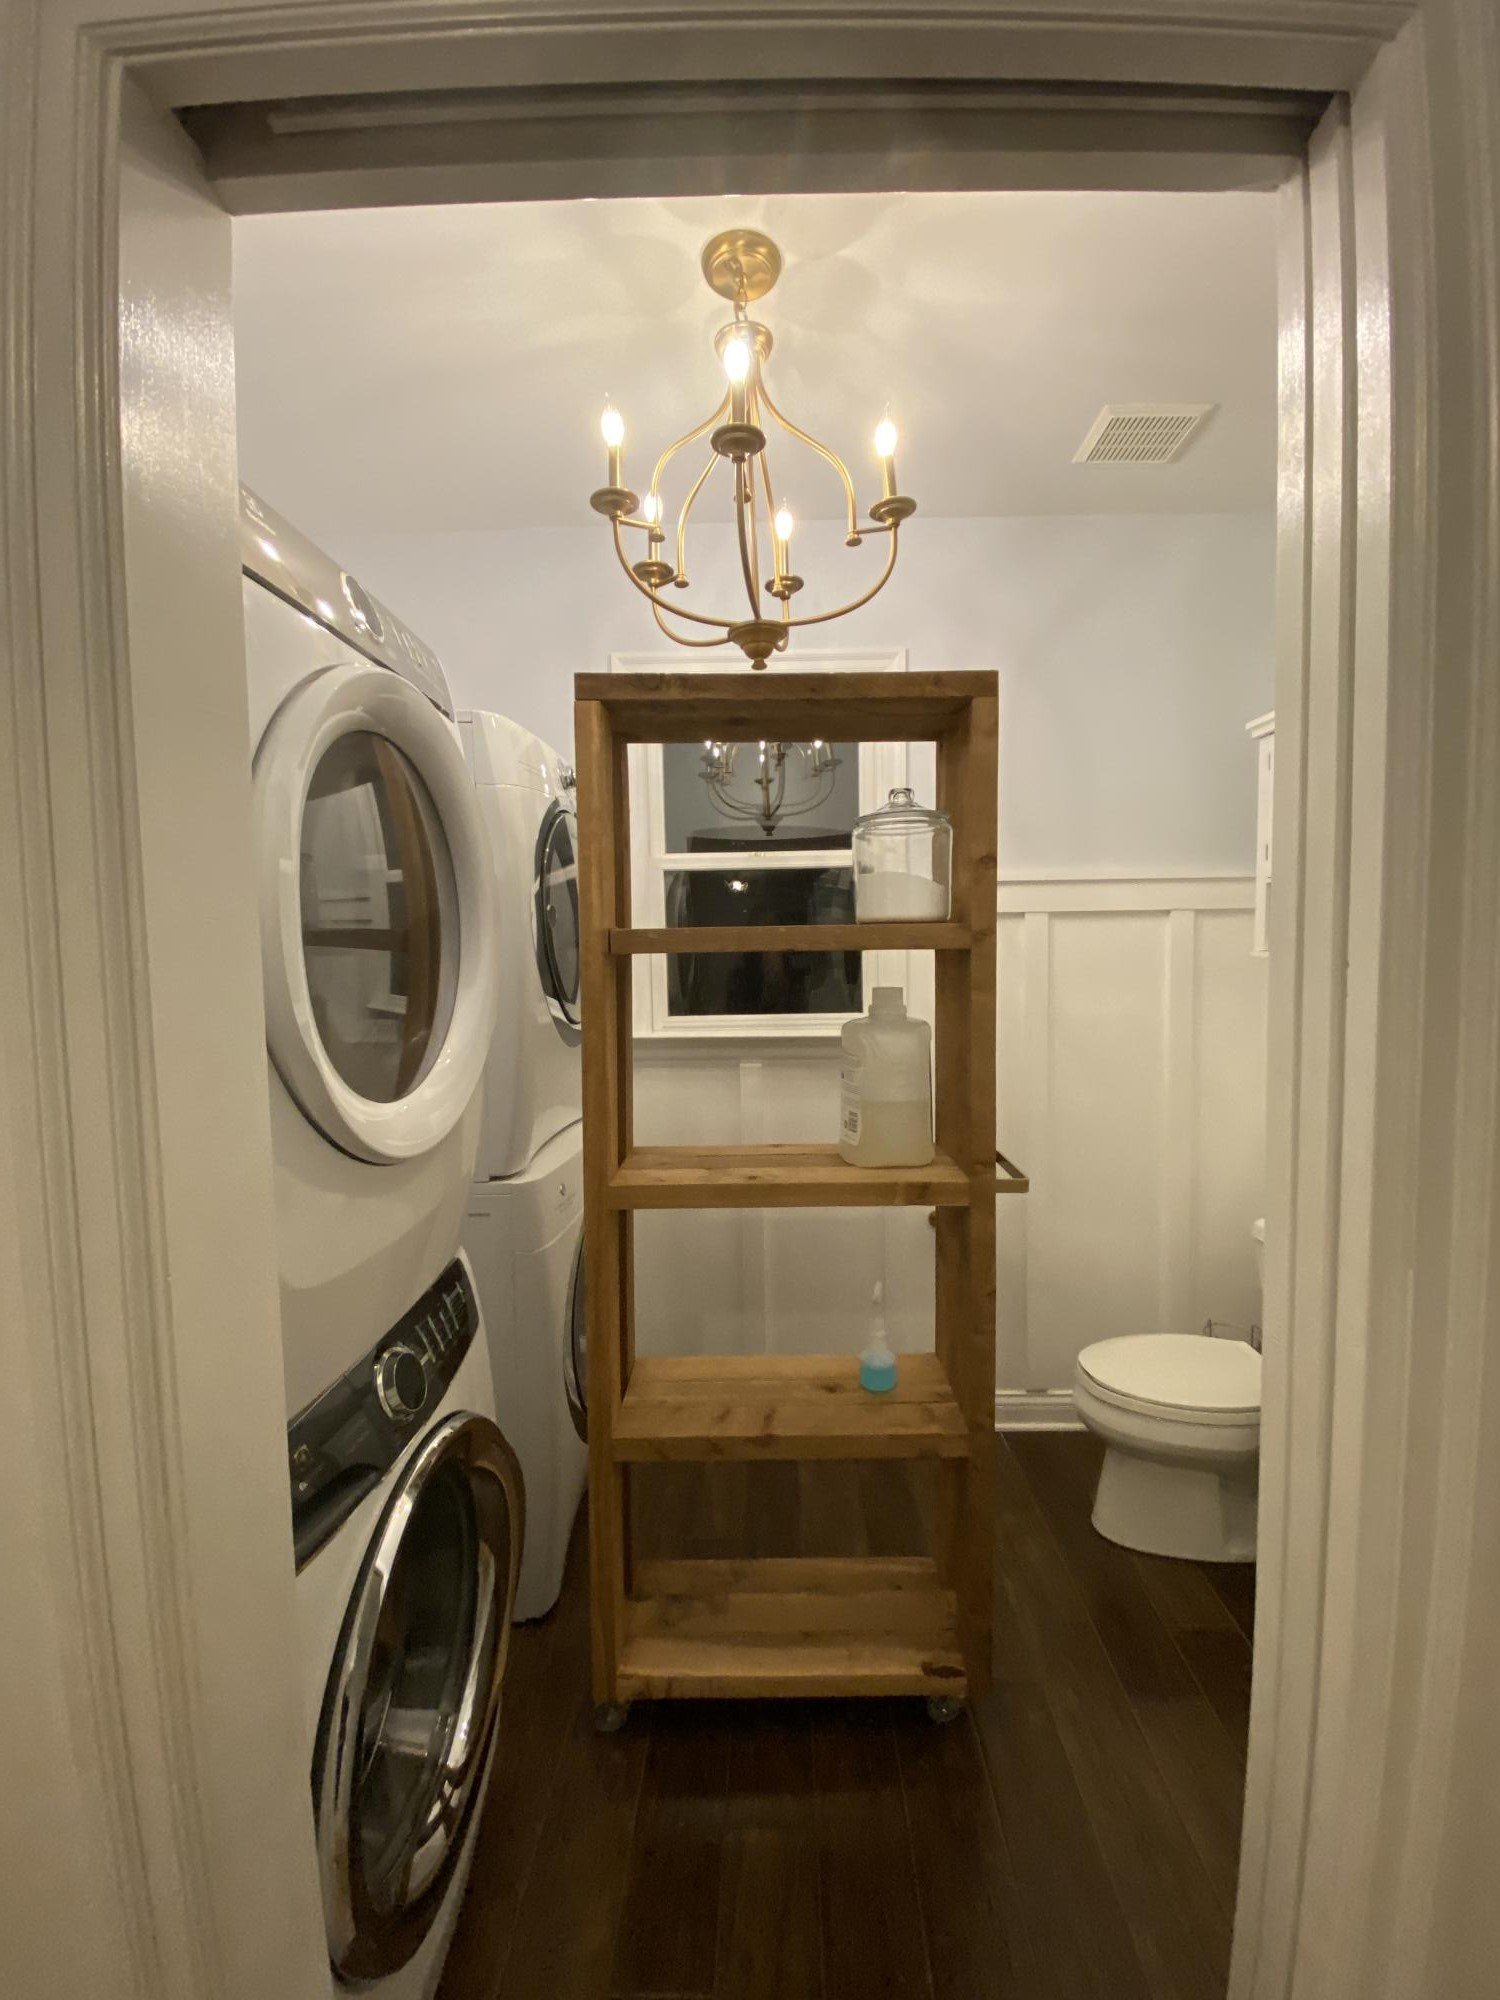
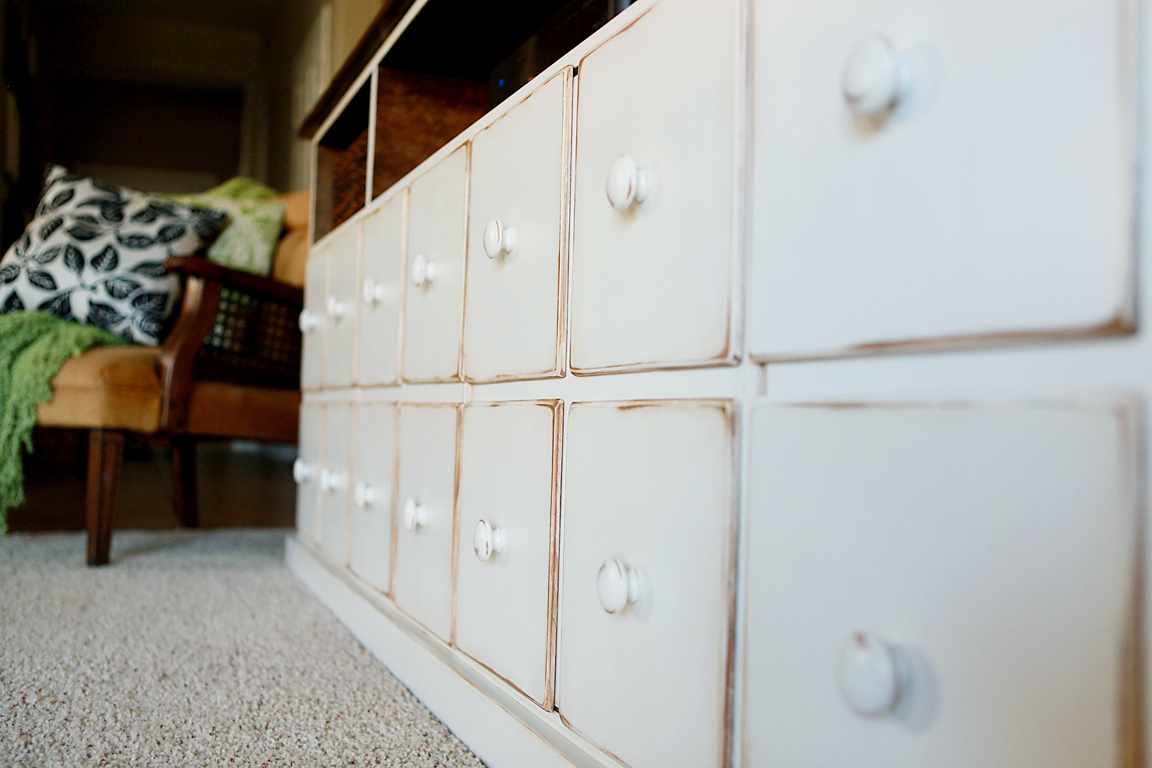
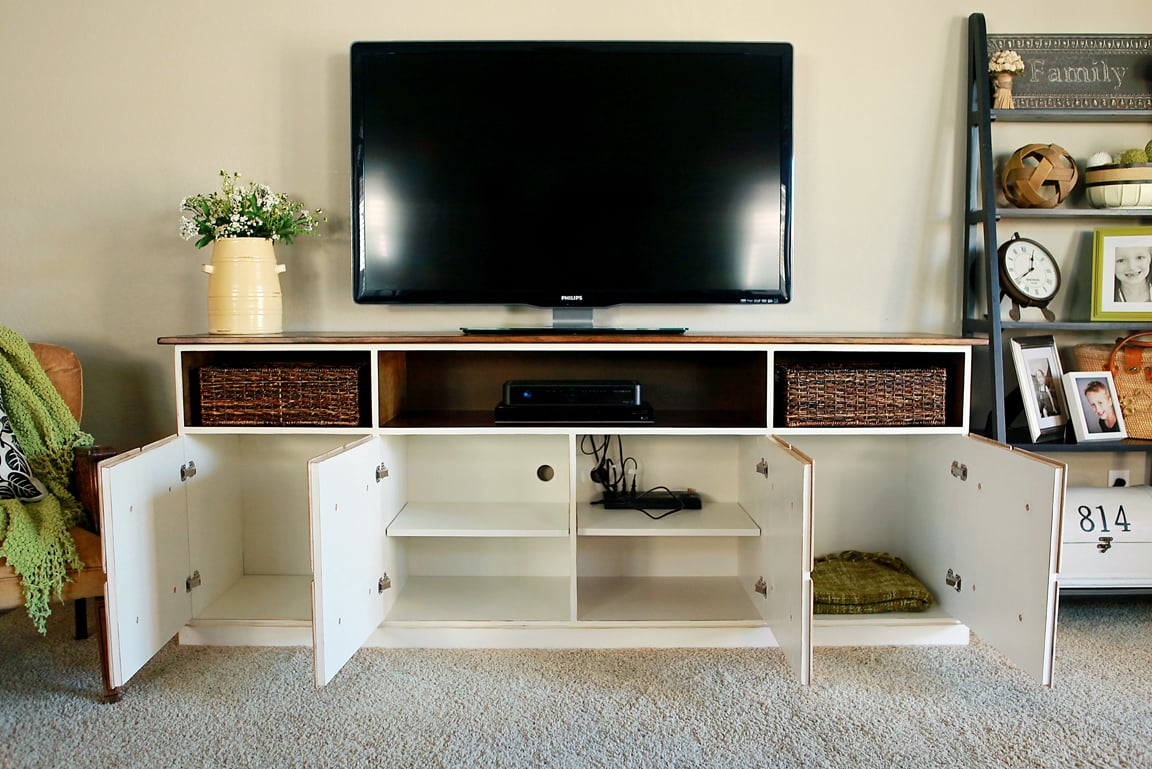
Concrete top
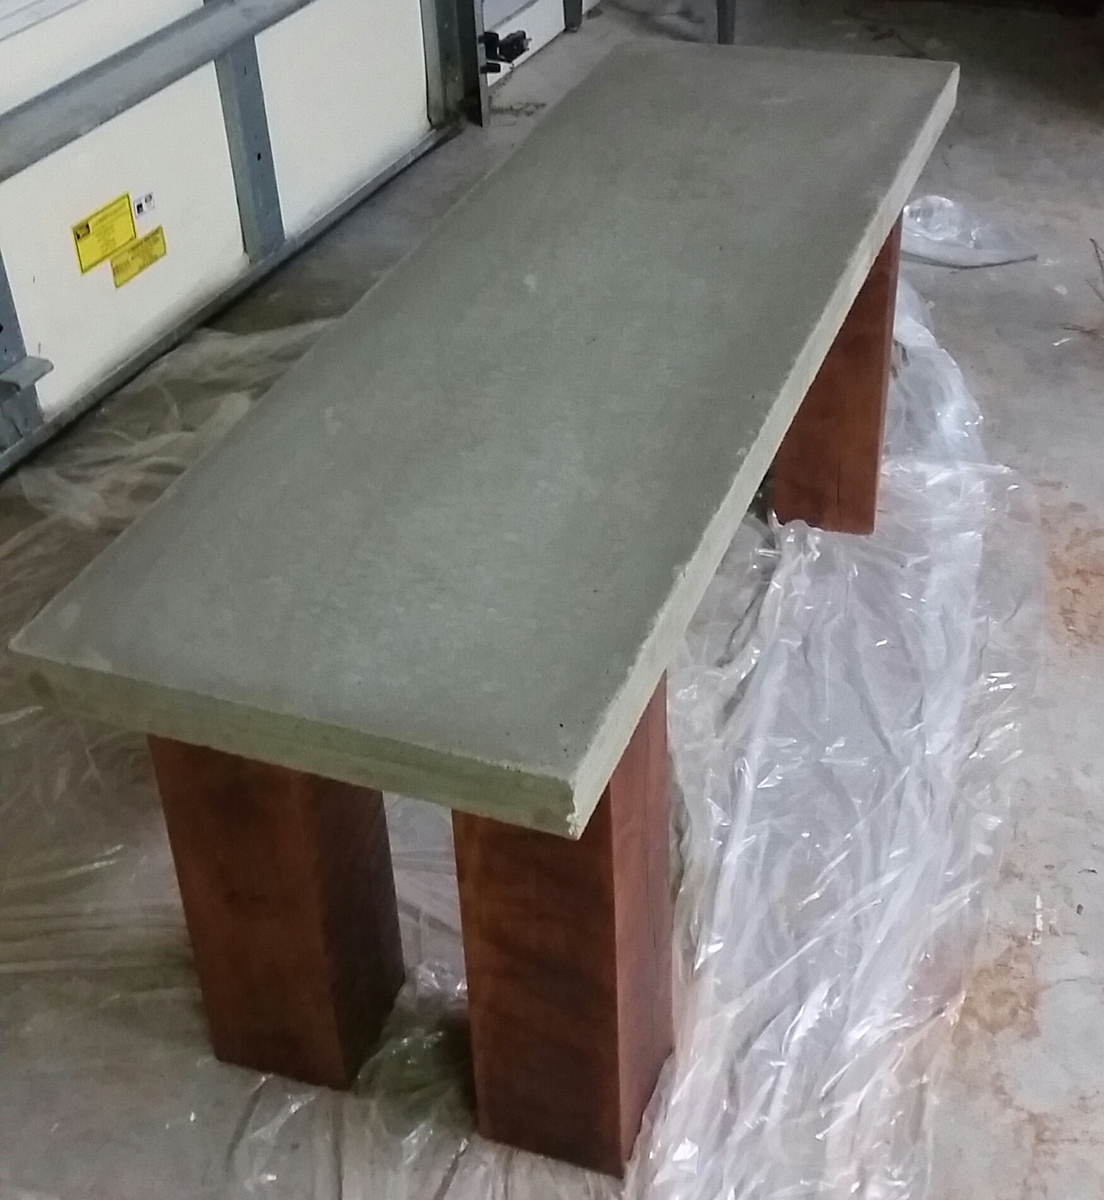
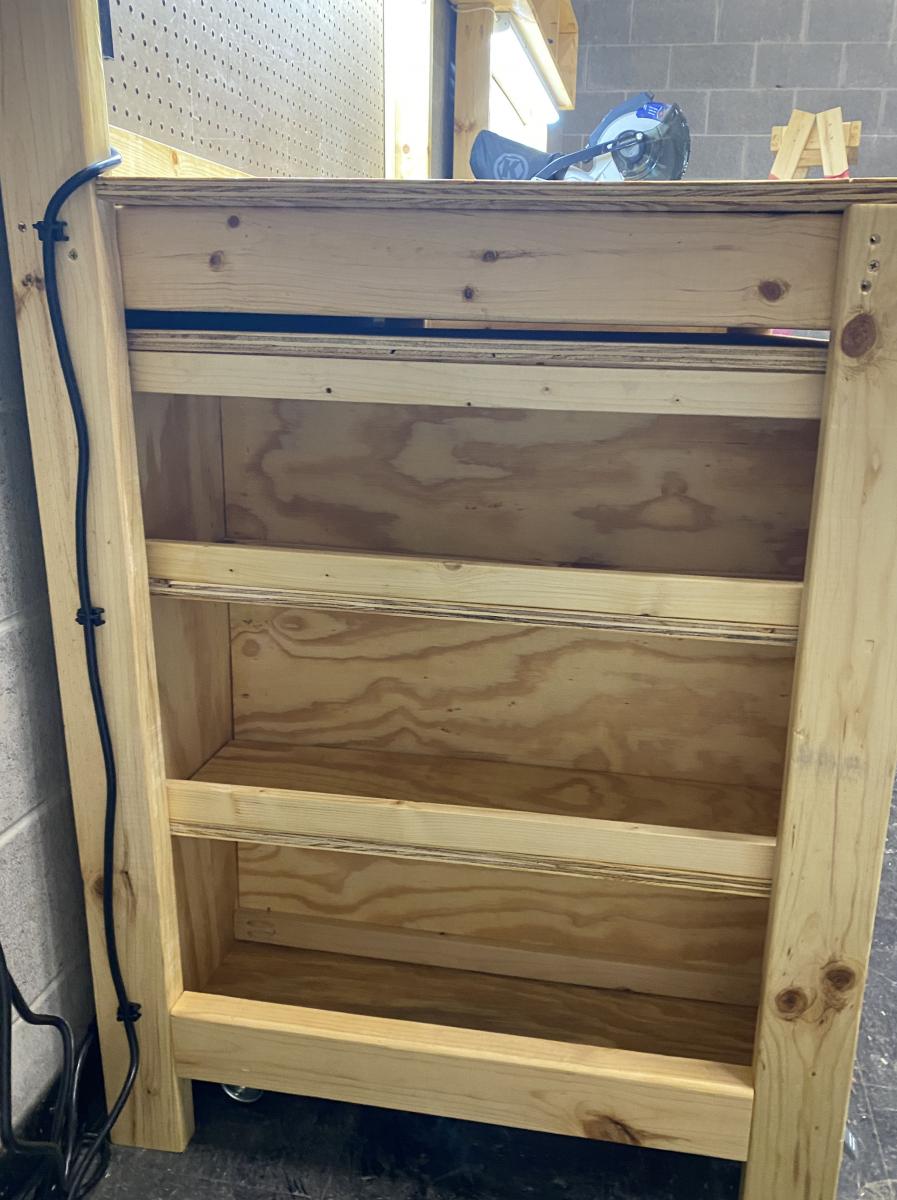
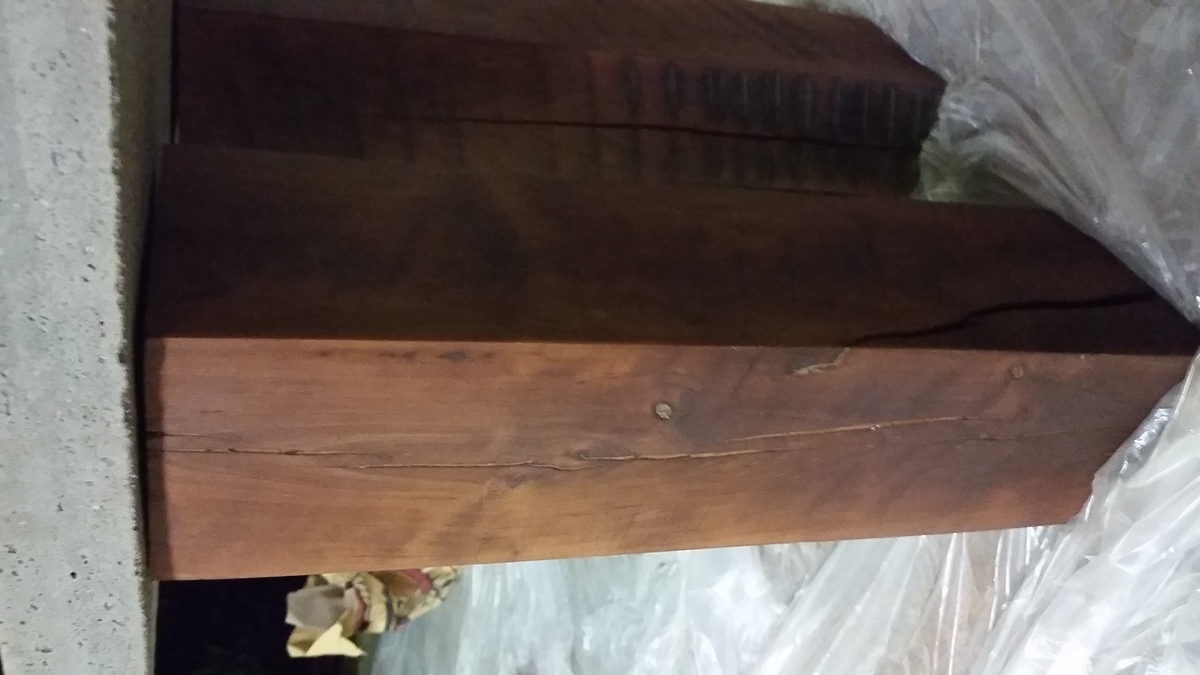
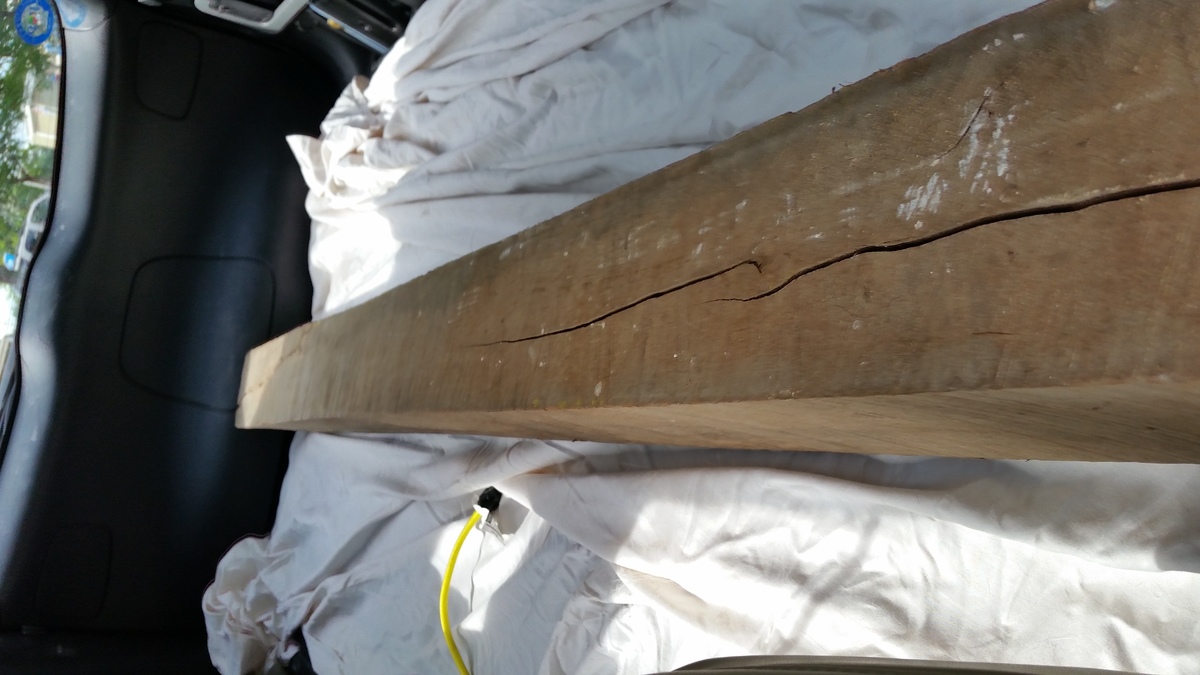
I changed up the legs because I had a beautiful piece of reclaimed wood I've been looking to use. I did use these plans for the concrete top and it turned out great! Just followed all of her advice. It's very smooth, almost feels like soft cotton, with only tiny bubbles. Thanks for the great plans!
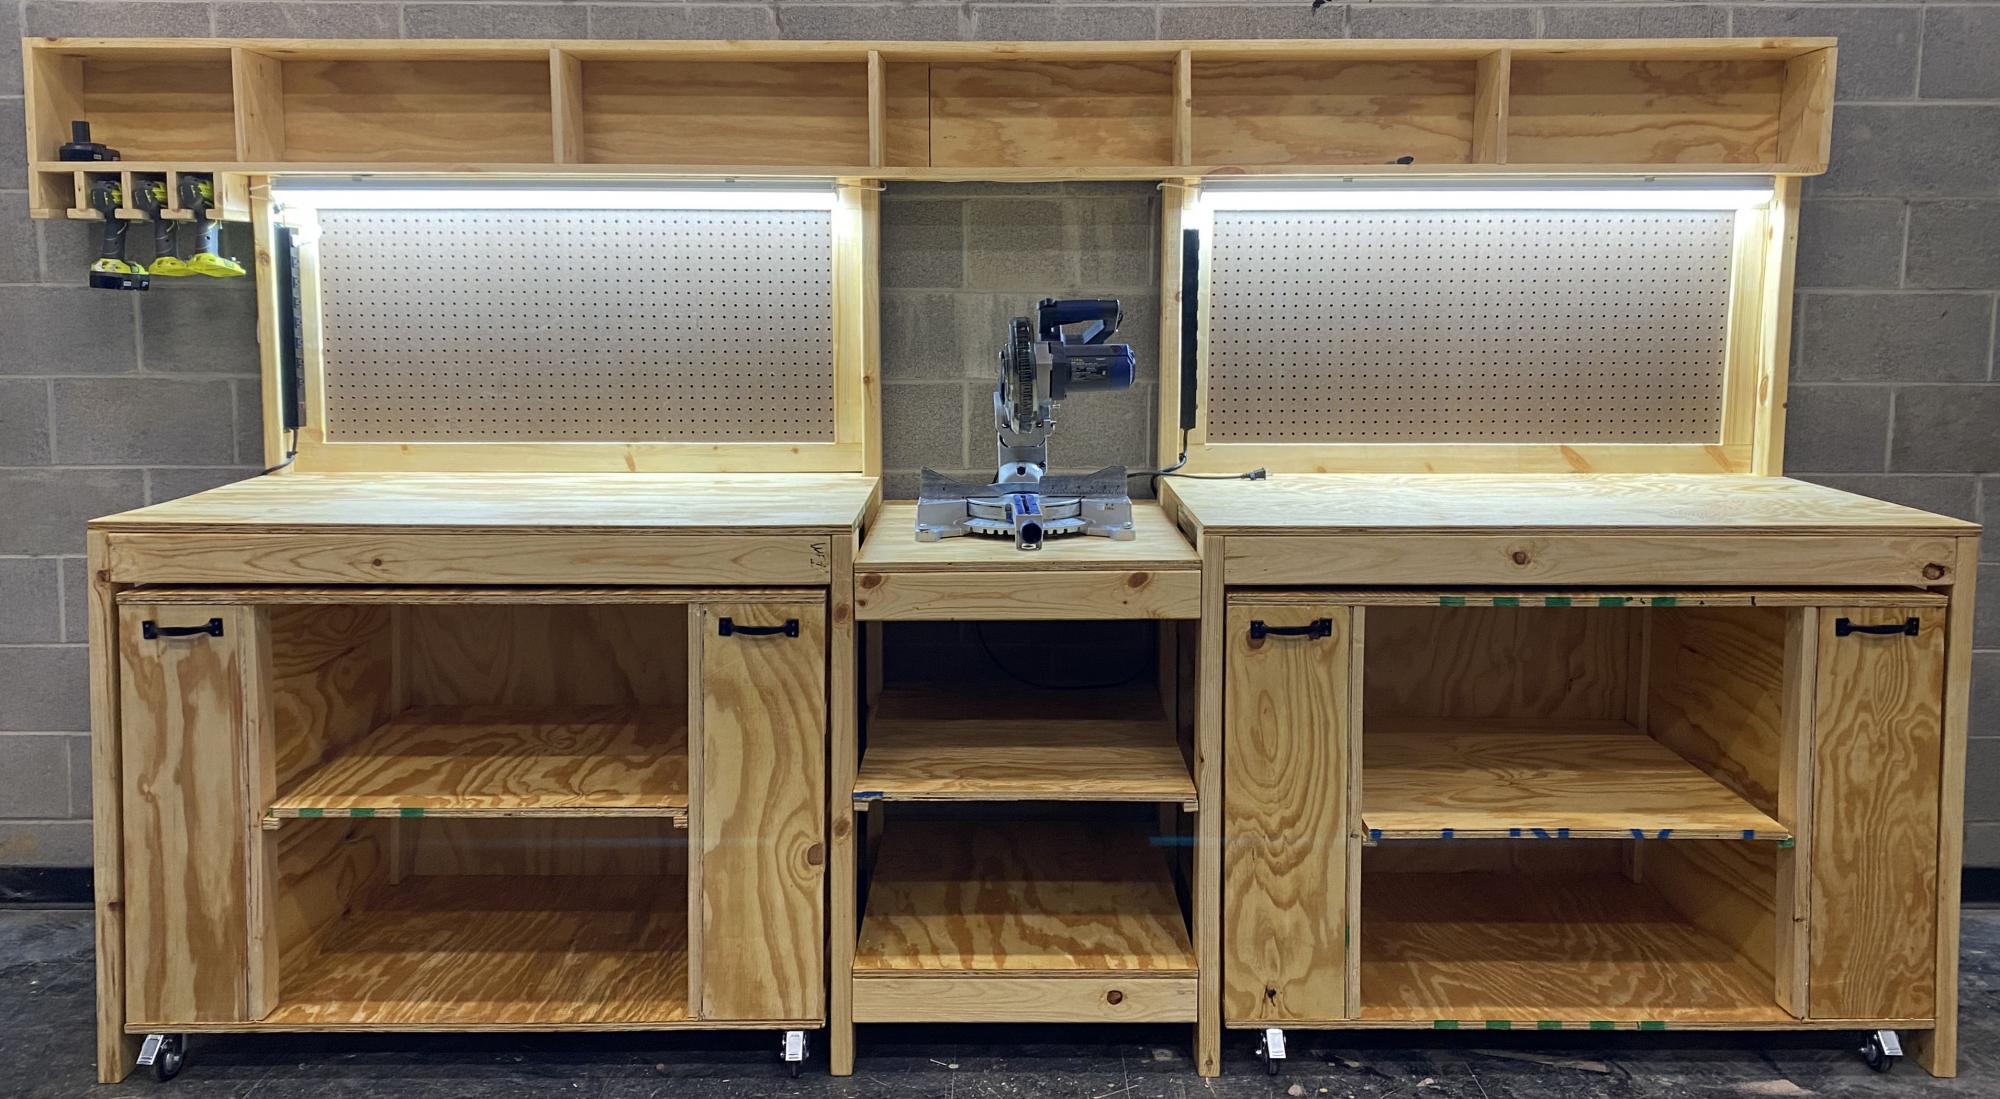
Built from Plan(s)
Estimated Cost
$20 for the wood and $25 for the concrete top
Estimated Time Investment
Afternoon Project (3-6 Hours)
Finish Used
Minwax Weathered Oak
Recommended Skill Level
Starter Project