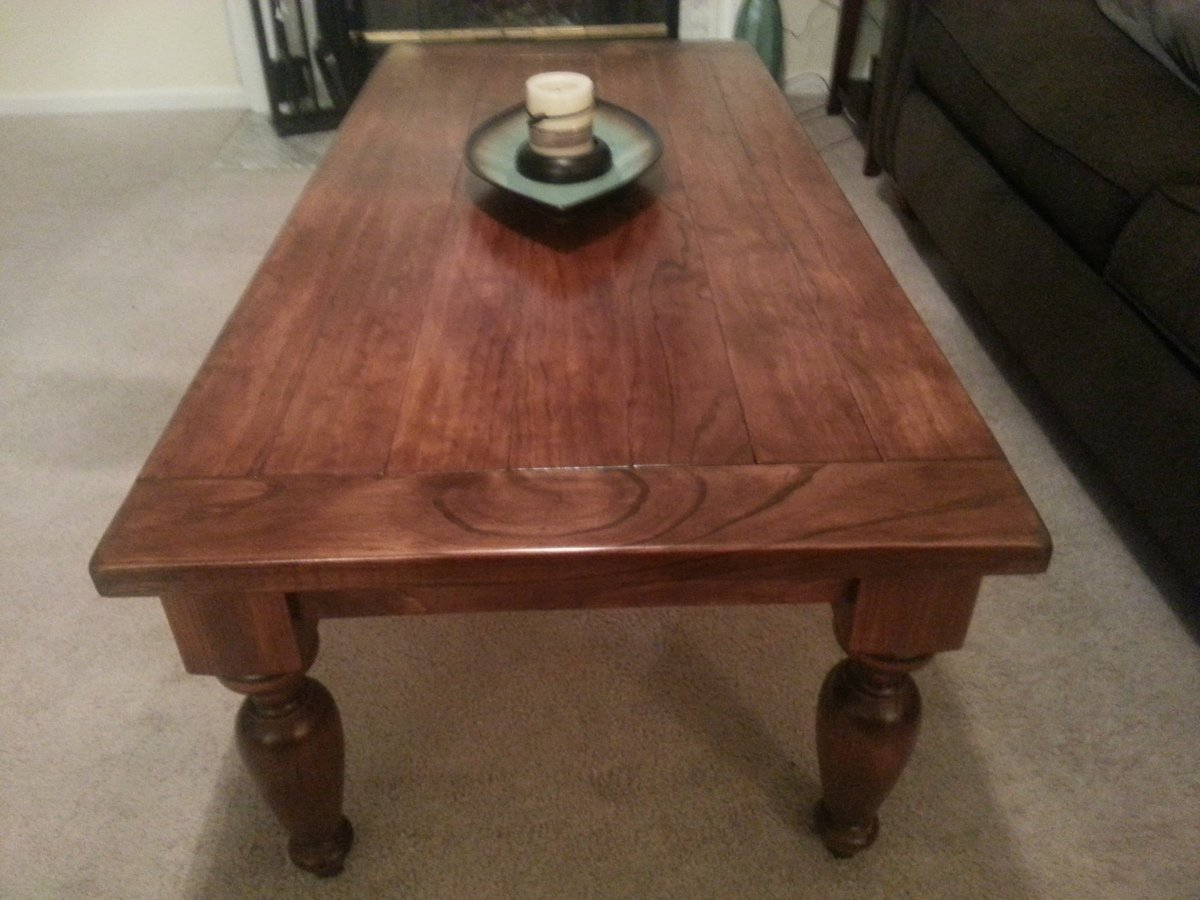
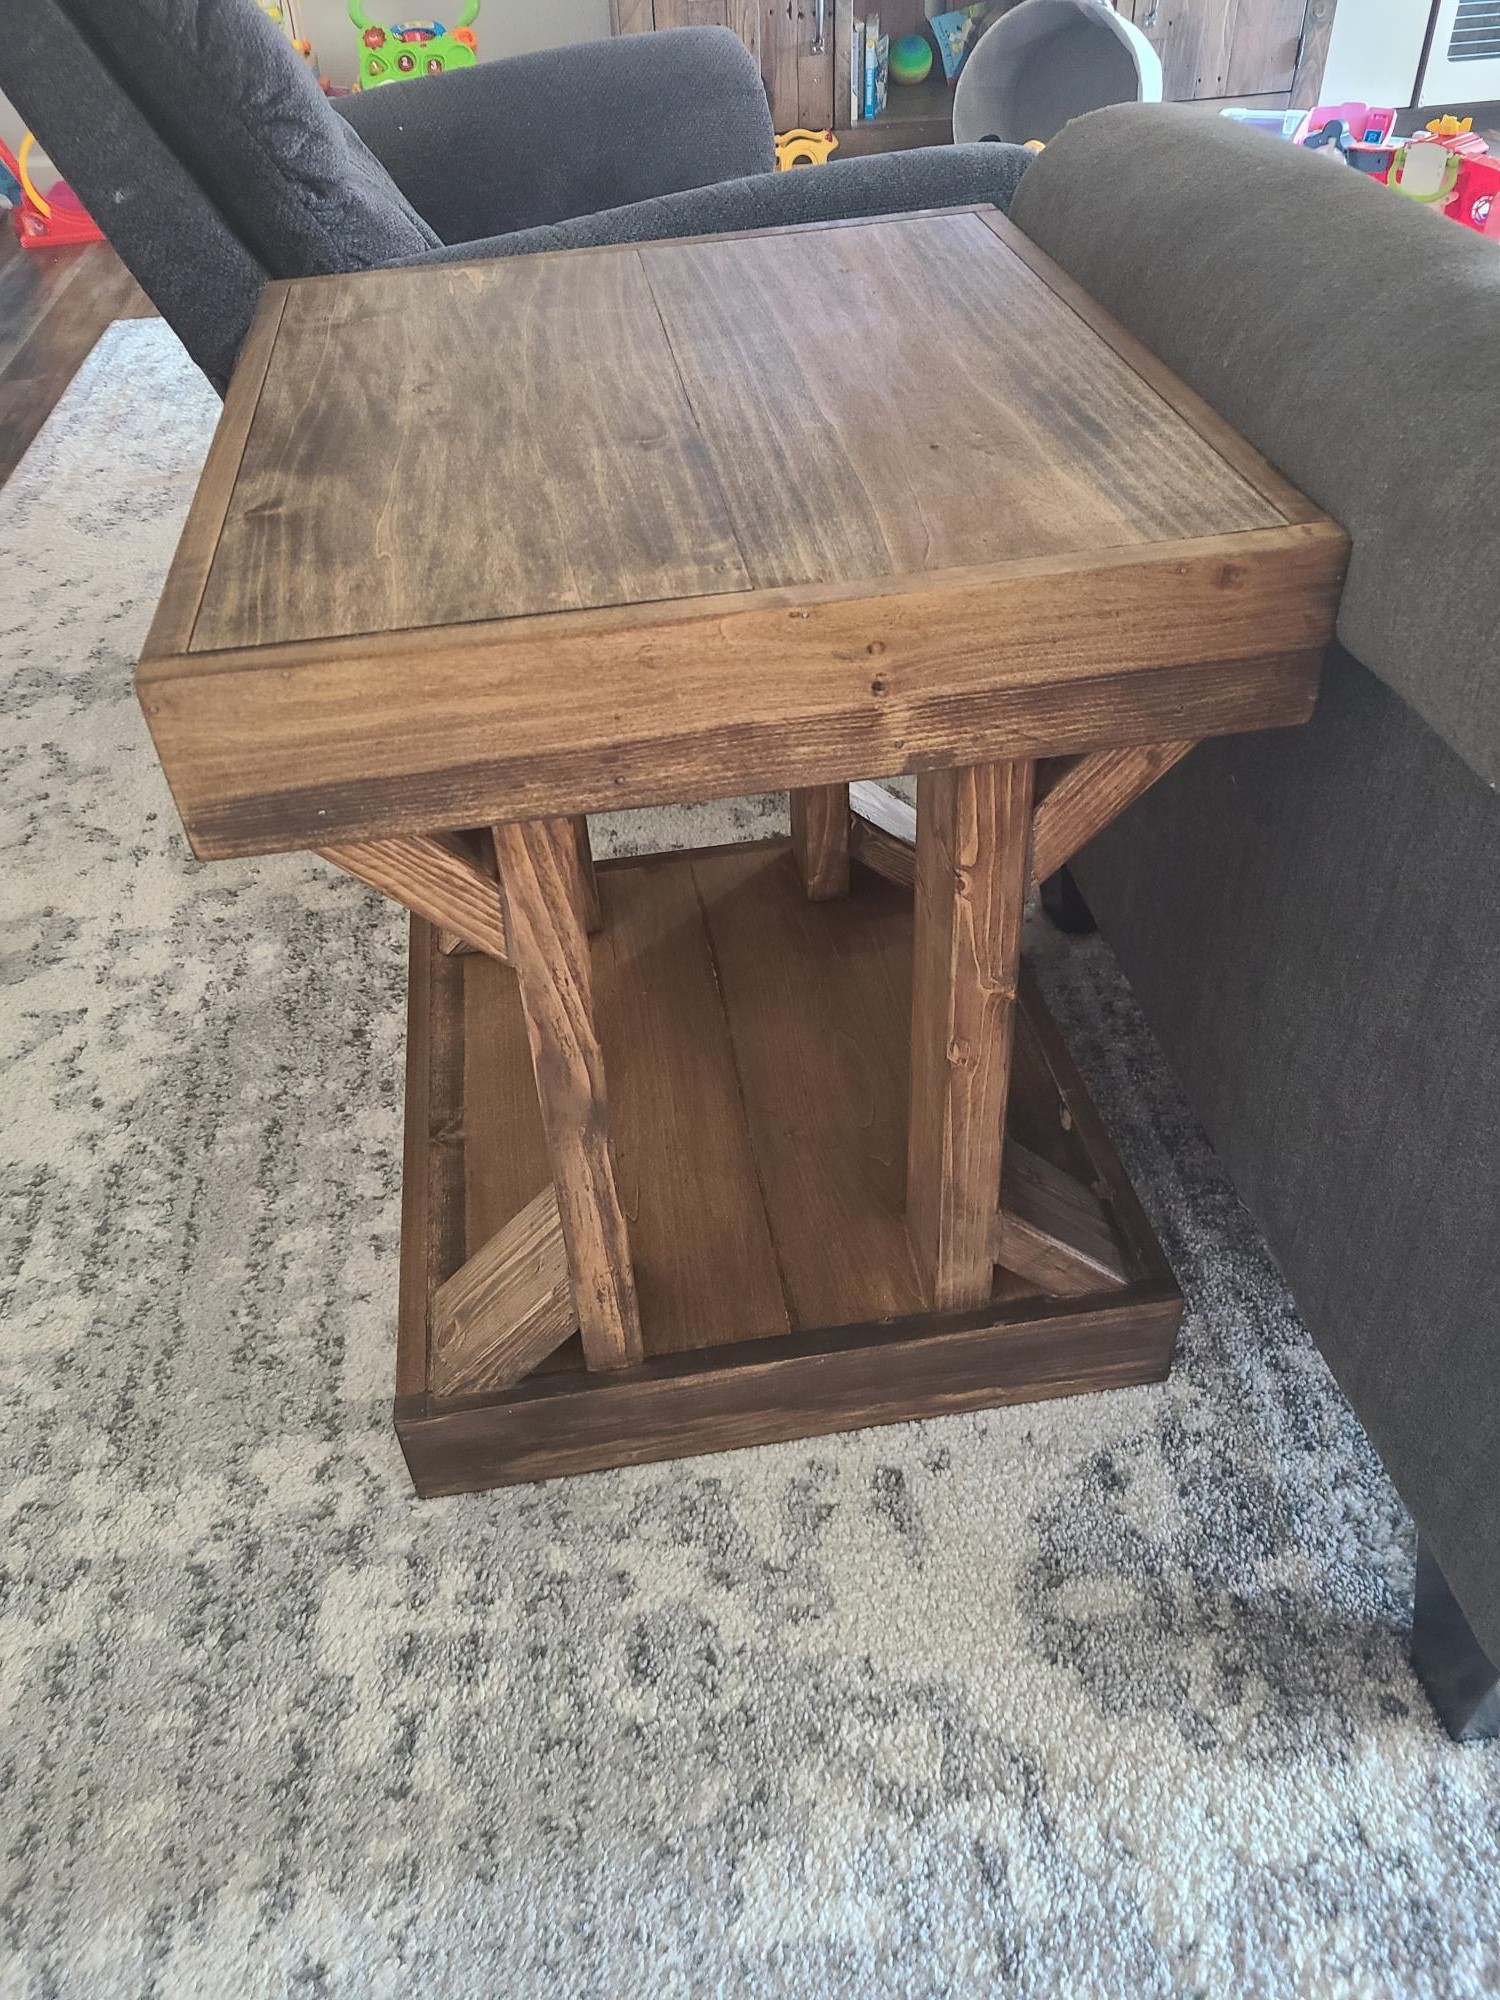
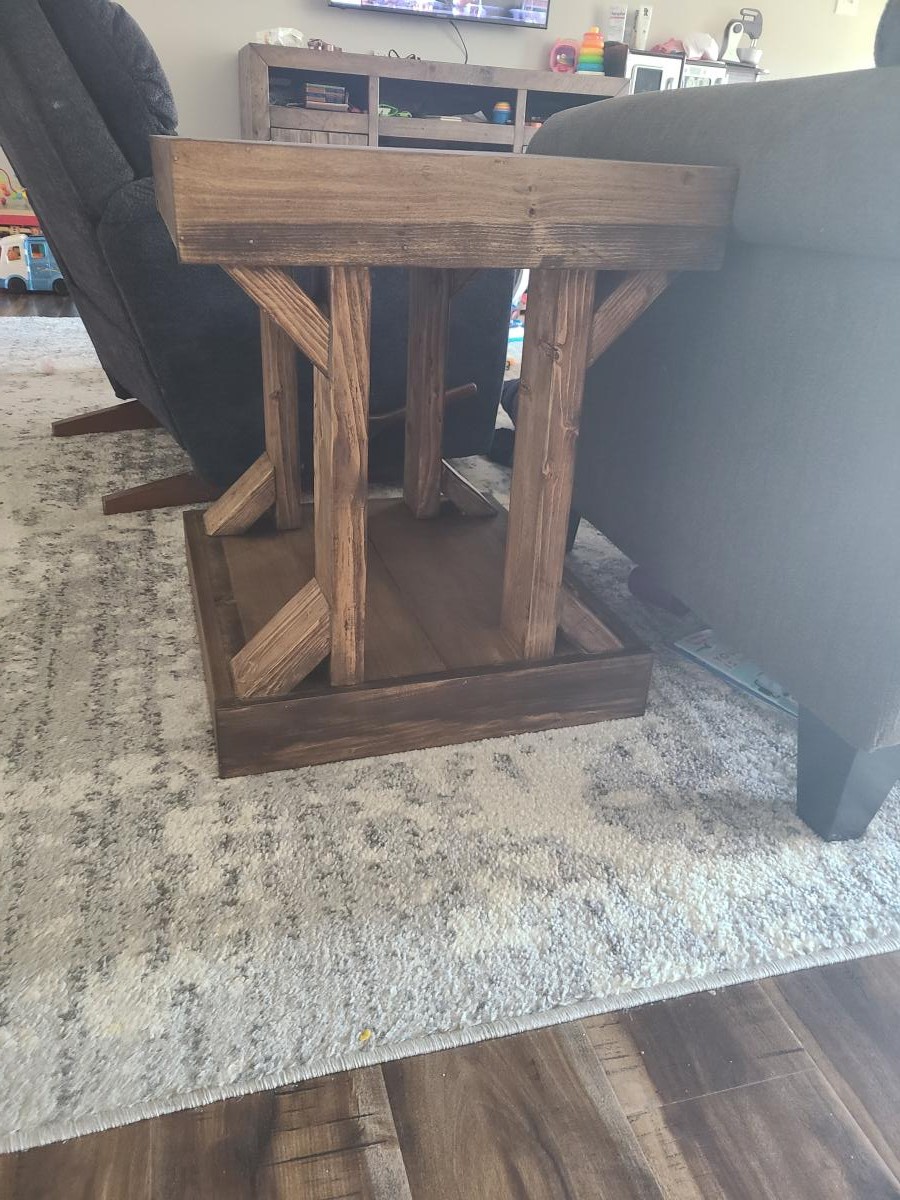
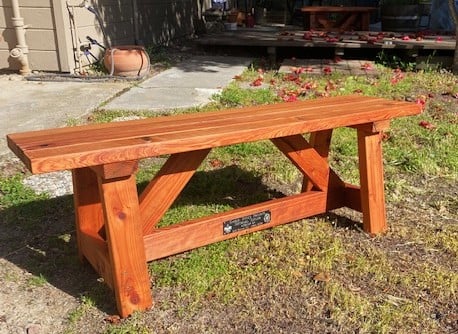
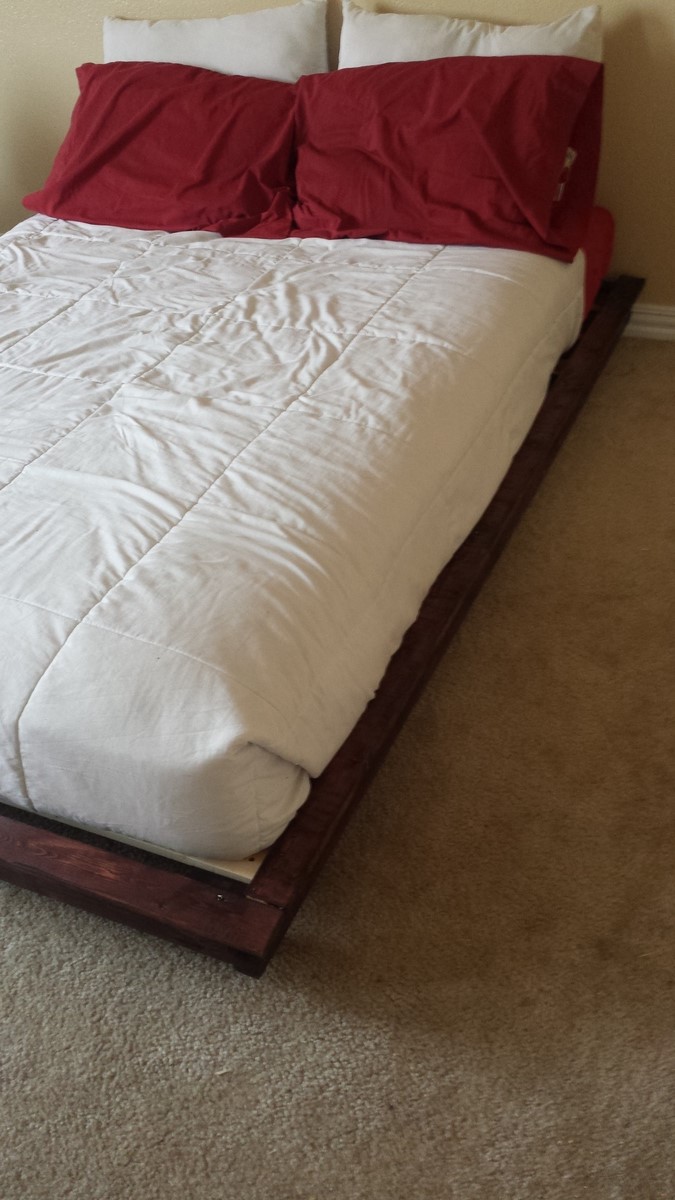
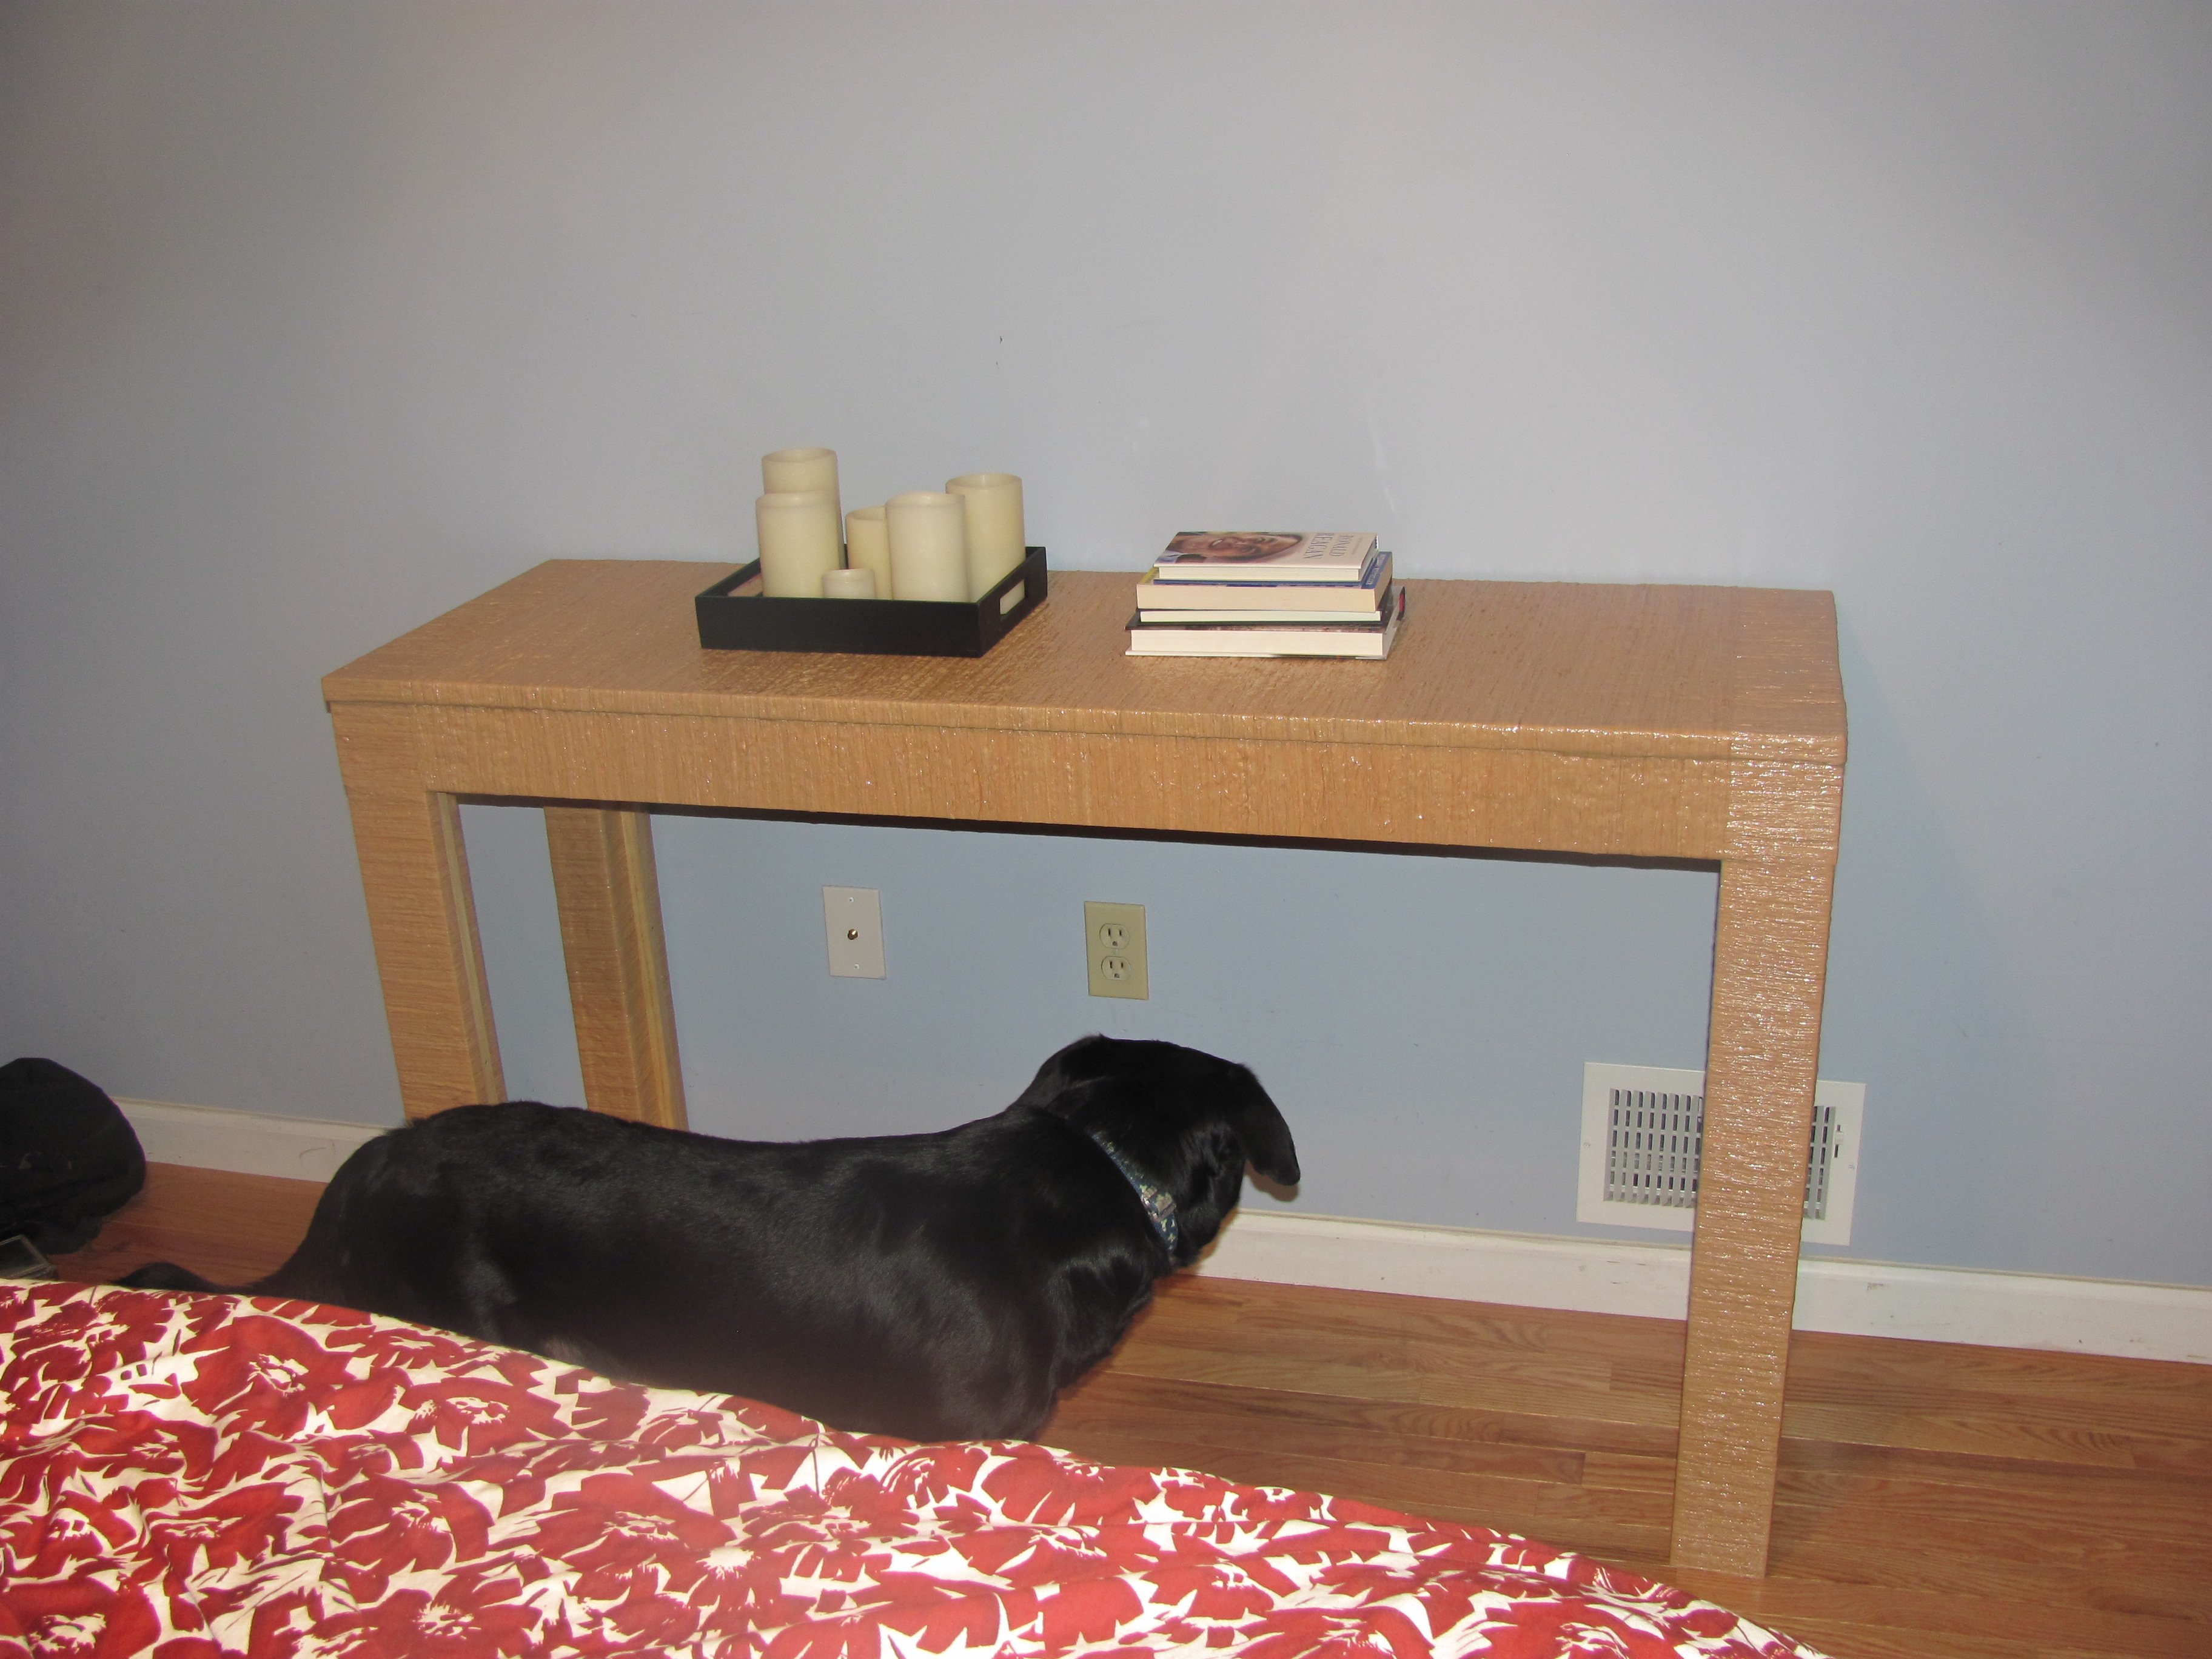
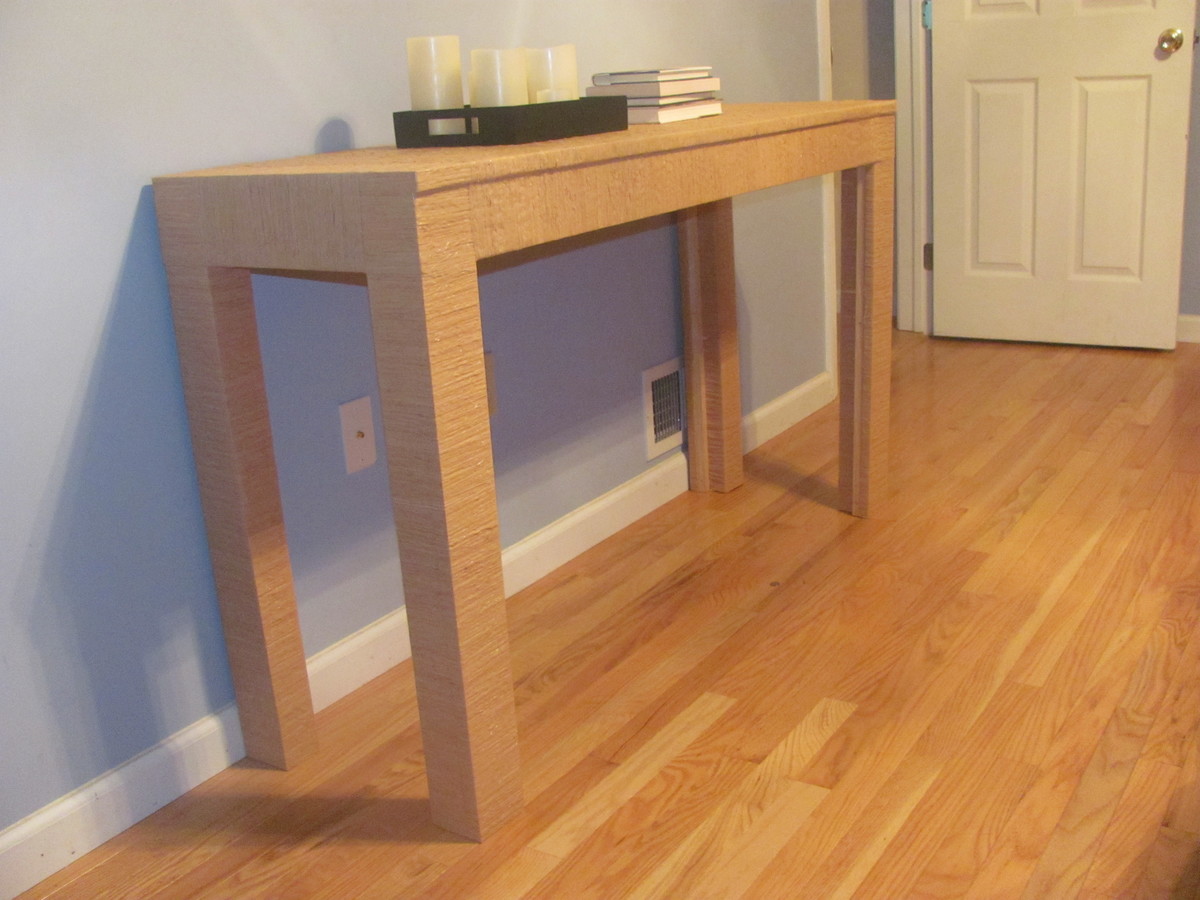
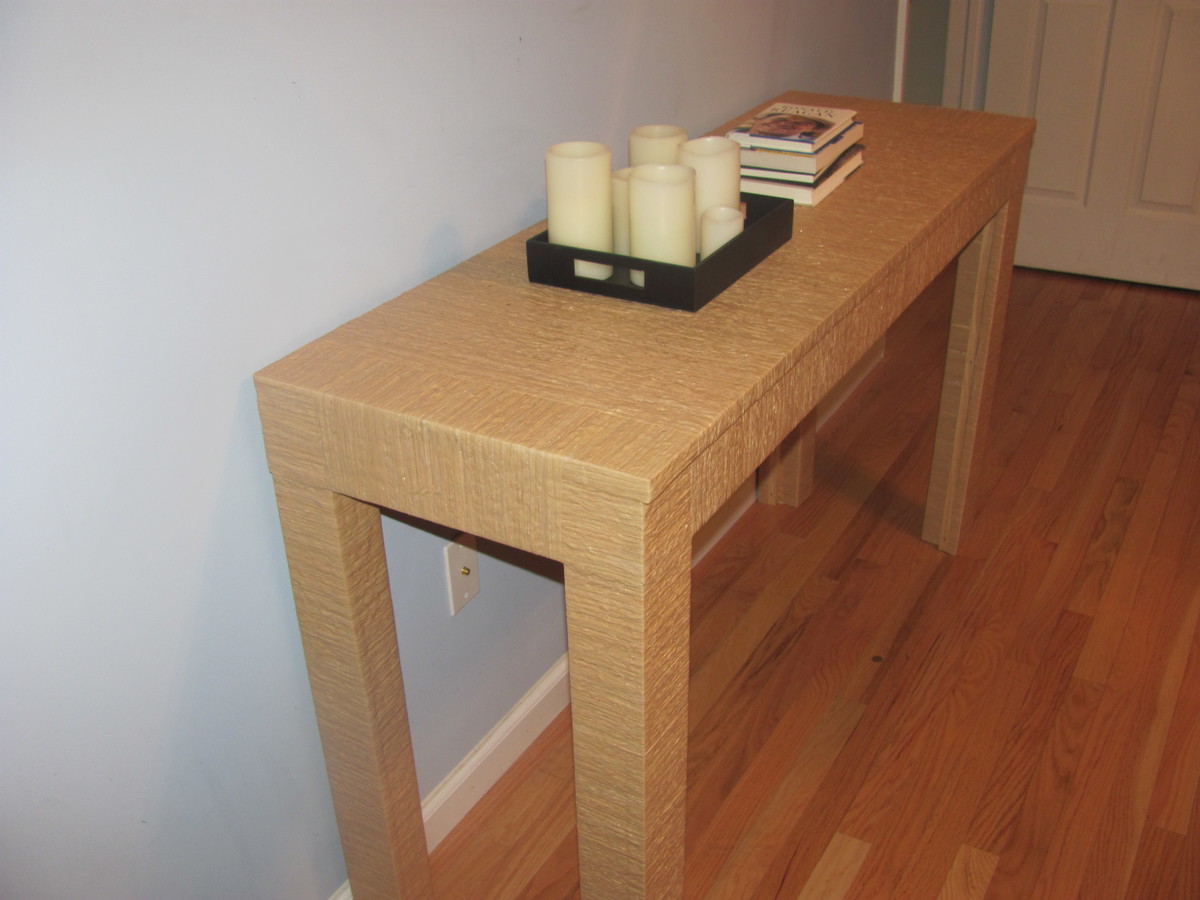
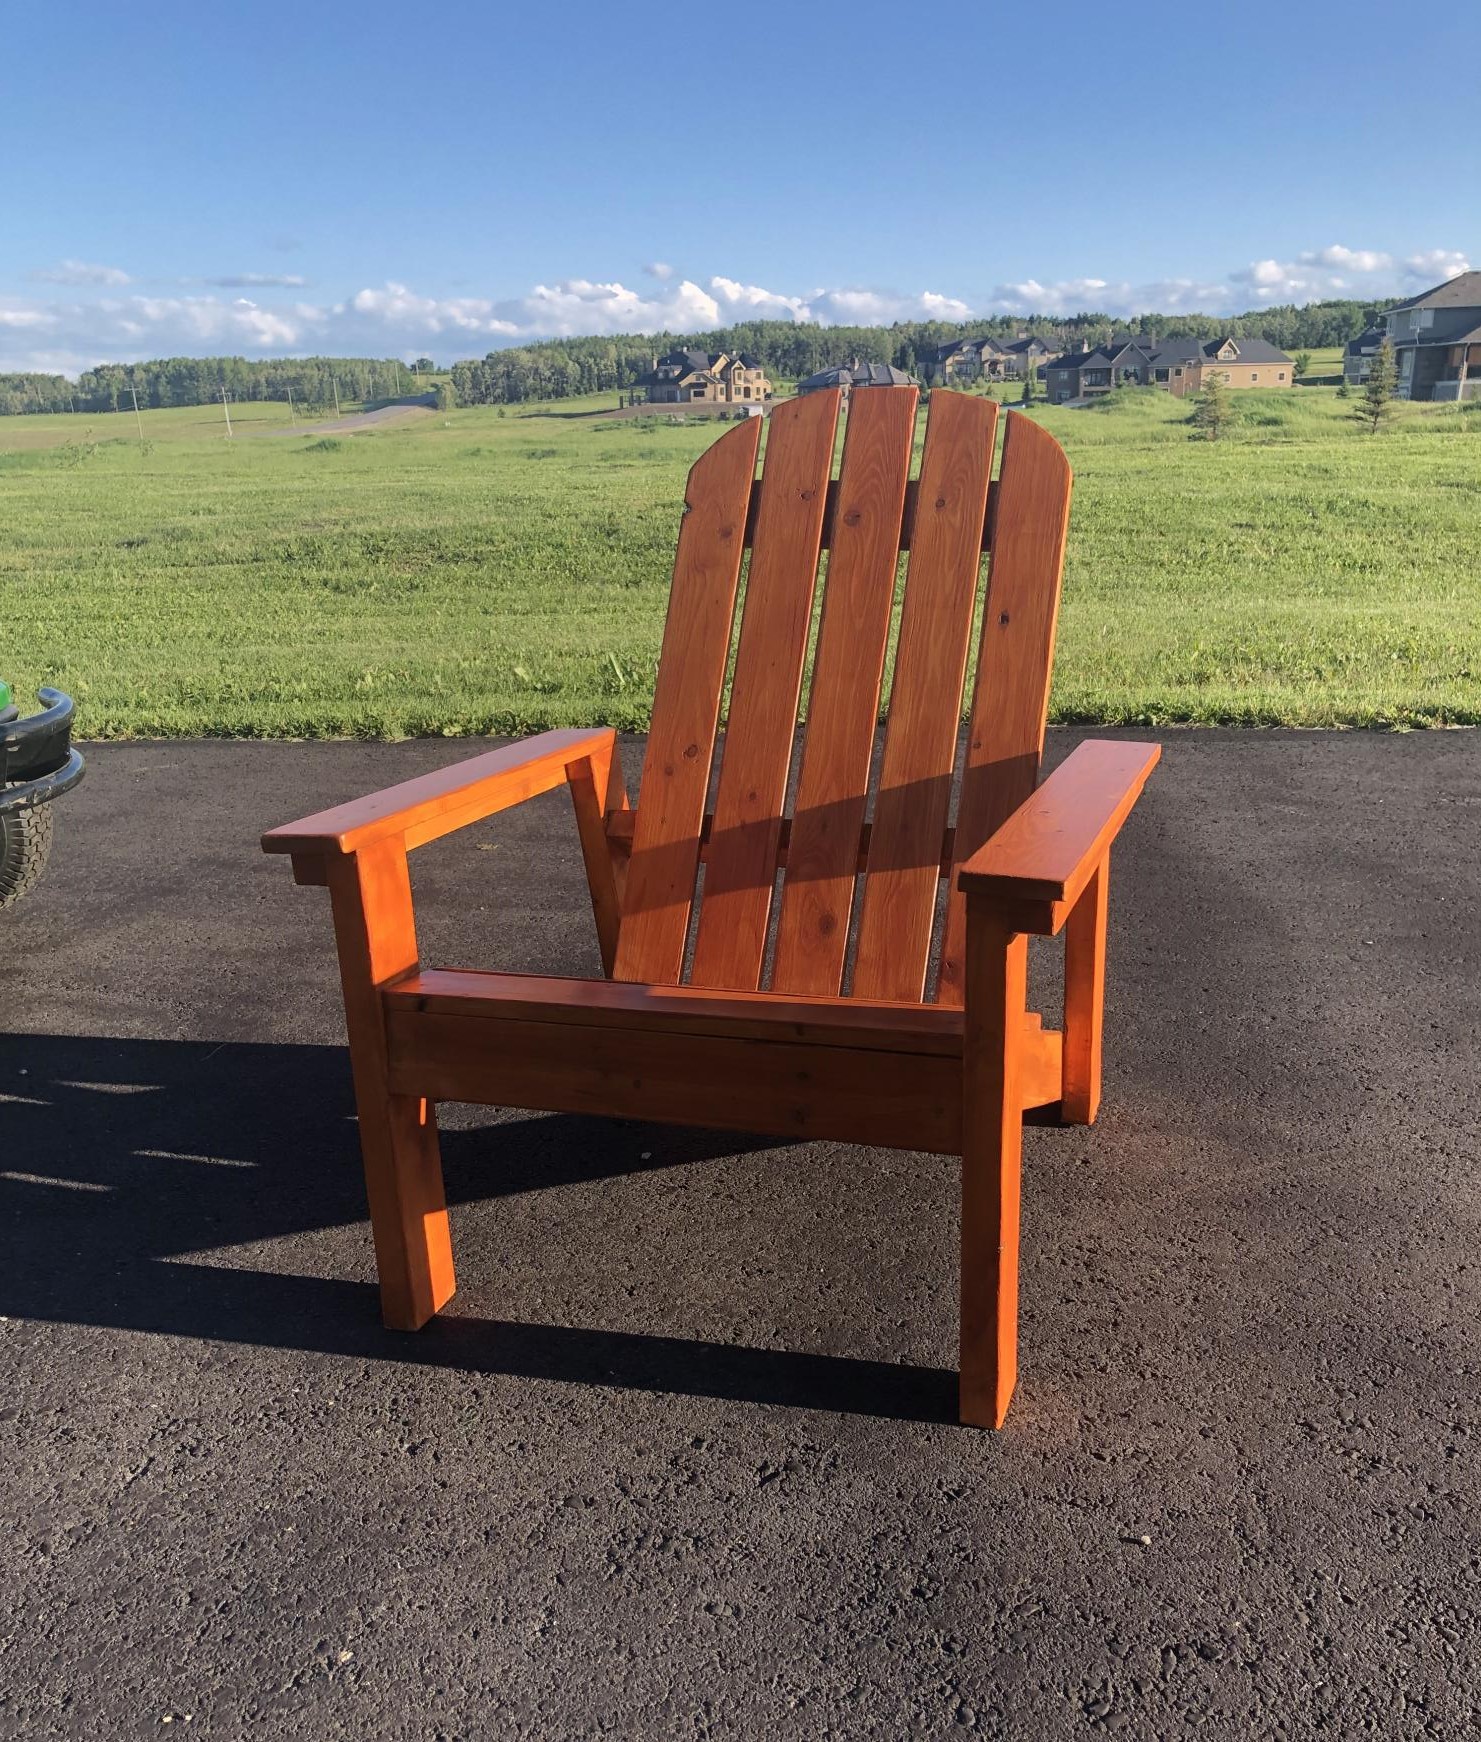
Turned Leg Coffee Table
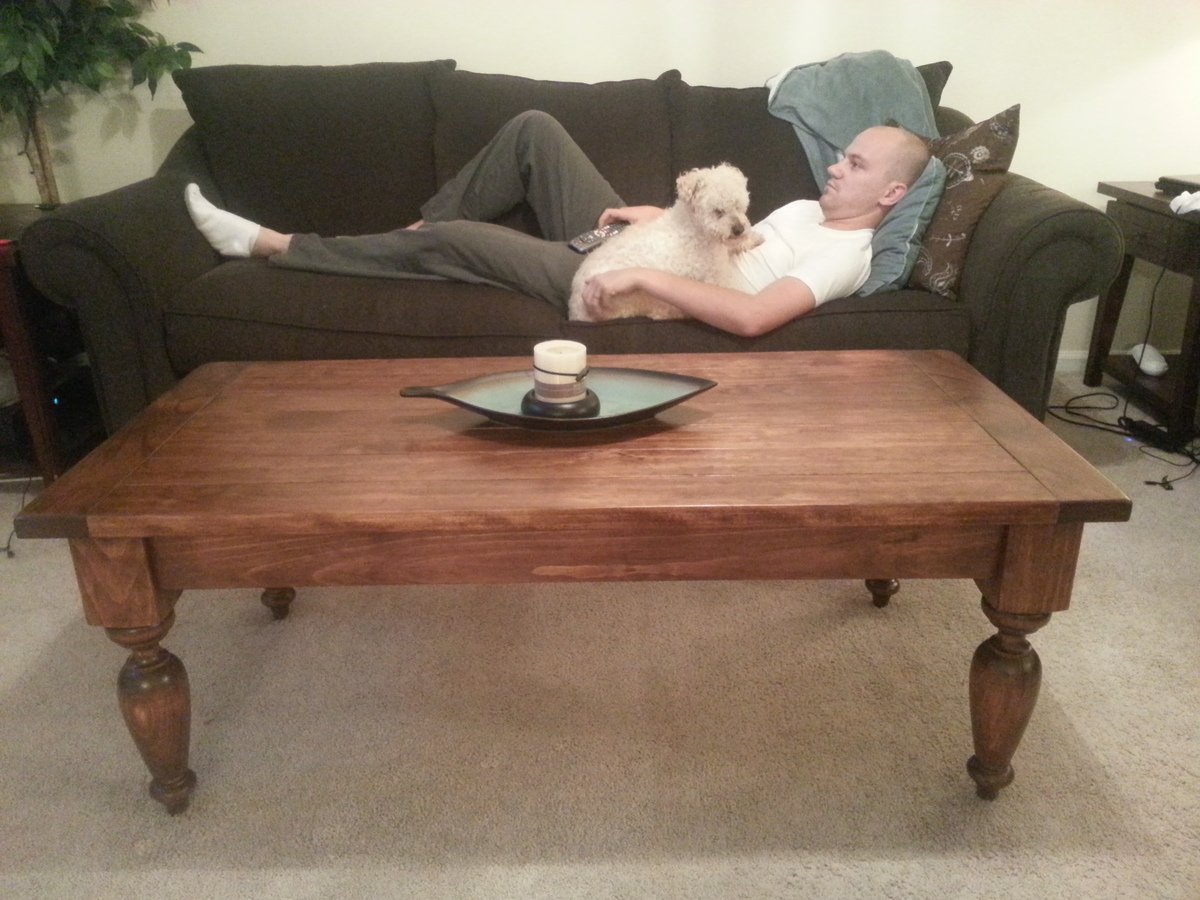
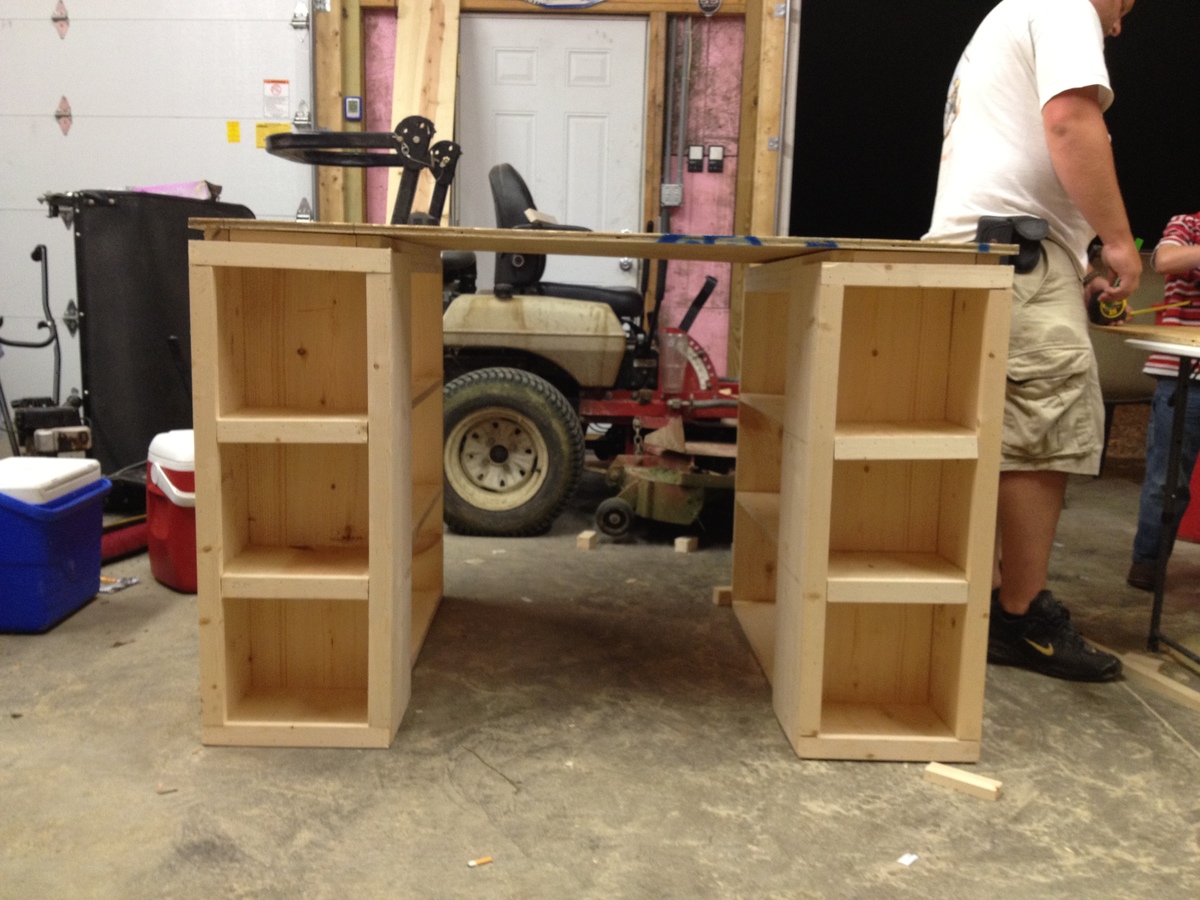
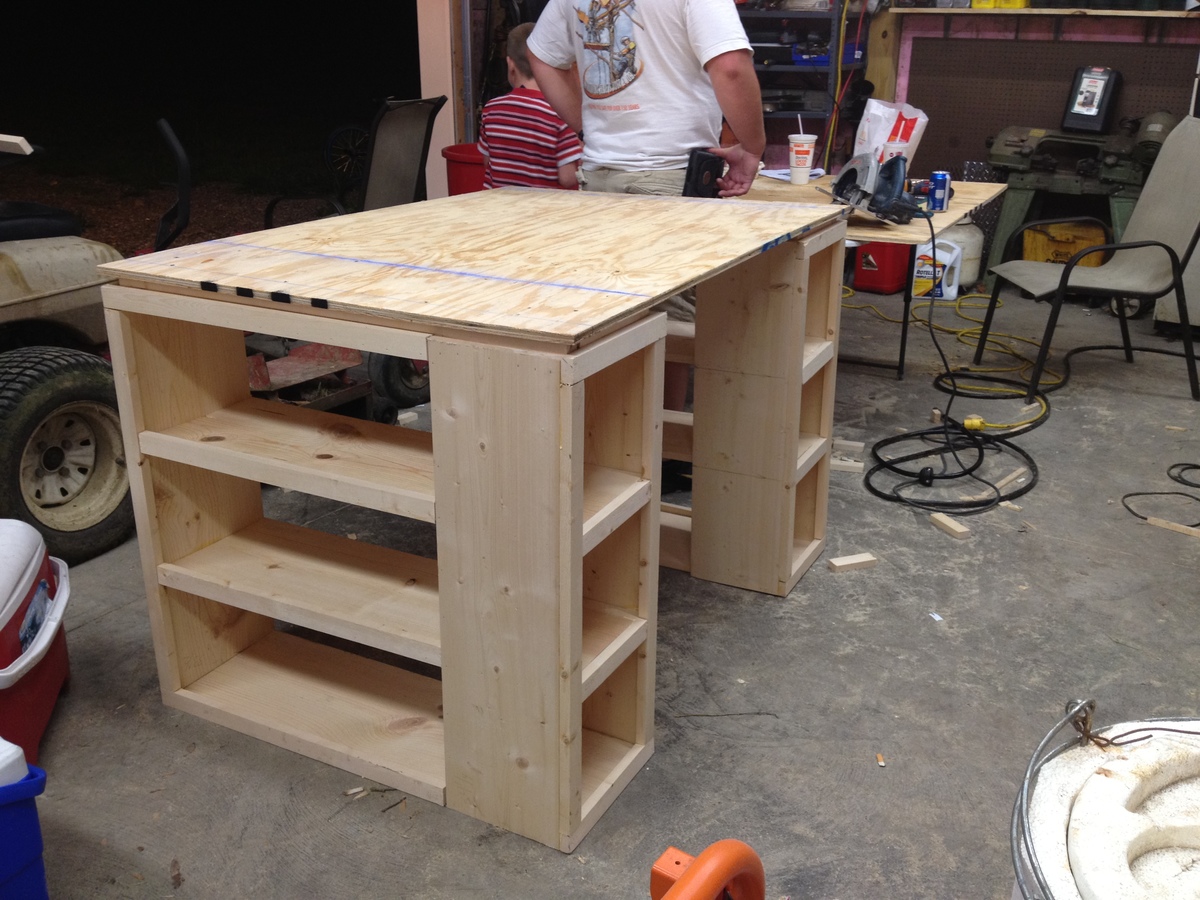
Okay, don't mind the husband and the pooch in the background there! I fell in love with the Pottery Barn version of this table (actually, I've fallen in love with everything from Pottery Barn, if we're being honest here), so I've been wanting to make this coffee table for quite awhile. I found the legs on ebay for a really low price, so I splurged and bought premium 5/4" thick pine planks for the table top to make it look more substantial. This table was so easy to assemble using pocket holes. My husband and I both love how it turned out!
Estimated Cost
About $130 for all wood and finishing supplies
Estimated Time Investment
Weekend Project (10-20 Hours)
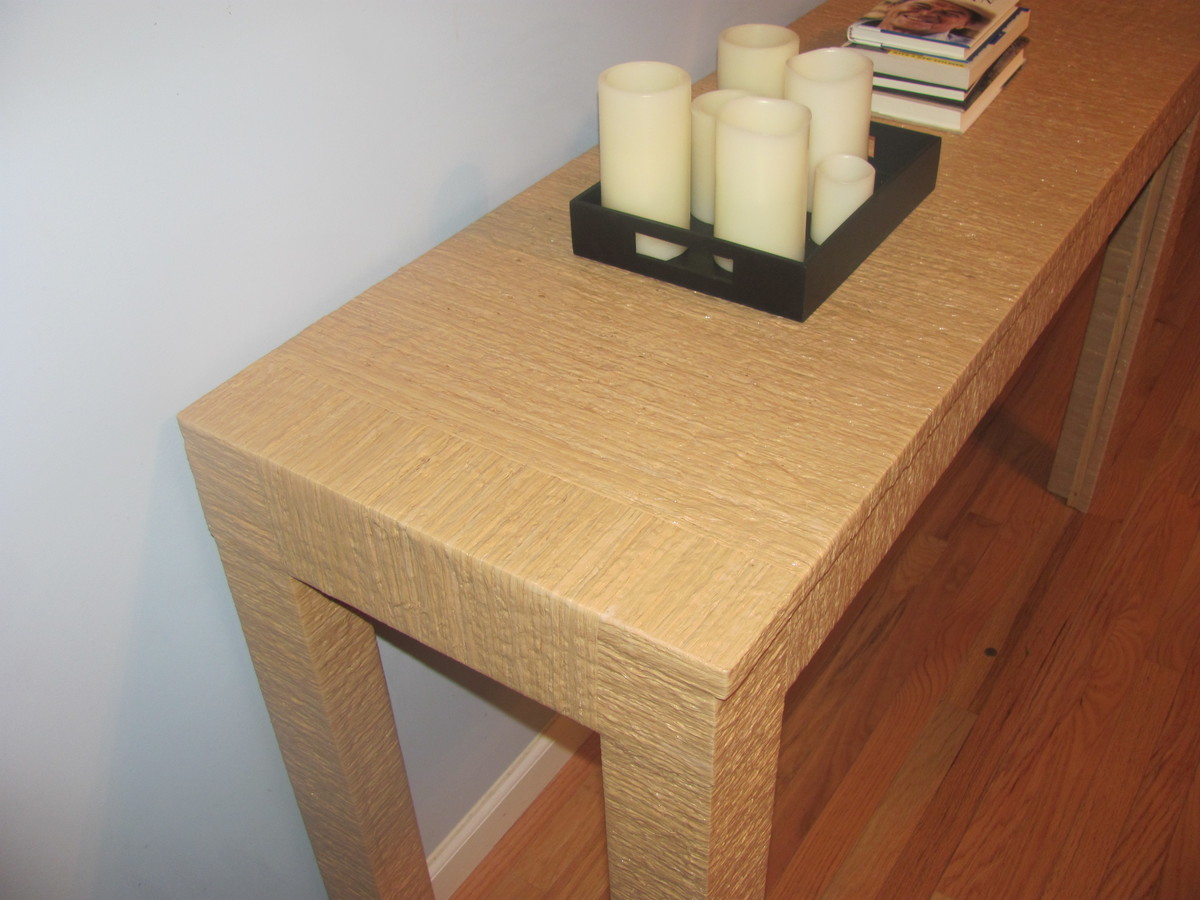
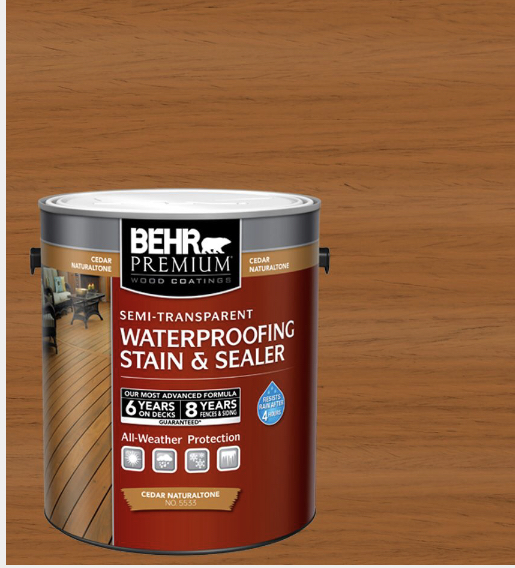
Finish Used
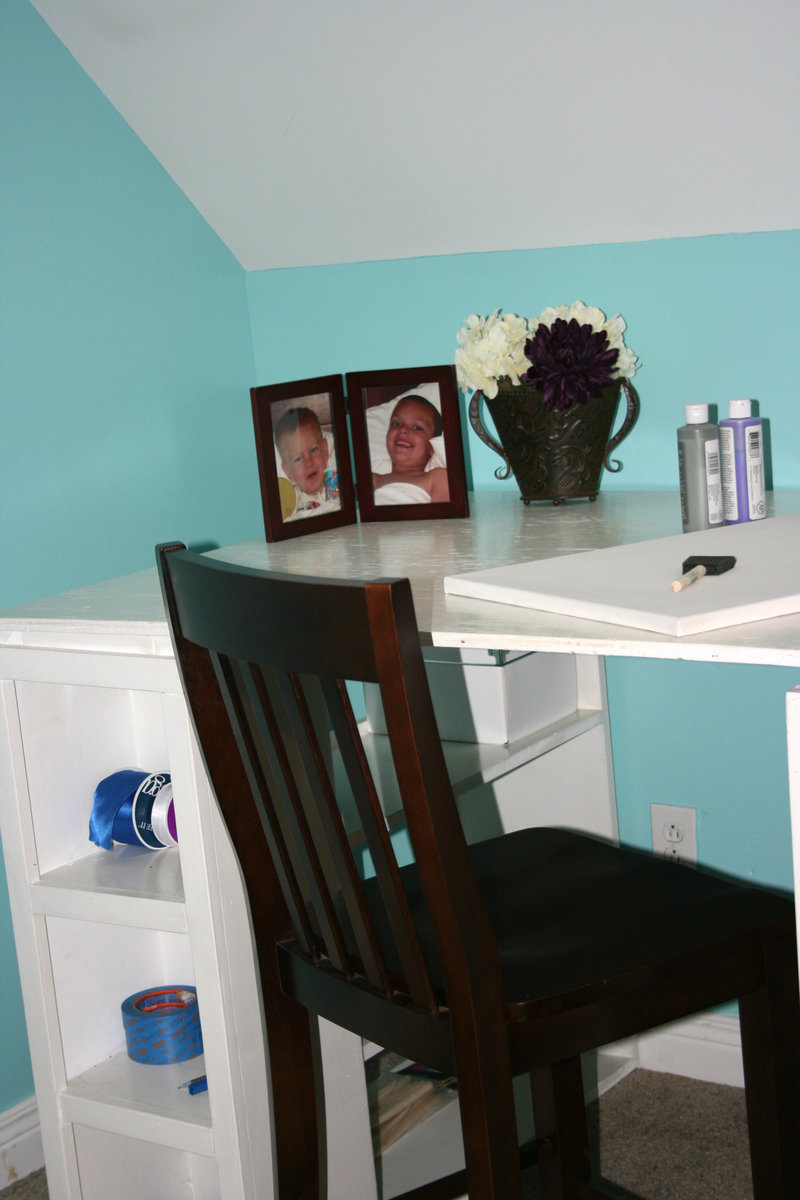
Stained with a mix of Minwax English Chestnut and Minwax Dark Walnut, then finished with 3 coats of Minwax Clear Satin Polyurethane
Recommended Skill Level
Beginner


