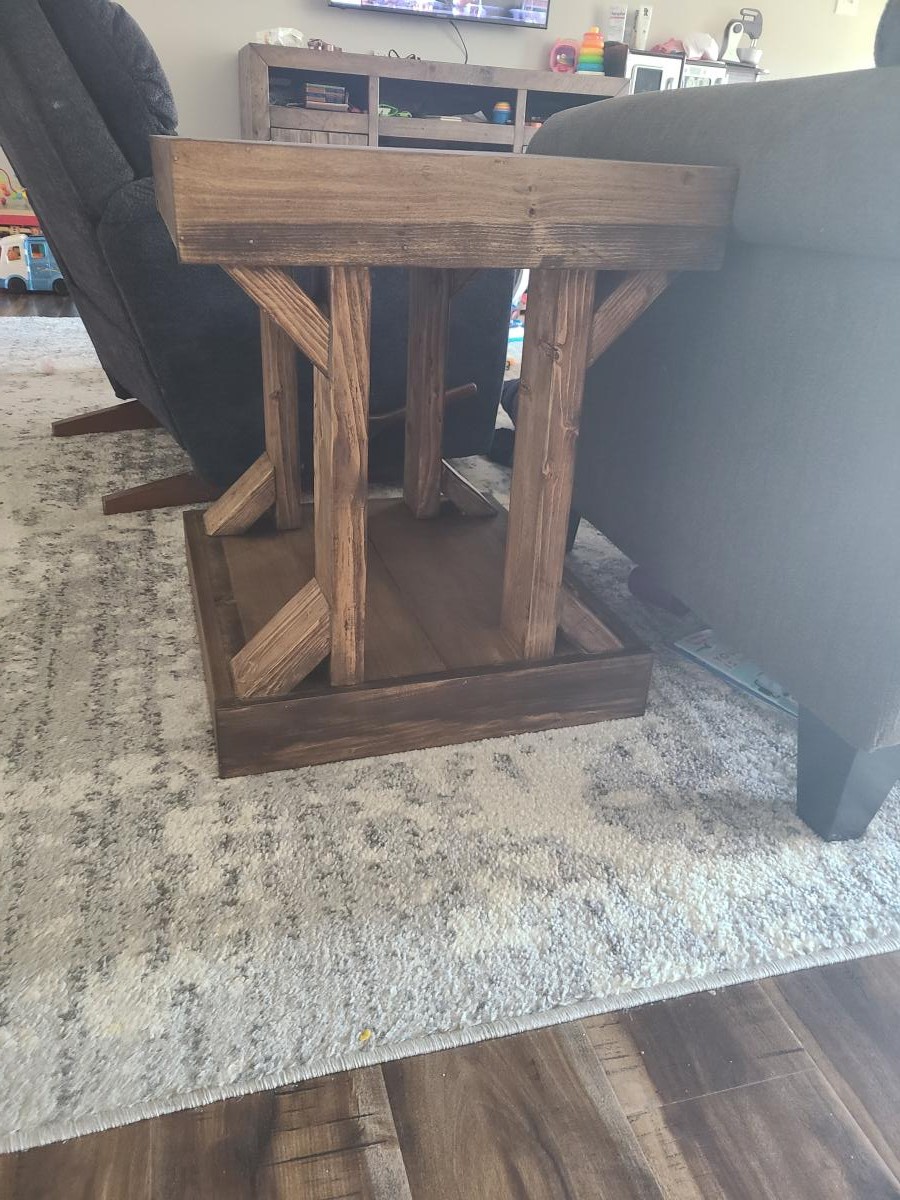
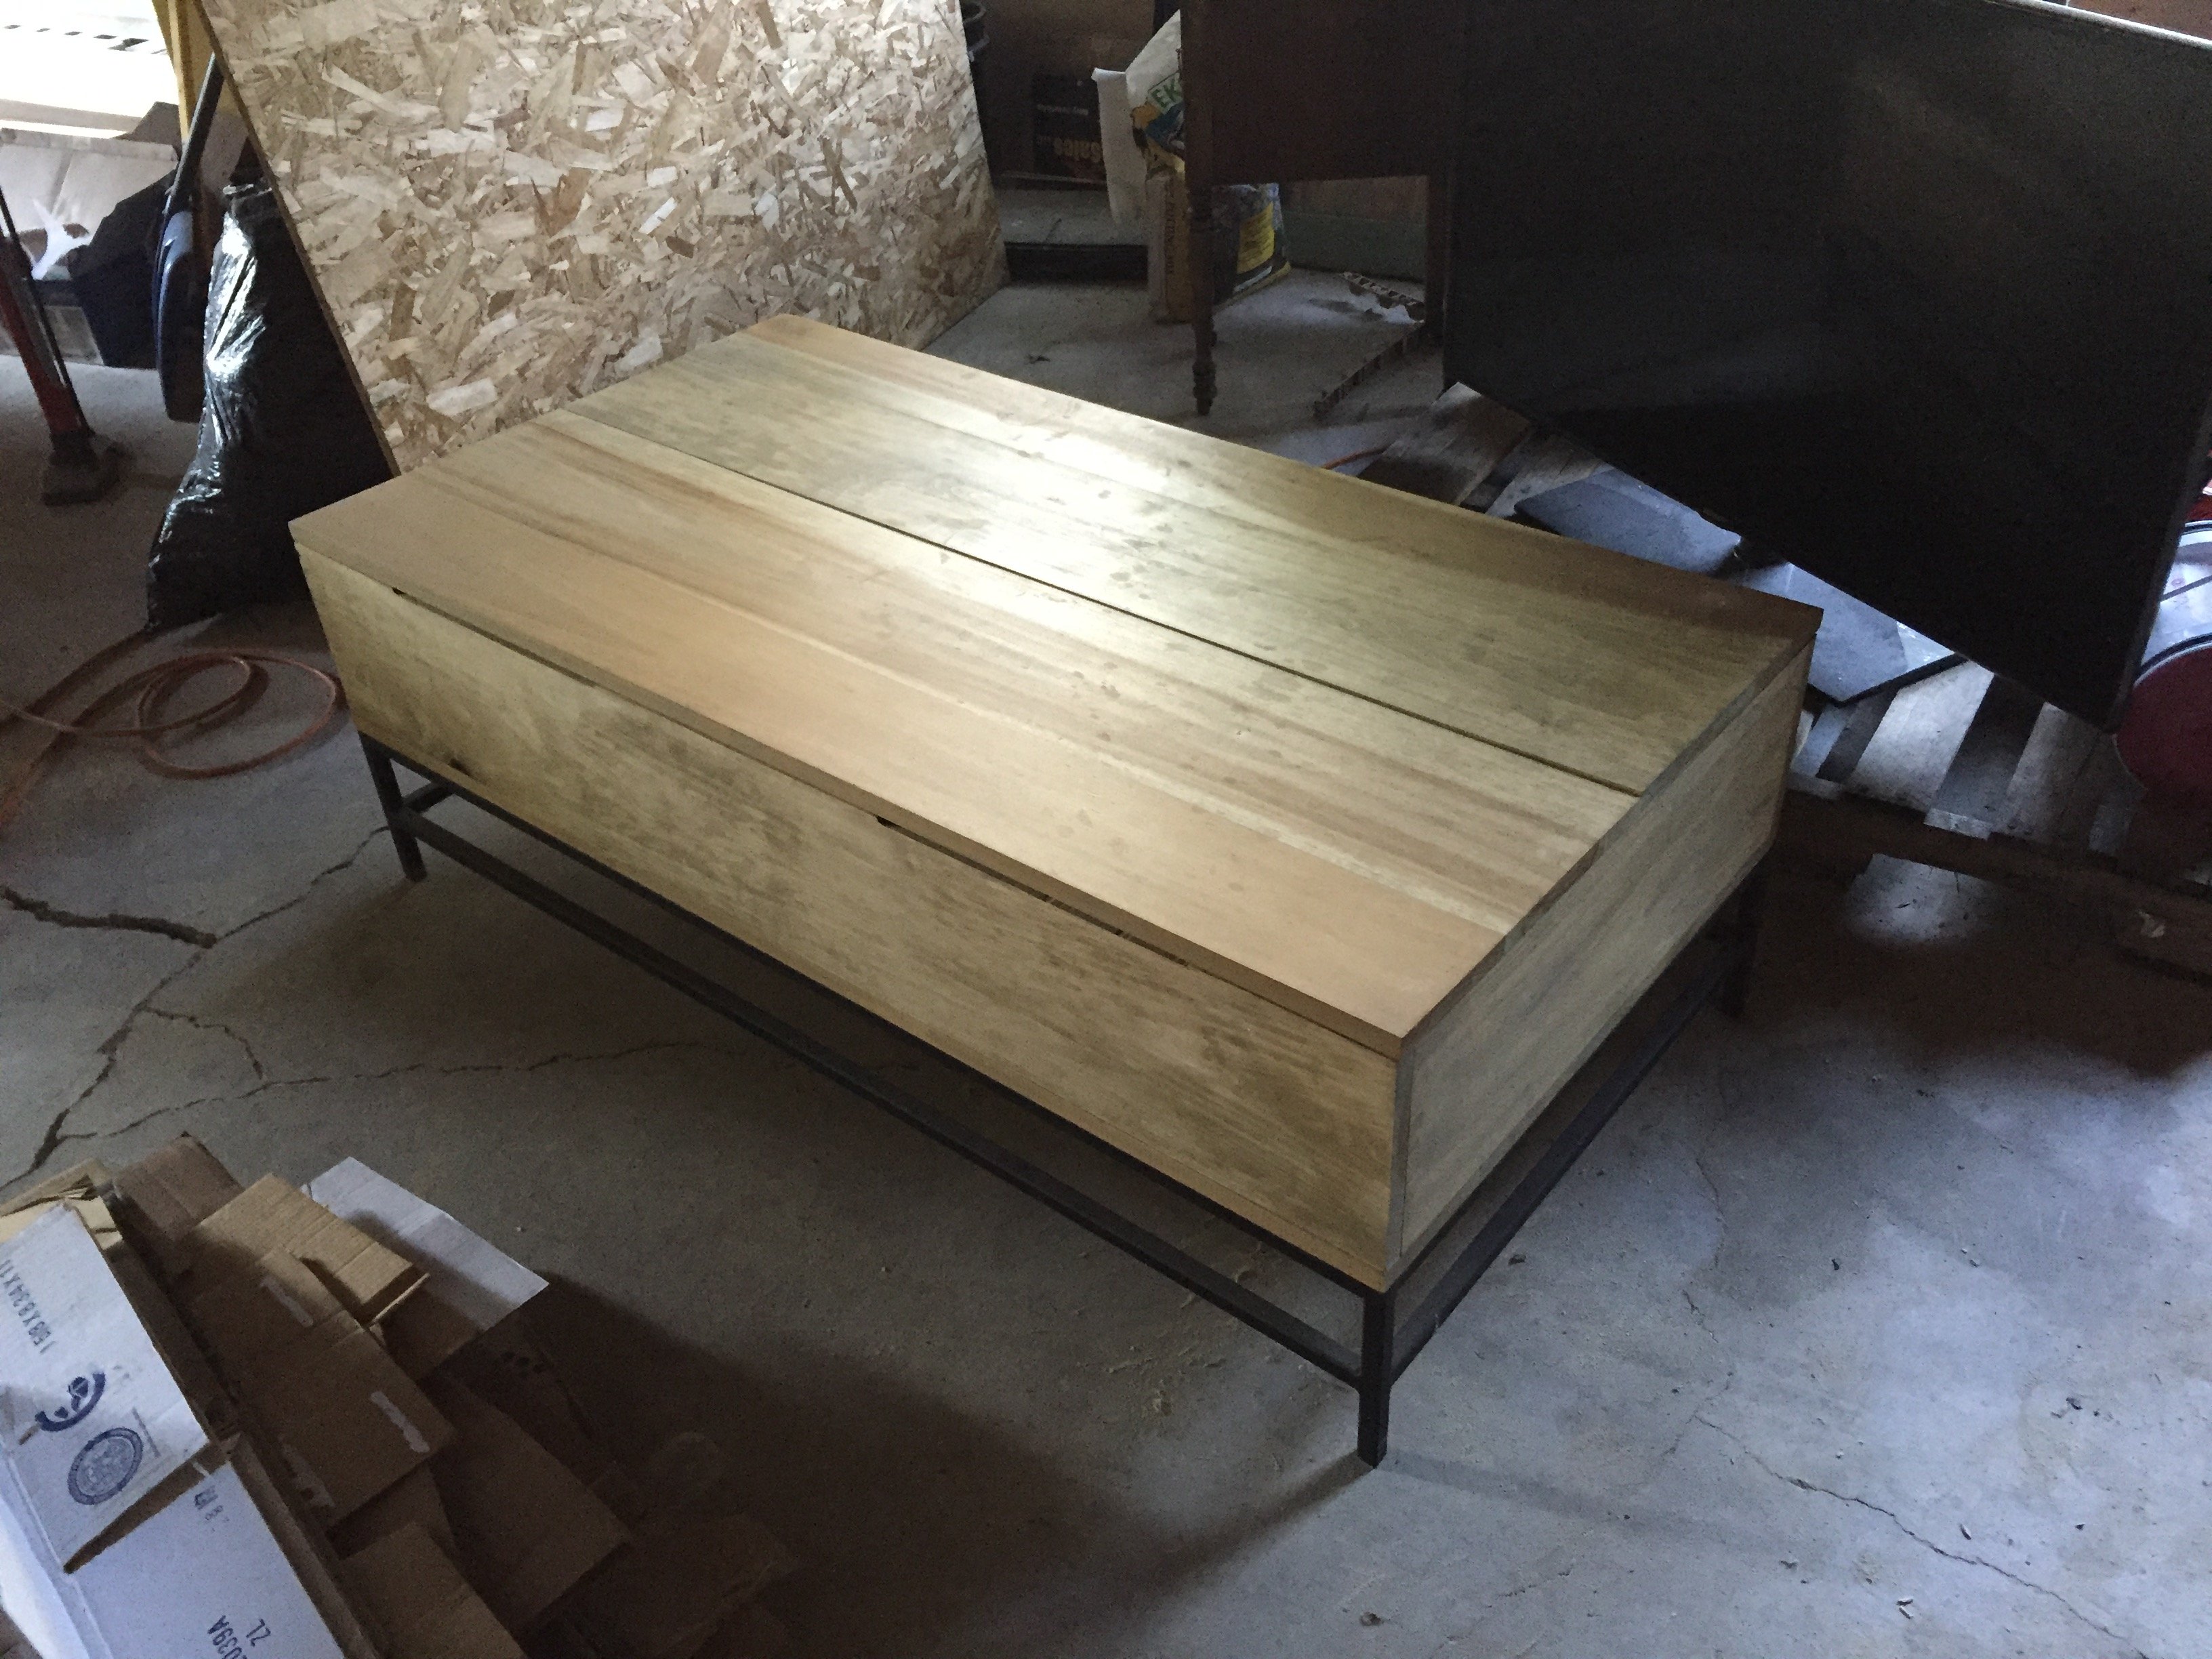
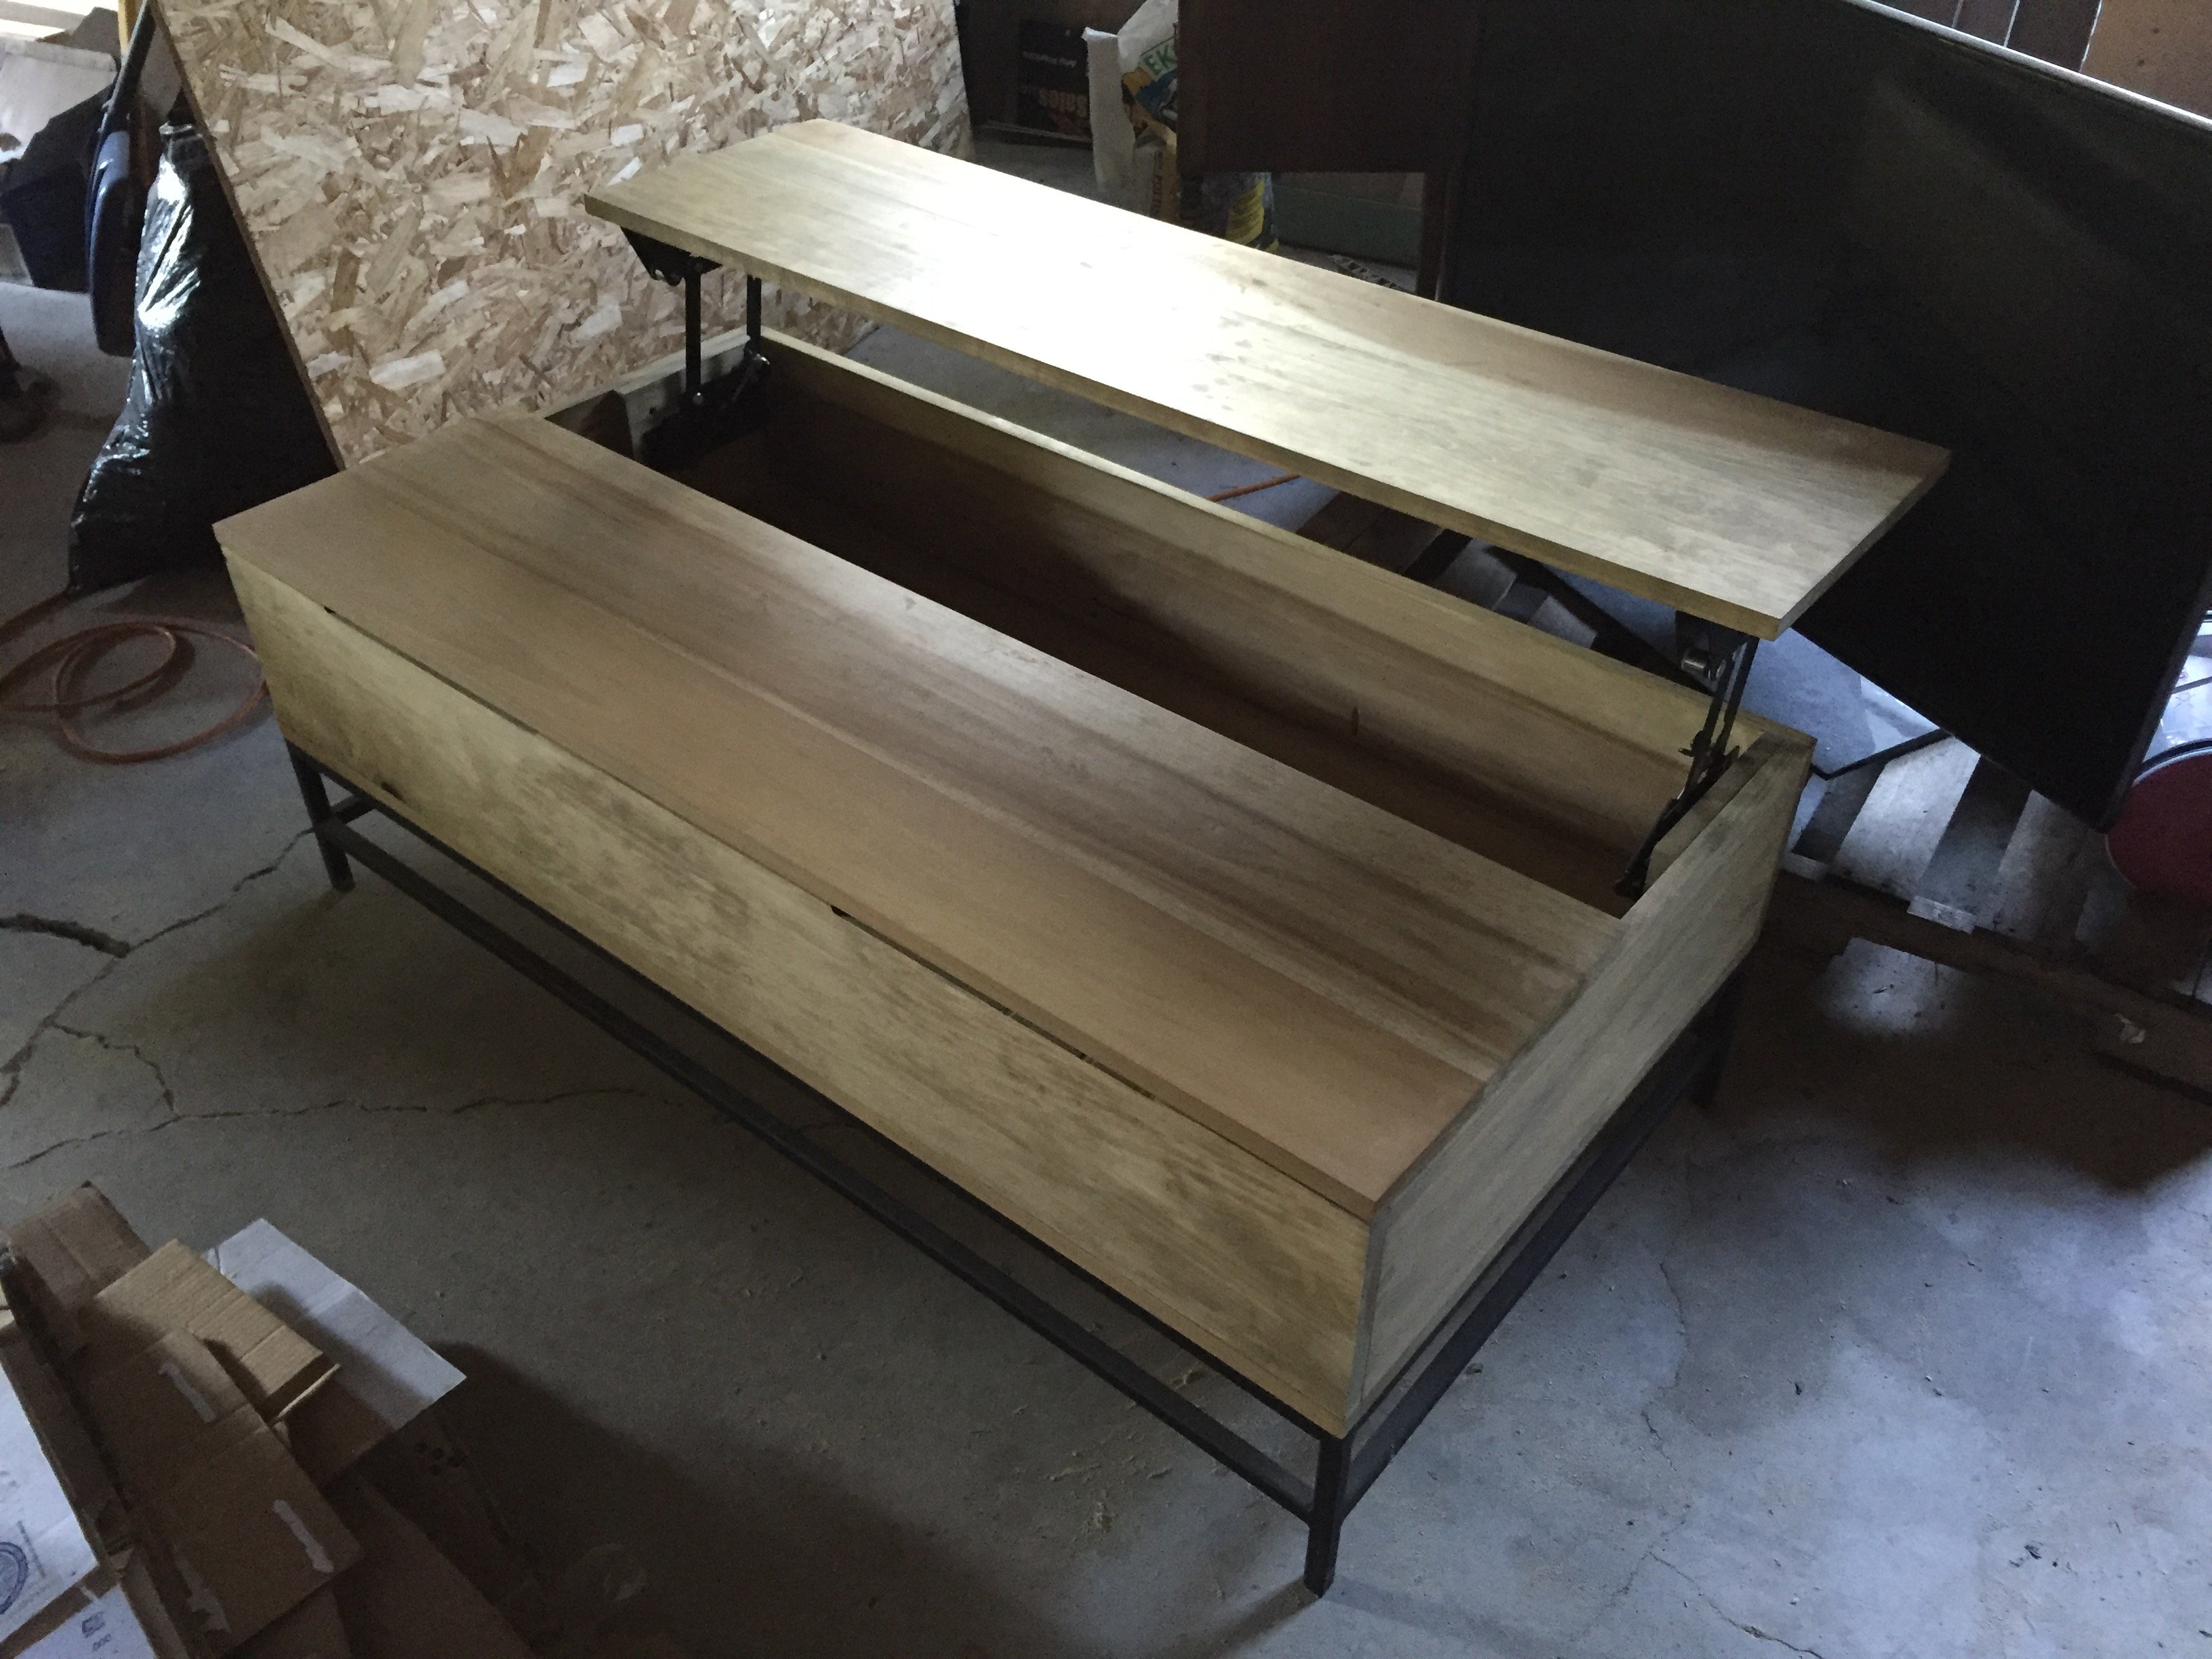
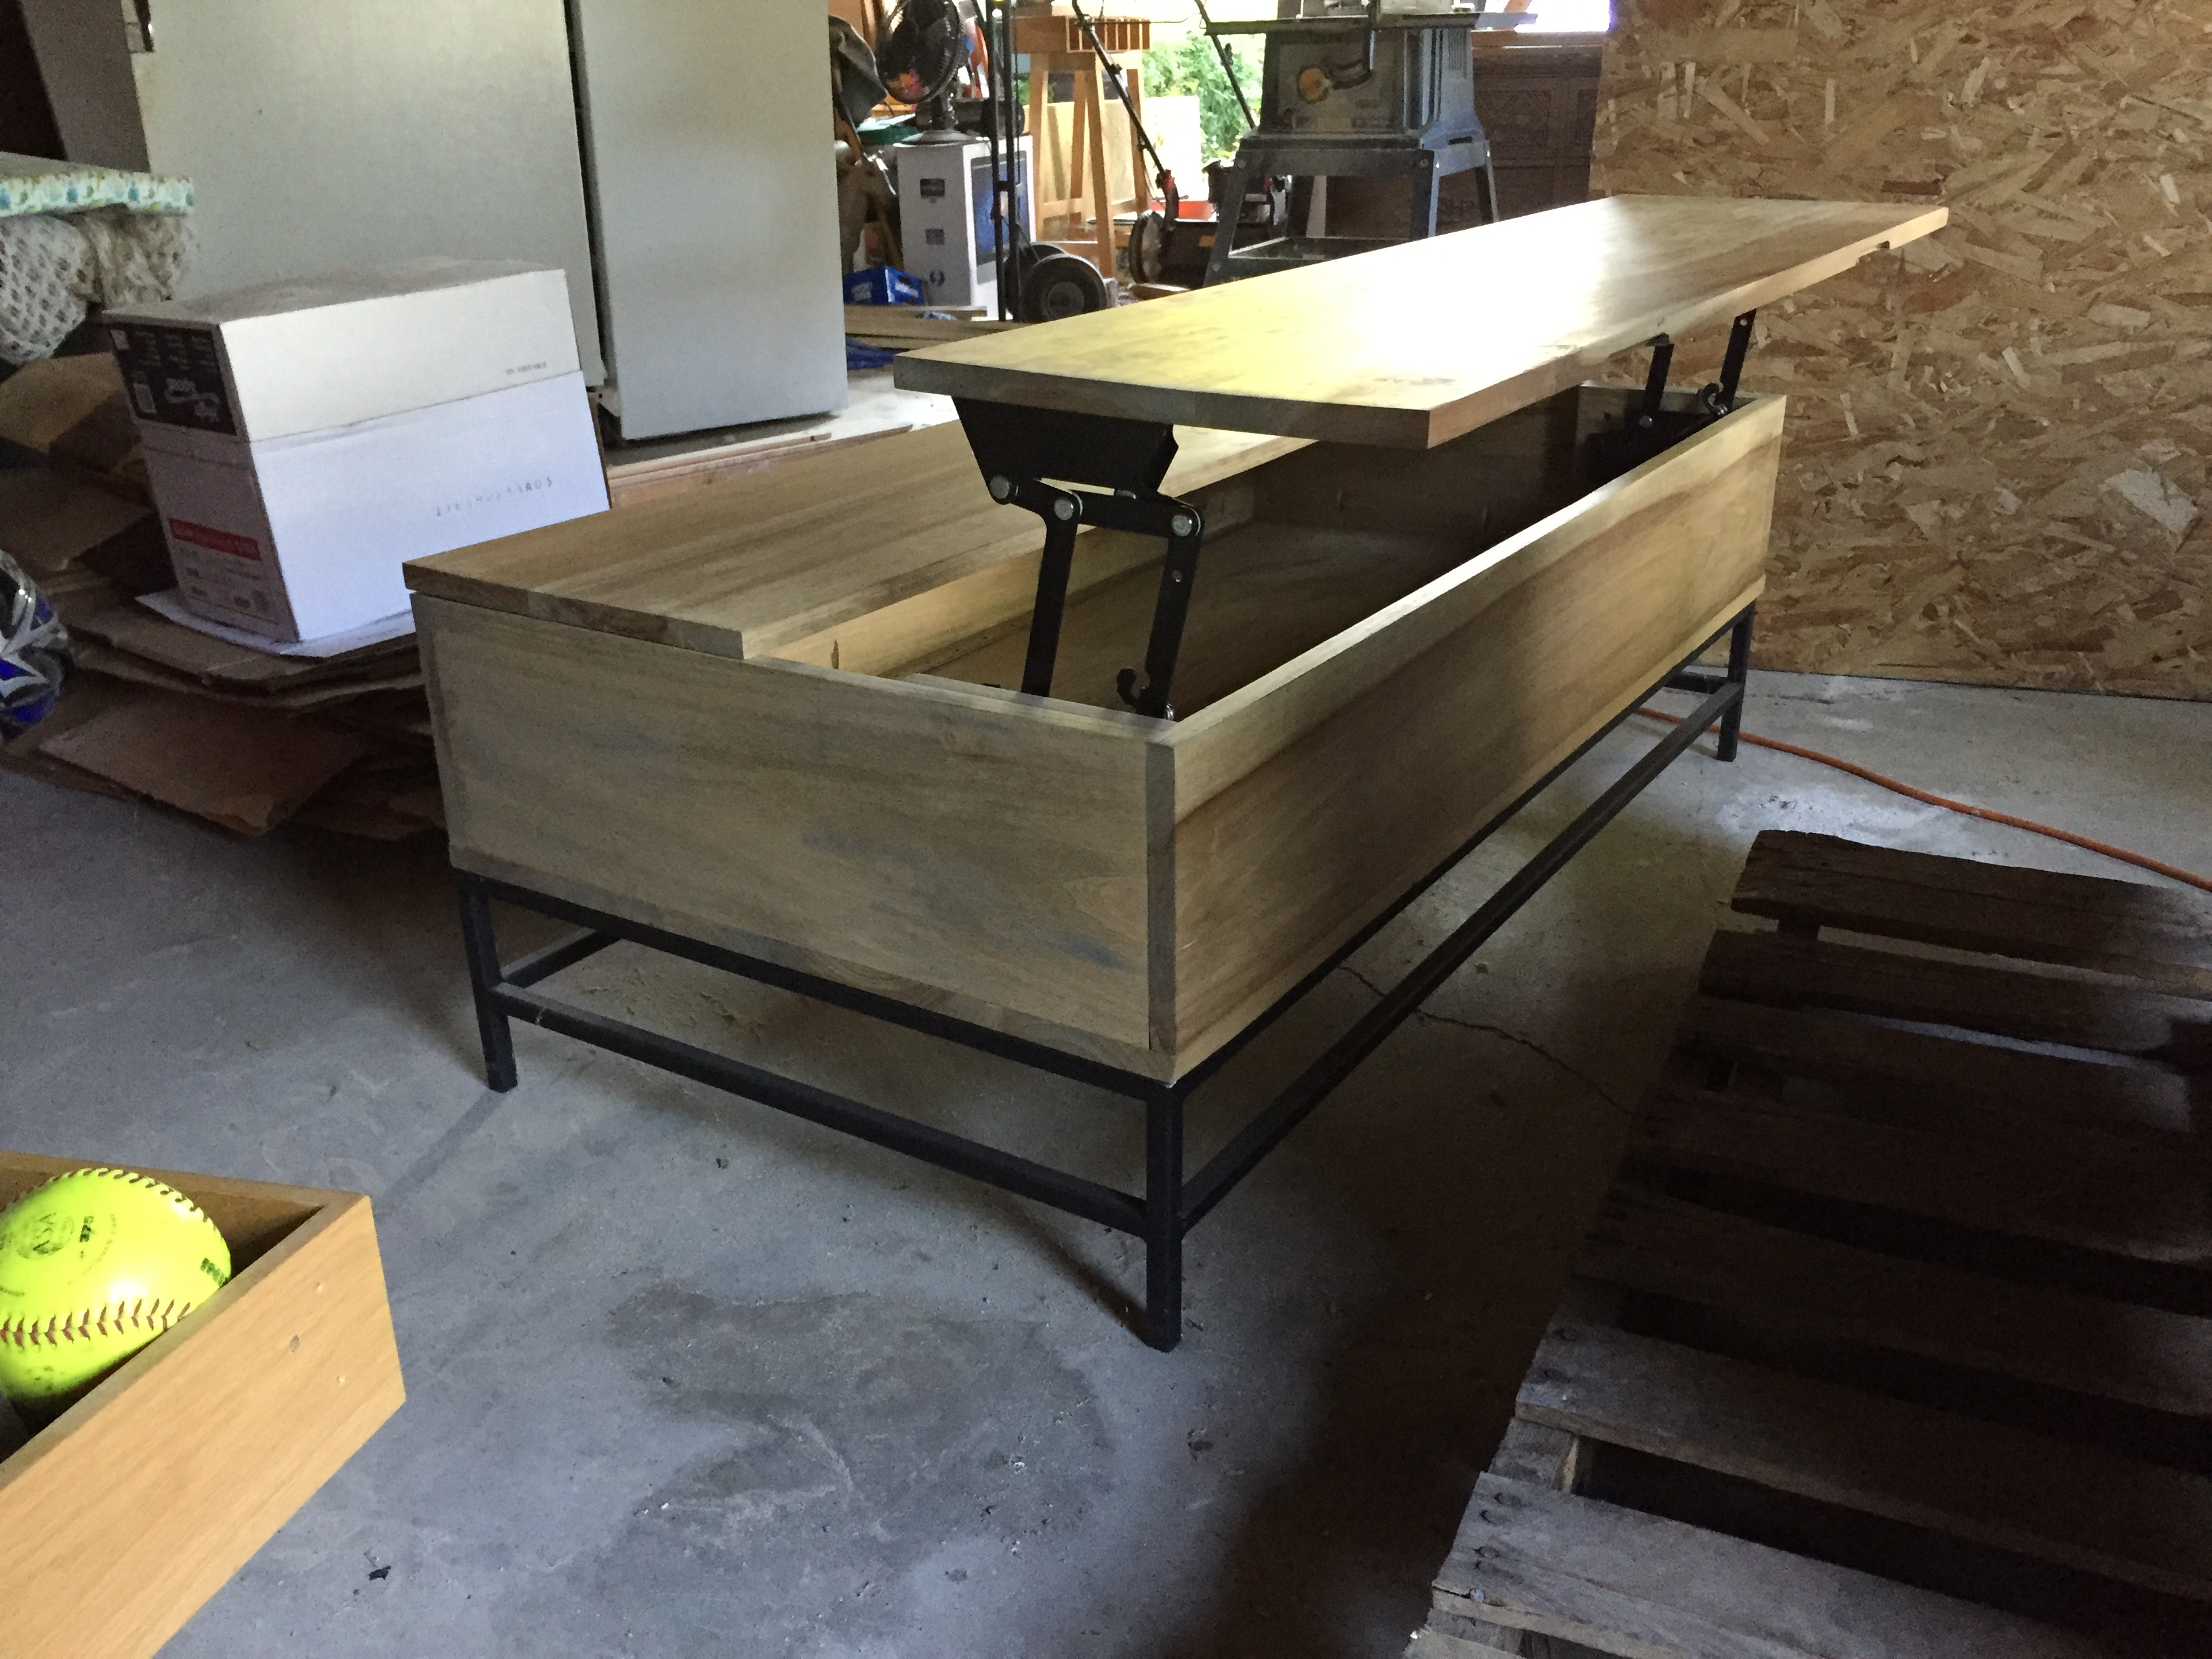
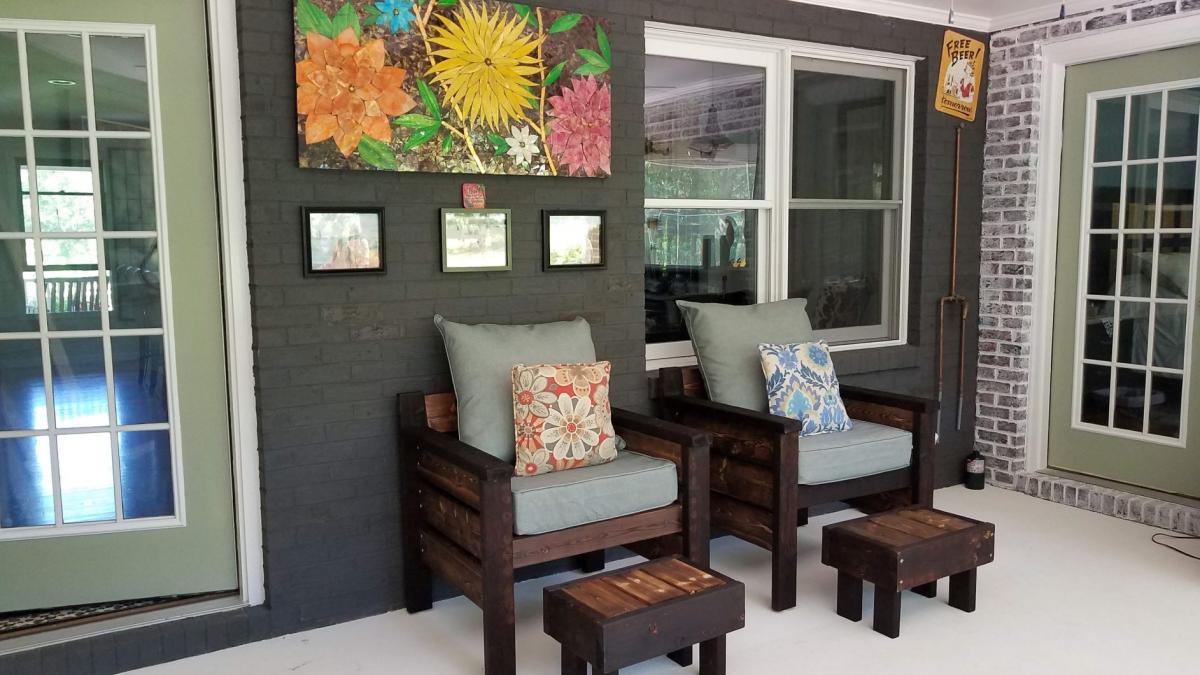
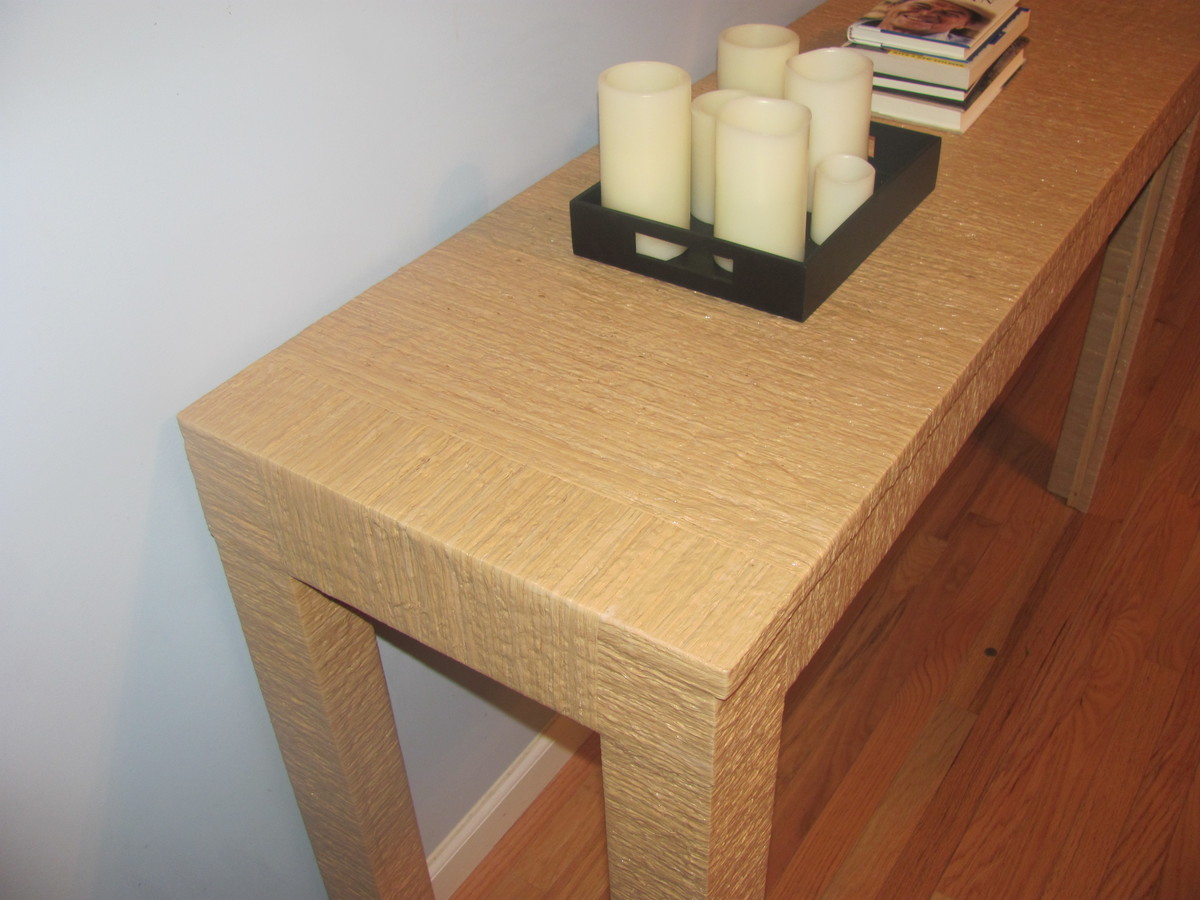
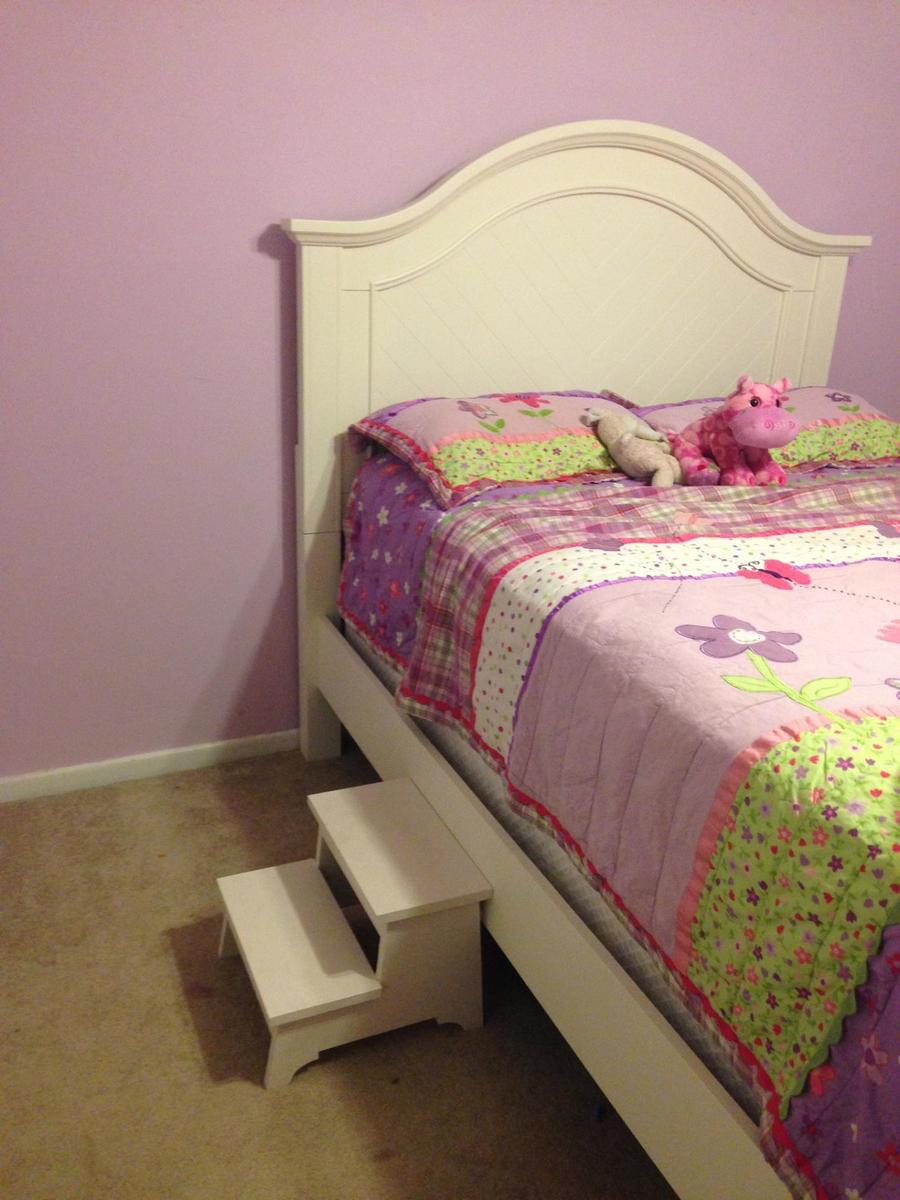
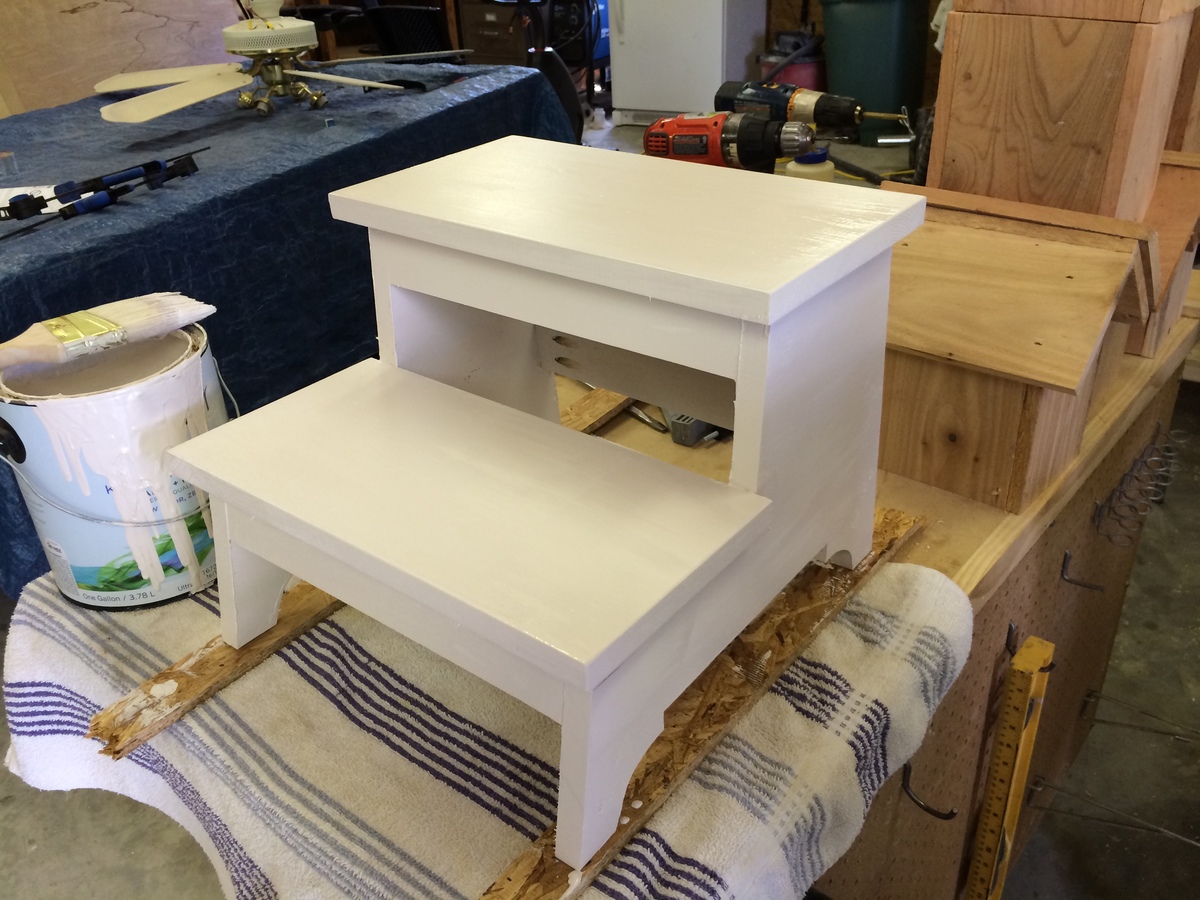
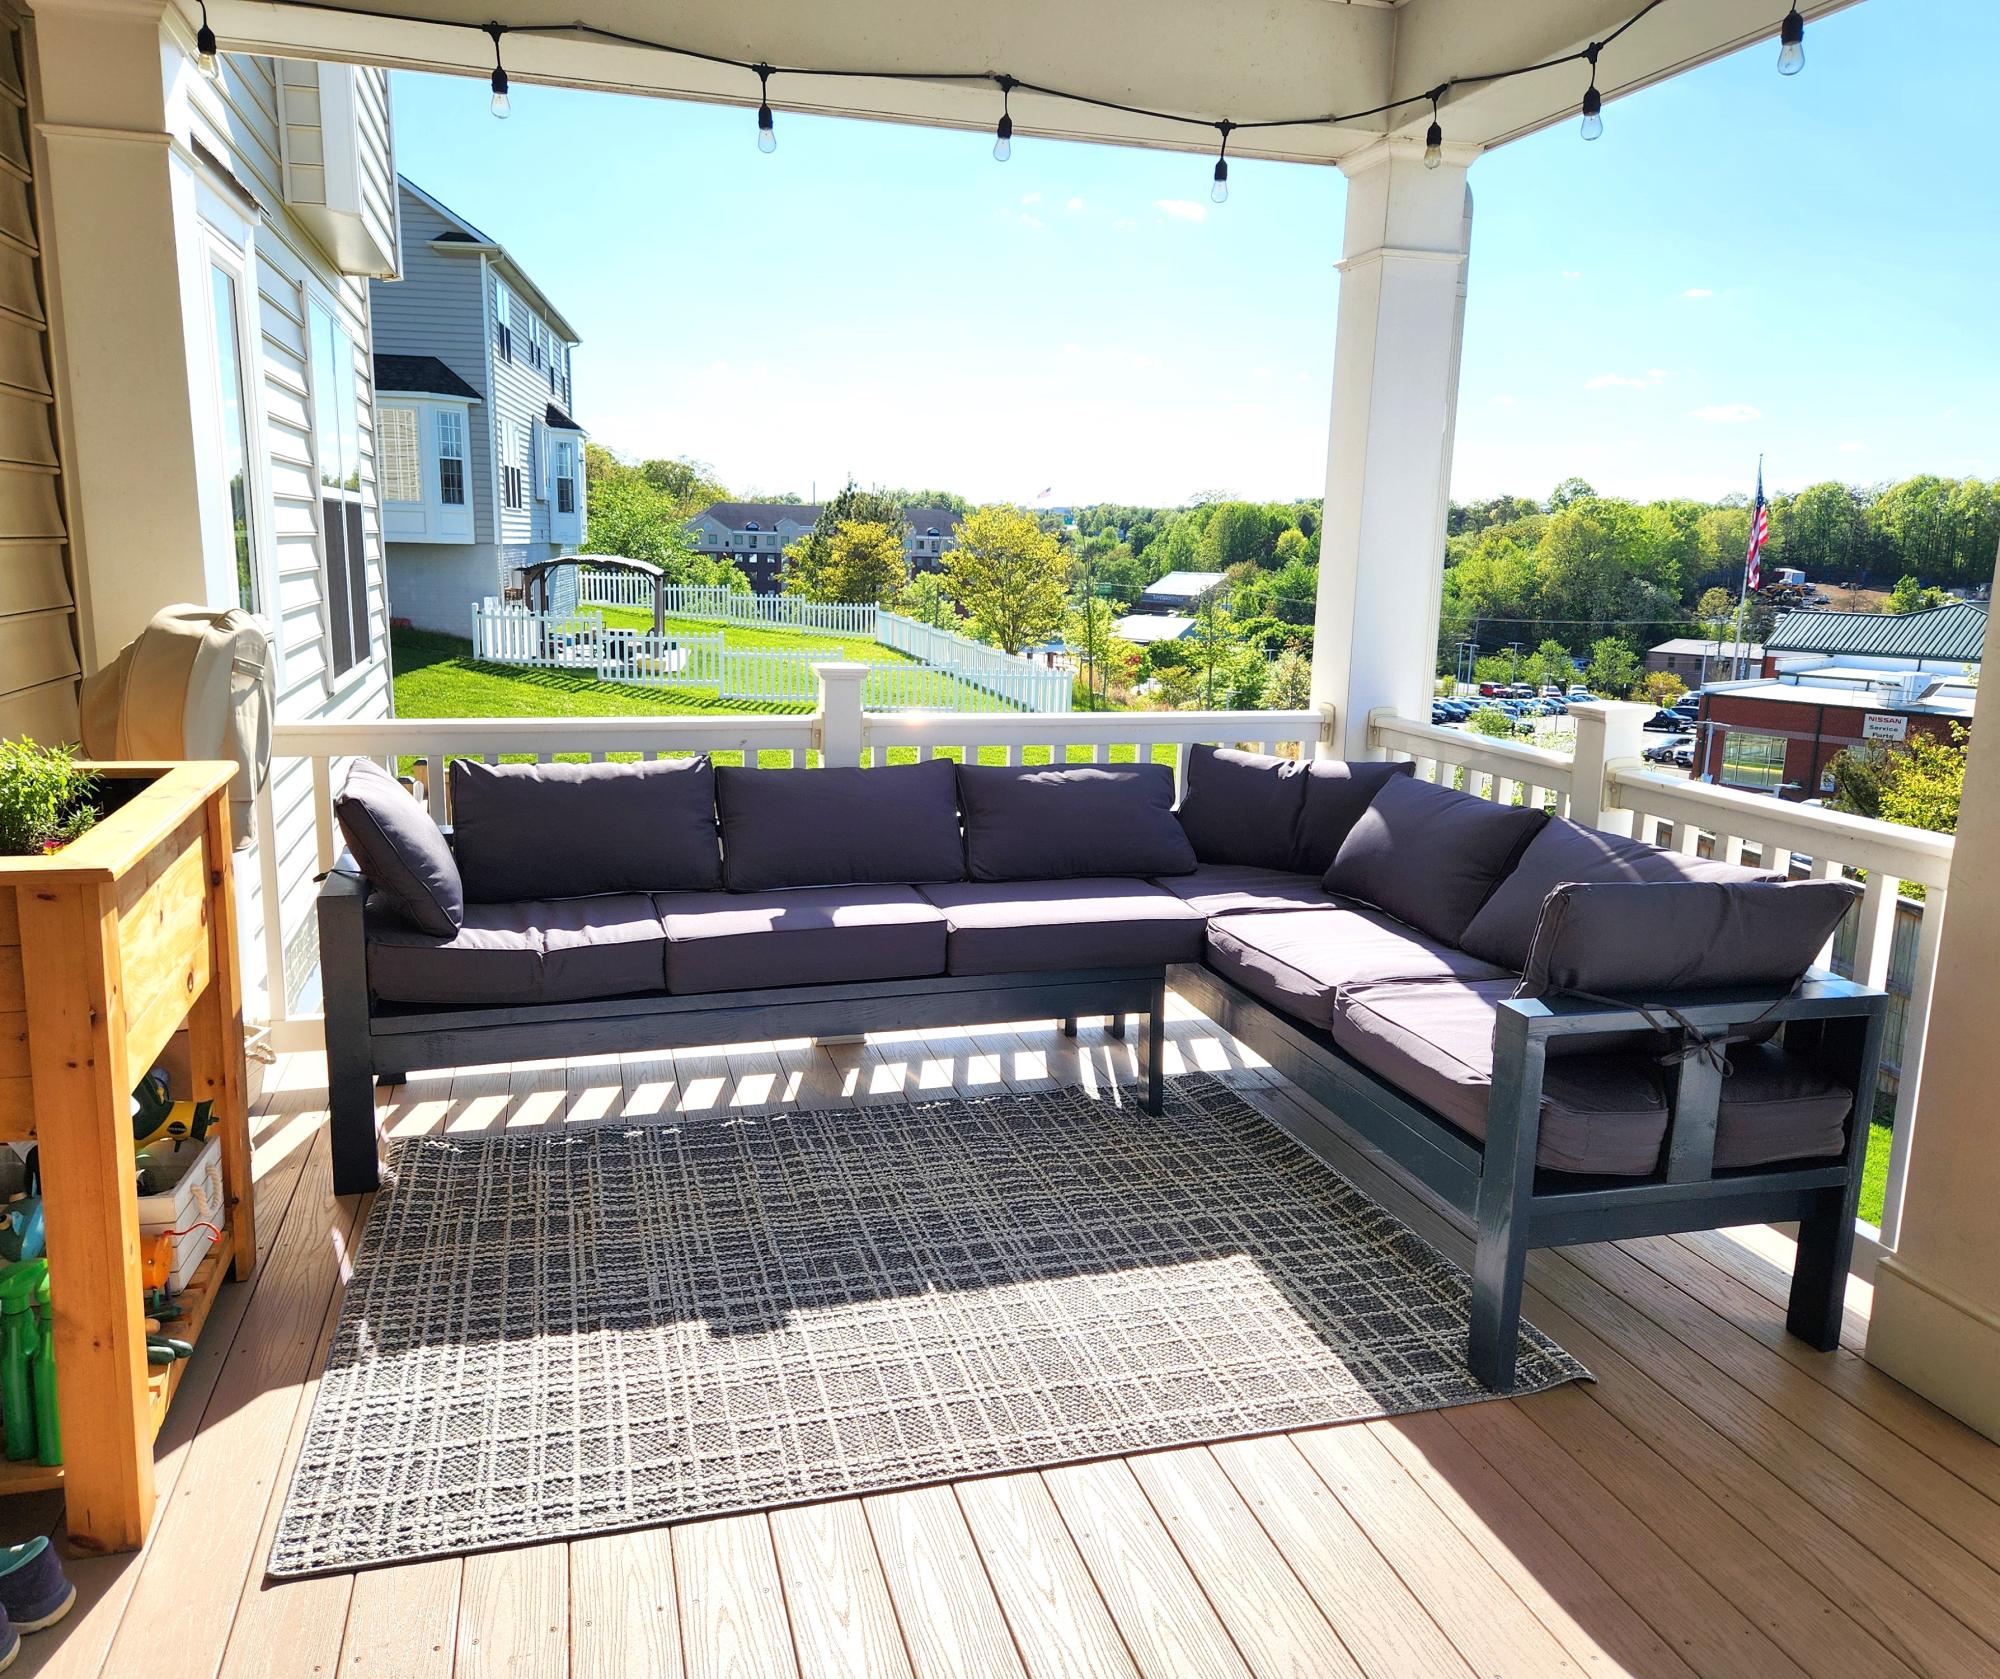
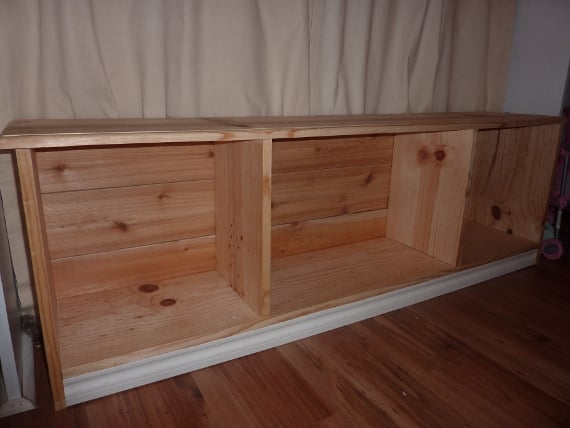
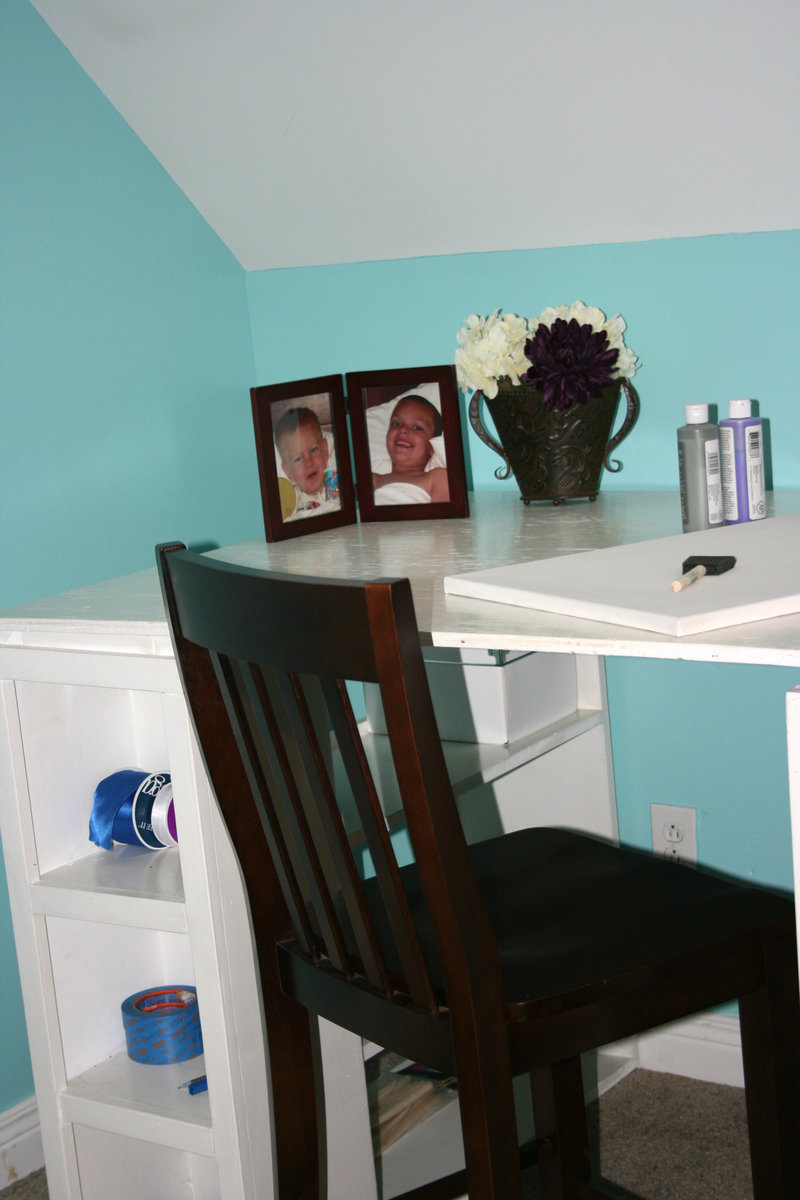
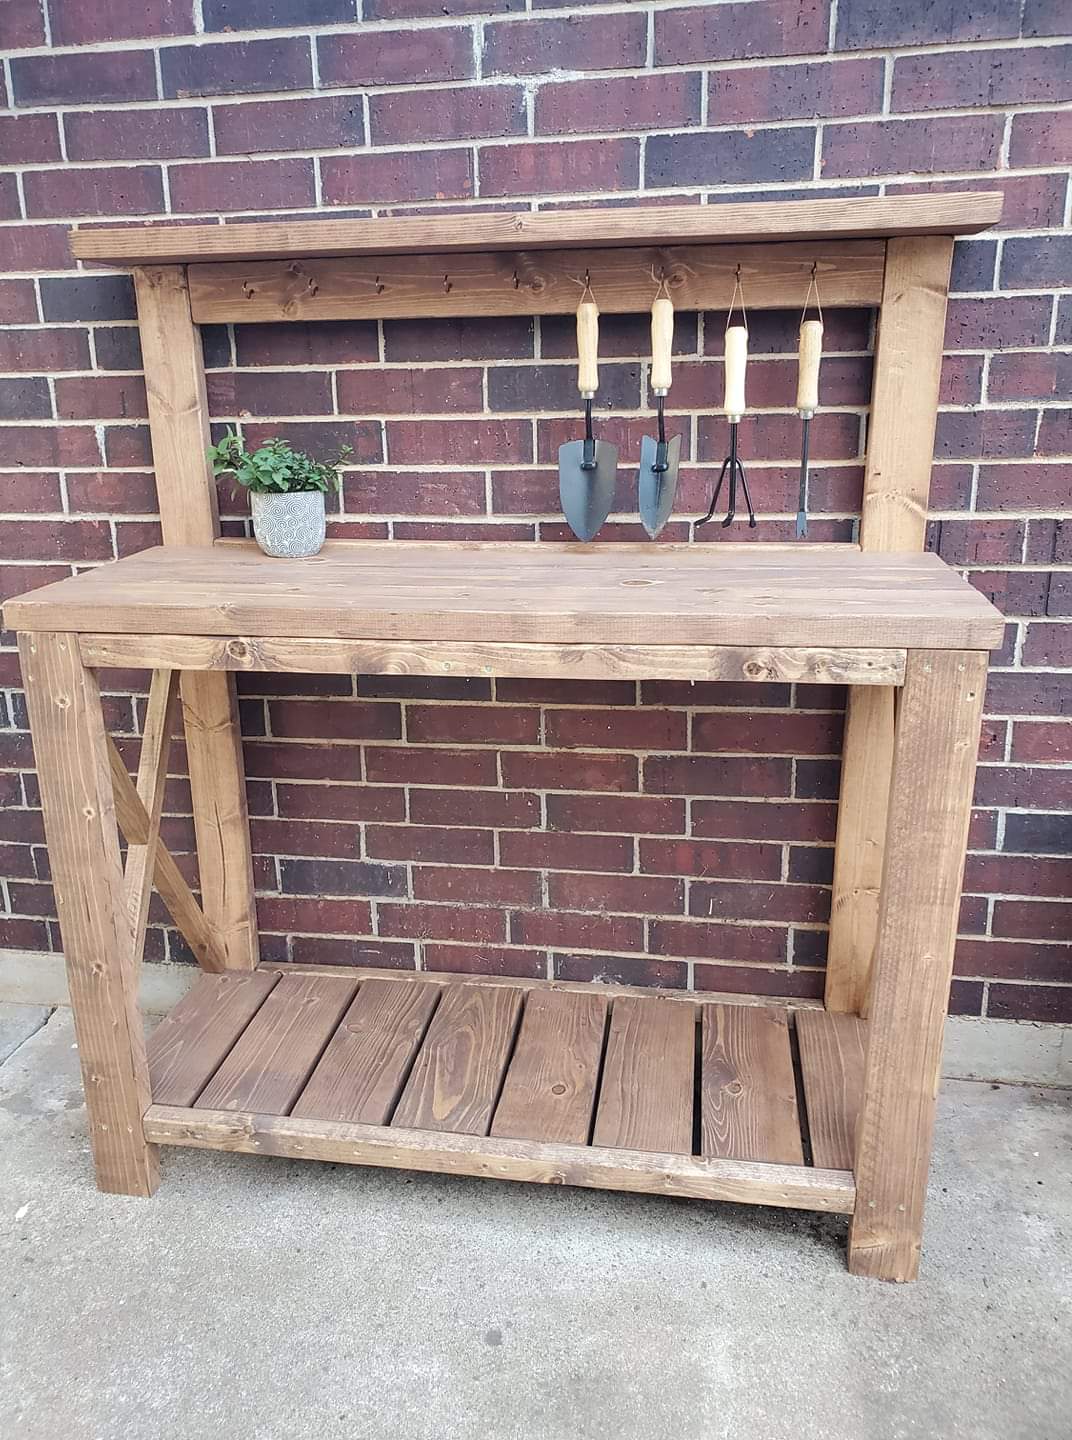
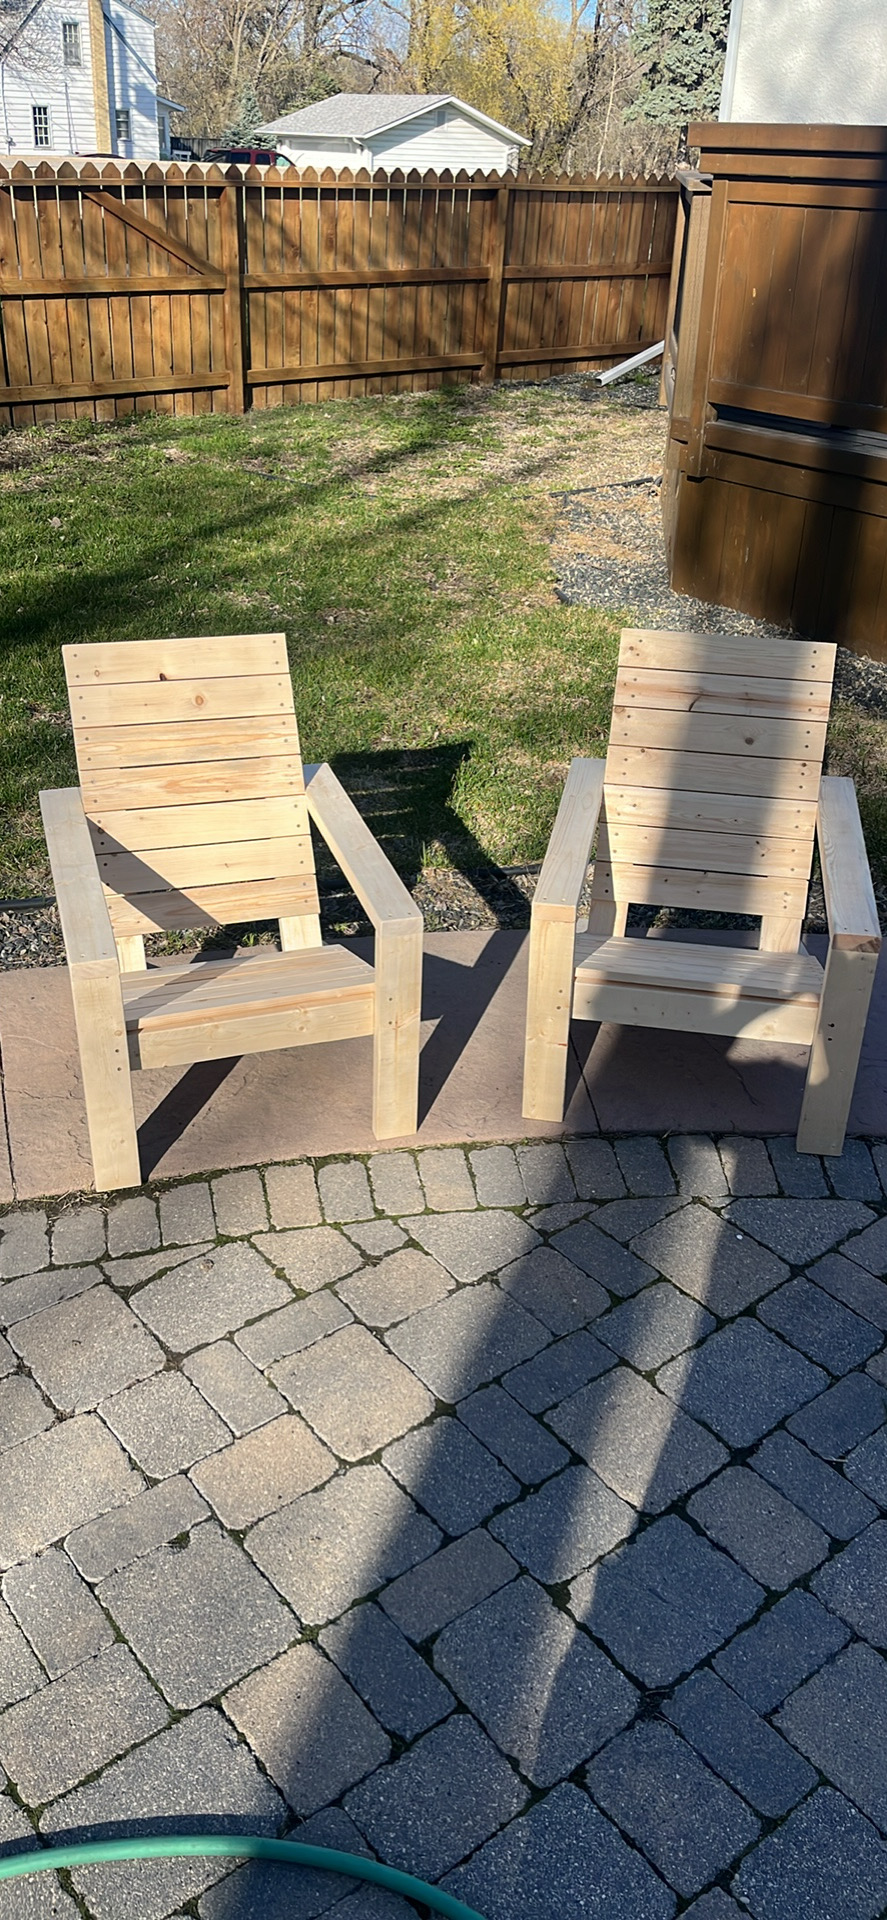
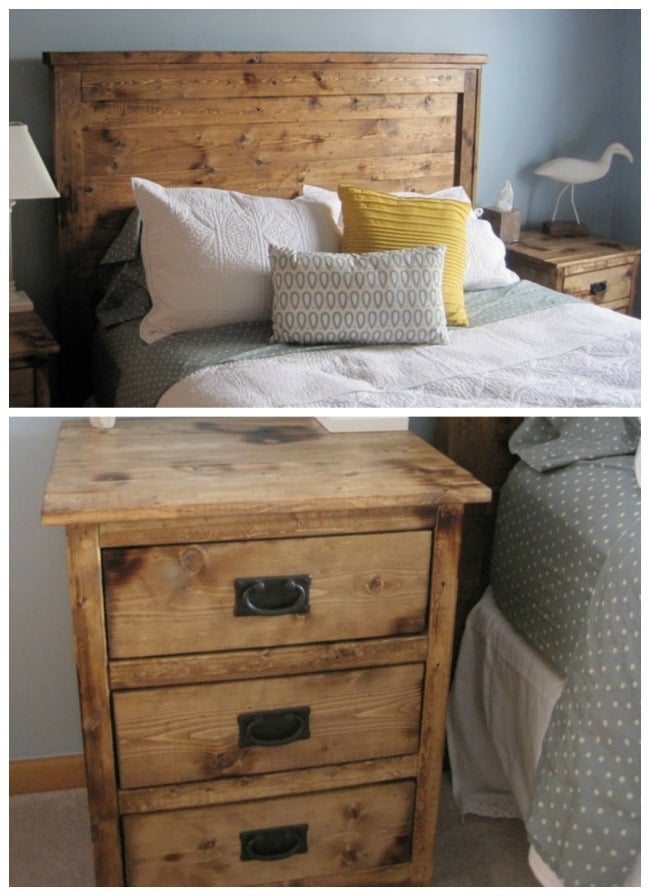
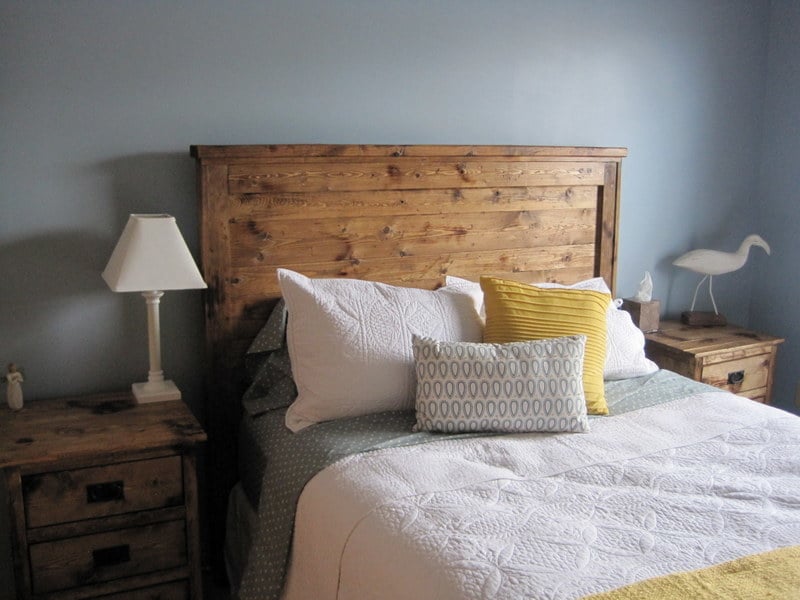
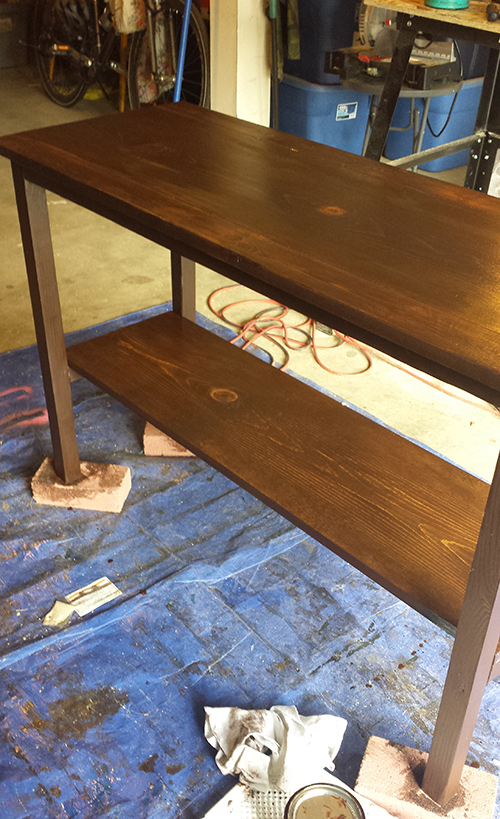
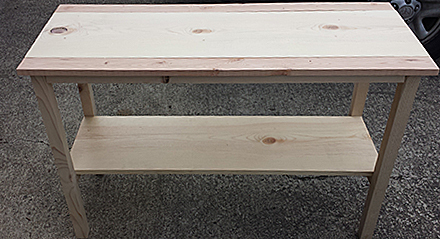
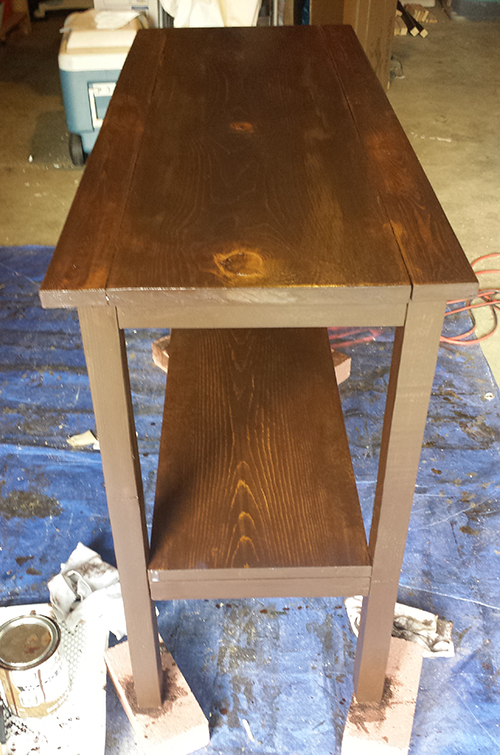
Modern farmhouse side table
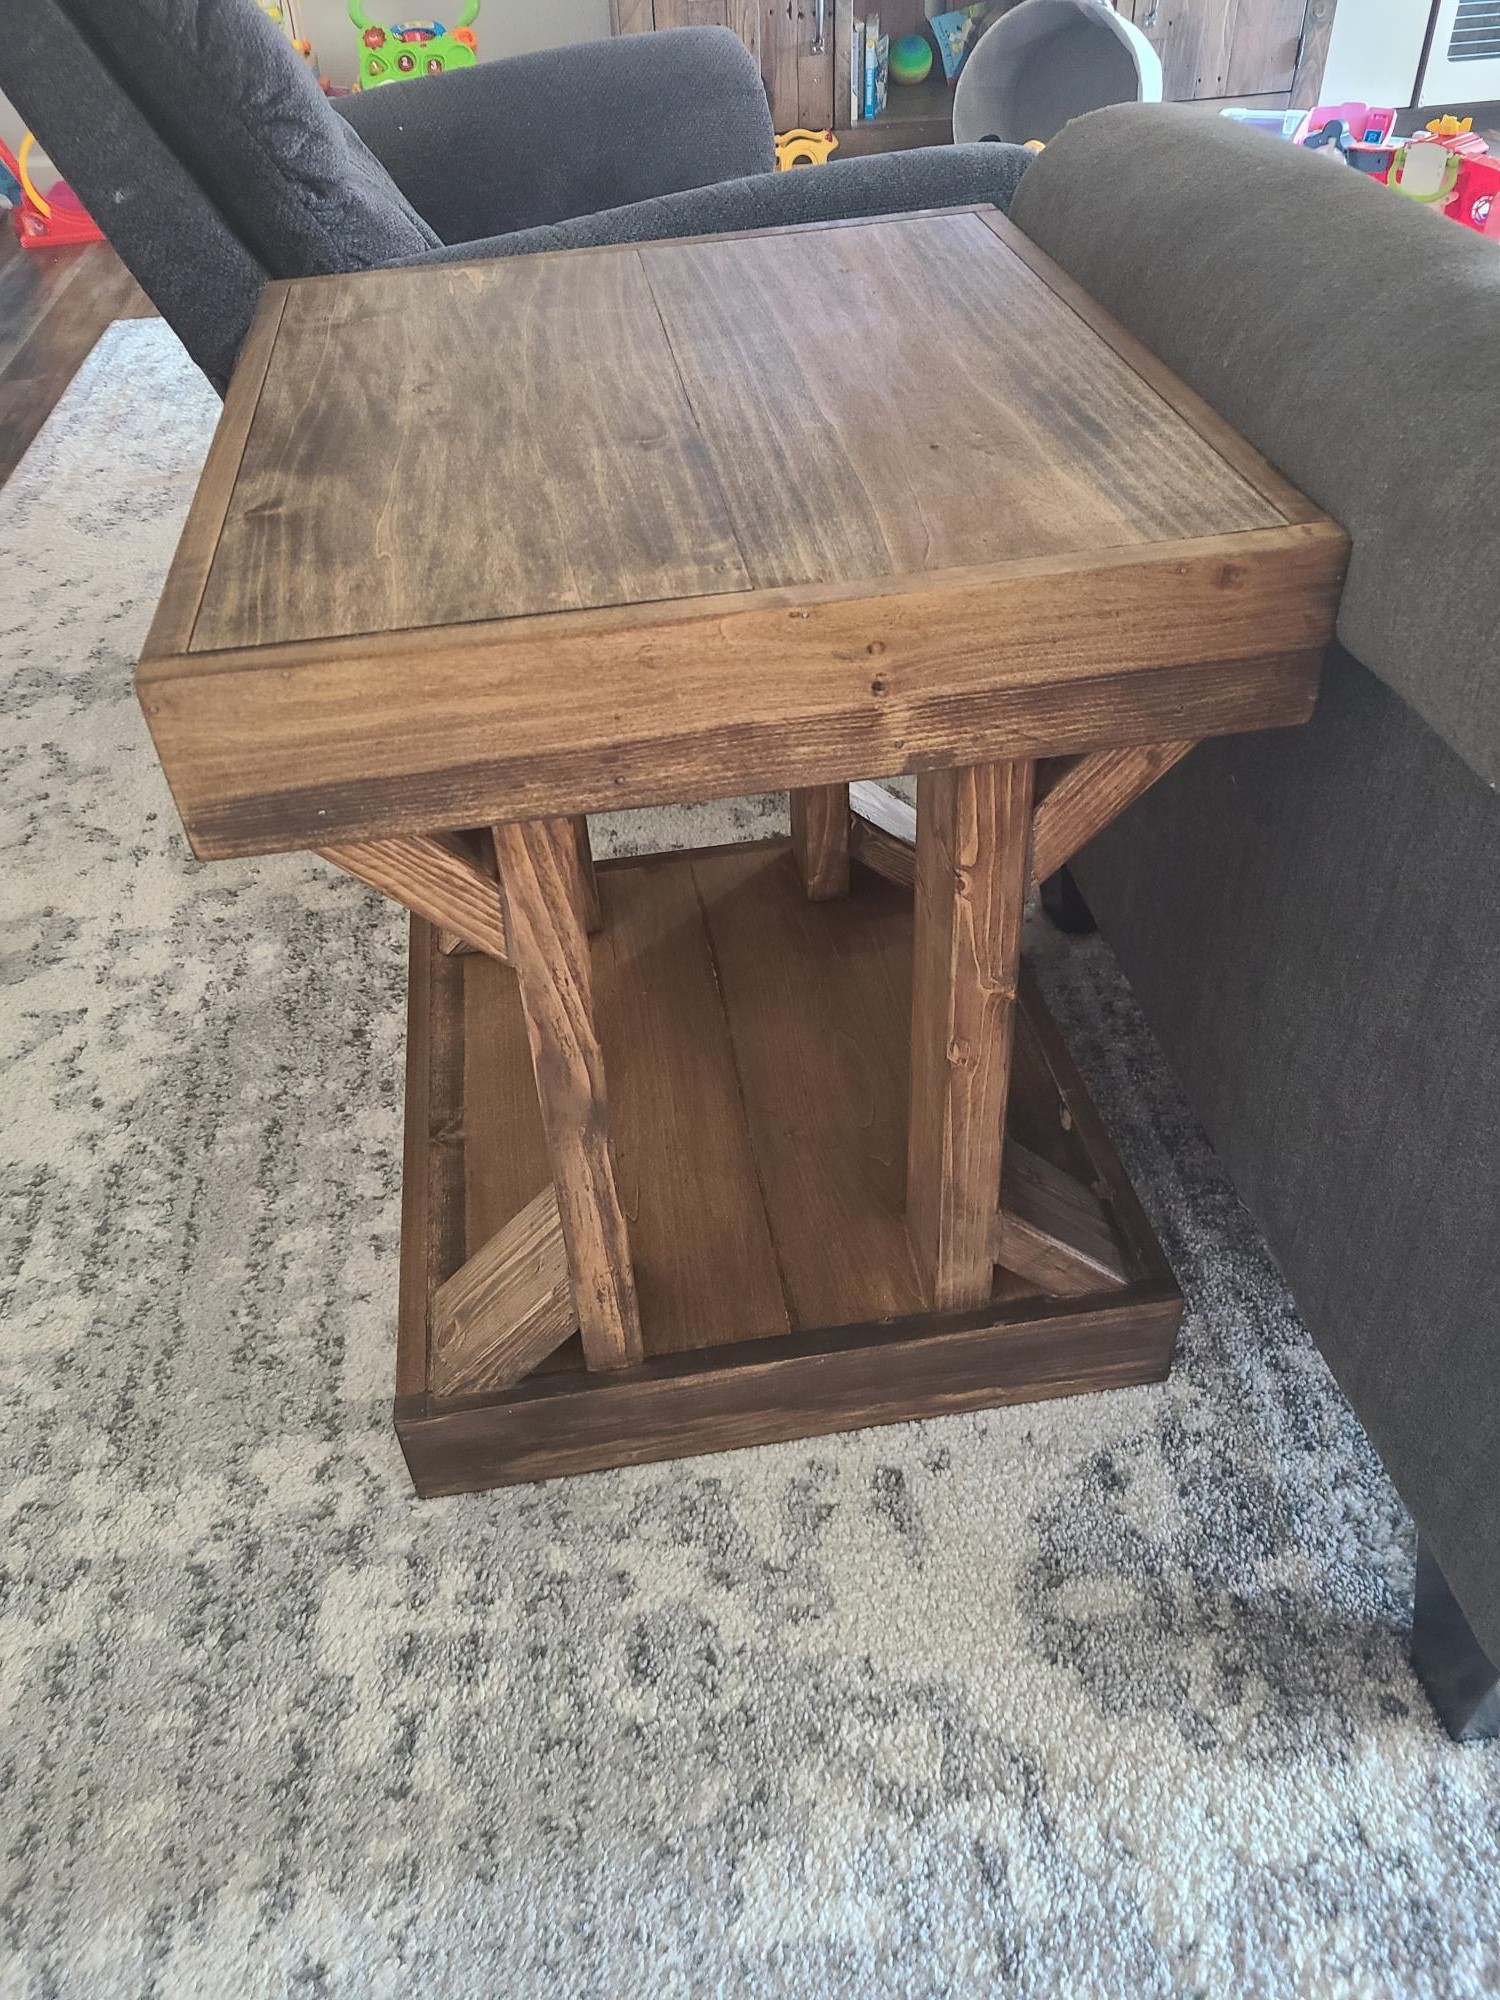
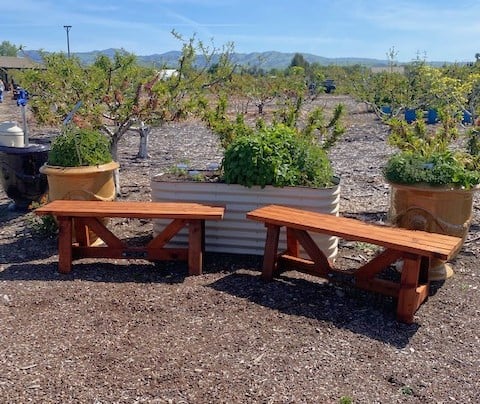
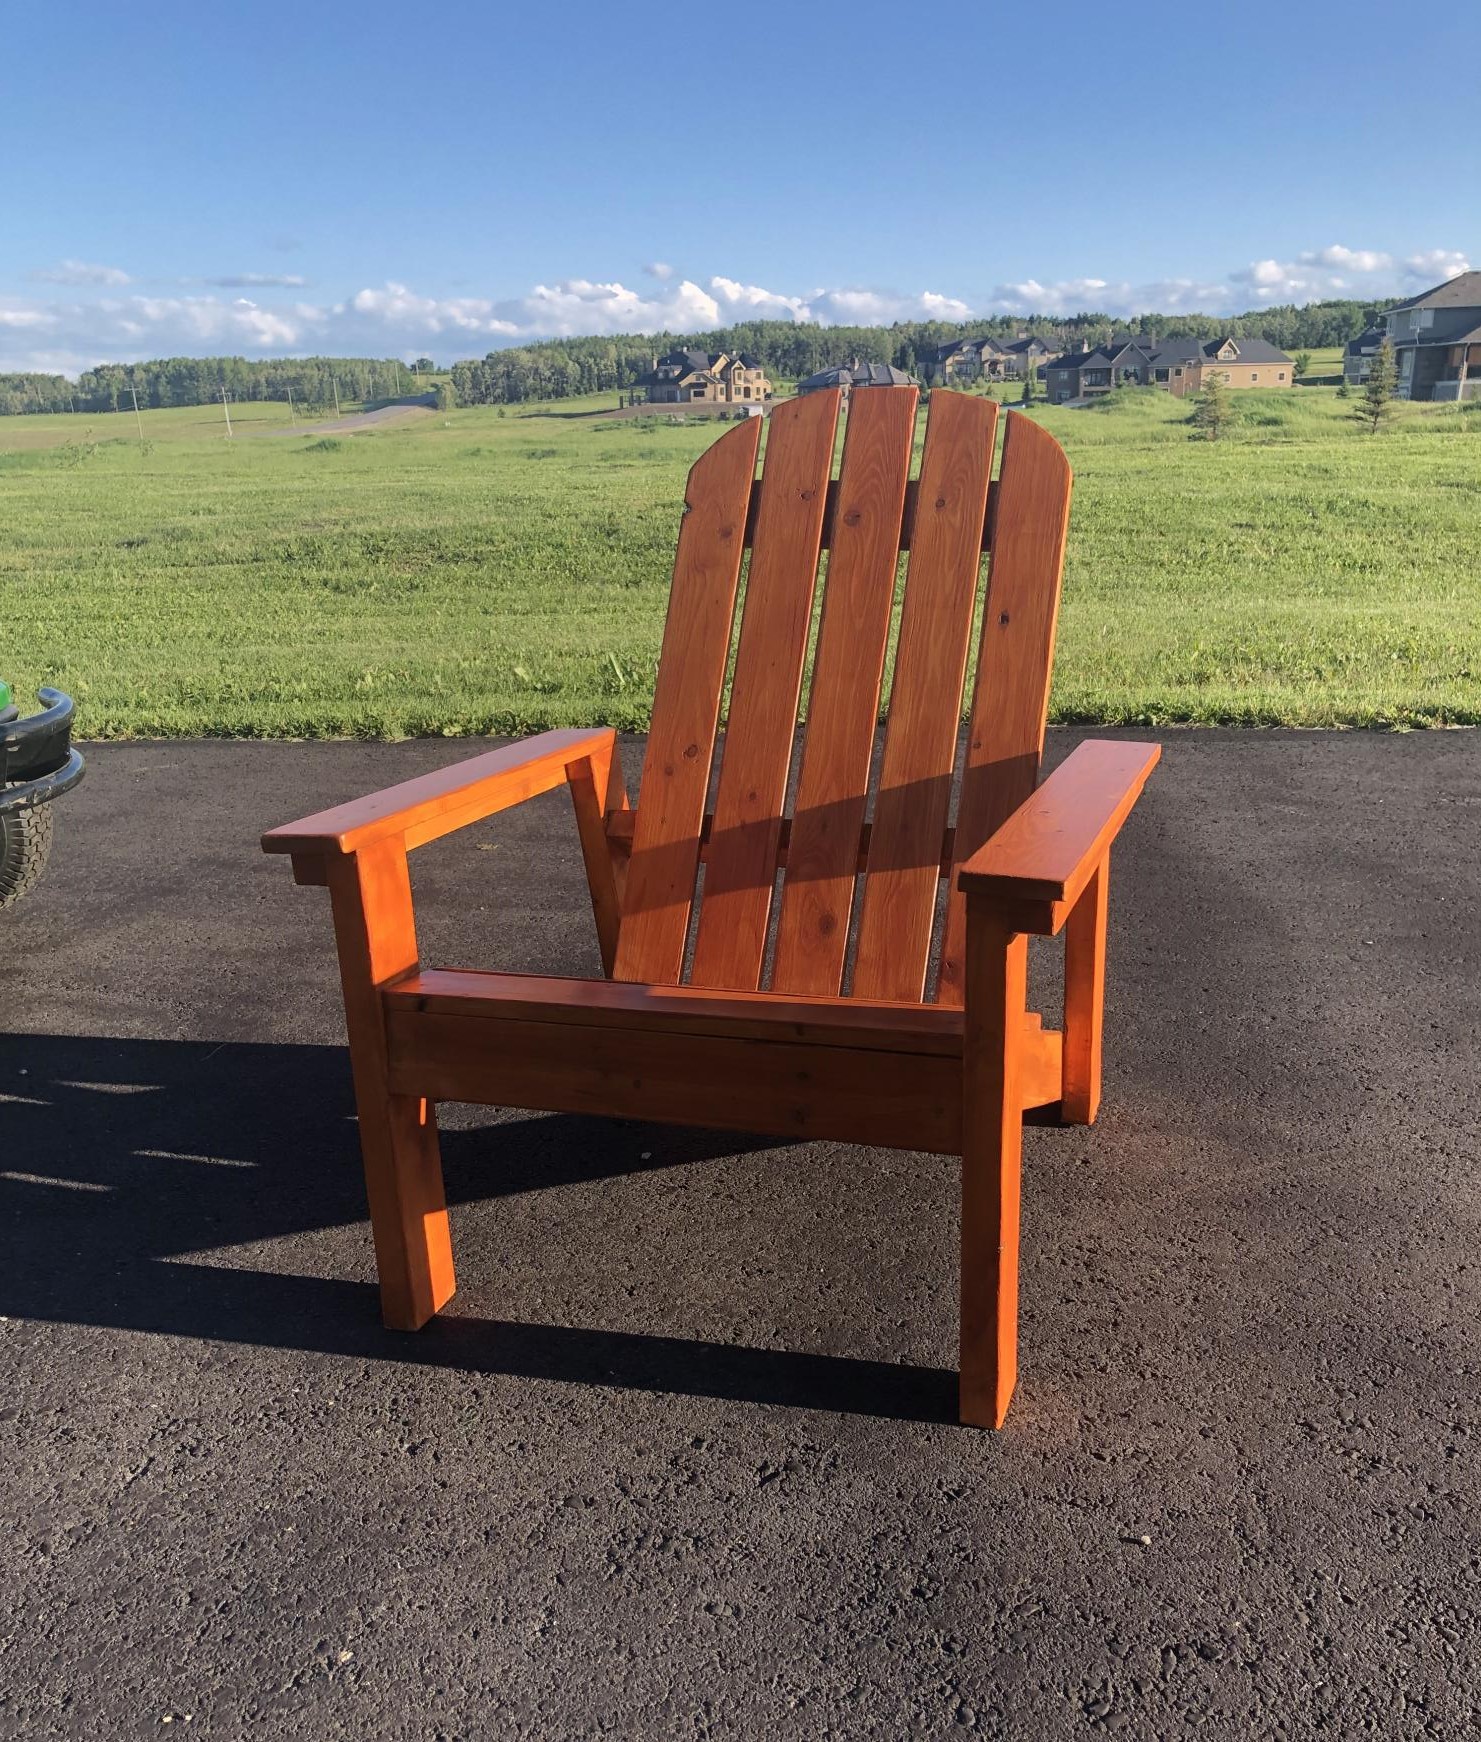
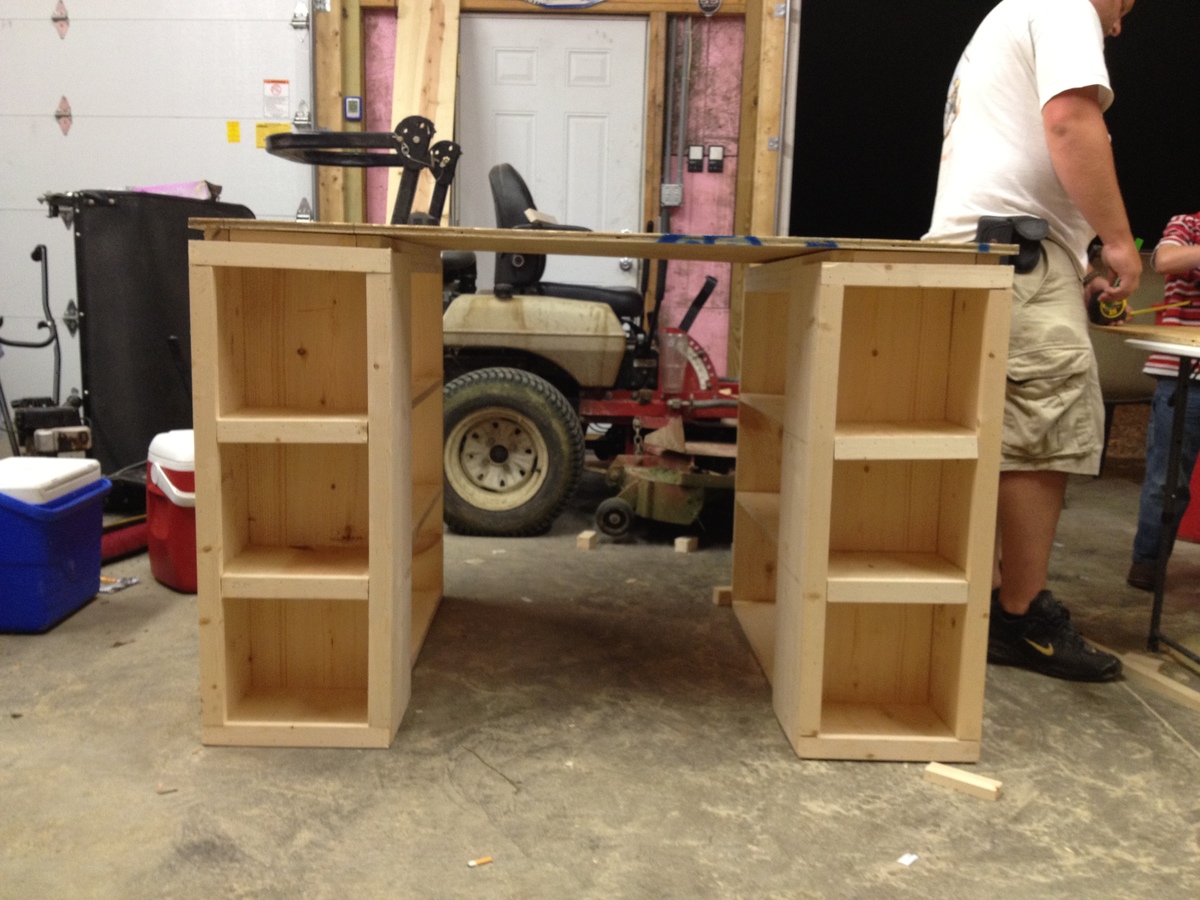
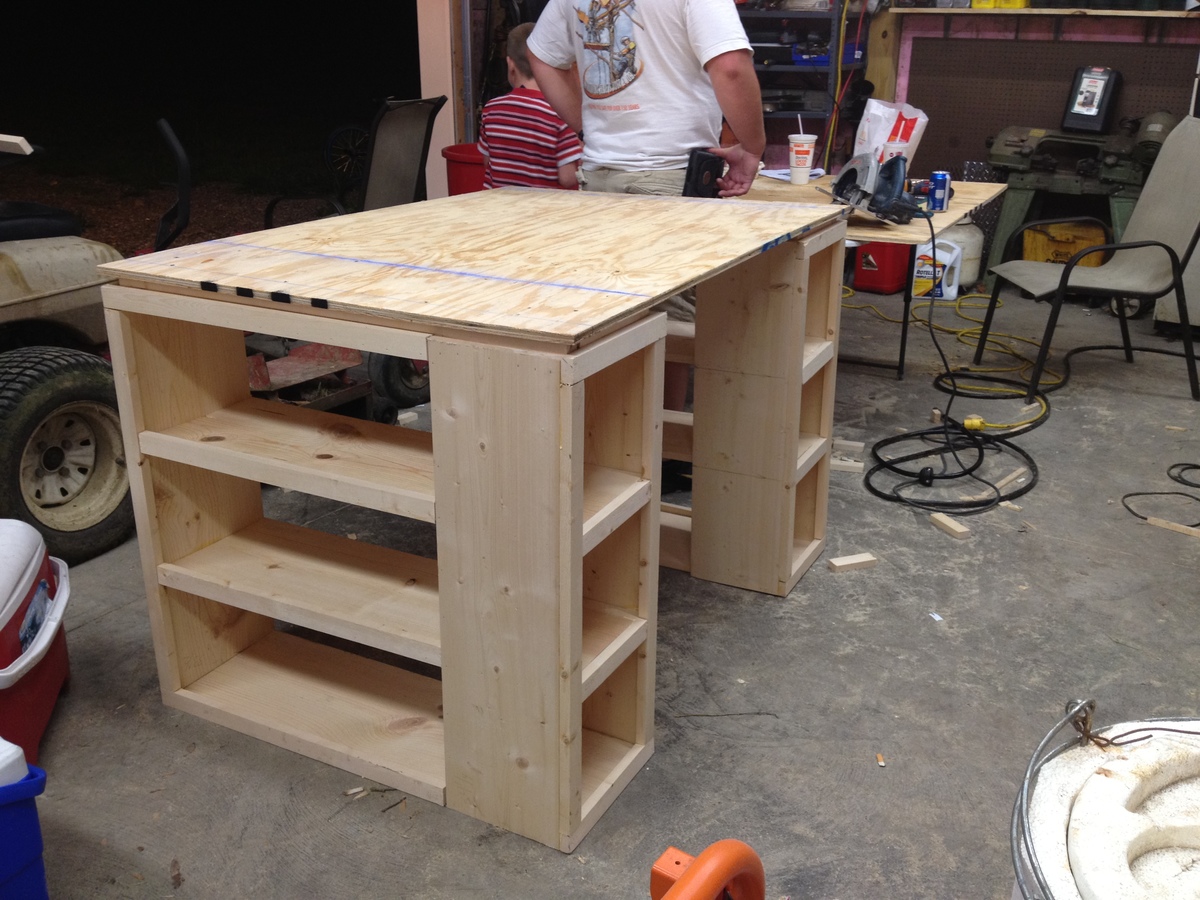
My first project since getting a miter saw! I'm so proud of how they turned out. We needed sturdy side tables so our toddler can't pull them down onto herself & these fit the bill. I dont have a brad nailer so had to pound in the nails by hand, which made it take a lot longer.... overall for me was a week & a half long project with 2 littles to care for at the same time. I used walnut stain, 2 coats. Can't wait to do another project!
Built from Plan(s)
Estimated Cost
$150 (for 2)
Estimated Time Investment
Week Long Project (20 Hours or More)
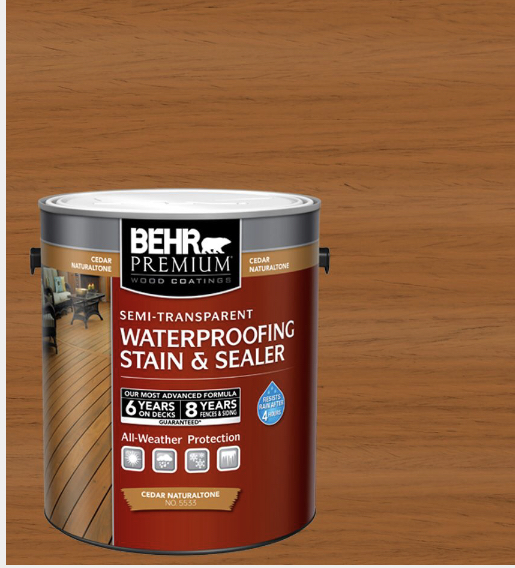
Finish Used
walnut stain two coats
Recommended Skill Level
Beginner


