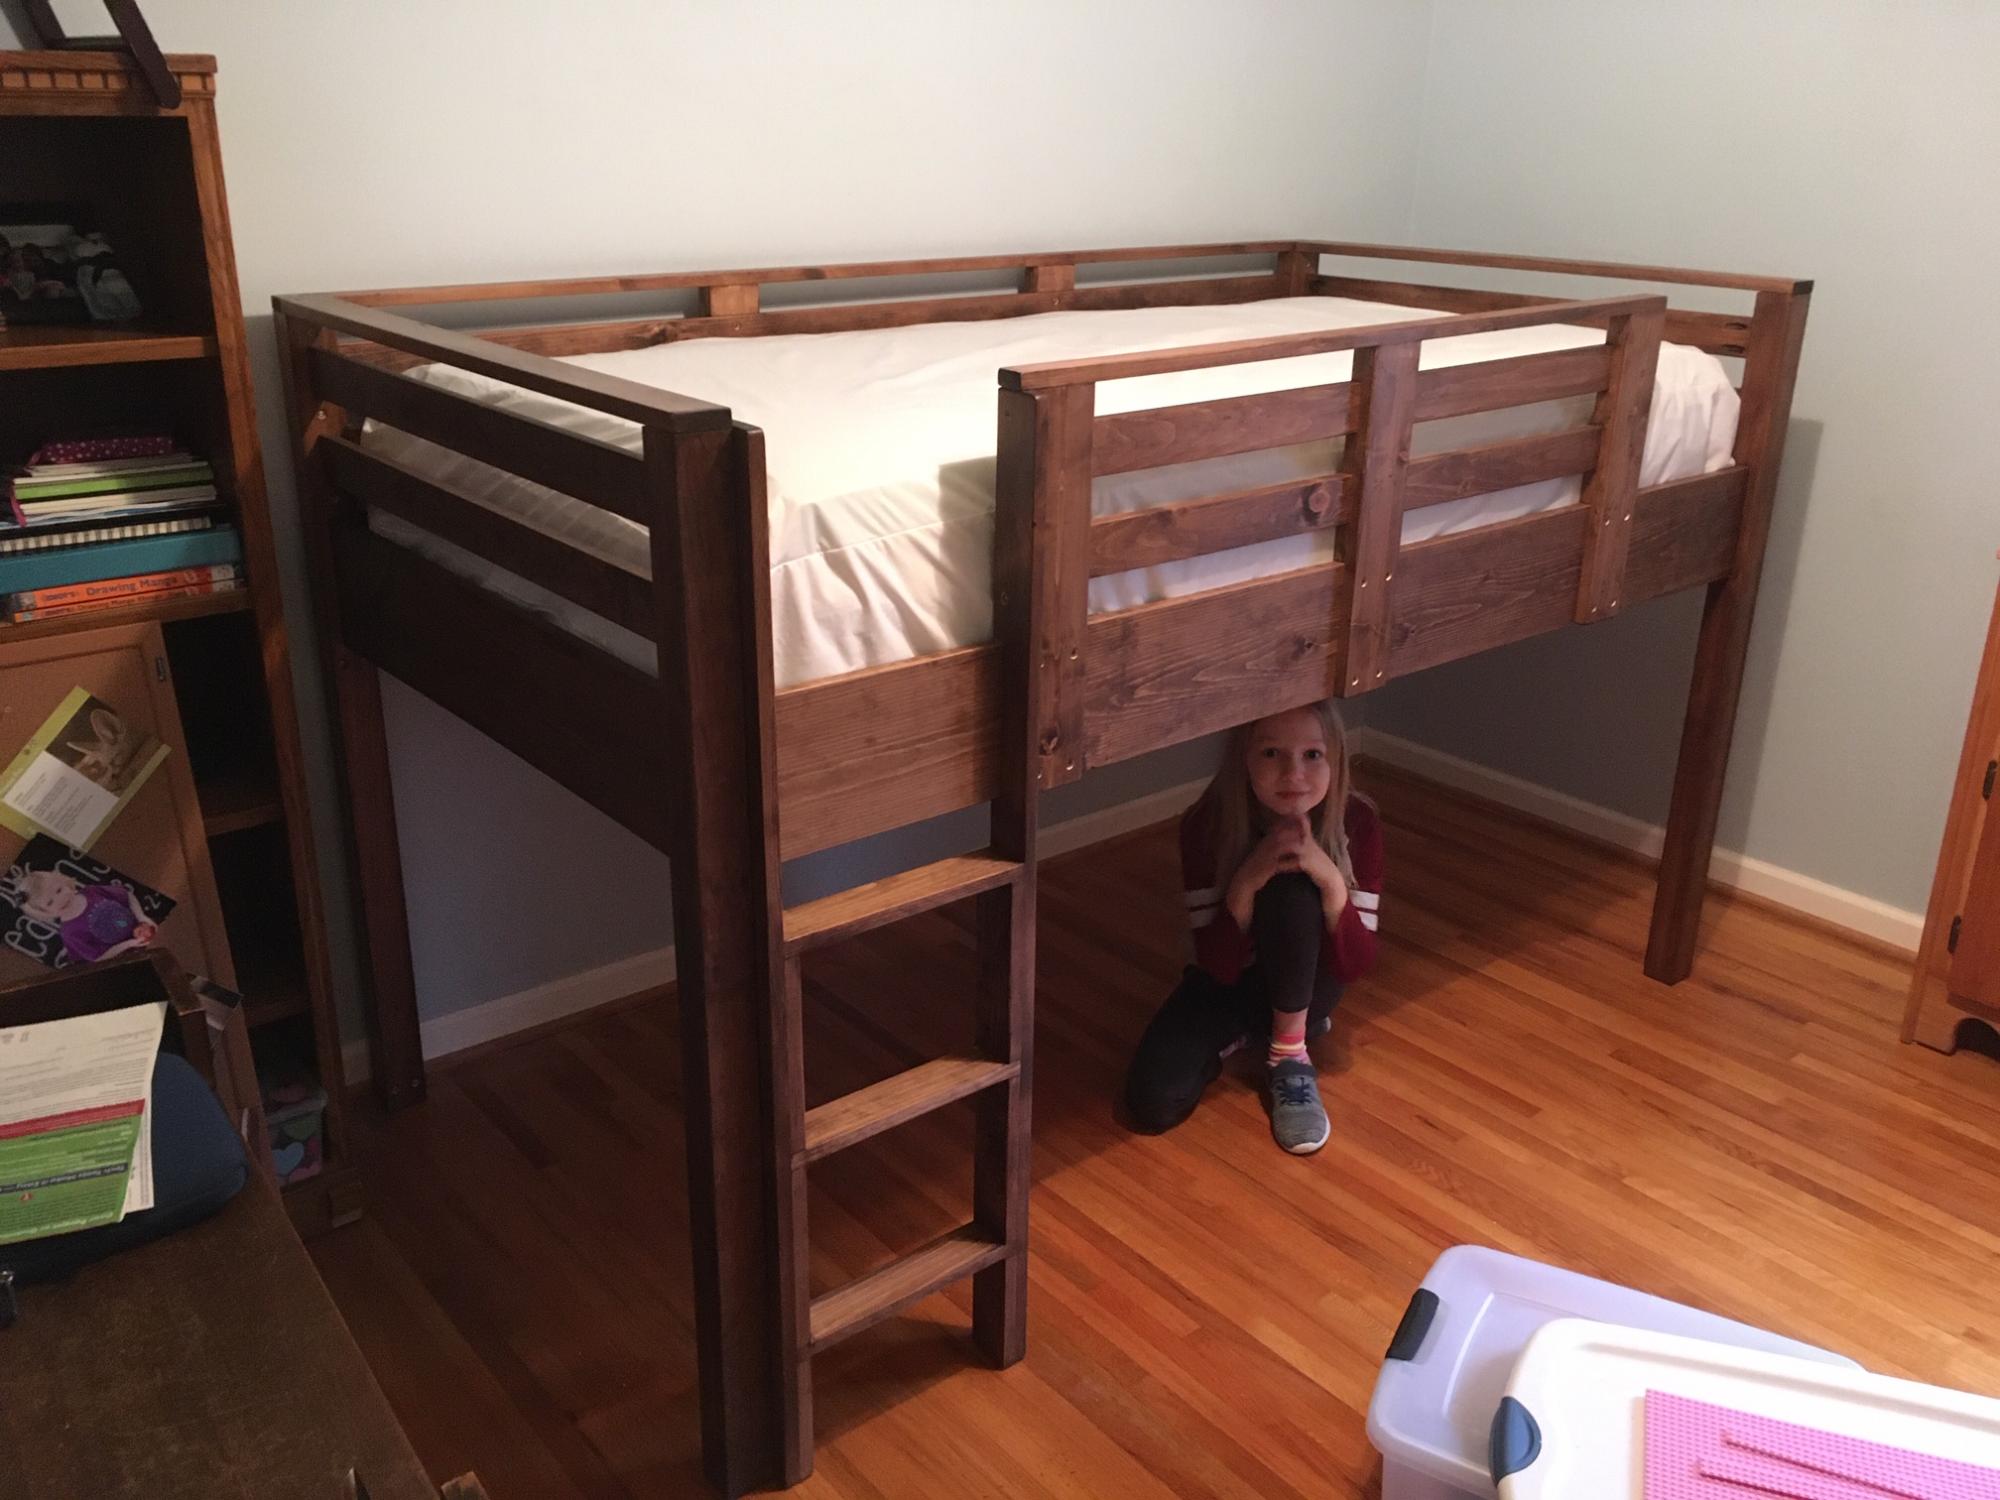
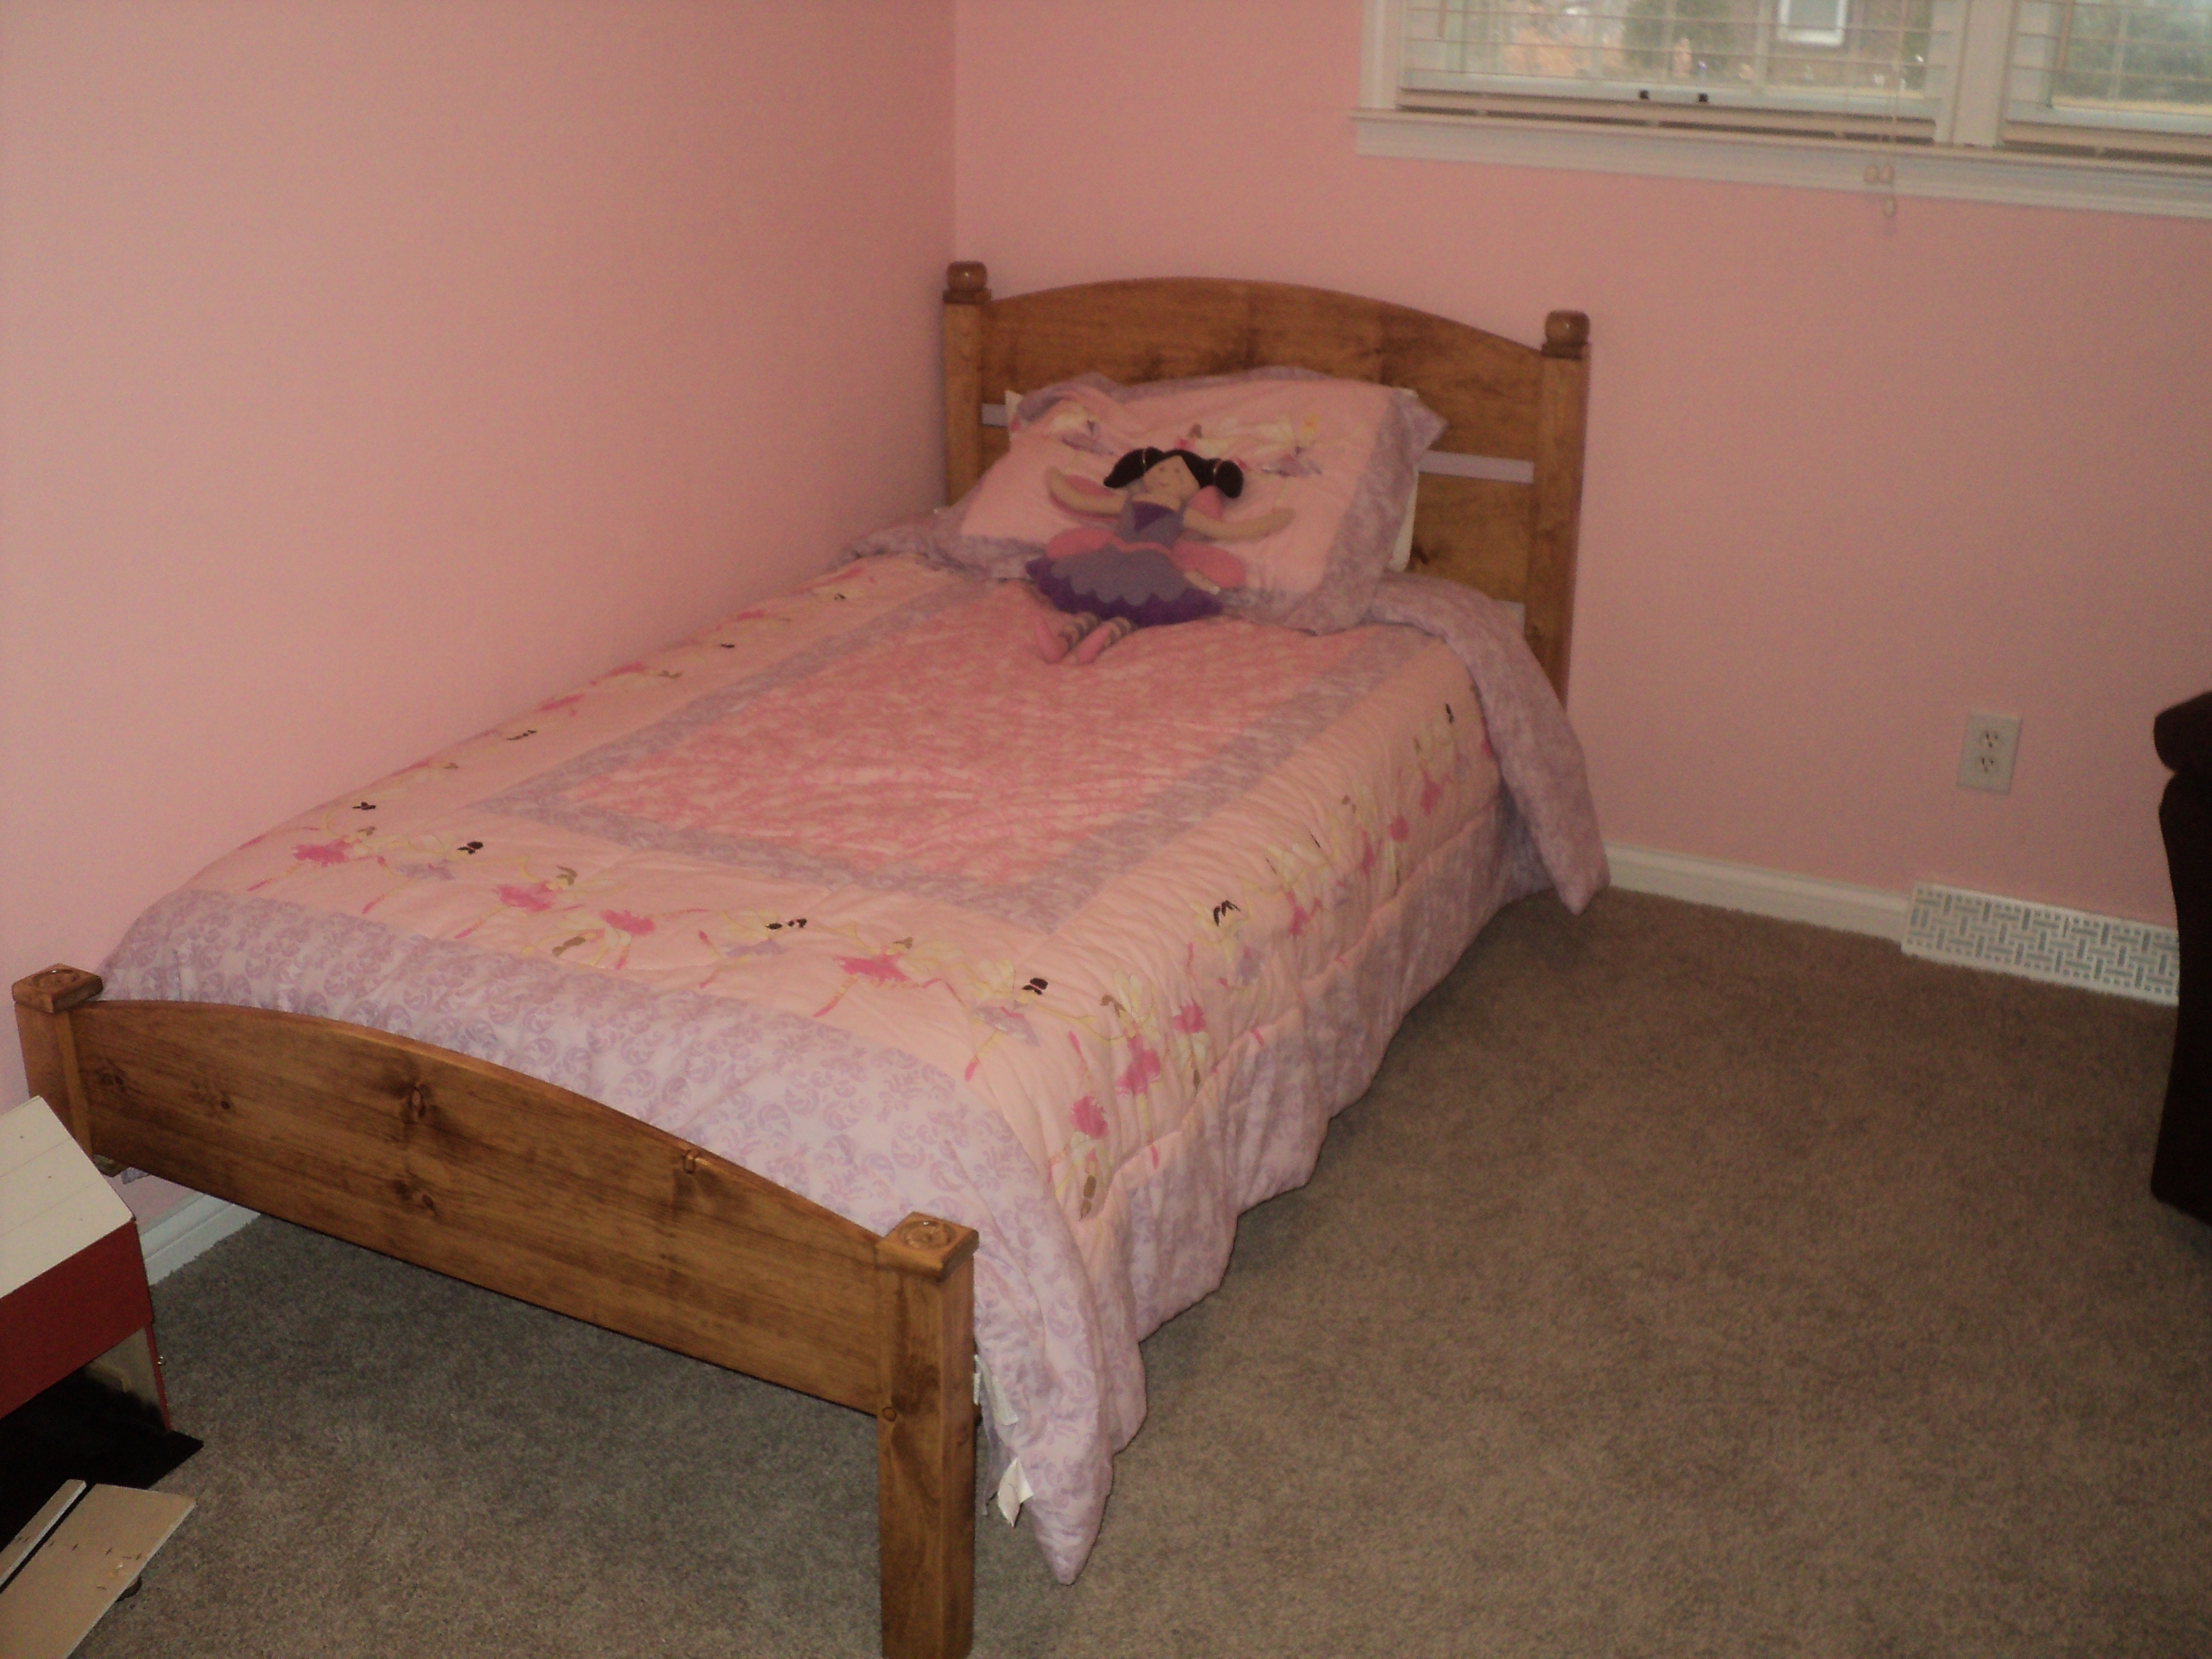
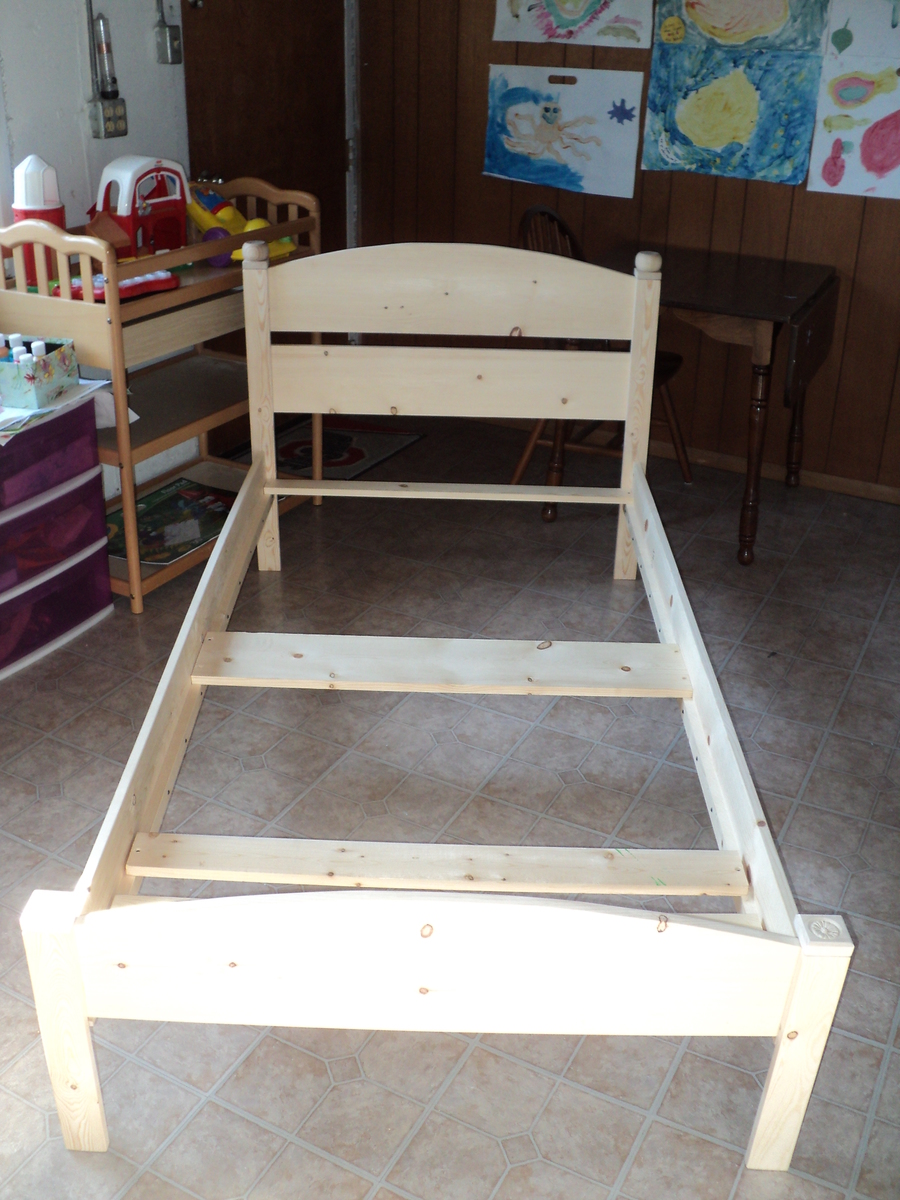
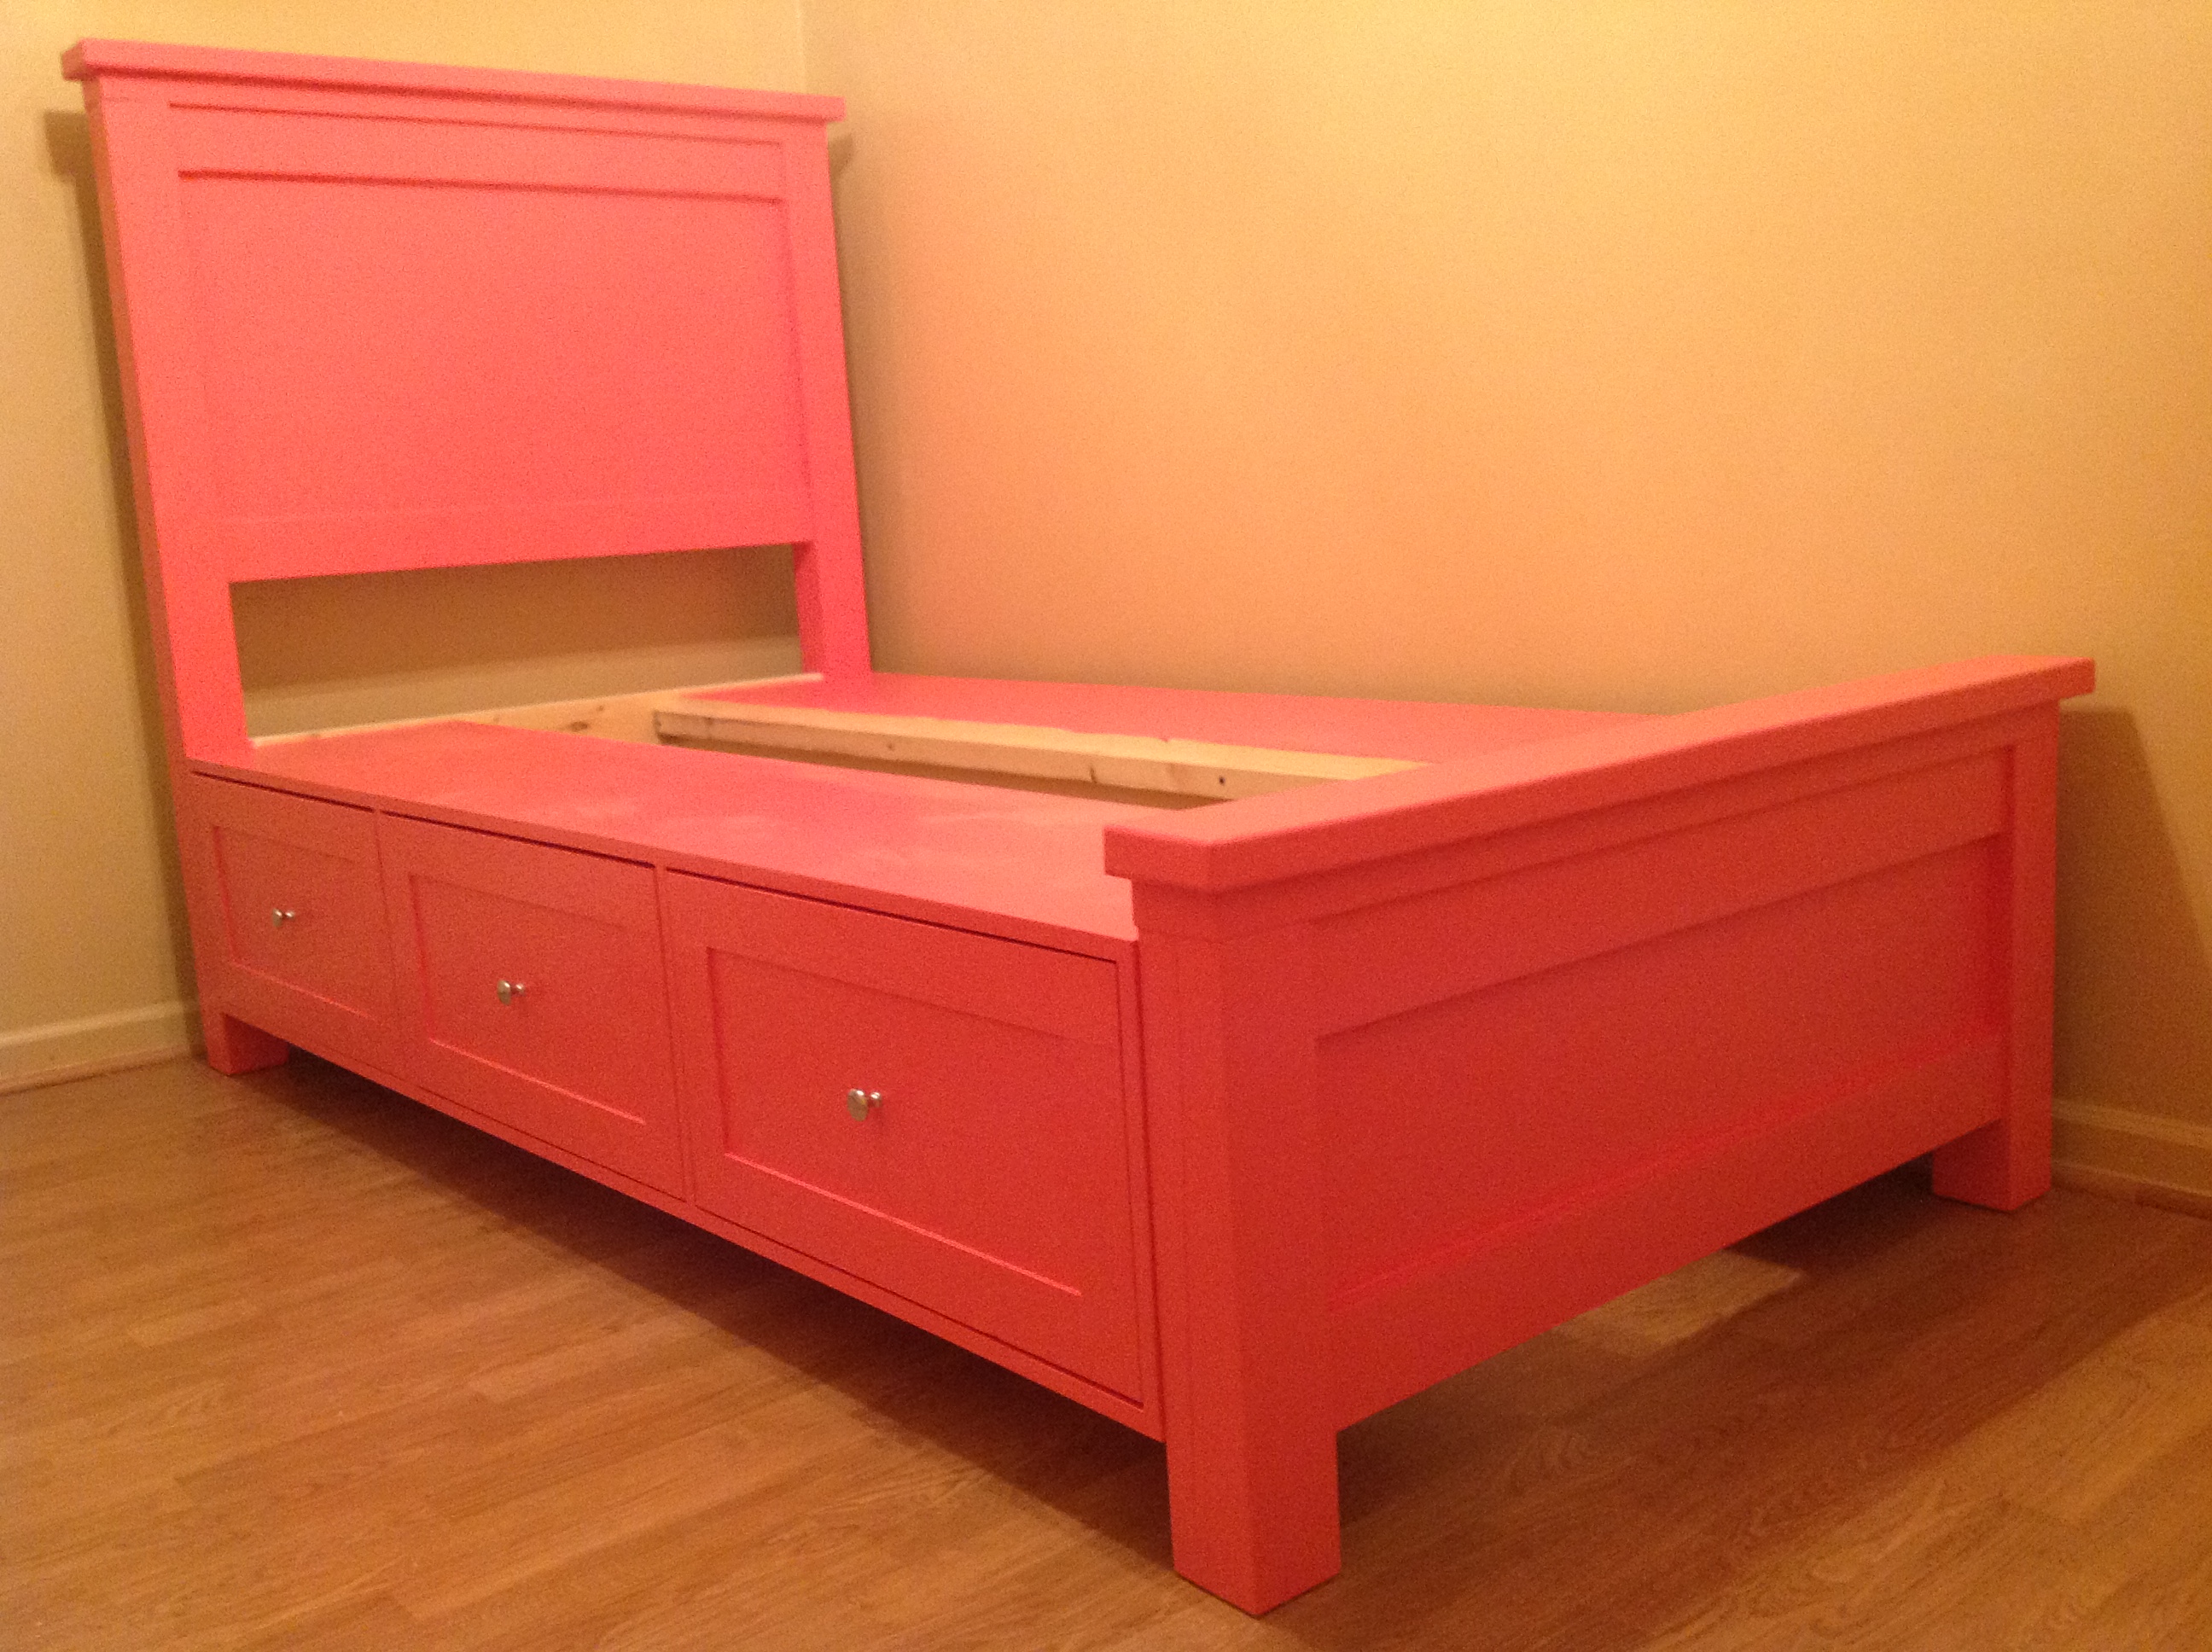
This Pioneer bed took me several weekends this winter, doing a little at a time. It was a challenge for sure because there were a few errors in the plans, but with some improvisation it was easily avoided. This bed is very simplistic but the design allows for some personal flare and variation to be added. Be sure to make precise cuts! Be sure to pick out straight boards!
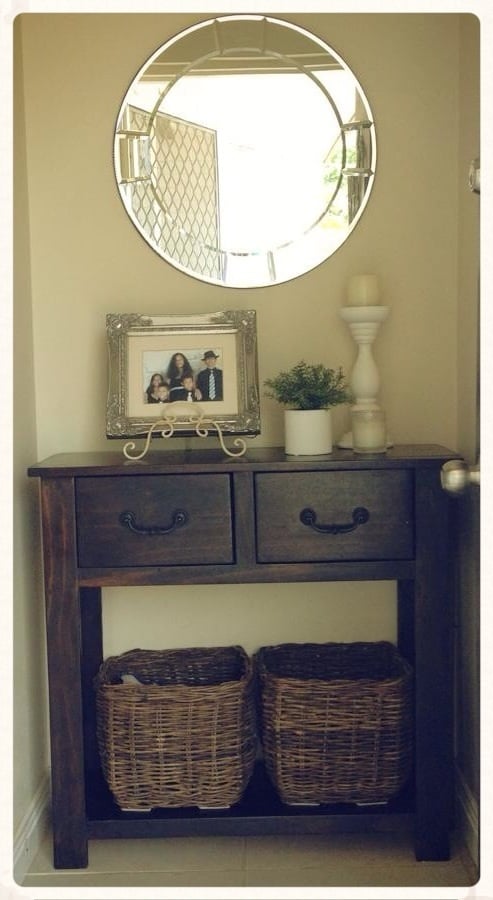
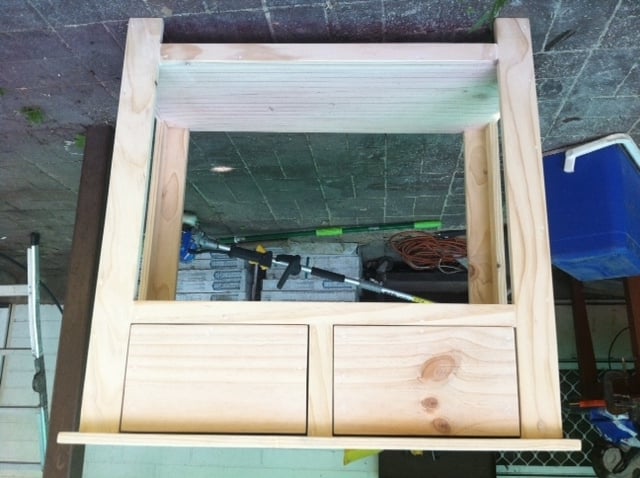
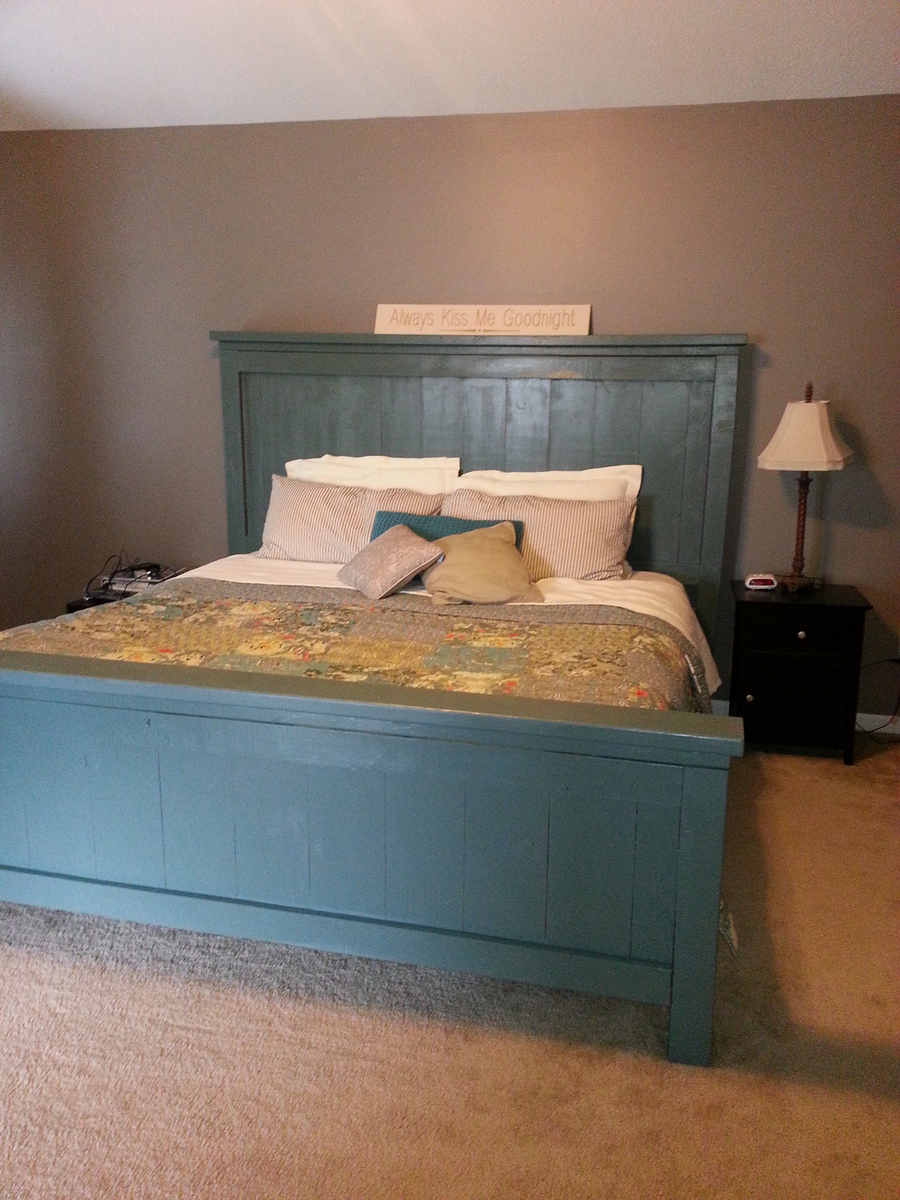
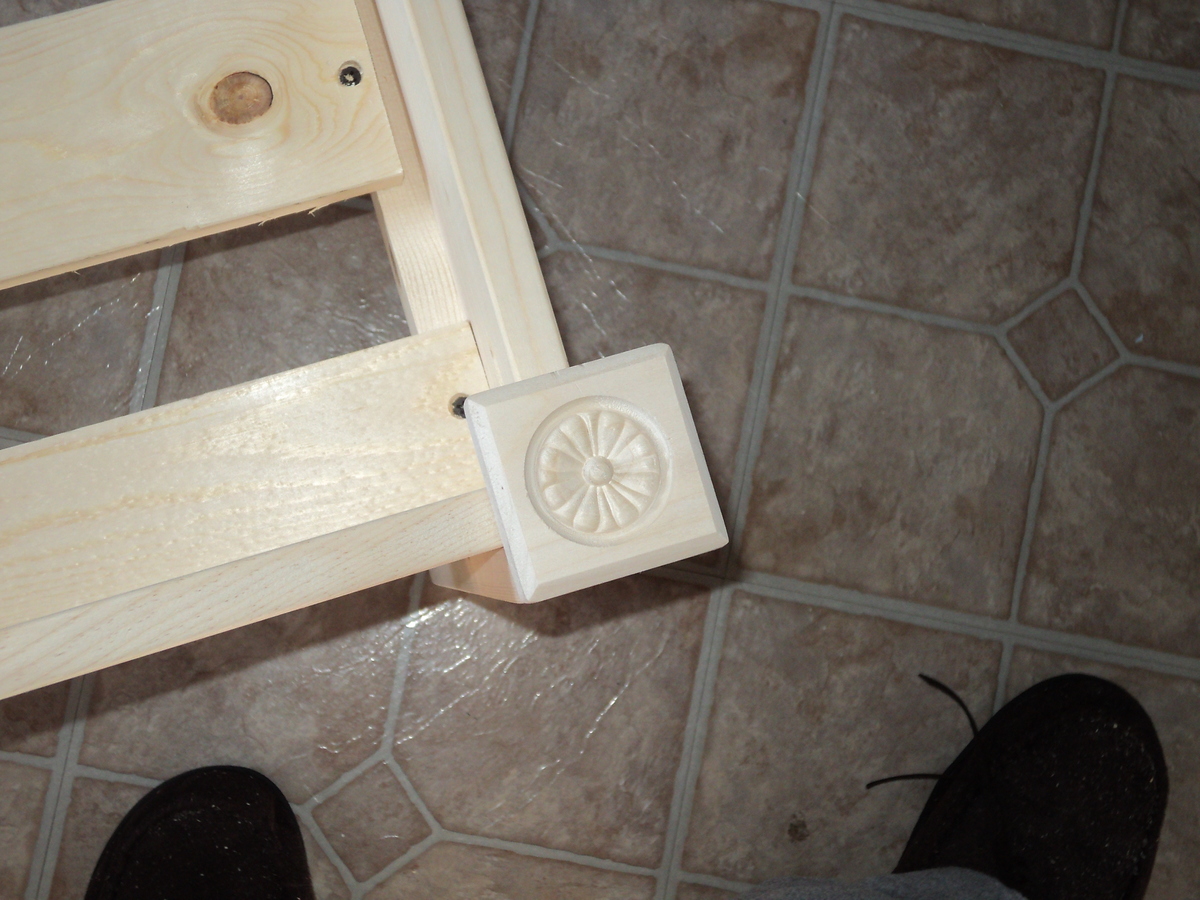
I used specialized software to make the head and foot curves and printed them on paper, then transferred them to the wood. I did not put the two blocks on the headboard posts...because to me it just looked plain silly! I added two bun feet to make it look like genuine bed knobs and they look excellent. Also for the foot board posts I used specialized square pieces of wood found in the hardware store that have a nice design in them doe a decorative look. they indent far enough towards the bed that they actually hold the sheets in place!
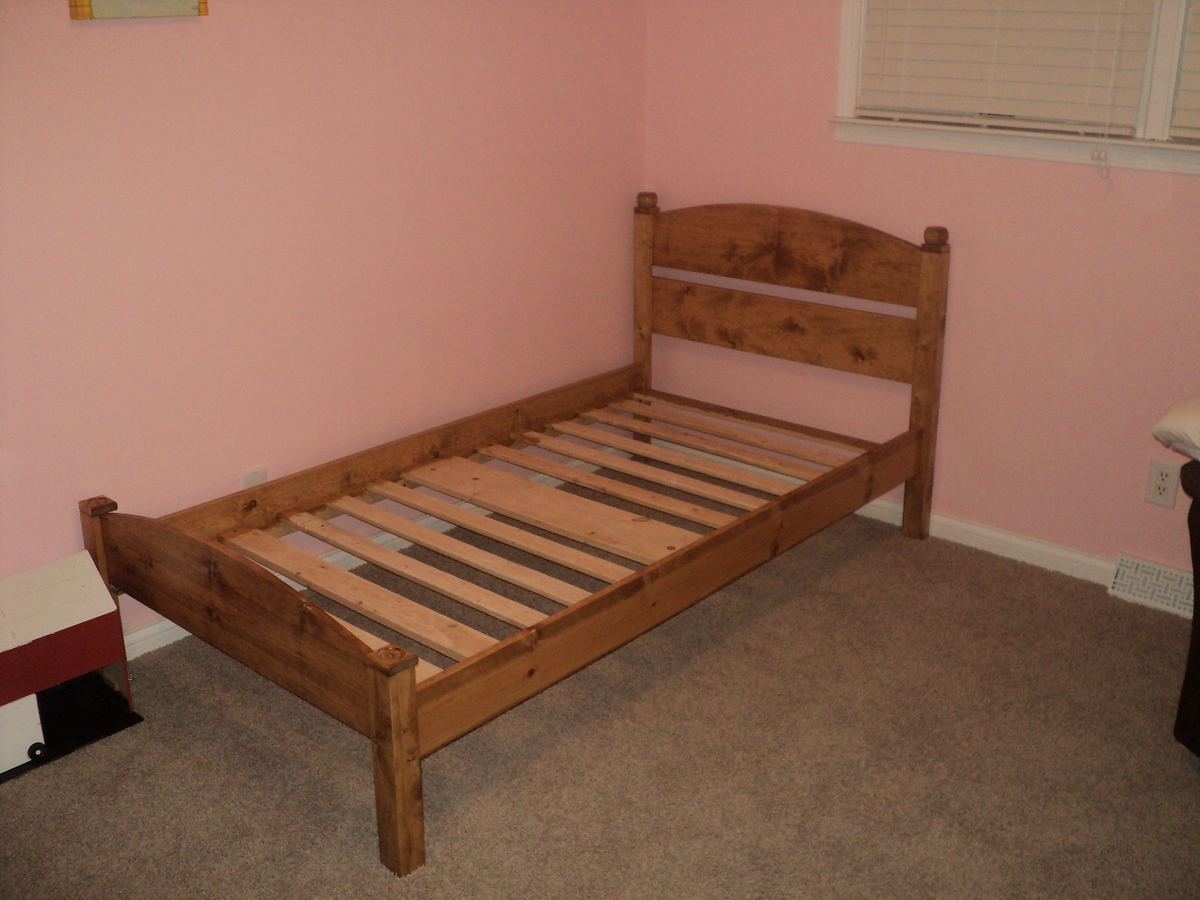
I did not paint it. Instead I used a golden oak stain, one coat. Then put two coats of high gloss on it. This also strengthened the soft white pine I used to build it.
I did not follow the part about the slat placement nor where the bed rails should be mounted, as this will vary depending on the thickness of the mattress you get, or if it has a box spring.
I used bolts to hold the bed rails in as well, along with nails and screws.
Sandpaper! Use it a lot!
$65 to build, although I already had nails, glue, sandpaper, stain, and varnish.
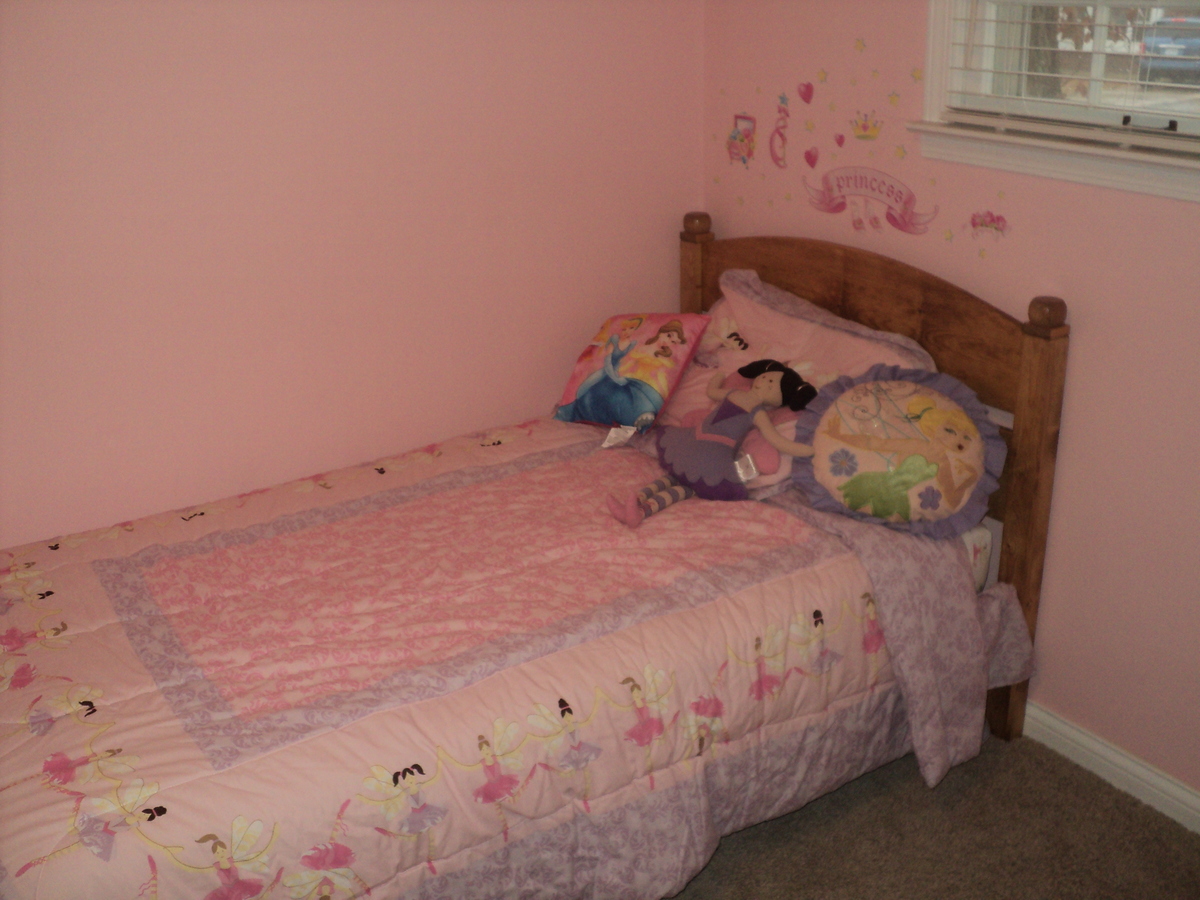
My daughter just loves it and I know it will be around for years to come!!! Everyone in my family loves it too. I highly suggest anyone who is looking for a simplistic looking twin bed, and who knows how to take their time and follow directions, to make this bed. Feel free to write me if you need help. [email protected]


Comments
nikjwil
Sat, 07/07/2012 - 21:06
so cute!
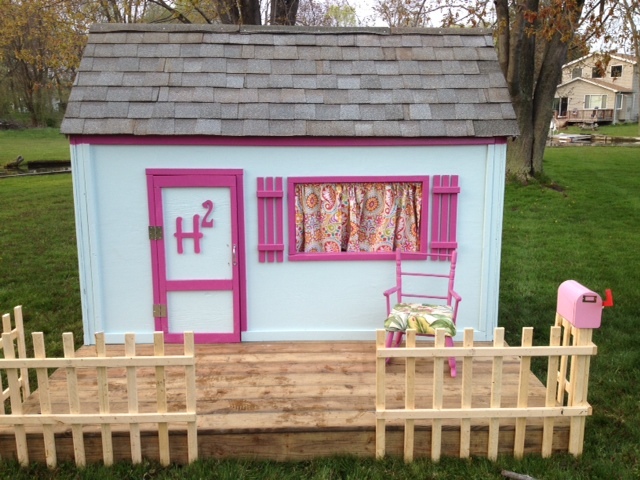
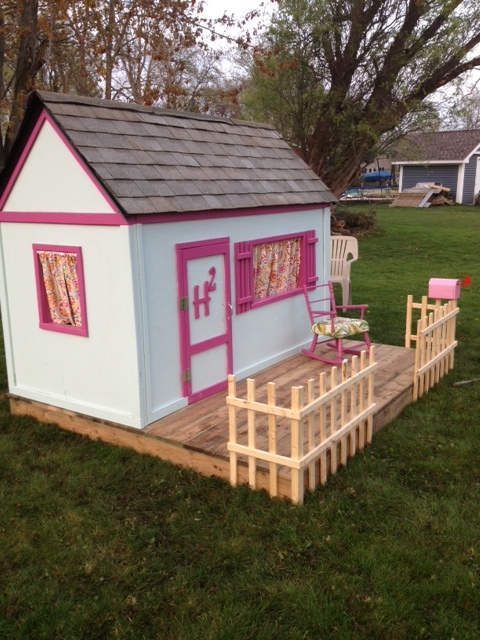
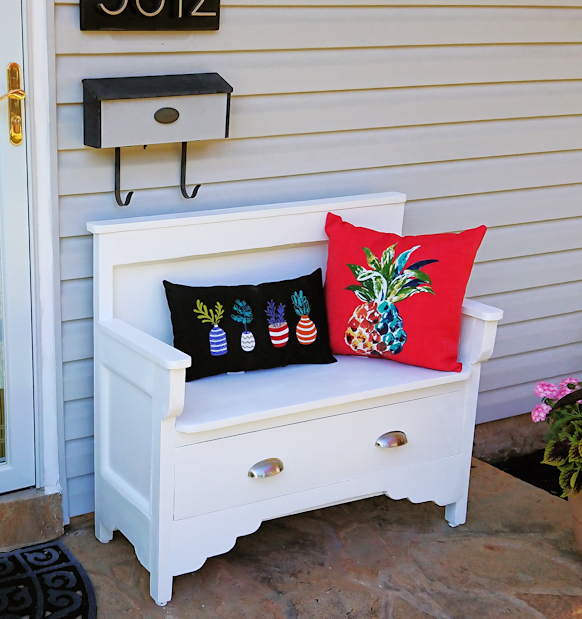
We just finished this project. I love the shutters, mailbox and curtains! What cute touches!