Wall Crates
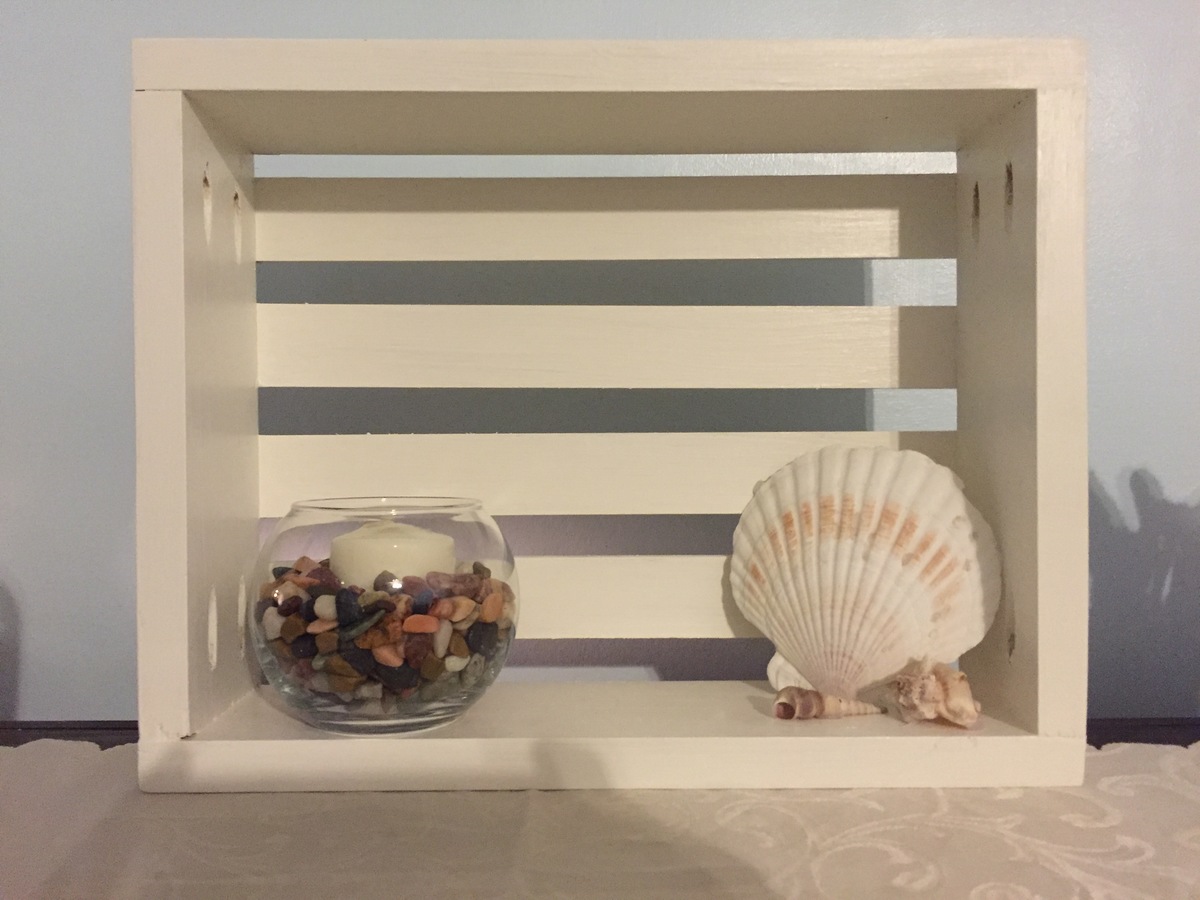
Really cute and simple project. I left one stained for the rustic bathroom and painted two white for the beach themed living room.
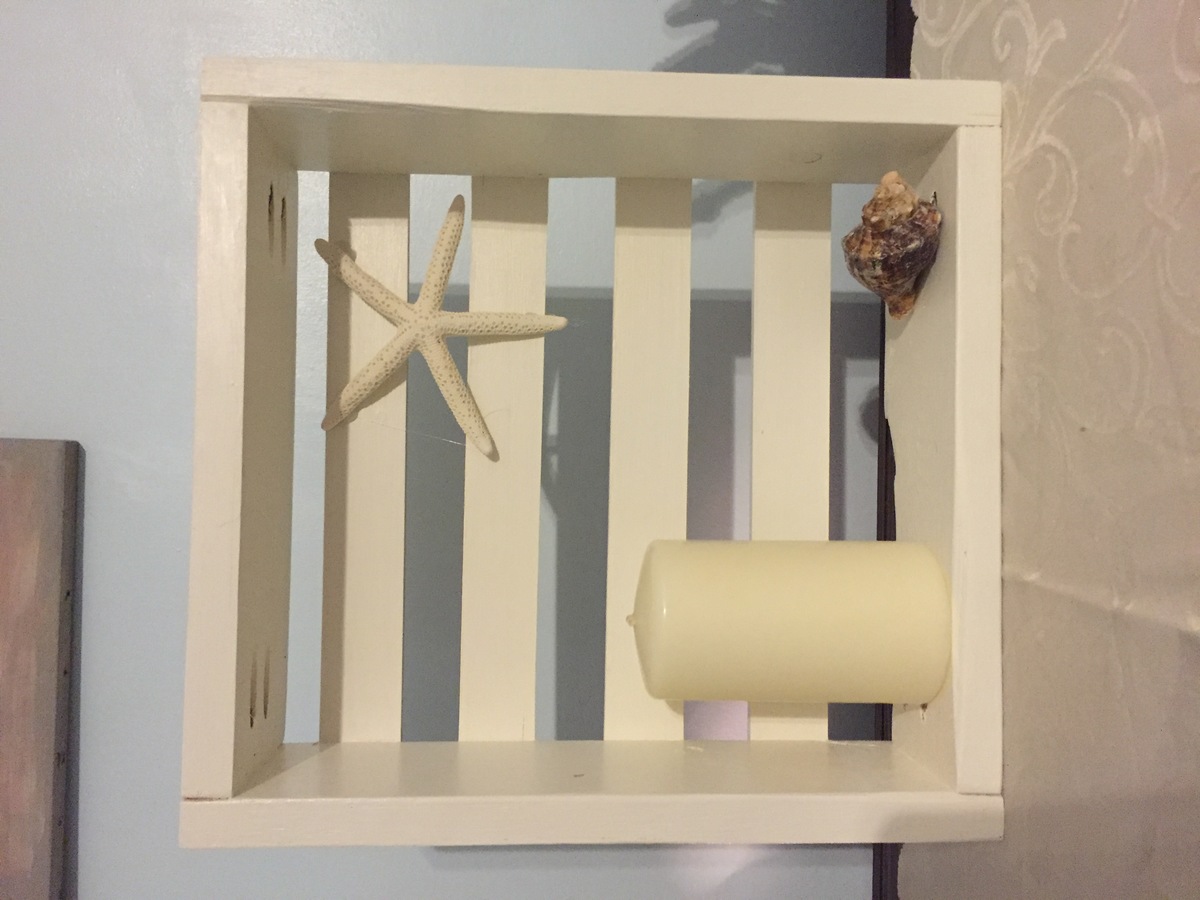
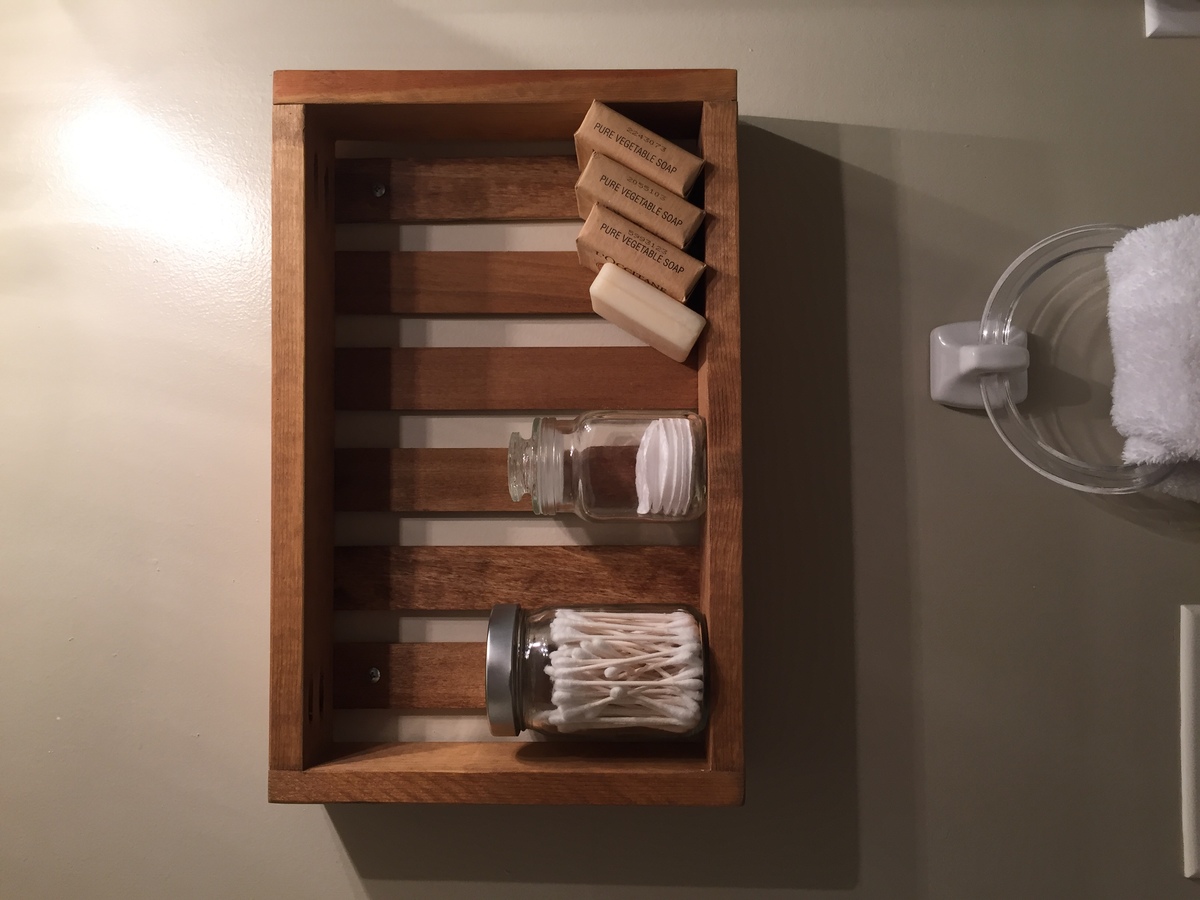

Really cute and simple project. I left one stained for the rustic bathroom and painted two white for the beach themed living room.


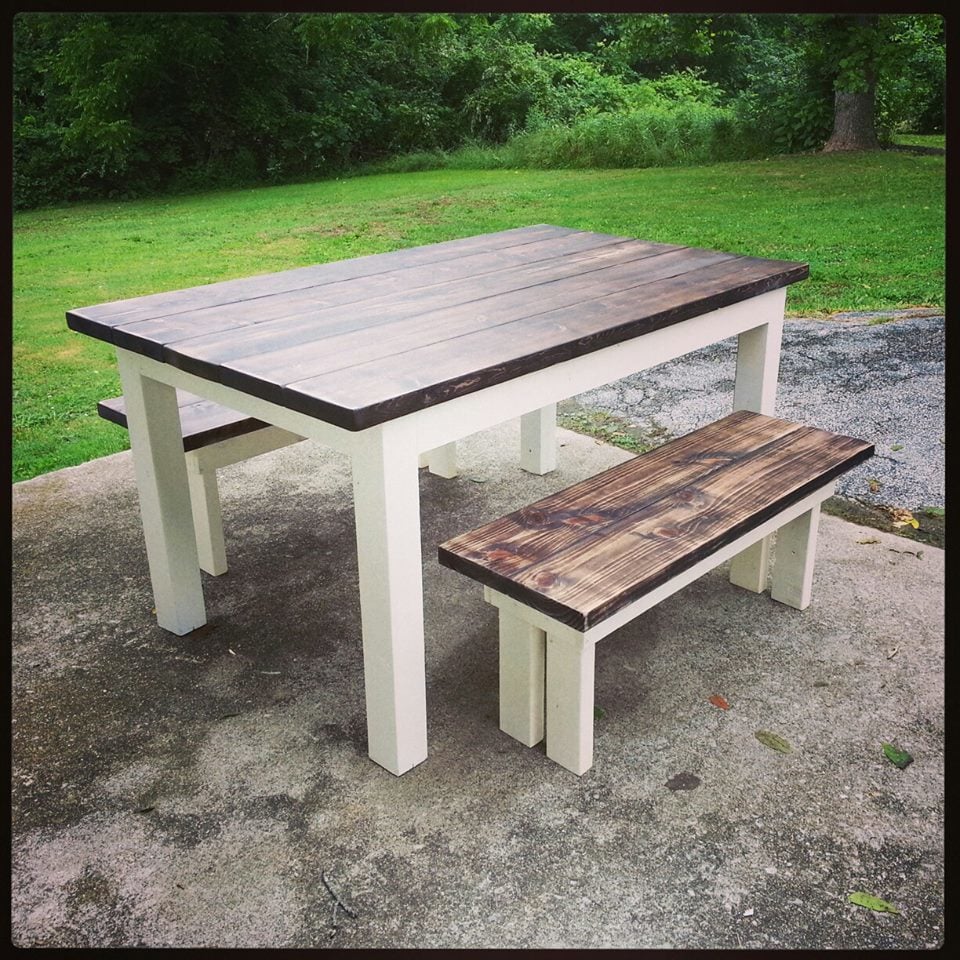
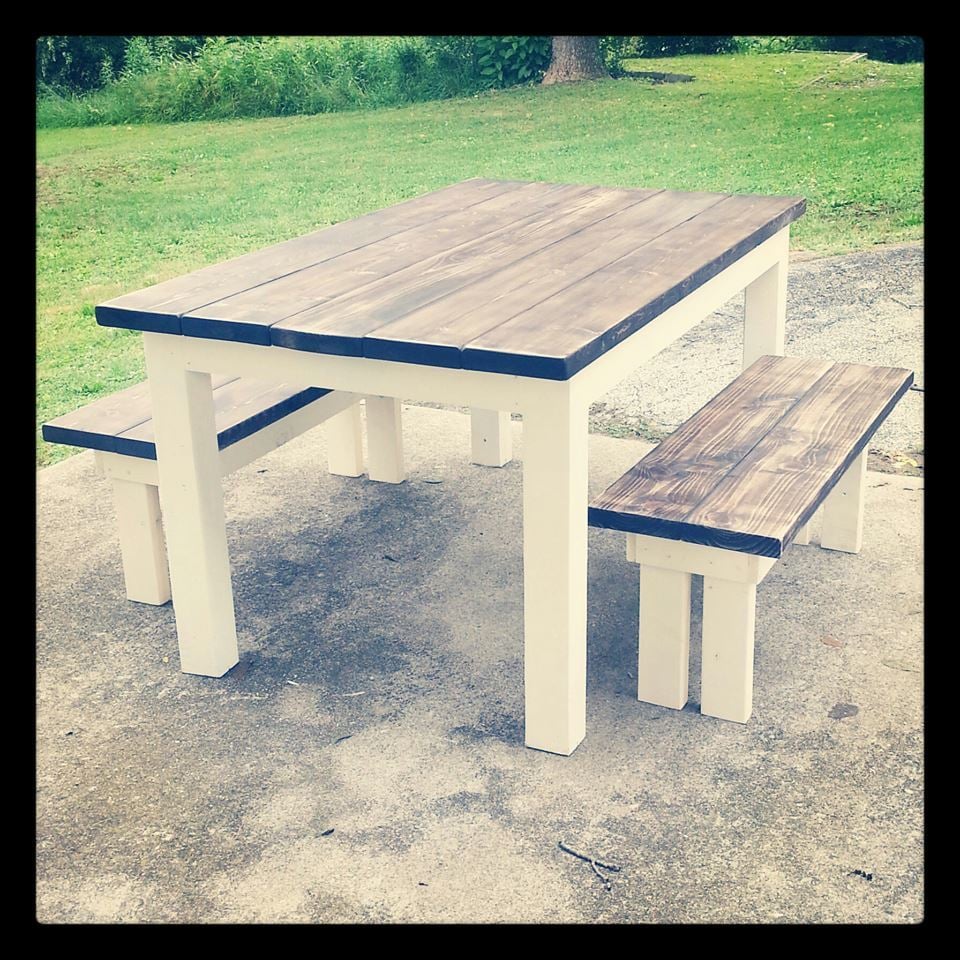
I used 2x8s for the tabletop and bench tops, with 1x4 to frame it. The legs on the table are 2x4 times 2 to look like 4x4 (can only find them treated around here). I messed up in my calculations on the benches. I intended to do the same with the legs there, but was forced to do 2x4. I don't like it as much, but they will do fine. The table is stained in Rustoleum Kona, used a wire brush to make it look rough, and then sanded it a little bit. The bottom is actually spray painted in Ivory.
Fri, 04/08/2016 - 16:09
This is a most difficult site. I have signed in and would love to have the plan for the Little Farmhouse Action table and bench for outside use by SamWiseMan.
My wife wanted an entry way bench that would fit the baskets for a cube storage shelf units. Each box is 11 1/2 square and accomidates a 10 in basket. The bench is 50 inches long and and just shy of 19 inches tall. The depth of the bench is approximately 12 1/2 inches. My wife made the cushion for the top and we purchased the baskets from Lowes.
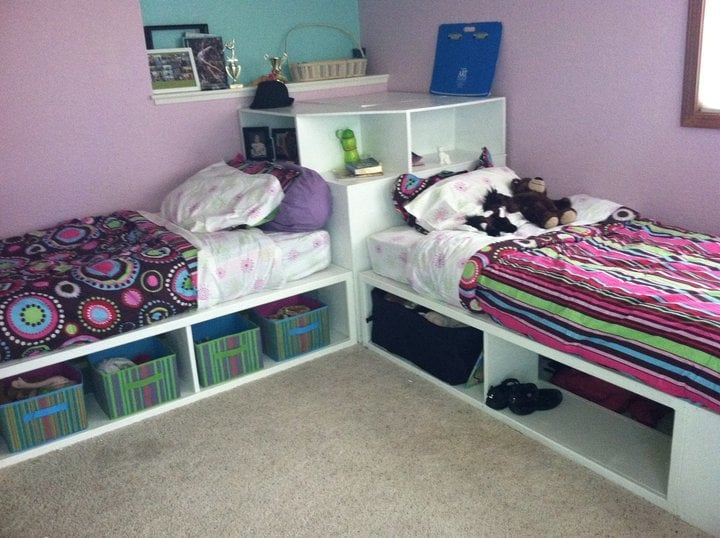
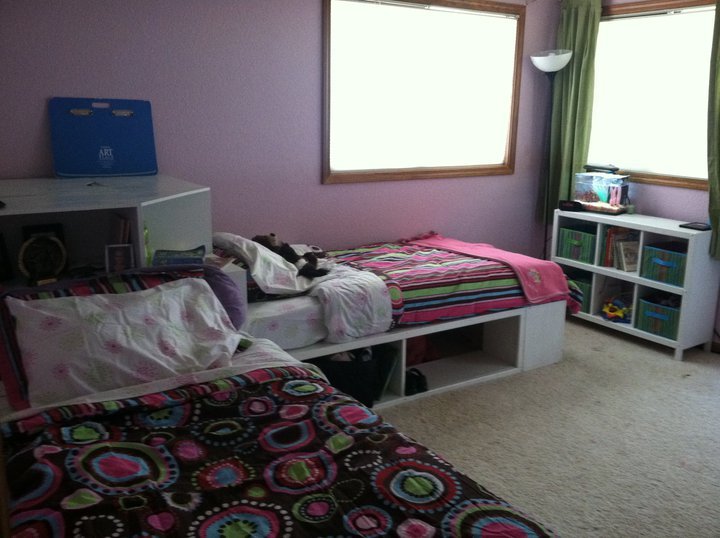
We made these beds for my daughters, who were ready to pass on the bunkbeds to their little sisters. We have 4 girls in one room, so use of space is crucial! I originally wanted the hutch as well, but as you can see in the picture, we had to work around a wall cut out, so we modified the corner unit to have a larger shelf area to fit the space. We also left the sides open to be able to slide containers in to store out of season clothes and blankets, though the ends have a backing.
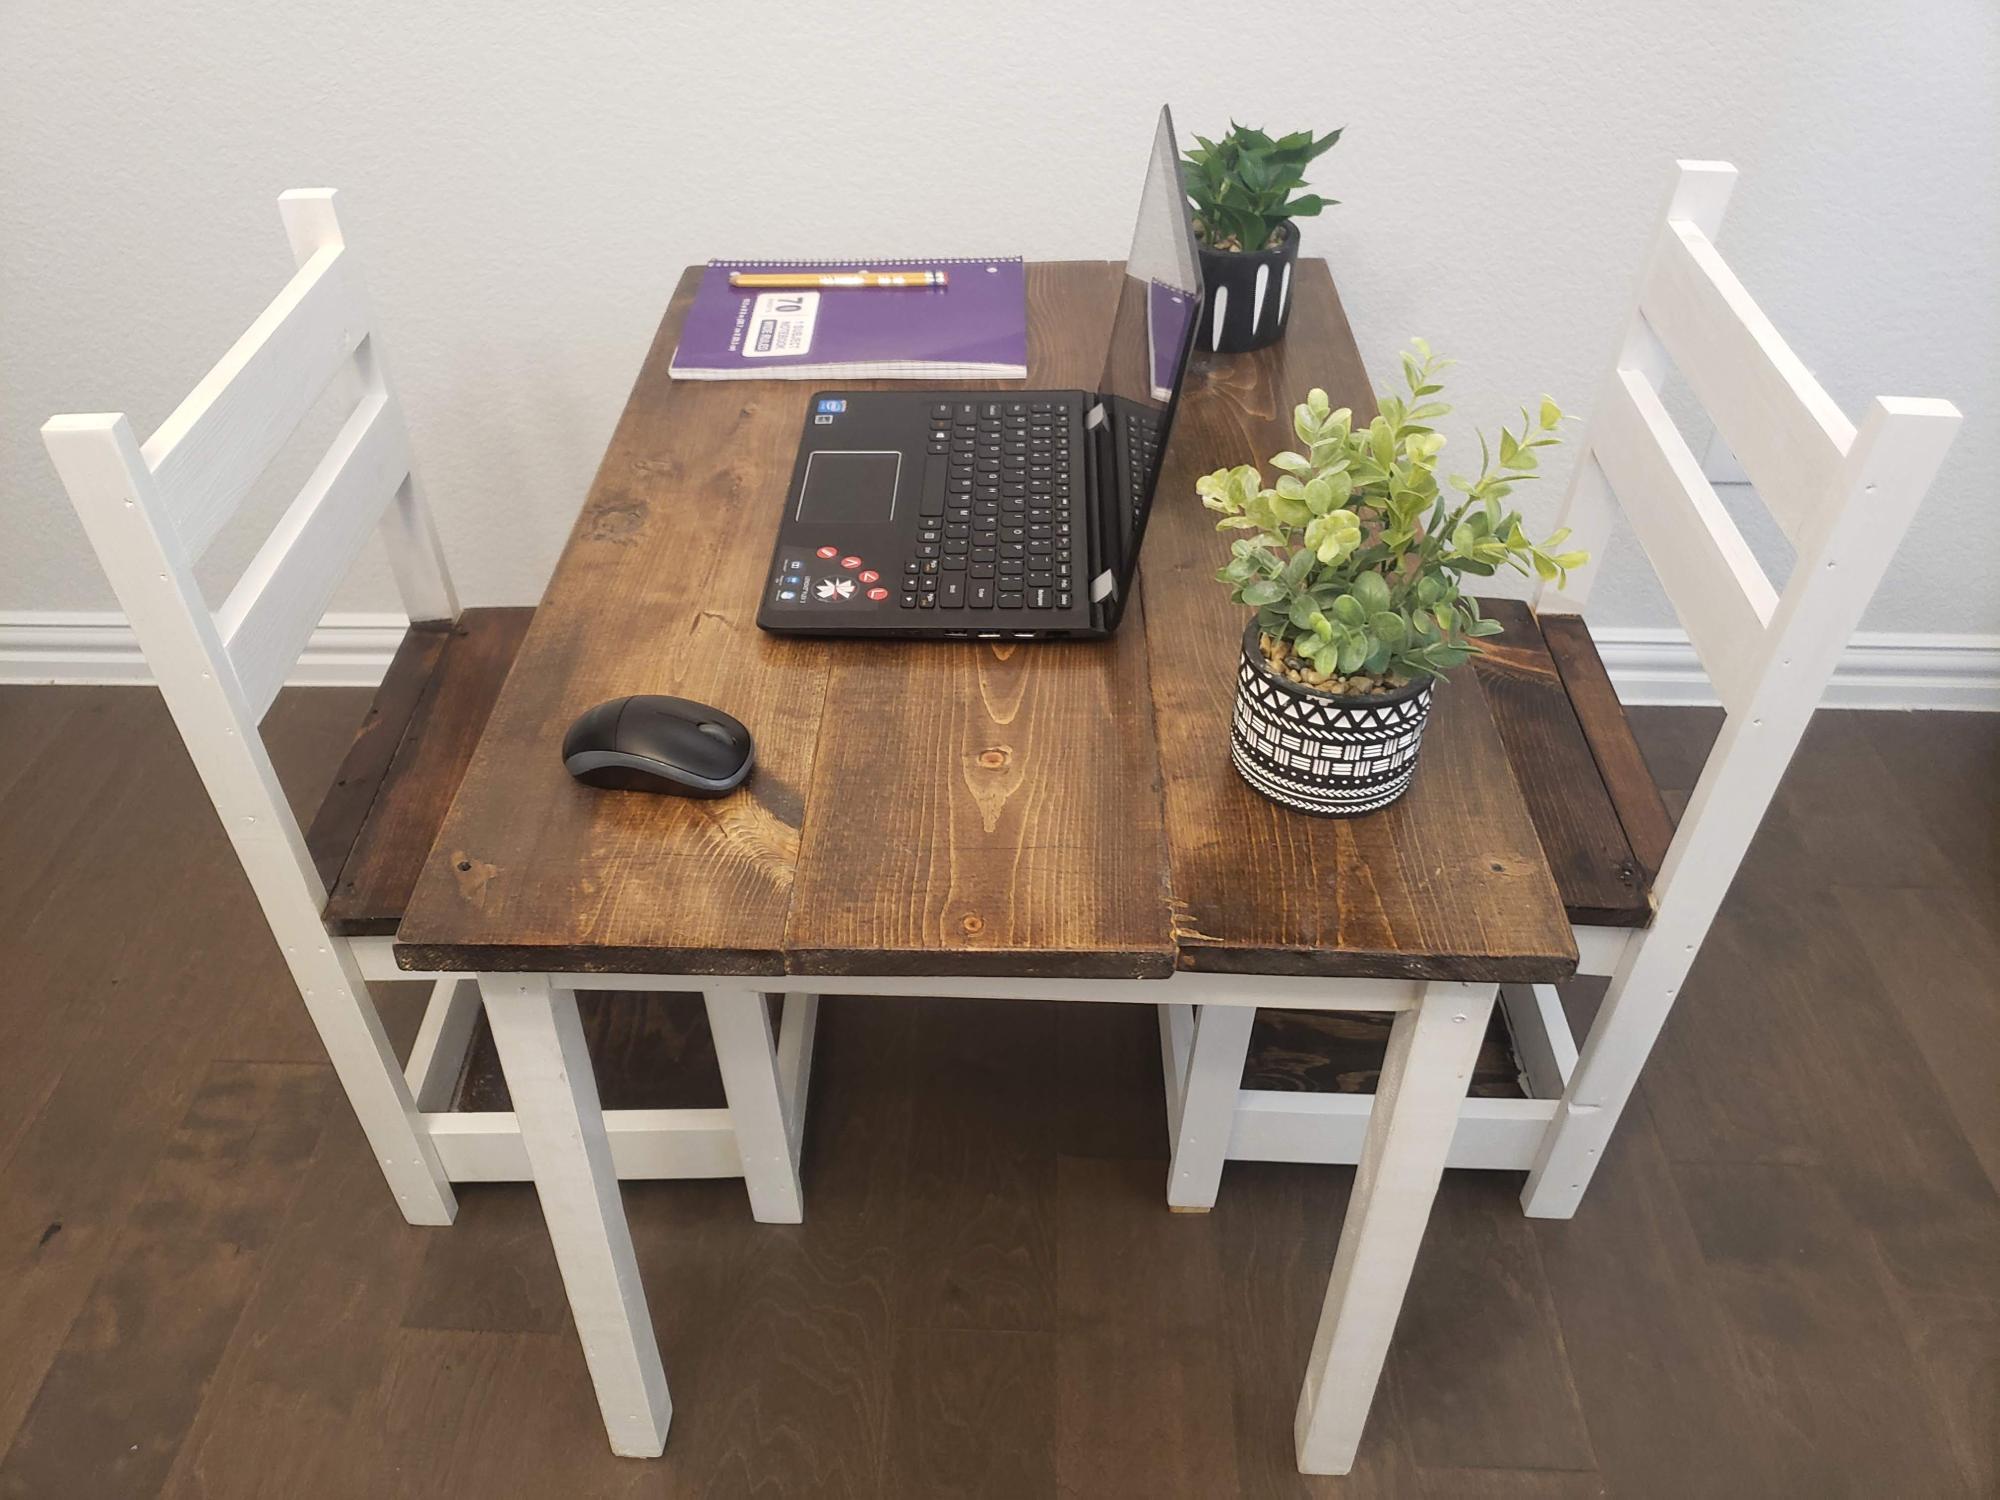
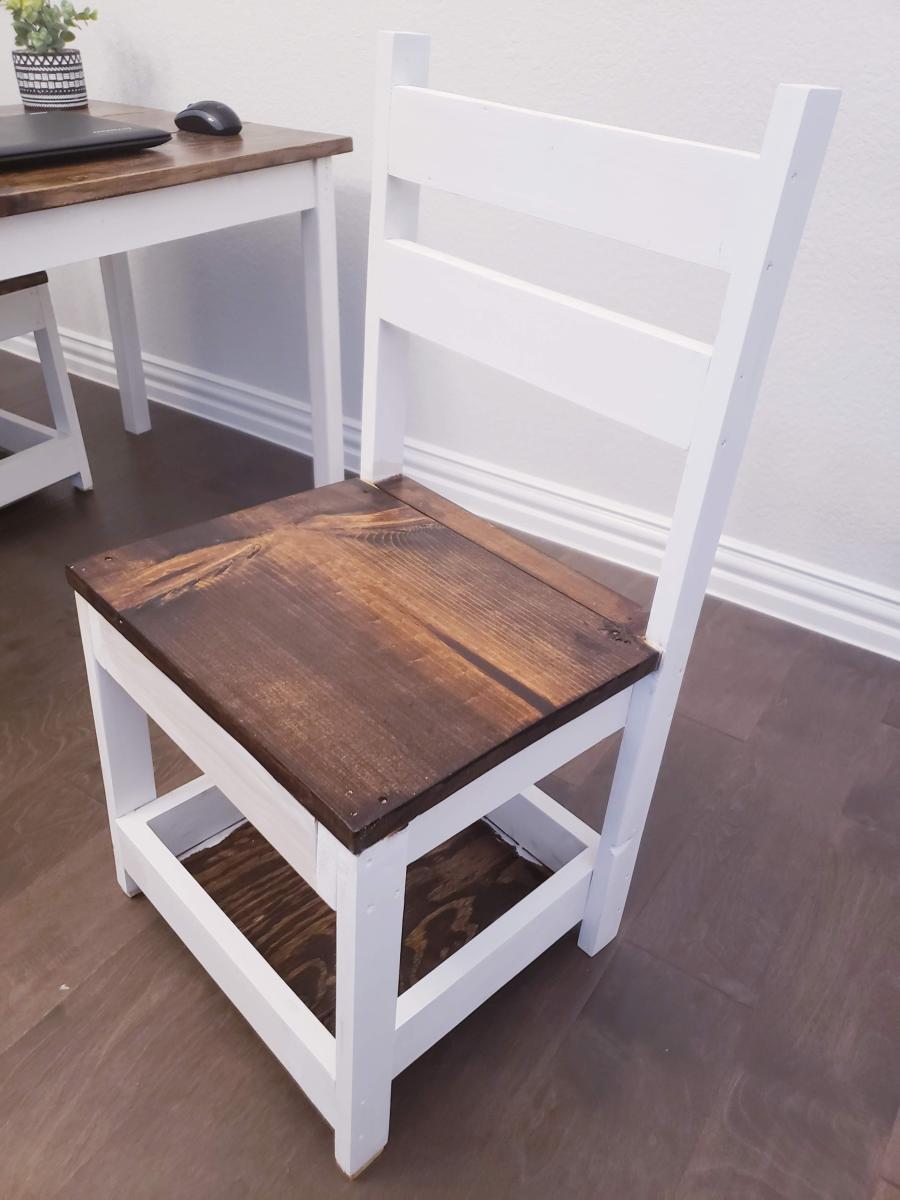
I love woodworking and trying different techniques...Thank you Ana for the detailed plans!..My niece loves it
Mon, 12/27/2021 - 22:21
Awe, love this, it looks great! Thank you for sharing:)
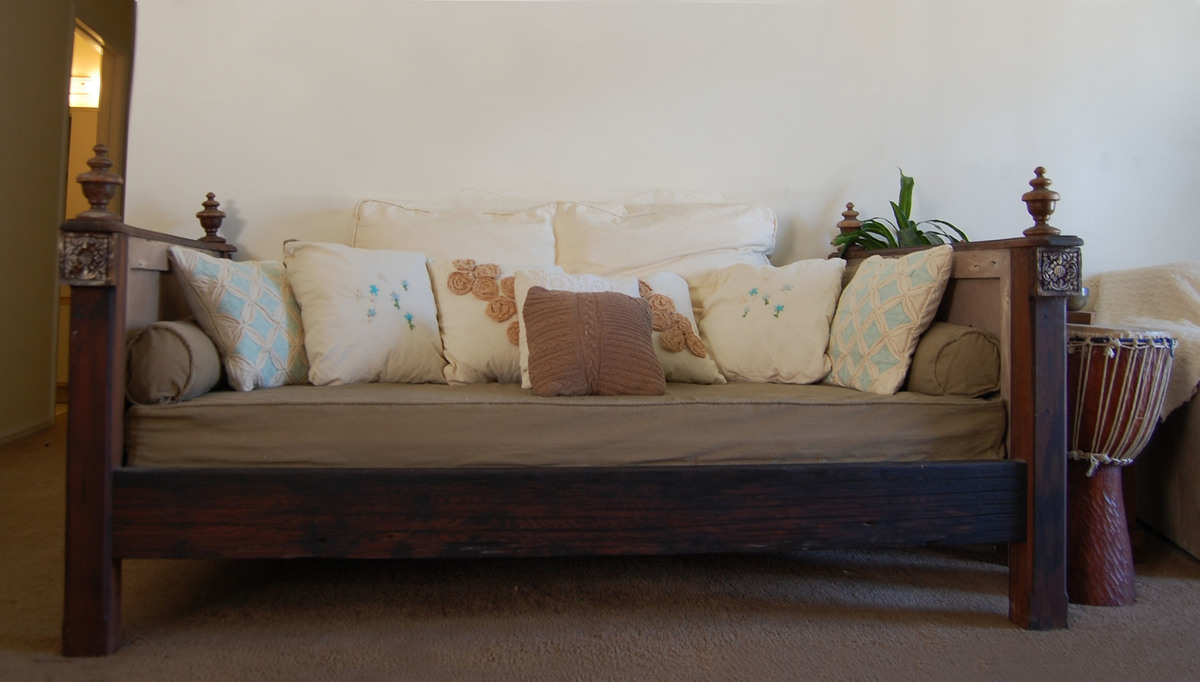
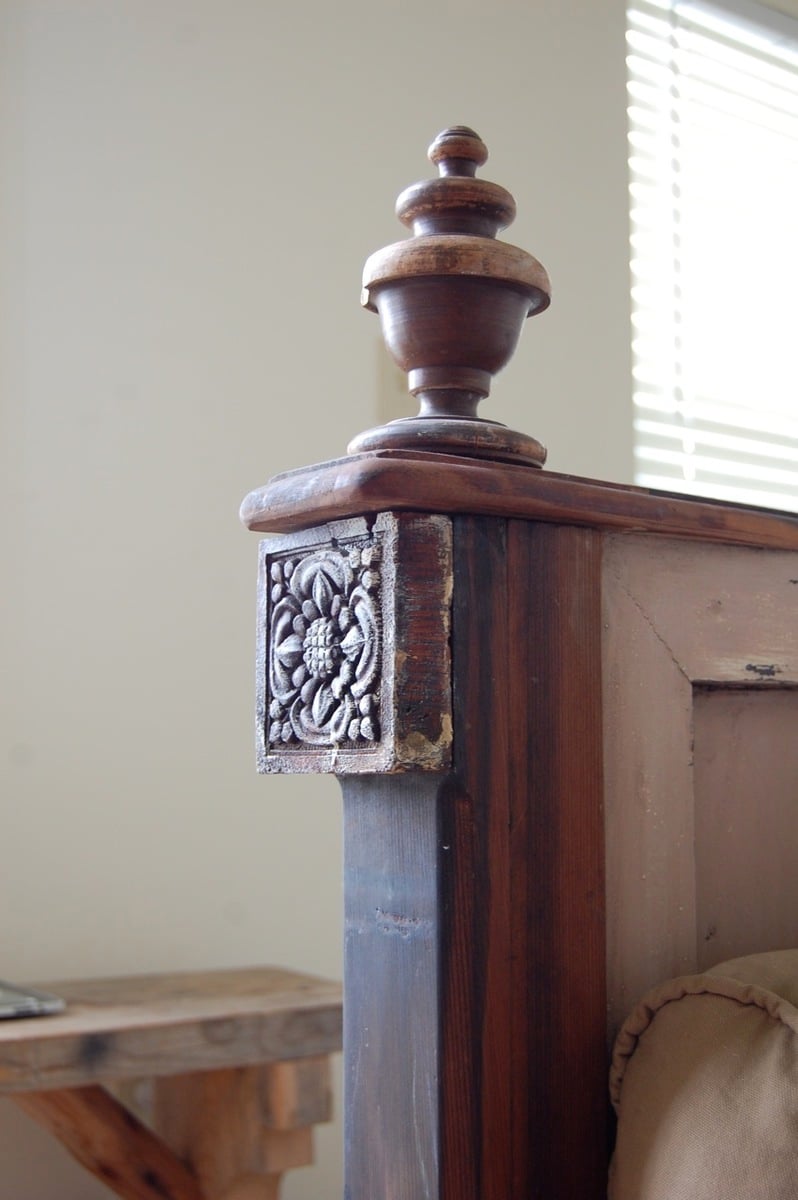
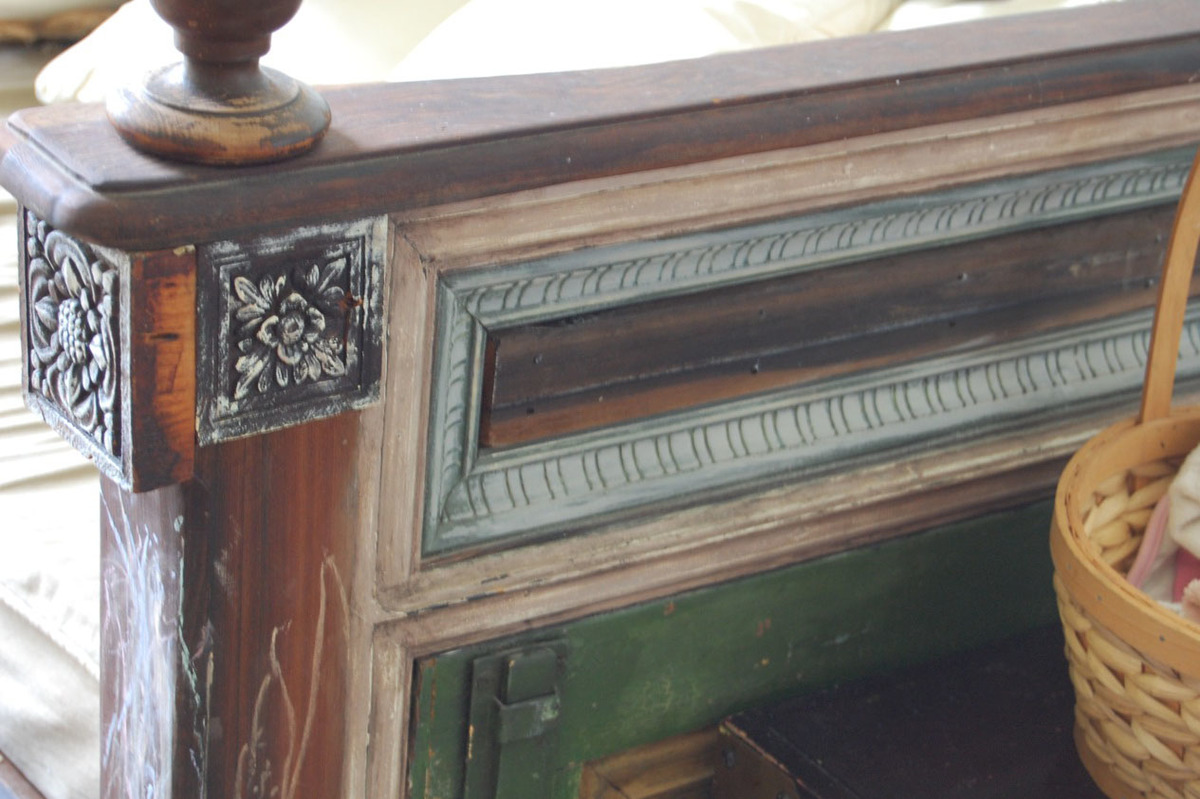
I originally planned to make the Lydia daybed as is, but we decided to make it with reclaimed materials after being inspired by redwood we found that had been salvaged from old pickle barrels. We ended up with chunkier posts for the legs (3 1/4" by 3"), and used a thick solid piece of wood for the front (2"x 7 1/2") , which did change the dimensions of our project a bit. We attached an old shutter to the plywood for the sides, and found salvaged bed post tops for the tops. We left off the scalloped edges because they seemed too delicate for the look we had going. Also, my husband had fun with his new router on the edges. We decided to use 1x8's for the slats under the bed b/c we thought it would give more support to the latex foam we had used instead of a traditional mattress. Because we move a lot, we wanted to be able to take the daybed apart if necessary. We attached the sides to the daybed with bed rail brackets. I posted more about the daybed on my blog. Sewing the cushions/pillows took much longer than making the actual daybed!
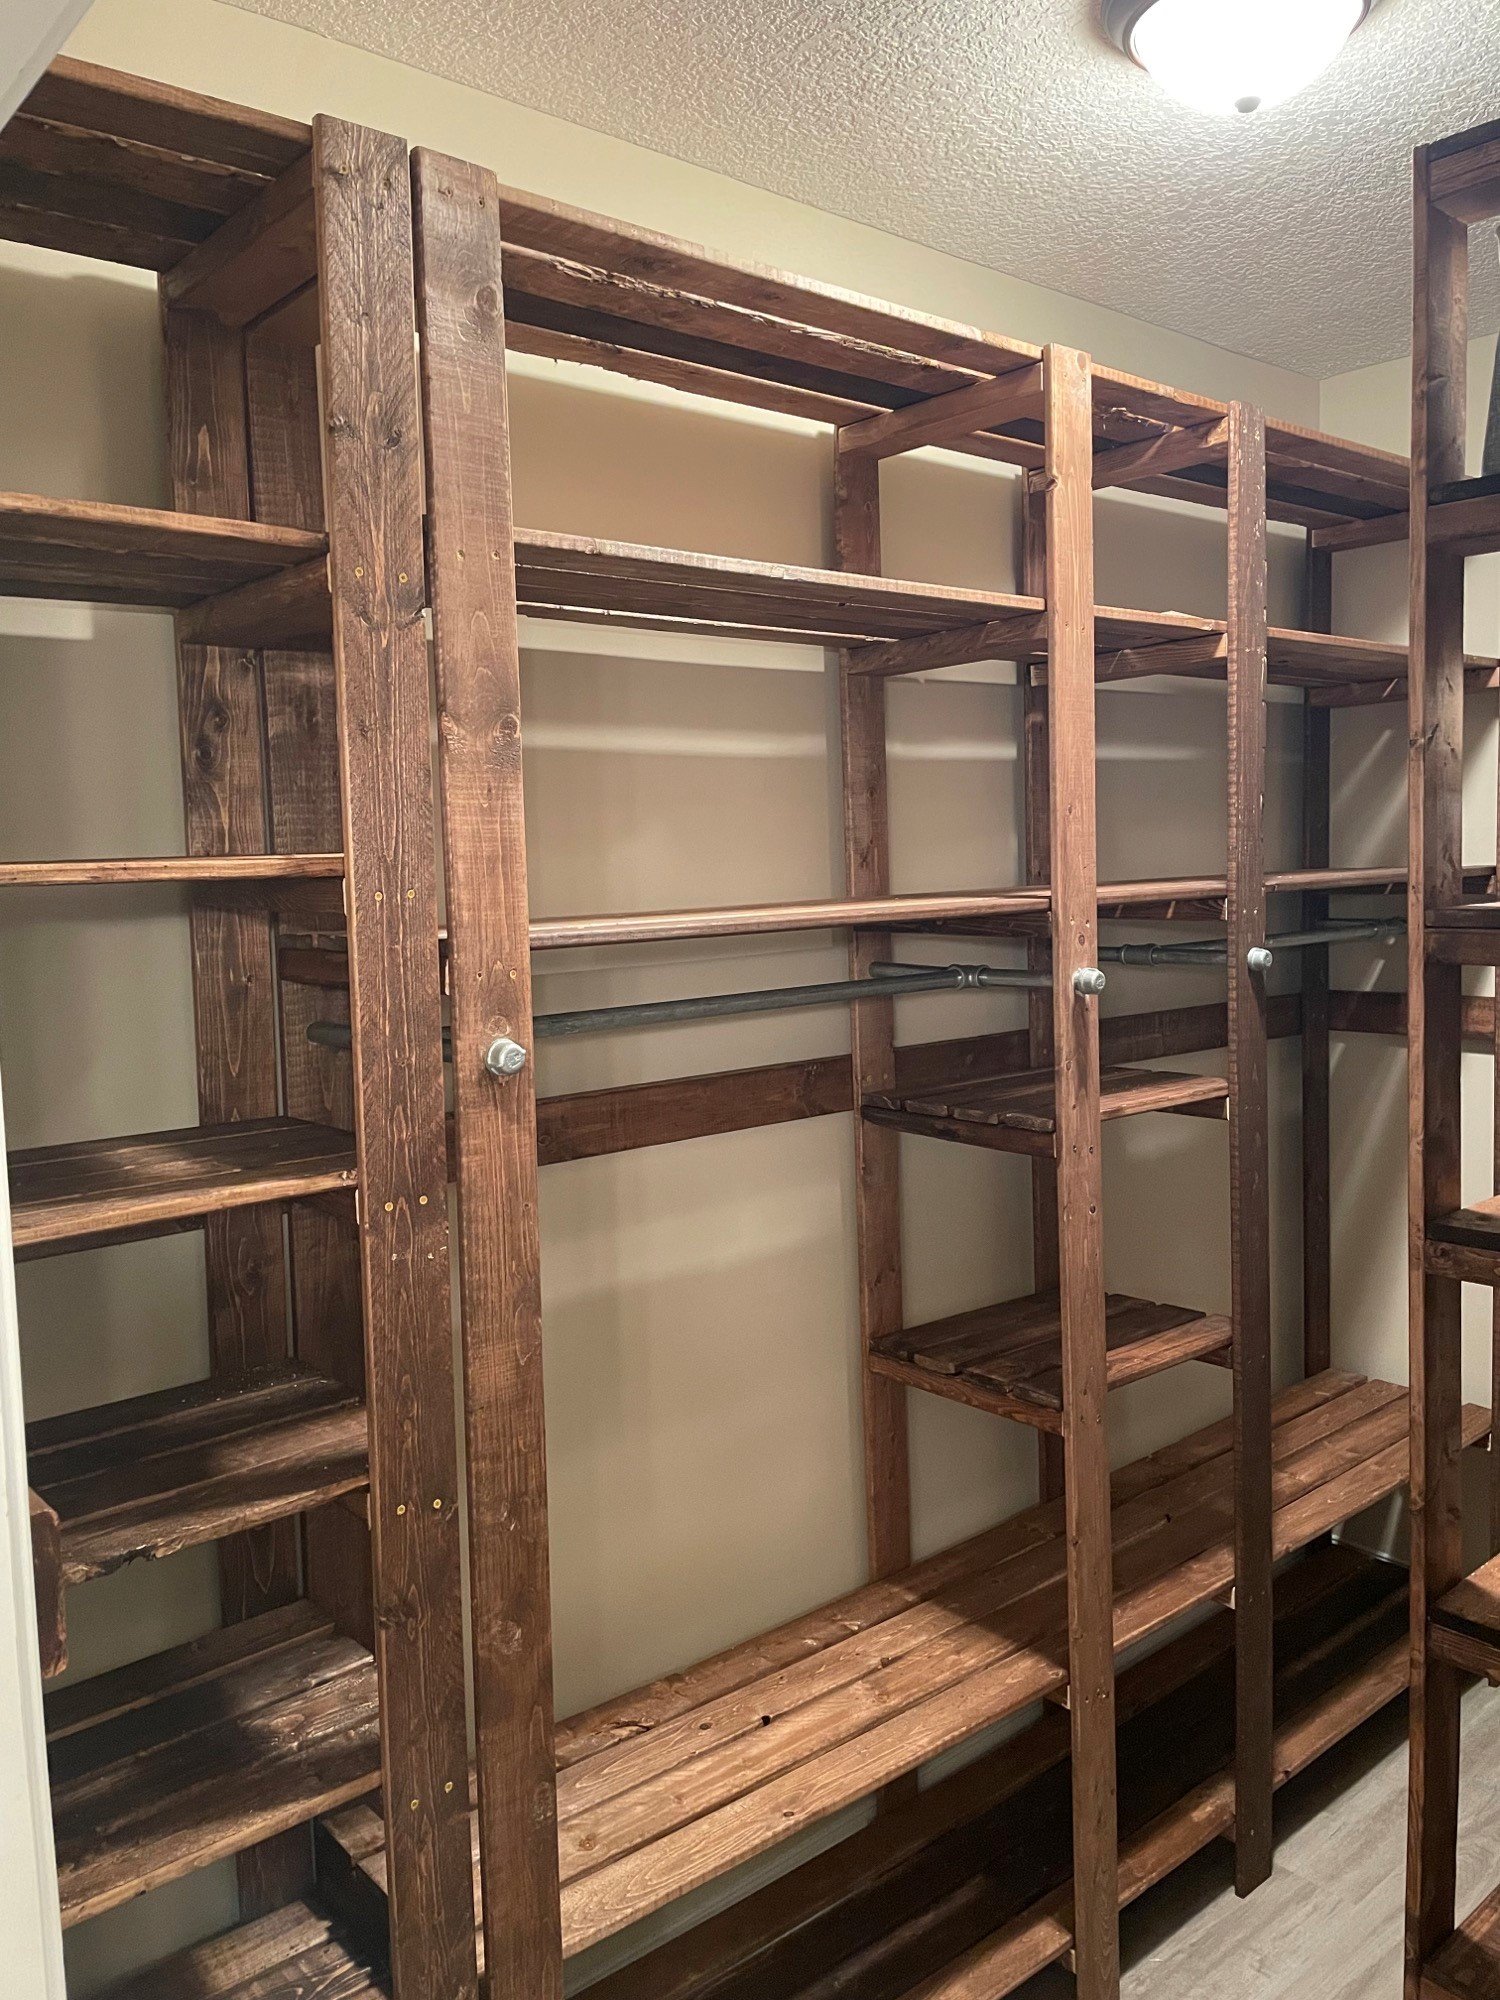
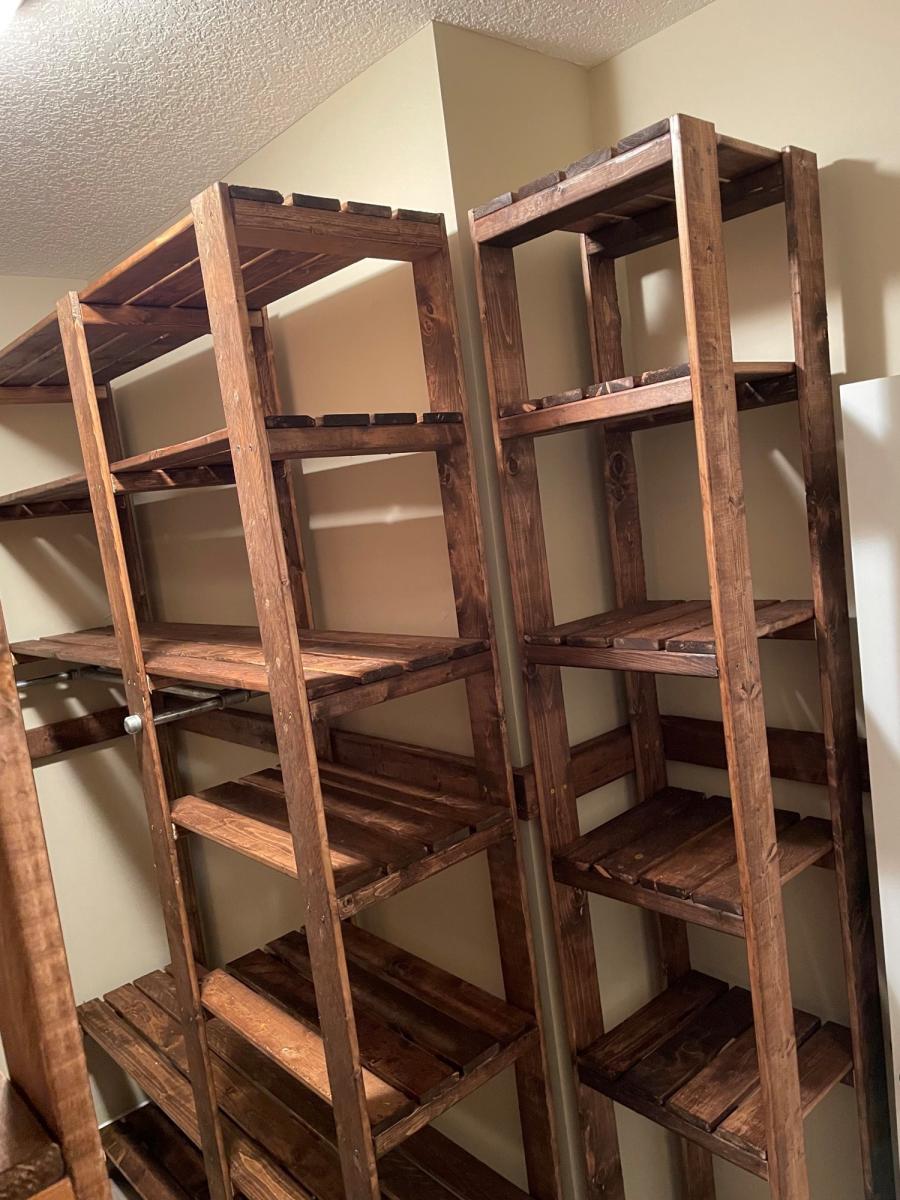
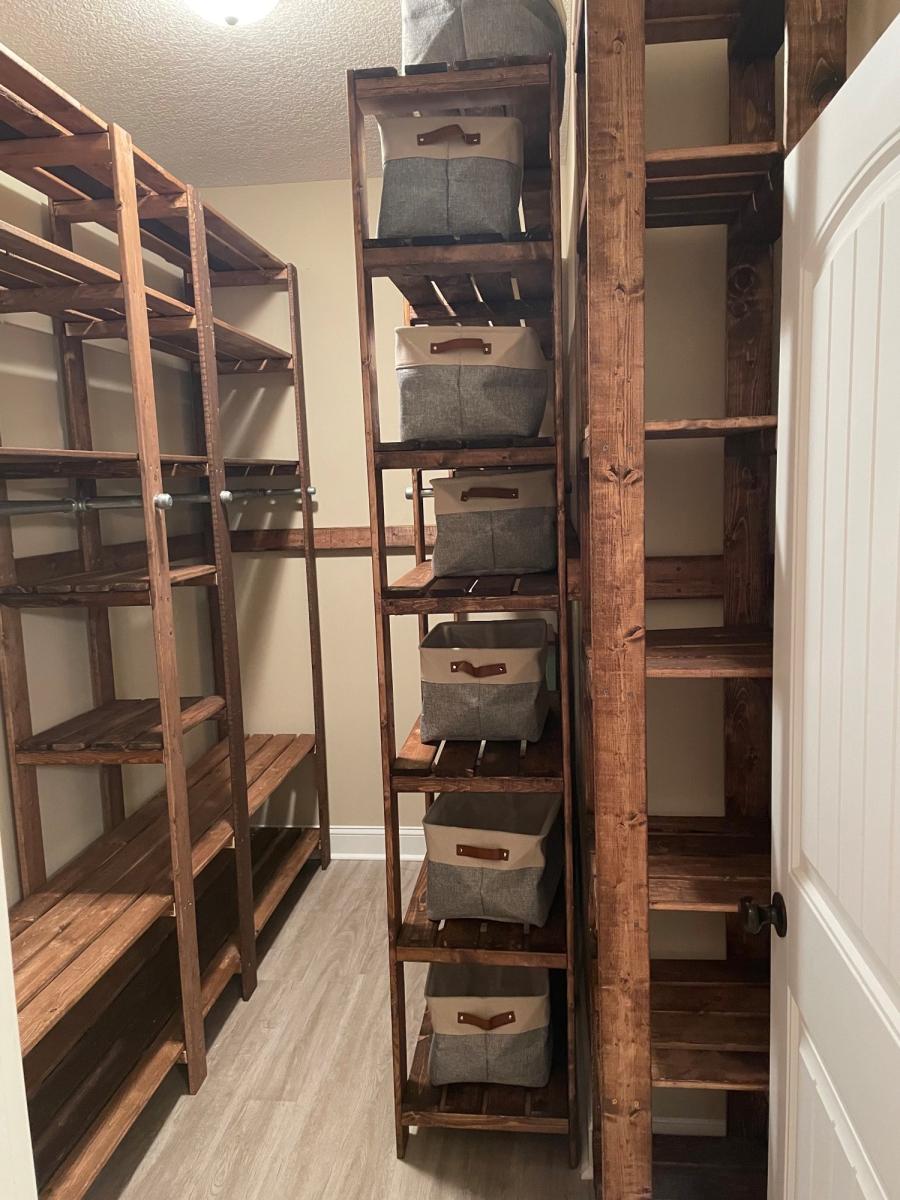
My closet system is four separate units that I butted up together and attached to the wall with a "decorative" 2x4 railing around the entirety of the closet. The main unit looks the closest to the real design but is 8 feet long and 8 feet tall to avoid extra cutting of boards. The smaller unit only has one area for hanging up clothes and is around 5 feet long which is just the length of the wall. I also built a unit for holding sheets and towels and another for my wife's shoes.
The plans are really easy to follow but I would suggest a few things:
-Do stain and boards before cutting; this would have been a nightmare otherwise.
-If you use the metal clothing rods (if I could go back in time I would have used wooden dowels) make sure that you put those in before you attach any boards between the support structures. I ended up having a 35 inch gap instead of a 36 inch gap and it killed my momentum.
-I made mine 8 feet tall because it was less to cut and then re-stain; time wise it probably was a scratch cause I had to build it in place and at the end it was very tight to work in the space.
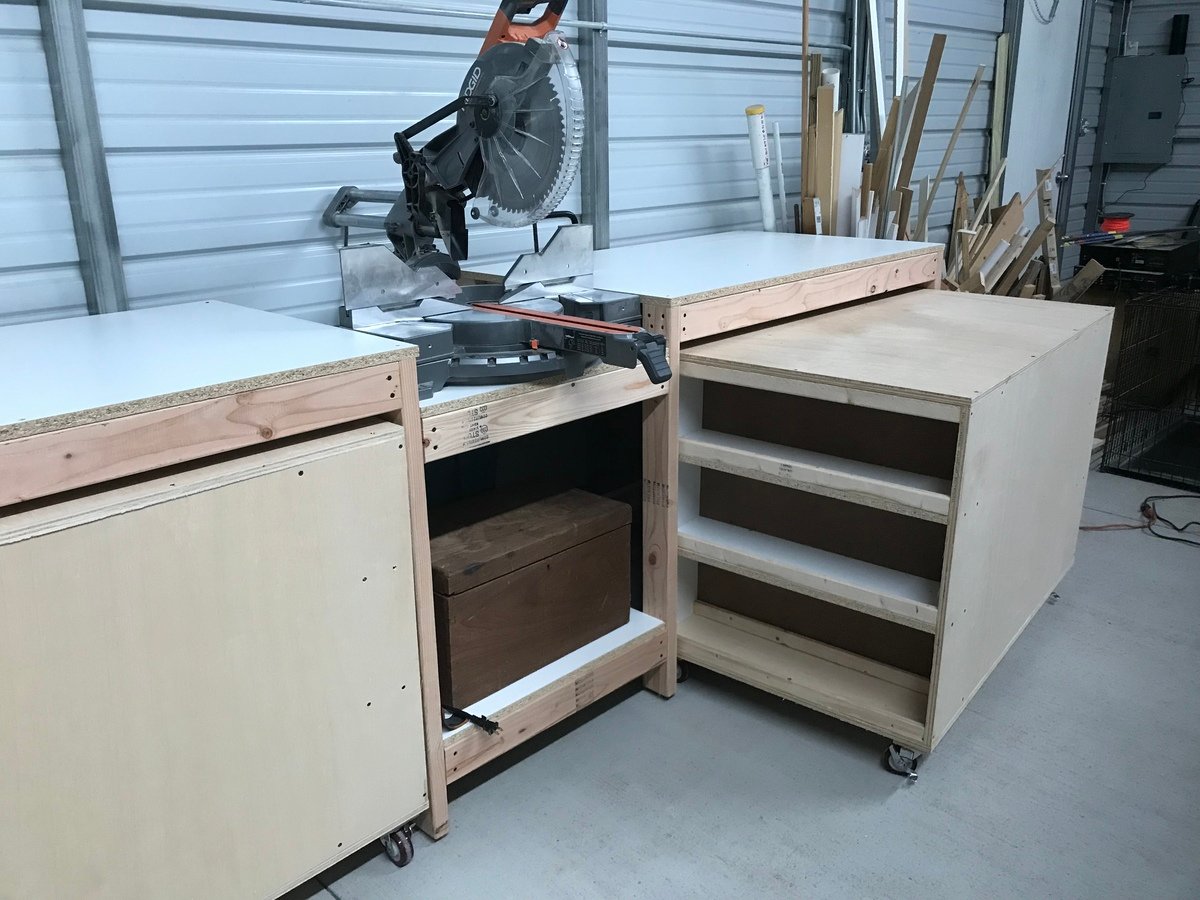
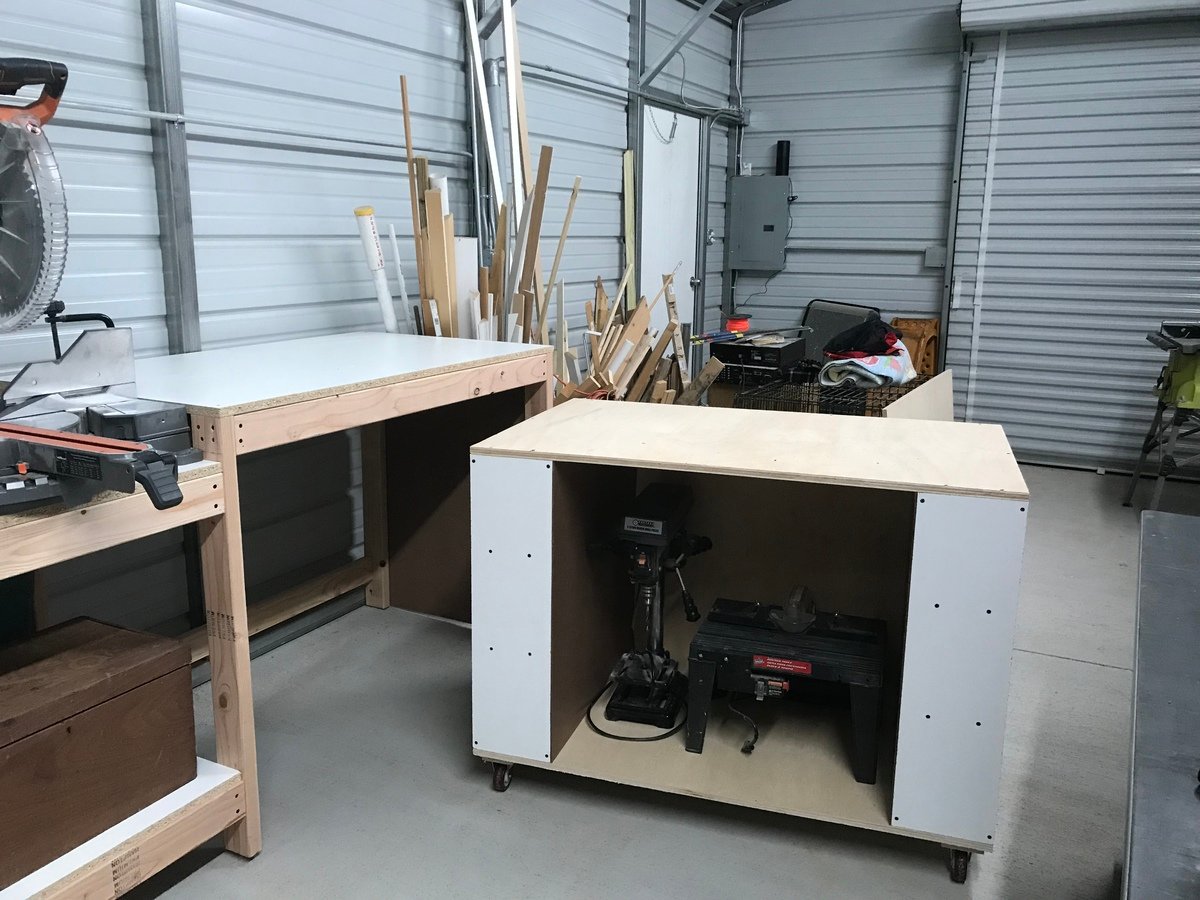
Easy instructions and simple design. One cart houses table saw, and the other I plan to make a router table. I did make a slight modification in design by adding T-nuts and 5/16” bolts for feet. (My shop floor is crowned). I also used 3/4” melamine white panels for table tops. Difficult to work with but cheaper and has a smooth surface. (Be careful using for structural parts due to glue not impregnating through melamine)
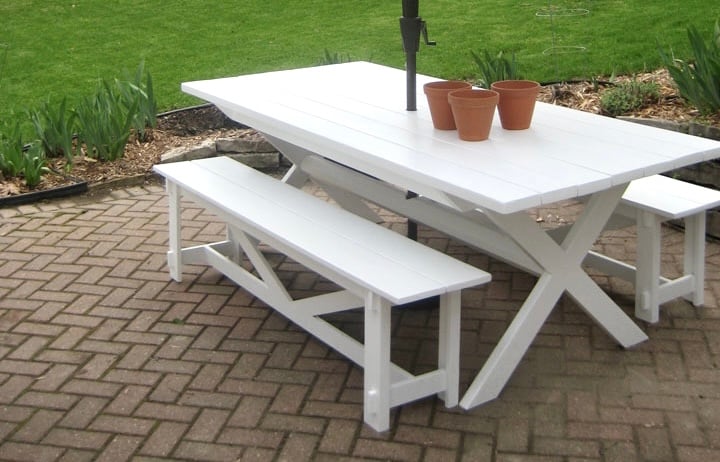
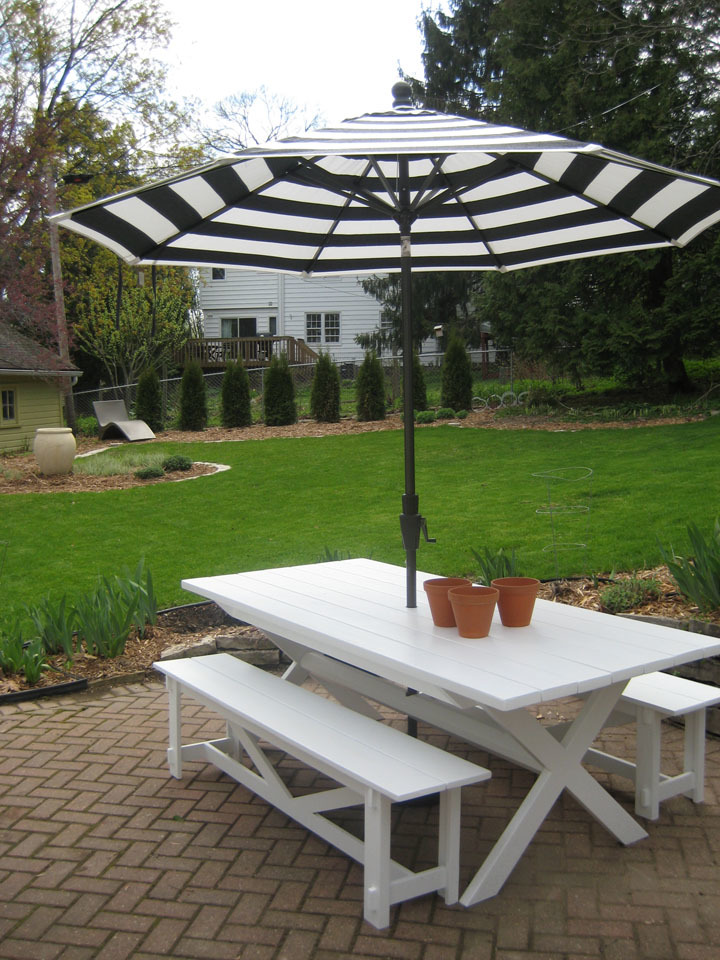
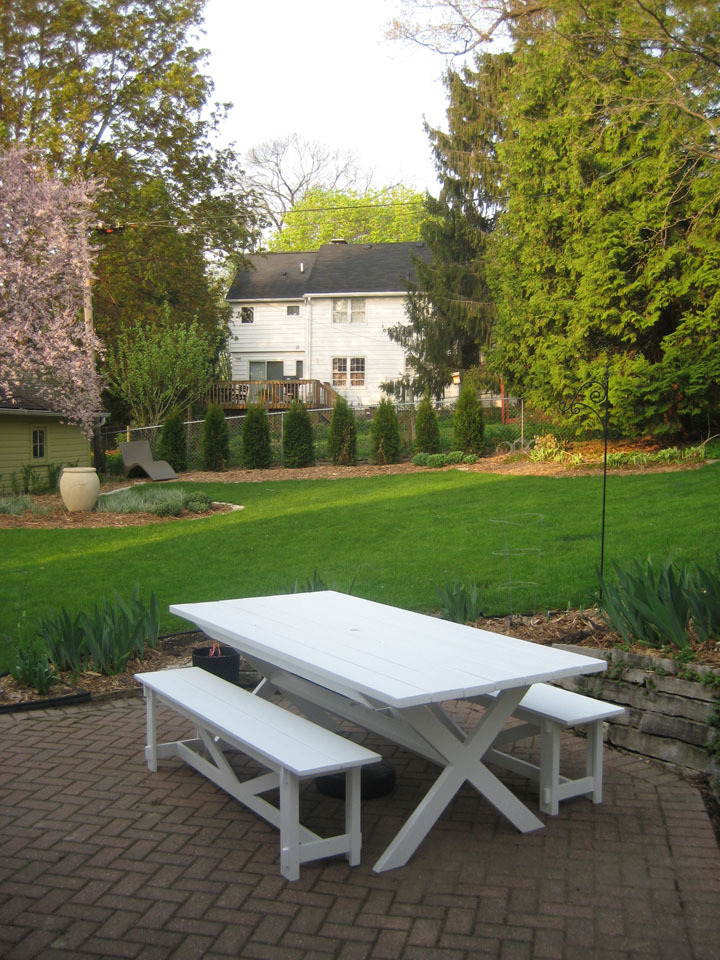
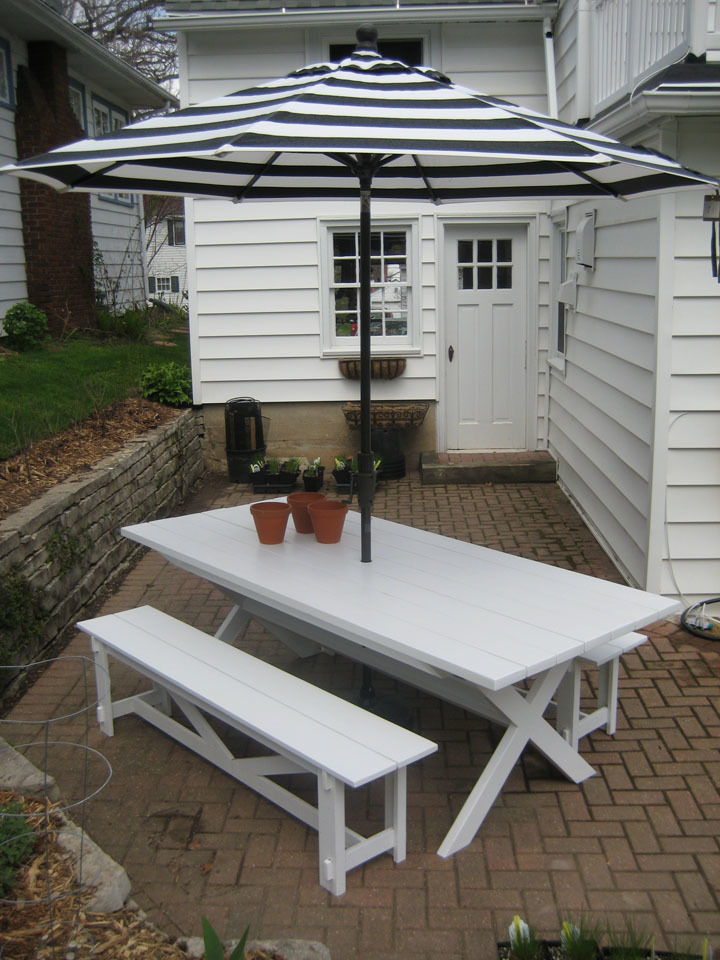
Pottery Barn Bench: Length Modified and utilized 2-1x6s for seat. X Table: Length Modified, utilized a 6x6 for the stretcher and drilled a hole through both the 1 top material and 6x6 stretcher beam. Holds the Pottery Barn umbrella real well. All made of Cedar and painted for good measure. Everything counter sunk and plugged, sanded to high heavy and ready to last.
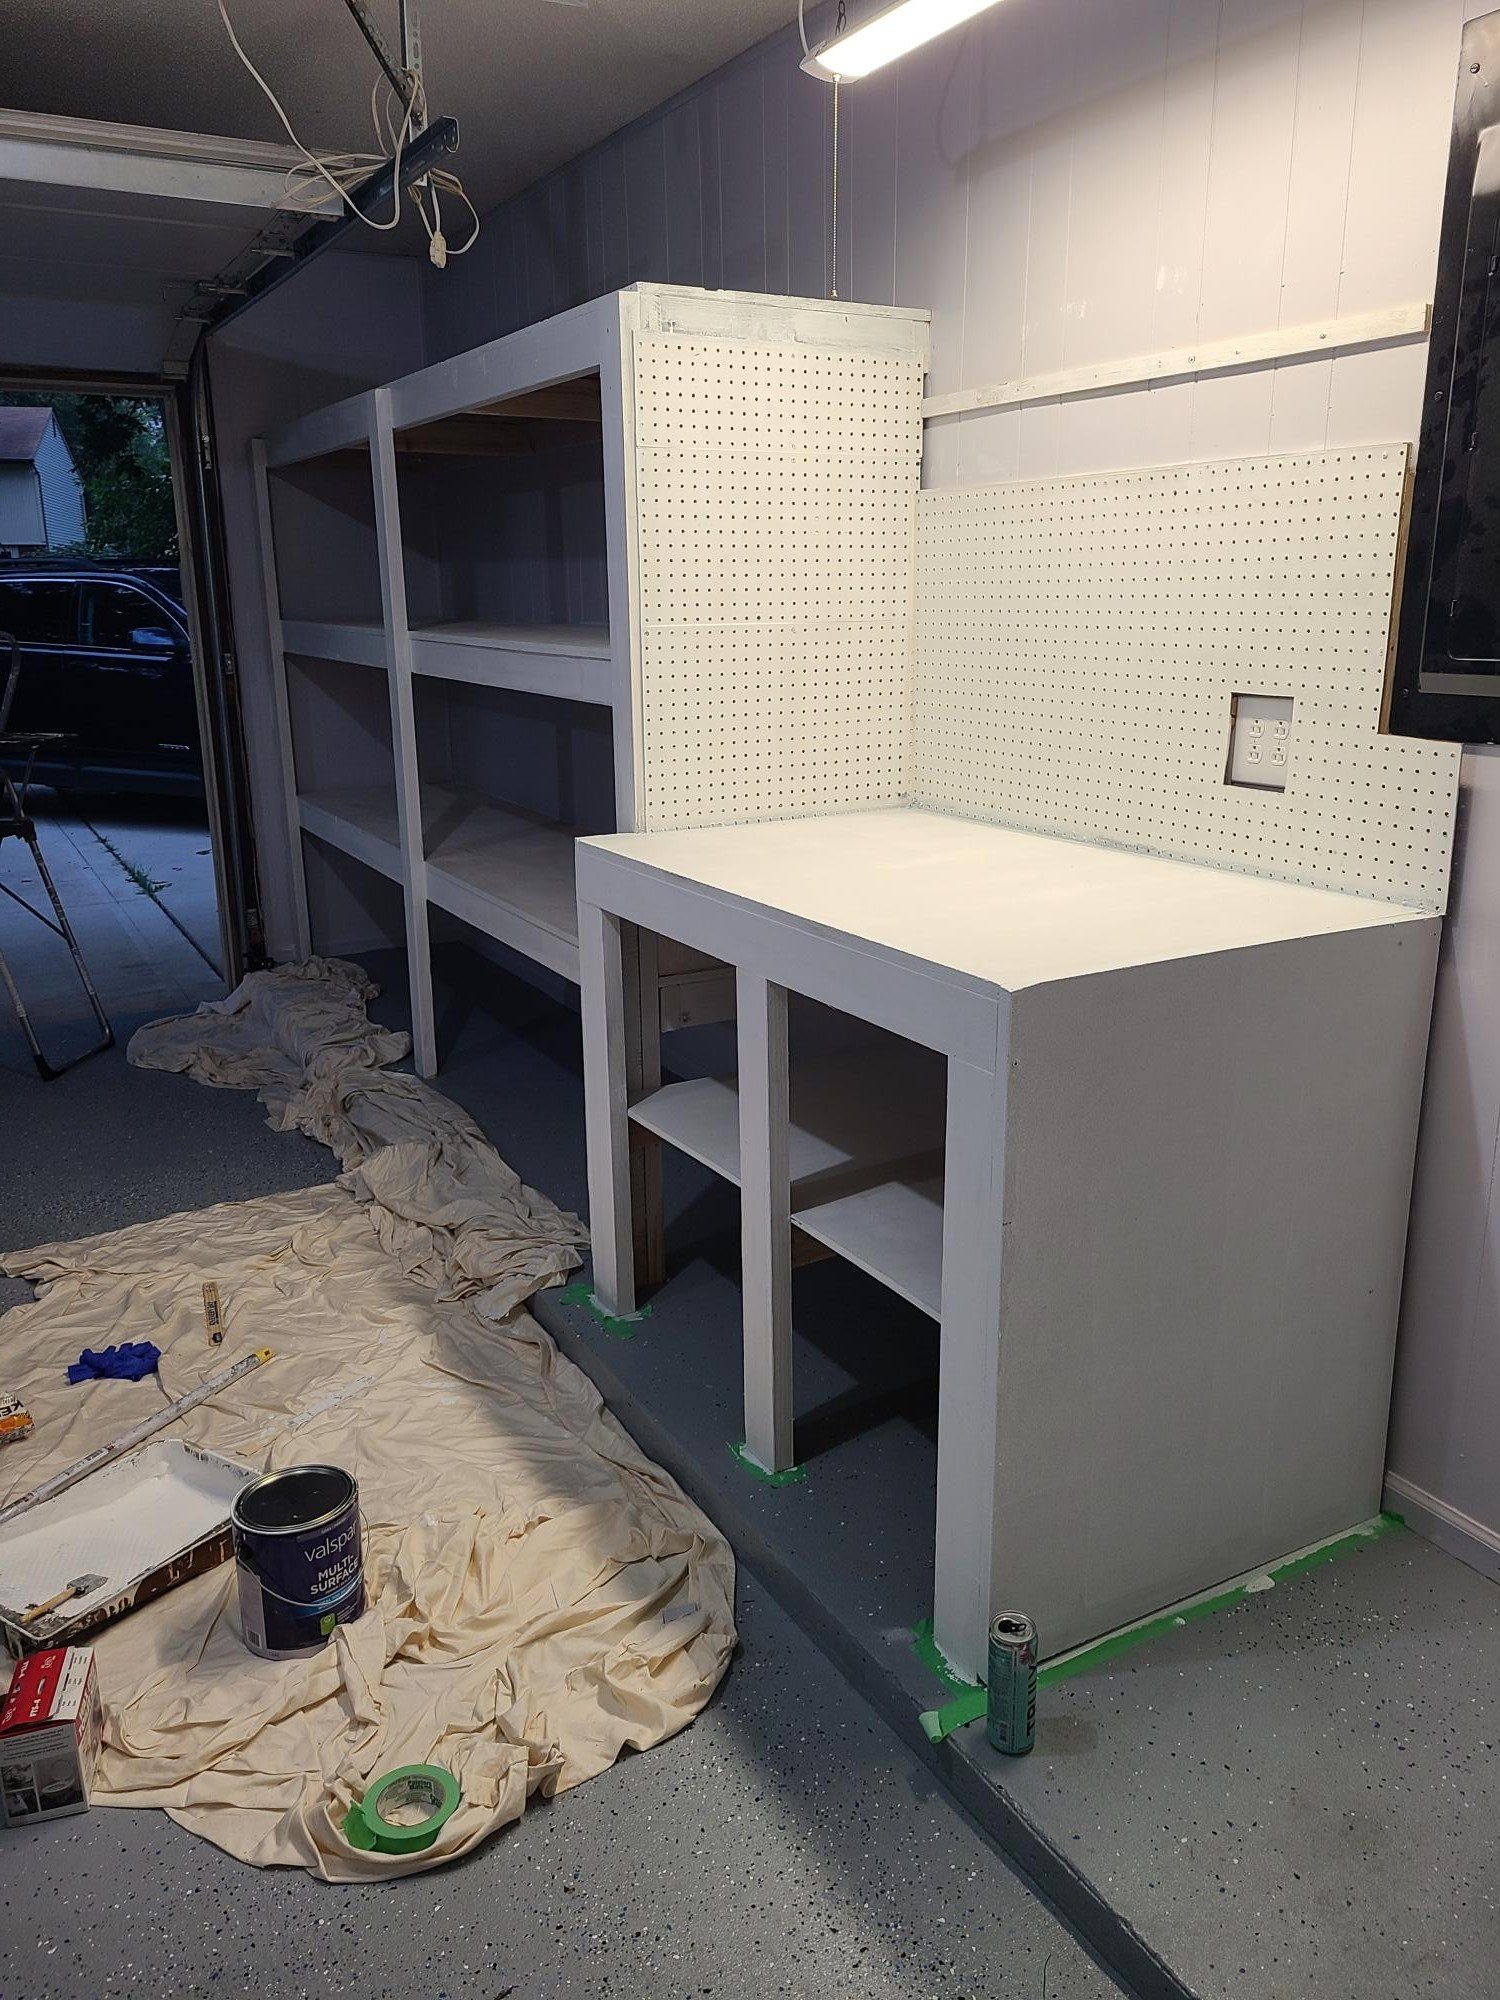
Used the plans from attached garage shelving to make a 10 ft, 24 inch wide shelf then used similar idea for workbench which I still need to put doors on. I love it! Such an easy plan!
This is a great way to double up on space & creativity! My dad and I built this dress up storage/puppet theater for my daughters using Ana White's plans with added inspiration from The Picky Apple's post about their own top shelf and theater hacks - you can view it here: http://www.thepickyapple.com/blog/2011/03/24/dress-up-storage-bin-and-p…. We added hinges and magnetic catches to the front so that the storage center can be turned around and opened to lay flat for access to the puppet theater.
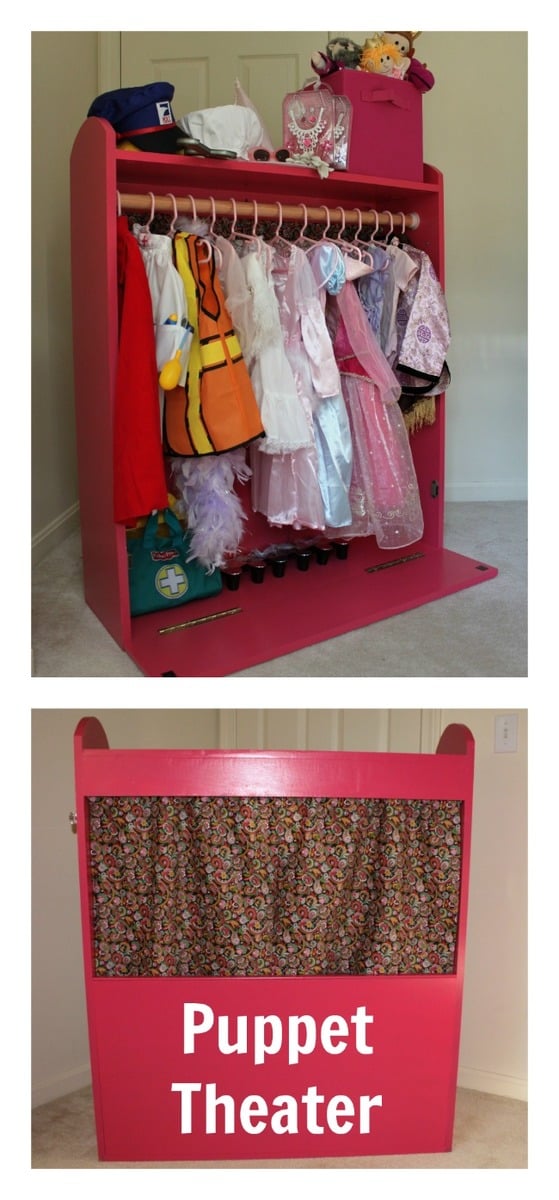
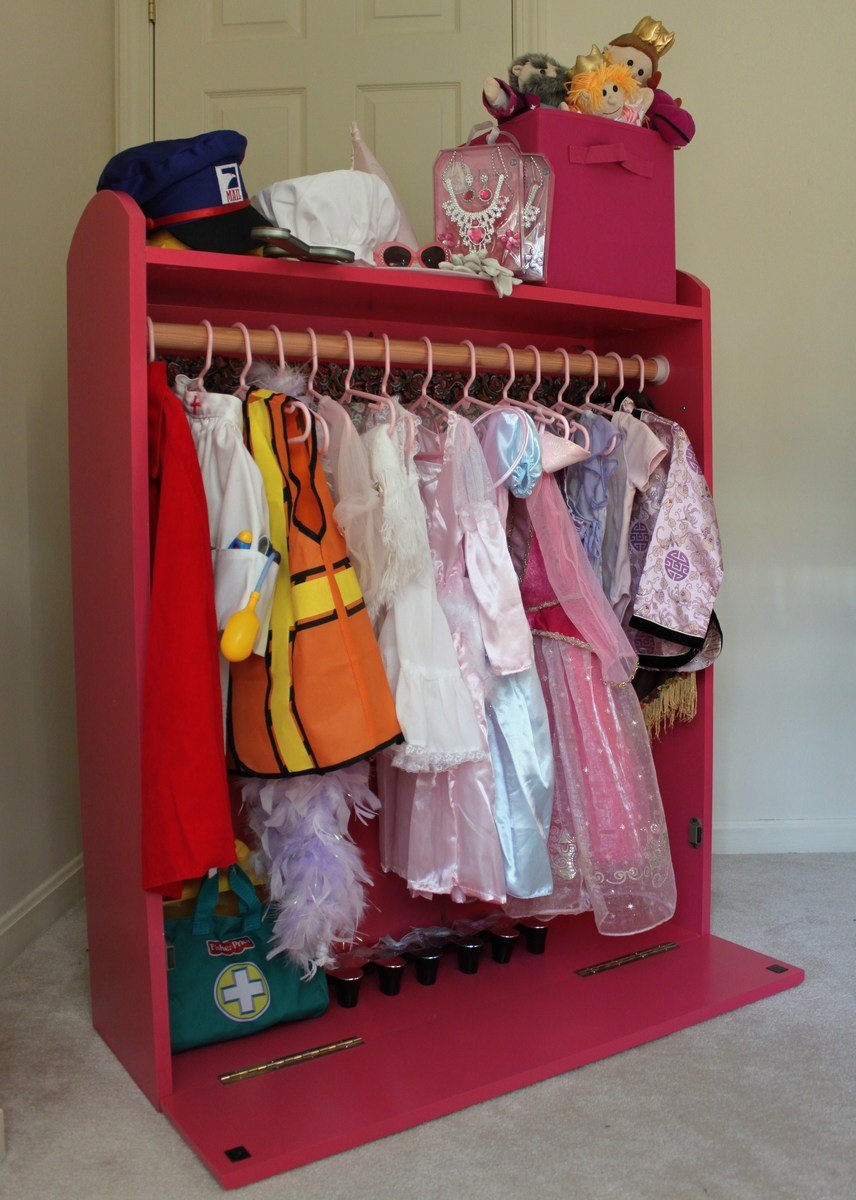
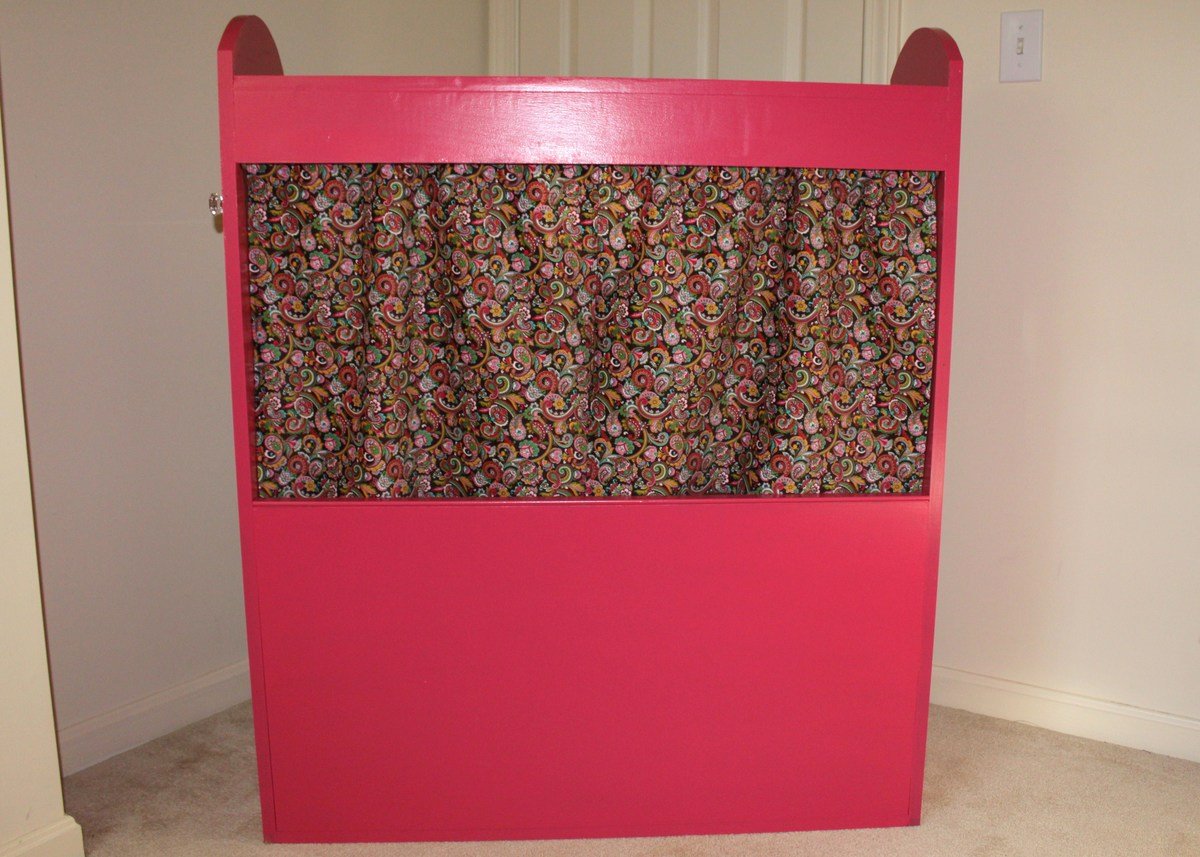
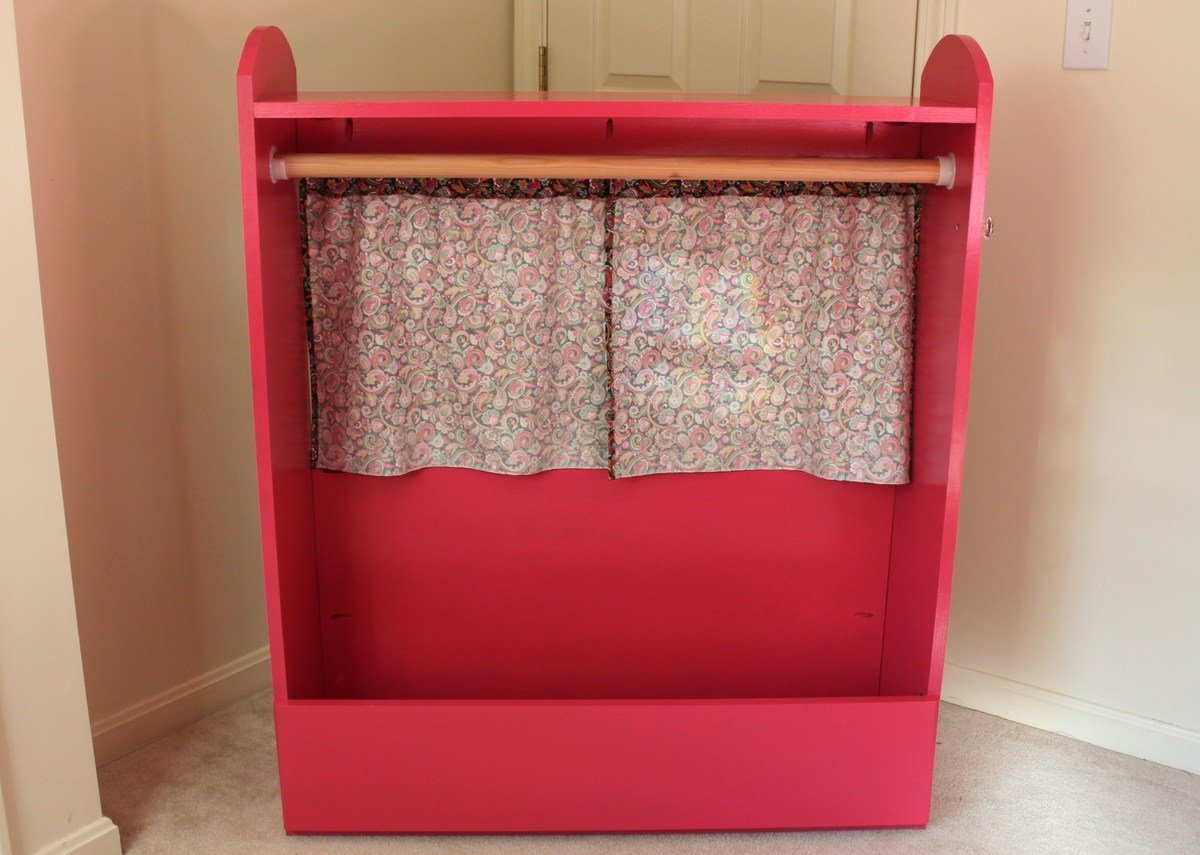
Sun, 10/04/2015 - 12:44
Hi, I read you tweaked the plan and then did not know the dimensions of anything in the beginning. Have you gotten them since?
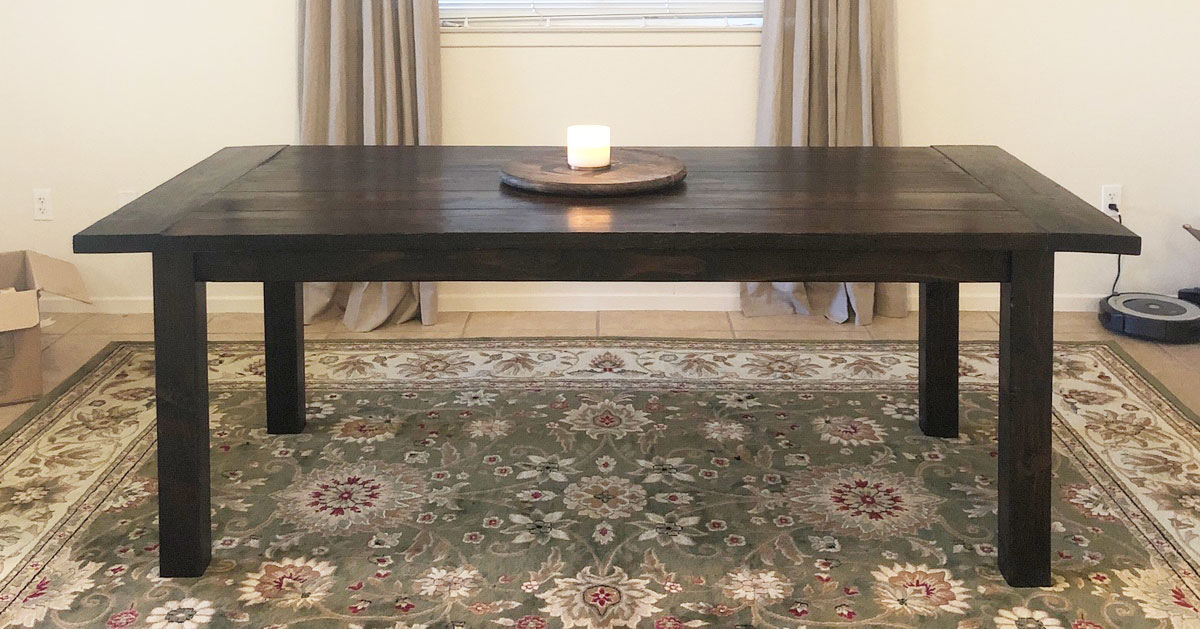
This was our first build together and first furniture piece from woodworking. The kreg jig really helped out and we didn’t have any major issues while building except for some board being warped but we fixed it with a planer.
Finished building the entire table in one day and staining and coats of poly took 2 extra days. It was a very easy build. When we move to a new area that has better access to lumber I’d like to remake this using oak/maple.
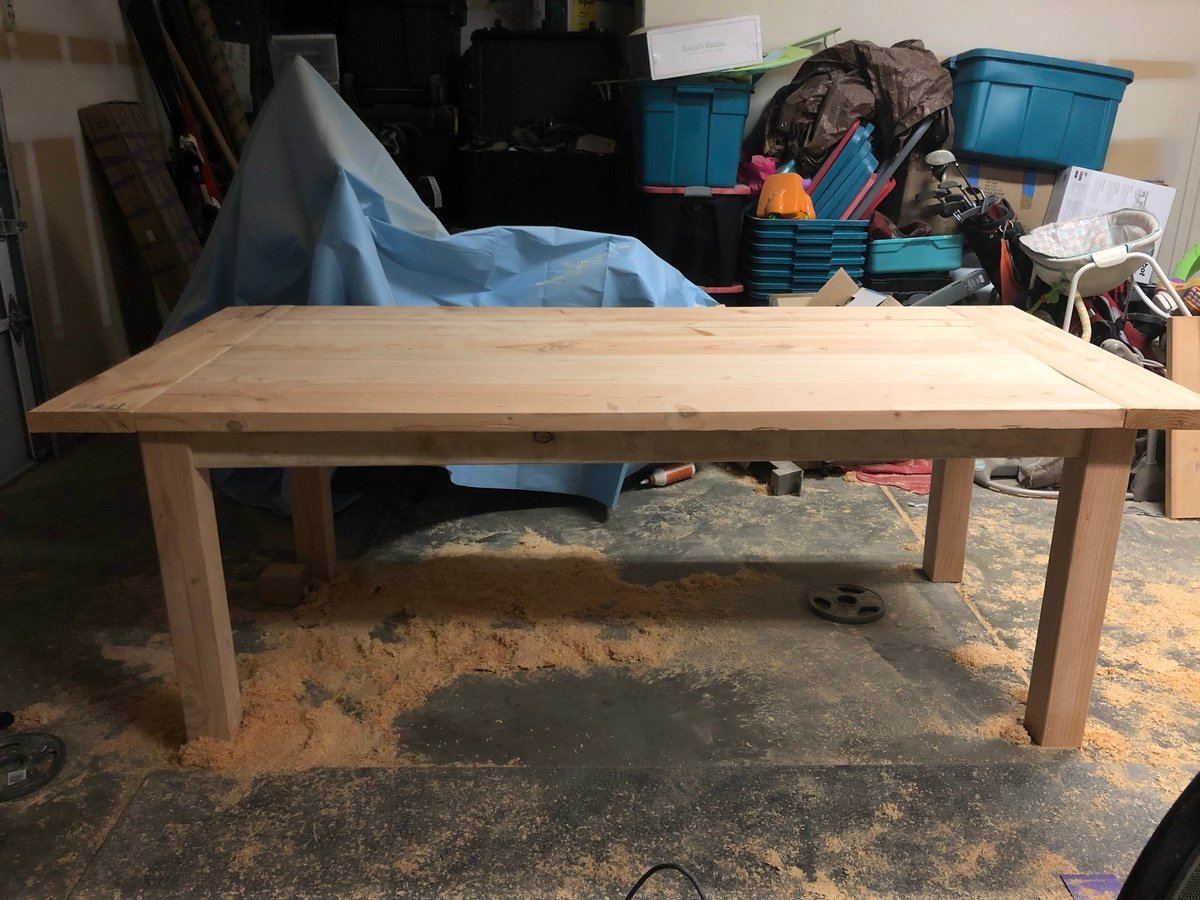
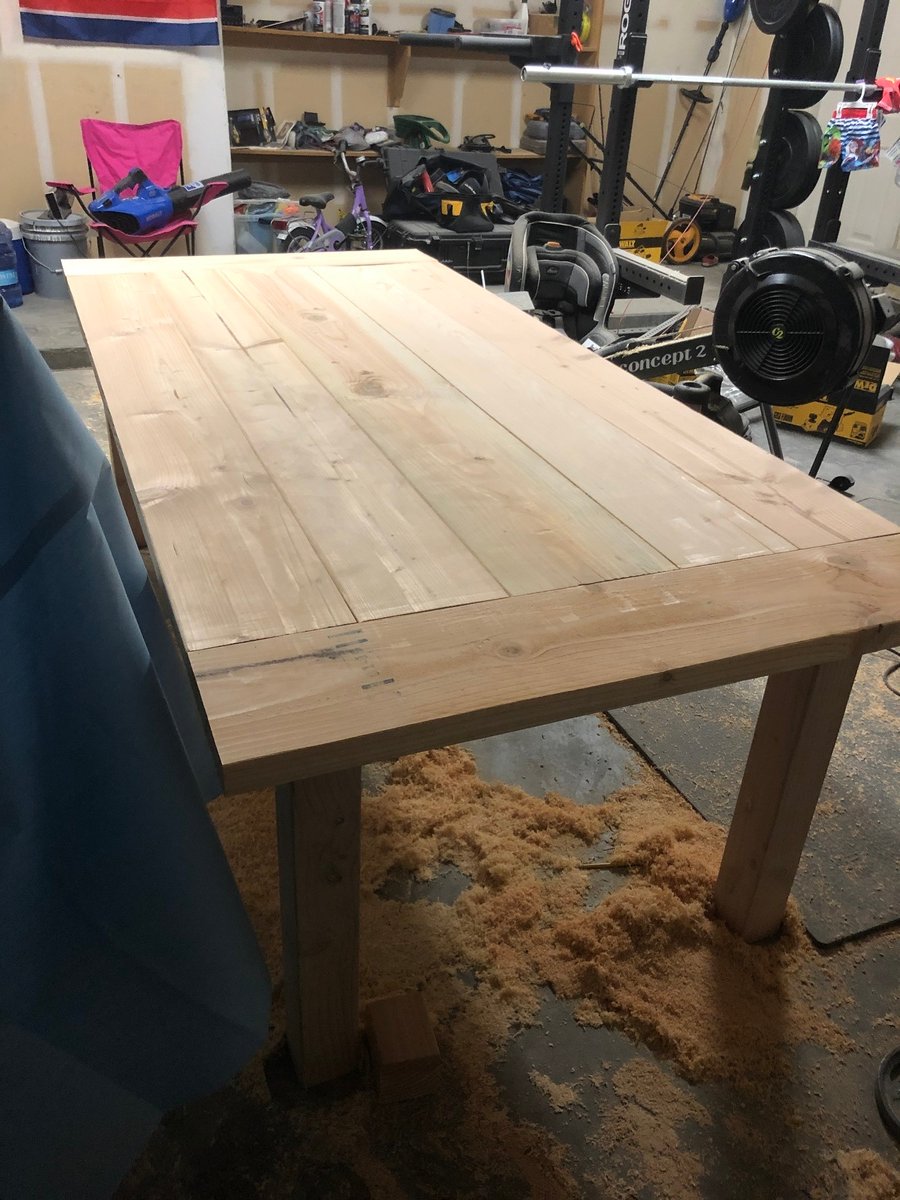
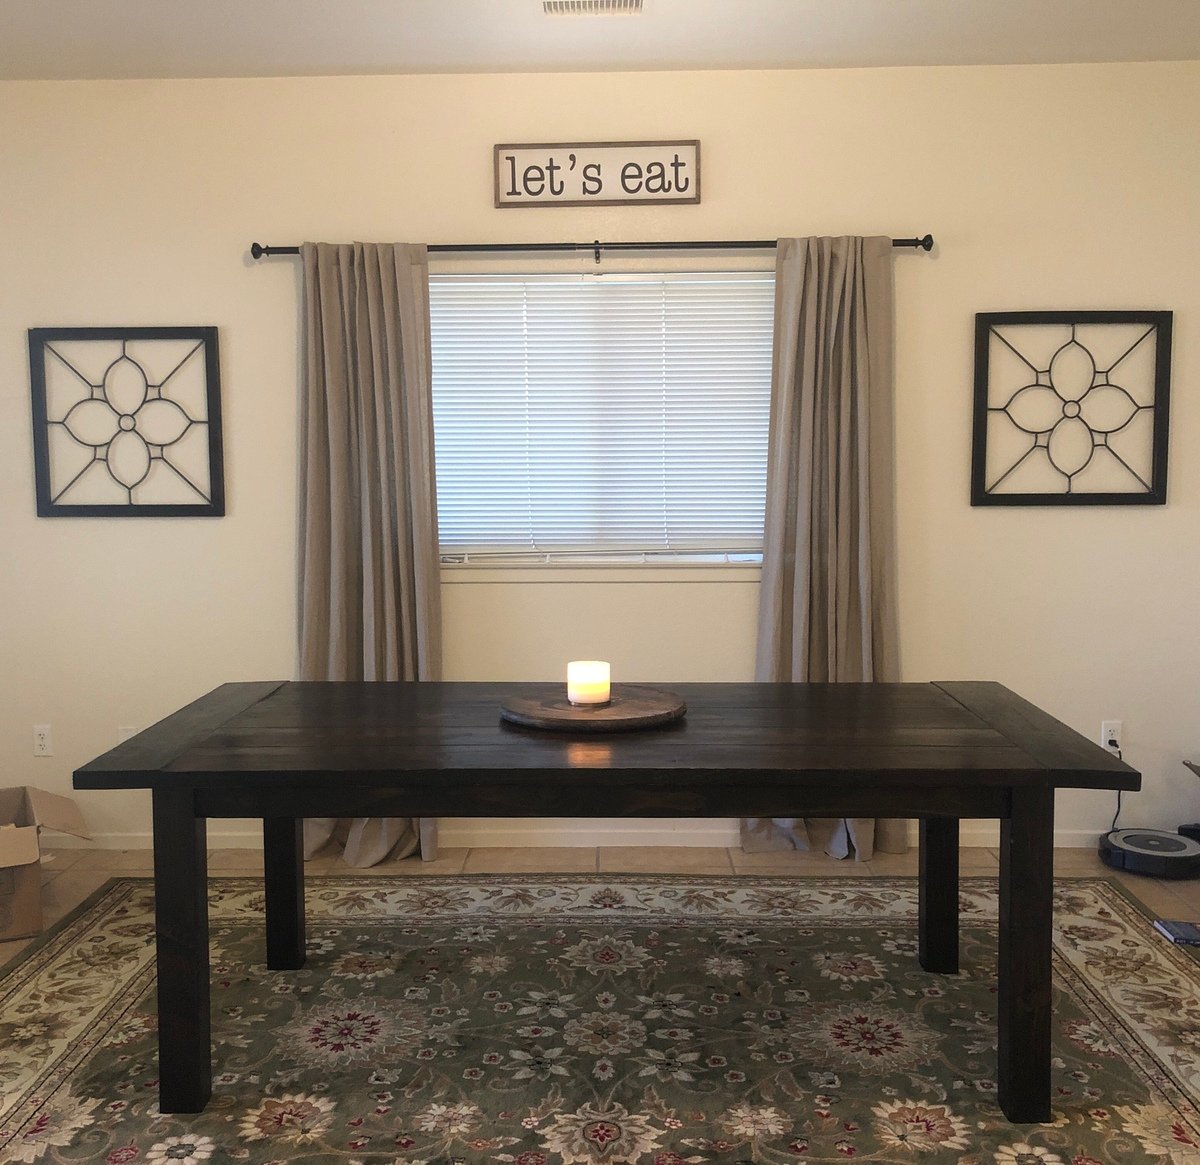
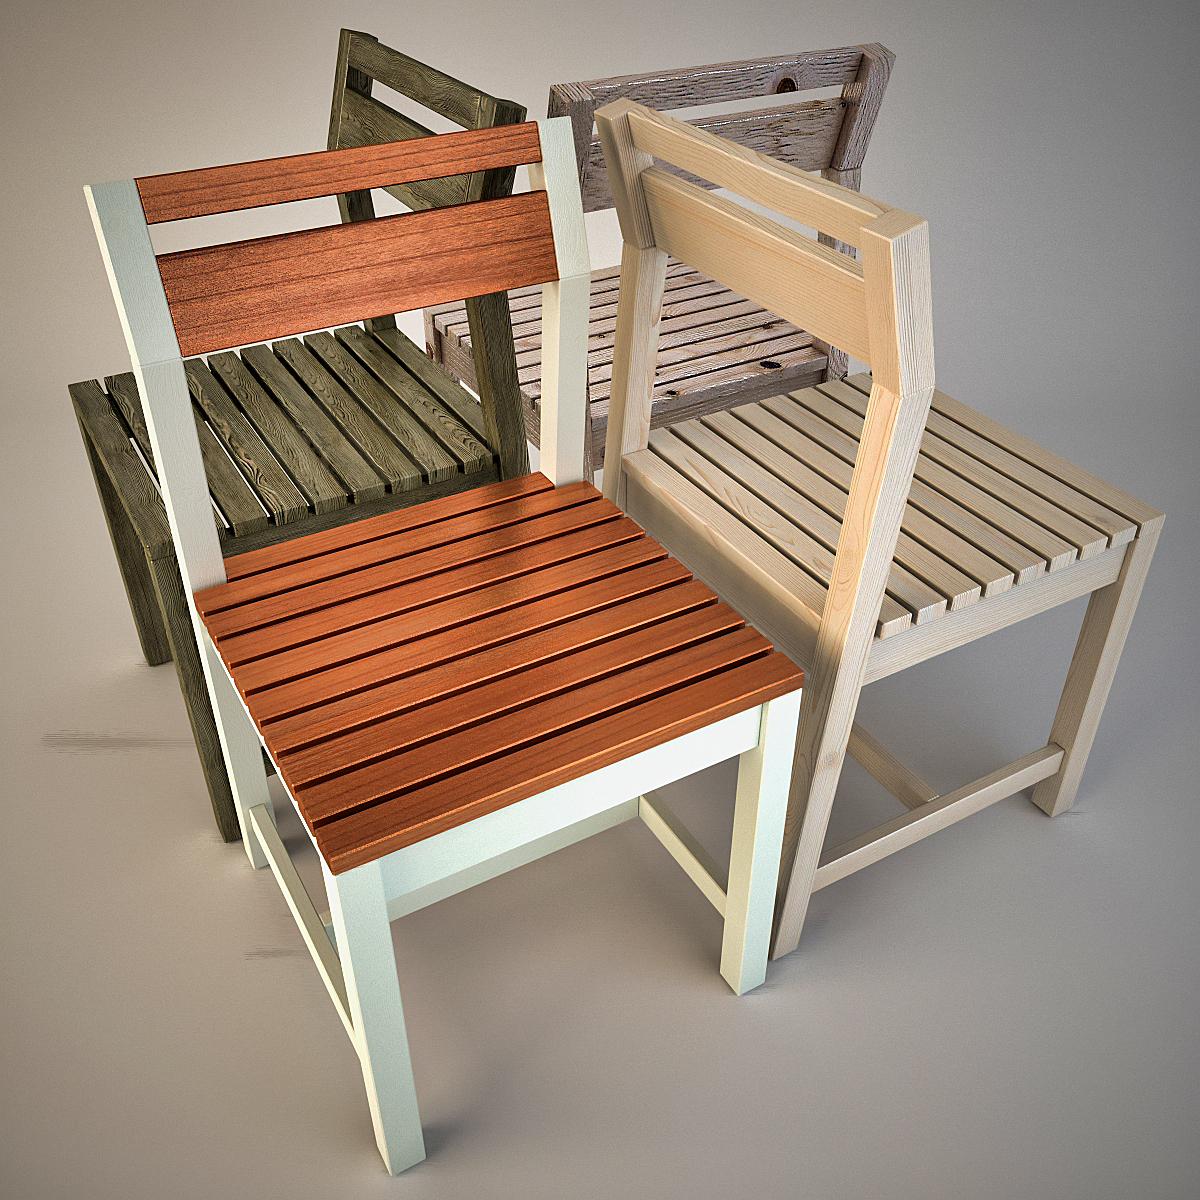
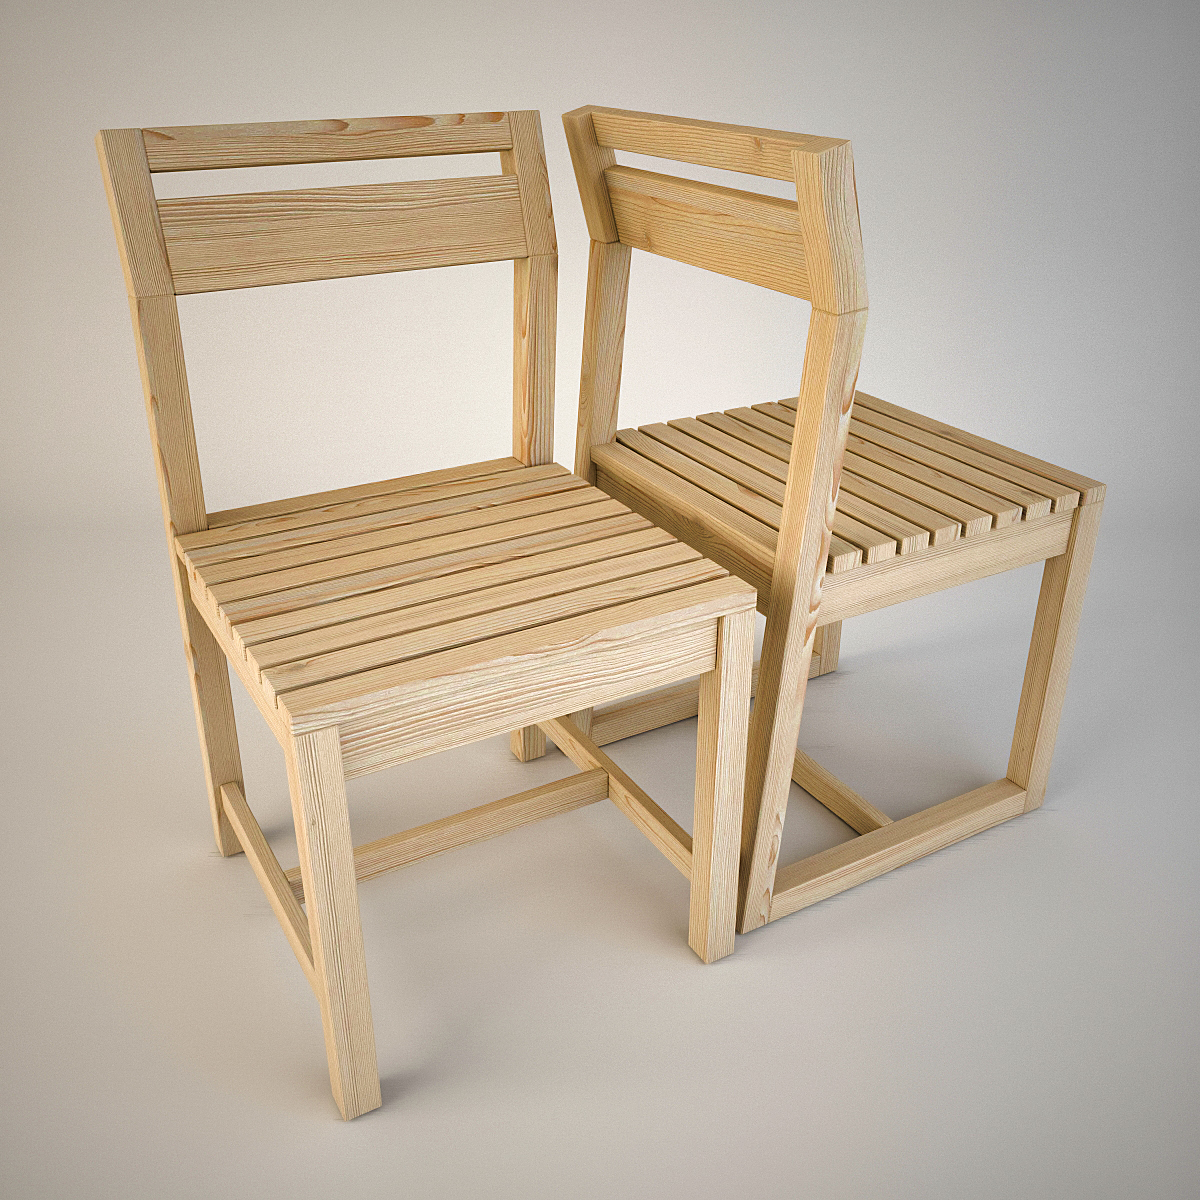
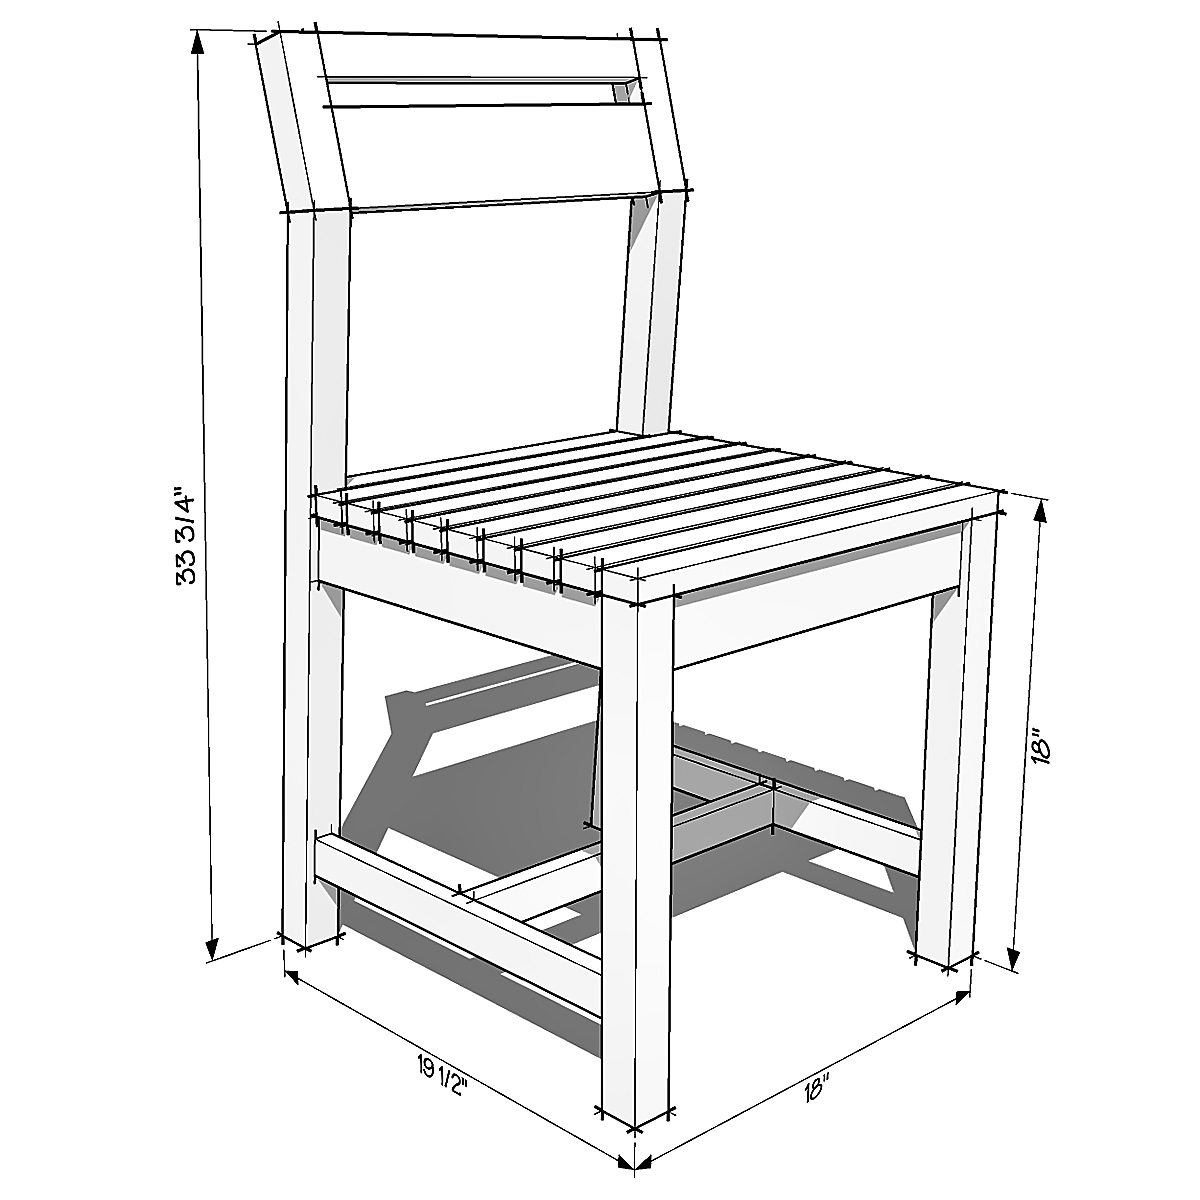
Hello Ana, I decided to modernize your project a little ...
This is 3DS MAX ... ;)
Thank you for your work ...
Regards, Serge...
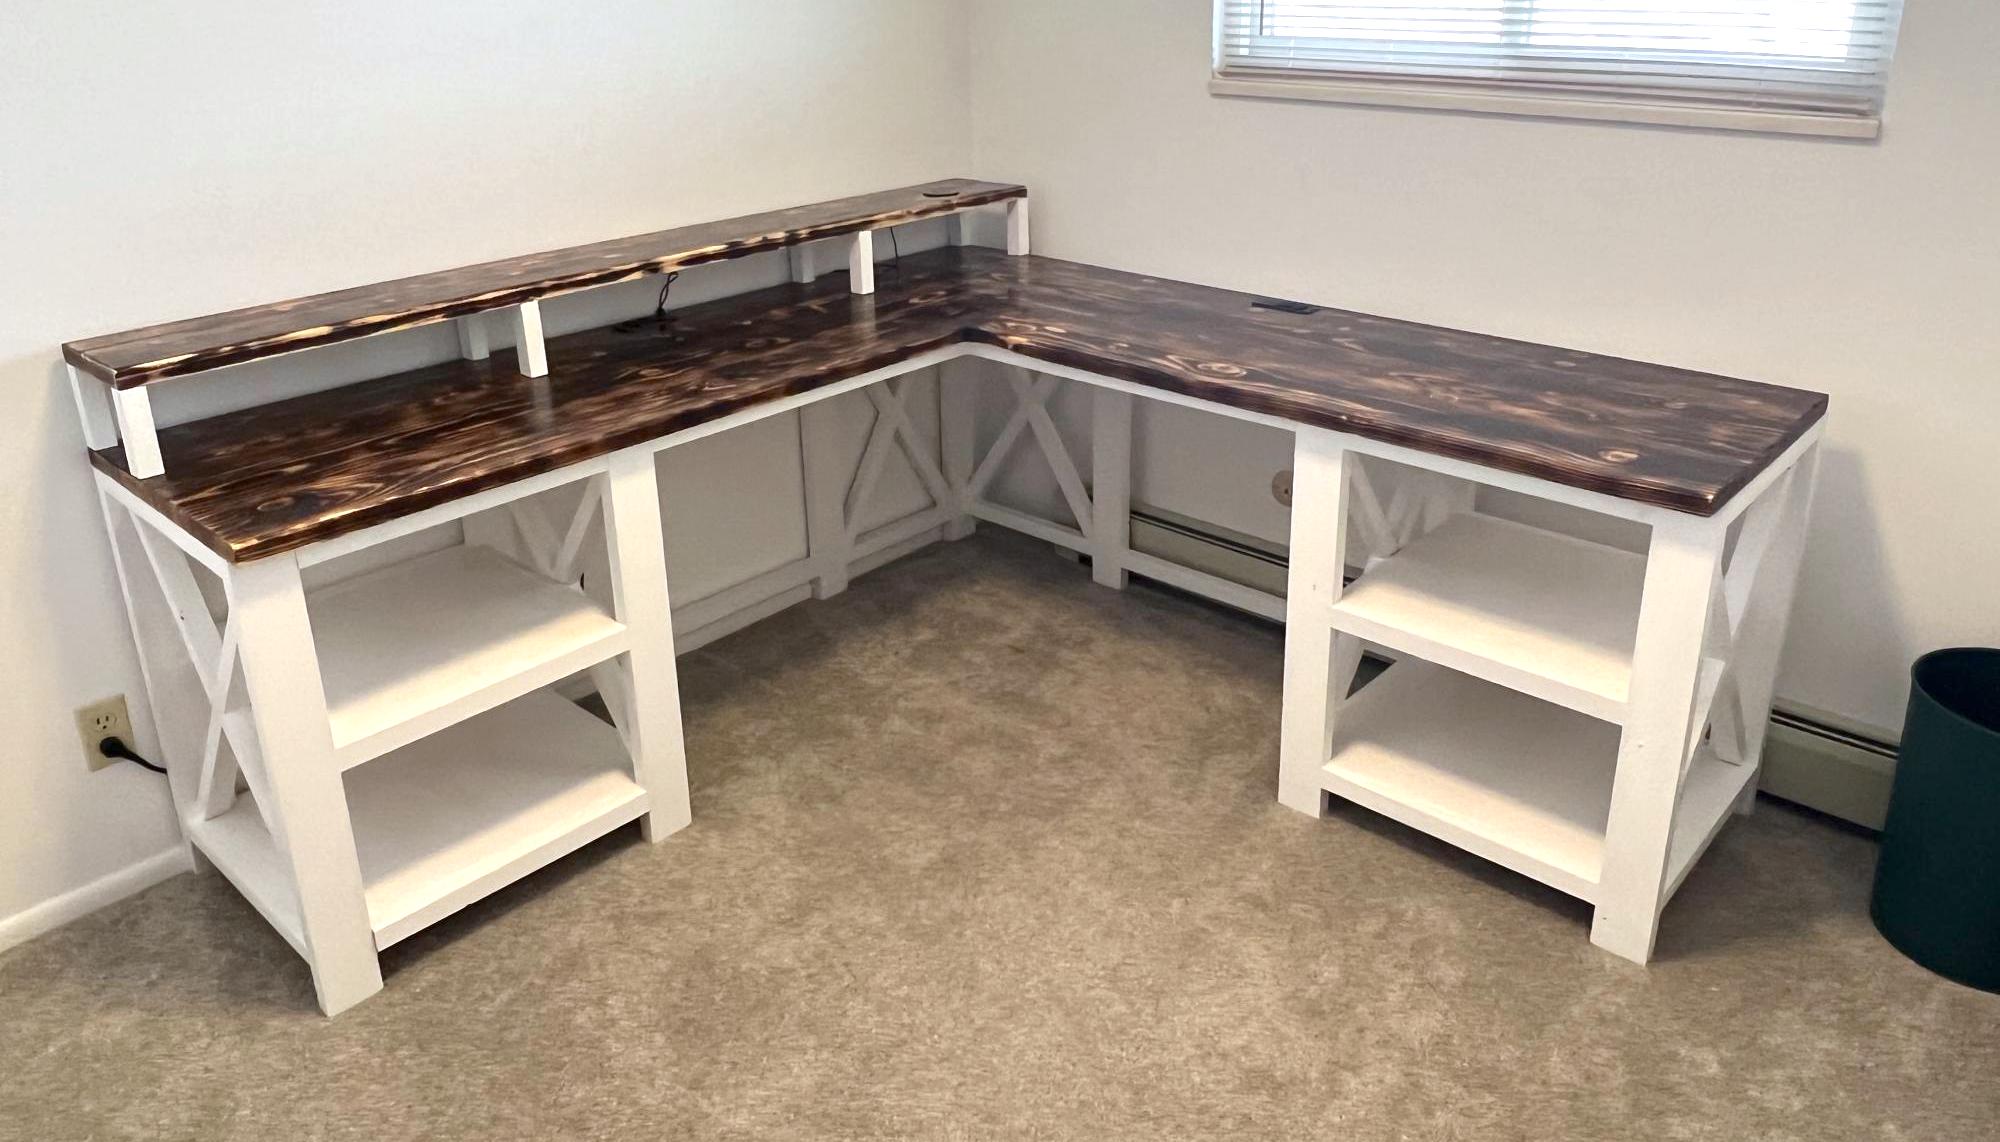
I slightly modified the Rustic X Desk plan to make my L shaped computer desk with a monitor platform! The desk surface is Shou Sugi Ban with an epoxy finish. All made from stock lumber and a lot of pocket hole screws. Thanks for posting your plan Ana to give me the idea! Construct for around $200.
Tue, 03/14/2023 - 18:34
Love your modifications, additions and finish! Thank you for sharing.
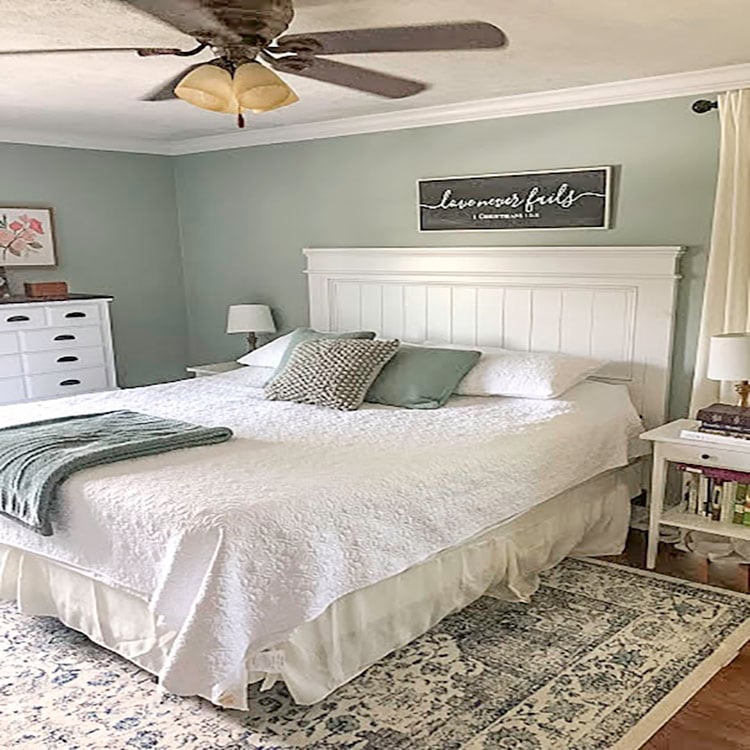
Ever since we moved into our current home, our master bedroom headboard has been at the top of our my project list. I knew I wanted a beautiful farmhouse style headboard. What I didn’t want was the heavy retail price tag. I searched high and low at places like Target, Wayfair, Amazon and even Walmart without finding an affordable option for us.
There is this perfect vantage point of our bedroom from the glider in my son’s room. I remember staring at that empty wall space above our bed for years, it felt like, while rocking our son to sleep. Just willing a headboard to appear. I wanted it so bad I could taste it. Something about looking at that same view, night after night, and waiting, waiting, waiting for it to happen just makes me appreciate it so much more now that it’s here, as so often happens in life.
This project inevitably got put on hold over the years after one thing or another got in the way. Either we didn’t have the time to devote to it, or we always had something else to put our money into. Untilllll I stumbled across Ana White’s Farmhouse Headboard Plans.
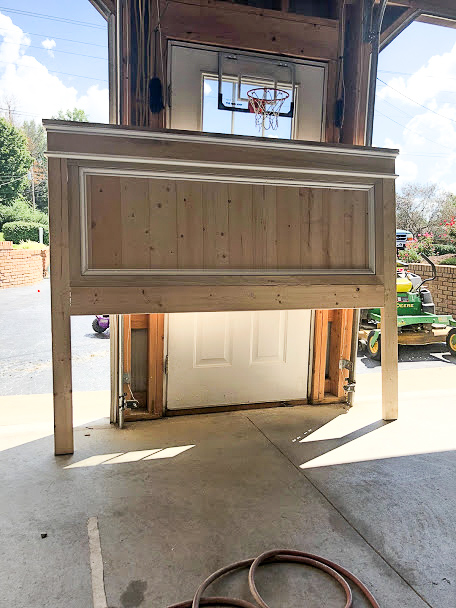
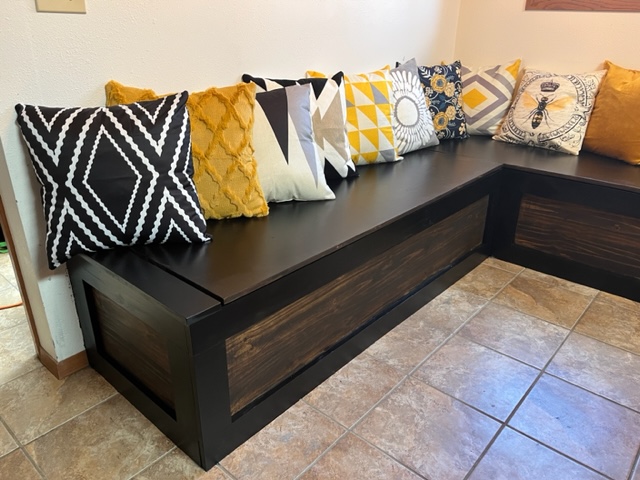
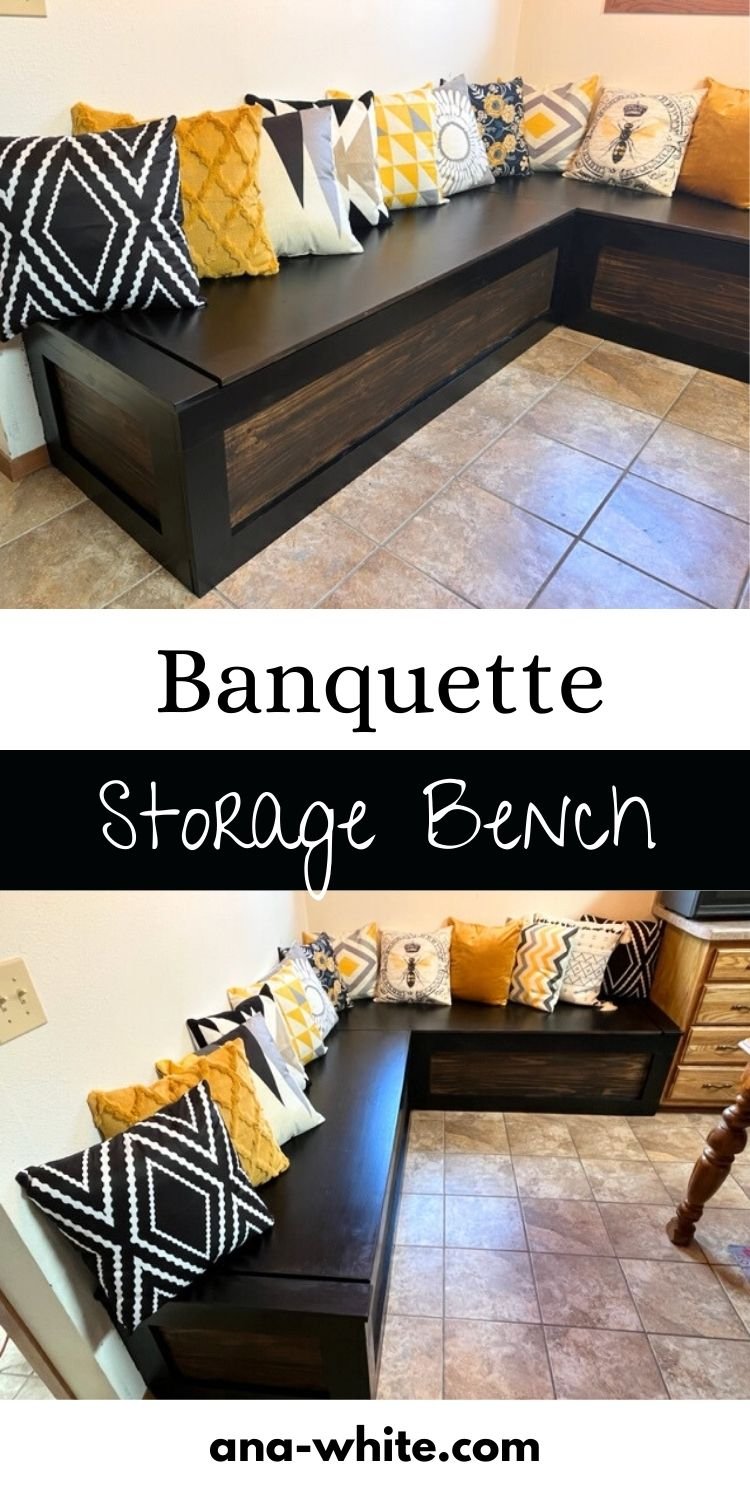
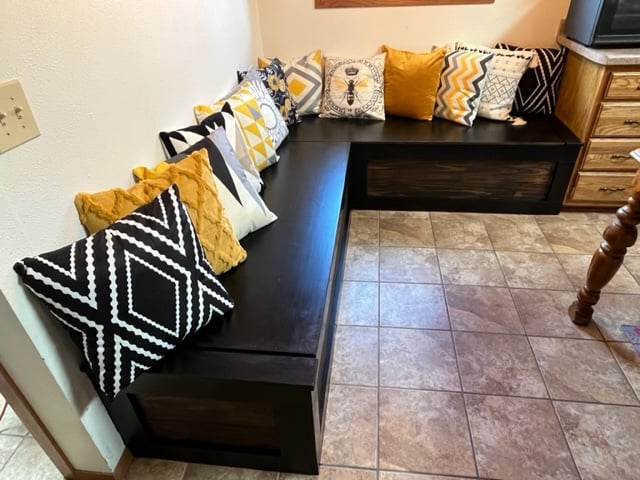
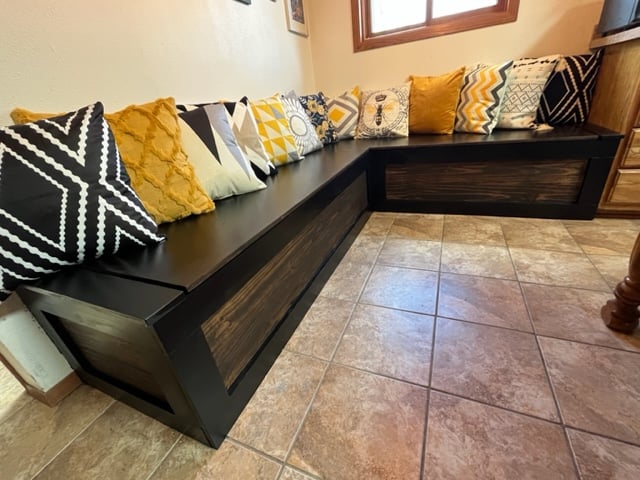
Here are the pictures from the finished Banquette. Thank you for the free plans. Very much appreciated.
by Jason
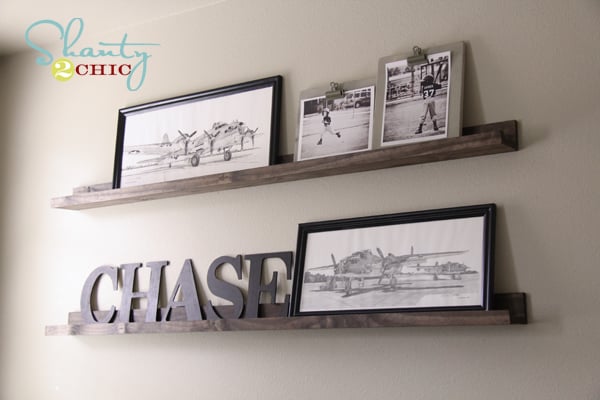
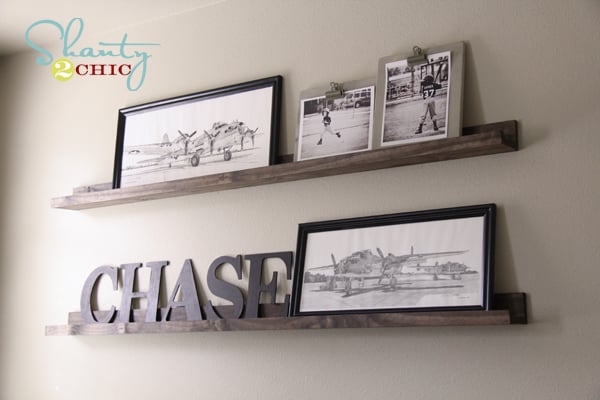
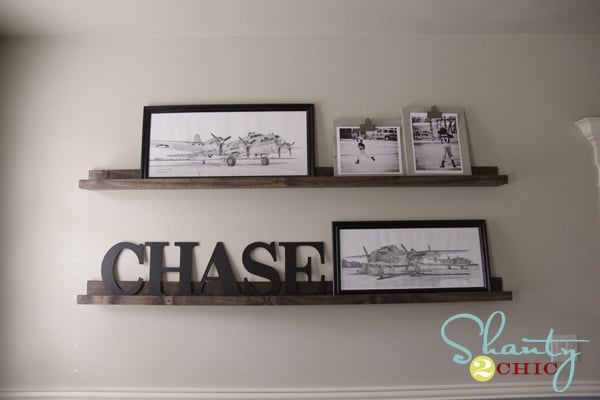
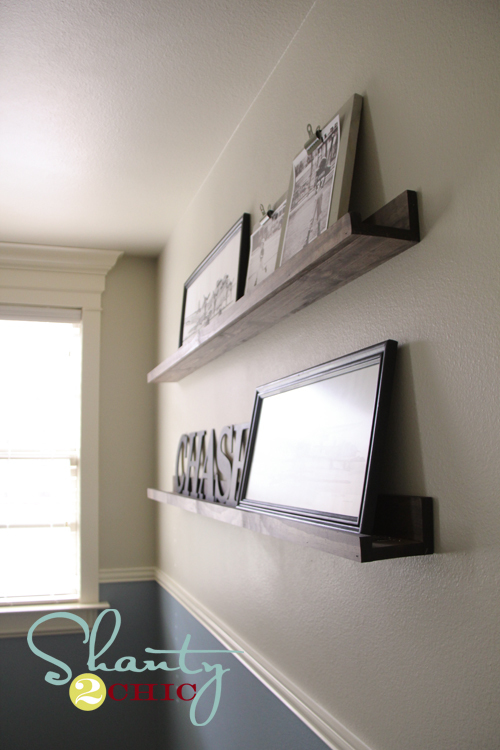
I love how these turned out! I did use my Kreg Jig to attach my back and bottom boards, but you could easily pre-drill and use regular screws. You can see a full tutorial at http://www.shanty-2-chic.com/2012/01/20-shelves-anyone-can-build.html !!
Tue, 01/24/2012 - 18:44
Whitney these shelves are so beautiful! Th stain is amazing, and I love the art!
In reply to Whitney these shelves are so by Ana White
Wed, 01/25/2012 - 04:31
I love them... One of my very favorite projects!
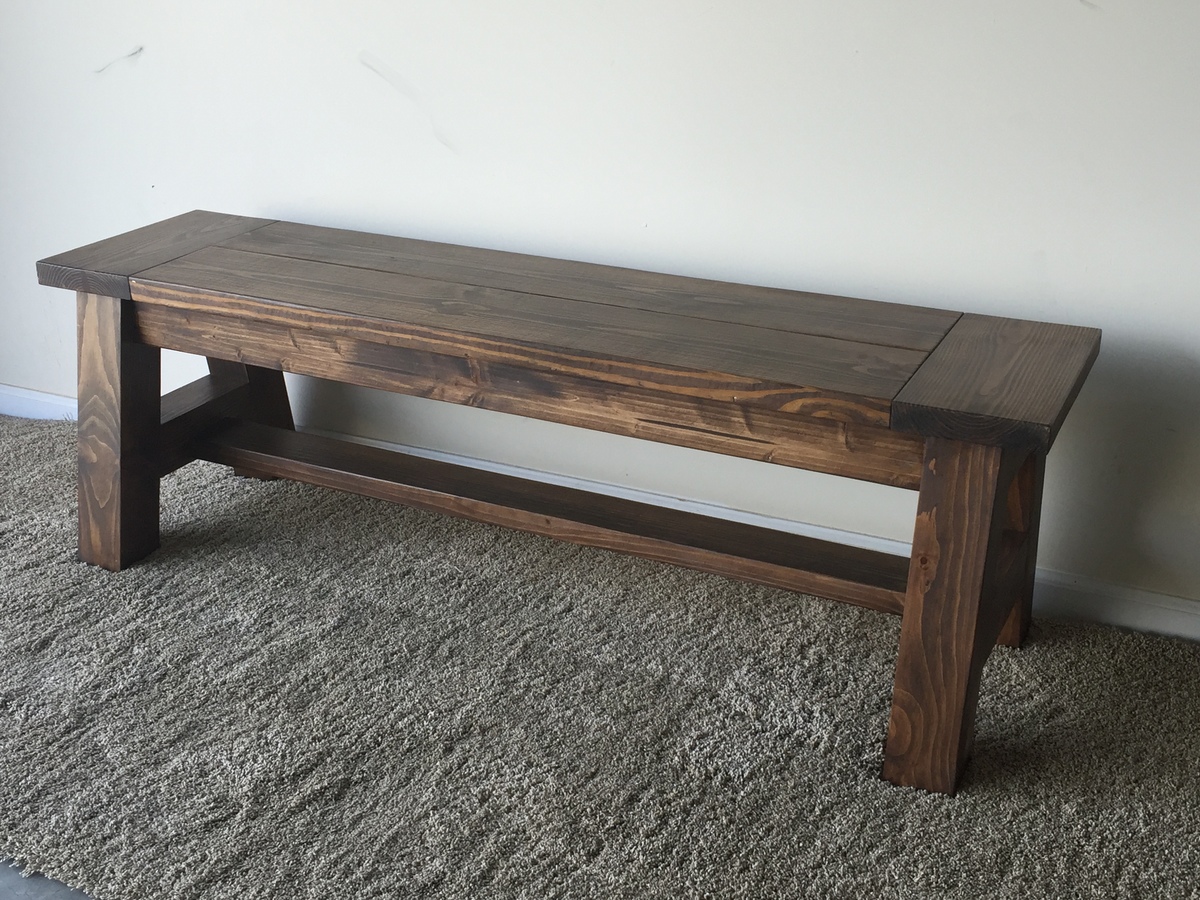
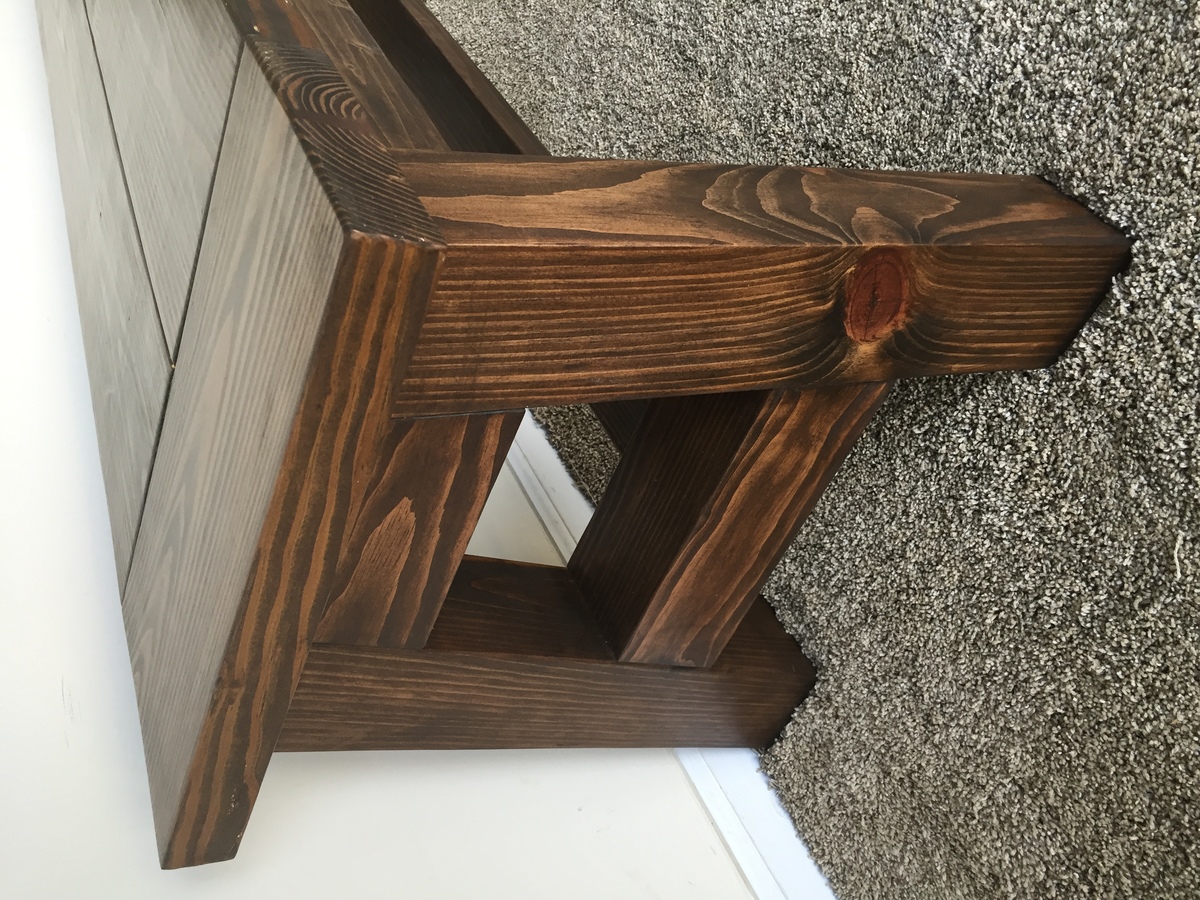
Bench made with A frame ends. 5 feet long, 17 inches high and 14.5 inches wide.
Fabulous home gym by Nailgun Nelly!
*Incorporated and modified the grand waterfall console plan
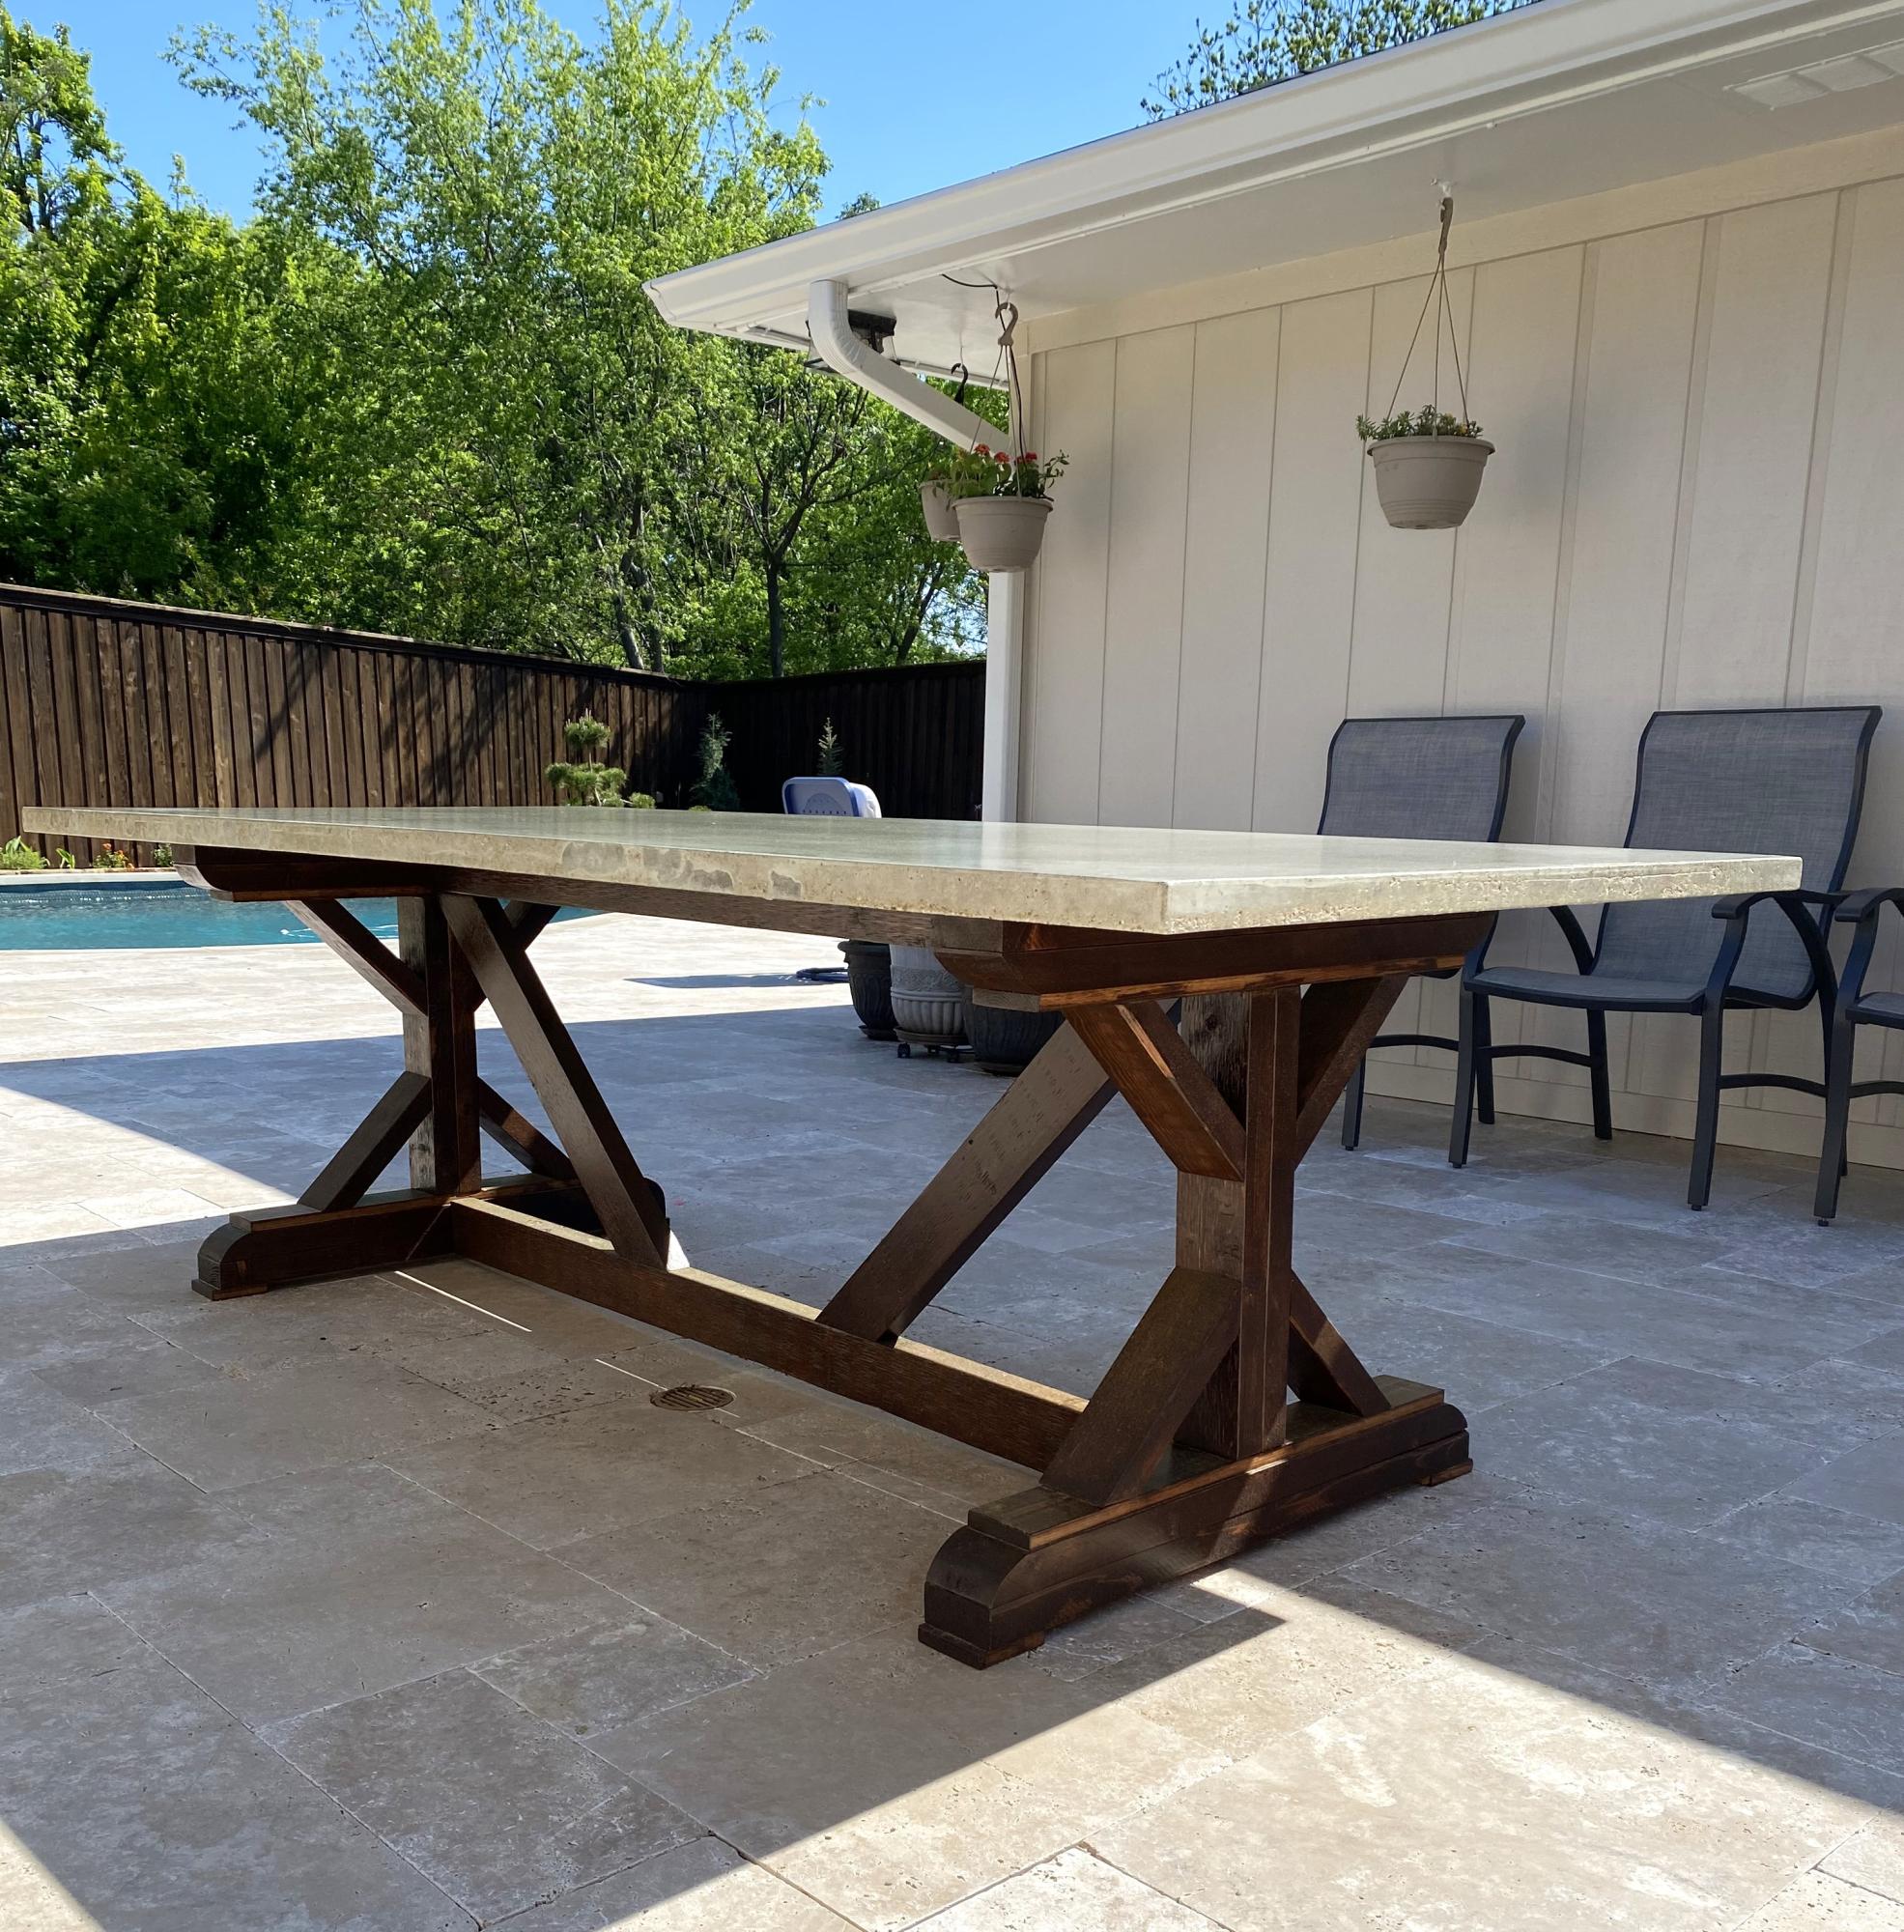
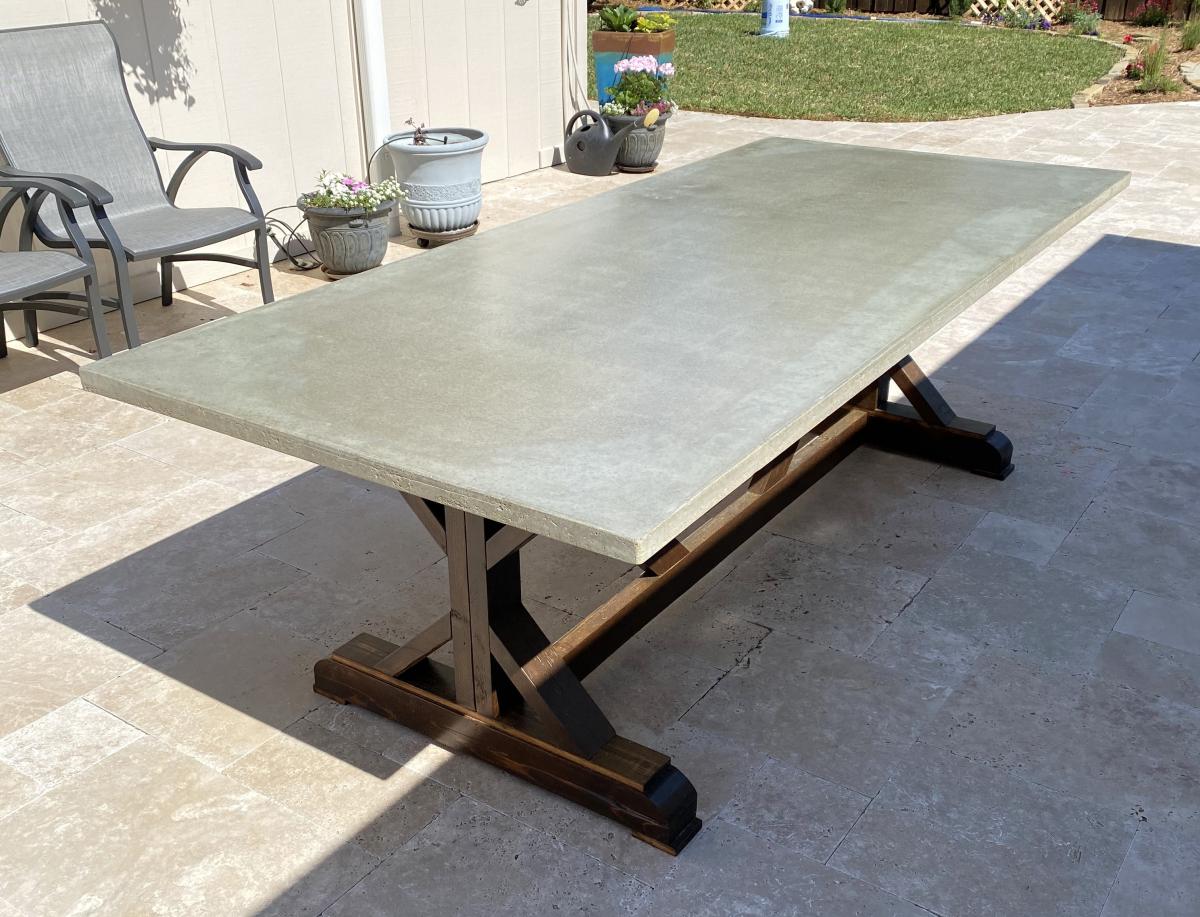
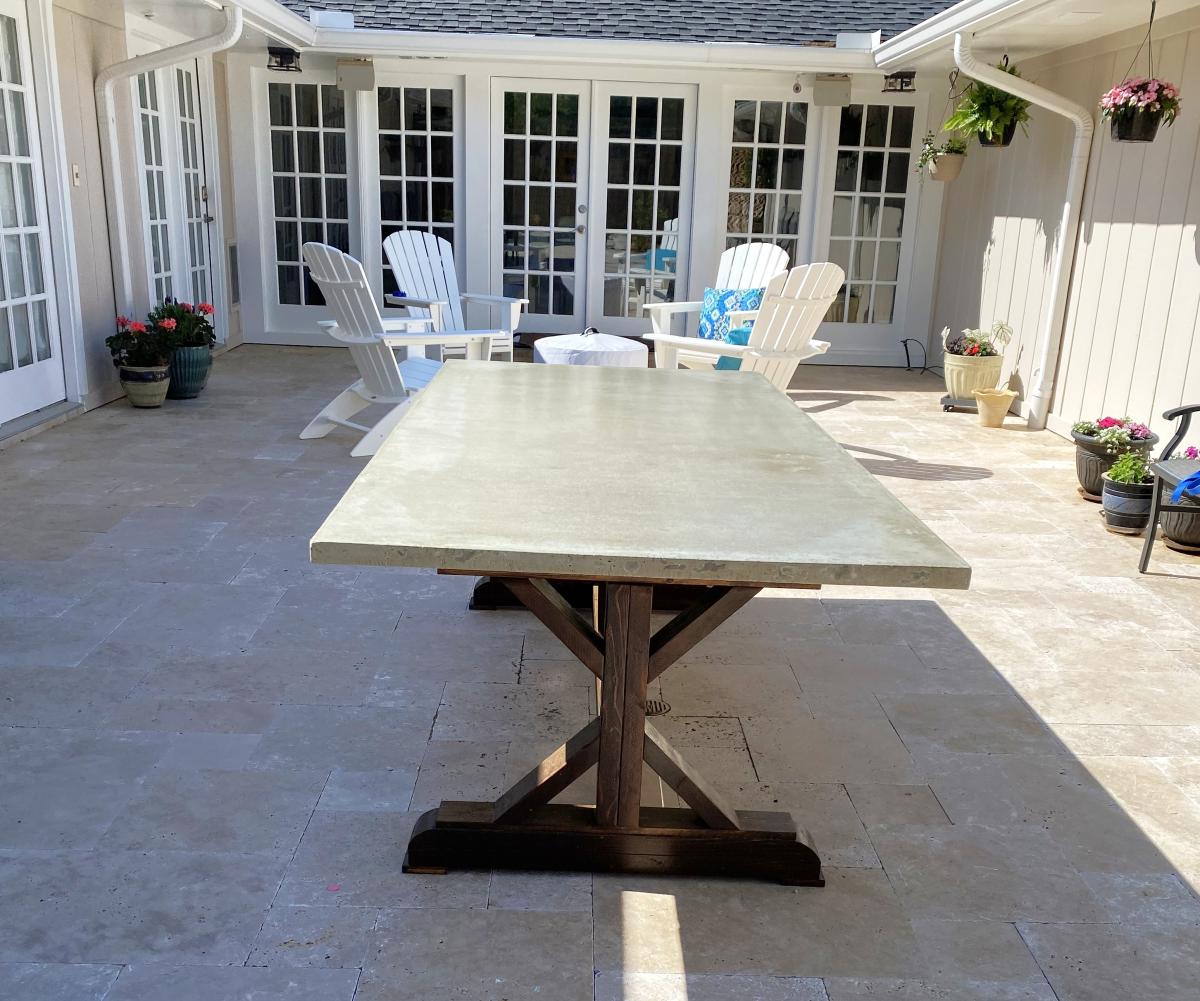
Fancy X Farmhouse Table in stained cedar with concrete table top. Concrete top made using 4’x8’ melamine coated MDF boards for form, reinforced with welded wire fabric, standard Quikrete concrete mix.
MDeMotte
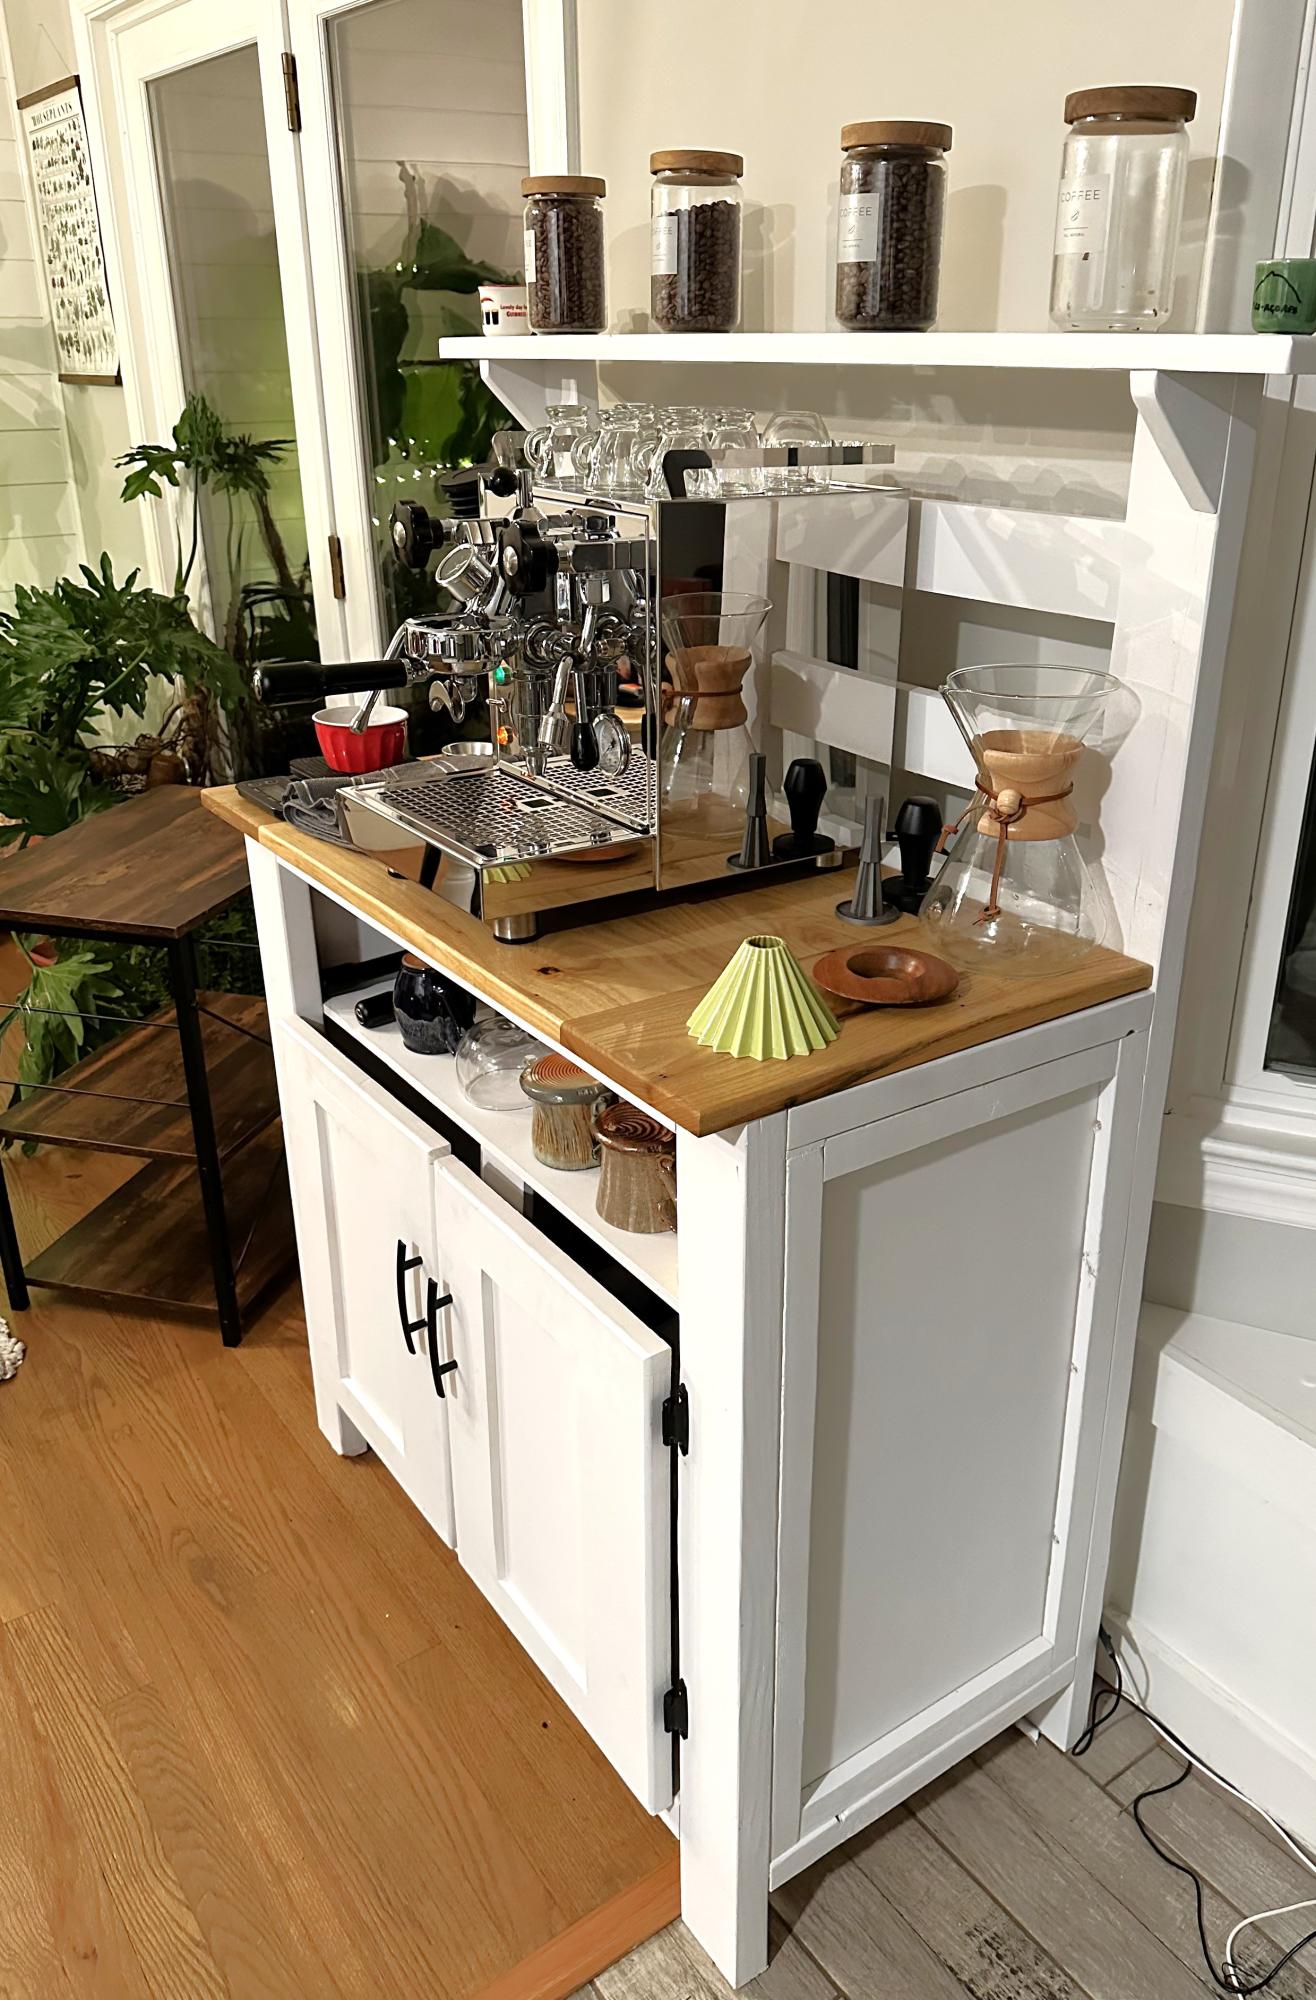
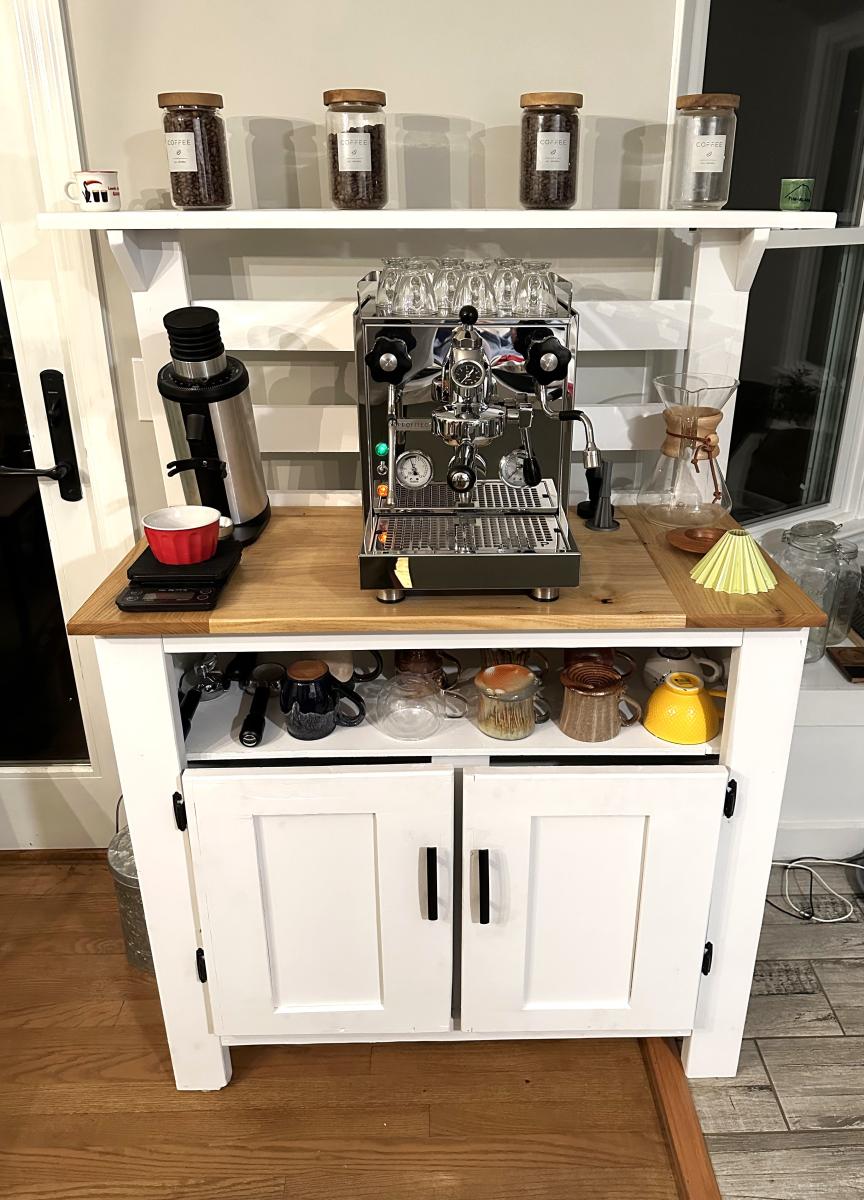
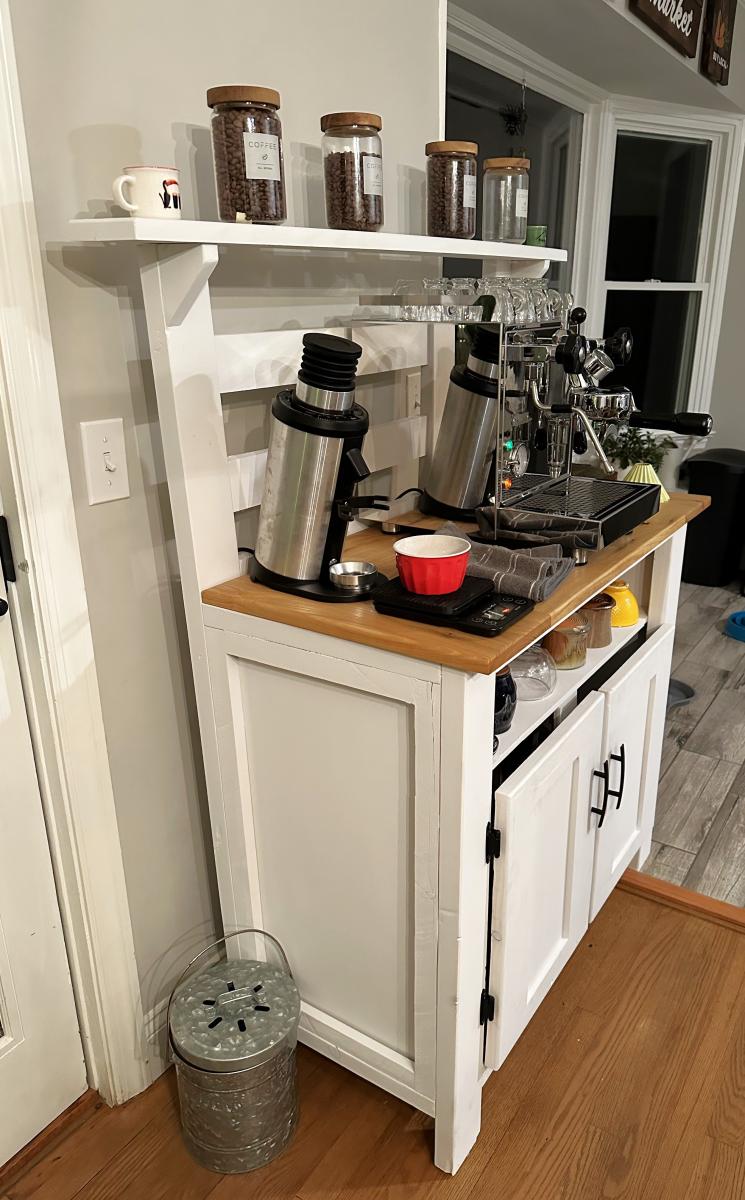
Had a bunch of scrap wood from other projects and random pieces we found in our barn after we moved into our new house so decided to make a new coffee bar to use it up. Modified the Potting Bench plans and pretty happy with how it turned out!
Nate B
