Adirondack chairs for the family
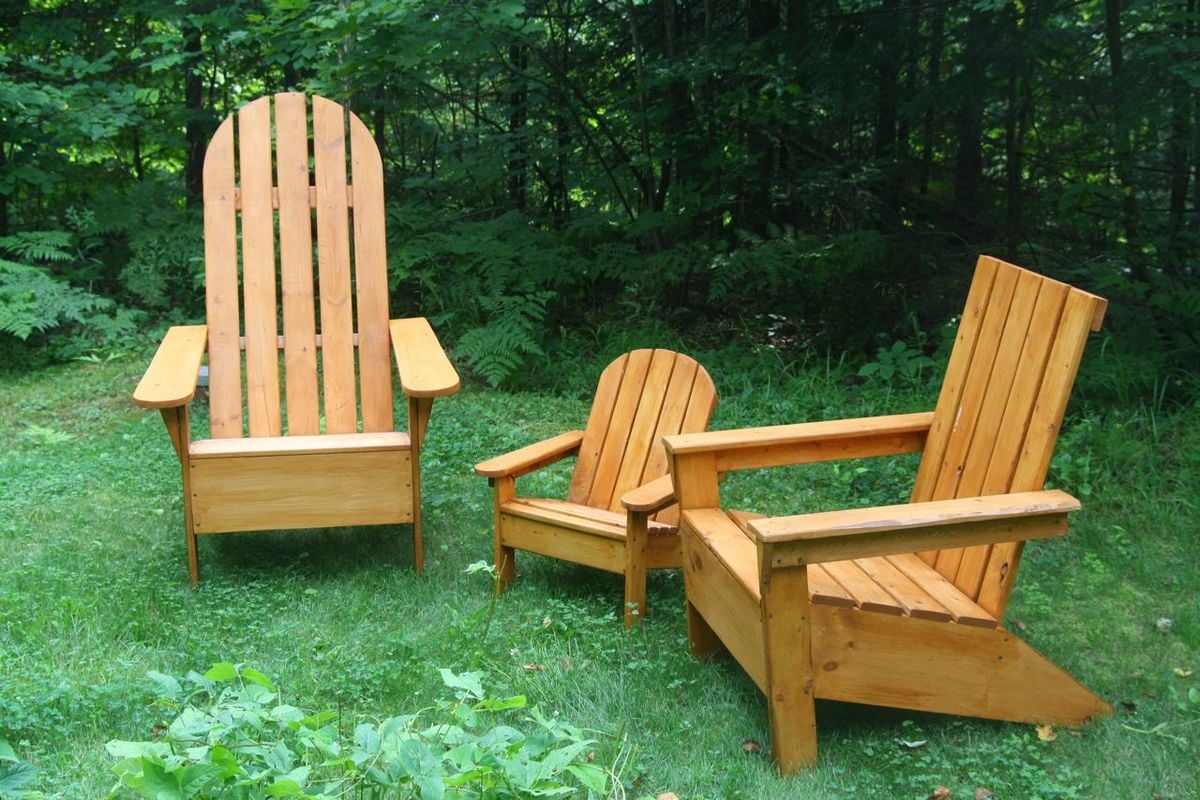
I've always wanted Adirondack chairs but found them way too expensive to buy. I found Ana's plan a while ago and promised myself I'd make one this summer. Well I enjoyed it so much I did three of them!
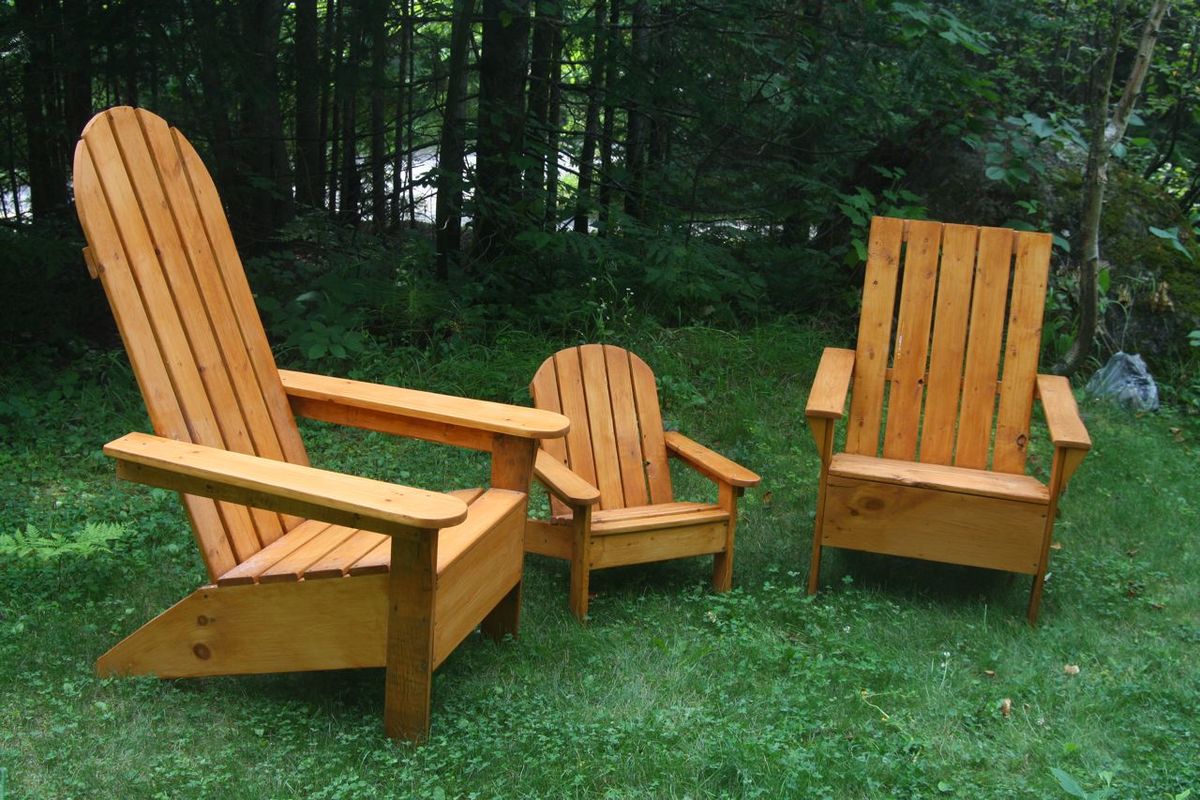
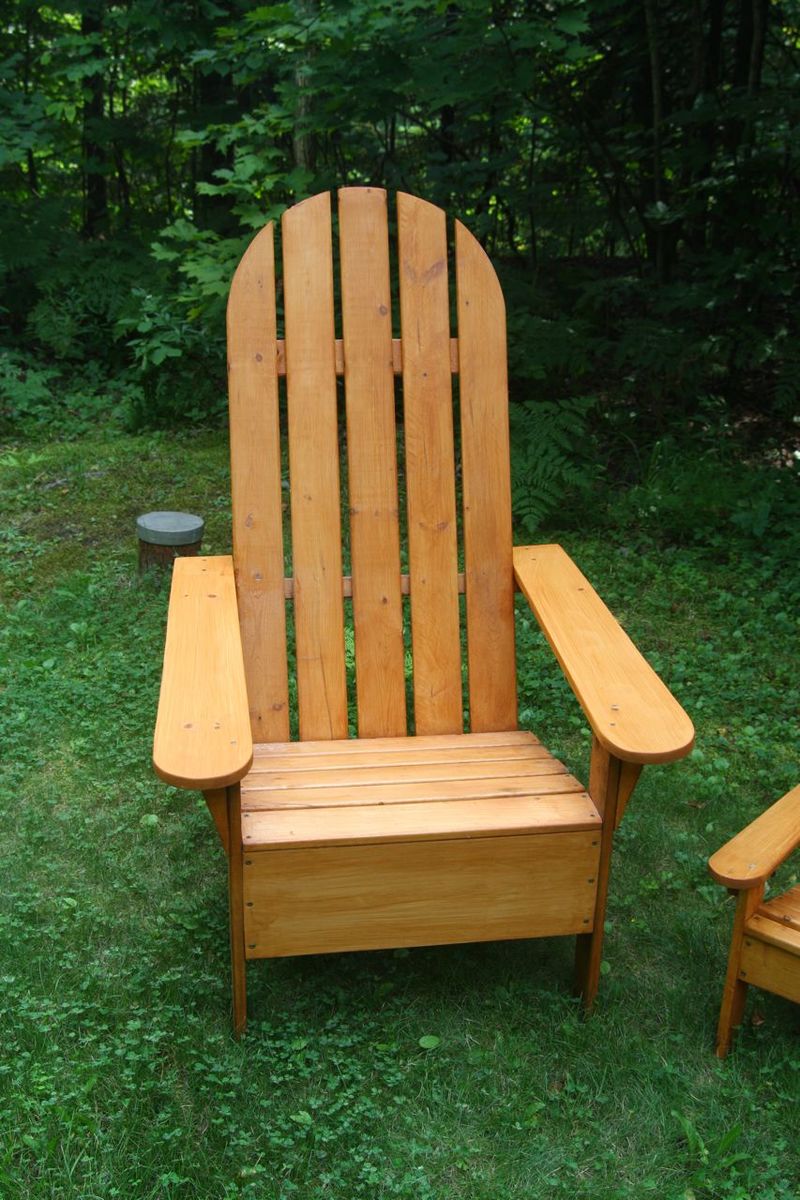
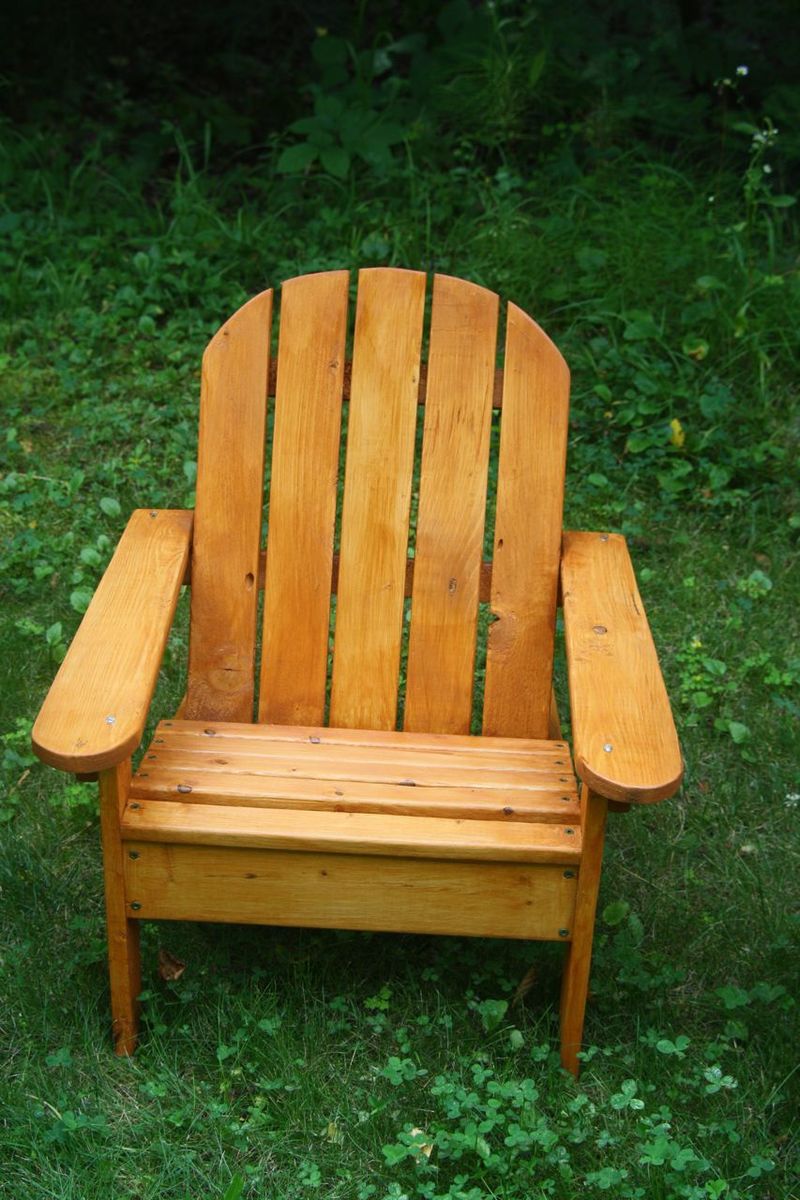
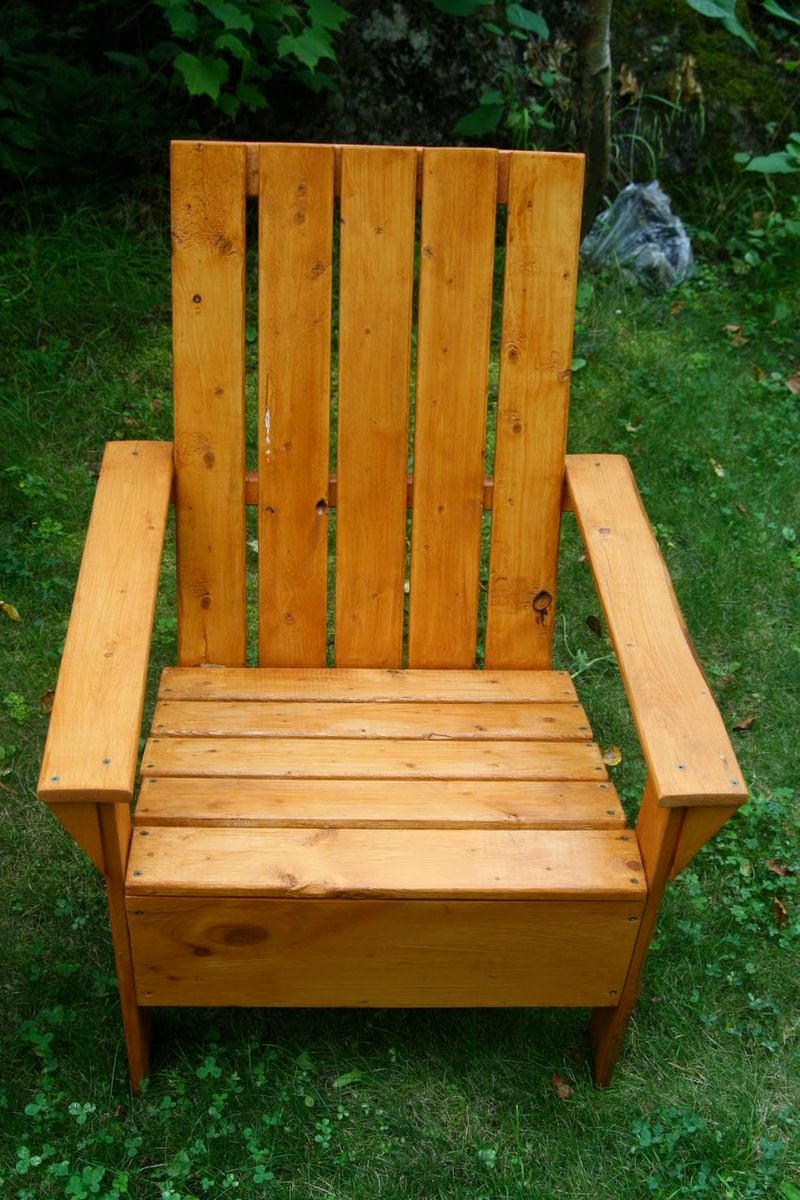

I've always wanted Adirondack chairs but found them way too expensive to buy. I found Ana's plan a while ago and promised myself I'd make one this summer. Well I enjoyed it so much I did three of them!


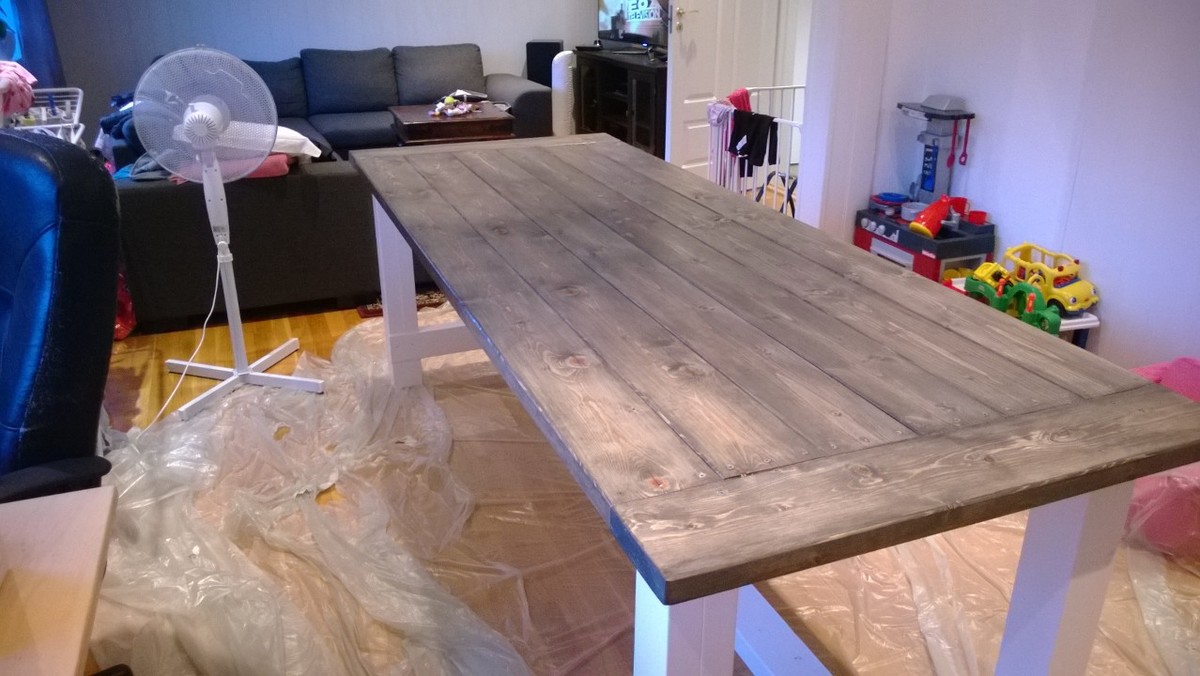
Norwegian version.
Wood sizes in millimeters:
Can be bought from Byggmax, Monter or Coop Obs bygg for example.
36x48mm
48x98mm
48x148mm
Lessons learned: Dont buy cheap tools and make sure the wood is straight.
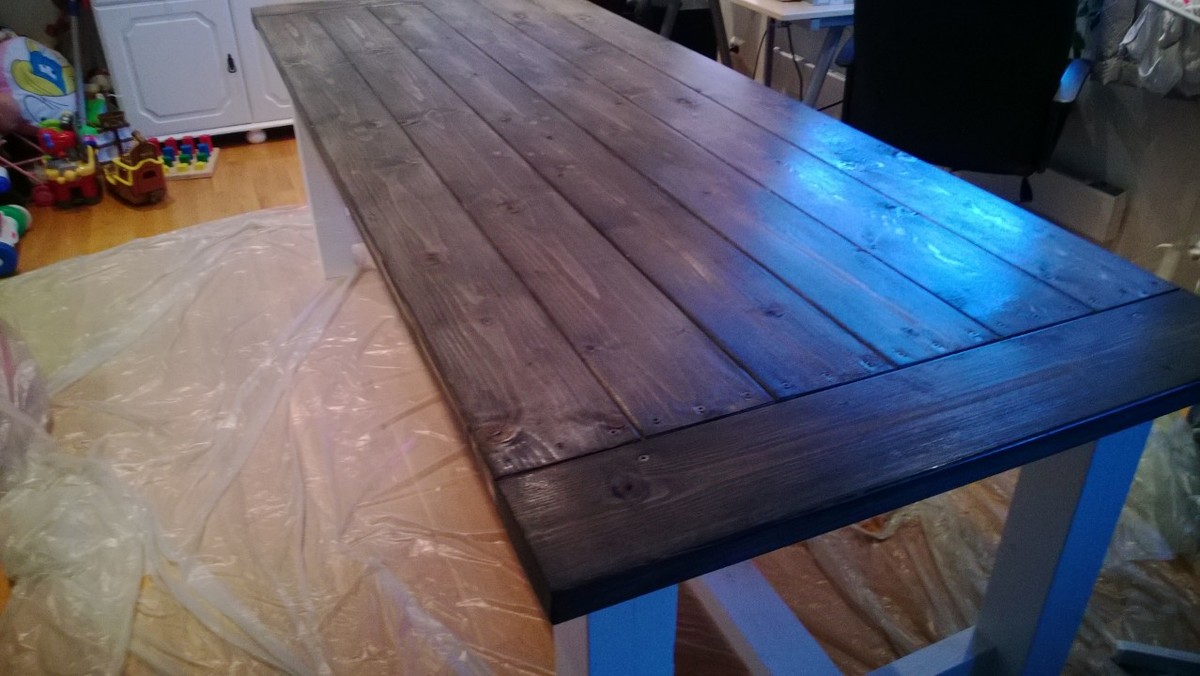
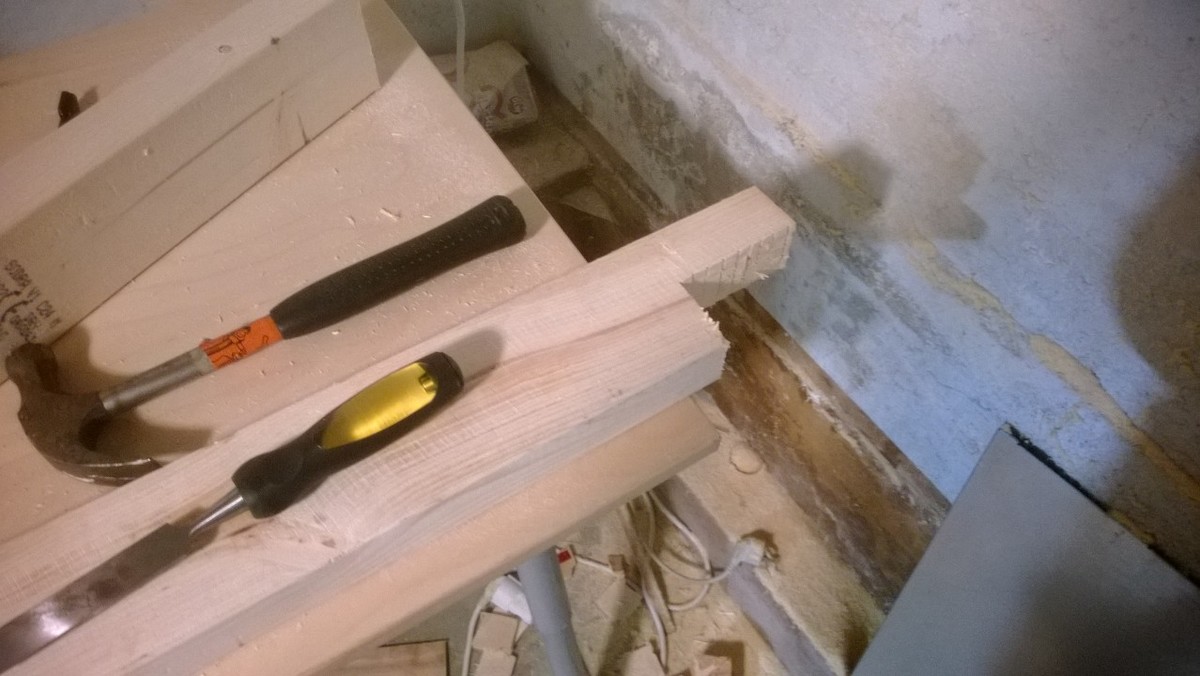
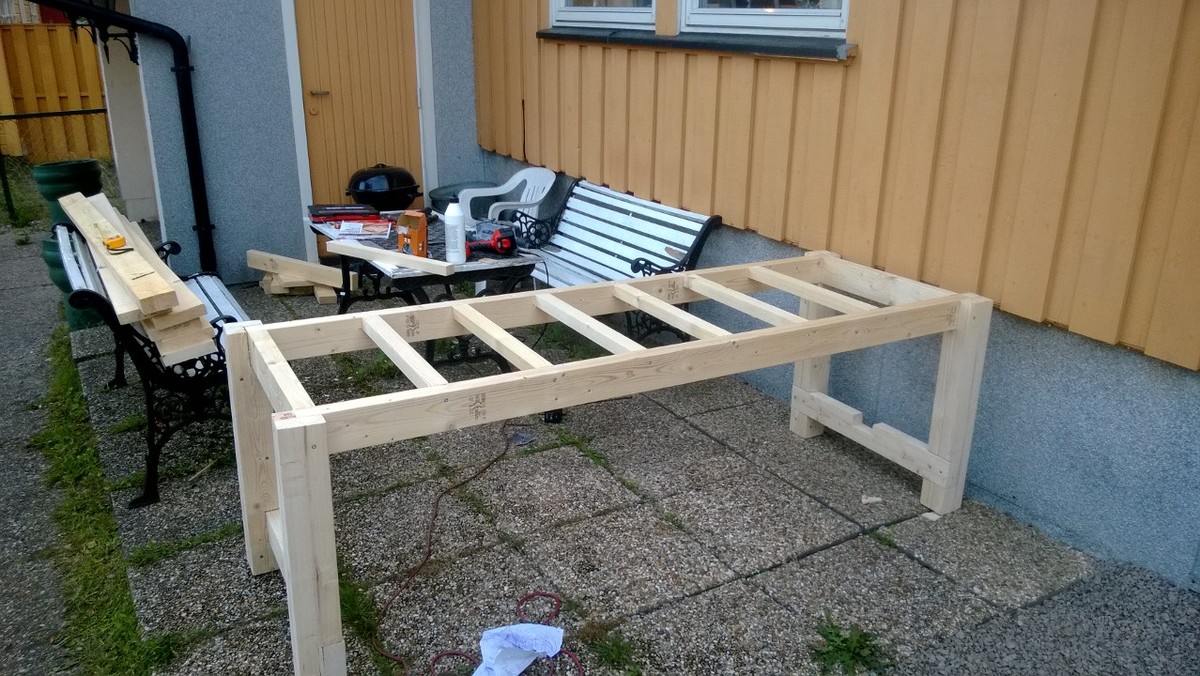
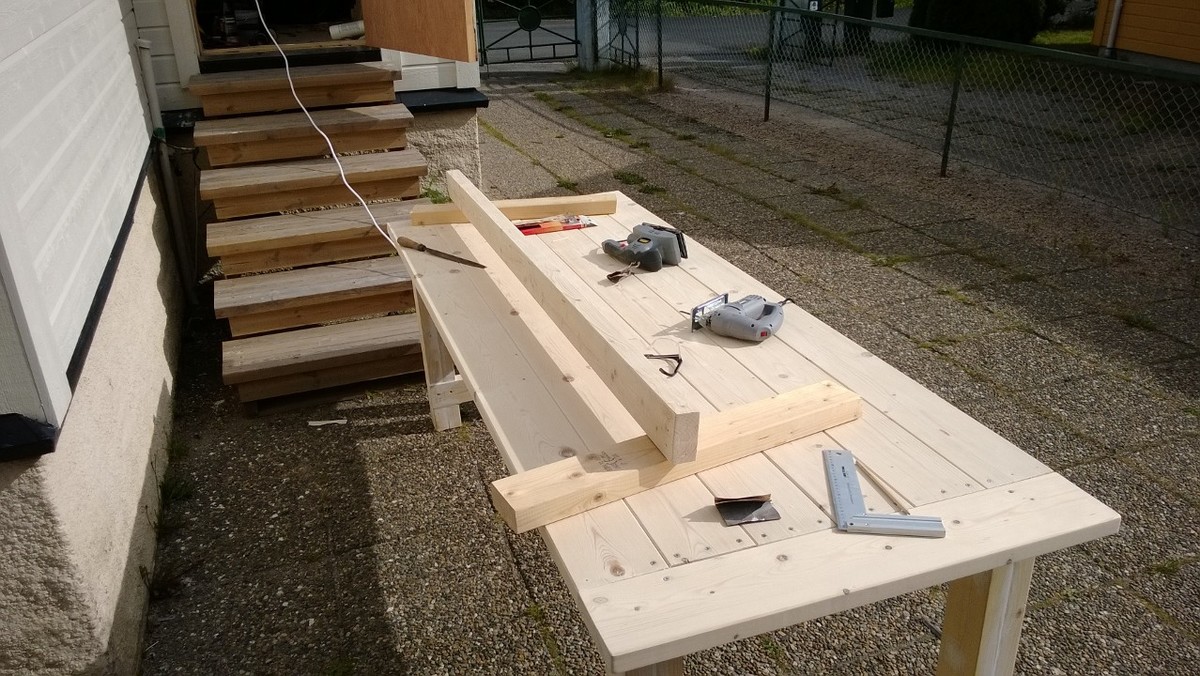

My husband built this bed for our 4 year old son and let me say its just perfect! His room is on the smaller side and this made a huge difference for him to have more play room. When my son seen it his eyes filled up with tears he was so excited! My husband built this bed on a Sunday afternoon. He torched the wood along the grain, and then over a period of a week added clear (he used 3 coats as the wood just soaked it up pretty good ). Highly reccomend this project!


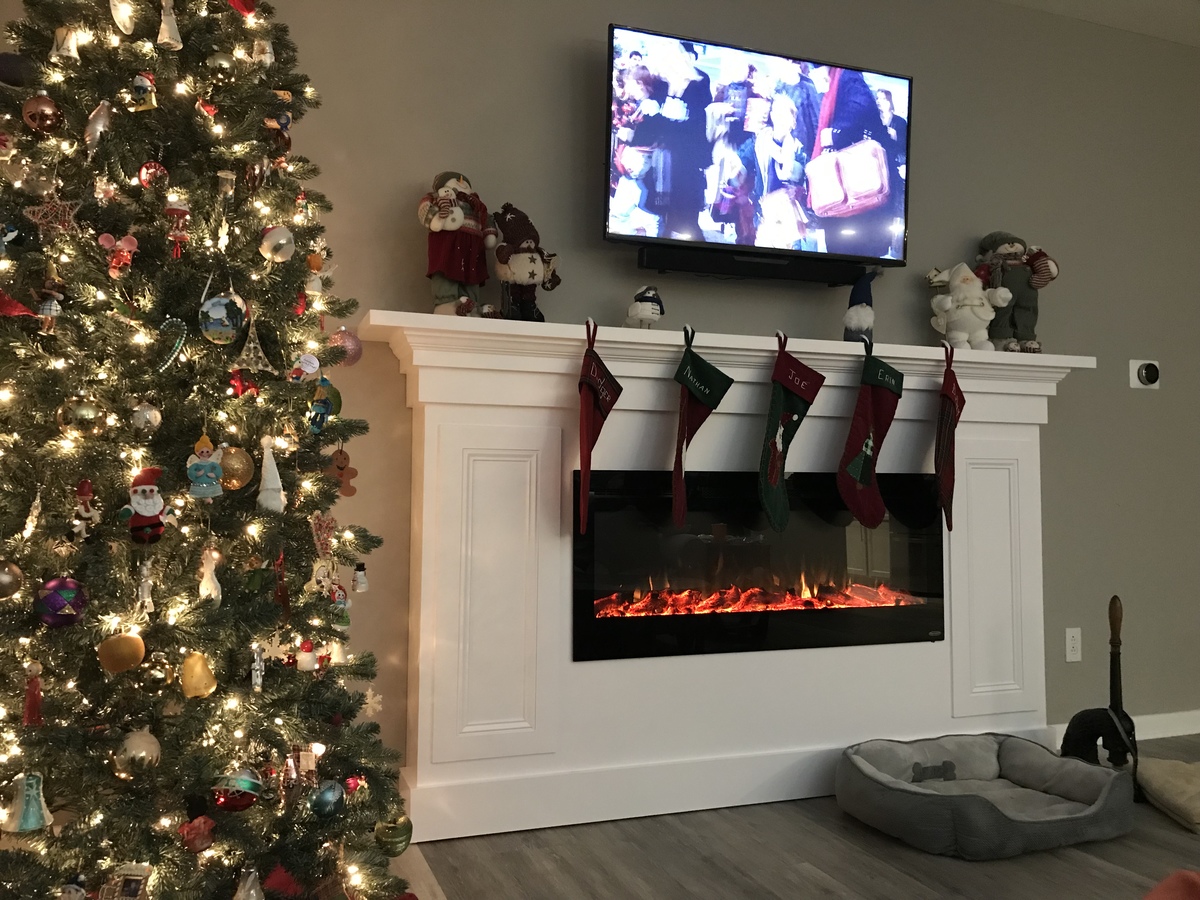
I took inspiration from Ana’s faux mantel to build a home for this linear electric fireplace. I got it done just in time to hang Christmas stockings.
I built my new sofa!
I am so happy how it turned out. I had to translate all the instuctions in french, and modify the dimensions to adapt them to the lumbers I found in my country (France)
I had to change inches in centimeters too.
It was just a little difficult but I built it!!!
Thank you so much Ana, I am one of your fan.
Wed, 08/17/2011 - 07:07
Excellent work! Where did you buy a Kreg Jig? Is it available in France?
Wed, 08/17/2011 - 11:18
Wow. This just turned out amazing! Love the finish on it!
Fri, 07/27/2012 - 06:44
Did you use a mattress for your cushion? Did the plan fit that for you, or did you have to modify?
Fri, 07/27/2012 - 06:45
Did the plan fit the mattress exactly or did you have to modify it?
Fri, 07/27/2012 - 17:30
I don't know the size of a twin mattress but my pillow measures 180cm of length and 60 cm deep for a thickness of 14cm. I bought a foam mattress of 90cm of wide and of 190cm of length and I cut it. They are the size of a child bed in France.The size of wood are different here thus the sofa has no same dimensions as on Ana's plans. I adjusted according to the wood available here.
I had very little clearance on the long side of the shed, so I opted to put the door on the short side. Thanks for the plan, it was a great starting point for my project.
Tue, 09/10/2013 - 10:15
Thanks for posting! I plan to make this shed. Yours turned out beautiful!
First time I designed a piece of furniture. Made out of pine. Slat top and bottom with book shelves on both ends. Joints held with glue and pocket screws. Minwax pre-stain conditioner. Two coats of Minwax Provincial stain. Three coats of polyurethane.
Sat, 01/14/2017 - 08:58
I really want to make this table! It's simple, yet very functuional and exactly what I need! Please help me with some plans or some instructions. It is the first piece of furniture I will try to make on my own :)))

I used the plans from the website and added a few extra features that we really wanted .we made the tracks for the sliding doors ourselves and got all the hardware for really cheap. Also, added leds on upper/lower shelving to give to a really cool look at night. All in all, we didn't spend more than $350-$400 on this awesome piece.


Fri, 01/04/2019 - 13:33
This is amazing, the lighting is so unique and fun!!! Thank you so much for sharing a brag post and using our plans, we appreciate you! Ana

Englewood, FL, Irma. This coop built to plan using pressure treated plywood. 40’ pine tree on it, still useable. Not sure there’s any real damage!
Thu, 09/29/2022 - 20:30
We are sorry for the devestation that has occurred in Florida, sending our thoughts and prayers! That is one well built coop!
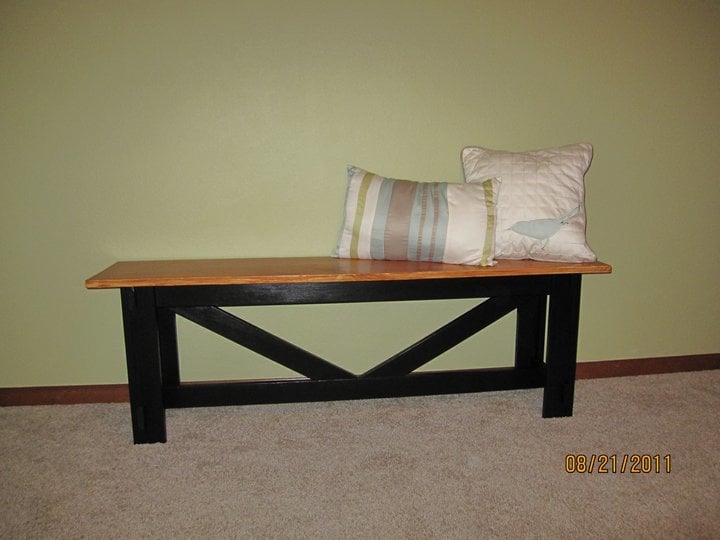
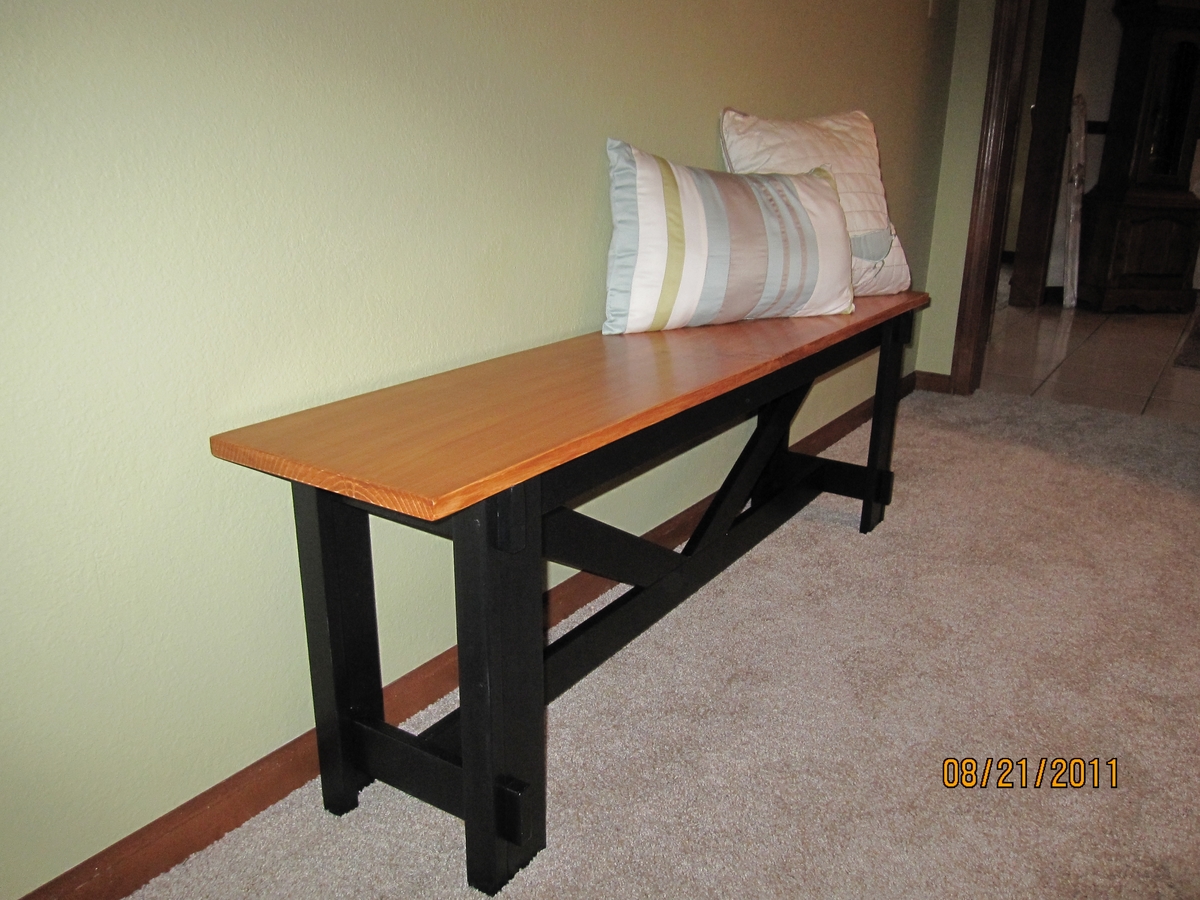
My hubby and I built this for a fundraiser. A few challenges along the way, but lessons learned for future projects!
Wed, 06/25/2014 - 05:40
Never saw your comment, sorry! Thanx so much for the compliment!
Built the console (without the hutch) and my wife wanted another one a little diffrent for the other wall so I modified the plans a bit and made the second one. this was our first "distressed" paint job. I think it turned out great!
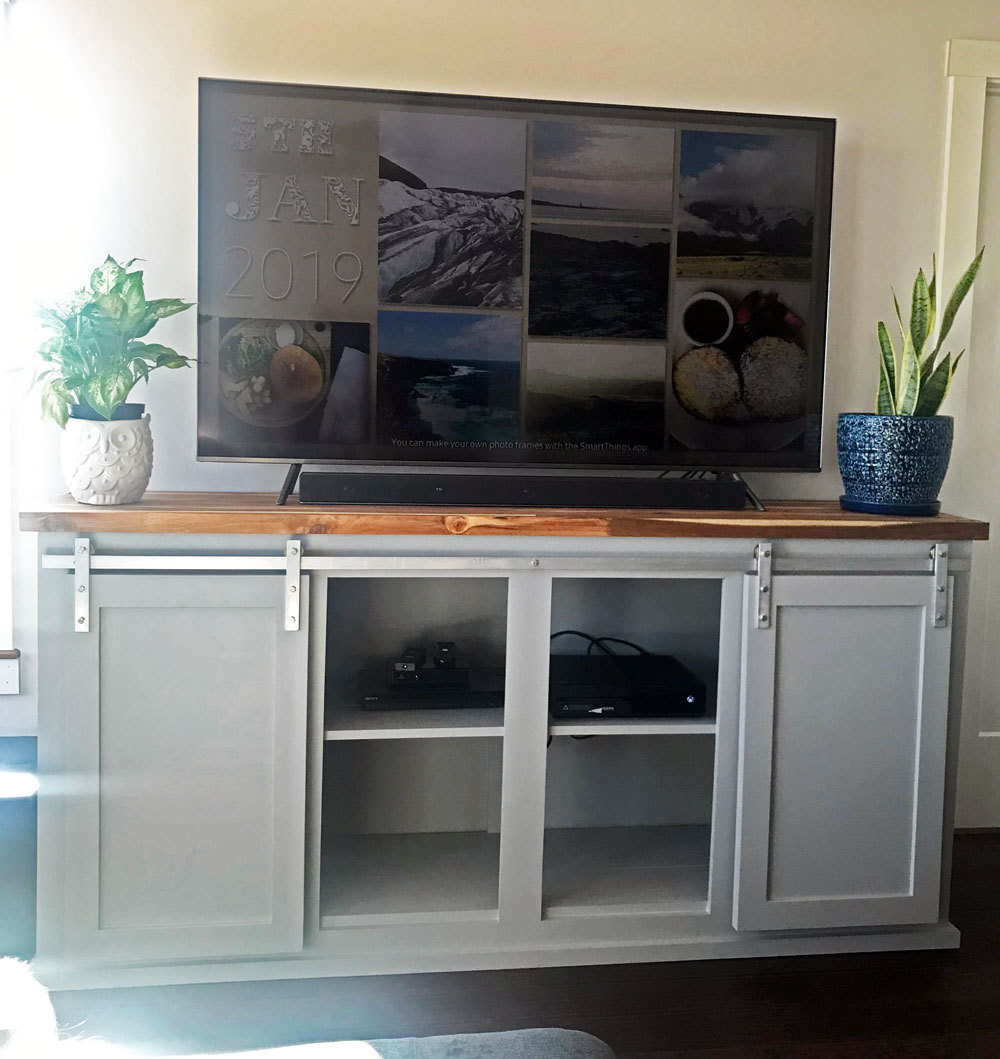
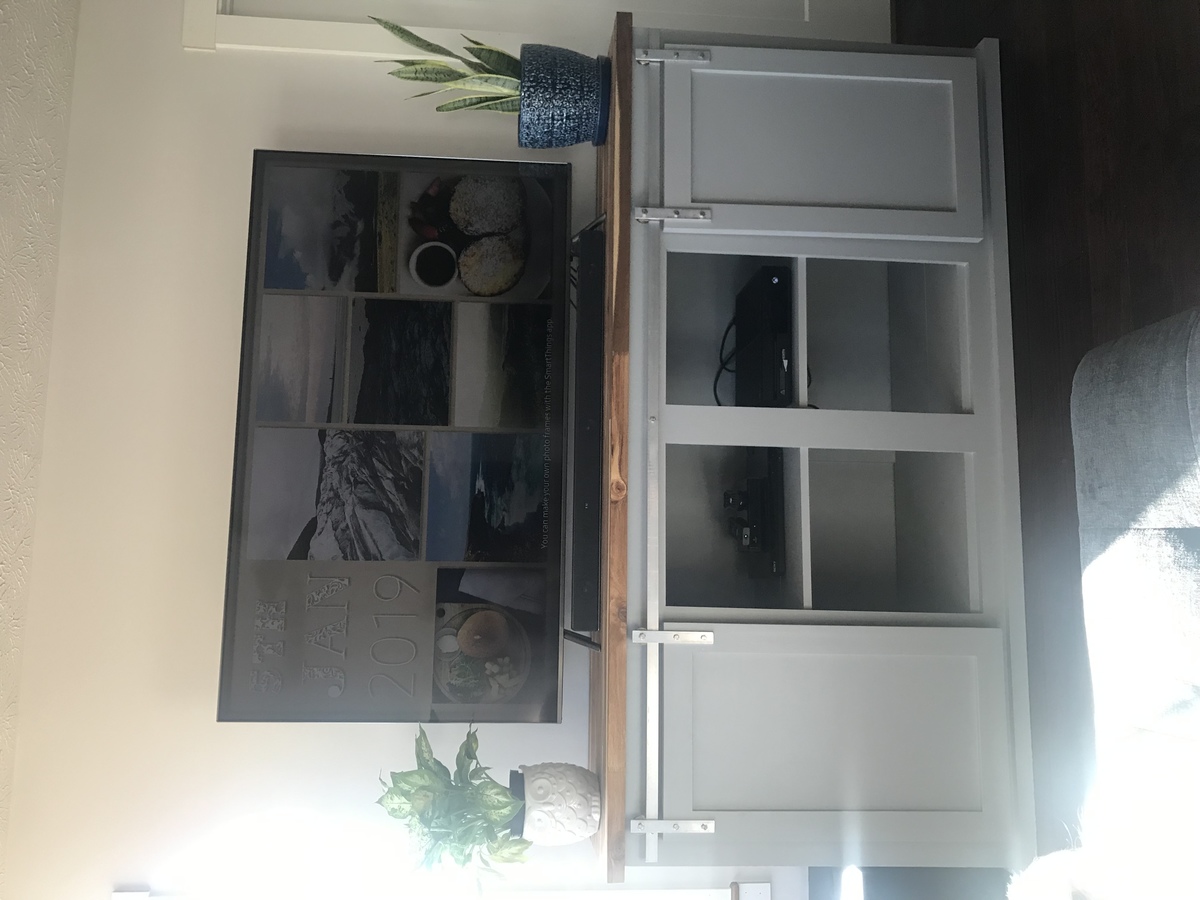
My husband built this as my Christmas gift. It couldn’t have turned out any better. We shortened it to 75 inches and added a butcher block top to match the floating shelves and island in my kitchen. The plans were very easy to follow. We did have to spend quite a bit of time planning out the barn door track, but it was worth it.
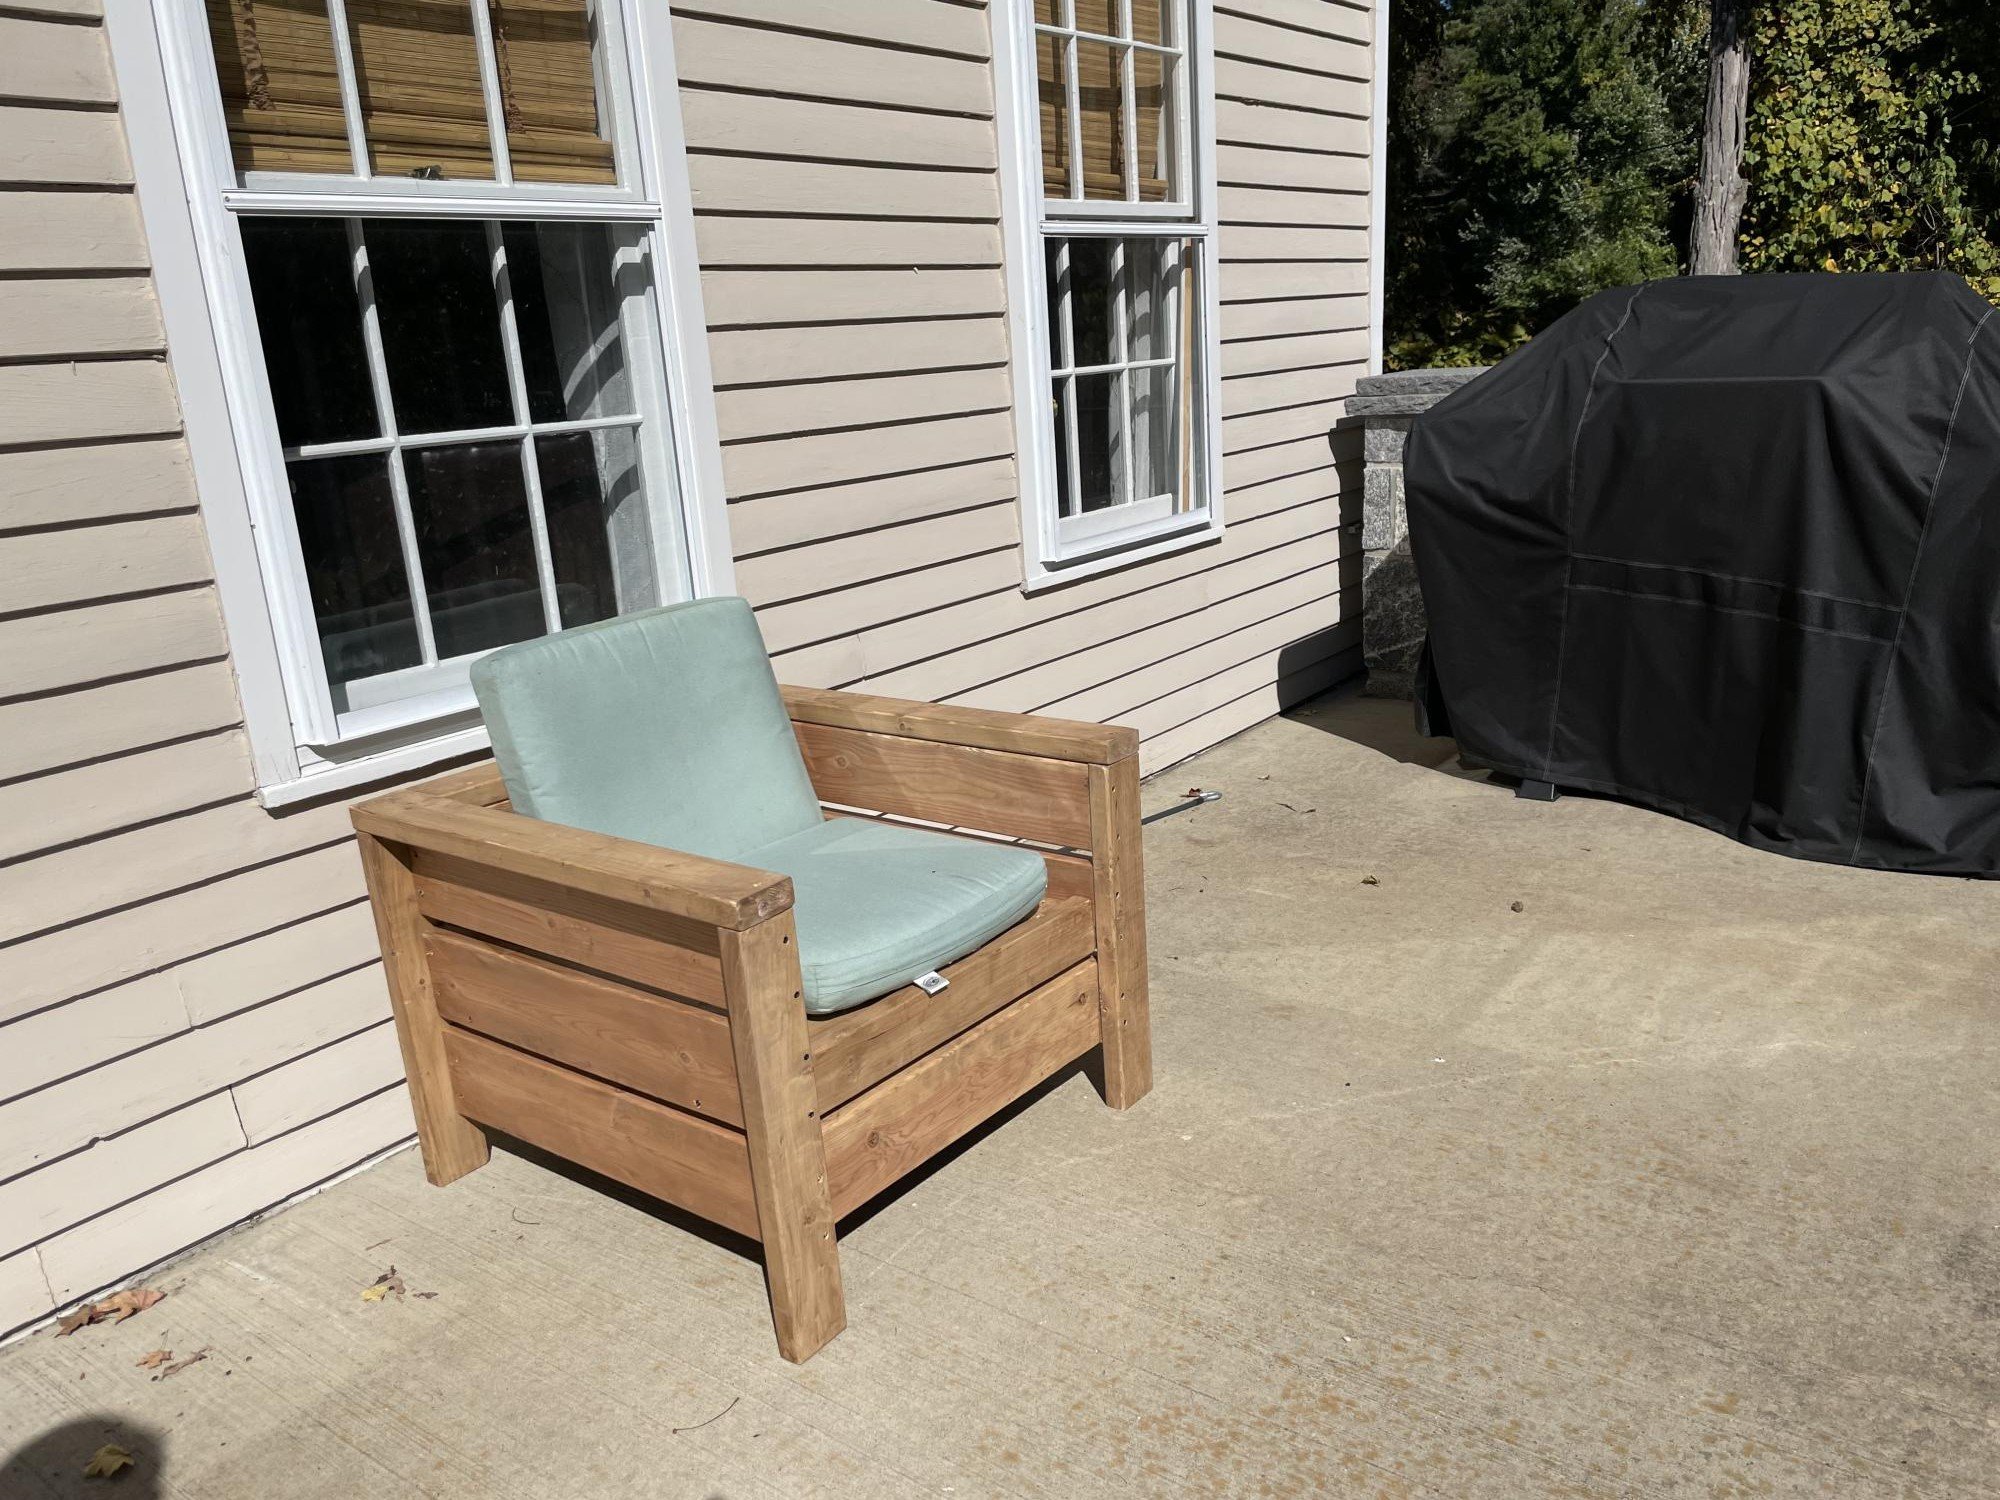
My second project turned out nice. I built one chair to see if it was nice. Now I’m going to build a second used behr semi transparent chocolate stain. Cushions are temporary until we can find some that fit.
Sun, 10/09/2022 - 20:36
Thanks for sharing, this looks fantastic, hope you find the perfect cushions!
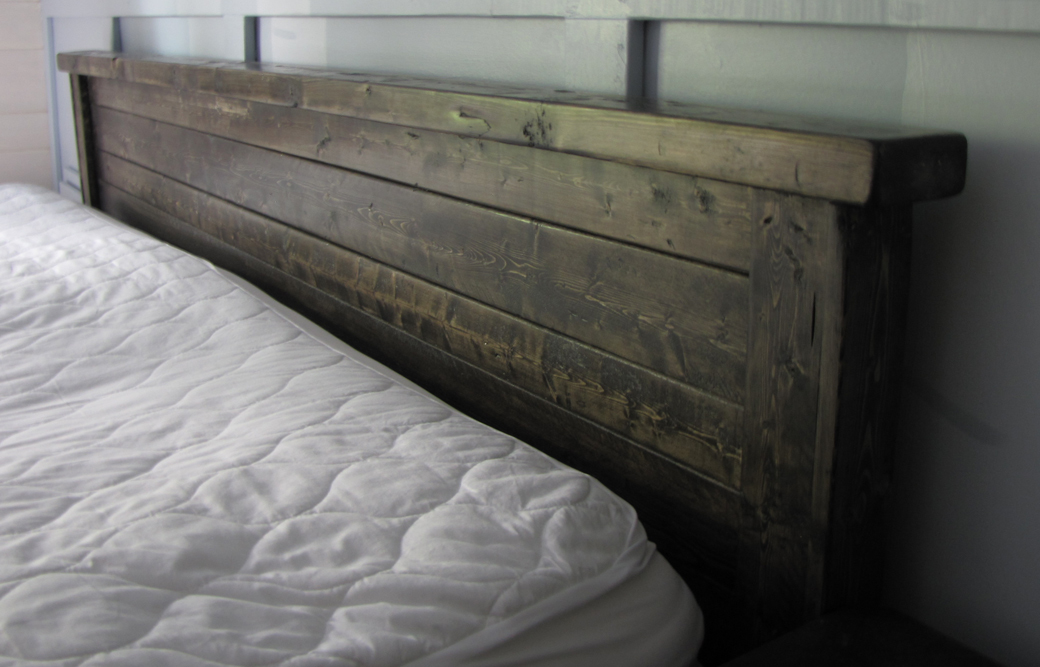
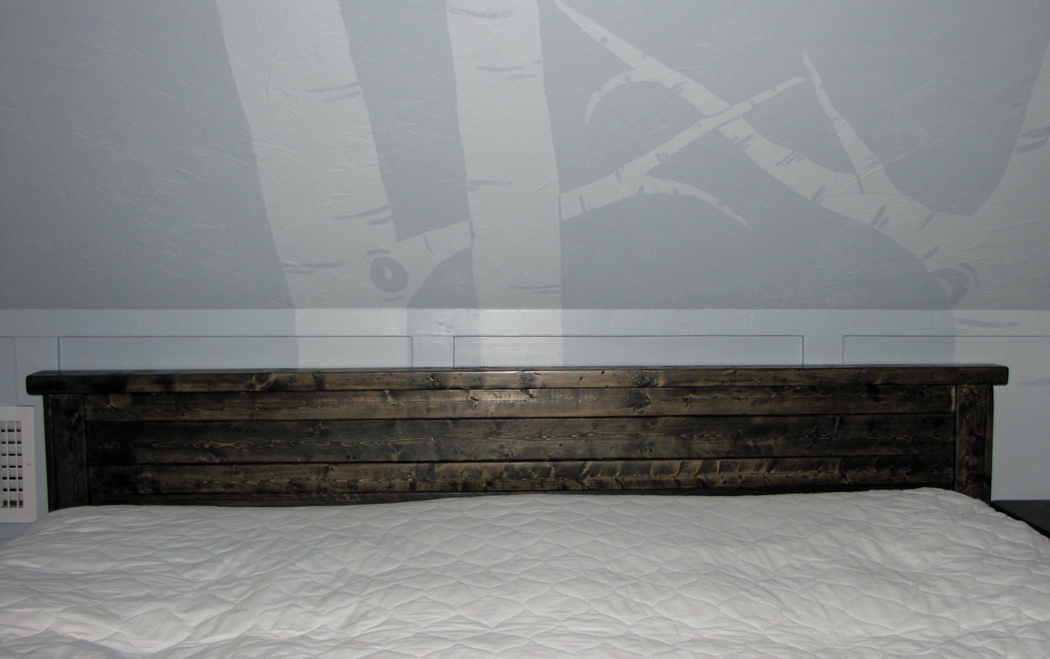
I loved that I used strapping, or furring strips, for this bead. The topper wood is a 2X4, but every other 8" piece of wood cost between $1.25 and $1.99 each. Yeah! Of course, for that price, you have to know you will be sanding the heck out of it. We had a metal frame for this bed but I wanted a headboard. Because it was going against a wall with a 45 degree angle, I had to make it a lot shorter than I wanted. I made it just tall enough so both pillows, when stacked on top of each other, did not fall off the back. I just love it.
Fri, 04/13/2012 - 15:33
I am intrigued by this finishing paste you speak of. Could you tell me more?
Wed, 04/25/2012 - 17:51
If you can't find the minwax that debandtom25 used, you can also get a nice paste wax from Johnson Wax. I know that's what's on my finishing shelf, and like deb, I love it.
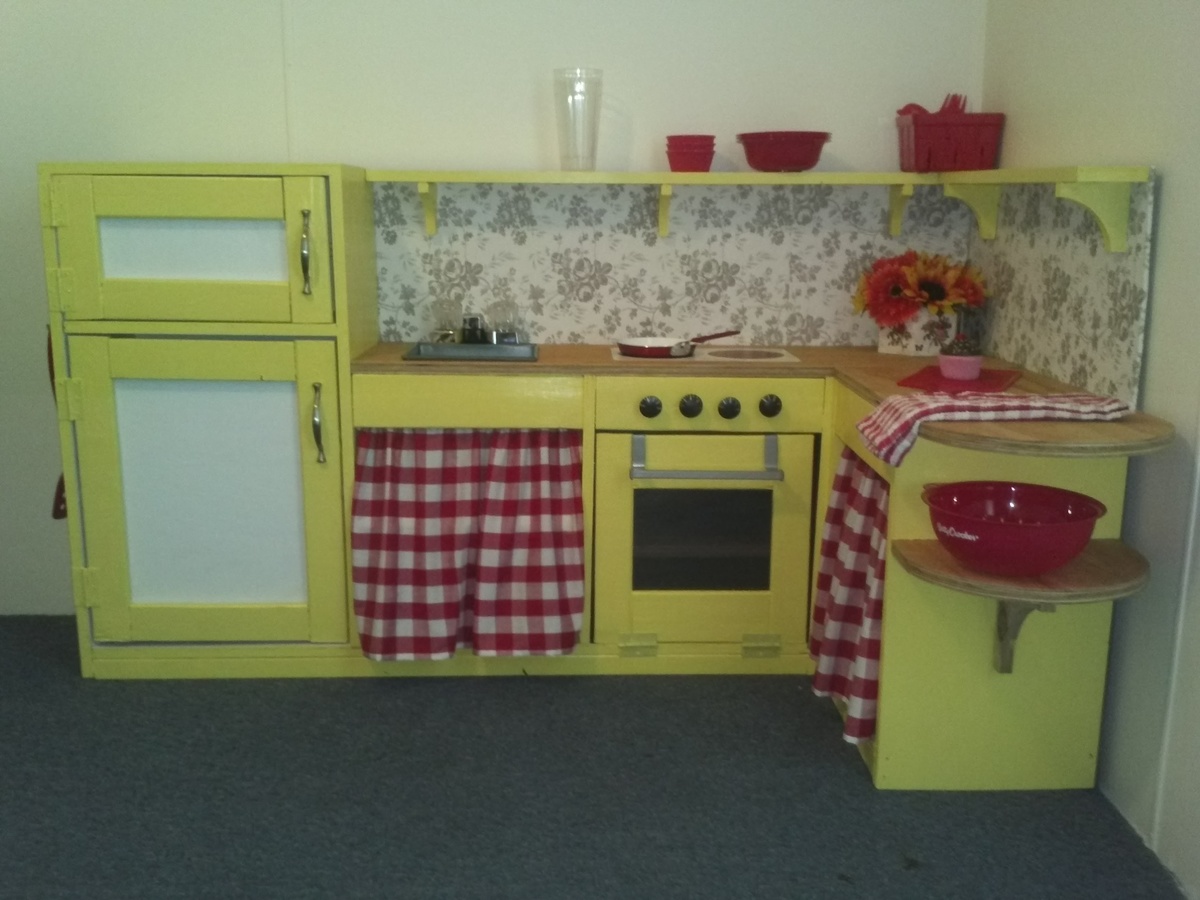
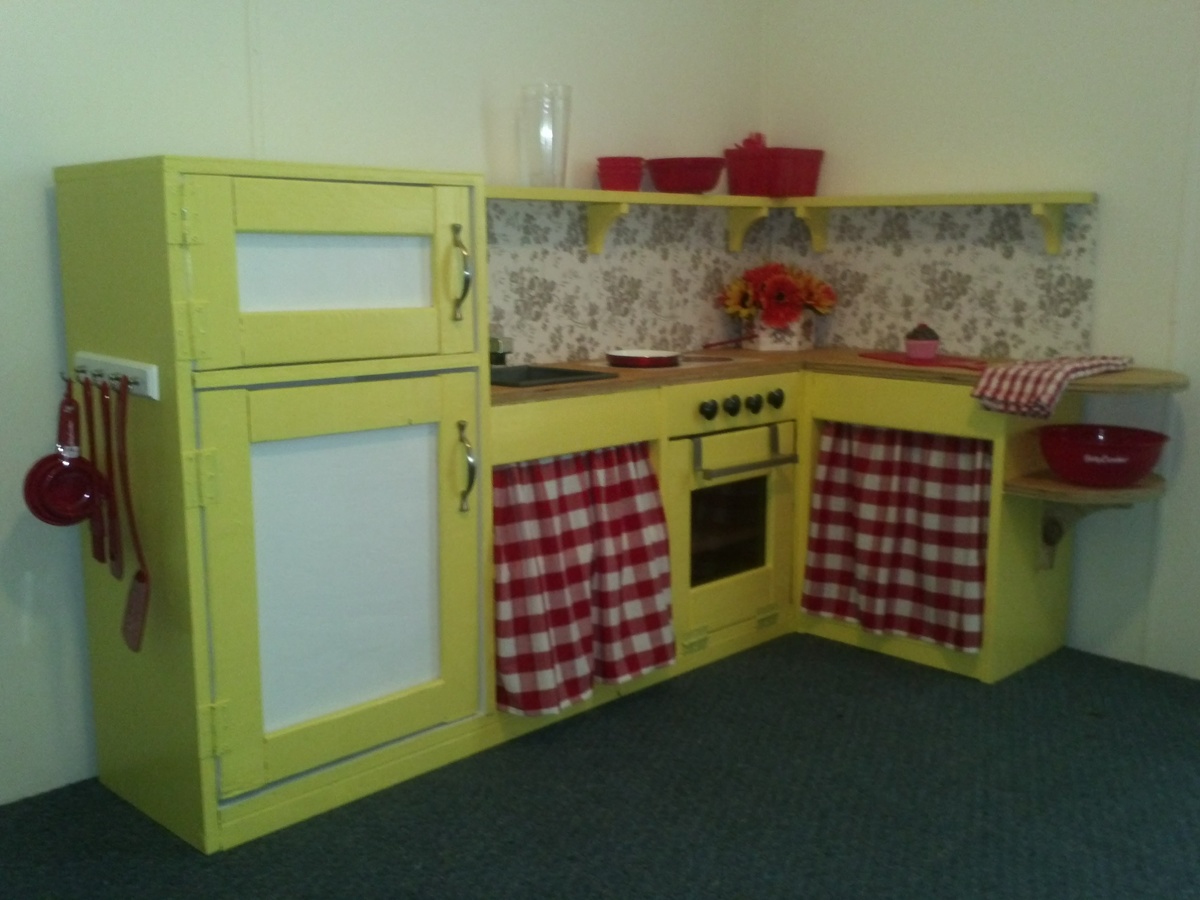
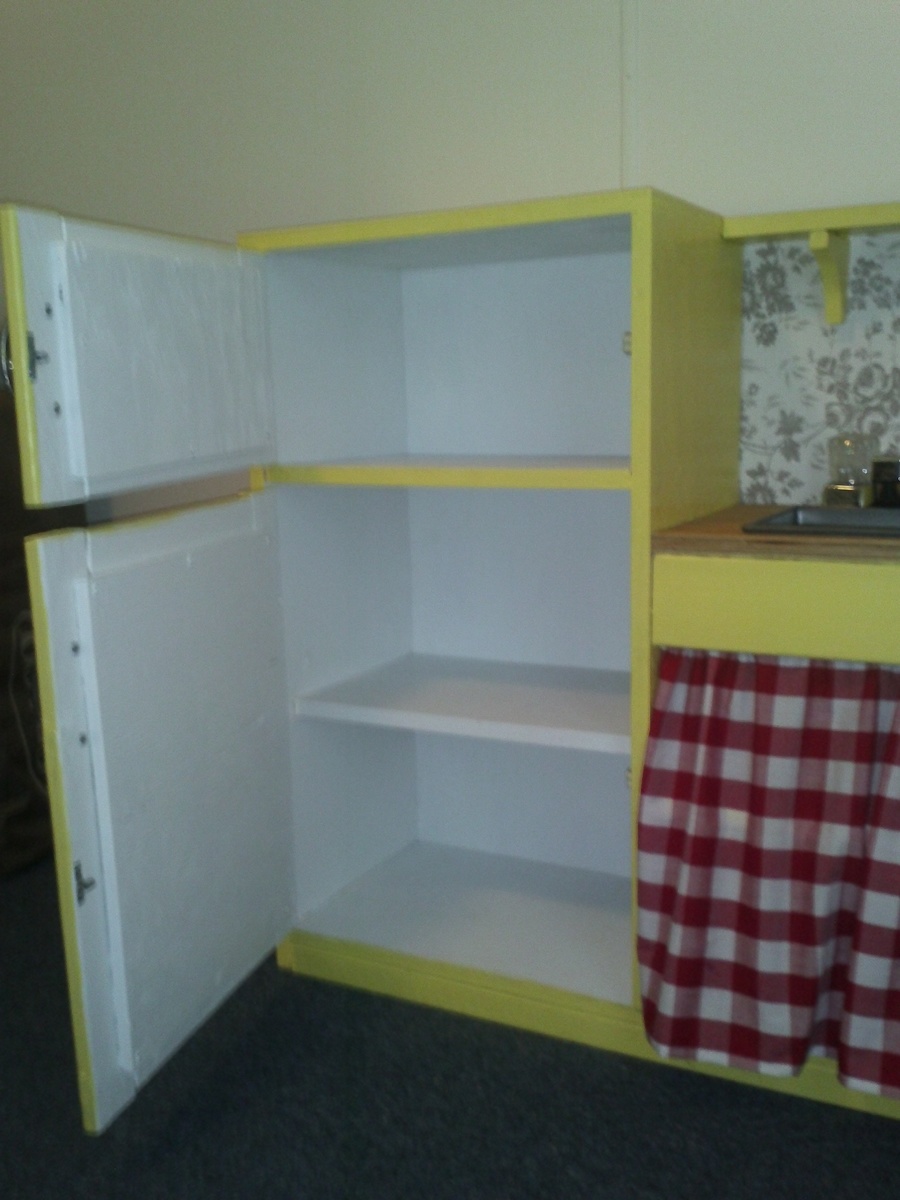
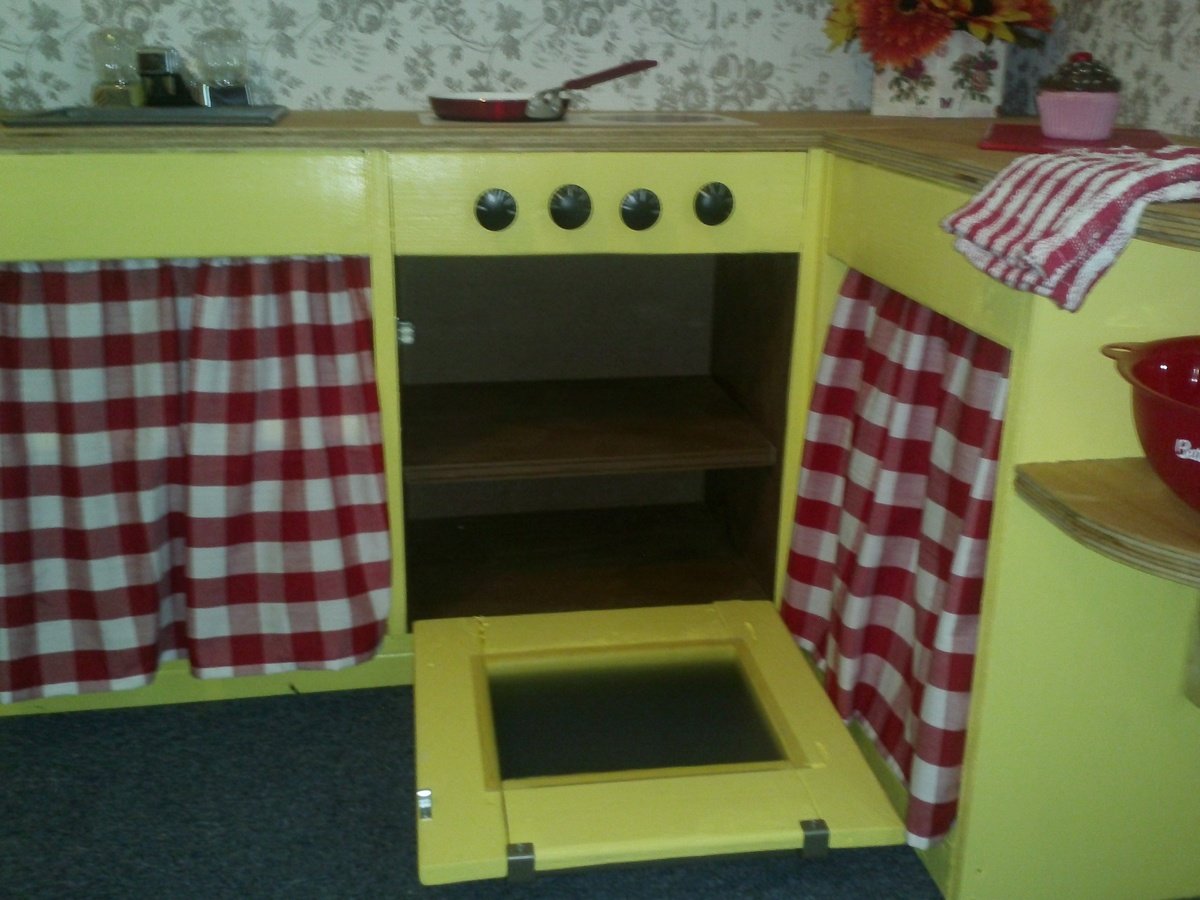
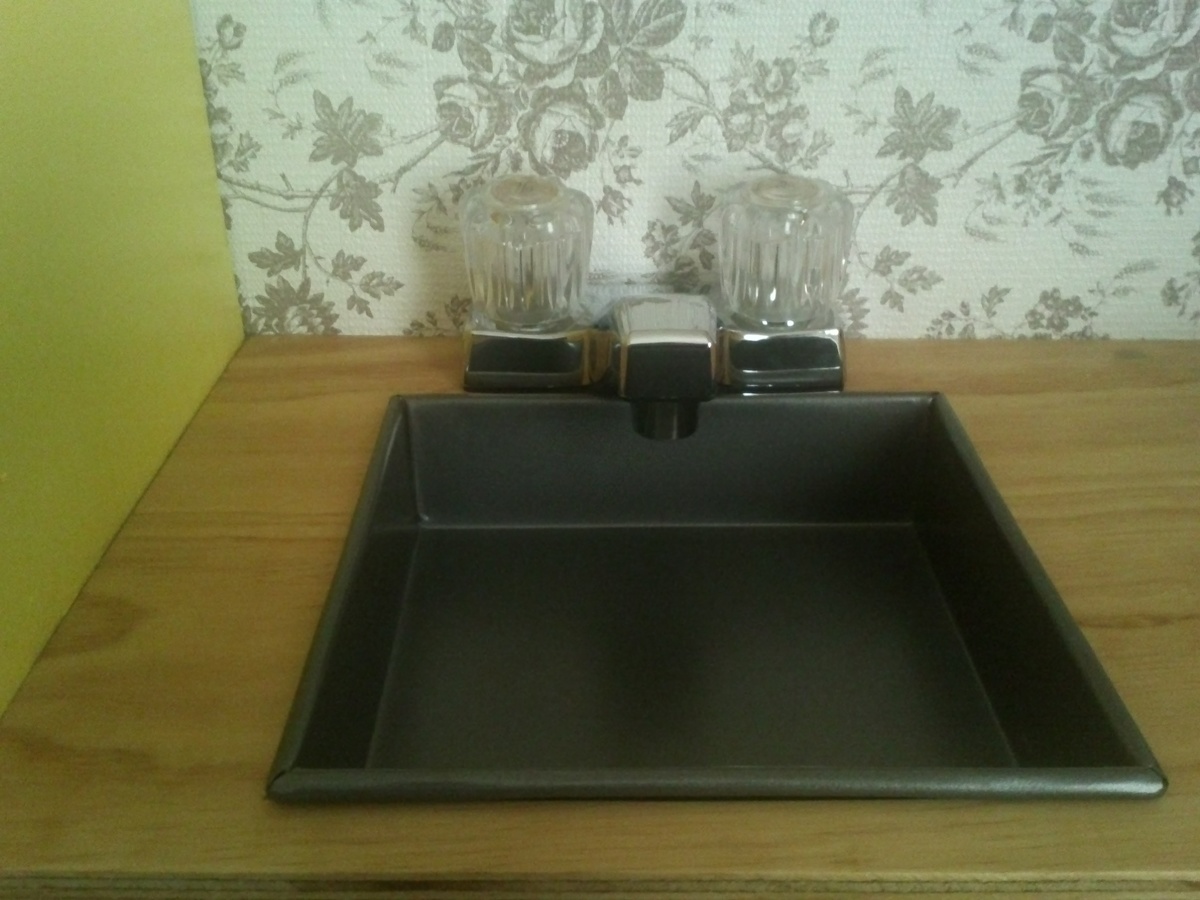
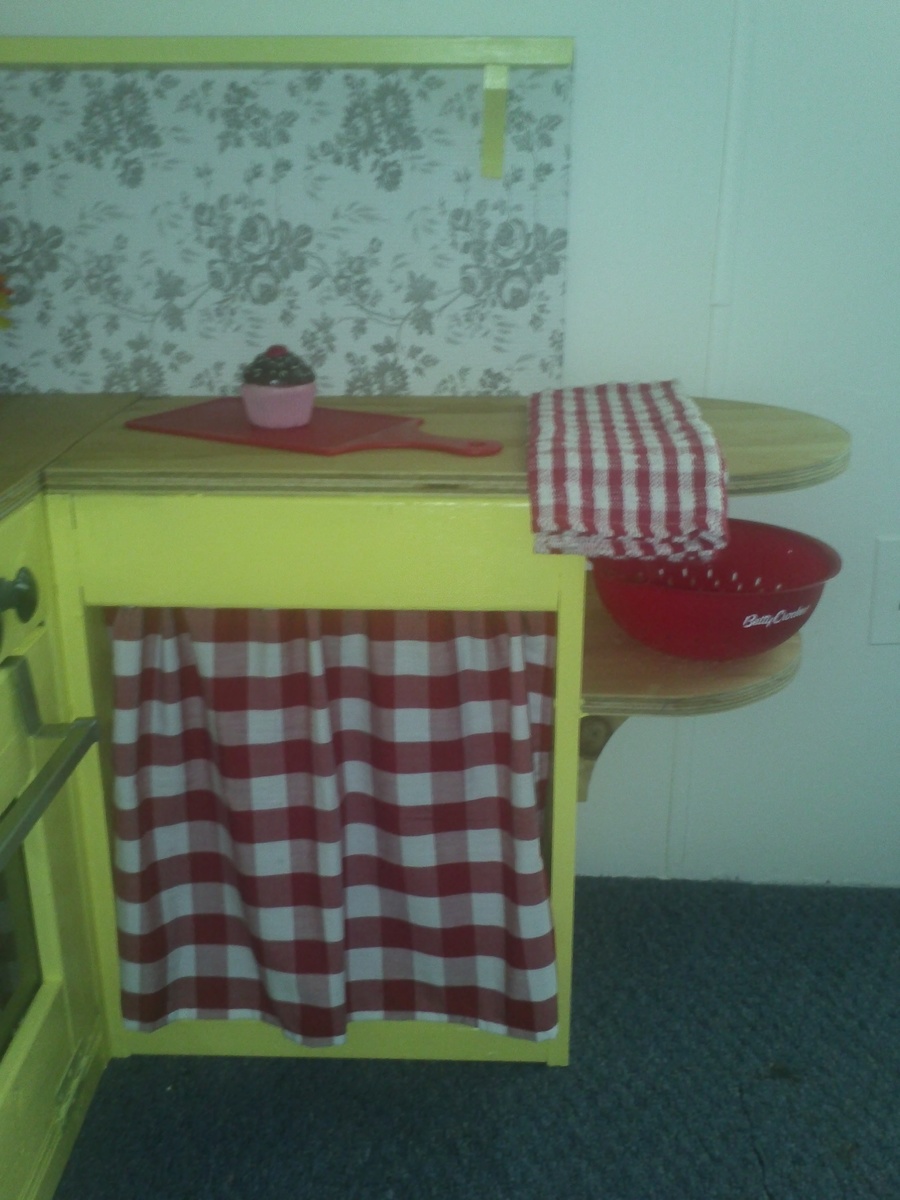
Although I know the original idea for this plan was to save space, I ended up building a bigger version. I loved the design and overall look but wanted something with more counter space. My husband does property maintenance, and is always coming home with scraps of wood he salvaged from work. I dug through his wood pile for 90% of the wood I used on this project. I repurposed most of the accessories and bought the rest (including the hardware) from the dollar store. I spent a total of $38 on the entire project! I absolutely love how it turned out and can't wait to see the look on my daughters face on her birthday!
Mon, 09/16/2013 - 15:40
Adorable! The additions are great. Makes me wish I was a little girl again so my Dad could build one for me. I guess I'll just have to be happy with building one for a future grandchild of my own.
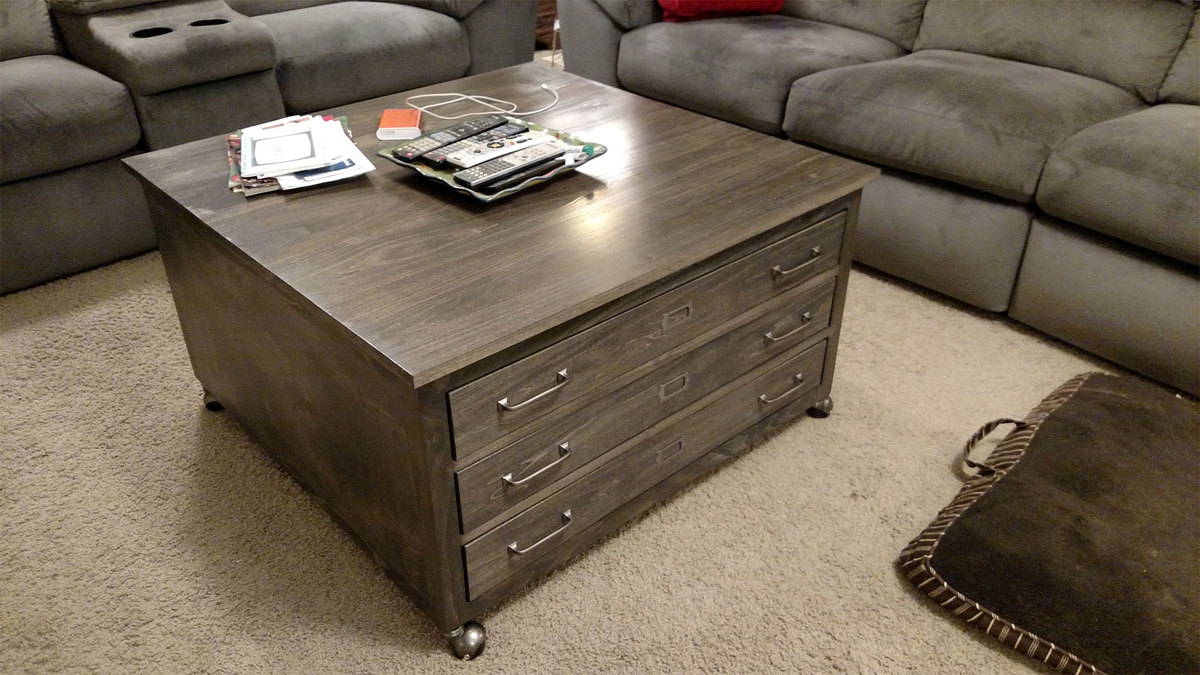
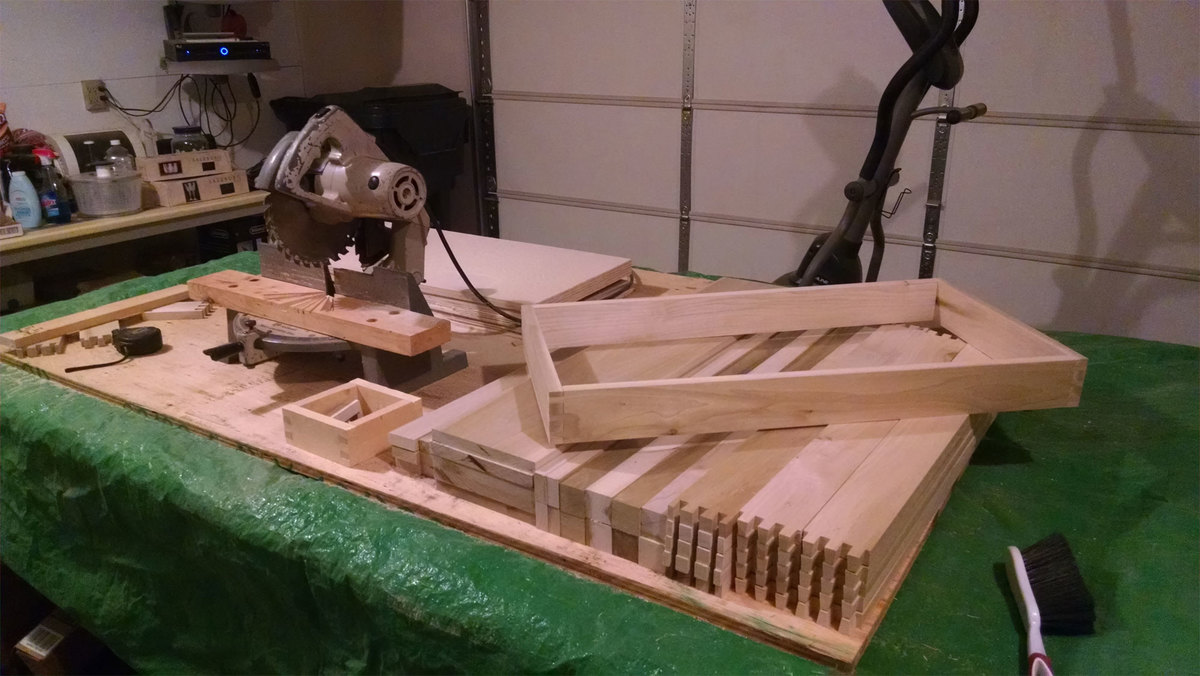
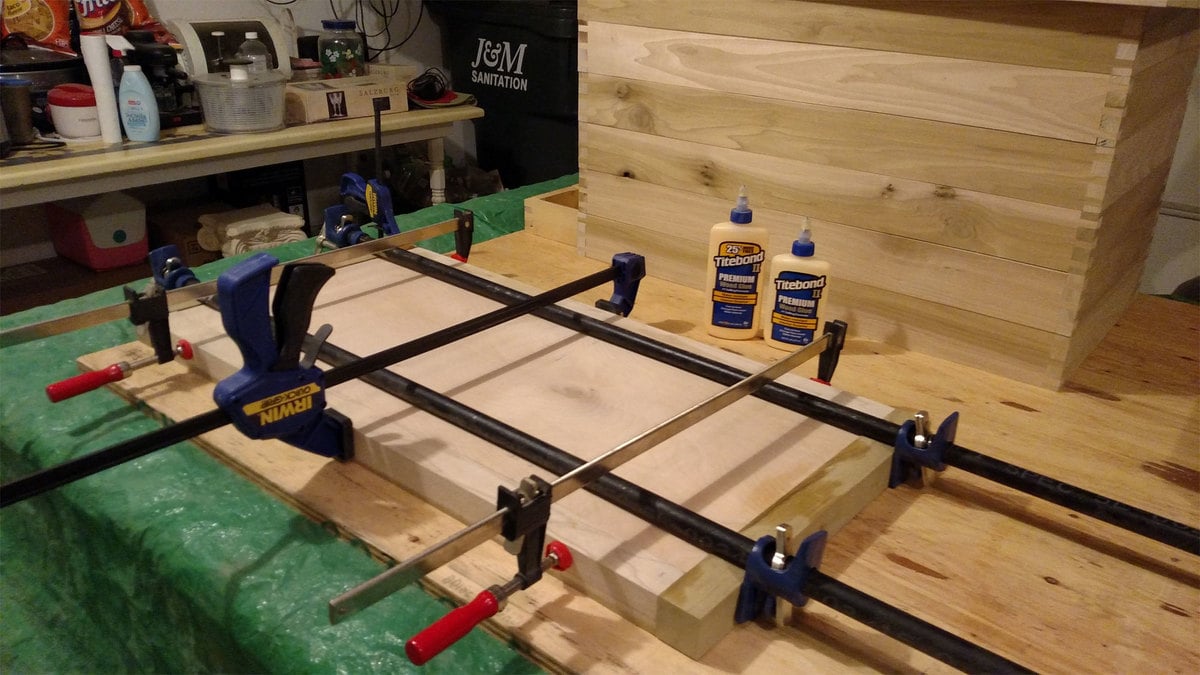
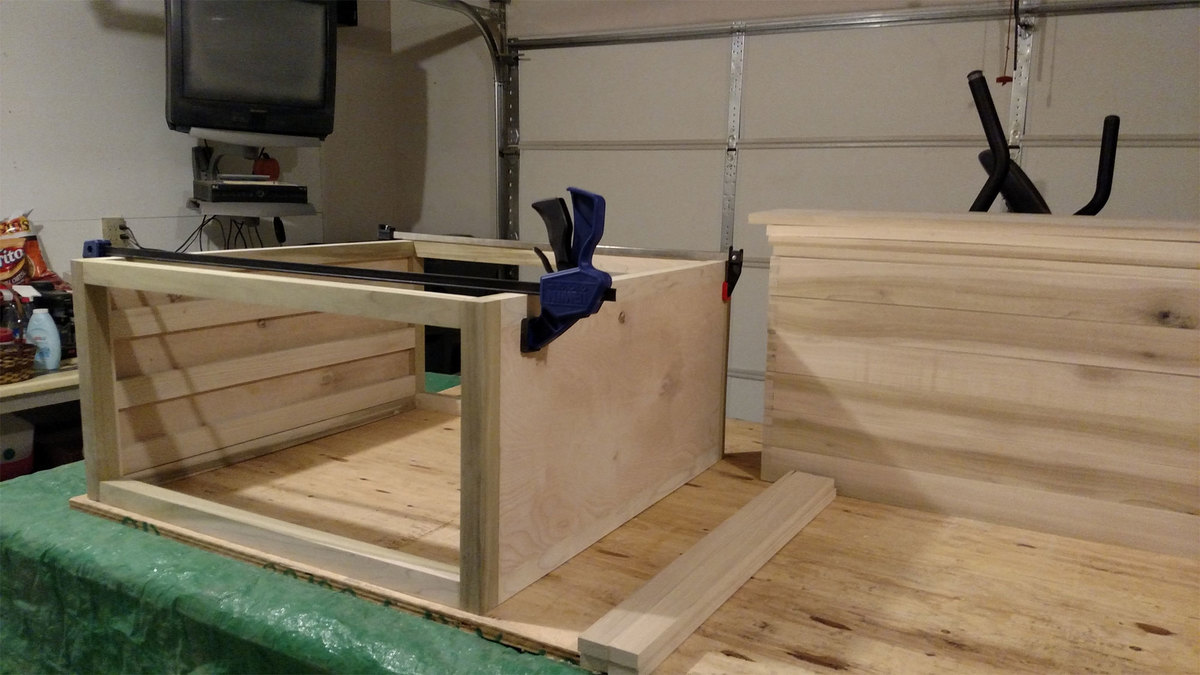
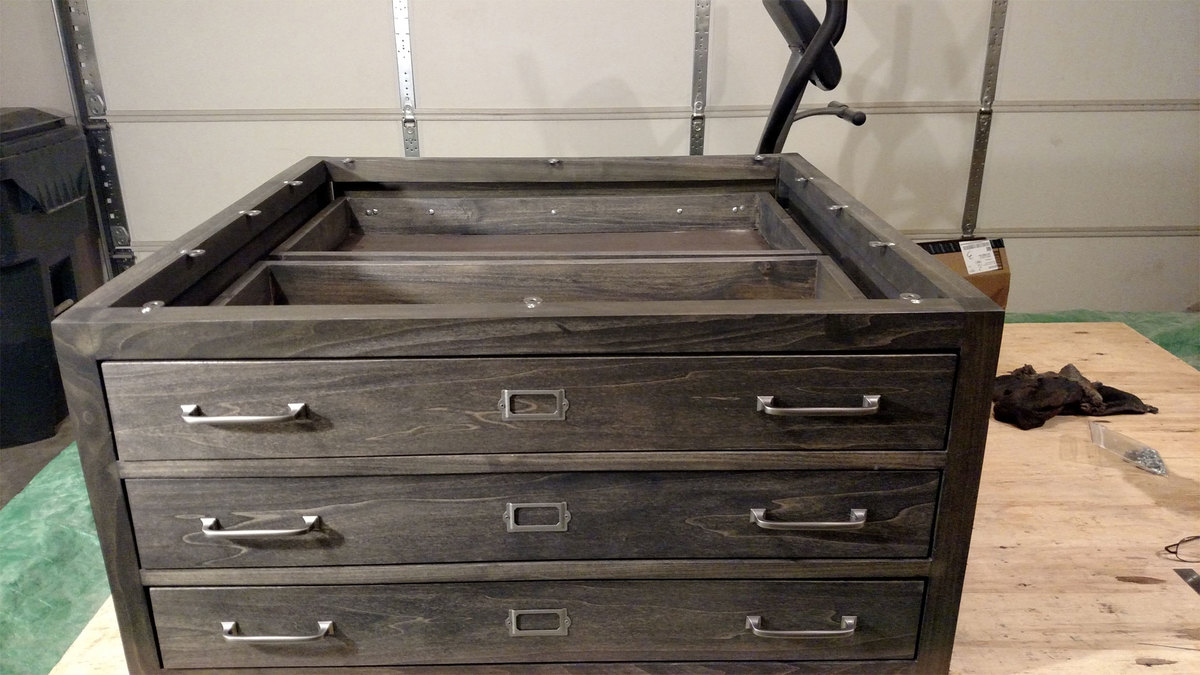
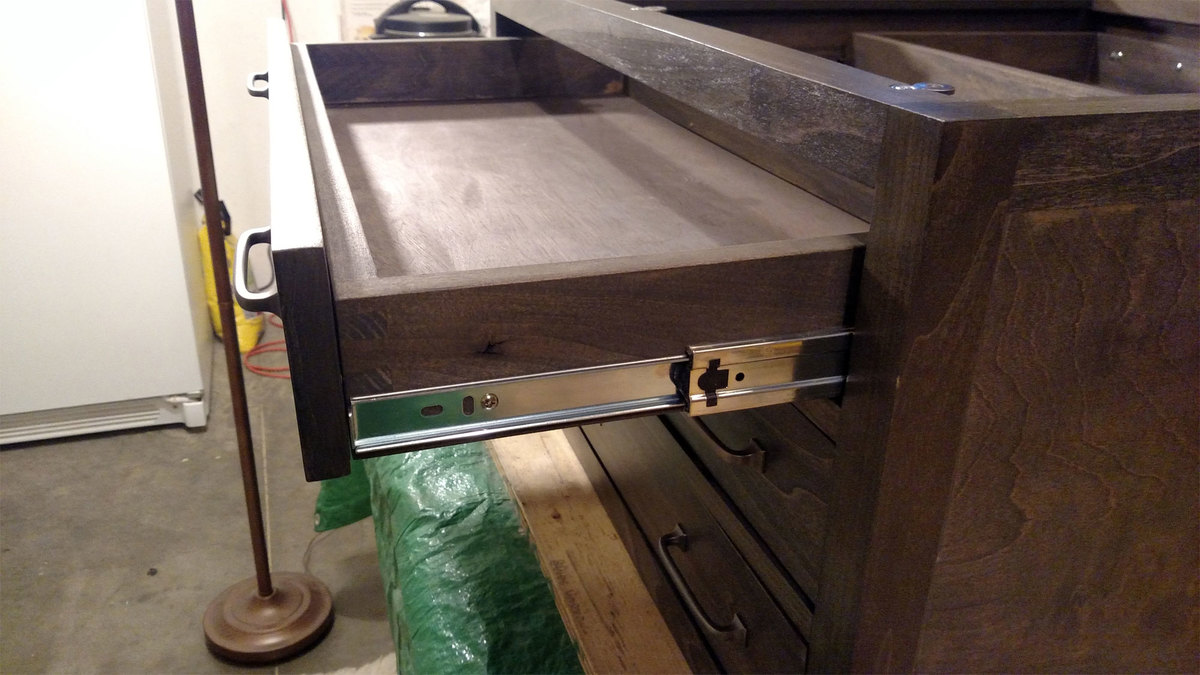
I kind of took this project to the next level. I have never built anything like this before, some shelves and minor wood working projects but I wanted this piece to be really special for my wife who requested I make this for our family room. I made it out of solid poplar and used birch plywood for the sides. I decided to dovetail the drawers and recess the drawer bottoms. The entire frame was assembled using biscuits, dowels and glue rather than screws or nails and it took me 6 weeks to complete but I didn't work on it daily. The project cost me about $450 in materials but it was worth it.
I wish I had used joined wood for the sides rather than plywood because it did not take stain well (blotchy). I upgraded the drawer slides to side mounted ball bearing made by Amerock that I got on Amazon for a great price. The stain was custom mixed from two standard Minwax stain colors I used oil based semi-gloss on the top and water-based semi-gloss on the remainder. I had some experience with doweling and biscuits but had never dovetailed before. I purchased the Porter-Cable 4212 kit and opted for the through dovetails for added strength. The drawers barely needed glue, and it was very easy to use! I mounted the top using figure 8 fasteners which was another first for me but I highly recommend them. The hardware I found on Amazon at very reasonable prices compared to big box stores but couldn’t find a silver colored label holder so I purchased brass and used Rust-Oleum Flat Antique Nickle to get them to match the pulls.
I am a beginner at this but feel that this was a great project there was only one error in the list of materials to cut but other users have already identified that. I anyone has questions on this project I will be happy to help!
We built our daughter a cabin bed from the Ana White websit. Plans were for a twin size mattress and we converted the width to accomodate a full size mattress. After completing the Cabin bed and installing the full size mattress is when we discovered that the plans have an error in the length of the the cabin bed. Plans call for 71 inches in length when 75 inch lengths are what all mattresses come in unless you are getting an oversize one which measures 80 inches in length. The good thing is we purchased a 9 inch memory foam mattress which compressed enough in lenght to fit.
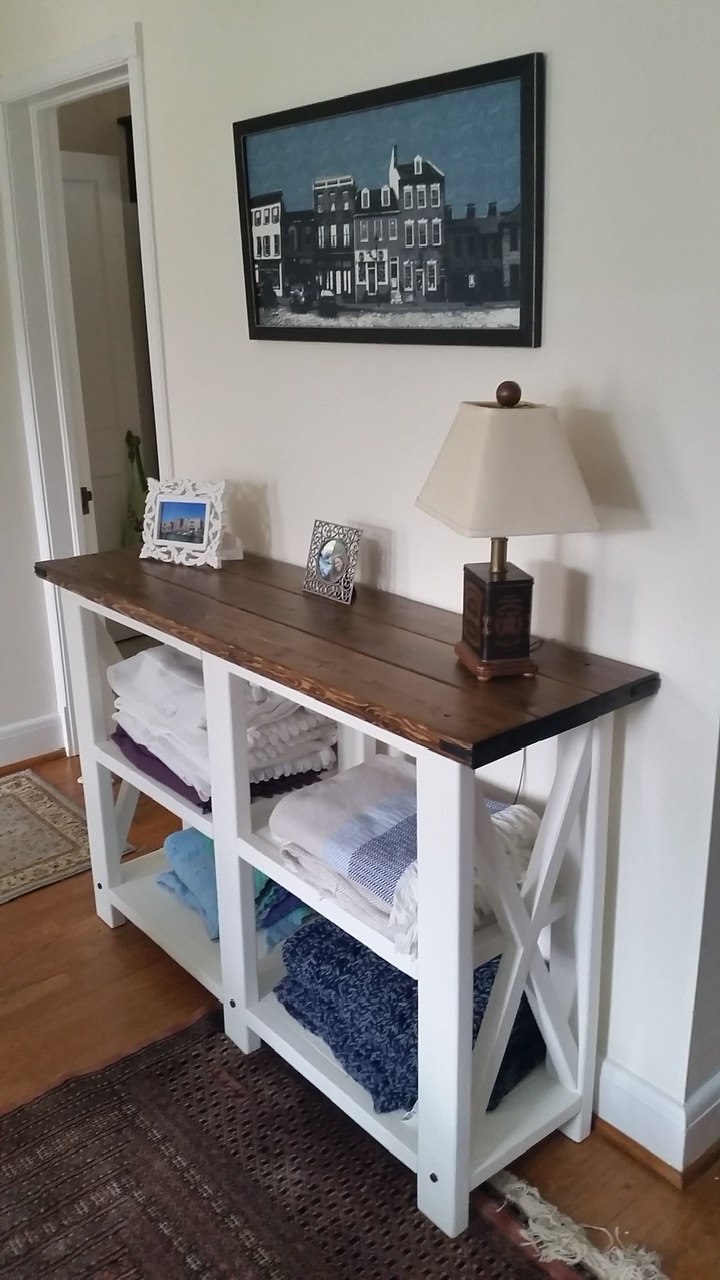
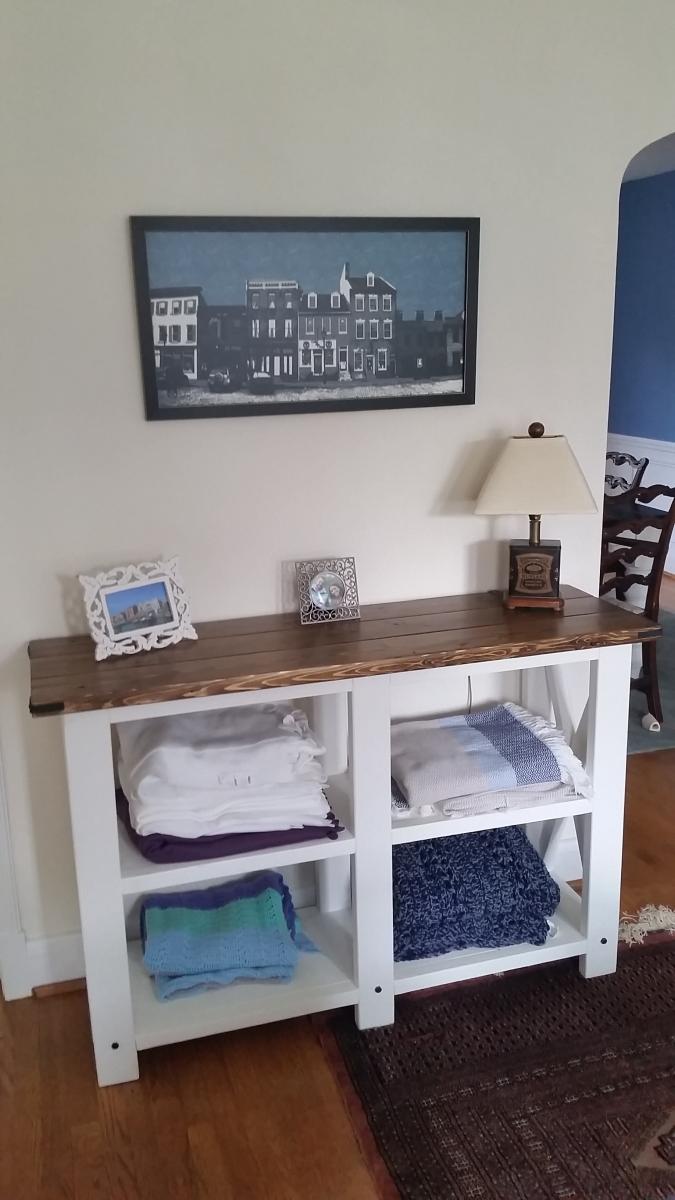
Thanks for the plans!
We bought a house with a death trap for a back step. Until we get to re-doing the entire back patio area I needed a temporary solution to keeping the kids from toddling off the back 'ledge'. I modified Ana's plans to make a nice border around the step so kids can't fall off when they are coming and going from the backyard. We had left over cedar fence slats from when we did our fence last spring...PERFECT and FREE!!!!!
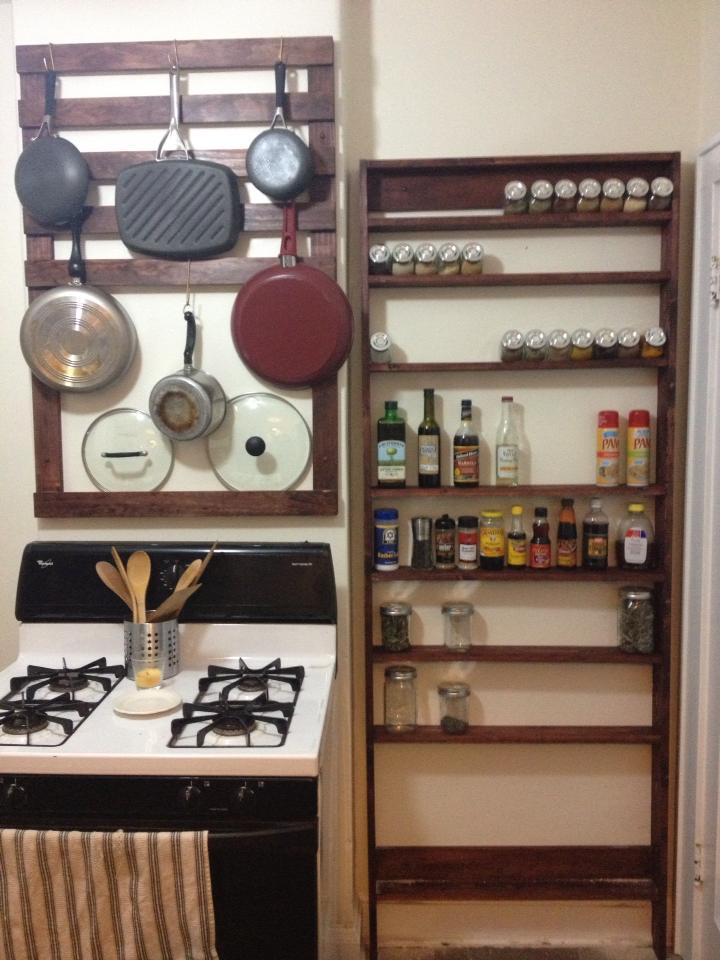
This was a very simple pot rack and spice shelf using 1x3 for the pot rack and 1x4 for the spice shelf.
Spice Shelf is 7ft and the most complicate part was cutting the uprights for the large baseboards in our house. I used a profile gauge but this wasn't quite enough. Eventually I did some sanding on the spot to get the best fit. Having gained my addiction from Ana for Kreg Jigs the shelves and mounting pieces were added with pocket hole screws. By placing the screws on top or on the bottom I was able to avoid the necessity of plugging holes. Shelf spacing is completely custom for our needs and the large bottom portion will receive a cross brace in the front to hold in our shopping bags. Butterfly bolts were used to mount the shelving through the lathe and plaster walls.
The pot rack is simply a 1x3 ladder where I used a 1x3 for the spacing between the rungs. Large bottom to hold pot lids. Hooks were hand bent using a jig to ensure they were all the same. Mounted to the old brick chimney in the kitchen using TapCons.
Both items were finished in MinWax Mahogany and had one coat of of poly to keep the rustic feel.
Length of project depends on drying times.
Any questions please let me know!
Comments
Miasmom (not verified)
Mon, 08/15/2011 - 08:31
Those are awesome! All you
Those are awesome! All you need to make now is a doll adirondak chair and you've got a complete set of Ana White Adirondack chairs! ;)