Flower Box Planters
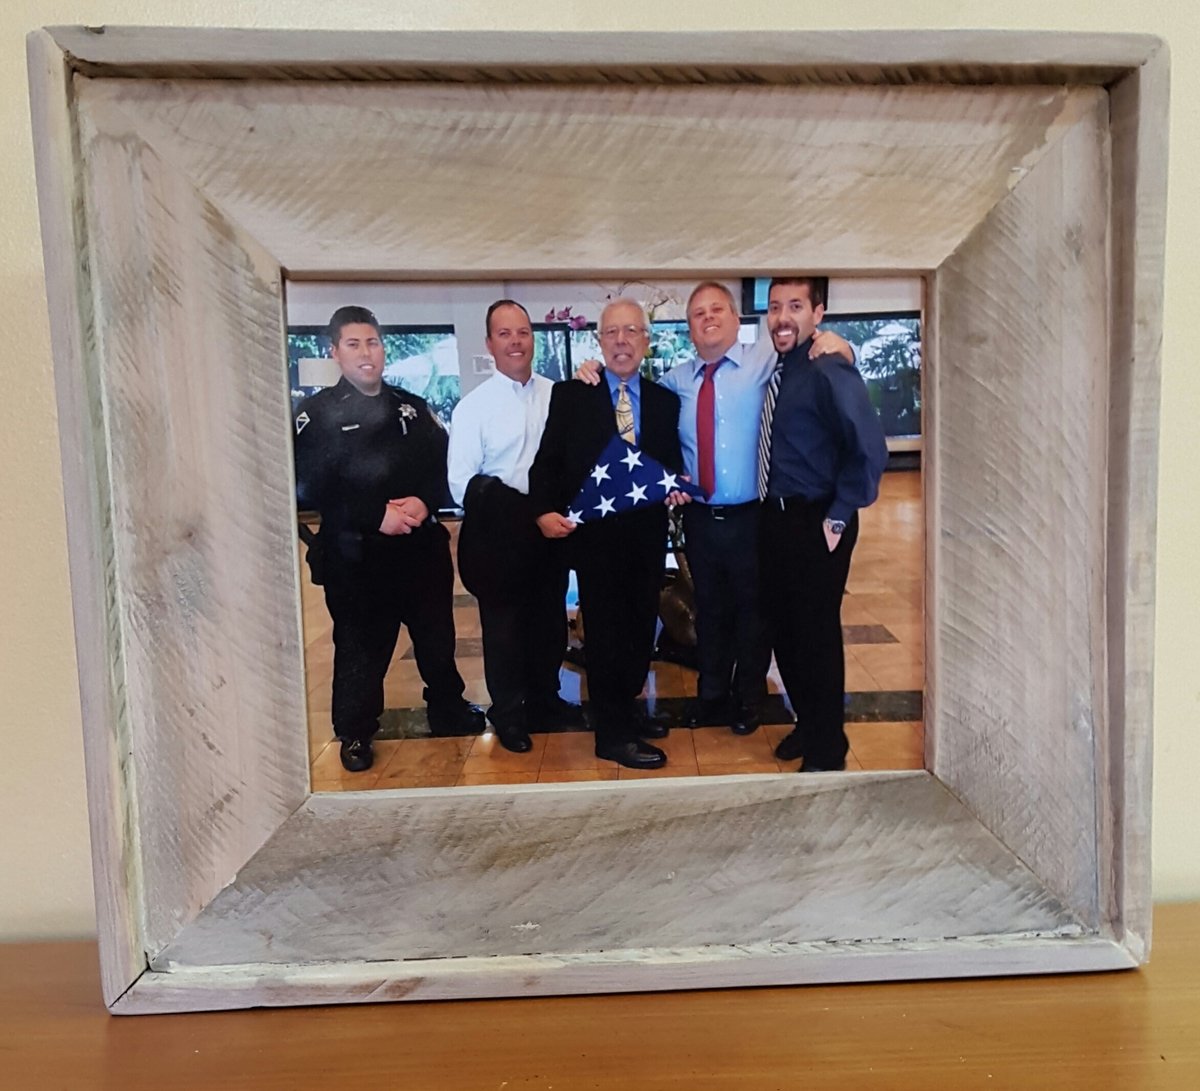
Made this for my wife. Smaller one was made using same idea with some scrap.
I made this porch bench for my daughter-in-law 's birthday. She purchased bench cushions from Pottery Barn and asked if I would build the corresponding bench. Using the dimensions of the cushions and examining online photos I was able to build the framework and tried my best to duplicate the
Chatham series bench. Not quite ready to tackle the curved bench rest and arms but after watching YouTube on how to make curved woodworking items I might just take a shot at it next time.
She really loves the bench and I am pleased with how it turned out.
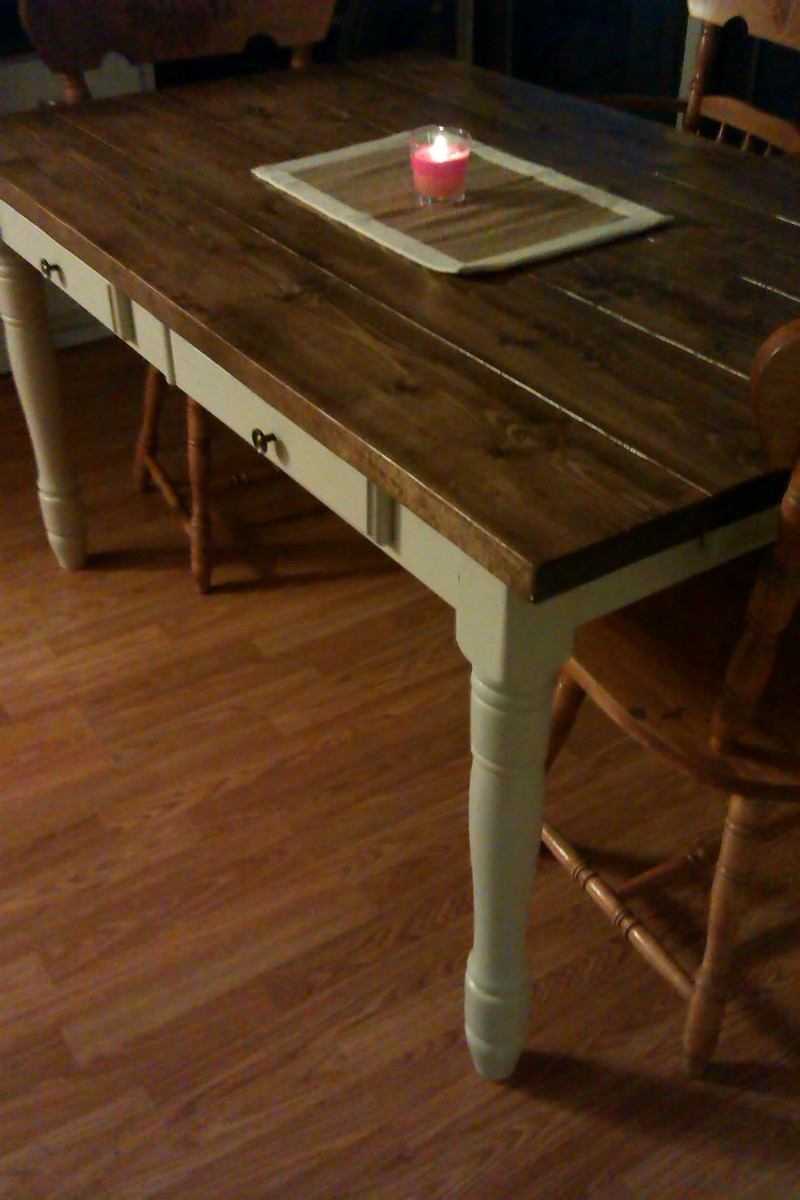
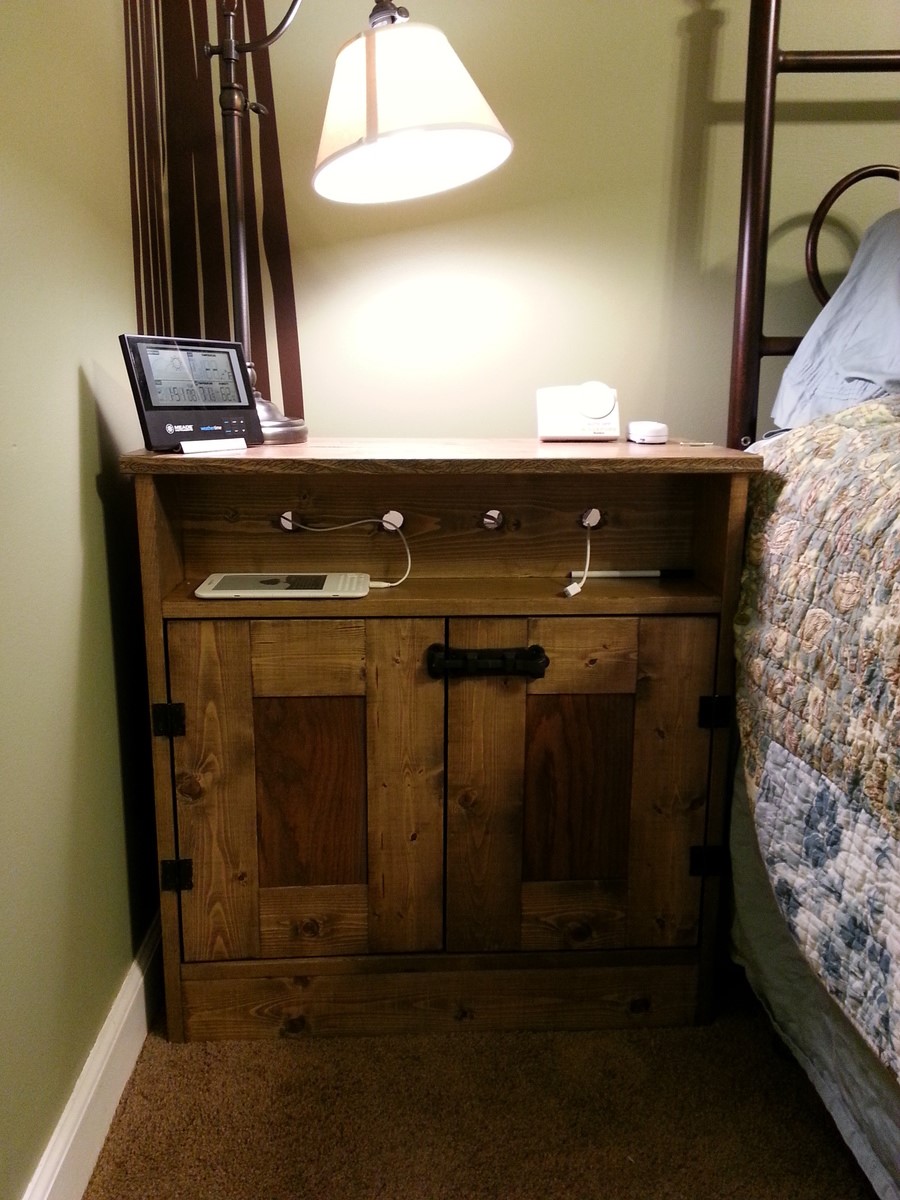
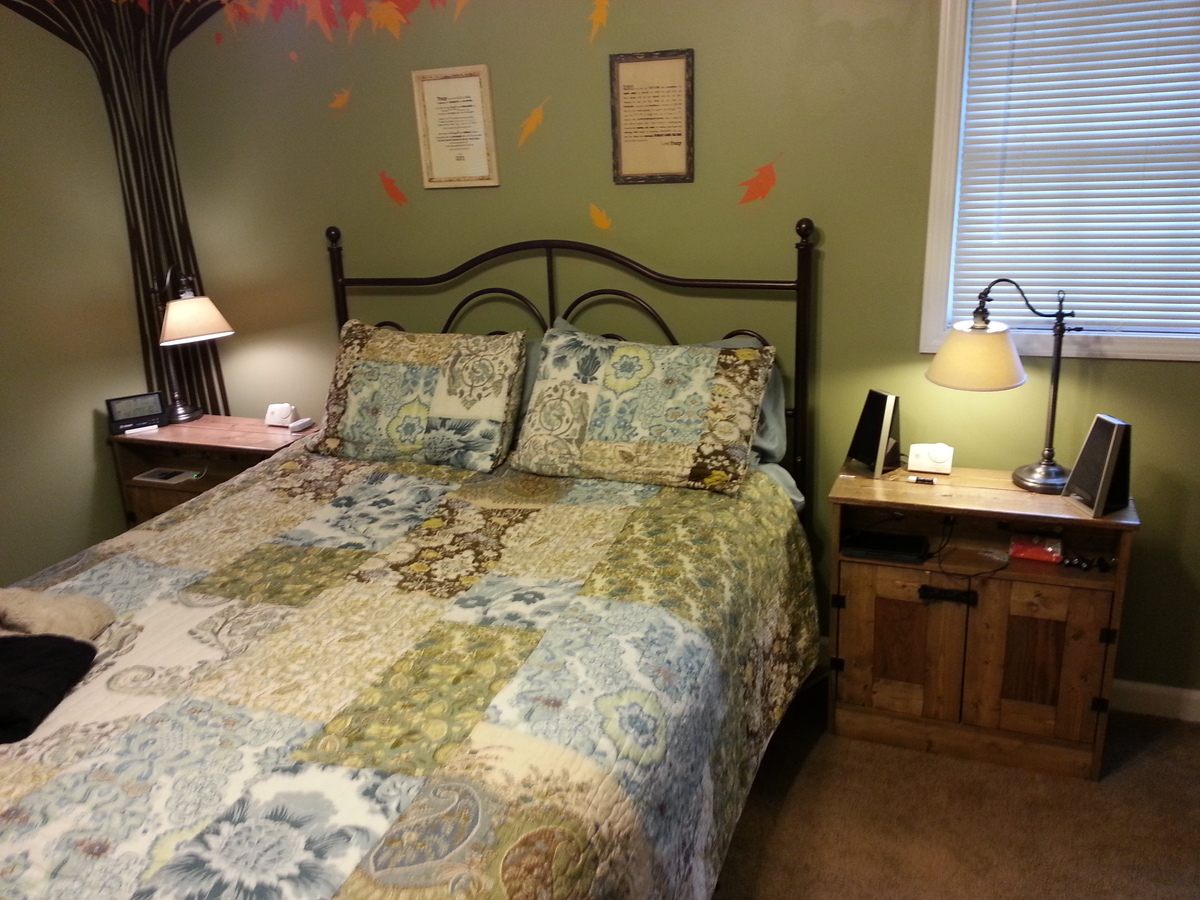
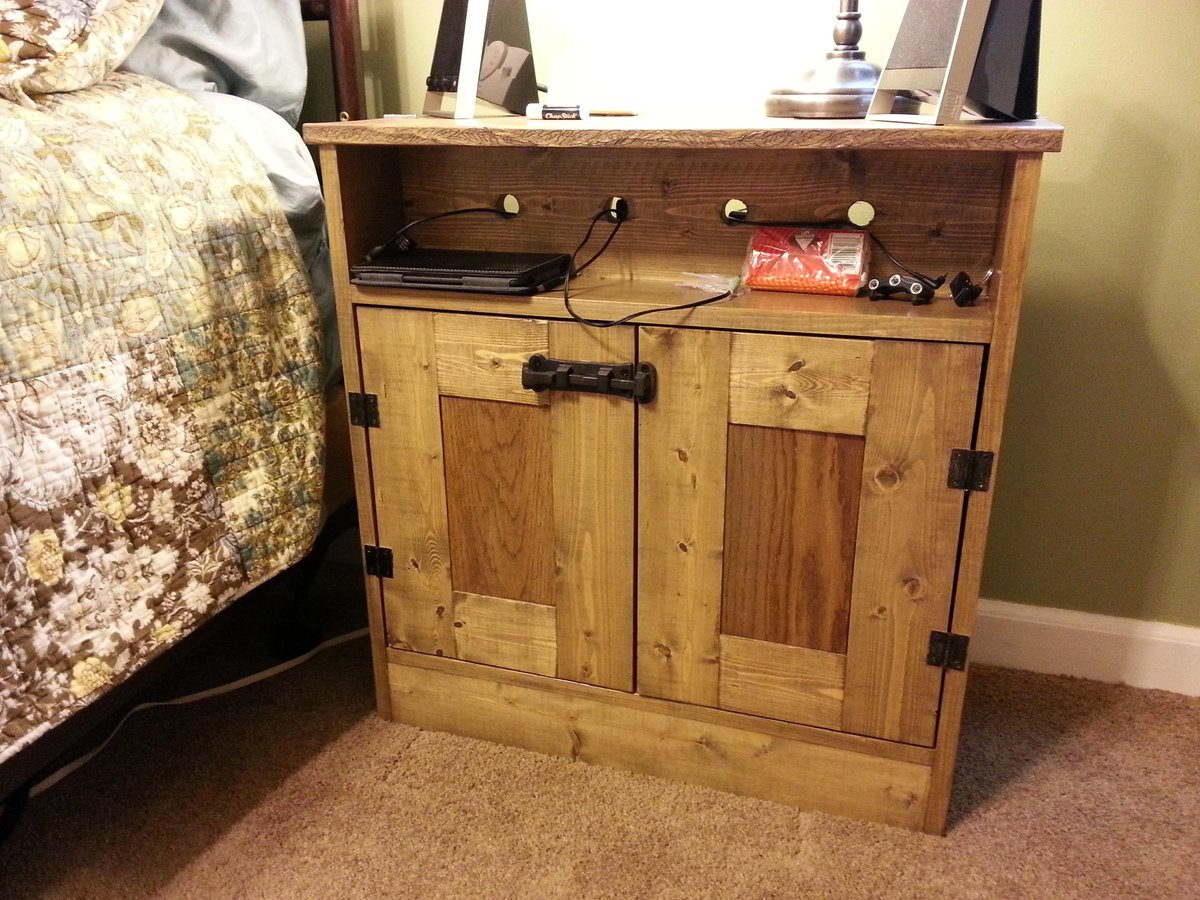
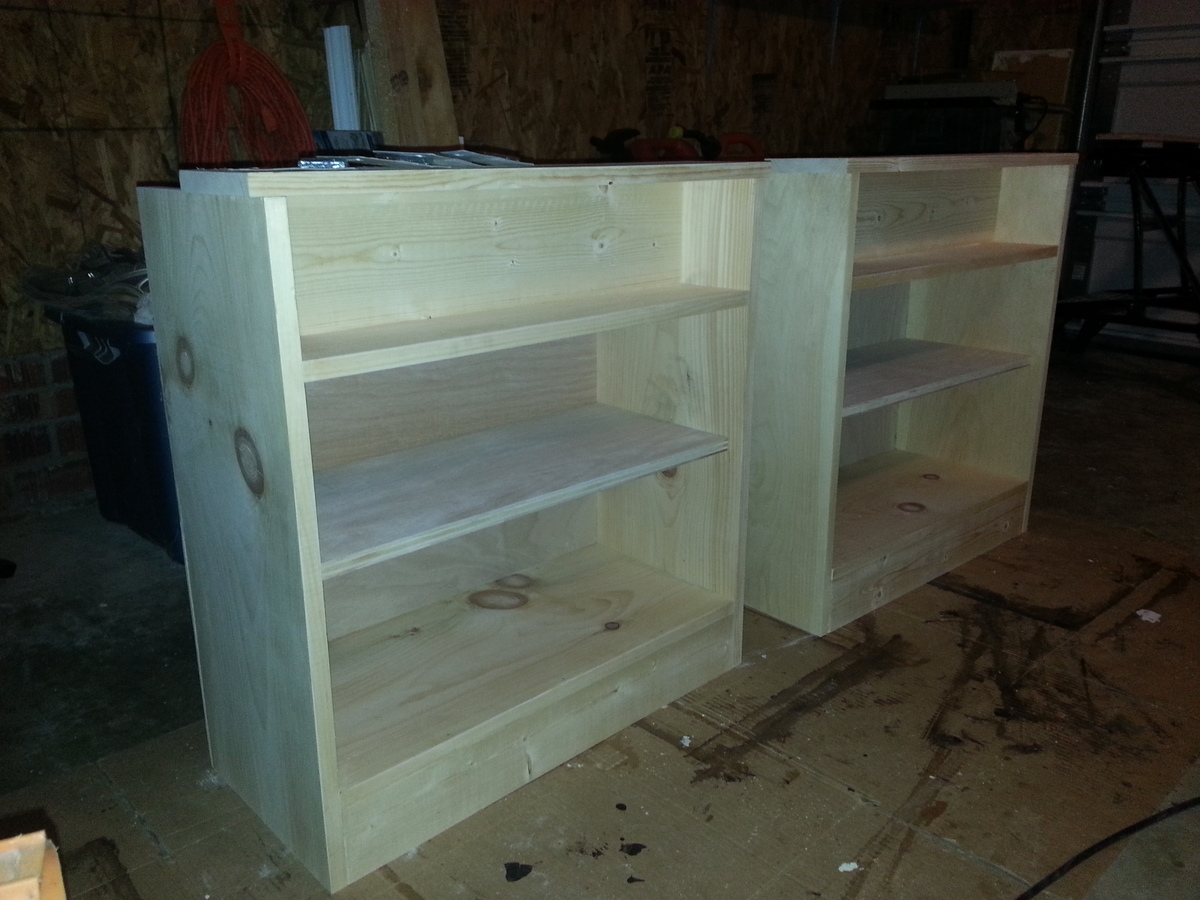
I did the top in two pieces of rustic walnut and instead of using bard door hardware, I used black pipe. I made the door frames and the inserts are decorative metal sheeting
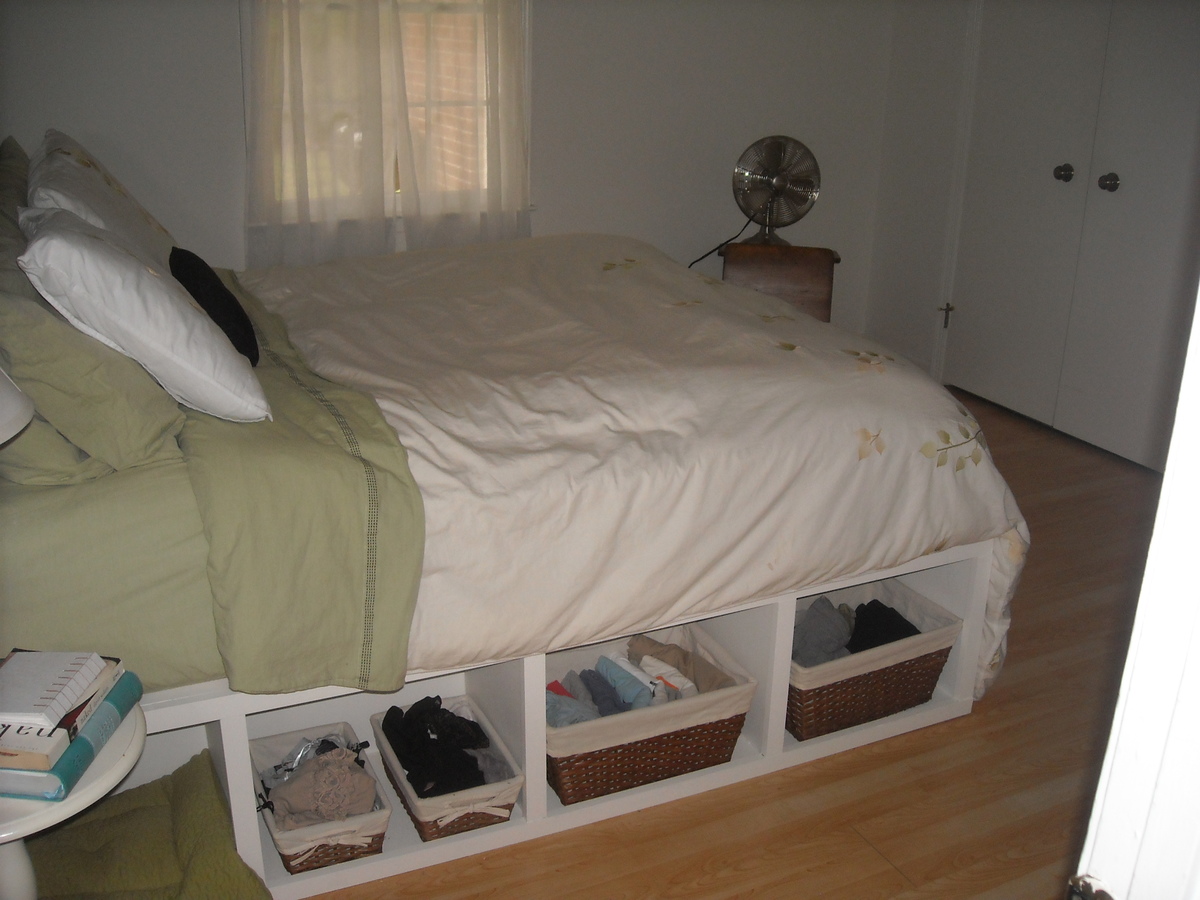
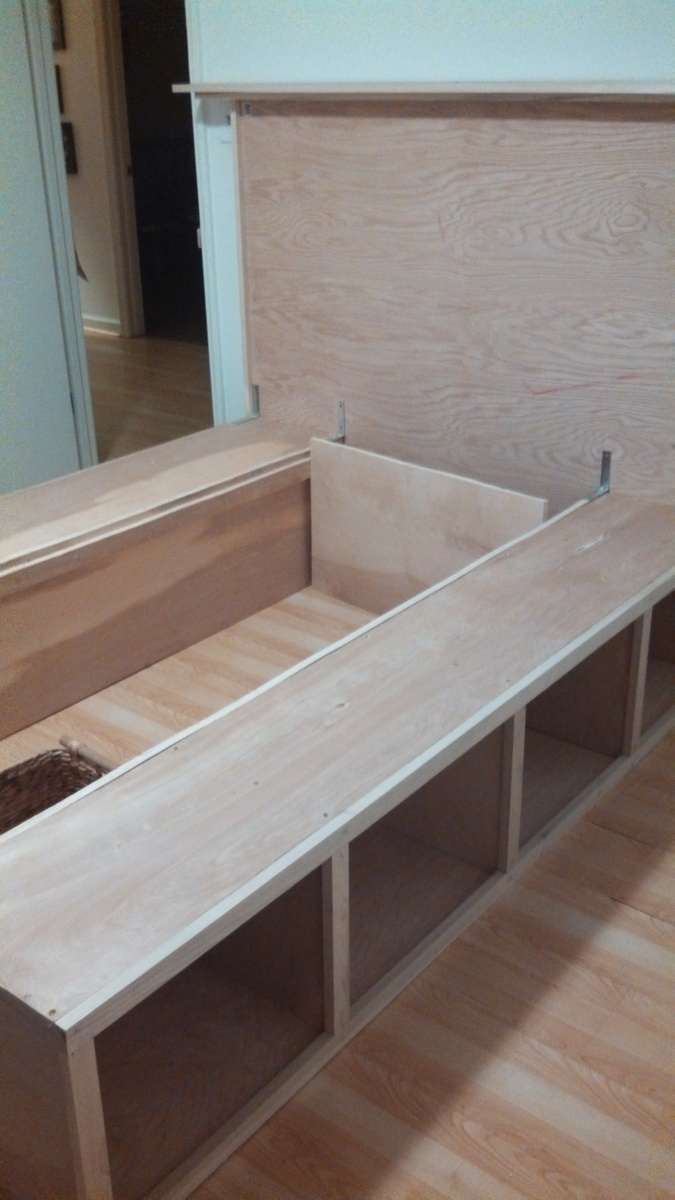
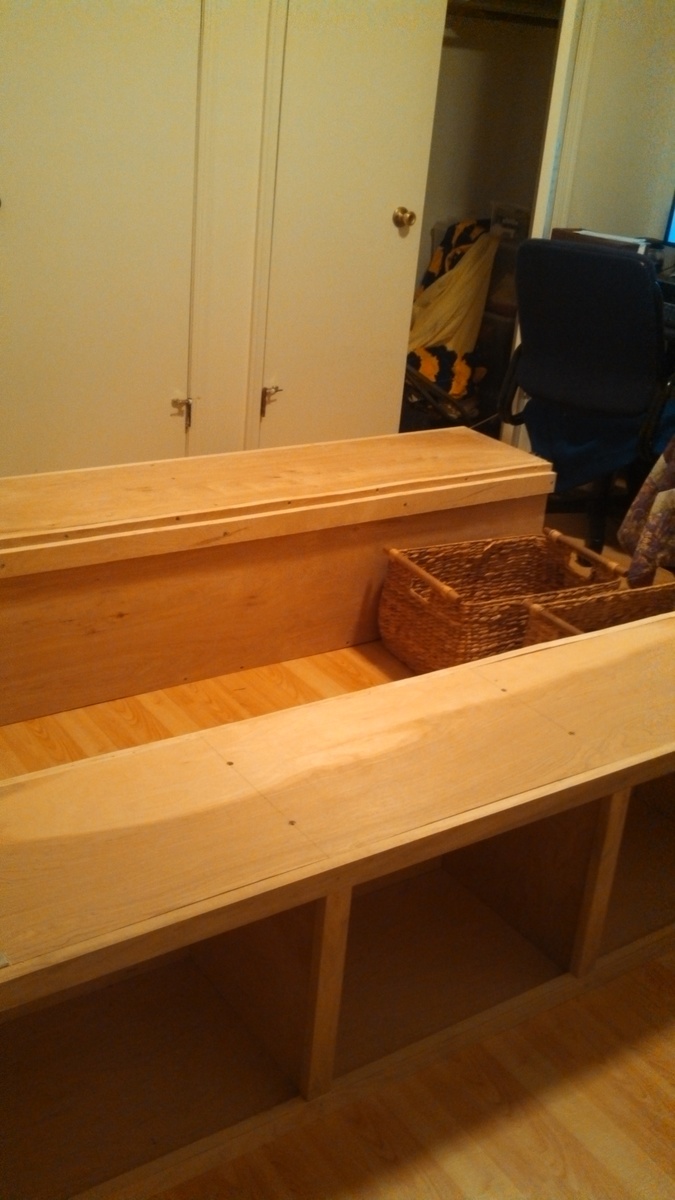
I just started building so finding this site was a God send. My wife and I wanted a new bed frame so why not tackle it myself. I loved every part of building it. Now my daughter wants one for her house. I'm happy to do it. I can't wait for my next project
I used the coffee table framing system, and doubled the dimensions.. I had used the Kreg system, and it was so easy, and quick...
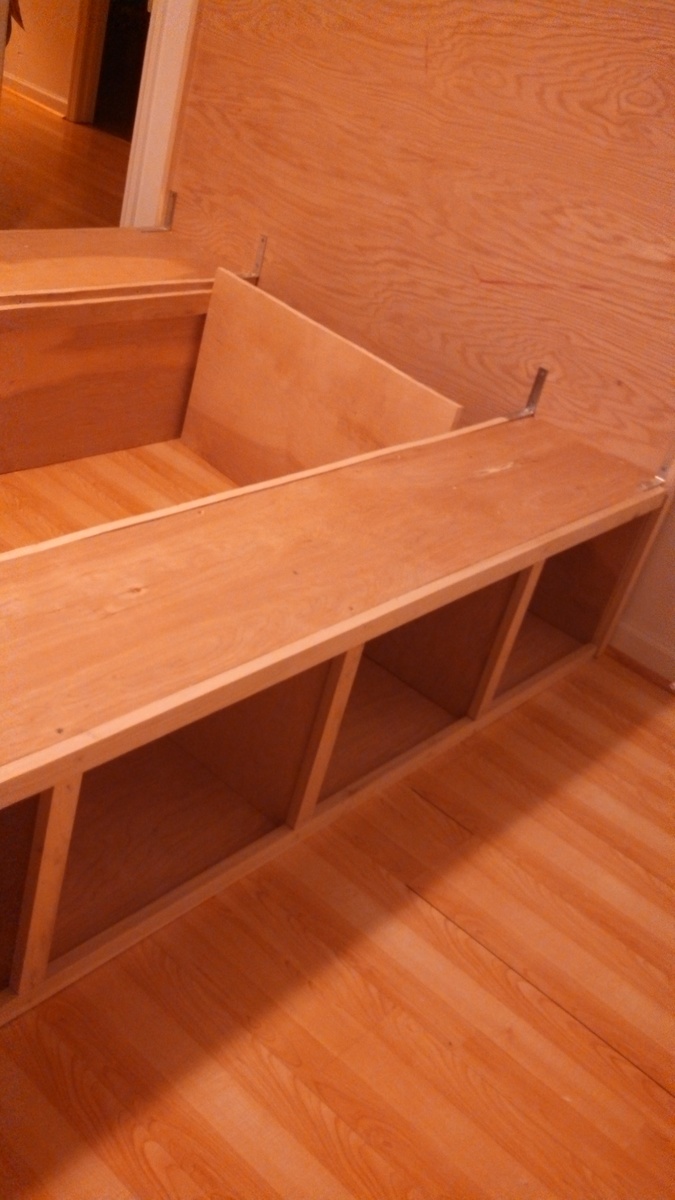
I followed the plan, but added some floor molding to the top and bottom. I did this to attempt to cover the seams from the plywood / 2x4s.
I built this lovely, modern park bench from plans I found at Ana White. The only adjustment I made was to make the legs out of 4x4s. I like this plan because it's all straight, right angle cuts, a one day project, which I tackled by myself. I'm definitely getting more comfortable with the miter saw. The wood cost under $50. I plan to paint it with primer, then white exterior paint, both of which I have around the house. Stain would be beautiful, too. If I had to do it over again, I would paint all the pieces before assembling. And I wish I had a brad nailer; it would make attaching all the slats go much faster, and would have to fill as many screw holes.
This was a fun little project to make. The goal is to open the box.
Build Instructions: https://www.instructables.com/id/Nail-Puzzle-Box/
How it work: https://youtu.be/9t4GRjx8-y8
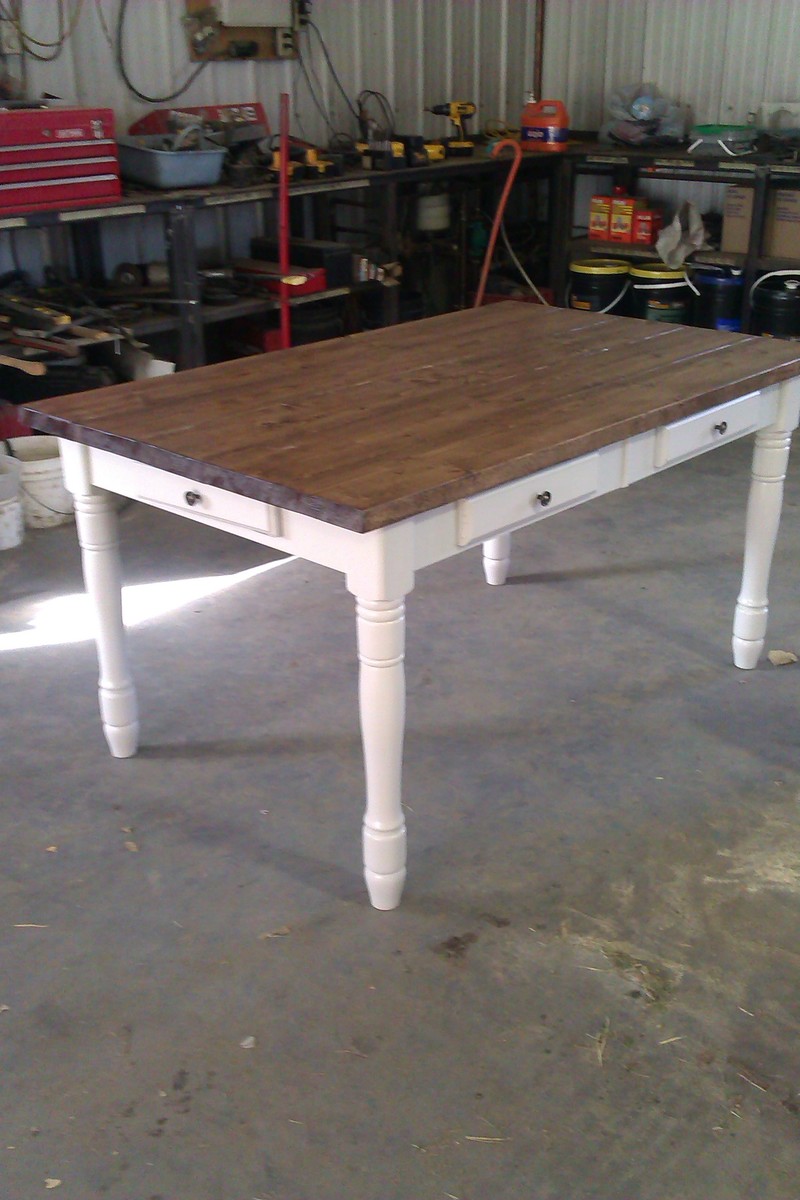
This originally came from a sofa console plan but I added drawers and wheels to make an island.
built coffee table based off easy to follow plans - couldn't find untreated 4x4 but just painted it and hoped
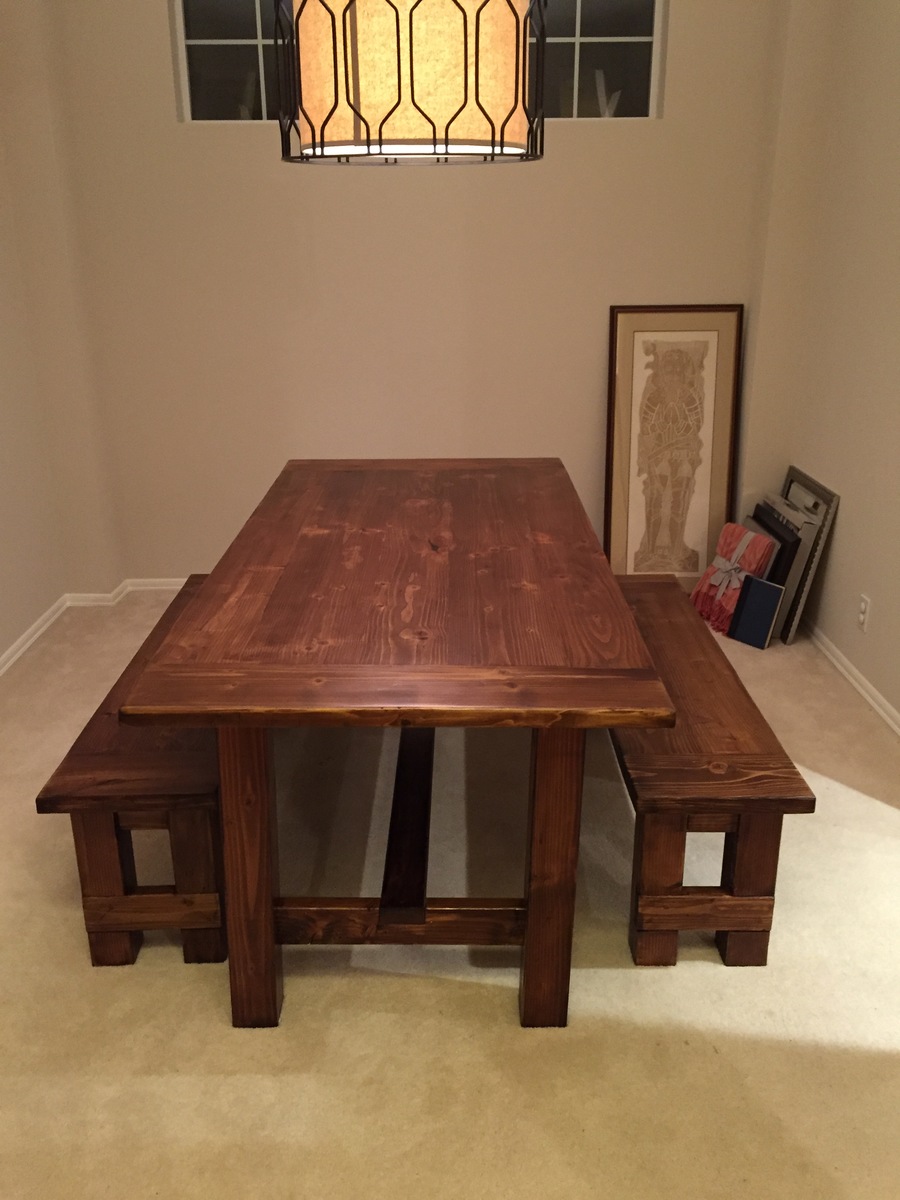
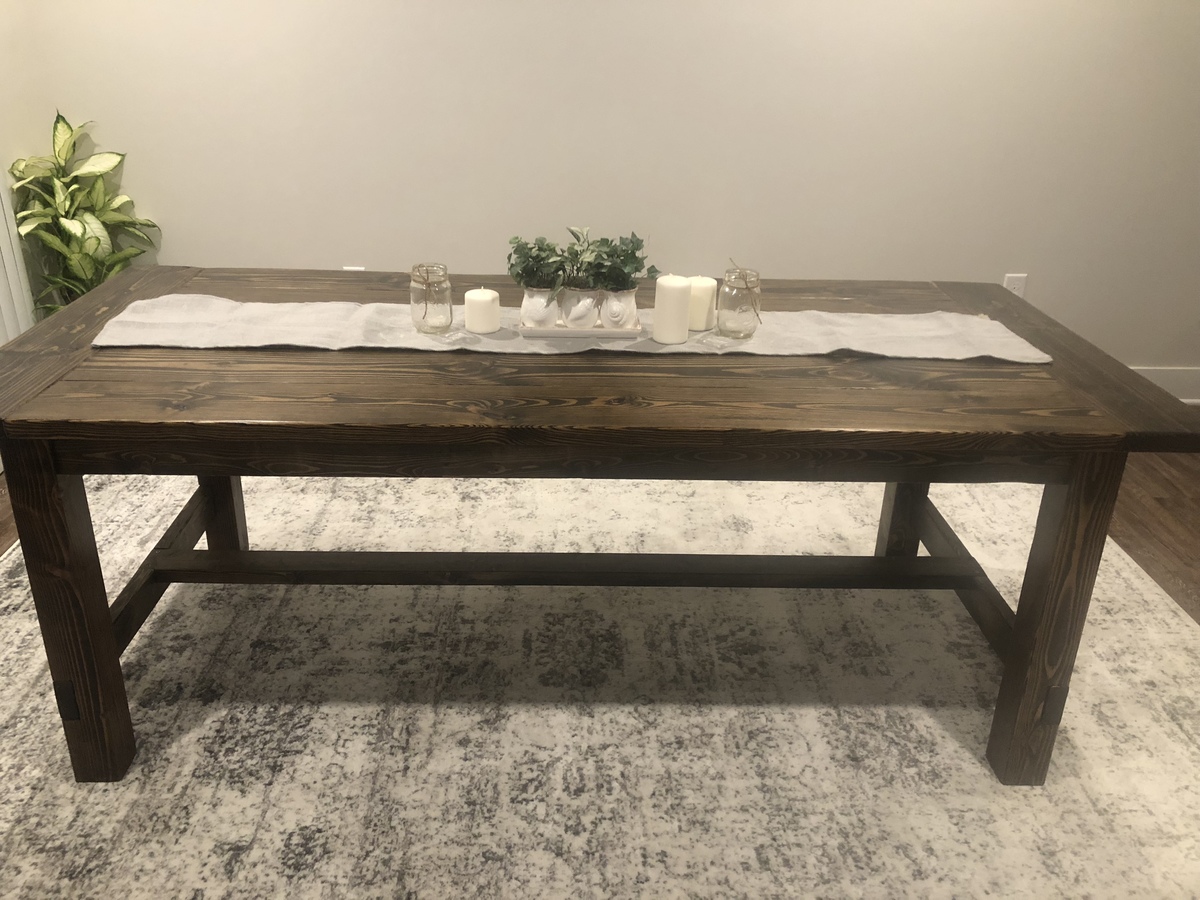
Made from farmhouse plans
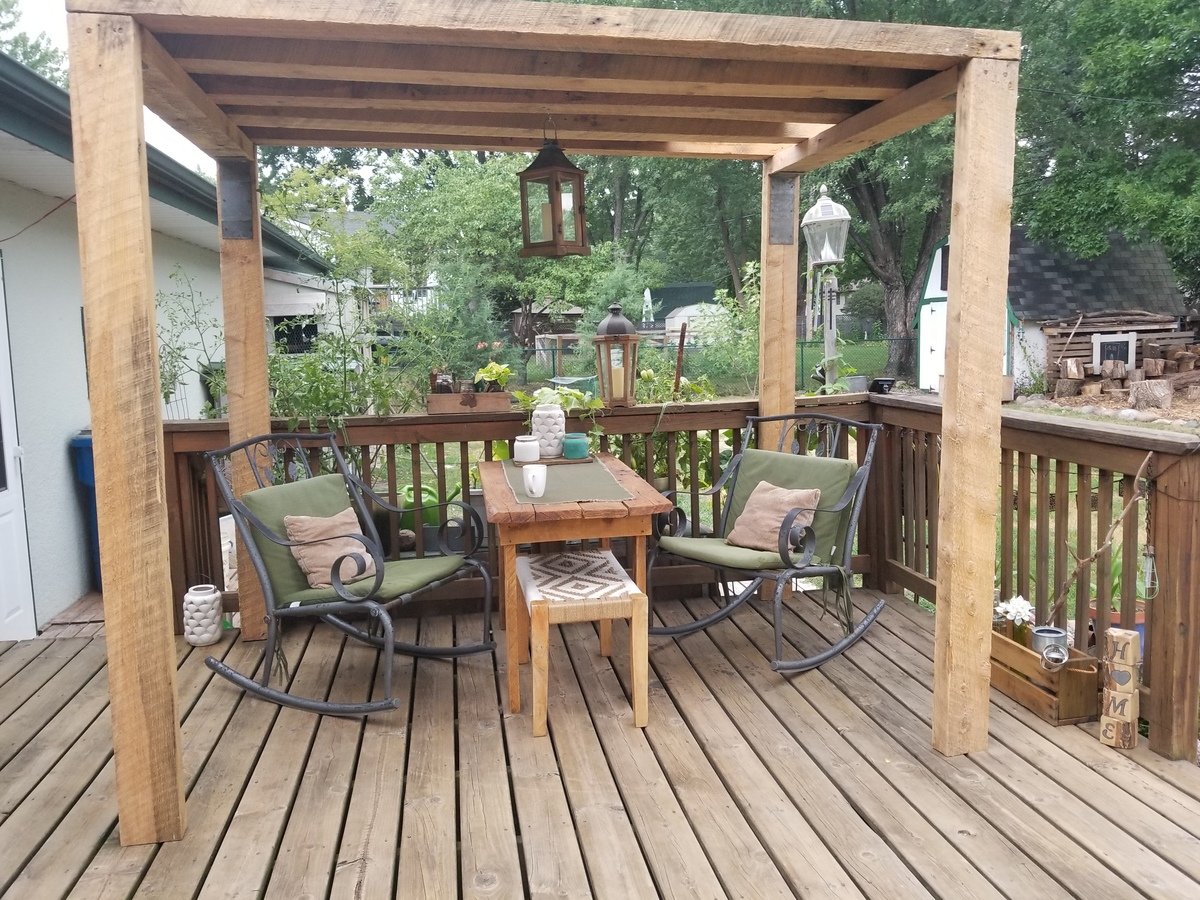
Perfect seating for our new summerhouse, loved how easy it was to build. Thanks so much for the free plans and making the easy to follow videos
This was my first project to build although I cut wood for another project a year ago. The plans were simple and easy to follow. Now I want to build more! Thank you Ana!
my first project, loved how this came out. Thank you so much for the easy plans. I made this for my wife as a surprise mother's day present. She loves it, we will be using it all summer. Made with Redwood, and just a clear coat finish.
This was one of those "Labor of Love" projects. I was nervous about the rockers but the hardest part about them was getting the ends rounded perfectly. I didn't scribe the legs, instead I cut and assembled both sides and then laid them up against my rocker 1x4s. I marked where the legs met the rockers and then cut the rockers leaving the areas where the legs met at full width. Made it much easier. I also rough cut the rockers and used my orbital sander to bring the wood down to my pencil lines. I had the rockers clamped together for the entire sanding/cutting process. I love the silky smooth finish of the milk paint and hope my nephew and his wife love the finished cradle as much as I do. Thanks for a wonderful project Ana!!
Thu, 05/14/2015 - 13:20
This will be such a wonderful-thoughtful gift for your nephew! The best gifts are those that are made (with love)! :)
Submitted by Abigail Marolt on Facebook -
I made a your crib mattress sectional with an extra armless couch to make one large U-shaped design! It was my first project with a kreg jig and a circular saw, but it certainly won't be my last. We love using this couch every day!
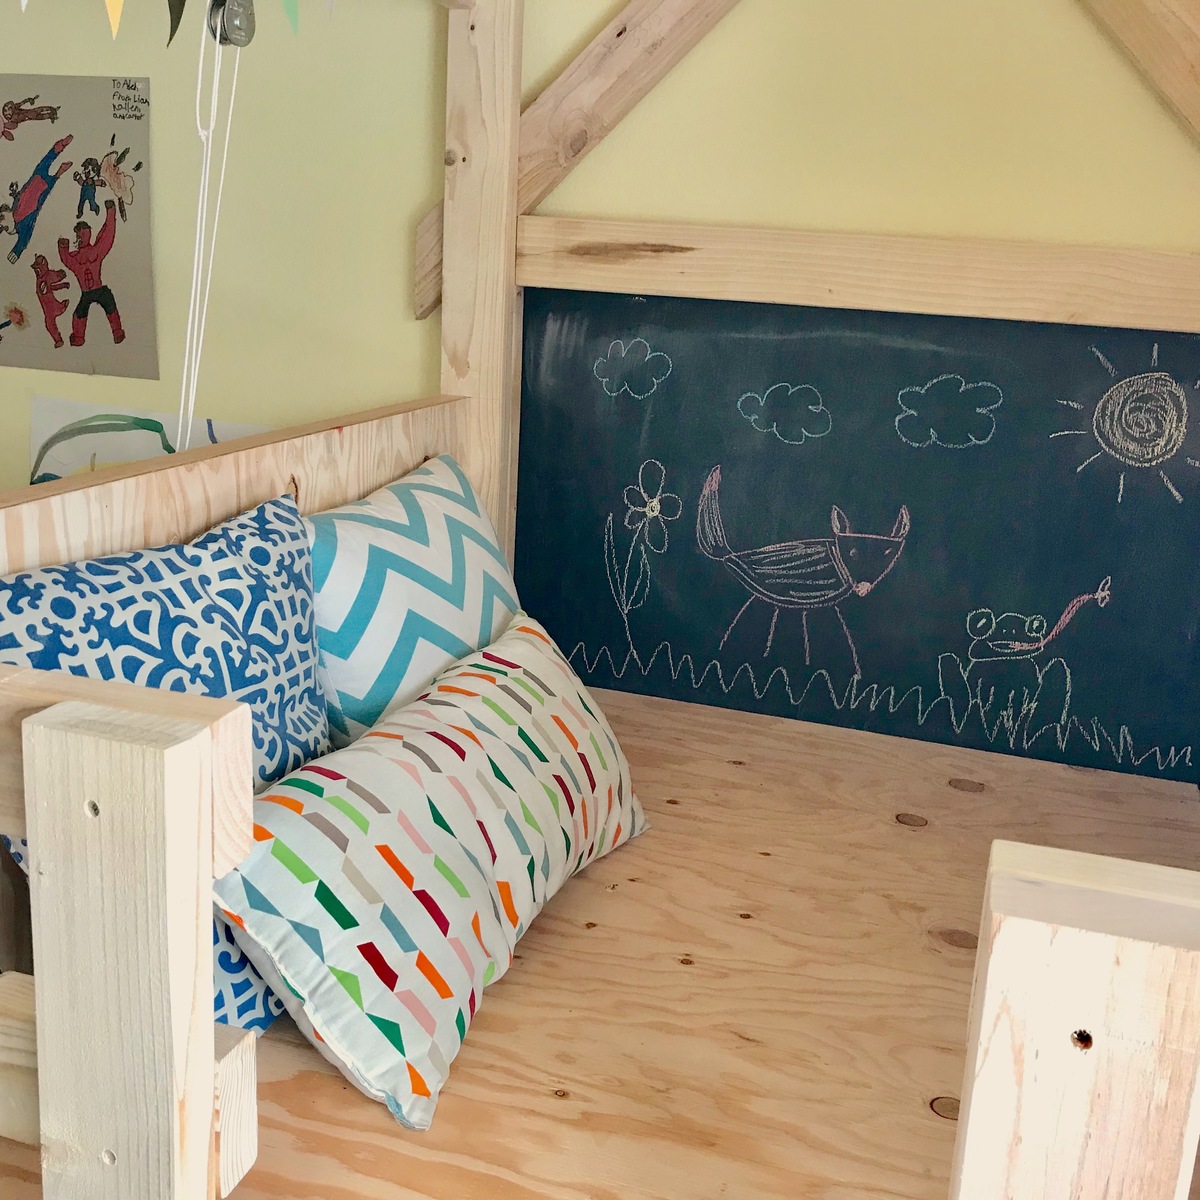
This was a present for my granddaughter's 10th birthday. I had to modify the plans so it could be disassembled then reassembles in her bedroom. That required the screws in the side boards, and vertical pegs at the ends of the top rails that could be popped up. I also added a vertical support between the back sideboard and top rail.
We are SO proud of our first build! It was such a fun project and it built our confidence so much to do this. We didn't want to permanently screw our side rails into the head board and foot board so we took another user's advice and bought some steel bed rail fasteners from rockler.com. They worked like a dream and will make our upcoming moves much easier. Our bed is very heavy and sturdy and I know it will last our son for years. We ended up spending about $70 just for the lumber. The paint was $25 plus we spent some more on primer, screws, and nails. It was an investment and will save us some money on our future projects. =)
I needed some extra space for towels & misc items for my bathroom. So I replaced our over the toilet vanity for these floating shelves, and it was perfect for extra towels and what not. Ana you're the best!!
Sat, 03/21/2015 - 18:39
Great job! I saw floating shelves used in a water closet on another site, and thought it was a great idea. I definitely plan to do this in my Master Bath!