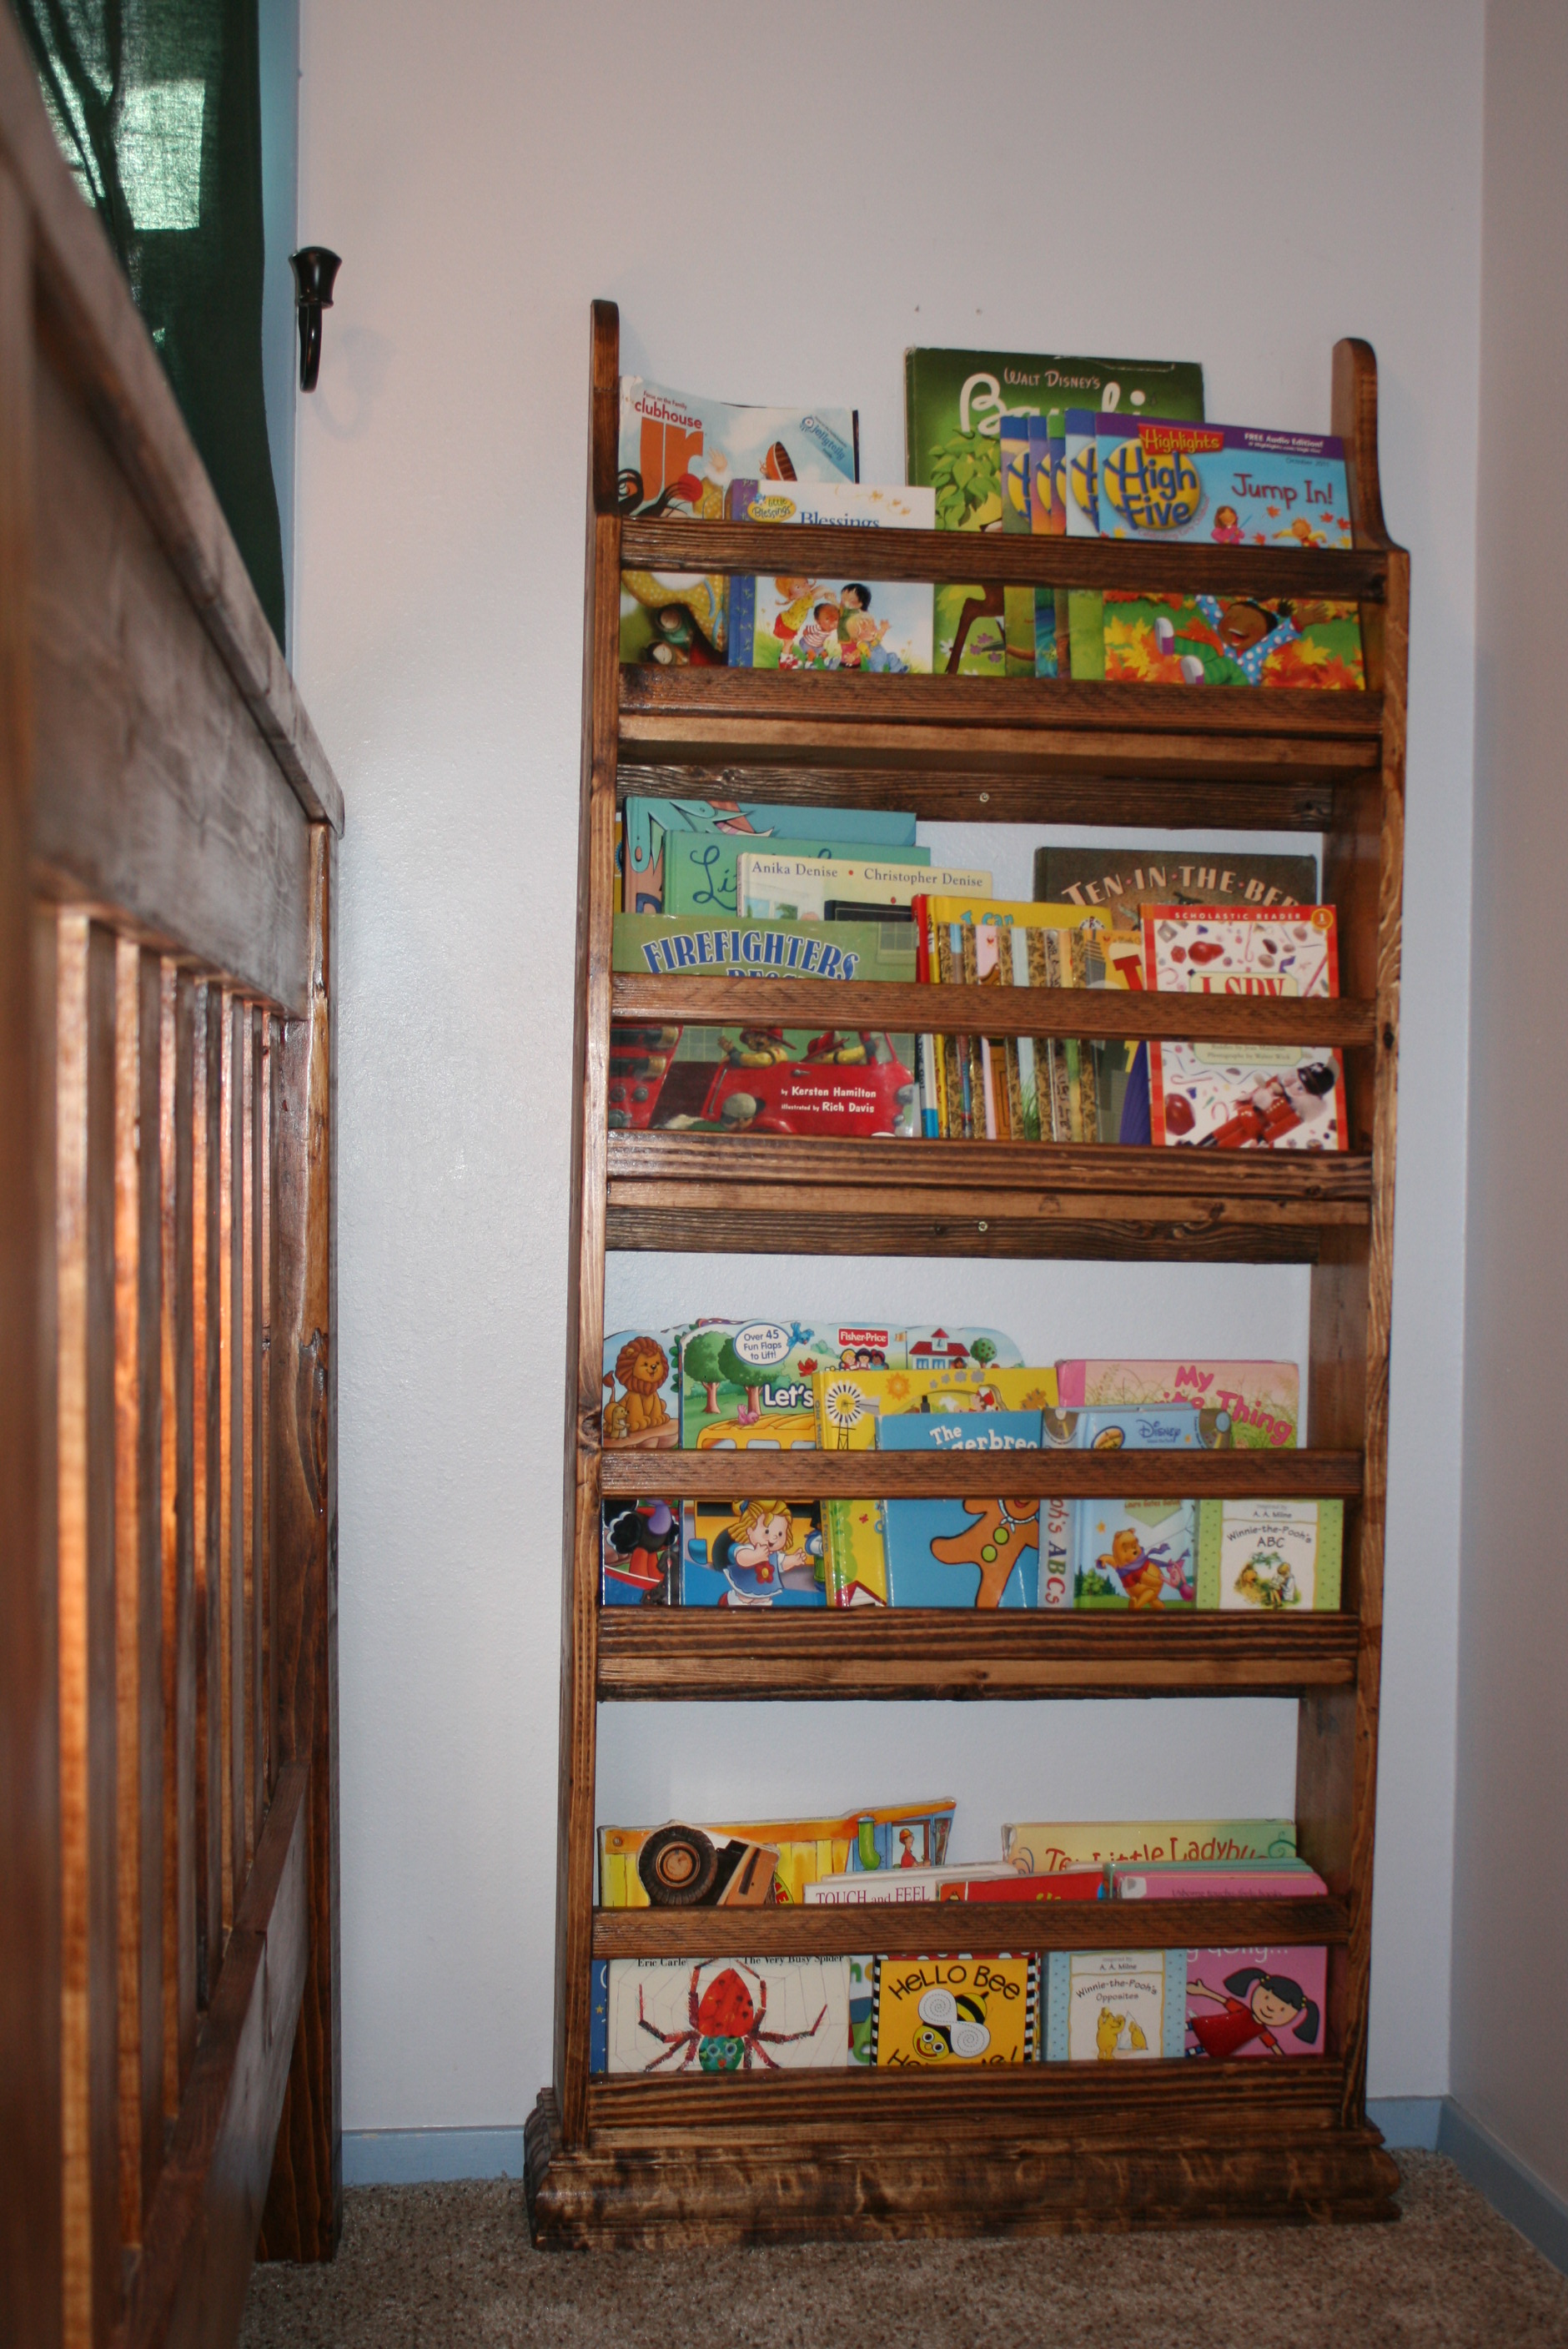
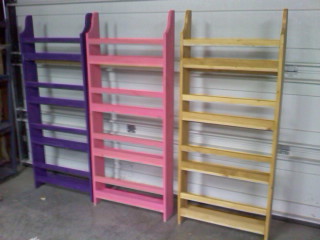
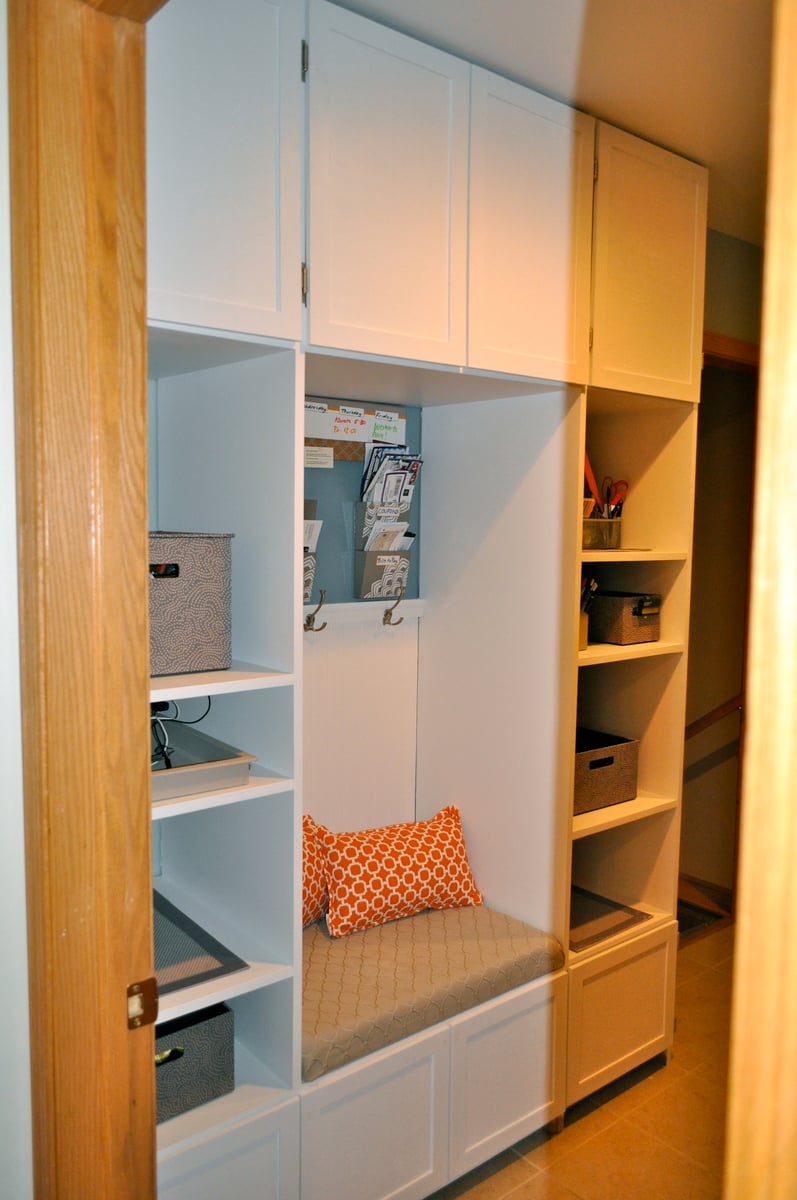
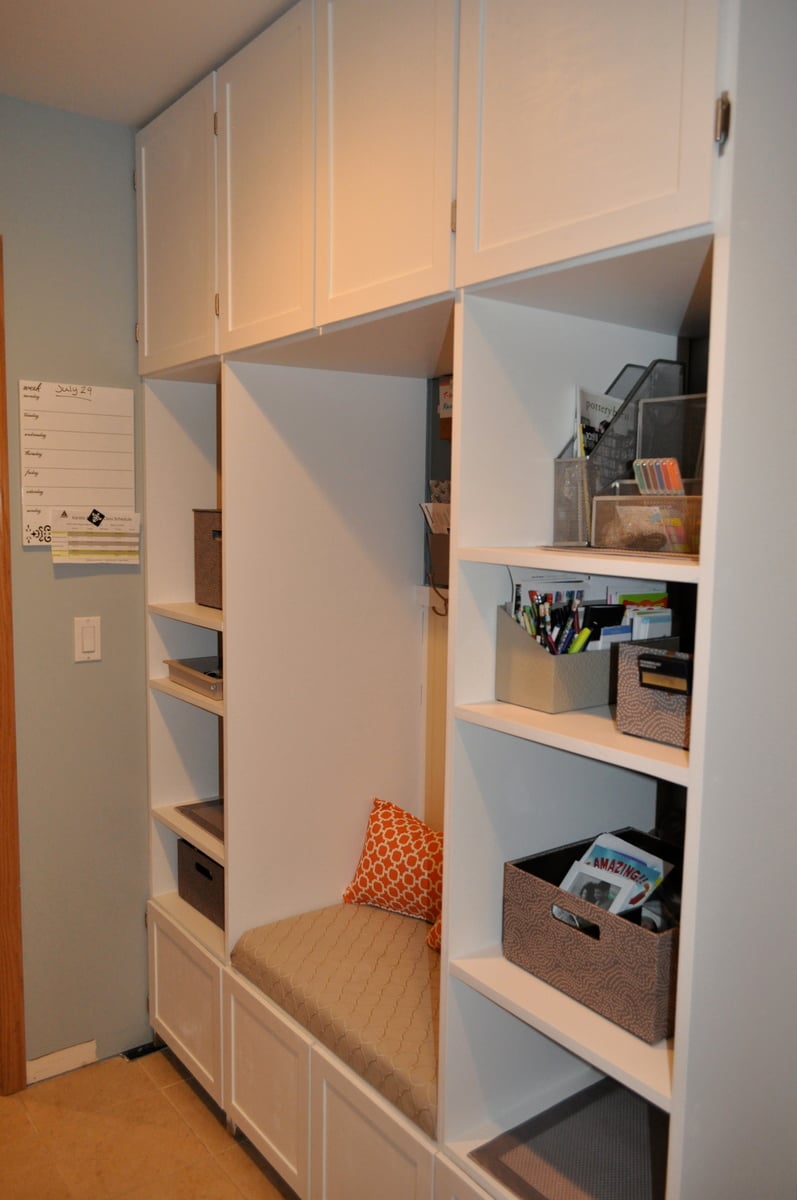
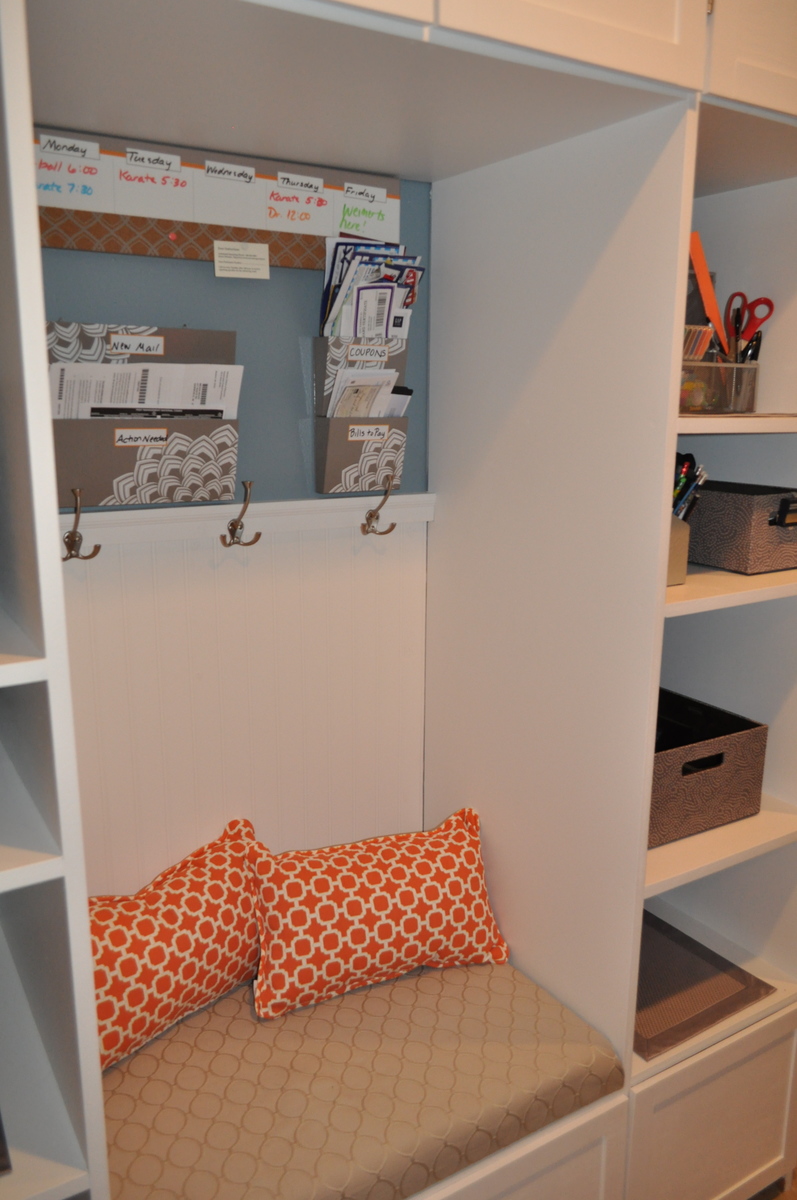
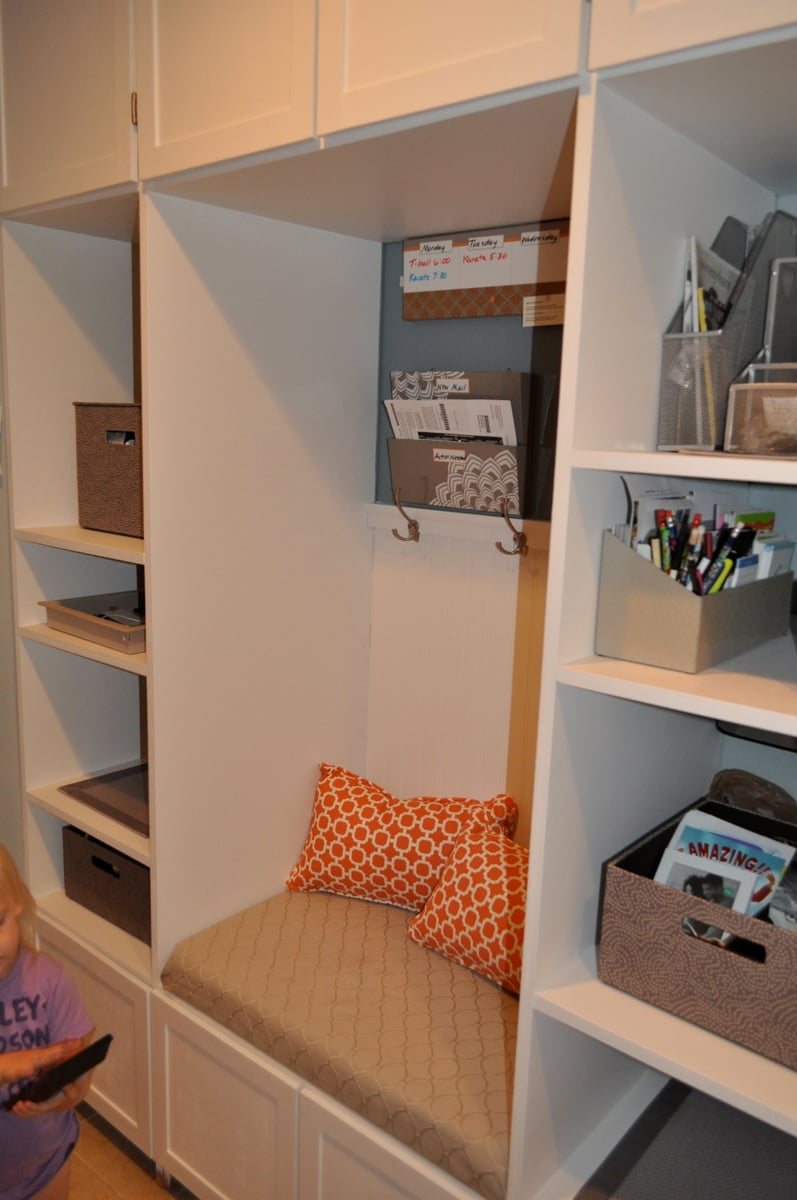
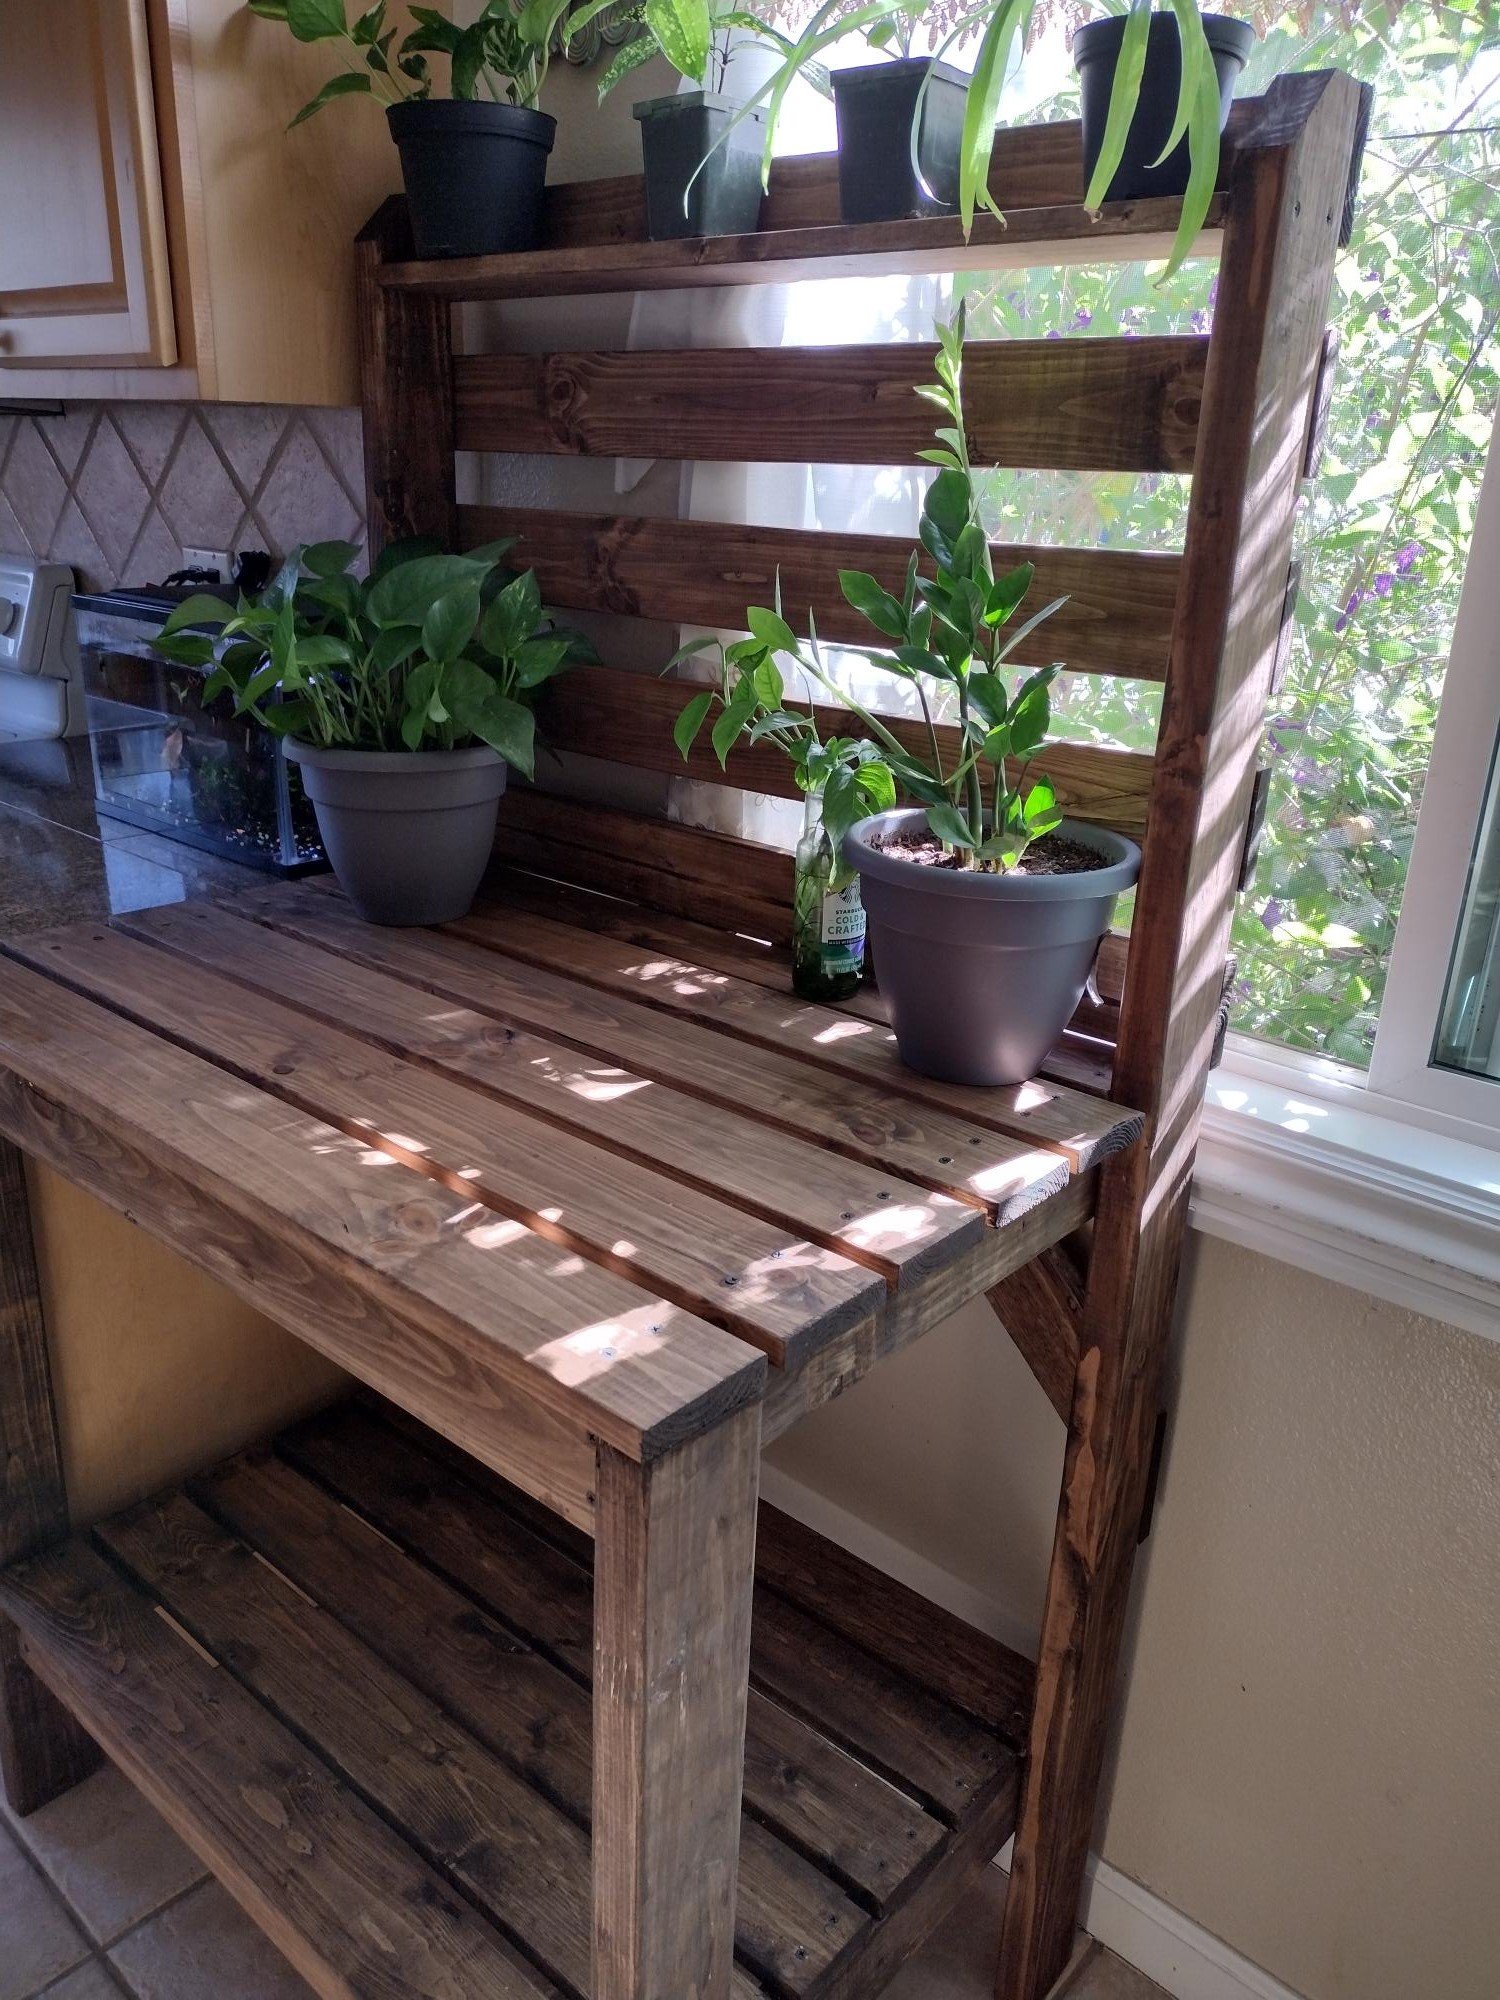
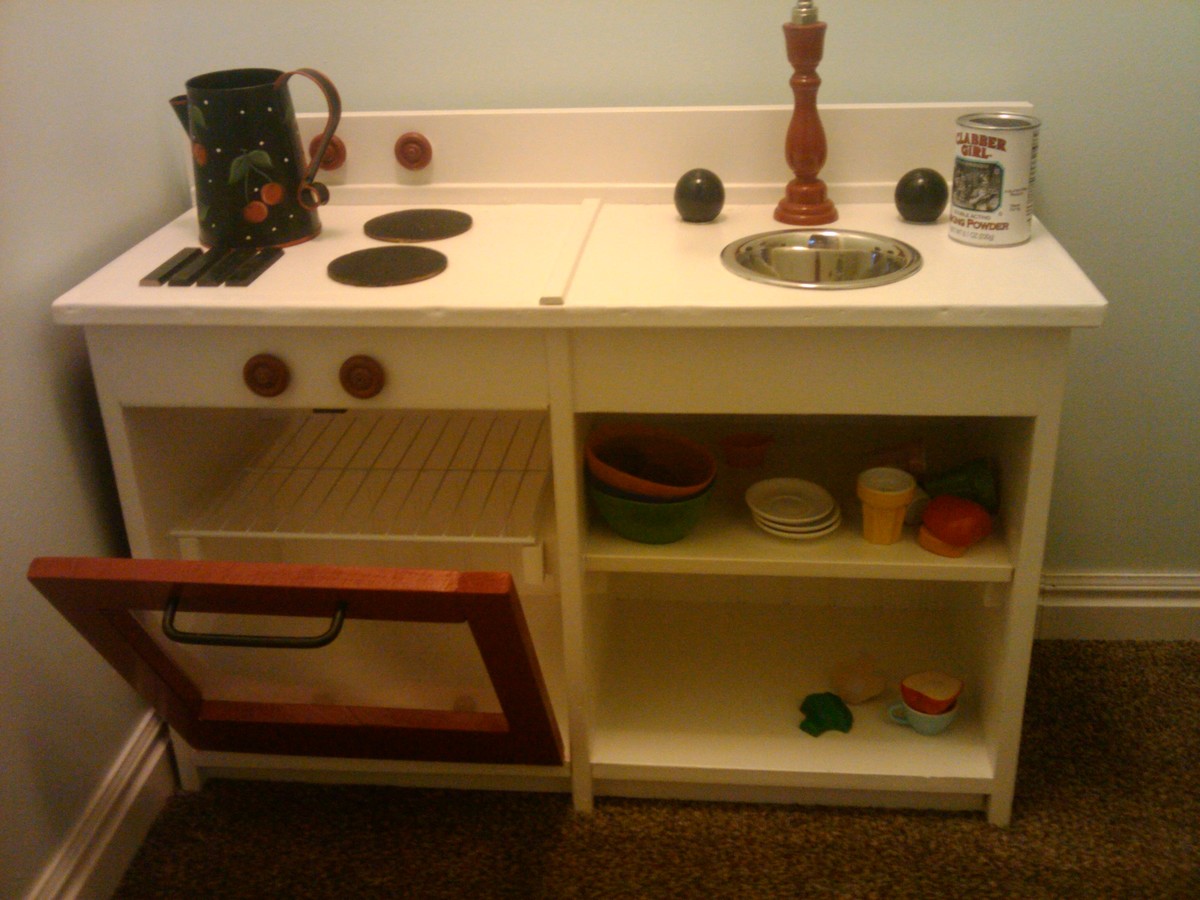
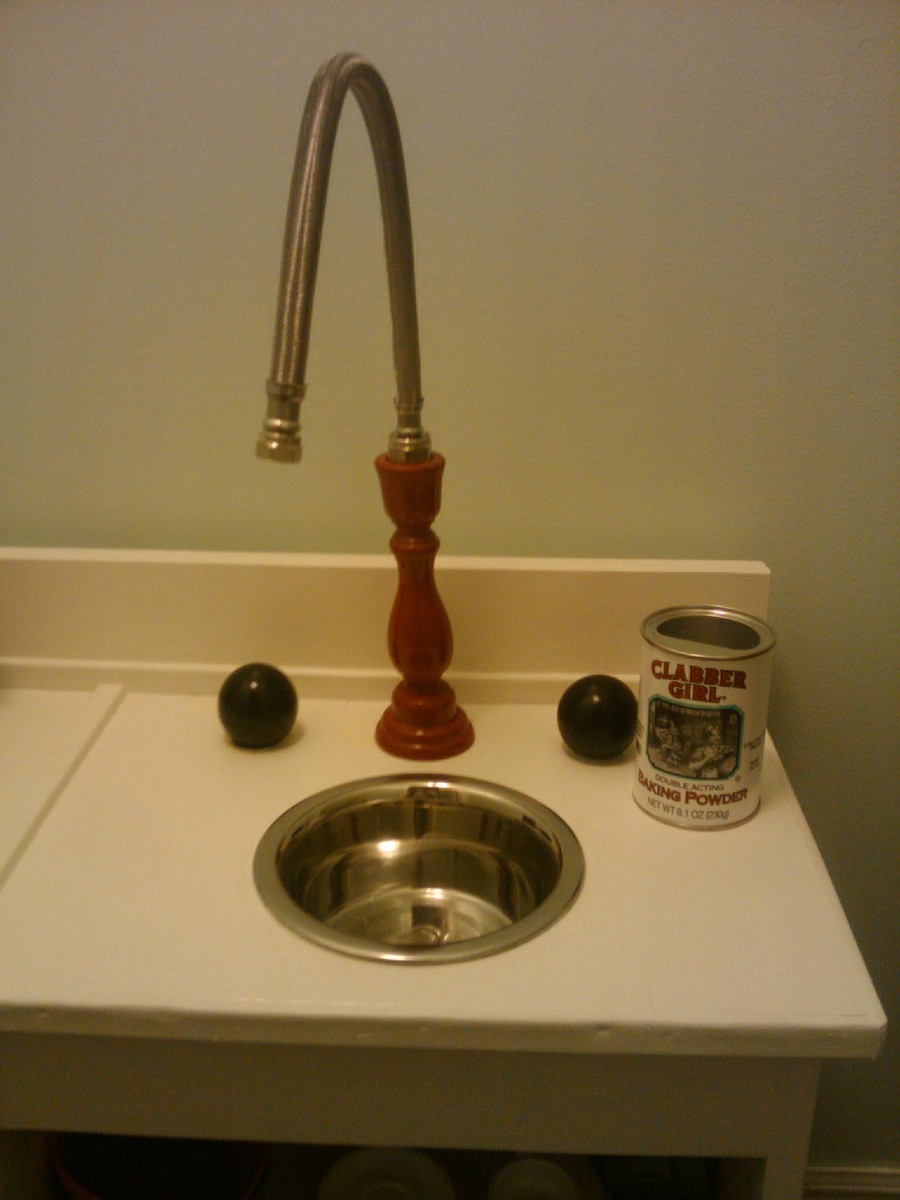
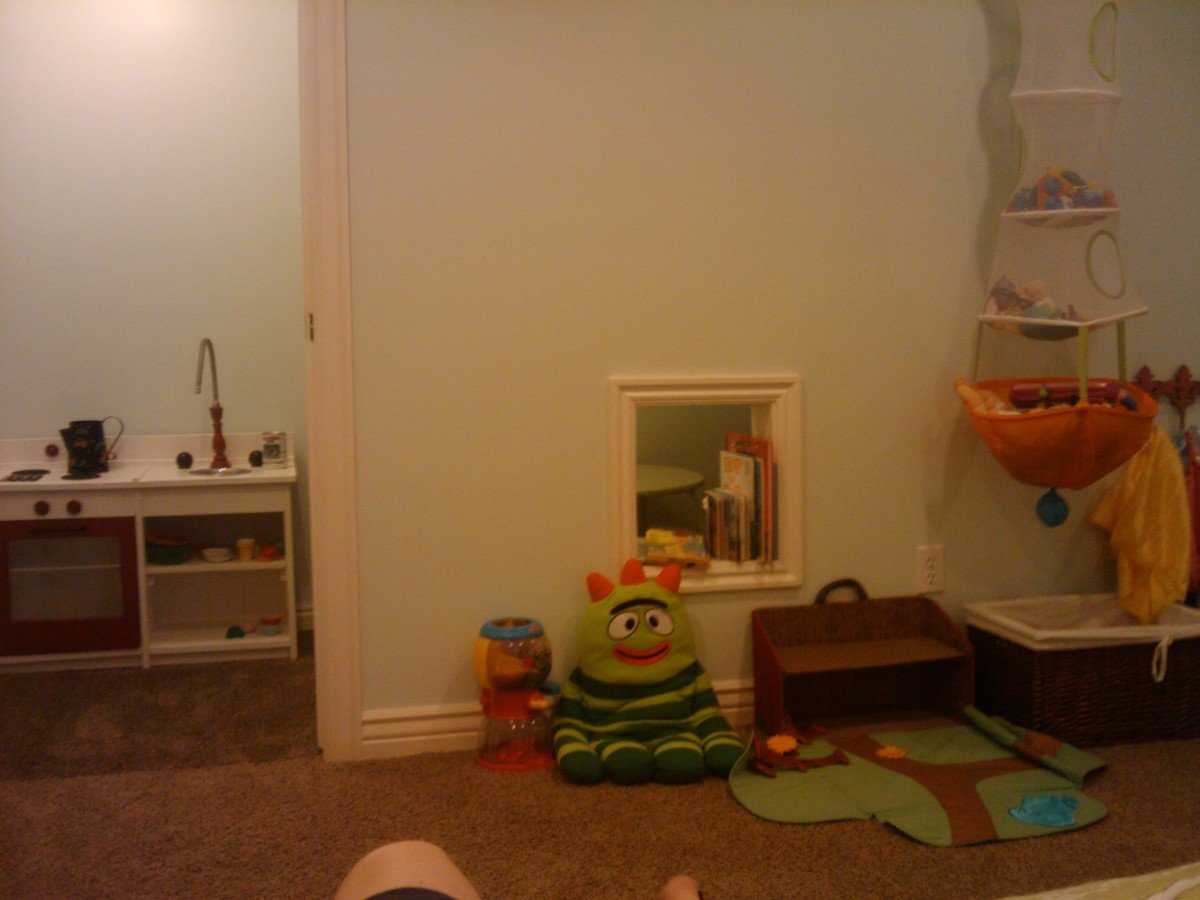
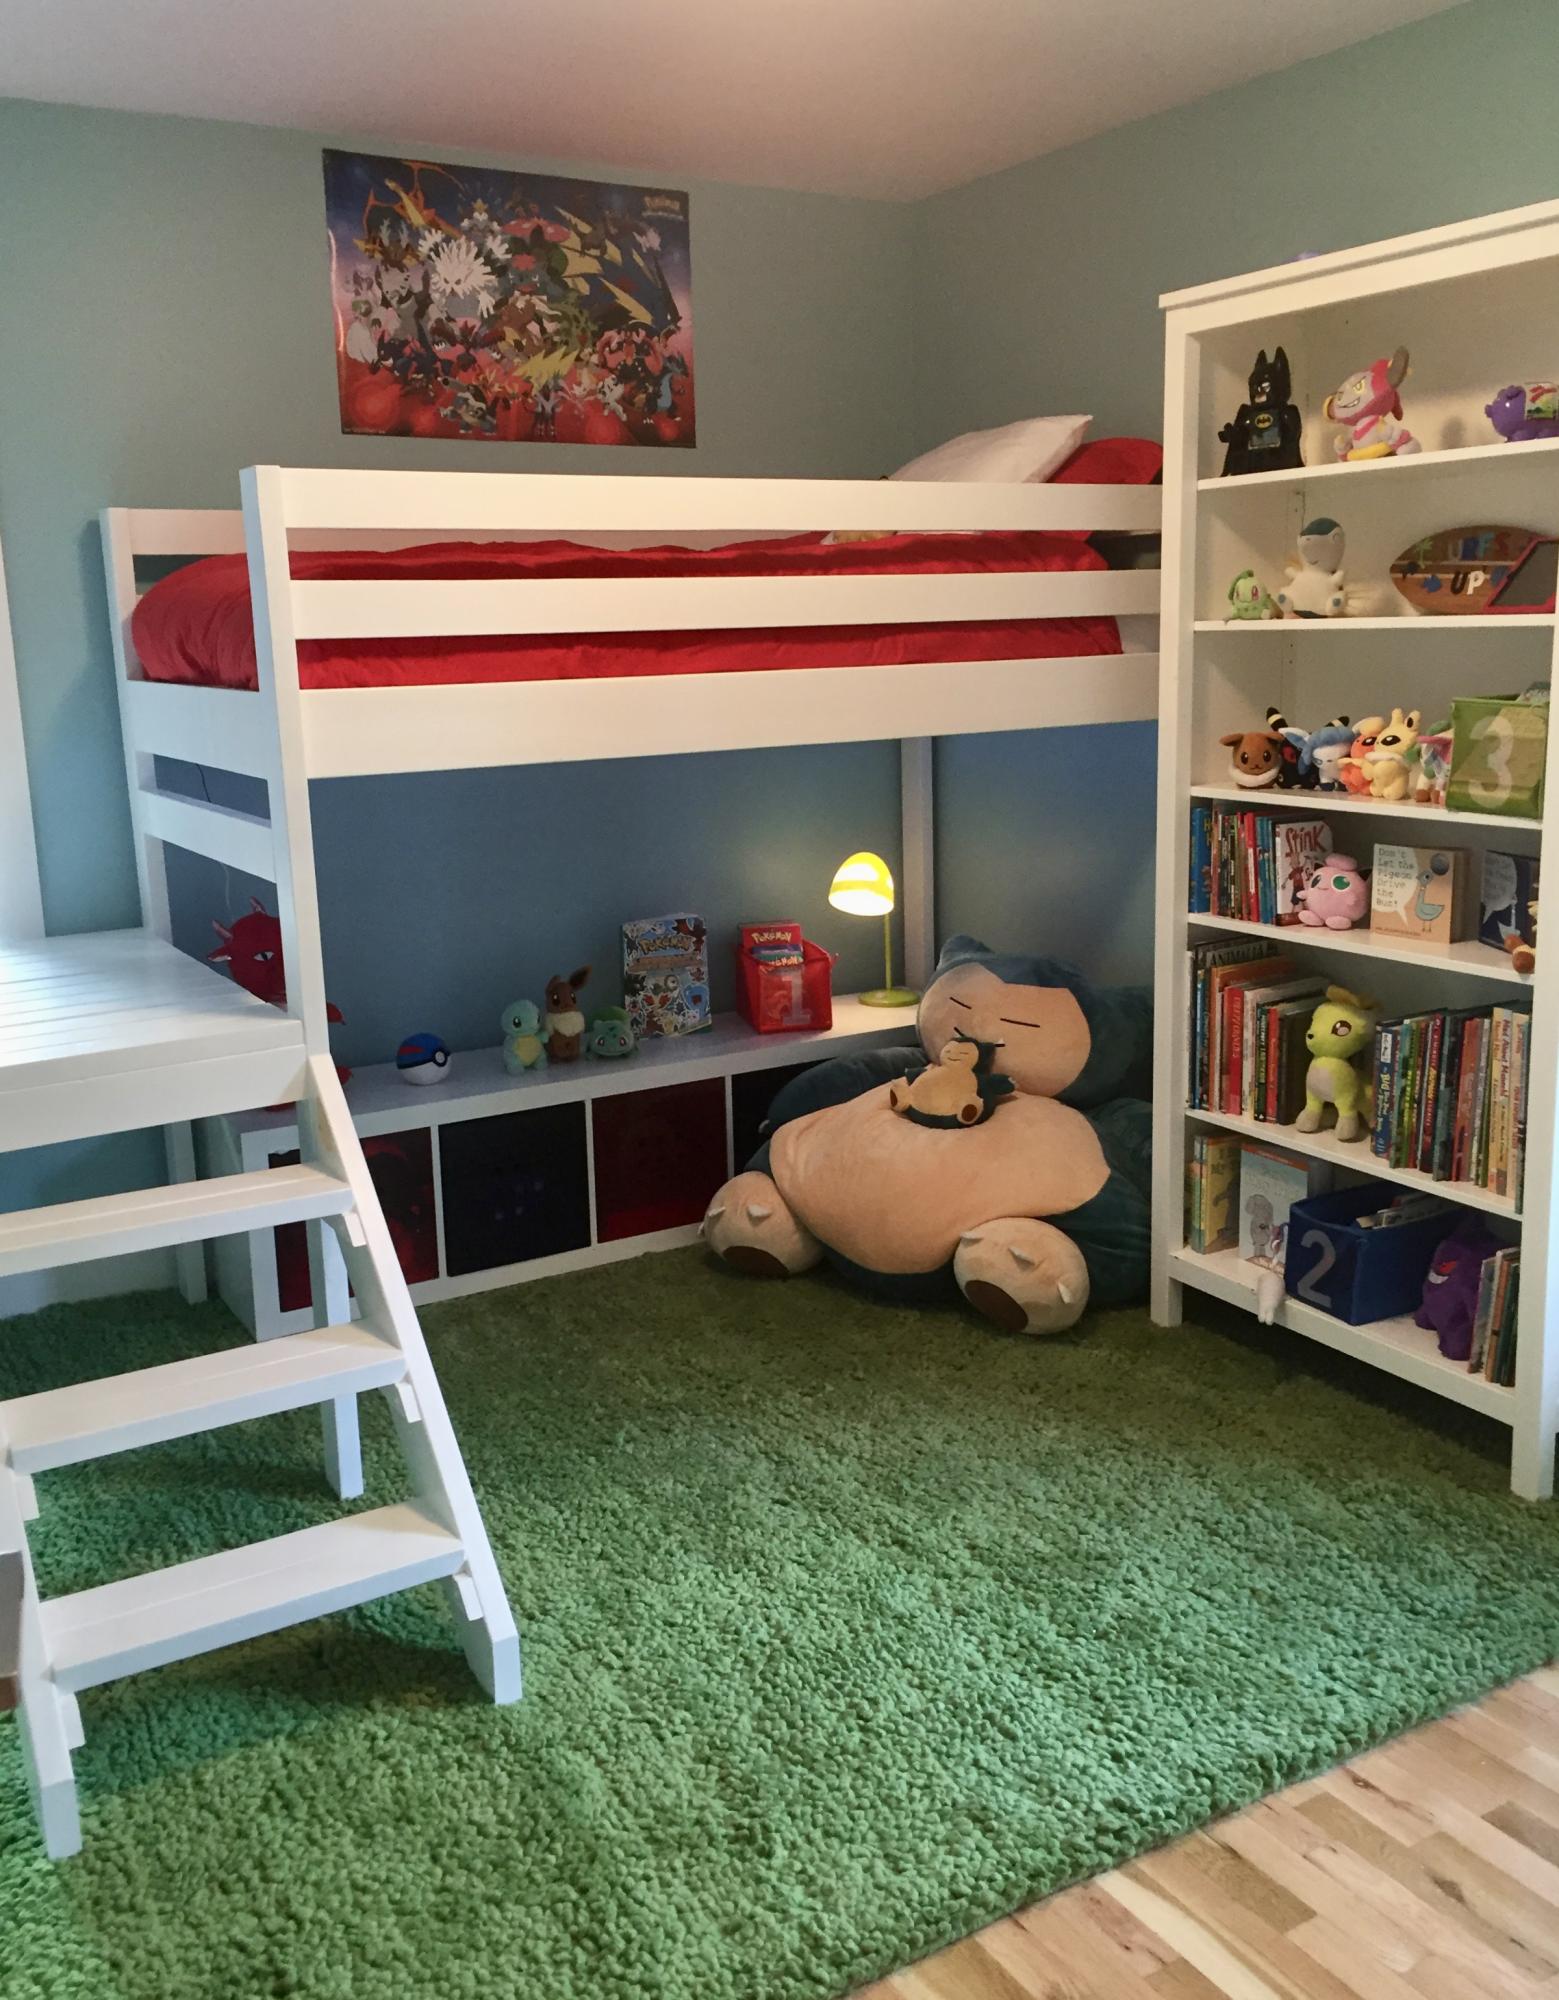
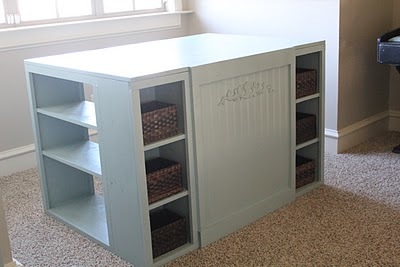
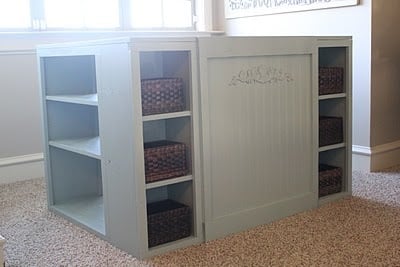
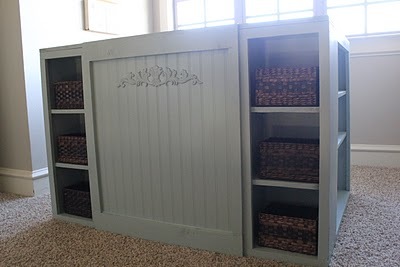
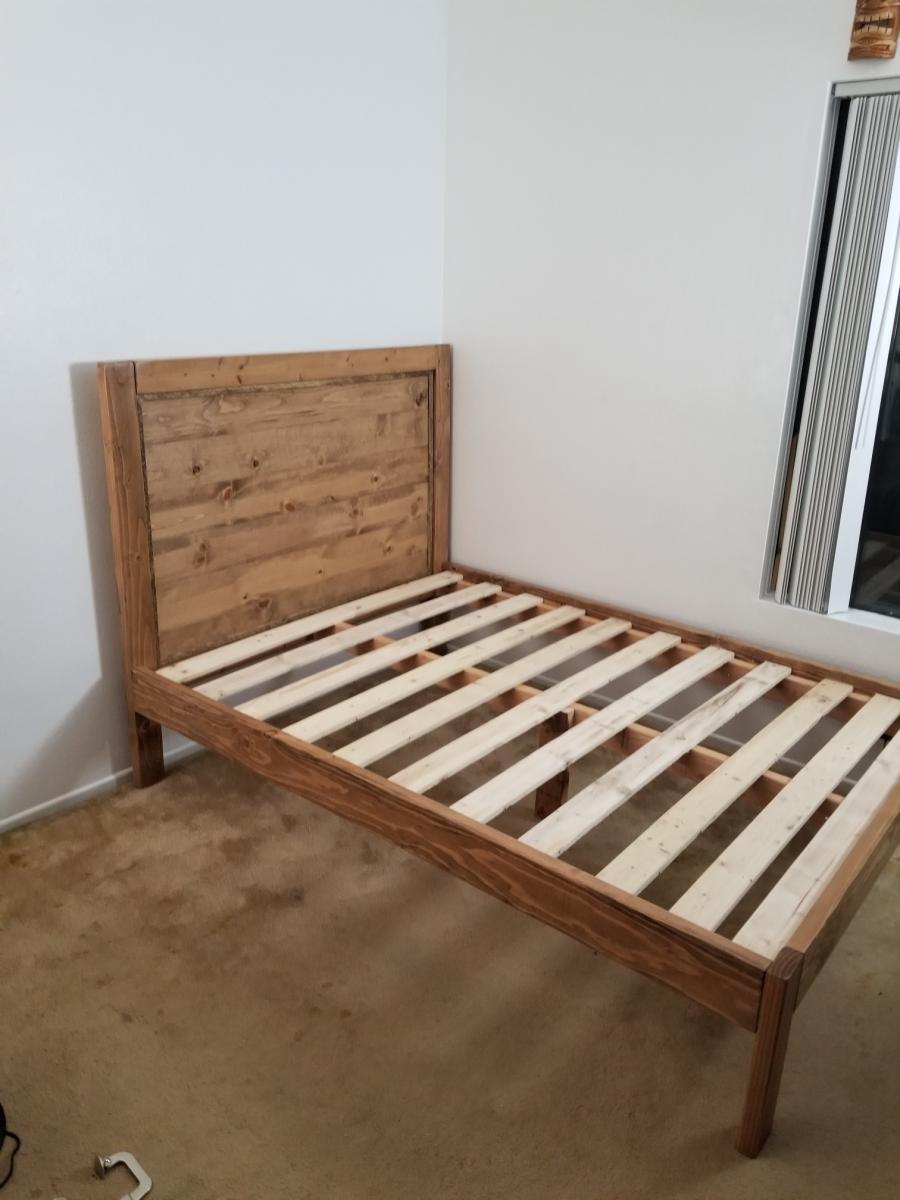
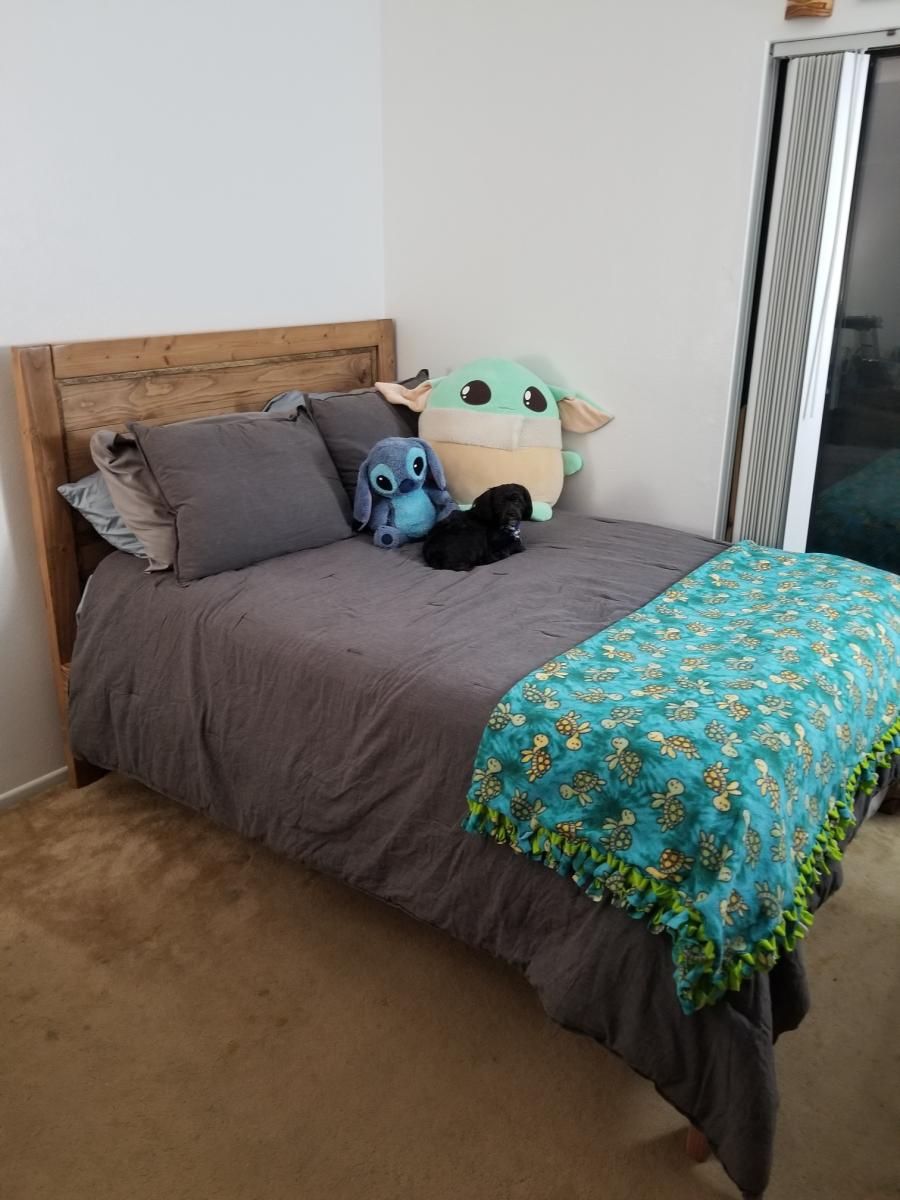
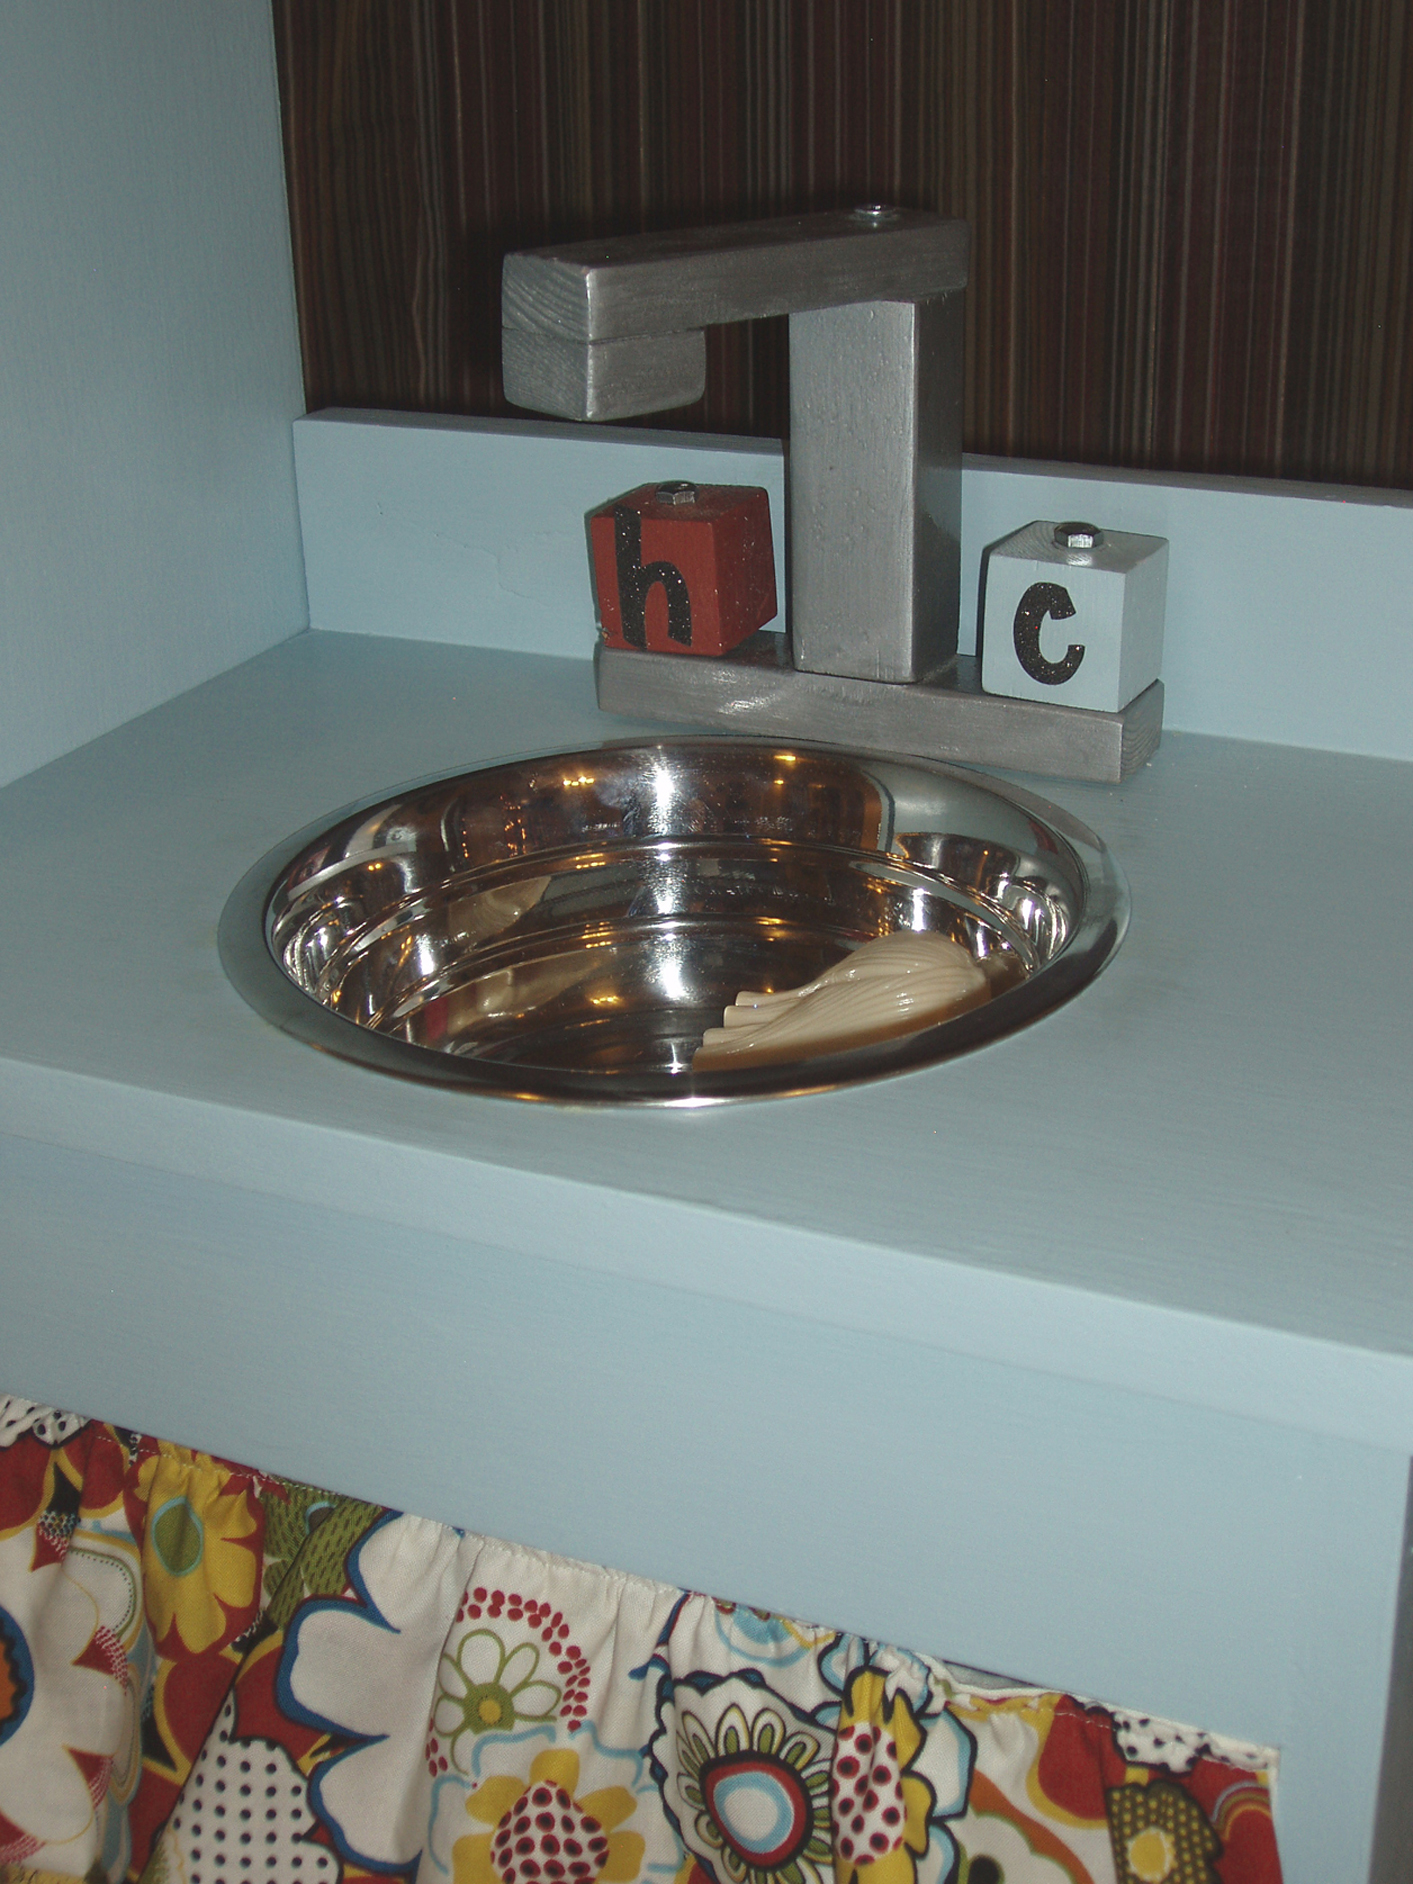
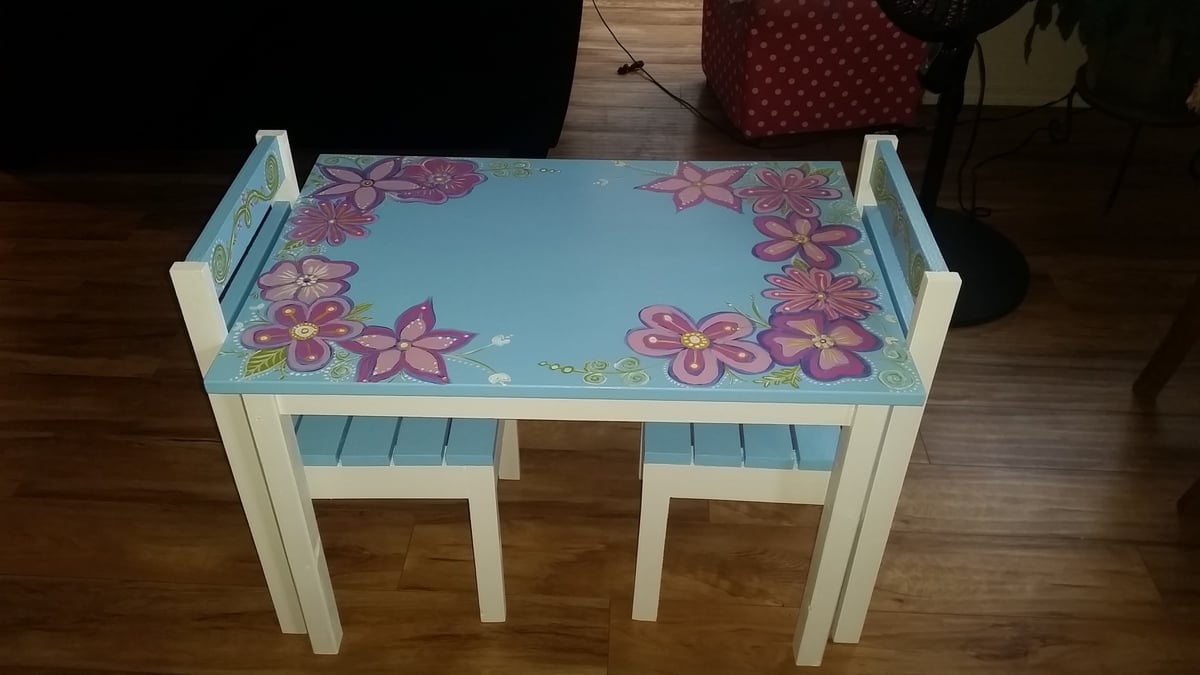
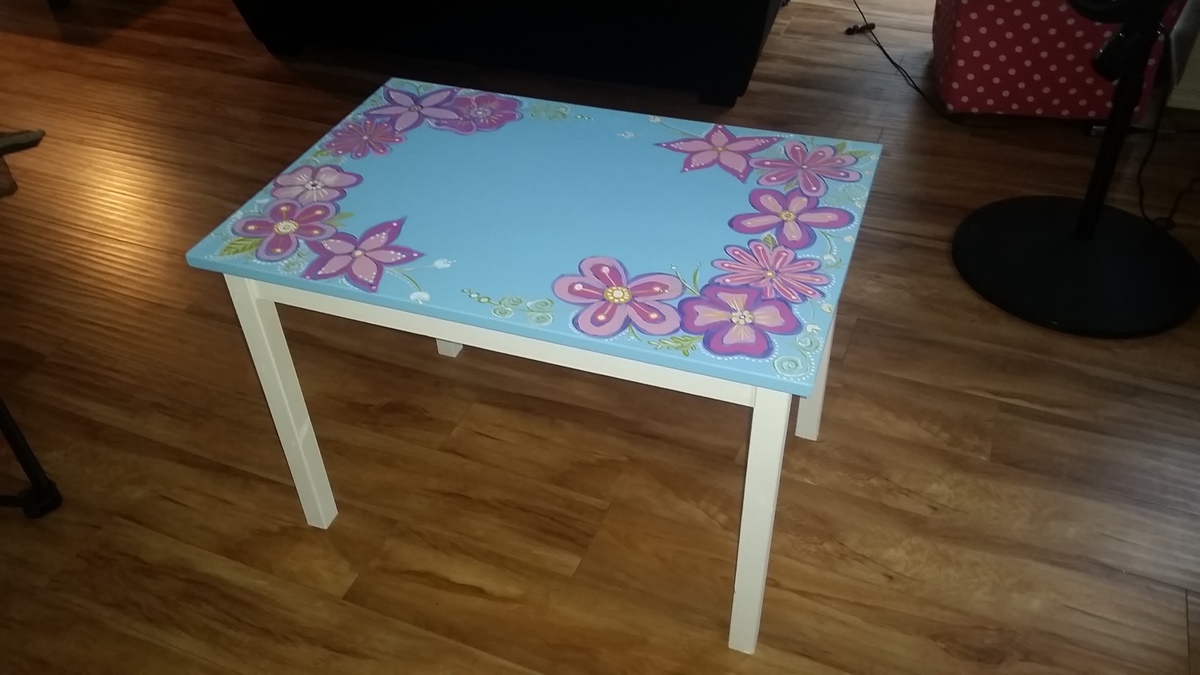
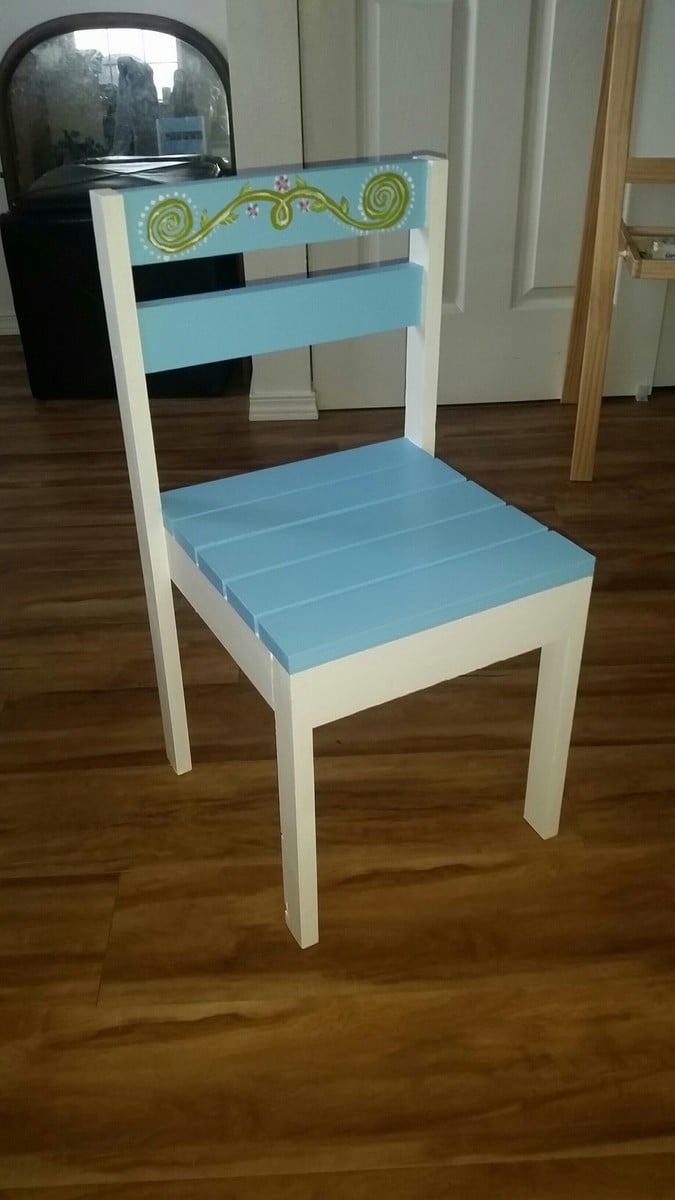
My First Build - Thank you for the great plan!
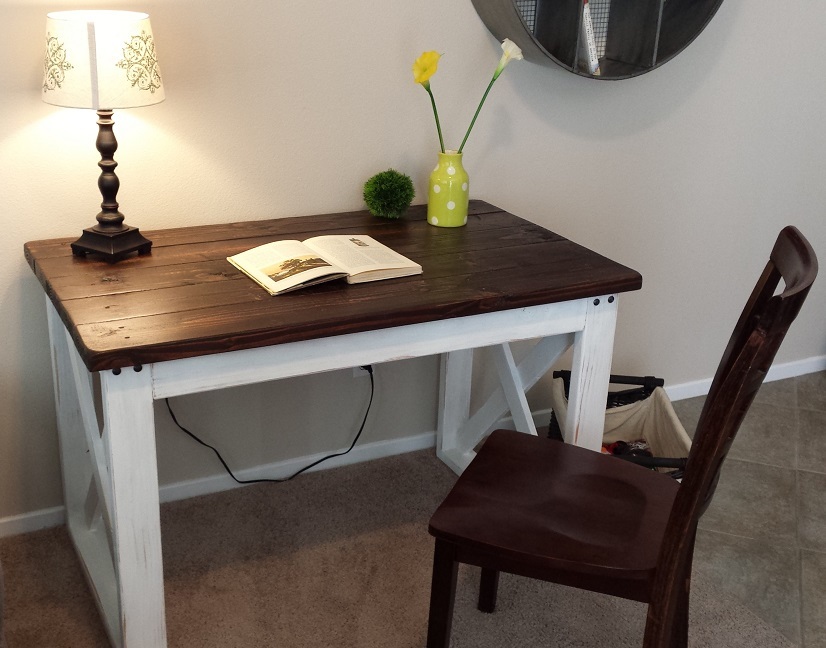
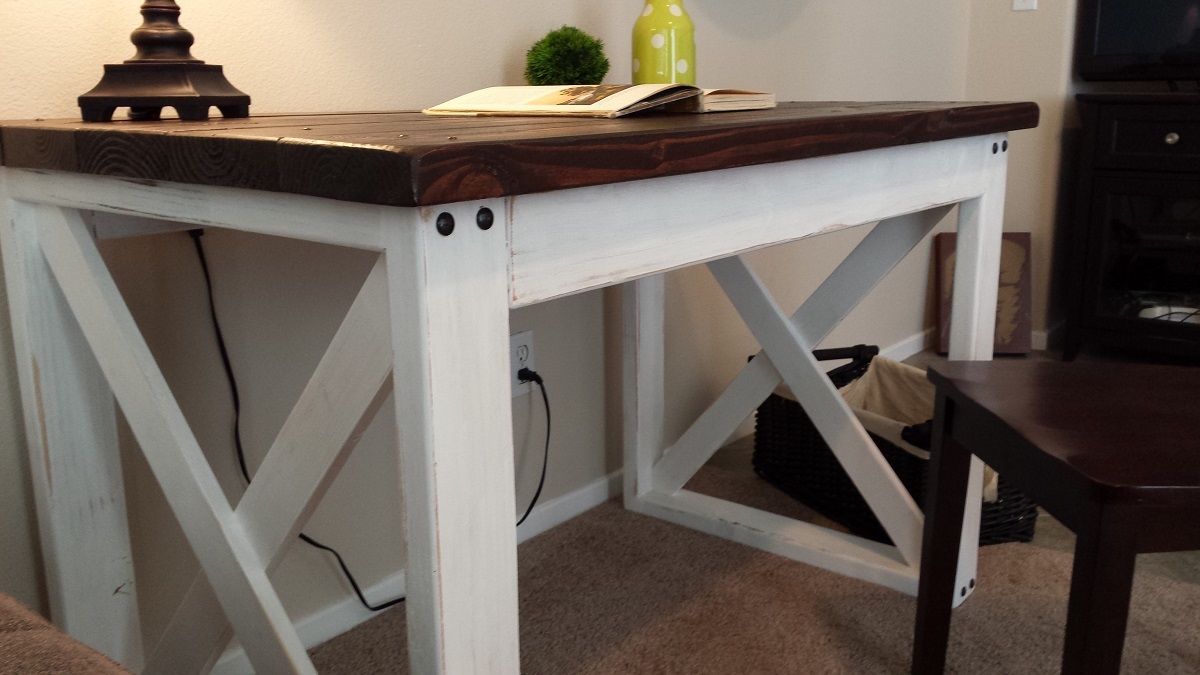
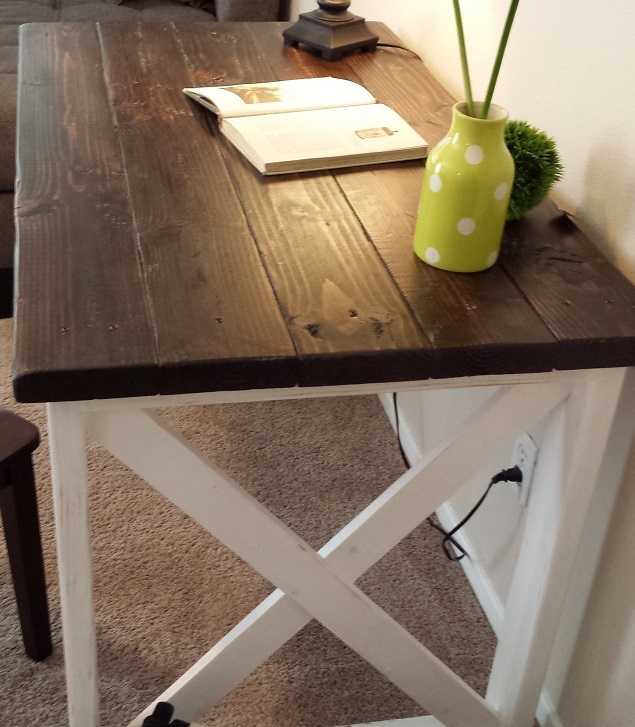
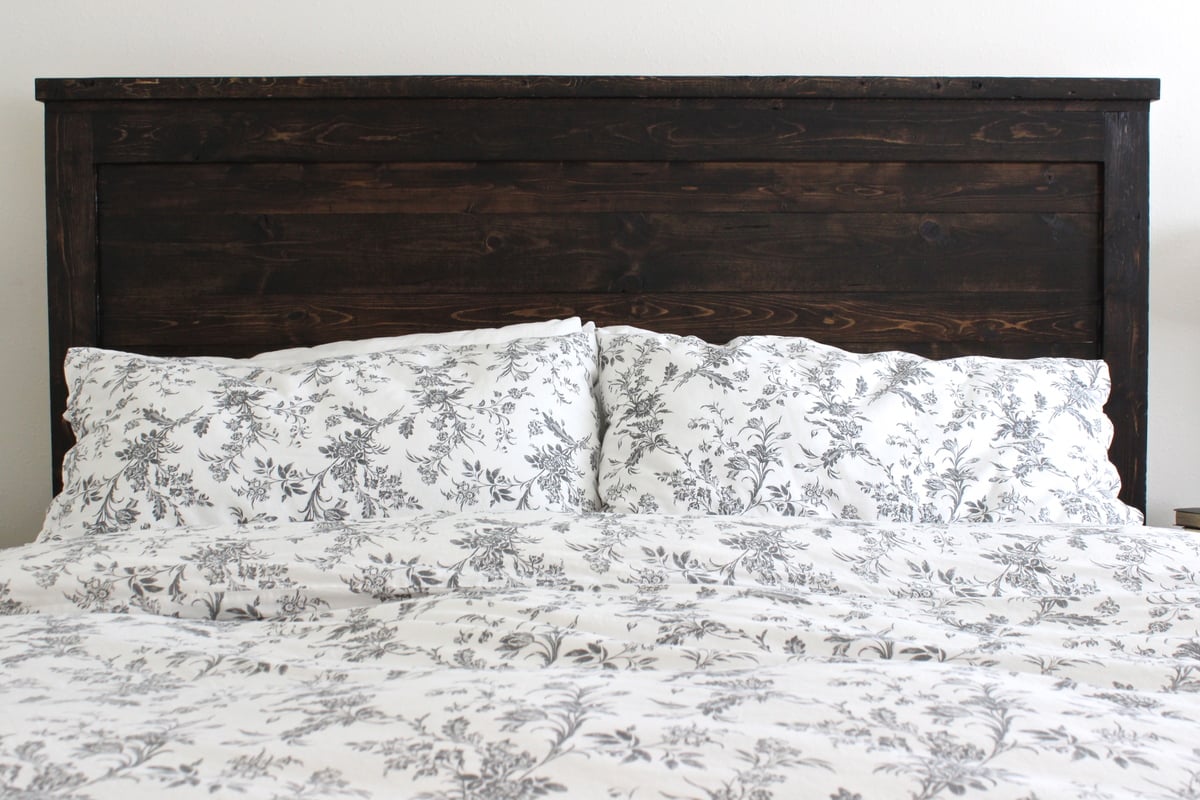
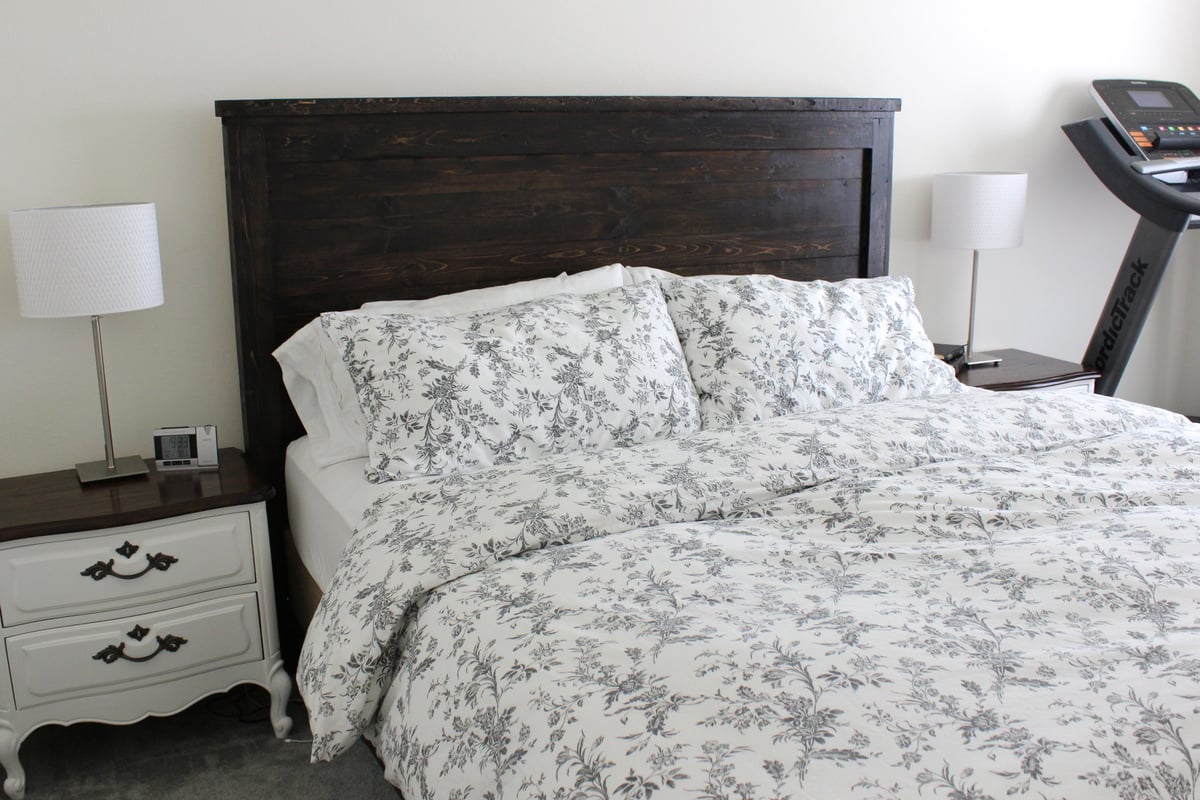
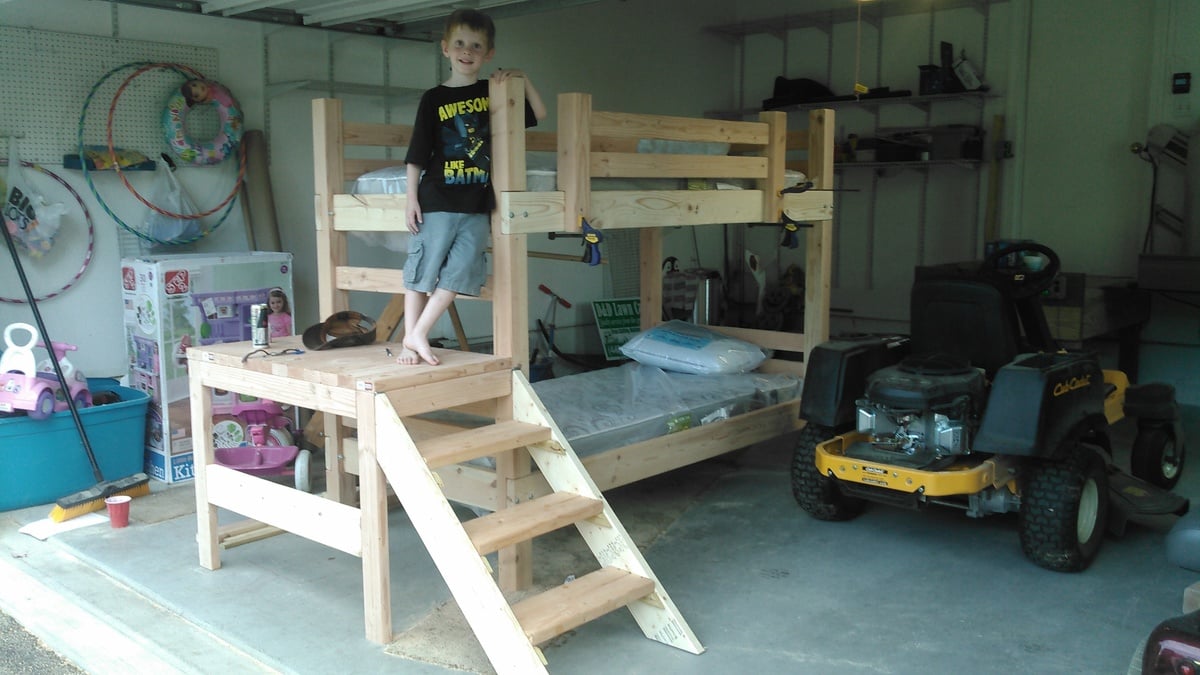
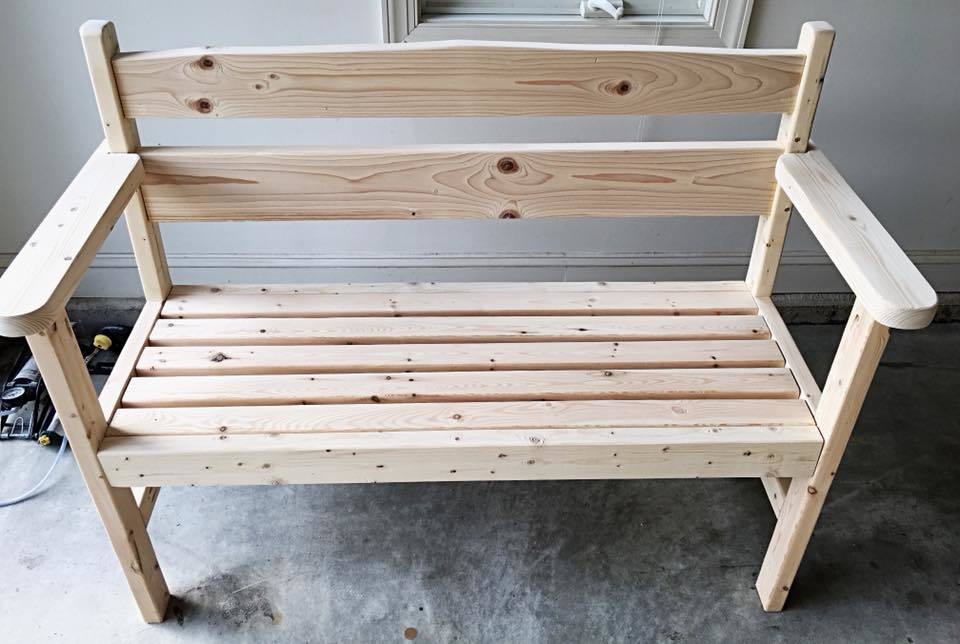
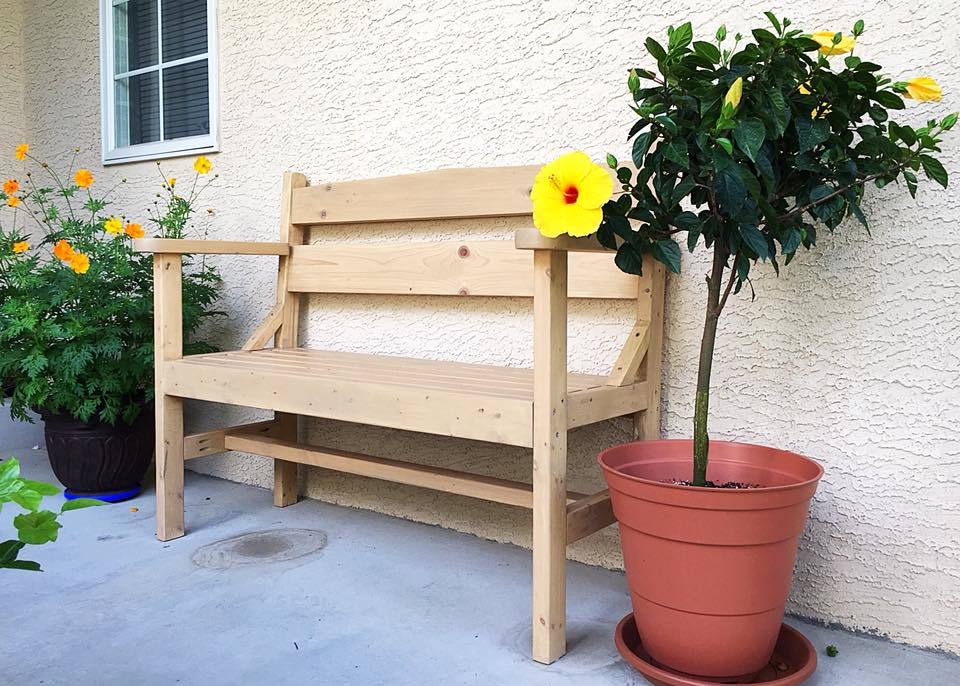
My first build using plans through this blog. This project took me about four hours total and cost about 40$ with wood, paint, stain, and hardware.
Estimated Cost
$25 for the wood and an extra $15 dollars for paint, stain, and hardware.
Estimated Time Investment
Afternoon Project (3-6 Hours)
Finish Used
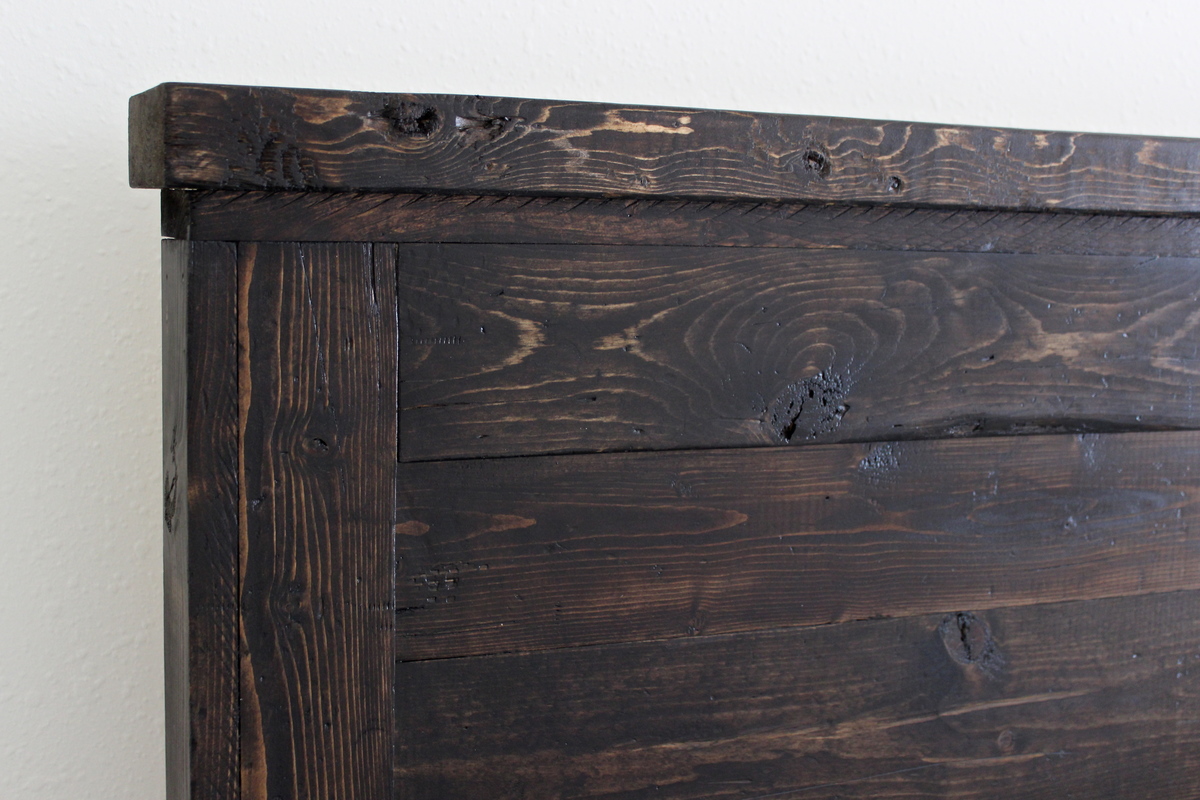
Kona finish from MinWax.
Recommended Skill Level
Beginner


Comments
Ana White Admin
Mon, 08/31/2015 - 20:03
Super!
Love it, great job!