Outdoor Sofa Mash-up

My wife loves the X pattern of the Weatherly Sofa, but wanted the tilted back from the Simple White Outdoor Sofa. This was our best of both worlds effort!
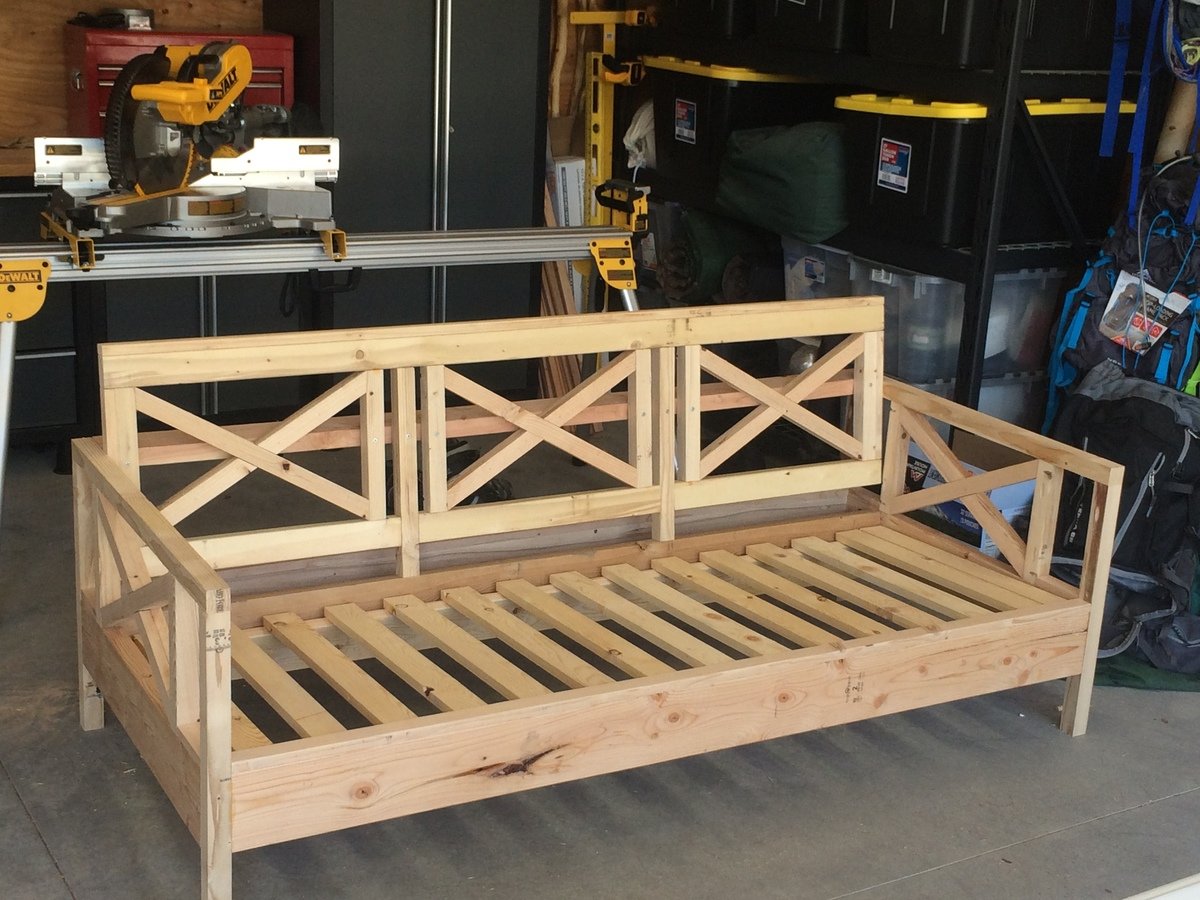
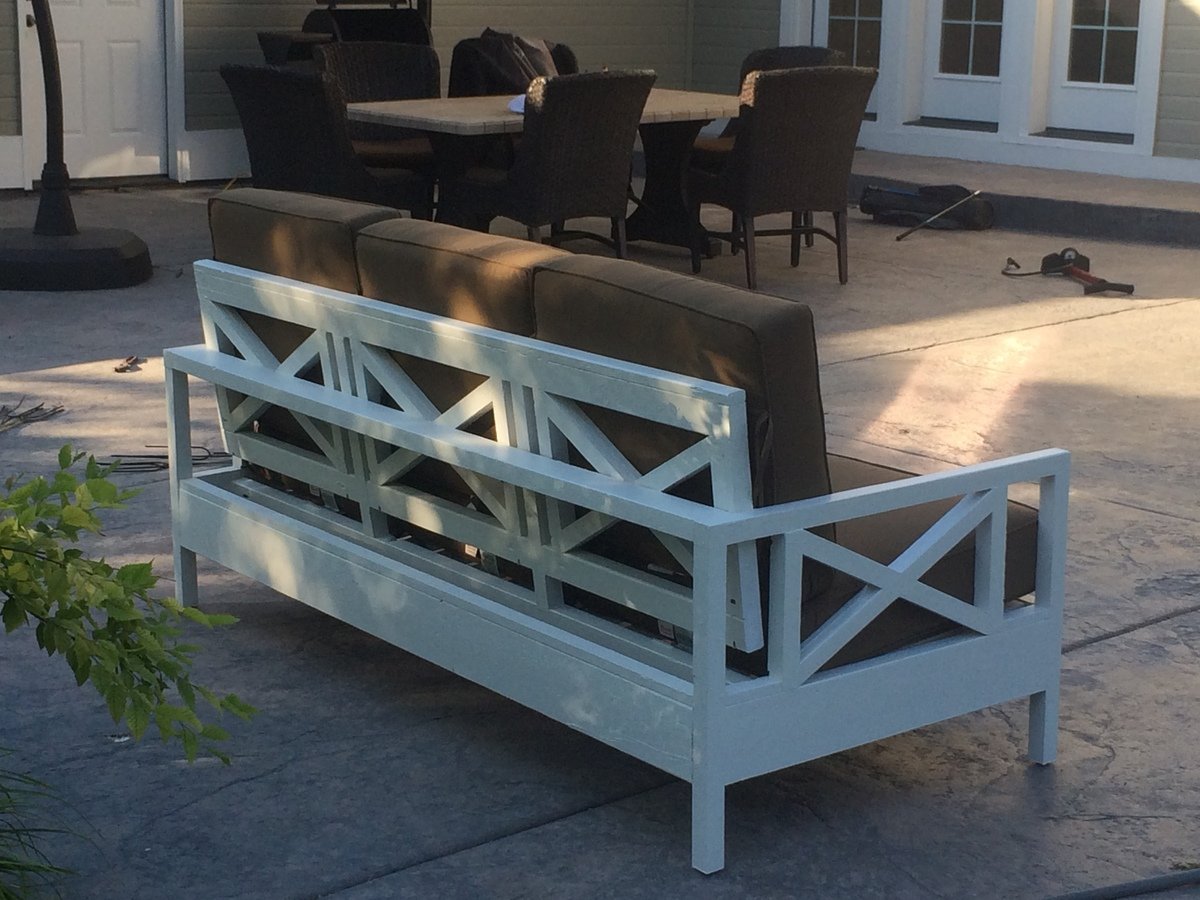
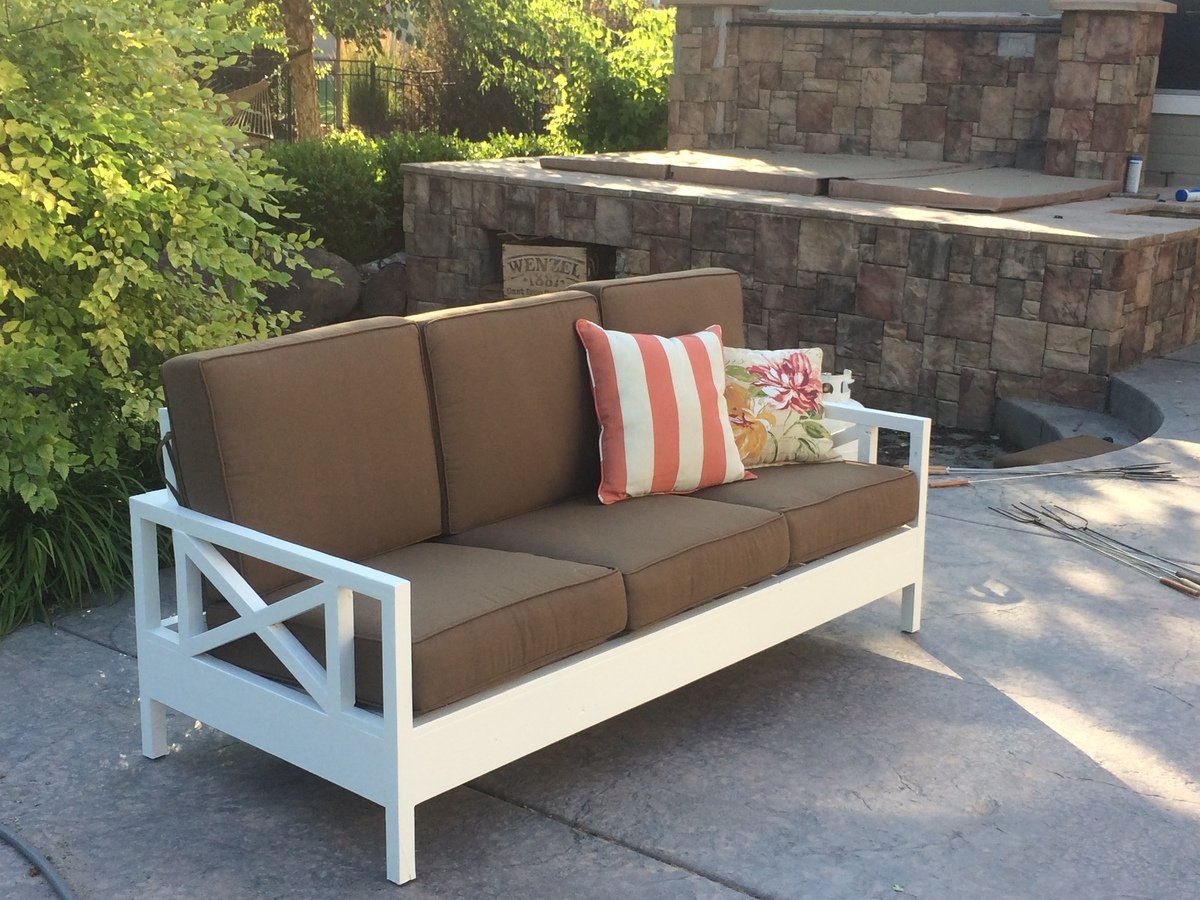

My wife loves the X pattern of the Weatherly Sofa, but wanted the tilted back from the Simple White Outdoor Sofa. This was our best of both worlds effort!


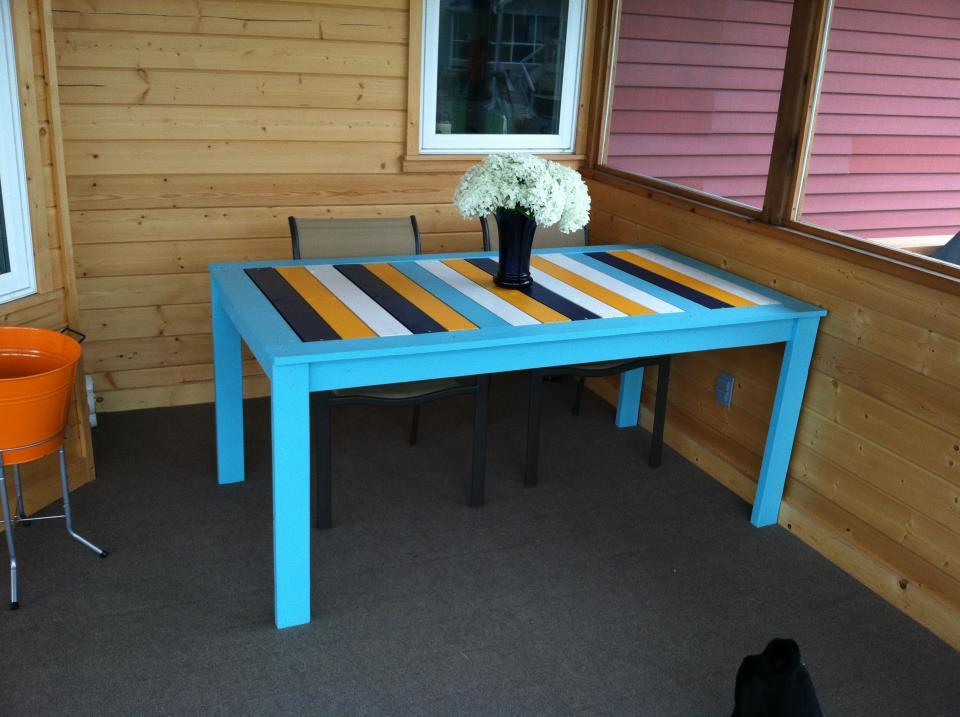
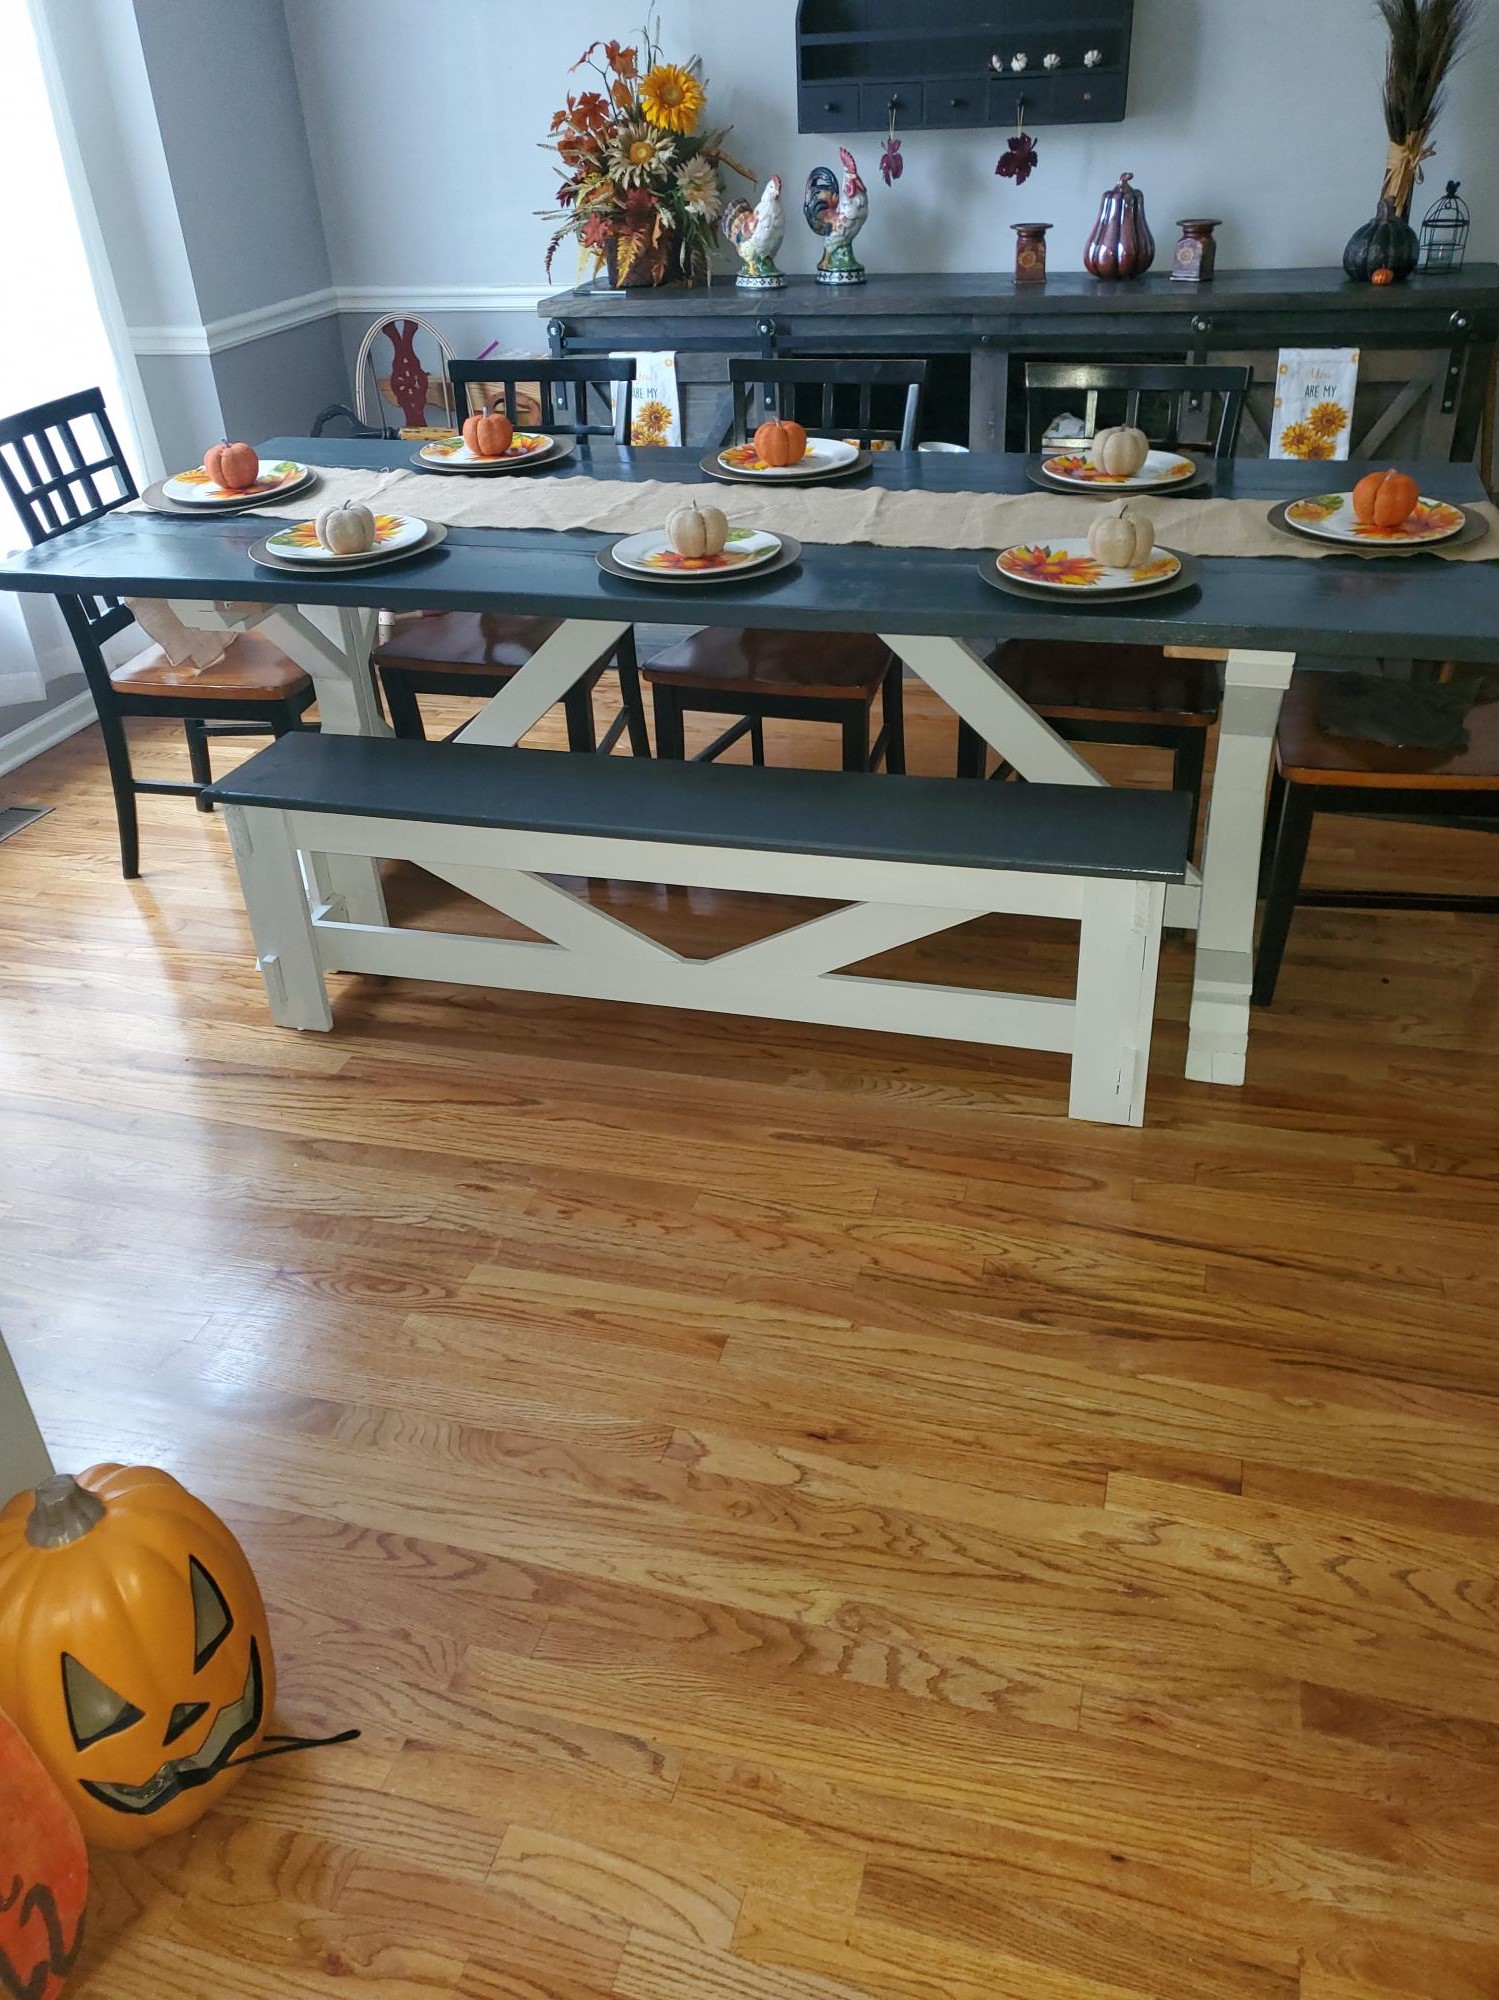
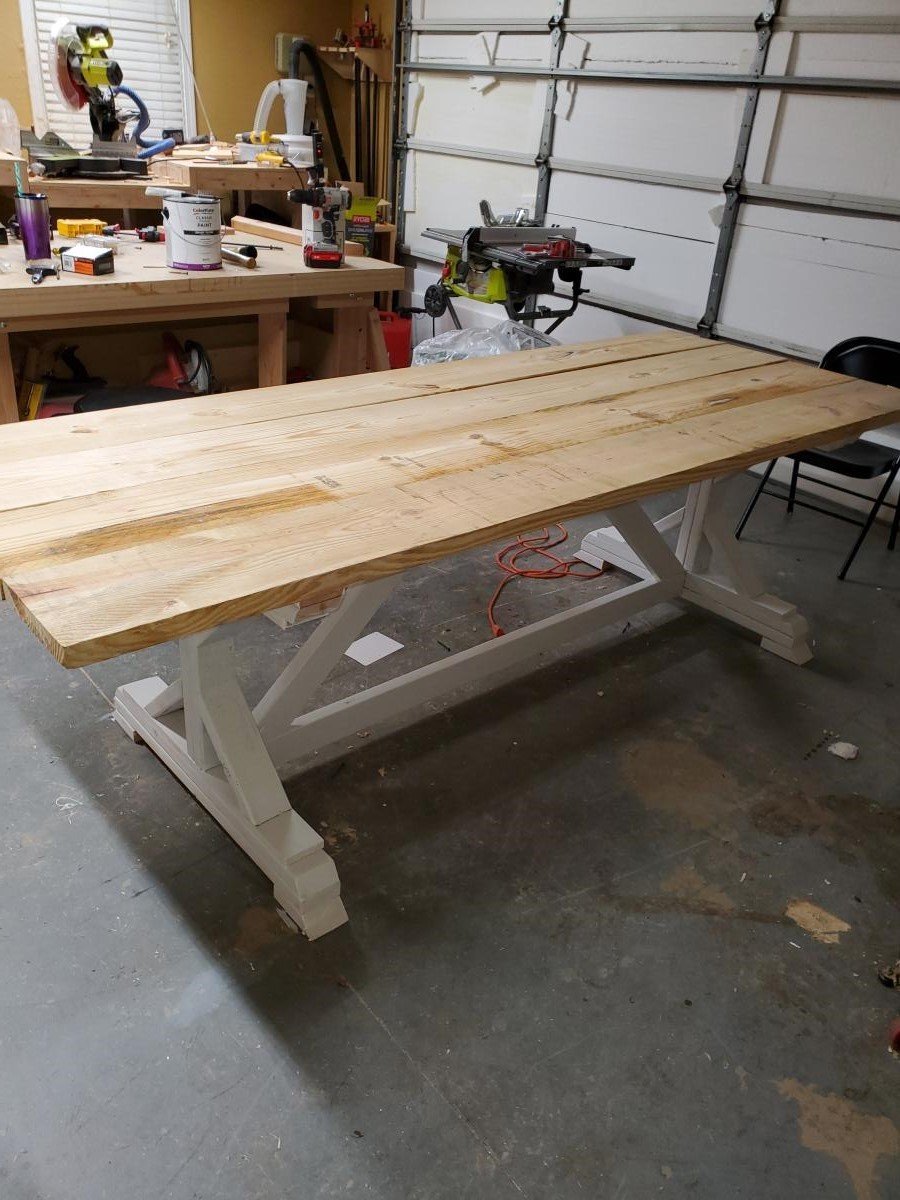
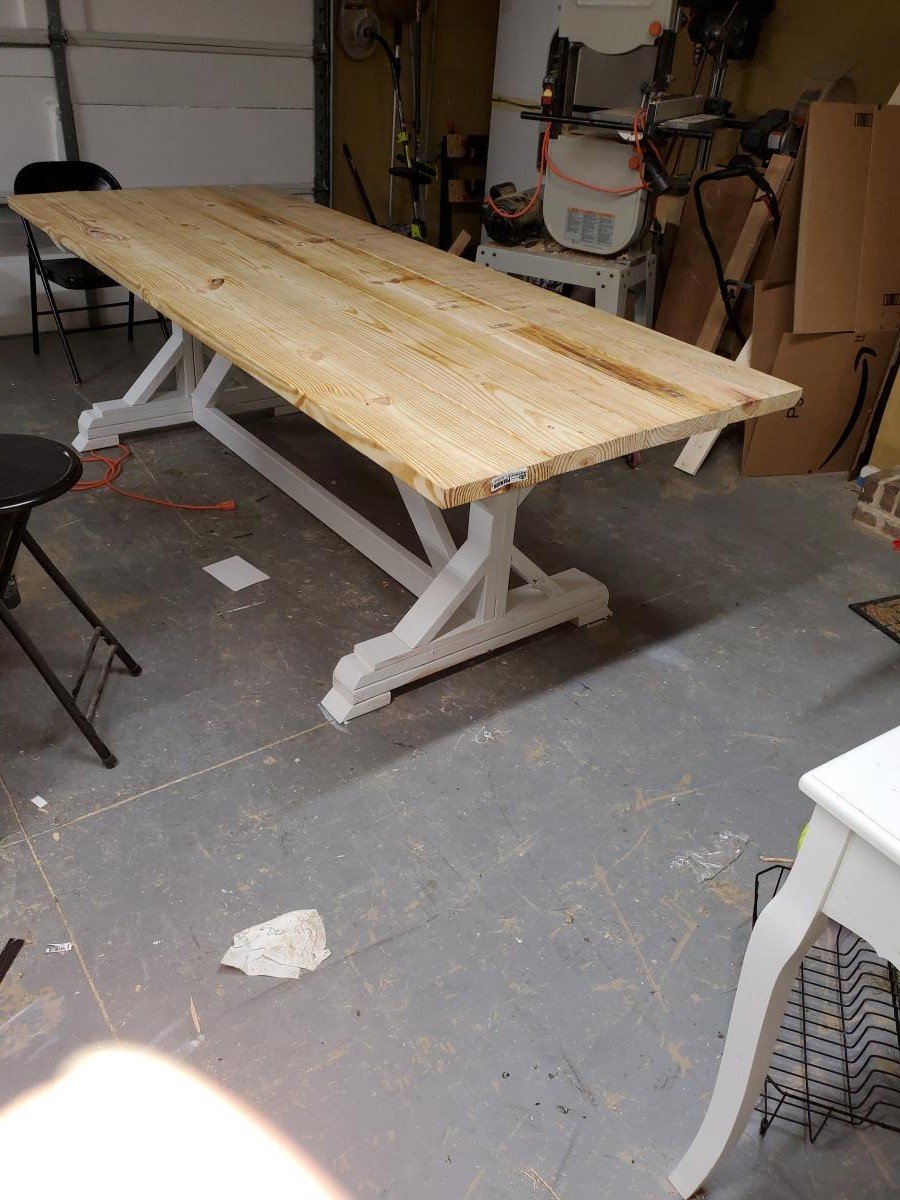
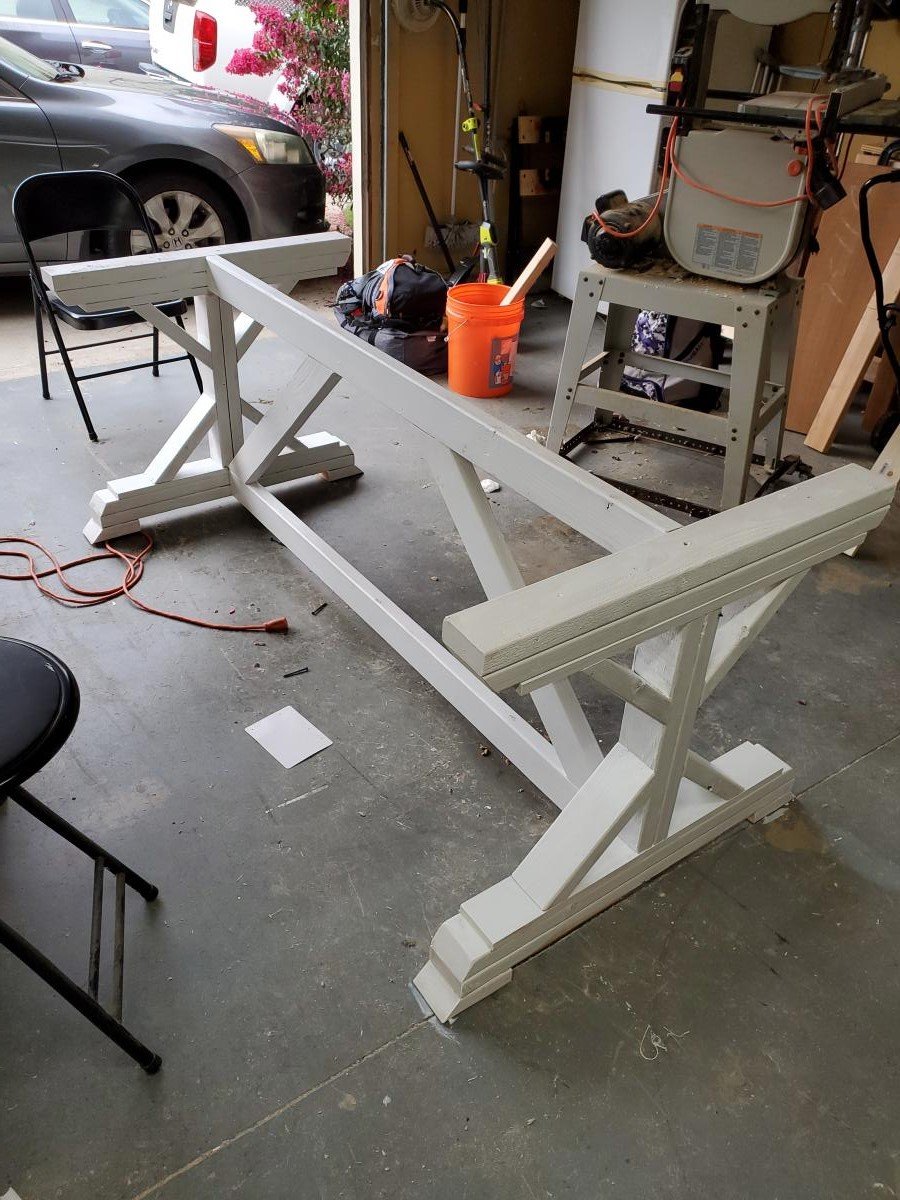
I really loved the look of the benches for this table, so decided to change the top of the table to have a side slat. We painted it to go with our porch.
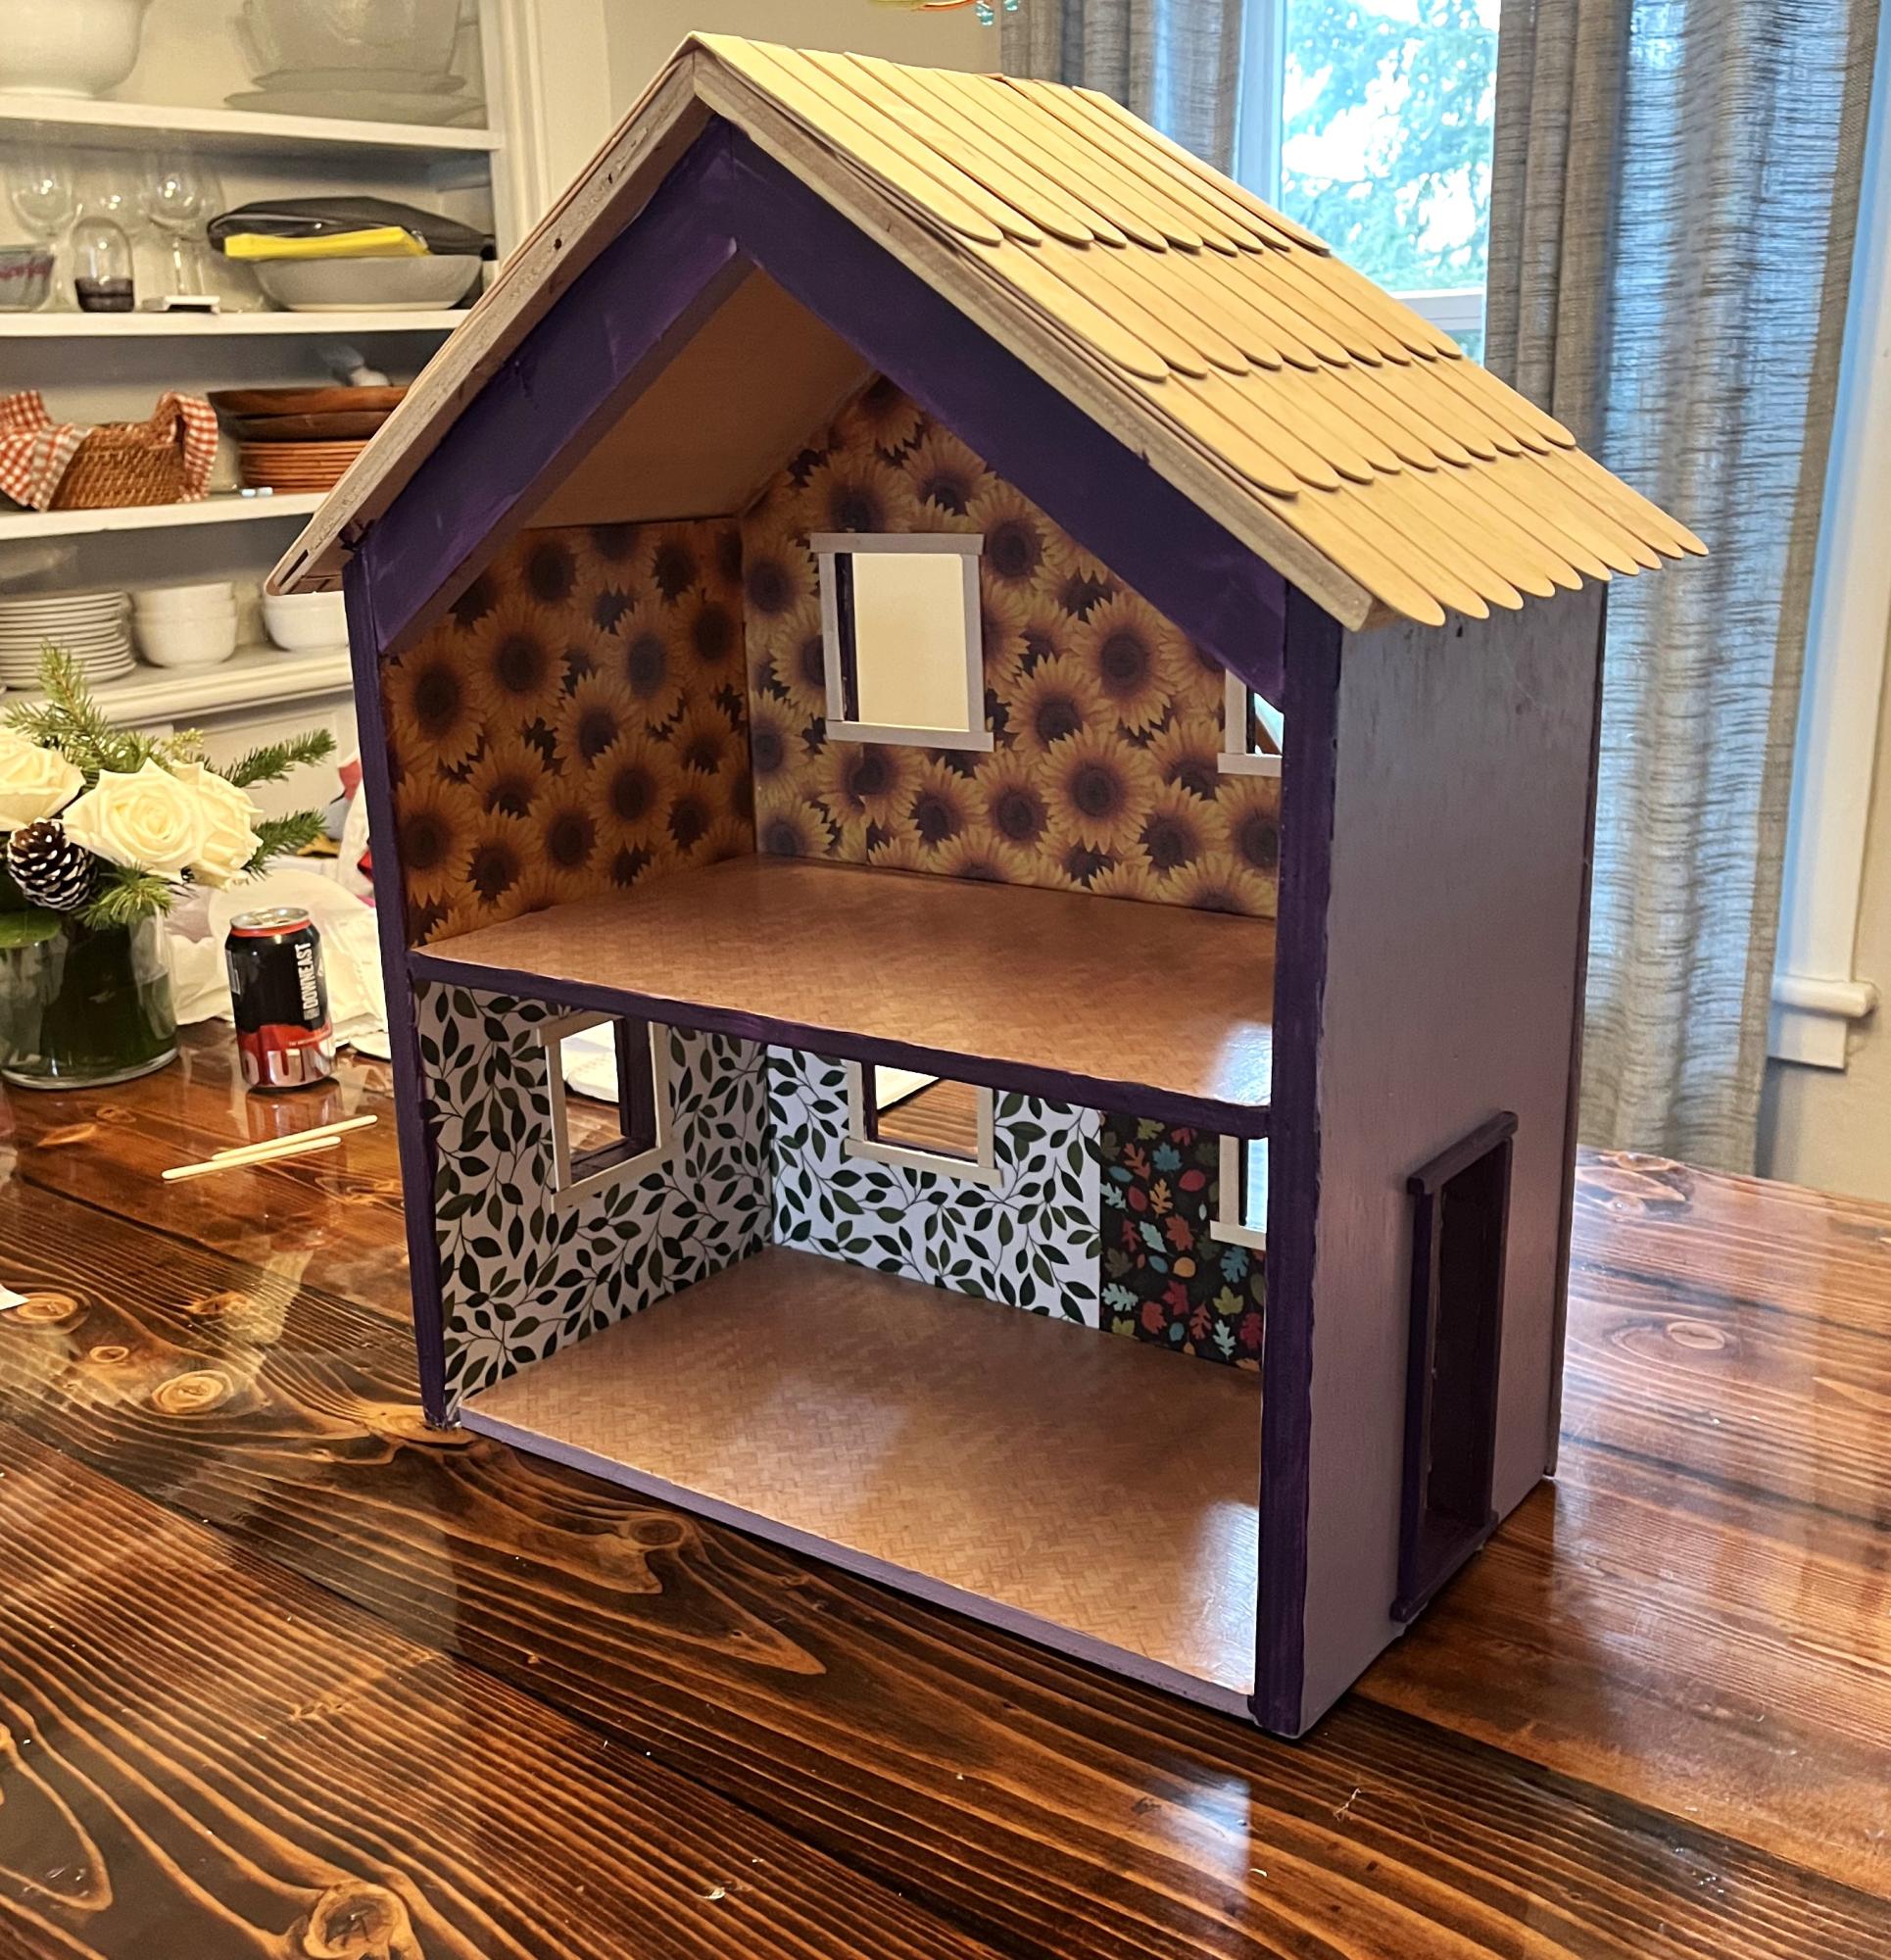
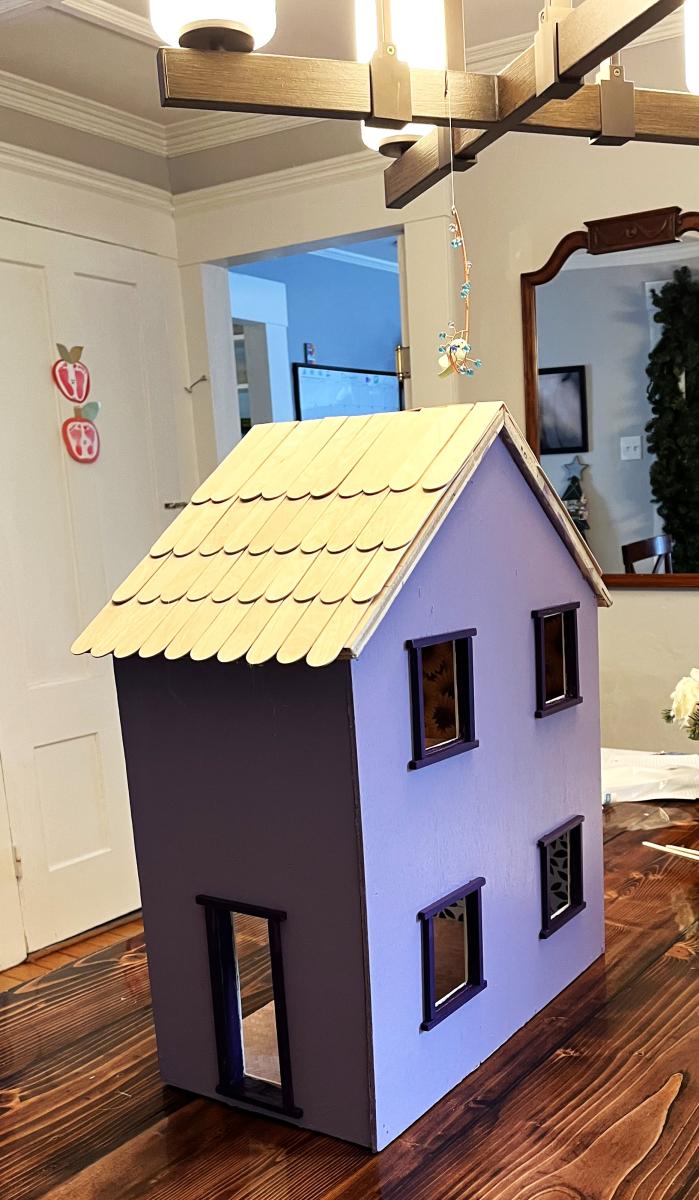
This is for my daughter’s 3rd birthday. I decopaged the walls and floor with patterned paper before assembling. I thought it would be easier.
I also didn’t bother with the middle ‘front’ door. The dollhouse in the example photos look beautiful from the outside, but kids don’t really play with the outside of the houses. So I made the windows a little bit bigger.
The windows and doors both looked terrible. My first time using a jigsaw was not a success. So I used tiny dowels for the trim around the door and craft sticks on the inside.
The last thing I need to do is put some lights in it. I ordered some fairy lights on amazon. I plan to use another dowel that I’m hoping I can wrap with the fairy lights and then wedge in the back on the ‘ceiling’ on the first floor and then Velcro the switch to the side of the house. It won’t look professional or anything, but being able to turn the lights on and off will be very fun.
Casey
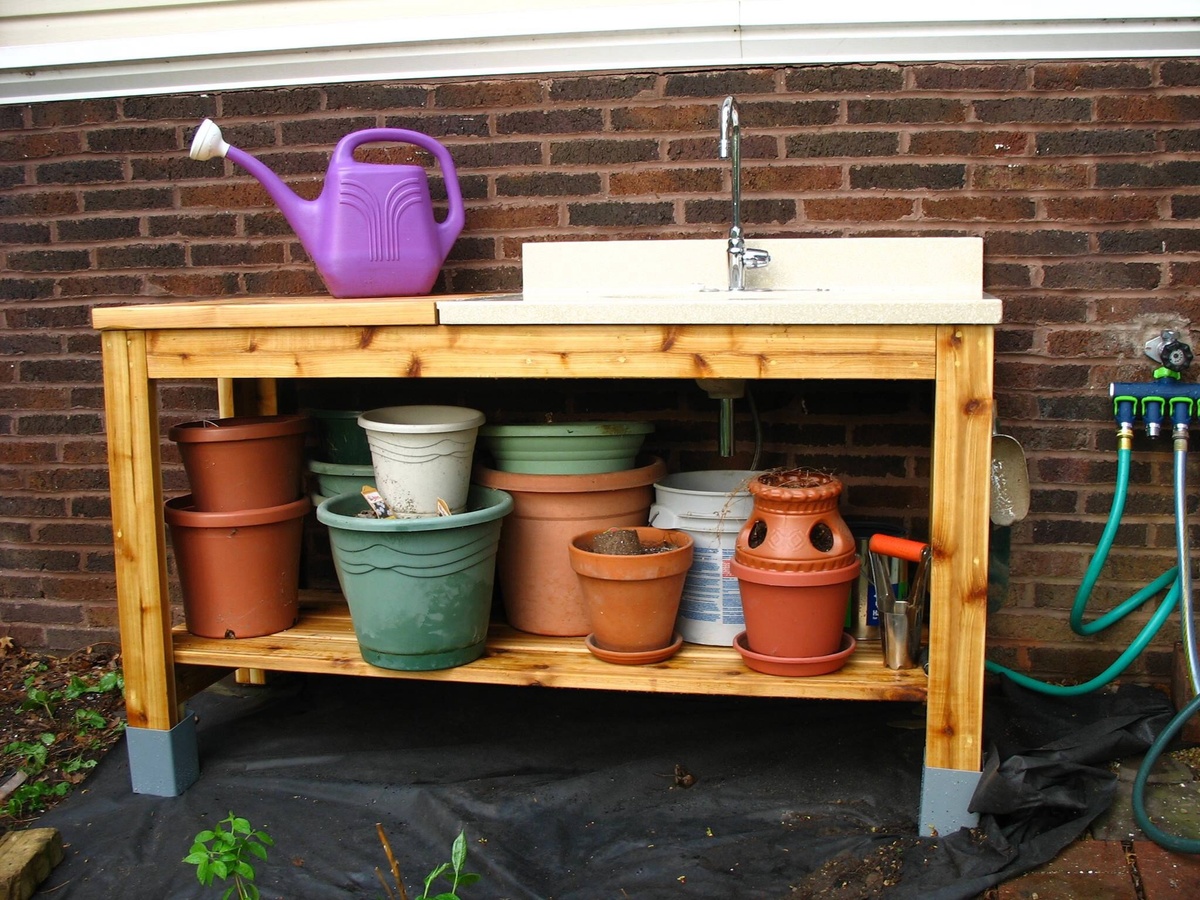
I adjusted the depth of the bench to accomodate a bath vanity top with sink (from the Habitat reStore). The width was adjusted to allow for 2 feet of workspace to the left of the sink. The overall height was adjusted to my wife's height. The front legs were made longer than the rear to account for the slope of the yard location.
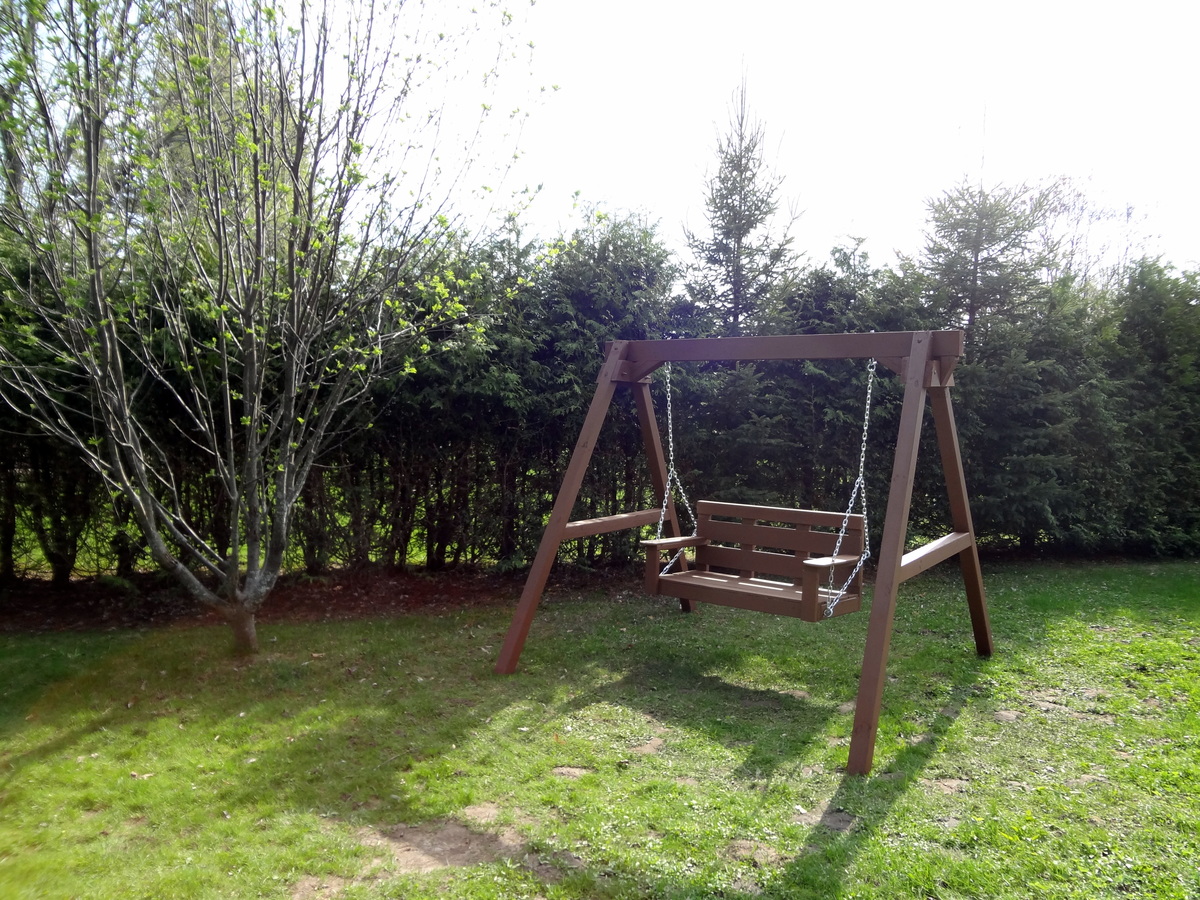
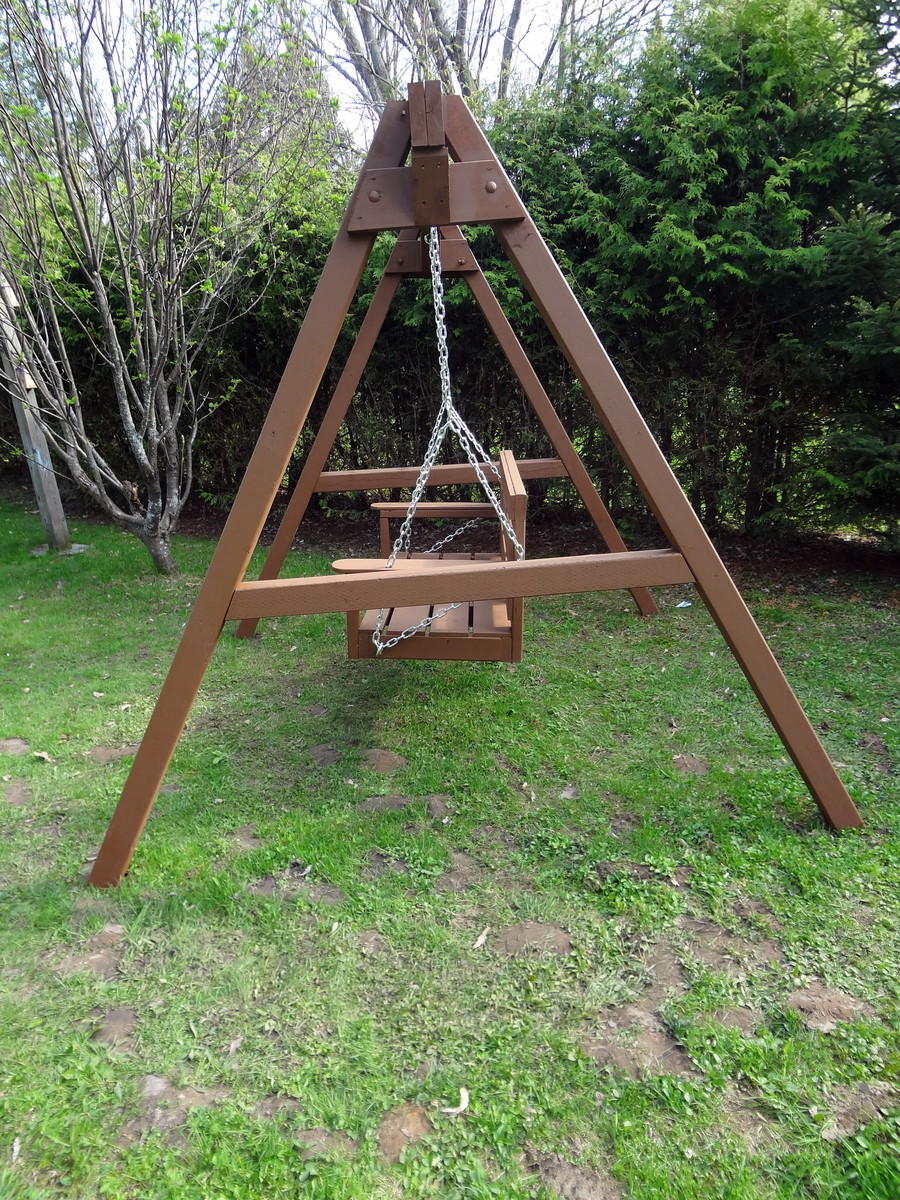
A great weekend project...the "love swing"! I used the plan from Ana for the swing seat and added two arm rests from left over 1x6, rounded them off and sanded.
I cobbled together an A-frame to hang everything, made from five 8 foot 4x4s and two 8 foot 2x6s laminated together for the stretcher. Assembled with 1/2" galvanized carriage bolts and hung with 1/4" chain.
Definitely going to want a good miter saw for the A-Frame angles (the top ones are a bit tricky to get everything lined up)
Love it! Thanks for another great plan Ana..and of course..Shanty2Chic!
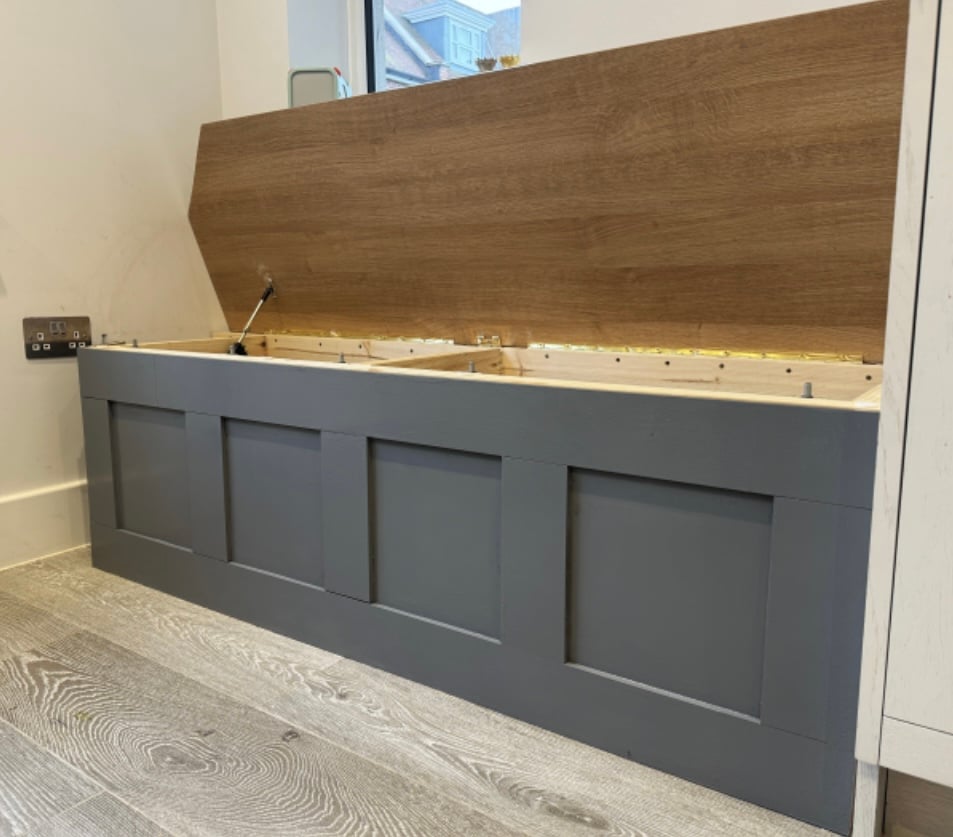
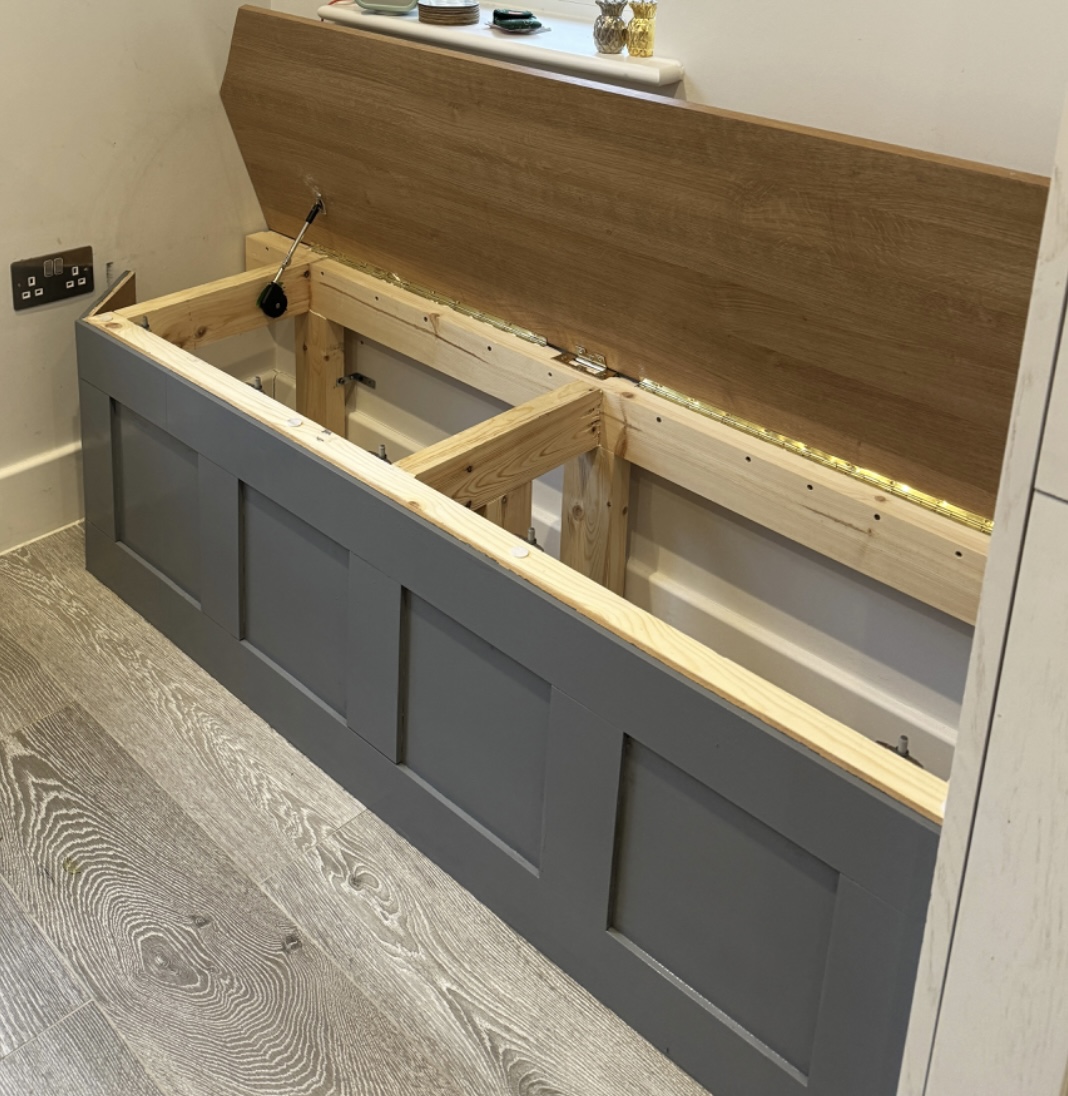
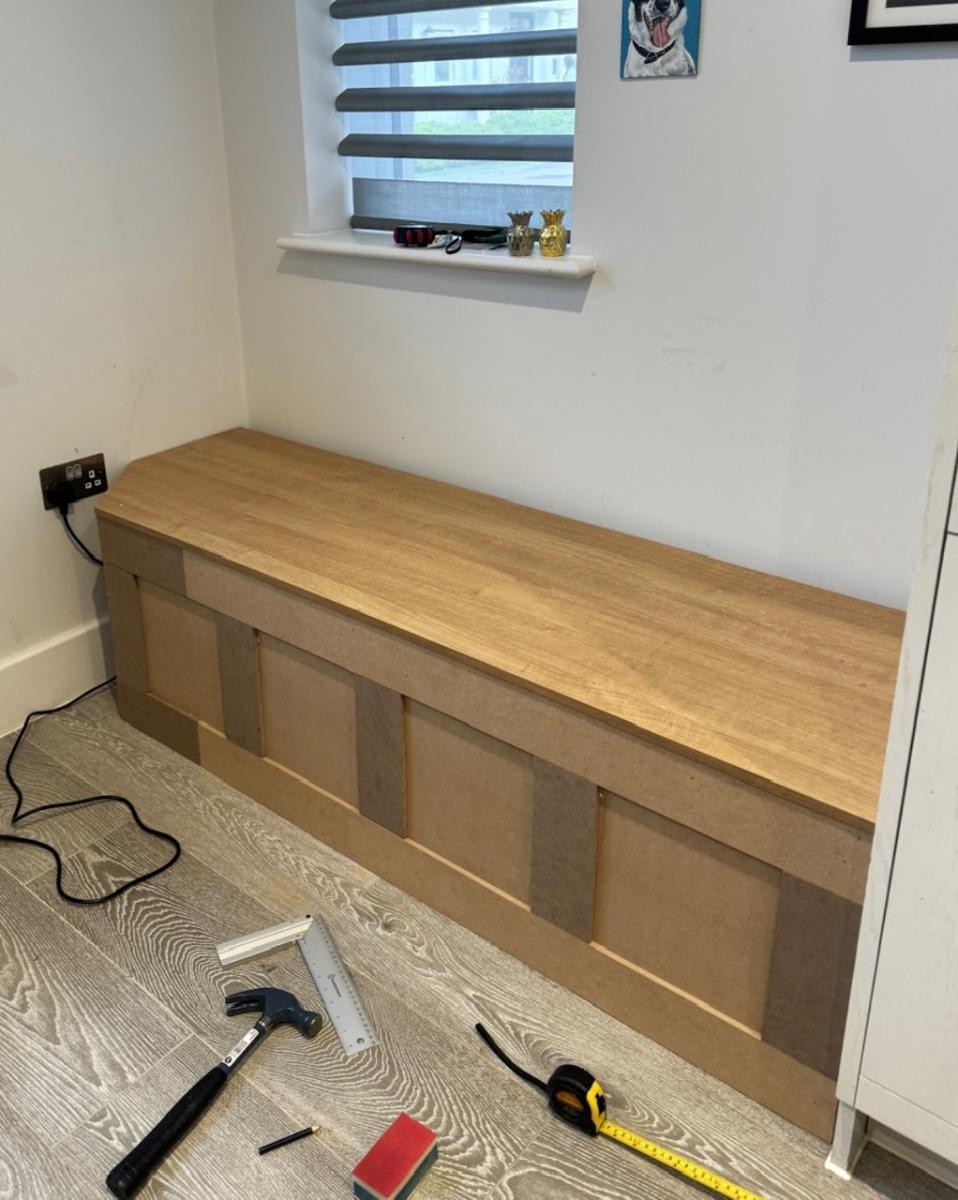
Kitchen dining bench with storage. Due to the plugs being in an awkward position, I opted to build this bench with a facade as opposed to adding a back and sides. This also meant it had to be panelled in situ which was a fun challenge! It has piano hinges as well as soft close pistons making for a great storage bench that is in keeping with the rest of our kitchen.
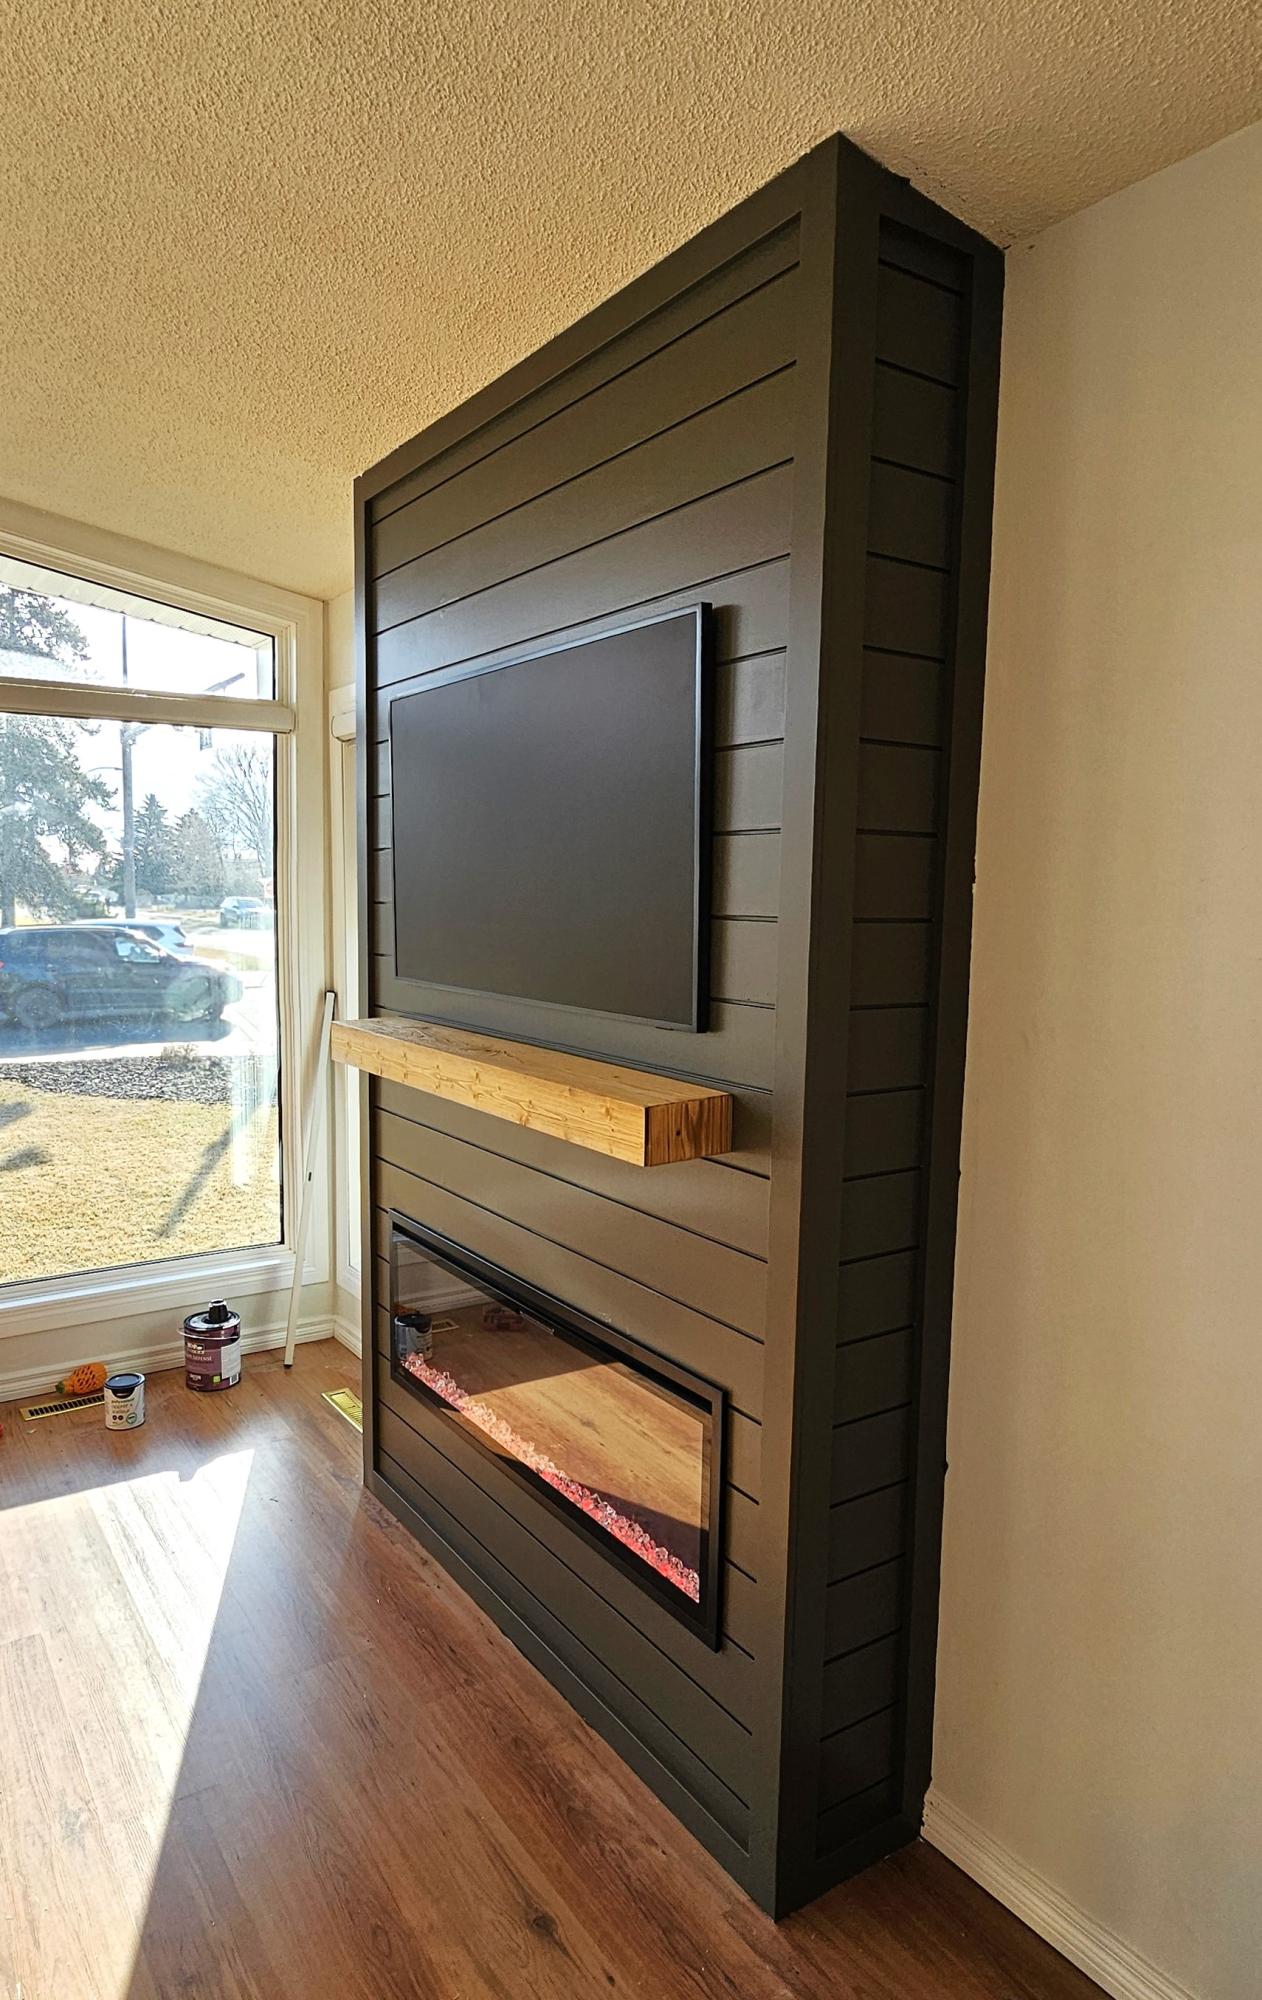
Used Ana's plans to build my floor to ceiling shiplap fireplace. Excellent guide made it easy.
Angelo
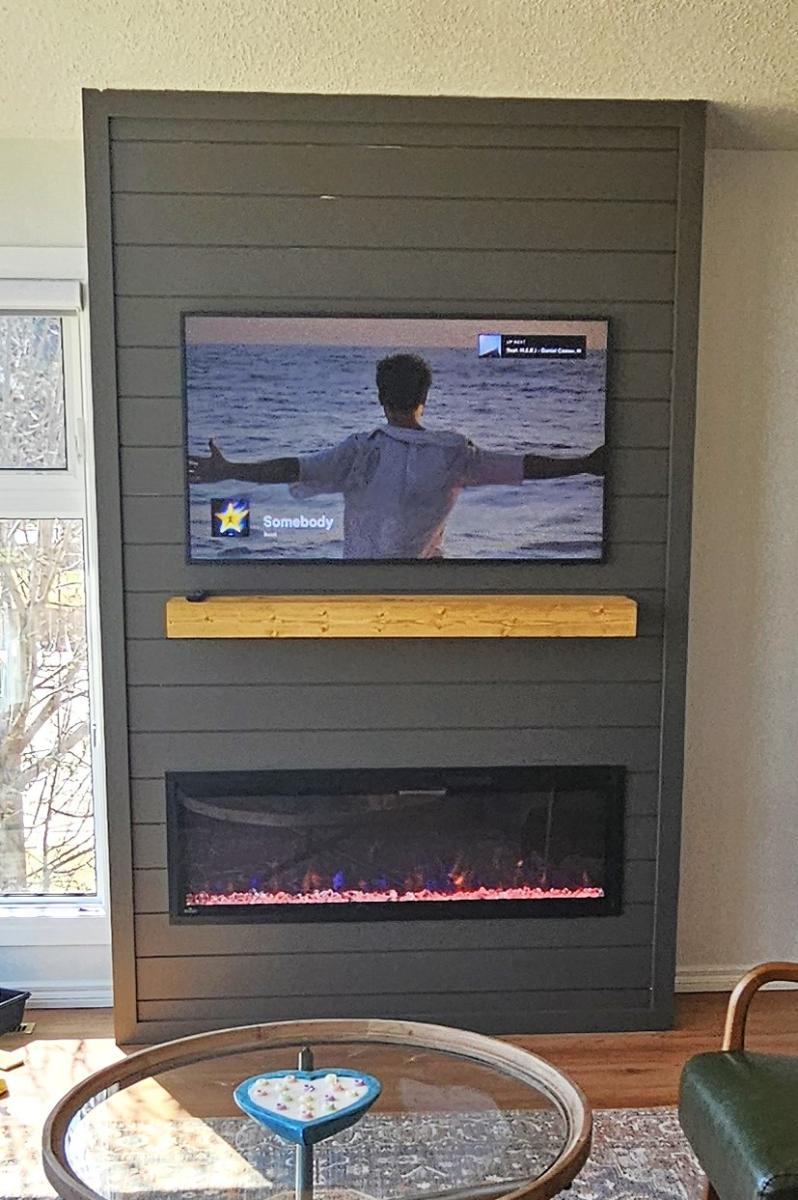
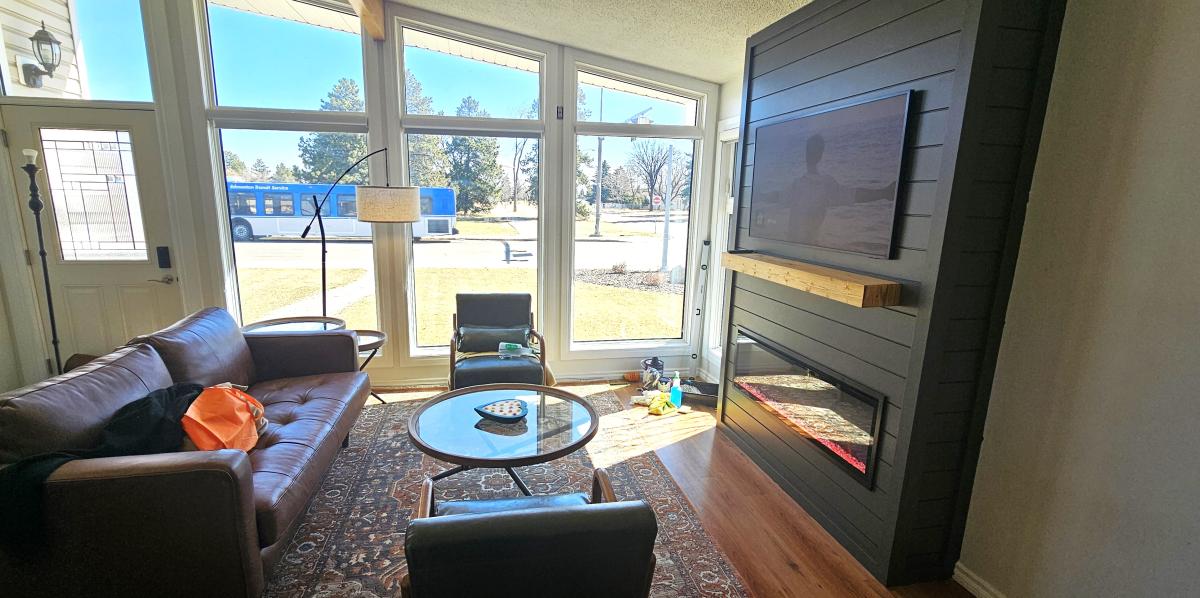
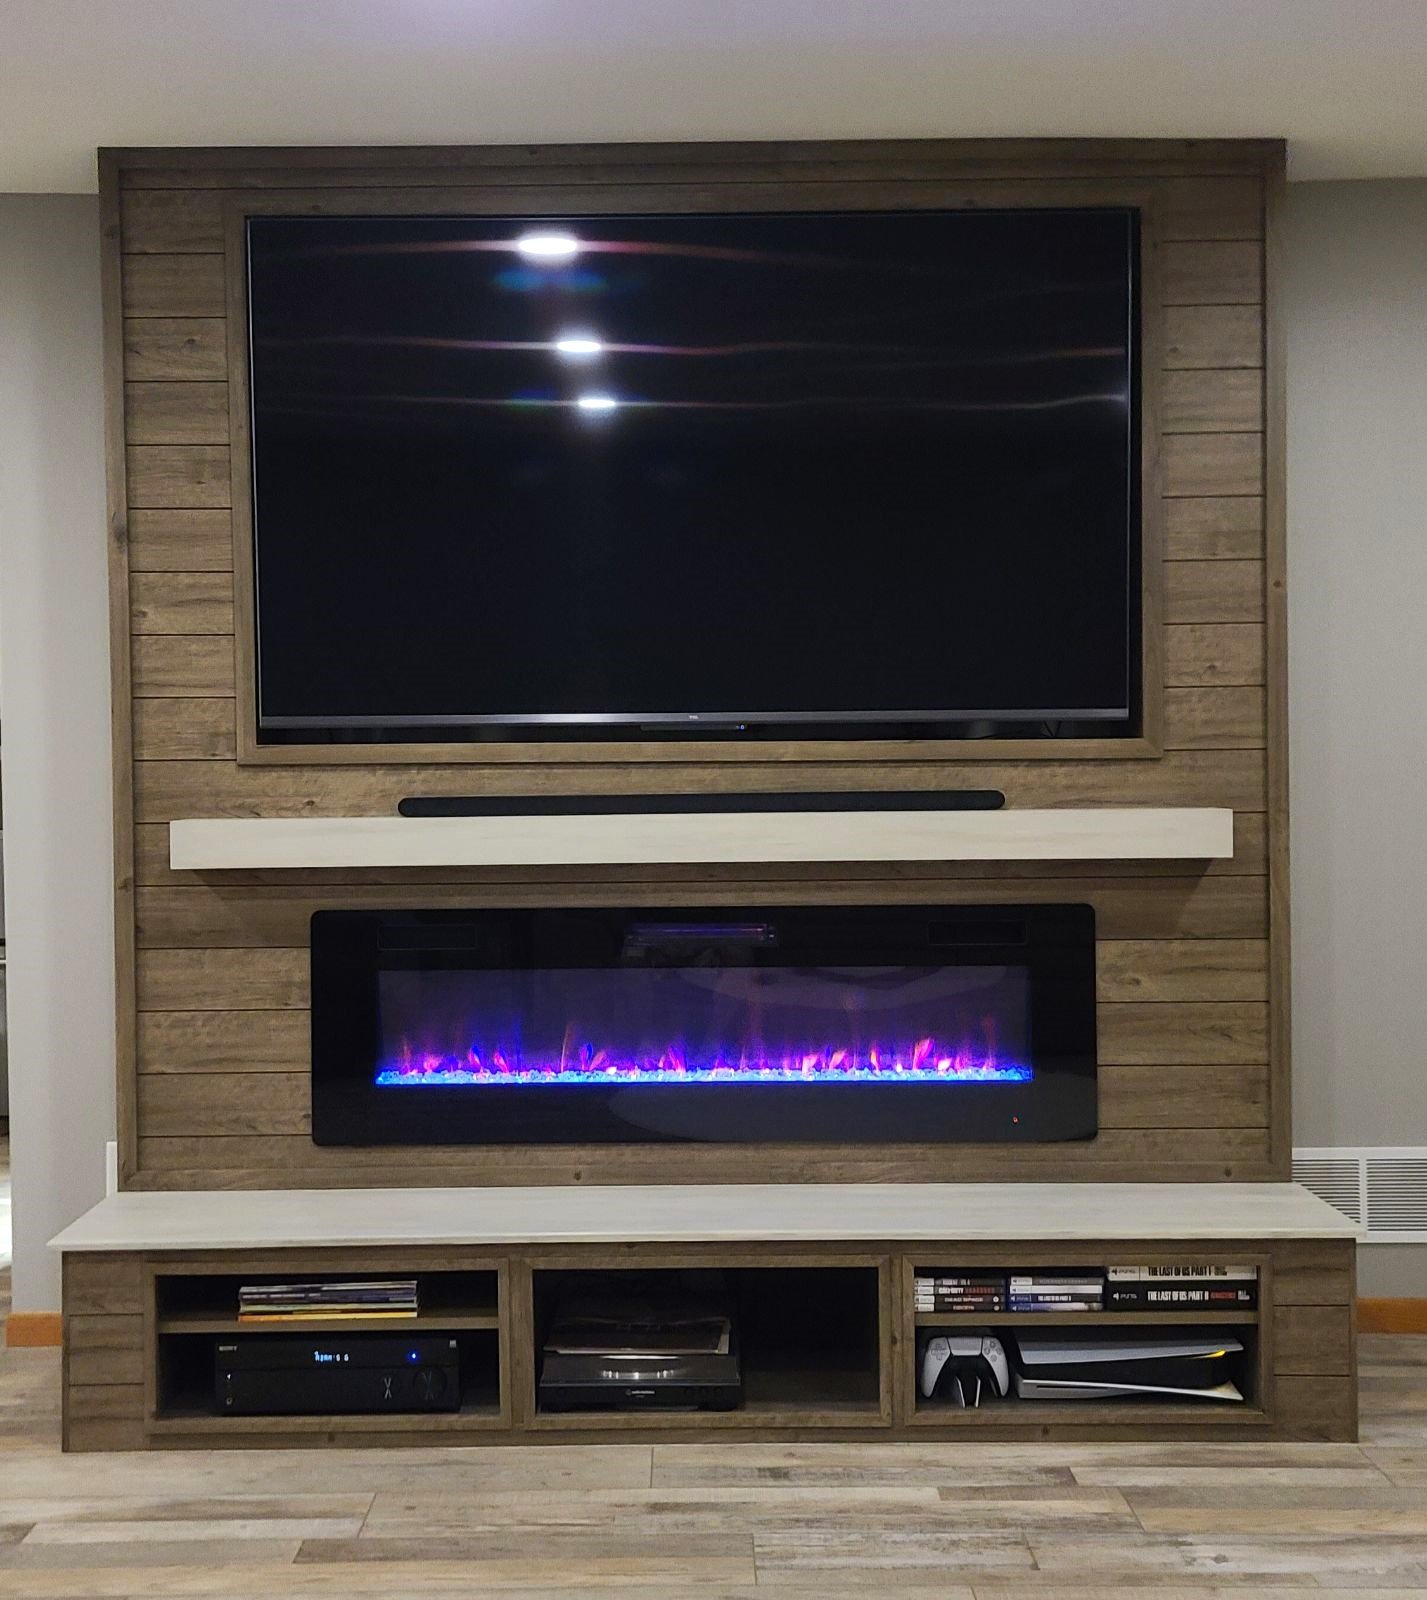
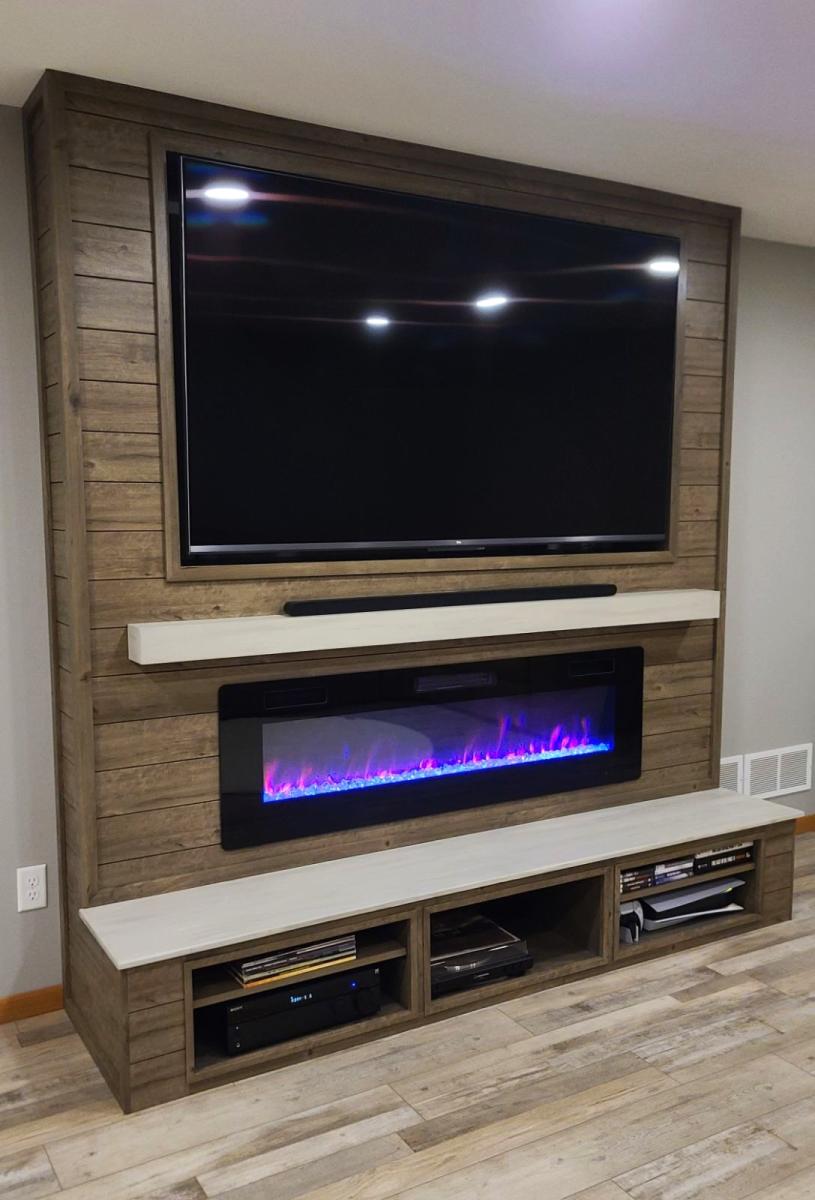
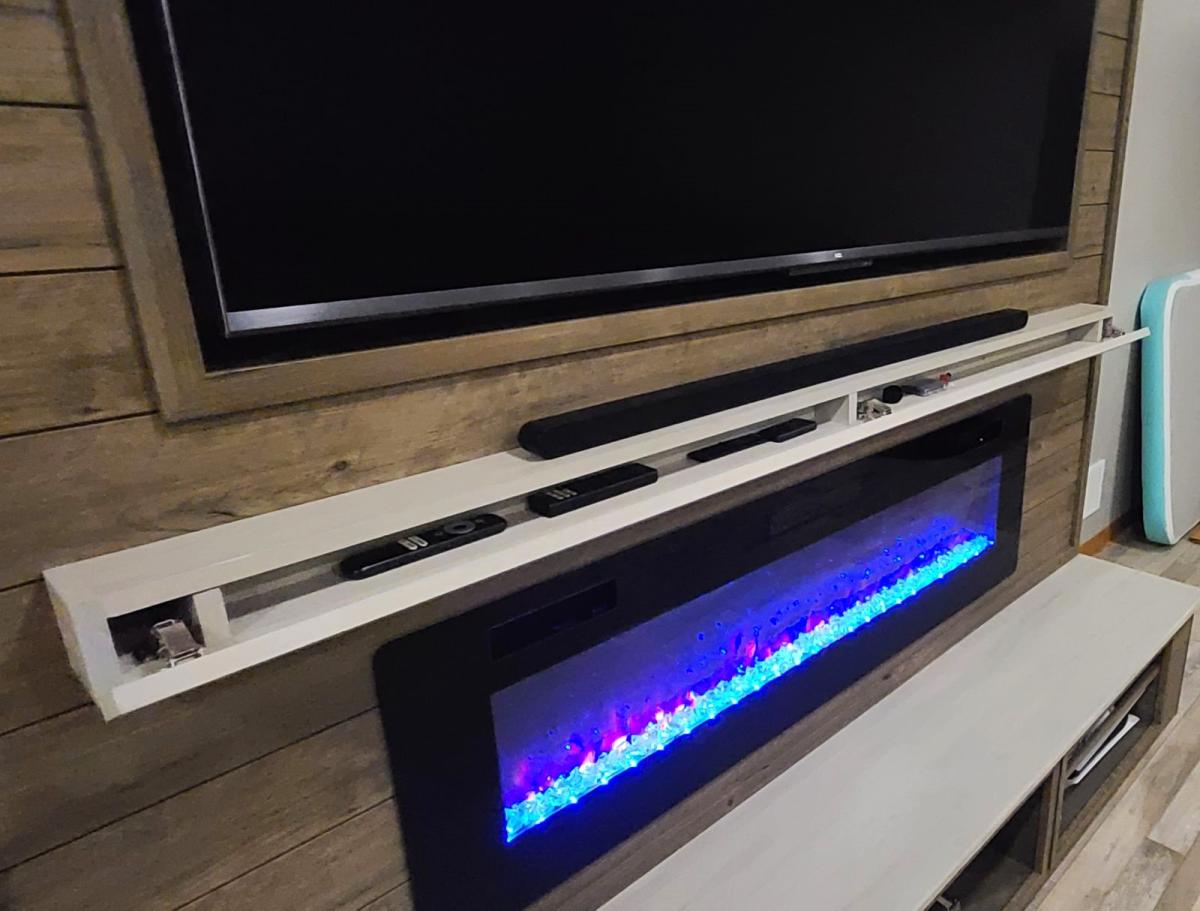
During a complete basement renovation, we combined the Shiplap Fireplace plans as well as the Flip Open Mantle plans to create this beautiful TV & Fireplace Wall with bench and open front for peripherals. We modified plans to make the TV more "built-in" allowing us to hide cords and cables better, plus just give it a sleeker feel.
We customized the front to be open so that we had a place for peripherals and some air flow. This included shelving in the outside front compartments. We were able to accommodate a PS5, games & controllers, record player, records, and a receiver/amplifier. A slim soundbar for the TV sits on top of the custom mantle. The bench gives it a nice touch and dimension.
Adam Wiebe
This was a weekend job, had a lot of angles and I had to scribe a lot of them
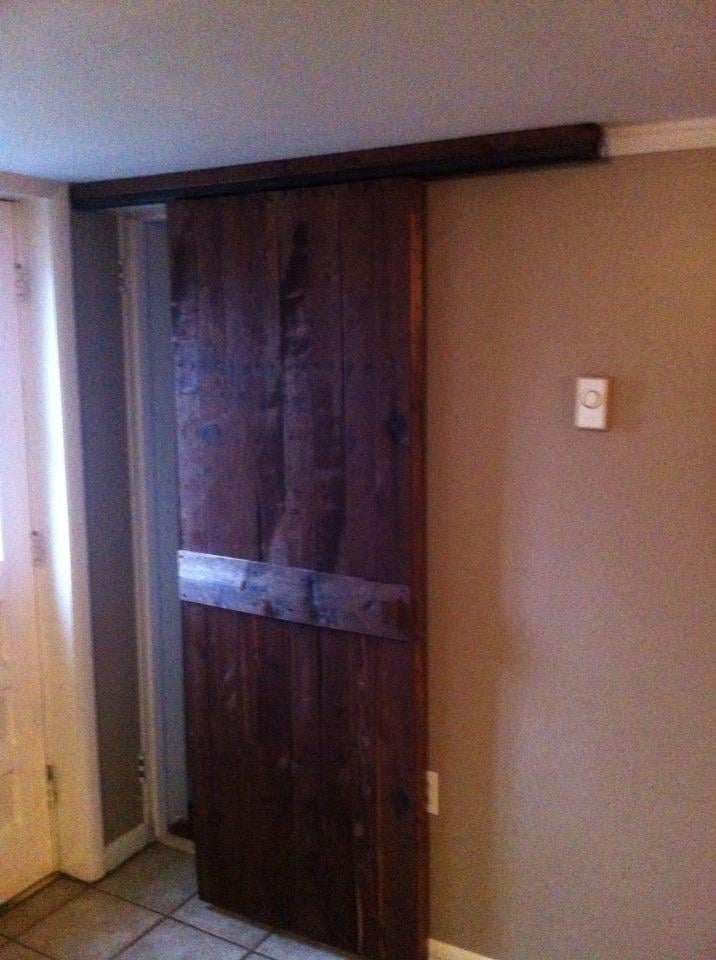
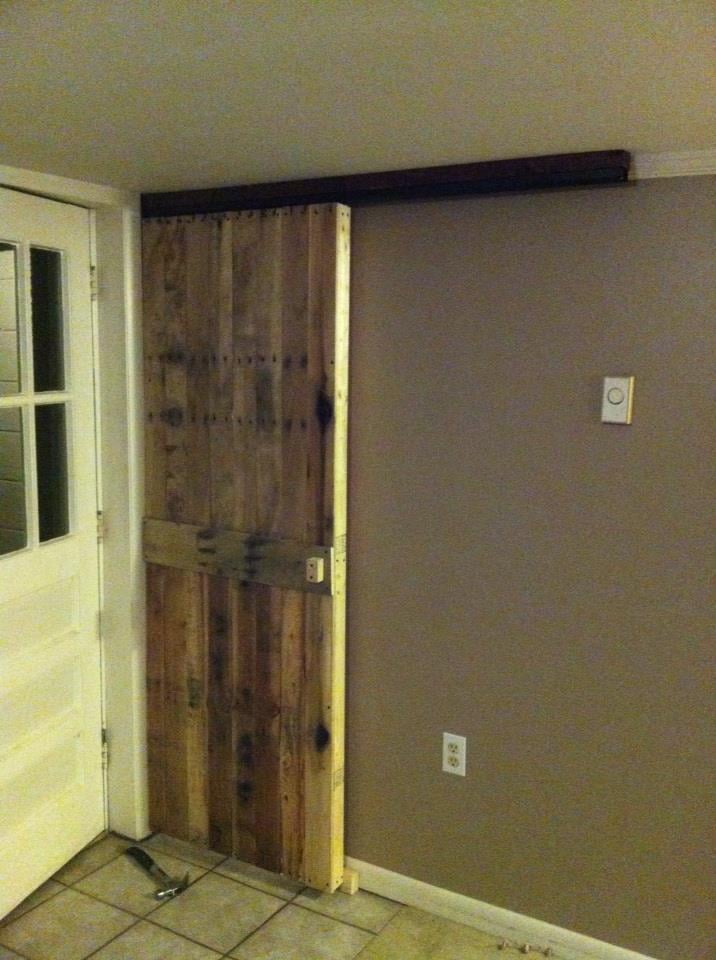
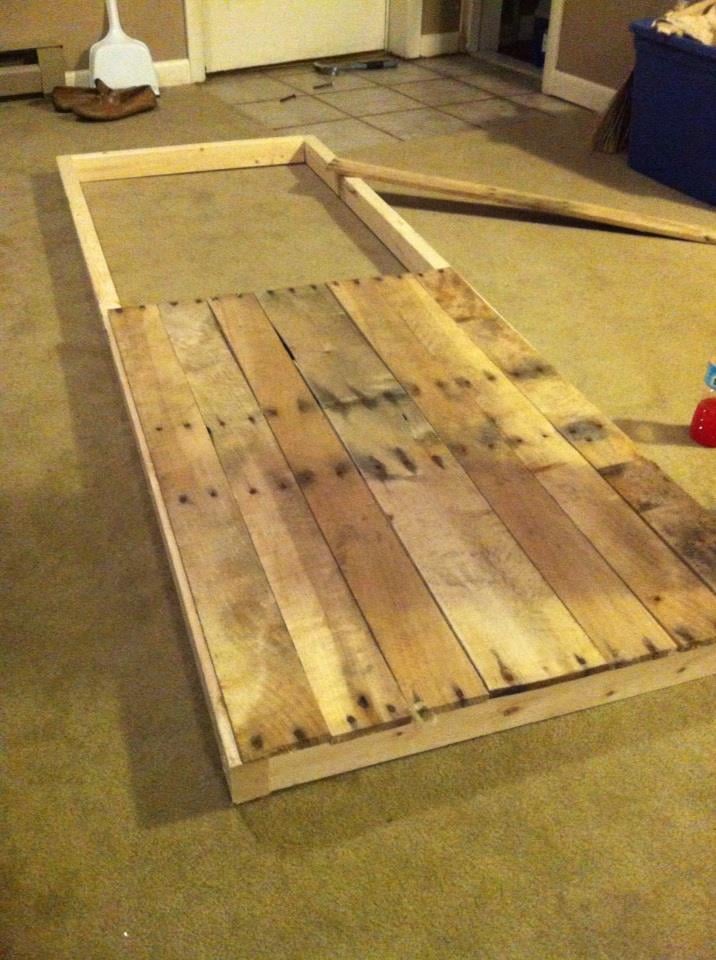
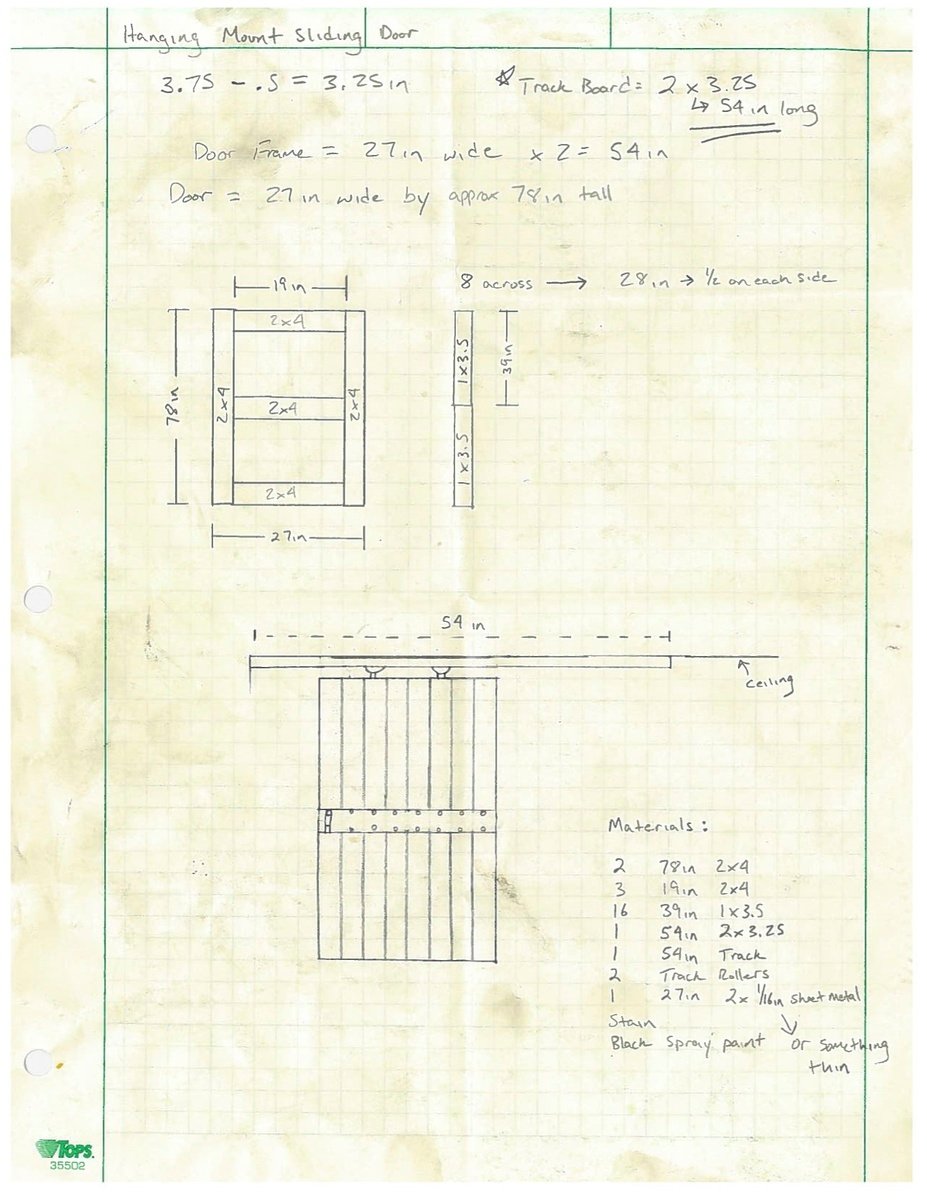
I saw many different sliding door projects online, so I did my own spin on one. I was able to get several old pallets for free (pine and oak). I went to Lowes and bought a few 2x3s which I used as the frame, and the track hardware which was only $13! Most doors I see are mounted from the wall, but since I have 7' ceilings downstairs I mounted mine from the ceiling. This project only took about 4 hours total and cost about $40 when you figure in costs for screws, stain, etc. The most difficult part was taking apart the pallets. Using a reciprocating saw with a 12'' demolition blade is the best way to take them apart. Thanks for the idea Ana.
Mon, 05/13/2013 - 20:00
Hi!!
This looks so awesome! I came across this and was hoping to repeat it. You mention that you found the door hanging hardware at Lowes for $13. I can't seem to find it. Do you happen to remember the name of it? I'm entering "hanging door hardware" into Lowes and Home Depot and can't seem to find any hanging door hardware at all. I'd appreciate the help. Thanks!
Tina
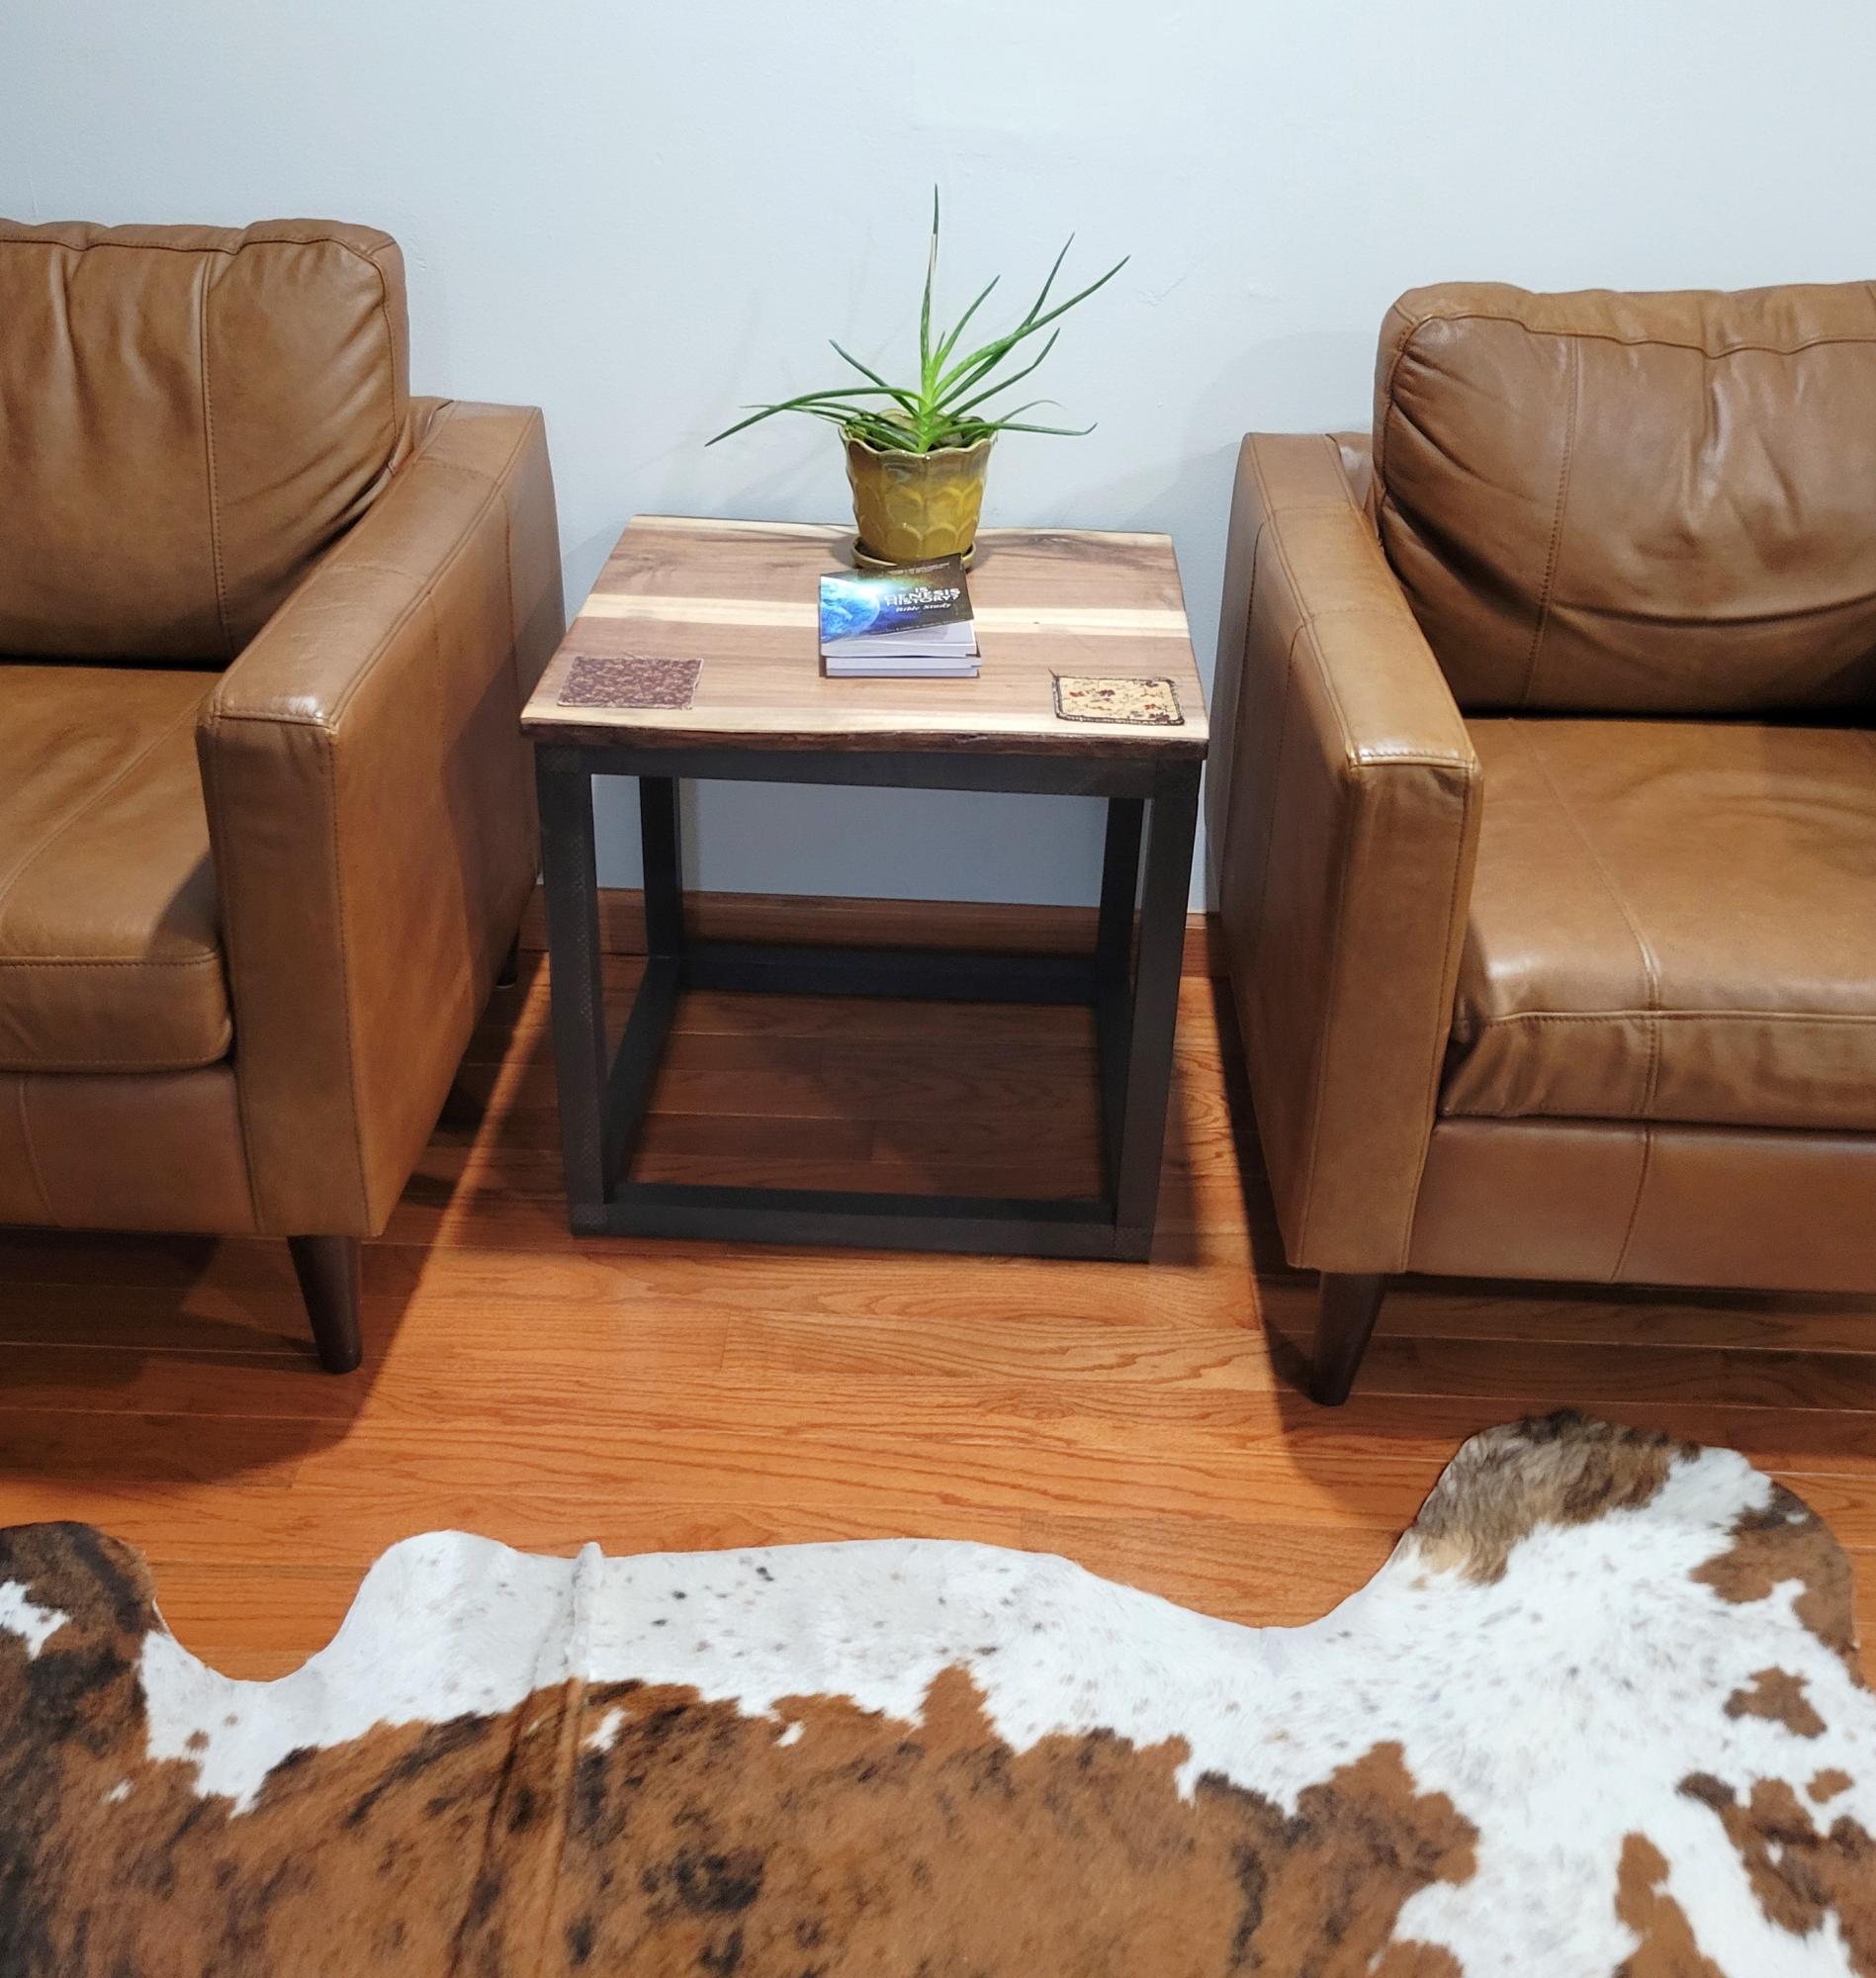
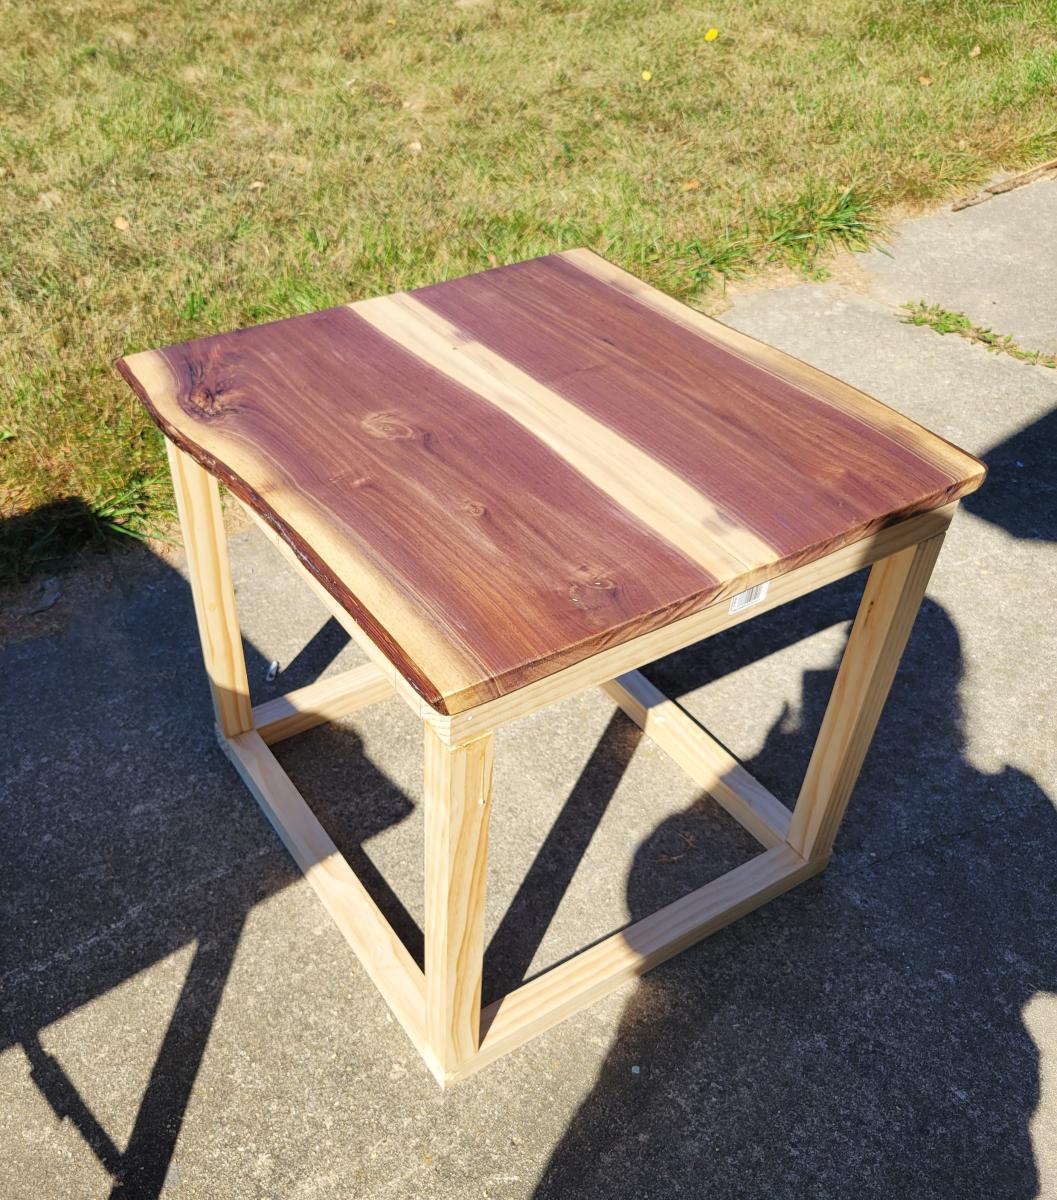
I have been looking for ways to use the live edge walnut from our property. I adapted Ana's side table plans to make several tables.
I used select 2x2 pine and painted the legs bronze to coordinate with our windows.
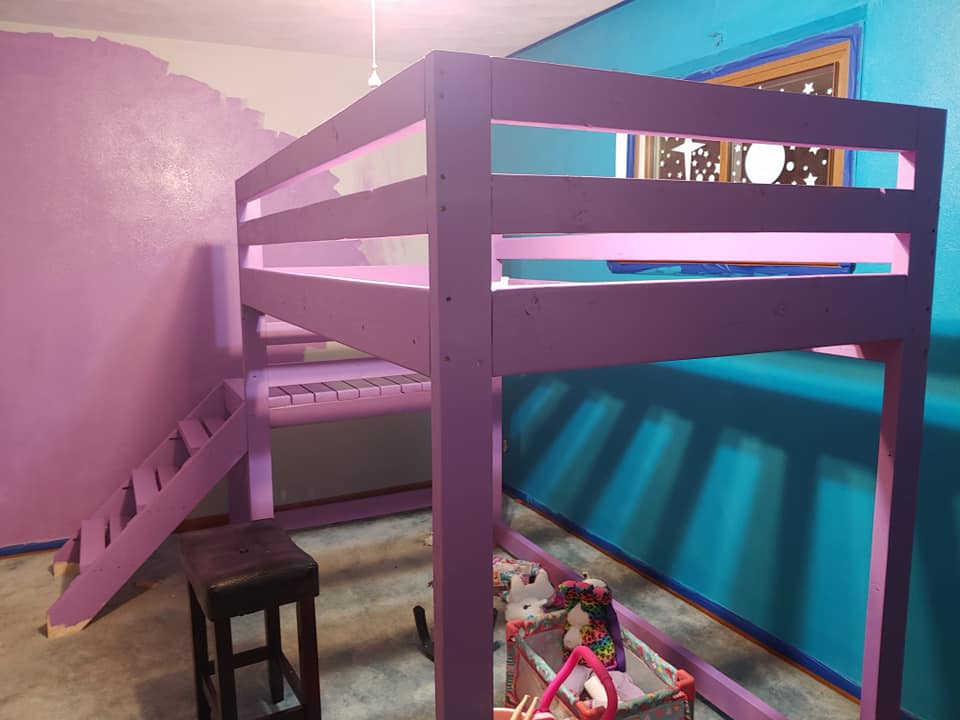
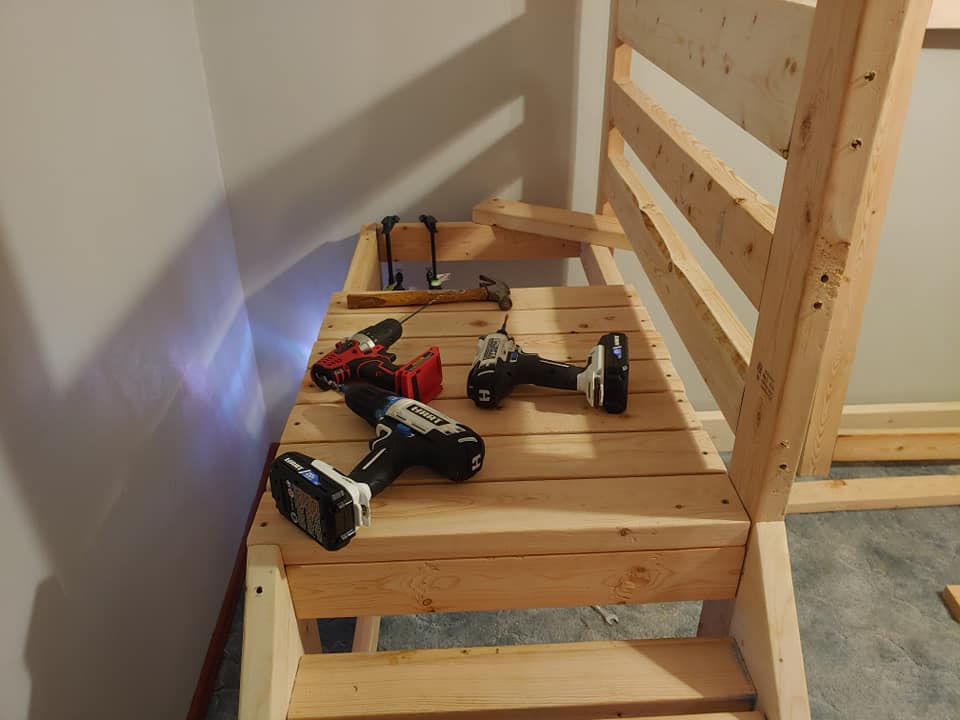
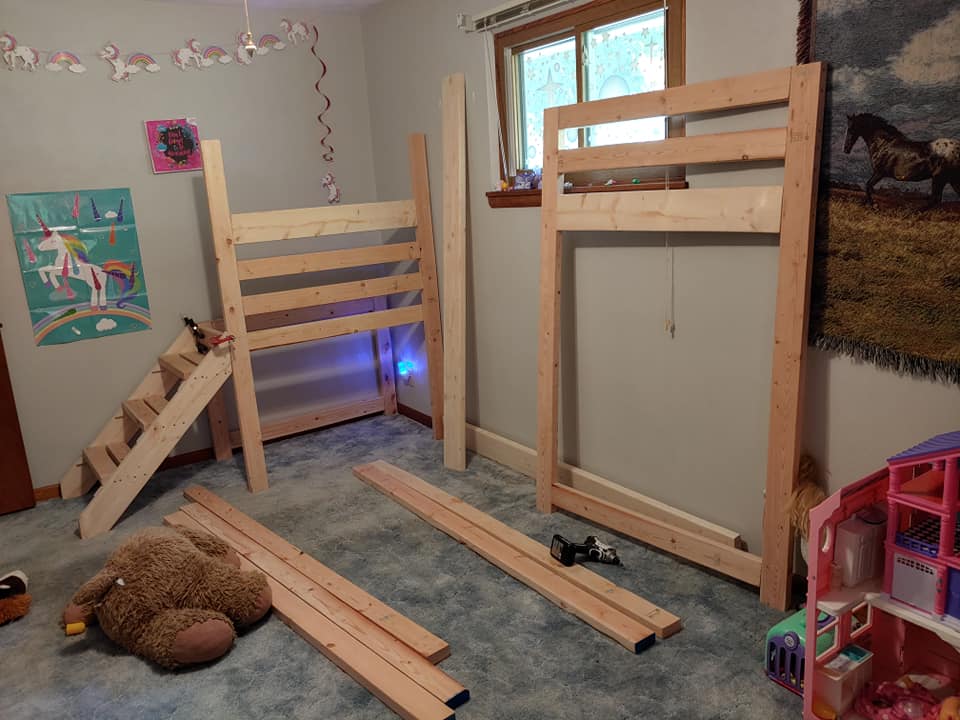
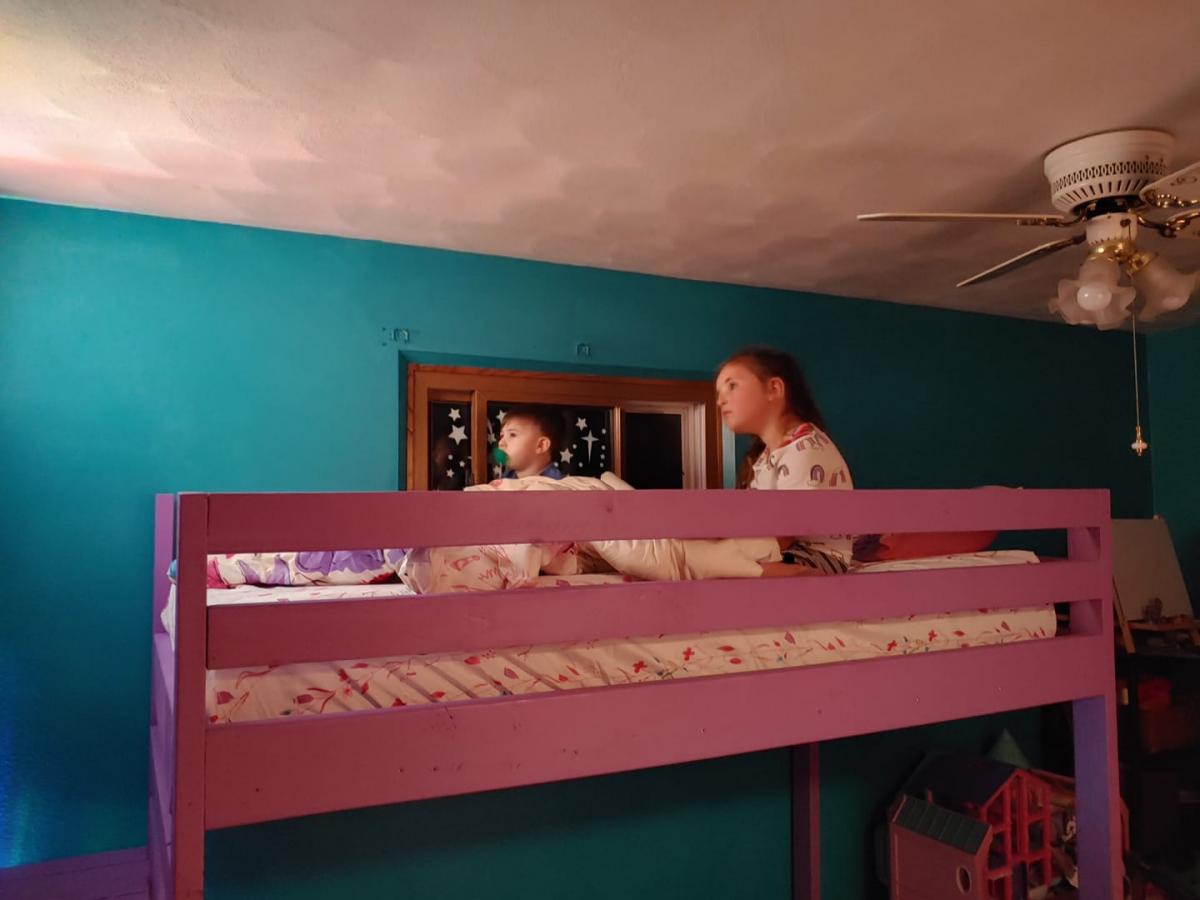
I started planning this project this spring when we bought and moved into our new house. I knew with the room size a loft bed would make the most of the room. My daughter is scared of heights a little bit so I was worried about using a ladder. I stumbled on this site and these plans and knew this is exactly what I was going to build. Ever since we finished painting it and getting her room done she has been glued to it!
I used 2x2s for the base and stained them ebony. The top is made of 2x6s stained weathered oak & dark walnut. Caution: no matter how perfectly square your base is, if your top is even remotely warped/twisted, it will pull the whole thing out of whack. The base is not strong enough to fight the 2x6s.
I built this closet system for our basement gym as a Christmas present to my boyfriend. He loved it!
I stained all of the boards before building as suggested in the plan - it definitely saved a lot of time and stress. After cutting and staining, and I brought all of the pieces downstairs to build.
The actual building went relatively quickly, but without perfectly straight boards, the shelves themselves were a little tricky. I also just nailed the shelf boards down with wood glue rather than screwing them in to save time - it's still sturdy and secure.
The length of the closet is about 8 feet long, so the middle shelf is about 1 foot and the two rod shelves are about 3.5 feet long.

Thank you so much for the plans Anna. My two year old absolutely loved this Christmas present. I used drains for the stove tops and added a wire rack to the stove and tiled the backsplash.
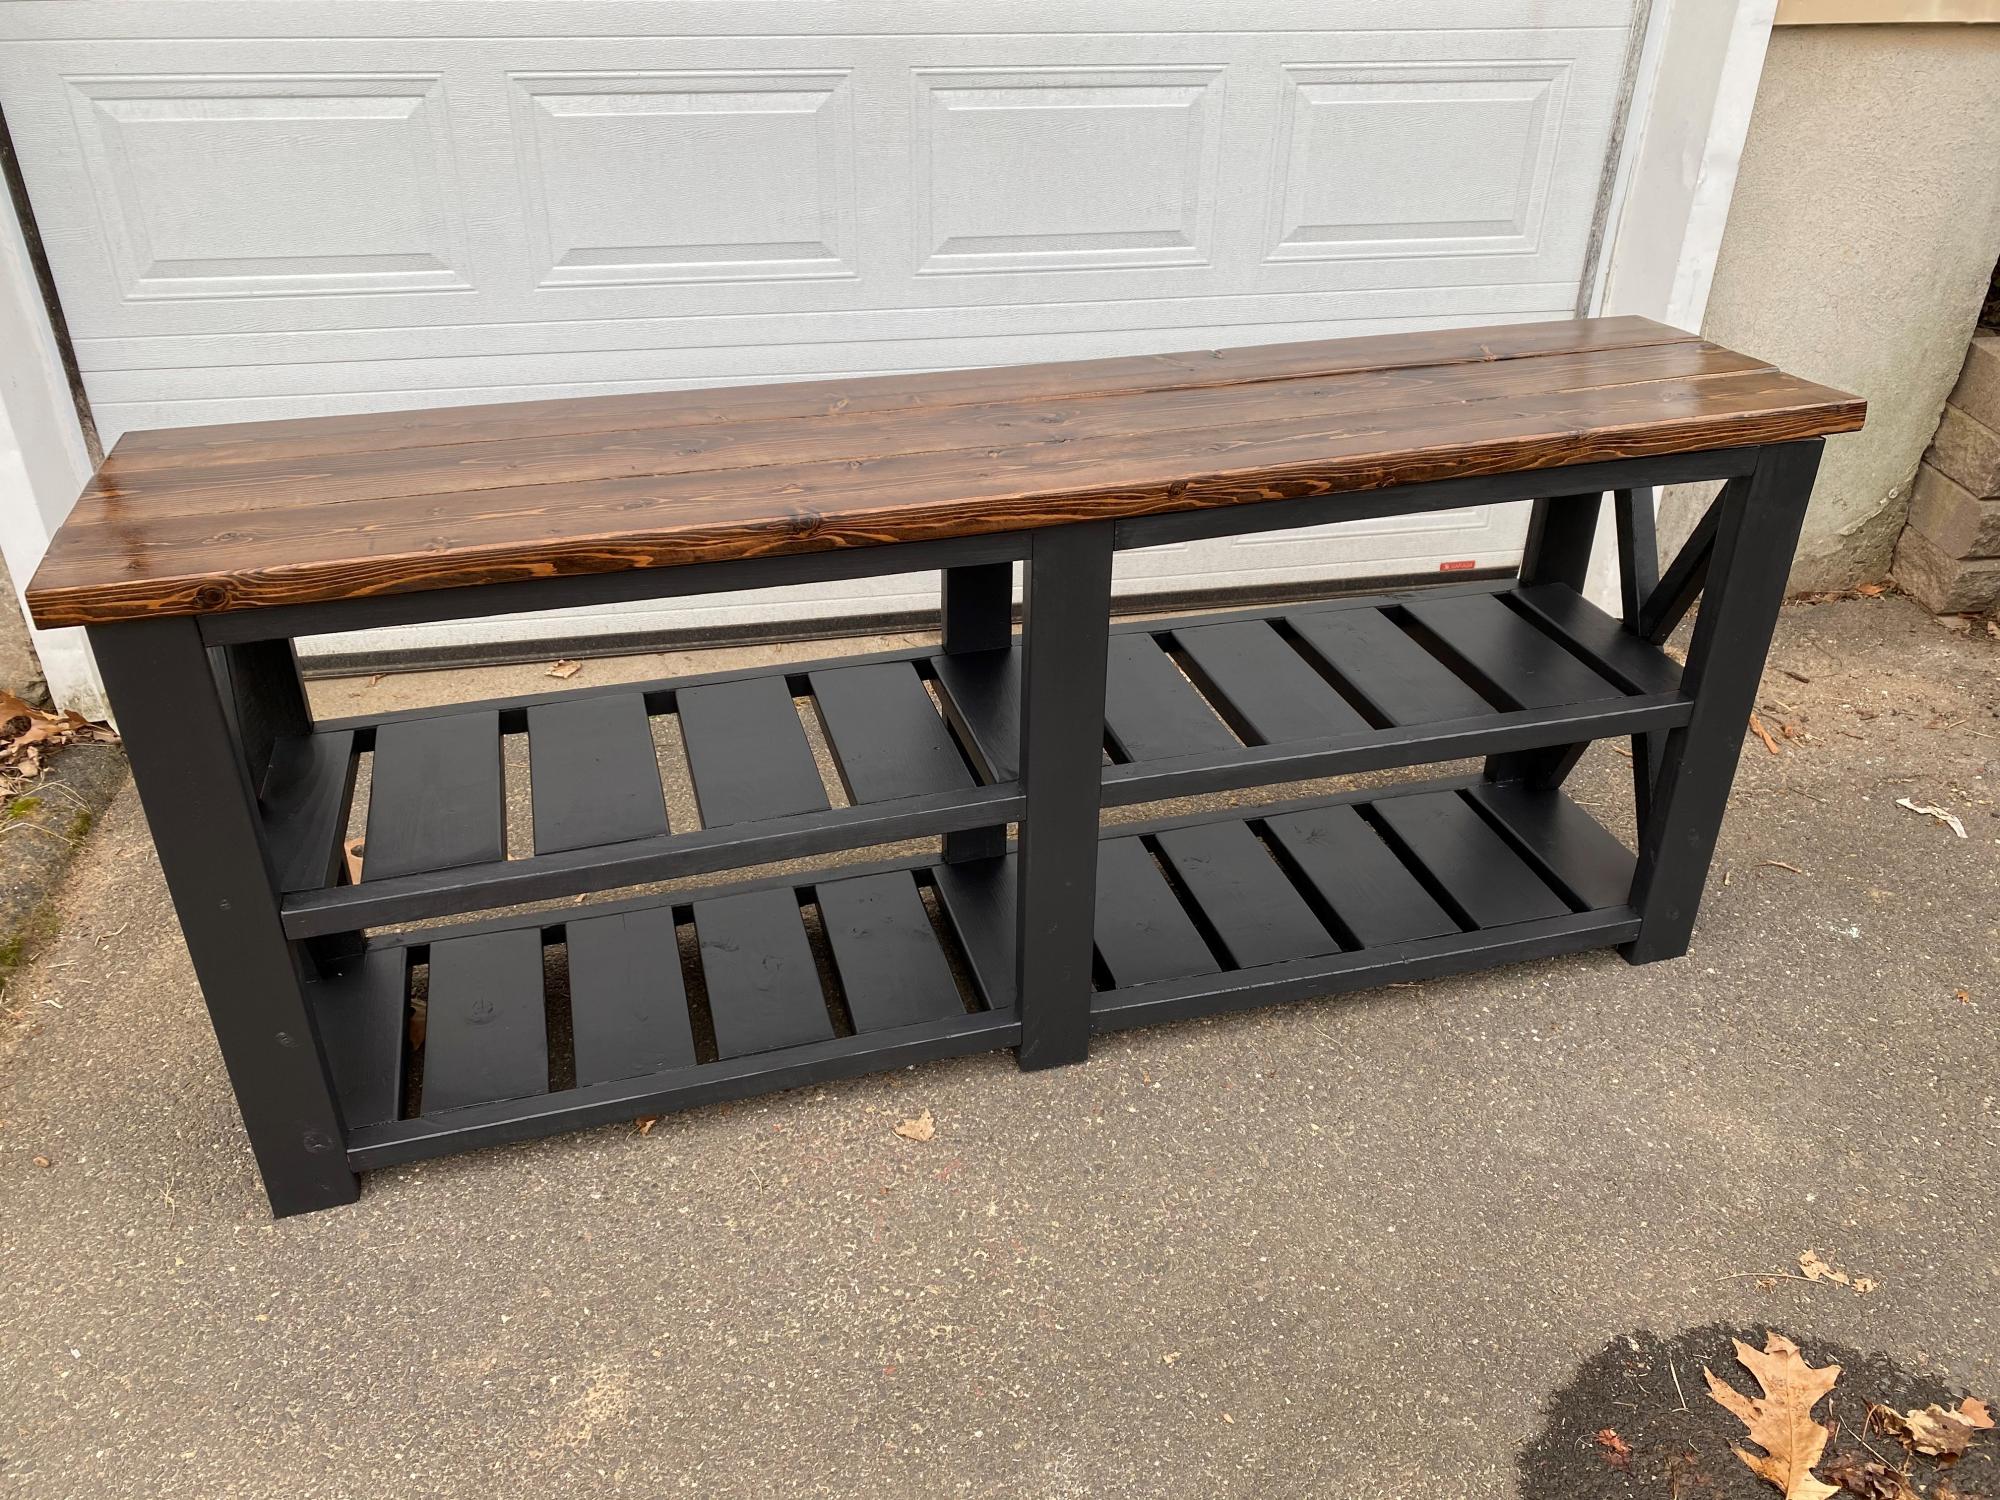
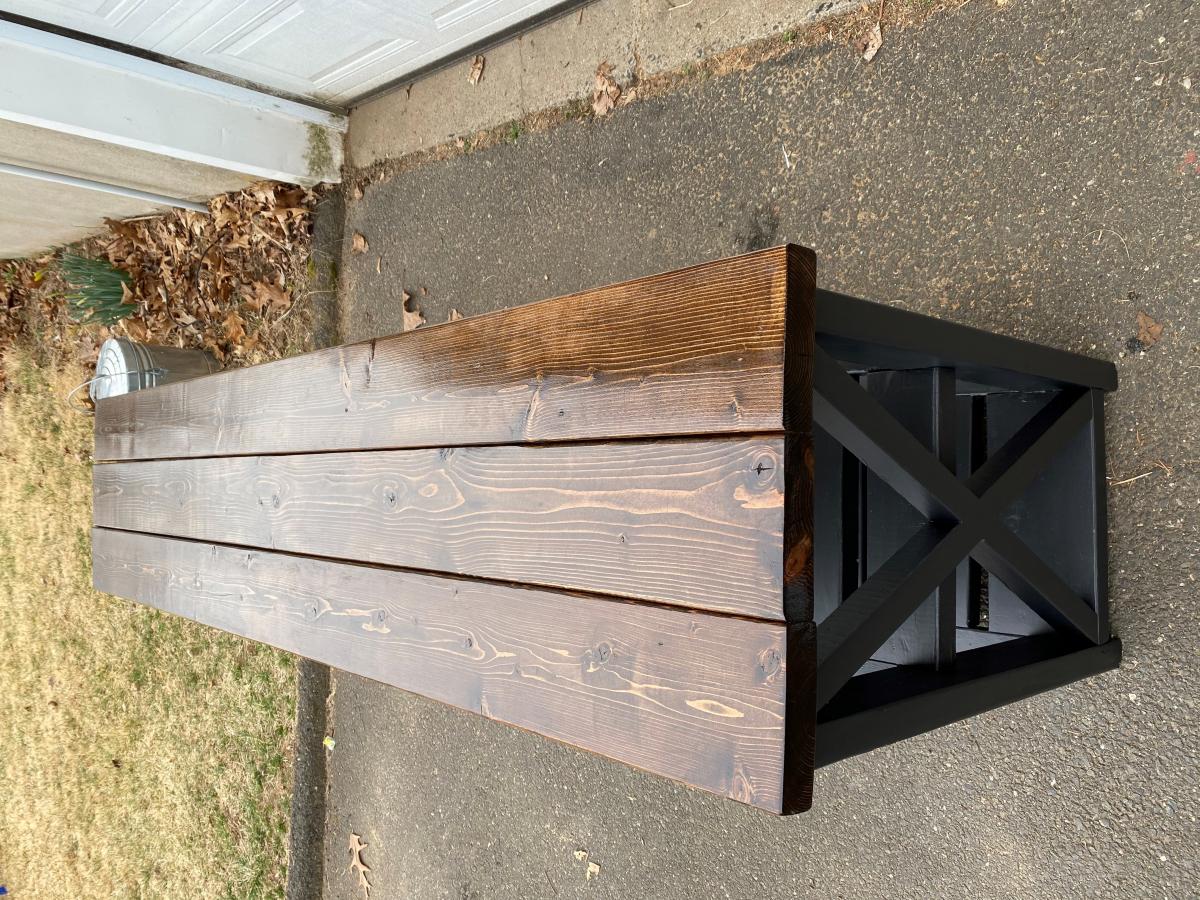
I built the farmhouse console table over the course of 3 weekends. A relatively easy build, the pocket hole were the most time consuming. Its made mostly of Douglas Fir, and pine for the 2x2's. It's a heavy piece, it weighs about 250 lbs - ish. But the wife loves it, as it will be going in our kitchen.
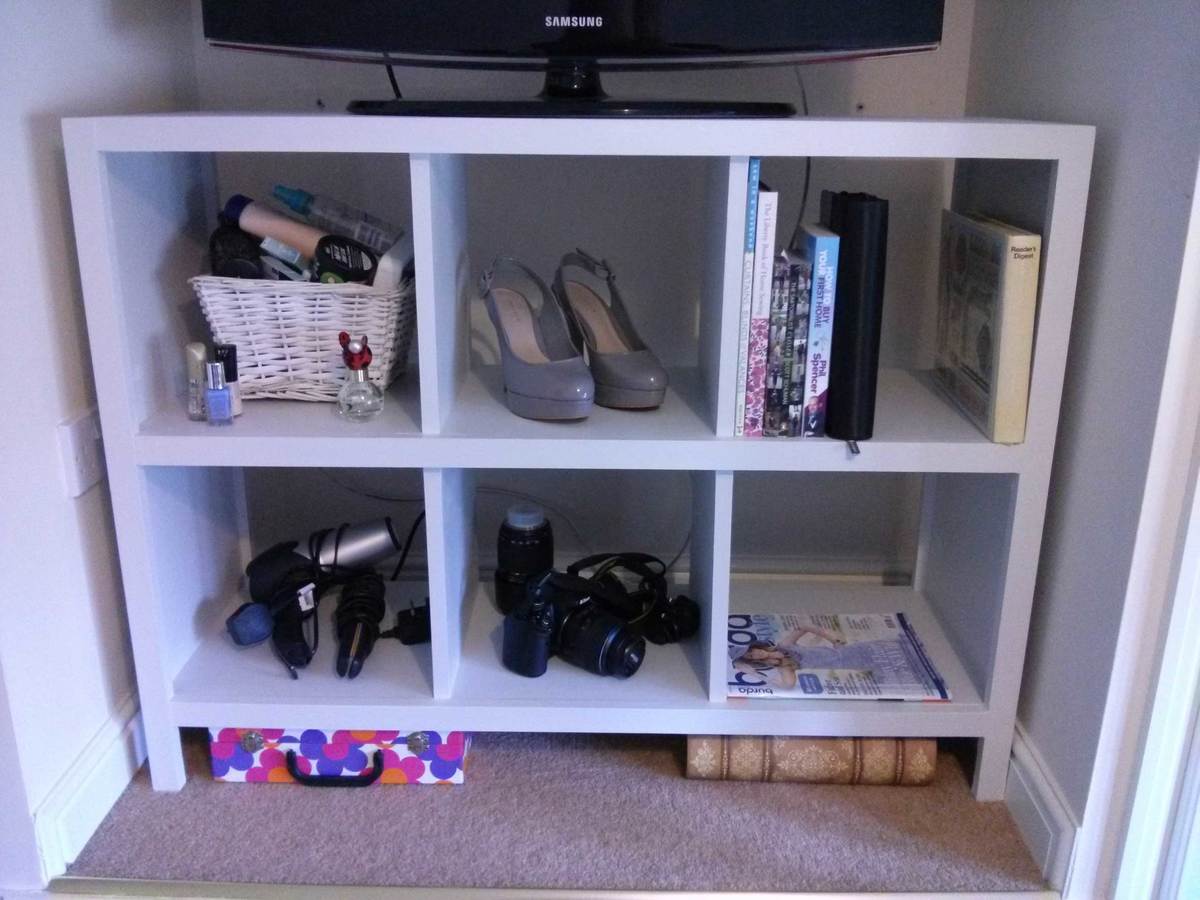
I desperately needed some storage in my workroom and finally decided to make this! It's from the 6 Cube Bookshelf plan and it works perfectly in this space I've got in my workroom.
I would've rather used real wood throughout, but this is my first proper project and to keep the cost down I used MDF for the main boards (all cut to size by my local B&Q, yay!) and planed whitewood 1x2s.
I definitely learnt a lot on this project, but most of the mistakes are hidden under the paint :-) and in the end I'm really pleased.
I wanted an off-white finish and, after a baffling time in the paint aisle, chose a very pale grey, it sits in the room perfectly! I'm hoping to make some fabric boxes for it, but not sure what colours I want yet.
Now for the next project...
Tue, 03/26/2013 - 03:35
Great work on your first project. :) Light grey lends itself to all color possibilities, so I understand how it will be tricky to choose your fabric. :)

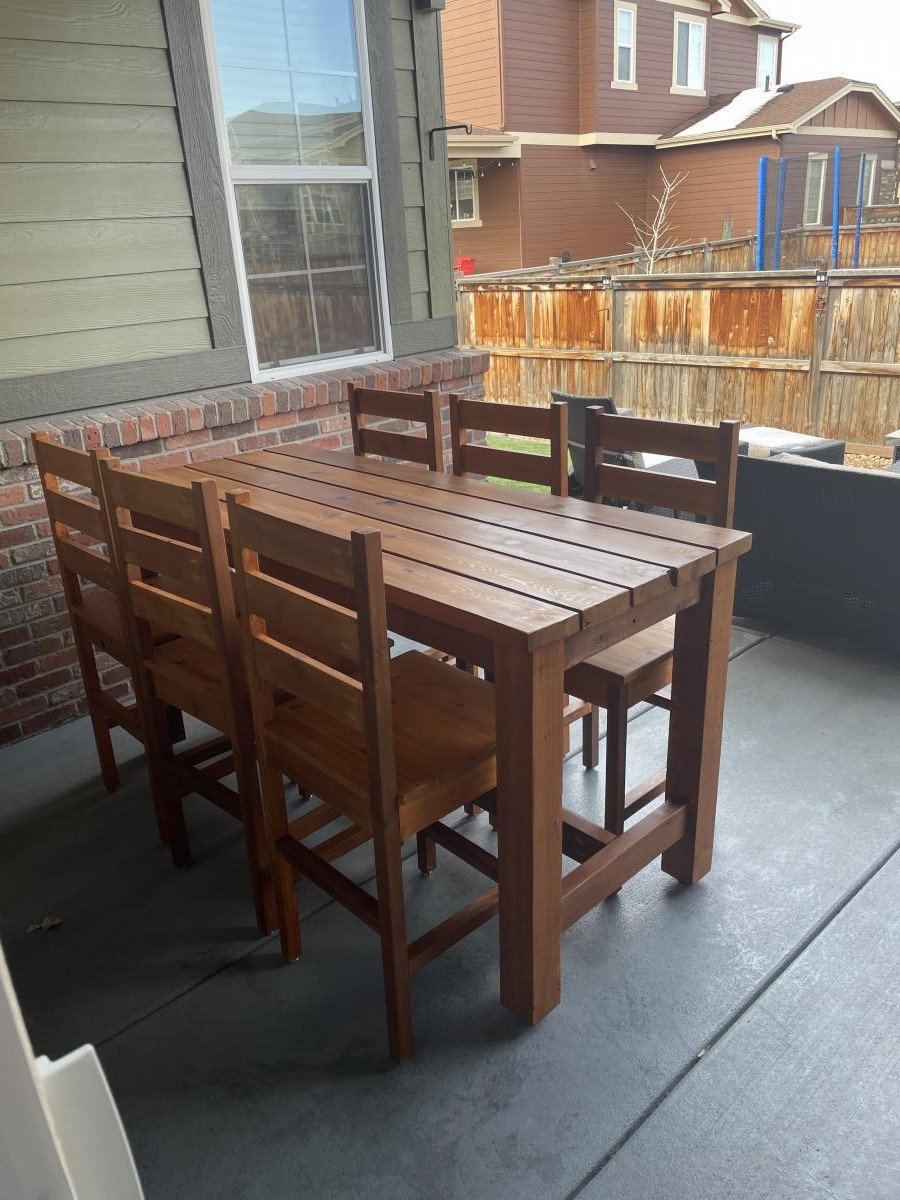
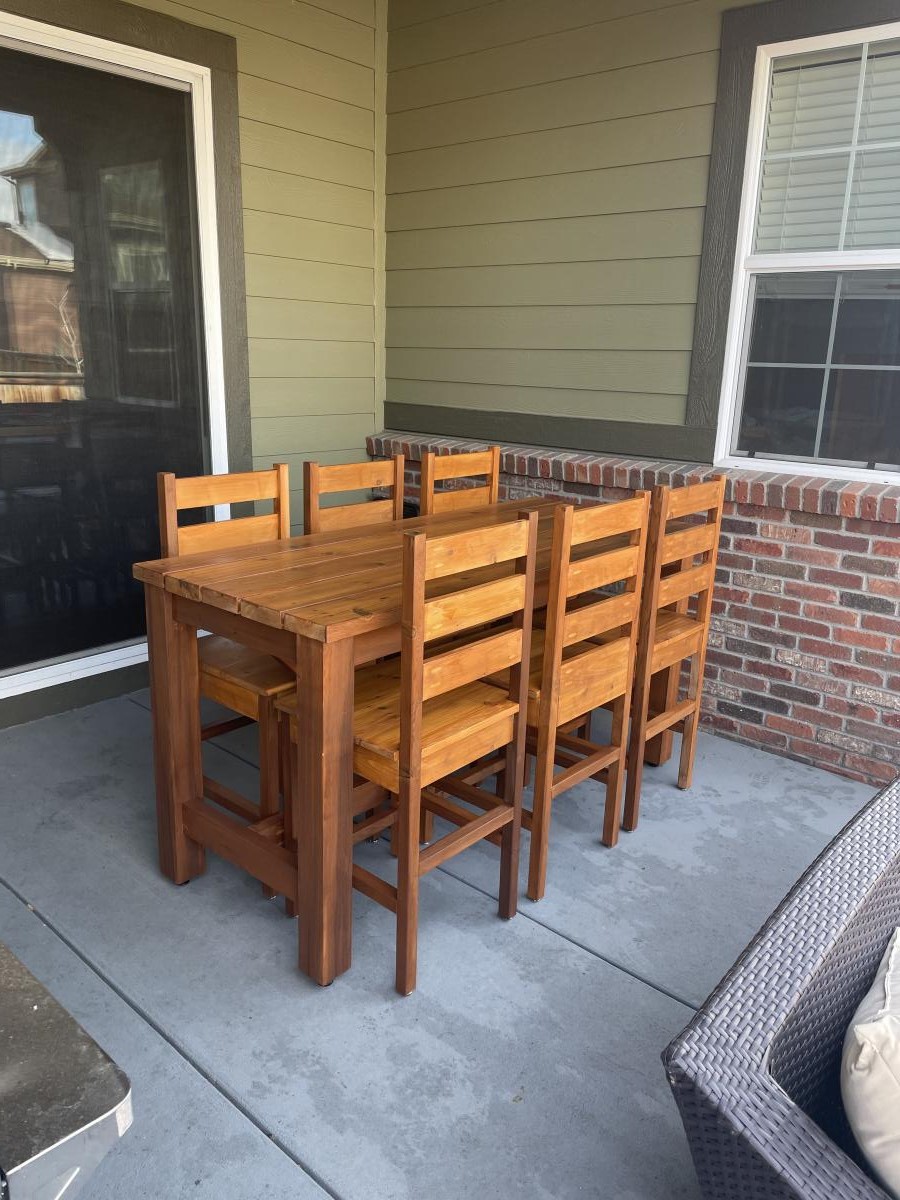
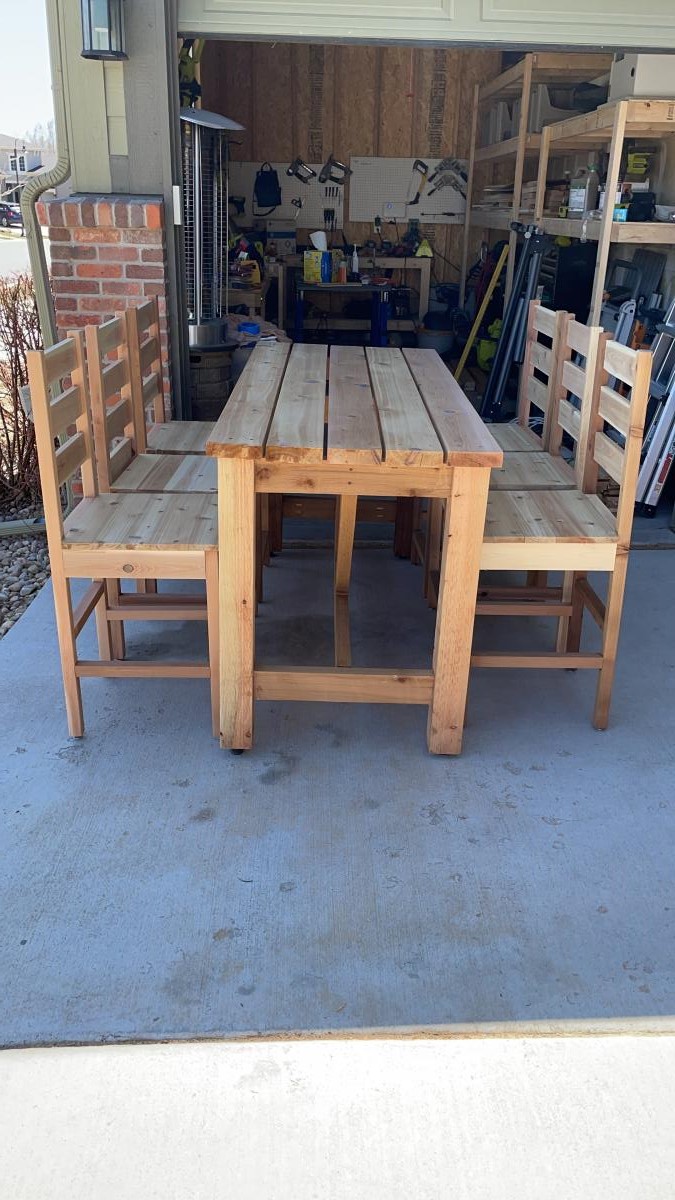
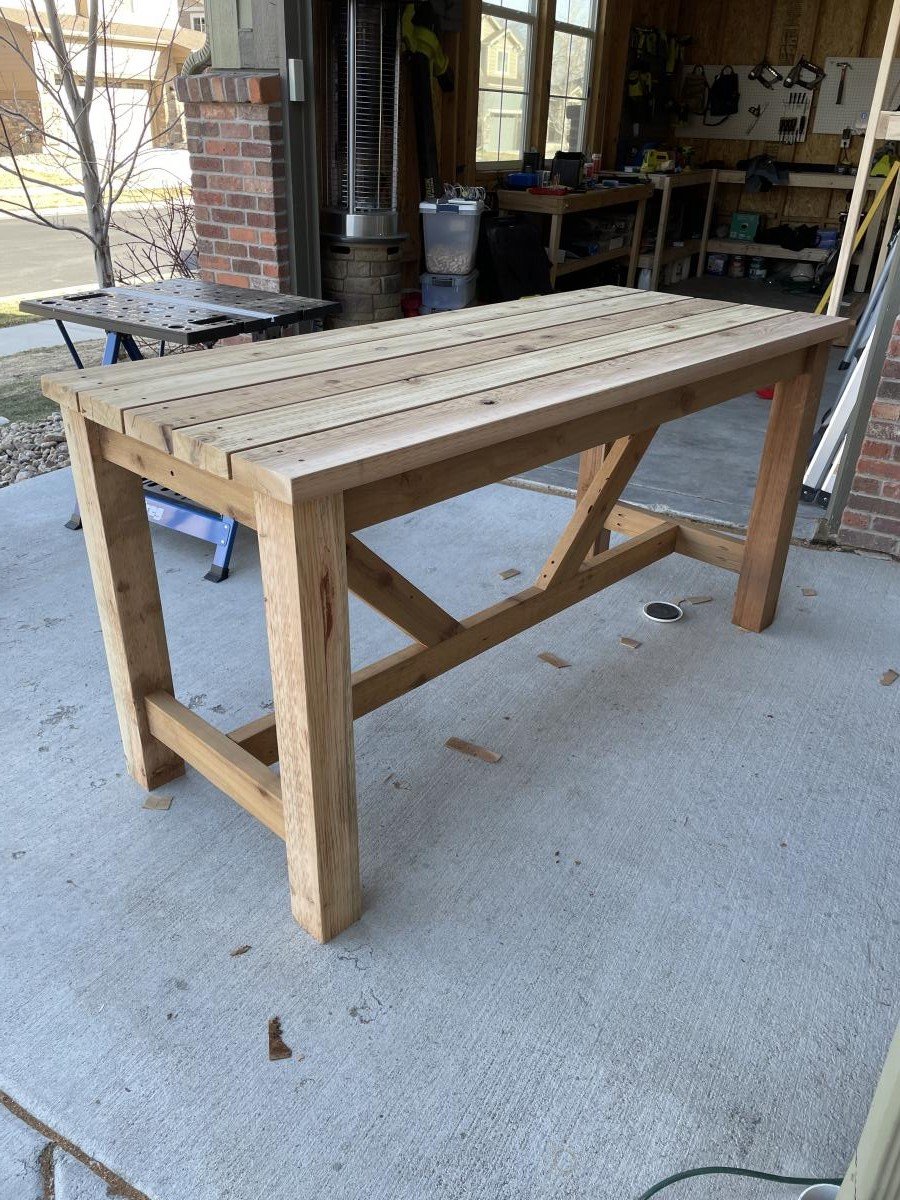
First part of the outdoor entertainment build was a 6-person dining set. Learned a lot from this build, and it was a great project to build confidence and get back into woodworking. This set is a tank - heavy, durable, yet comfortable and beautiful. We look forward to many gatherings with friends and family, just quiet dinners with the two of use and the pups.
Mon, 05/31/2021 - 07:45
Great job! Love the finish. Very warm and inviting :)
Mon, 05/31/2021 - 08:51
What a great piece of the set! Love the finish choice, you've created such an inviting space!
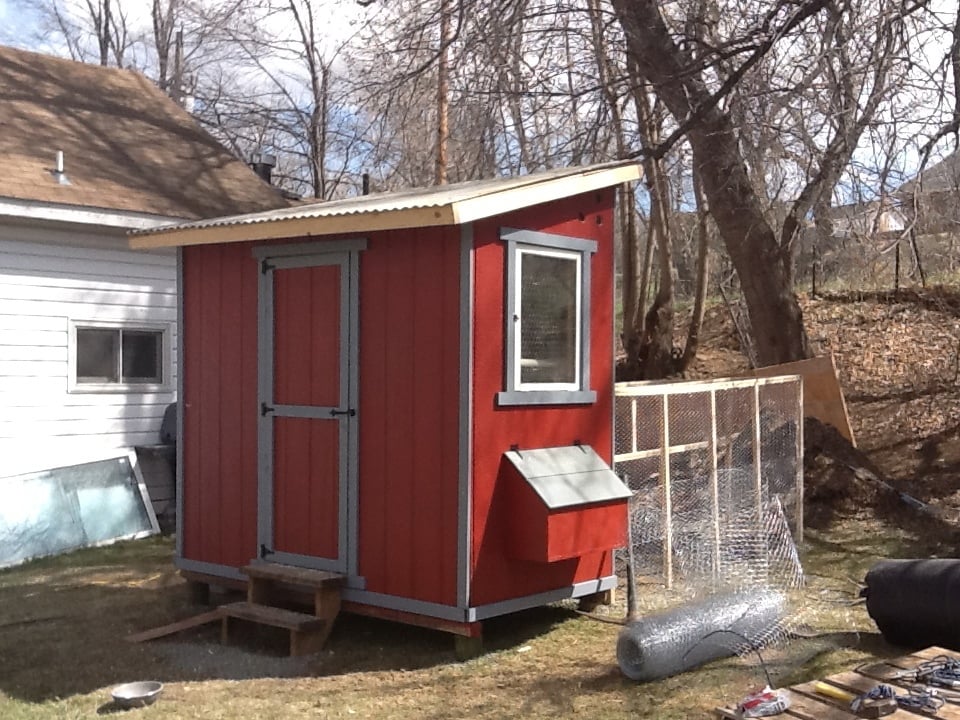
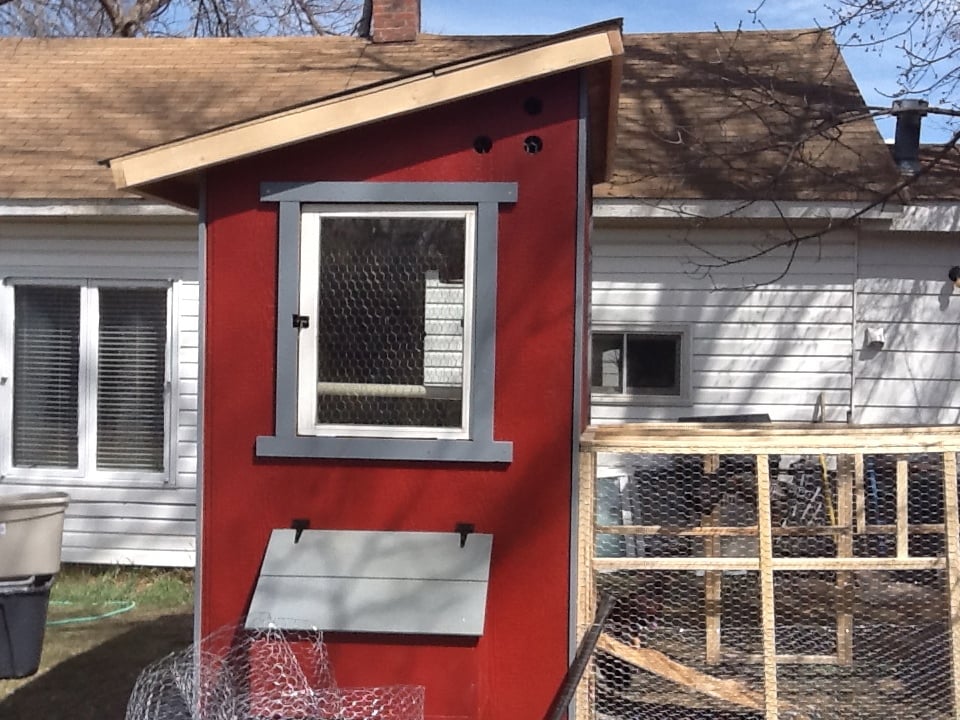
I used the chicken shed plans to create the coop, with a modification to include two nesting boxes, one on each side.
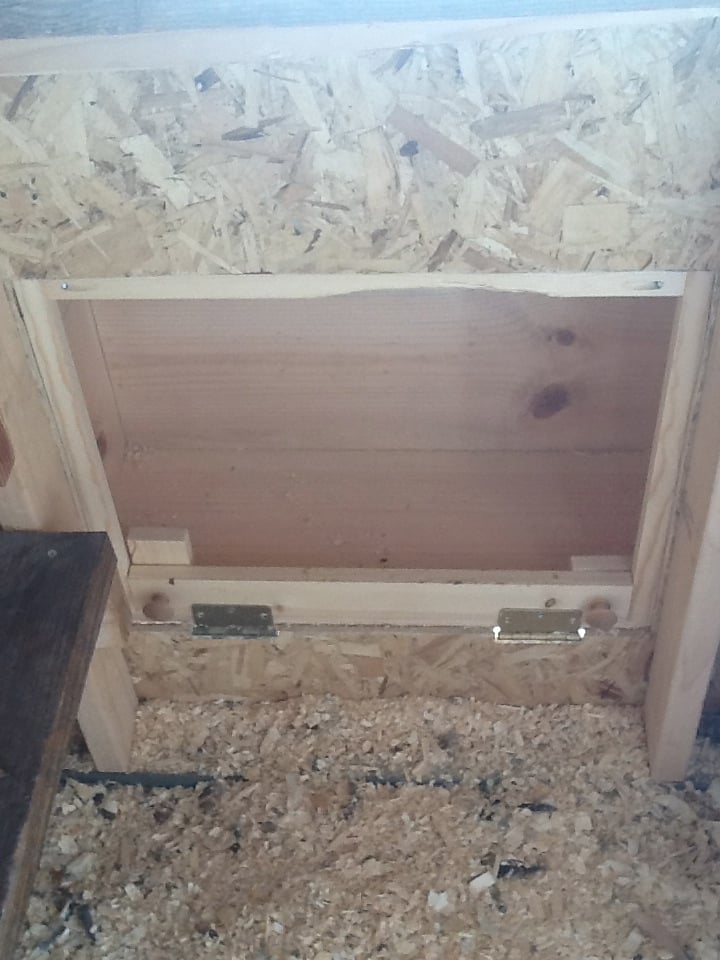
I slightly modified the nesting boxes, using a U shaped frame and added hinges for the front to swing down and the pine shavings to be swept out.
For the siding, we found it easiest to do the tack and trace method. We tacked each full sheet of siding in place and traced the cuts for the window, roof line, doors, and nesting boxes. We then took them down, darkened the lines, cut 'em, and re-hung them. It made it a million times easier, IMHO.
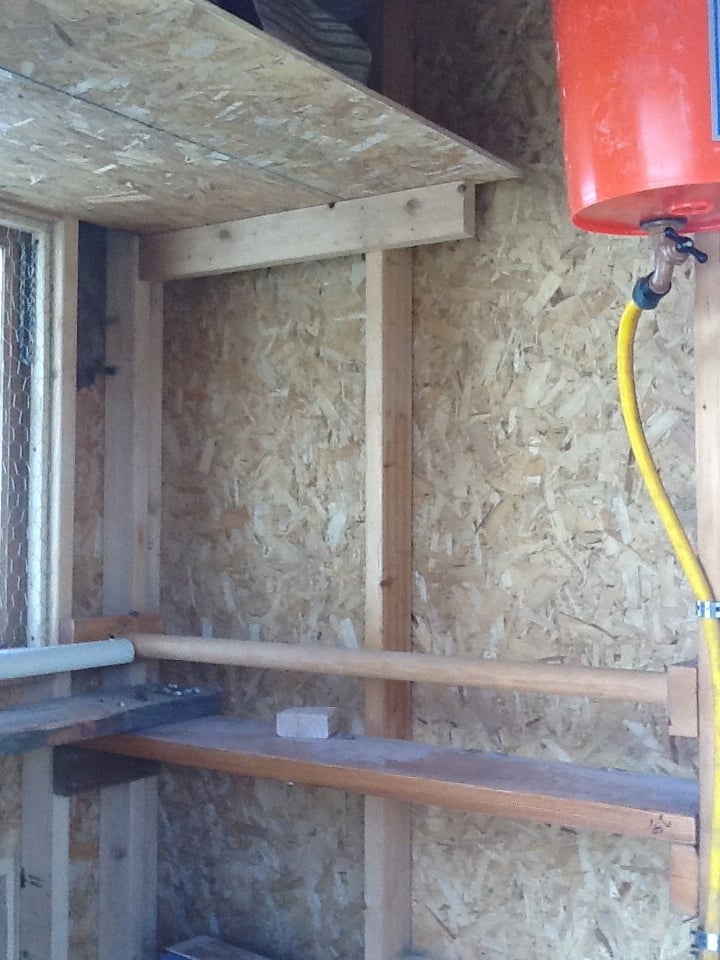
For the inside, I designed several roosting bars with poop platforms. The water is a gravity fed chicken nipple/pvc setup, which I found online.
The food stations, also gravity fed, are (new) sewer pipes with wye connectors.
I used the roof and siding scraps to make shelves for storage inside.
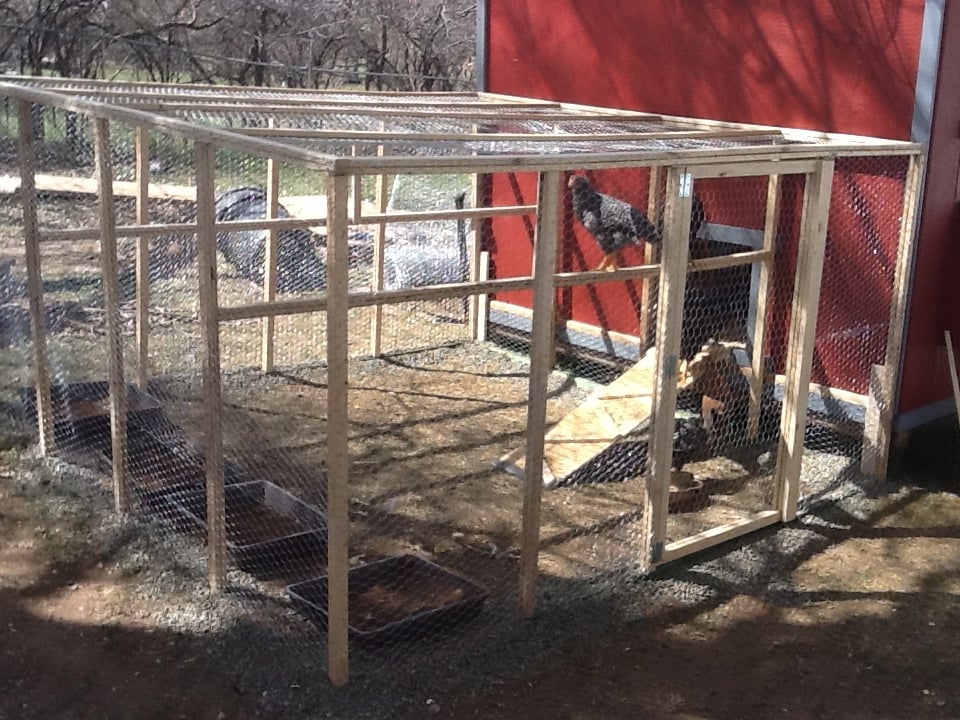
By sourcing reclaimed materials, I built the coop, run, interior, feeding stations (5), and waterer for $550. I only bought 27 pieces of new lumber (15 2x4's and the 12 8 foot long 1x3's)
Even the paint was free! (We have a drop and swap at the haz mat recycling center run by the county. We have gotten 100's of dollars of free paint, stain, and varnish there. I even used a can of free spar varnish to seal the inside of the coop)
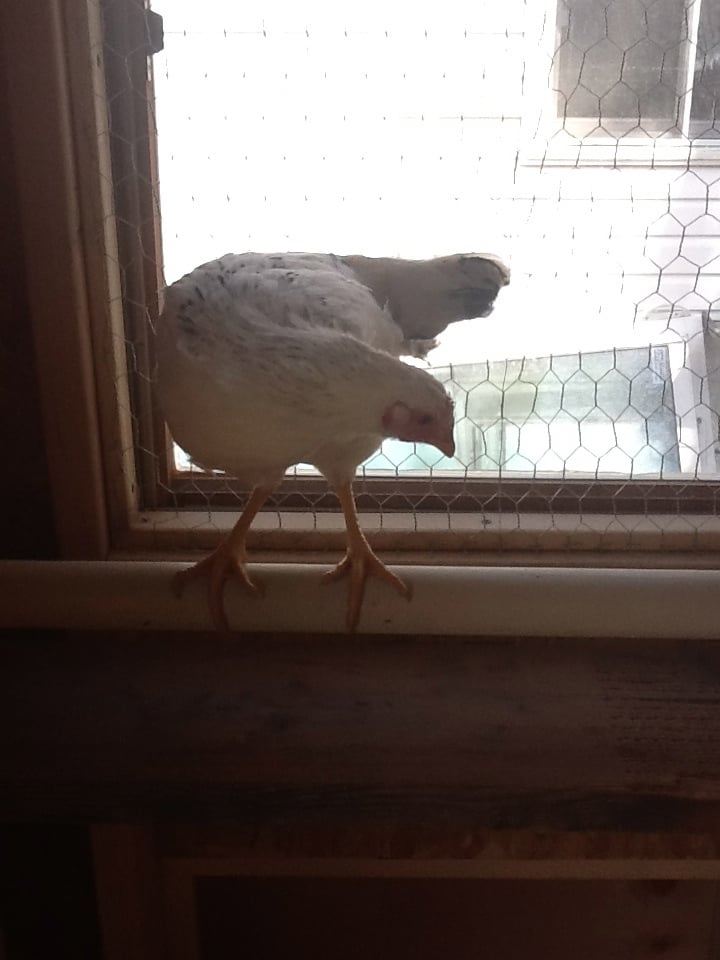
There are still a few pieces of trim to be cut and painted, but the girls are inside eating, drinking, and merry!
I did find that at the Home Depot, if you buy chicken wire, it costs way more then 150 feet x 36 inch "stucco netting". The stucco netting was $54 for 150 feet, and chicken wire is $76 for the same amount. It is the exact same wire.
I built the run out of resourced 1x2 furring strips. They were a pain to work with, very prone to breaking when not supported, but with the entire run costing $25 for wood and $54 (with half a roll left over) for chicken wire, I can handle some extra time and effort.
If anyone has any questions for me, feel free to contact me! I'd love to help!
Mon, 02/06/2023 - 08:12
Hi! Do you still have this coop? It's been about a decade now and wondering how it has held up, if you have any suggestions, or additional pictures of the inside. Thank you!
My daughter helped me build this enclosure. We used Ana's chicken run plan, but just made it taller so we could walk in easily. We added an overhang to store food and pellets under, for the supports we used Ana's easy shelves angle support plan, and finally we used the playhouse base plan for the base of turkeys house. All plans used are linked below. We ran the chicken wire out under the structure and still need to bring in some large rocks or pavers, but so far no issues with predators. Turkey was getting too big to fit in the smaller coop, so we decided to have fun with his house and used cedar fence pickets and some treated 2x4's, built a box and jig sawed the shape of a turkey. As you can see in the first photo the ladder for turkey wasn't big enough, all the other chickens were in his house, lol. So I beefed up the ladder and he happily can put himself up at night now:) Overall a super successful project, I wasn't sure what to do with the top and just at that point, the neighbor walked over and offered the metal, talk about a huge win and the perfect solution! We attached the run to the previous smaller structure and now they have so much more room and are laying like crazy:) Finally, I think this would make a great dog kennel as well...
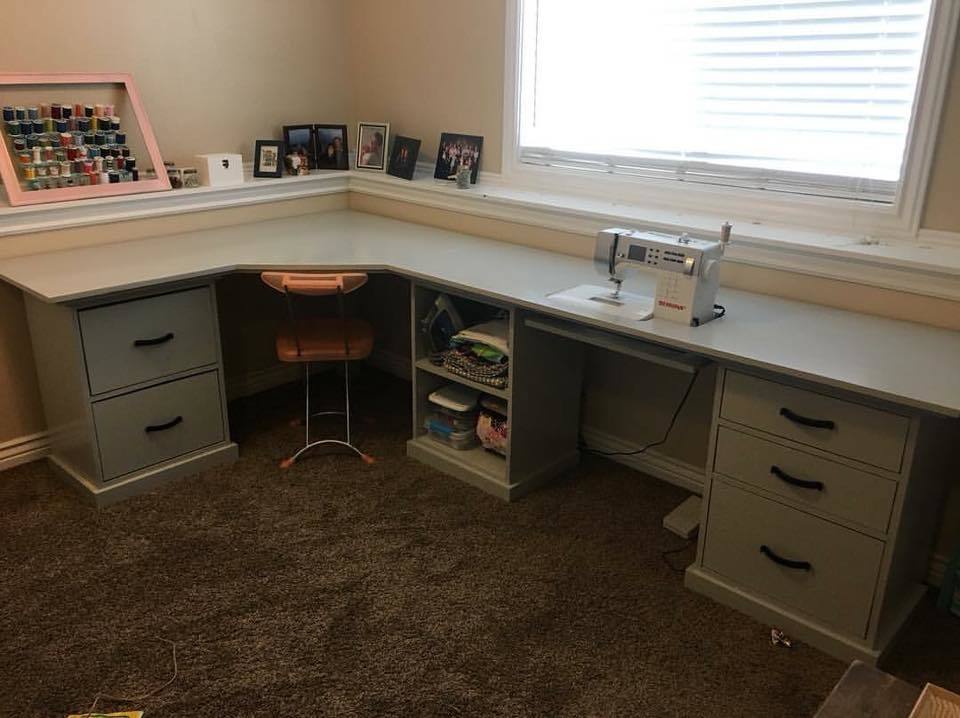
We made this sewing/craft table by combining plans from the modular office. It was a big job but SO worth it! We love your plans and use them all the time!
Submitted by Candace Ann Williams
Comments
Ana White Admin
Fri, 07/01/2016 - 10:53
Stunning!
Great choice all around! Thanks for sharing:)
Katie.Belmont88
Wed, 07/06/2016 - 19:18
Love!
I love this! I was so excited until I realized that this was a brag and didn't have plans. I don't know if I'm as talented at modifying as you are. :)
kajasmin
Tue, 06/11/2019 - 05:25
Can you share where you got…
Can you share where you got your cushions please?