Community Brag Posts
Newbie
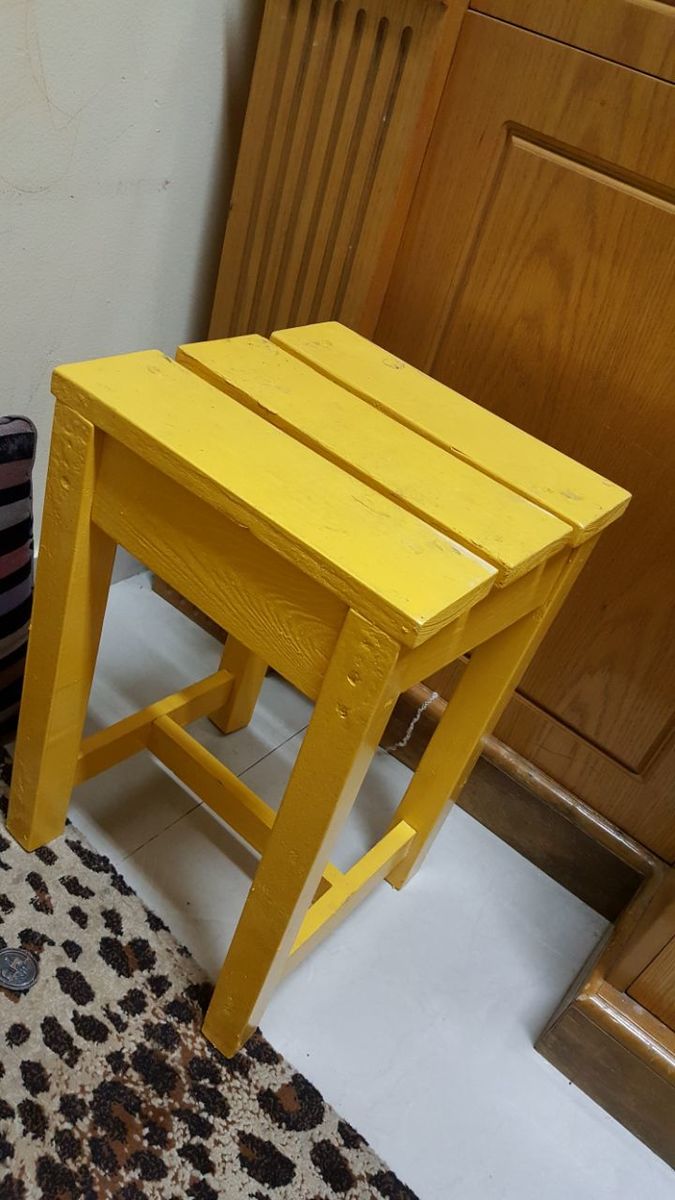
My first build in my new house I didn't think it would come out so well. Thanks for the plans. I love working with my hands
Built from Plan(s)
Comments
Sat, 04/24/2021 - 05:20
Lumber is quite expensive…
Lumber is quite expensive right now so I'm not sure what's next but once I figure it out I'll be sure to post it :)
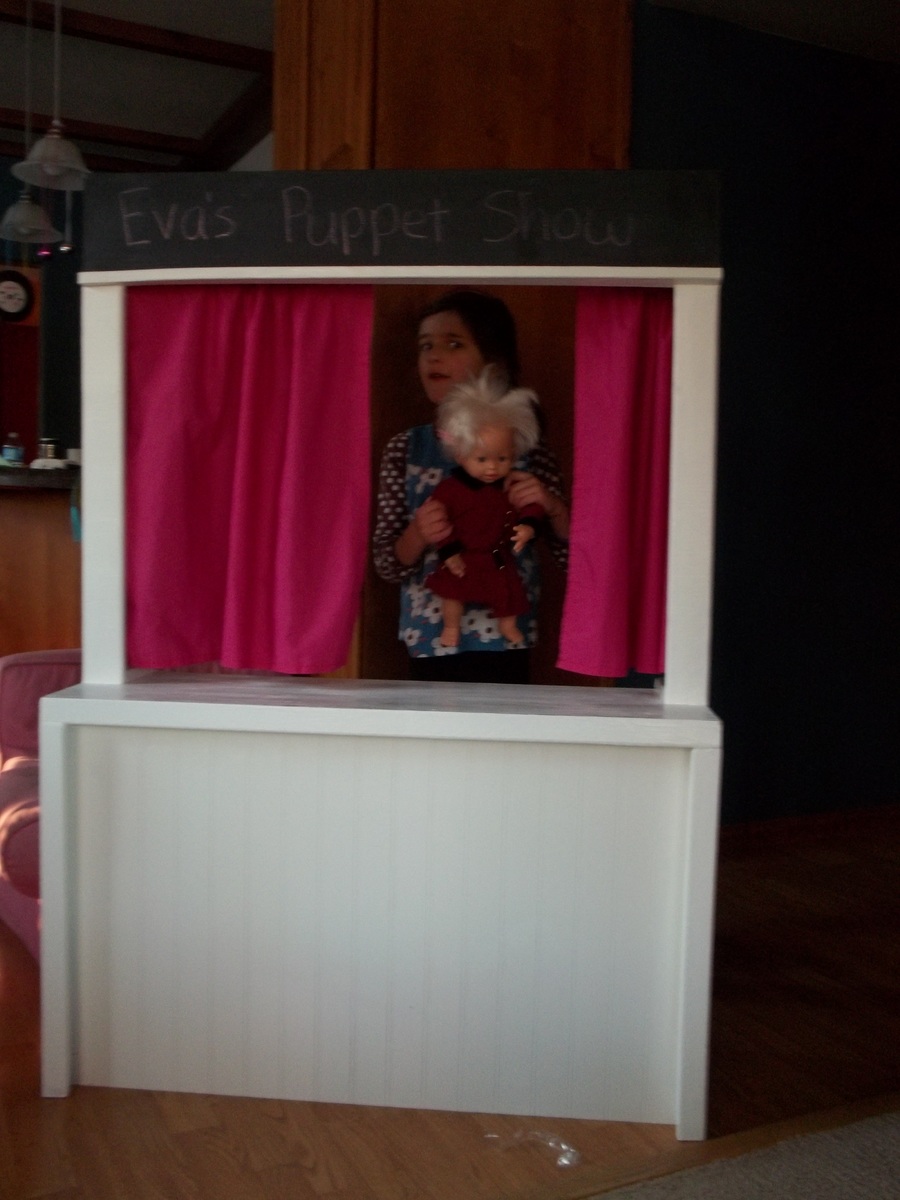
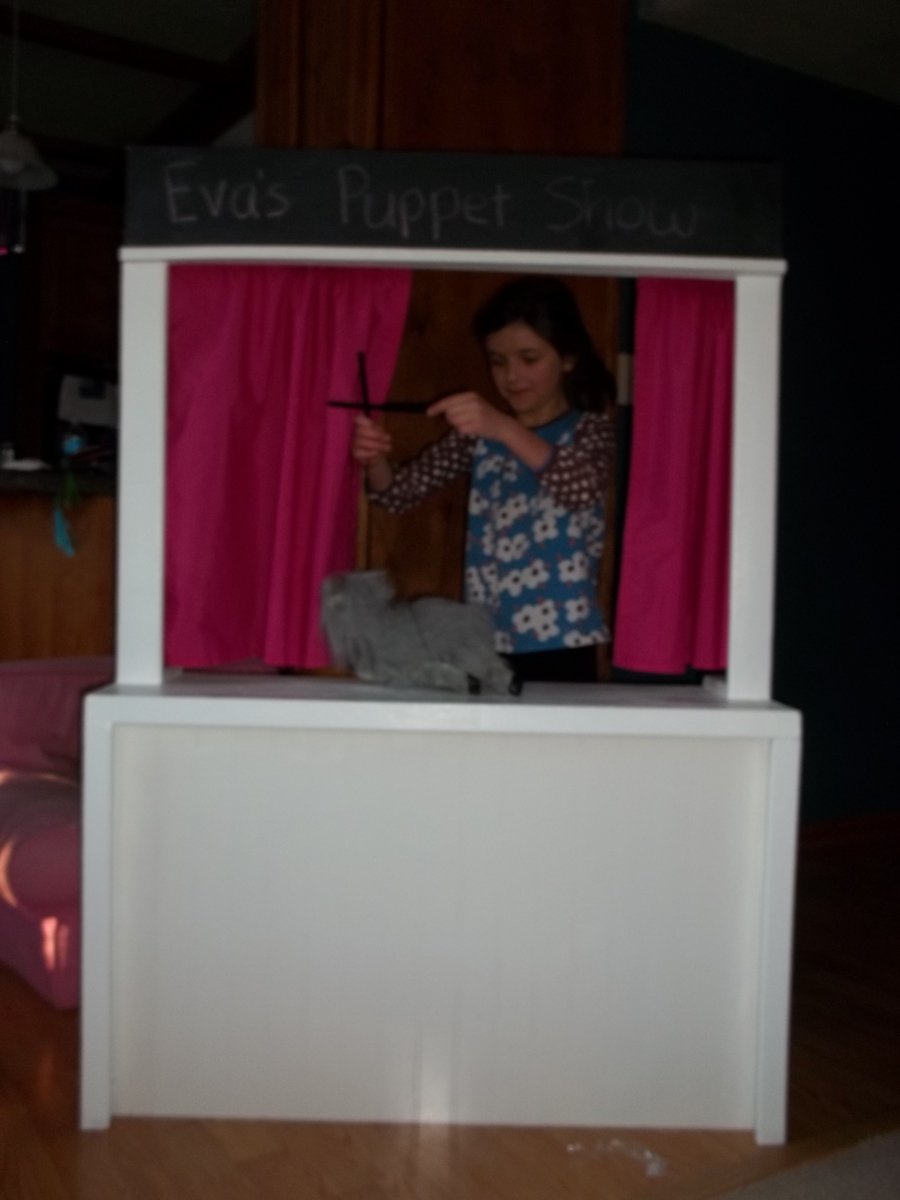
Puppet Stage
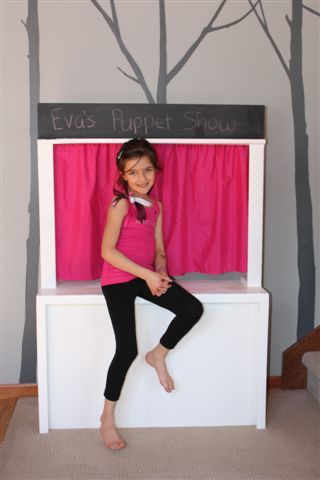
I changed the this plan to make it into a puppet stage for my niece's birthday.
I added a curtain rod and made some curtains to fit. I put two shelves in the back, but I put dowels in along the shelves so she could put her puppets on them for easy storage. I used a piece of a sheet of wainscotting for the front of the bottom.
I also put chalkboard paint at the top to allow her to write the name of puppet show that she is performing.
I was able to use some scraps that I had around for quite a bit of it, so it was pretty inexpensive.
The pictures are not great and I wish I would've taken pictures of the back before I gave it as a gift, but the kids are having lots of fun with it. I'll have to take some better pictures the next time I visit.

Built from Plan(s)
Estimated Cost
around $25, but I was able to use scraps that I had and paint that I already had.
Estimated Time Investment
Weekend Project (10-20 Hours)
Finish Used
Cabinet paint, chalkboard paint
Recommended Skill Level
Beginner
Christmas Chalkboards
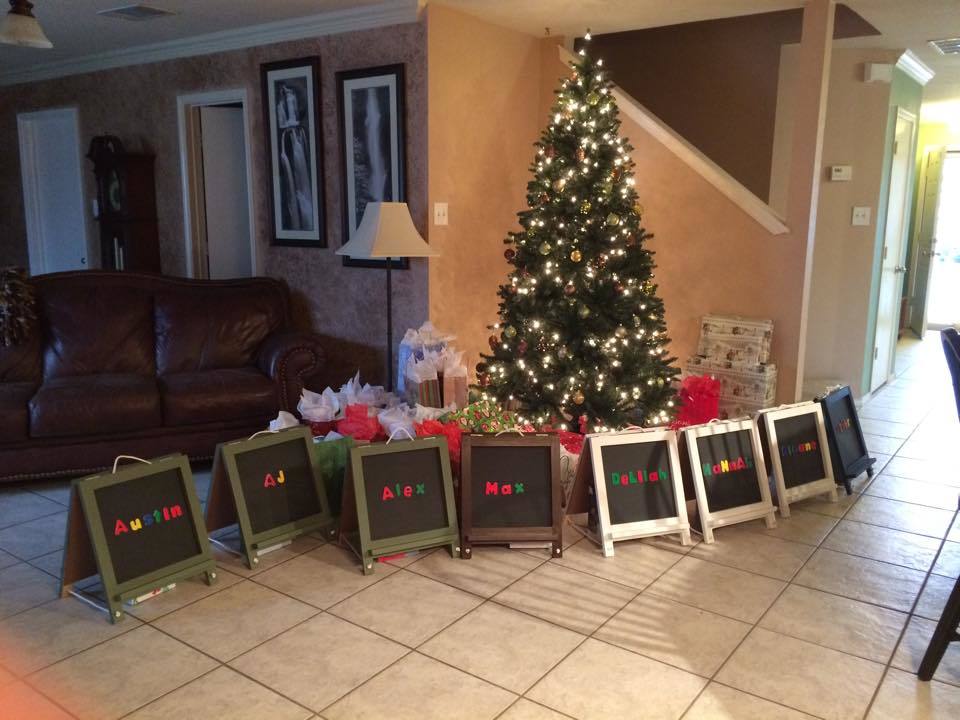
I wanted something special to give the kids in our family for Christmas so I made them all these magnetic chalkboard easels. I gave them chalk and magnetic alphabet letters to go with it. The kids ranged from ages 6 months to 8 years and they all loved them!
Built from Plan(s)
Estimated Cost
$25/ea
Estimated Time Investment
Afternoon Project (3-6 Hours)
Finish Used
magnetic primer and chalkboard paint on the plywood and various colors for the frames
Recommended Skill Level
Beginner
Comments
Mon, 02/02/2015 - 12:21
Thanks Ana! I am having so
Thanks Ana! I am having so much fun using plans from your site. My husband created a monster in me when he helped me start learning how to use the power tools last Christmas. Now I just can't stop. currently my daughter and I are working on a large storage bed for her. You have inspired me that nothing is impossible!
Thu, 04/30/2015 - 01:19
Great idea to make these
Great idea to make these magnetic as well. I was just wondering if you would be willing to share what you used to make them magnetic. Thanks in advance
K
Tue, 05/12/2015 - 05:31
magnetic
sorry just saw this comment - I used the magnetic primer by Rust-Oleum. Used this in place of standard primer. You have to use at least 2 coats and even then, it won't hold a very heavy magnet. i would imagine the more coats you put on, the stronger it will be. It's not cheap, but was great for this application.
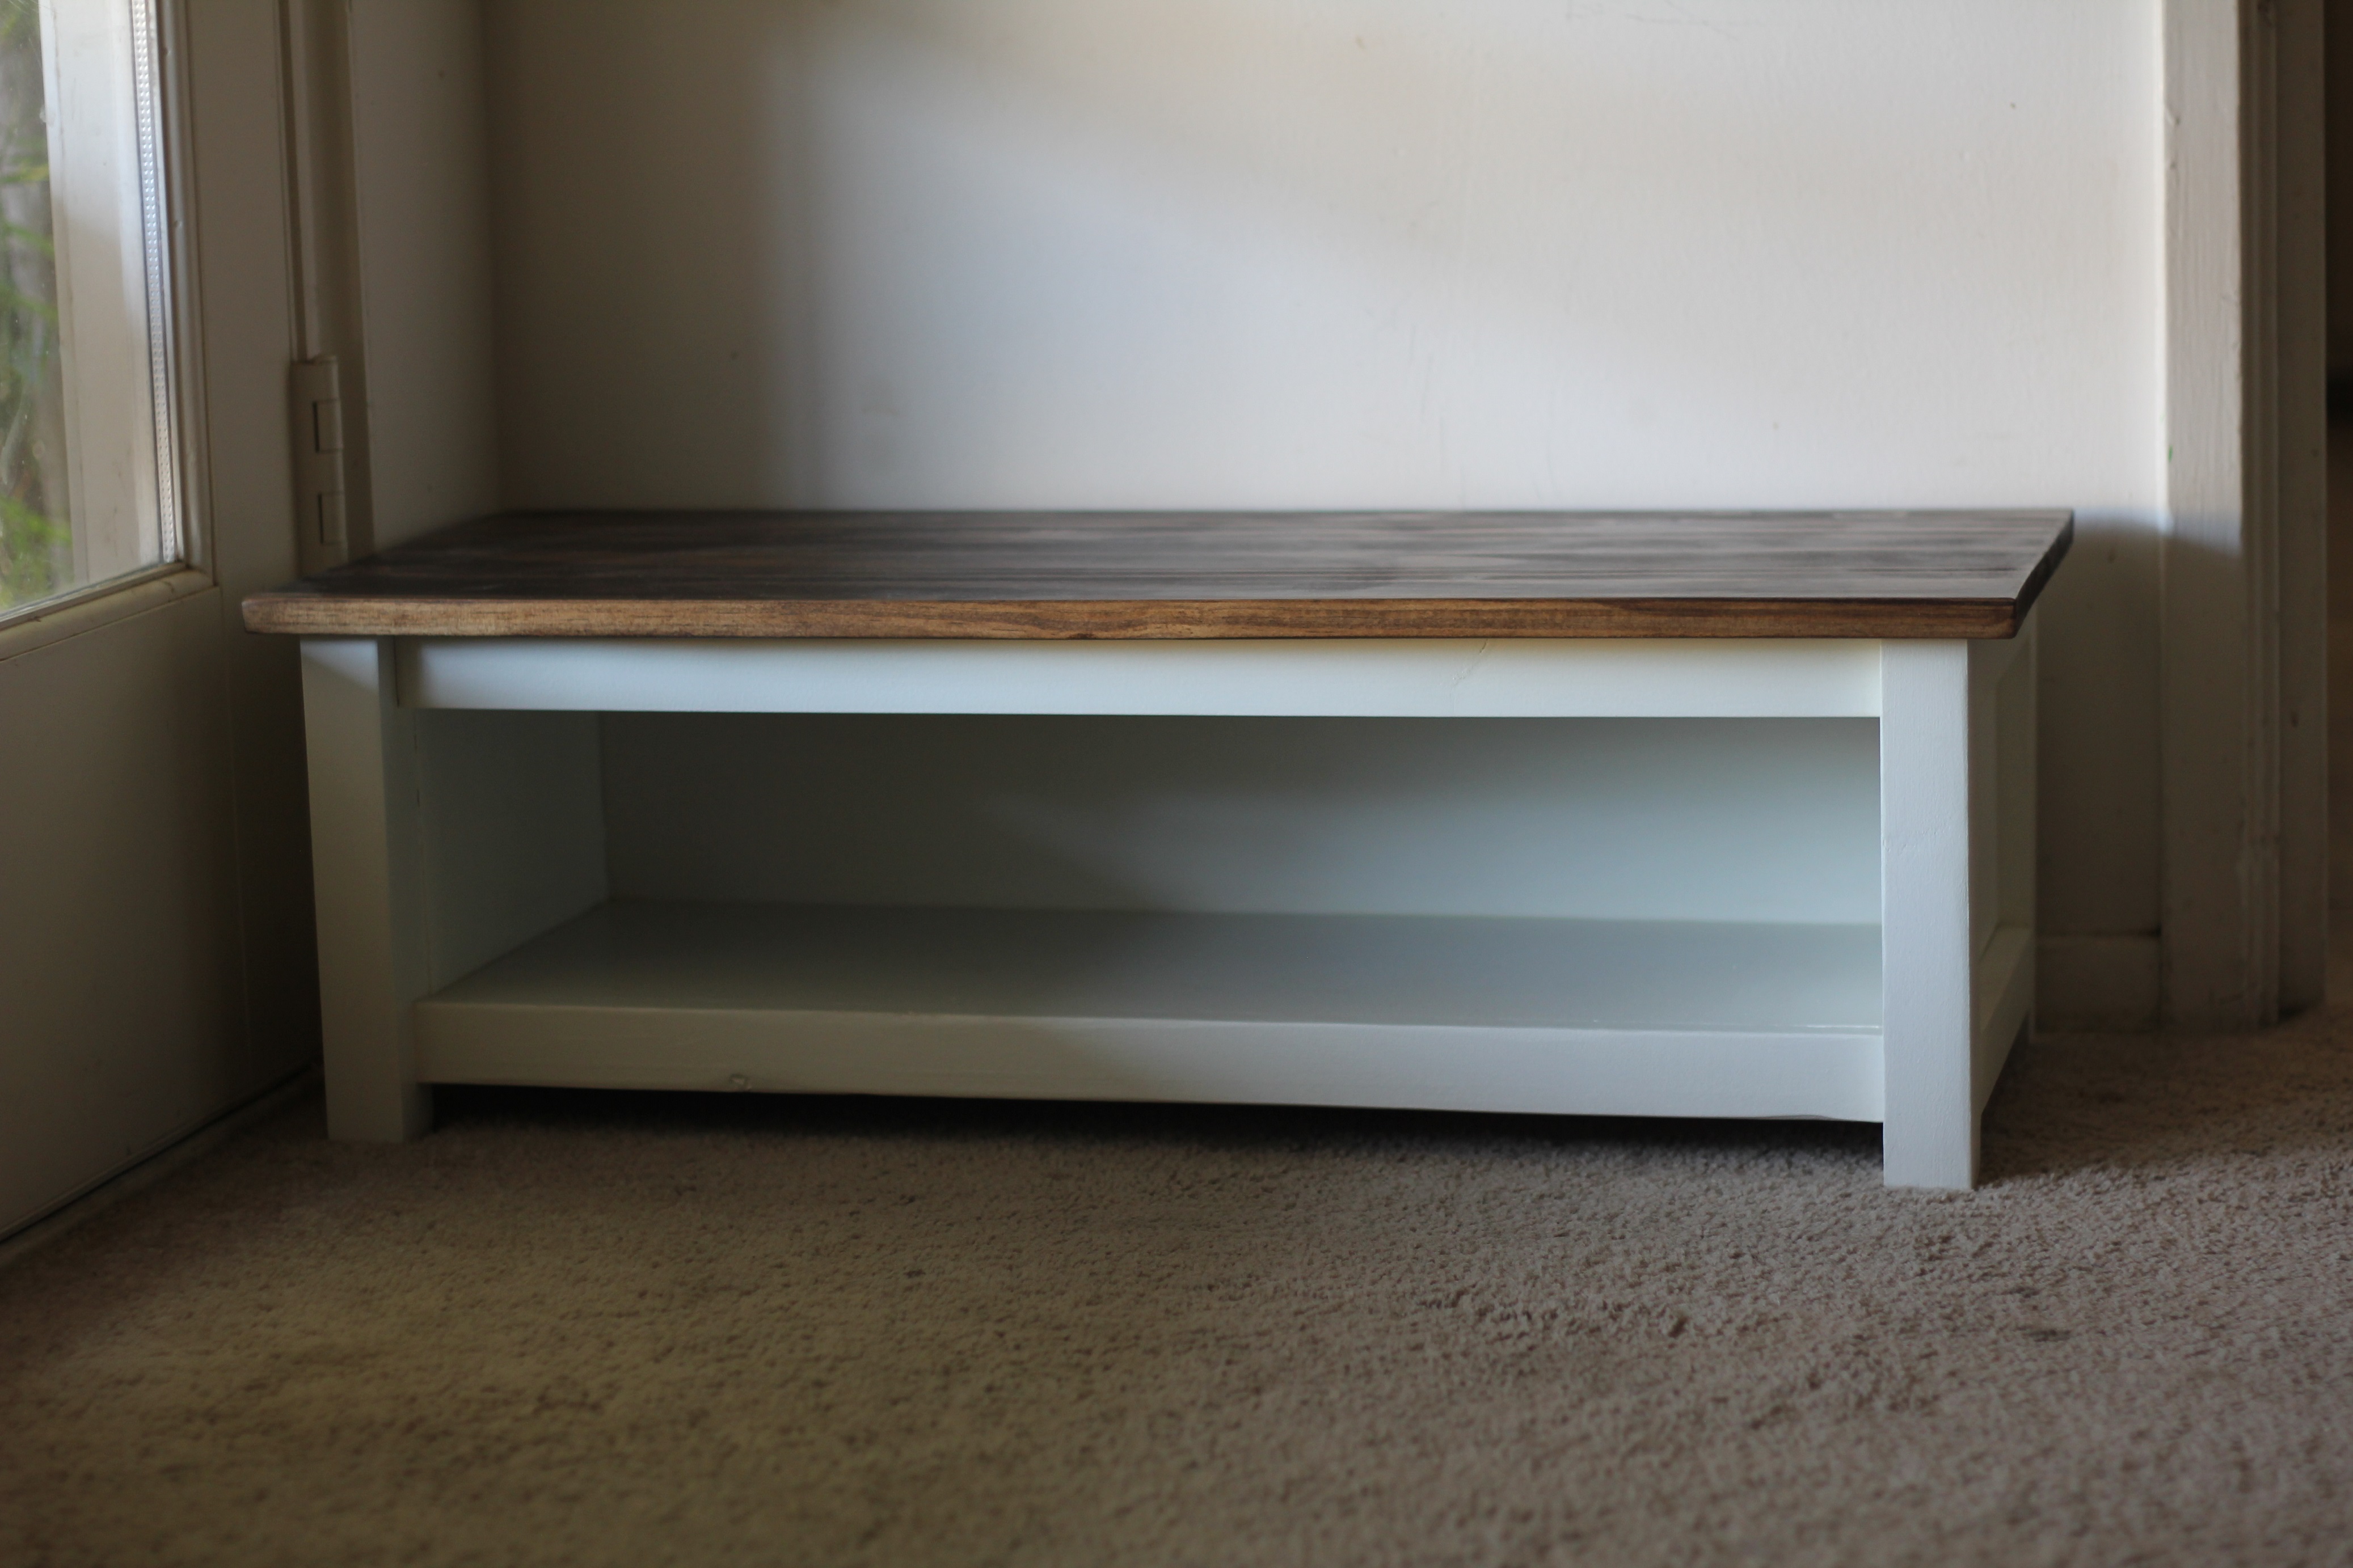
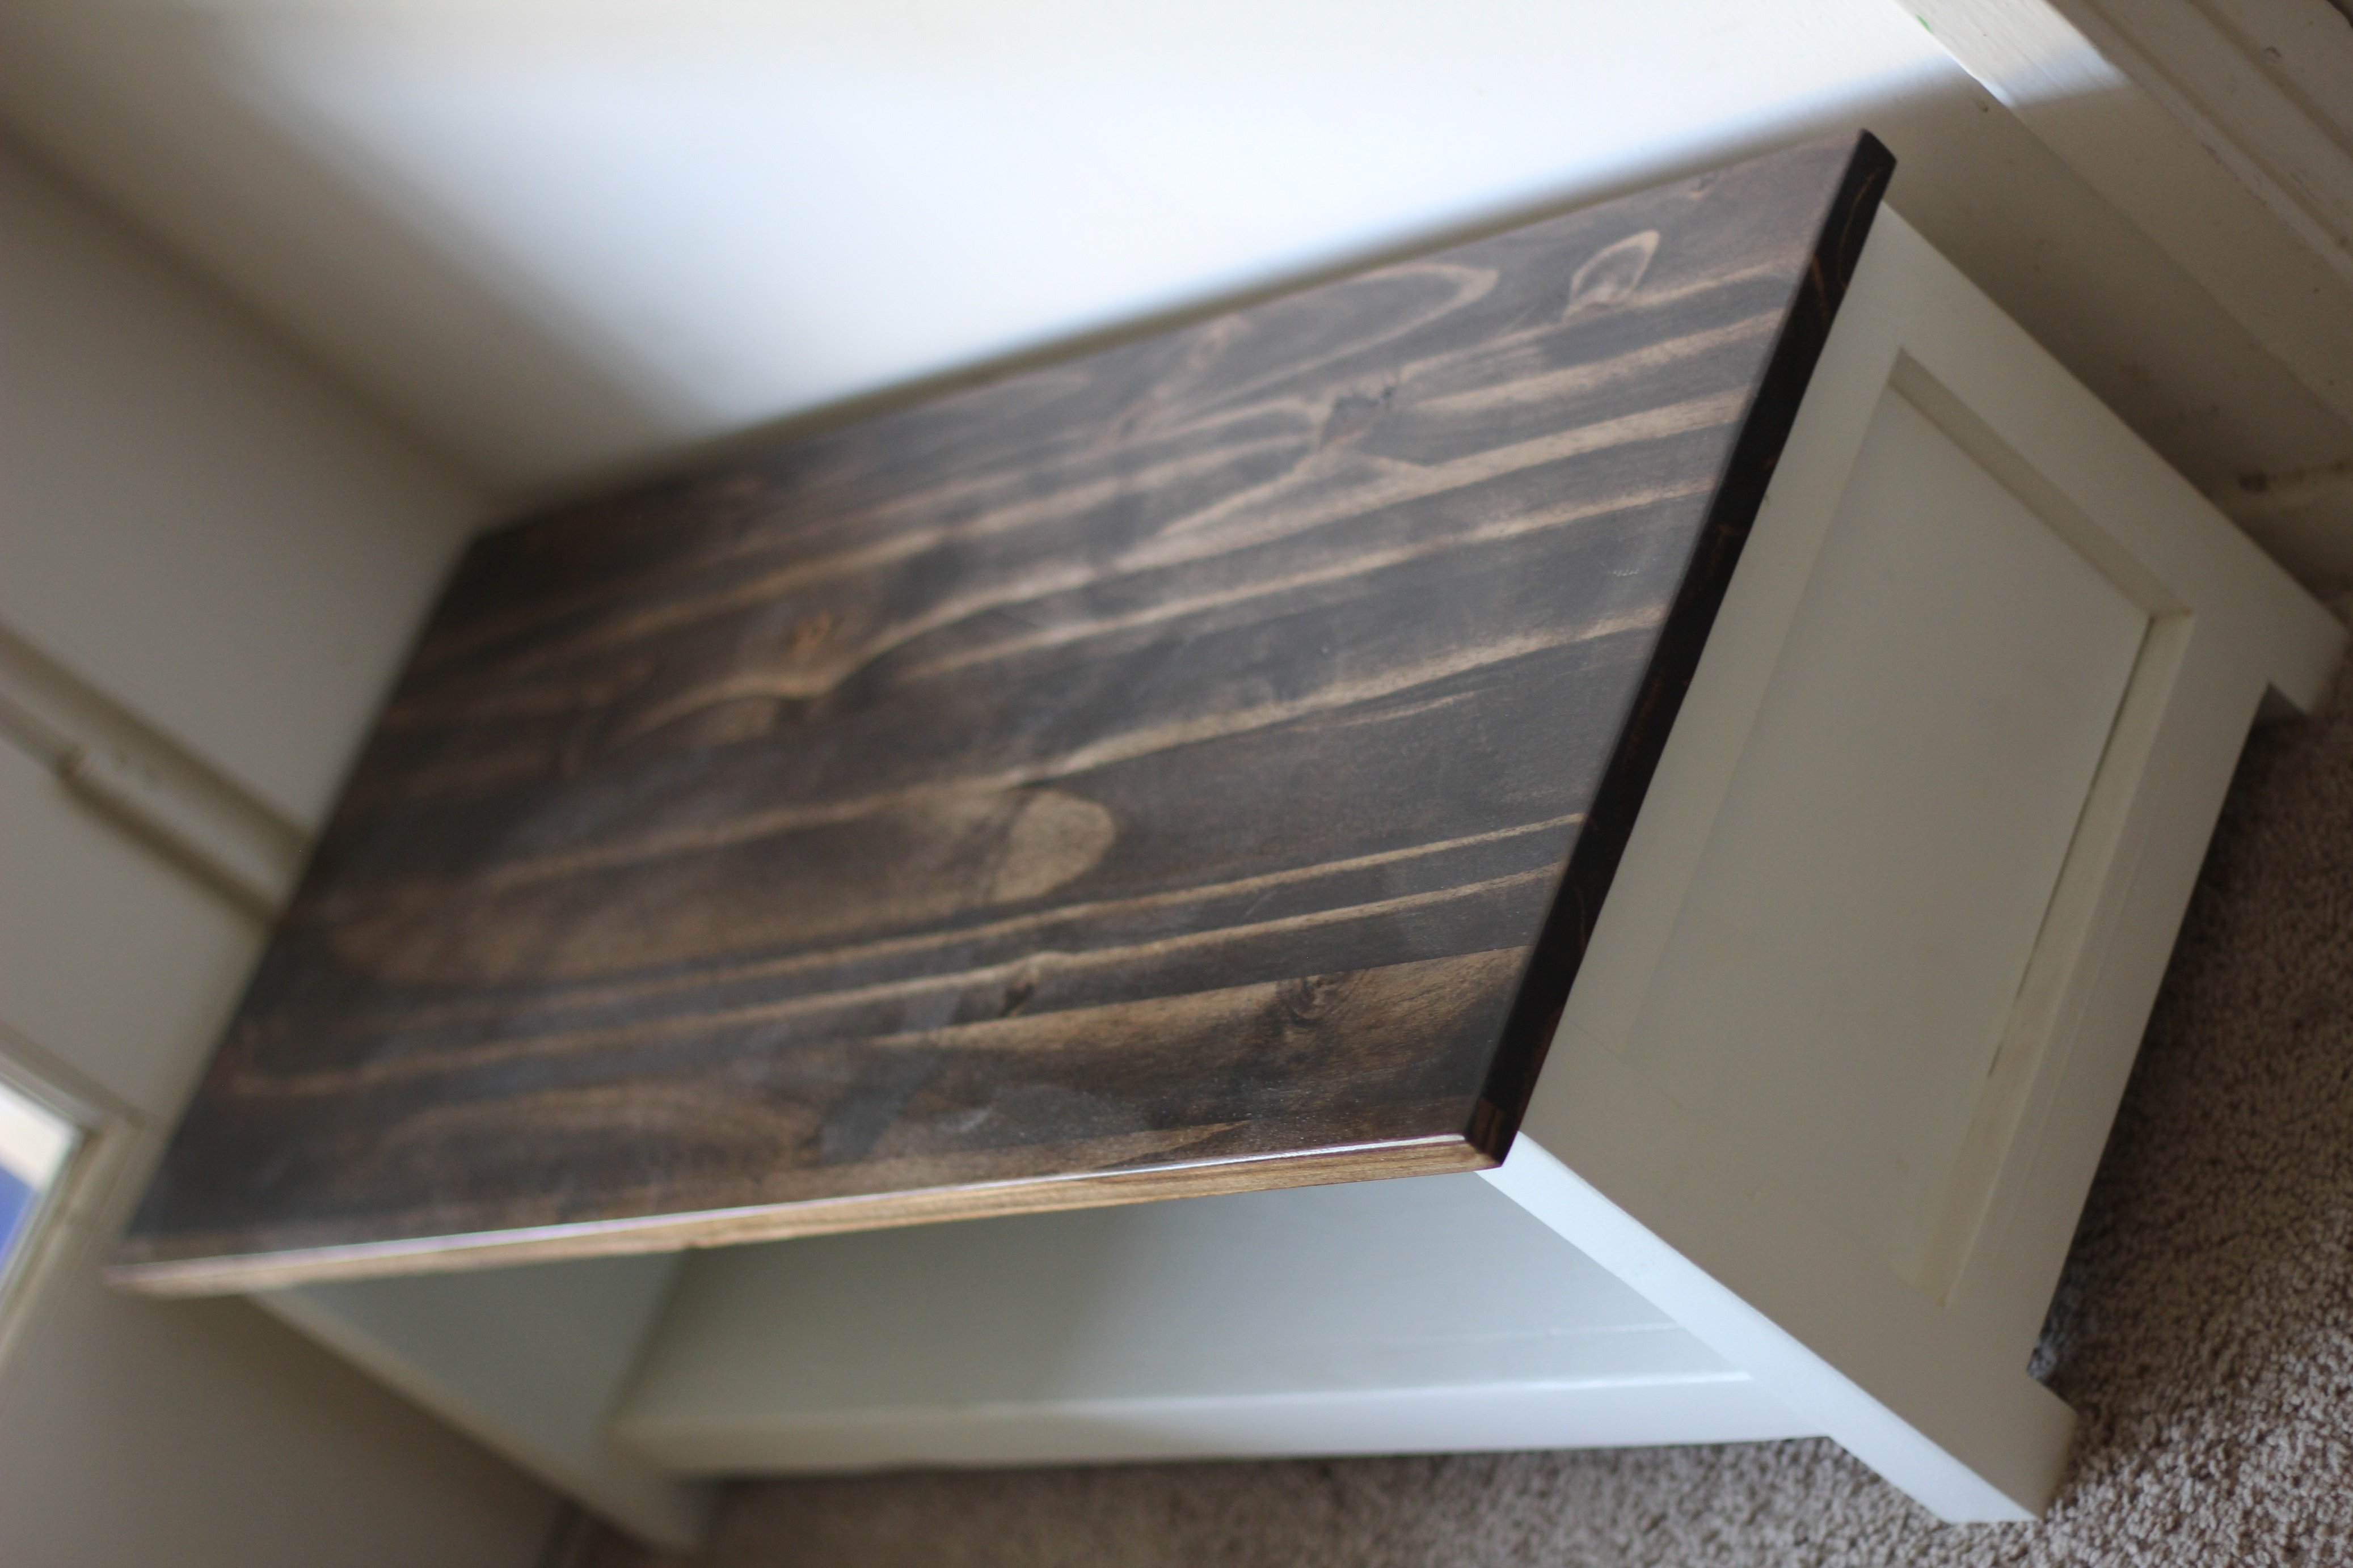
Shoe Shelf
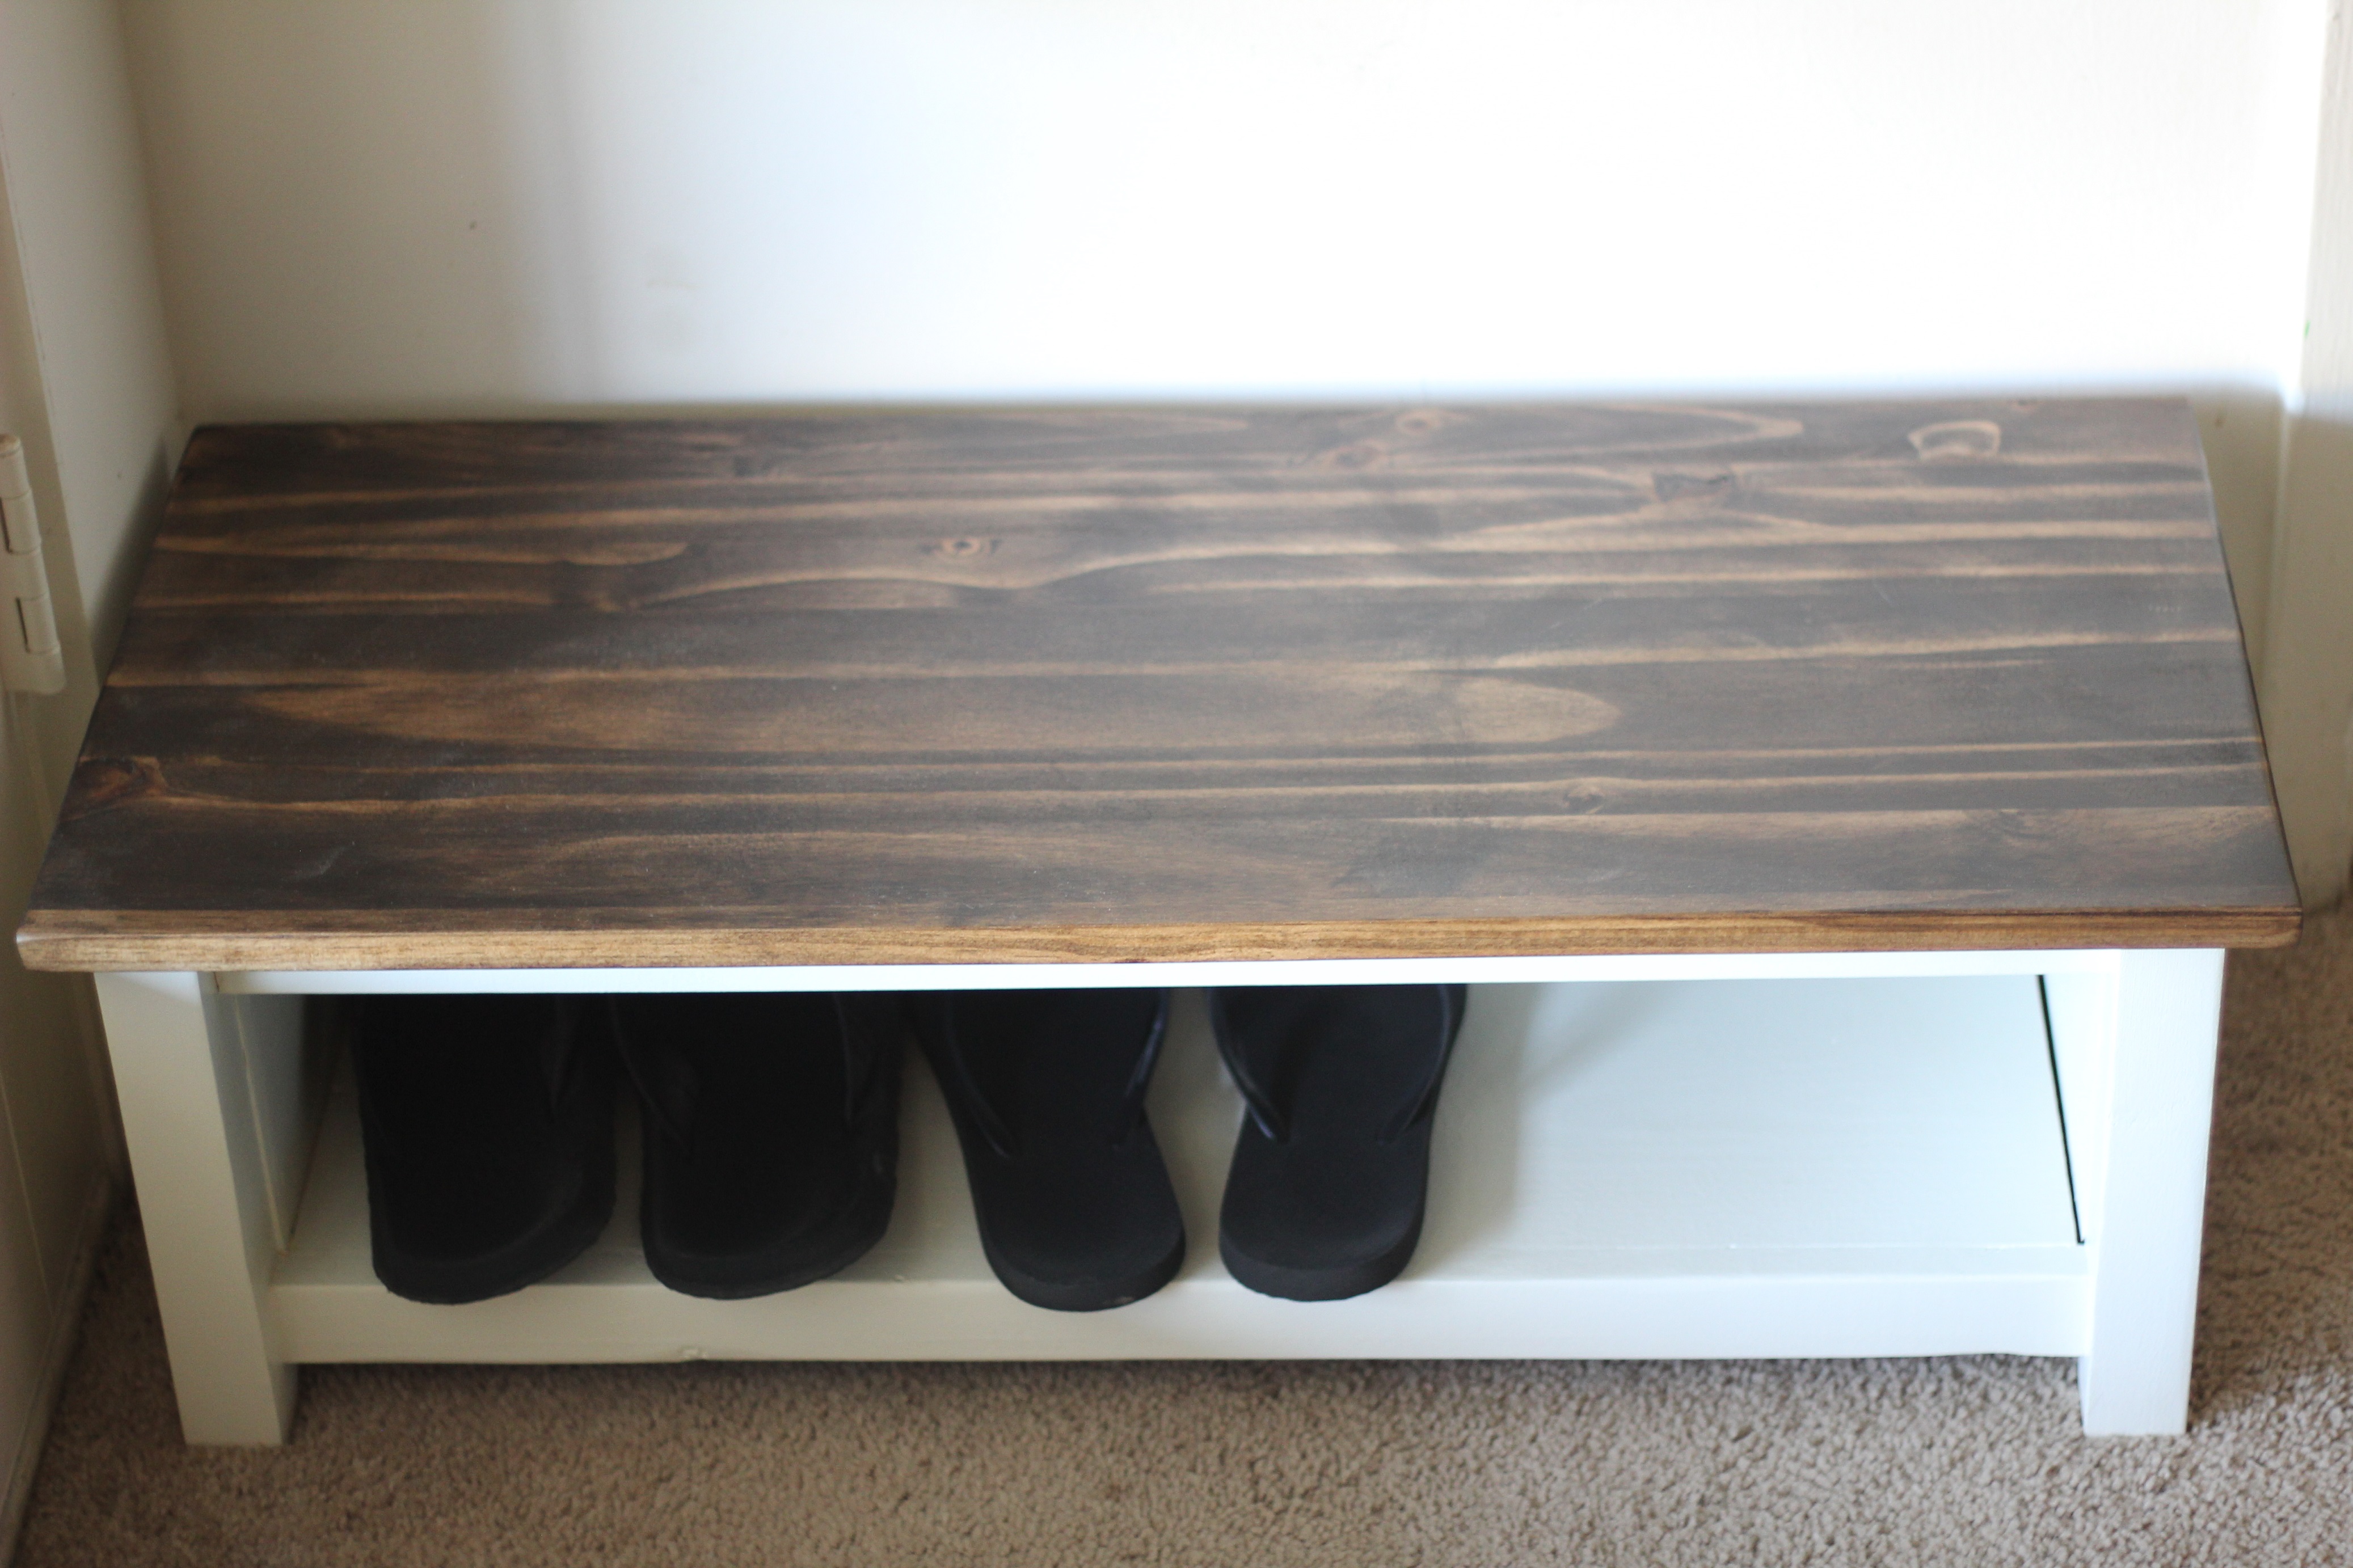
Husband wanted a shoe shelf for the back door entry, and I needed a quickie weekend project, so this fit the bill. Adapted from fix this build that's plan, but modified for a smaller space and less shoe storage. Easy project, and looks great.
Estimated Cost
$7- the project panel was on clearance at HD for the top, the rest was scrap lumber- ply, 2x2's and 1x2's.
Estimated Time Investment
Weekend Project (10-20 Hours)
Finish Used
kona stain, white paint, poly
Recommended Skill Level
Beginner
Cedar Herb Garden
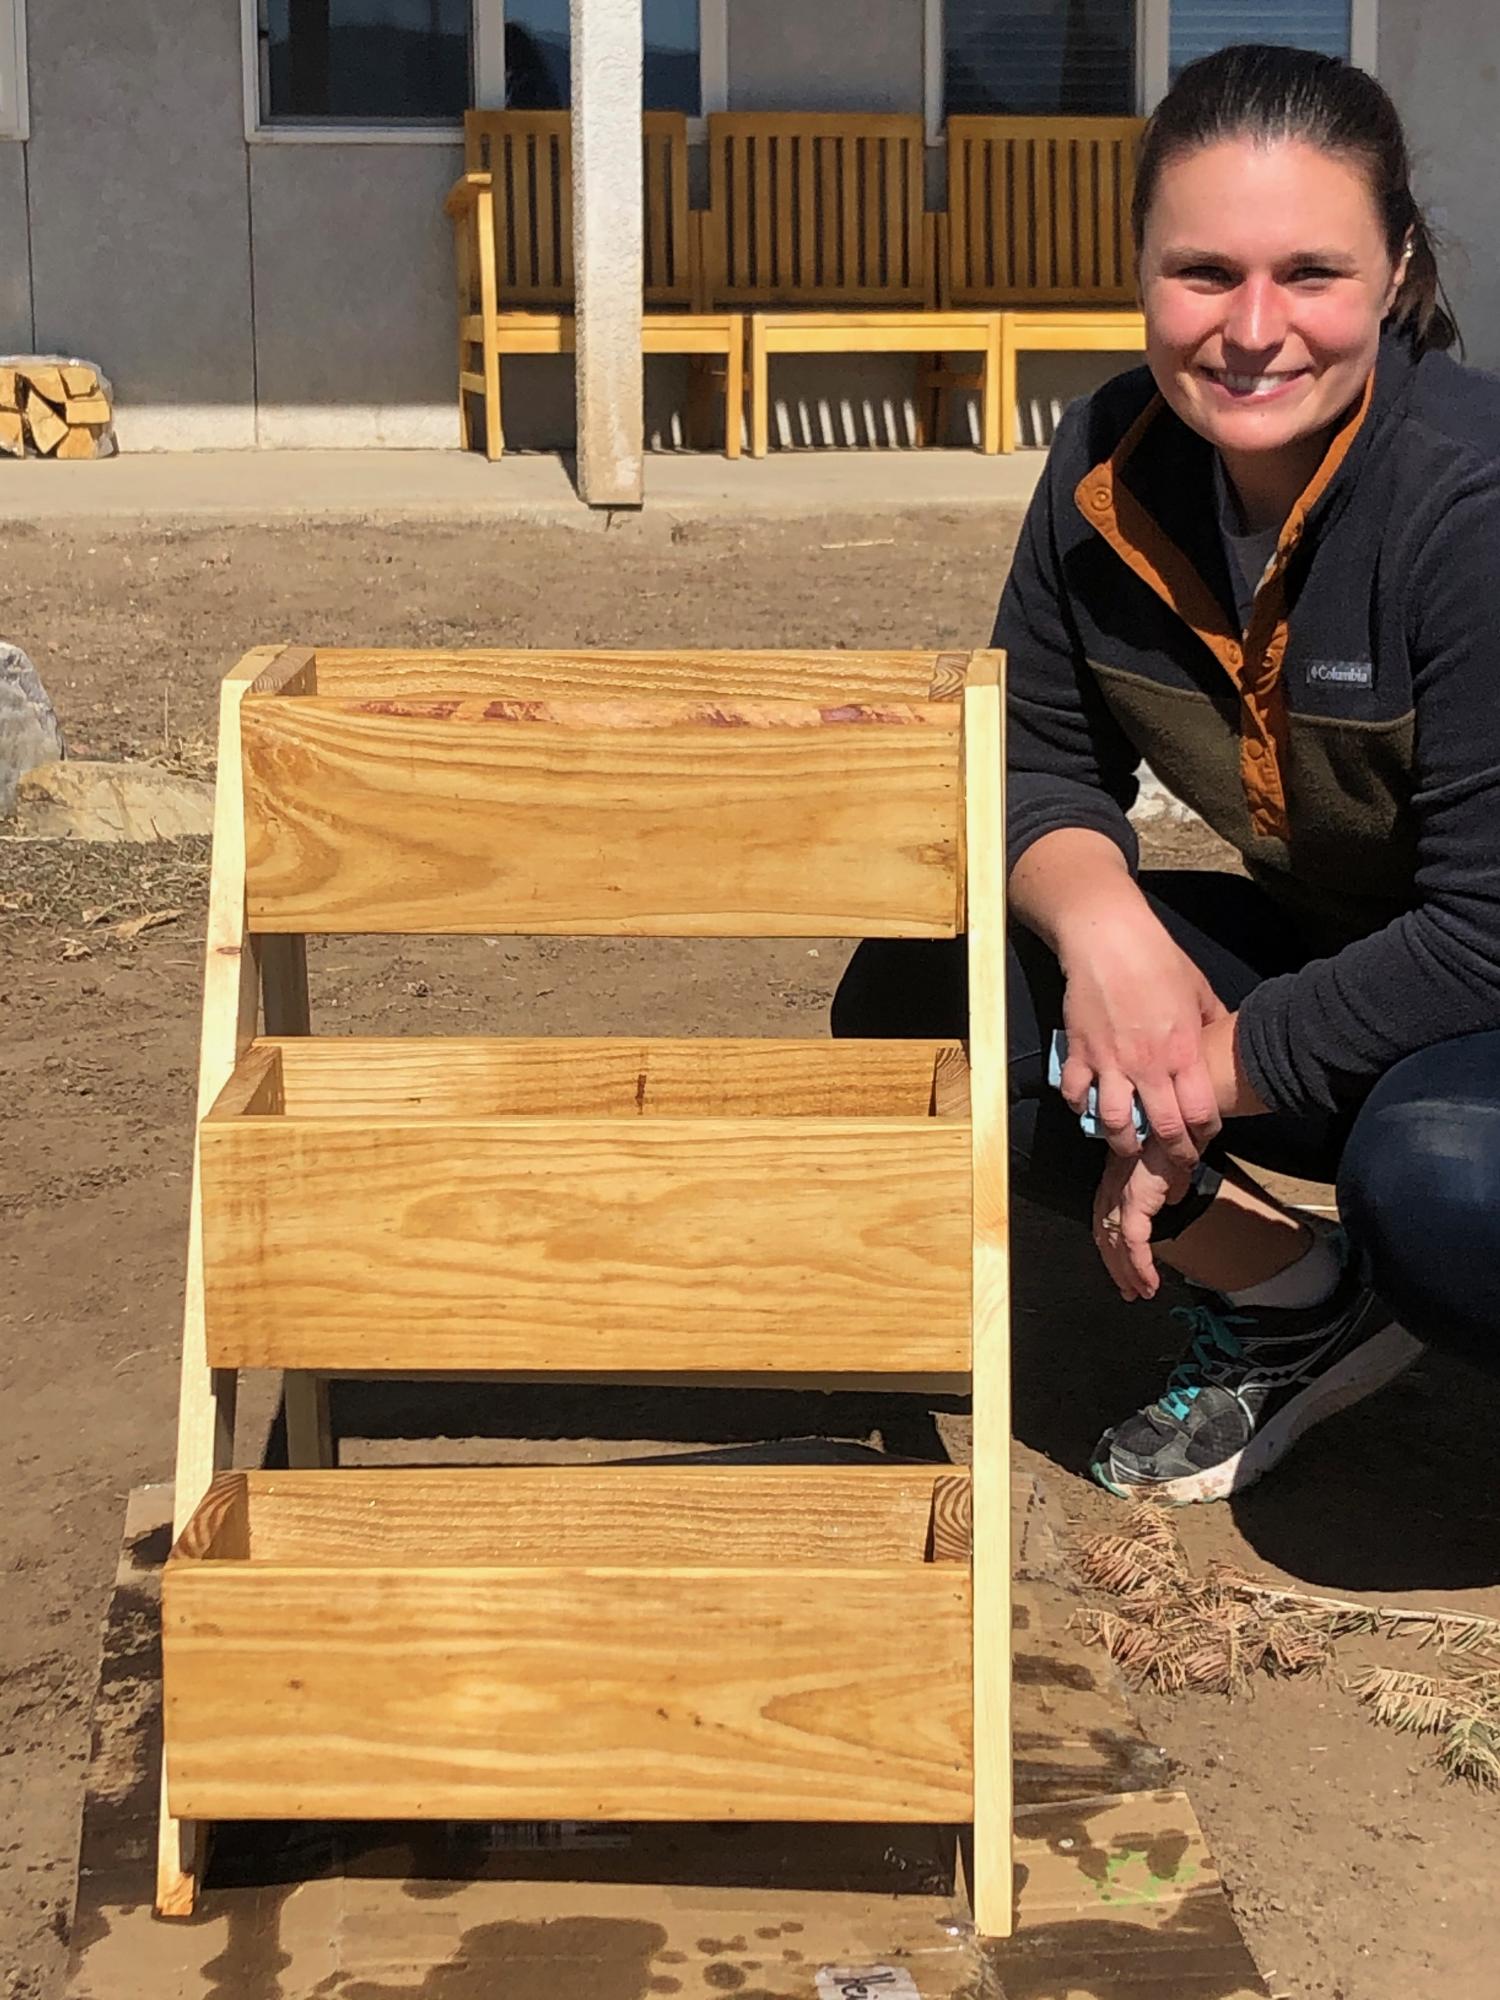
I had the fun of working with my daughter on this project.We recently moved closer to her in Colorado and we are just starting to get into wood projects. Thanks for the great projects!
Aron
Built from Plan(s)
Estimated Time Investment
Afternoon Project (3-6 Hours)
Finish Used
Clear finish with a touch of Tung oil
Recommended Skill Level
Beginner
Comments
Kentwood bookcase - upsized
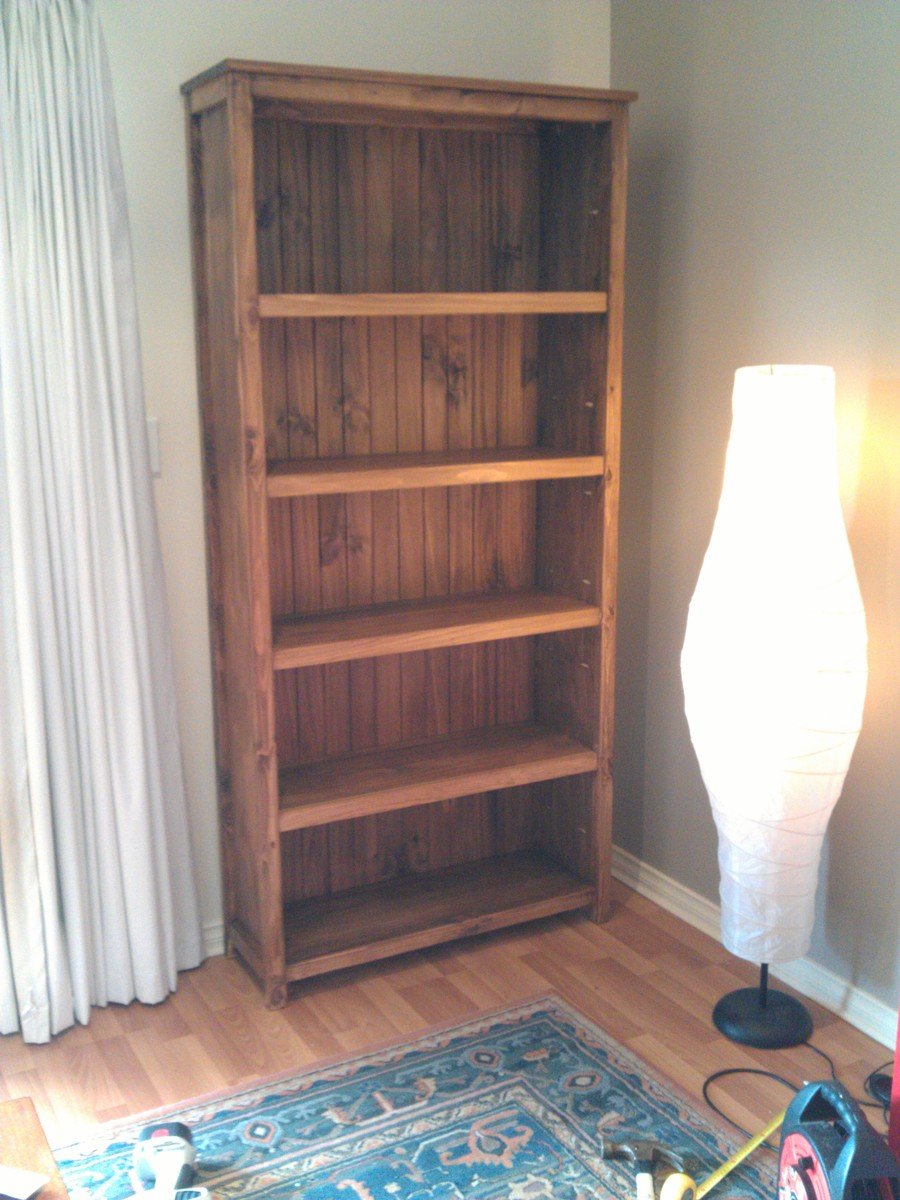
I made the original plan higher and wider, and added an extra shelf. Very pleased with the outcome!

Built from Plan(s)
Estimated Cost
AUD $200
Estimated Time Investment
Day Project (6-9 Hours)
Finish Used
Water-based stain (Walnut) & water-based satin varnish
Recommended Skill Level
Beginner
Comments
Wed, 02/12/2014 - 09:11
This looks sweet. Do you have
This looks sweet. Do you have the dimensions to this upsized kentwood bookshelf? I'm afraid I'll screw it up if I try to add lengths to the original plan.
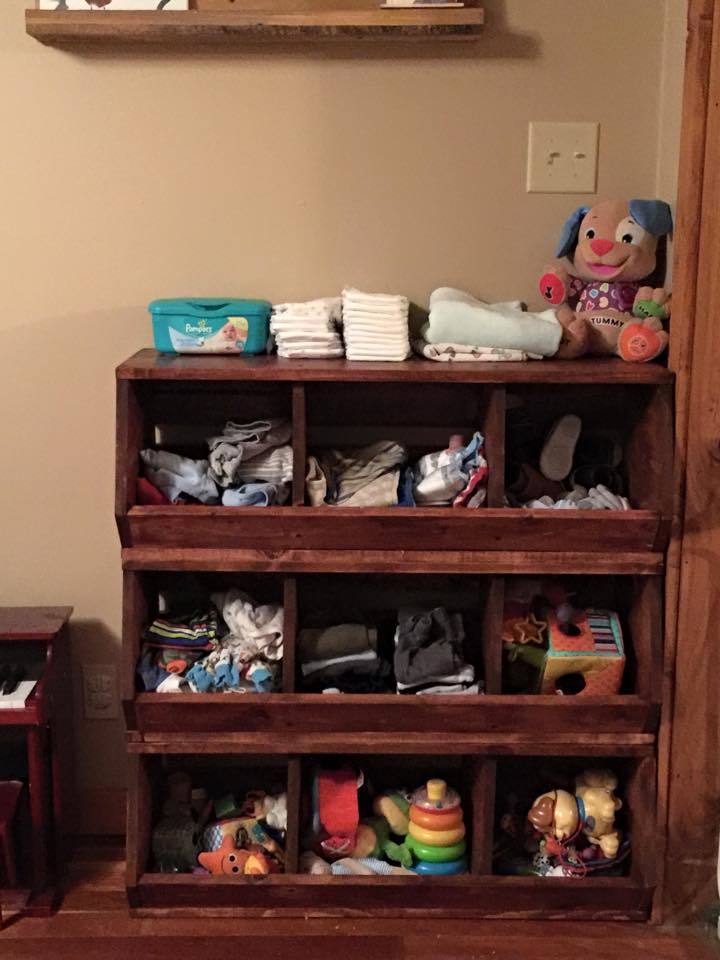
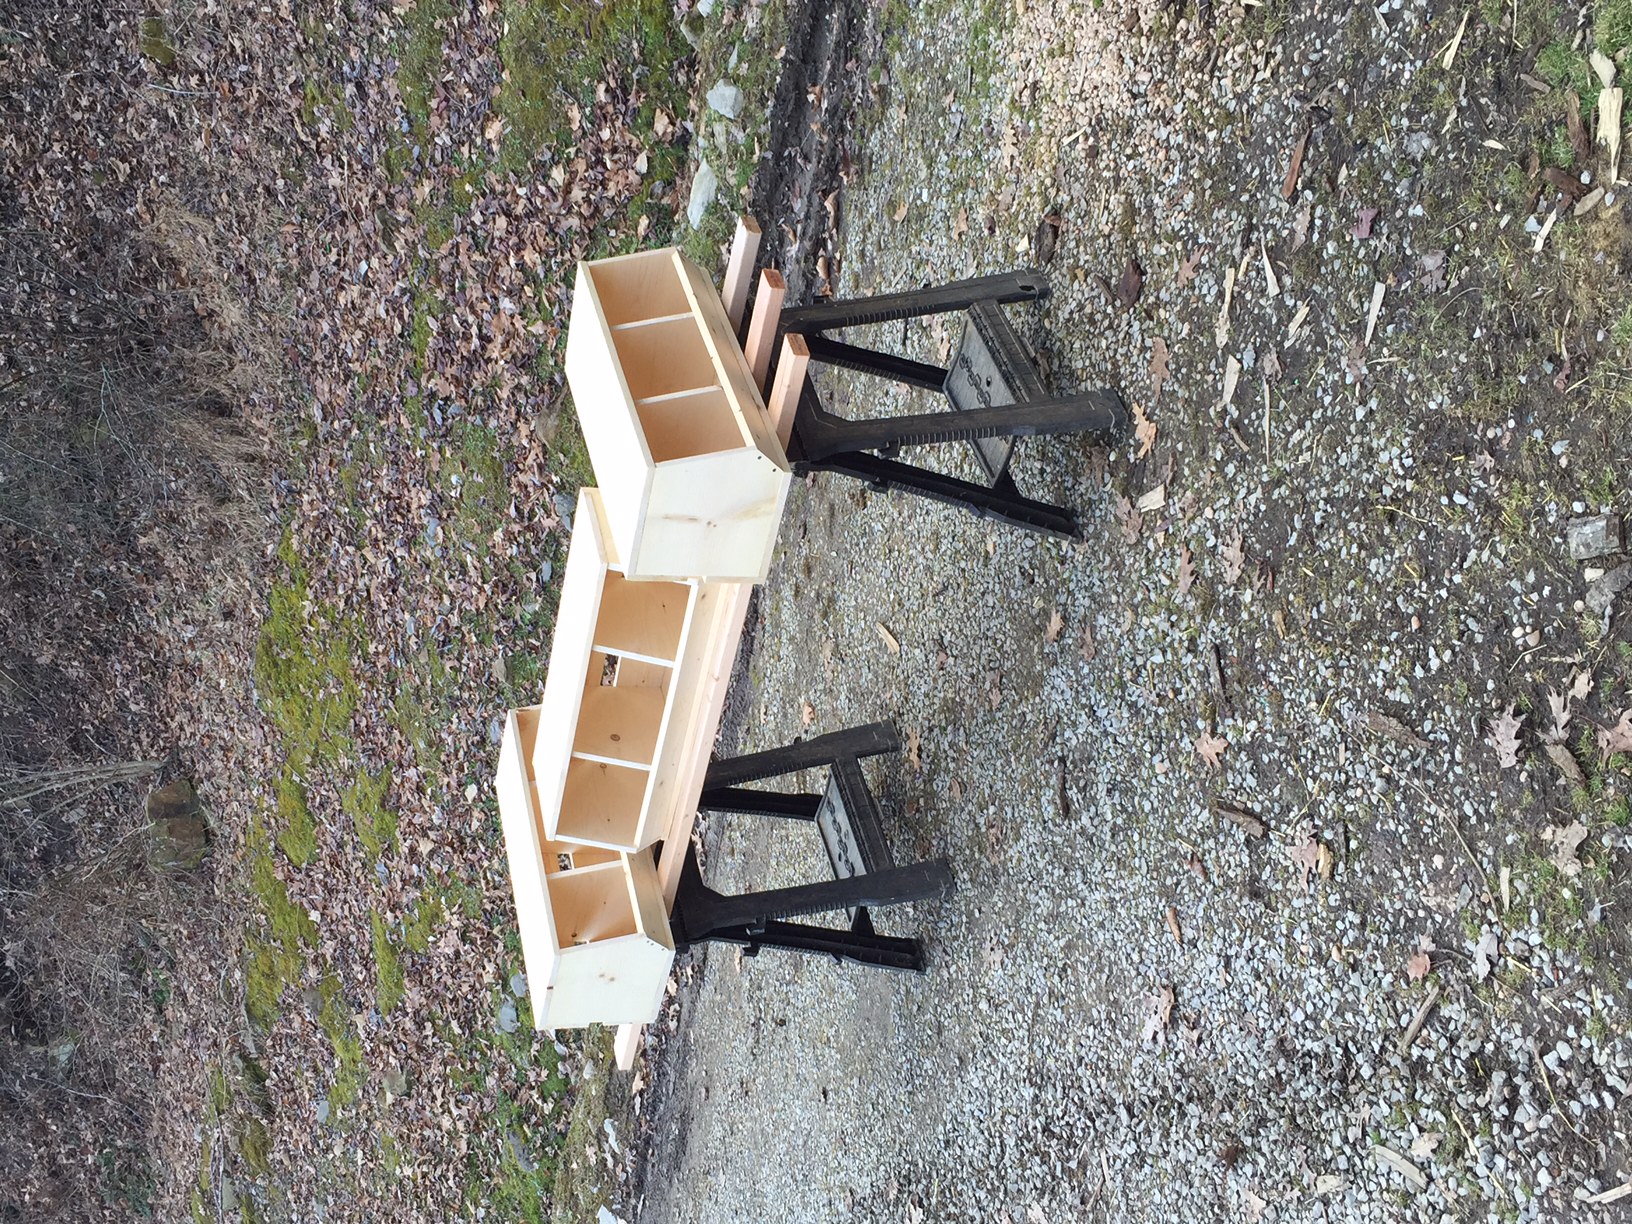
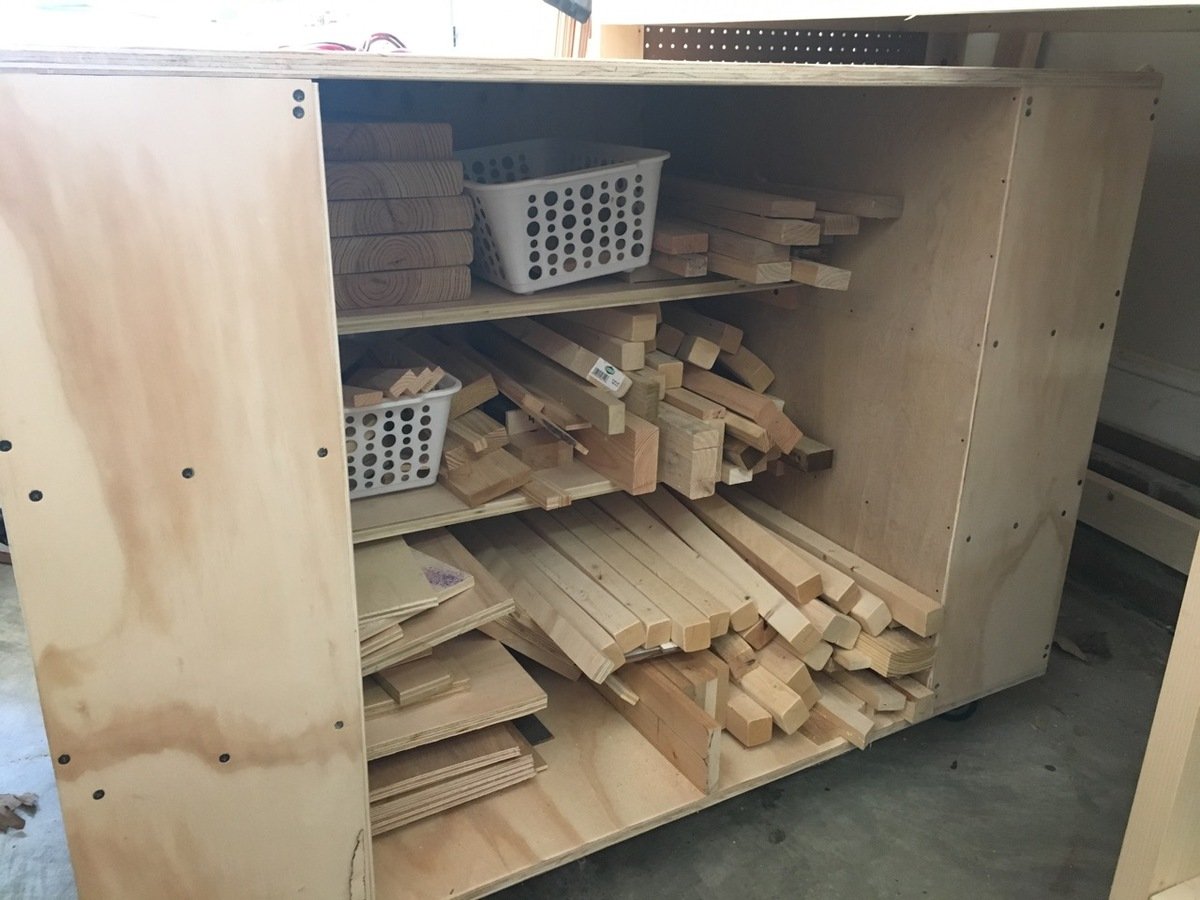
1x12 Wood Bulk Bins
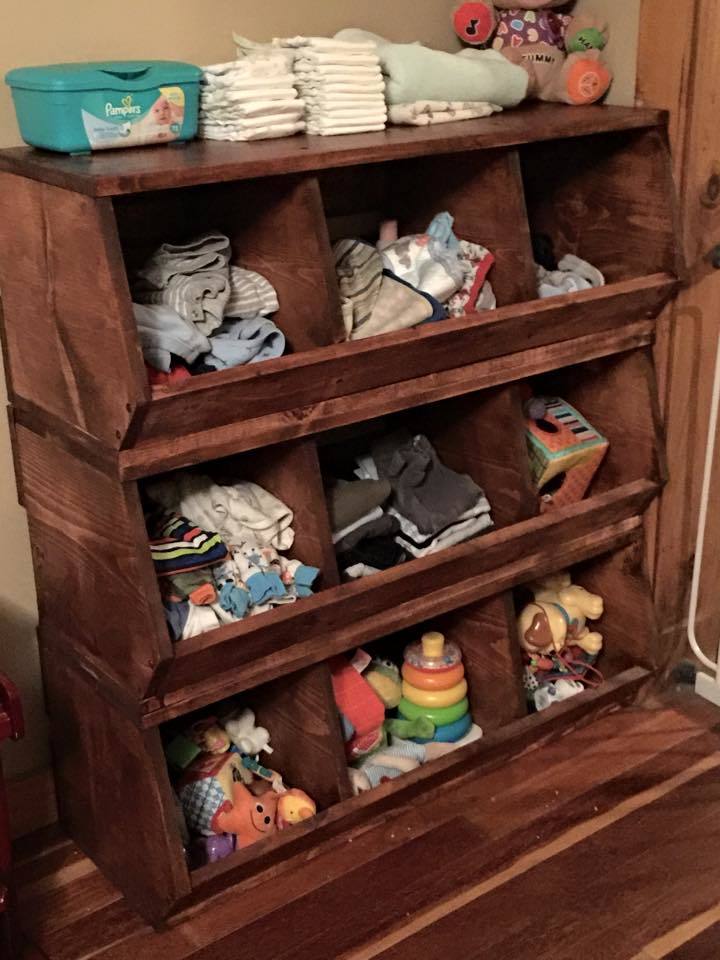
I made my bins 36 incheg to fit my space. My big box blue store has 1x12x8 utulity shelving boards for $13 compared to $27 for the 12 footers.
Built from Plan(s)
Estimated Time Investment
Day Project (6-9 Hours)
Recommended Skill Level
Beginner
Comments

Tue, 01/27/2015 - 15:15
This is super cute! It looks
This is super cute! It looks similar to mine! Thanks for sharing!
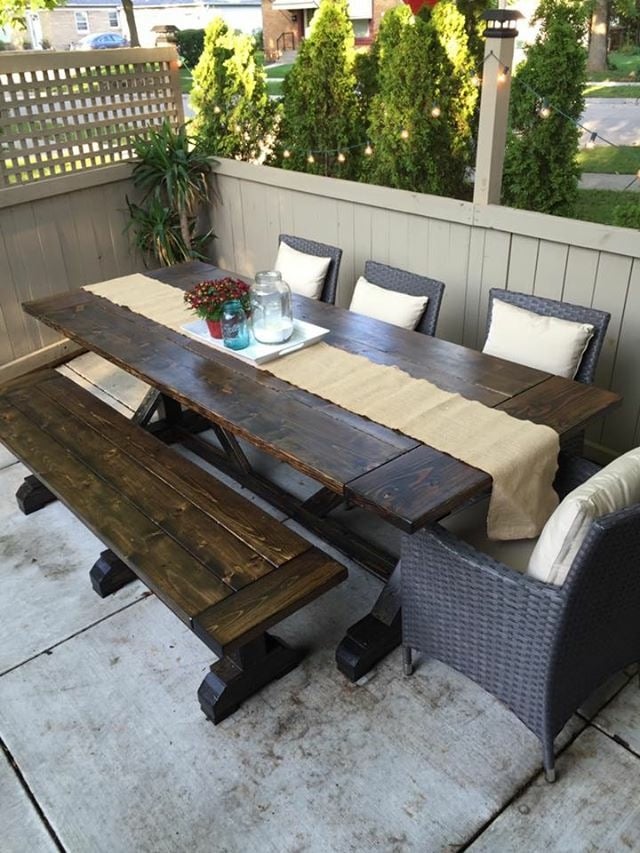
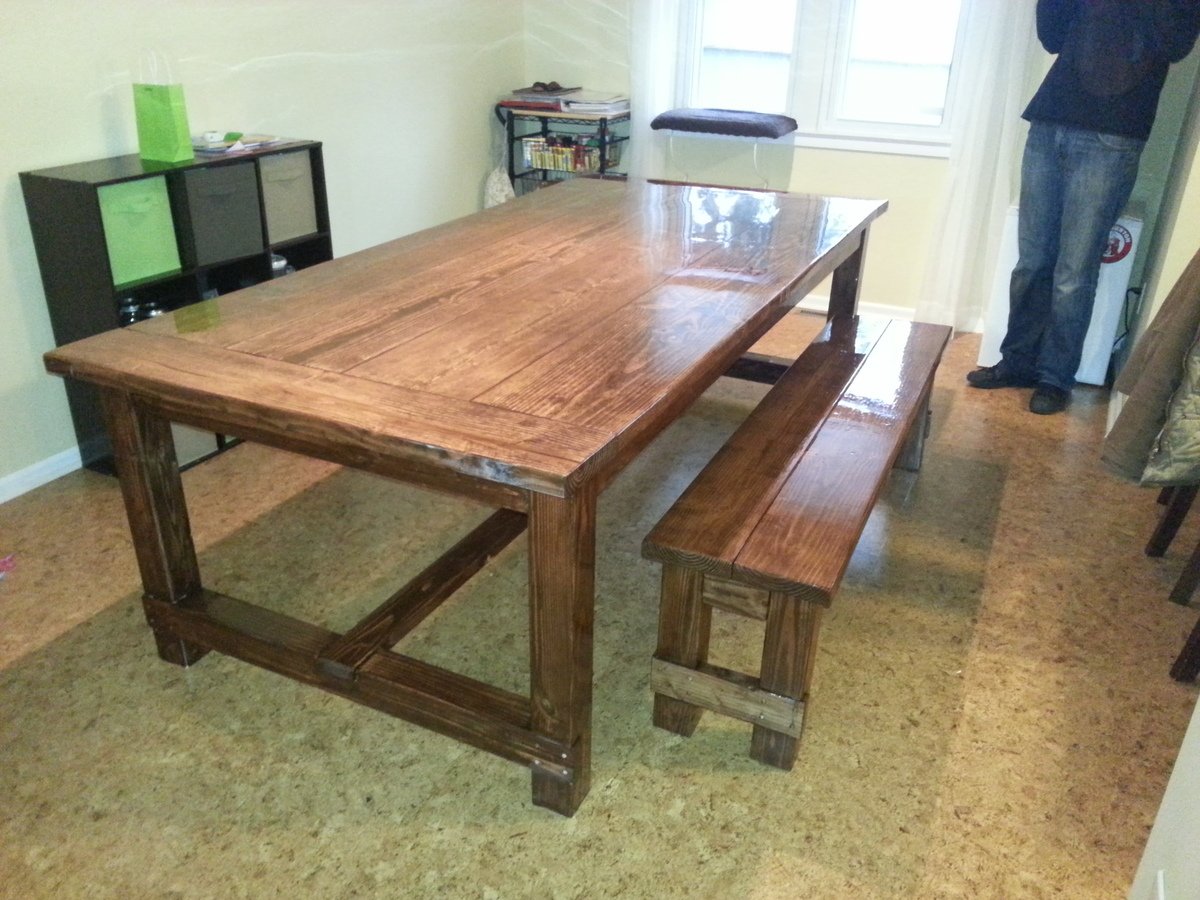
Fancy X Farmhouse Table
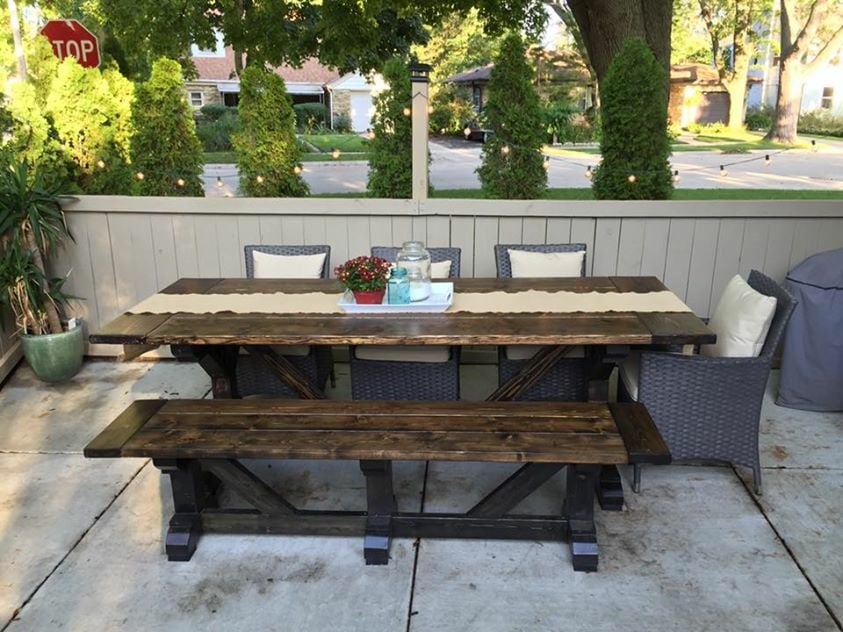
This is a table and bench that I built for our patio!

Built from Plan(s)
Estimated Cost
$200 (wood, fasteners, stain, urethane, sand paper, composite feet)
Estimated Time Investment
Weekend Project (10-20 Hours)
Finish Used
Minwax Ebony and Dark Walnut Stains, Minwax Helsman Spar Urethane.
Recommended Skill Level
Intermediate
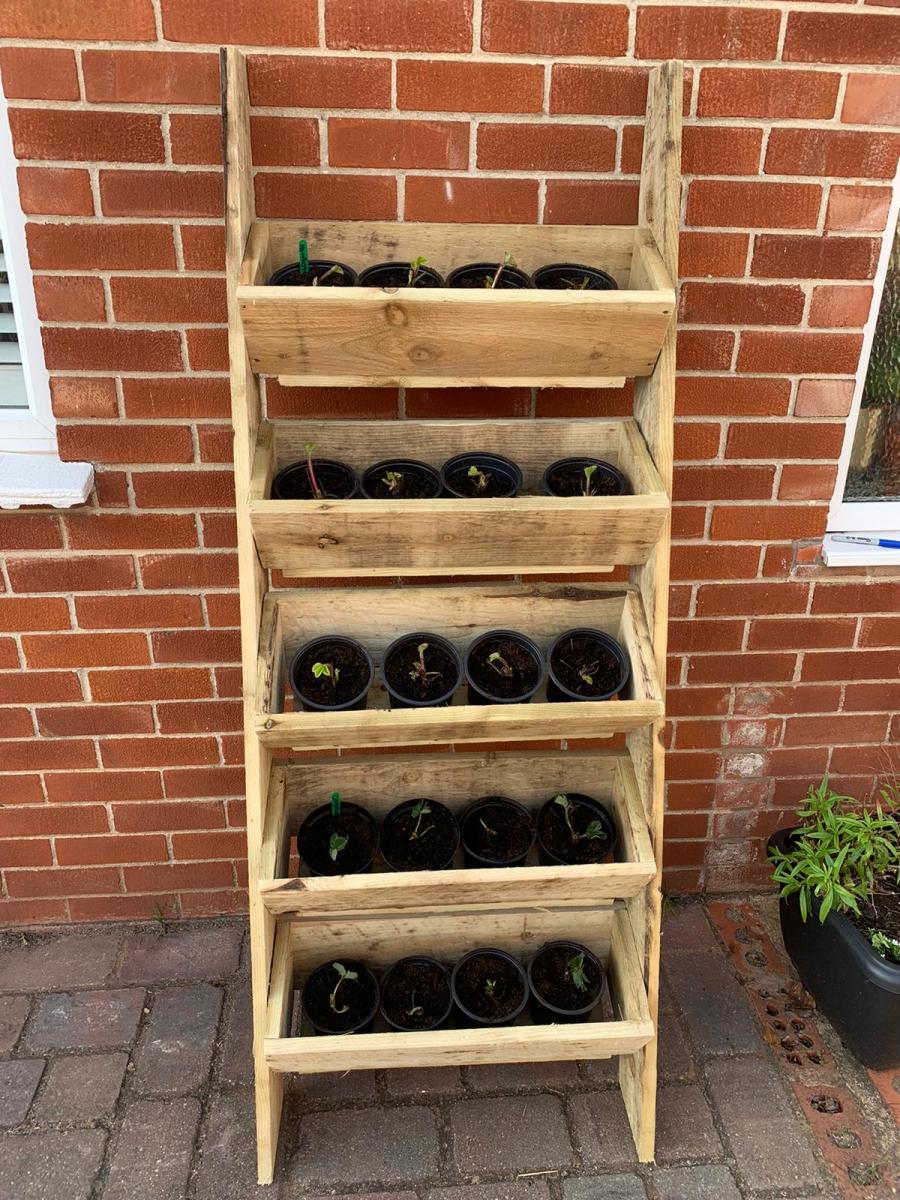
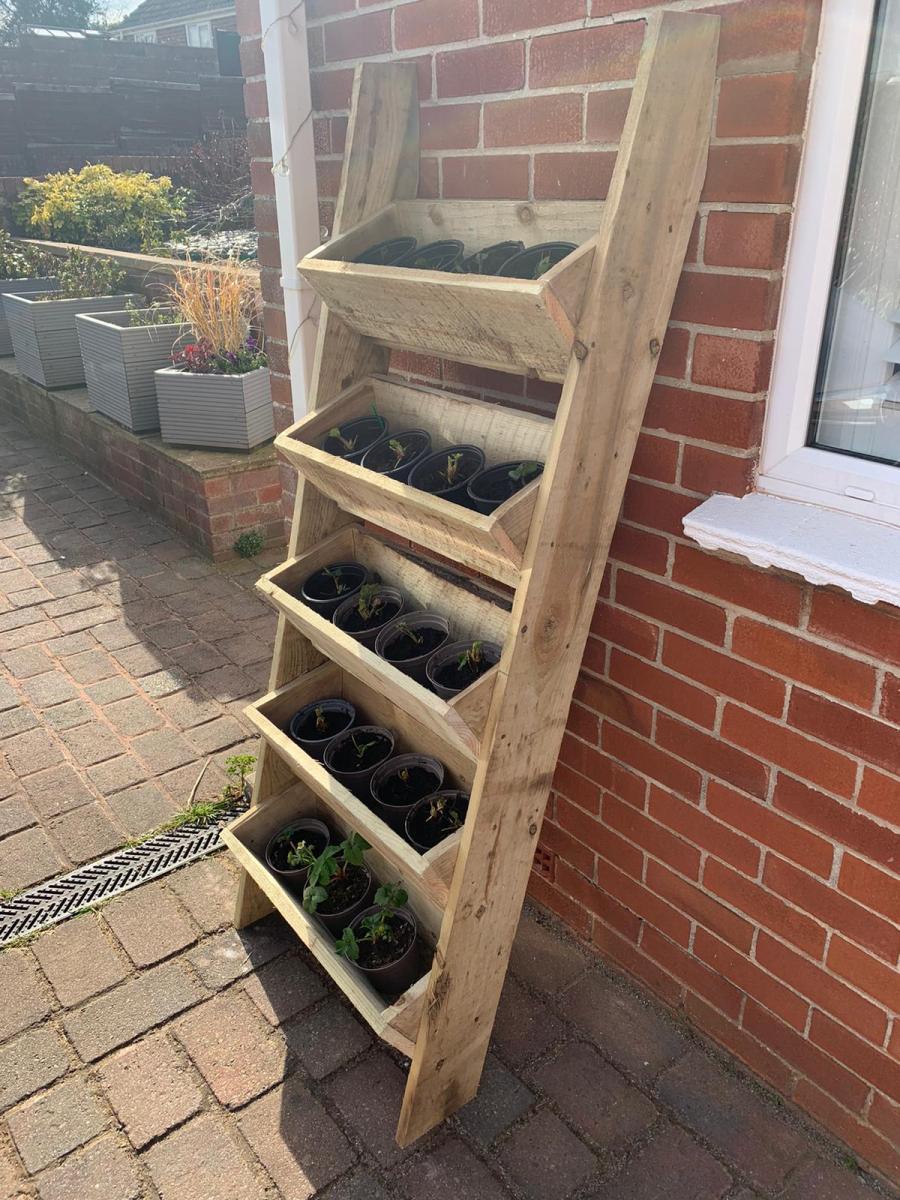
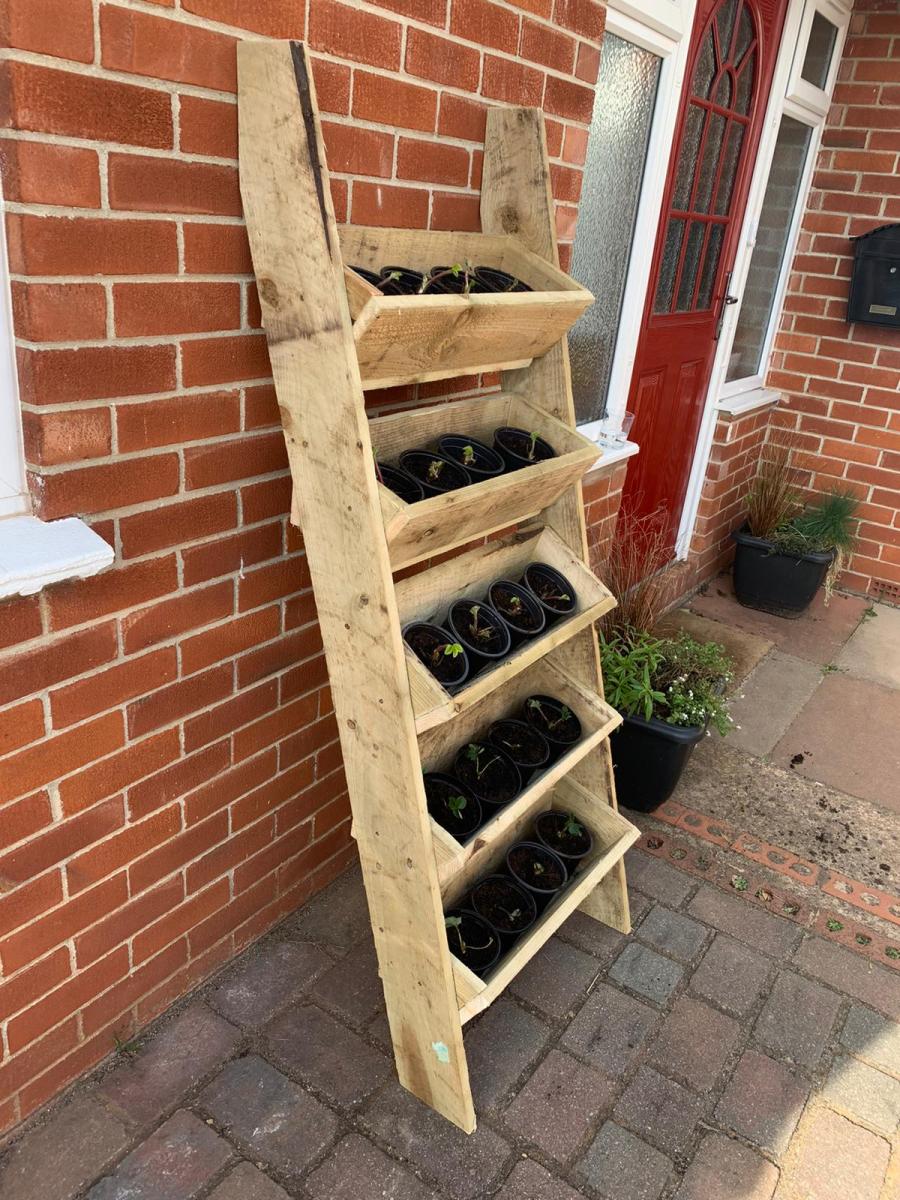
Strawberry planters

Using plans from this website here are pictures of two, five tier strawberry planters.
Each tier is wide enough for 4 plants in one litre pots.
Built from Plan(s)
Estimated Time Investment
Afternoon Project (3-6 Hours)
Recommended Skill Level
Intermediate
Comments
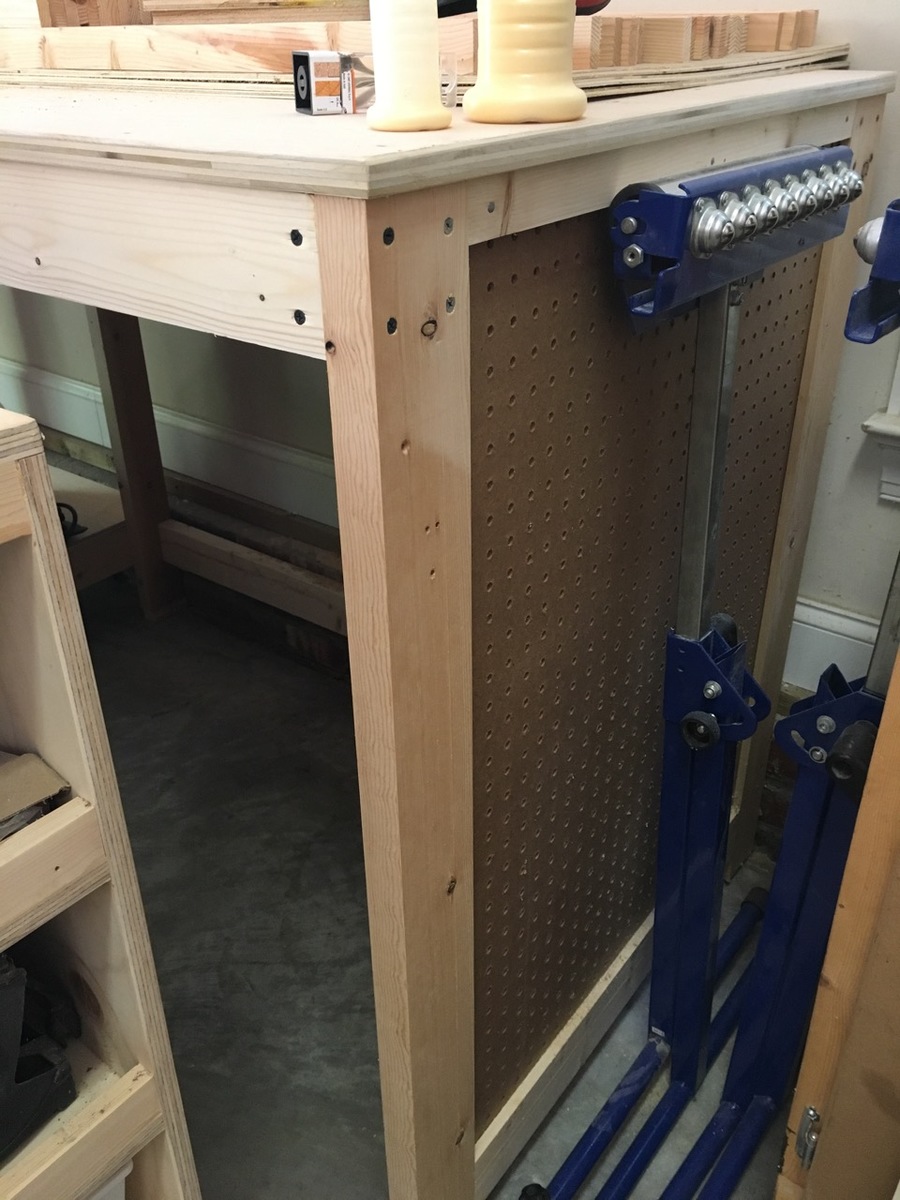
Workbench Console

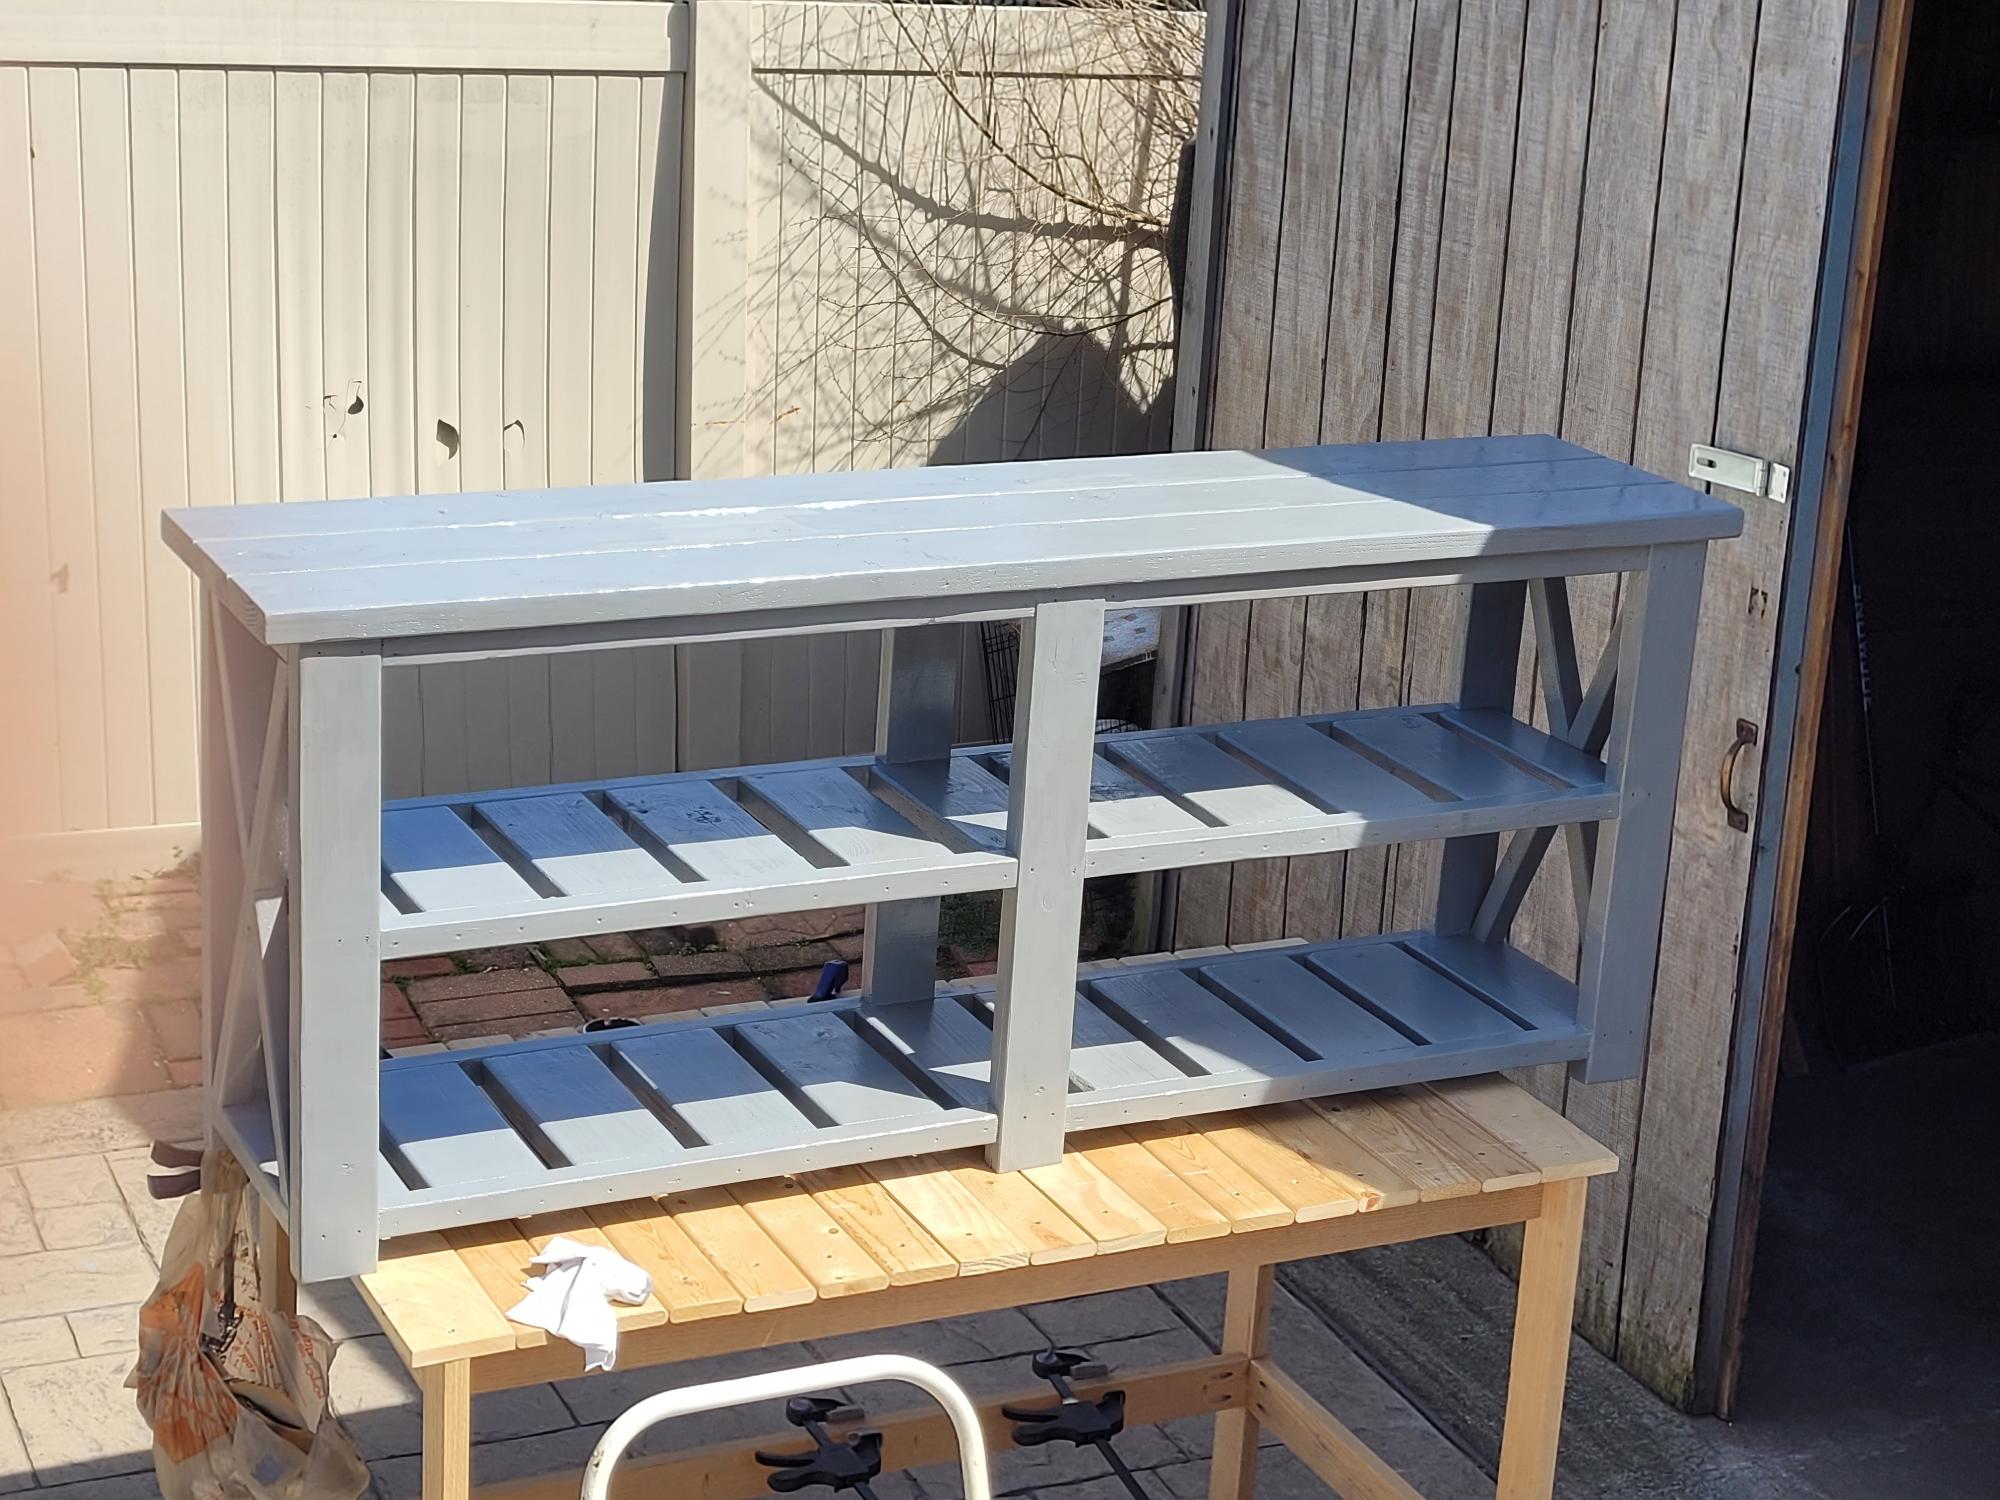
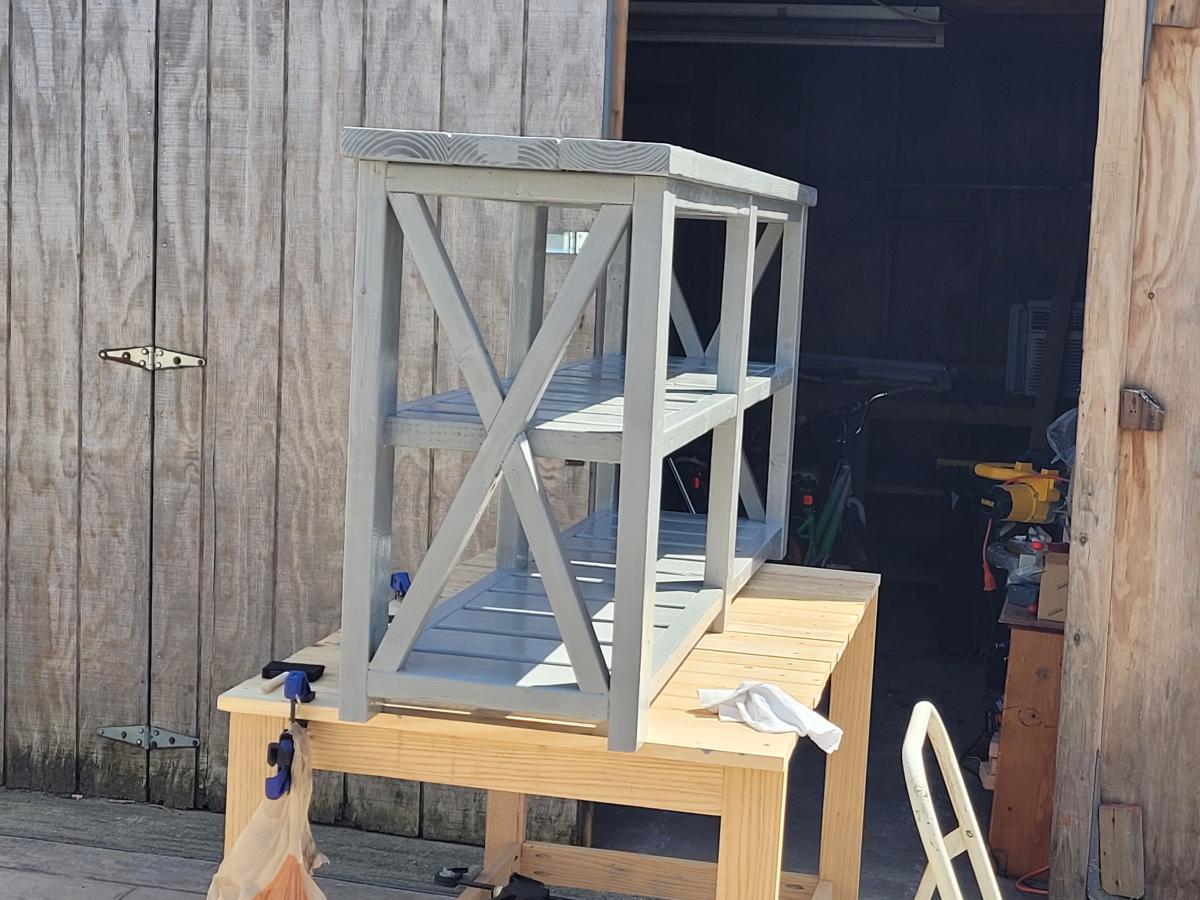
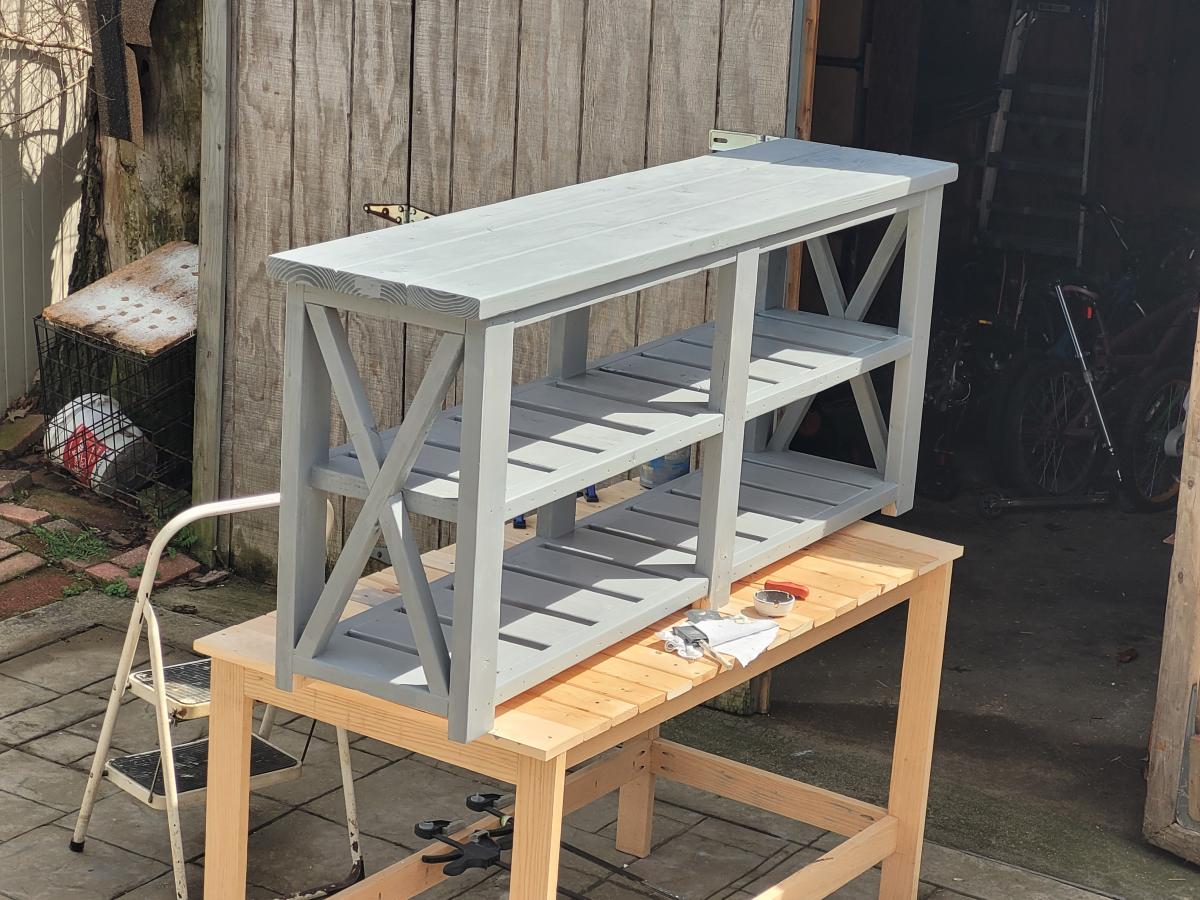
When I first saw this and showed it to my wife it became number one on my Honey Dew list. I did not like the open space between the bottom shelf and top, saw on this site where someone put a wine rack of shorts as a second shelf. So I did the same I used 1x4 instead of the 1x10 used on bottom shelf. I also used 1x4 for the top to help eliminate the gaps between the boards that the 2x4’s would cause. To help give something for the 2x4’s and the 2x6’s to attach to I screwed 2x2’s to the 1x4’s around the edge. Gives the illusion of 2x4’s and makes for a very smooth and flat surface for the top.


Built from Plan(s)
Estimated Time Investment
Weekend Project (10-20 Hours)
Finish Used
Sanded and Sanded started with number 60 grit and worked to 220 grit then used 320 grit by hand. I used one coat of Miniwax English Chestnut hand rubbed
I haven’t put on the Polyurethane yet due to Cold temps but will as soon as it warms up if that is ever going to happen
I haven’t put on the Polyurethane yet due to Cold temps but will as soon as it warms up if that is ever going to happen
Recommended Skill Level
Intermediate
Comments
Fri, 03/29/2013 - 17:52
You Fooled Me!
When I first saw your build I thought what a nice small workbench. You even put in places to store clamps!! Then I noticed the girly stuff on the top and realized that it was really inside the house. Really good work. When you can put the poly or antique oil on it the piece will really shine.
Sat, 03/30/2013 - 13:11
Thank You Jake yes my wife
Thank You Jake yes my wife loves it I am finishing up on the hutch for the top now and soon I will get the poly on this and then if I can keep the wife from looking on here I might be able to build a work bench for the shop LOL
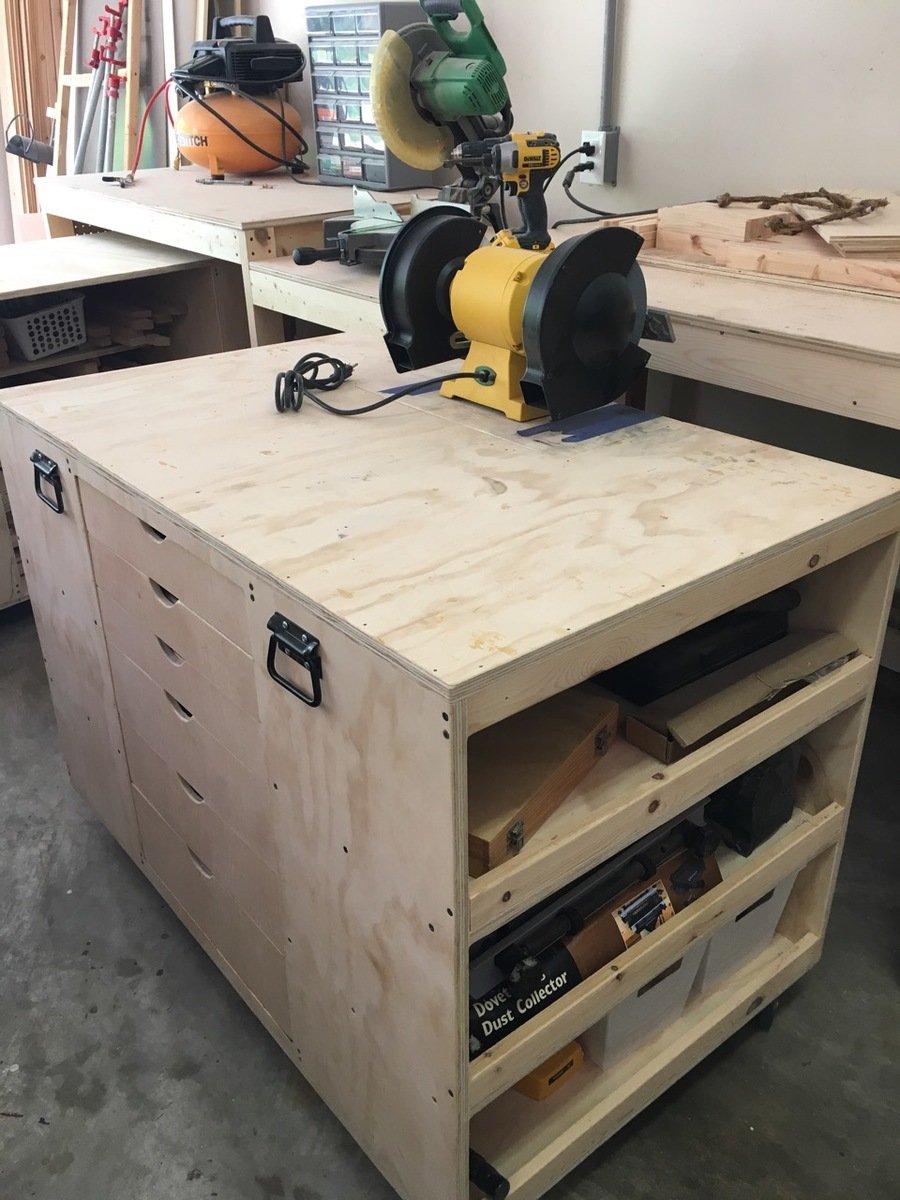
Miter Stand and Rolling Storage Carts
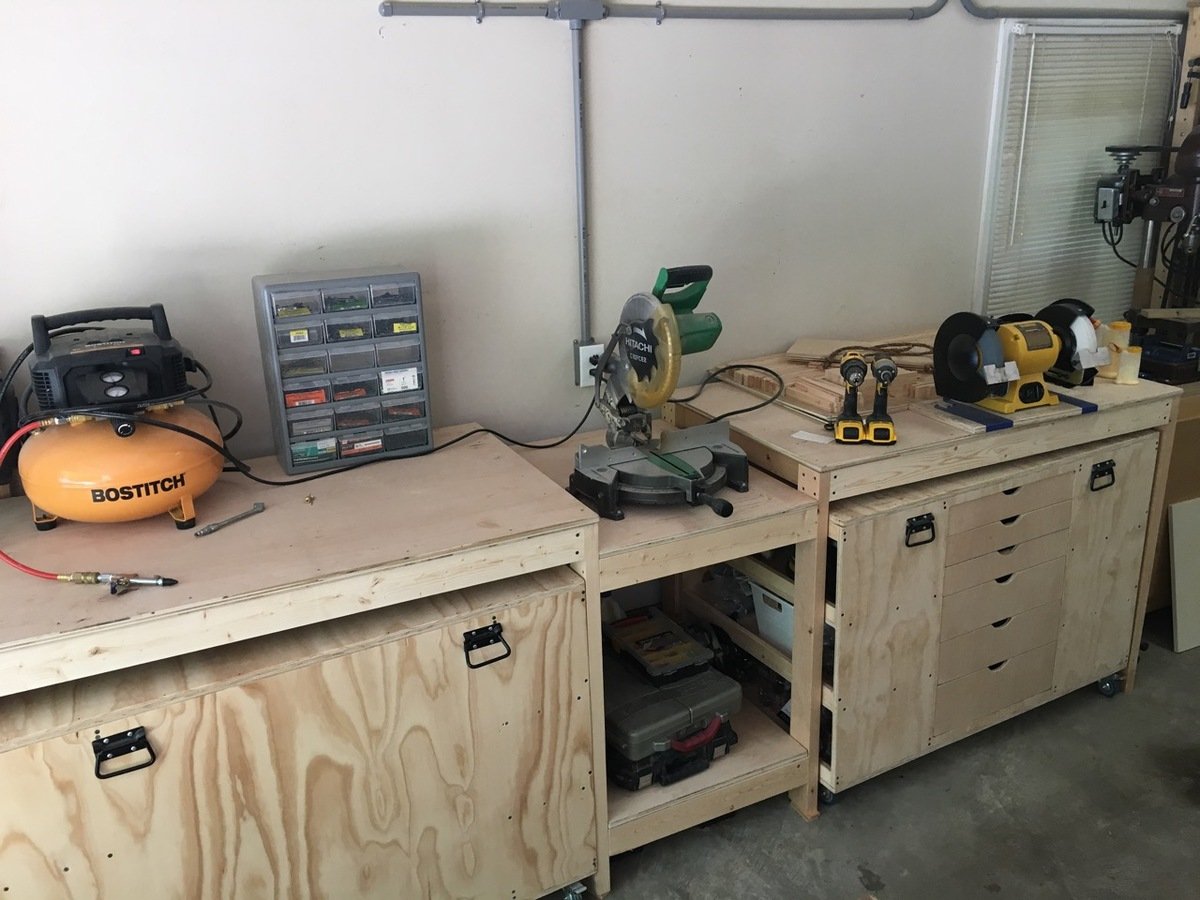
I'm so happy that I found the plans for Ana's miter stand and rolling carts! It was just what I needed for my garage shop... so everything can be organized and stored compactly but things can pull open and expand when I have a project (which is all the time, actually).
The actual miter stand was super easy to build - the carts took a few days working non-stop (when the kids permitted).
I made a few obvious changes from the plans:
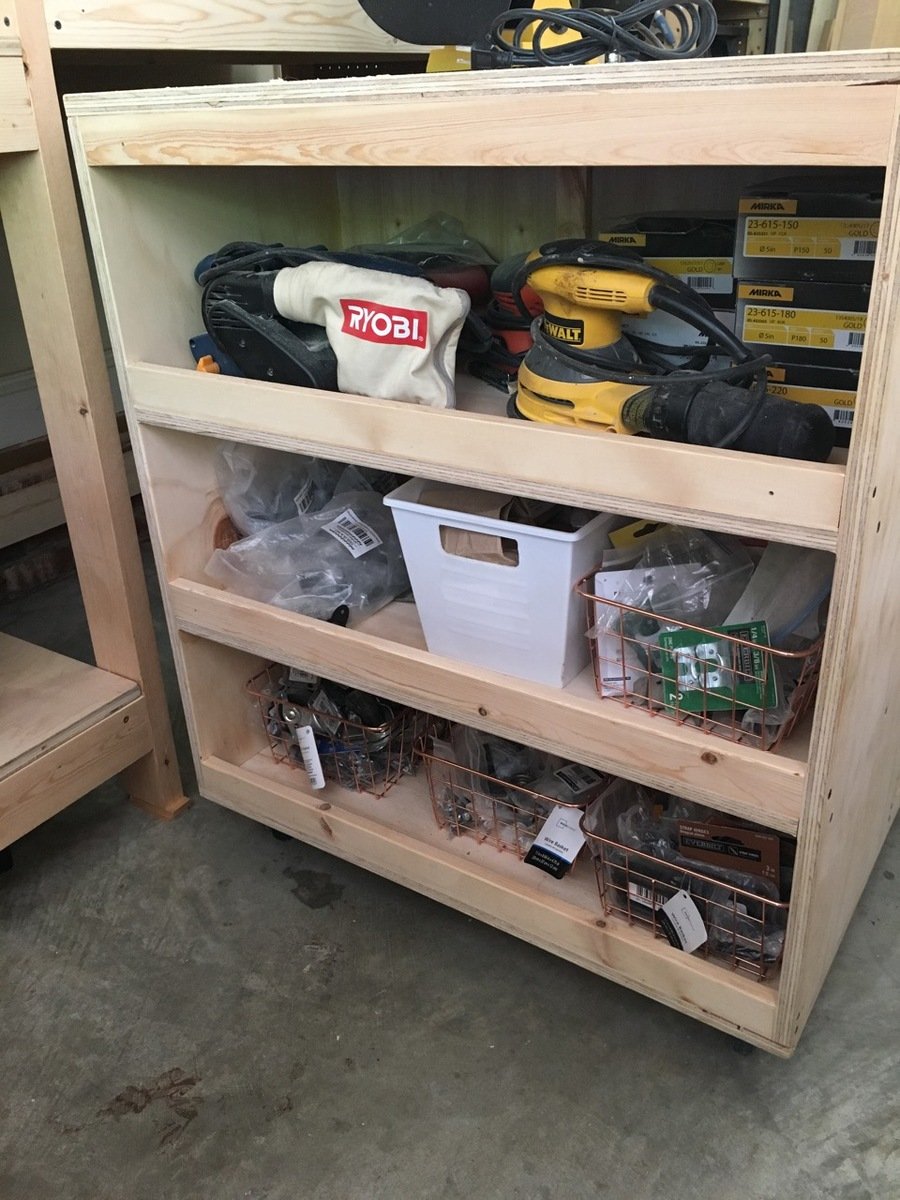
-made deeper shelves on one of the carts
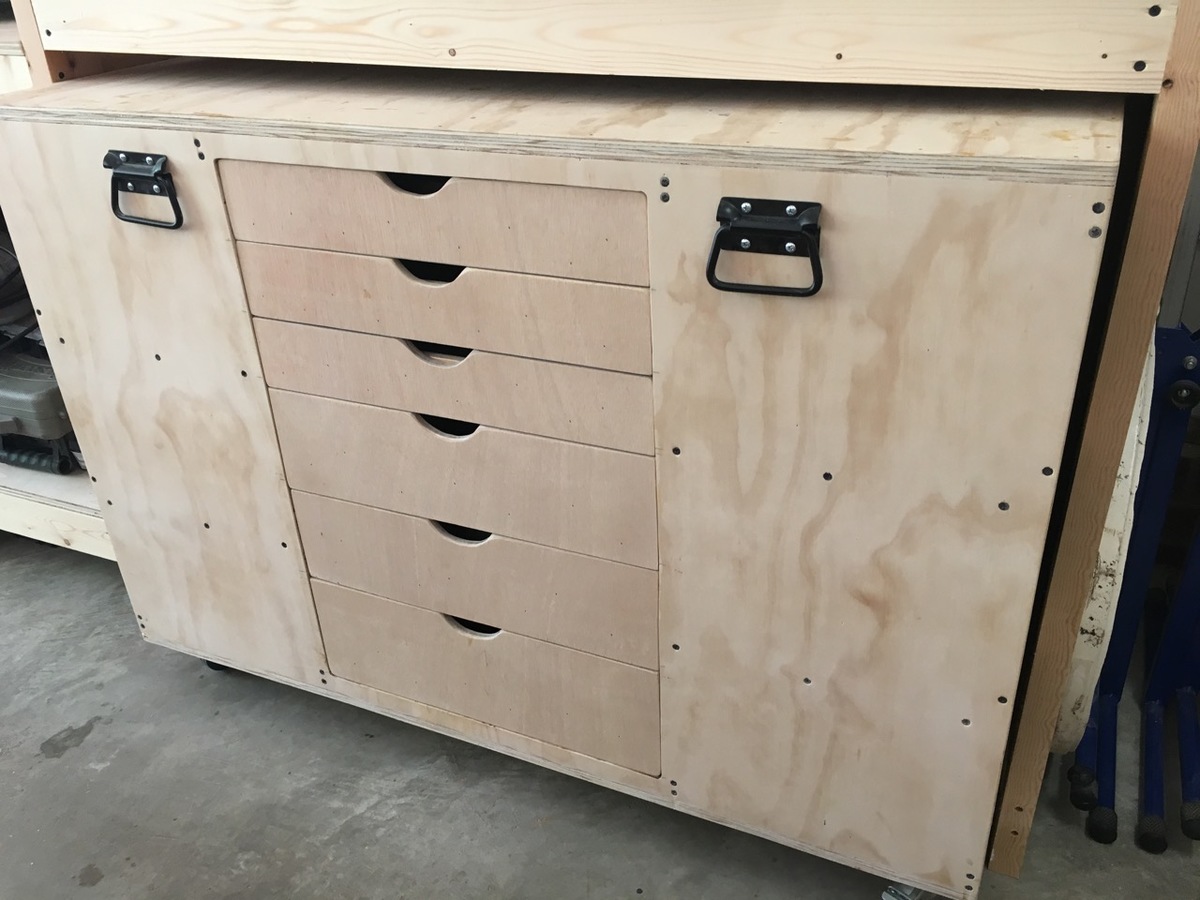
-added drawers on one of the carts
-added ped board on the end caps of miter stand
Something I didn't consider before building this was the slope of our garage floor. There's a 3" difference from one end of the legs to the other so I had to use riser blocks to get everything perfectly level. Unfortunately there's no way to level the carts as they aren't stationary but they slide in/out just fine.
I'd recommend this build to everyone! Check Home Depot clearance often for deals on plywood!
Built from Plan(s)
Estimated Cost
It's hard to say as I used wood I had on hand, tried to buy clearance, etc. I'm estimating $200.
Estimated Time Investment
Week Long Project (20 Hours or More)
Finish Used
None
Recommended Skill Level
Intermediate
Comments

Wed, 02/07/2018 - 11:35
I cannot find the plans
Would you be able to share the original plans? It seems that once the contest ended, the links to the plans stopped working.
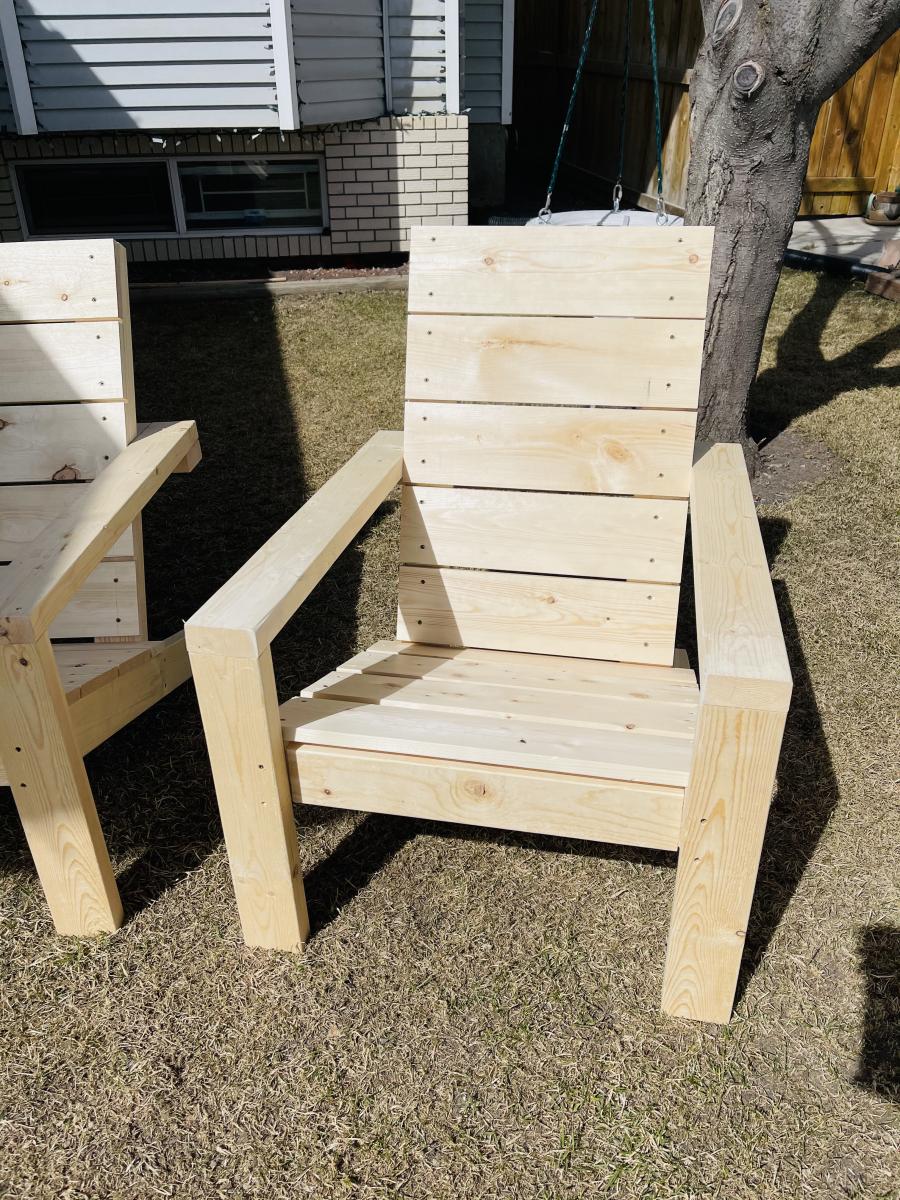
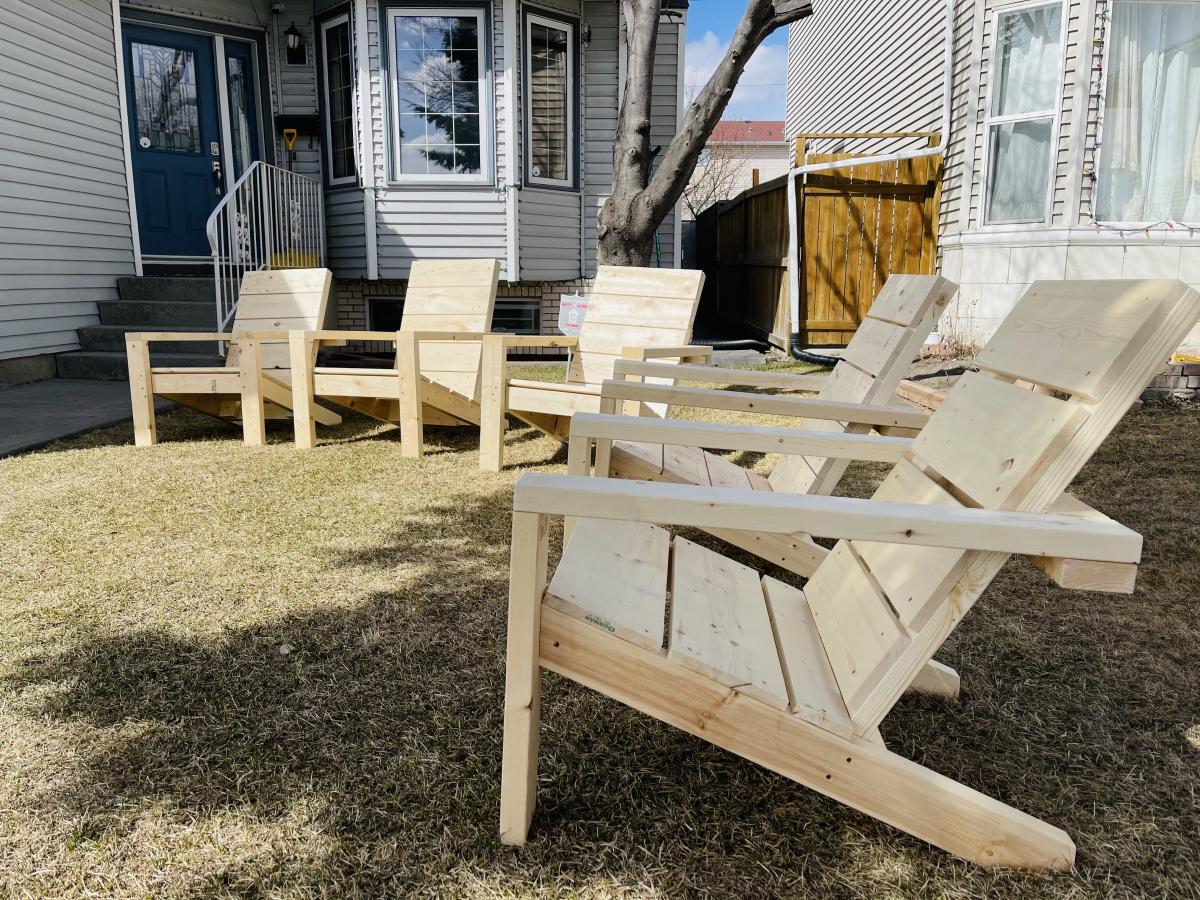
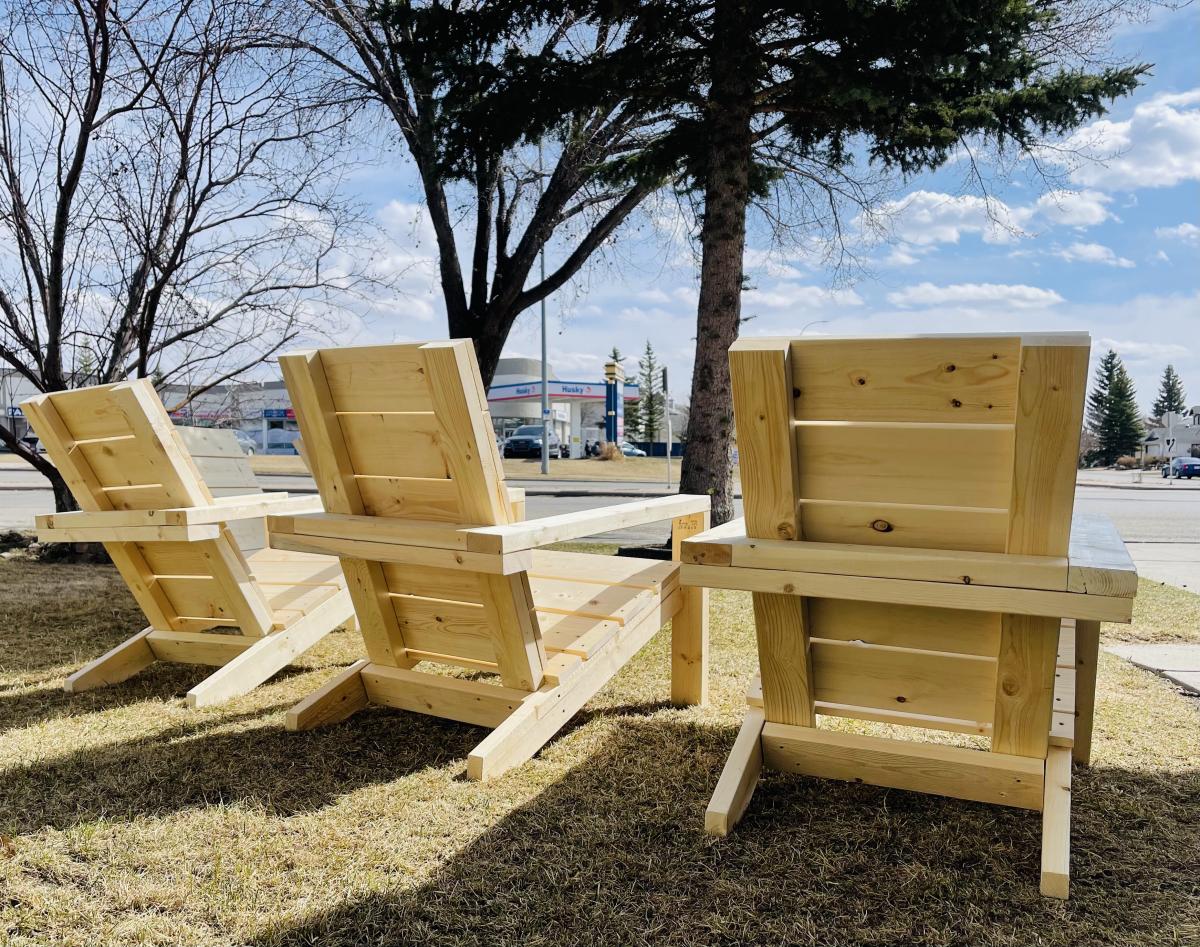
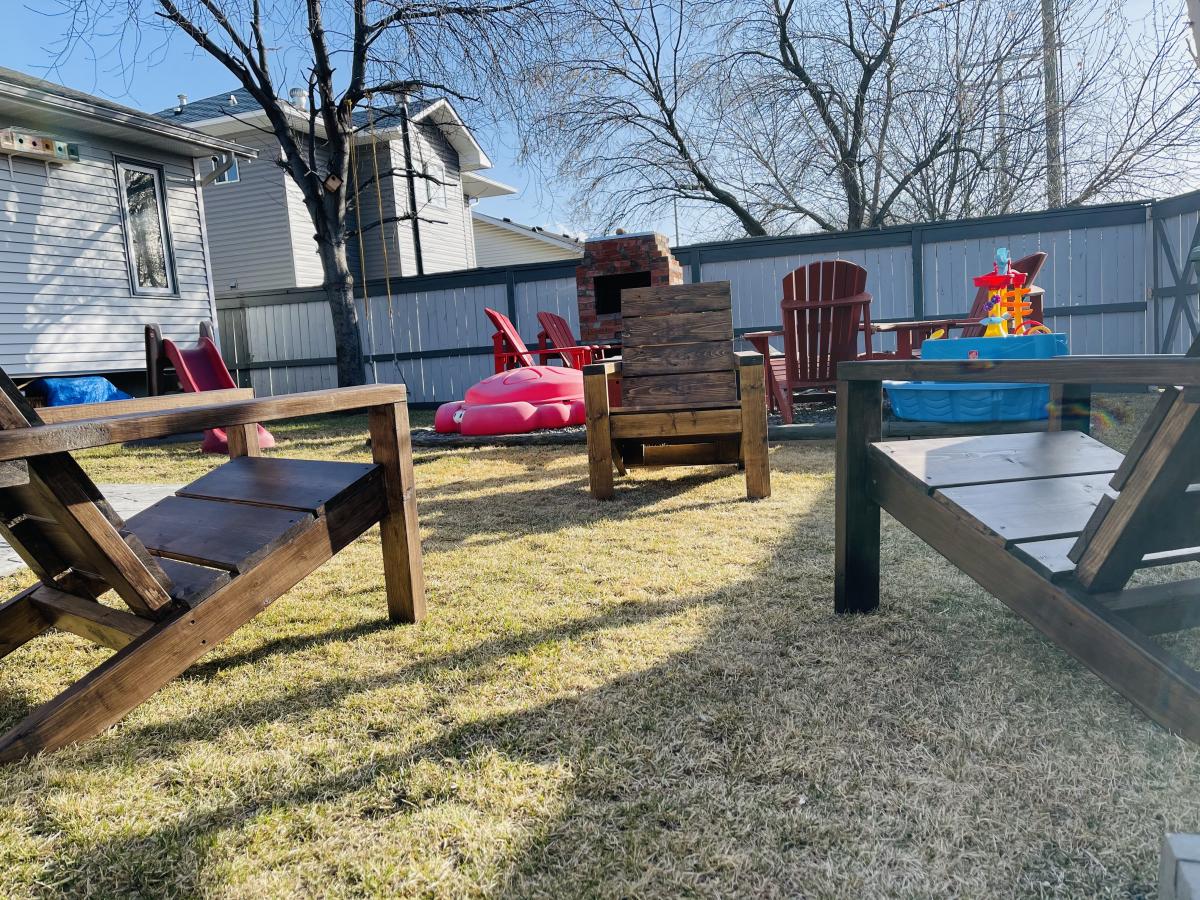
2 X 4 Adirondack Chair
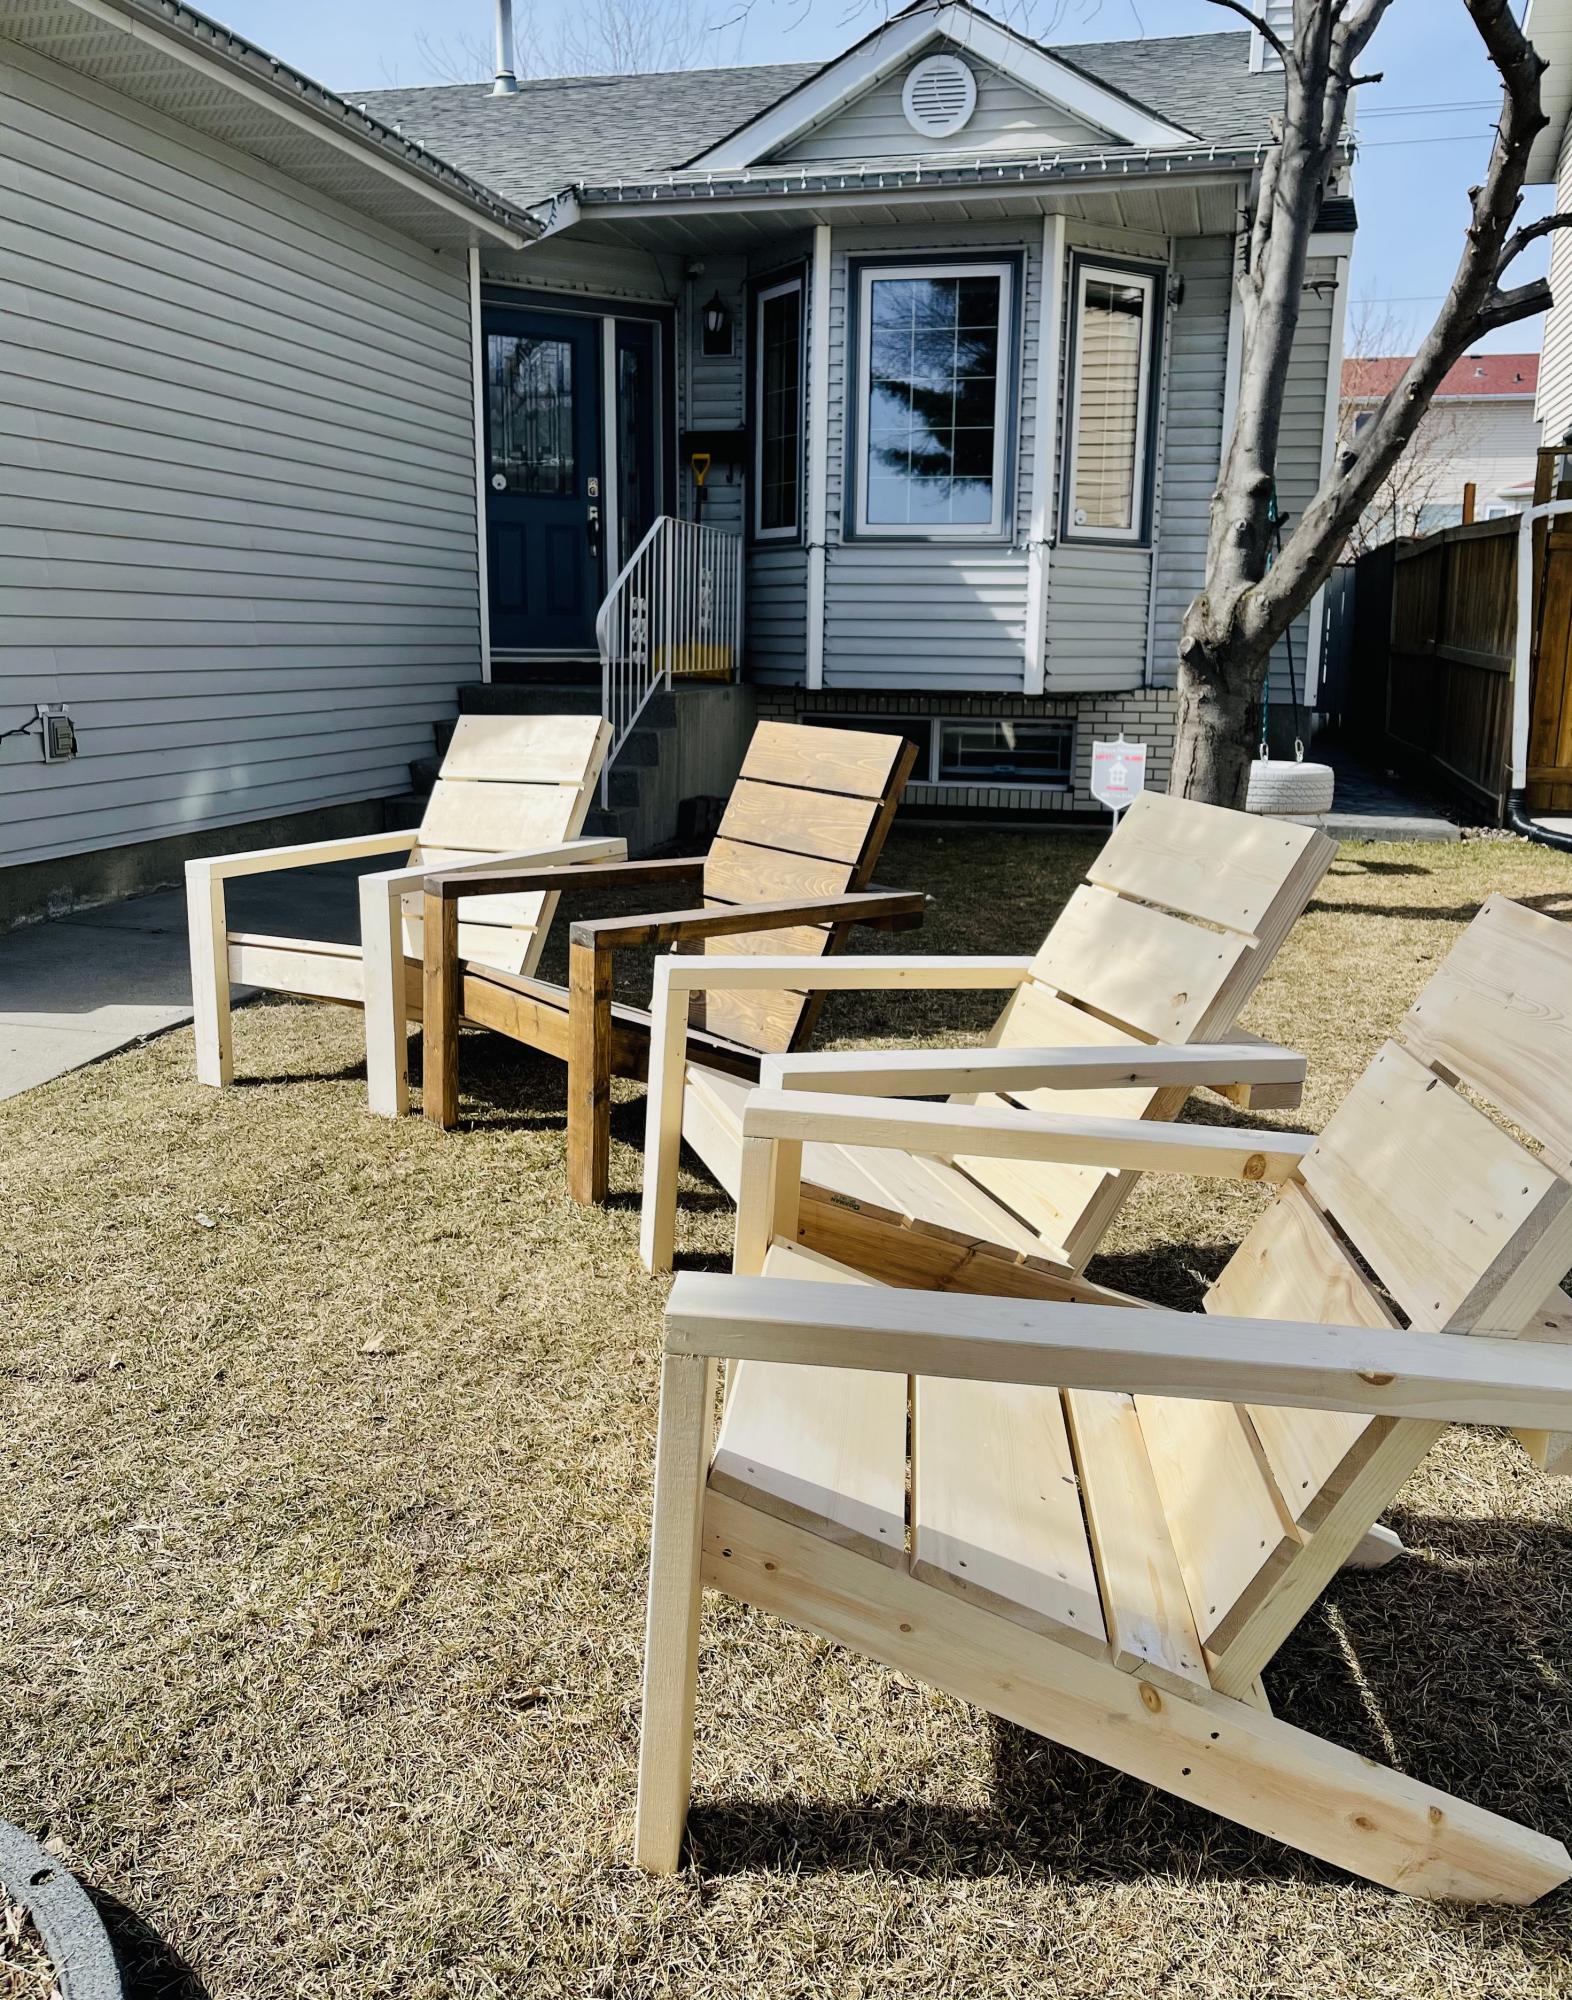
I decided to try to do some chairs for my backyard , guess what ........ i end up with very nice chairs.
It's very comfortable and looks great. My friends already asked me to do some for them.
Thanks Ana White for the great free plan.

Estimated Cost
$60 Canadian dollar
Estimated Time Investment
An Hour or Two (0-2 Hours)
Finish Used
Behr Waterproof Stain and Sealer
Recommended Skill Level
Beginner
Comments
Tue, 04/13/2021 - 21:01
Yes yes yes
Thanks
Yes i am busy
Did 8 already and have 8 more to do
Great chairs
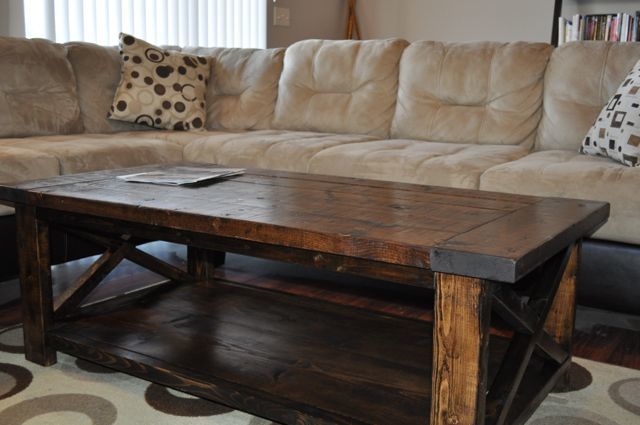
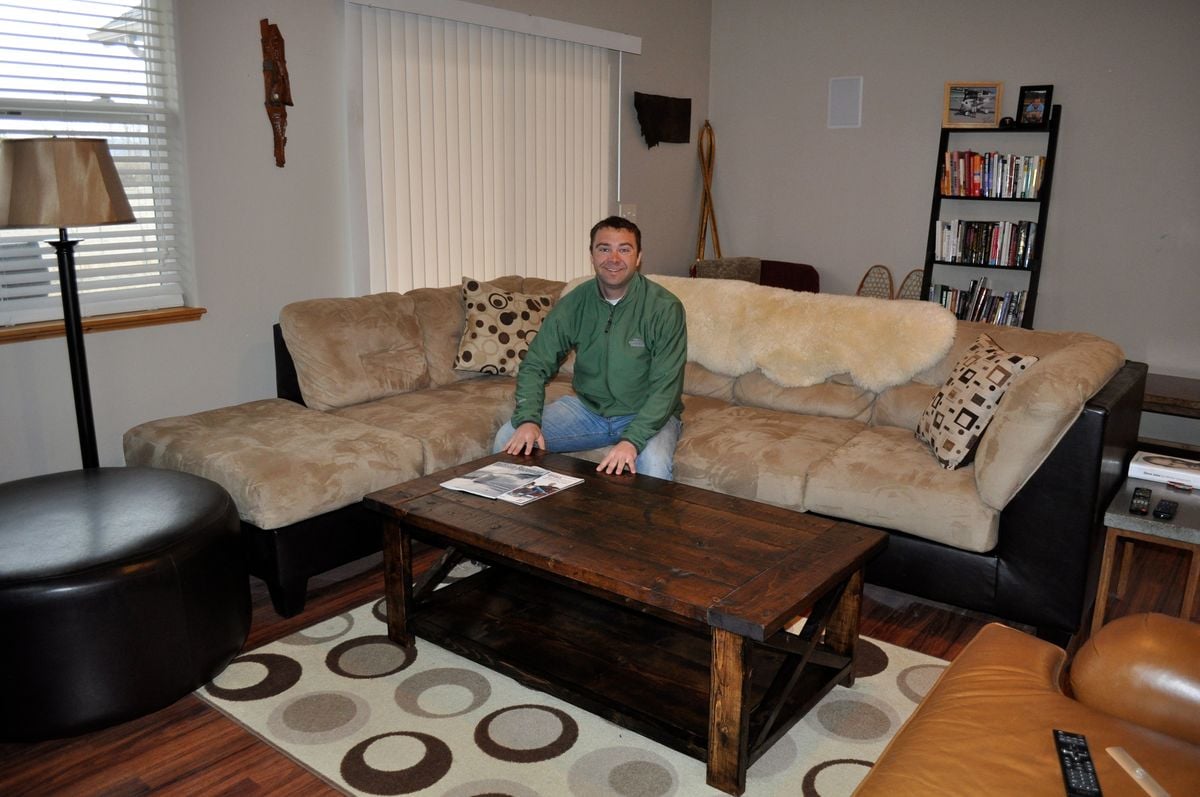
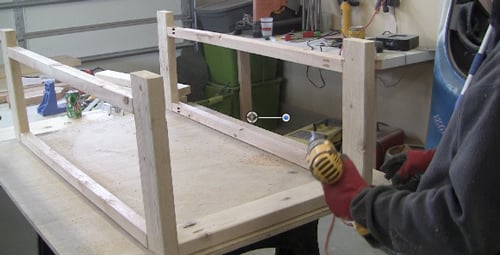
Farmhouse Style Rustic X Coffee Table
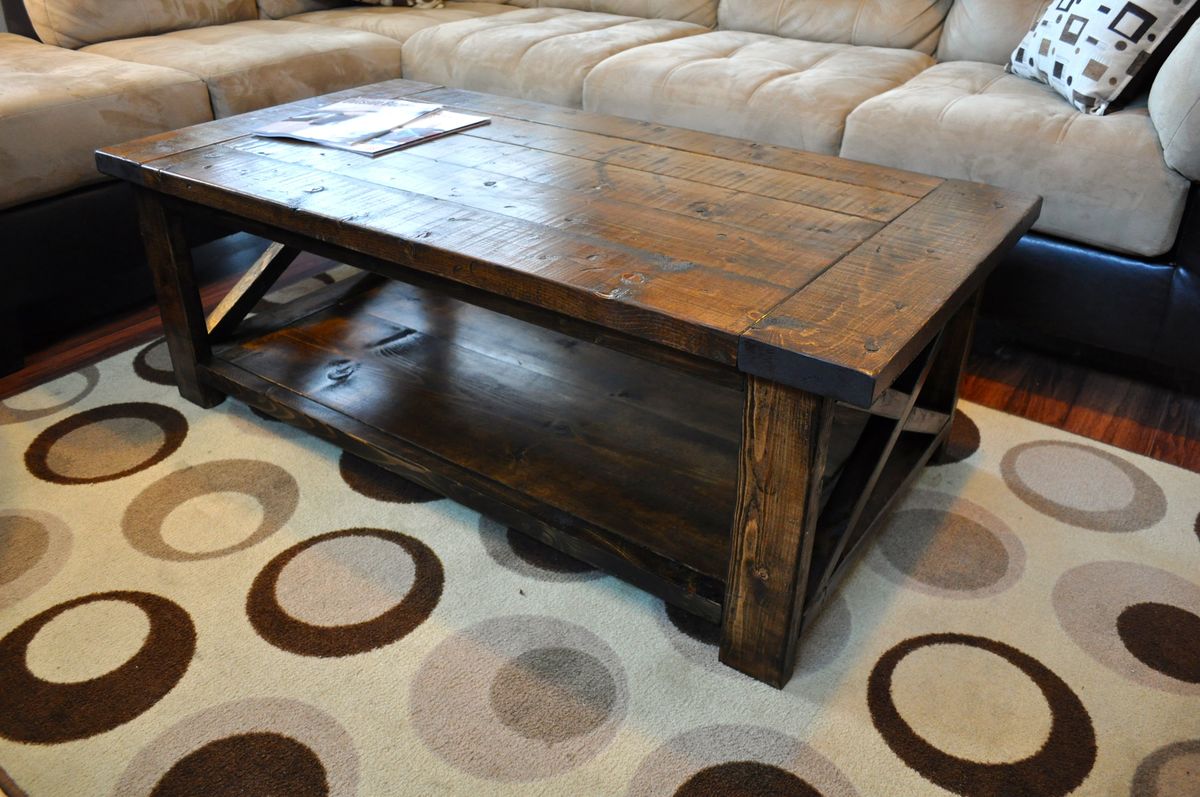
Ana's design caught my eye and I had to build one that was similar. I decided to modify the top because I really like the look of breadboard style tops. So the main difference is that I cut the top boards 41" long and added two 2x6 pieces for breadboards (about 27-27.5" long). So the total width still comes to 52". Turned out pretty cool!


Built from Plan(s)
Estimated Cost
$45 for wood - Stain/poly extra
Estimated Time Investment
Weekend Project (10-20 Hours)
Finish Used
I distressed it with nails, a hammer, some scratch marks, and a saw blade. I then used a vinegar/steel wool mixture to bring out the distressed areas a bit more. Then followed with 1 coat of dark walnut stain (applied with towel) and 3 coats of semi-gloss poly. I applied the first two coats with a brush and then lightly sanded between the second and last coat. The final coat was applied very thin using a towel.
Recommended Skill Level
Beginner
Comments
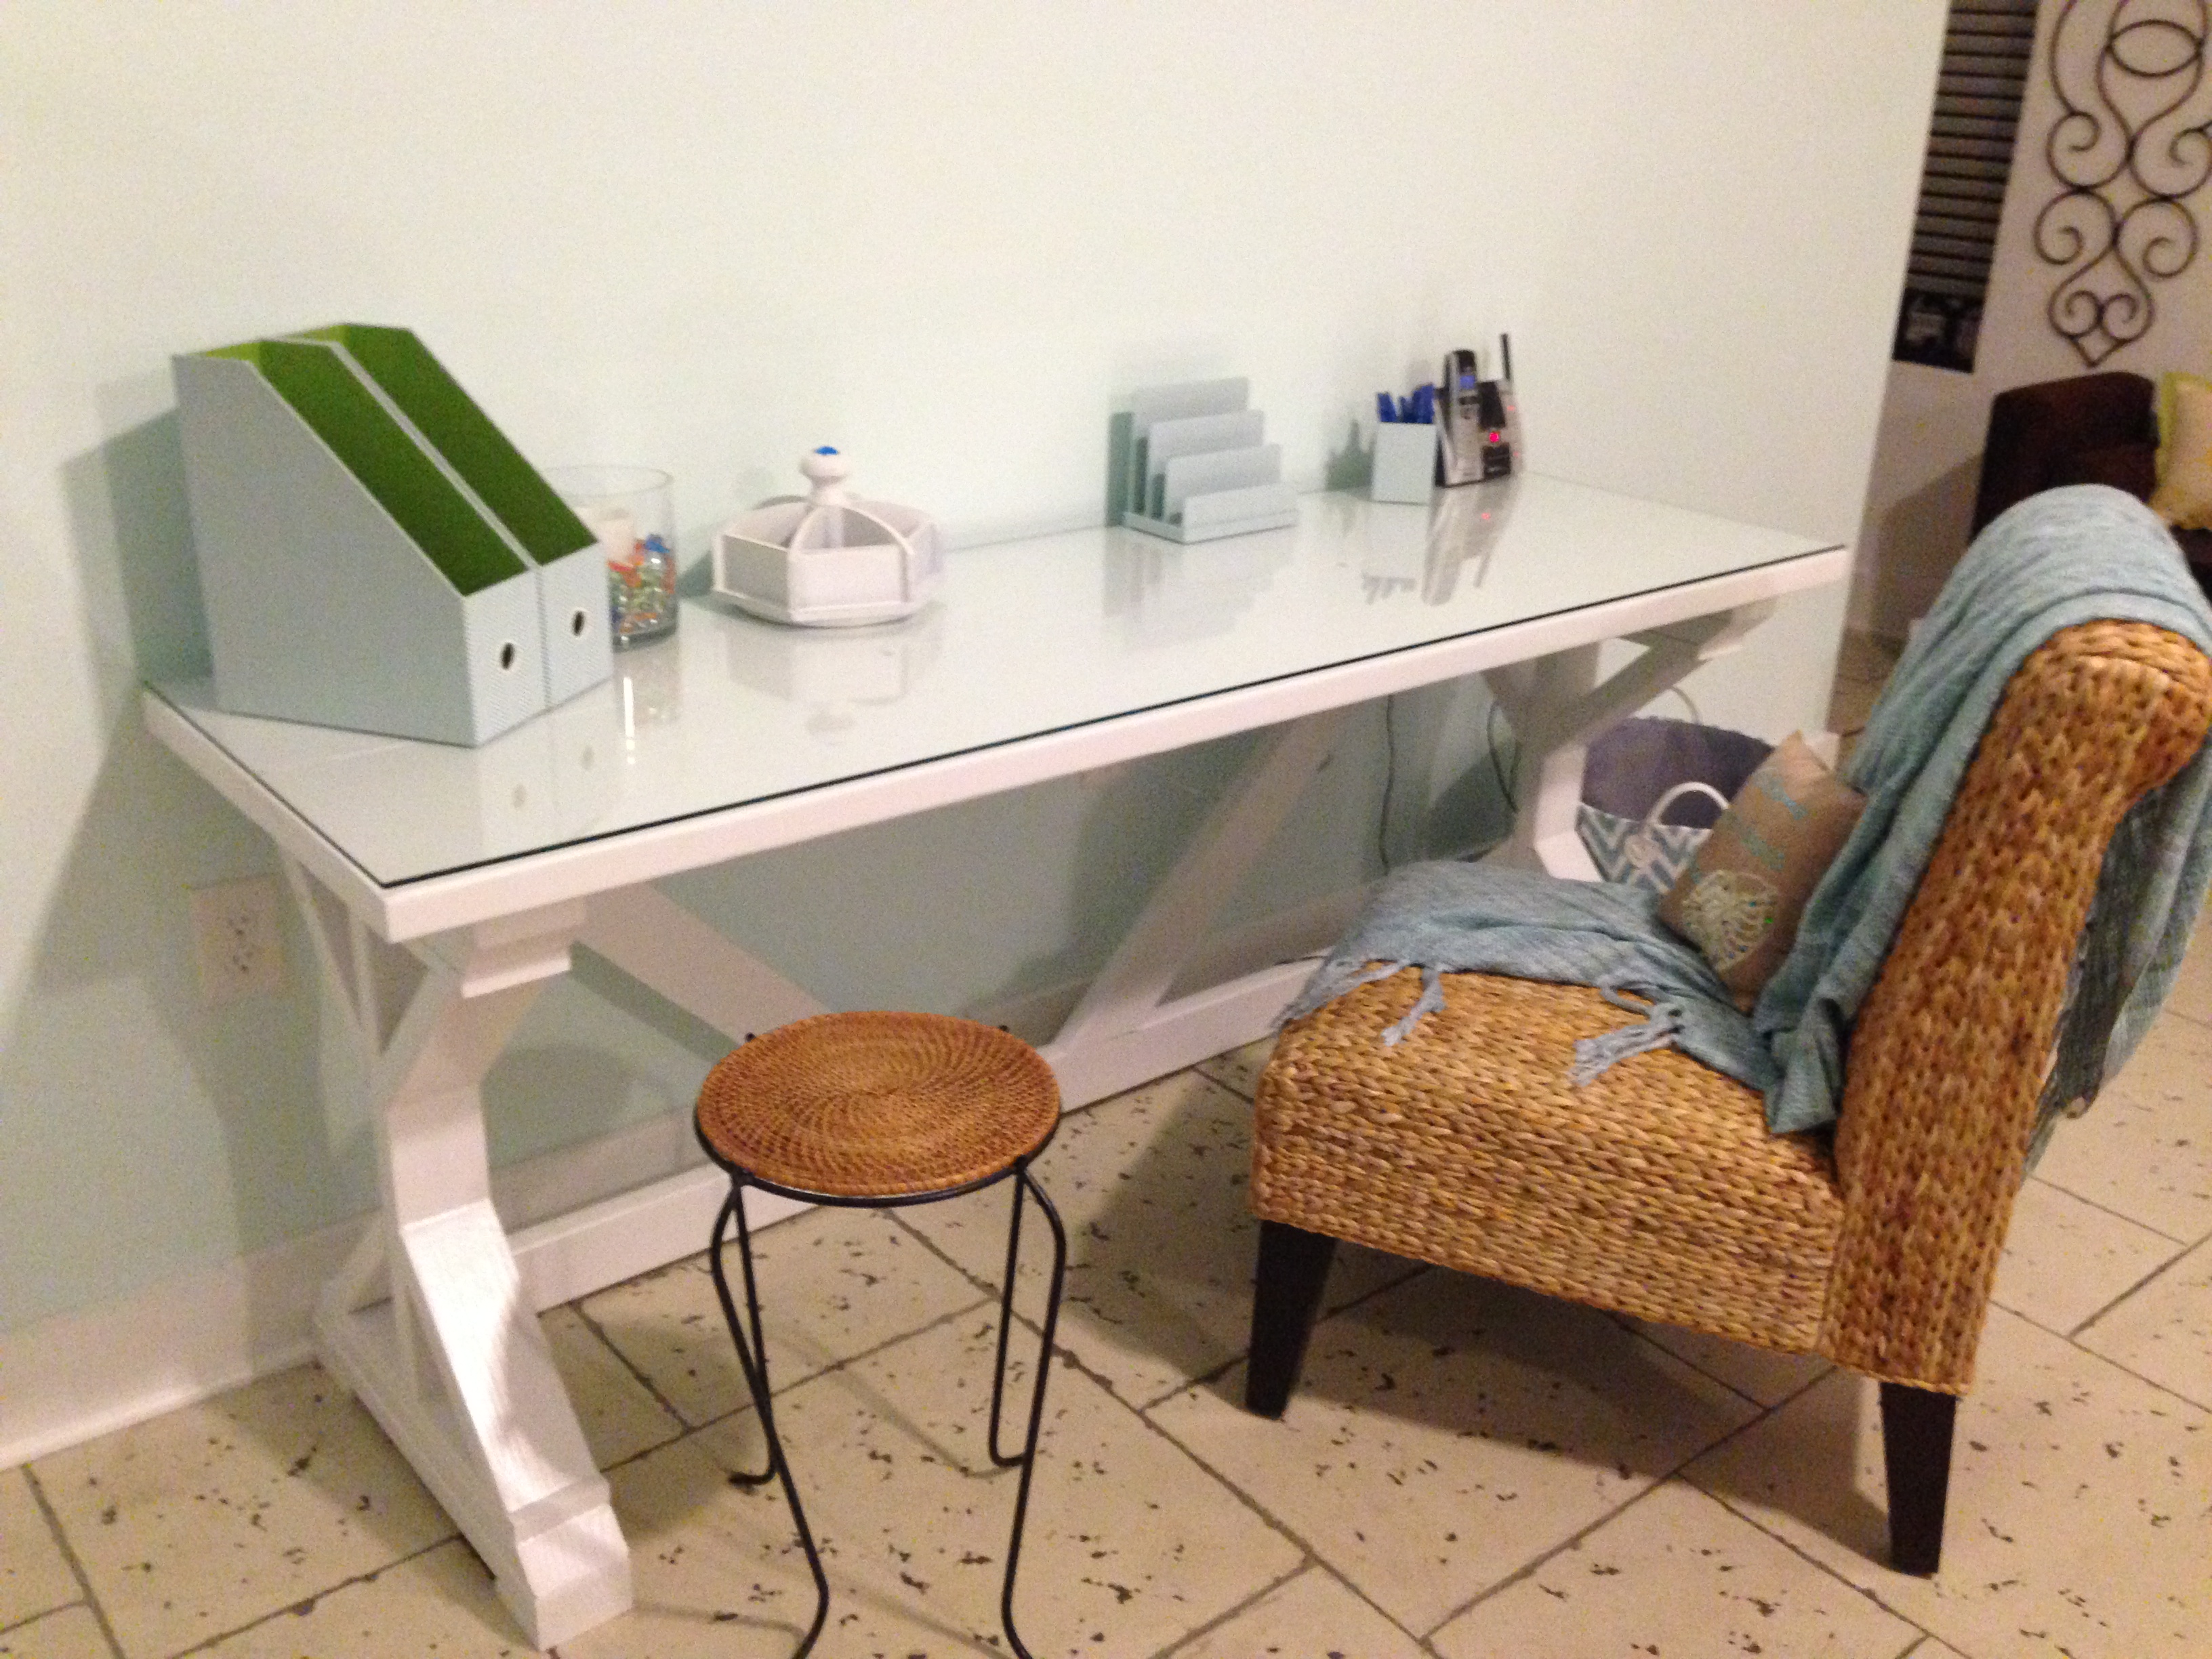
$ 55 Fancy X Desk
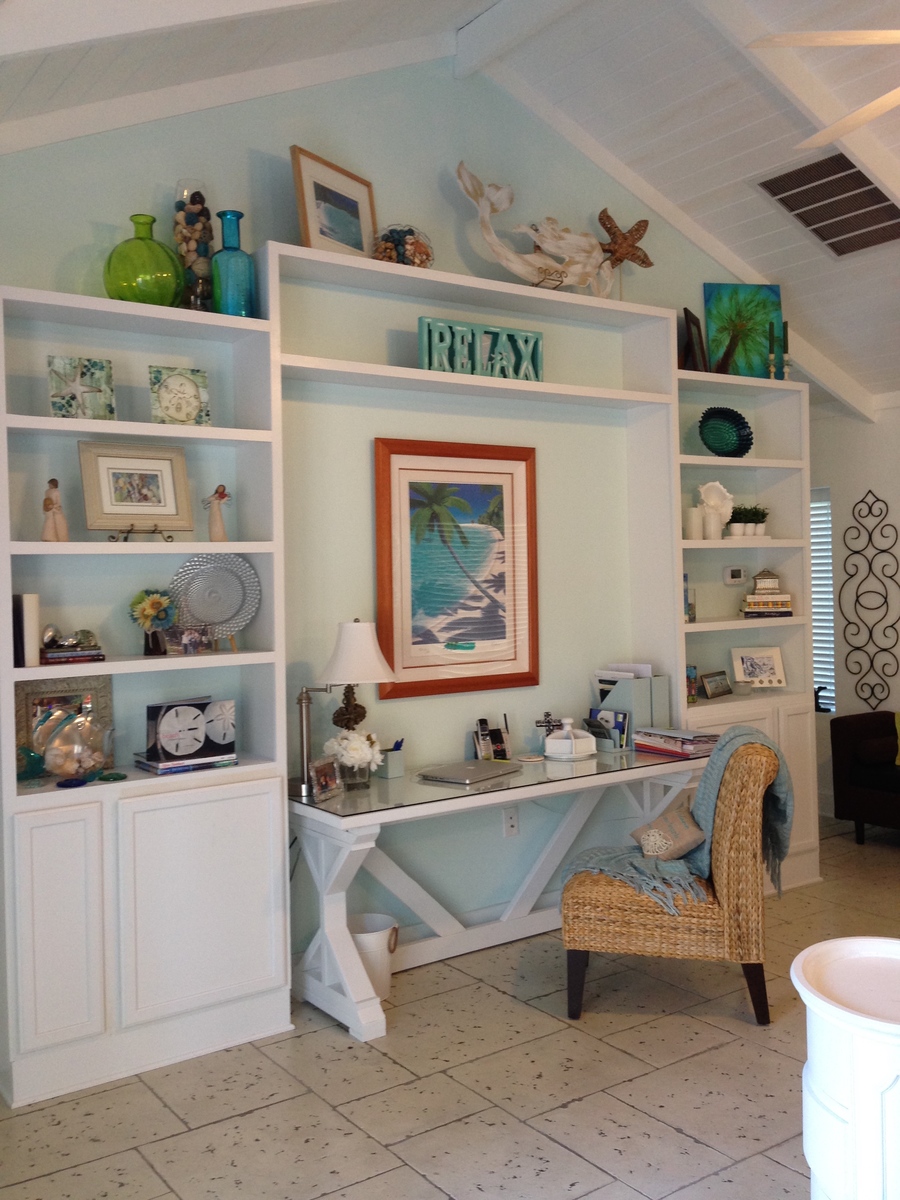
My husband & my version of the fancy X desk. I had a 1/4" glass top to make my writing area nicer

Estimated Cost
$ 55 plus cost of glass top if you like it $ 80
Recommended Skill Level
Beginner
Comments
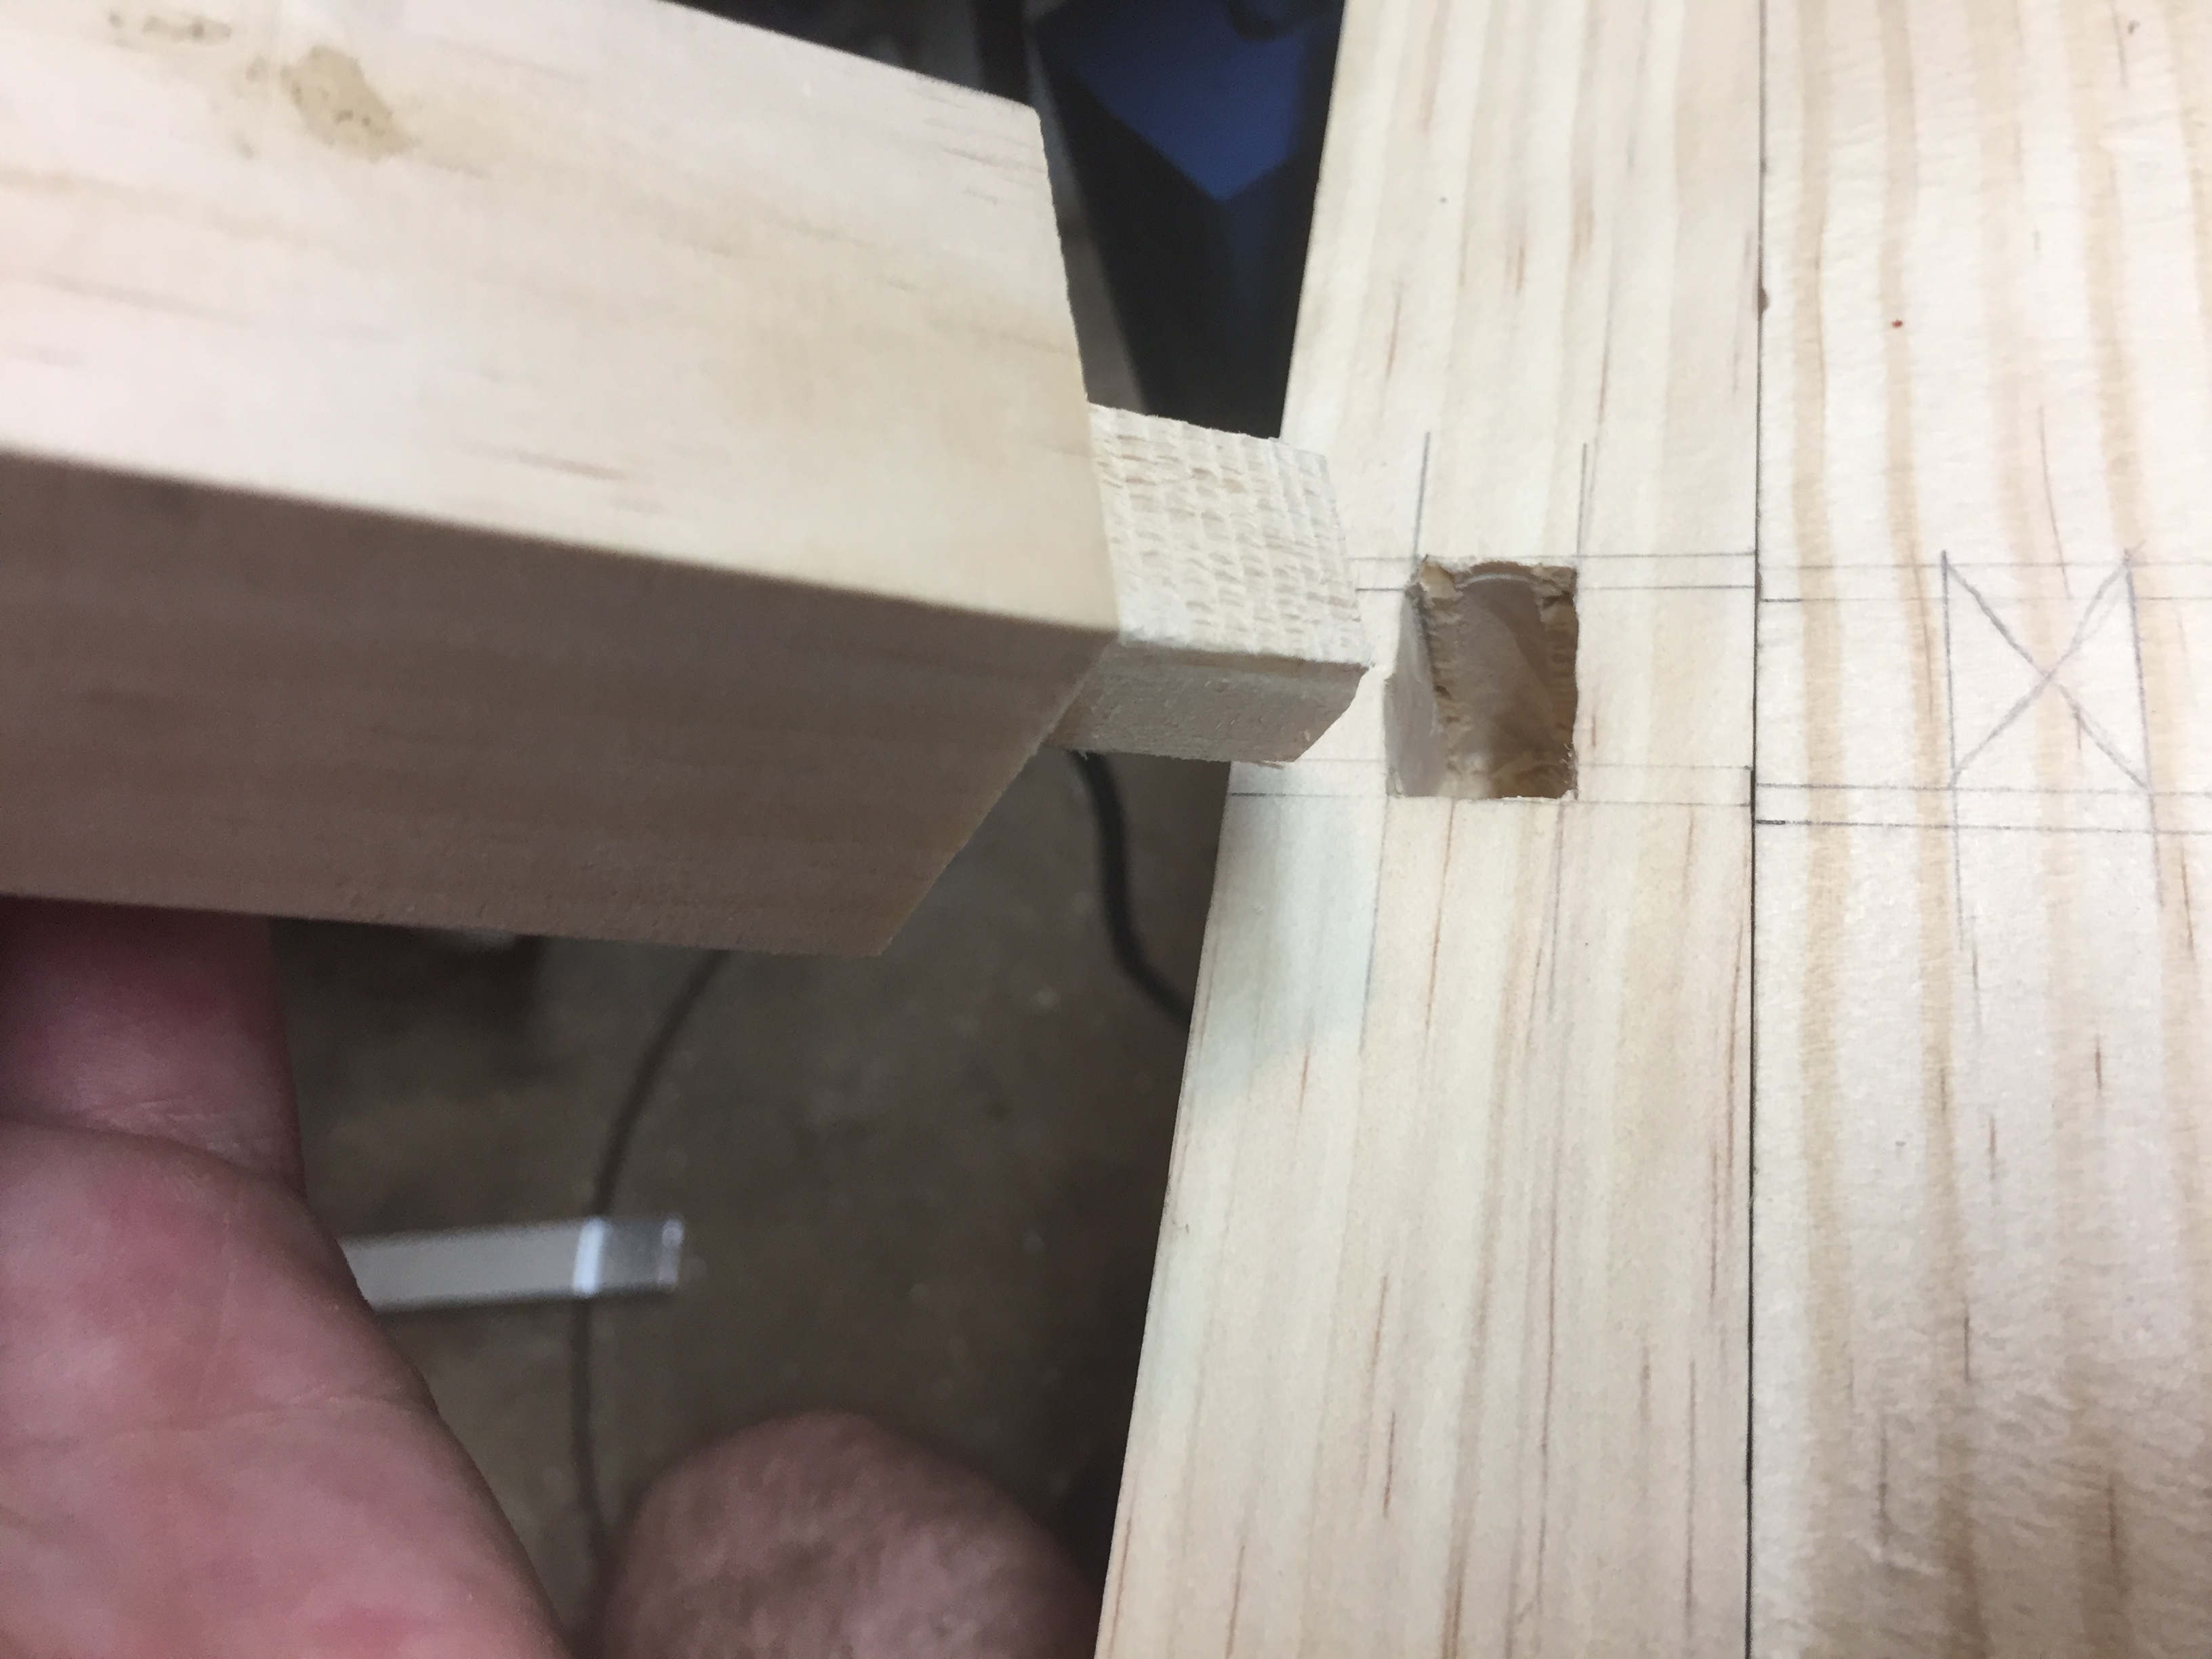
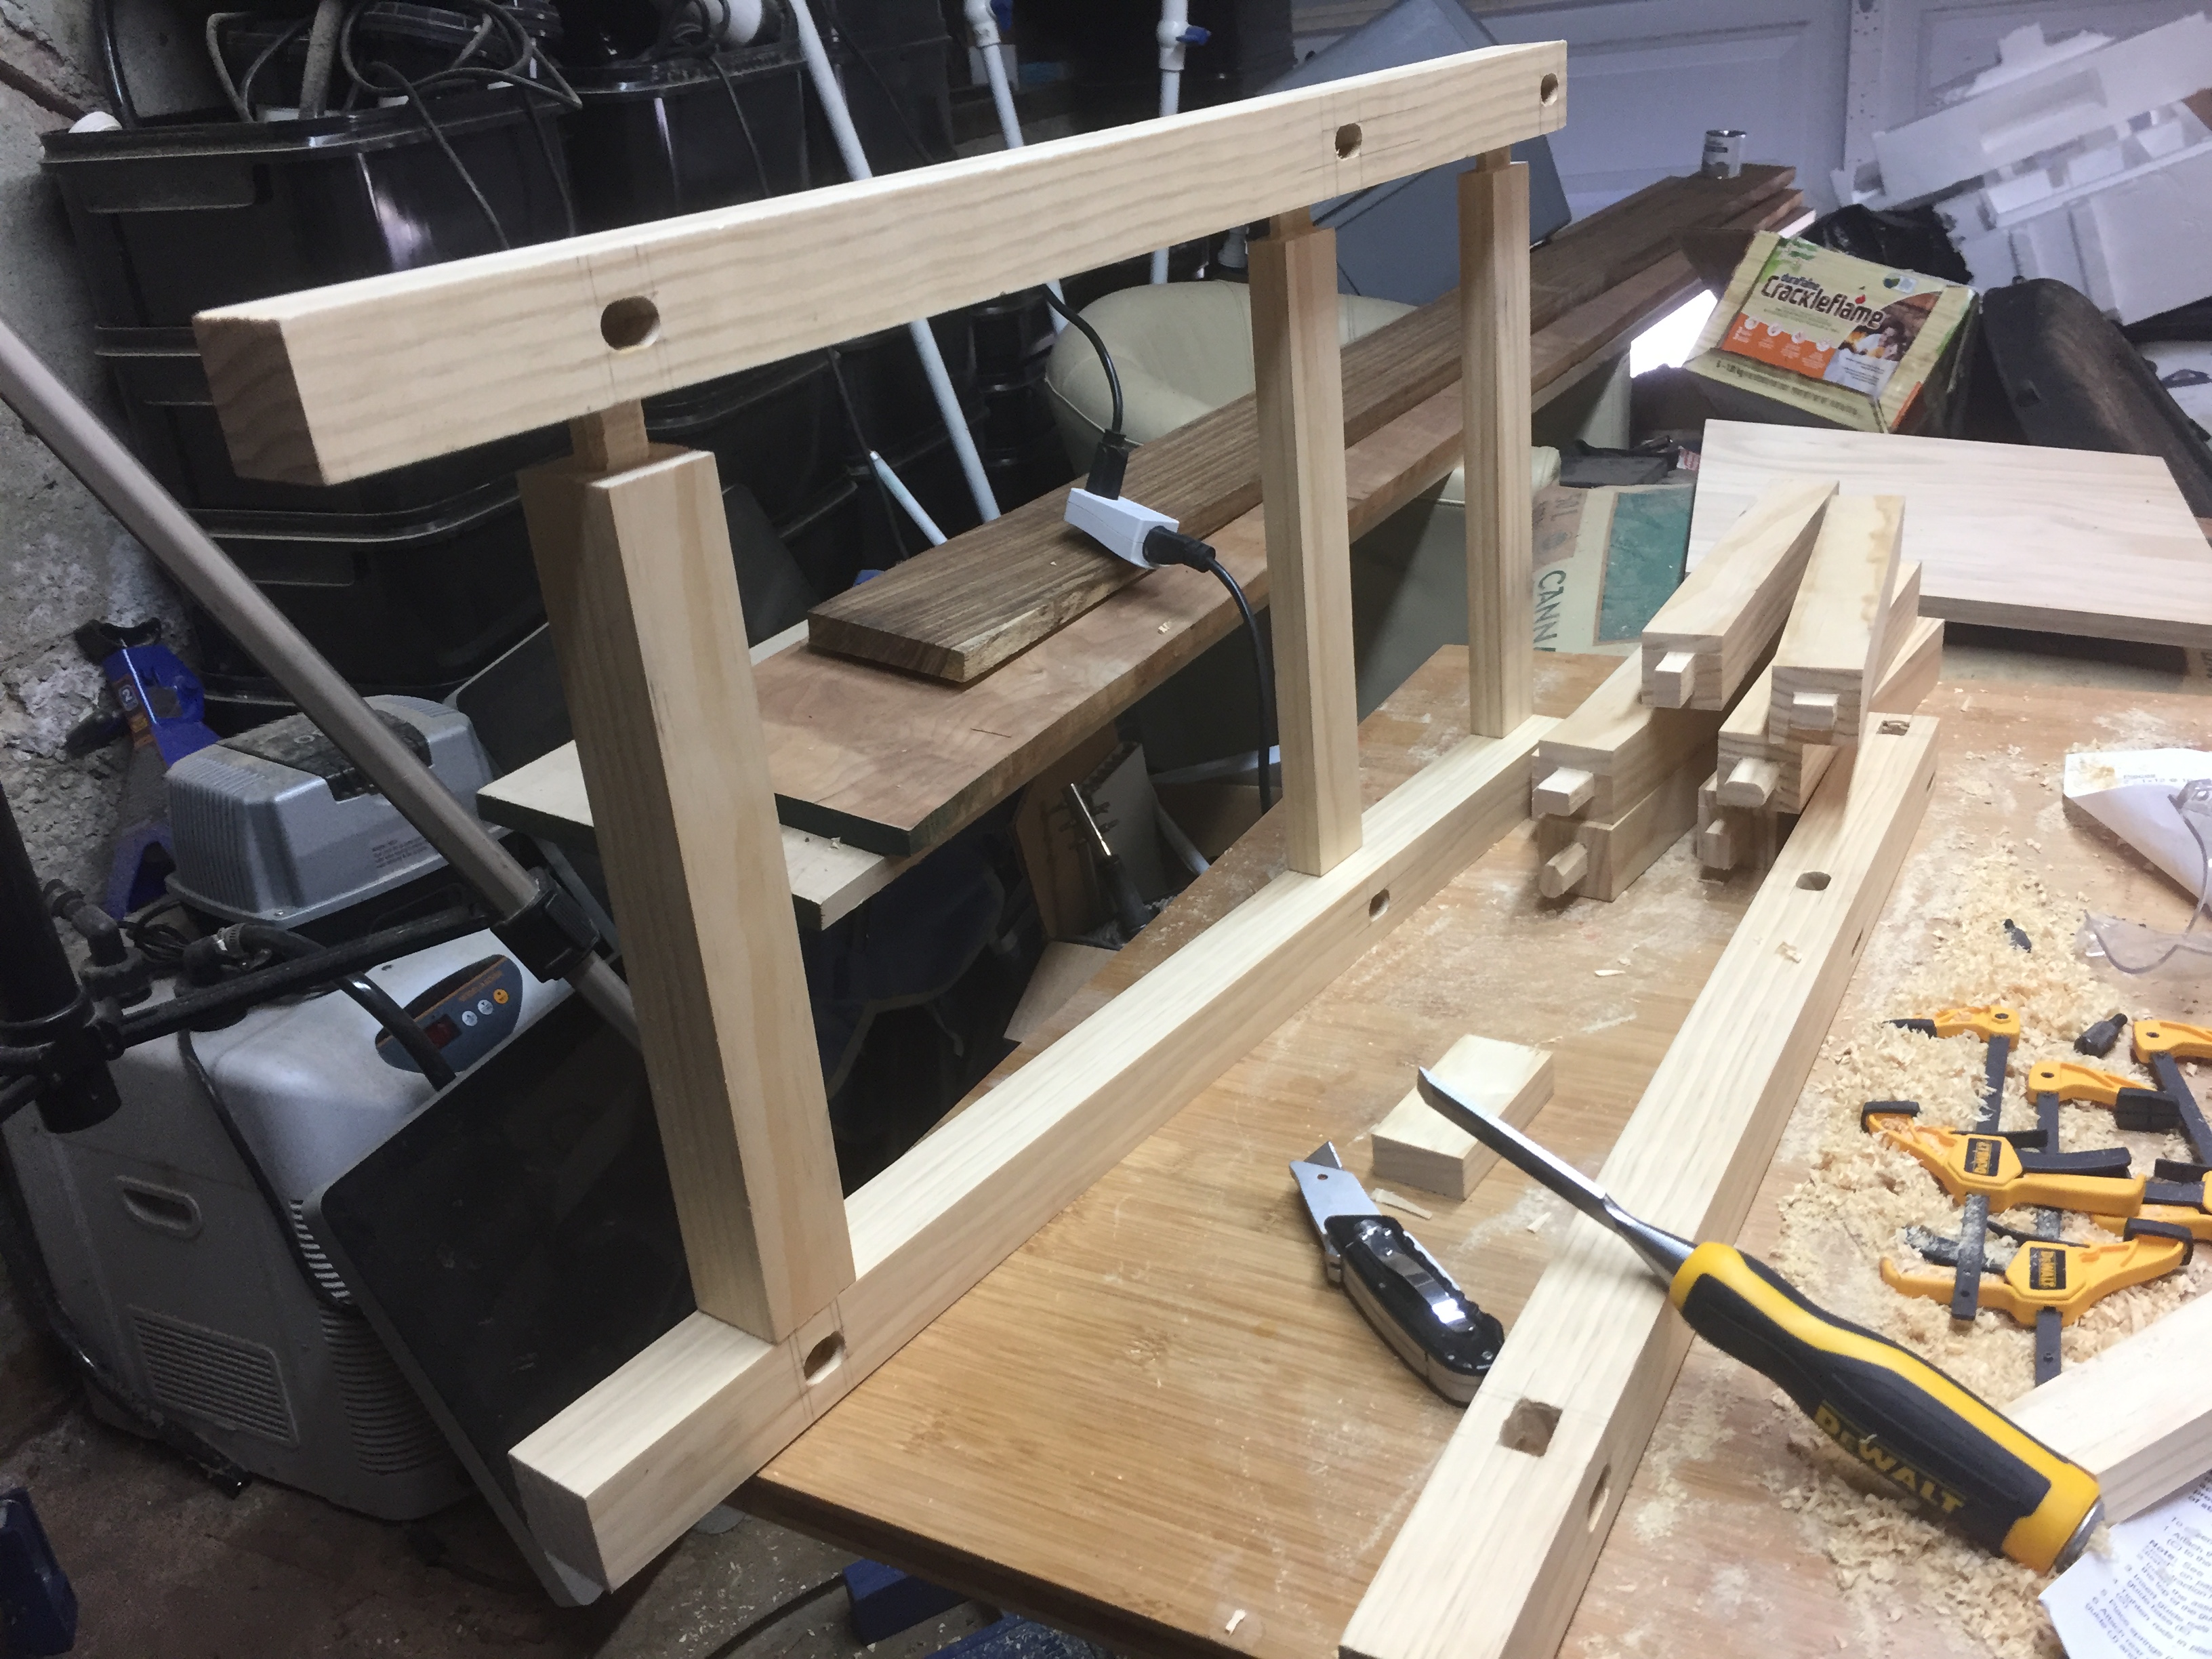
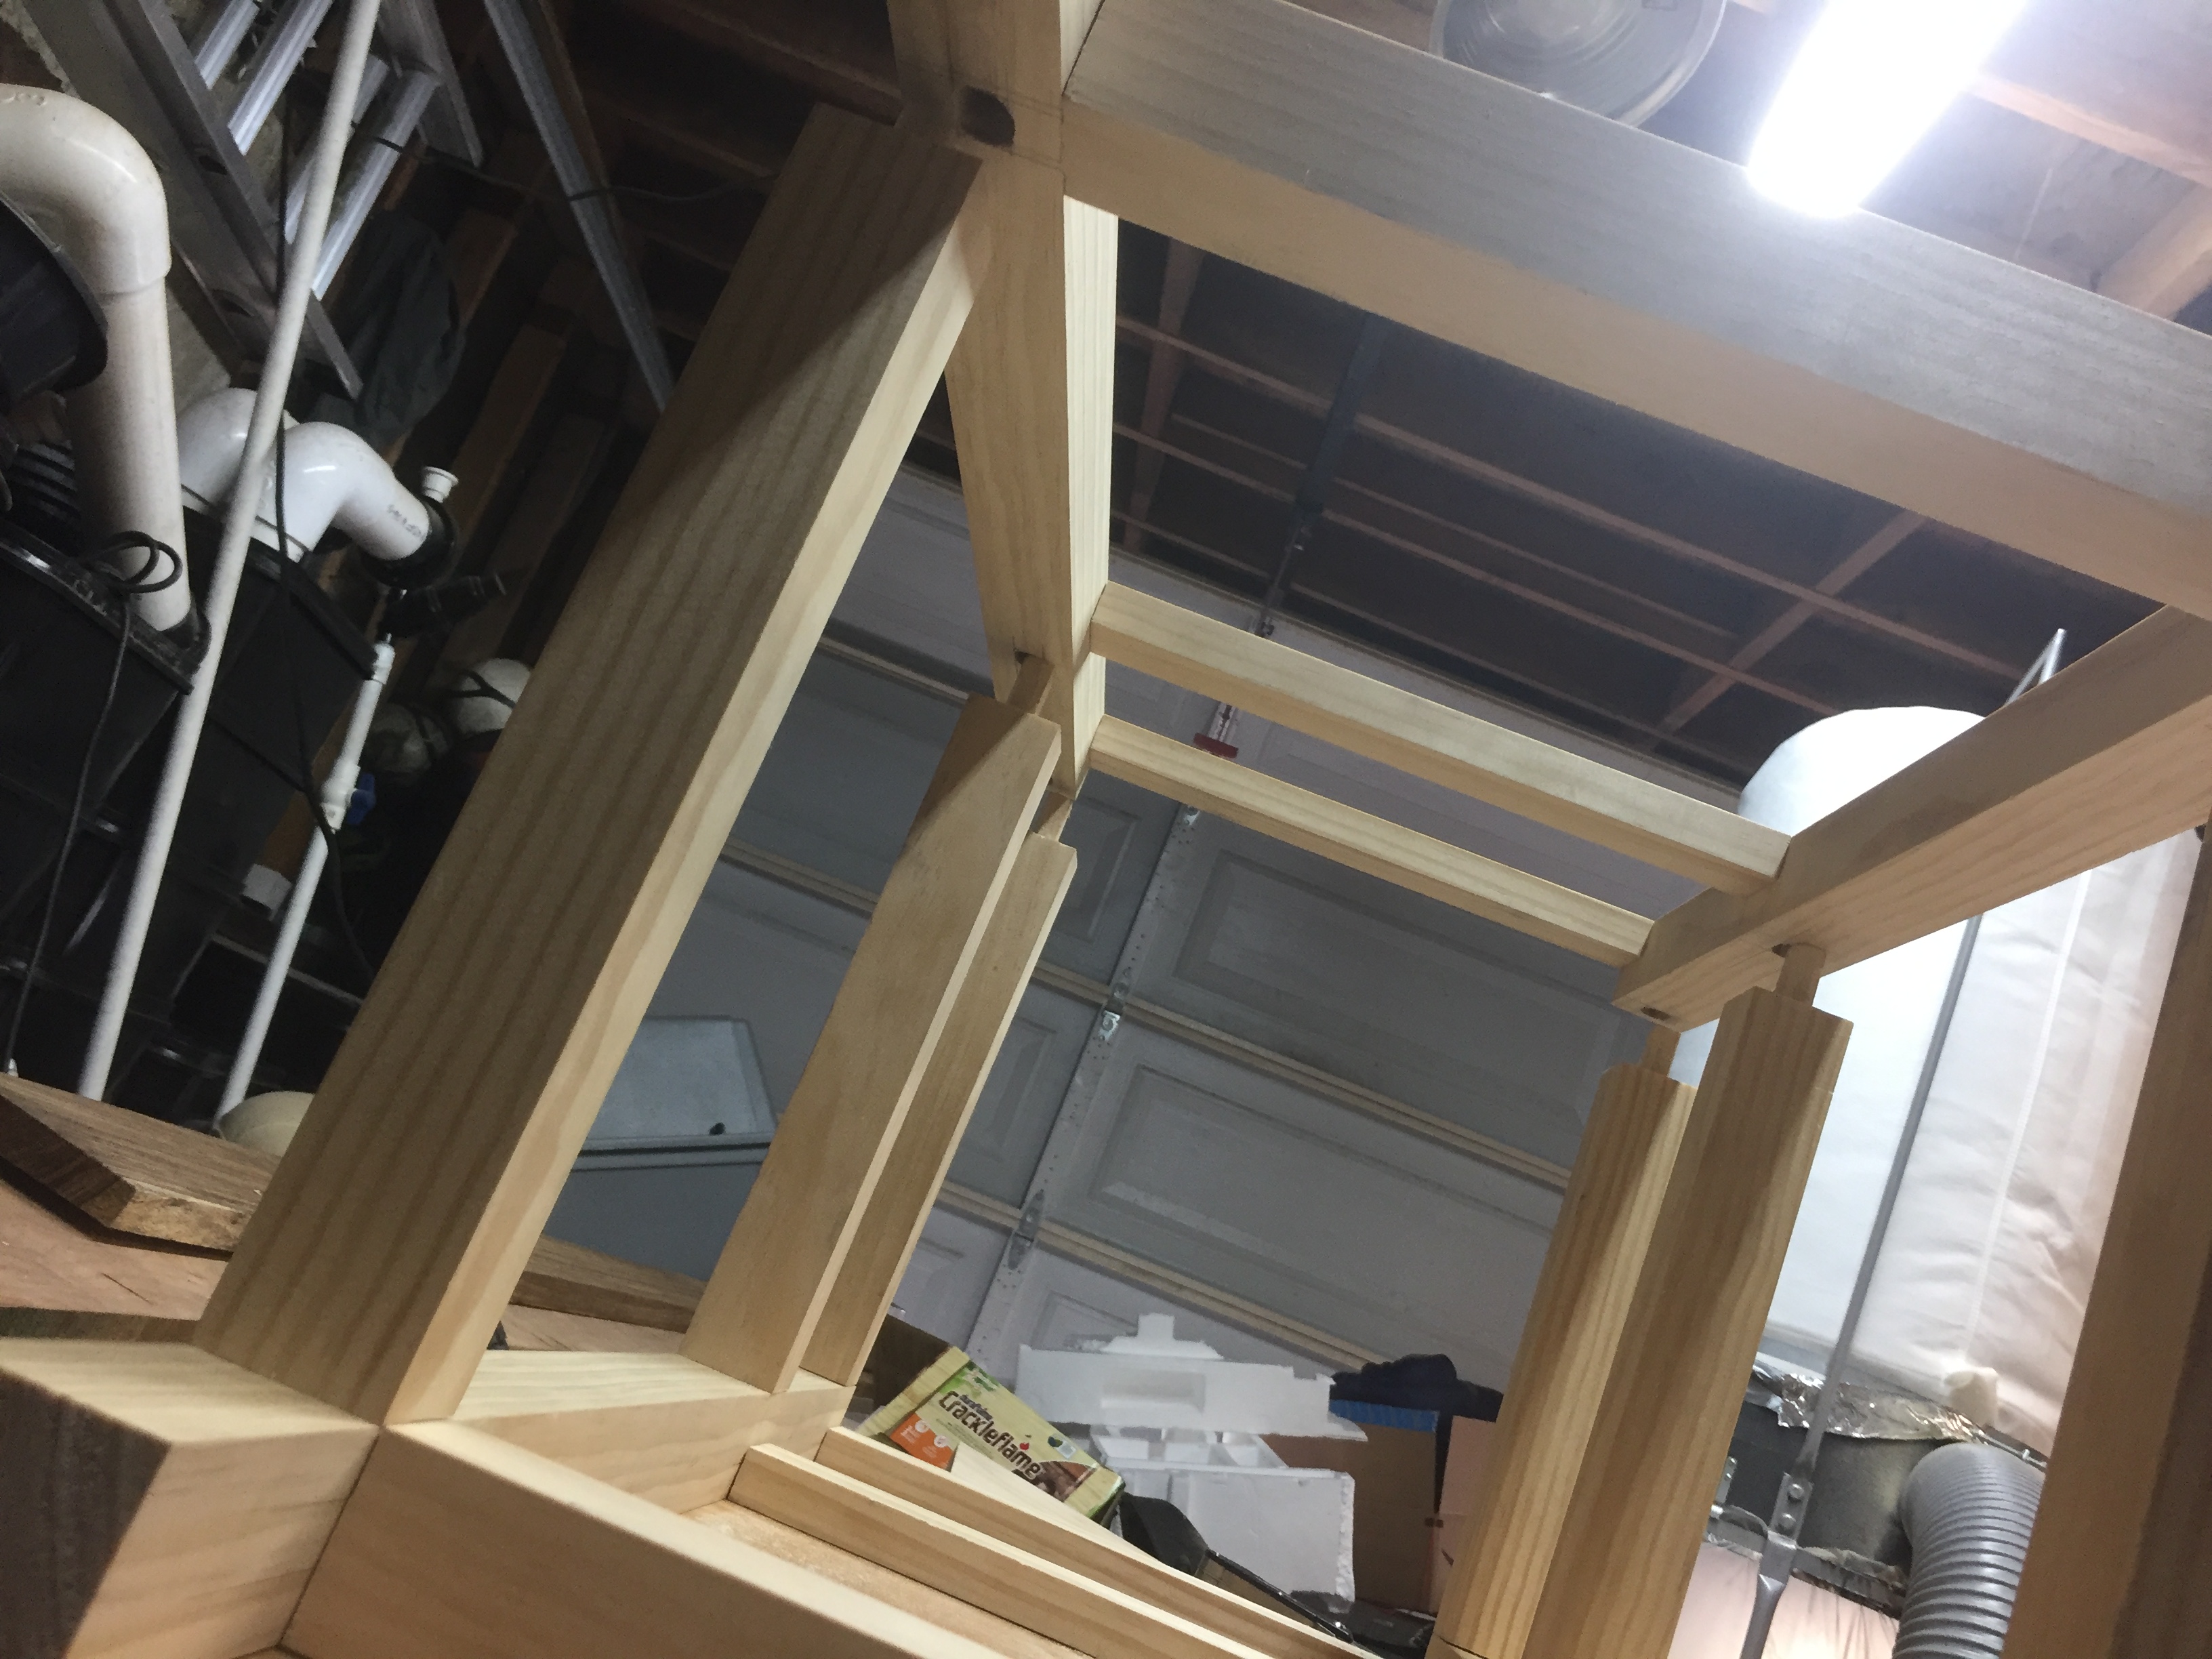
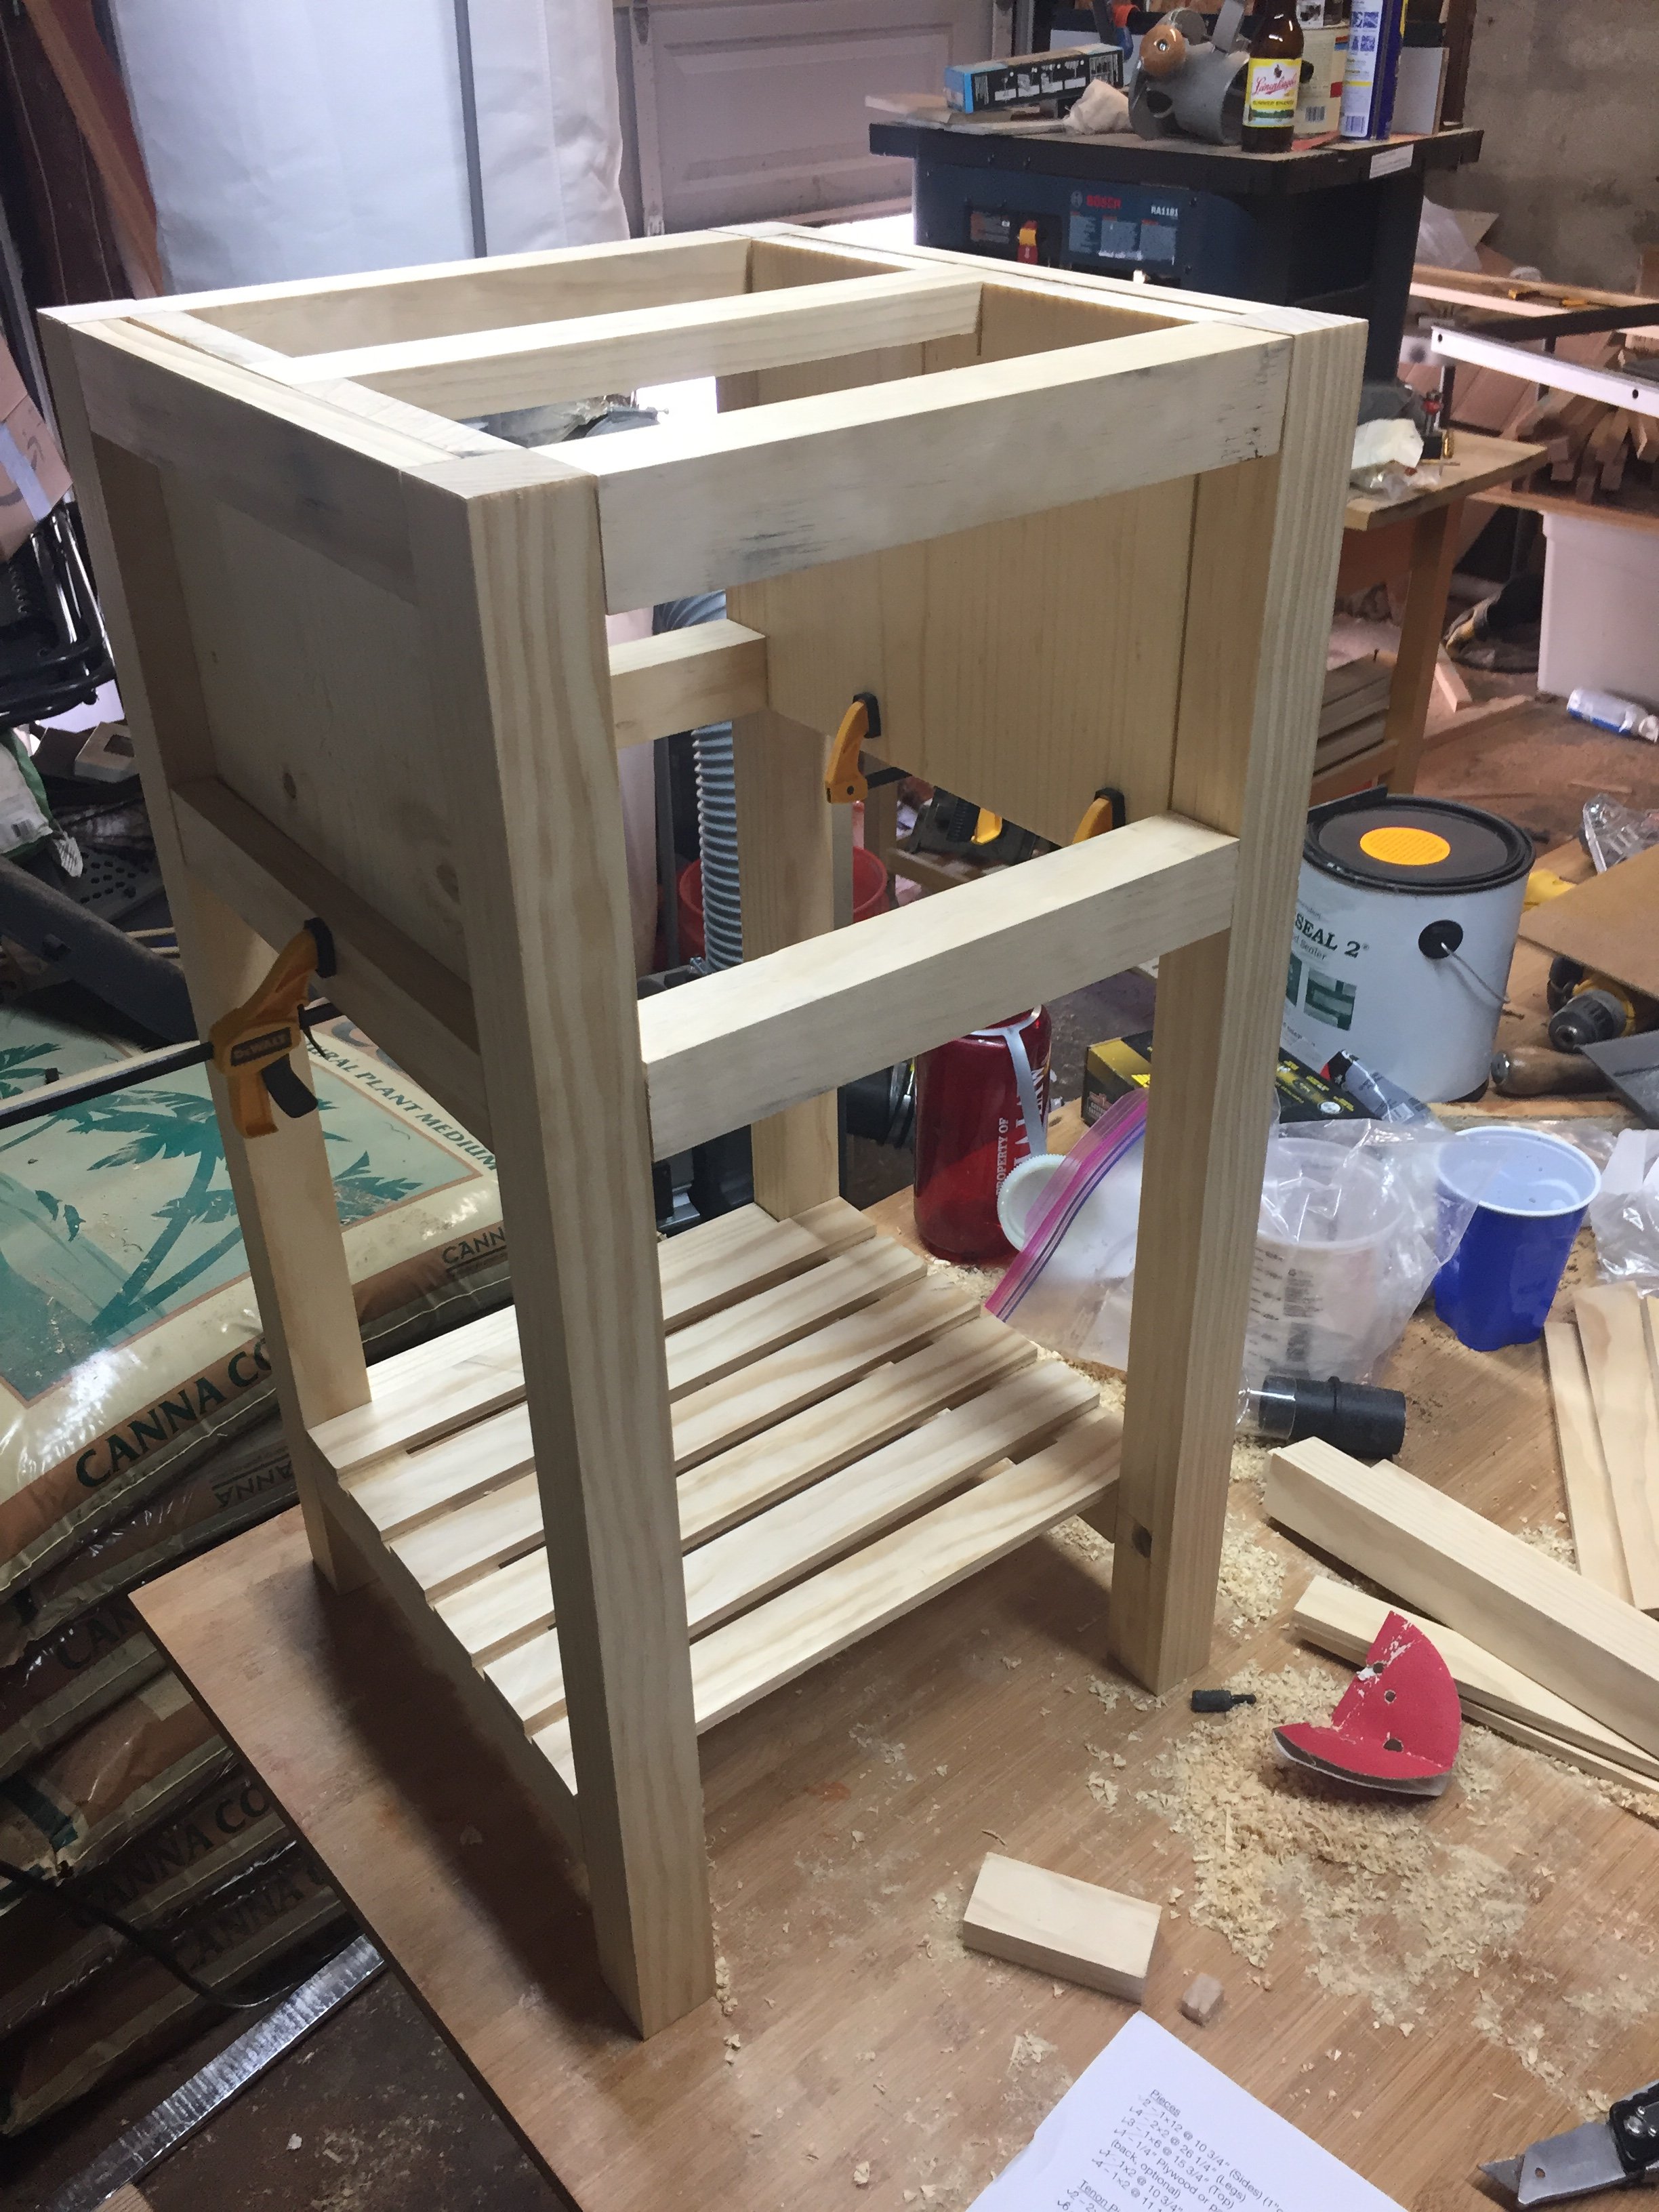
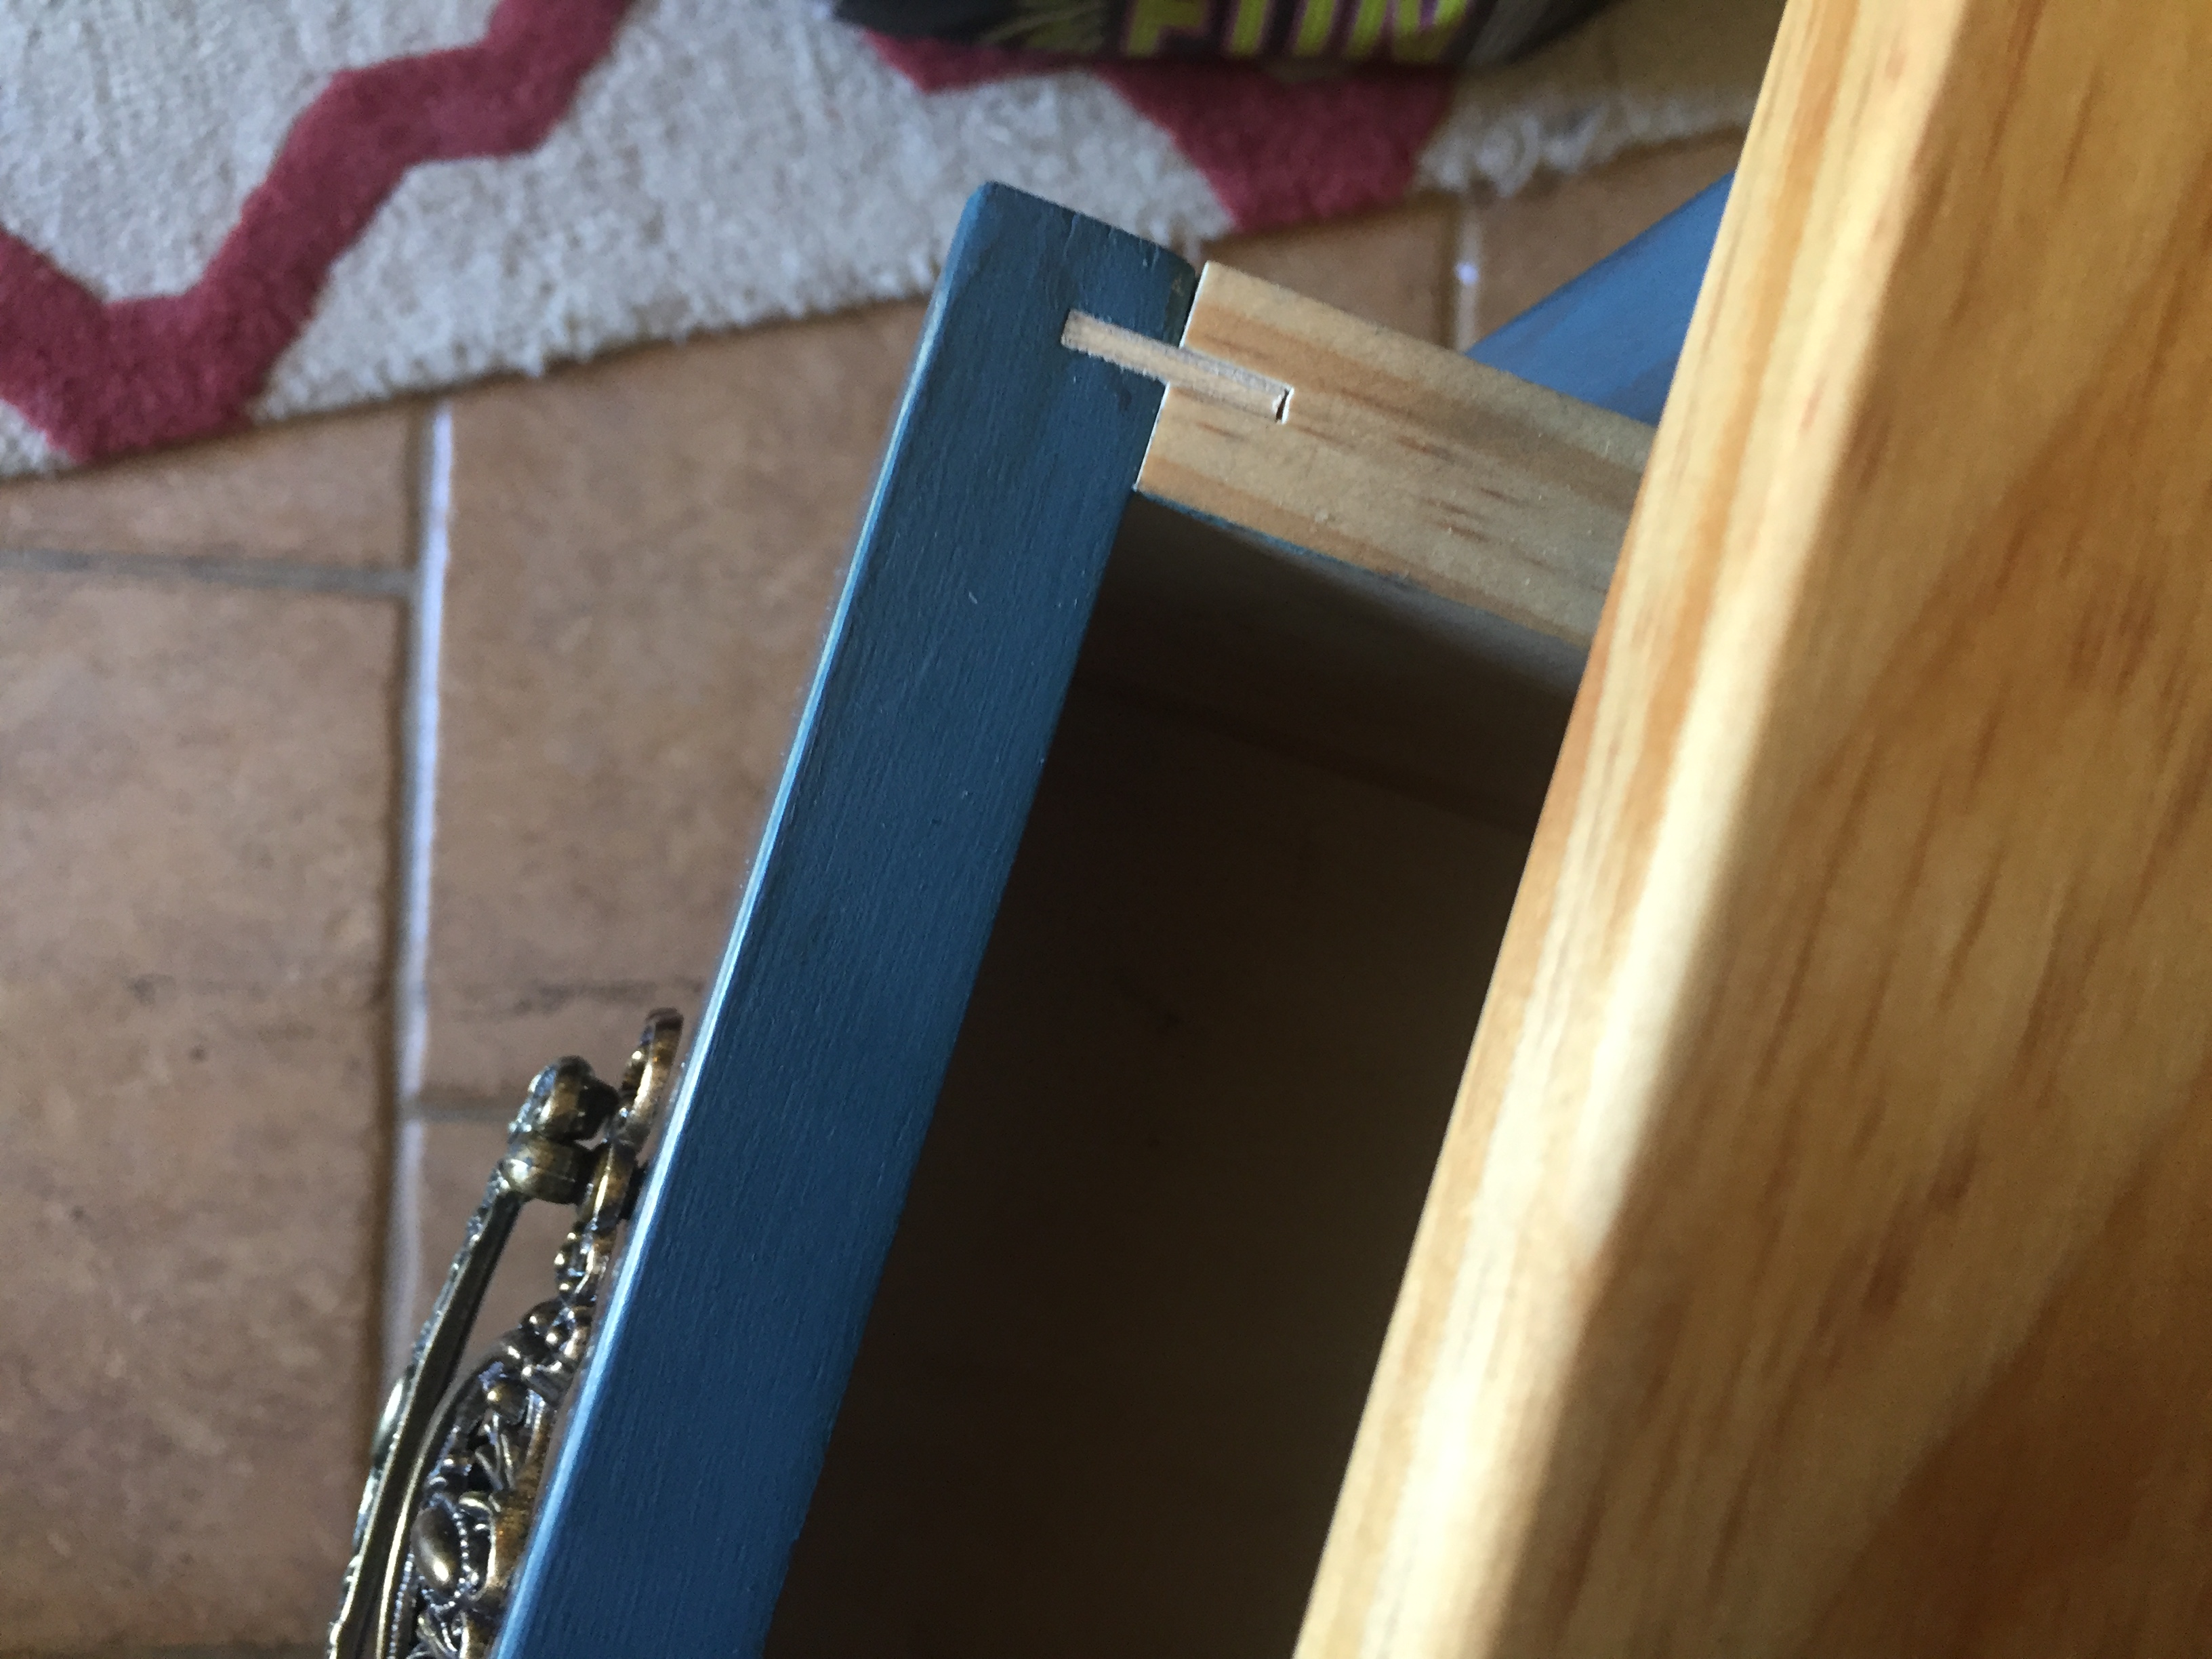
Provincial Colonial Hybrid (Mortise and Tenon) end table
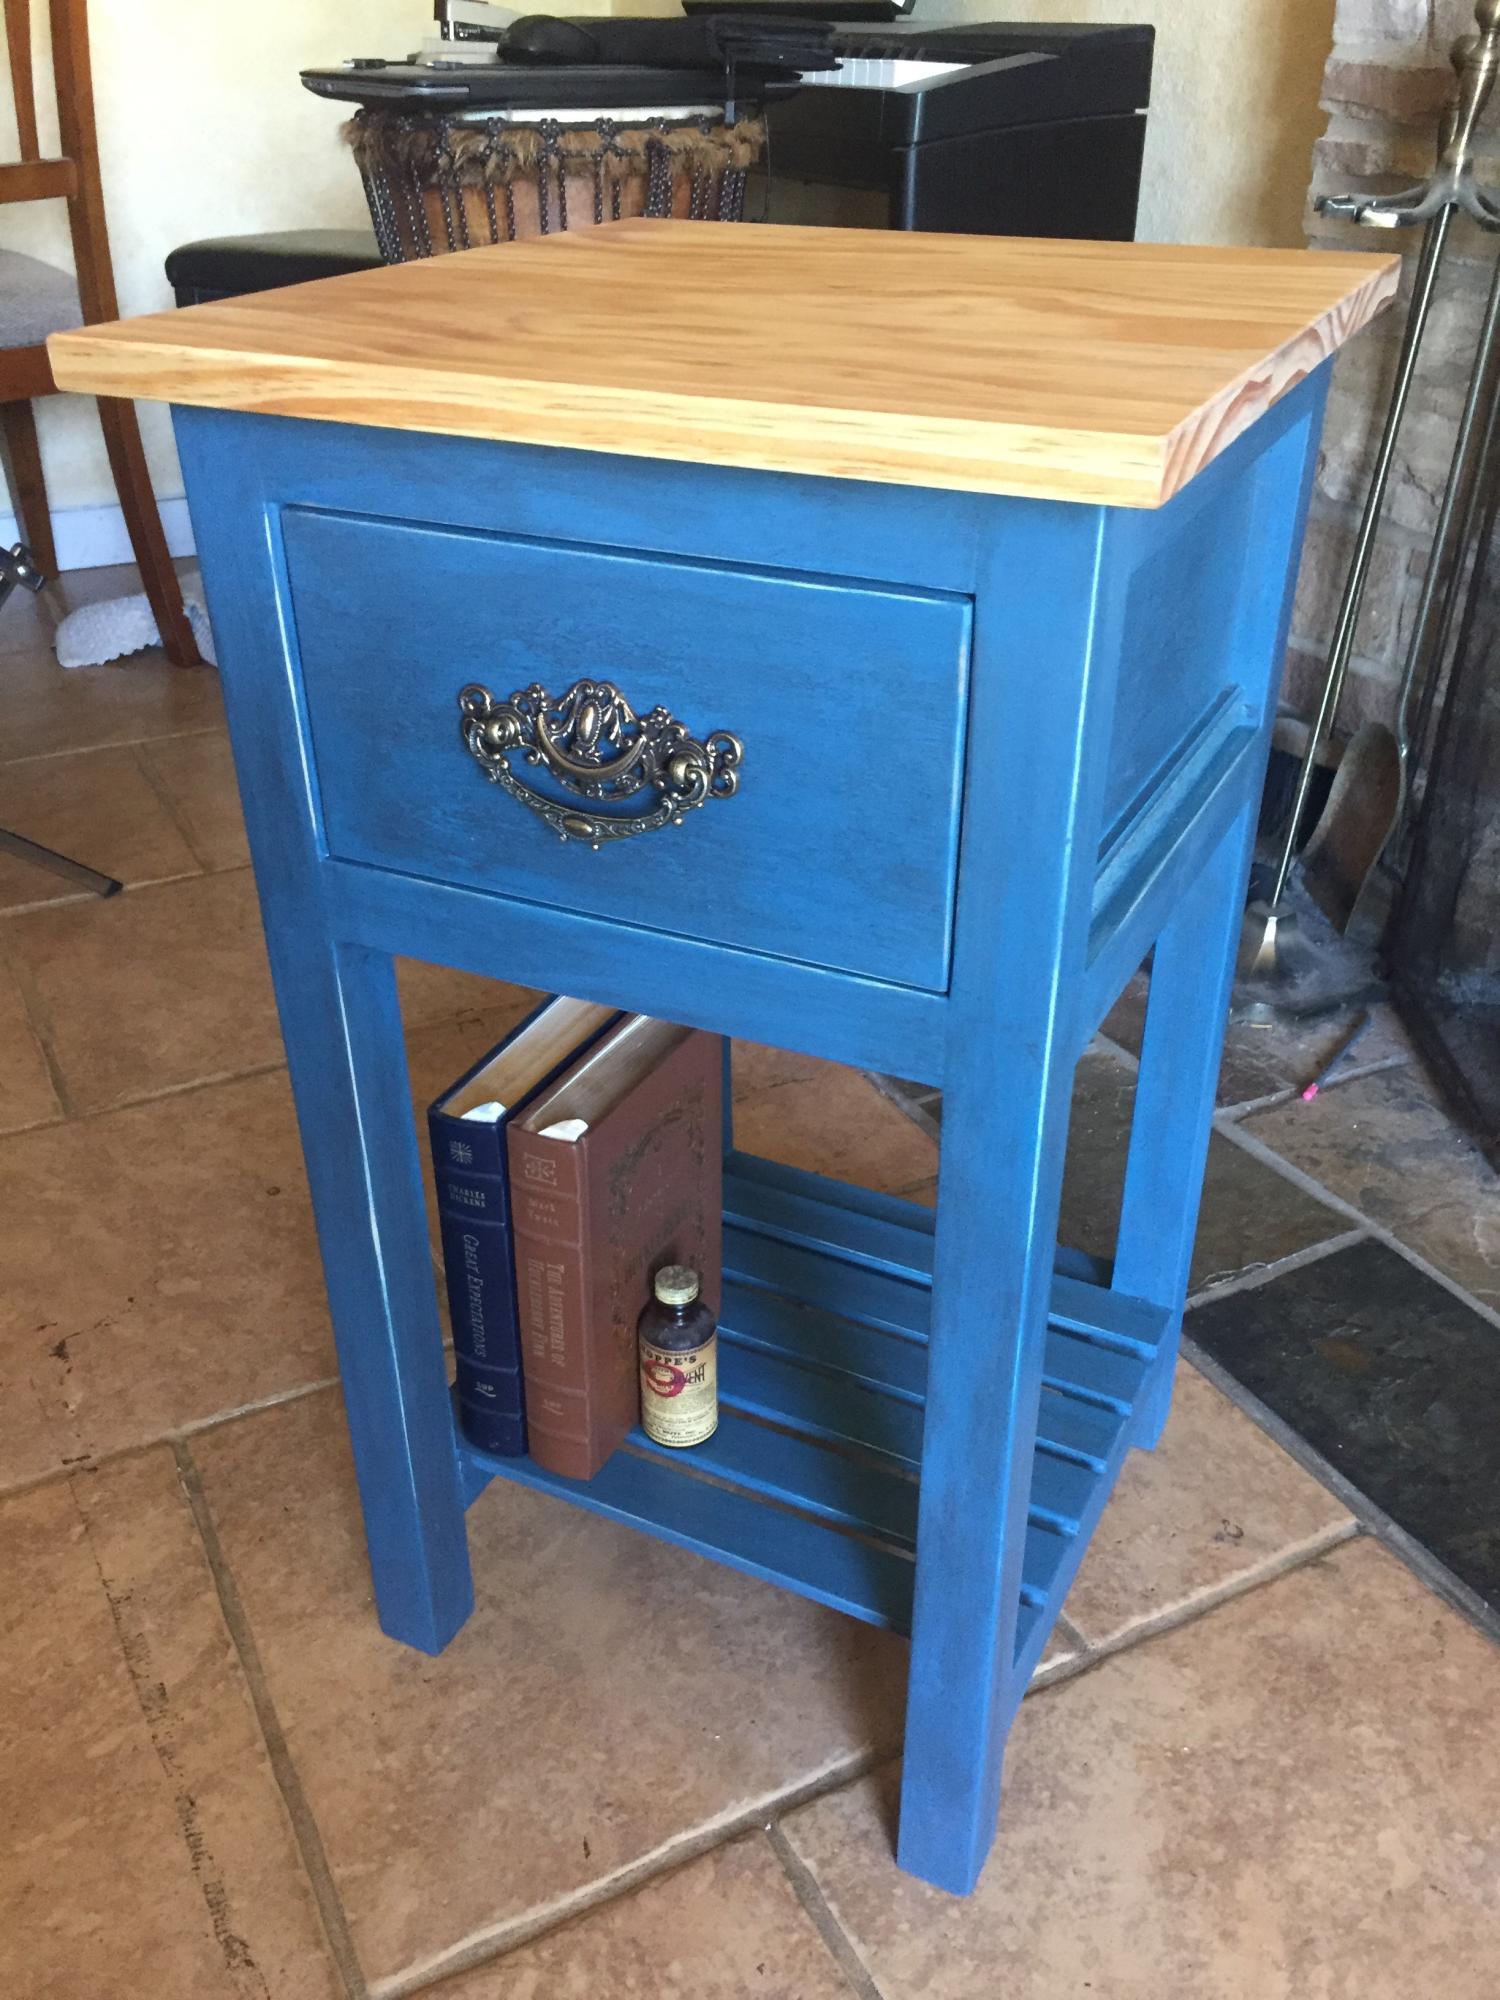
I built this for my girlfriend who specifically likes french provincial finishes but colonial farmhouse structure. There is absolutely no metal/screws in this build, frame assembled with mortise and tenon joinery and drawer is assembled with splines. I finished traditionally with a danish oil treatment for the top, and the frame/drawer was painted with Aubusson Blue chalk paint, corners sanded, then graphite washed, then waxed with a traditional paste wax and hand buffed. This is the first time I've built without pocket screws or modern finishes and I am hooked! It did take me four times as long though, so it's not for every project. Just the ones that are for someone special ;)
Built from Plan(s)
Estimated Cost
TOTAL: $207
Select pine: $110
Danish oil: $8
Paint/graphite wash/paste wax: $74 (plenty left for other projects)
Drawer pull (Rockler): $15
Select pine: $110
Danish oil: $8
Paint/graphite wash/paste wax: $74 (plenty left for other projects)
Drawer pull (Rockler): $15
Estimated Time Investment
Week Long Project (20 Hours or More)
Finish Used
Danish Oil, Aubusson Blue chalk paint, graphite wash, soft clear paste wax
Recommended Skill Level
Intermediate
Urban barn coffee table

Found the plans on this site and built this as a Christmas gift! They love it!
Built from Plan(s)
Estimated Cost
400
Estimated Time Investment
Week Long Project (20 Hours or More)
Recommended Skill Level
Intermediate
Comments
Wed, 04/21/2021 - 10:54
Another great build!
Thanks for sharing your projects here, they look great!
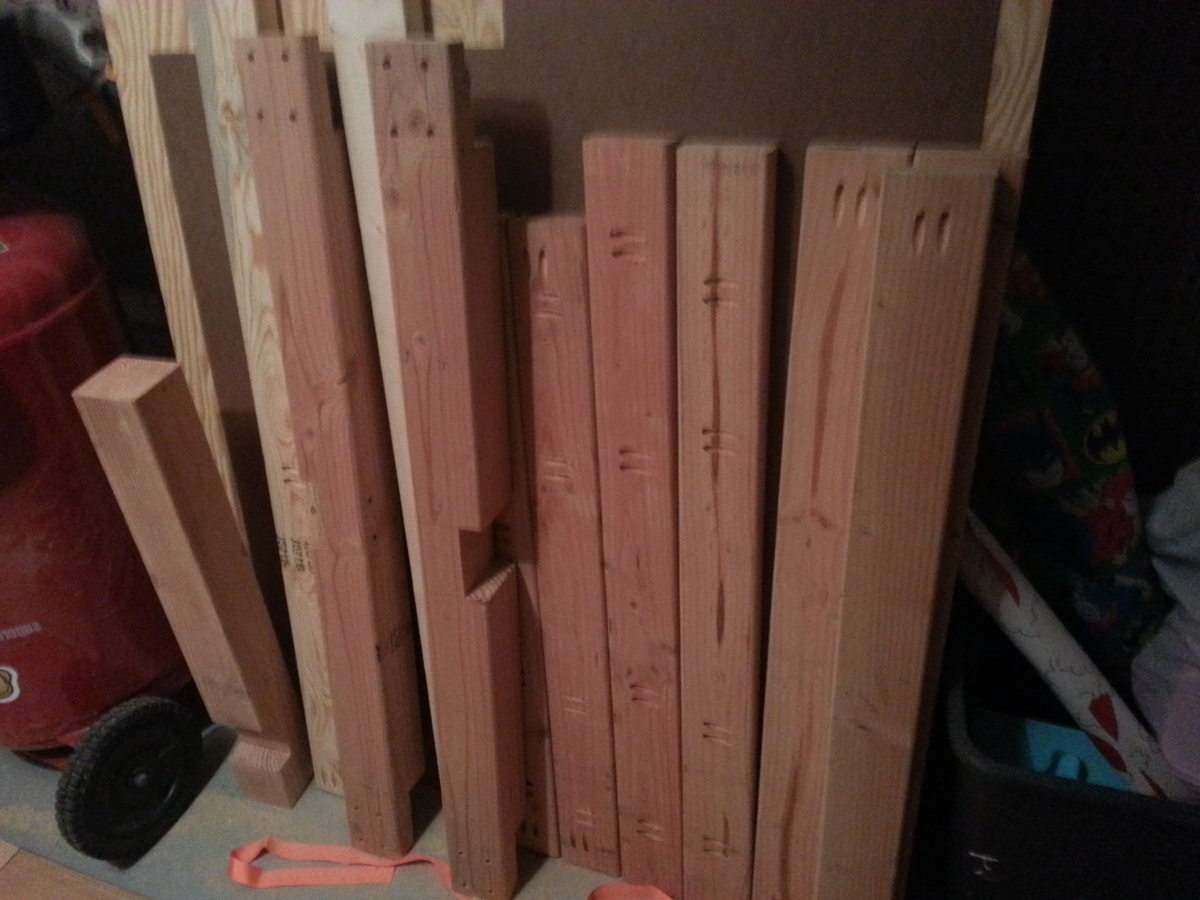
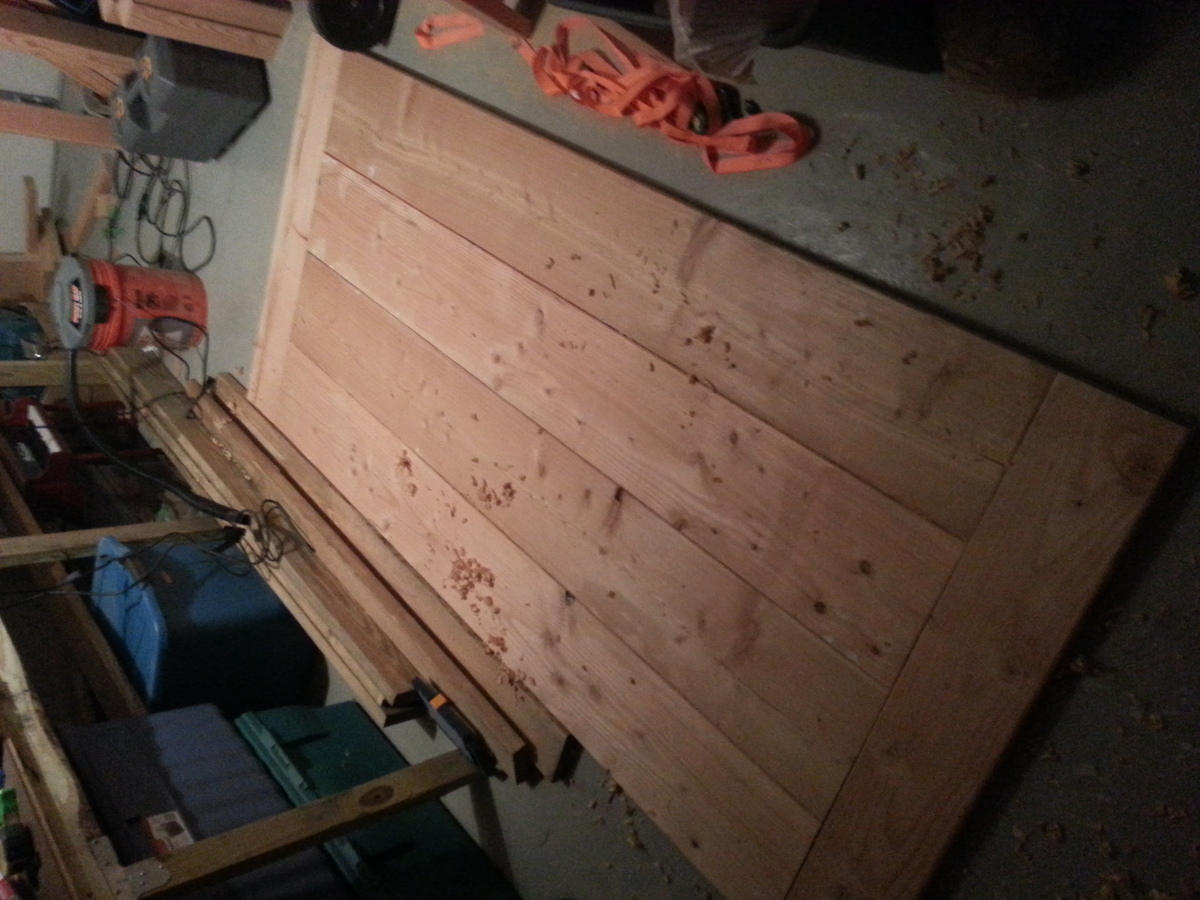
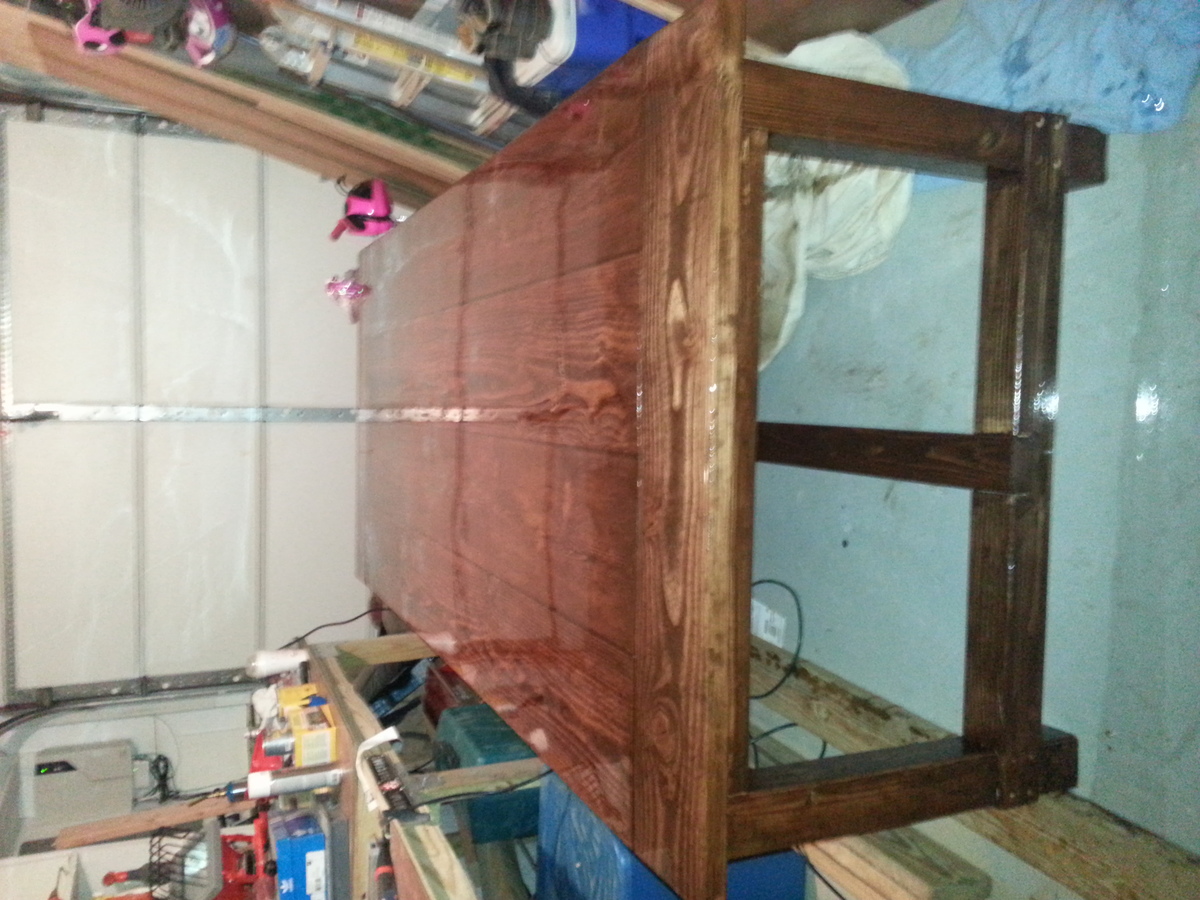
Farmhouse table with epoxy finish
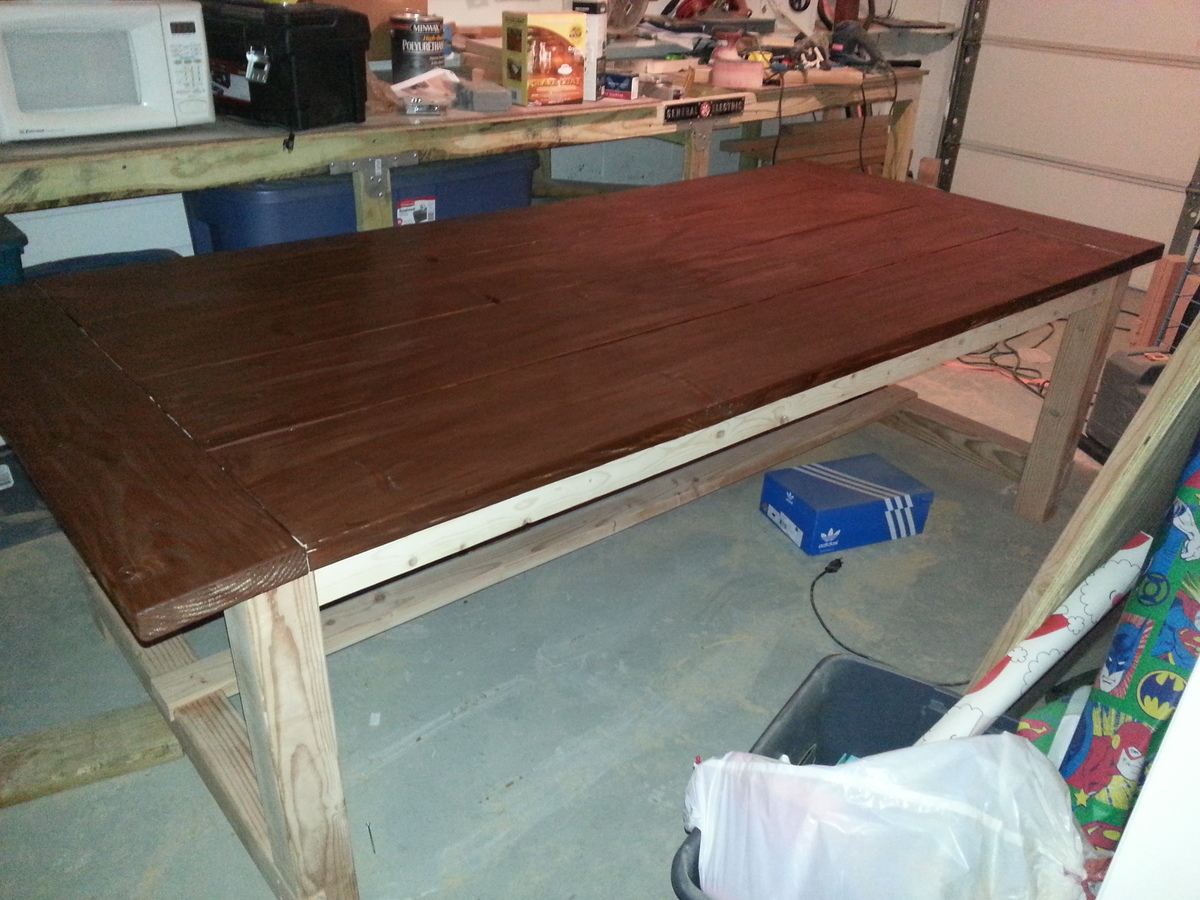
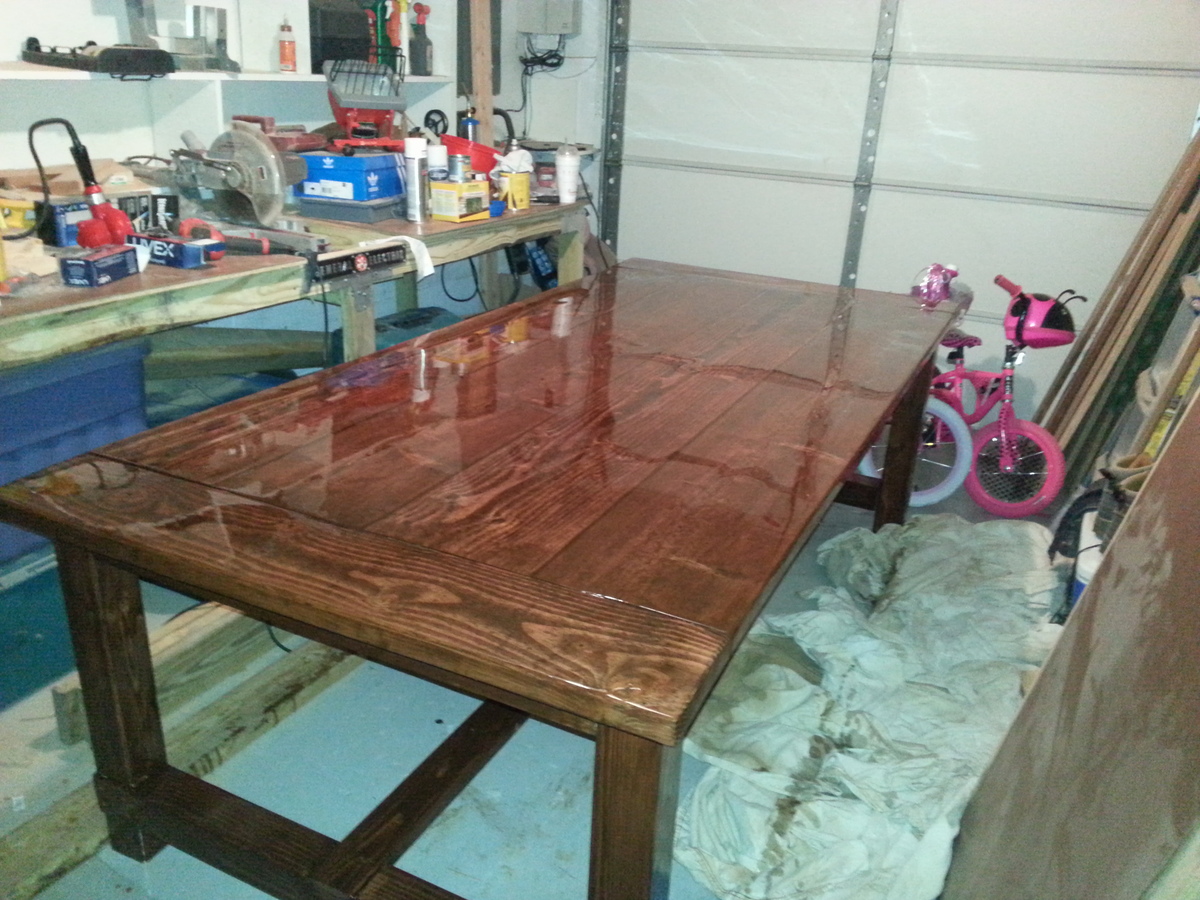
This is my first big woodworking project. That being said, there were a lot of mistakes that were made. In the pictures you can see the beginning stages when I was making the base cuts and assembling the table top. The picture with the dark top and natural legs was the beginning of one mistake. I bought gel stain because it was the color I liked but I had no idea how to use it correctly. Because of this I left the stain on and it was waaayyyyy too dark. I had to sand down the entire top and redo it. After fixing that I correctly stained the base, extensions, and bench. The extensions I made are not in the photos because I forgot to make the cuts to slide them in. I'm supposed to do that this weekend... After staining I polyurethaned the base, bench, and extensions to give them a nice shine. The table top I finished with Liquid Glass two part epoxy. That gave the top a super hard surface that shines and makes the normally soft pine top, rock hard. I figured this way when my daughters do homework on it they wouldn't leave their writing indented in my nice, new table. I hope you guys like it and I plan to do many more projects and post my results here. Thanks for taking the time to check this out.
Estimated Cost
$300-$325
Finish Used
Minwax hickory gel stain, polyurethane, and 2 part epoxy acrylic finish. The gel stain must be applied and then immediately wiped off. The polyurethane may need multiple coats in order to achieve an even finish. The epoxy must be poured on and spread evenly. Remember that if it drops on something and it is allowed to dry that it will usually rip up whatever material it is on our you will have to sand it off. USE DROP CLOTHS.
Recommended Skill Level
Starter Project
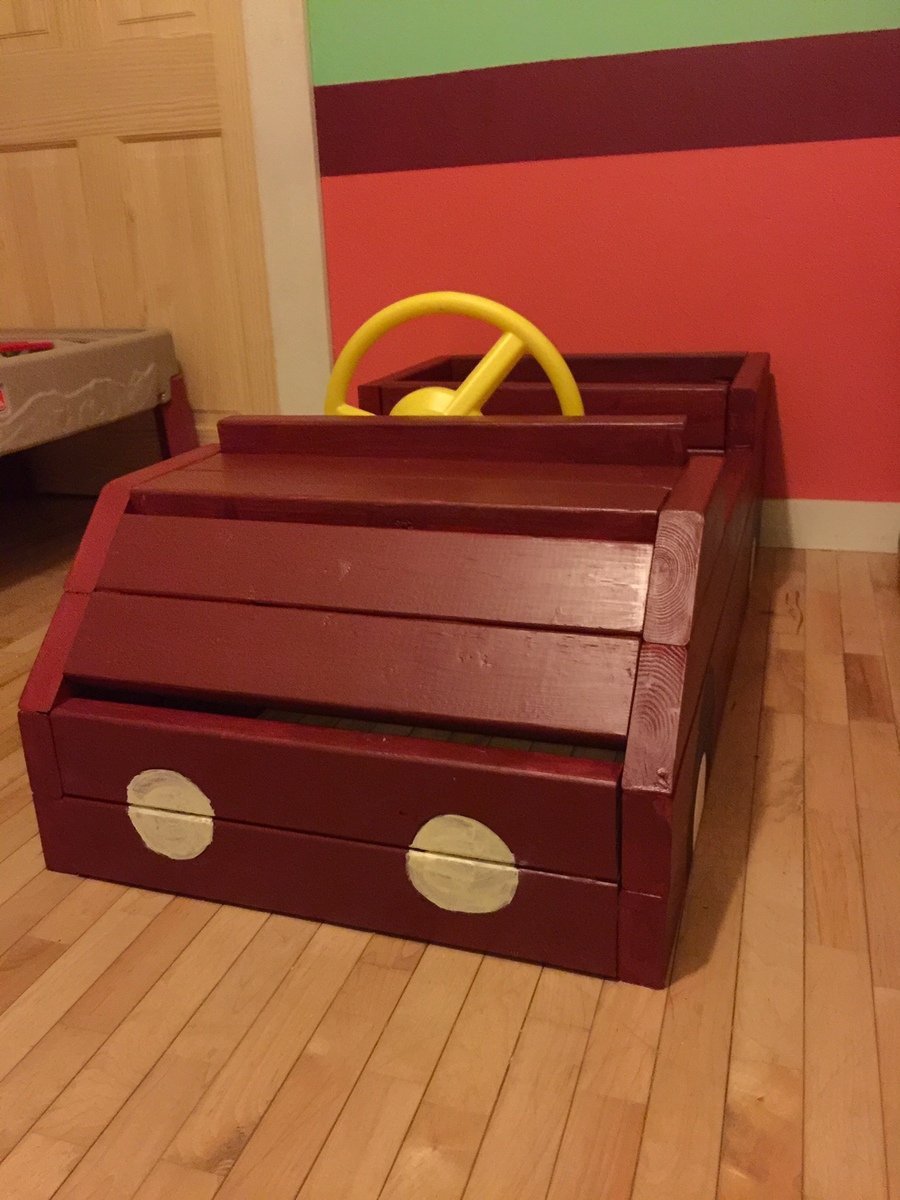
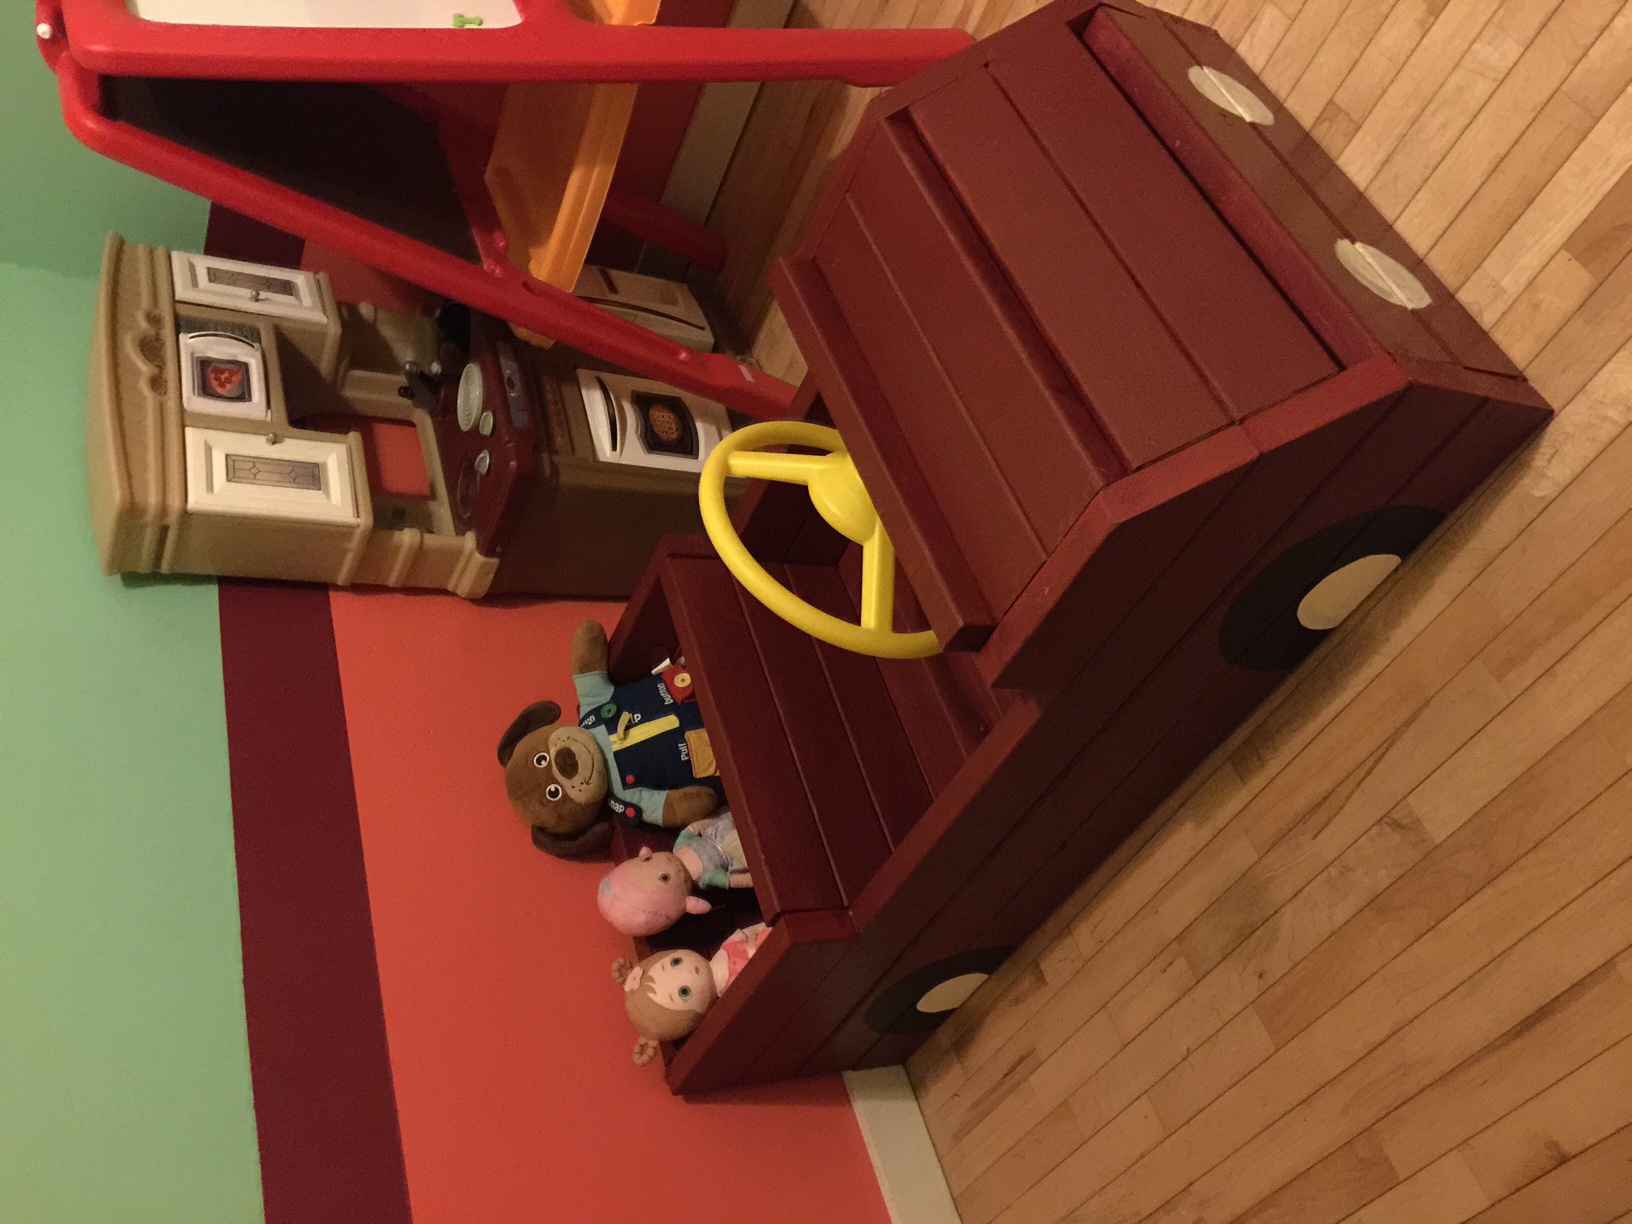
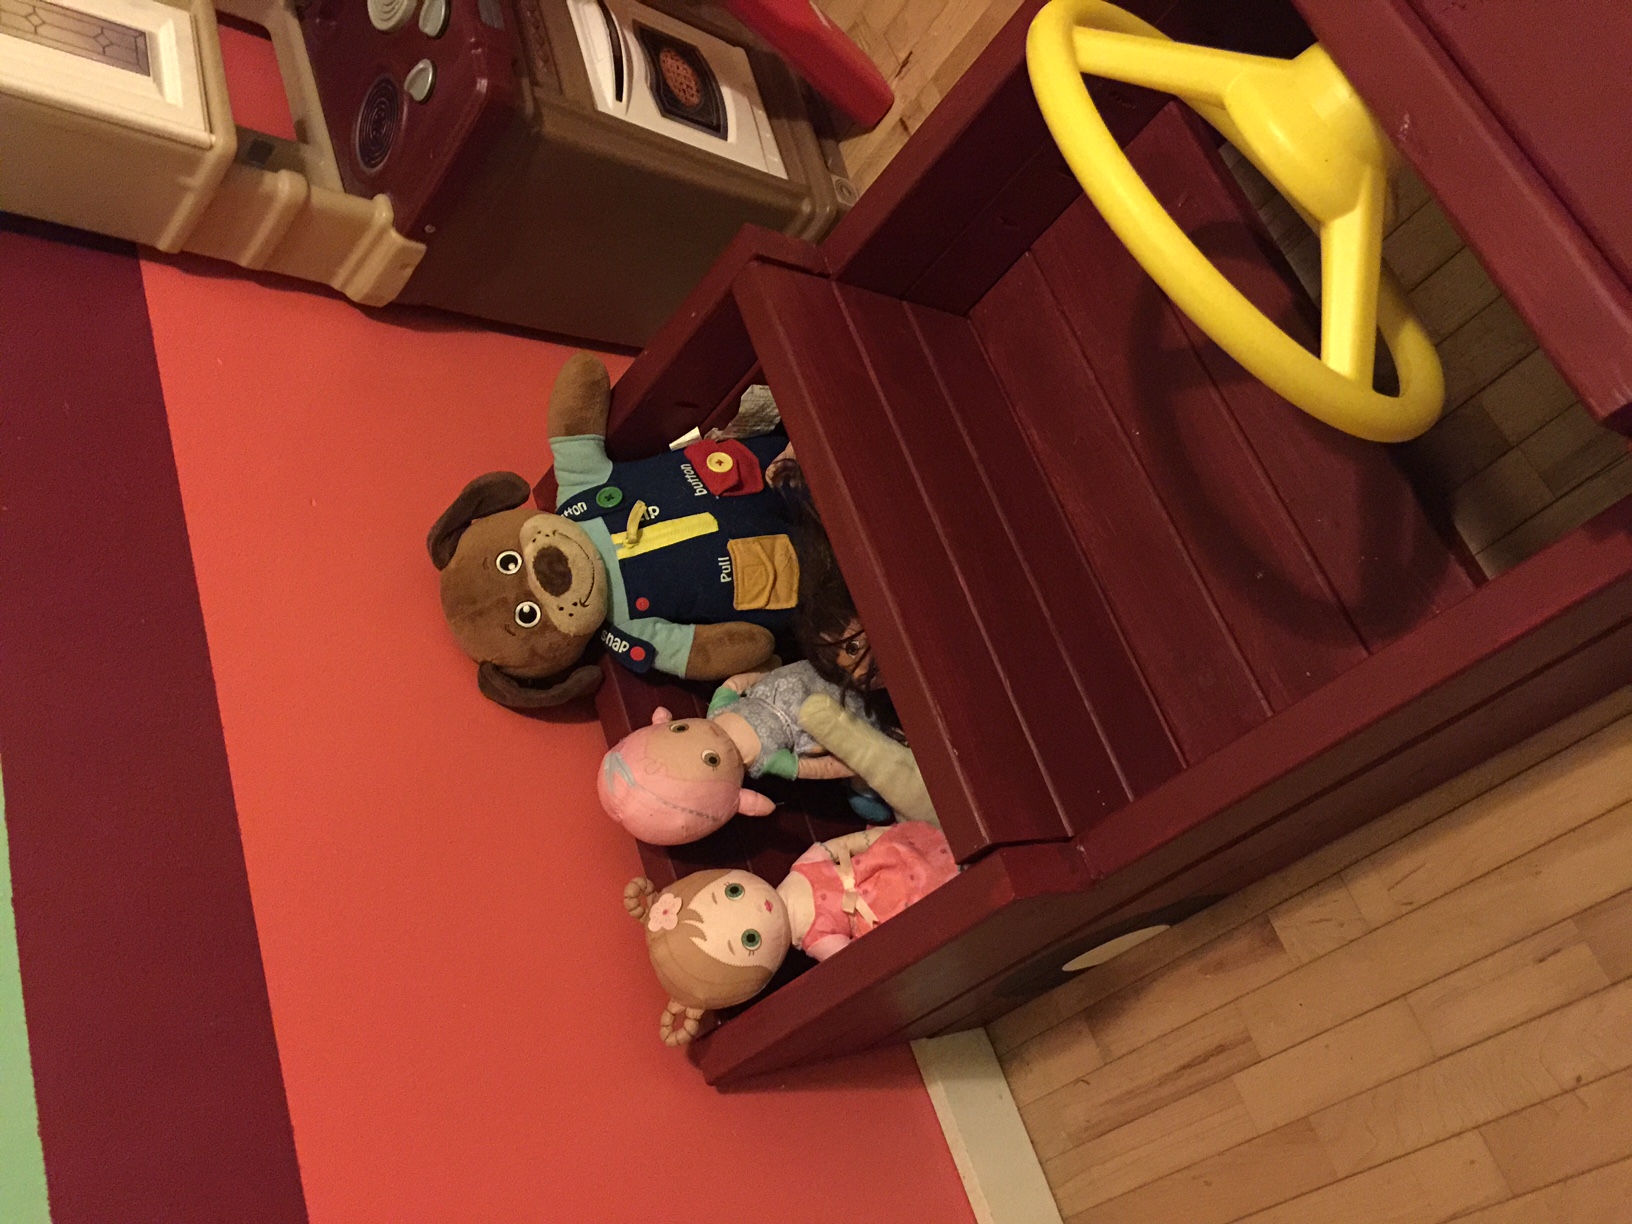
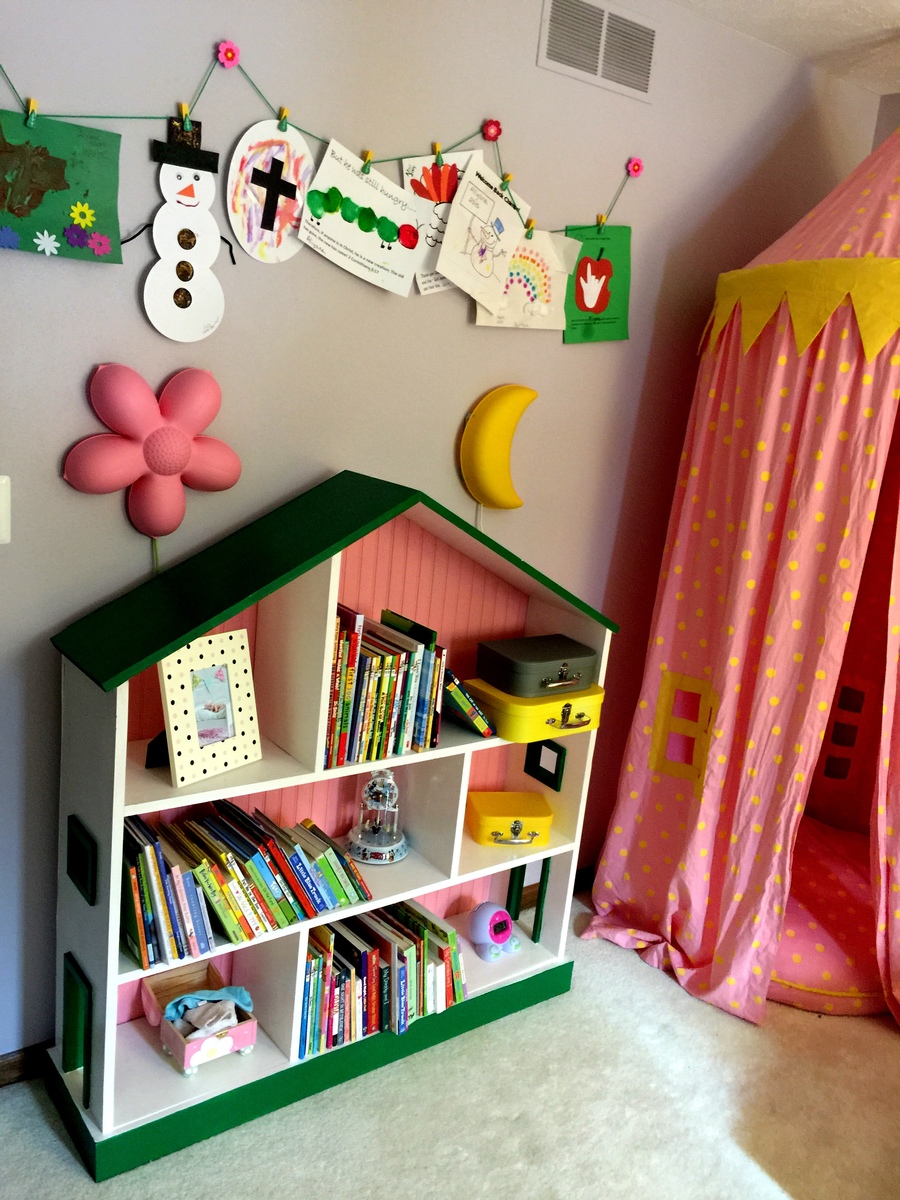
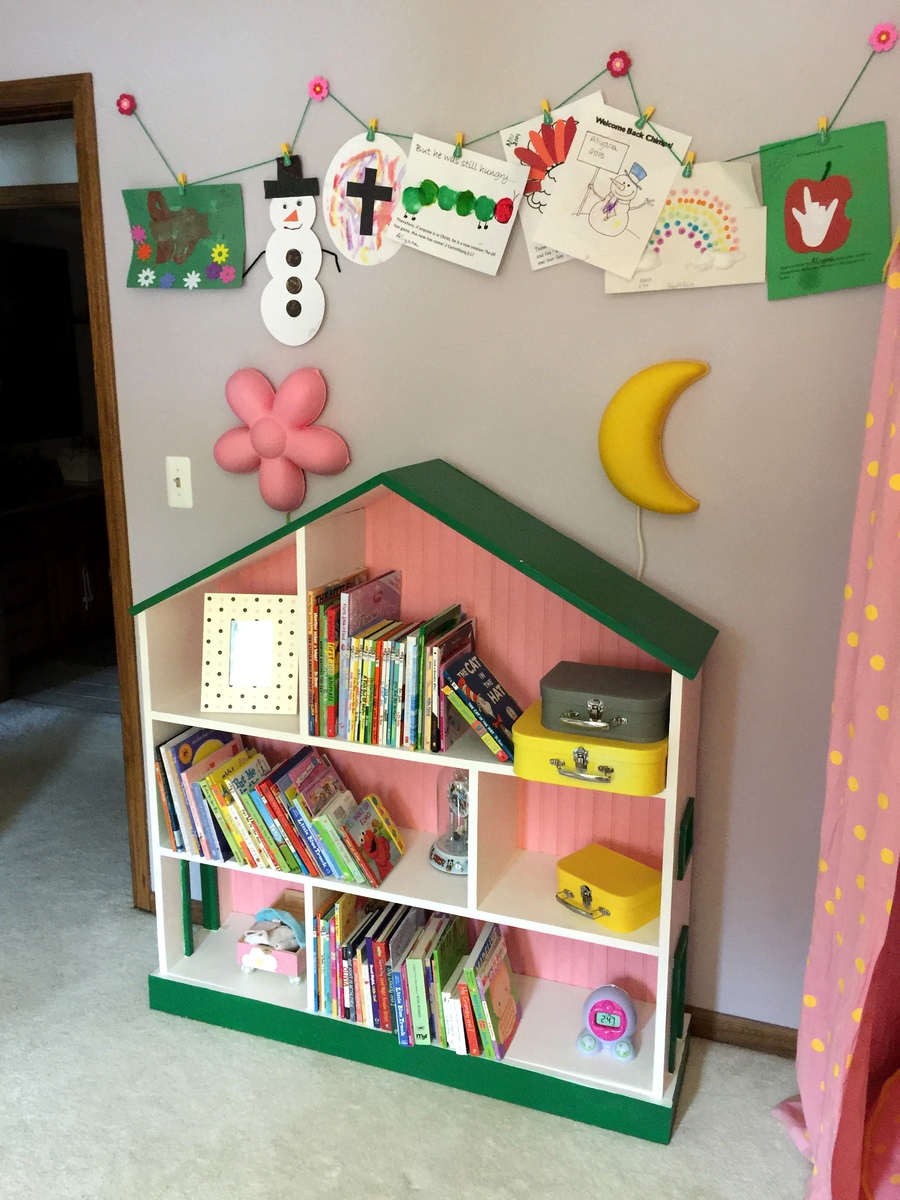
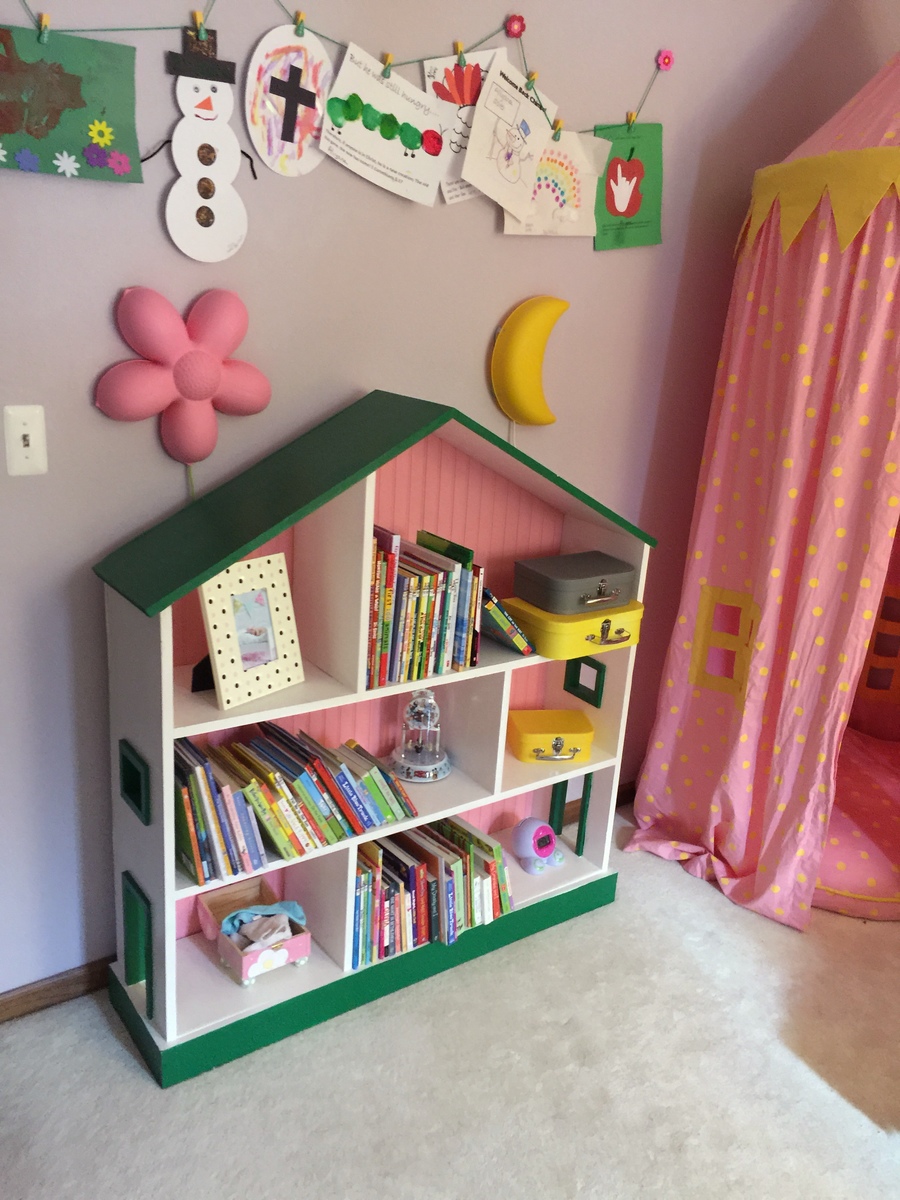
Dollhouse Bookcase
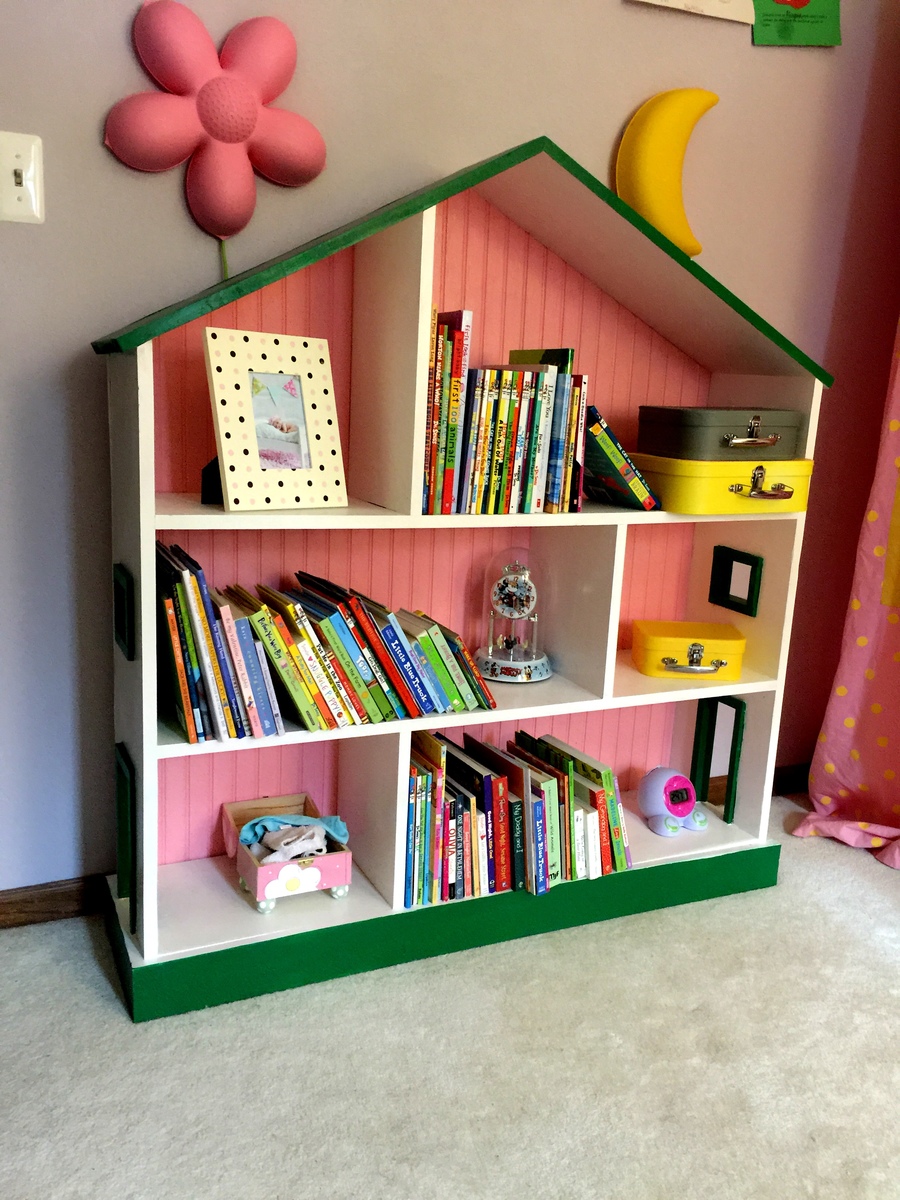
With another baby on the way in a few months, we decided to move our 2+ year old daughter across the hall into her first big girl room. I built big sister the Kendal Extra Wide Dresser, Traditional Wood Toddler Bed, Letter A Shelf and a Dollhouse Bookcase and matched the colors with her new comforter, lamps and princess canopy tent from the Land of Nod outlet.
This project was actually an afterthought. I built the other three projects, painted the room, installed all the accessories, and then we discovered that there was nowhere to put her books. Because I had been spending so much time building, after reading the plans, I really expected this bookshelf project to go smoothly with my Kreg Jig. However, different aspects of this project took some extra time. For instance, joining the A-frame of the roof took some trial and error with pocket holes, nails, screws and a lot of wood filler. Also, for the side windows and doors, cutting straight lines with the jigsaw, cutting, building and joining the 1 x 2 trim pieces, joining the trim pieces to the bookshelf, and then painting the trim took a lot of time and trial and error (again, thank goodness for wood filler). Notwithstanding, at the end of the day, the shelf is great, our daughter loves it, and it really completes the room.
Built from Plan(s)
Estimated Cost
$60
Estimated Time Investment
Weekend Project (10-20 Hours)
Finish Used
Behr Pine Grove, White Fur and Pink Bellerina paints with Minwax Polycrylic
Recommended Skill Level
Intermediate
Comments
Tue, 02/24/2015 - 12:58
Thank you Ana!
Thank you Ana! Your website has helped fill up our new home and inspired a really fun hobby over the past few years. When I get a chance, I will bragpost some of my more recent creations.
Herb Garden Raised Bed
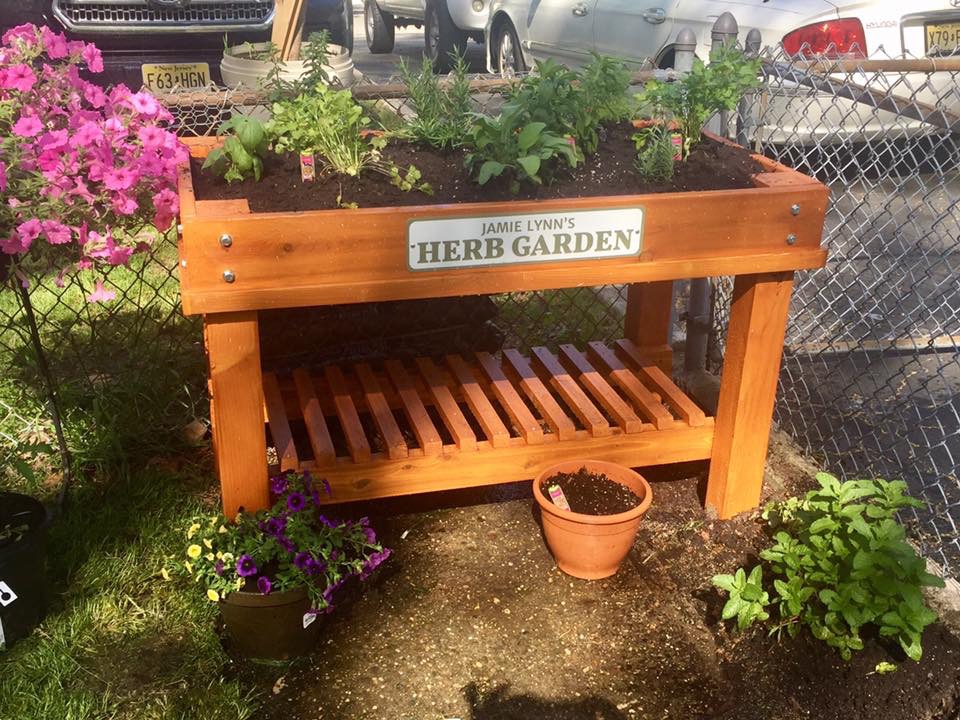
Easy weekend project.
Built from Plan(s)
Estimated Cost
$75
Estimated Time Investment
Weekend Project (10-20 Hours)
Finish Used
Cedar deck seal
Recommended Skill Level
Intermediate