Patio furniture
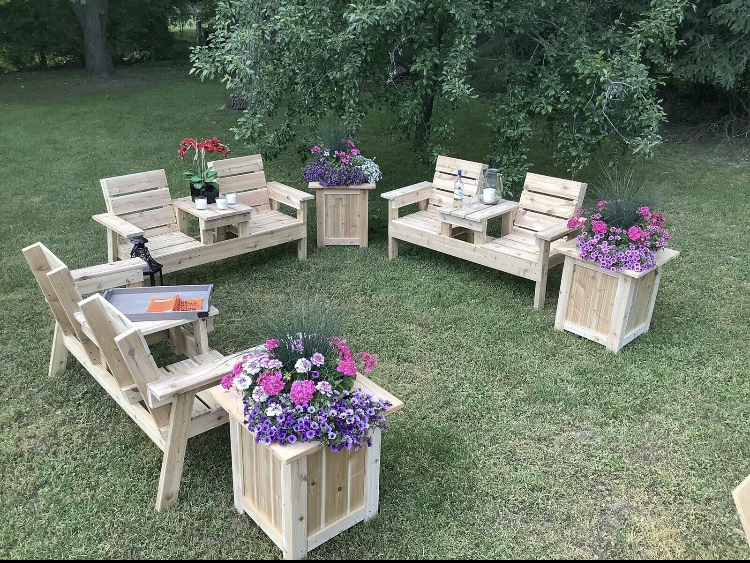
Custom cedar patio furniture
Built from Plan(s)
Custom cedar patio furniture
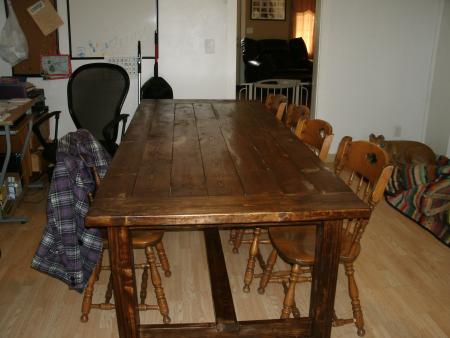
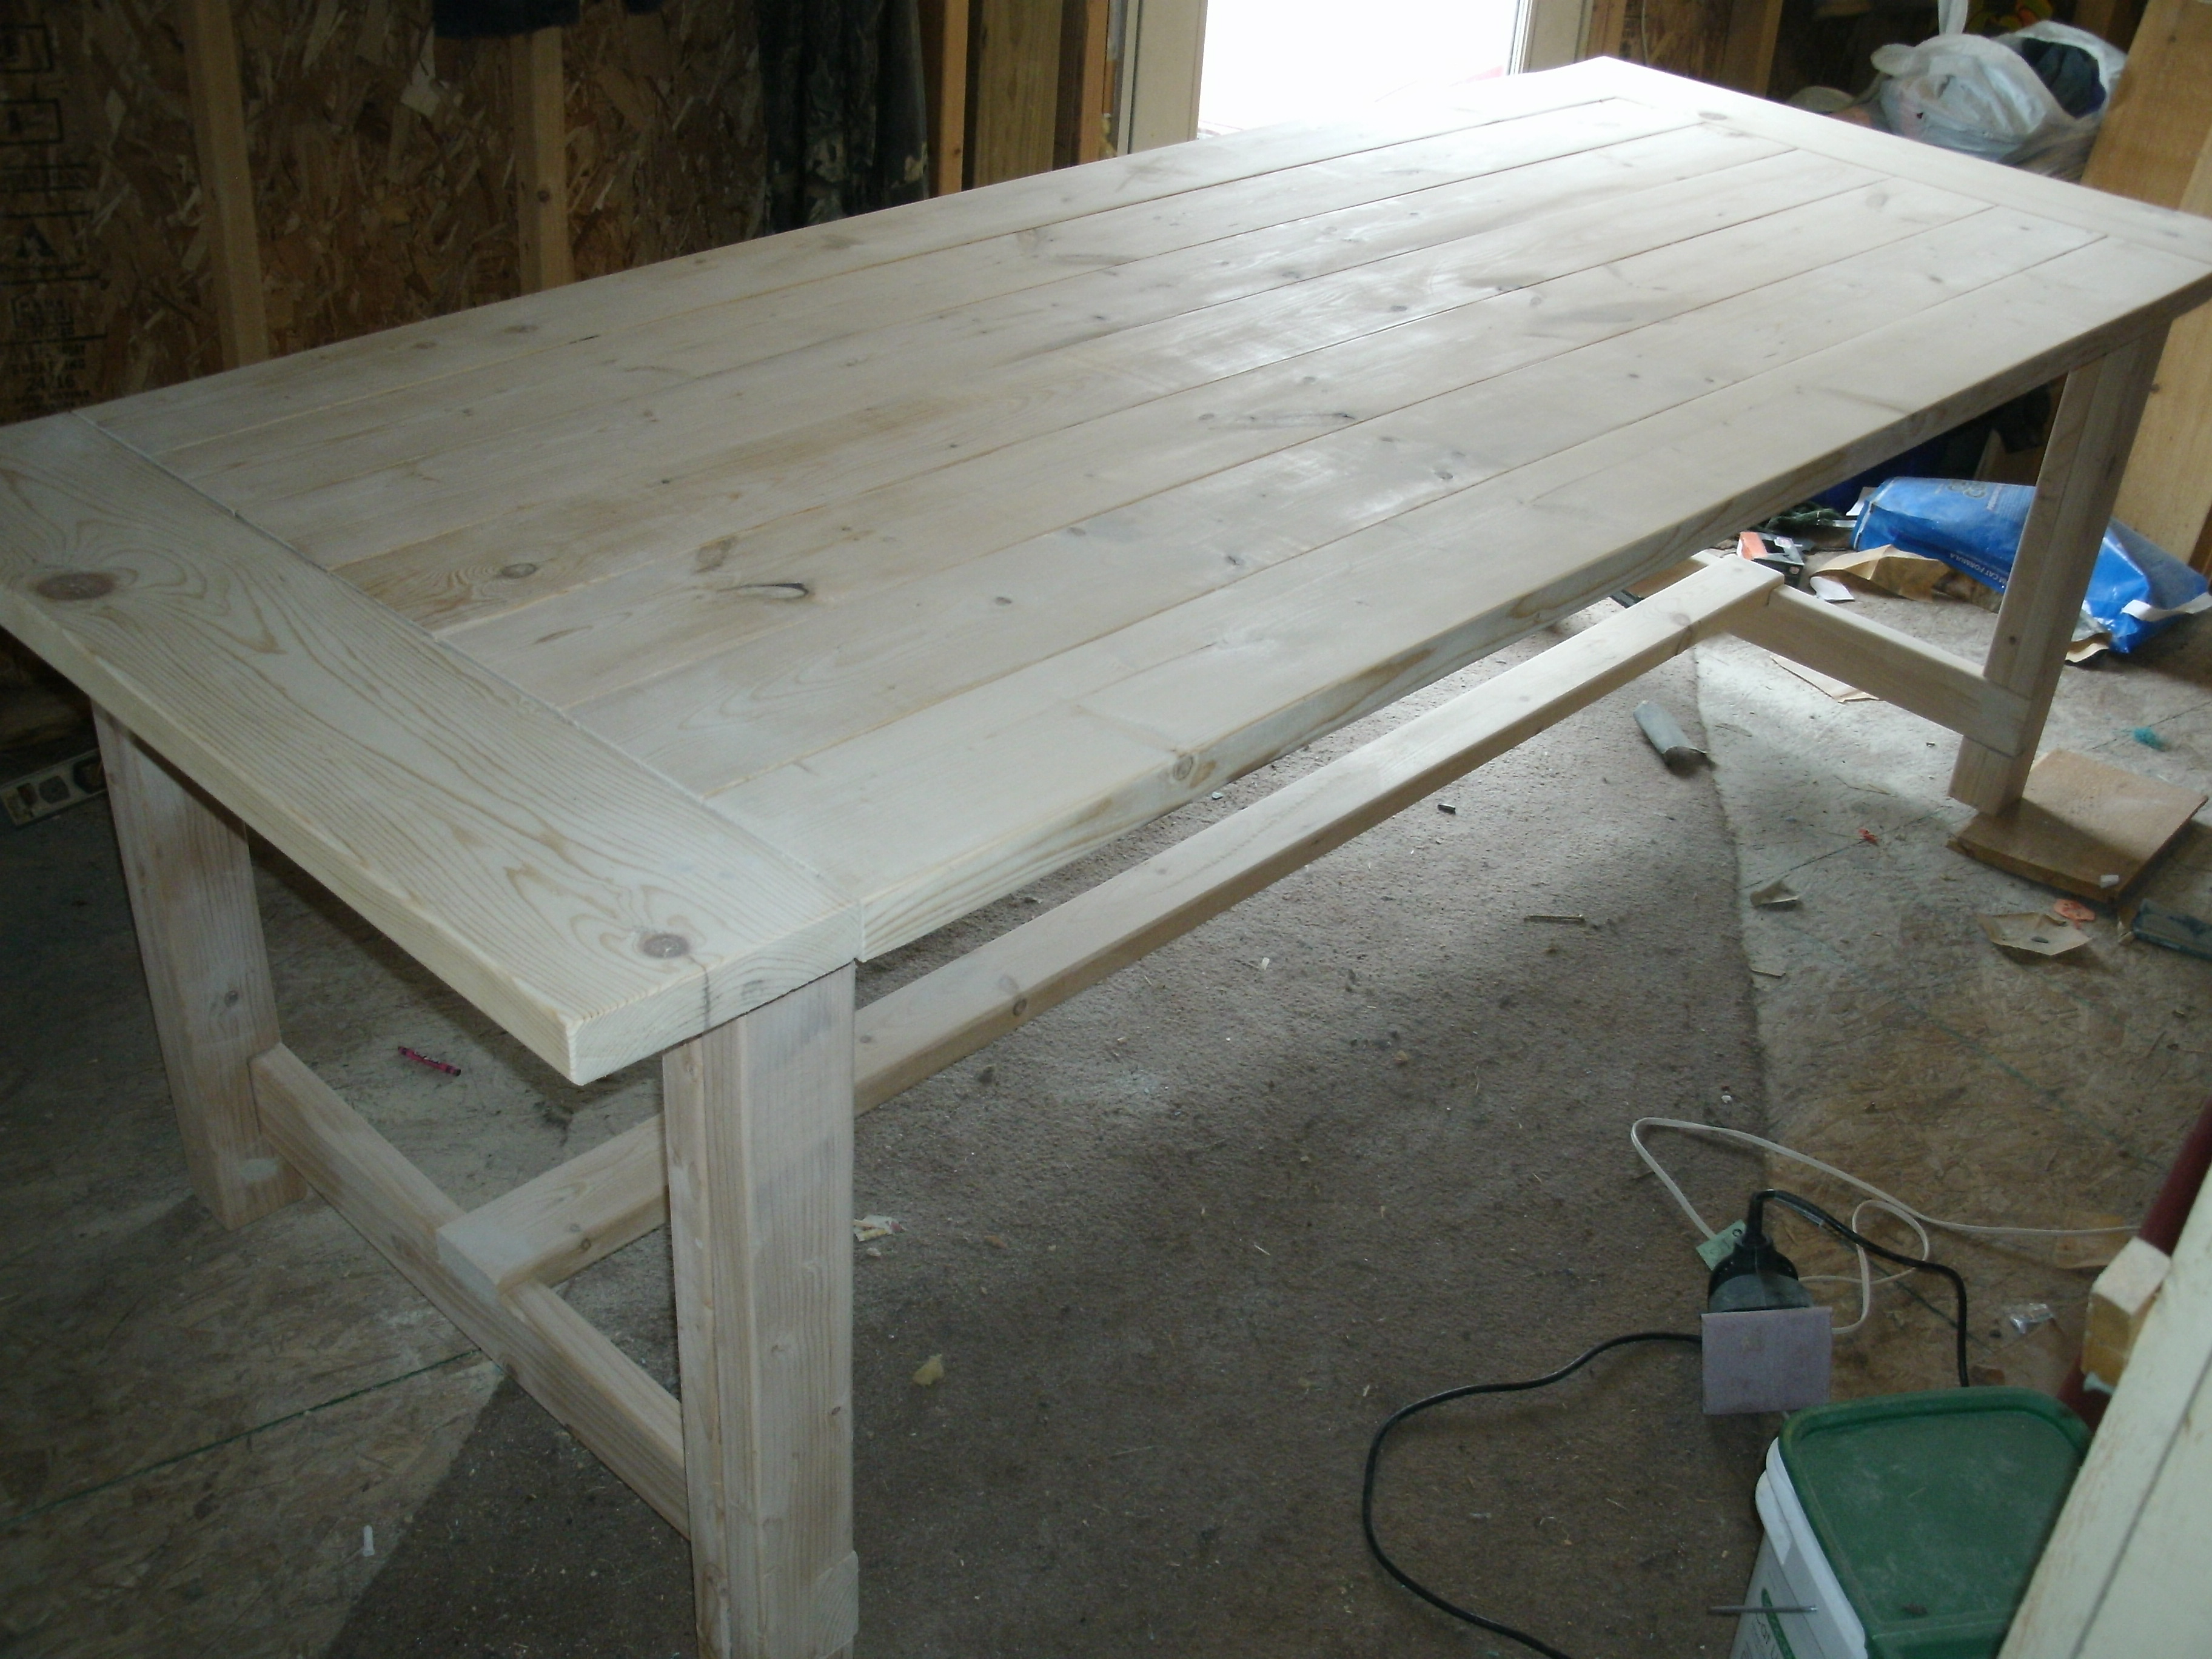
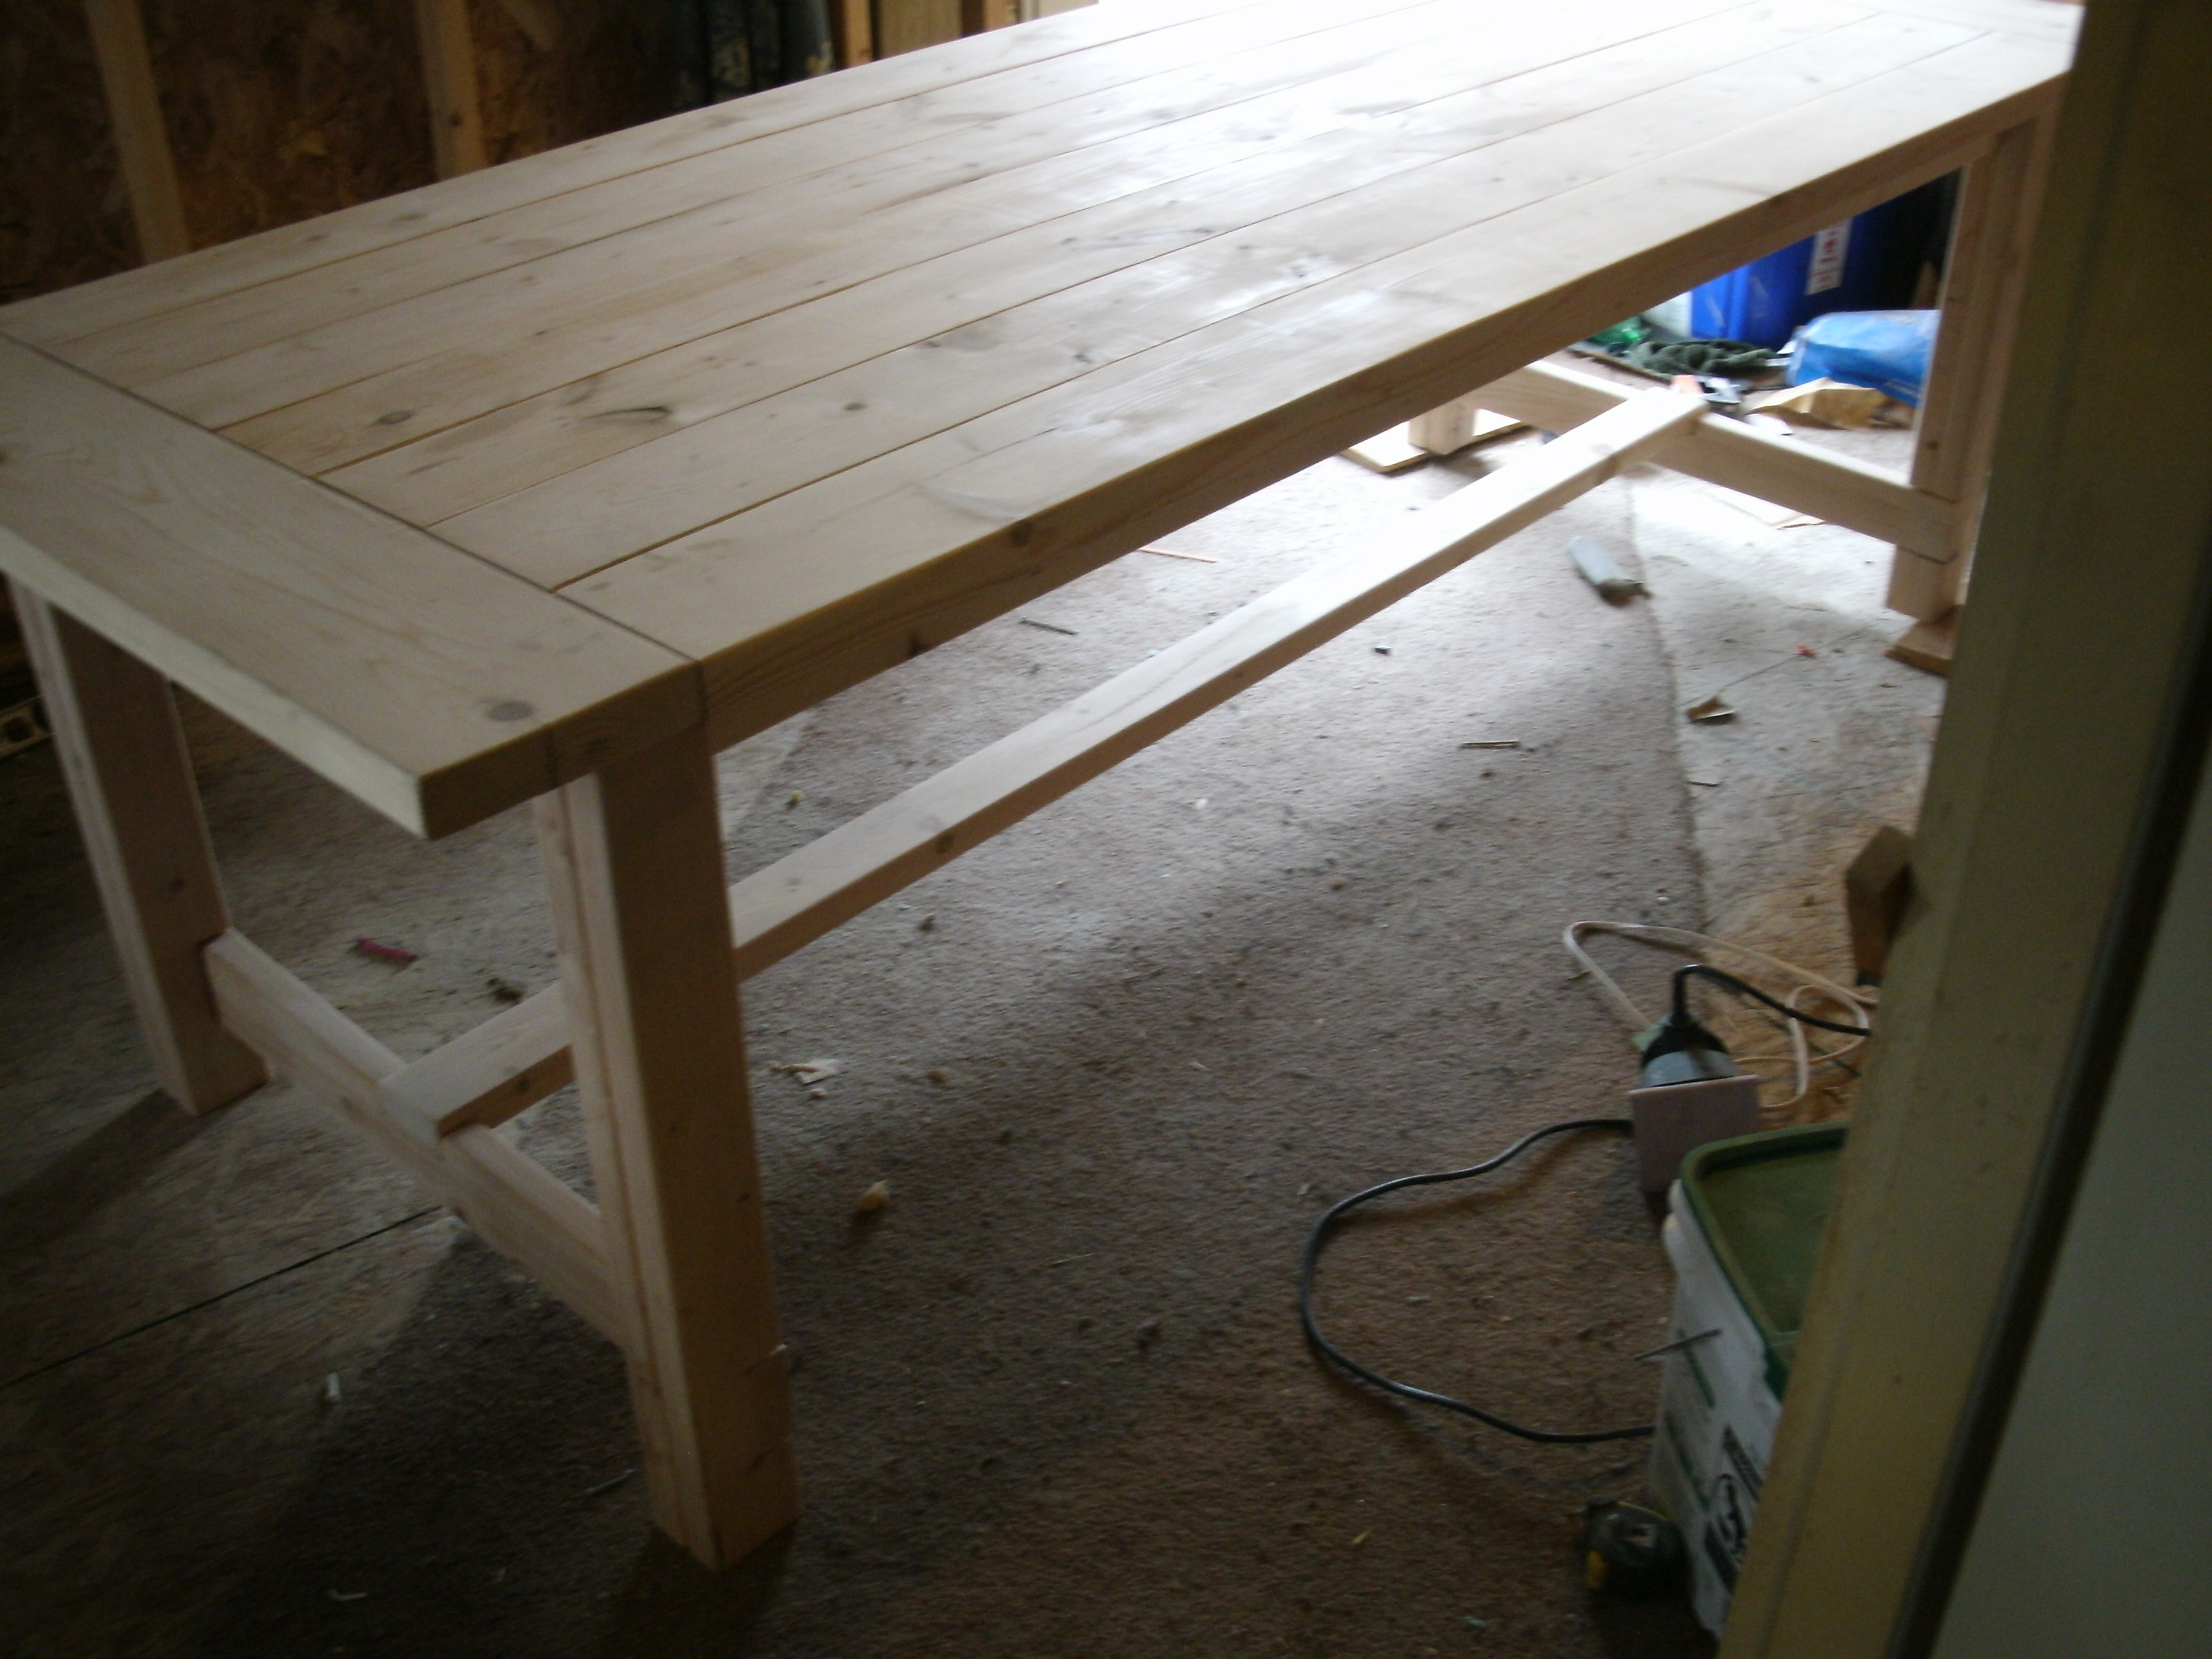
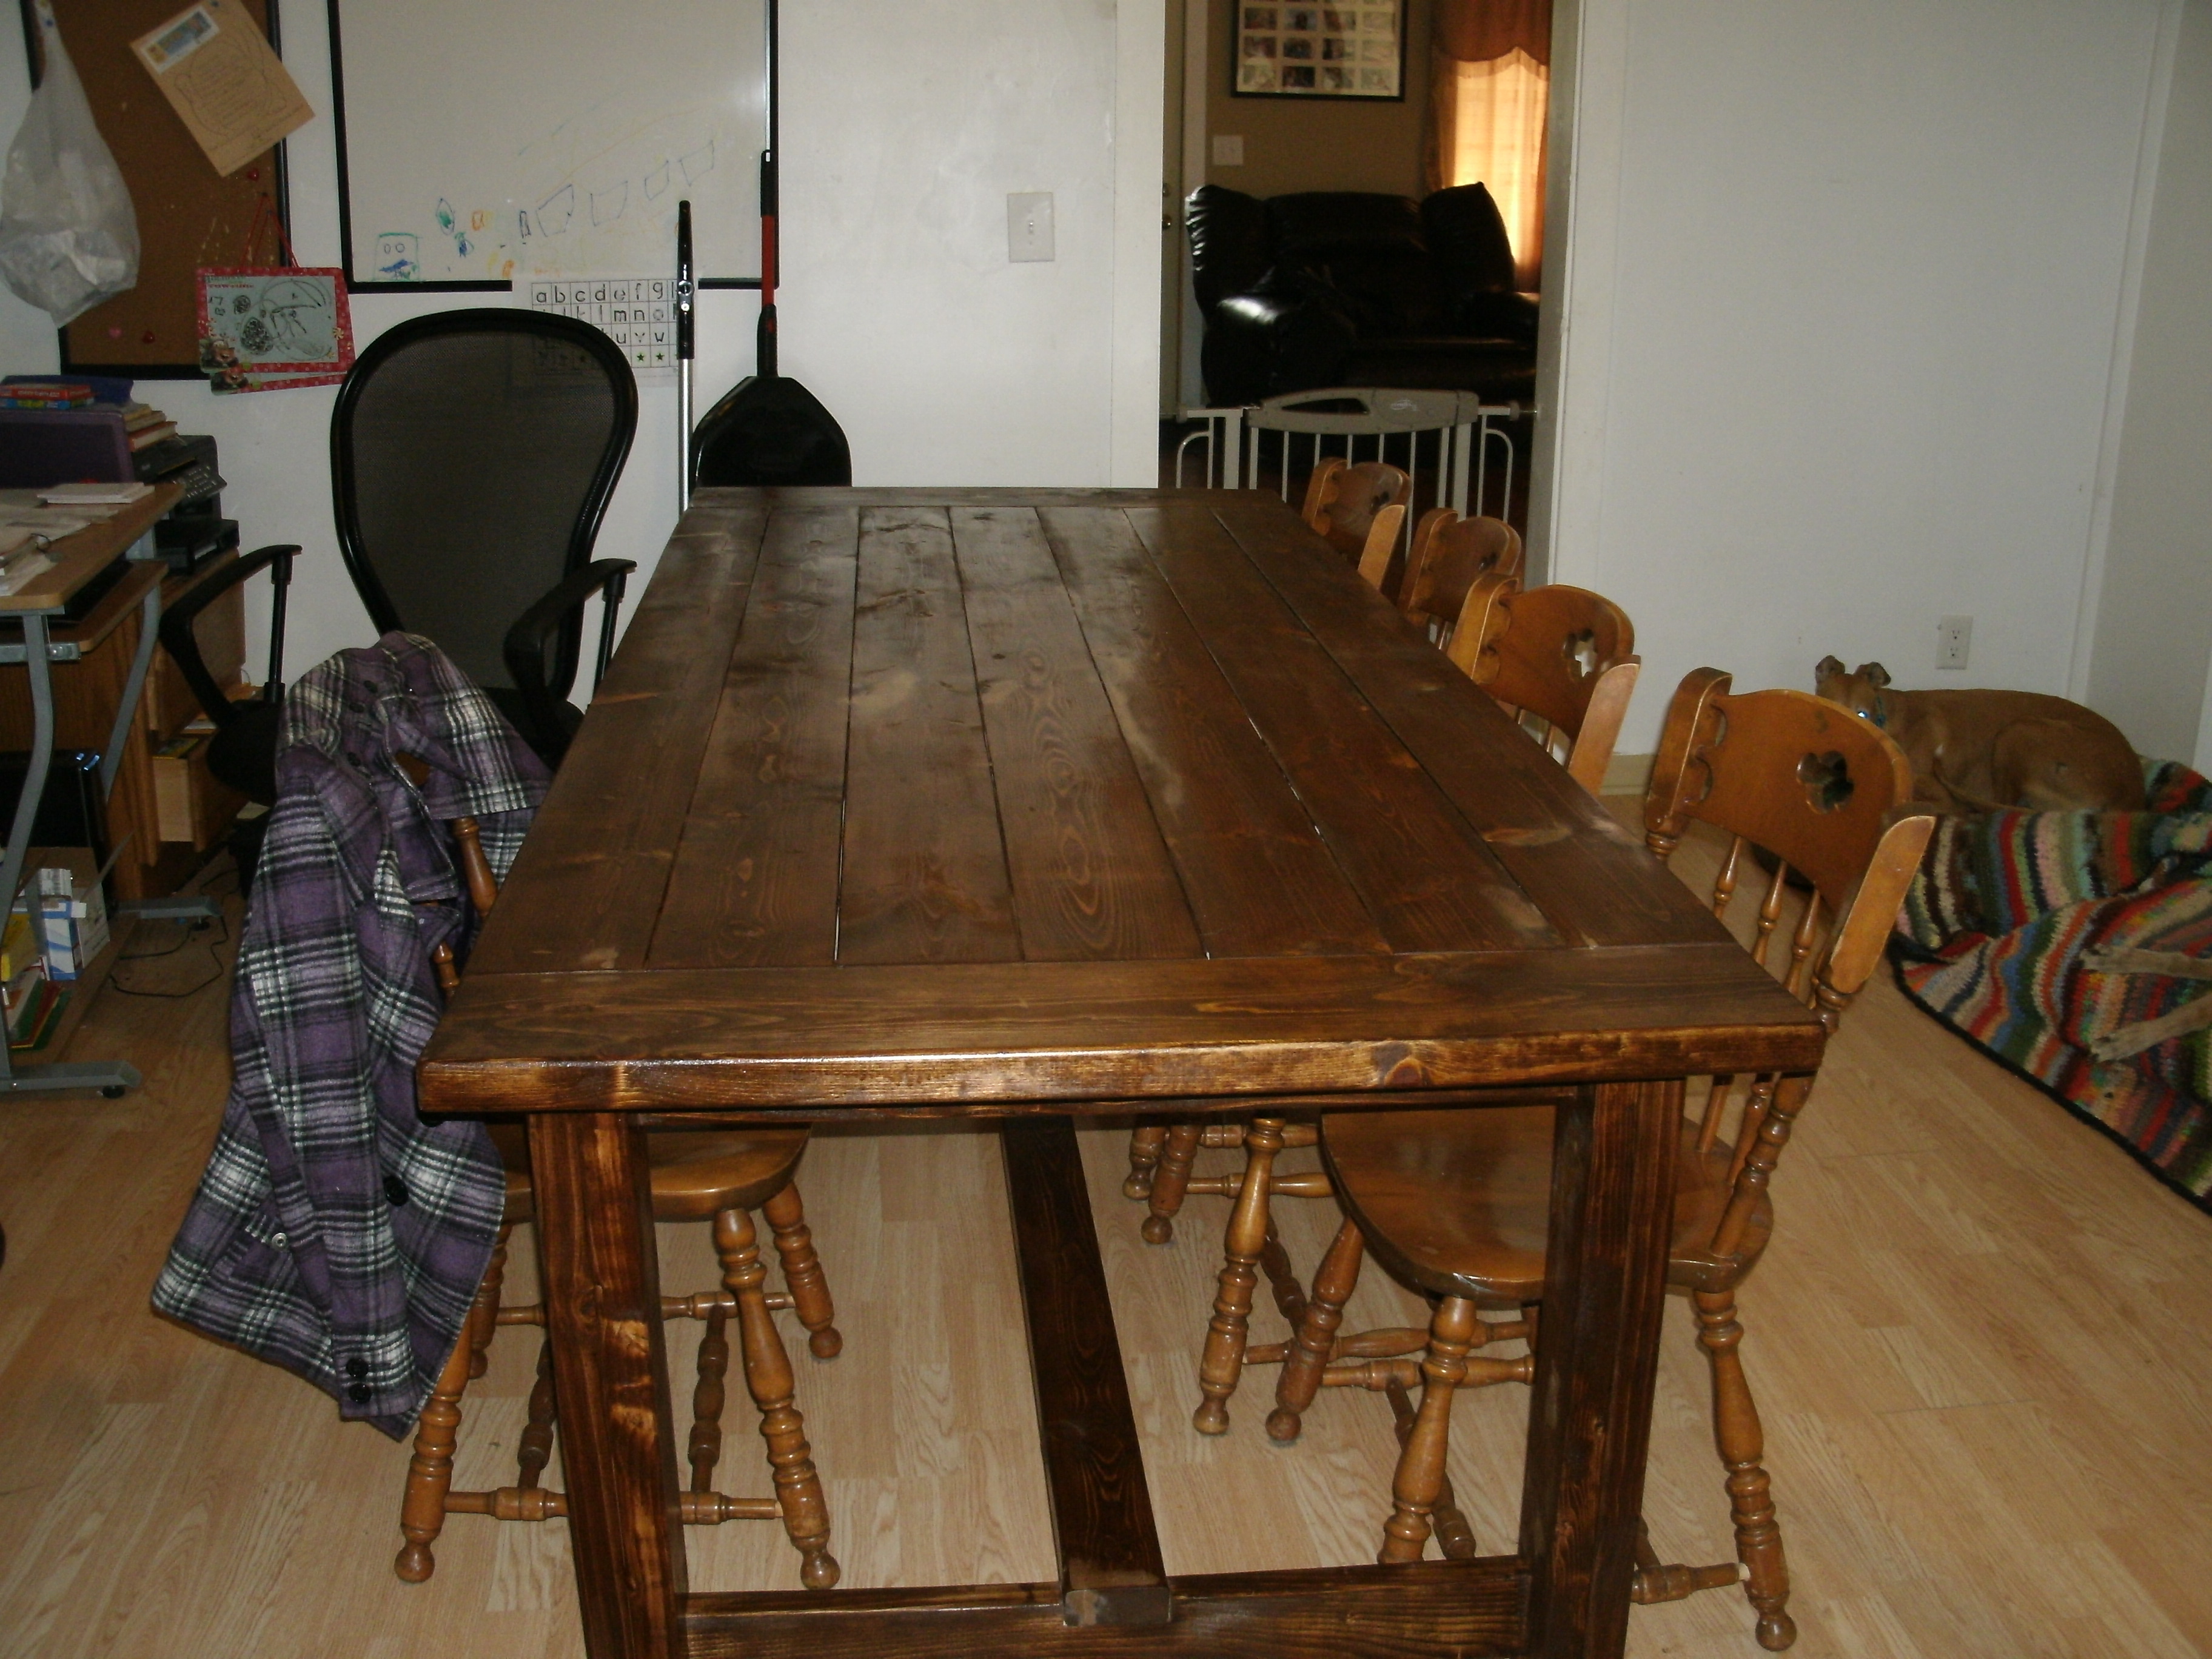
My husband and I created this using farmhouse table plans and we're very excited. It took us longer to get done than most because we all ended up sick. :o) Total cost was under $100 and it is awesome!! Thank you so much for the plans!!
Sun, 12/11/2011 - 09:29
We are currently making a bench and a version of the stackable chairs for our 8 foot table. WE are so excited. I have work to do but only want to help build now. :o)

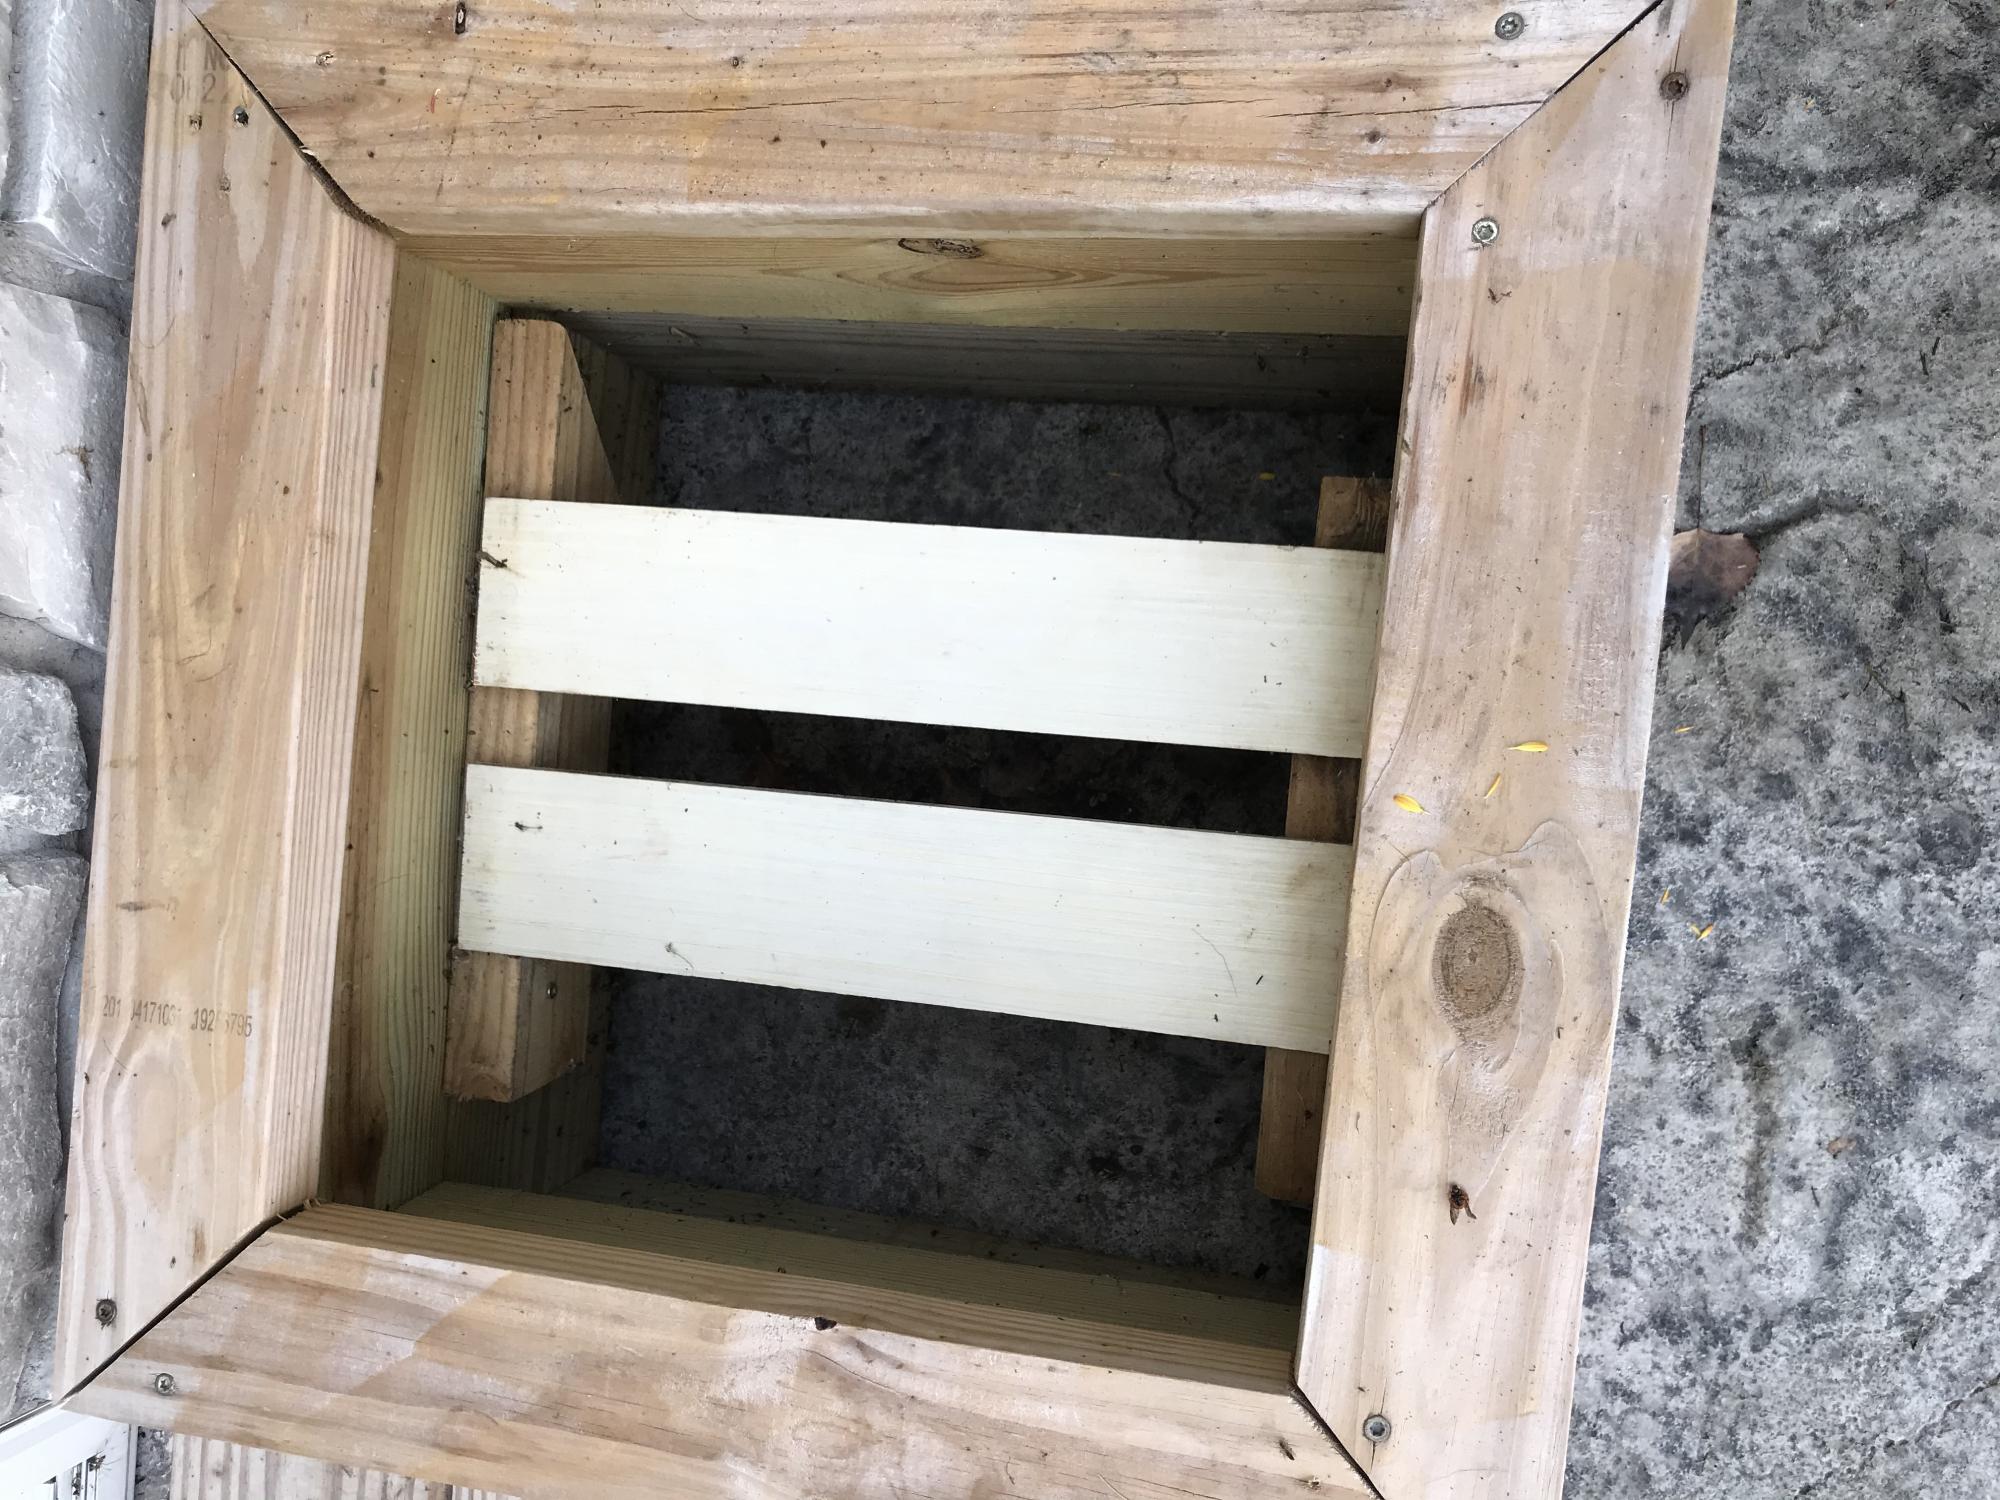
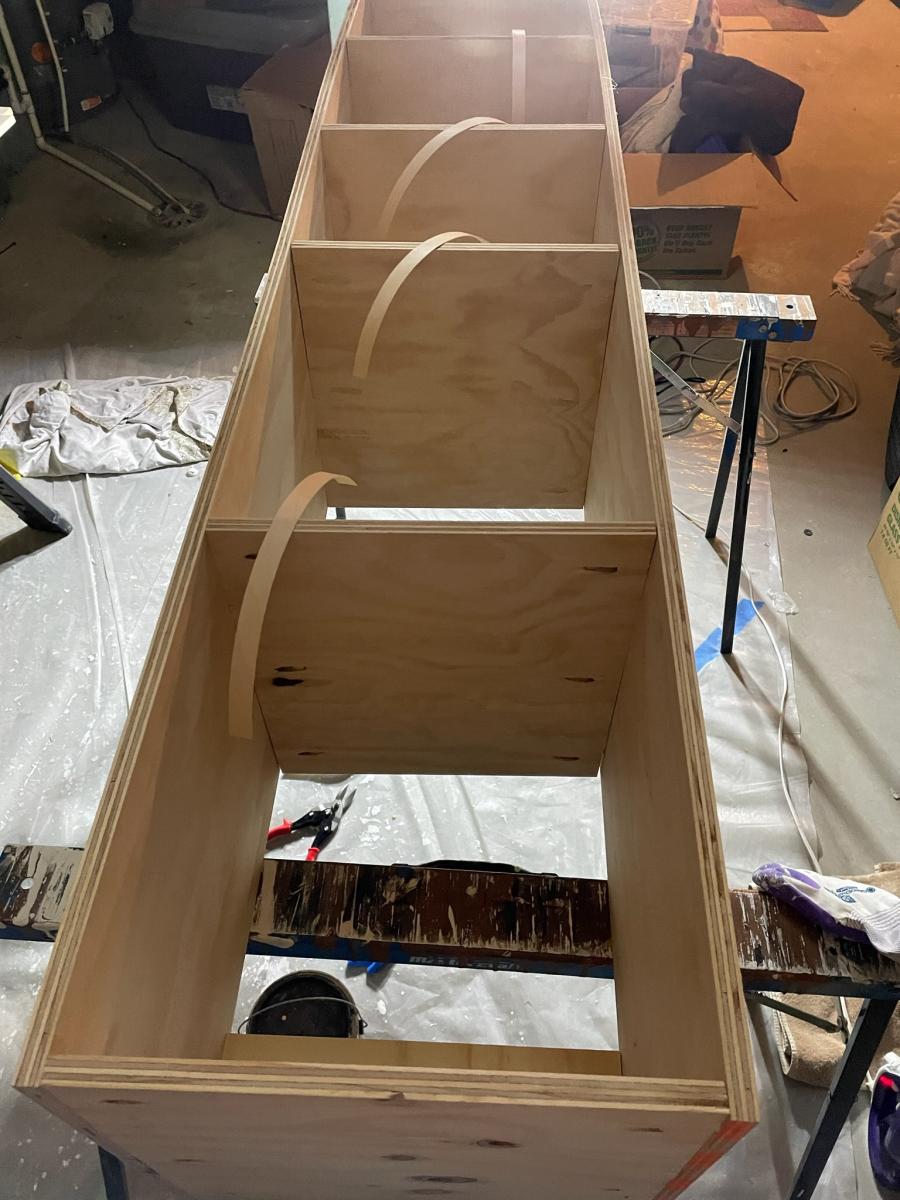
Thank you for the fantastic tutorial to build this laundry pedestal. I was able to have the the pieces cut at my local Lowes store. After making the pedestal I would make a few adjustments to make it more sturdy. I would attach the four posts to the inside corners and cut the bottom platform corners to fit around the posts instead of attaching them to the platform with brackets. I made my posts a little taller too because my laundry baskets were taller. I love my new addition to my laundry room! The link to Saushas Laundry Pedestal that I followed is here, http://ana-white.com/printpdf/2011/01/sausha’s-washerdryer-pedestals.

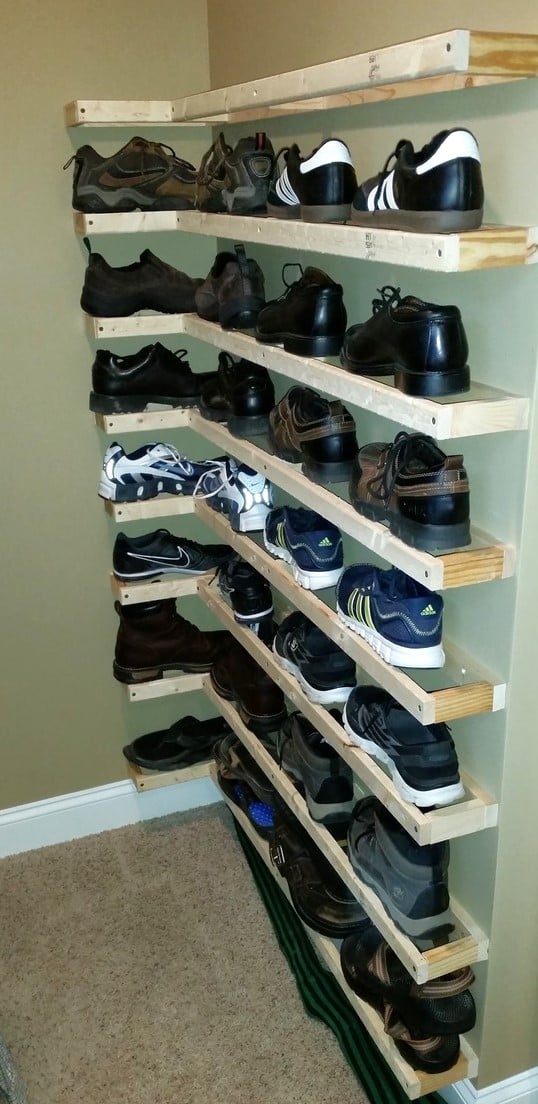
I needed a way to get my shoes off of the floor, but wanted to store my shoes in a way that was easy to see and easier to retrive. As you can see I have VERY limited space. I found Ana's plans for floating shelves and ran with it, adapting it to fit my need. After this picture was taken, I have added a piece of lauan to each shelf to complete project. Hopefully someone can take this idea and adapt it to your needs as well!
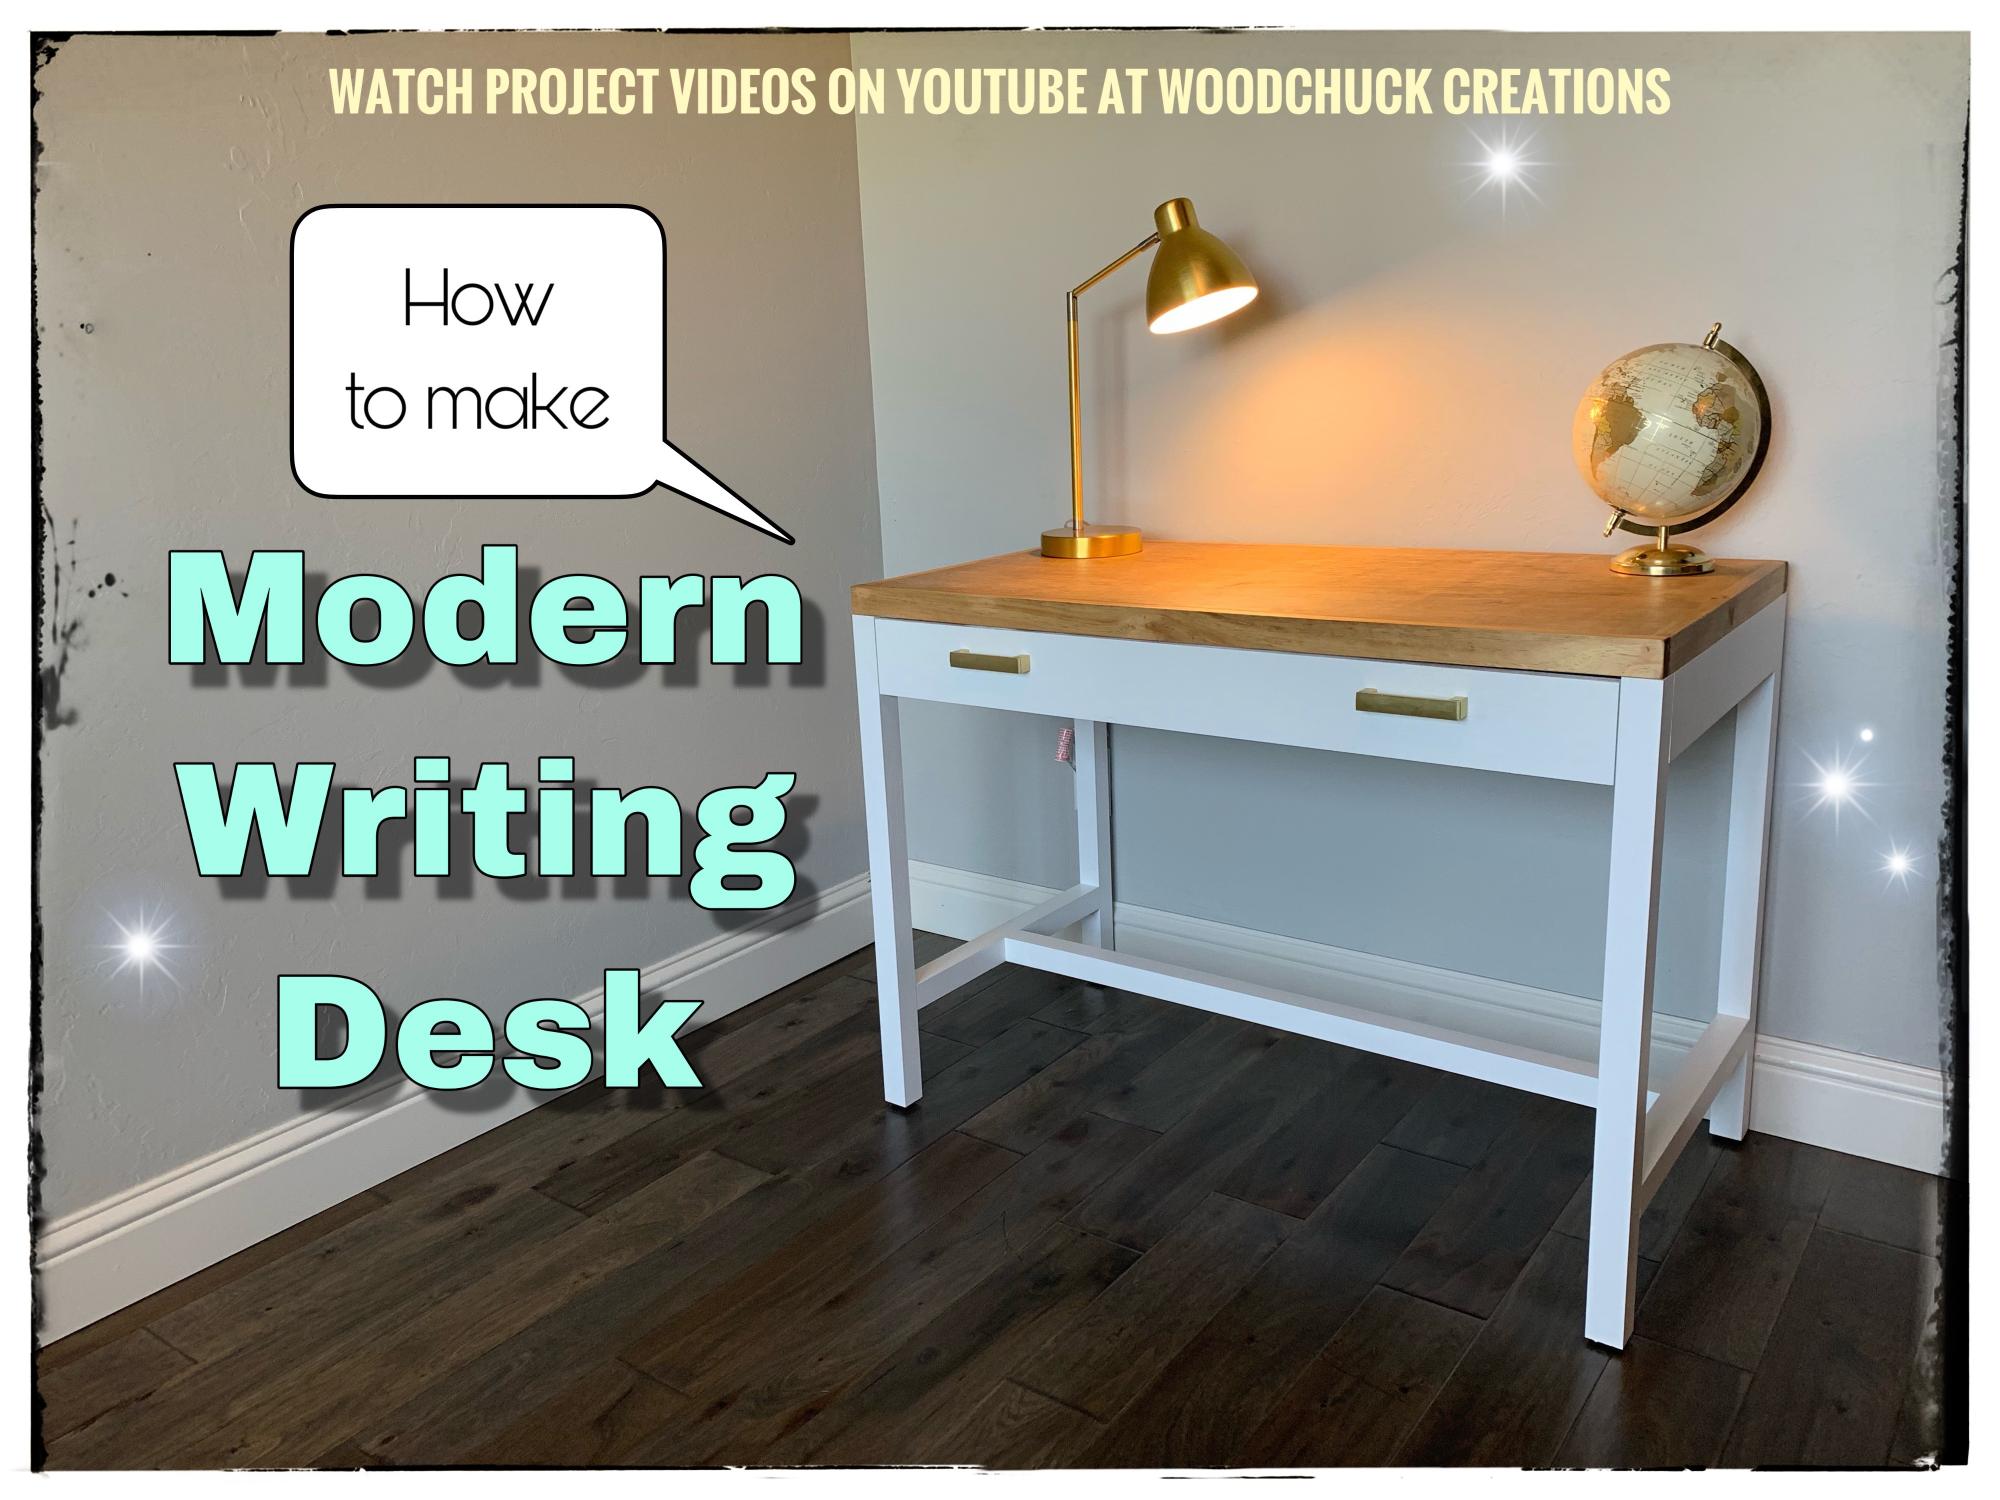
Love making this simple writing desk for my daughter!

Thu, 06/20/2019 - 14:37
Turned out amazing! Love the wood top. Thank you for linking over too, it's much appreciated!
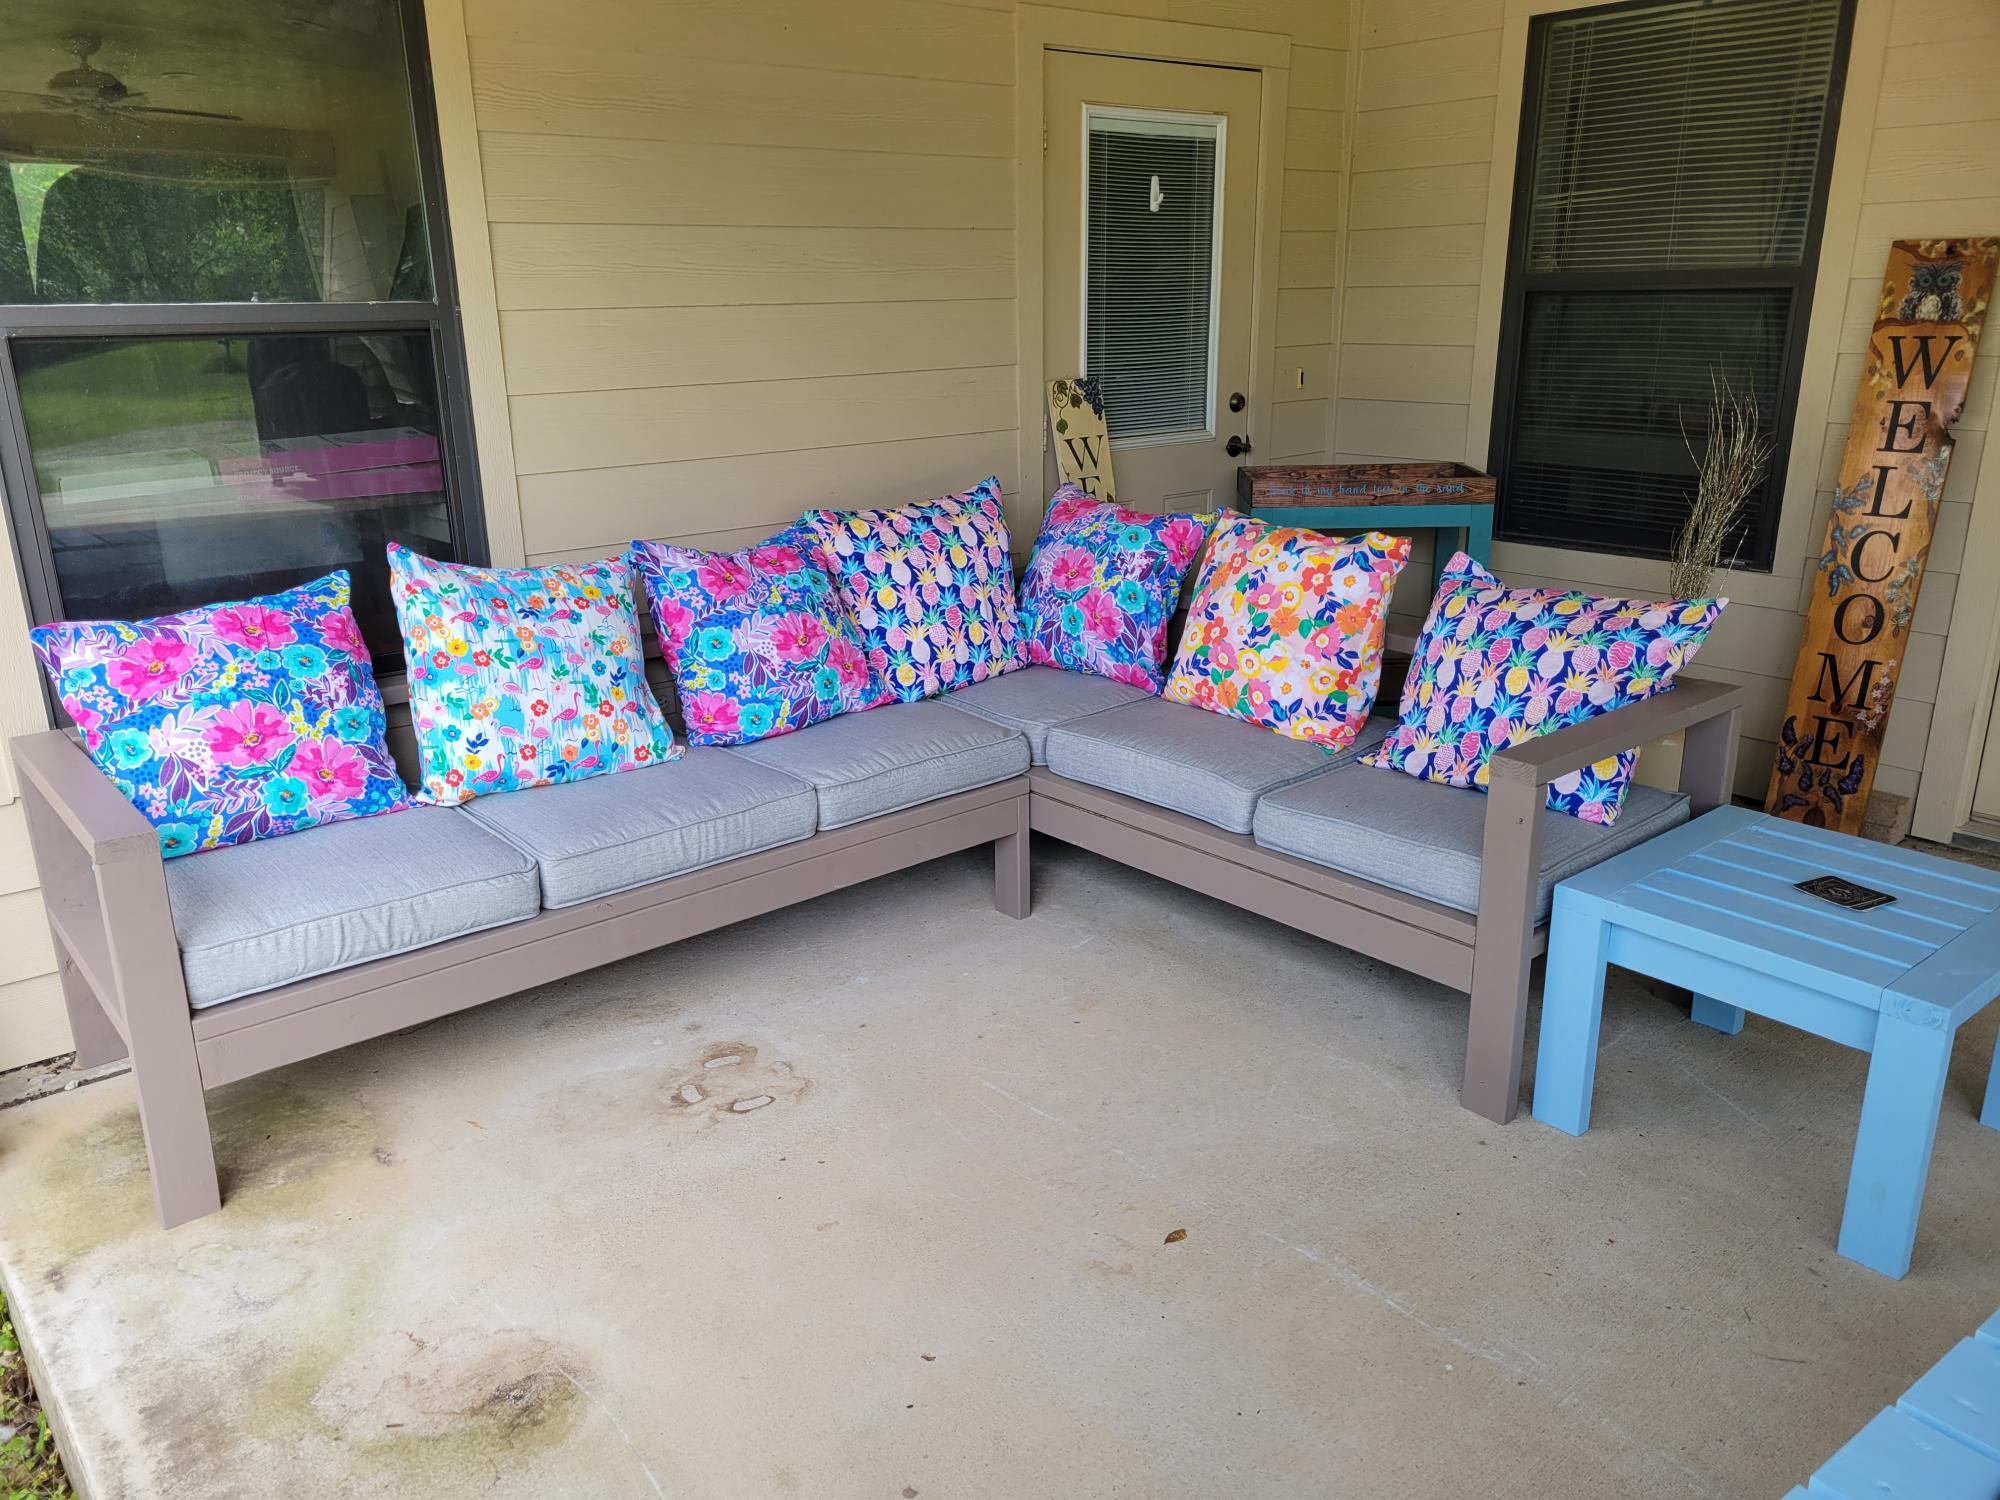
my husband and I used your plans for the sectional, end tables and chairs I made the pillows thanks so much for the designs we love them

Mon, 04/03/2023 - 20:12
Fantasic job, thank you so much for sharing your lovely space!

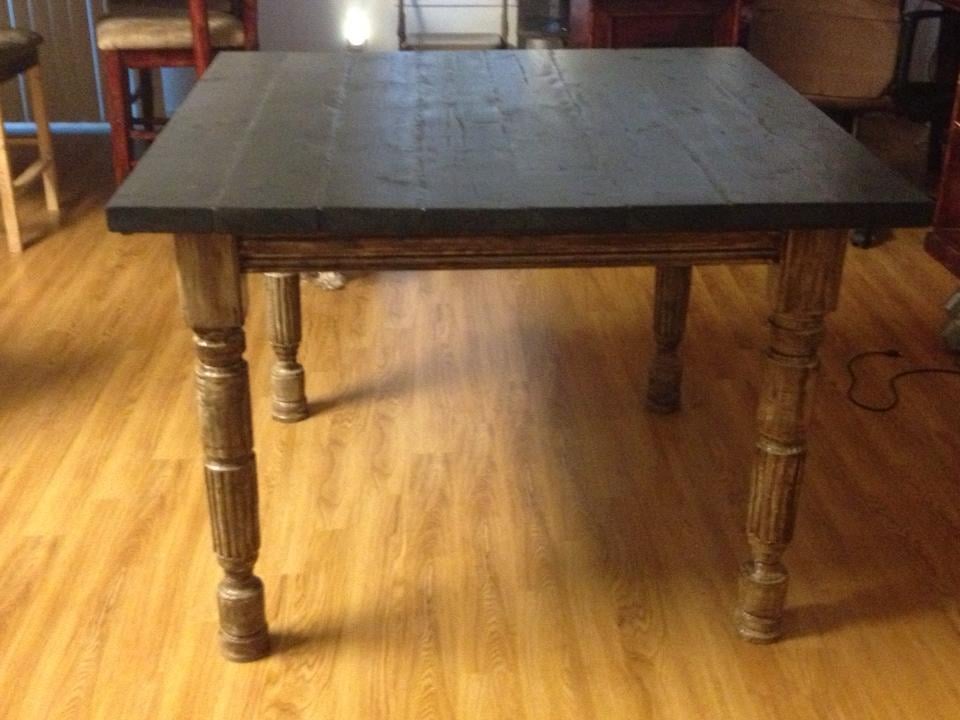
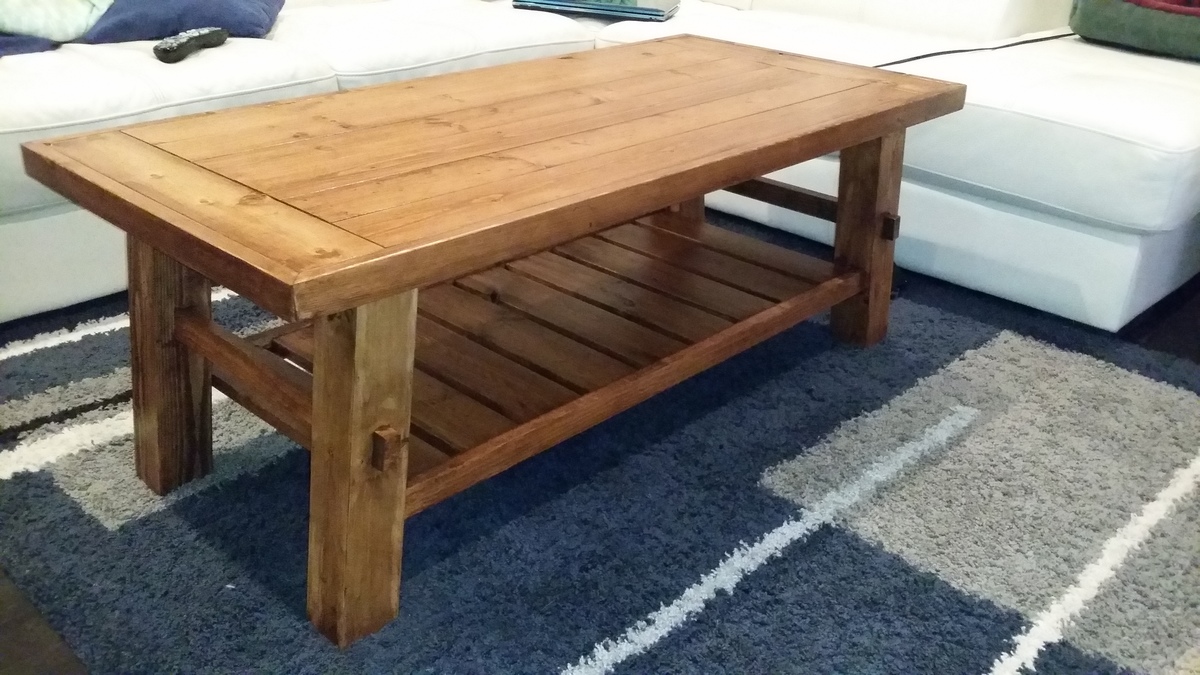
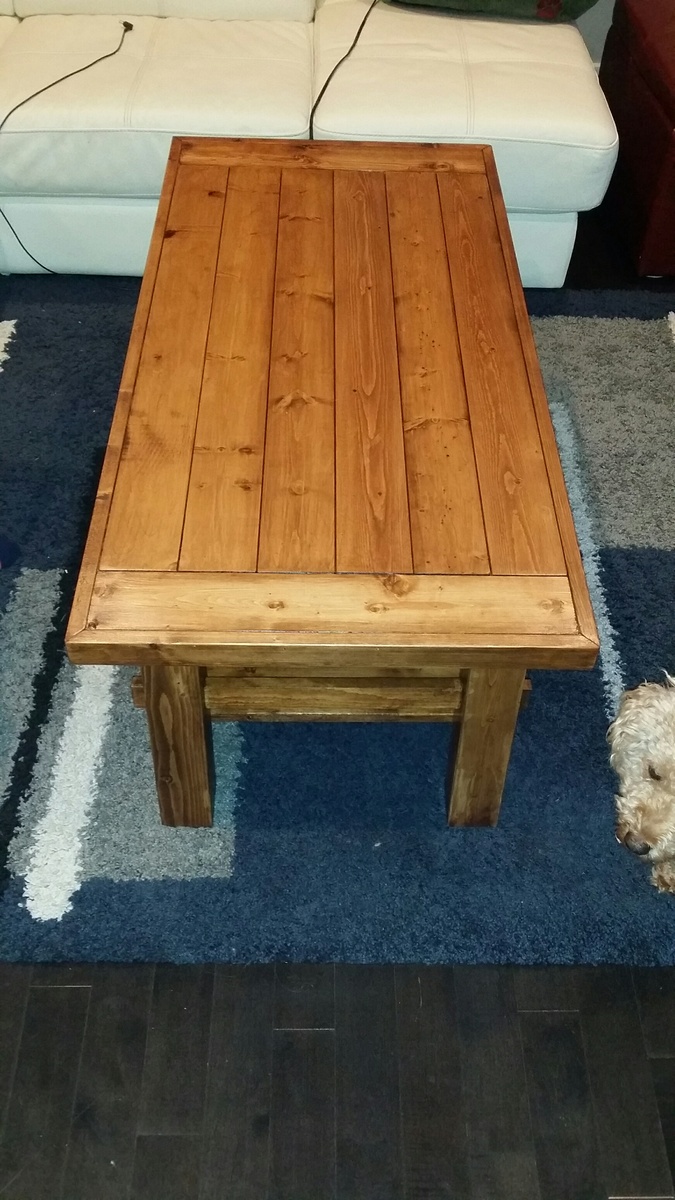
I built this coffee table for a friend. It is a square version of the Tryde coffee table with a shelf underneath. The dimensions of the tabletop are 42" x 42." It took a couple of weeks of working at night to complete, but she loved it.


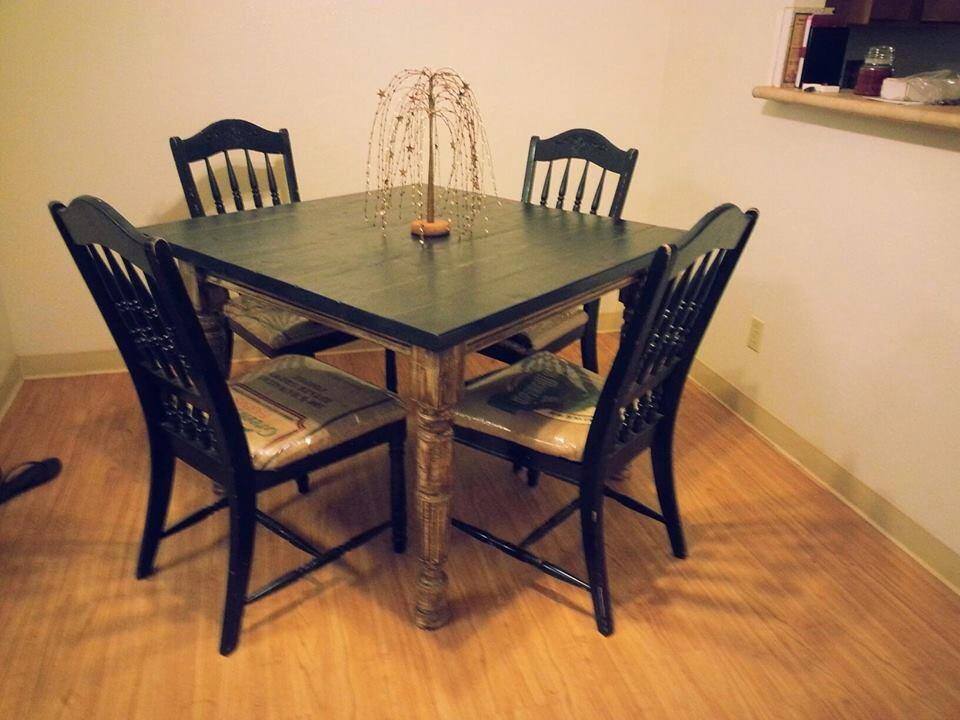
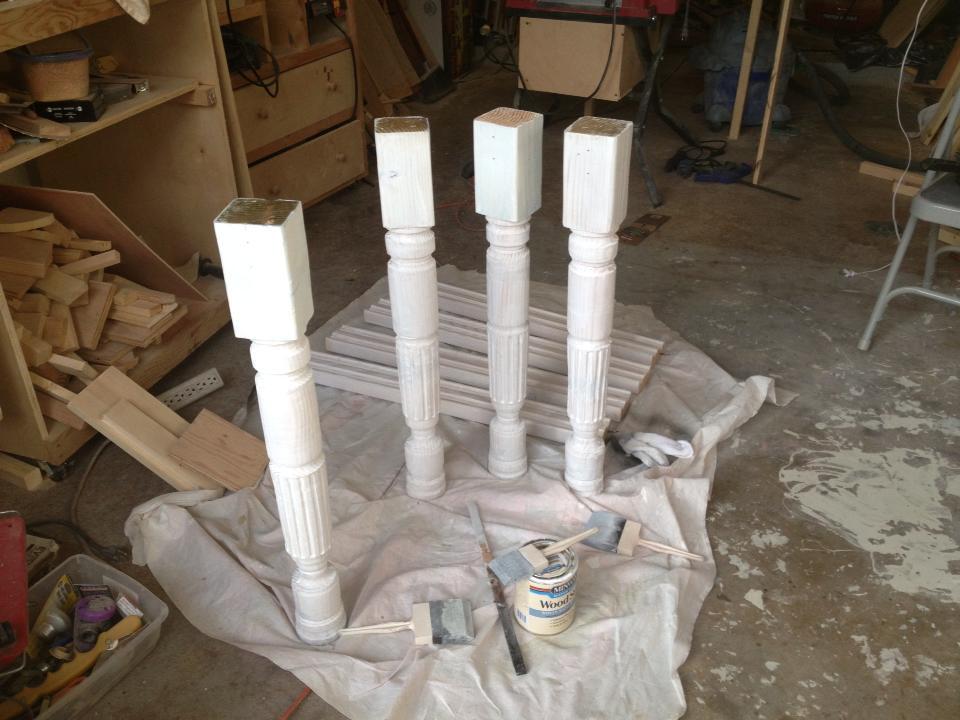
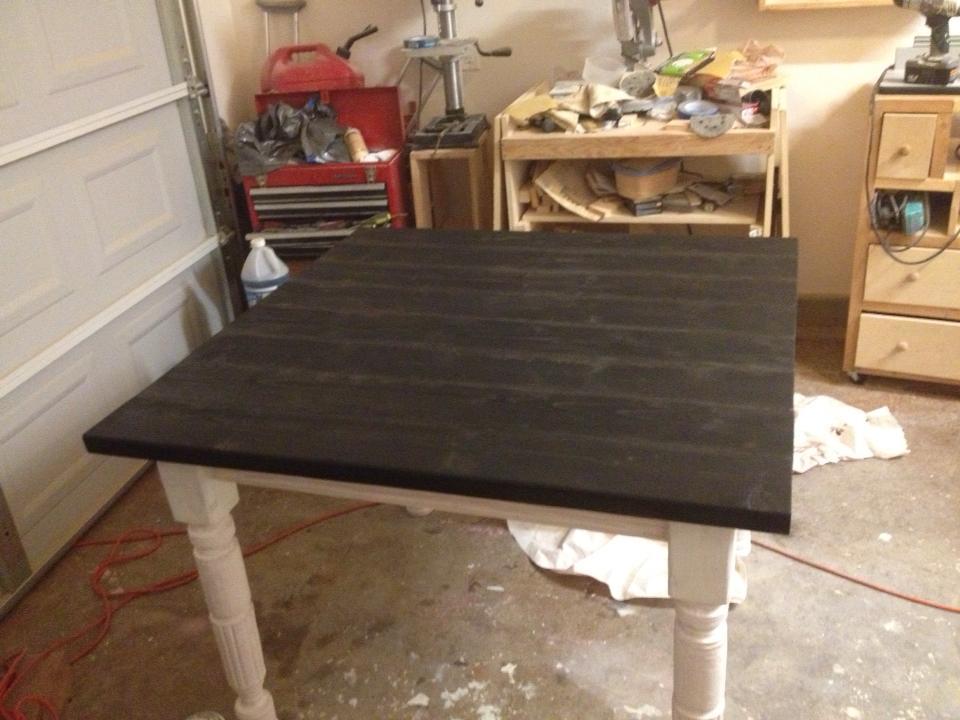
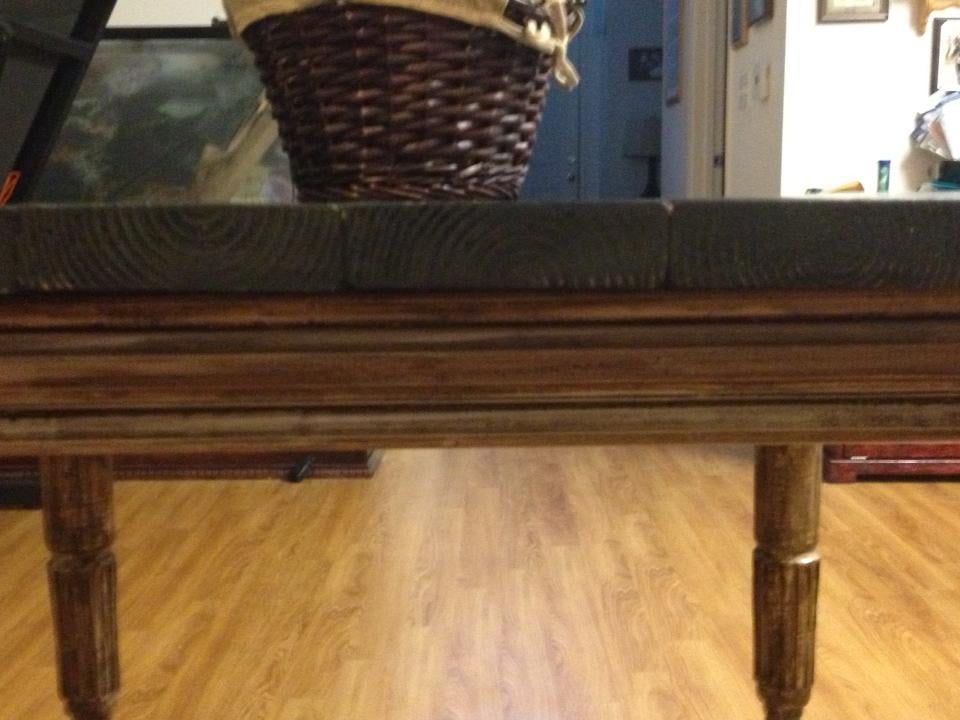
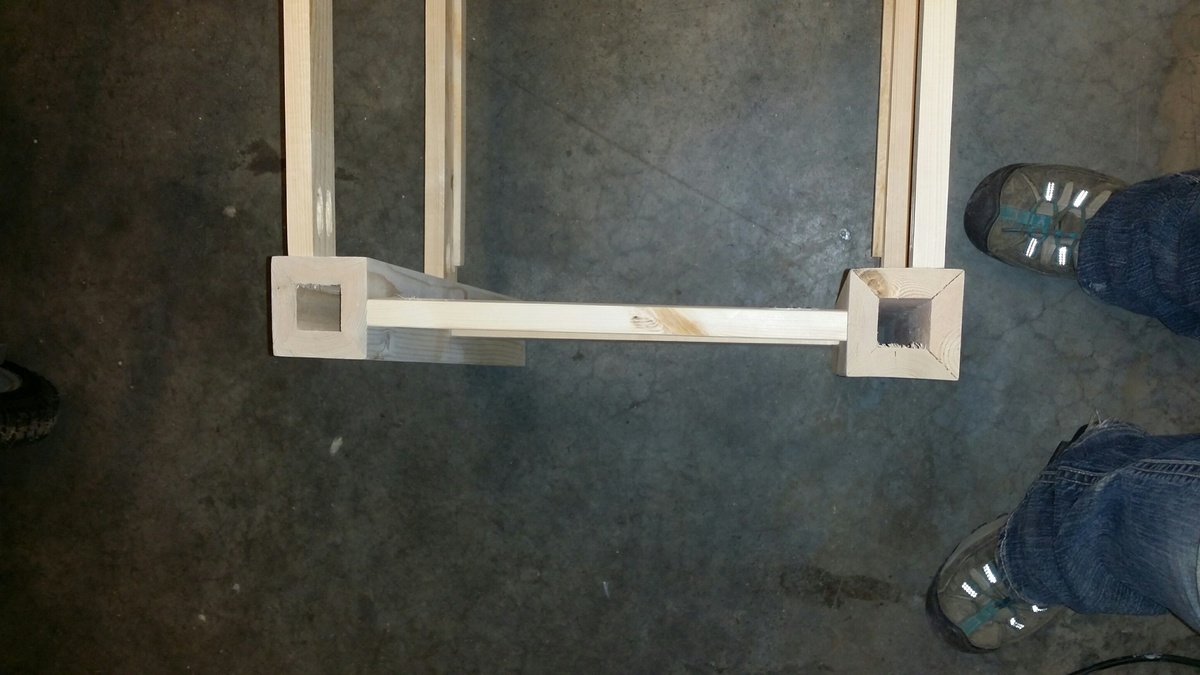
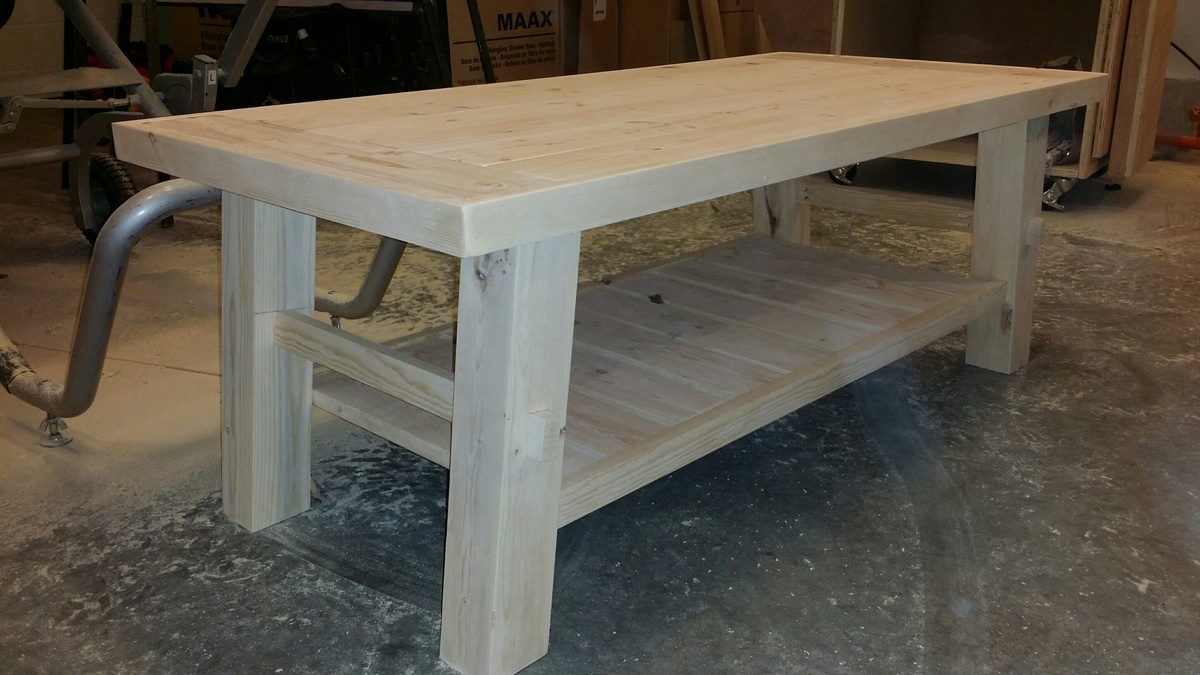
Small Farmhouse table with custom made husky legs and side trim. I used my router to create the legs and trim.It was my first attempt at turned legs. I used minwax white wash pickle, then I went over with a mixture of minwax of dark walnut and golden oak.

Thu, 11/07/2013 - 12:23
Your table looks awesome! What an amazing job you did turning the legs, and the finish is fab! Beautifully done!
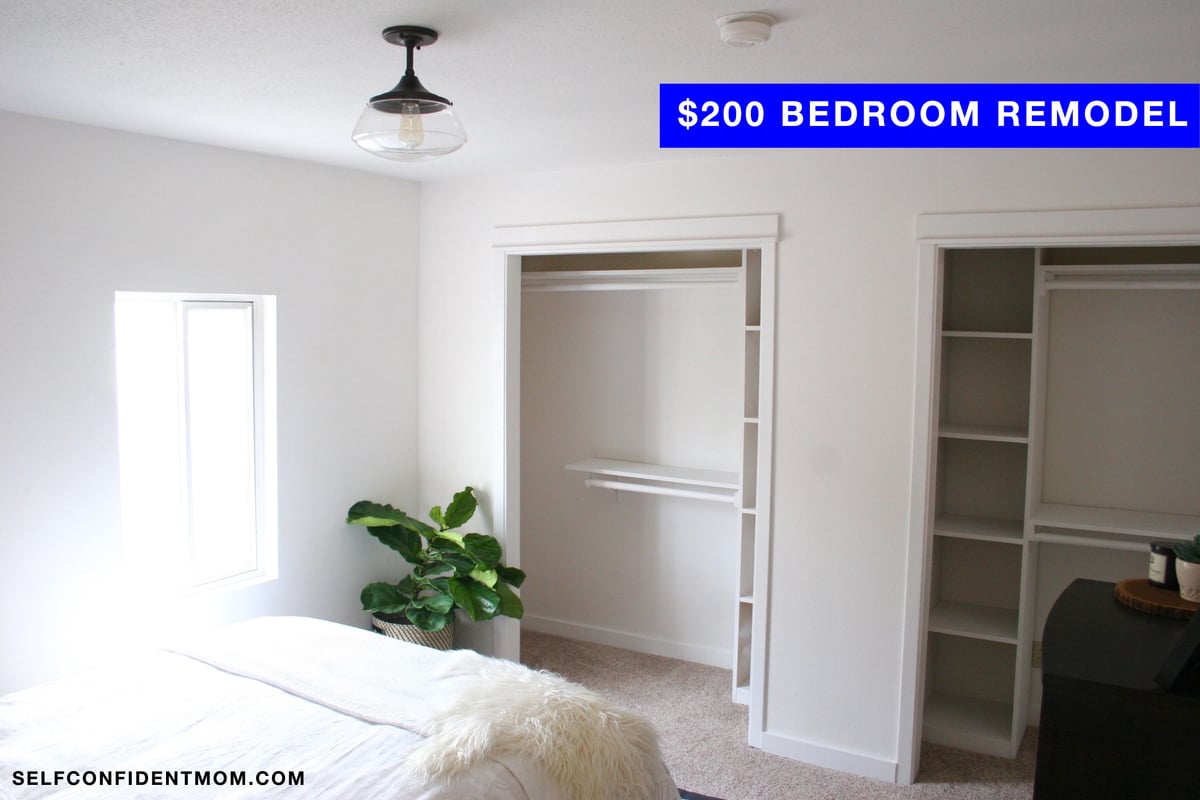
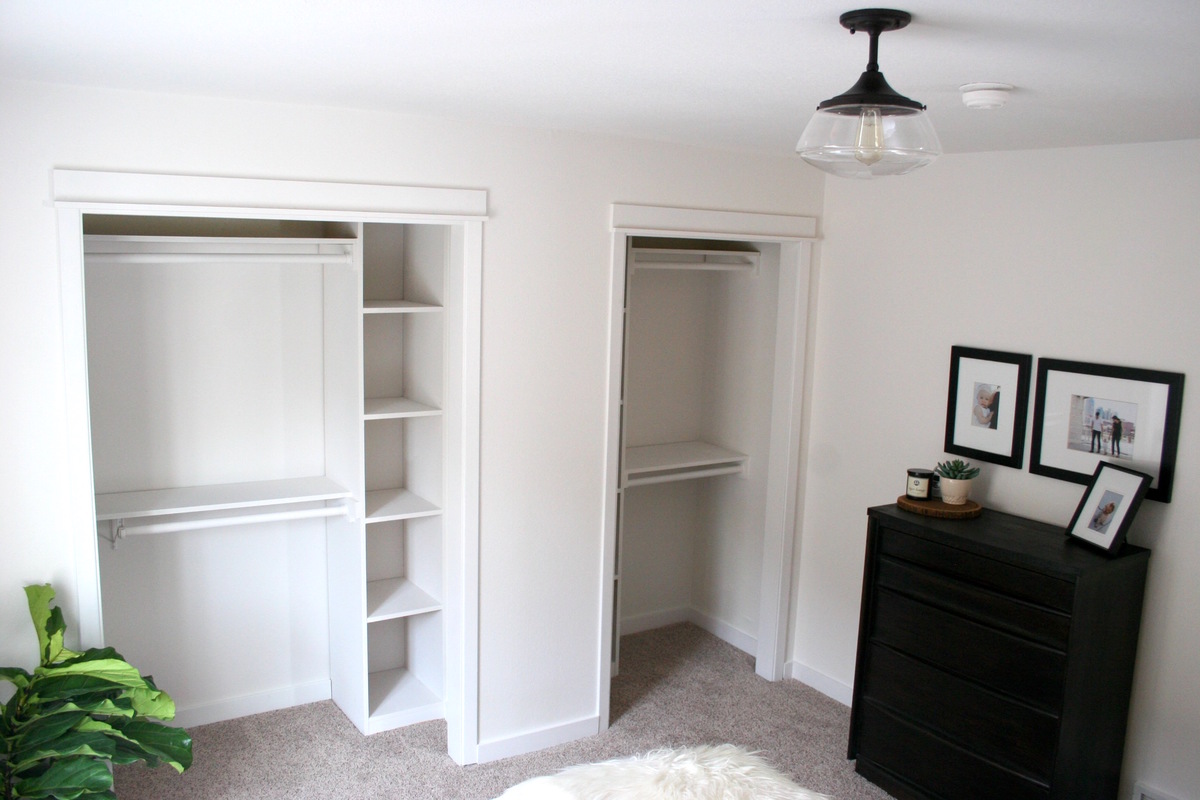
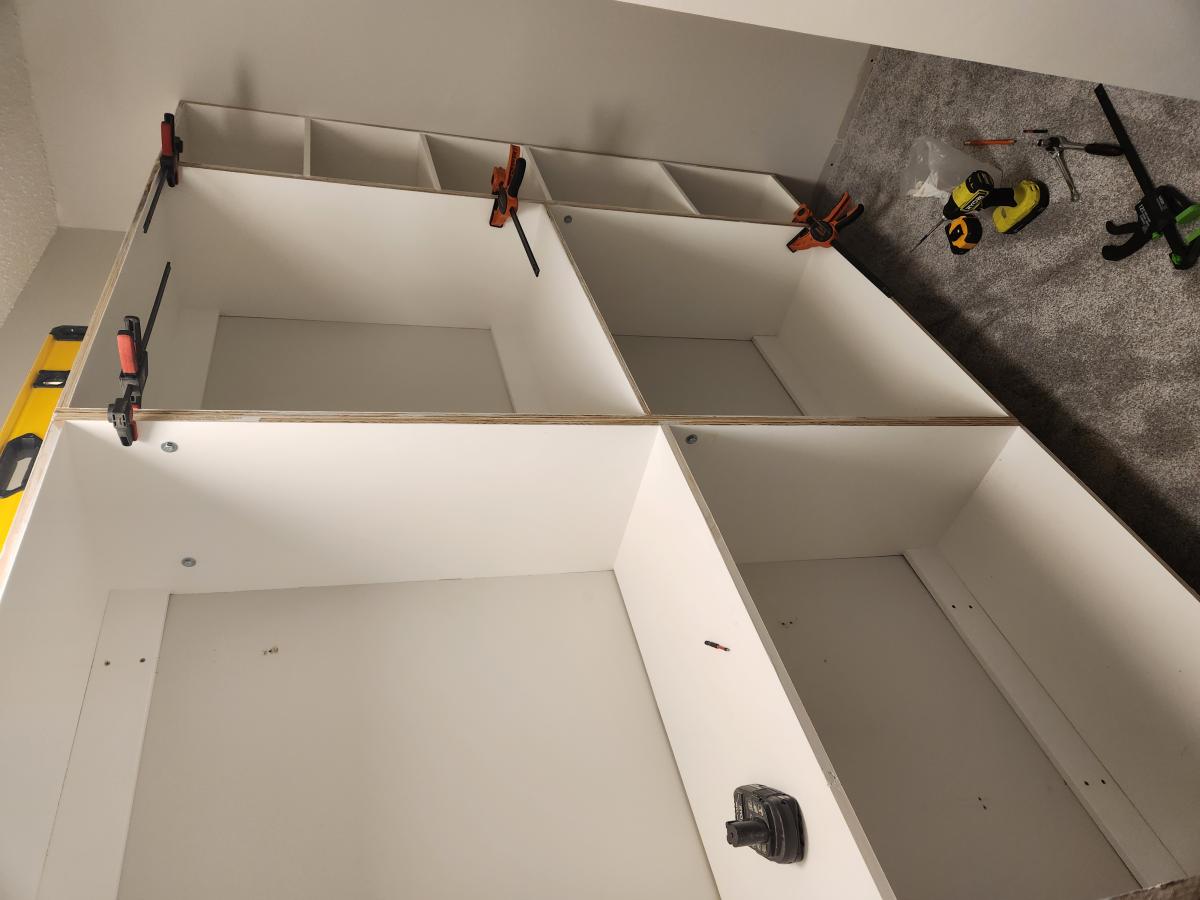
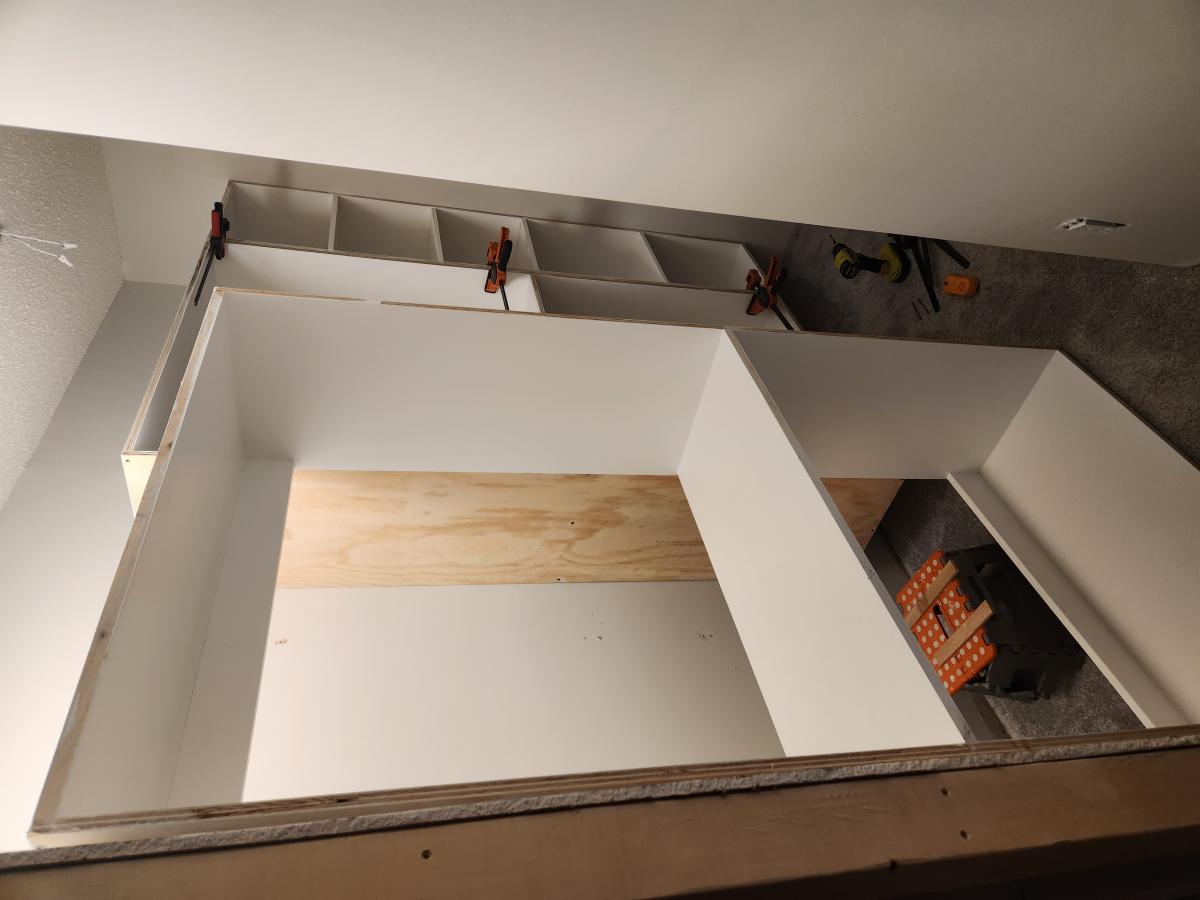
We had 2 empty closets in our 100 year old home. The custom shelves took a day to build and have worked amazingly for our organization.

I have enjoyed my miter saw cart for years. My sweet hubby gifted me with a table saw but I was nervous to use it without support for large pieces of wood and needed better storage. So... I modified my cart by adding a back leaf and making the shelf adjustable with two sets of cleats for the height of both saws.

Fri, 04/24/2020 - 07:11
How do you make the new supports for the outer folding leaf?
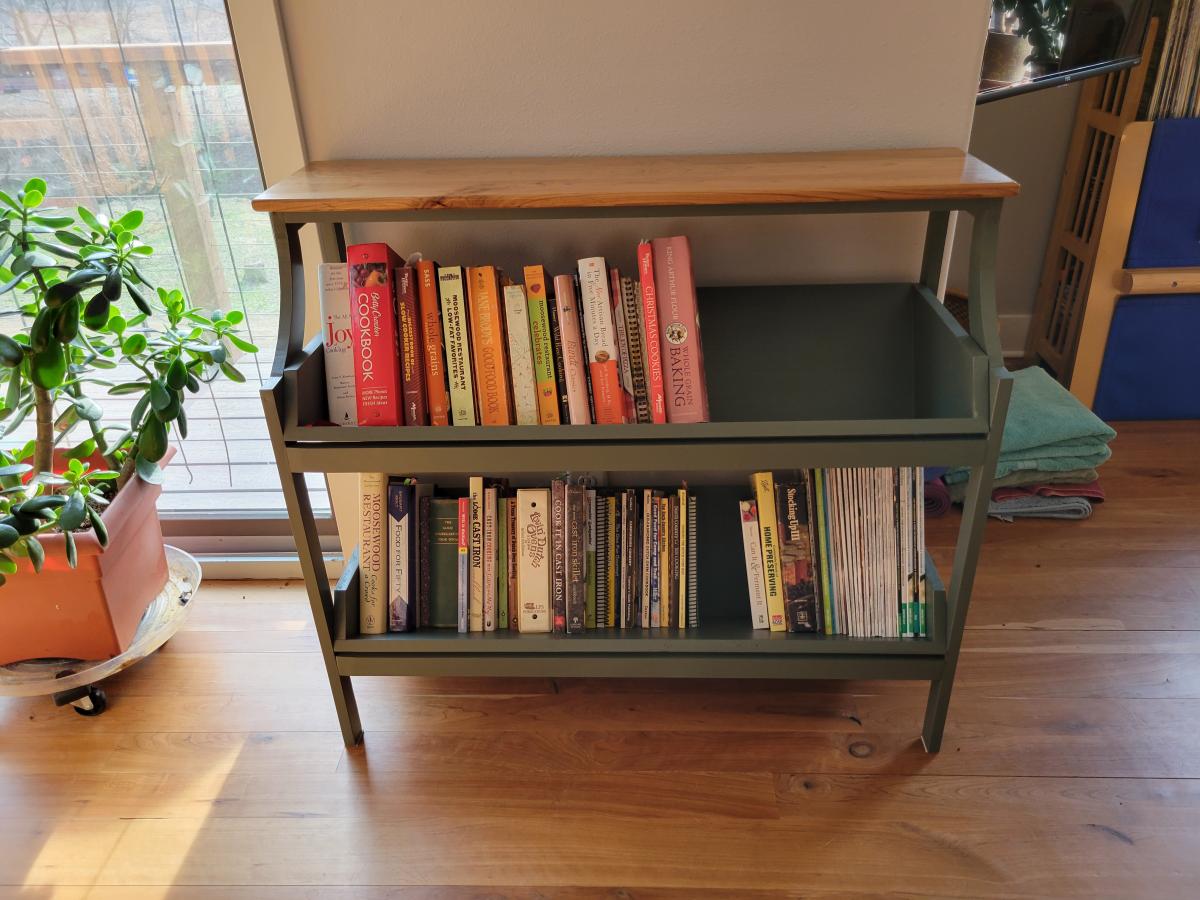
We needed storage for all of our cookbooks, so I built this from your Library Console Table plan. I painted it to match our kitchen cabinets and added a cherry top to match our floors. I re-used some shelving boards we had to make the boxes, so they now have a new life! Thanks for the plan!
Sun, 04/09/2023 - 18:14
Love this in the kitchen, and the color choice is so pretty! Thanks for sharing.
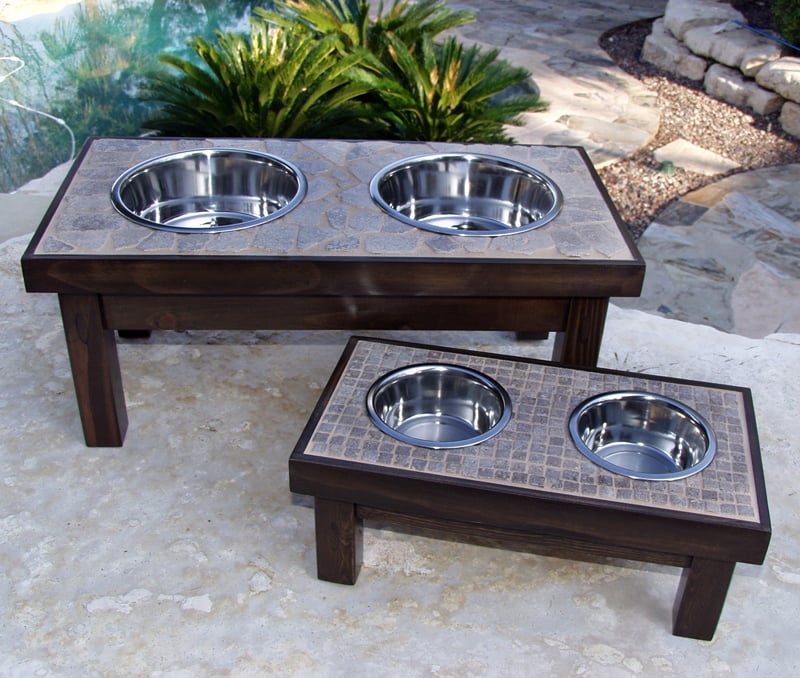
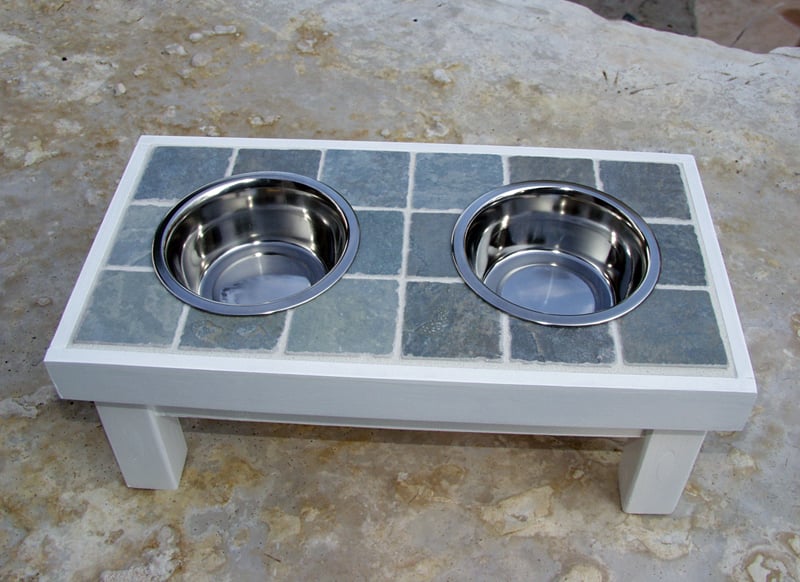
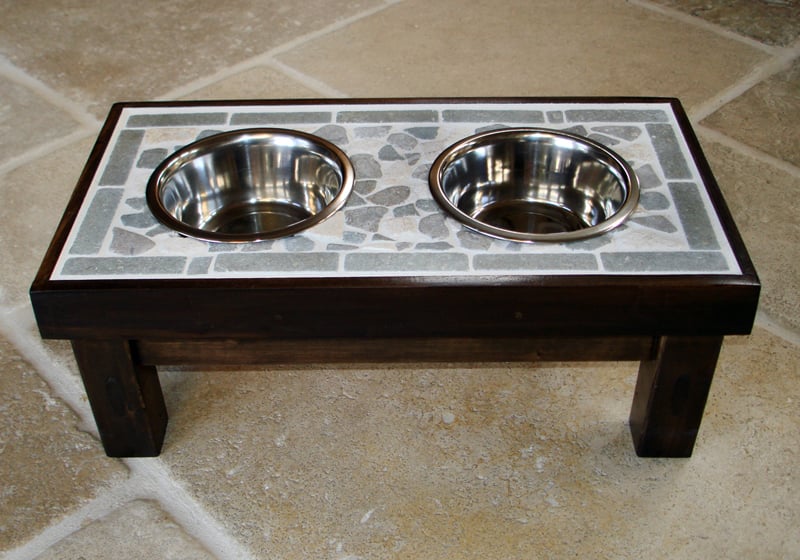
I modified the single bowl raised pet feeder by adding tile over hardibacker cement board (over the wood platform). Then, I trimmed it with a thin border of wood. These are pretty addictive to make, as you can see from the pictures!
Wed, 12/21/2011 - 09:41
I love the tile top! I made a double raised feeder all out of wood and the top gets so filthy! This tile top is a great idea!
Mon, 12/26/2011 - 13:12
I love the tile look you used! I have been looking everywhere for attractive raised pet bowls and have found nothing I like. I do have a few questions: is the cement board necessary? What size and type of wood did you you use for the trim and how did you attach it?
Thank you for posting I would have never thought of this myself!

In reply to Perfect for my pup! by BrennaLiz
Wed, 01/04/2012 - 12:59
Thanks for the feedback. According to the guys at Lowe's, you could skip the cement board and use liquid nails to attach the tiles. But the grout/adhesive that I was using would not bond to wood (and I think that may be true for many, if not all of them), so I went ahead with the cement board. This required a special drill bit for my roto-zip (to make the circle), and a special drill bit for my screwdriver (in connecting the cement to the board). I used "craft wood" trim (available at Lowe's in Pine). It's 3/8" thick and 1 1/2" wide. It's the perfect size for covering a 3/4" frame, cement board and the tile. I glued the boards together and then nailed thin brads in to secure it.
In reply to Response to "Perfect for my pup" by Joni
Fri, 08/15/2014 - 20:22
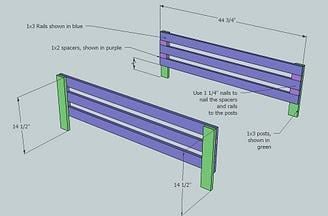
can you please help me sure up the measurements for a double bowl? I have a 1x12 (3/4 x 11 1/4), which is 24 inches long. I need the measurements for the 1x3's. Thanks
Fri, 12/30/2011 - 12:28
I love these! I've been trying to find a plan to make one for my 80lb dog!
Fri, 03/02/2012 - 20:11
Hi. I love your post! Did you lay the tile and then cut it or cut the holes first? What tools do you need to cut the tile?
Thanks,
Katie
In reply to How do you cut tile? by katieevans140@… (not verified)
Sun, 03/04/2012 - 10:38
Katie, I didn't have a tile cutter. I purchased a tile nipper from Lowe's, and was surprised at how easy it is to snip off the parts you don't want. I nipped it first and got it all laid out around the circular hole prior to putting the adhesive down. It helps to put the tile pieces in a vice, and then nip it. -Joni
Fri, 03/16/2012 - 10:11
this is awesome. our great dane has a massive drool issue (to be expected) so i've been trying to find a plan that isn't JUST wood top. problem solved. i think i just found my new christmas present gifting tradition too! thanks!
Wed, 03/12/2014 - 12:10
What kind of tile did you use? Where did you get it? Thanks!
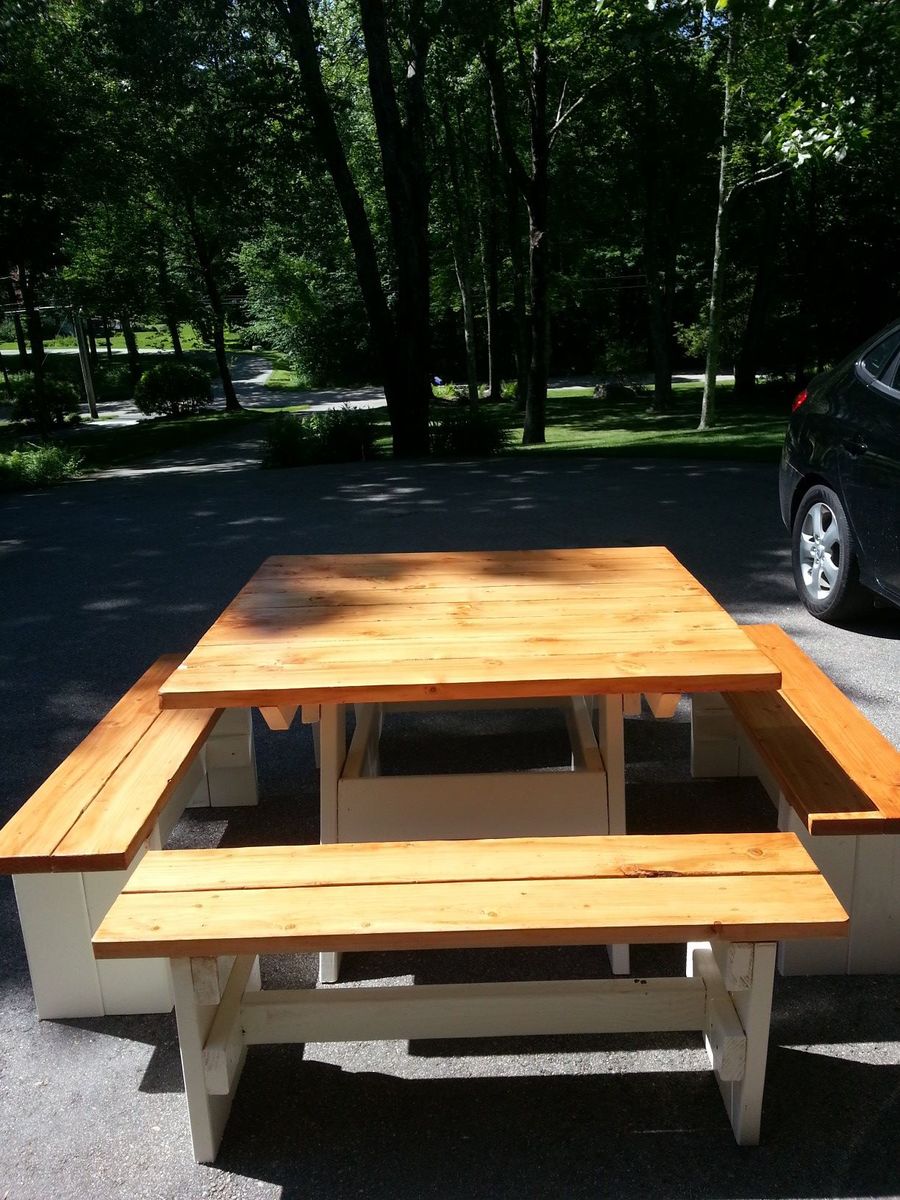
Picnic table and benches from an original (as far as I know) design I copied from my father-in-law. It is roughly 4'x4' and can comfortably seat 8 people, and is very sturdy.
This project took me about 8 hours from start to finish over 3 days. I can't buy 4X4's here (unless they are treated or made of cedar ($25) or $60 each at the specialty store) so I made the legs out of 1x4's that I ripped down and then did a bevel edge and glued and nailed with my 23 gauge nailer so that they look like posts. I just followed the directions after that. I used little L brackets to secure the top instead of the figure 8 brackets in the plans. They worked fine. I also didn't put in the cross pieces. I tested the top without them and it was really solid so I didn't see a need for them. I wouldn't recommend cutting everything ahead of time like they say to do in the plans. Nothing ever works our perfect with wood so it's better to cut as you go to get the perfect measurement. For example, the end pieces of the top we supposed to be cut to 21". I needed to cut to 21 1/16th. It doesn't sound like much but when you are then trimming the whole top out with 1x2's it is really noticeable if everything doesn't line up. I sanded as I went. I find it much easier to do it as I go then trying to get all the nooks and crannies when it's all put together. I also stained and put on the poly before it was completley together. I did the frame seperate from the top and the bottom shelf slats. Once everything dried I put it together. It's hard to do sometimes because I just want to get the piece together as fast as possible but it is actually quicker in the long run if you sand and stain along the way.
It will go at my rental house at the lake. I tried it out at my home. I don't need a coffee table but I may have a hard time letting it go. I really love how it turned out.
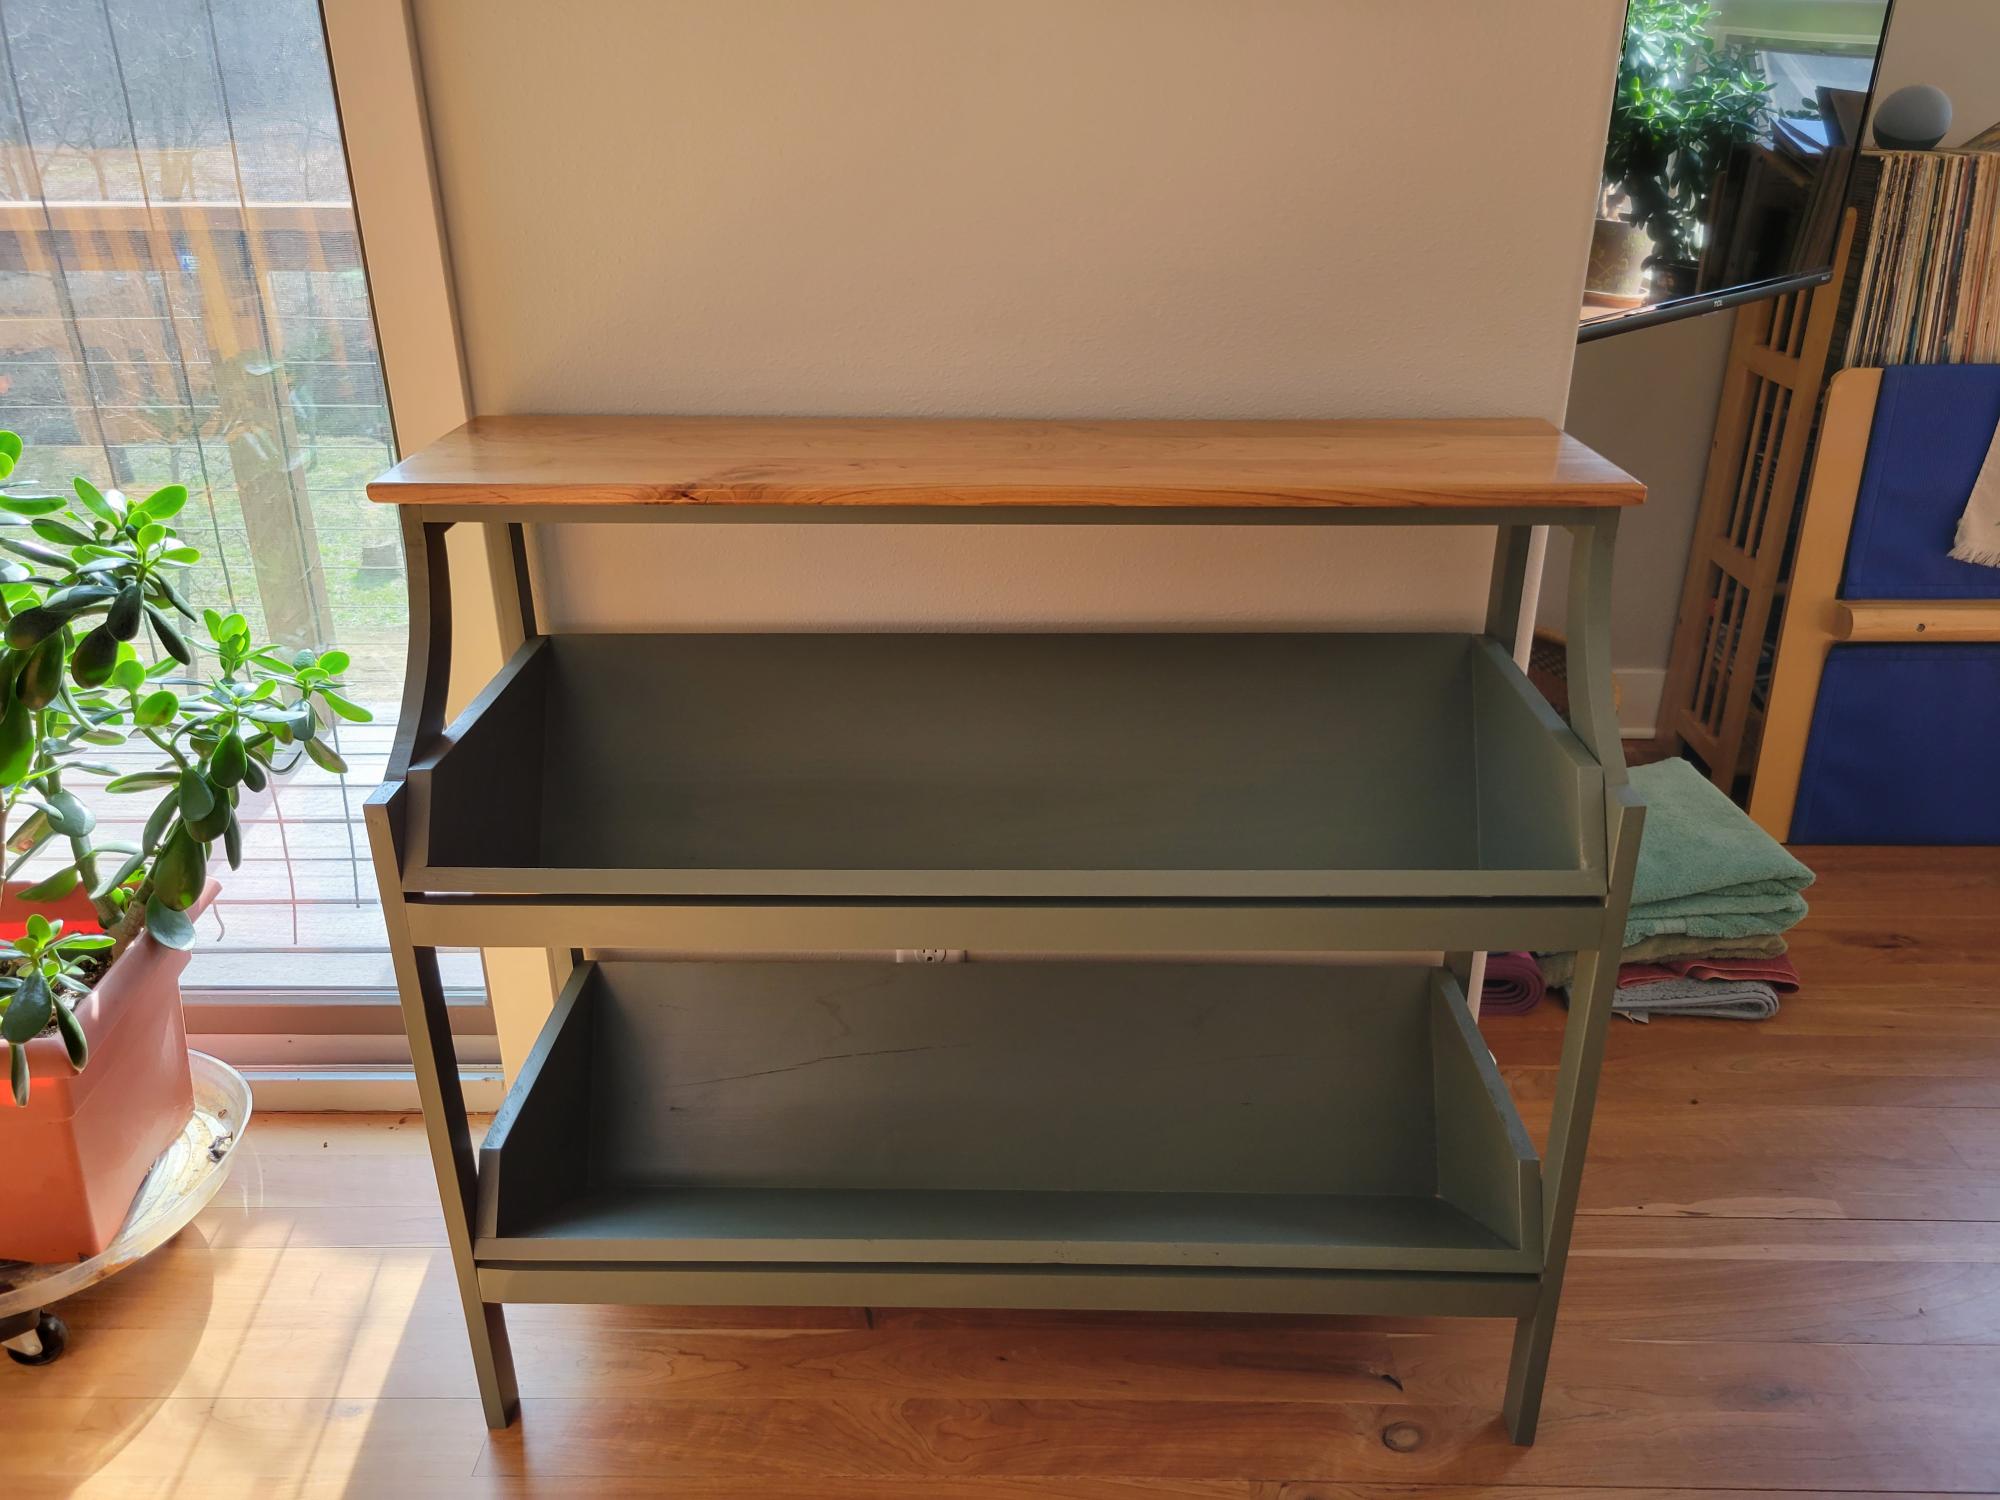
We added a shelf for the flowers otherwise it’s too deep

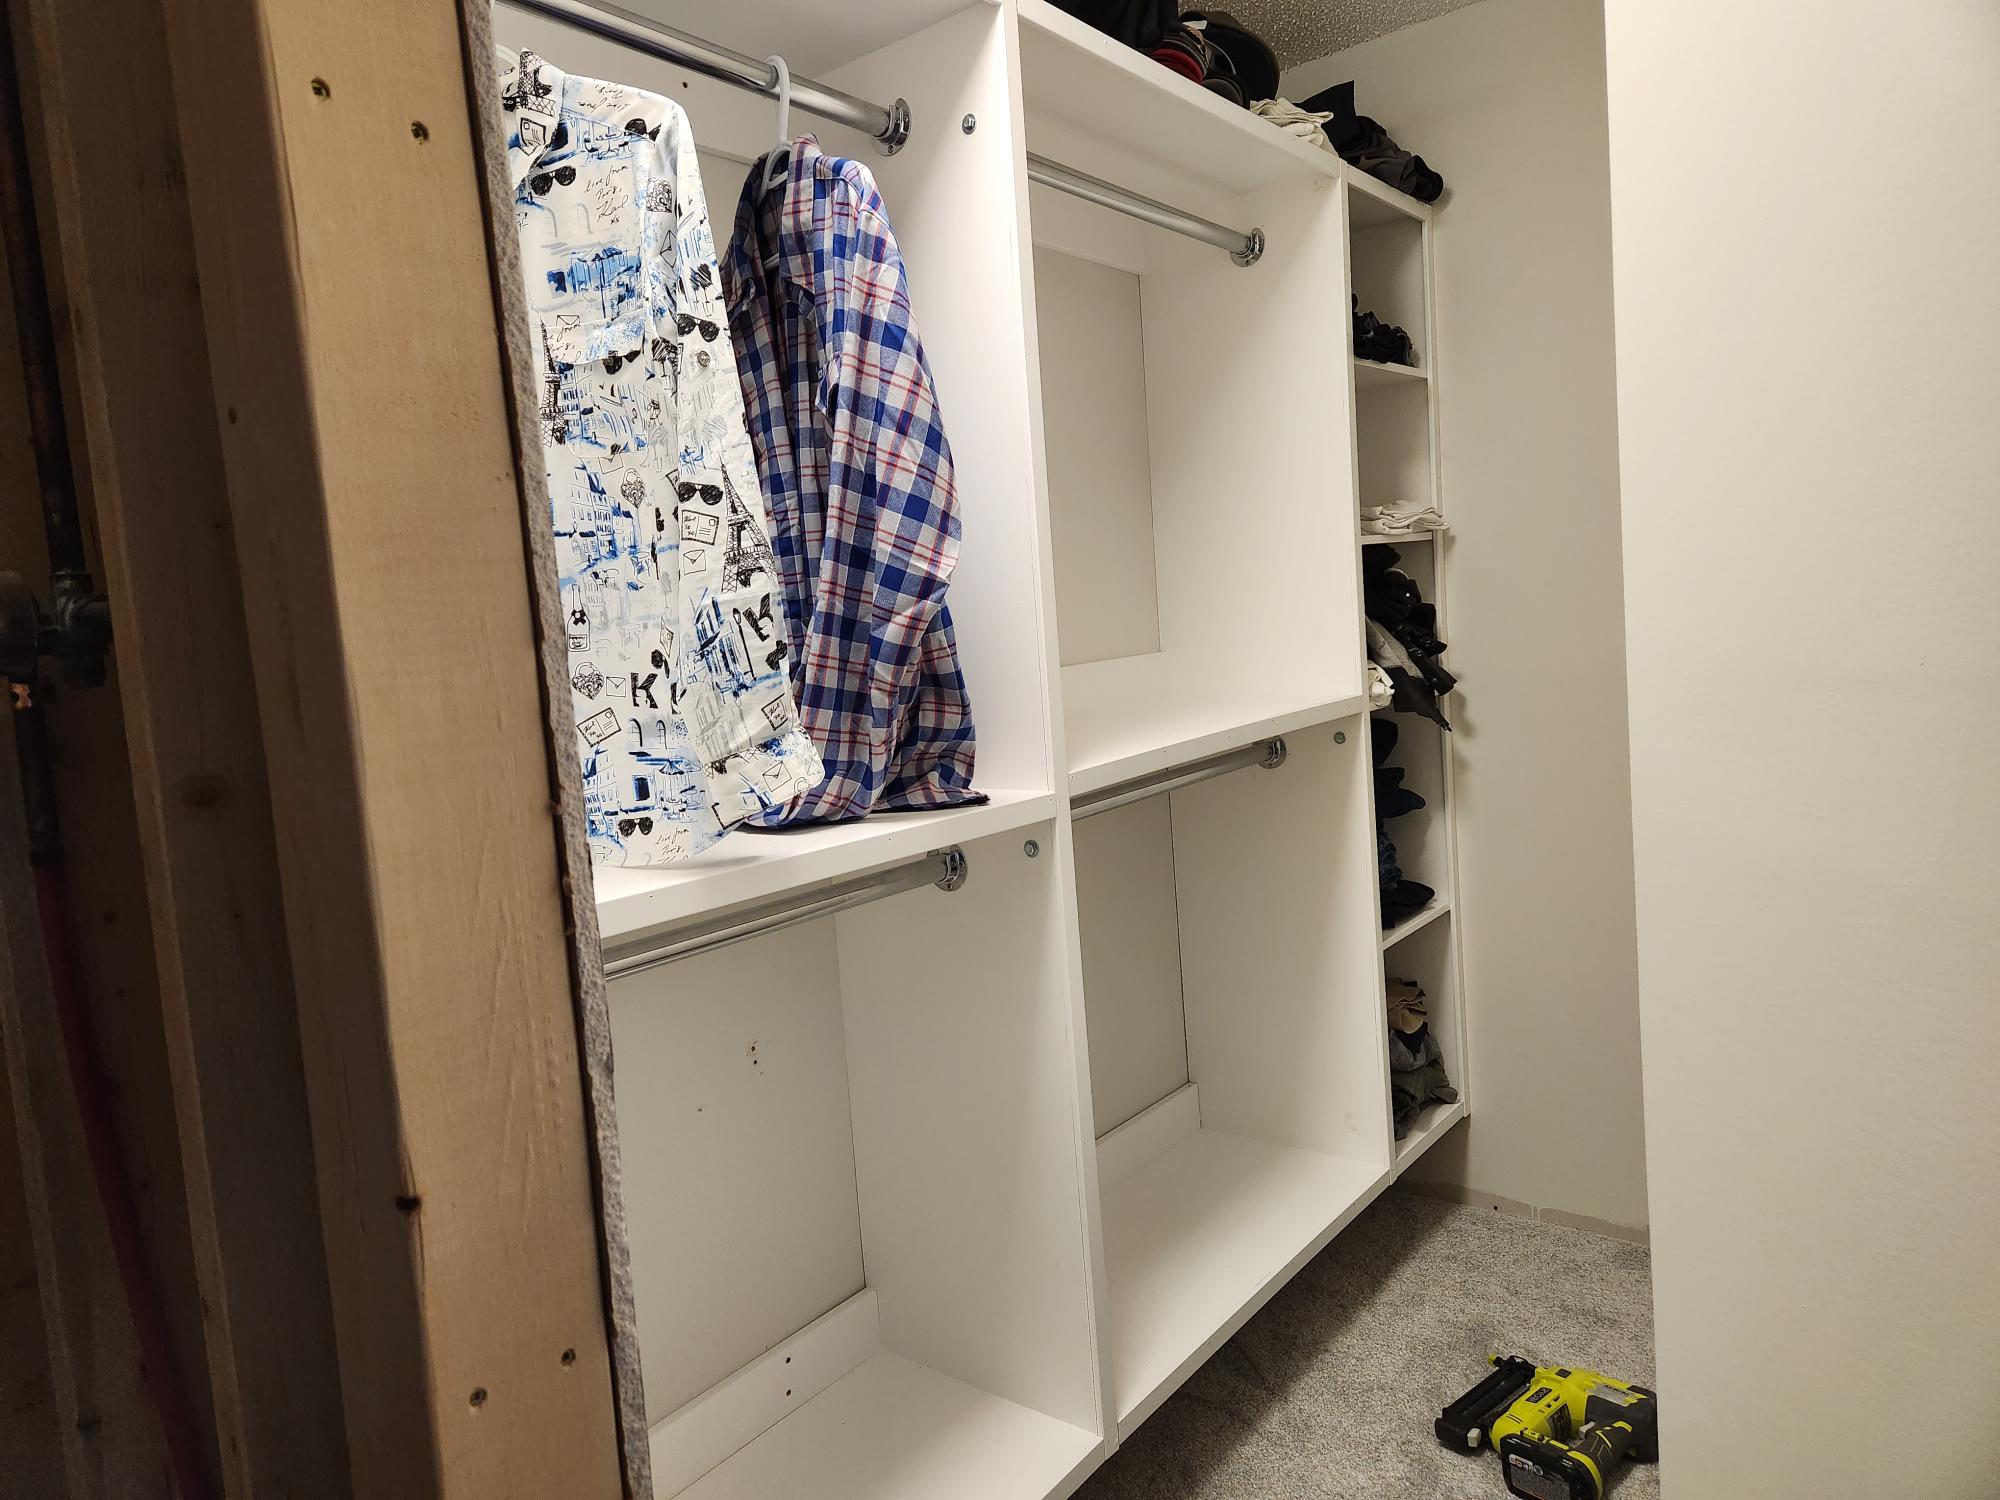
I have used Ana's shelf guide on a few projects and it is so simple to use. I was able to maximize the space by tweaking the shelf guide so the new closet shelves fit exactly.
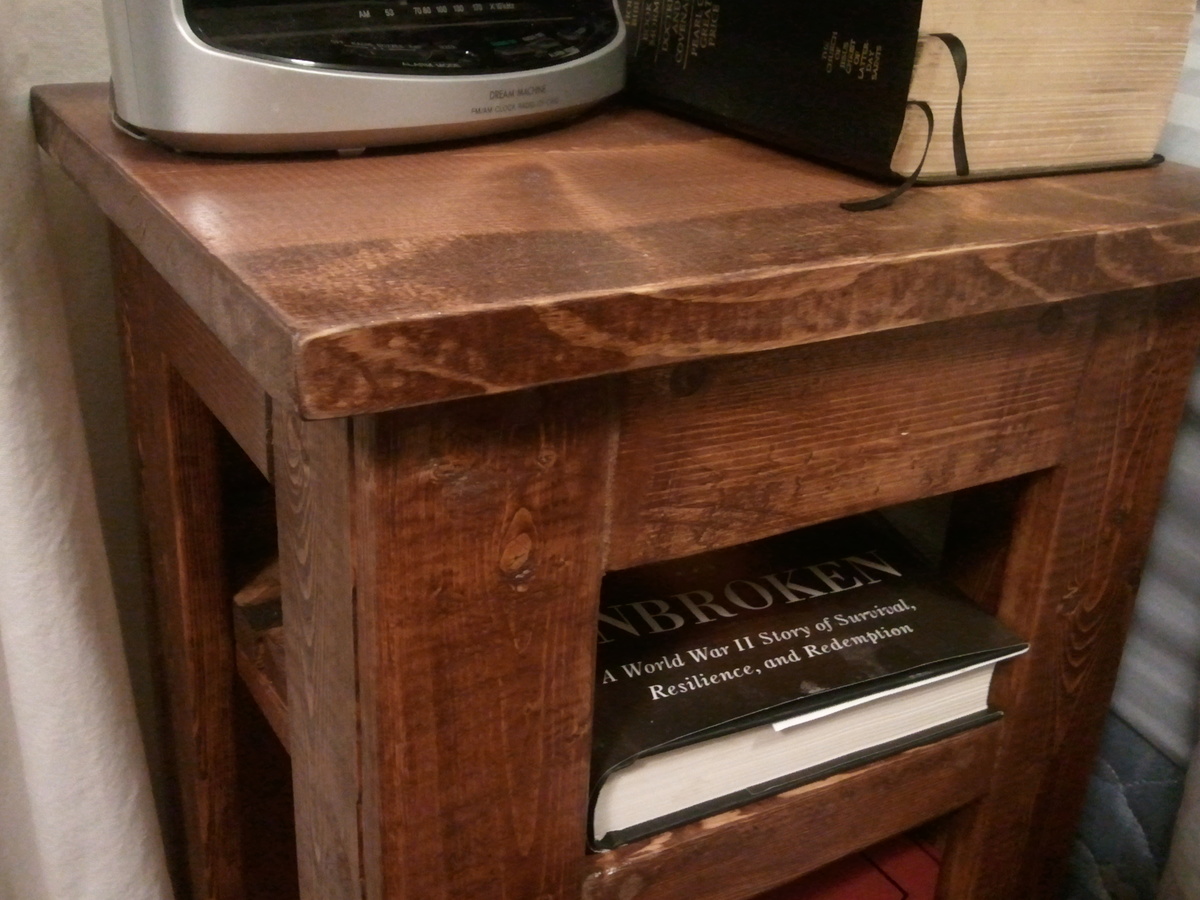
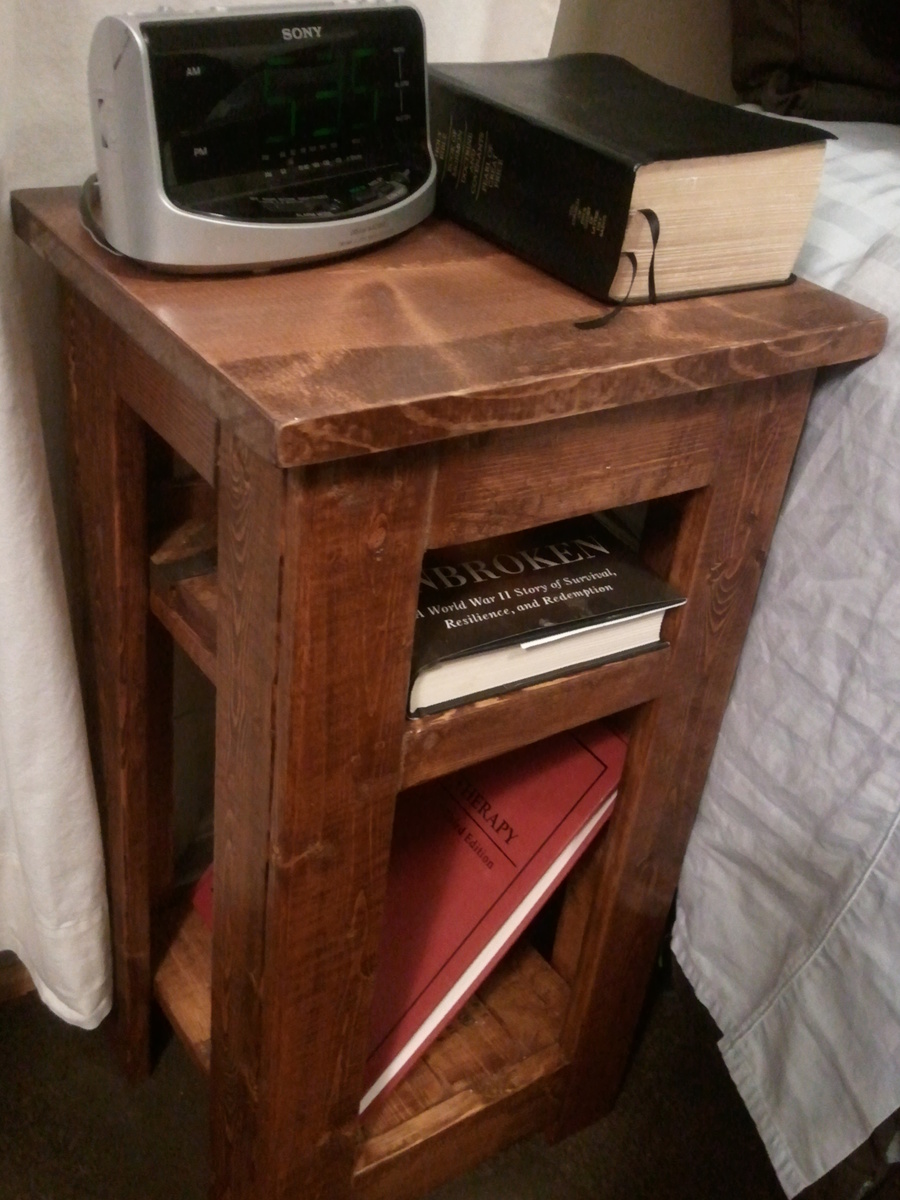
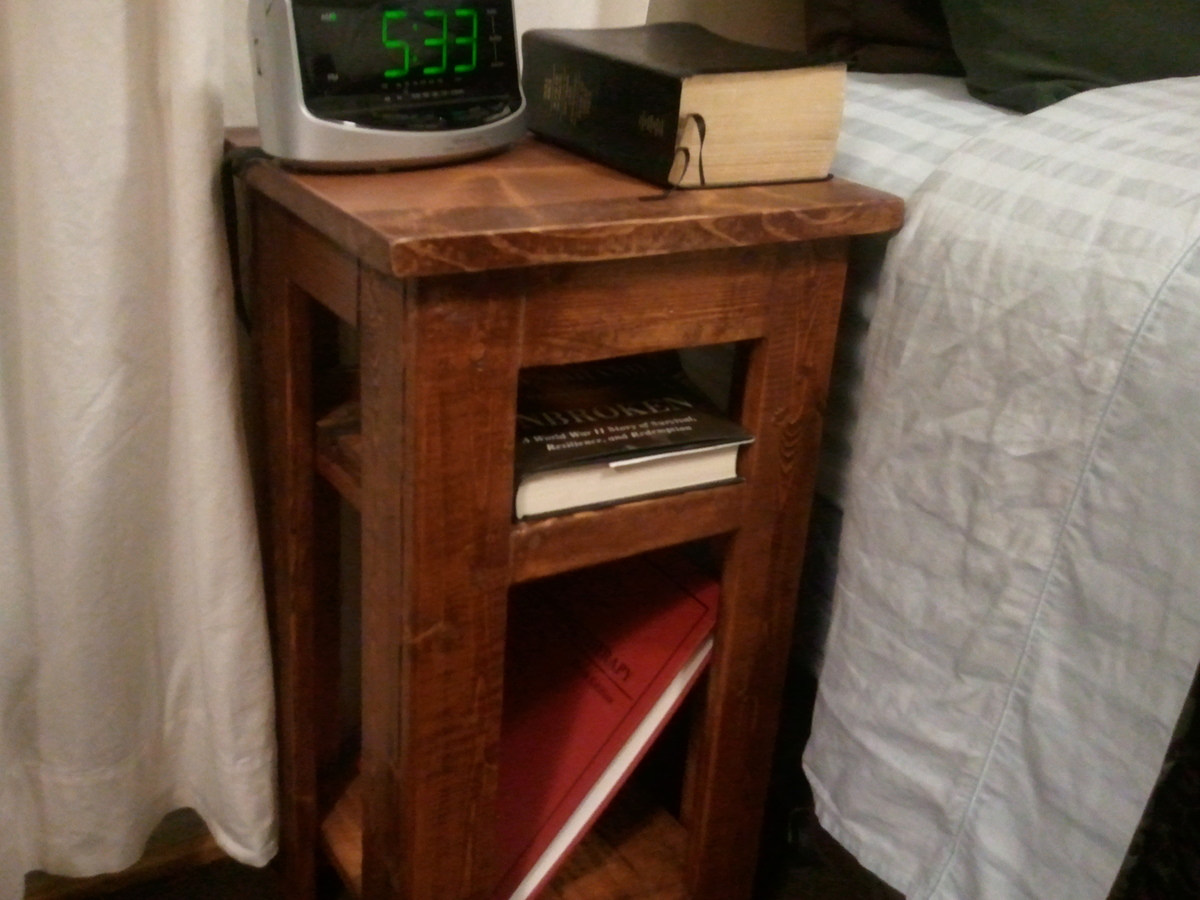
With the extra wood from some earlier projects I was able to make this tiny nightstand. Ive got limited space between my bed and wall and there was no way to find a suitable solution, so I built one.
Did not follow a plan, but used some of the design features from some of the benches on here.
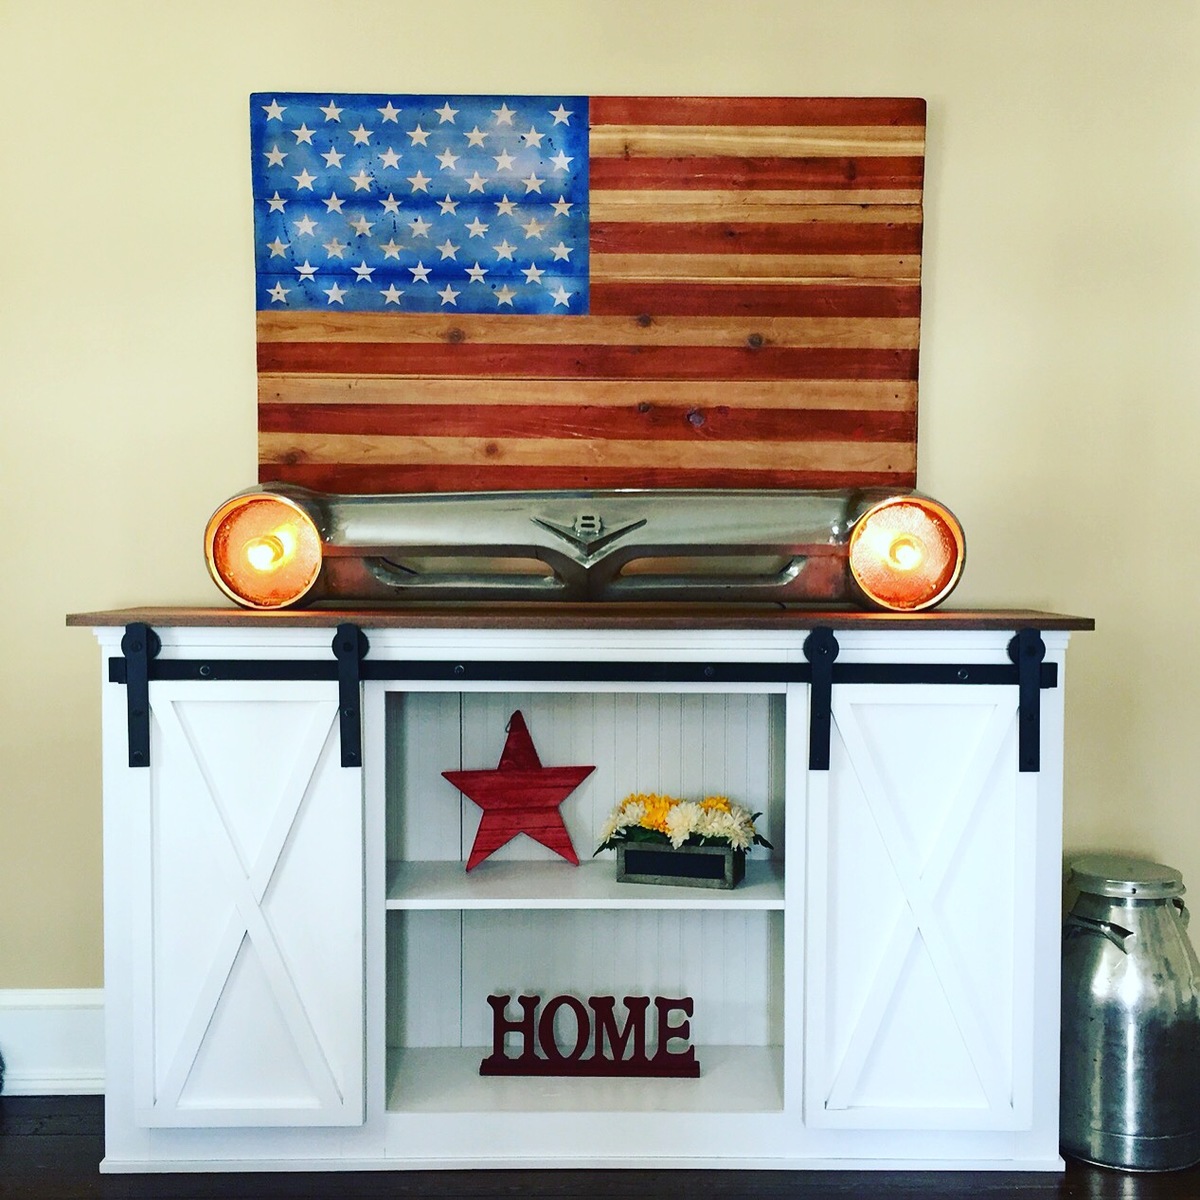
A few notes on our build:
- we wanted to keep the center section open for a wider display by deleting the middle upright
- if using barn door slider kits, you need to take into account the recess and height of these. Recommend either building up the top as we did with layering more boards in a stepped fashion, or going with 1x6 for full clearance.
we dressed up the sides by adding a cross brace. I found a double door kit on Amazon for $125. I now have a spare rail for future project.
- the top was finished from walnut
Overall pretty easy build, and first time spraying paint through HVLP sprayer. Thank you for the plans and ideas!
Tue, 02/16/2016 - 13:38
what brand and model do you use? how did you like it for this application?

made from rough cut ash, Very Interesting project

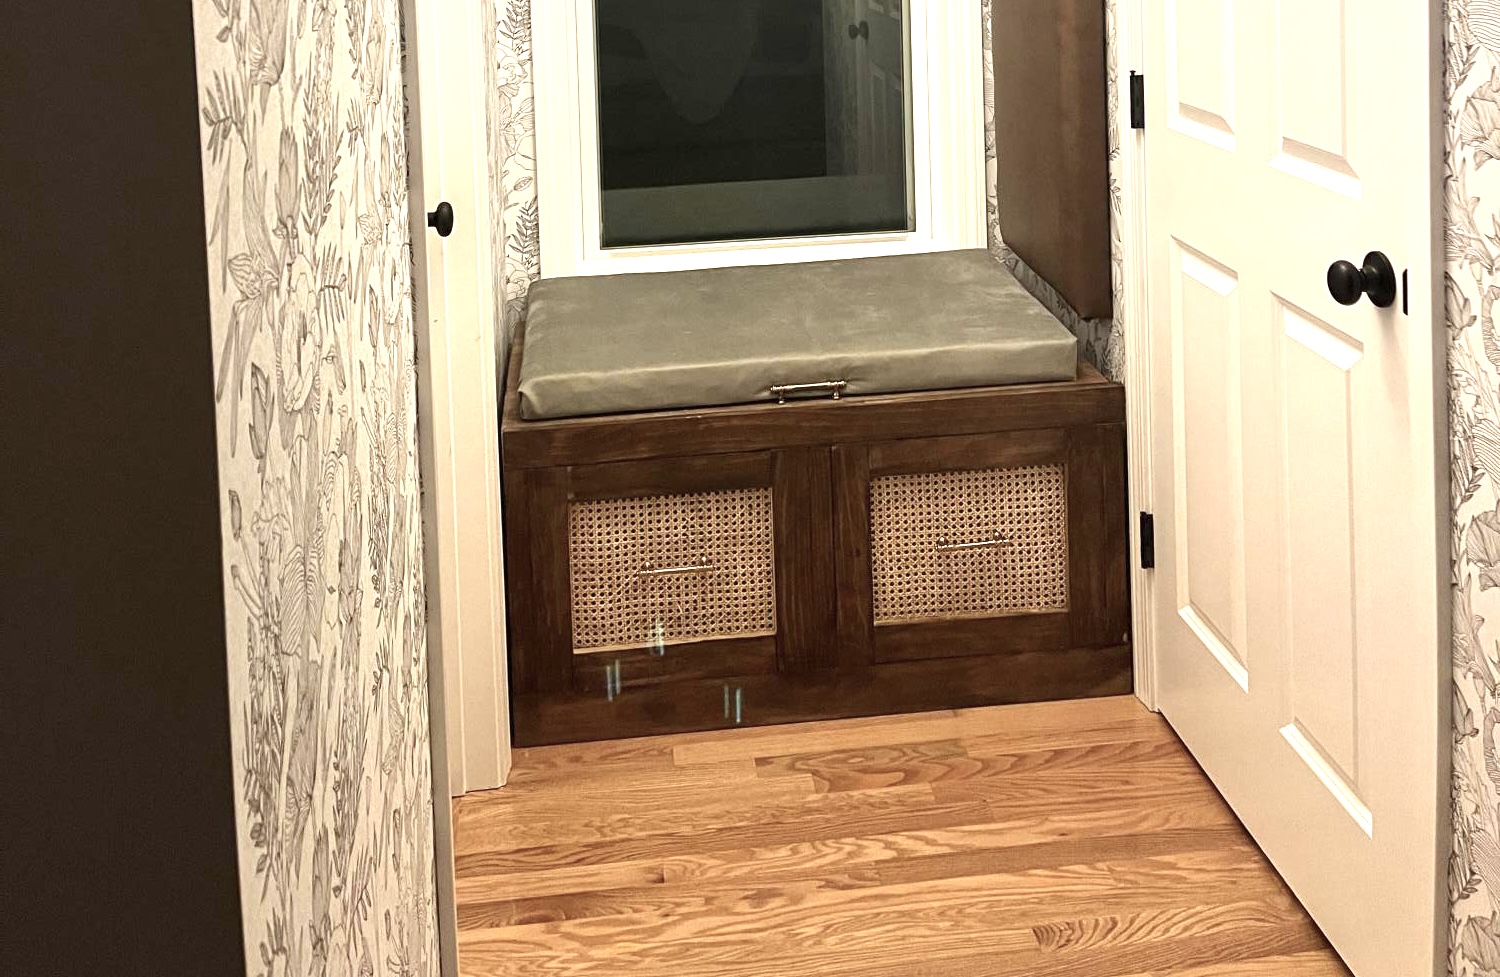
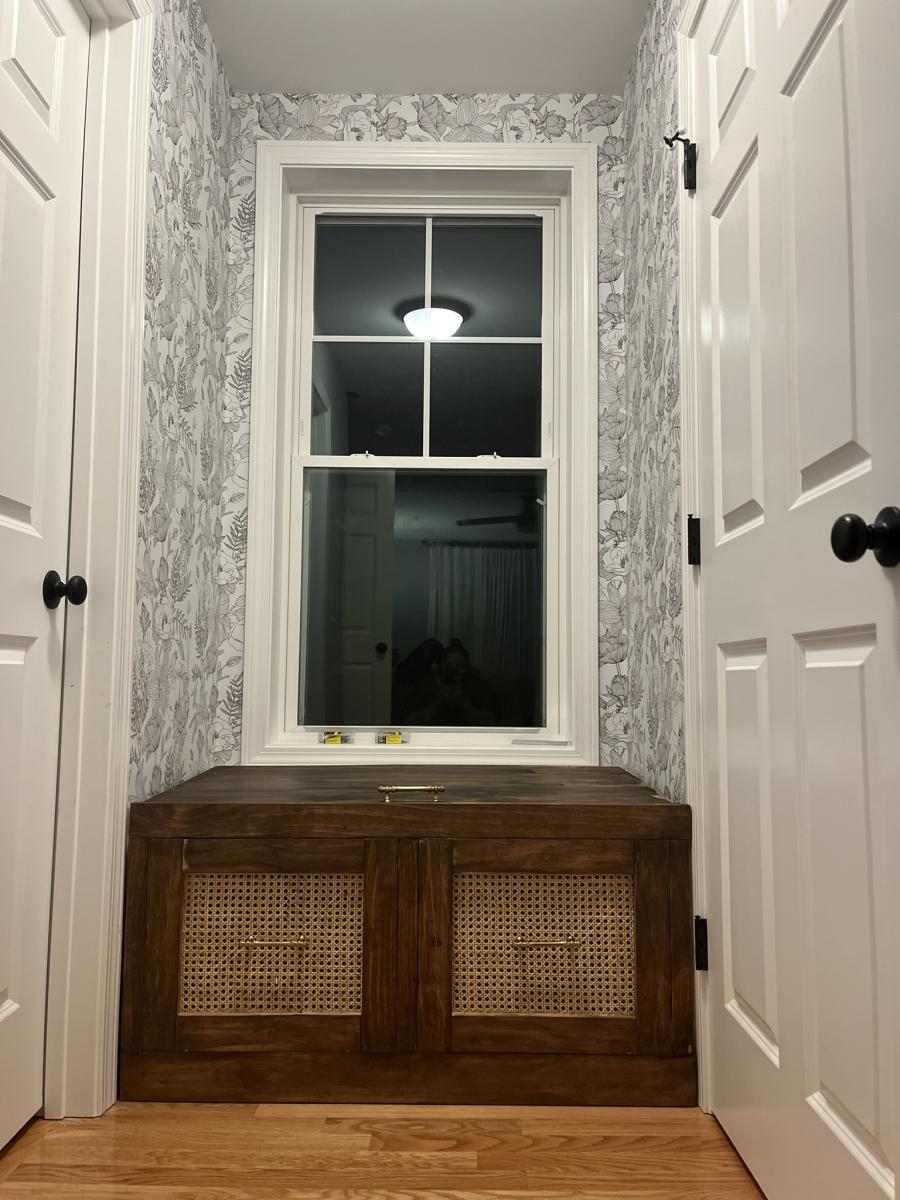
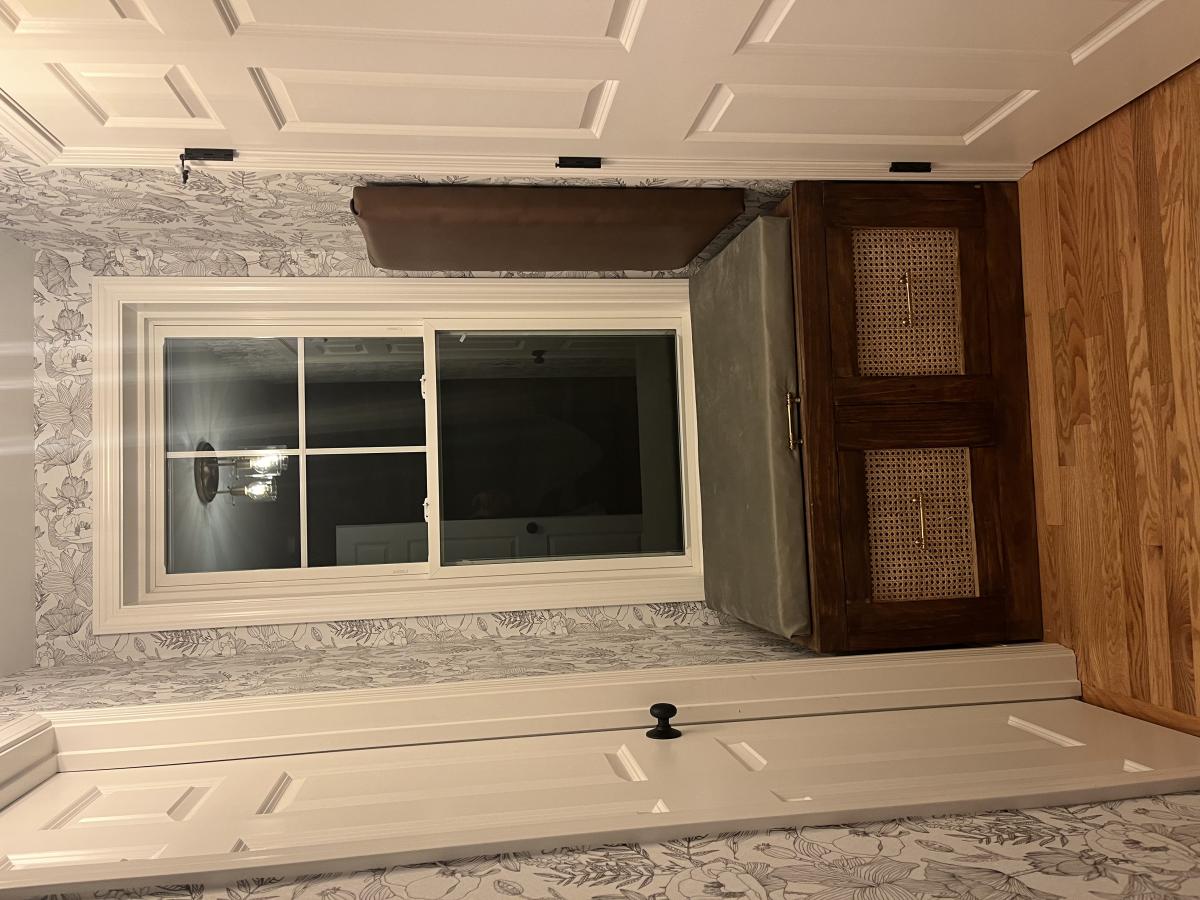
We started with the bench seating plans and adjusted them to fit our dimensions. added wallpaper, changed the lighting, and a couple cushions later... We have a totally transformed window seat! Loved doing this project!


Comments
Ana White Admin
Sat, 03/25/2023 - 09:23
Cool hangout!
Beautiful set up and very inviting, love it!
Ana White Admin
Sat, 03/25/2023 - 09:23
Cool hangout!
Beautiful set up and very inviting, love it!