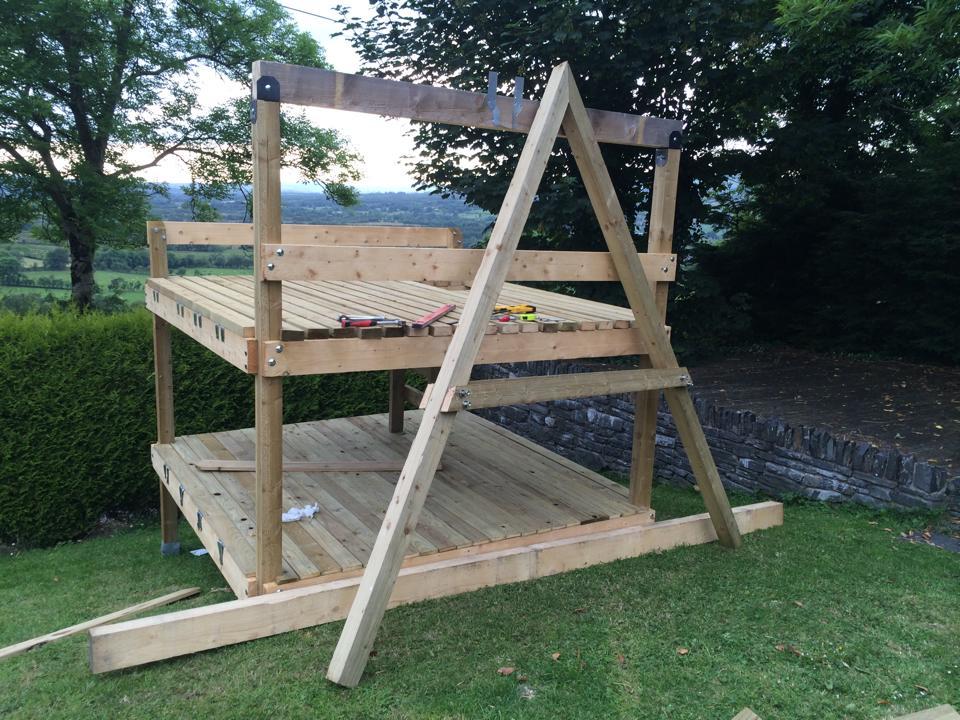
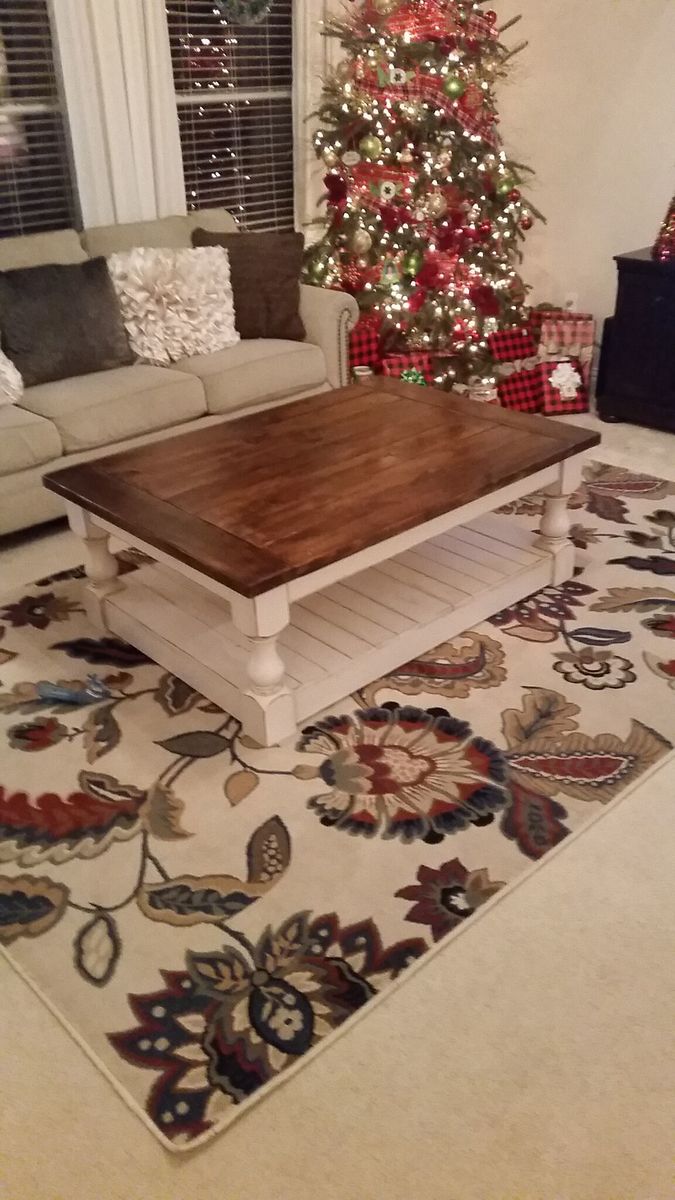
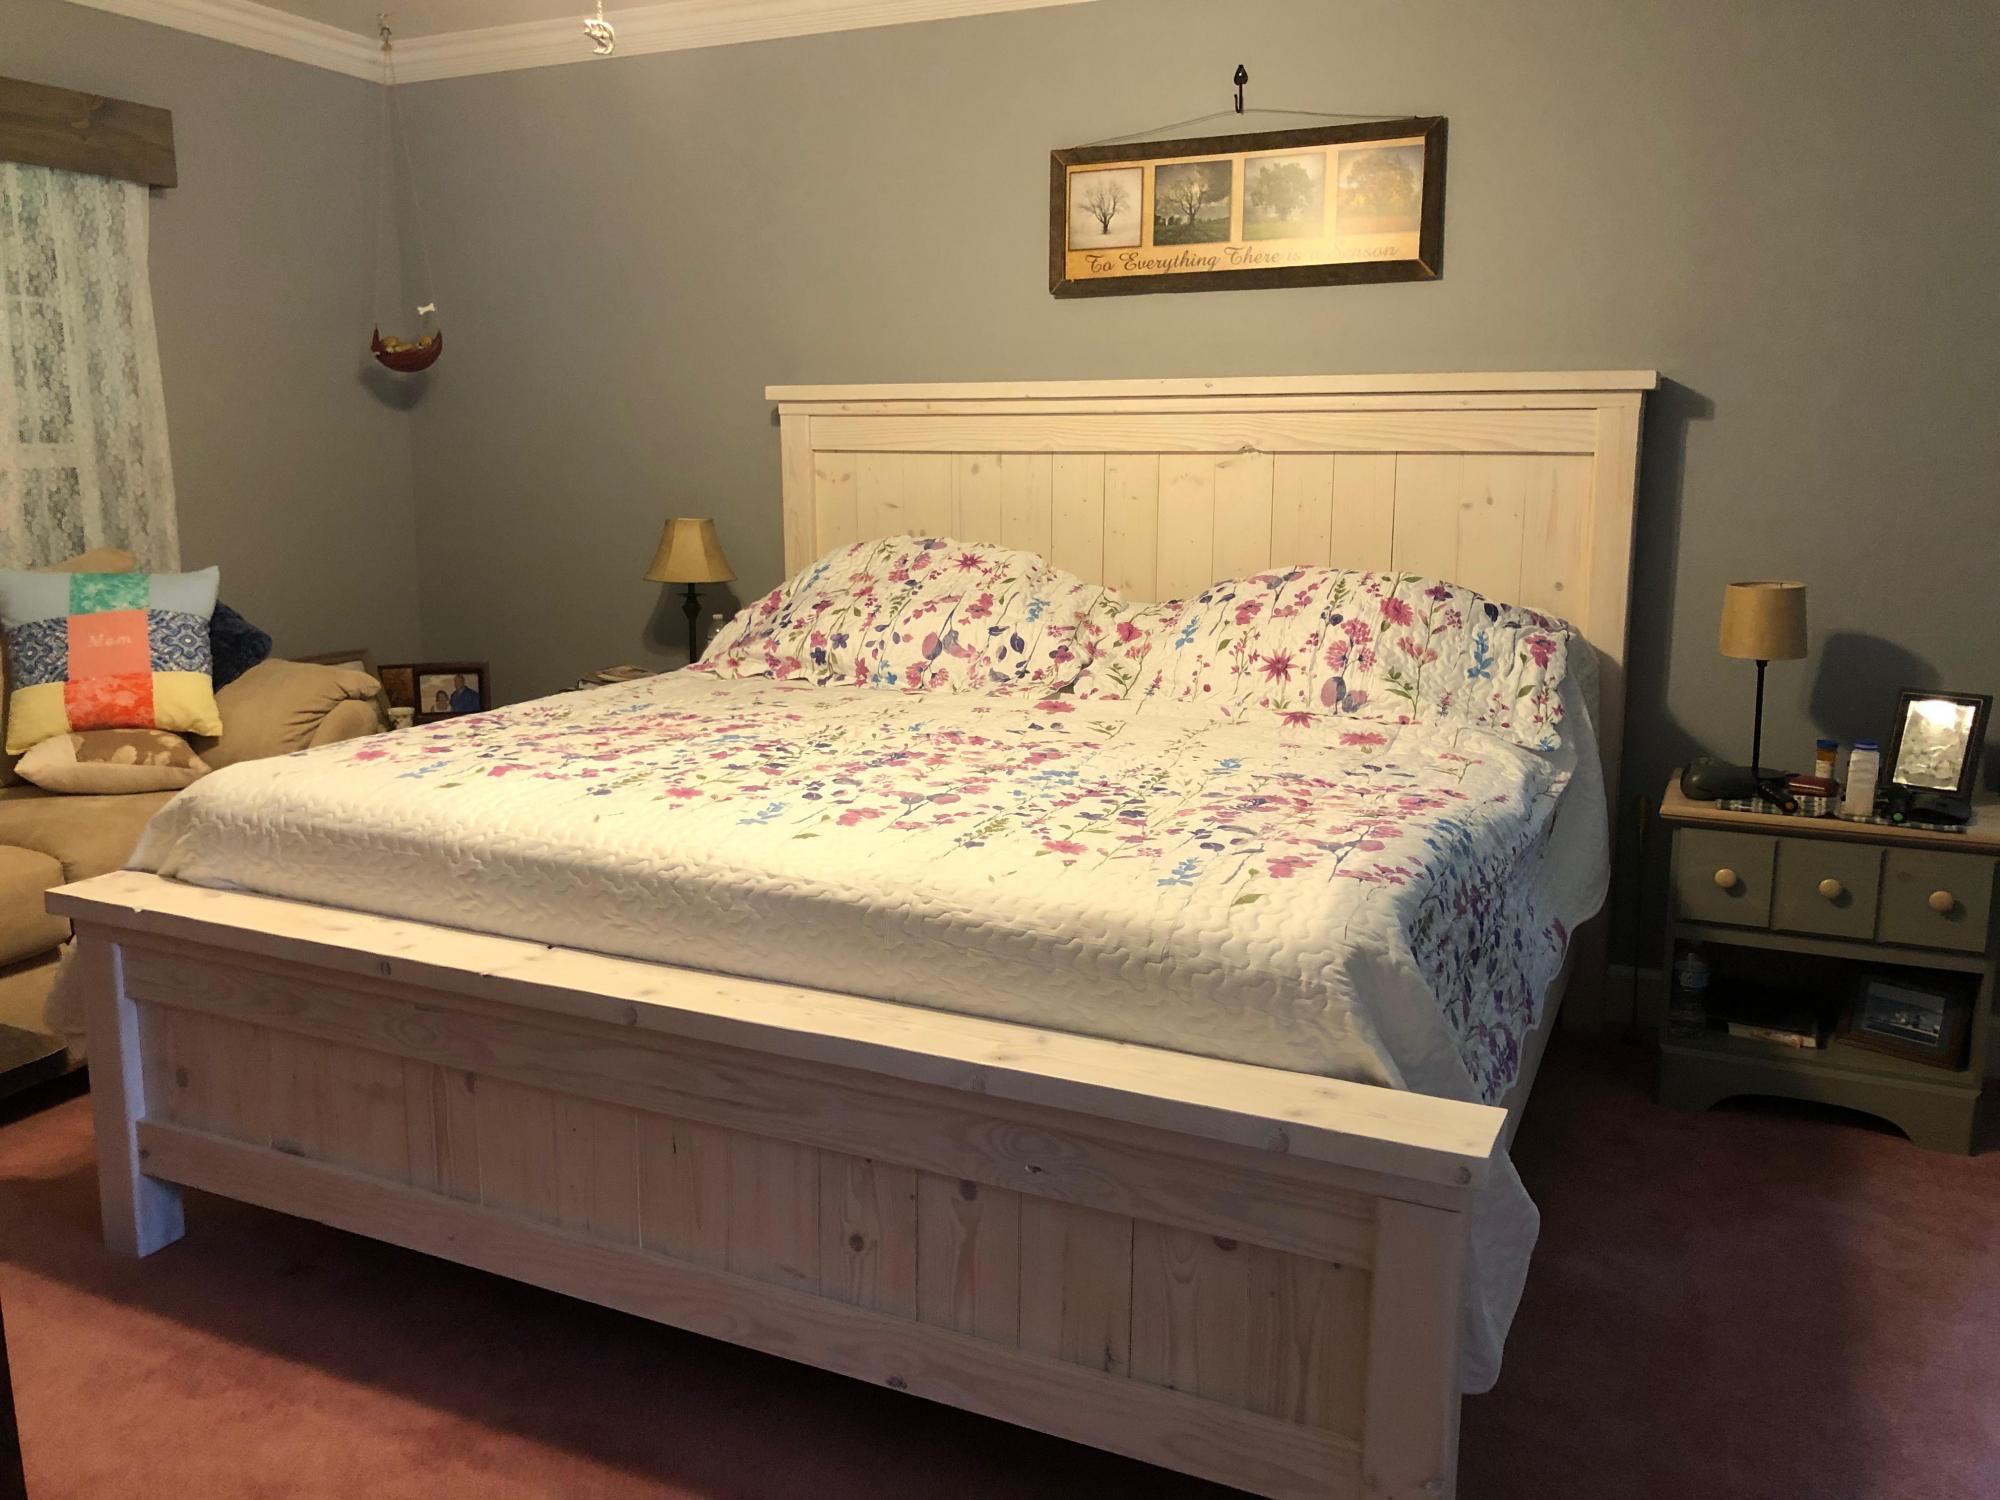
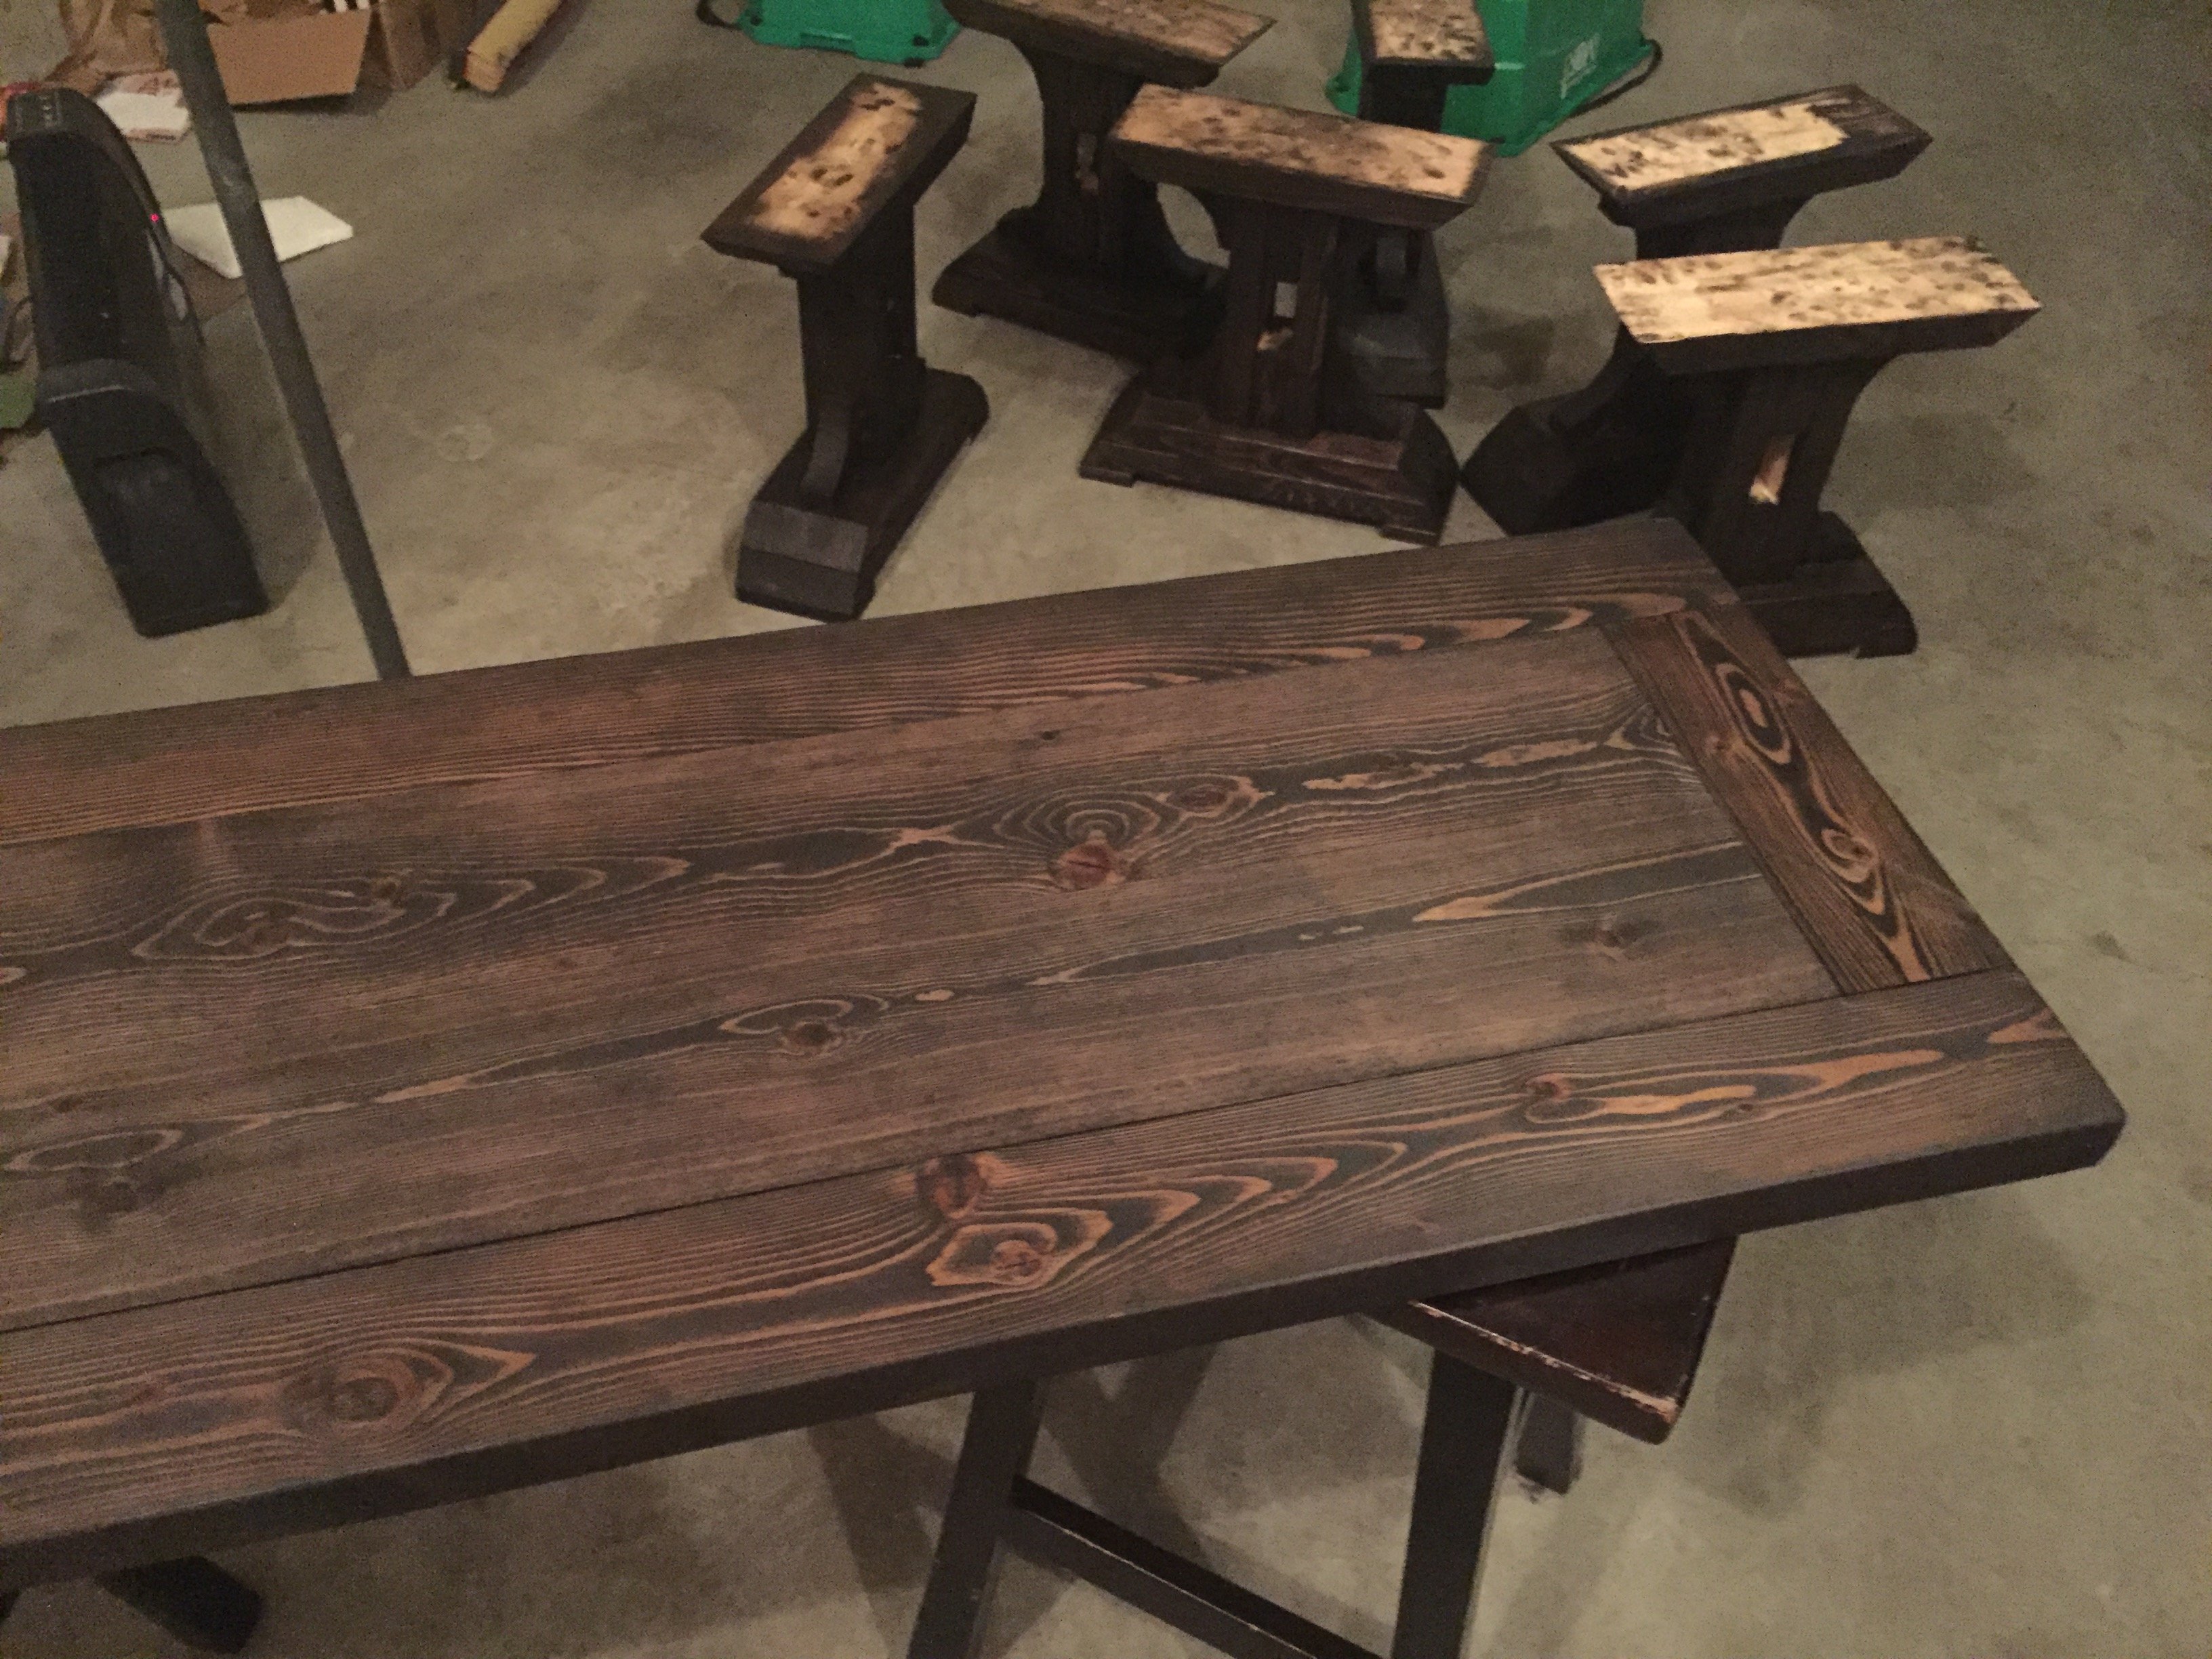
As my first furniture project I was impressed at how straight forward this was.
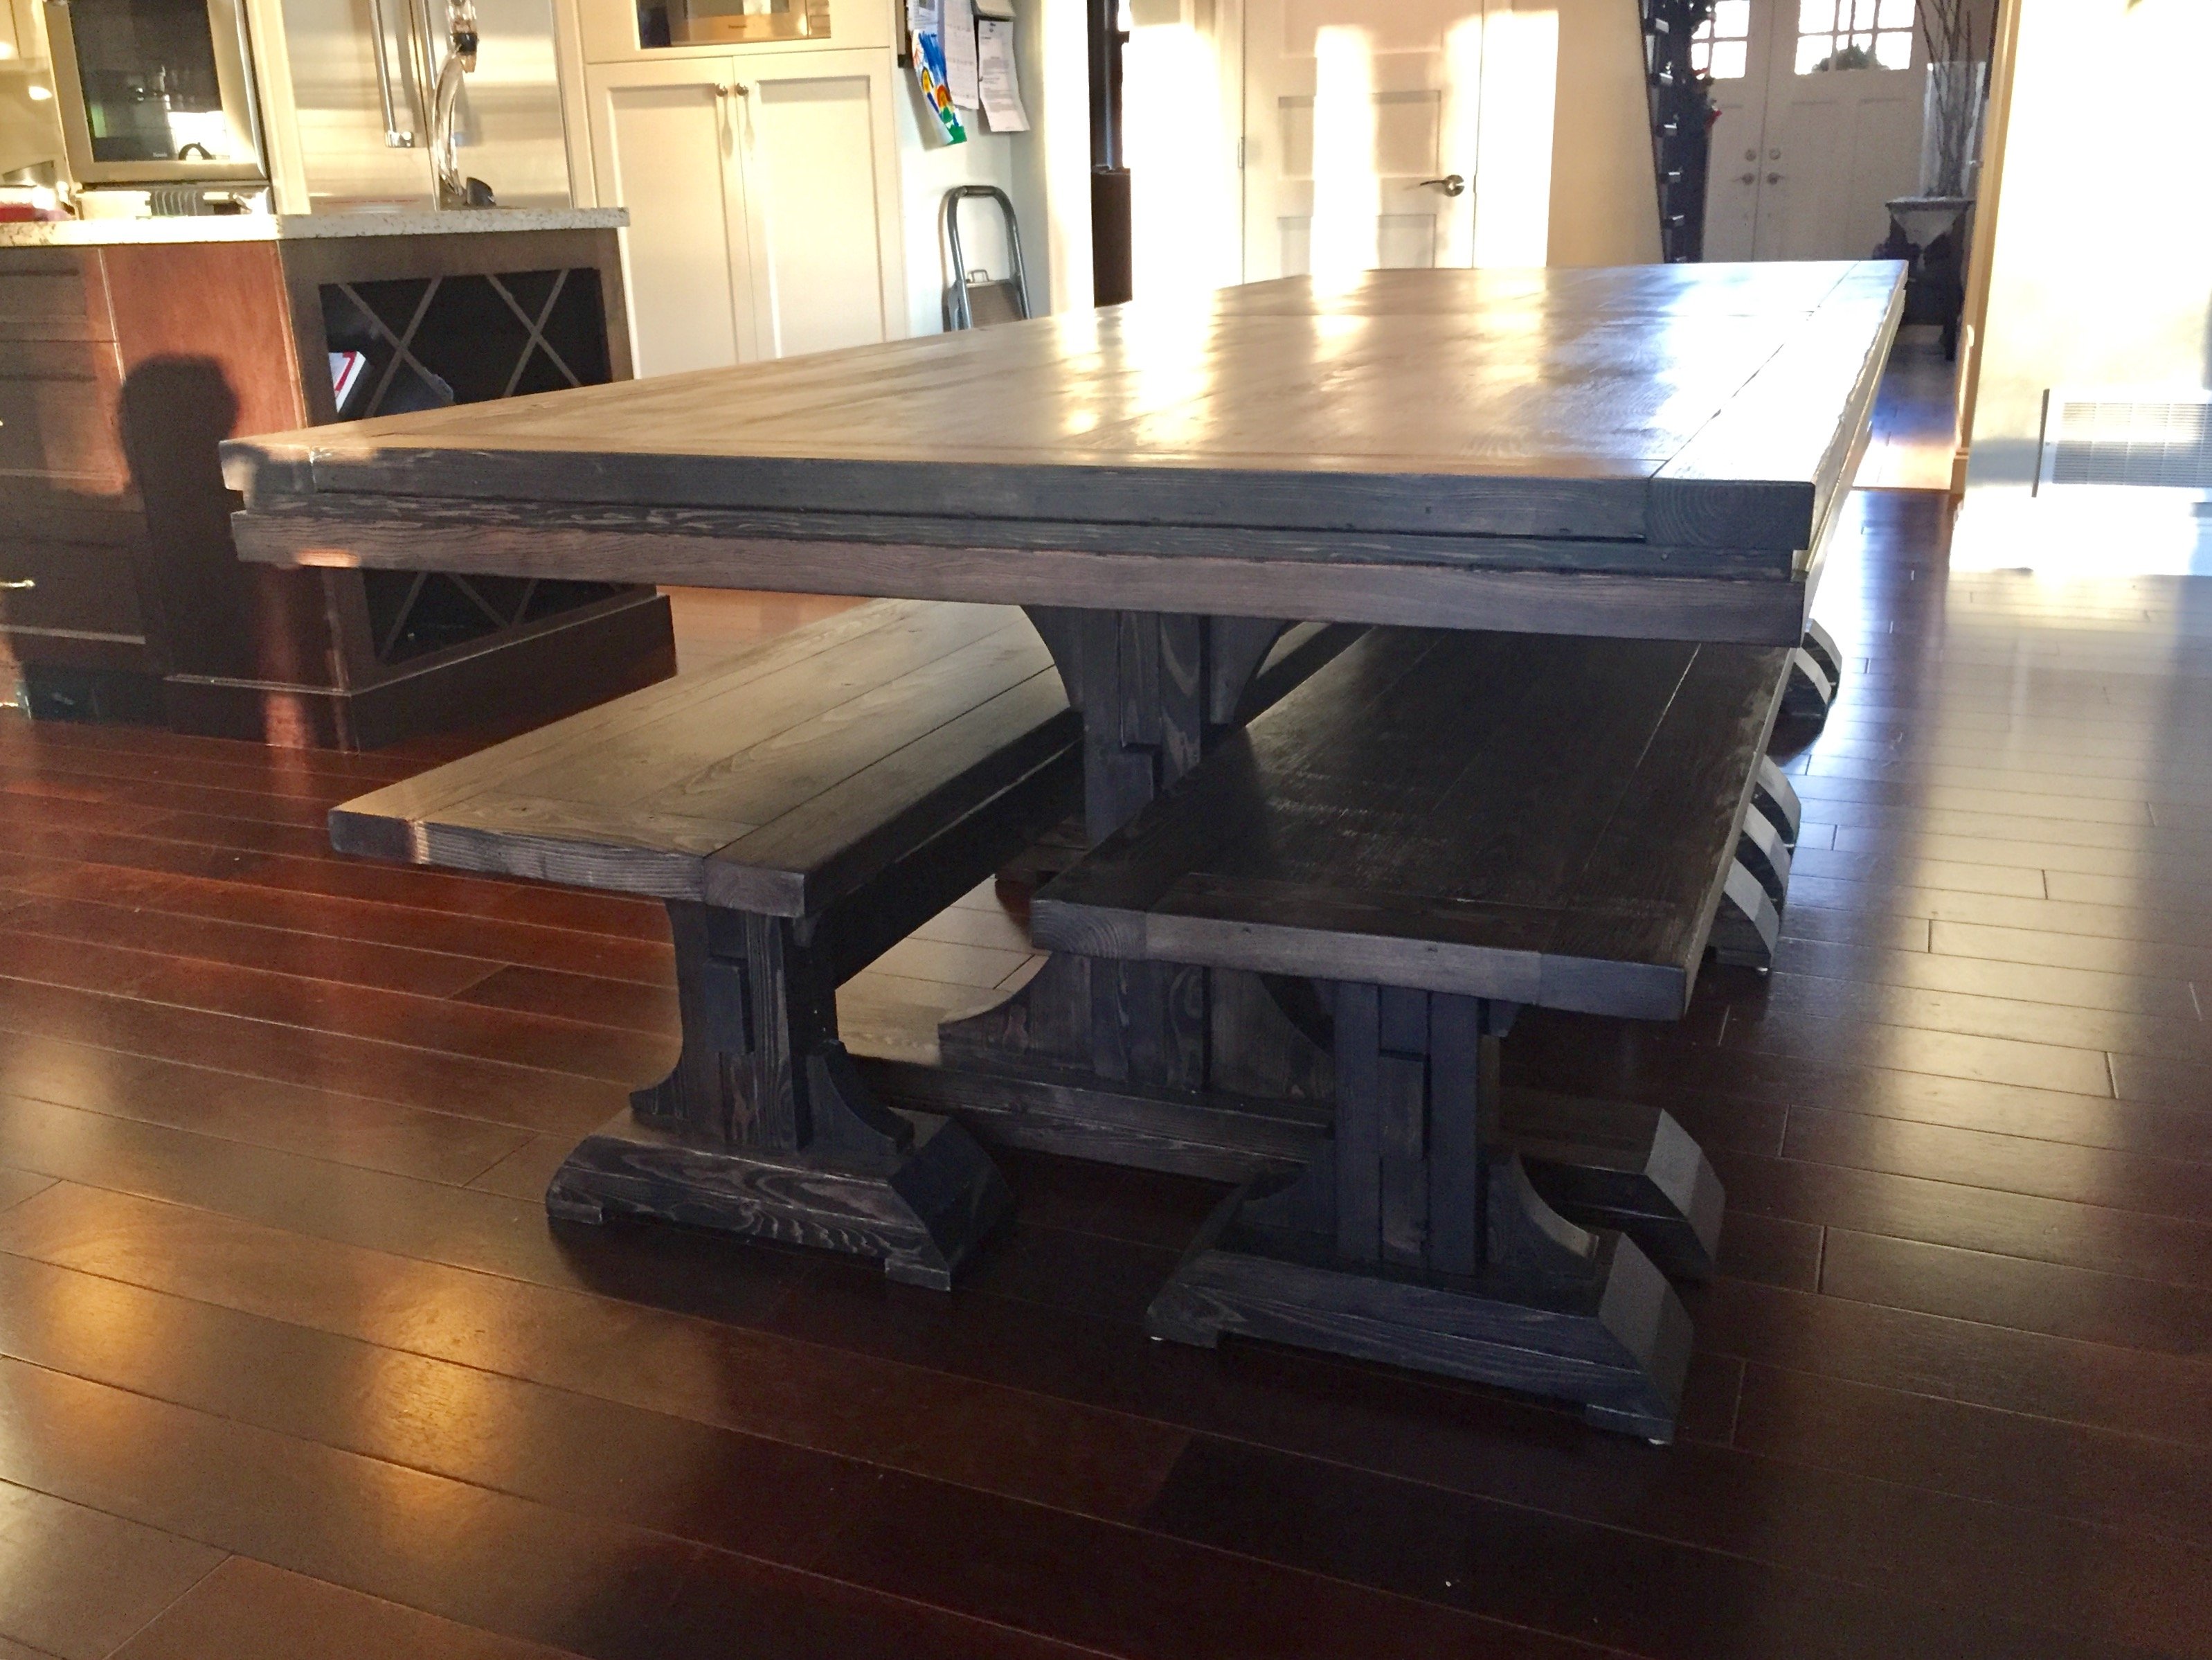
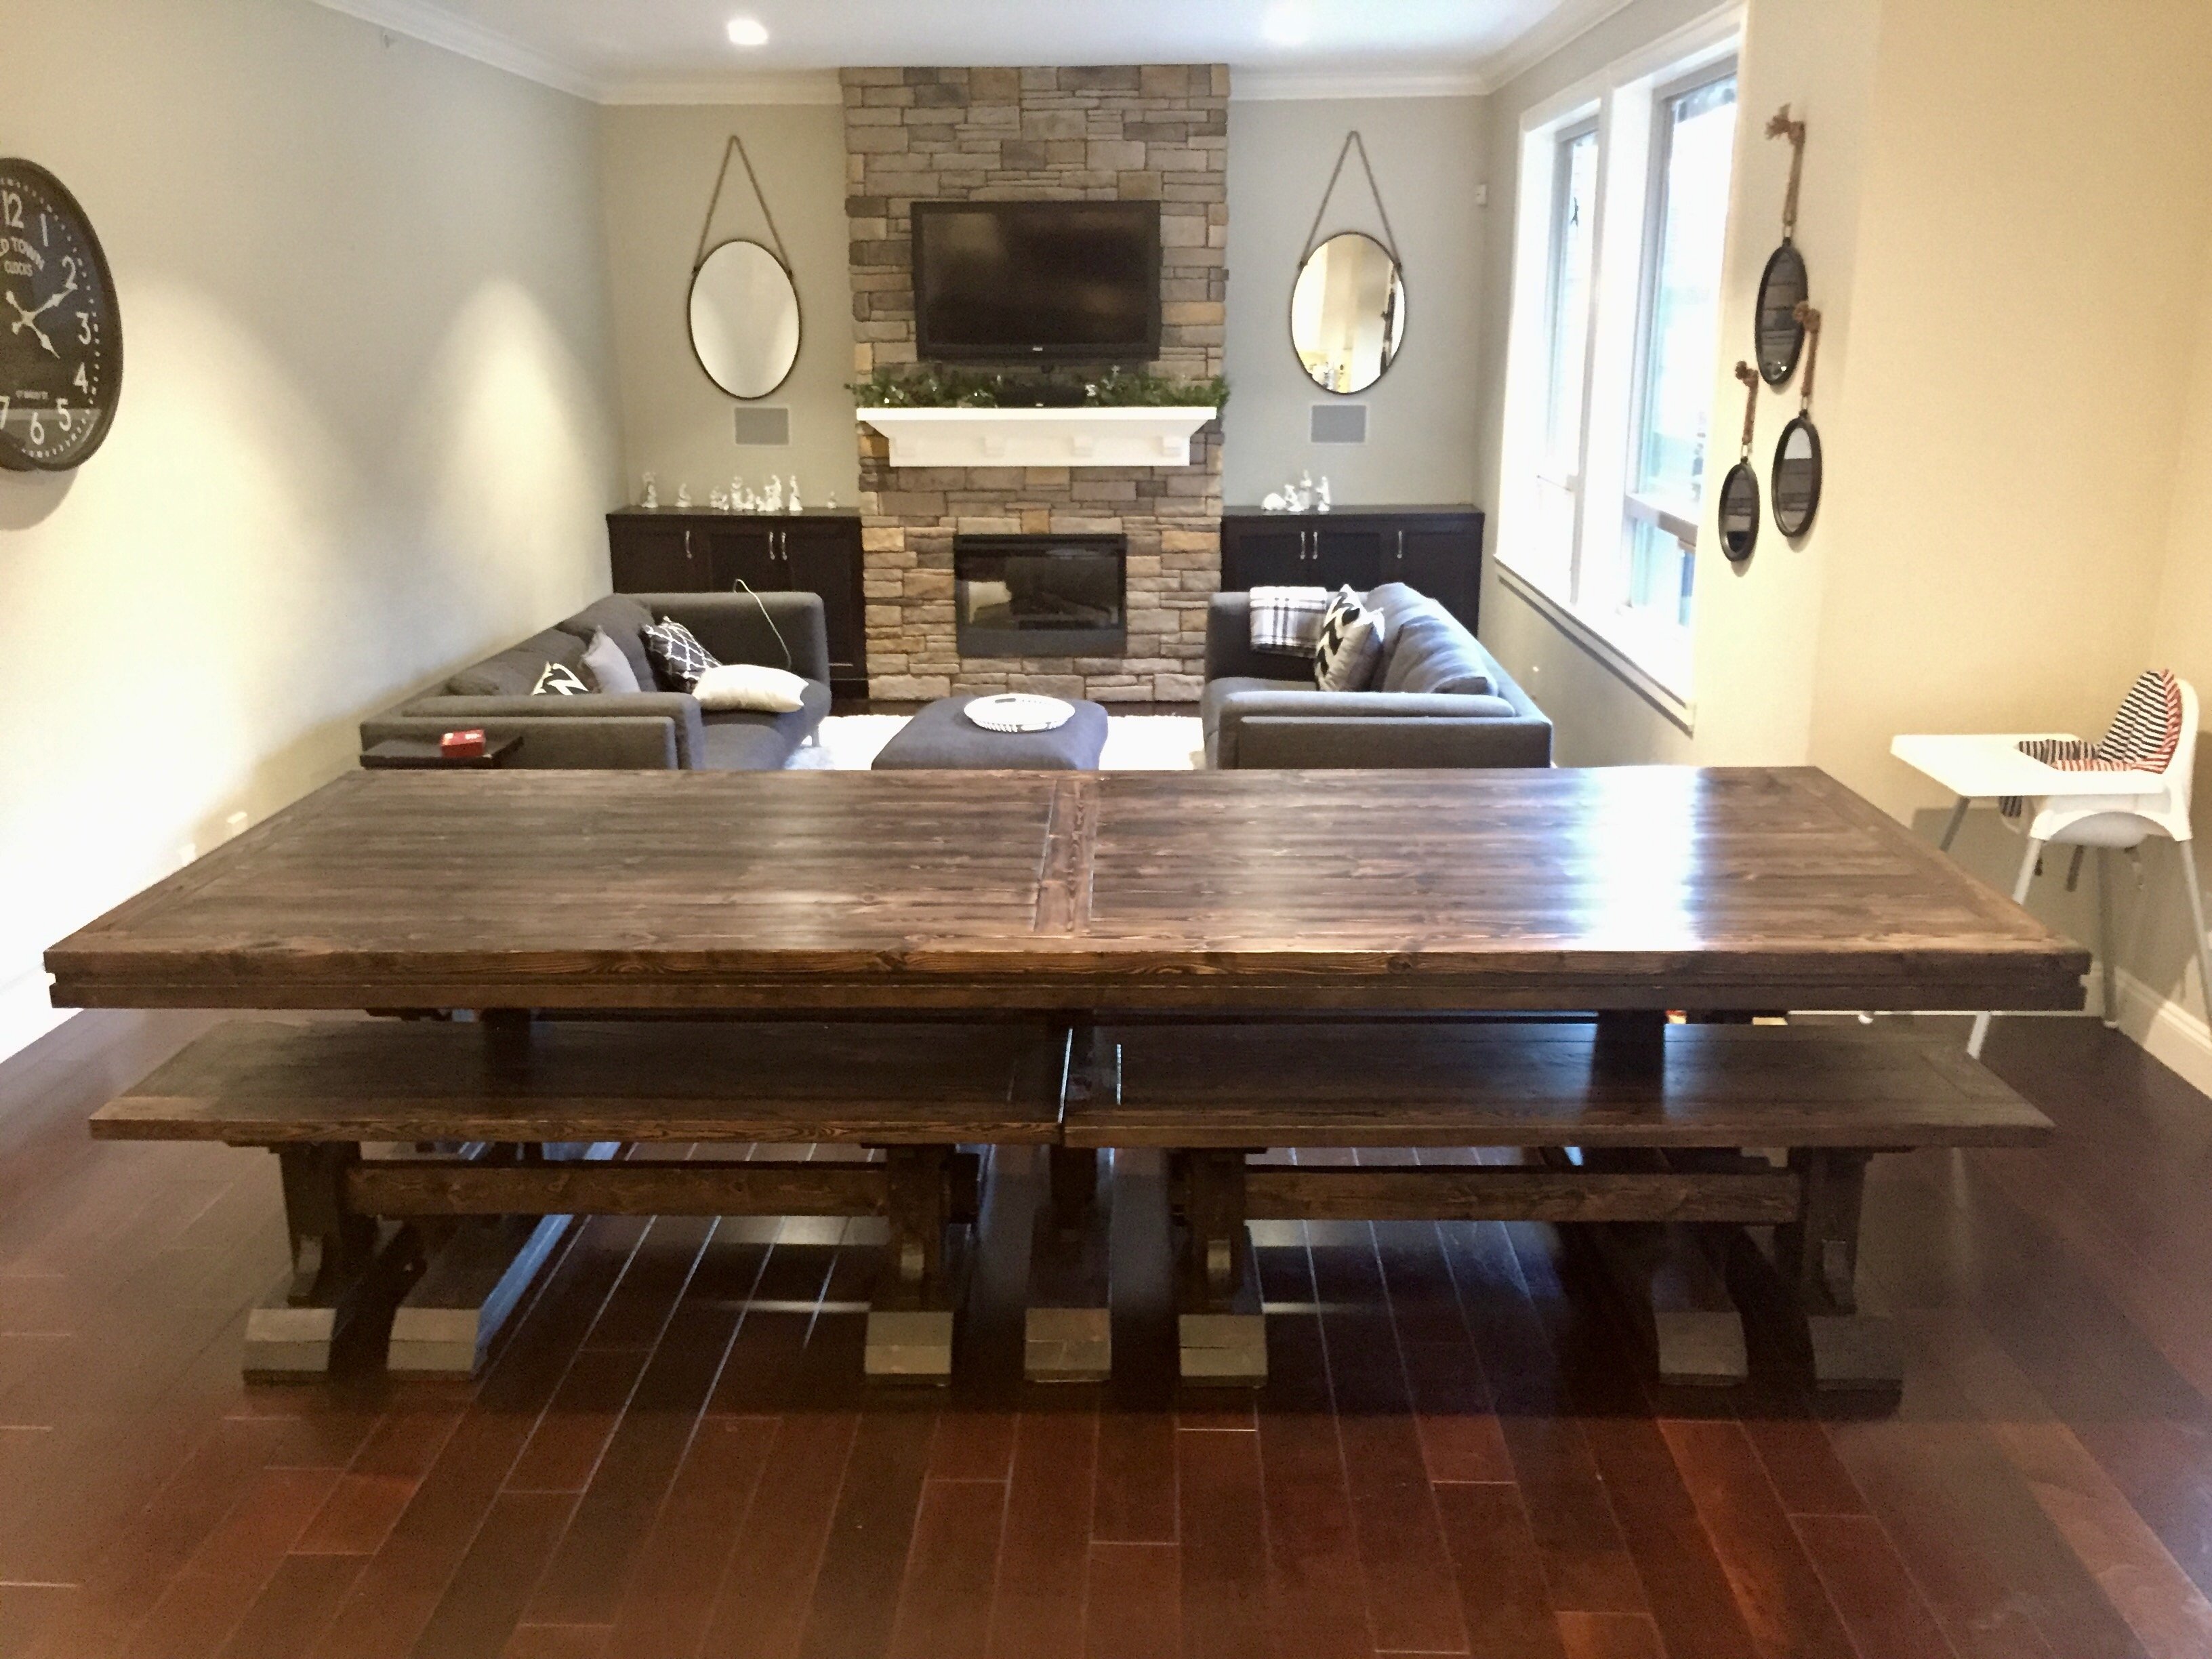
I expanded the plan to fit our family of 10. I also decided that splitting the benches into two and extending the overhang on the ends would allow us to tuck the benches all the way in without the legs colliding. The table is 120" with trestles centered at 20", 60" & 100". I did some math to make sure that this wouldn't cause the table to be tippy and I should be able to stand on the very edge (like a diving board)
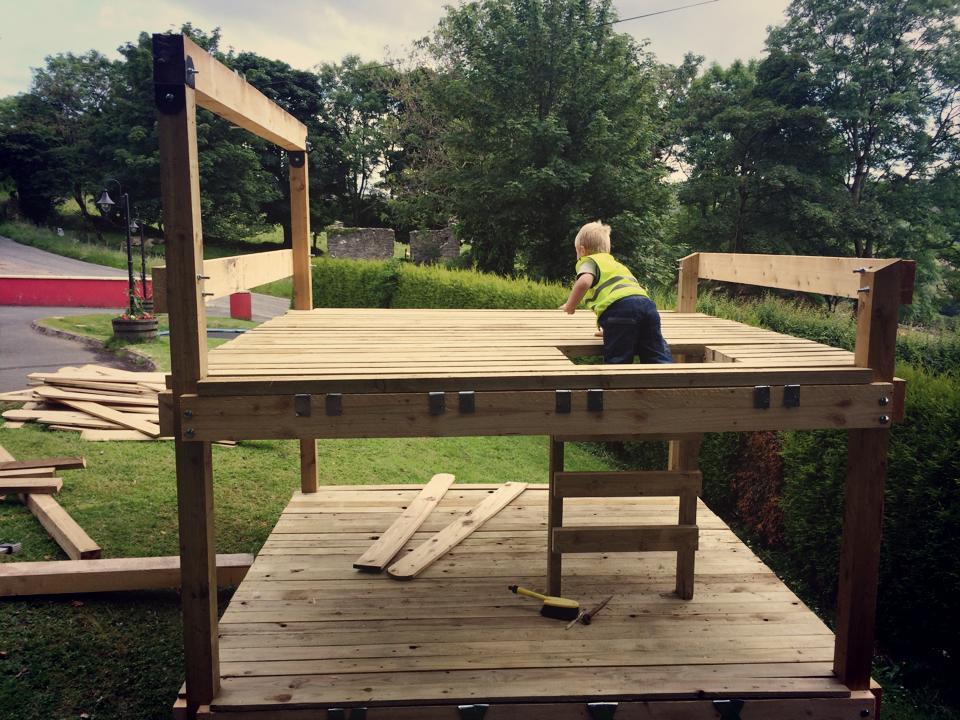
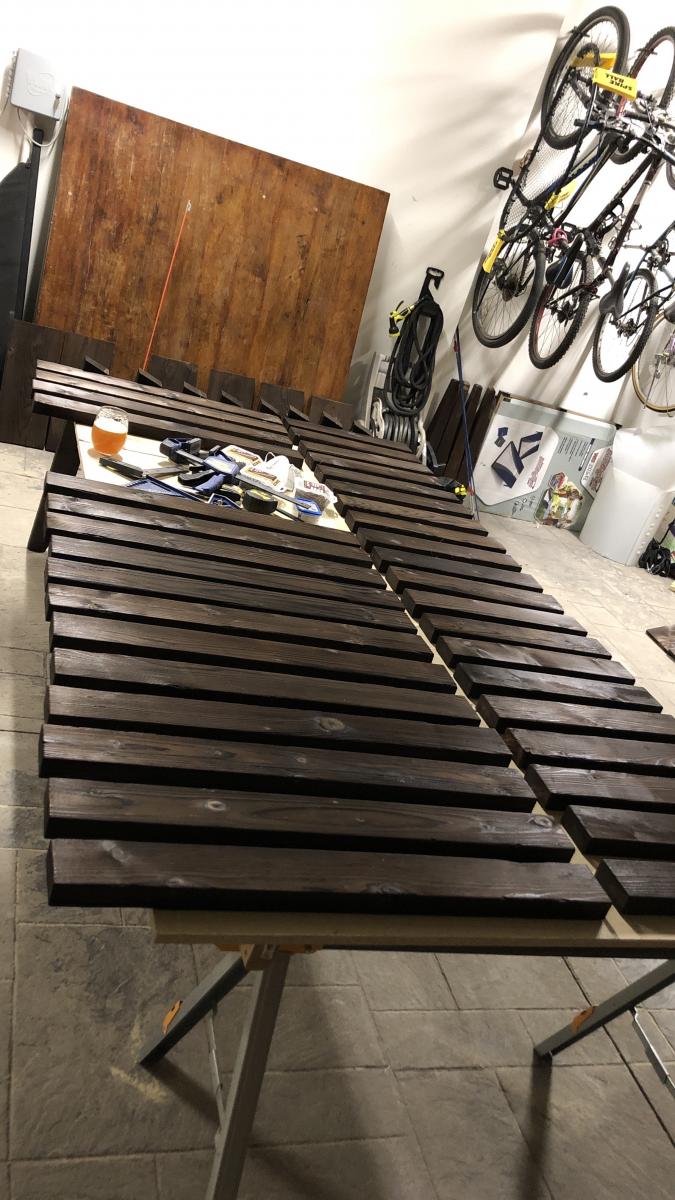
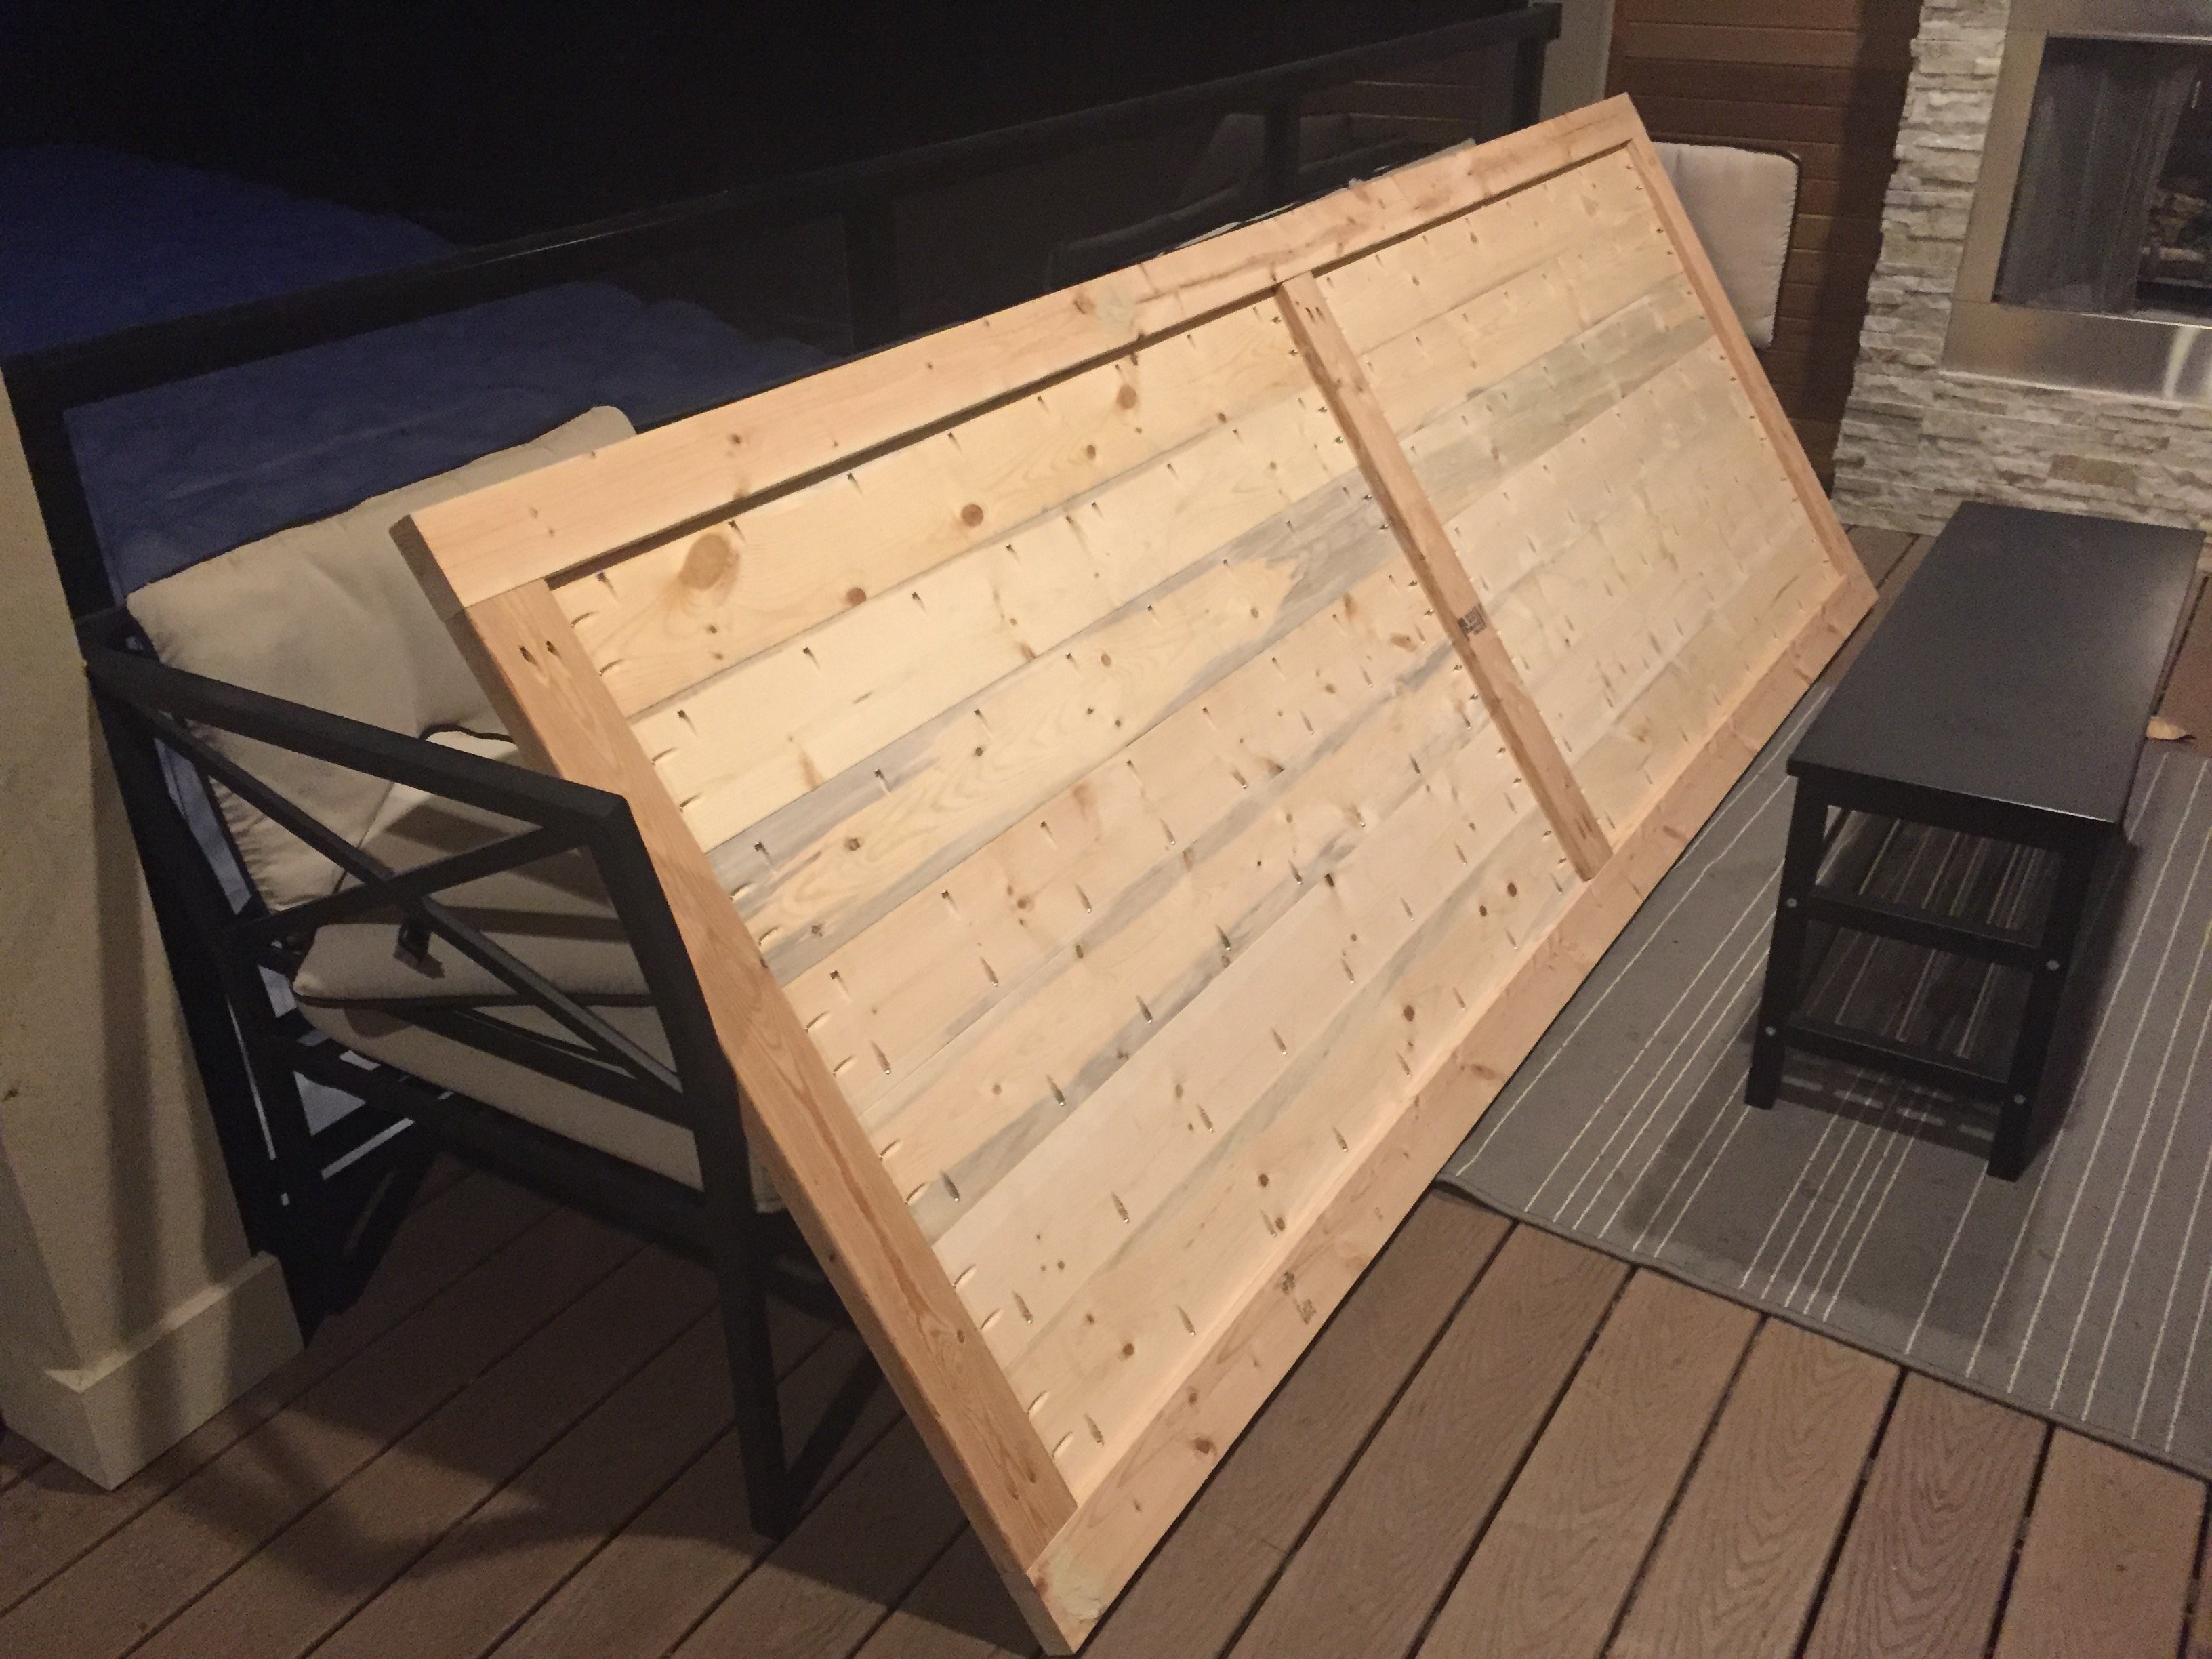
Biggest fail was not keeping the top level. This created far too much sanding for my liking. Any tips on how to avoid the pocket hole joins from shifting? Would be appreciated. My clamps don't have a deep enough mouth to reach the joins and I guess the kids aren't heavy enough to hold it all in place.
Hardest part was cutting the curve for the benches decorative pieces.


Comments
booksnotbombs
Wed, 09/03/2014 - 07:35
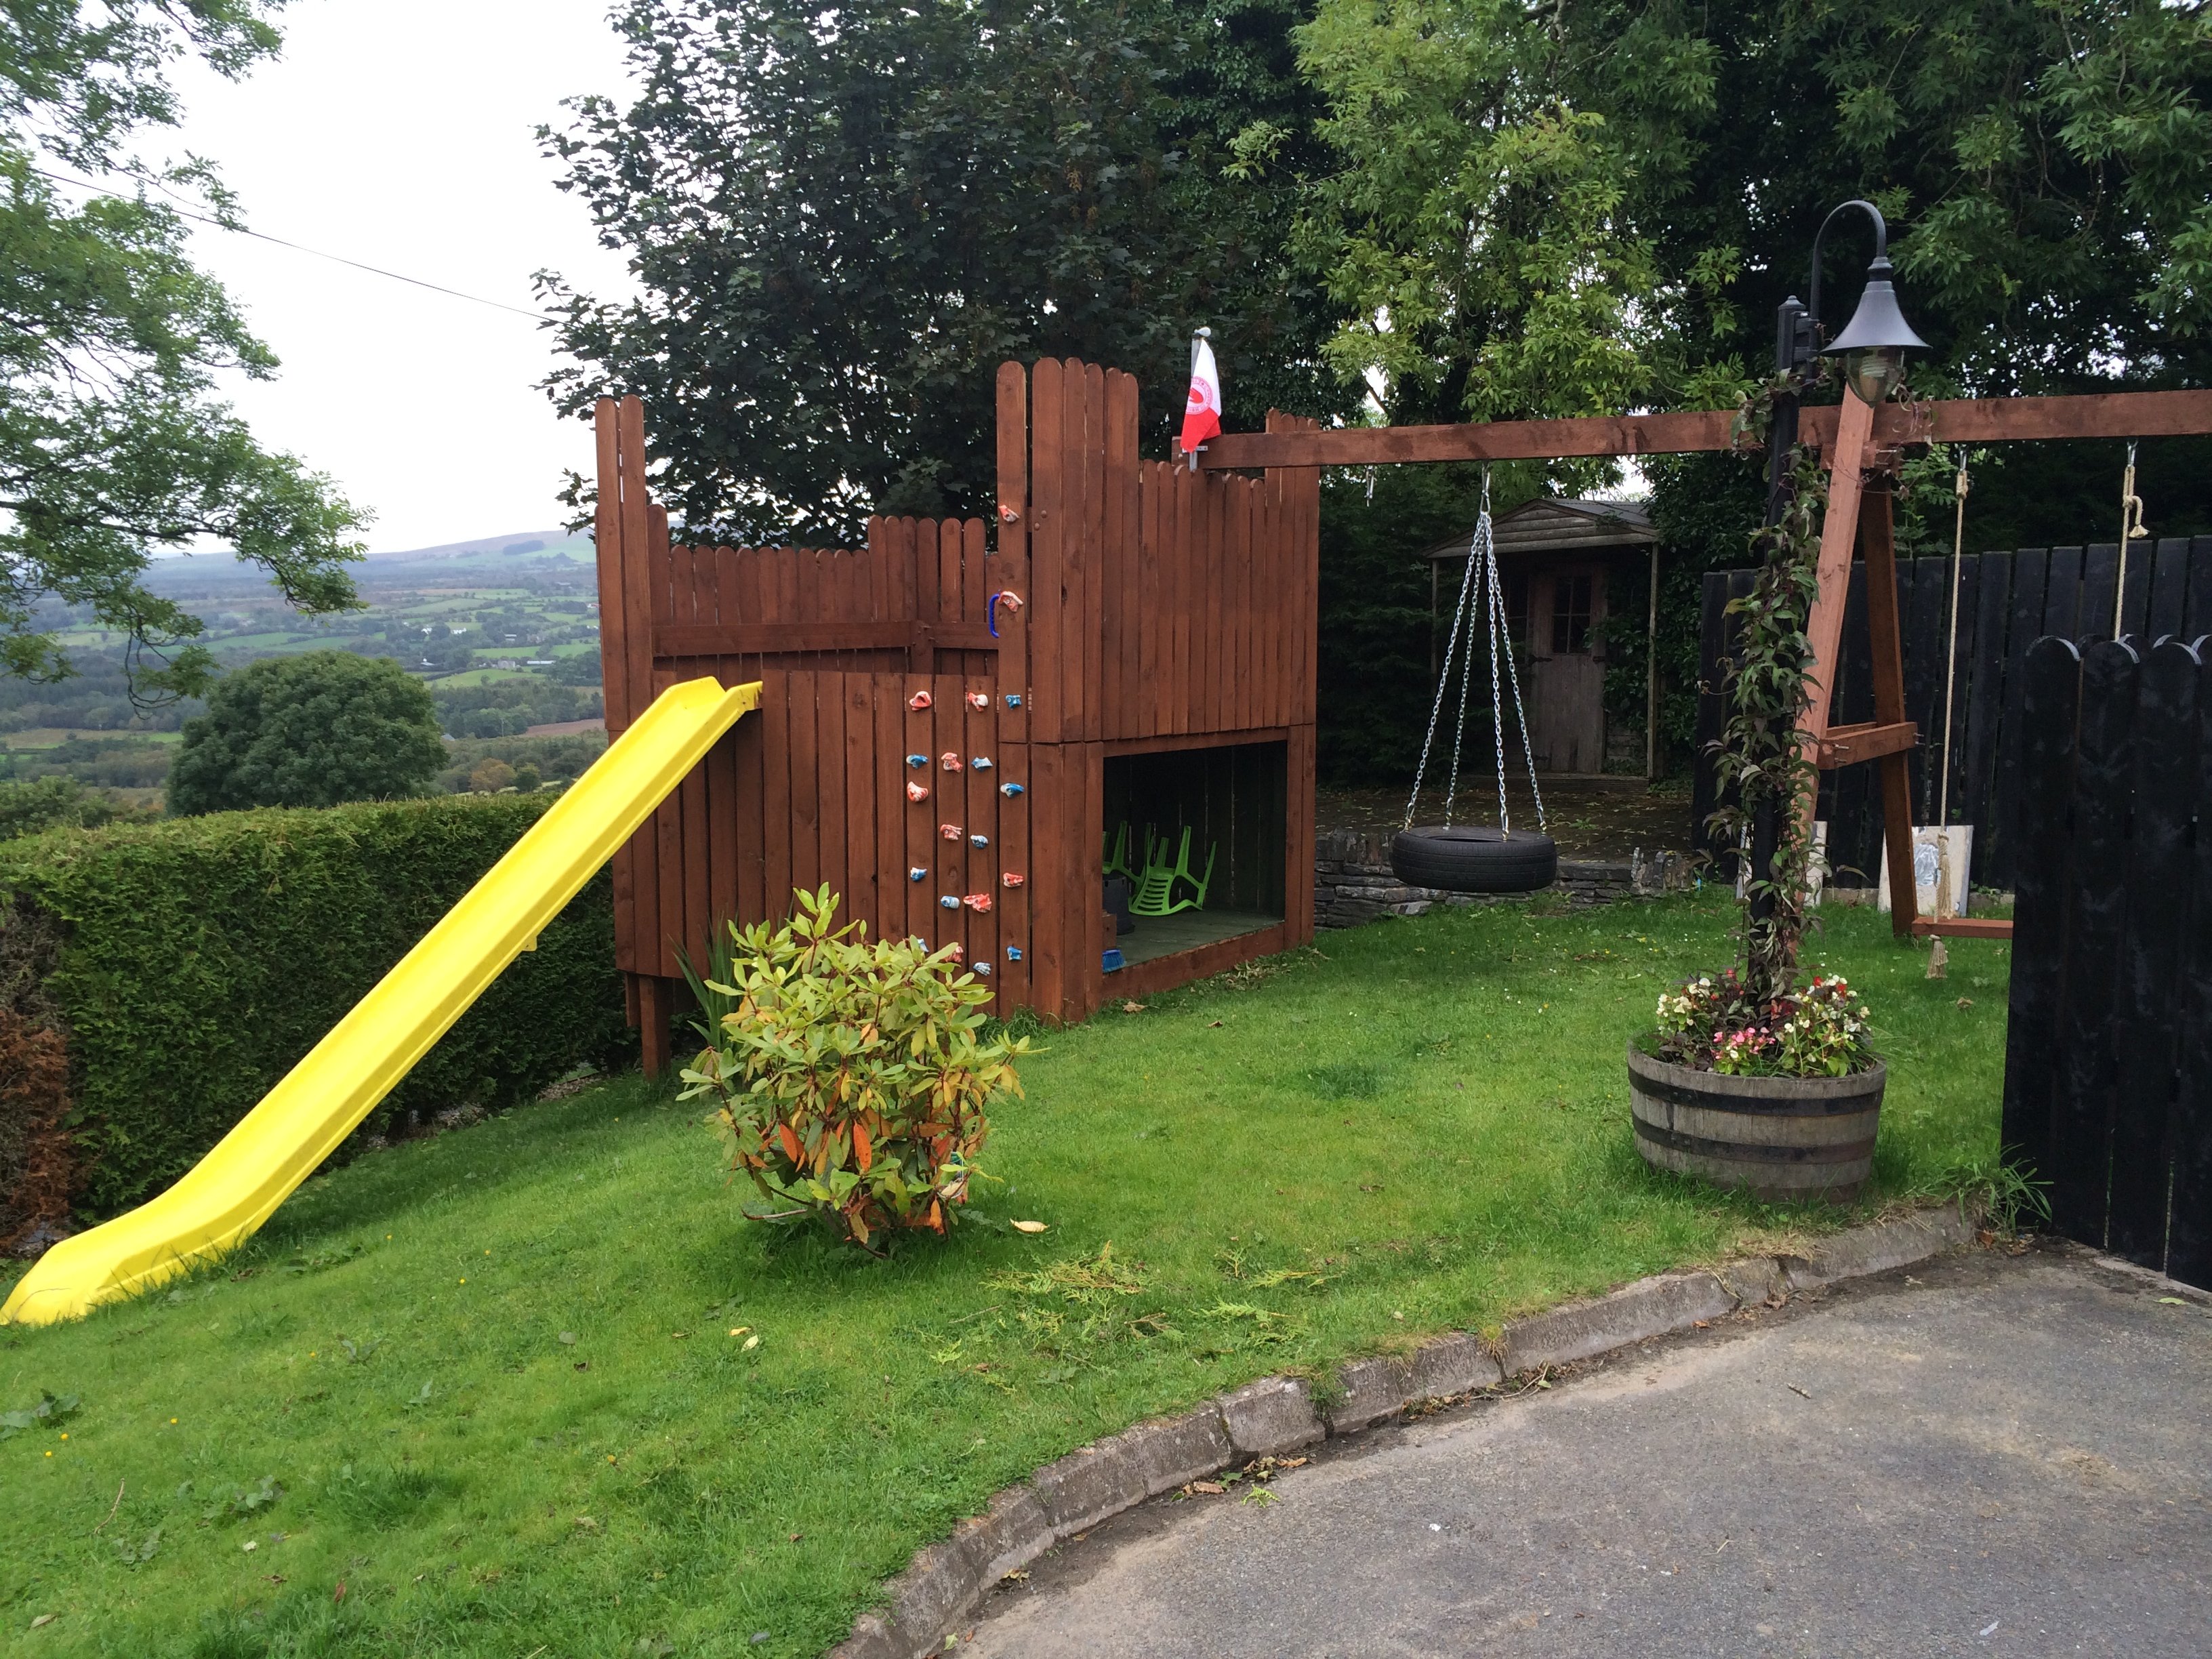
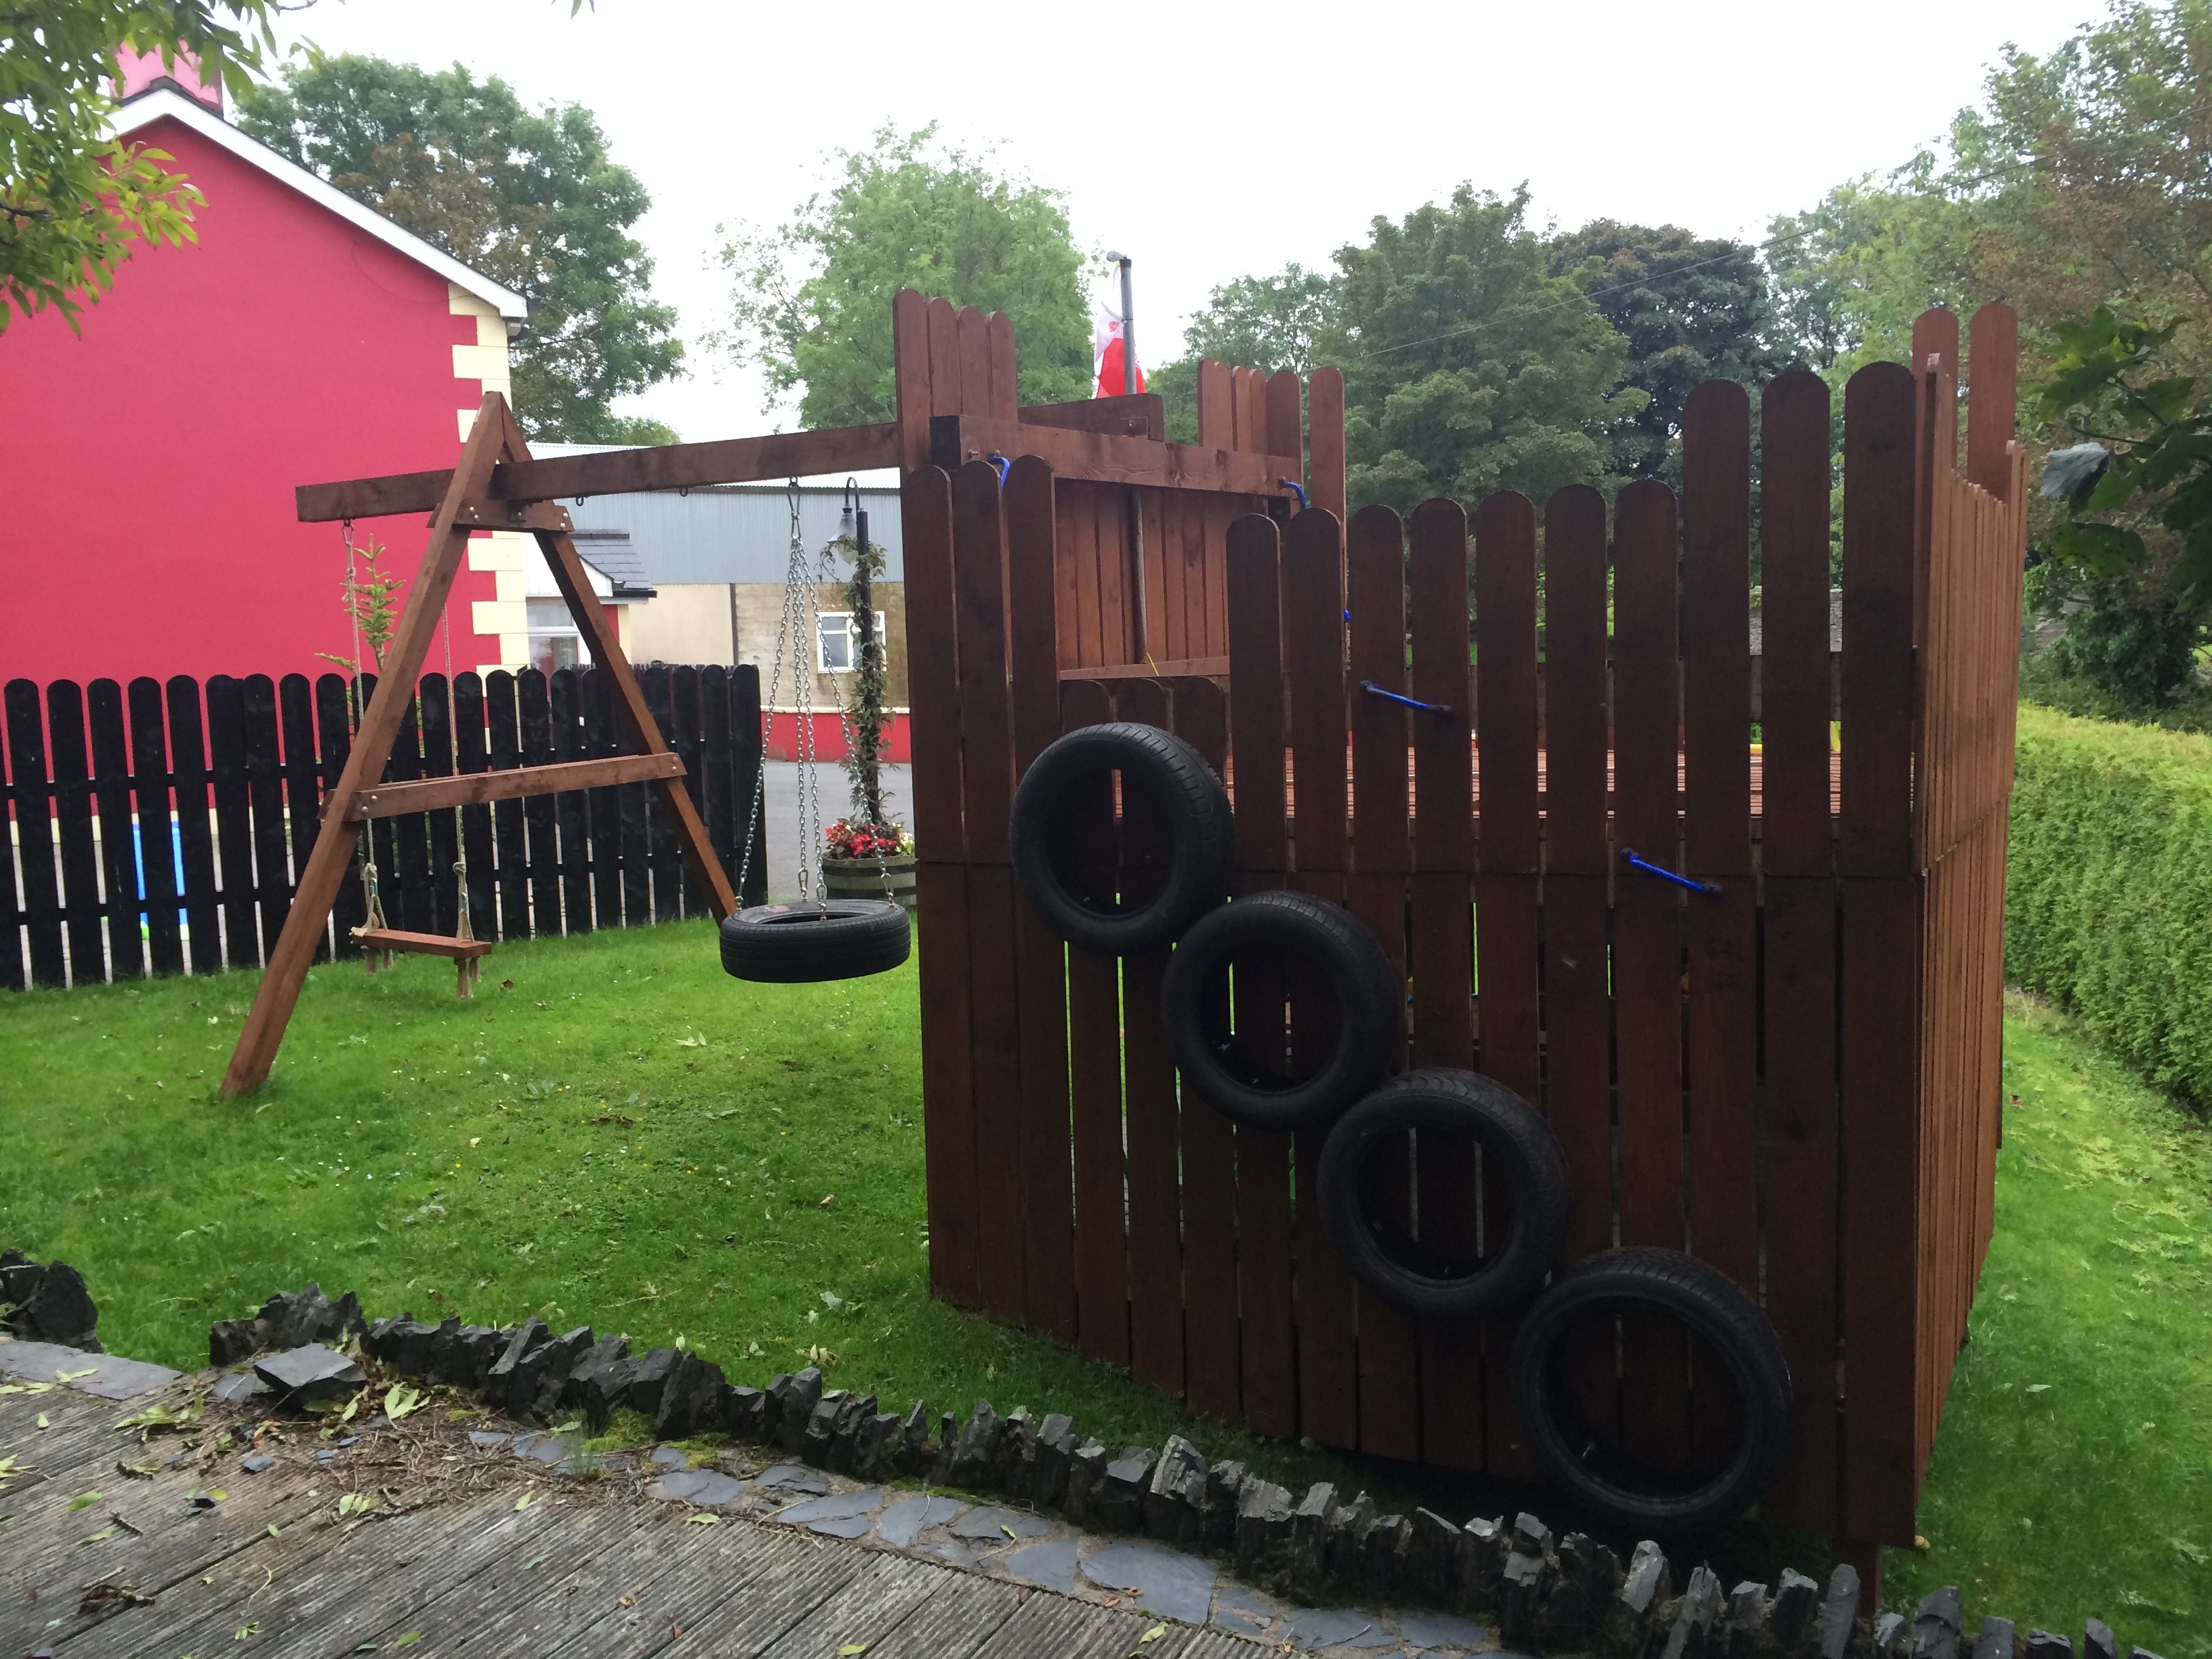
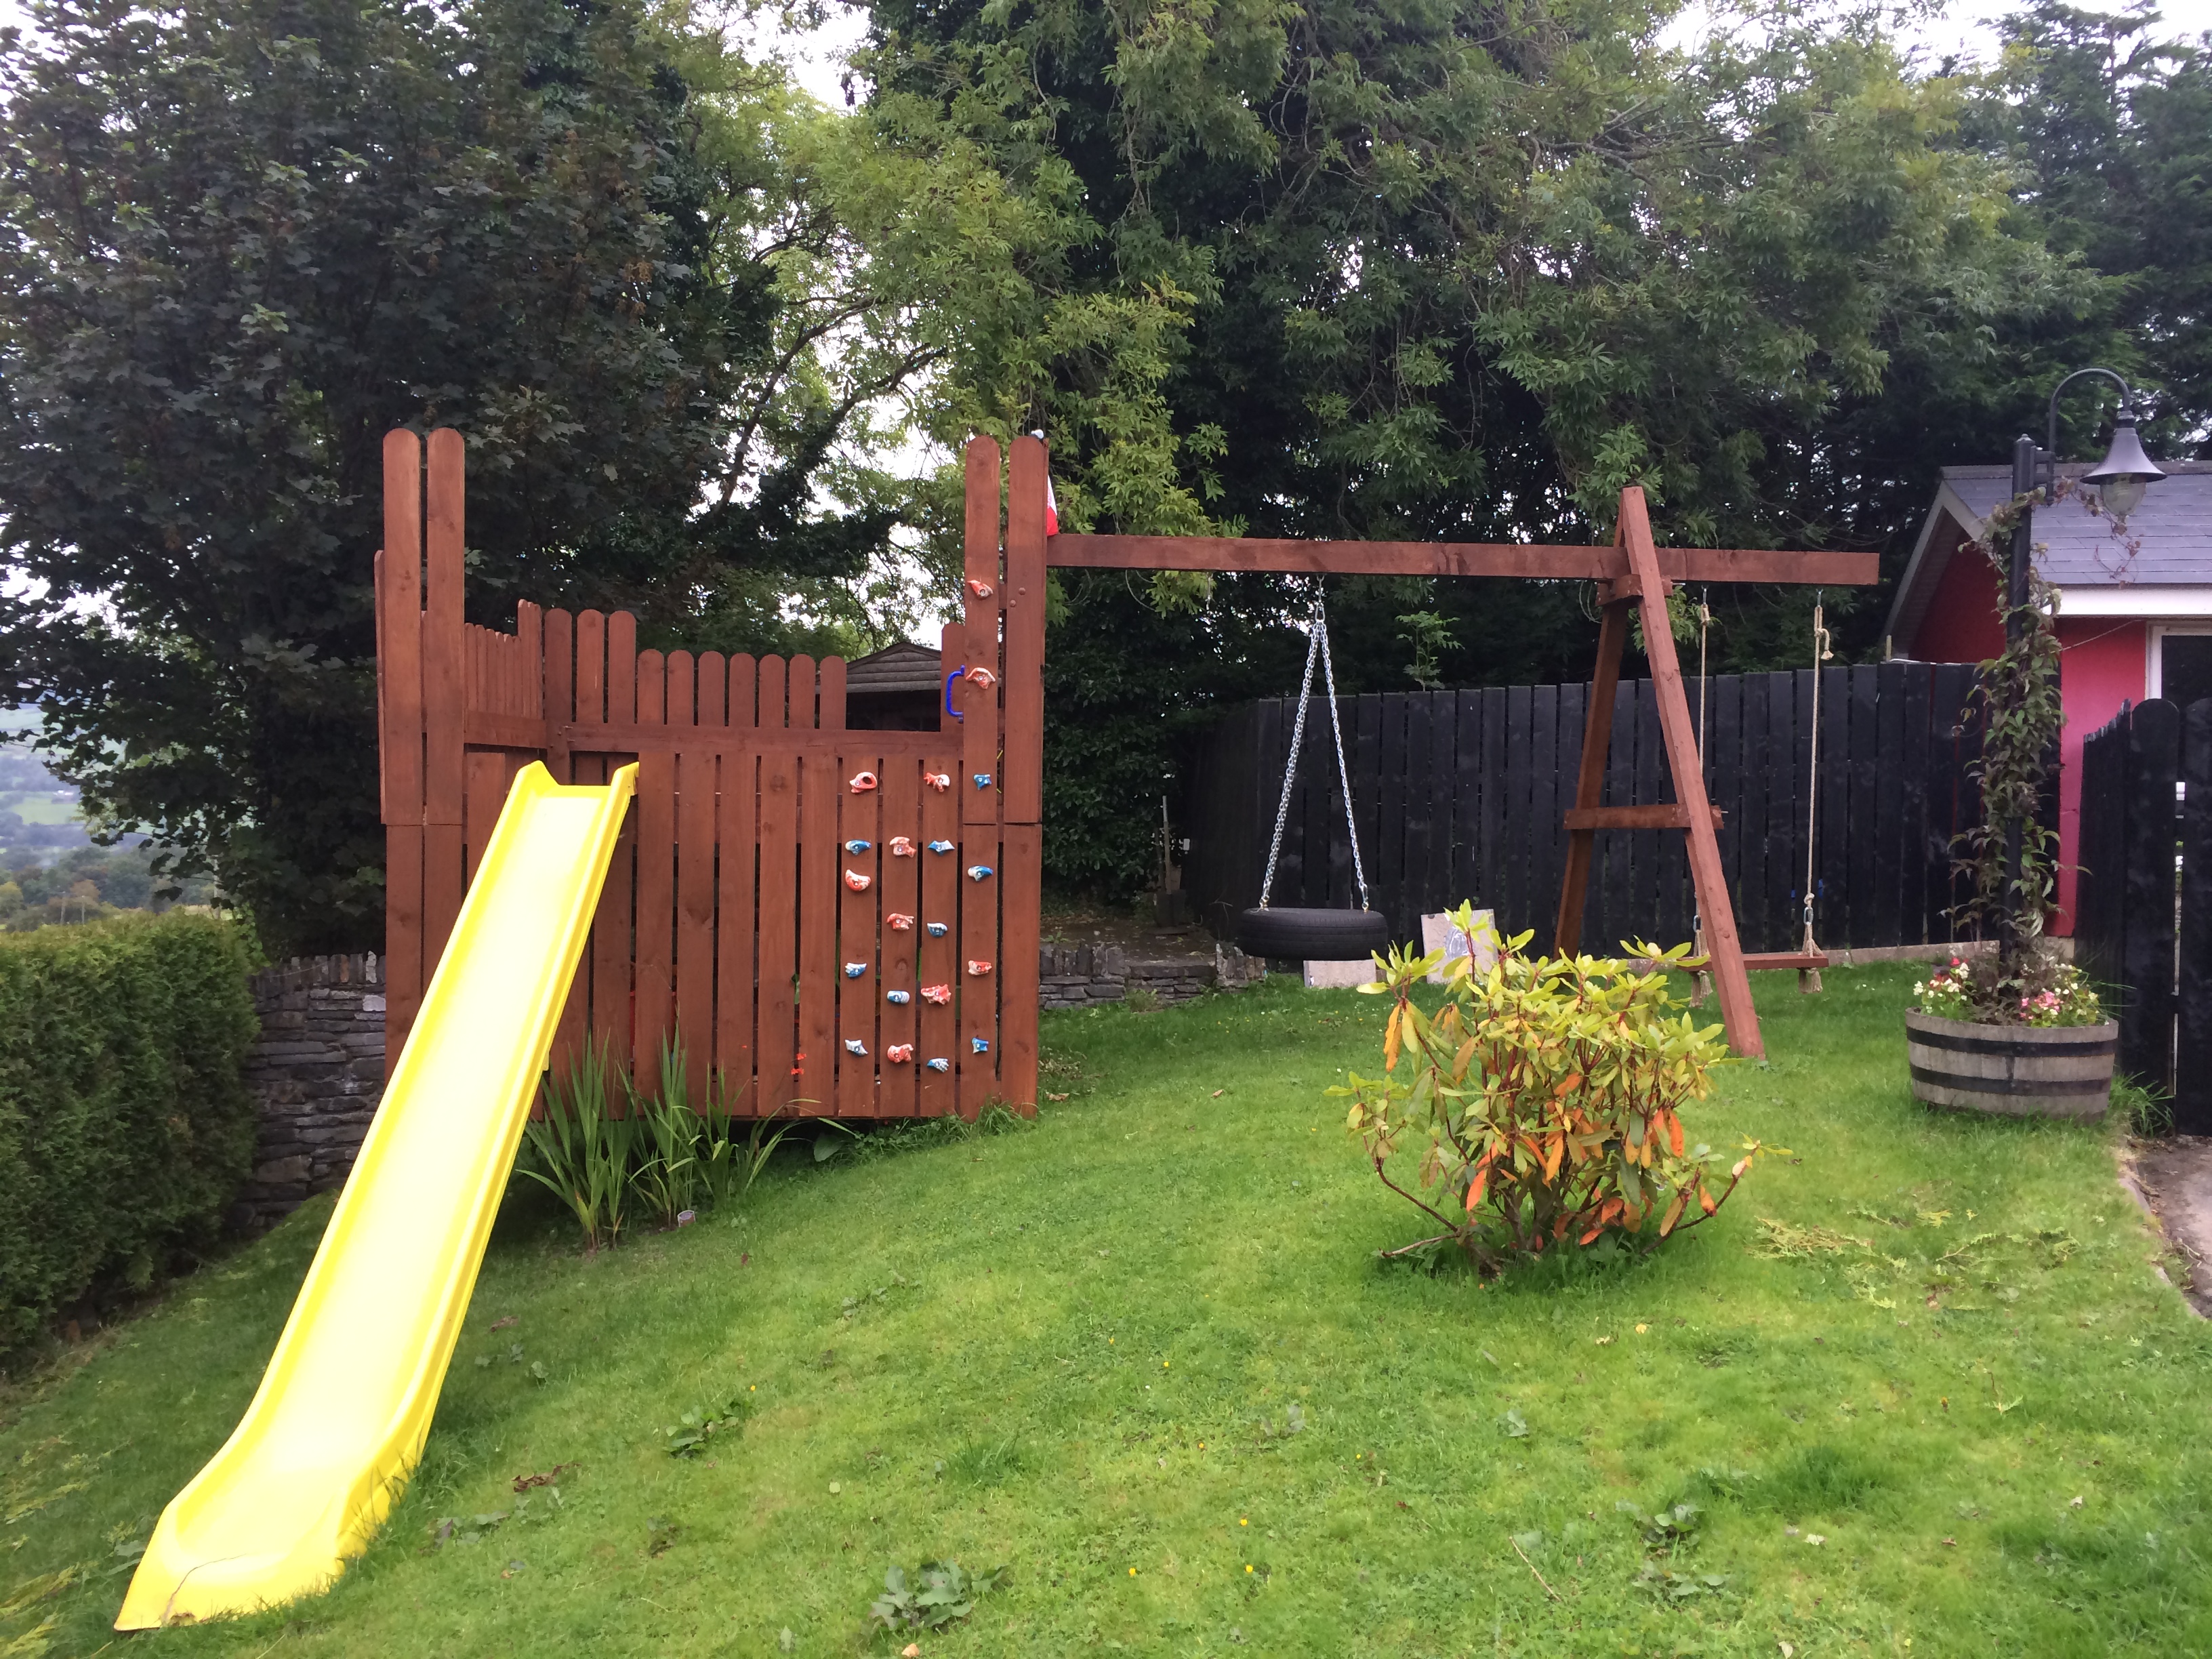
You have a BEAUTIFUL view
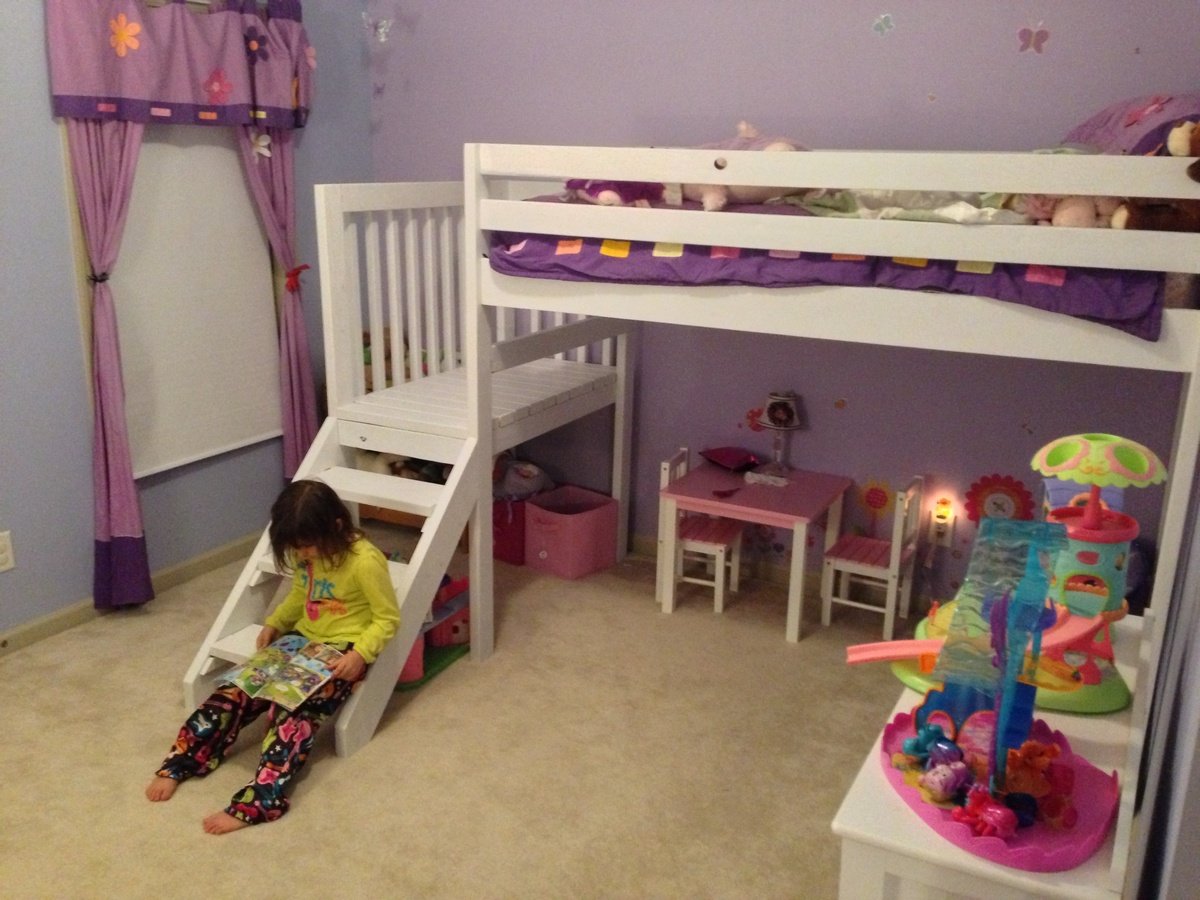
You have a BEAUTIFUL view from your yard! Just curious, where do you live? I assumed somewhere in Europe due to the currency. The play area looks fantastic. What lucky kiddos!
lervy
Wed, 09/03/2014 - 08:21
Thanks. Lovely part of the
Thanks. Lovely part of the country outside Omagh, Northern Ireland
dmcarwin
Fri, 09/05/2014 - 12:51
LOVE it!
This looks amazing! Great job!