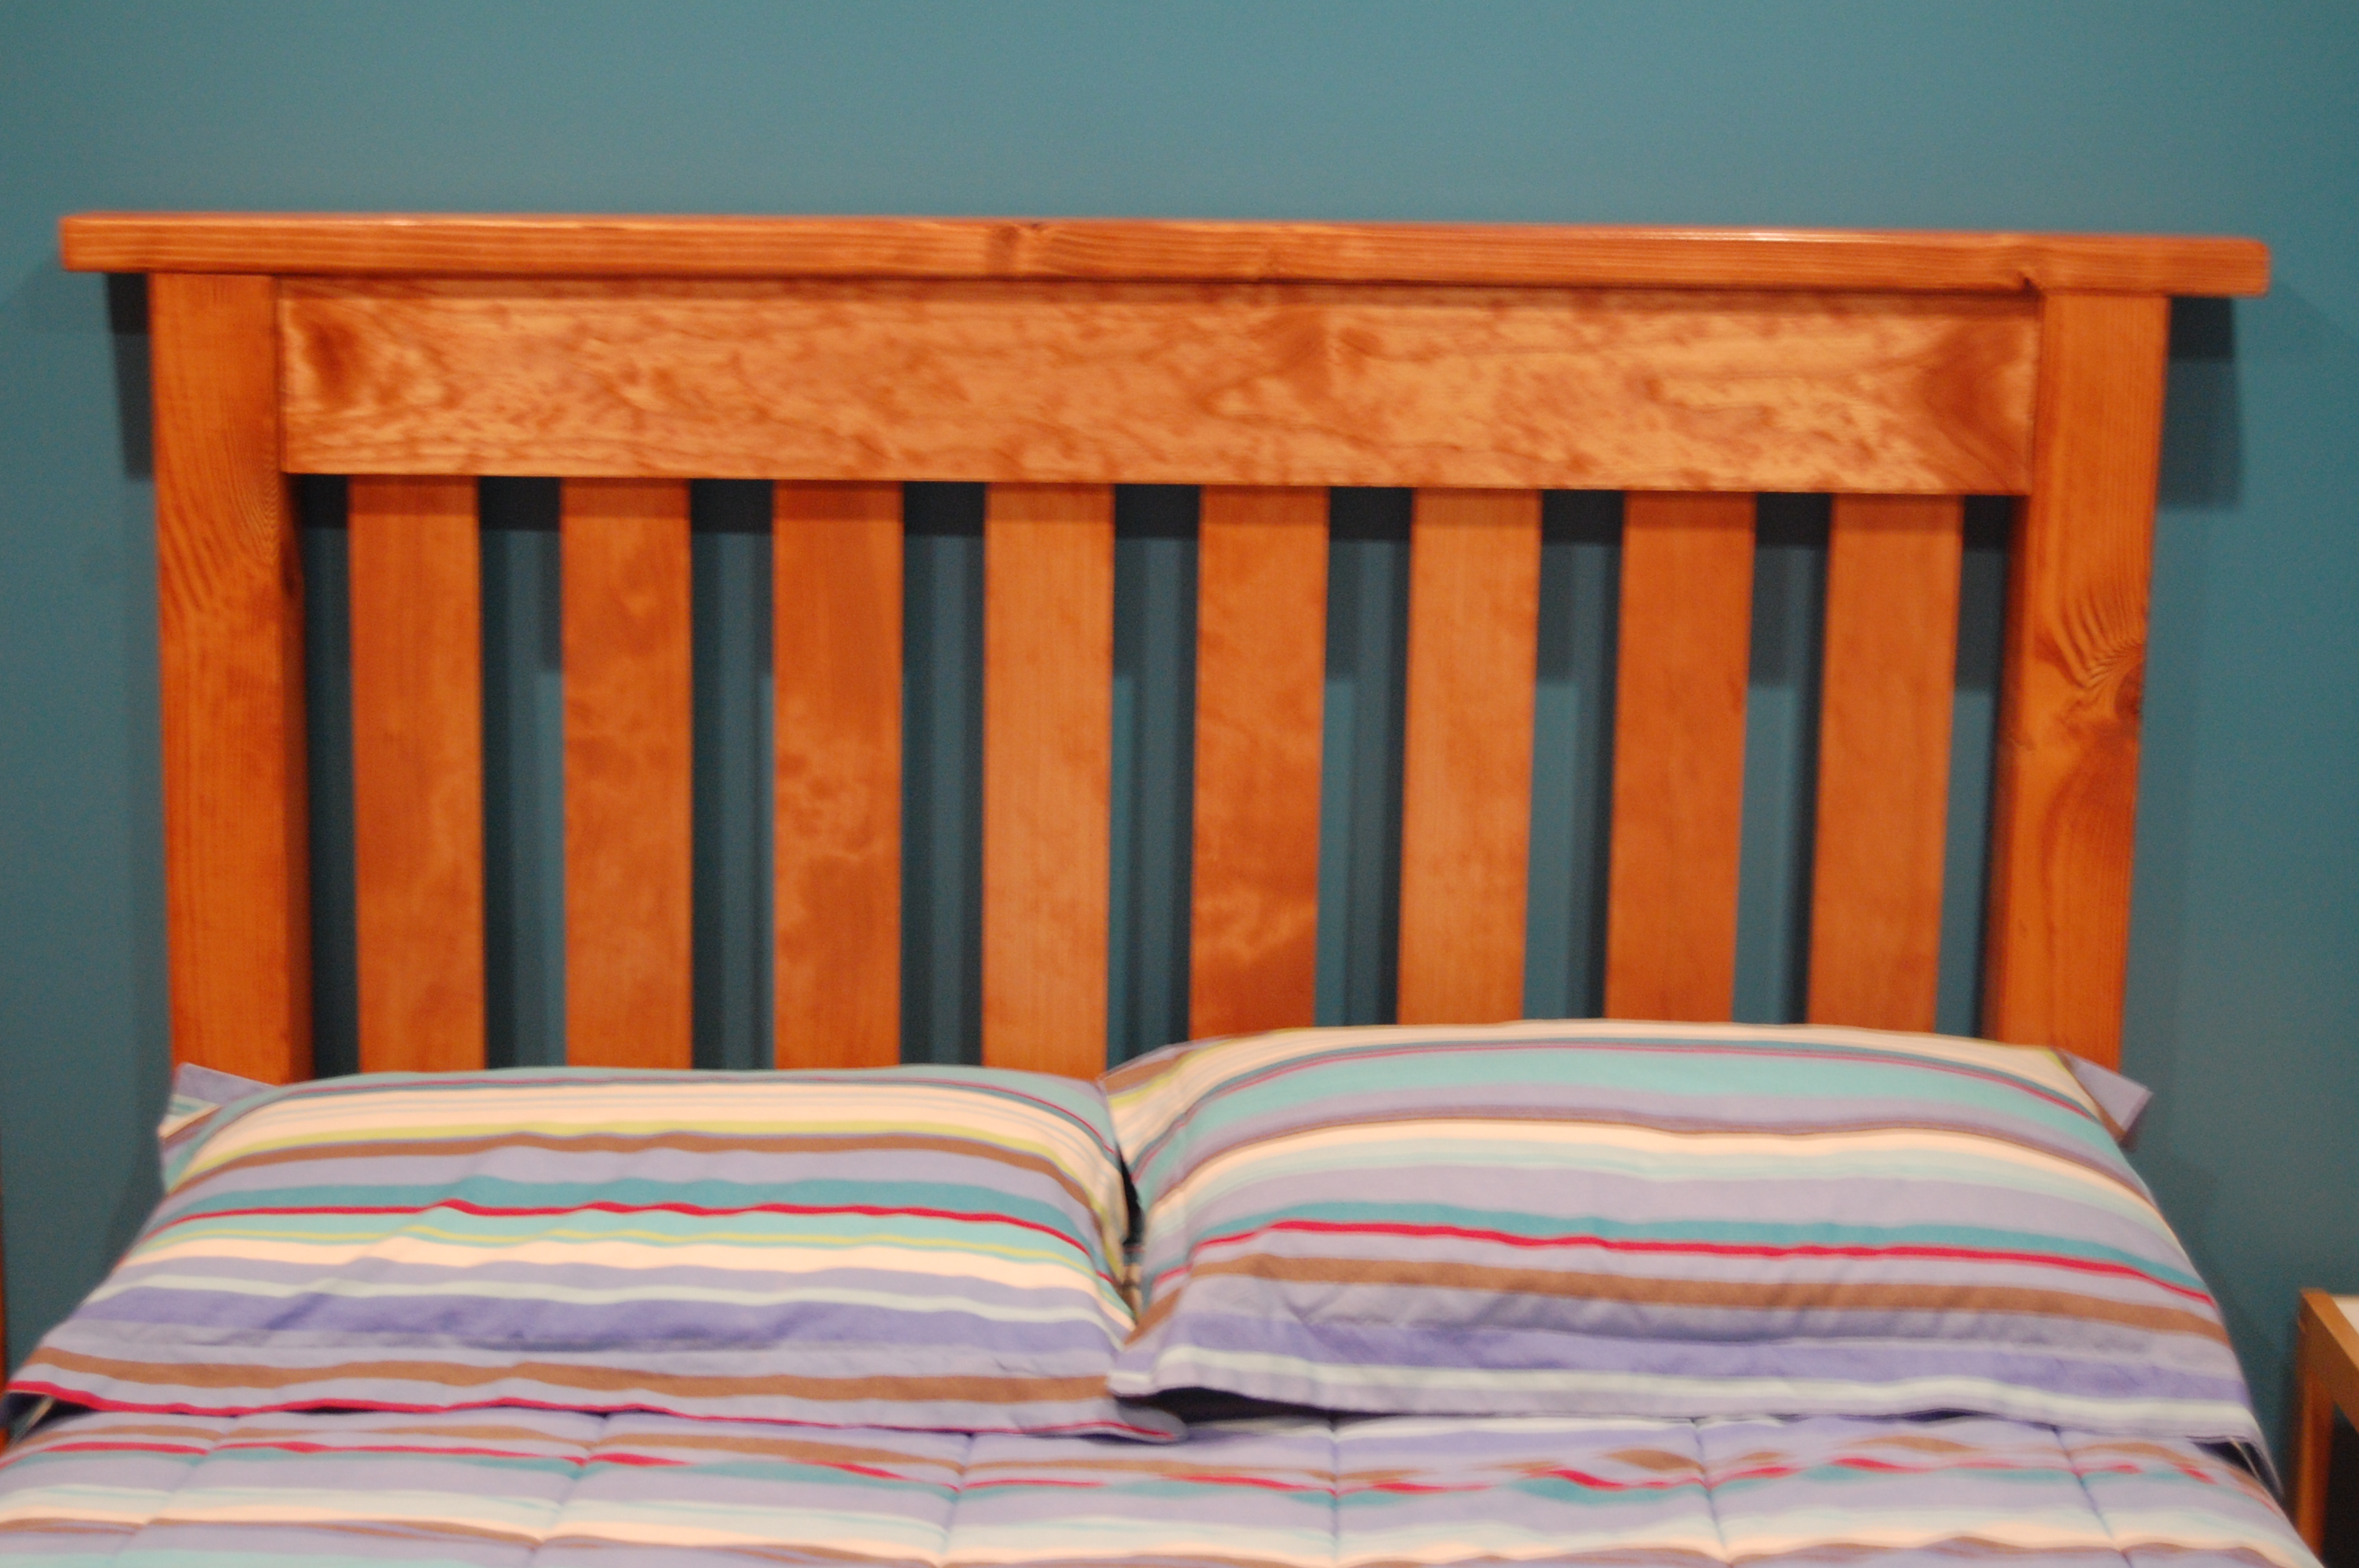
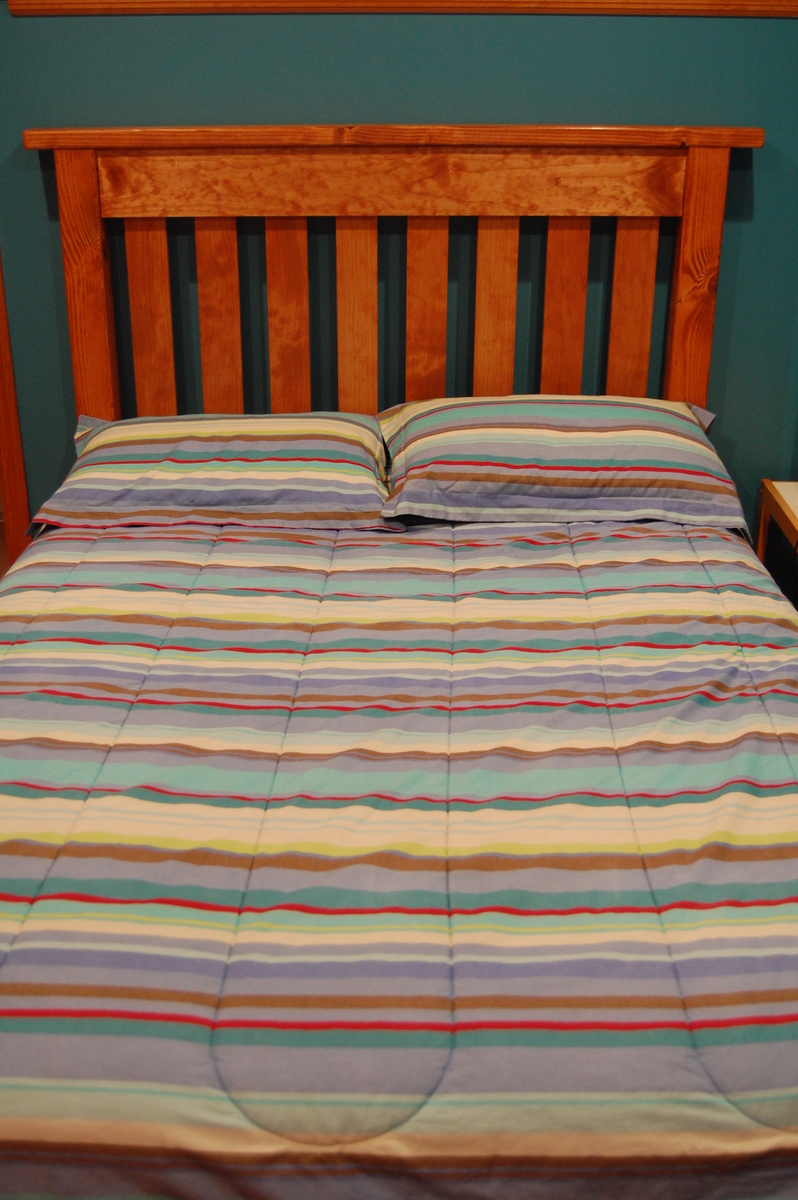
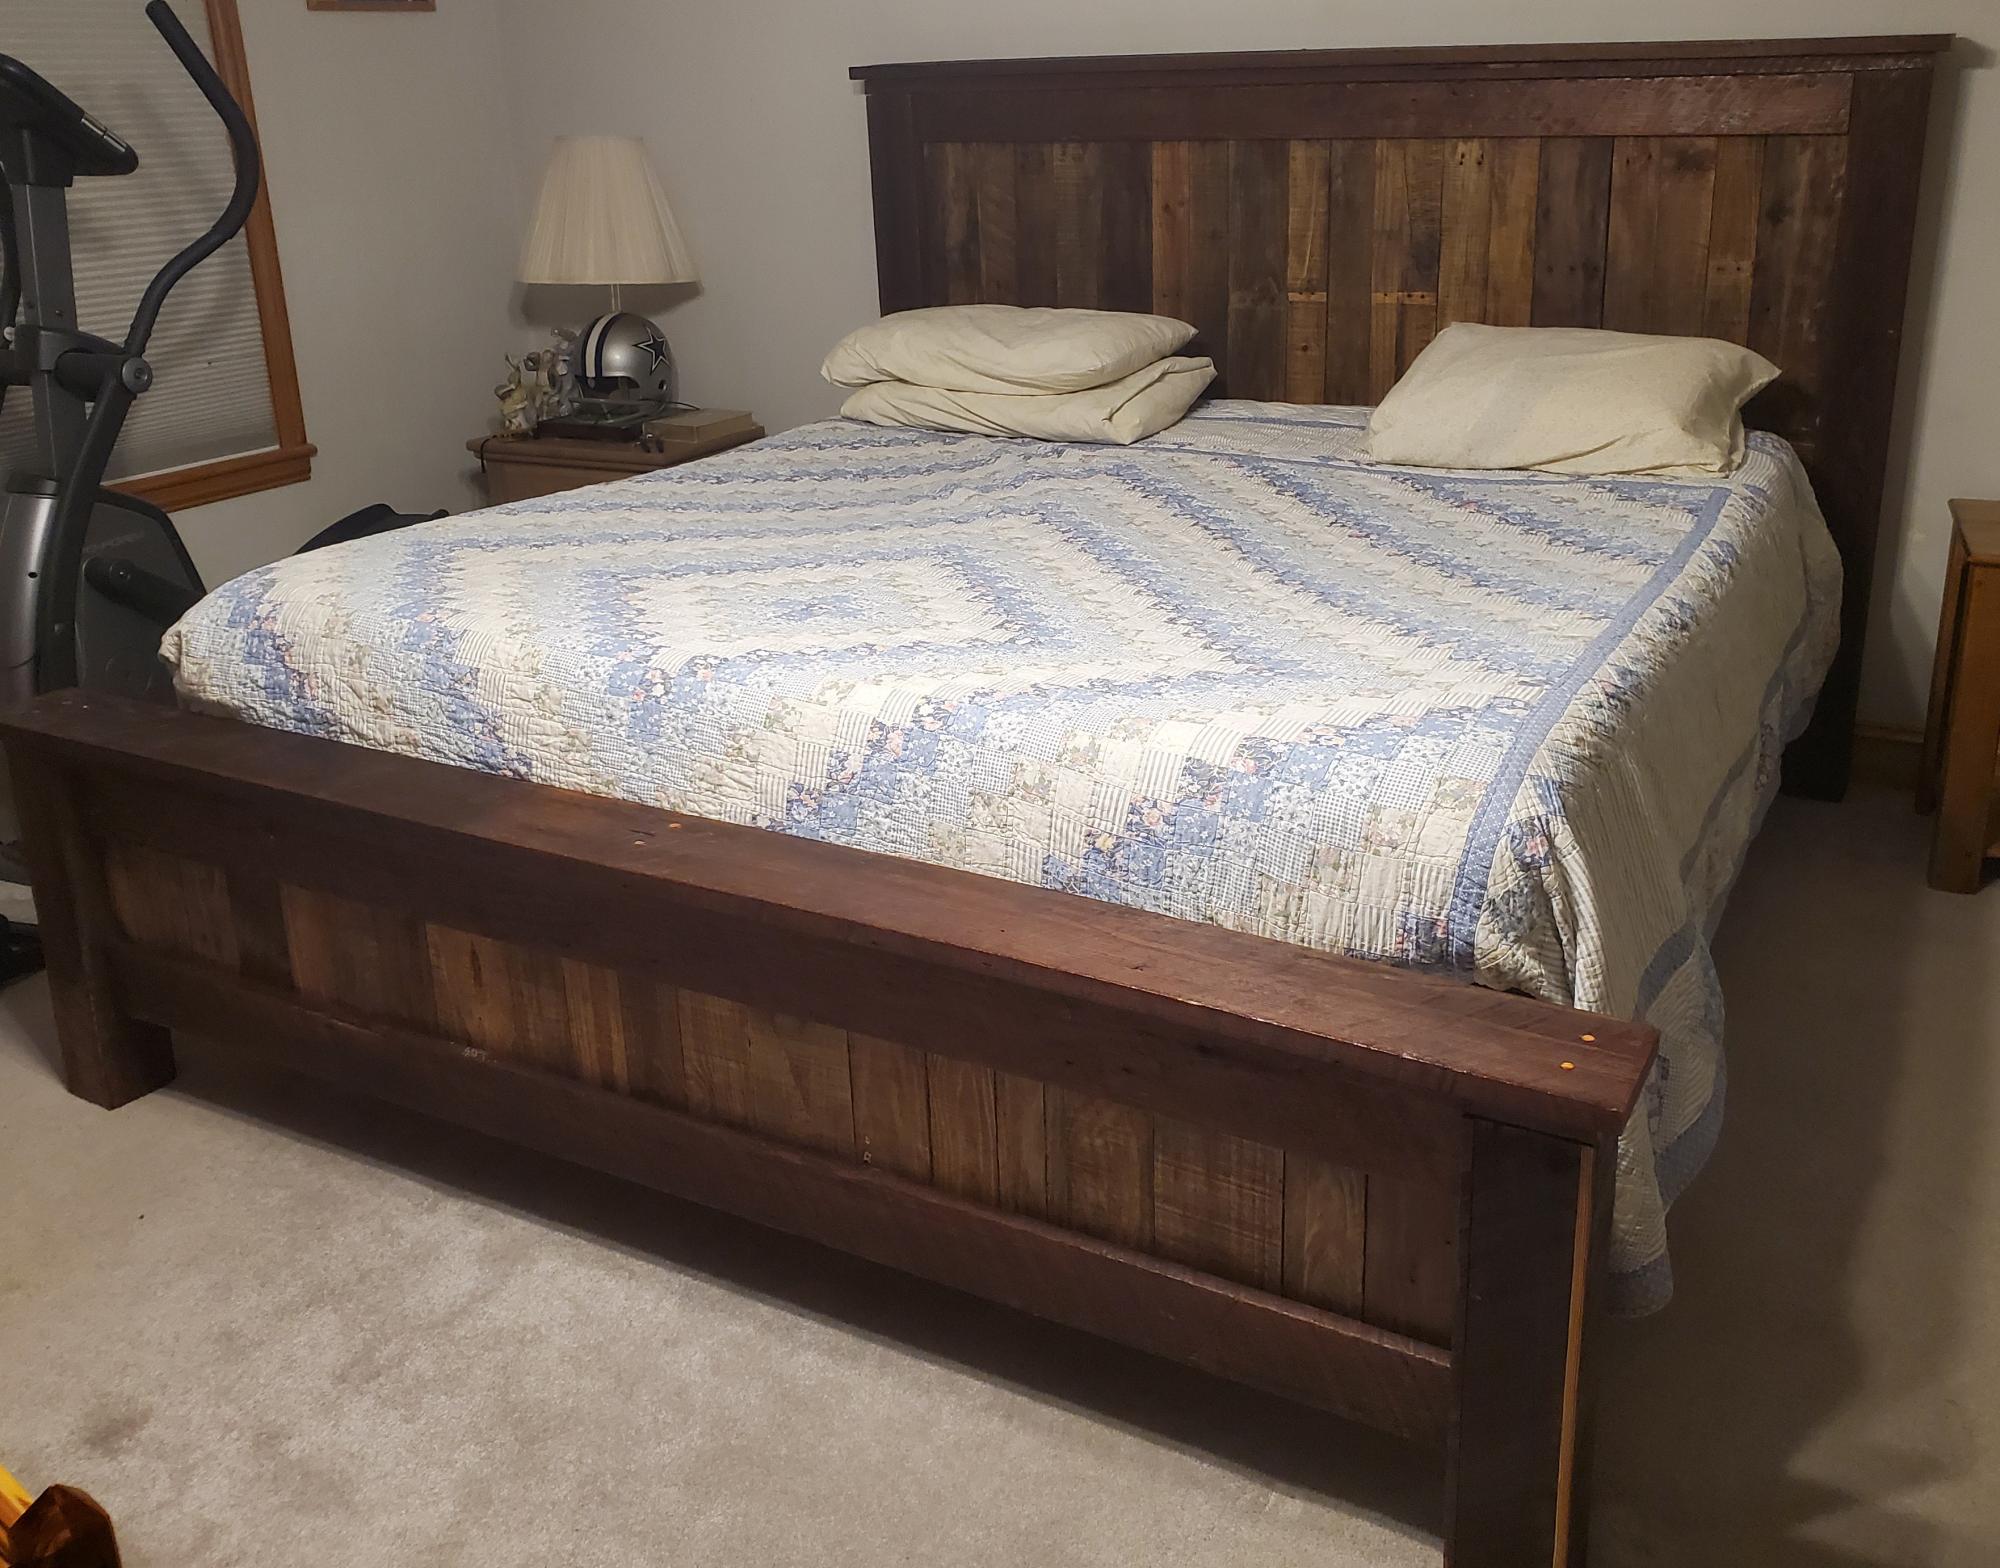
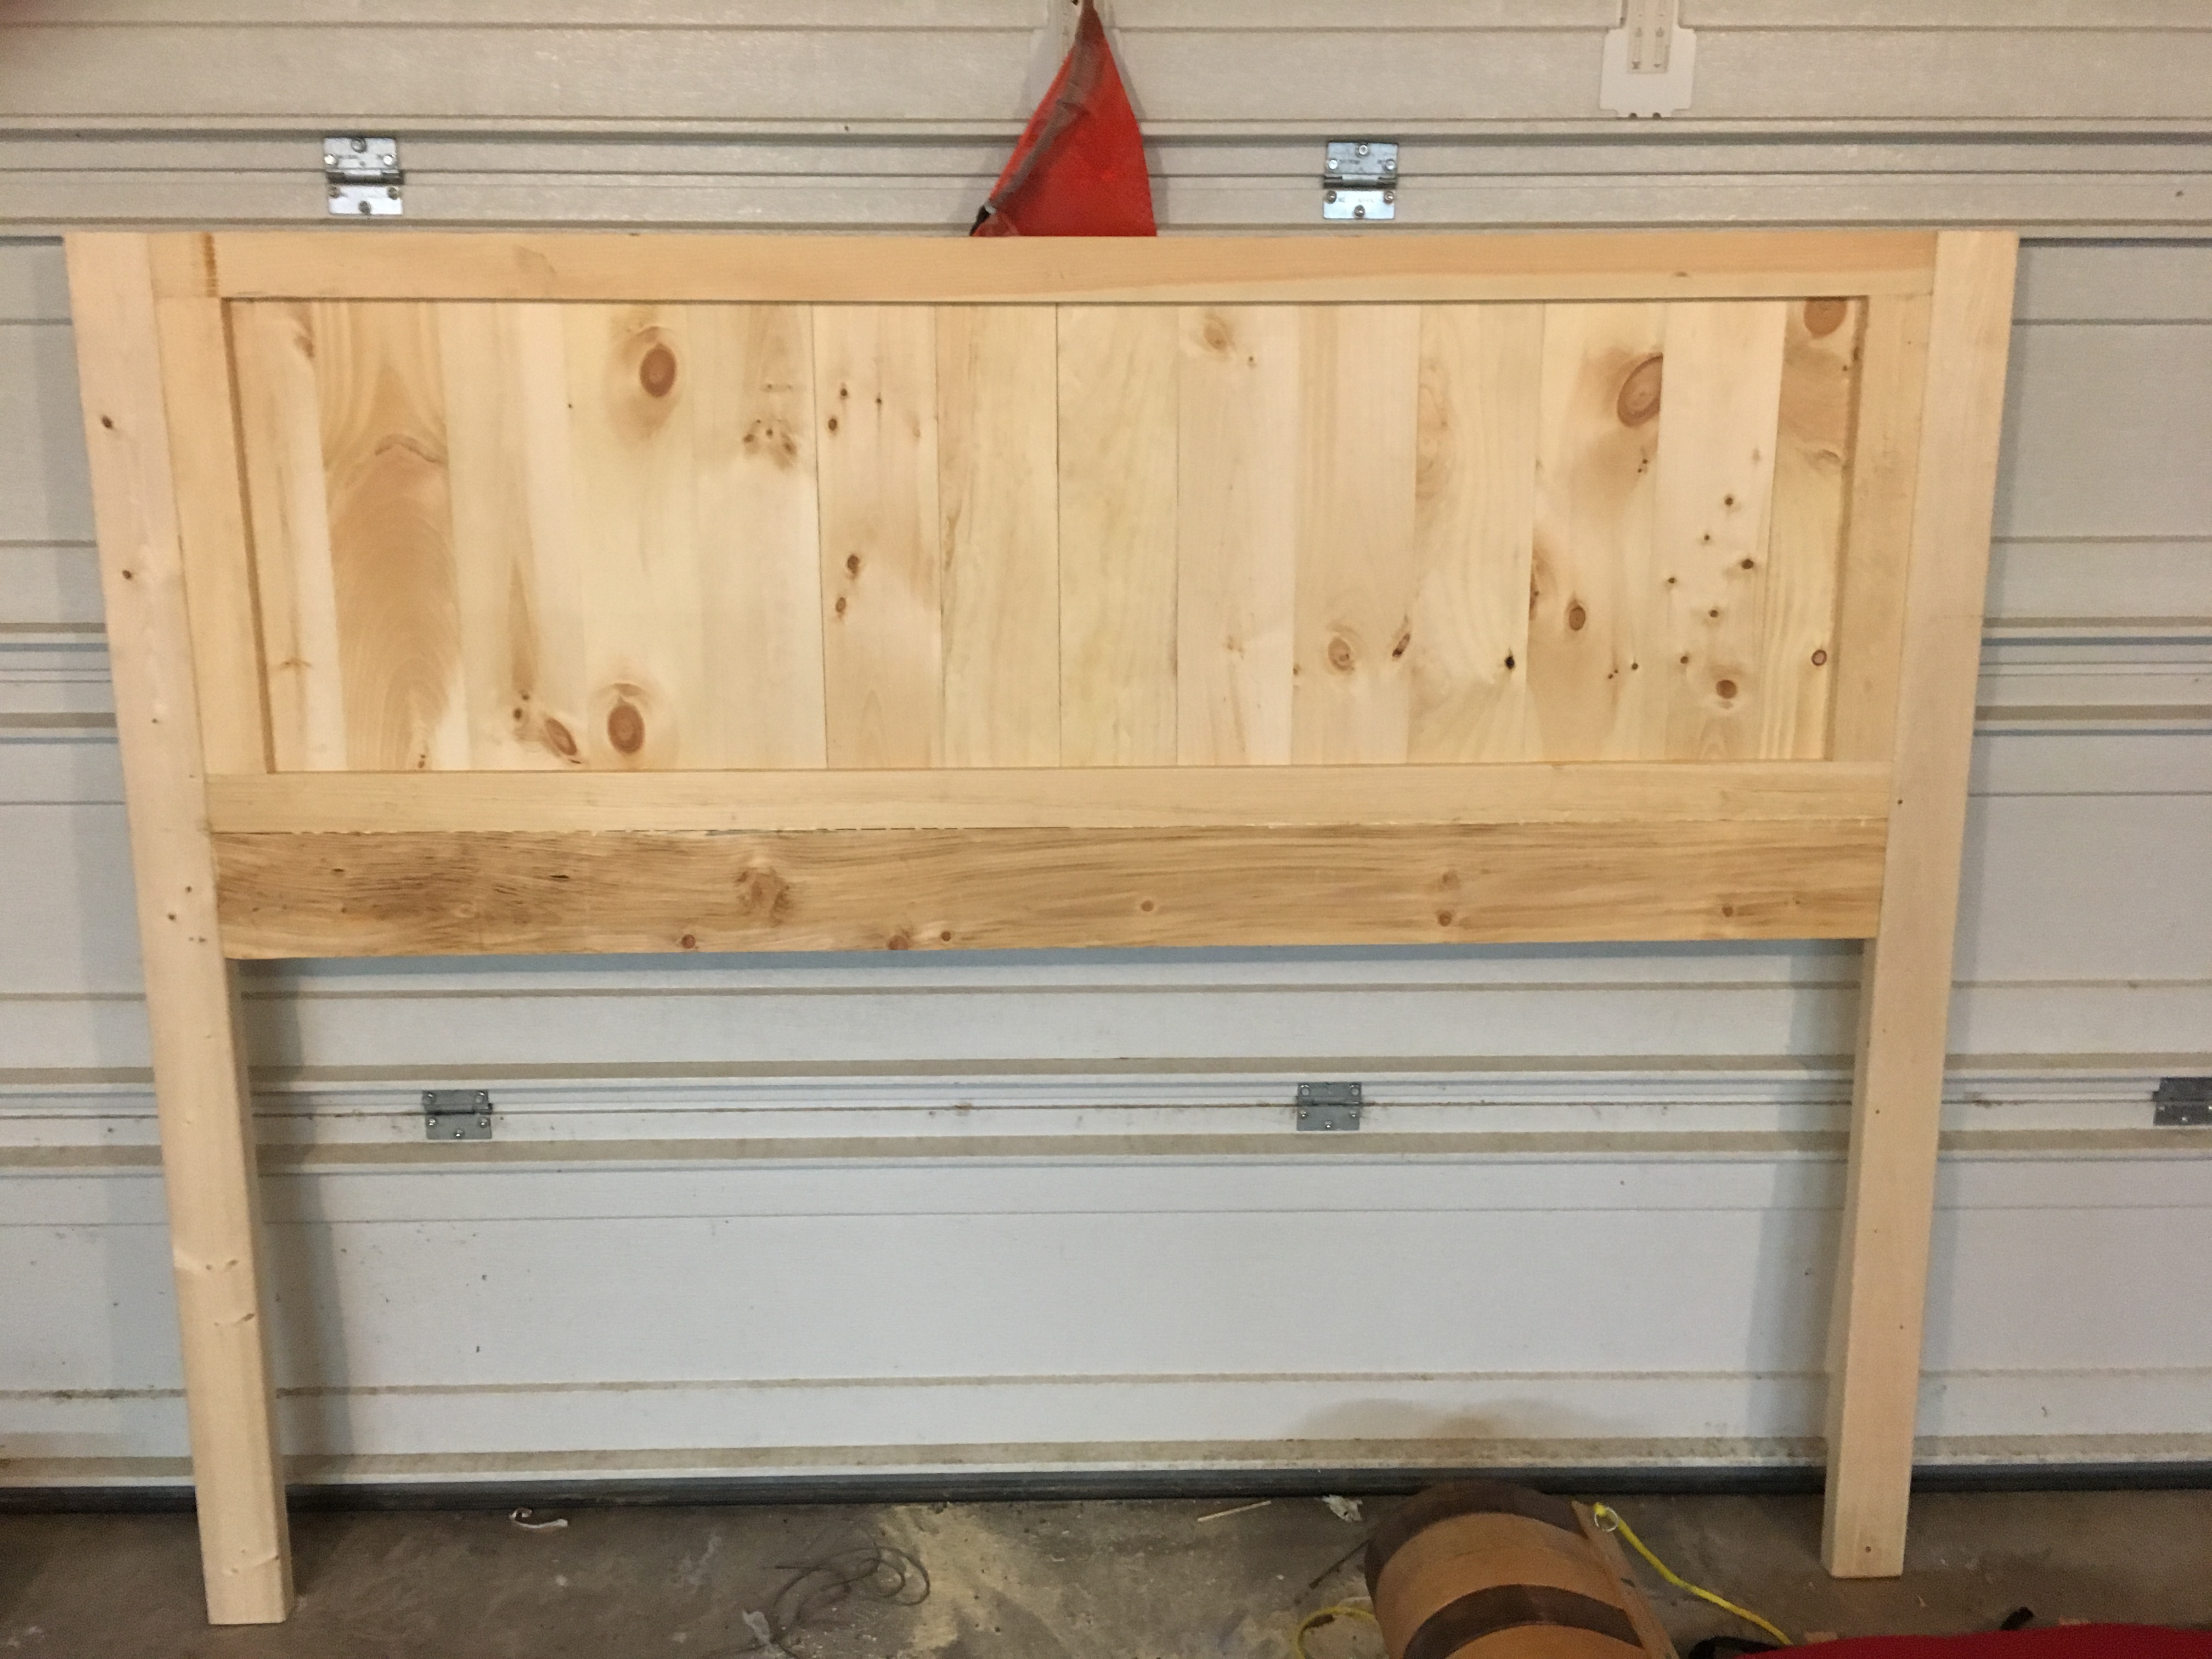
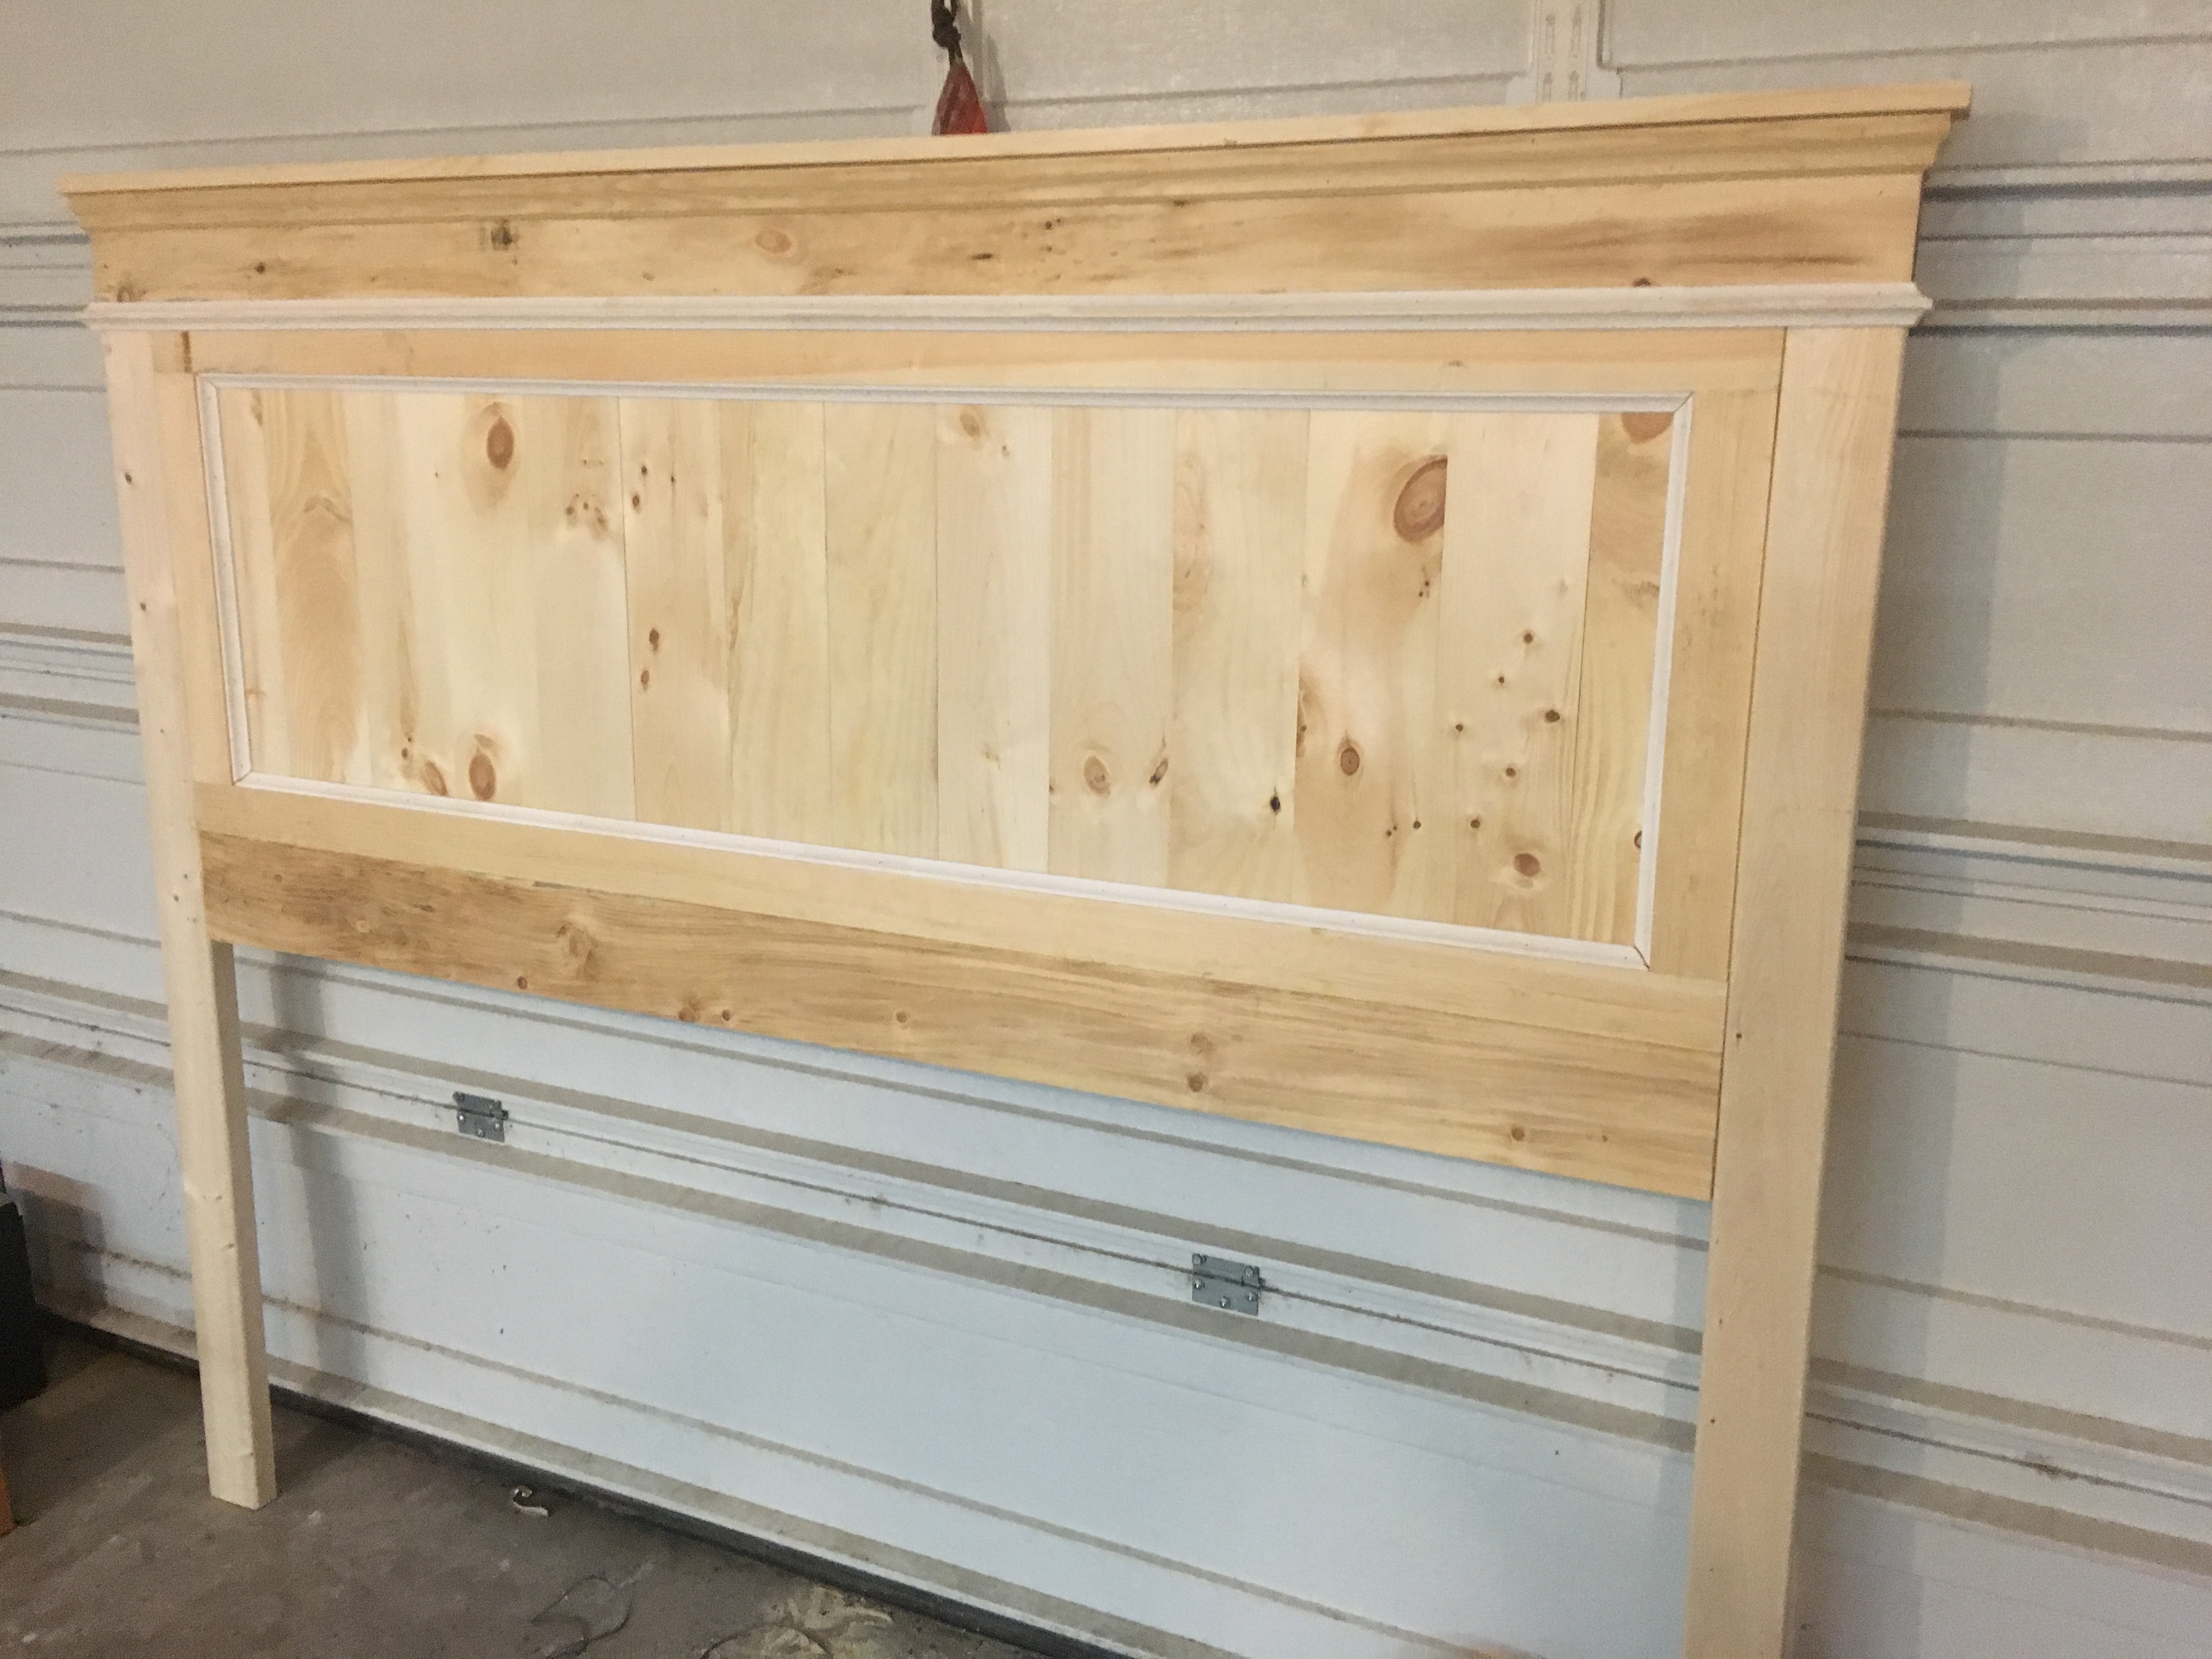
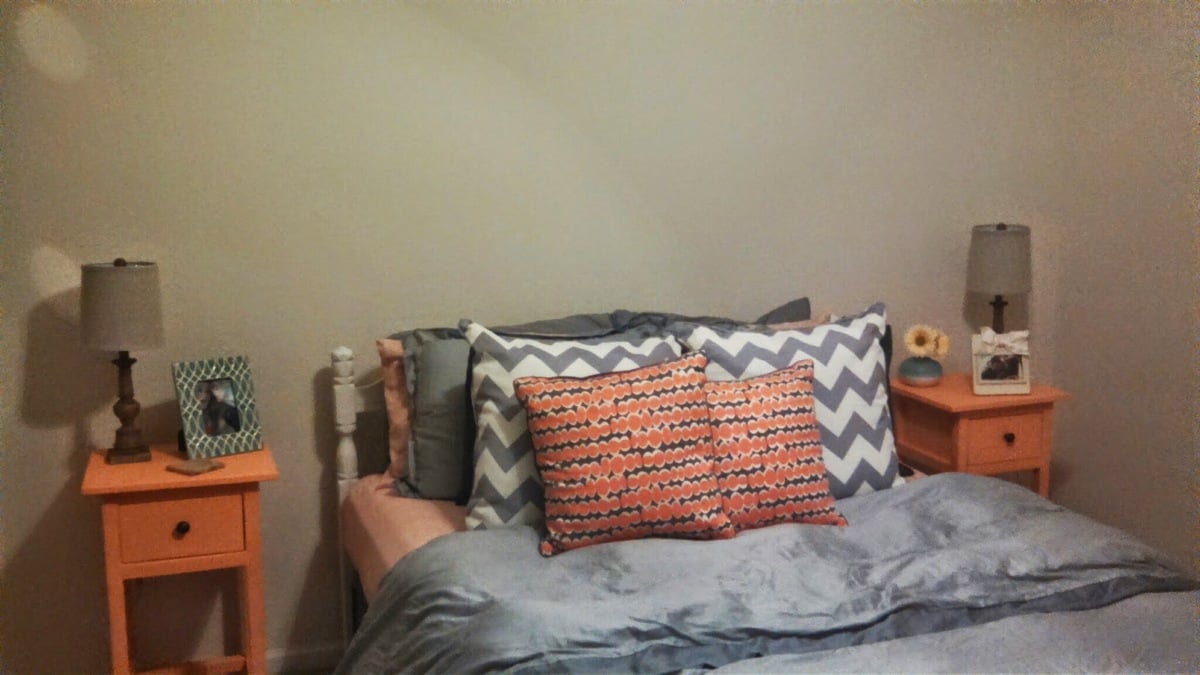
This was first major woodworking project. I used mostly select pine, a little knotty pine and some spruce studs from a local hardware. For the headboard panels I used tongue and groove pine boards. I used Benjamin Moore primer and paint for finish.
Tip 1: make sure to measure your hallway and doors before trying to bring this from the shop or garage into the house. If building in the bedroom, make sure to plan for the day you want to move it. I ended up taking mine apart to get it through the bedroom door and ruined the finish on all my legs.
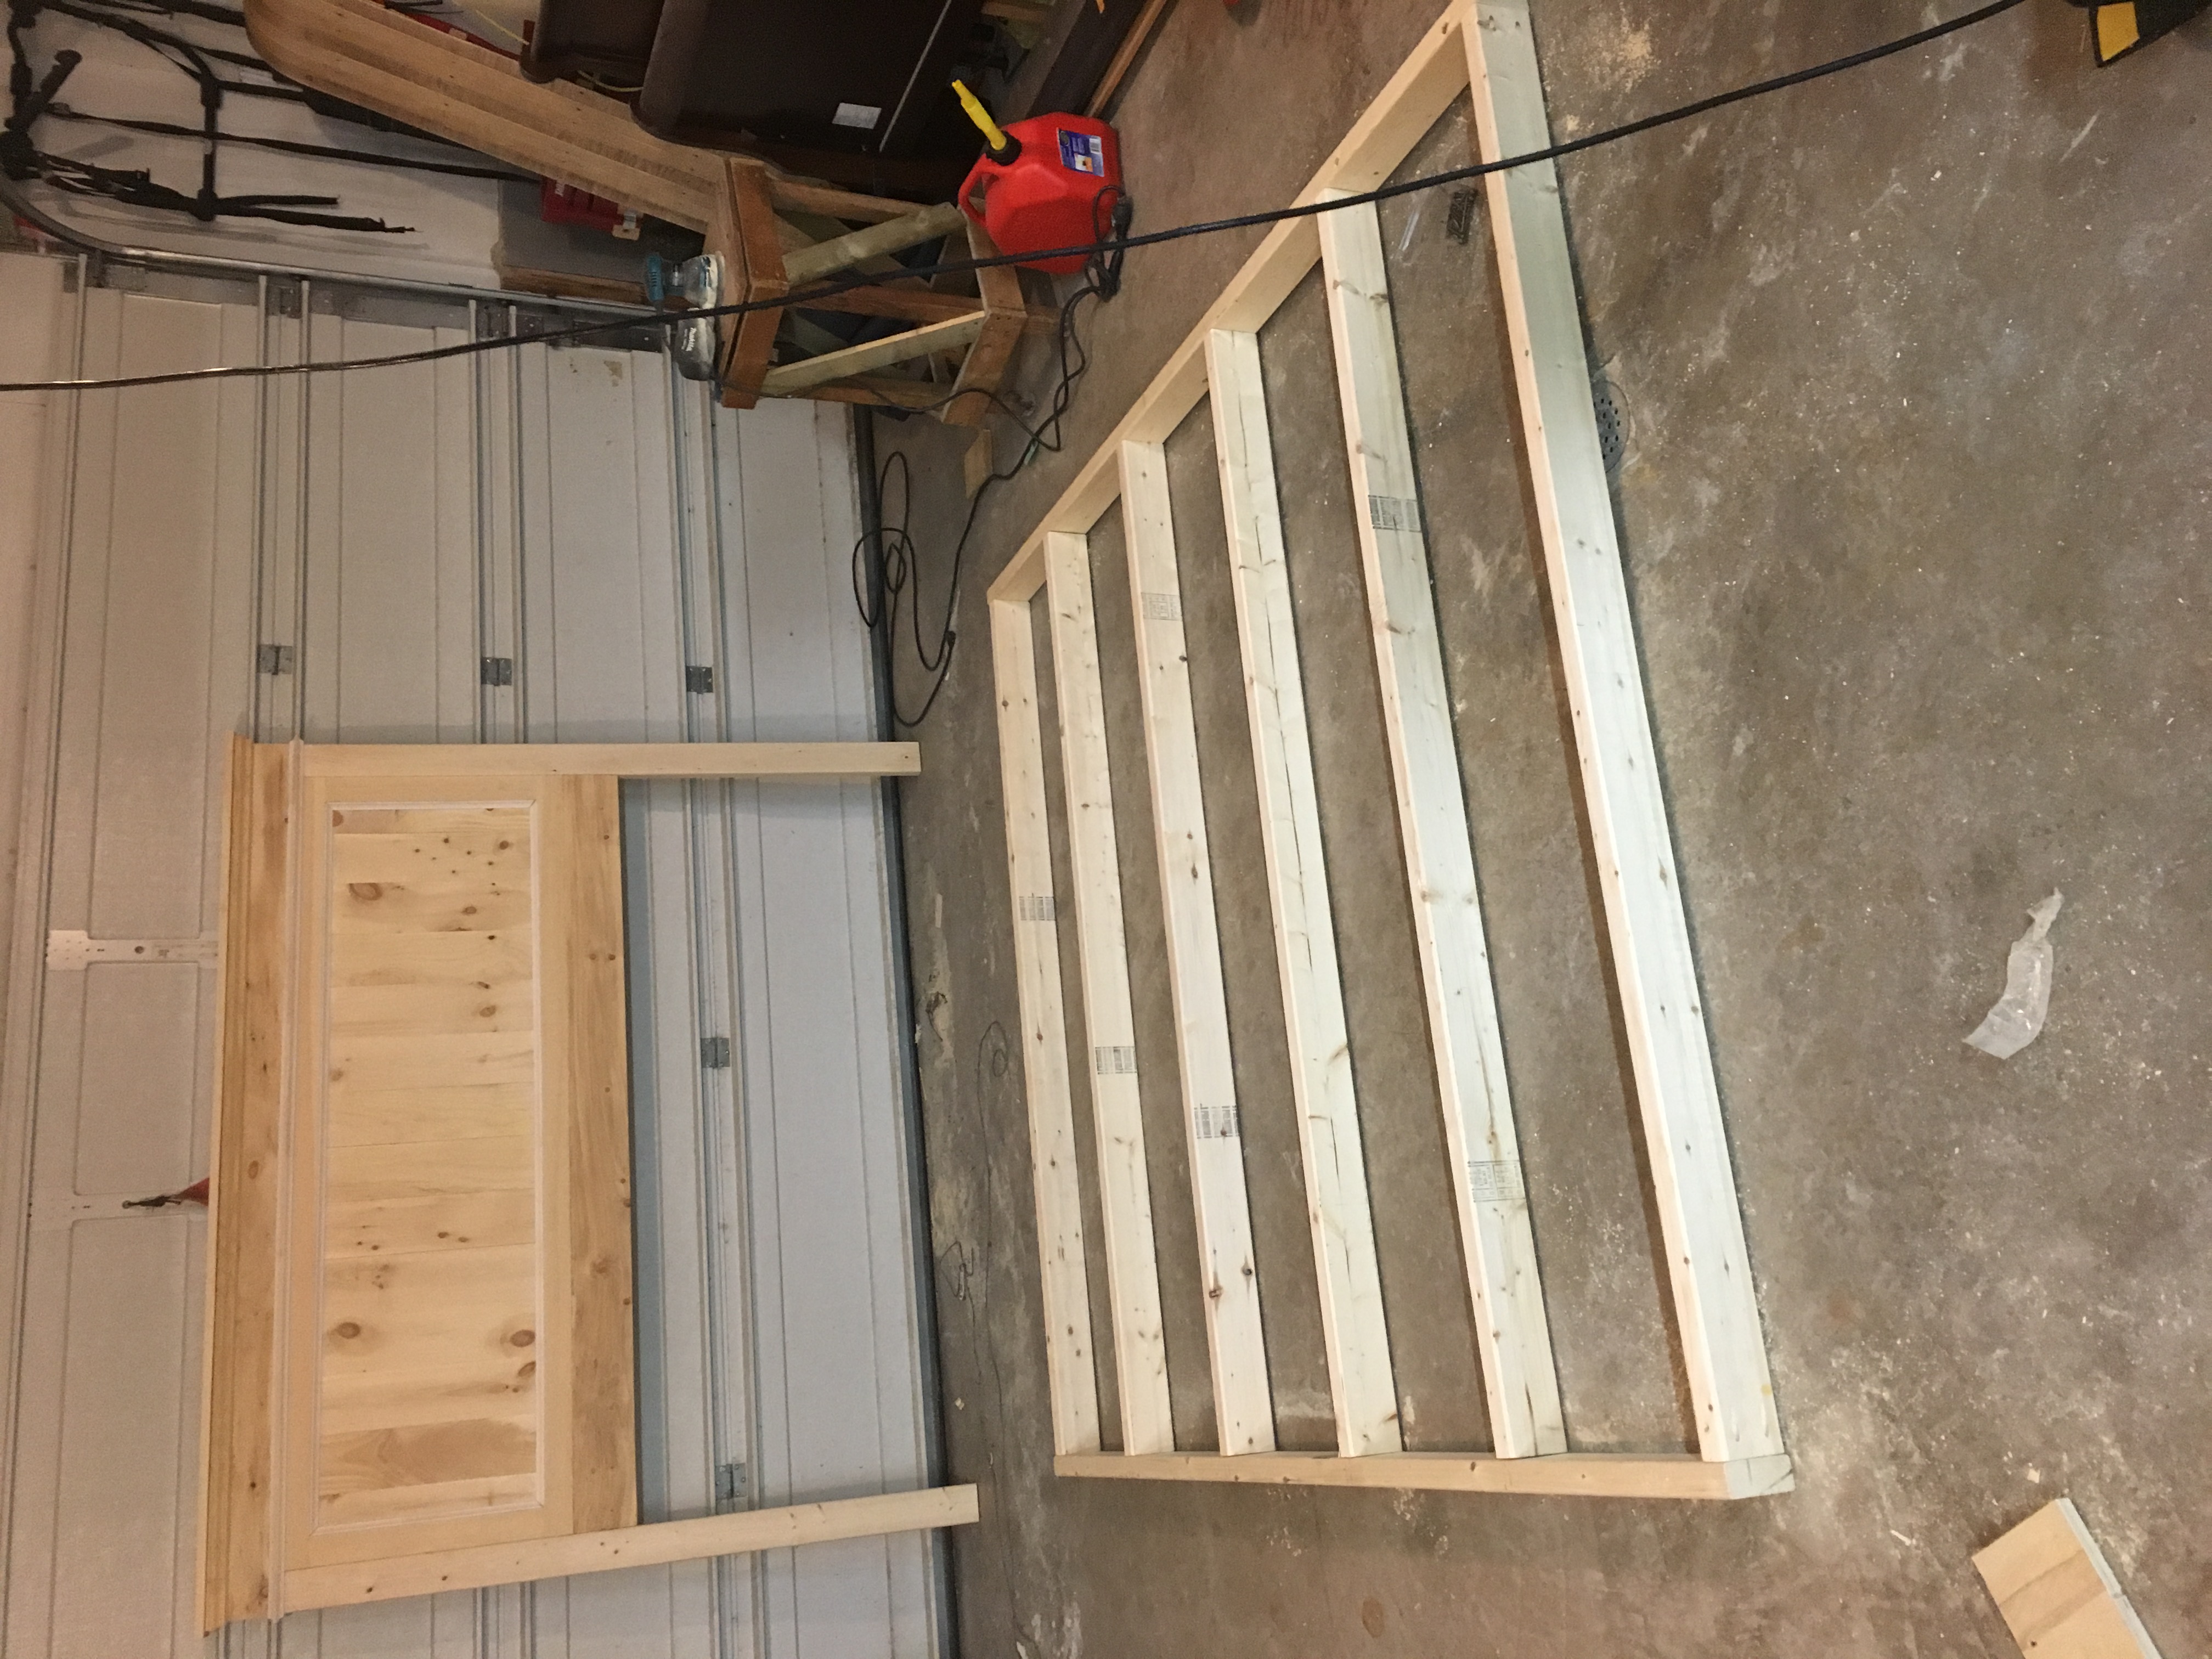
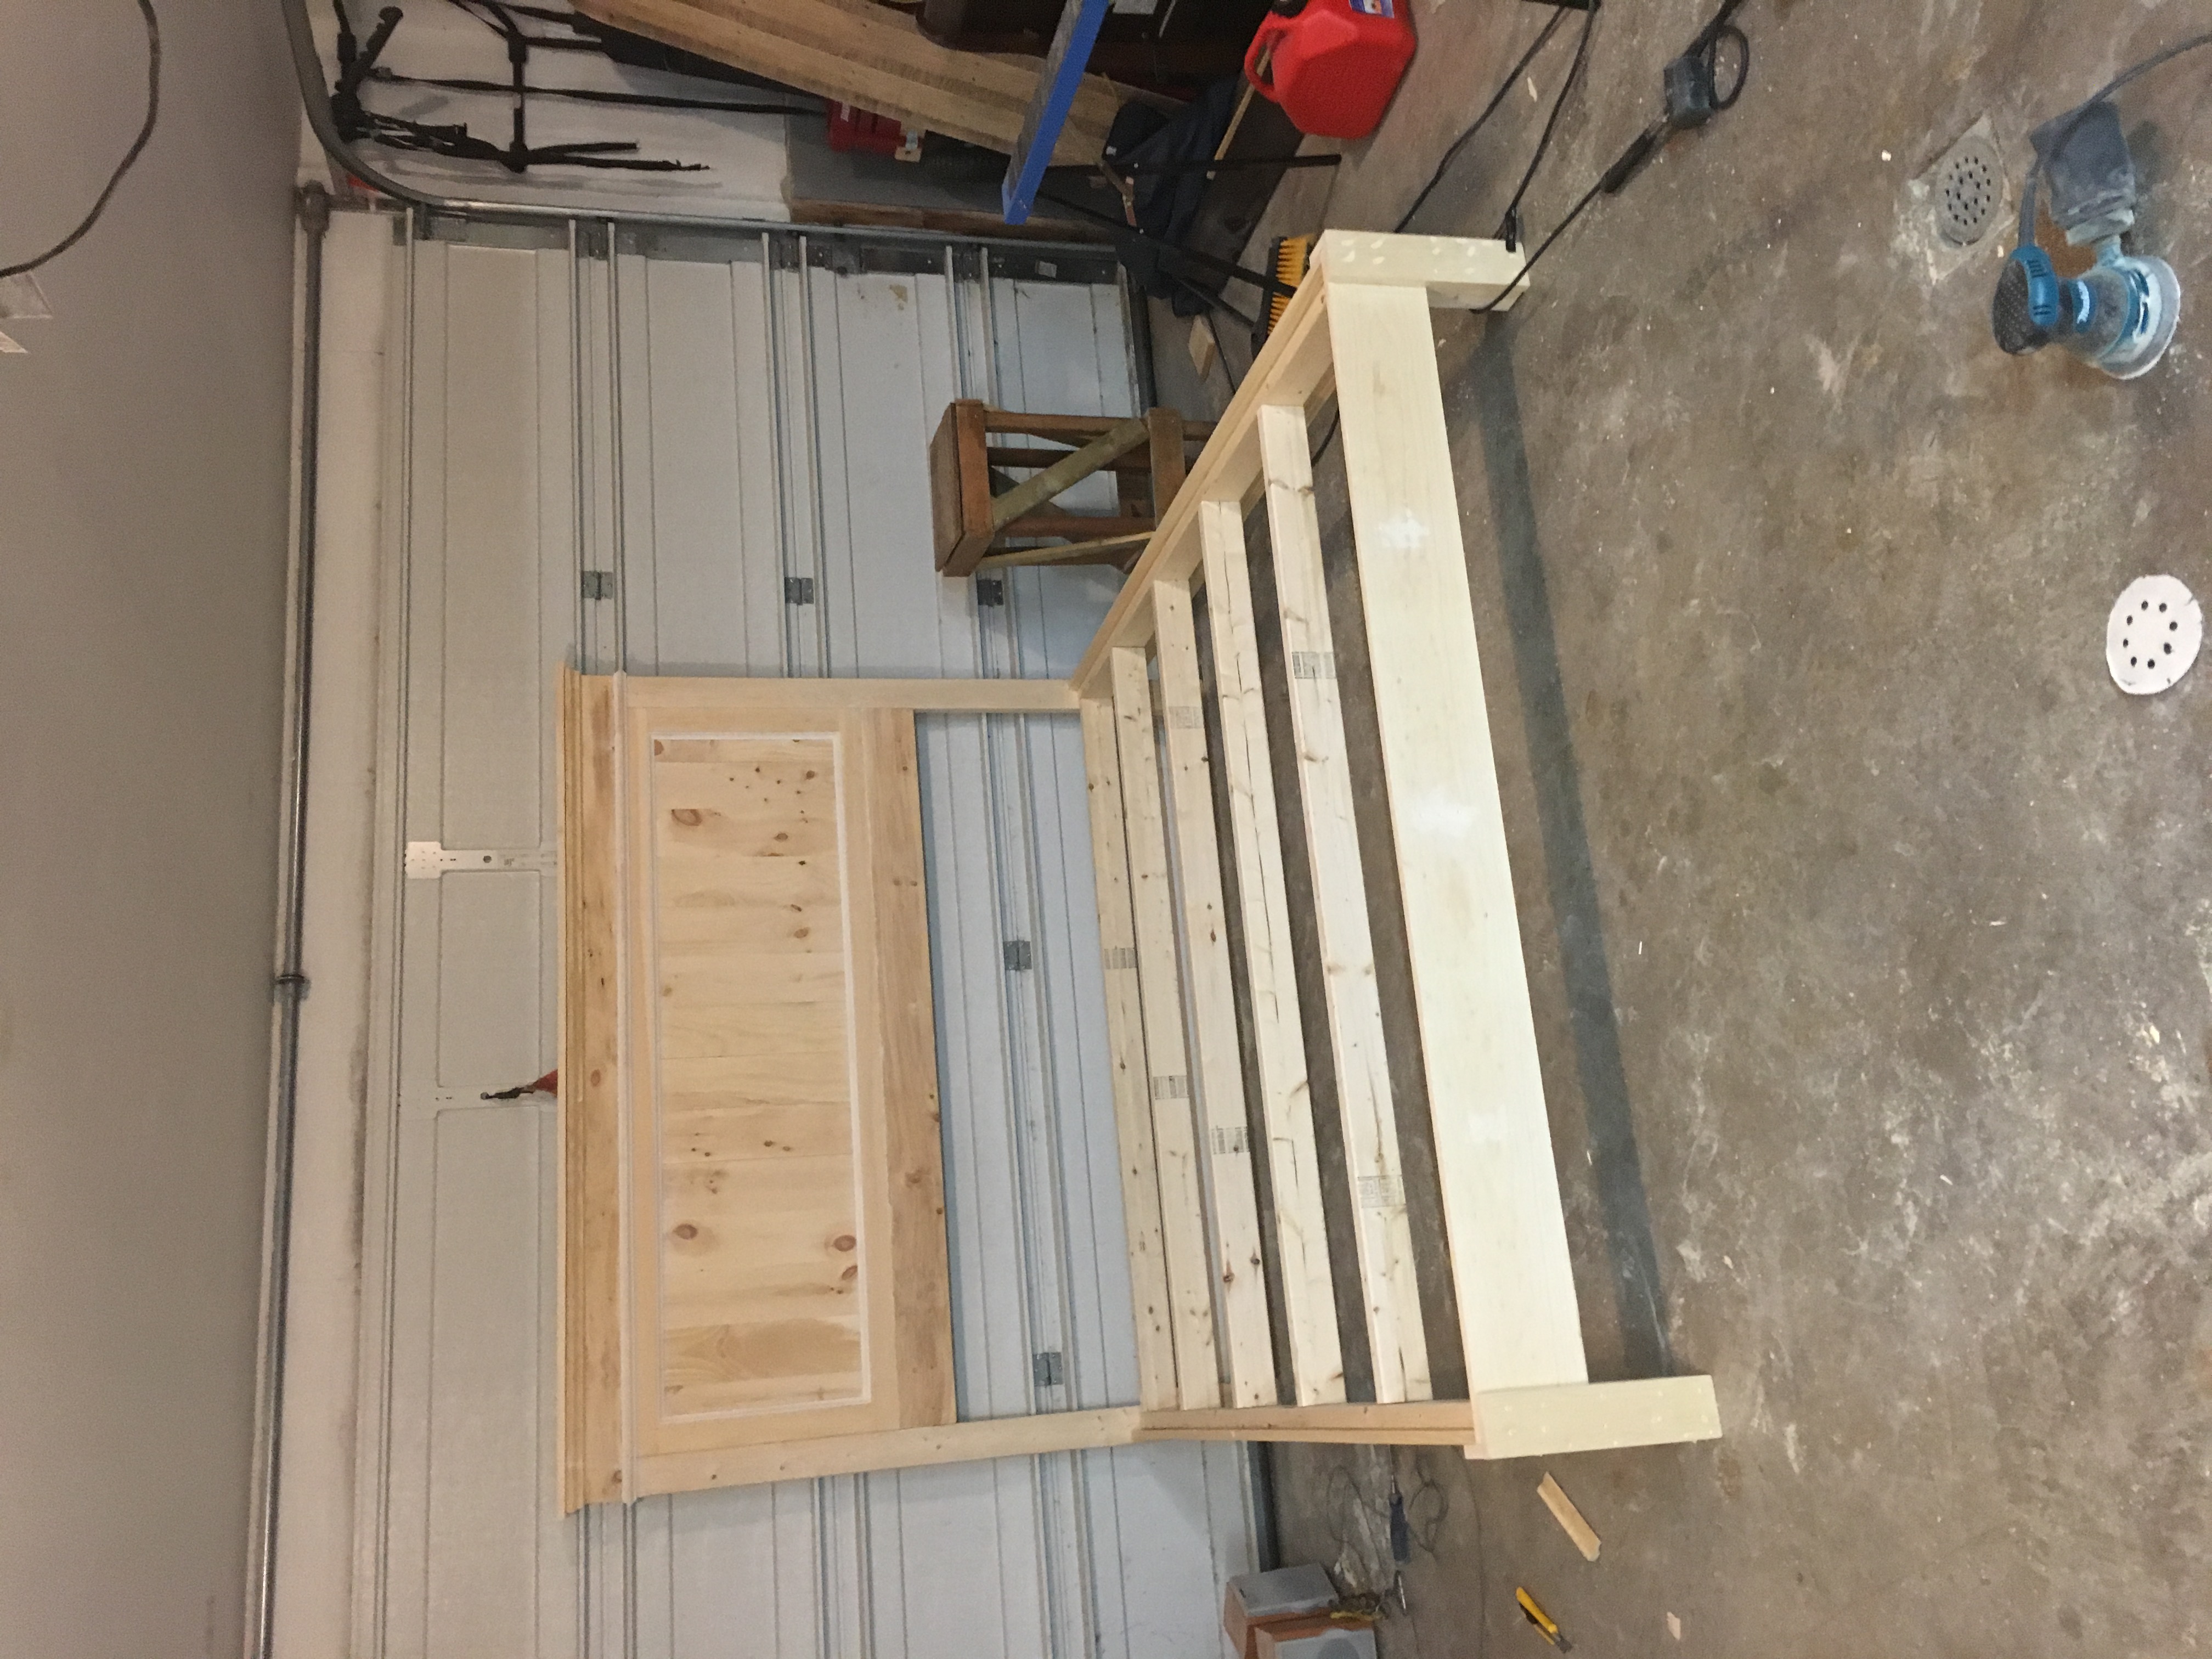
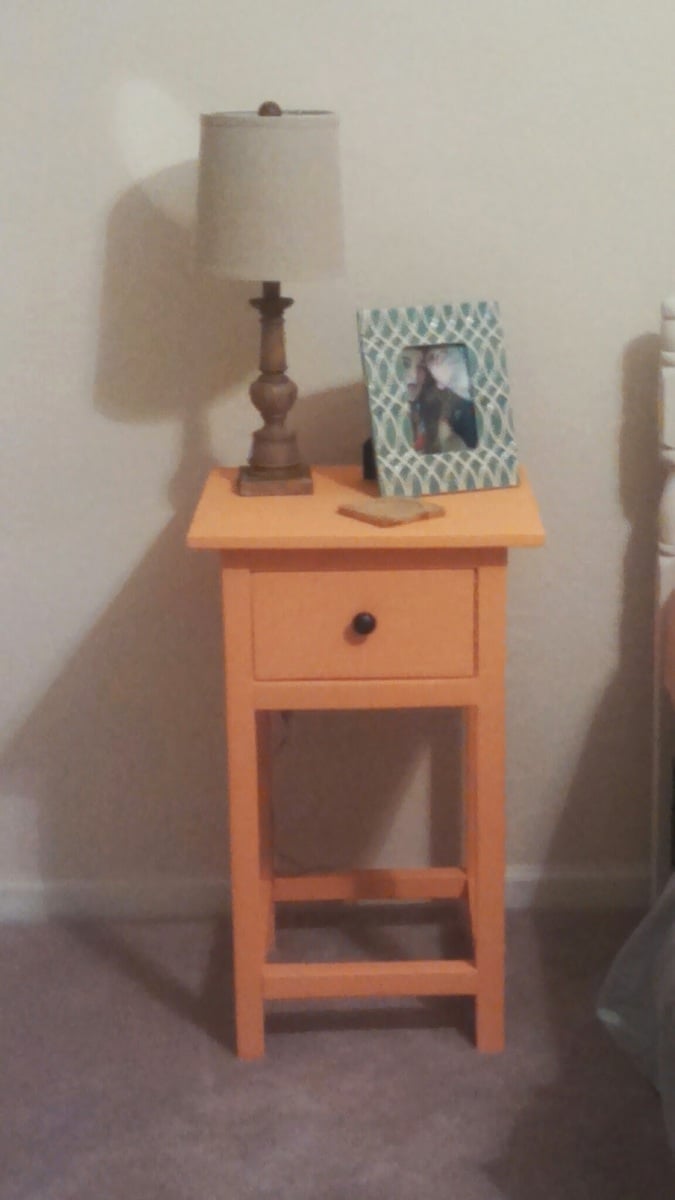
Tip 2: I added blocks behind the legs because I didn't feel like the legs would be sufficient support. I also created by own rear legs similar to the front for more support.
Tip 3: the instructions on how to mount the headboard to the bed aren't really clear / don't work. I had to add some extra 2x4 material to the rear legs (on the inside) in order to have something for the bolts to go through. Once your headboard and bed are built, you'll have to be creative and come up with something.
Tip 4: I added support legs under the cross supports to hold the weight of the mattresses better.


Comments
Ana White Admin
Thu, 11/26/2020 - 10:53
Very Nice!
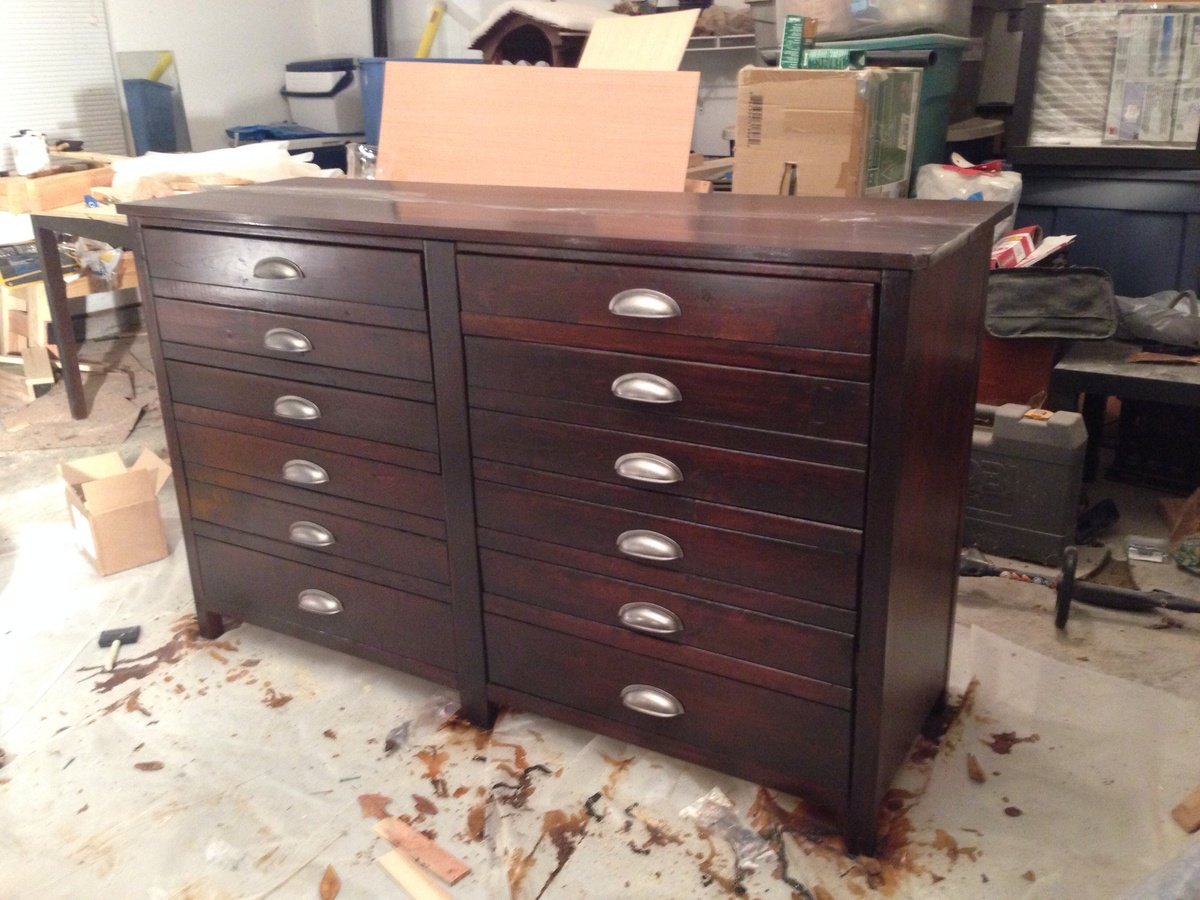
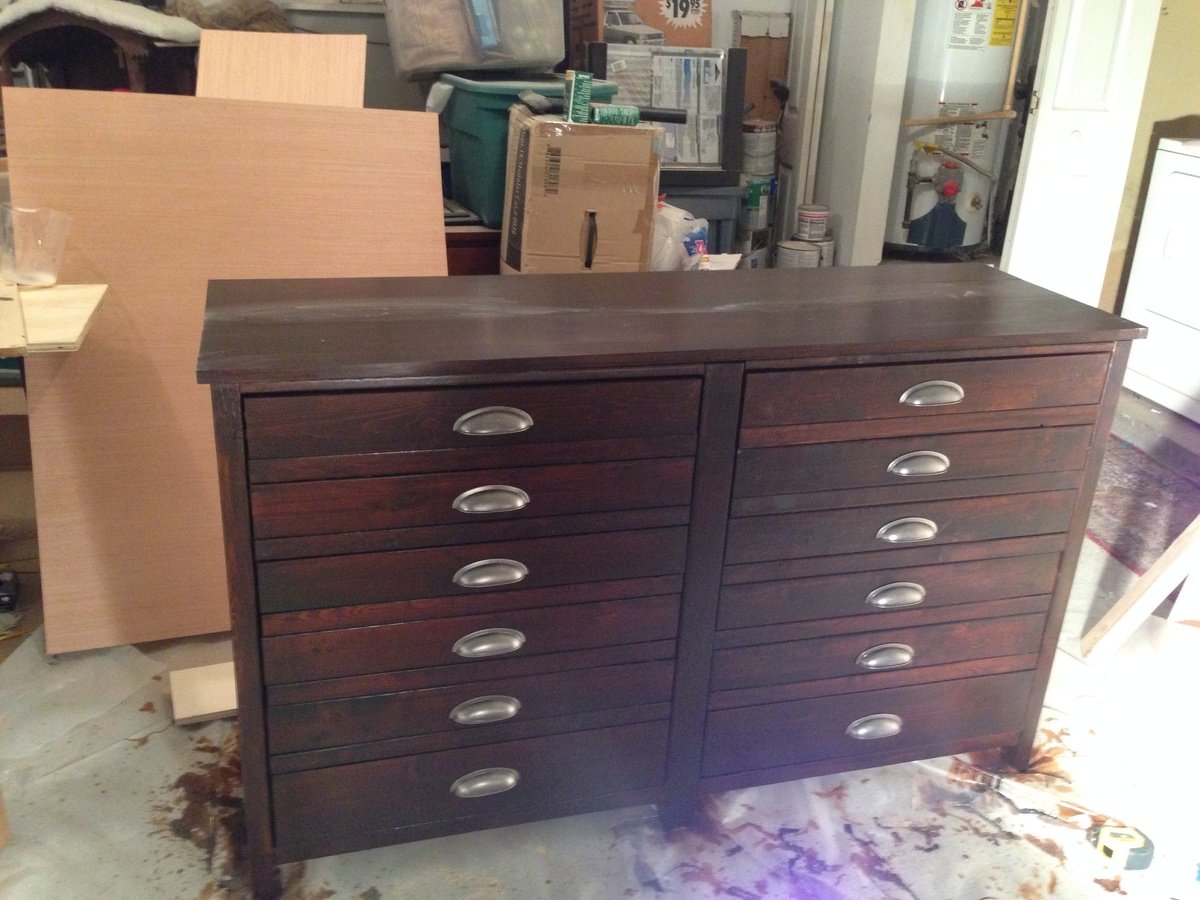
Looks like great organization, beautiful build!