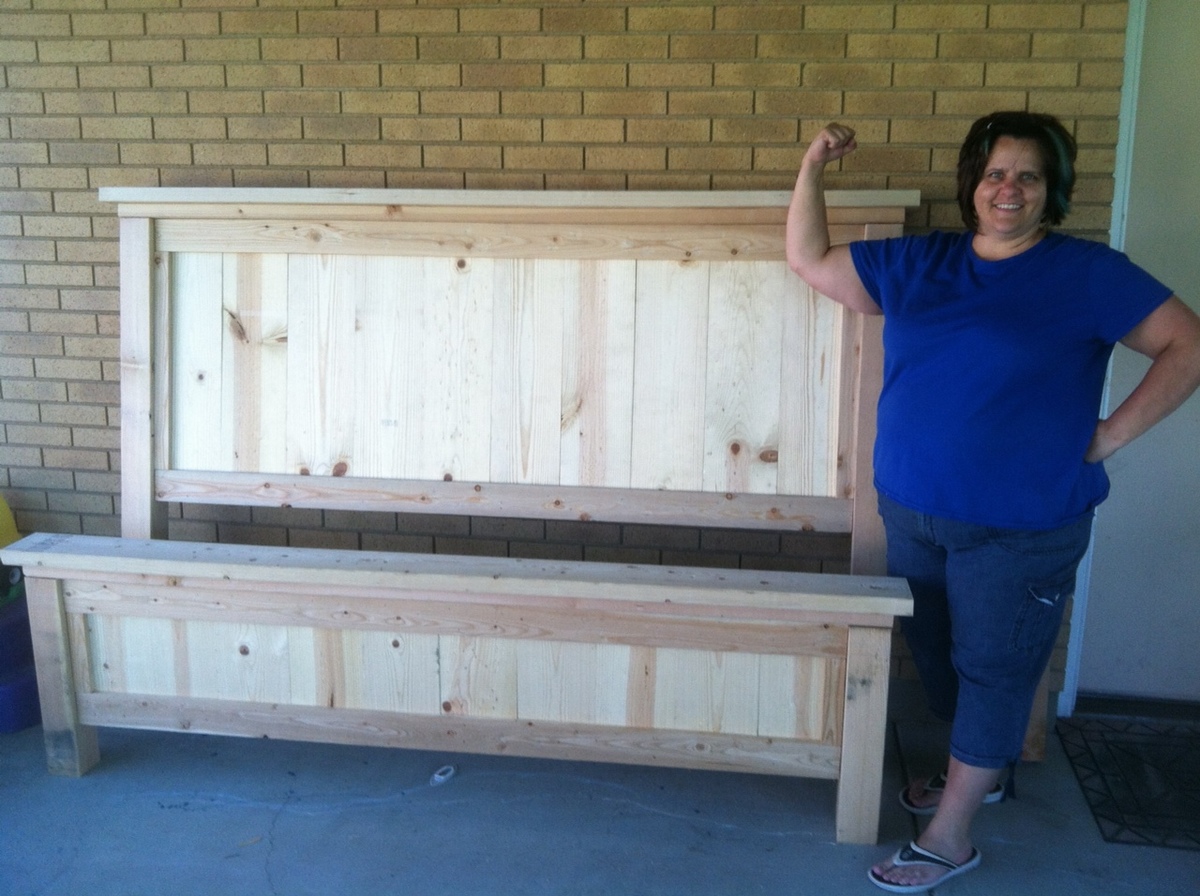
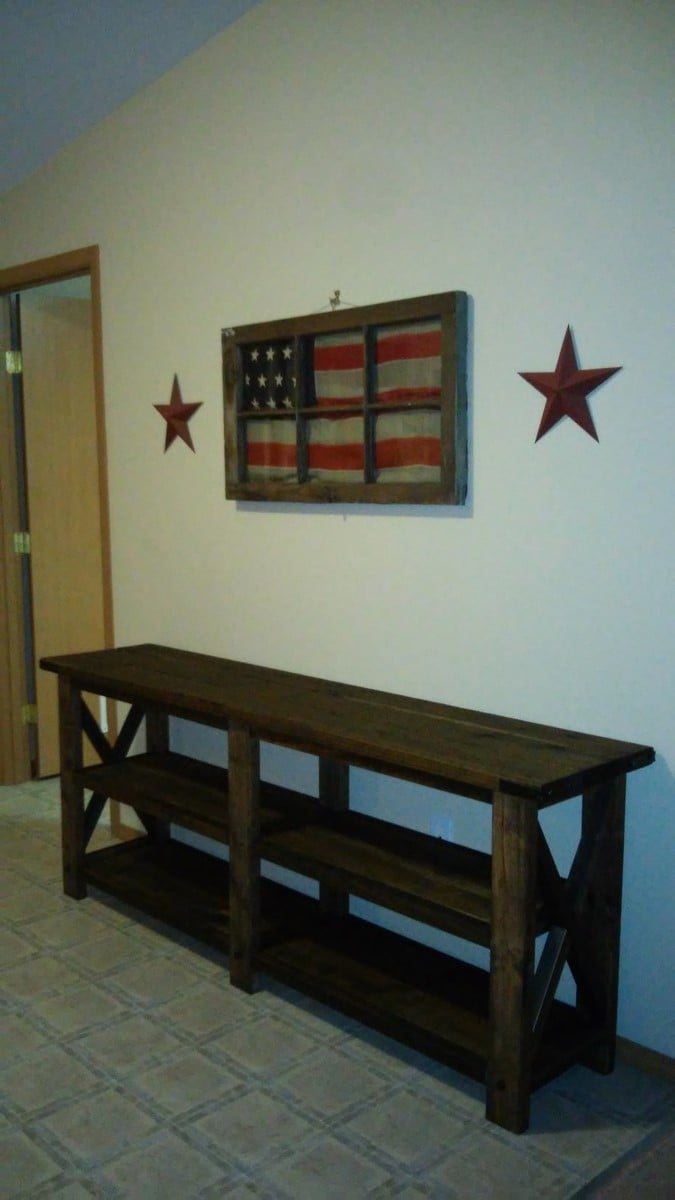
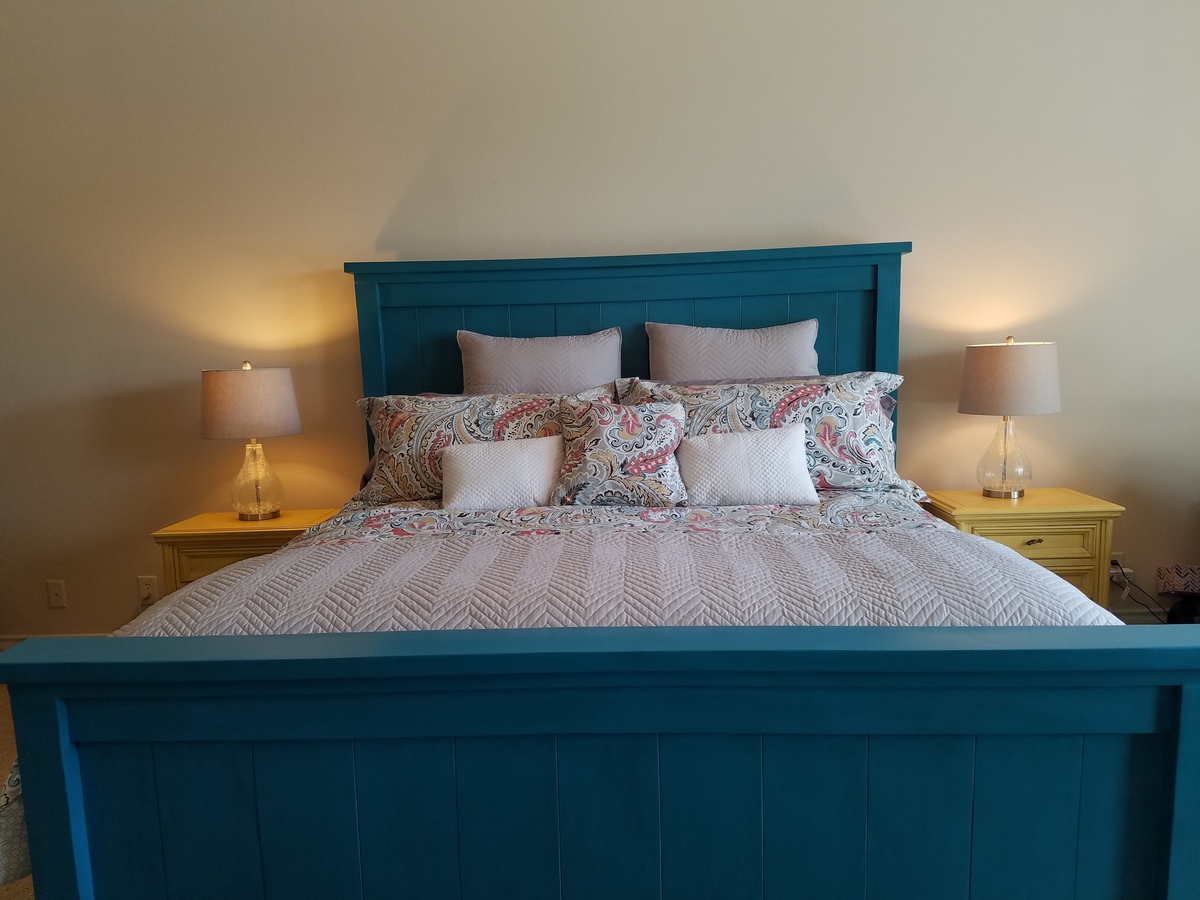
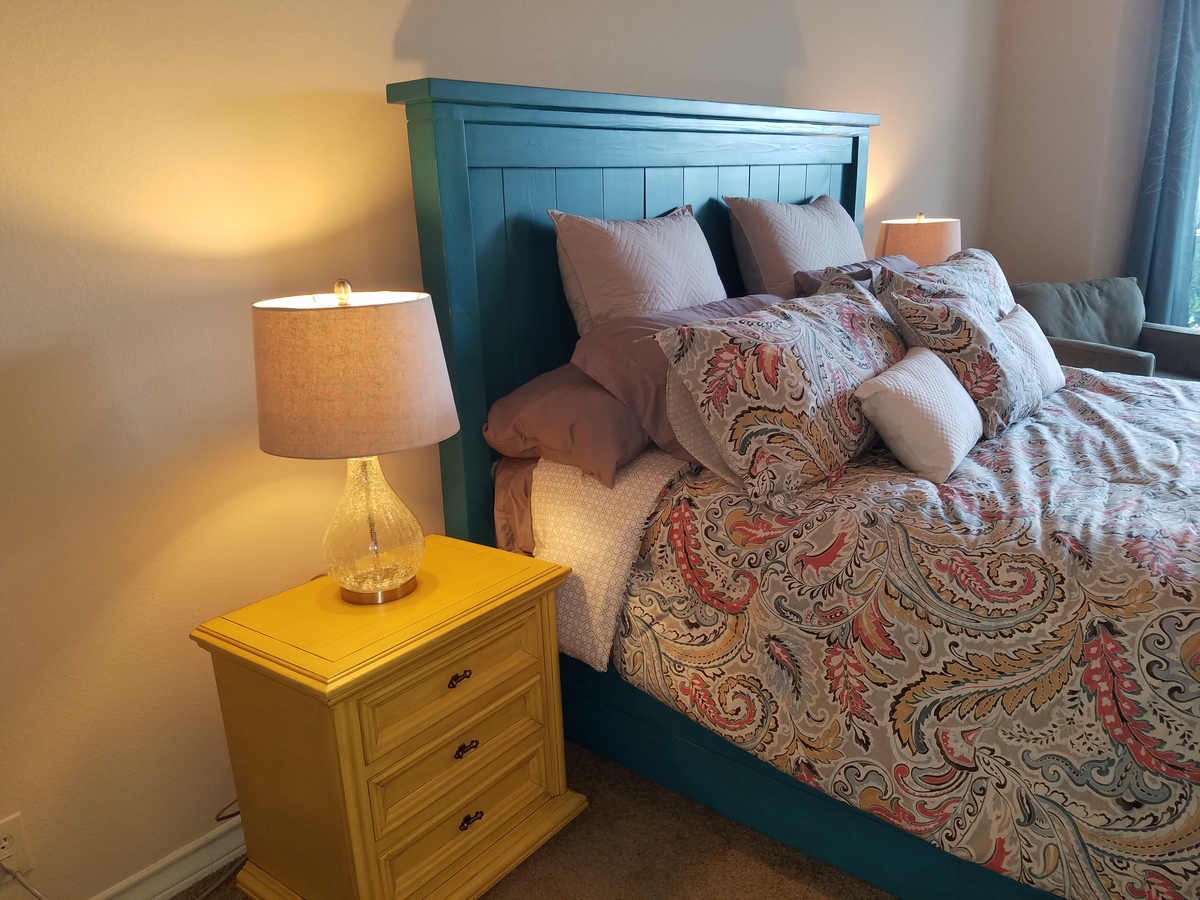
This was my gift to my husband for our 23rd Wedding Anniversary. I decided to build it on Friday and had it built the following Friday (but not stained). I was able to work on it a few hours each night.
This is my very first attempt at building anything bigger than a tole-painting project and I'm thrilled with the results.
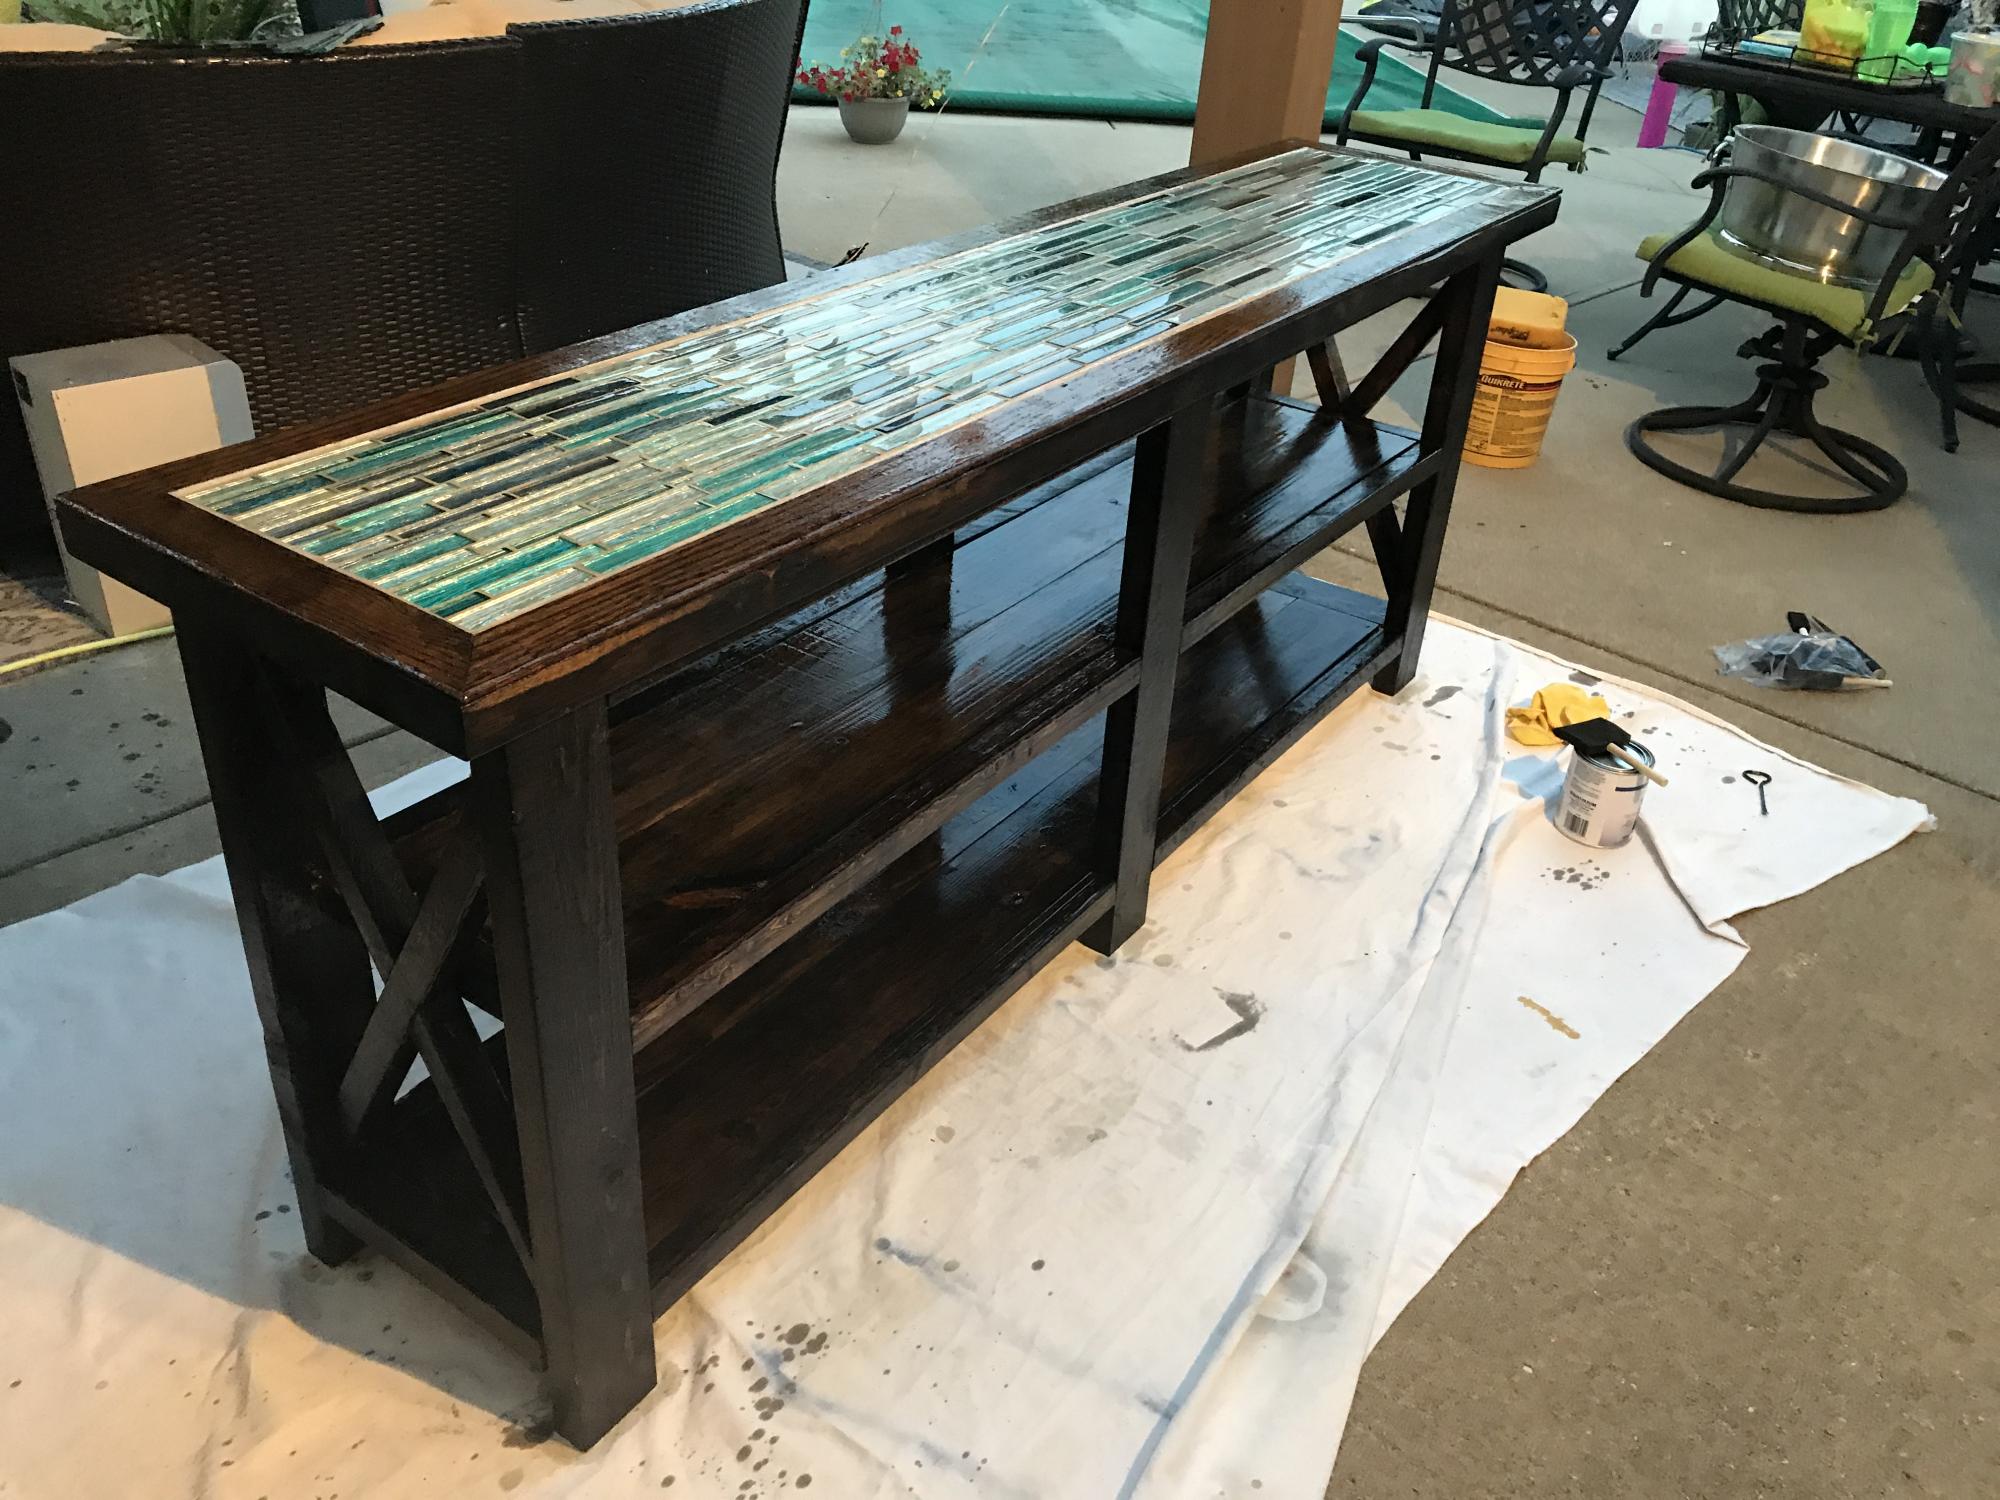
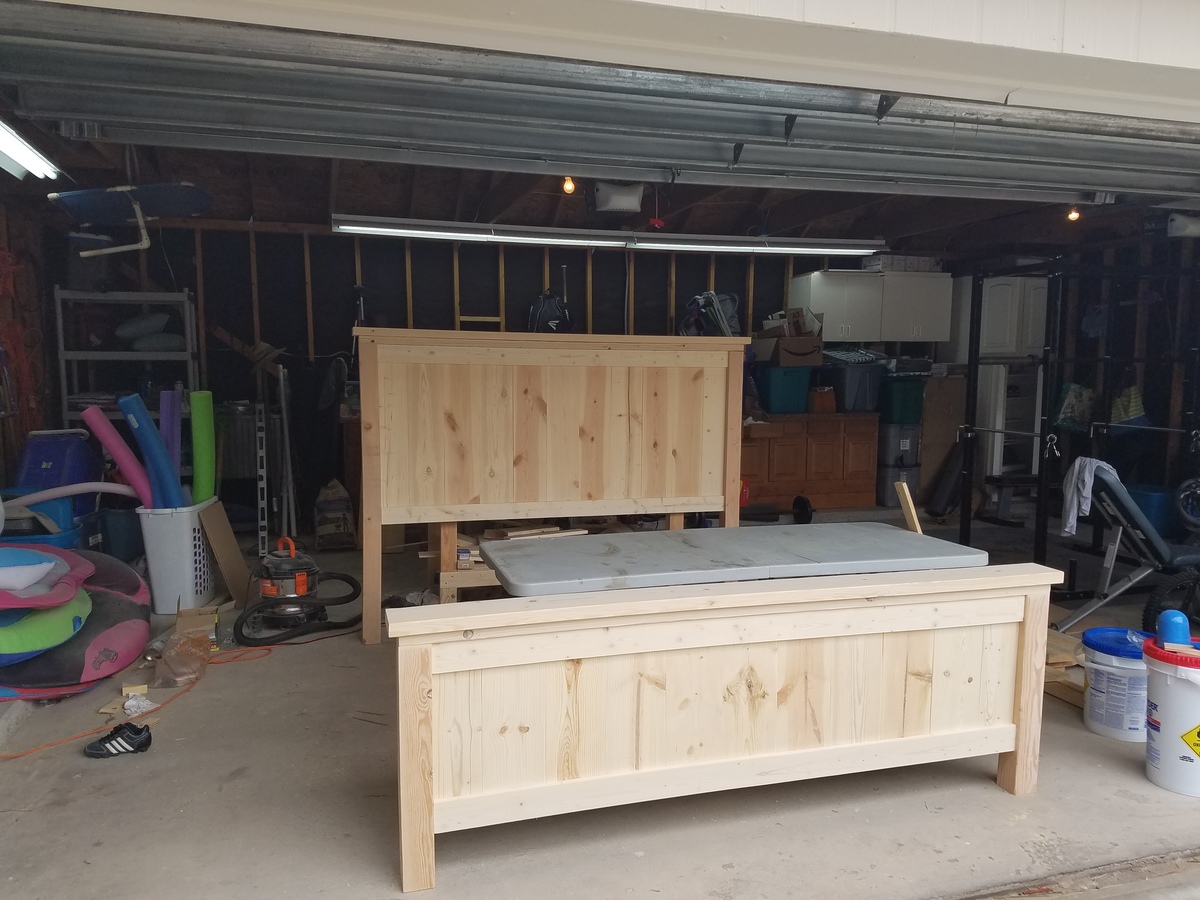
If you have ANY skills at all, this is NOT a difficult project but it IS a heavy one!
I refused to let my husband know what I was building so I was on my own moving things around. It tipped over on me twice and I had the bruises to prove it.
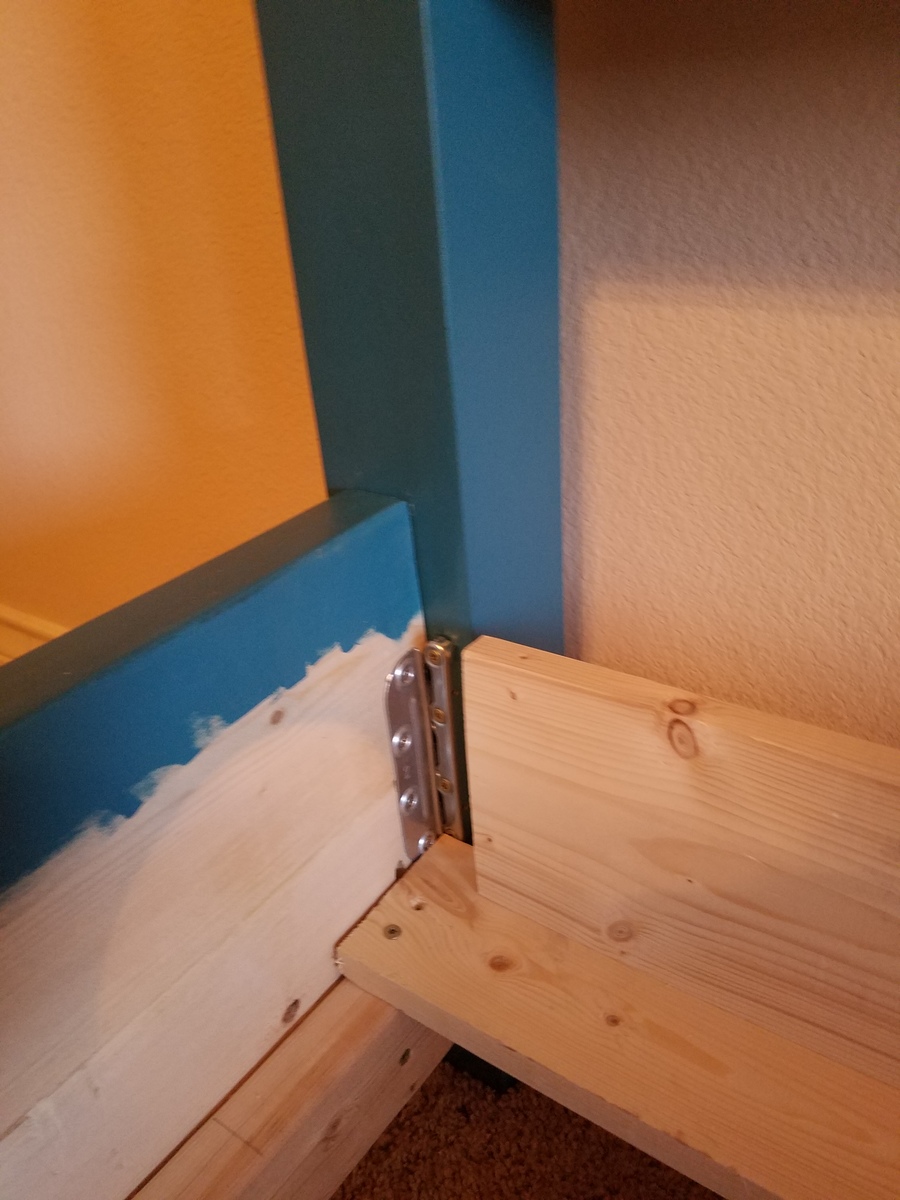
I searched and searched and found a great price ($13 + shipping) on the side-rail hardware at http://www.woodcraft.com/product/2003981/9364/hafele-nomortise-bed-rail….
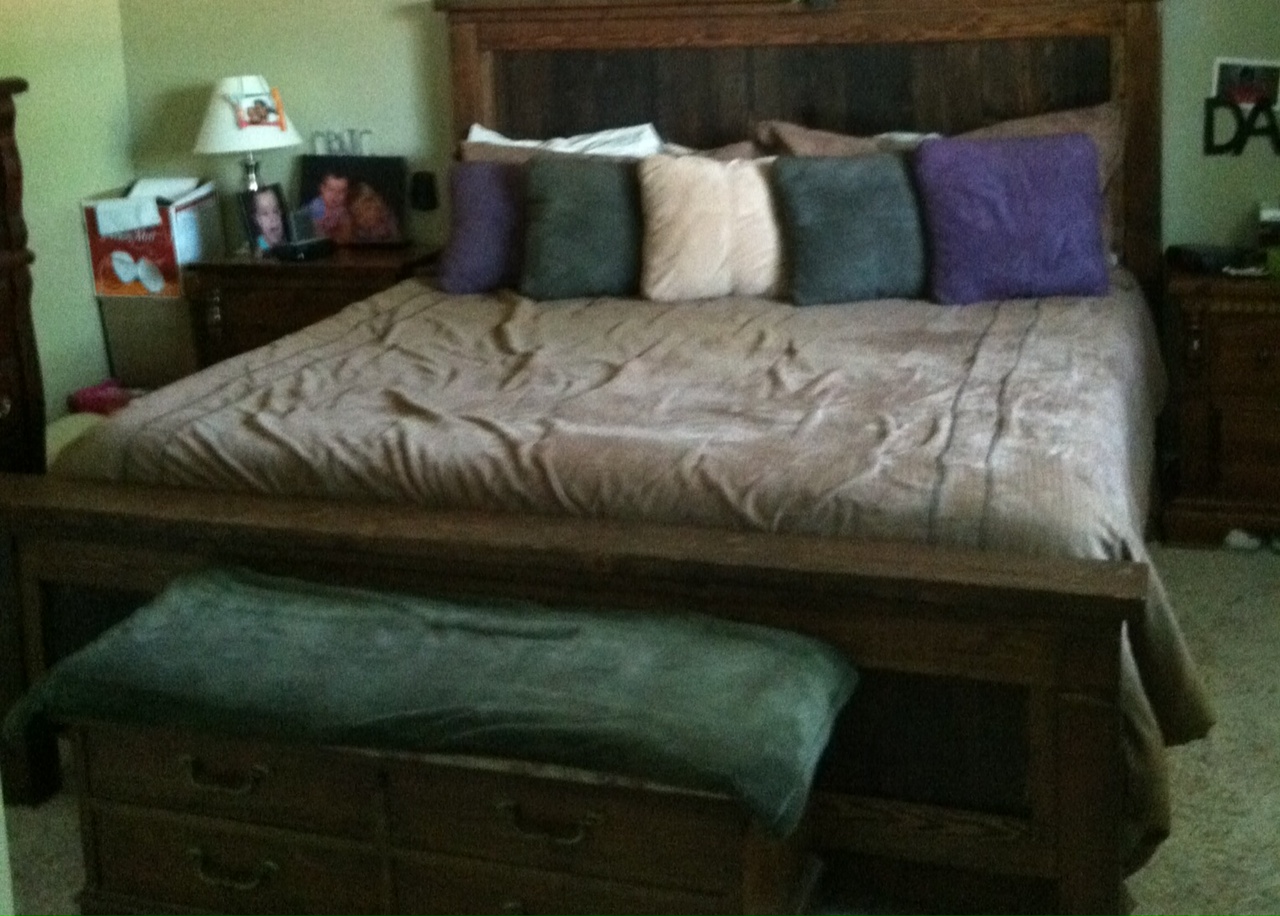
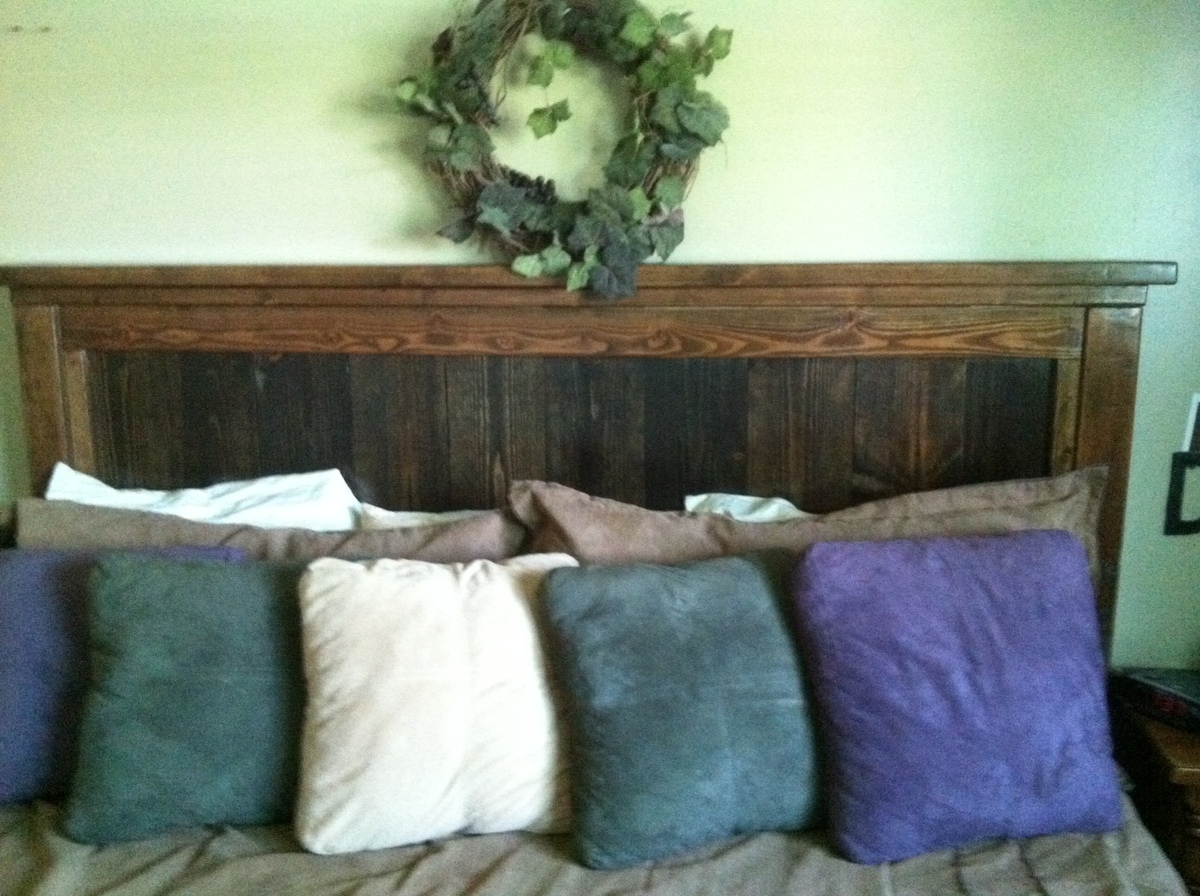
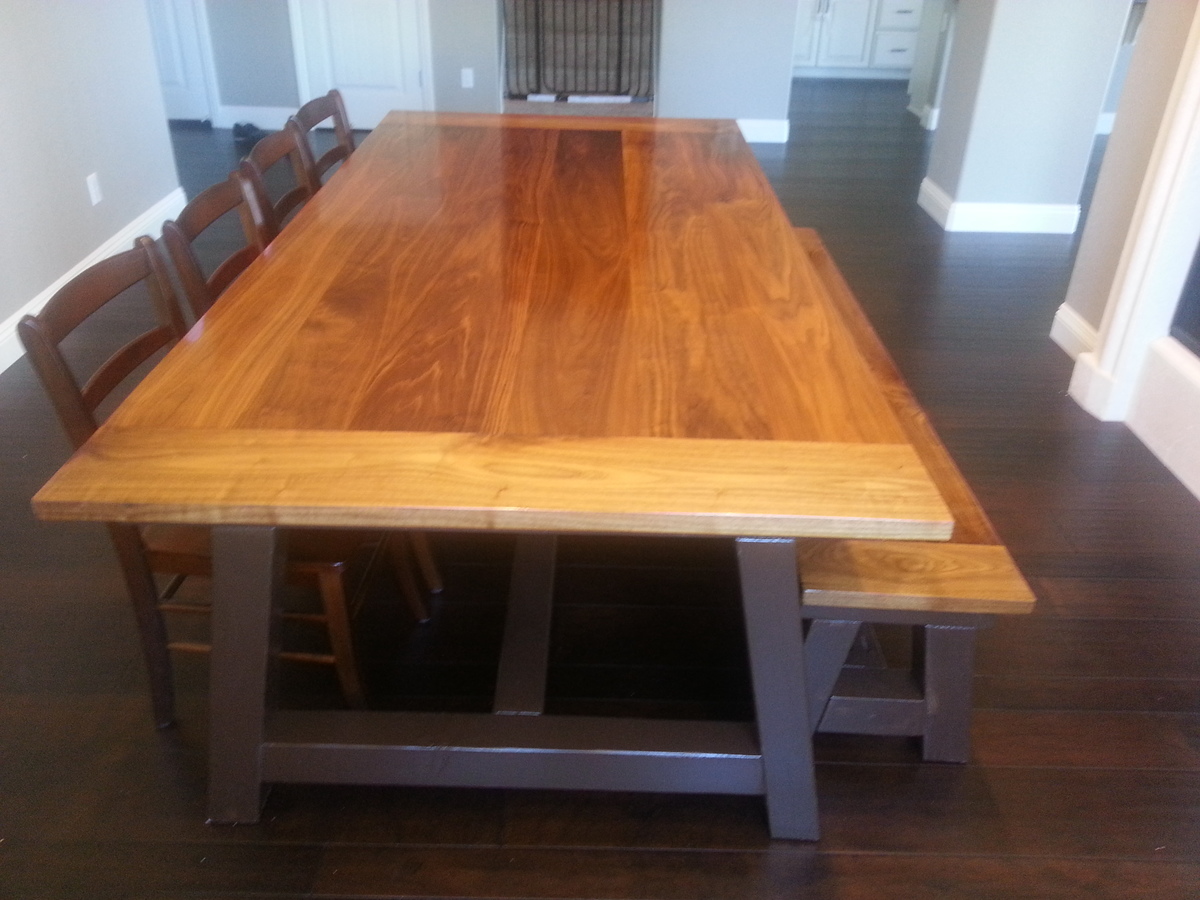
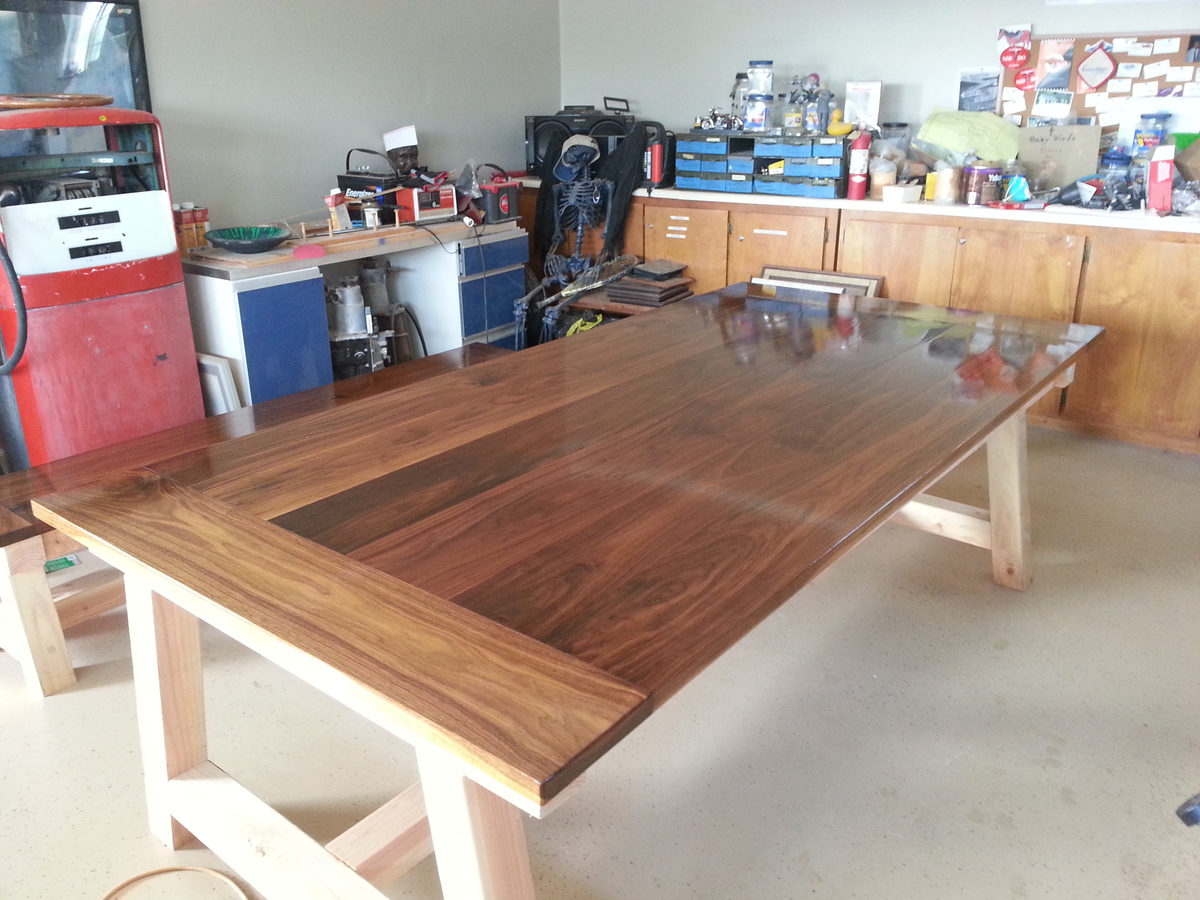
We like traditional looking furniture but wanted a touch of a modern feel. So I stained the inside panel with one coat of black stain and then we went over it with a thin coat of the oak stain that we used on the rest of the bed.
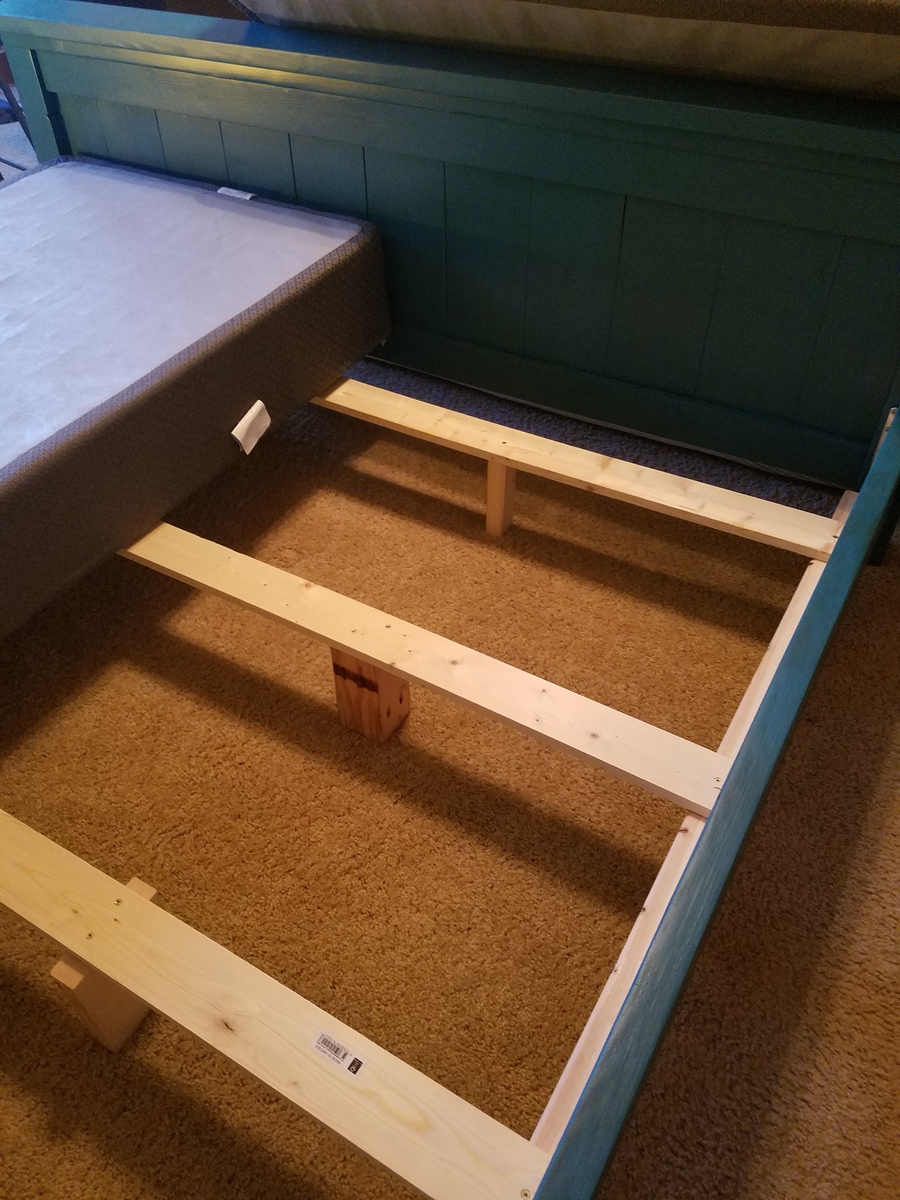
We opted to use the standard metal bed frame that goes with our box spring and mattress set. So it basically just sits inside the head & foot boards and side-rails. Eventually we will be adding the box of drawers or baskets underneath and then putting the cleats and cross supports instead of the metal bed frame.

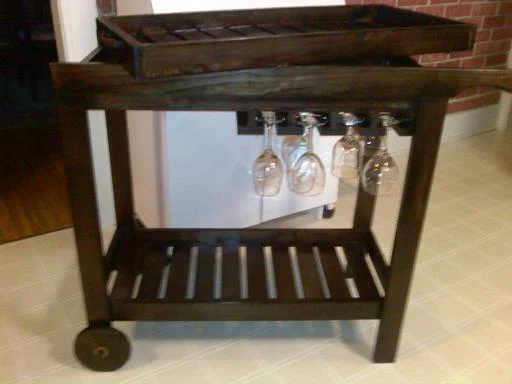
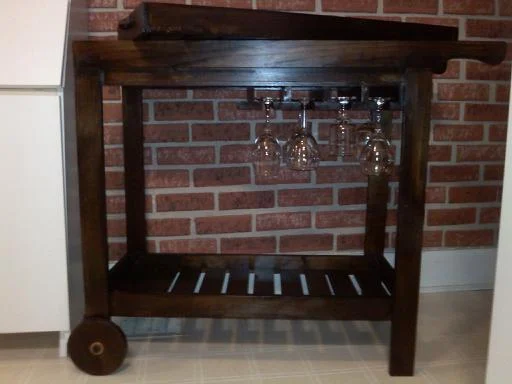


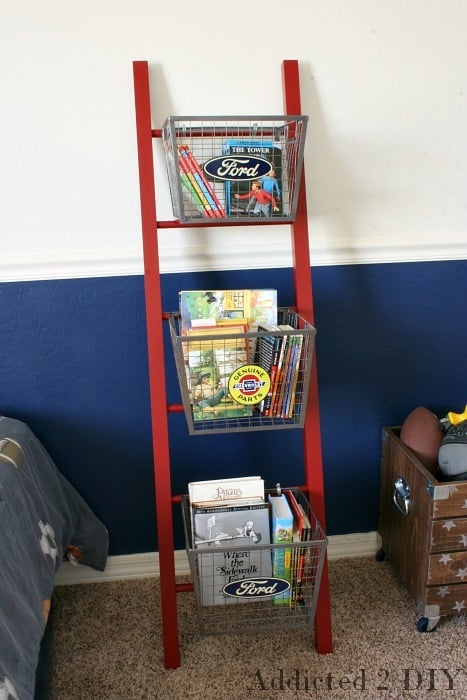


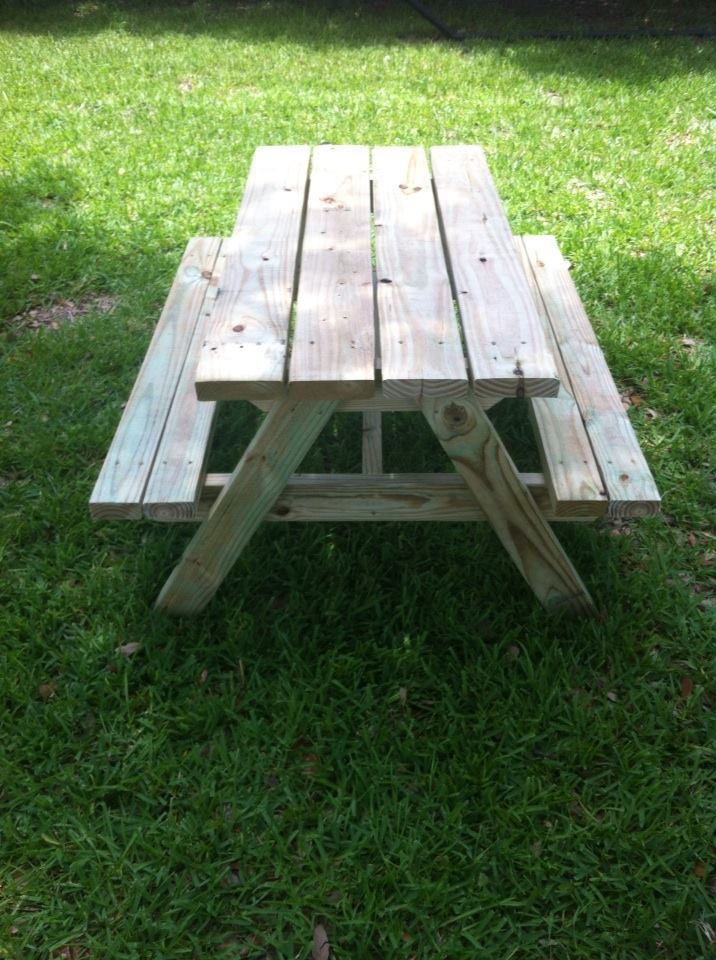
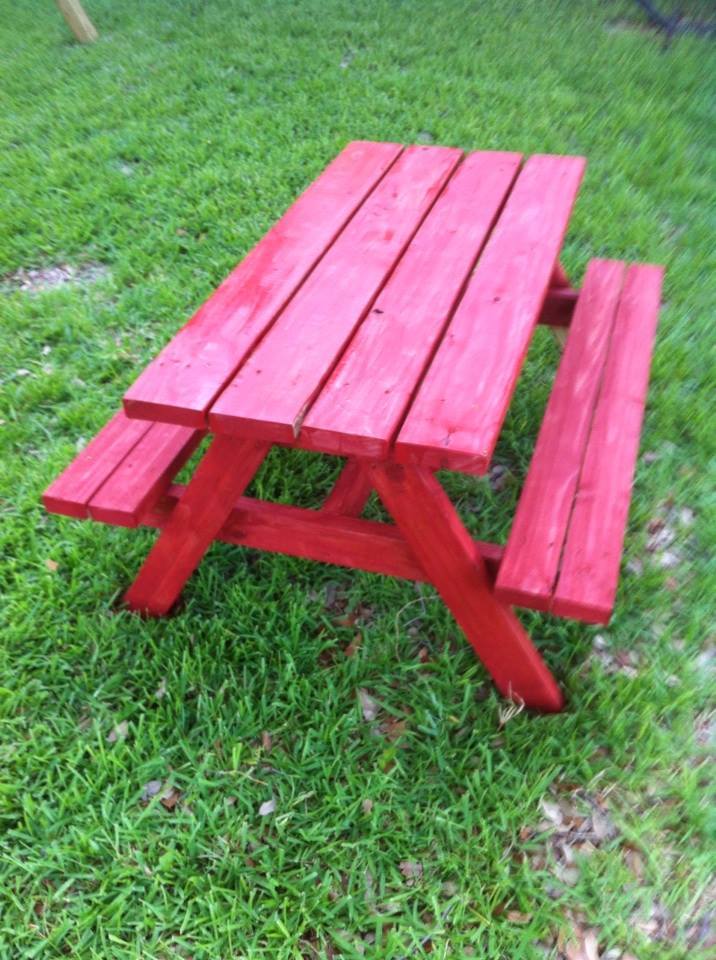

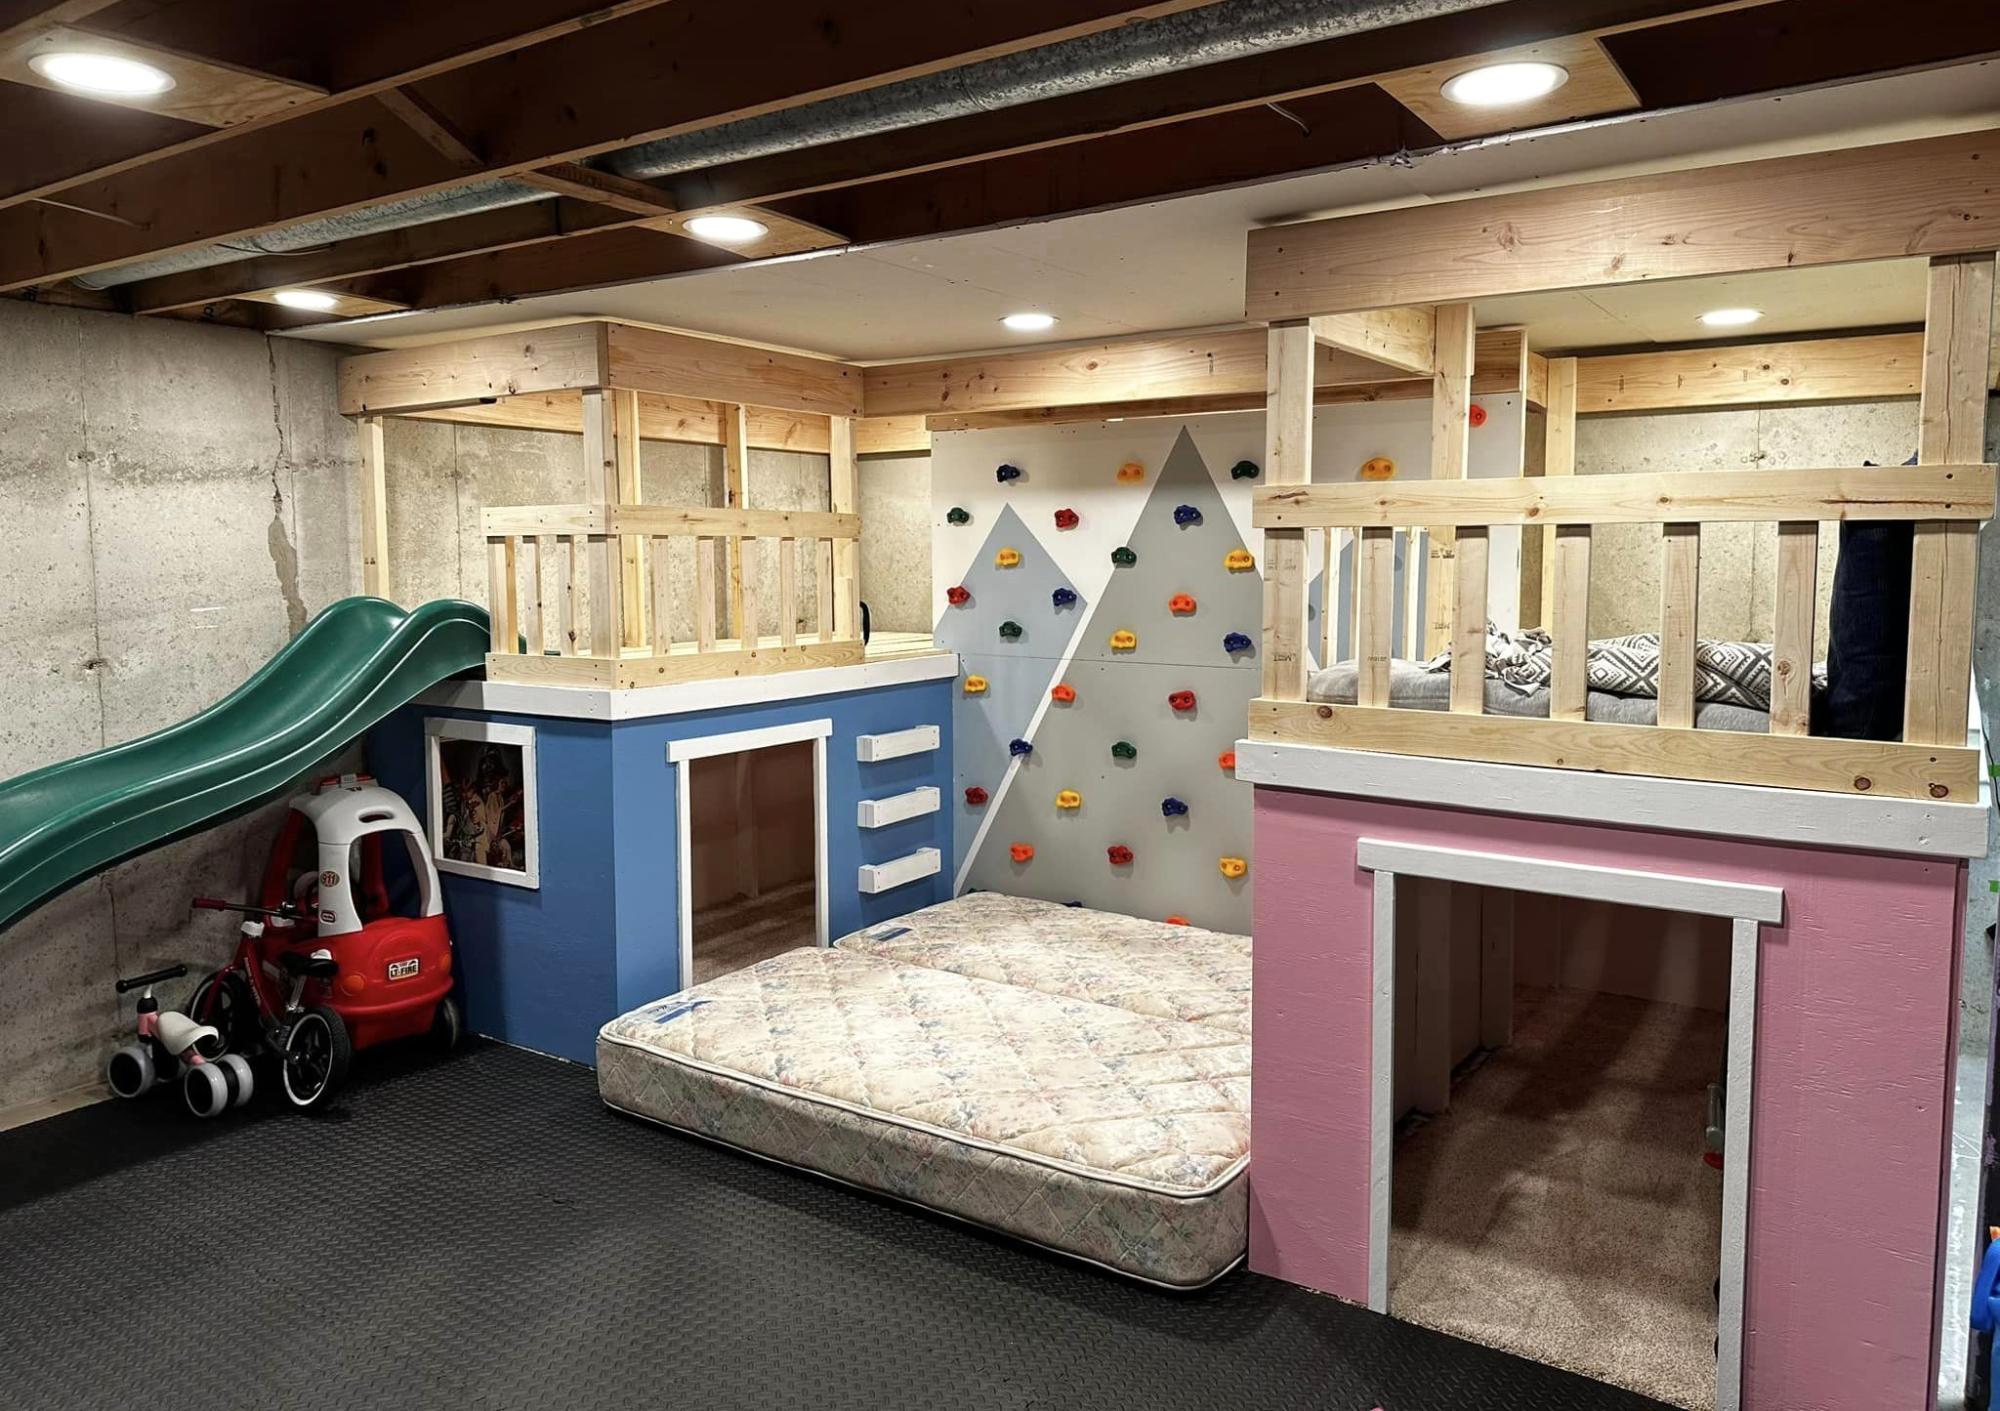
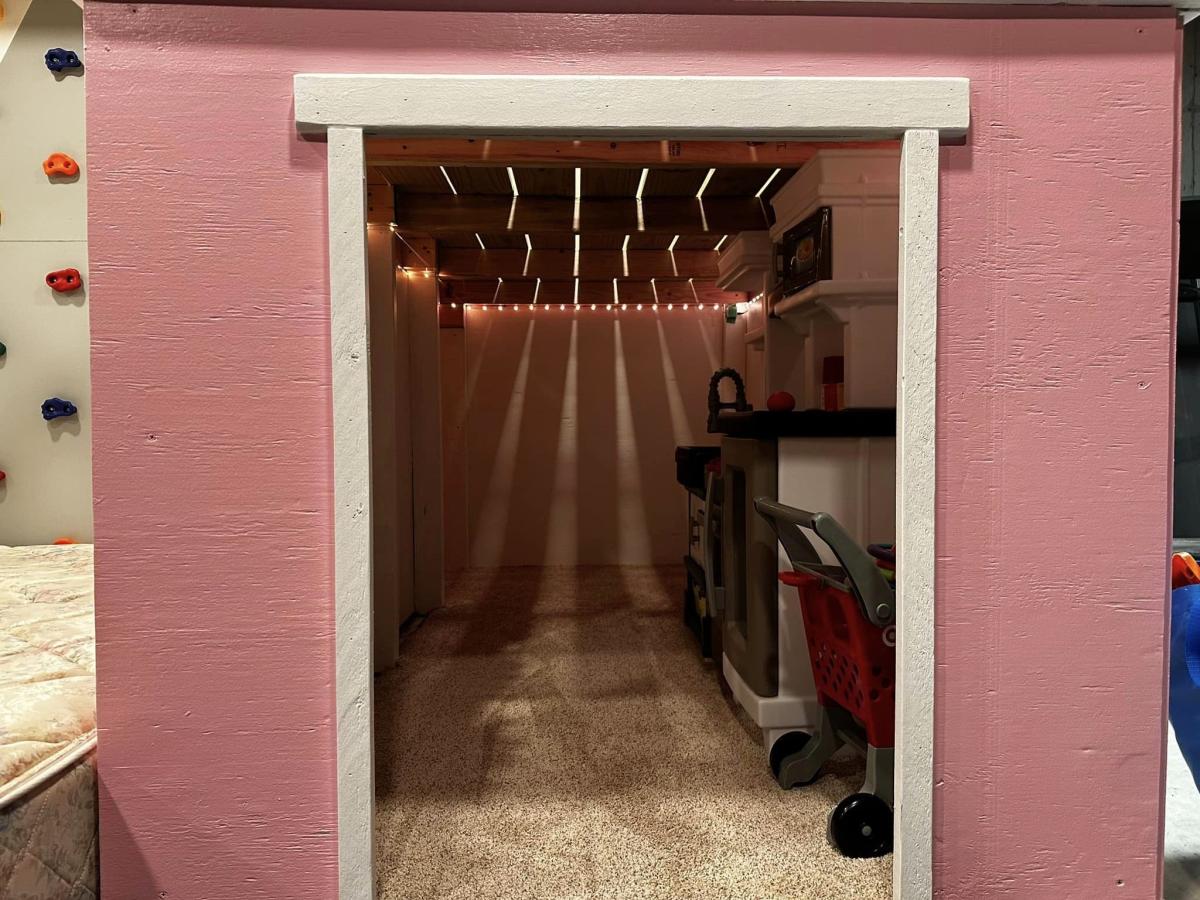
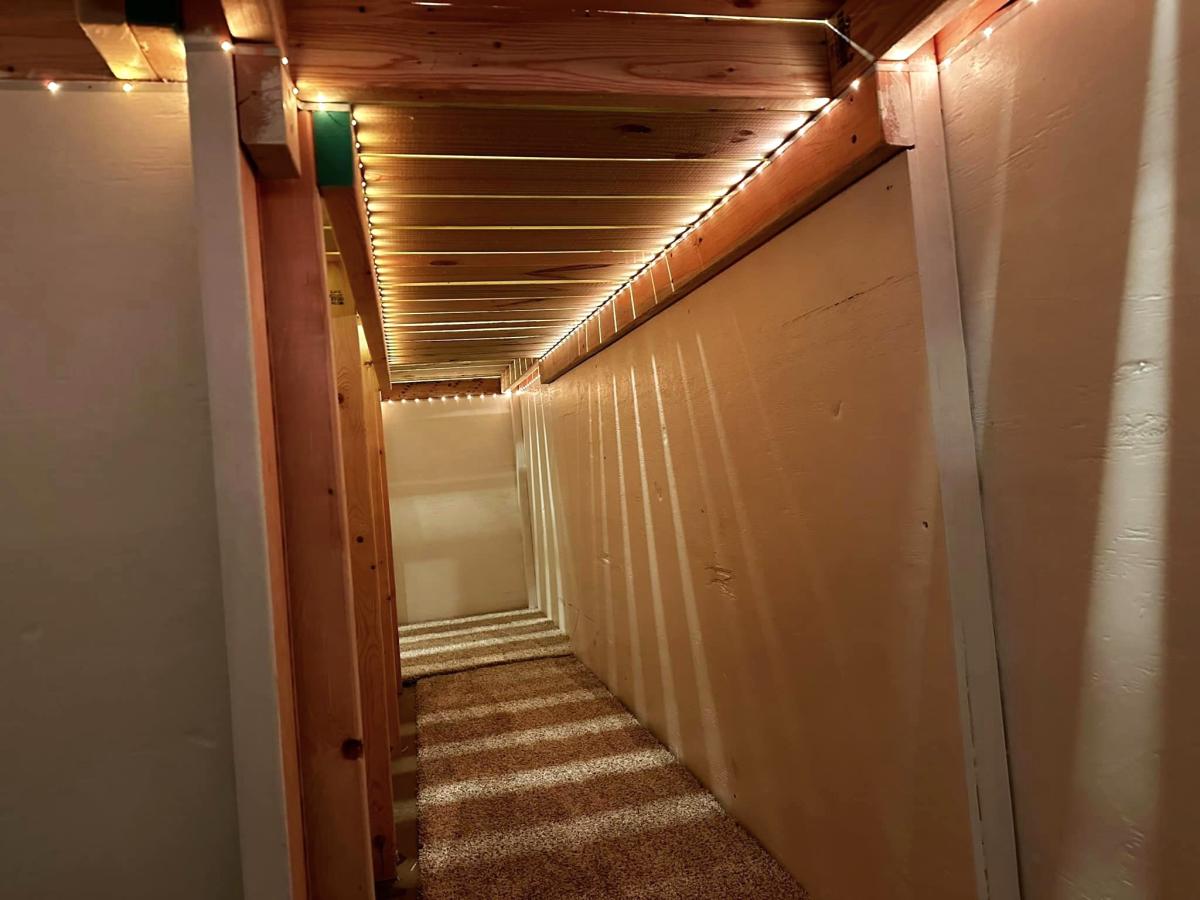
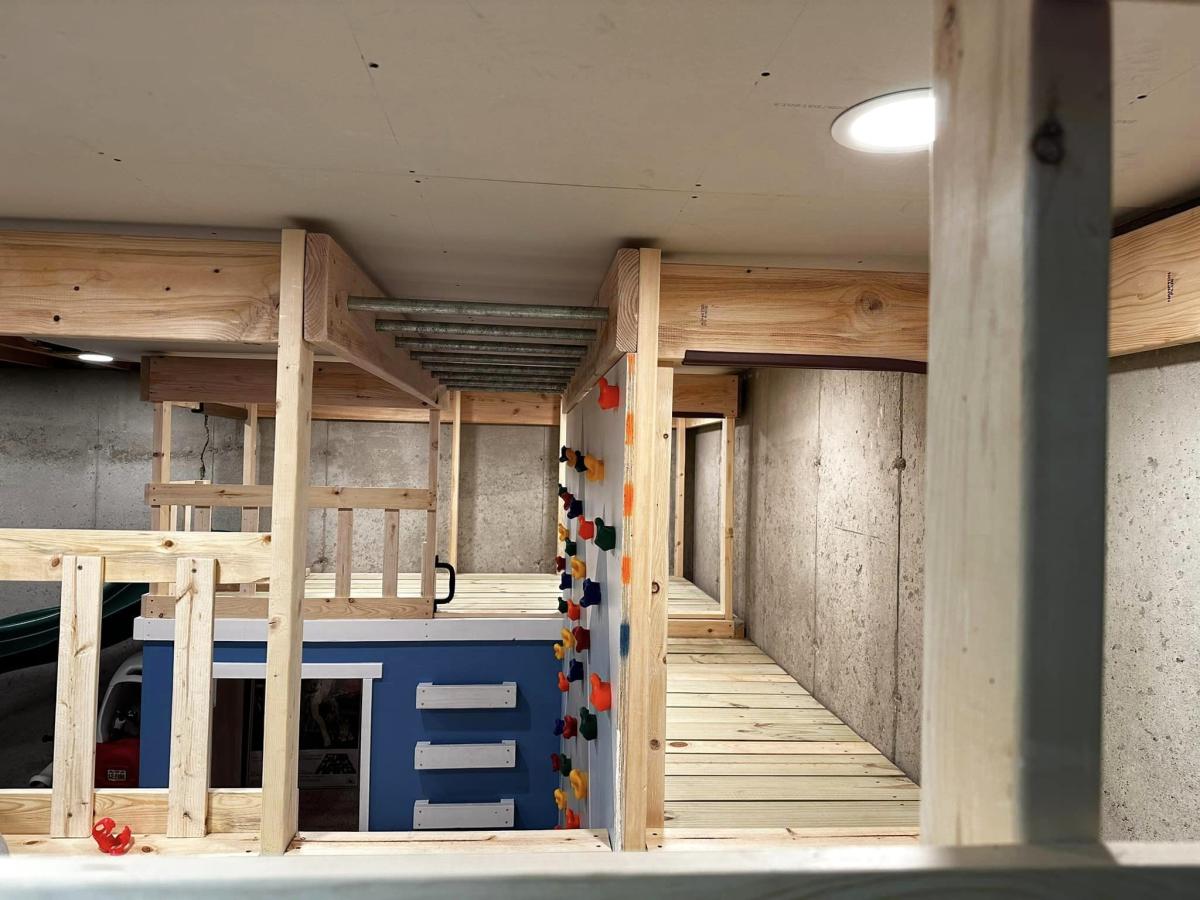
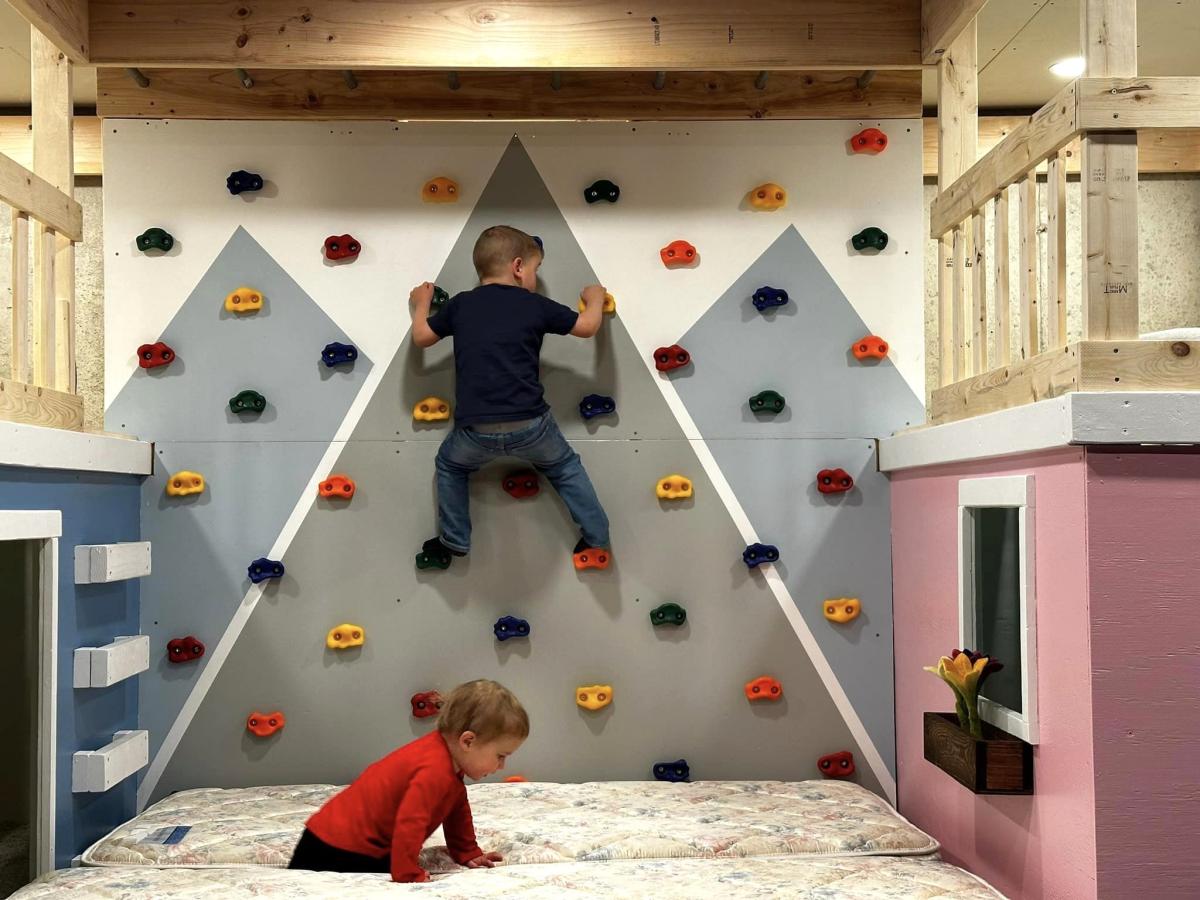
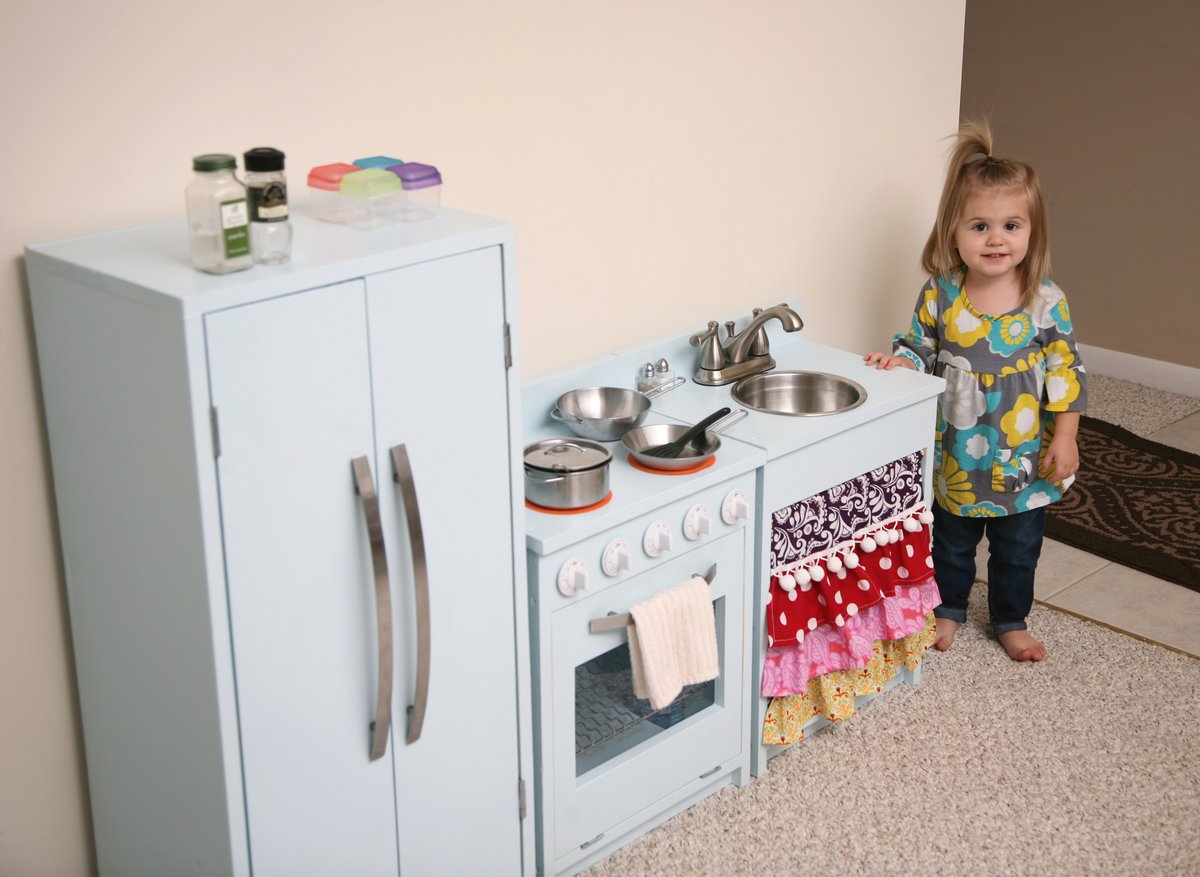
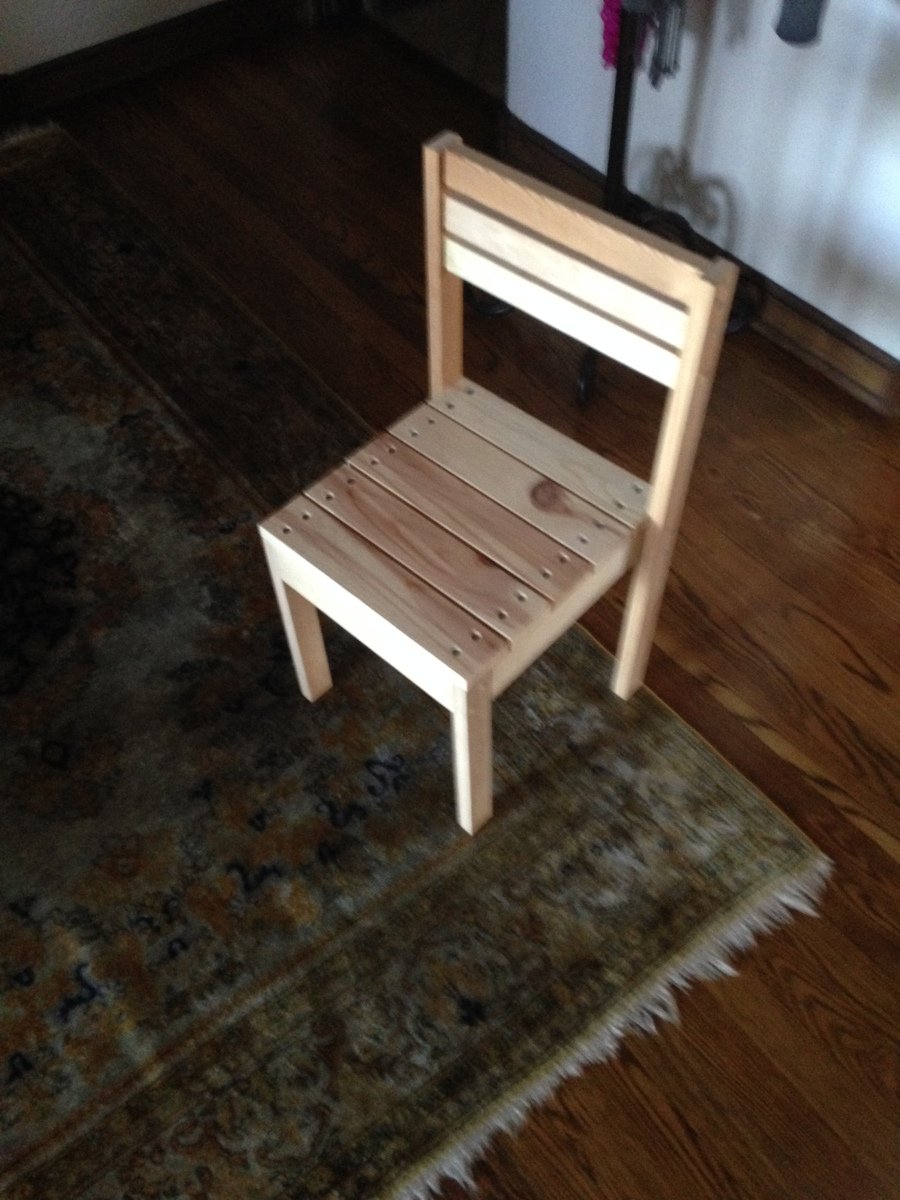
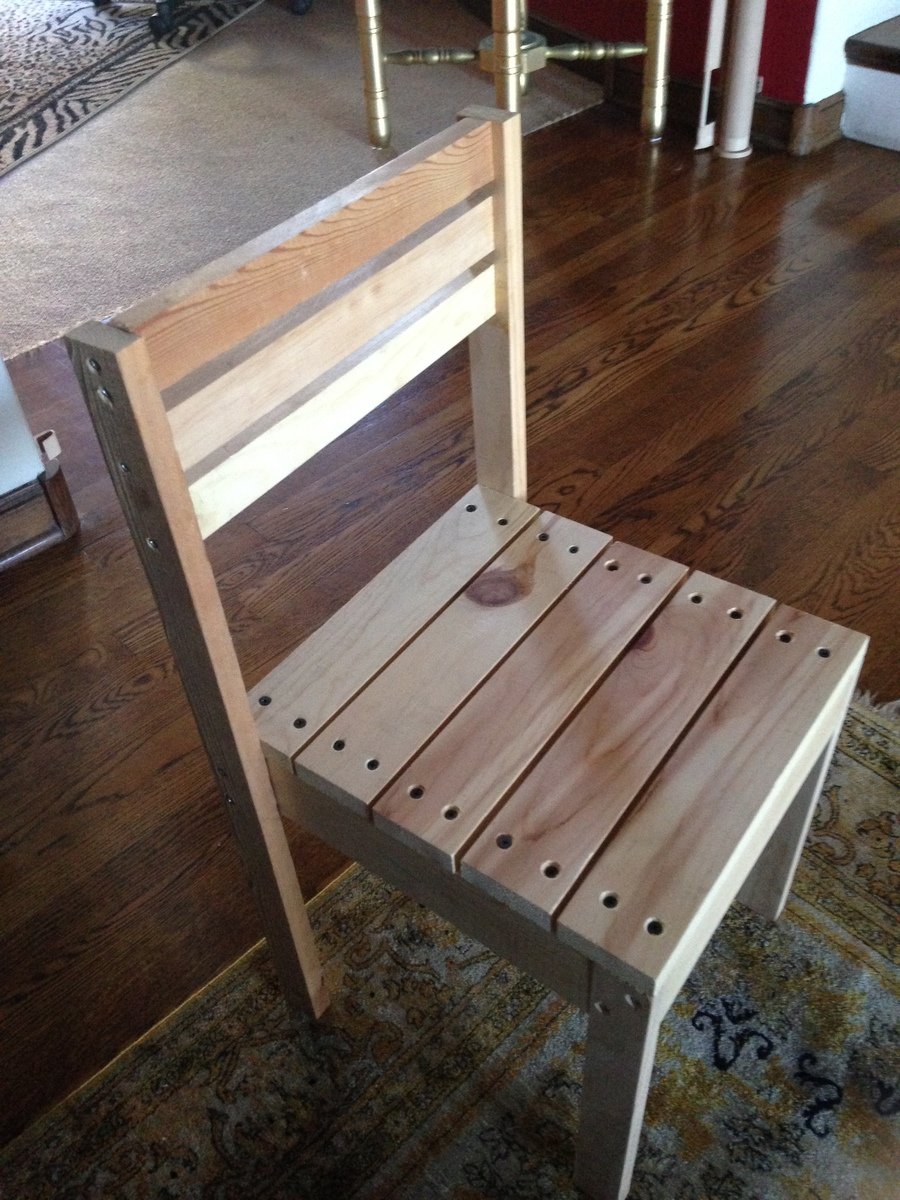
 So much fun building this project and the kids love it! Especially nice for the long winter months in Wisconsin.
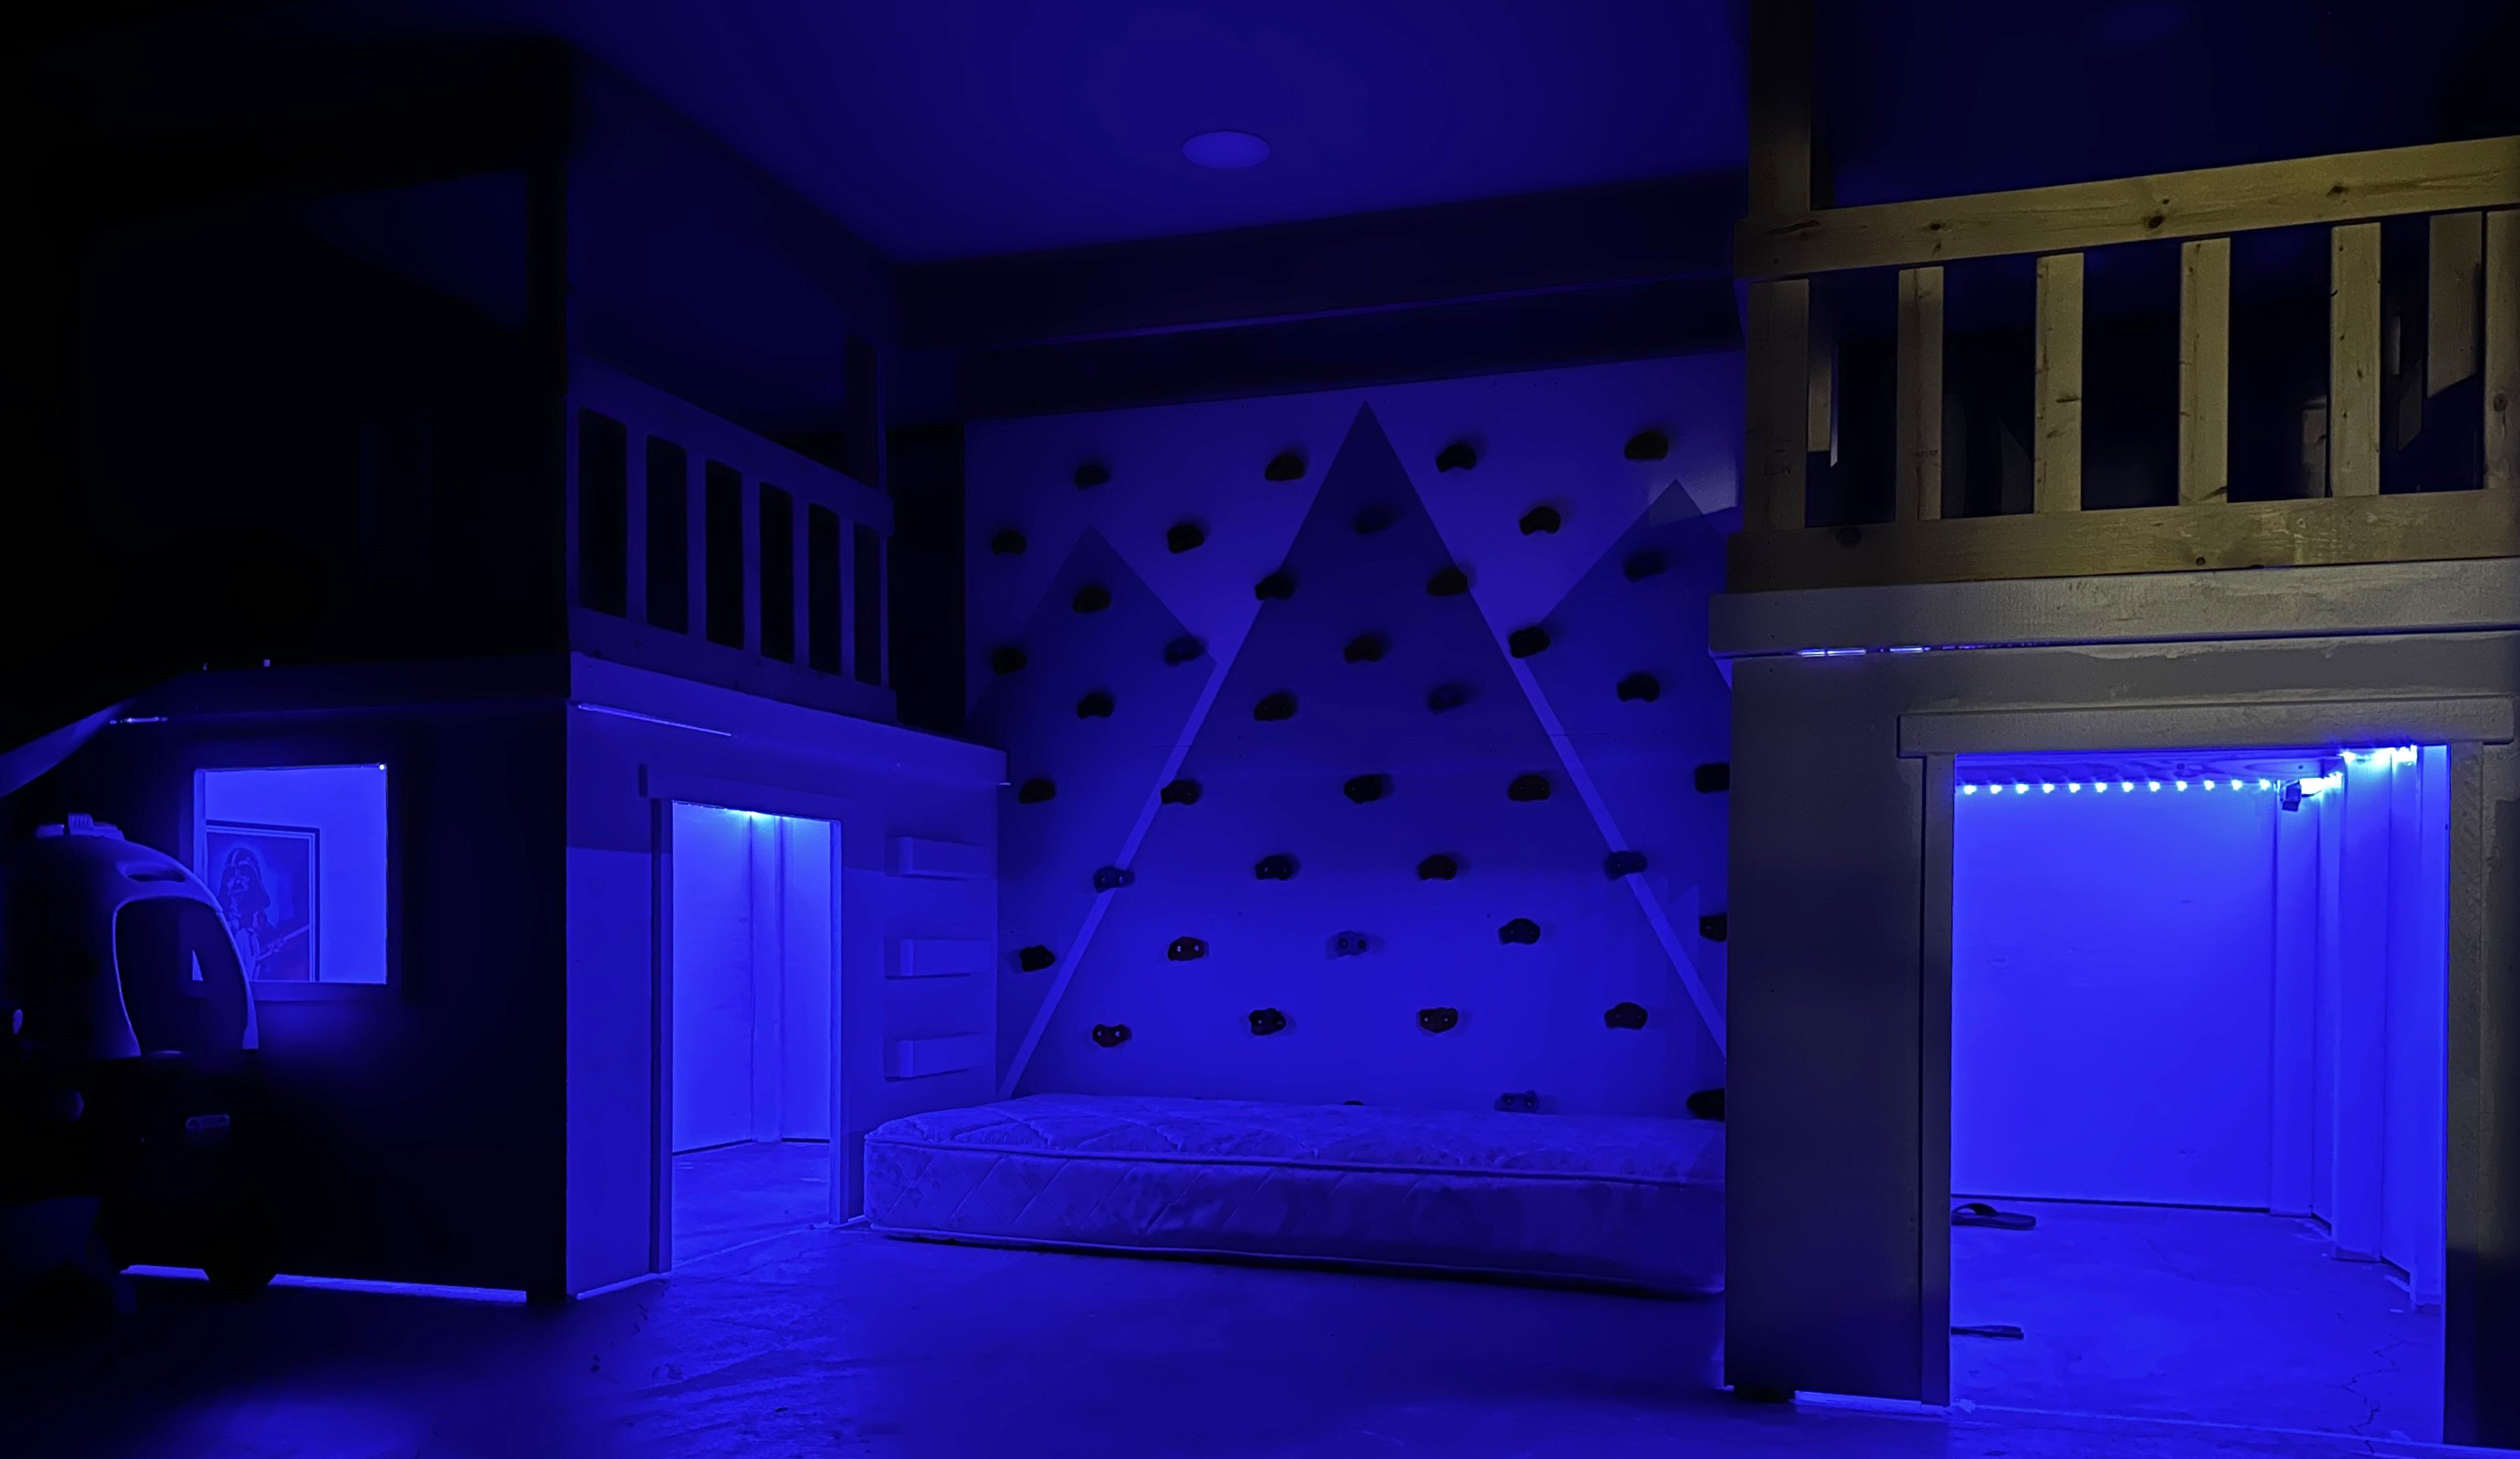