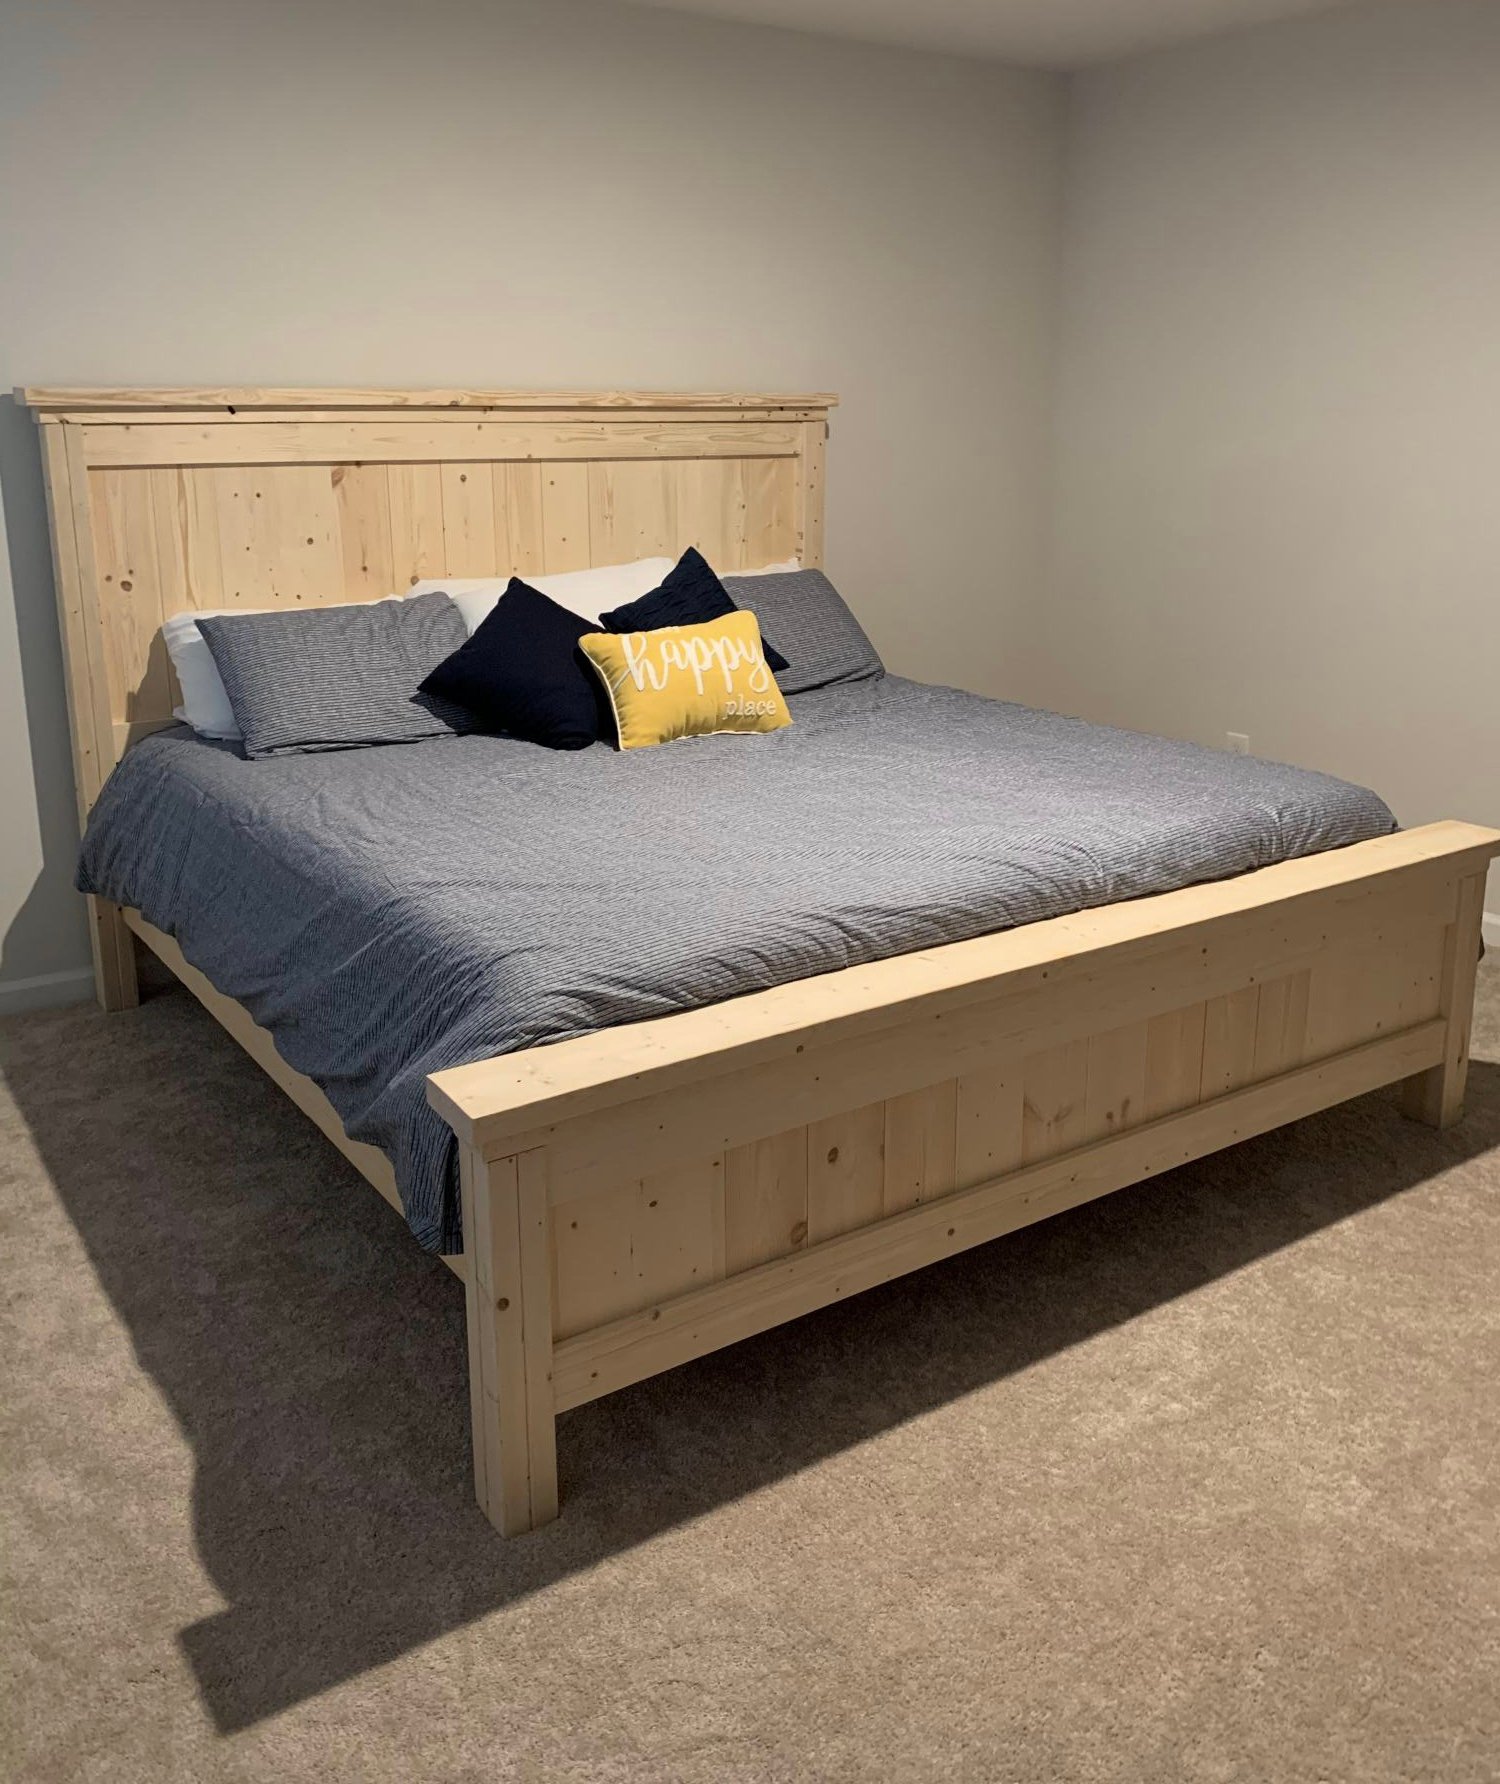
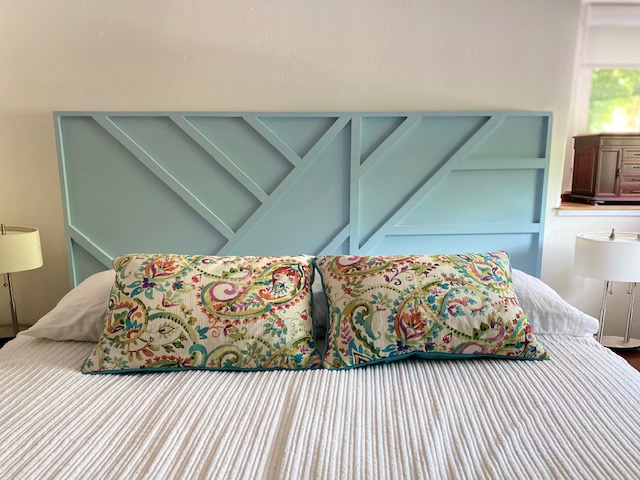
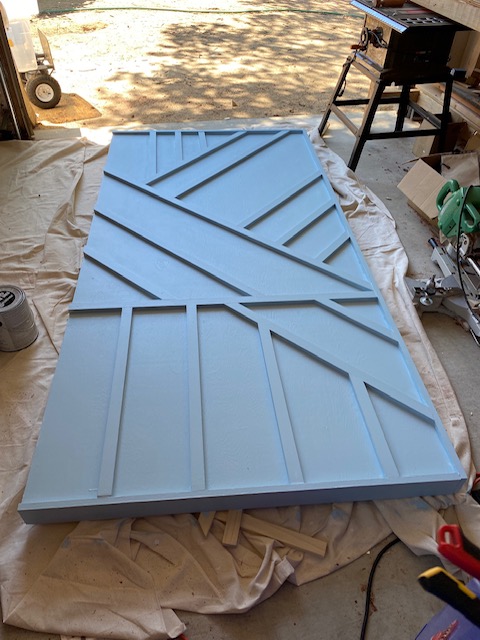
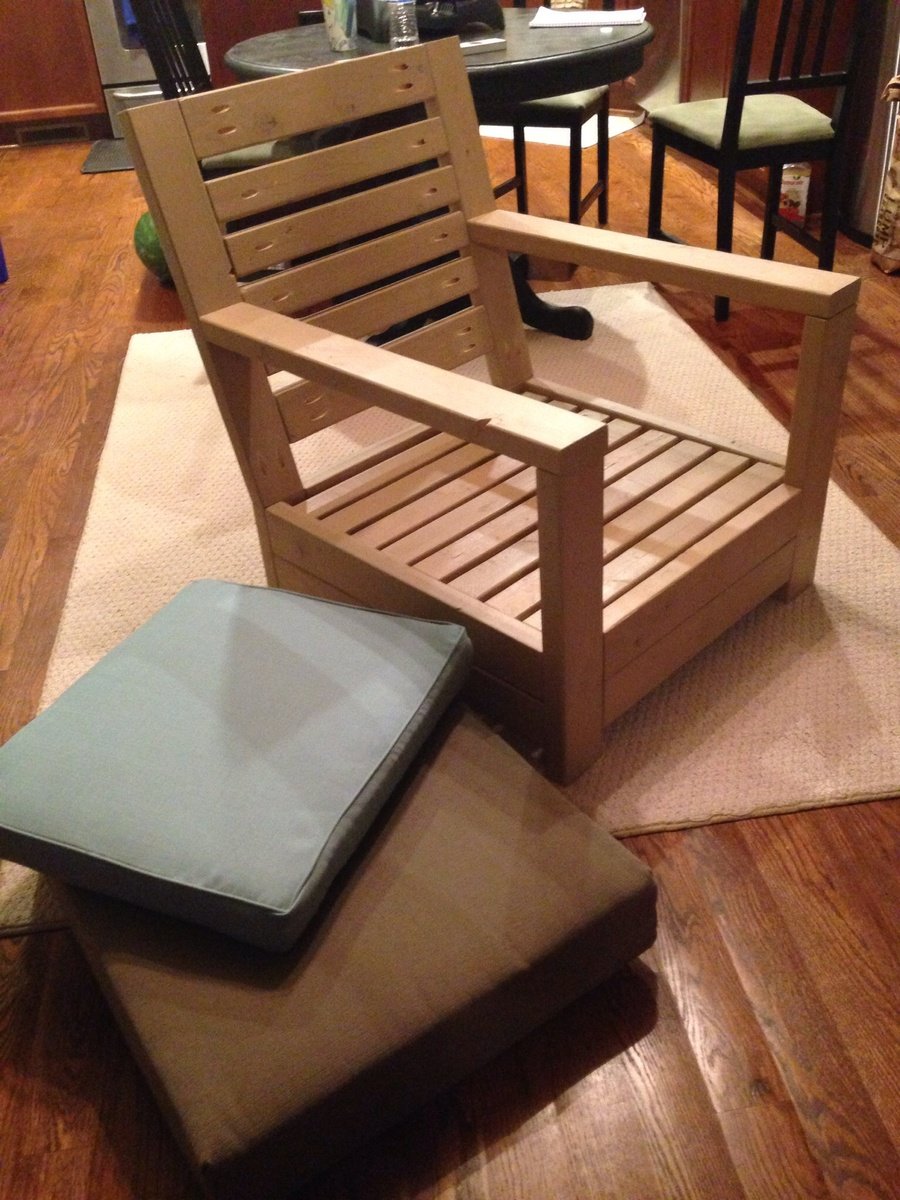
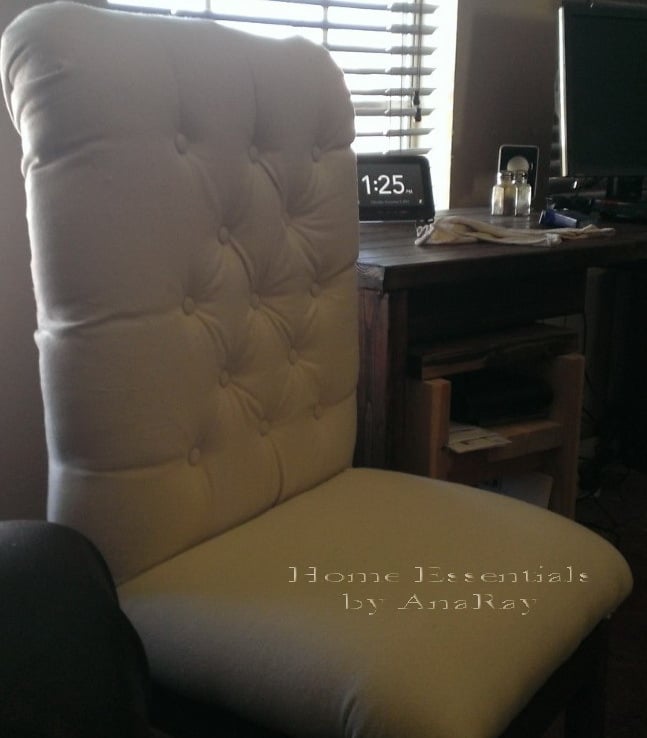
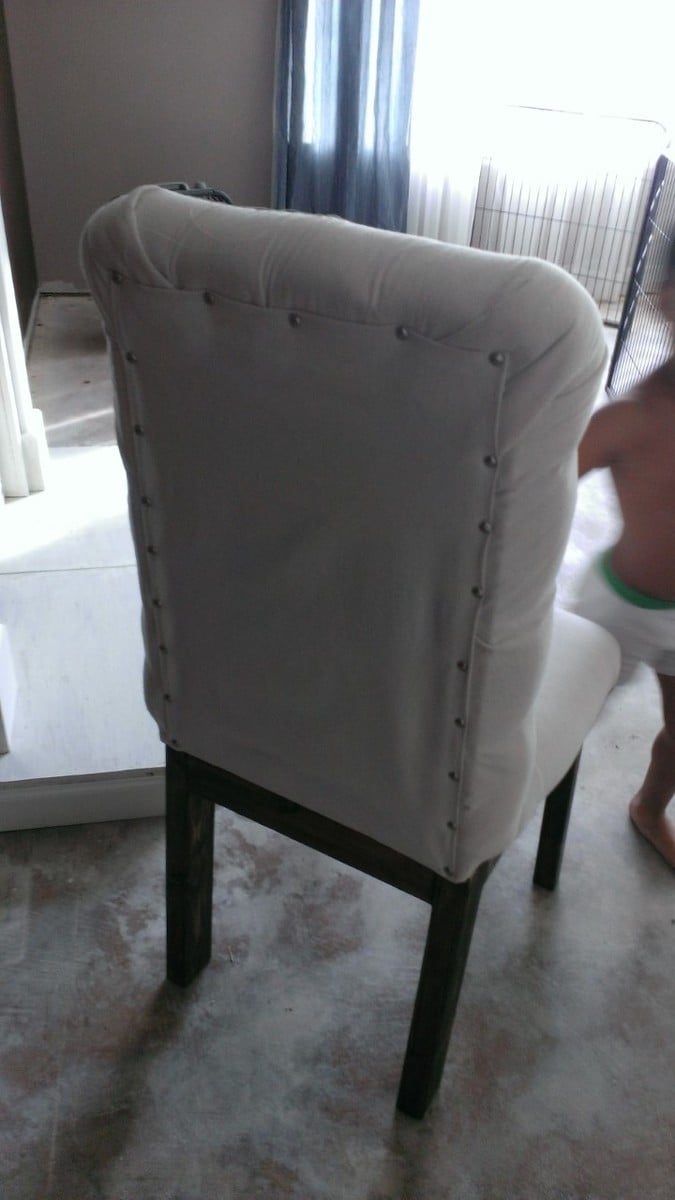
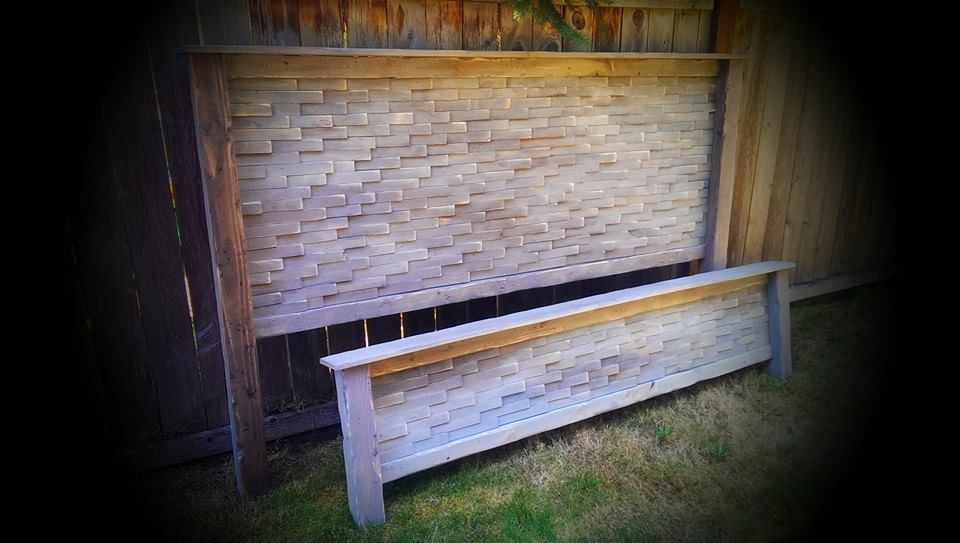
Shim bed
I am so in love with this bed!! So unique and unexpected. Thank you so much for sharing!!
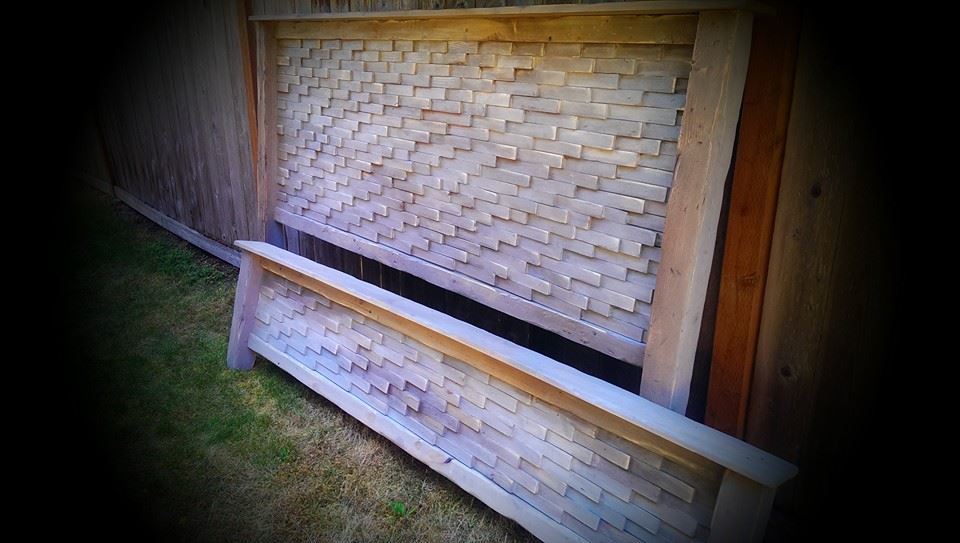
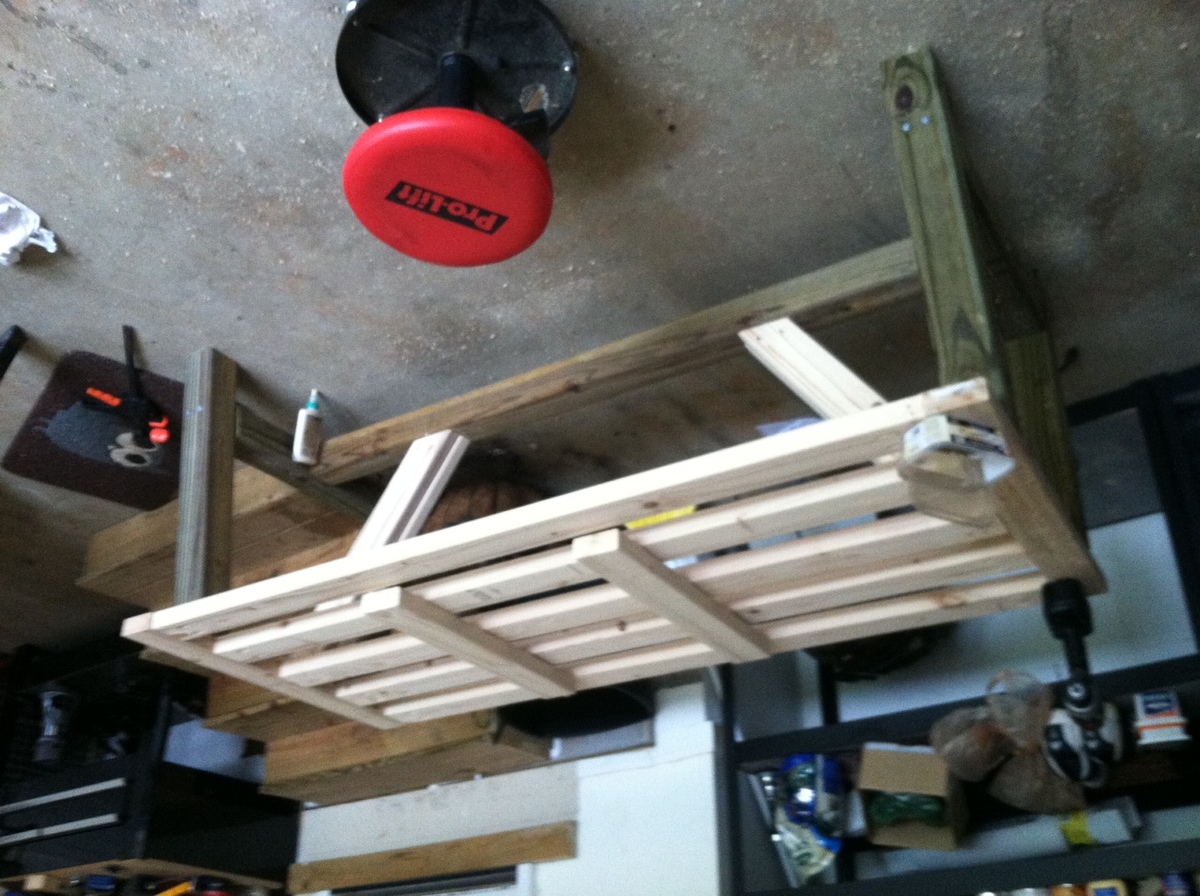
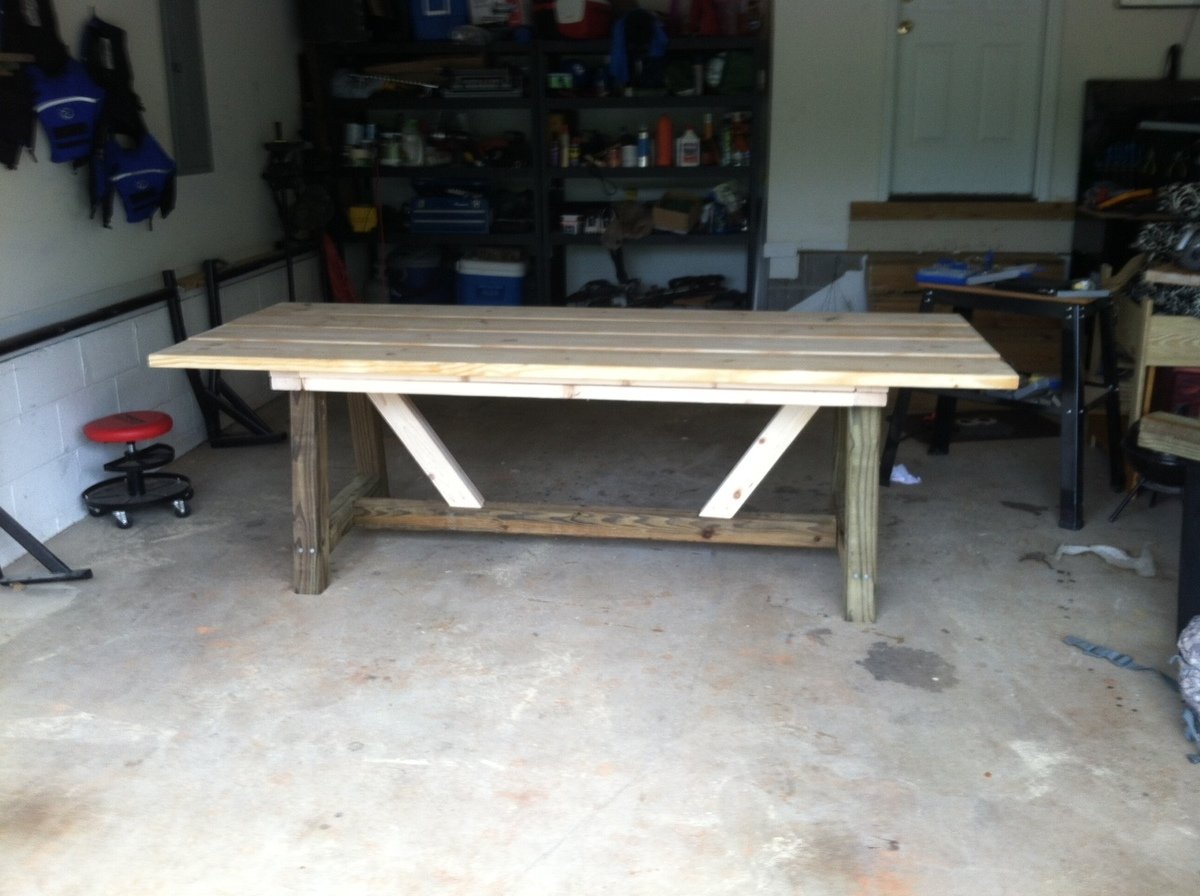
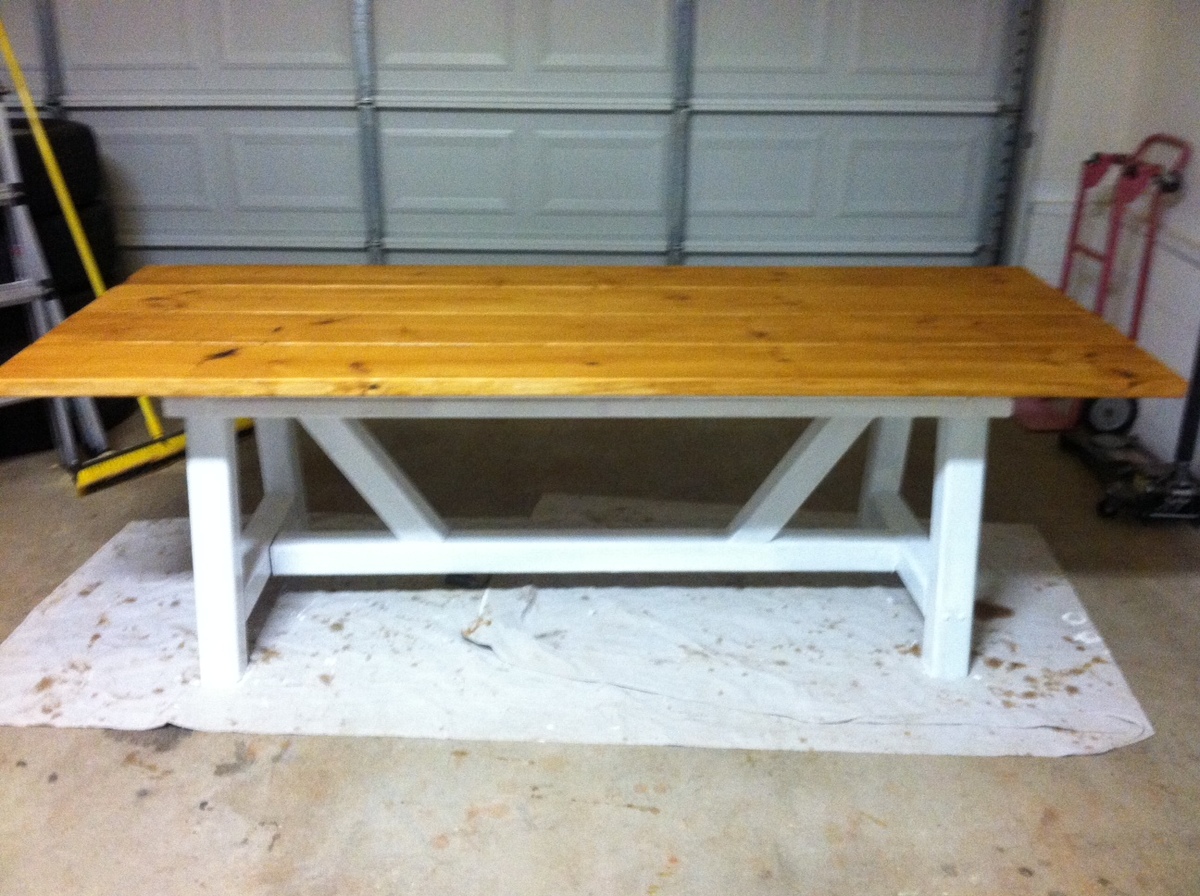
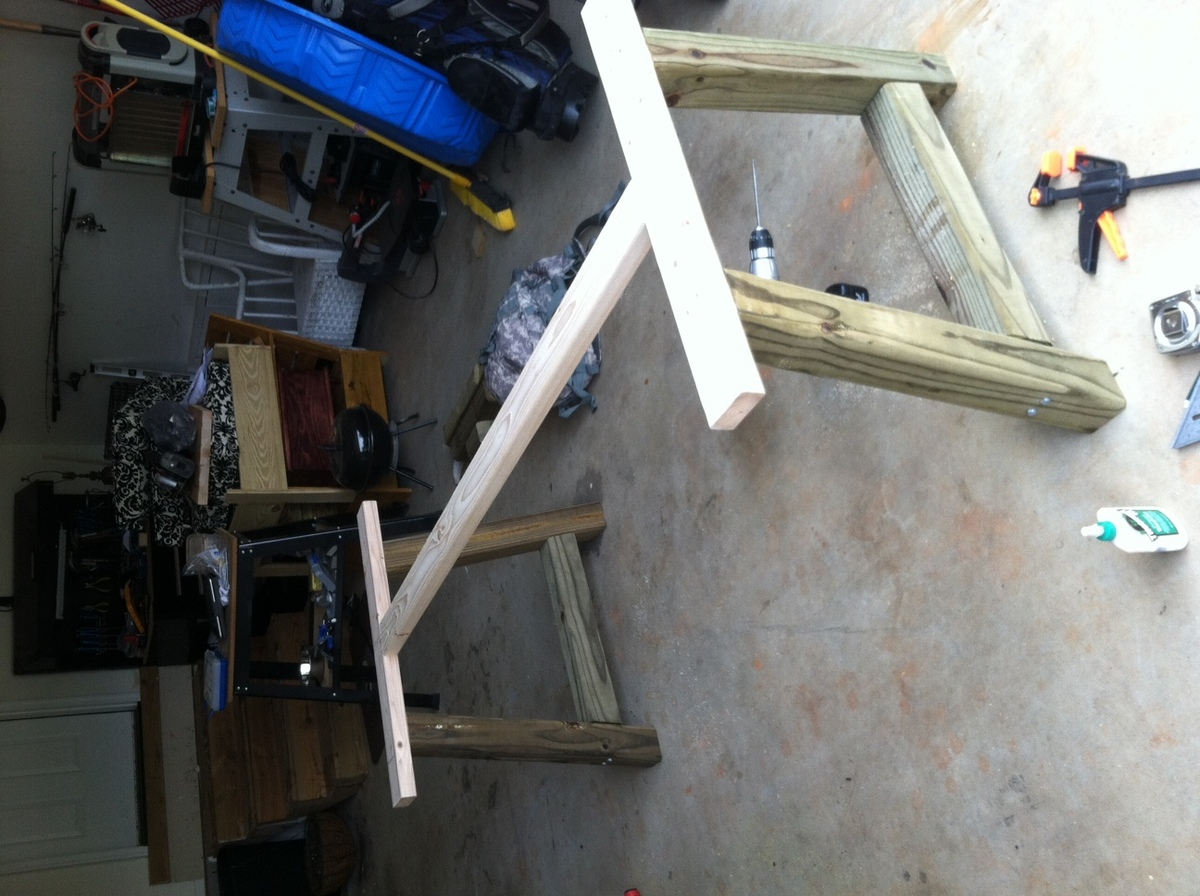
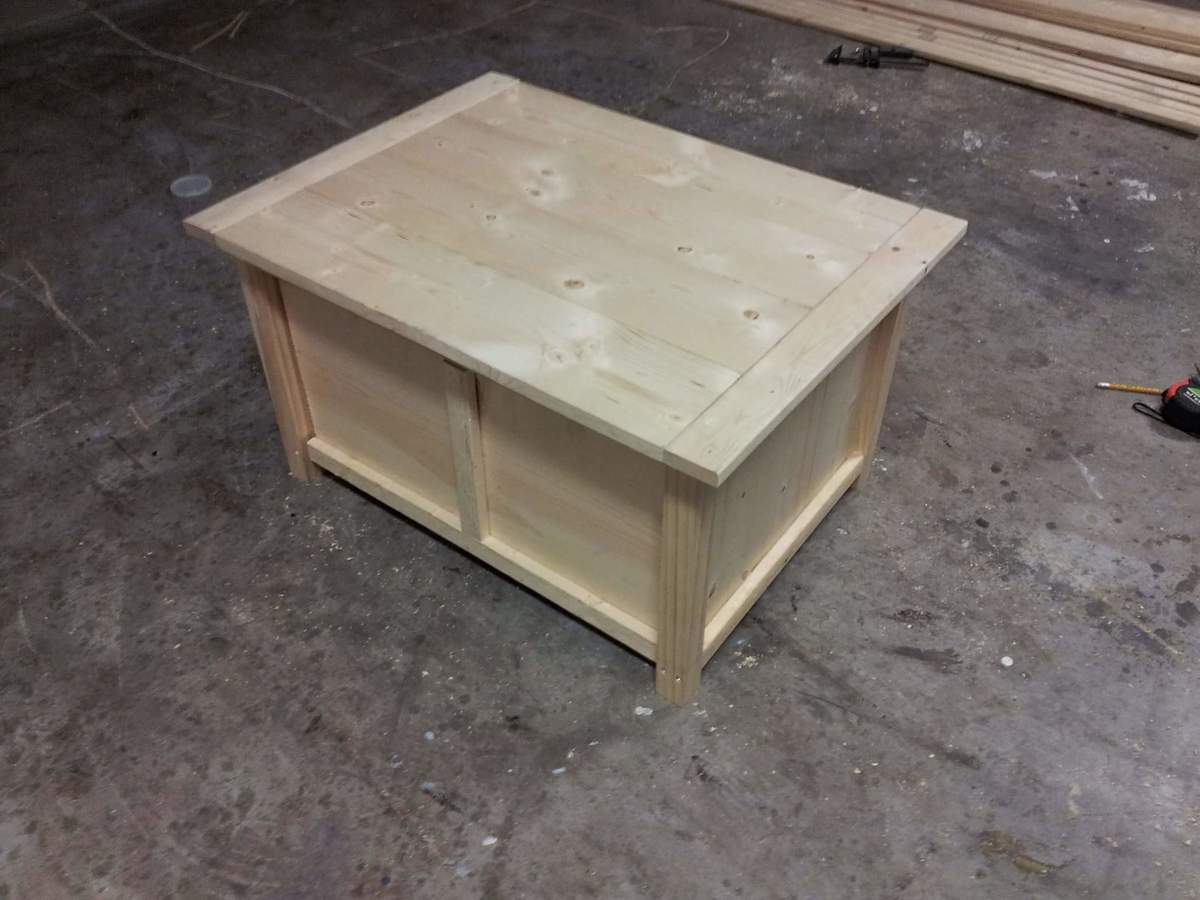
Built from Plan(s)
Estimated Cost
$260
Estimated Time Investment
Weekend Project (10-20 Hours)
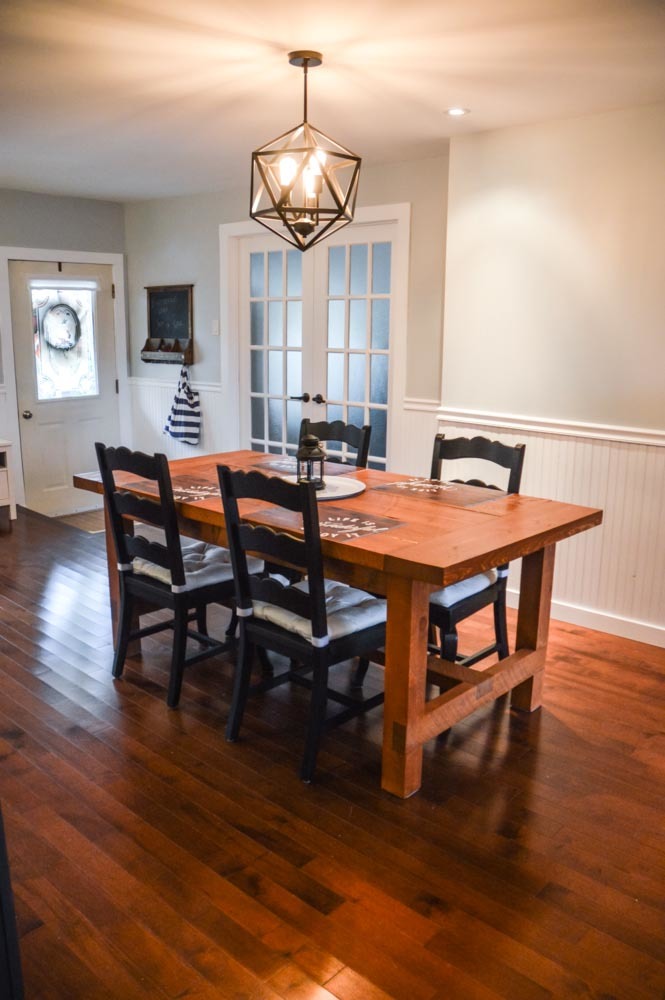
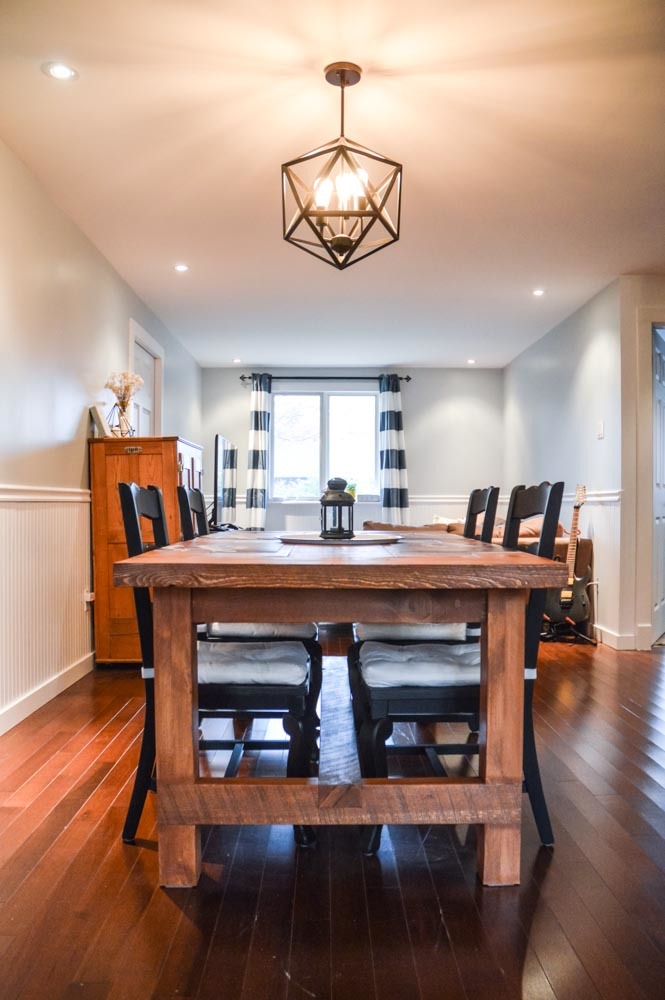
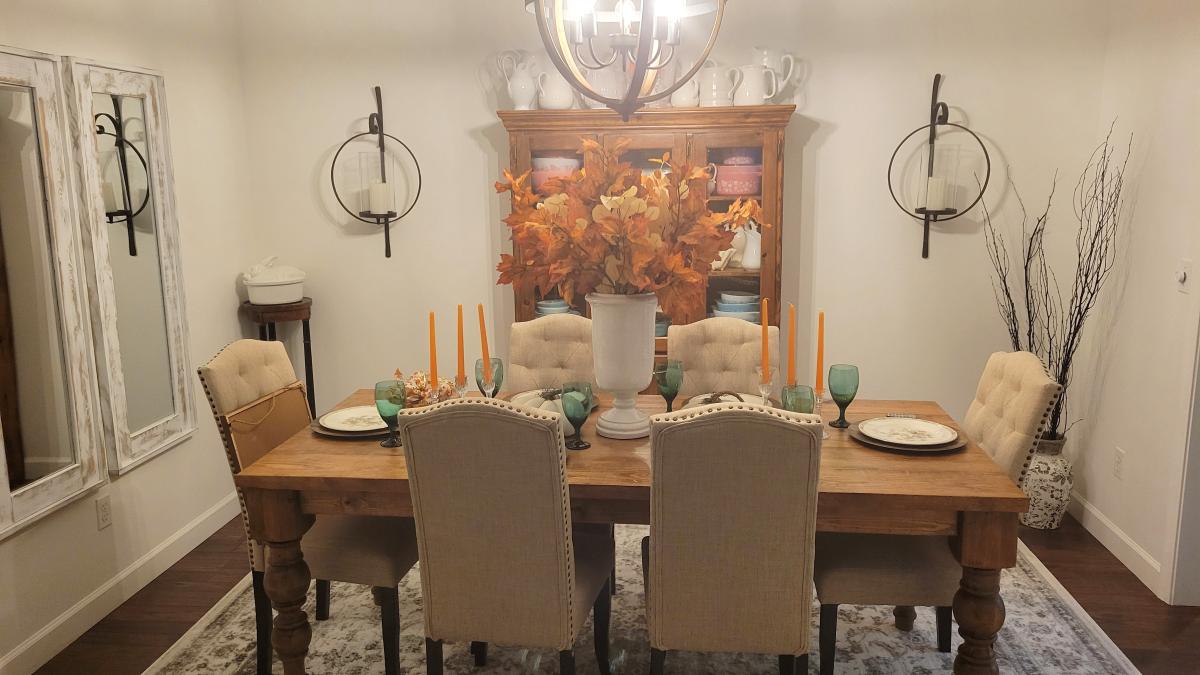
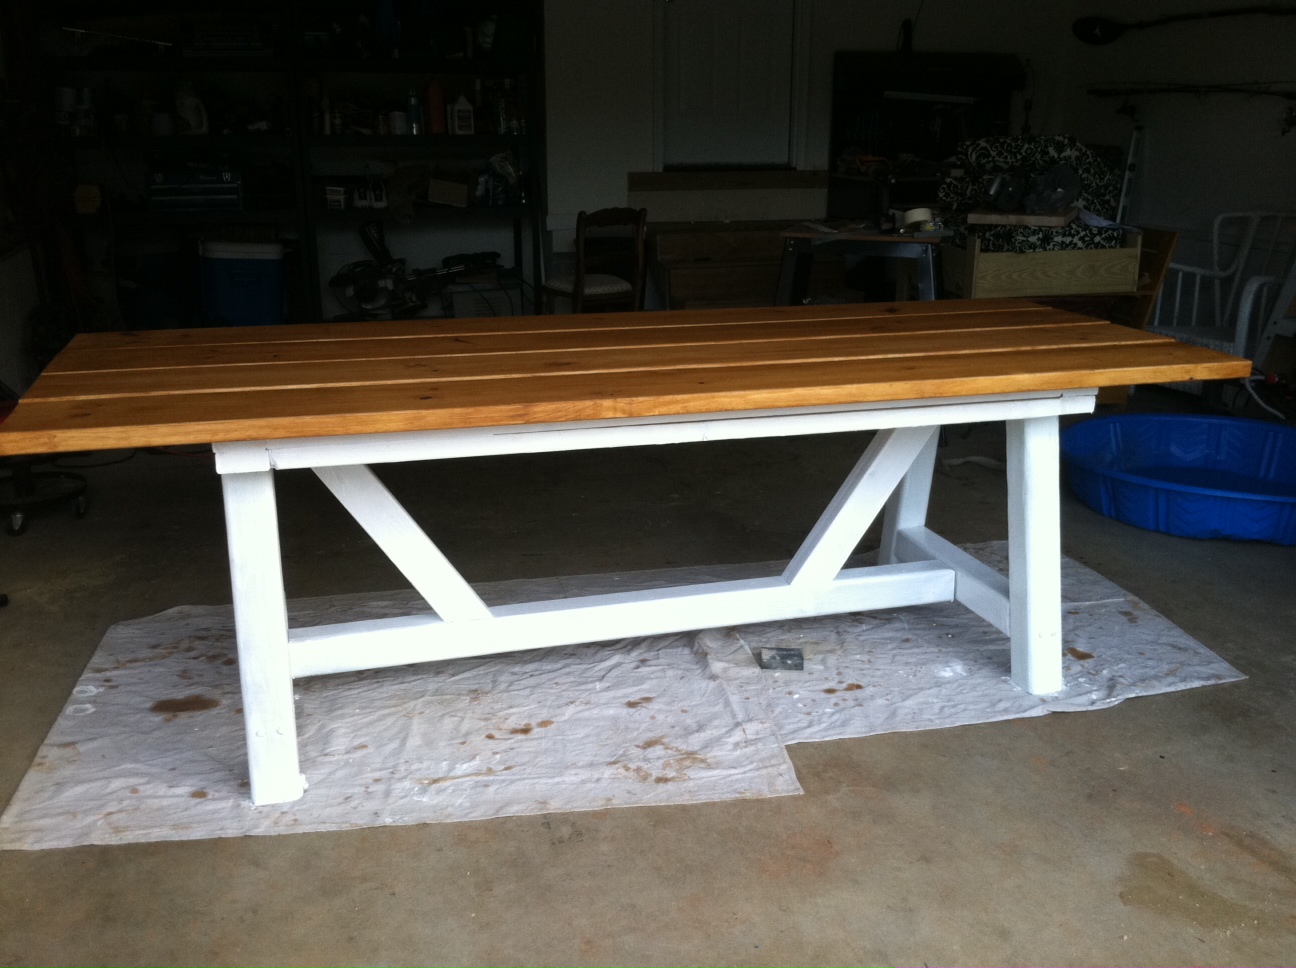
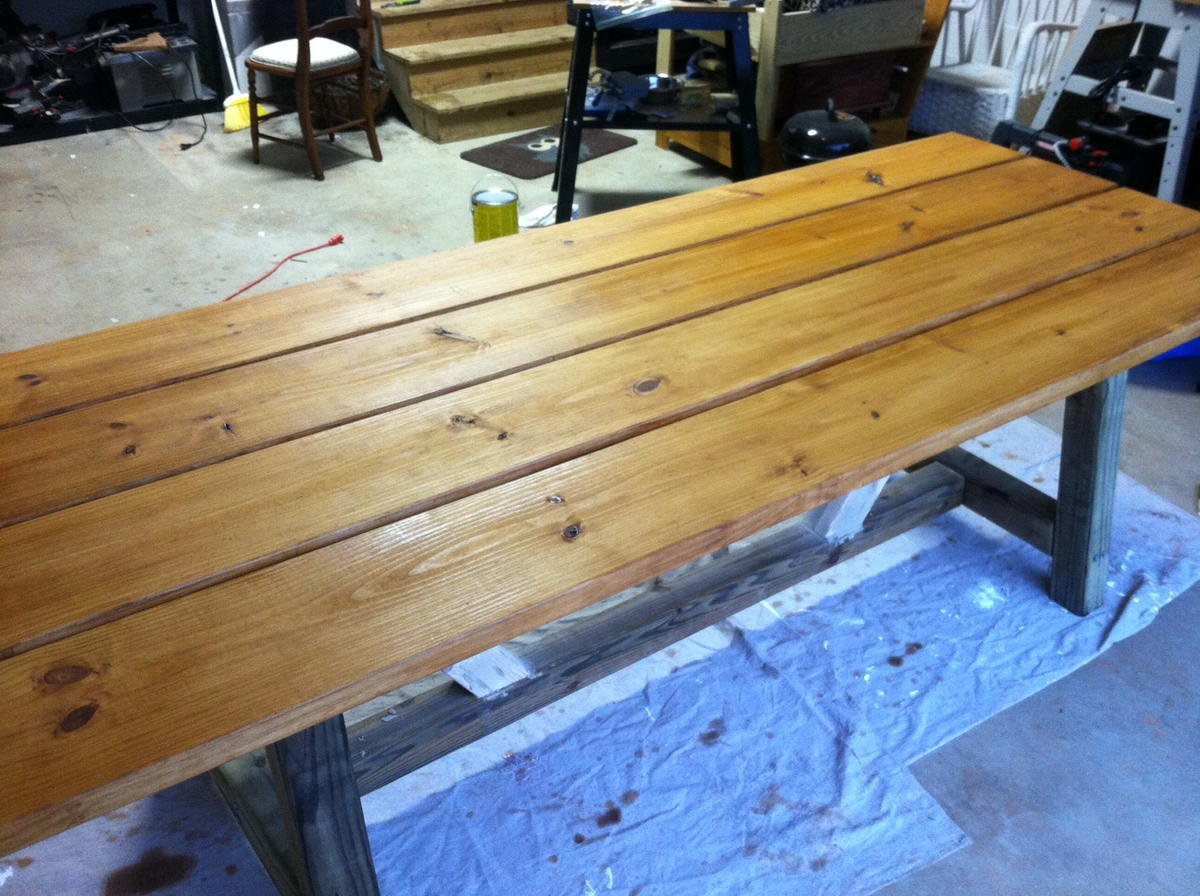
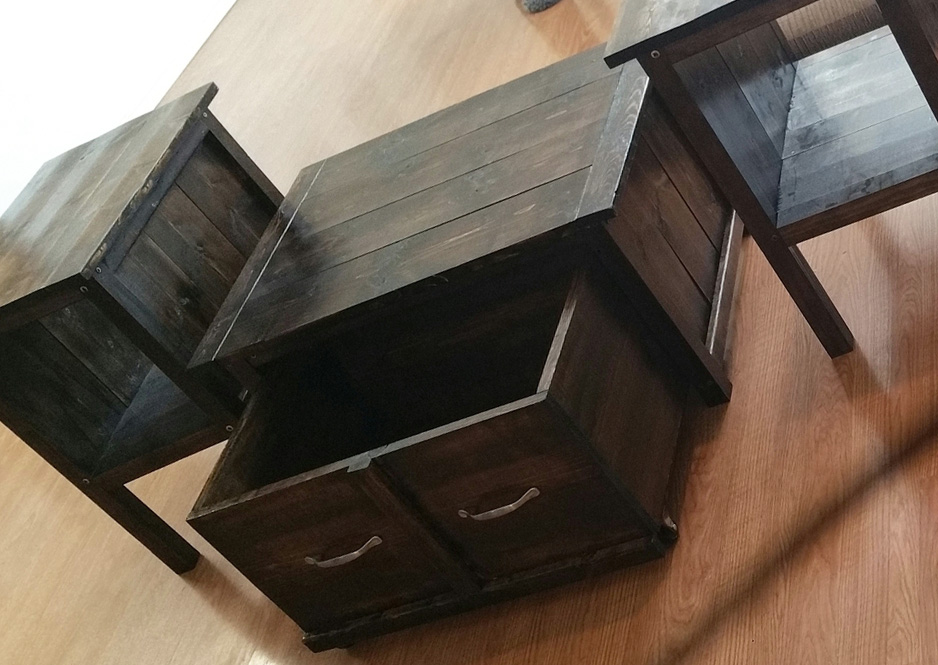
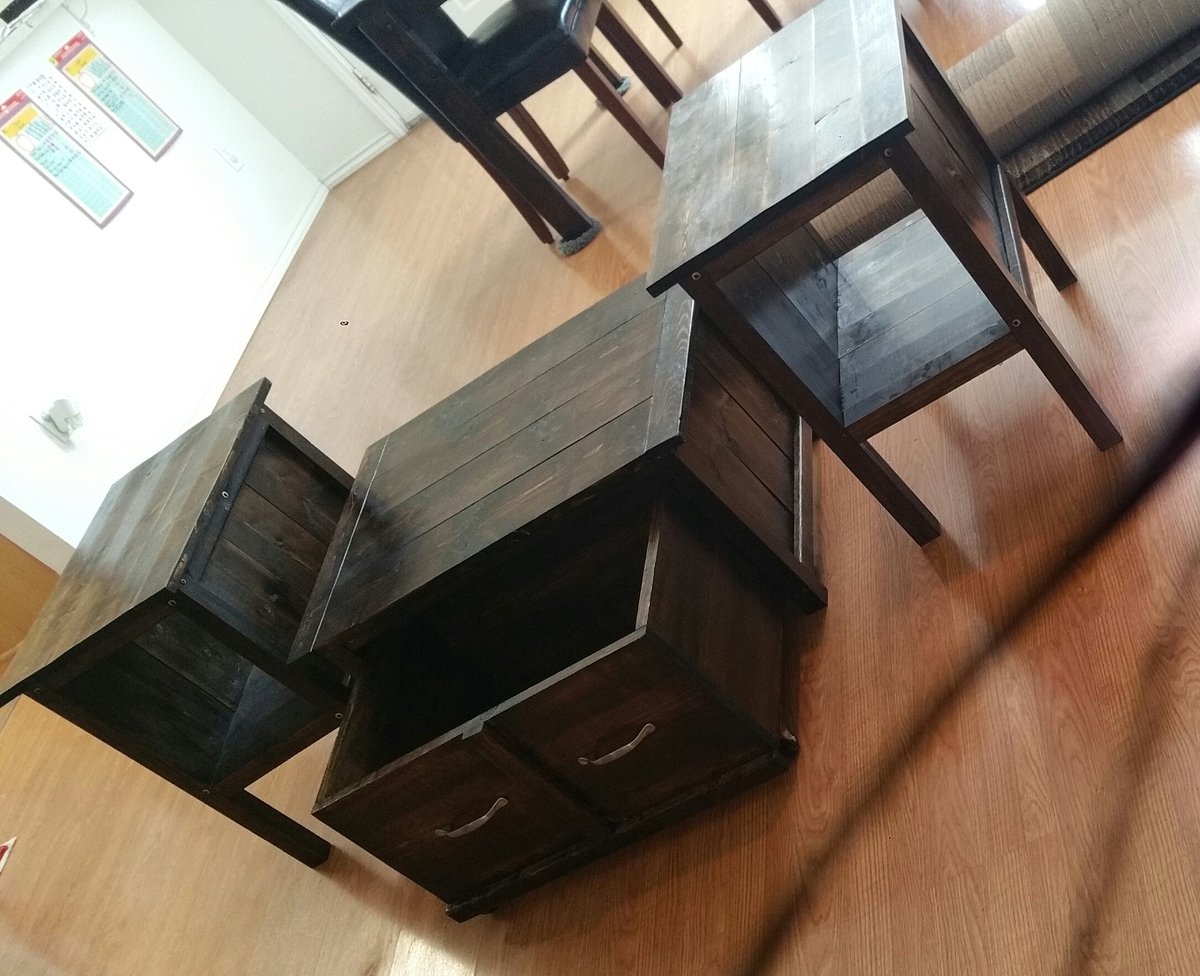
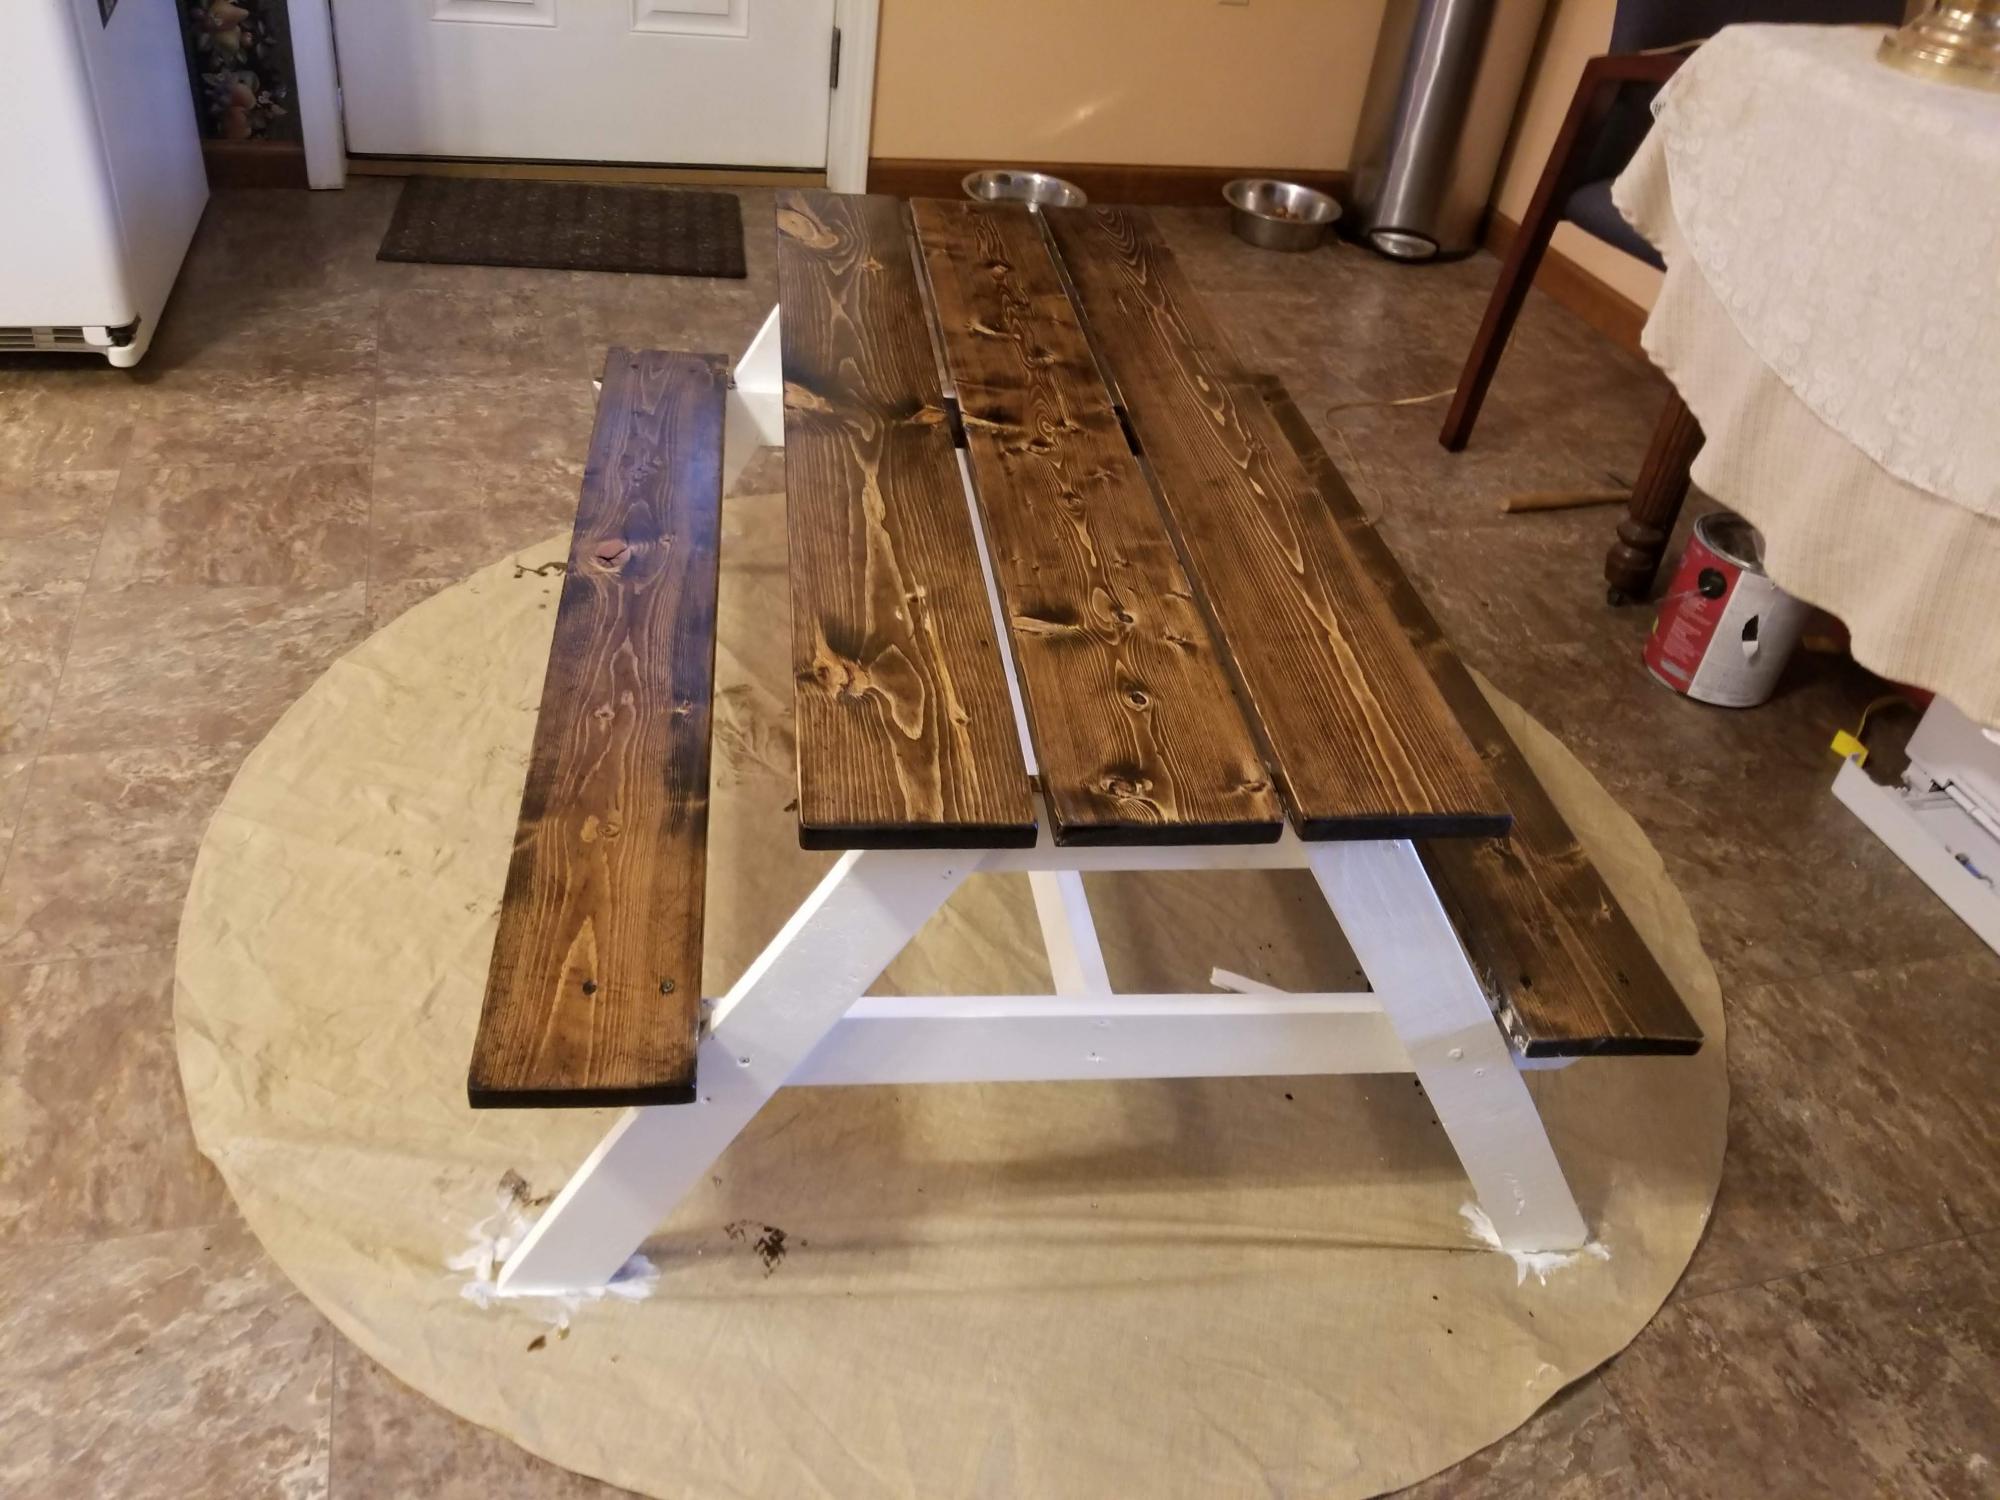
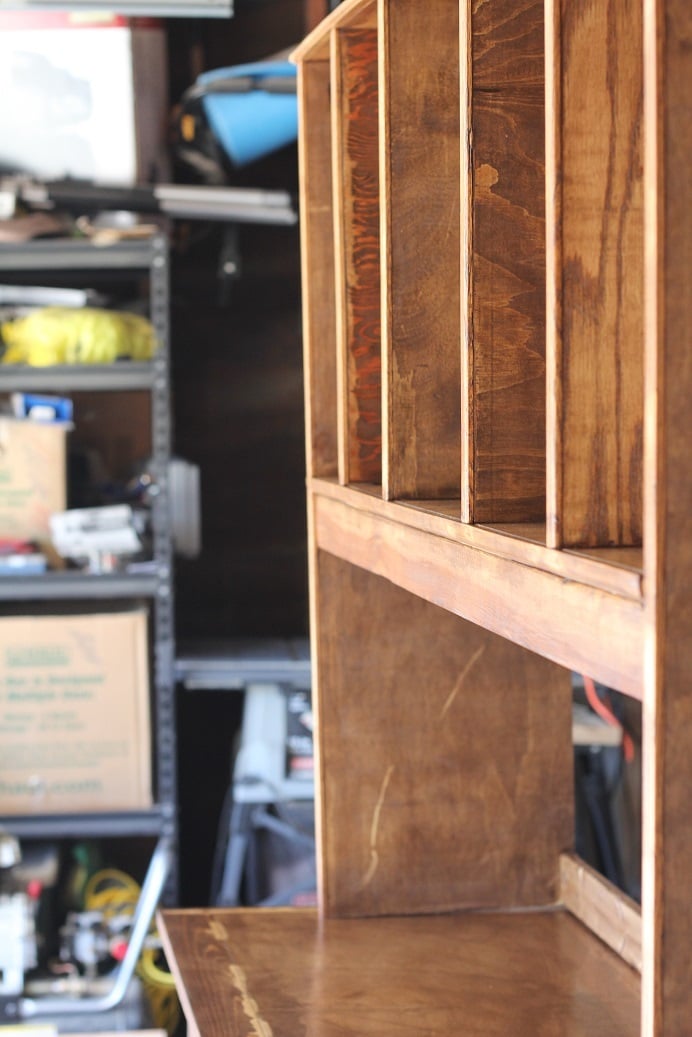
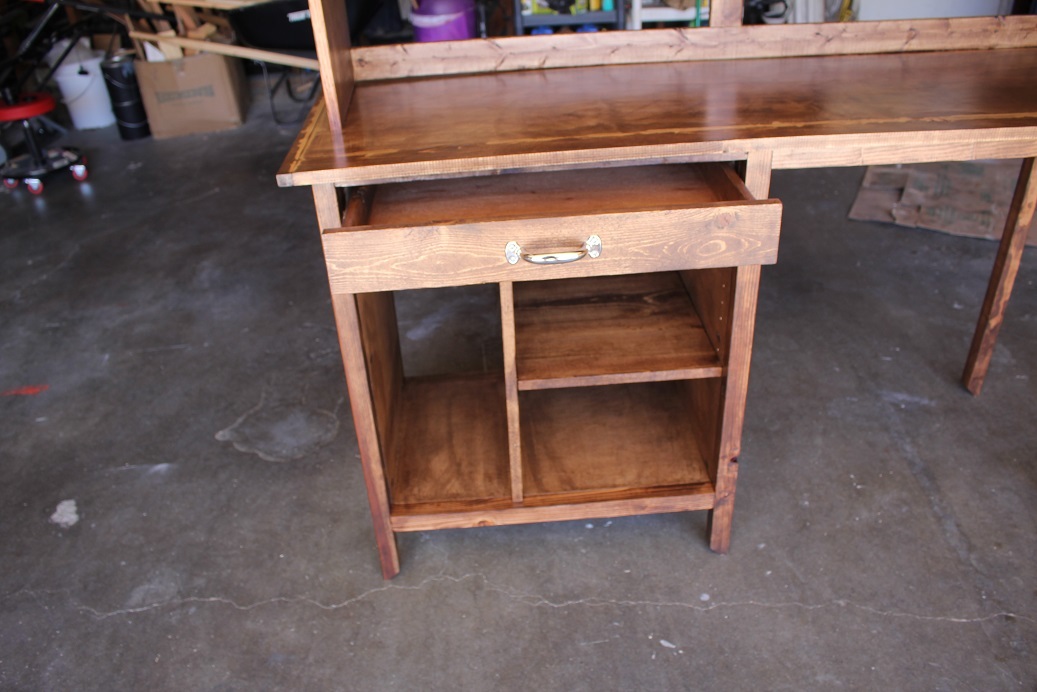
Finish Used
3 stains blended and distressed, Rust-oleum Driftwood and Weathered Gray, Minwax Dark Walnut
Recommended Skill Level
Intermediate