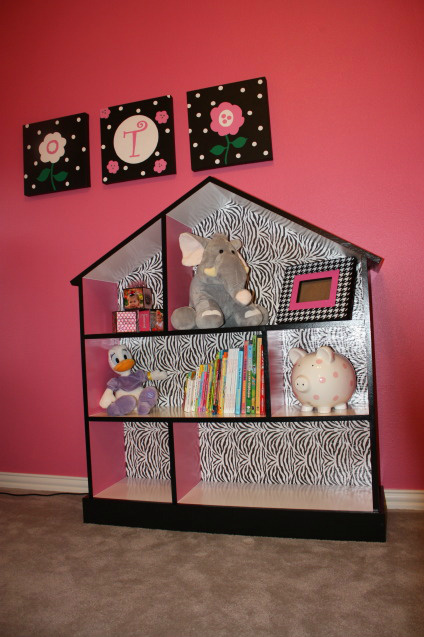
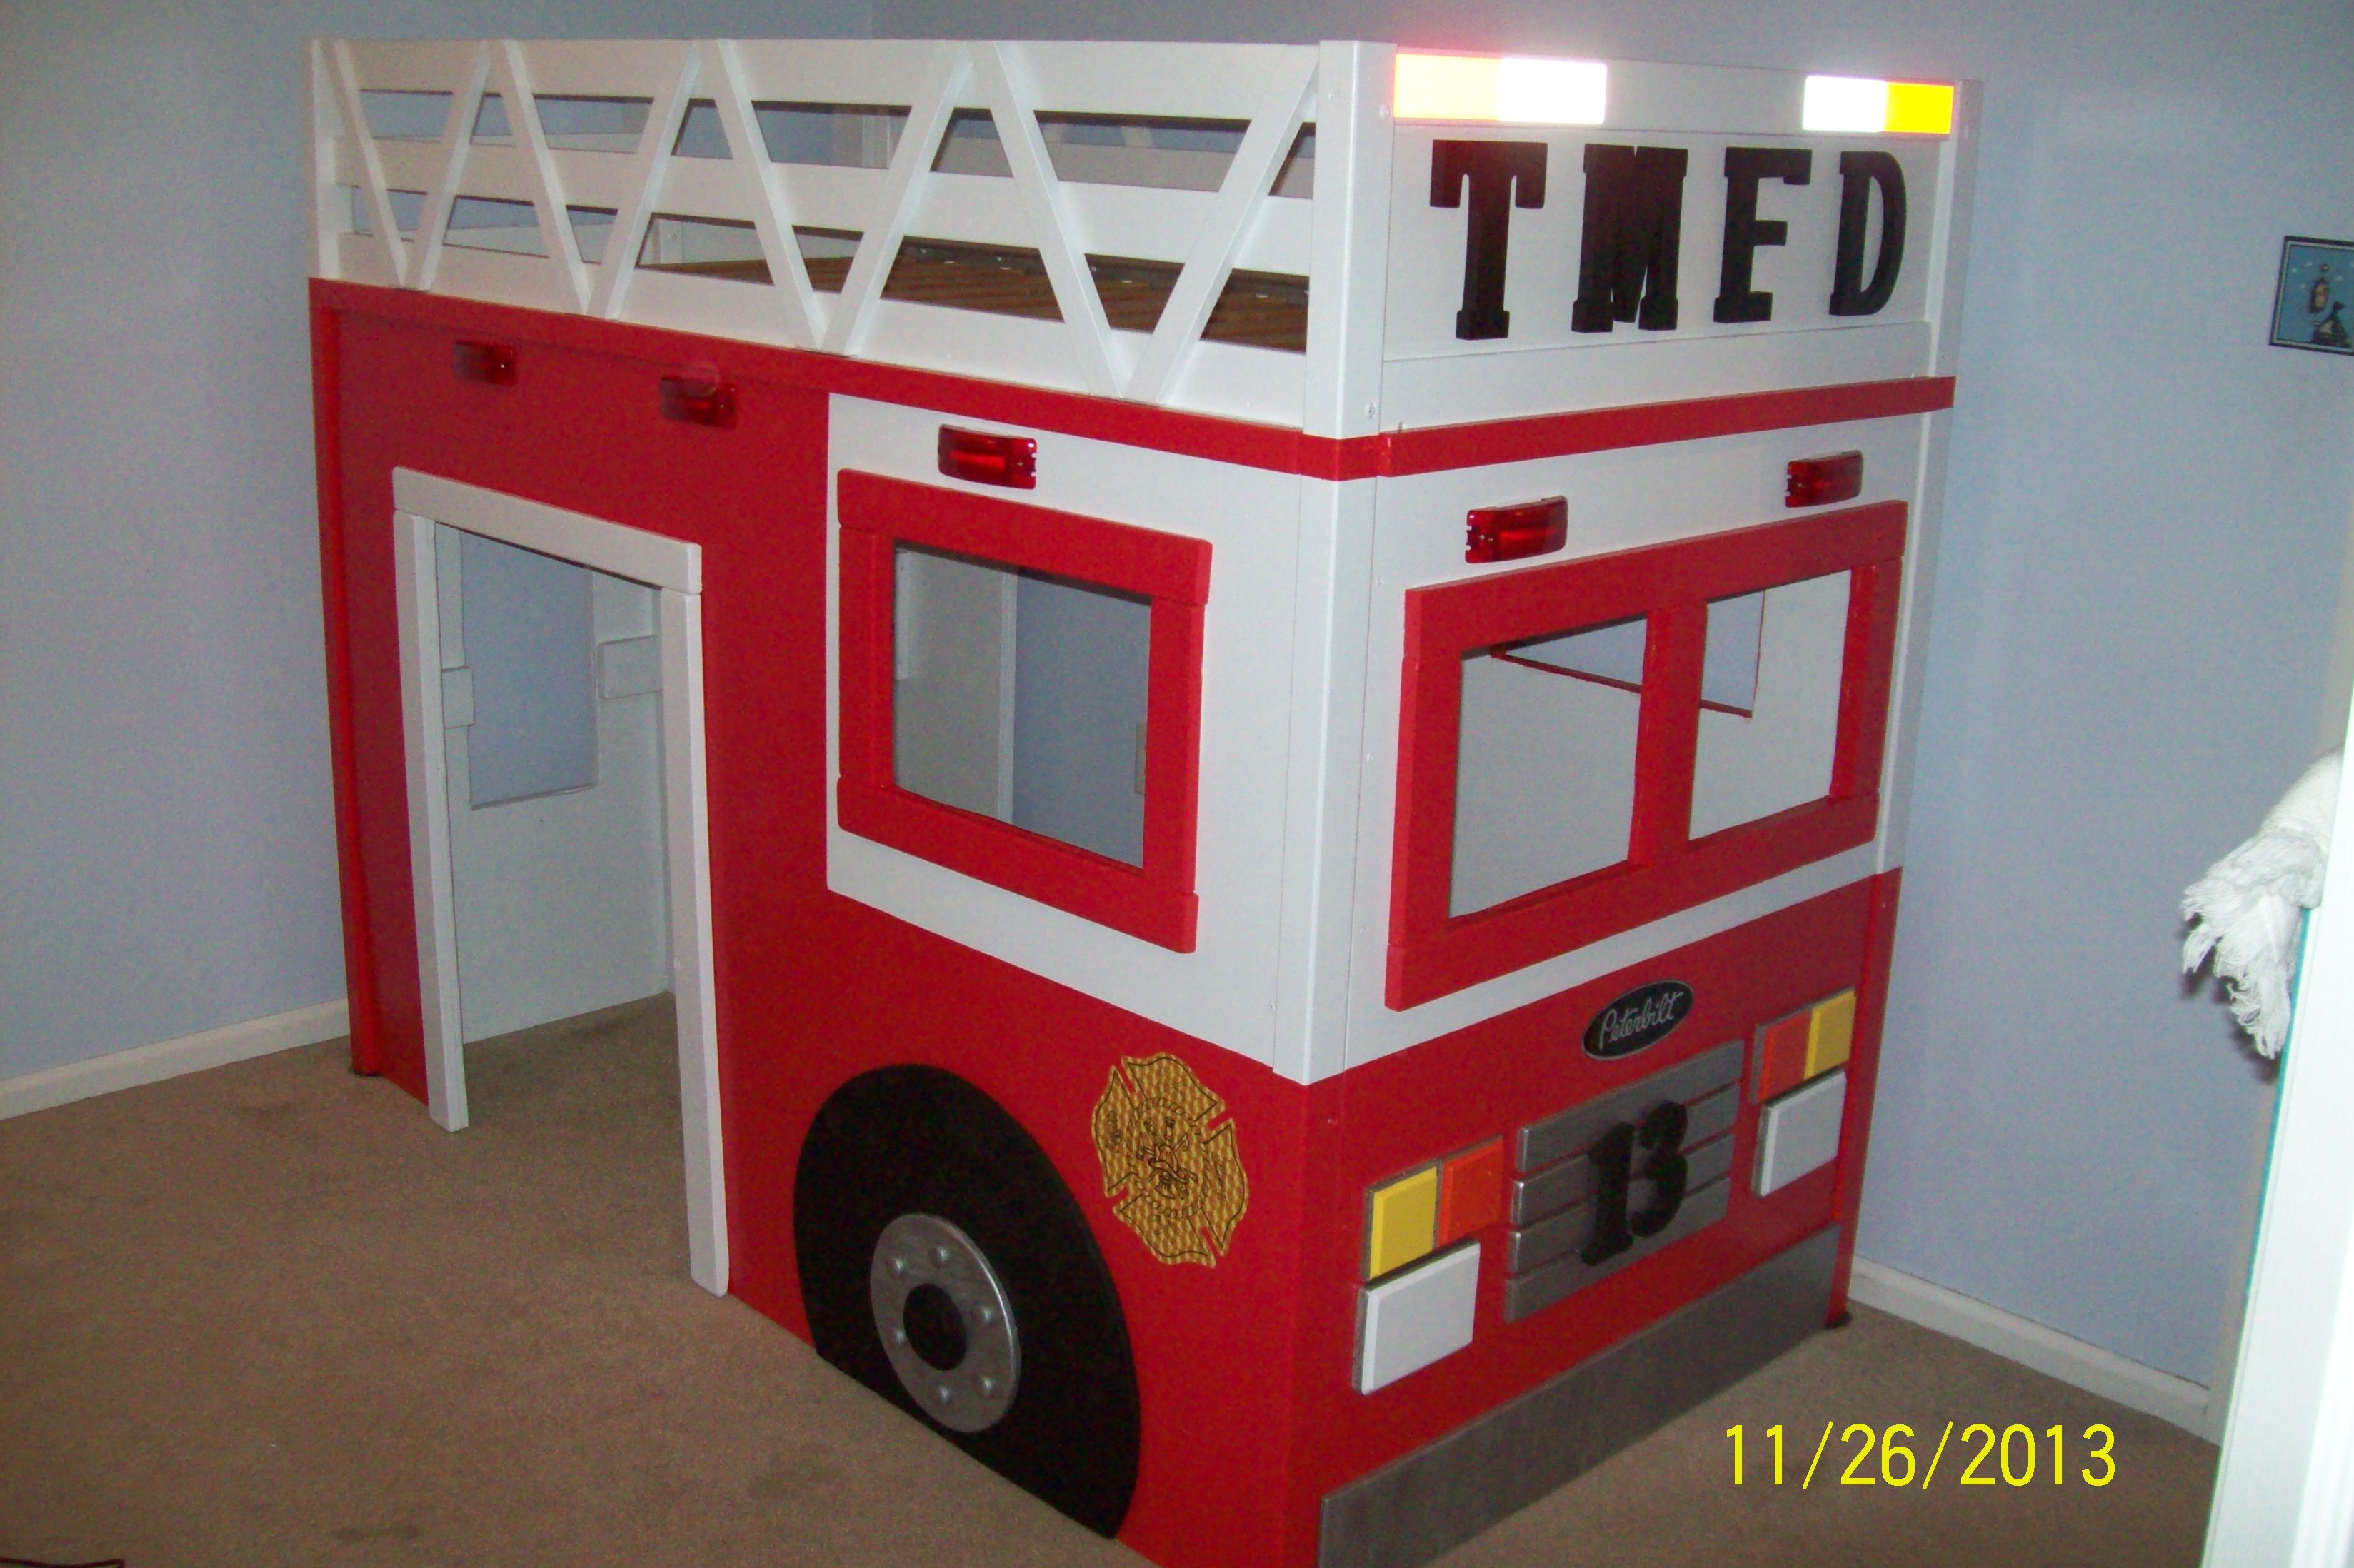
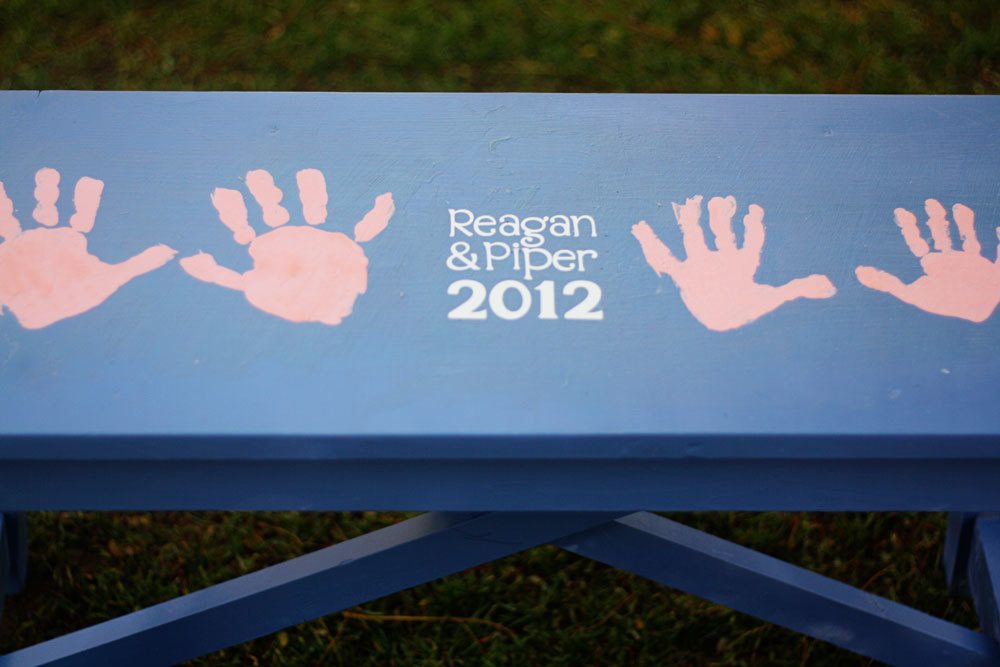
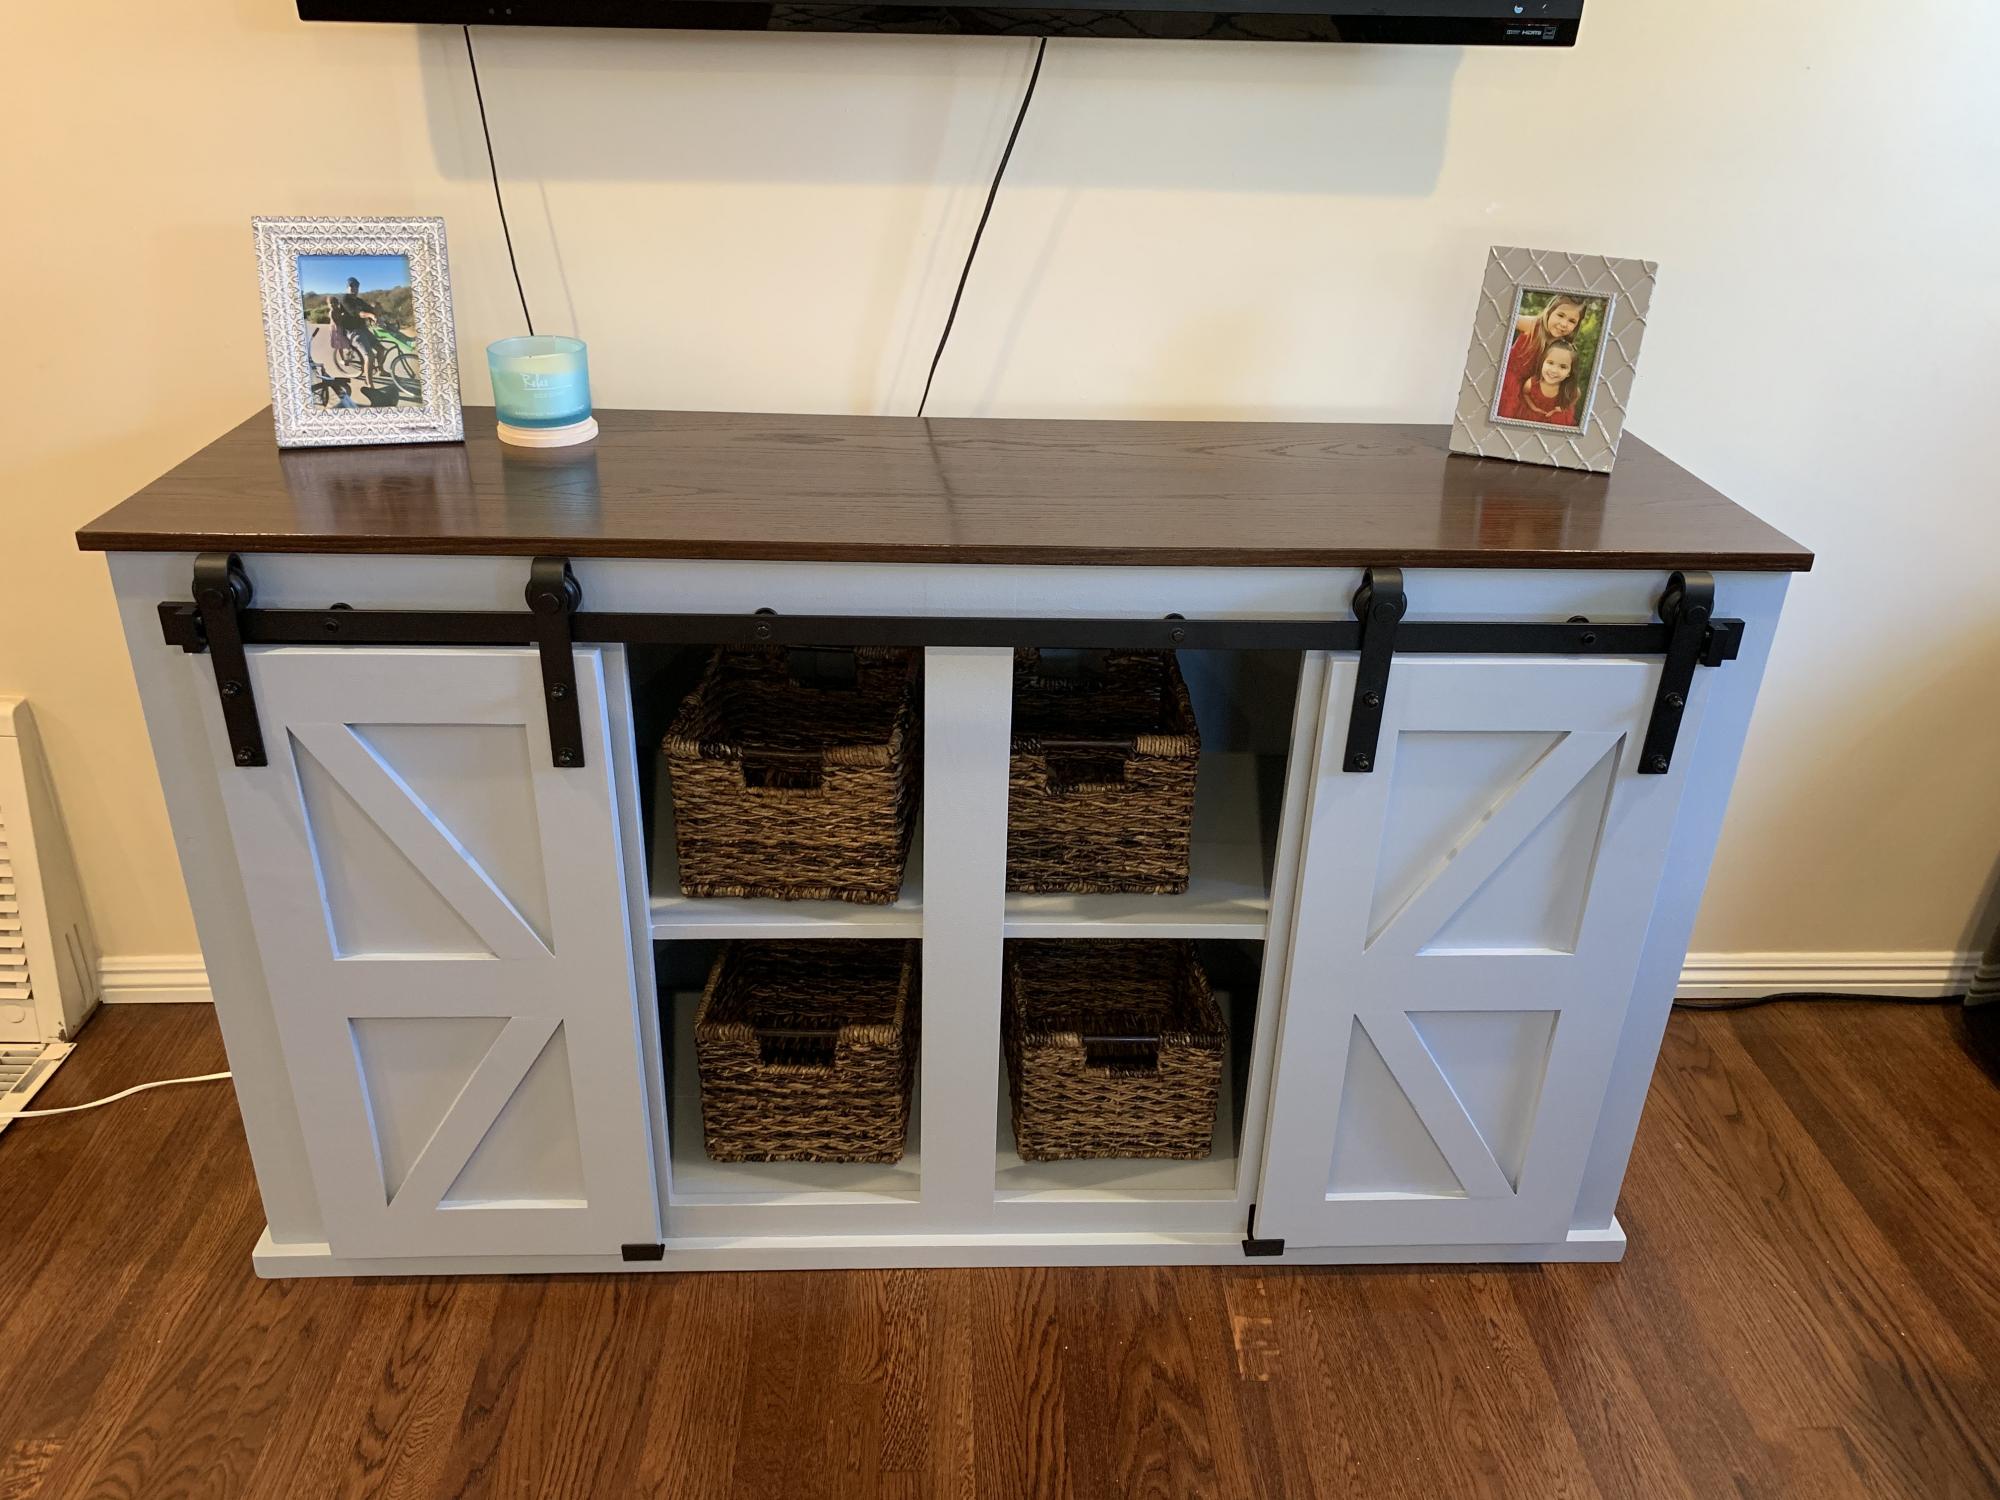
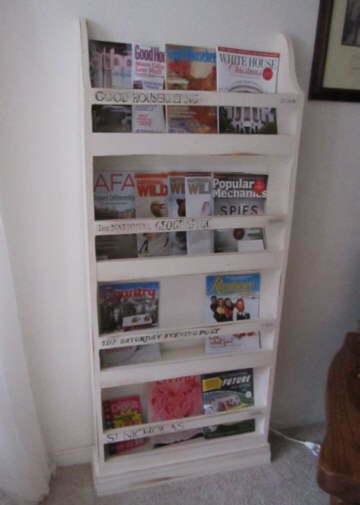
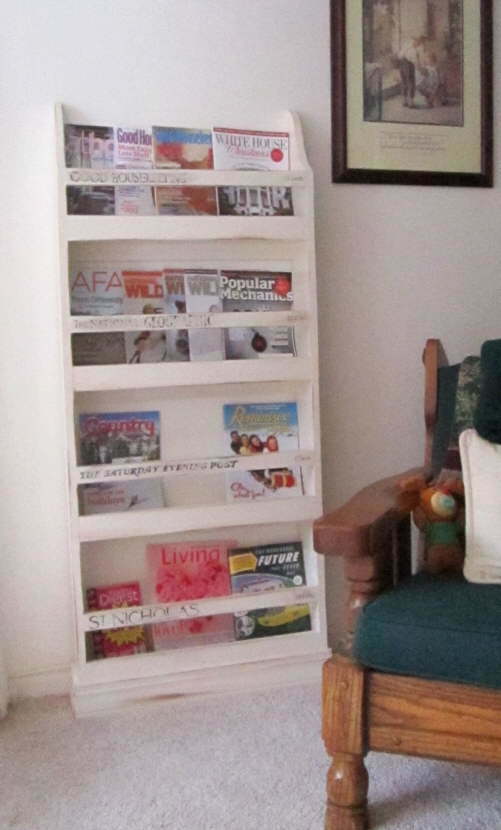
One thing great about the plans on Ana White's site is that you can change them. Plans that don't seem applicable to your needs can be changed around to fit them. For example, this is the children's magazine rack, repurposed as storage for magazines. (Magazines used to sit around in piles around the house as they came in--what a mess!)
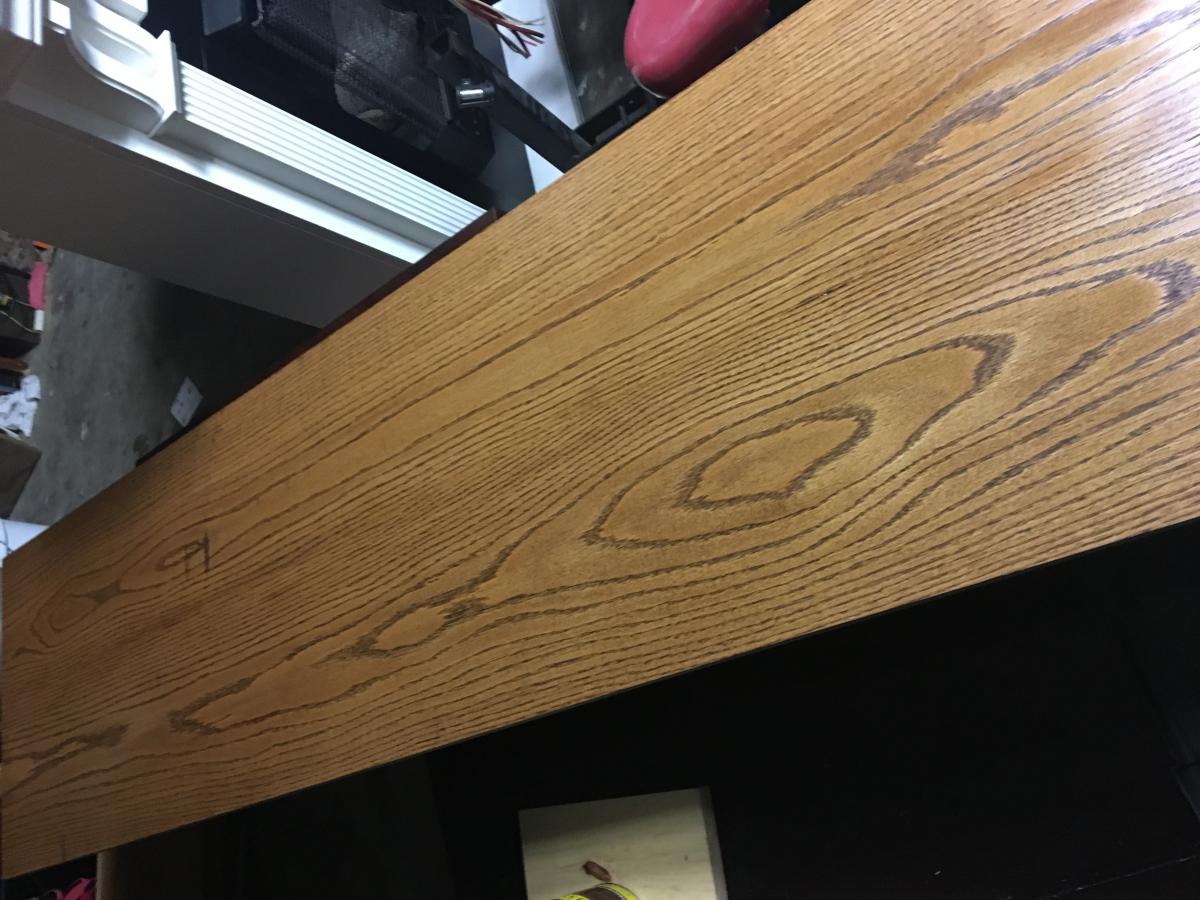
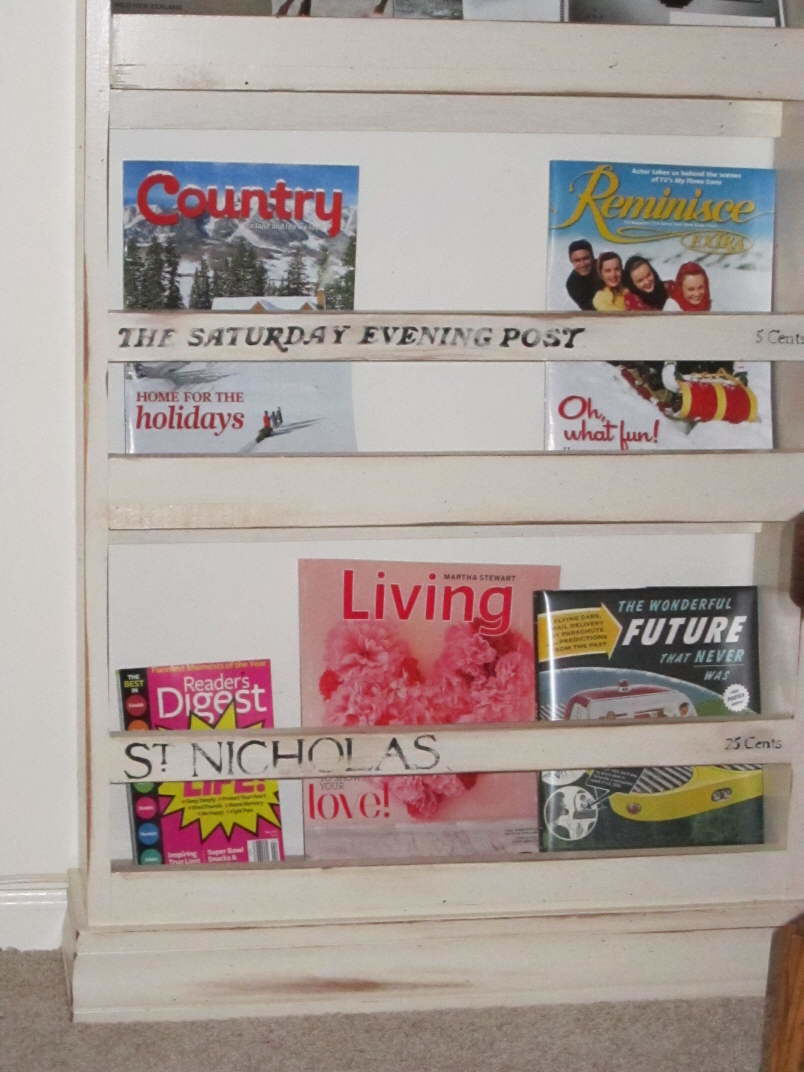
After finishing the building and painting, but prior to antiquing, I added 1910 magazine logos and the prices the magazines sold for during that year, to create the feel of it being an antique magazine rack one might find at a period newsstand. These were found using Google Images. When you look, think about the general genres of magazines you subscribe to, or even use vintage logos from your favorites. I chose to do a variety (the last one is a now out-of-print children's magazine). I didn't have any carbon paper, so I used a heavily-inked newspaper ad as "carbon paper." Painting the text with a tiny brush was very tedious, so I put water-based craft paint onto a watercolor marker's tip and "colored." It seemed like I had more control of the paint that way. The close-up photo shows the titles and prices of the magazines on the crossbars.
This type of project of course cannot be sold, since it uses company names and logos. But it's a fun way to conveniently display your personal magazine collection!
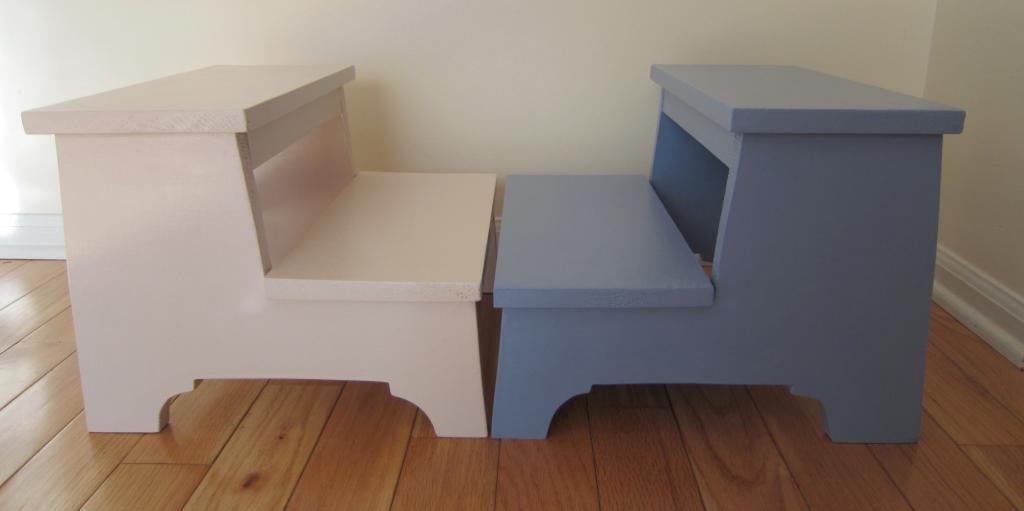
So, remember, you can repurpose a plan on the site for something that fits your own needs! In the near future I hope to show how to convert the Kid's Storage Step Stool plan into a storage bed step for adults.
Tip: The moulding called for is likely too tall for a manual miter box (it was for mine). I ended up cutting the moulding blunt and then doing a lot of sanding to make it match as closely as possible. It doesn't look as nice this way, but it was the only way I could cut it. And as for the "Estimated Time Investment" listed, I am a slow builder, so don't let that dissuade you!