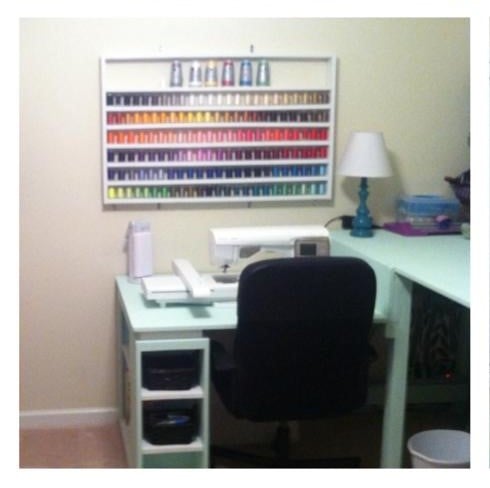
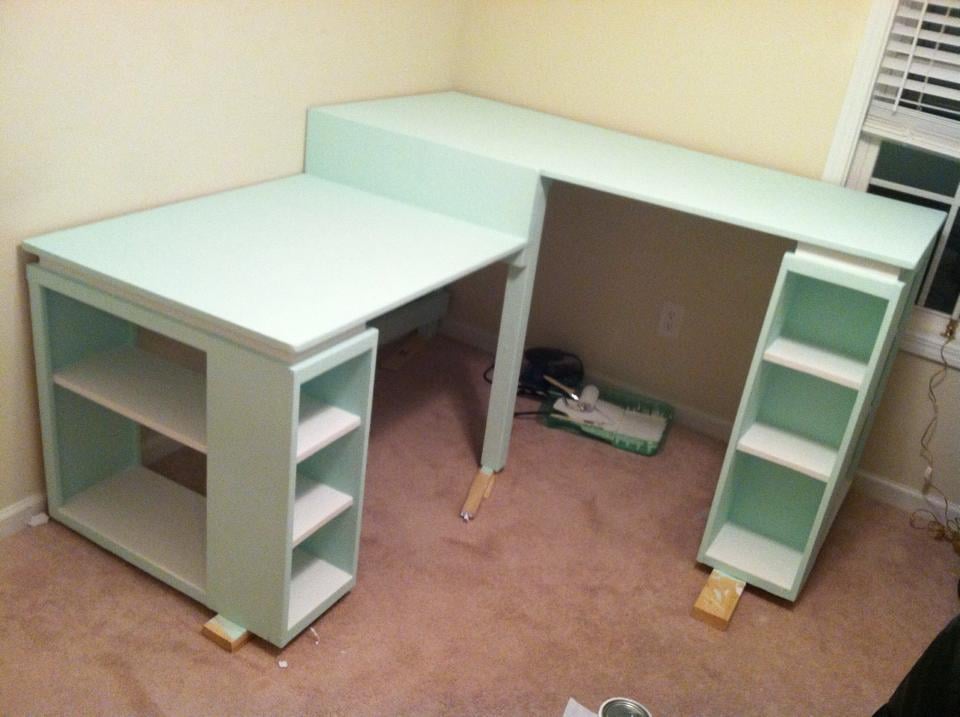
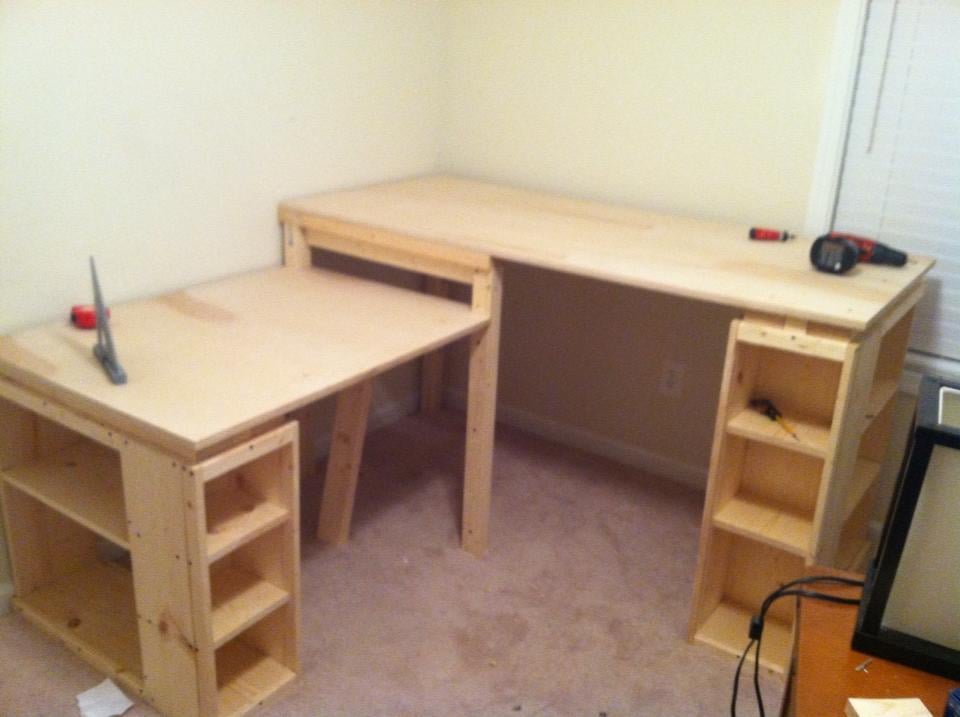
Sewing/cutting table
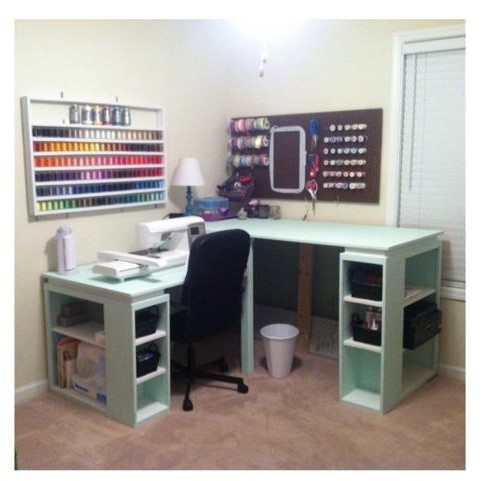
This has become my dream sewing/craft desk!! This project took about a week from start to finish (with work days in between). The shorter portion of the desk is used for my machine and sewing. The taller portion is used as a cutting table. The plans (dimensions) were tweaked some to get the perfect heights for me :).
Built from Plan(s)
Estimated Cost
$200
Estimated Time Investment
Weekend Project (10-20 Hours)
Finish Used
After sanding I painted 1 coat of interior primer the about 2-3 coats of mint flat interior paint. I decided not to add a clear coat just because I wanted to use my amazing desk ASAP!!!
Recommended Skill Level
Intermediate


Comments
tamaralyn79
Wed, 03/25/2015 - 06:31
Measurements
Your desk is GORGEOUS!!!! It's exactly what I've been looking to build for my space. I would love to know how you modified the plan to make it.
TaylorMade1205
Wed, 03/25/2015 - 07:21
I really like this
I need to modify my home office/craft space and building a couple of these just may do the trick.
TaylorMade1205
Wed, 03/25/2015 - 07:23
Thread Shelf
I also wanted to comment on the thread shelf you build, that is really awesome, you can see all your colors right in front of you. Mine are in a drawer and I have to pull the whole thing out to see what I need. This is really giving me ideas.
kchess
Fri, 09/04/2015 - 08:45
Plan Instructions
Would you please send the plan instructions (with measurments). It is perfect for me as I sew and embrodery both and have two machines.