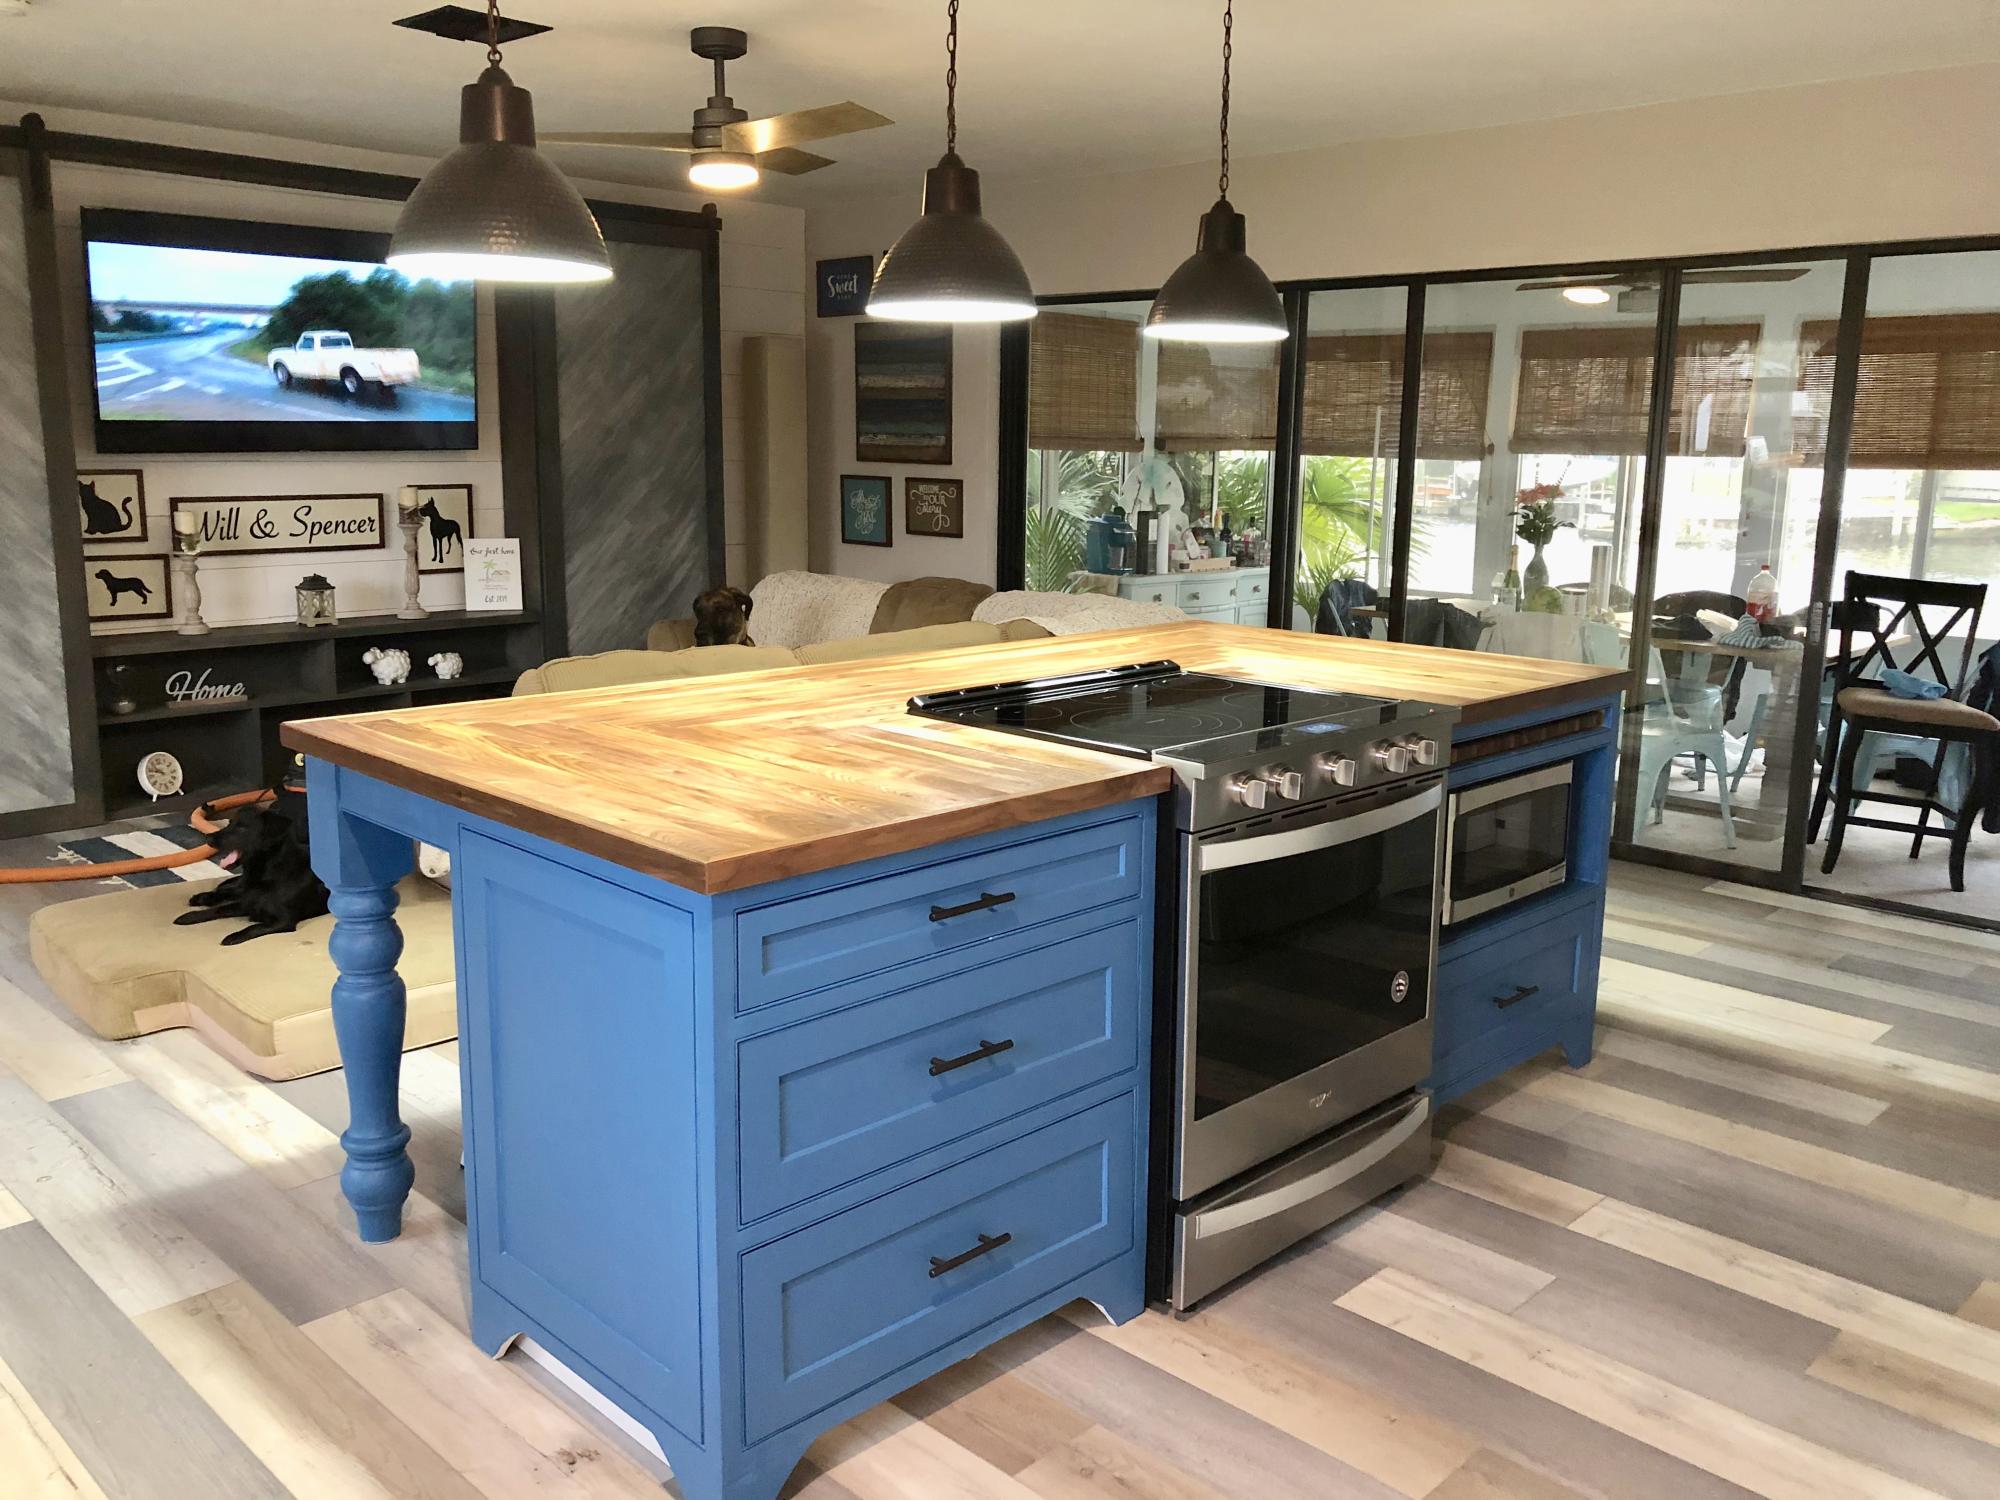
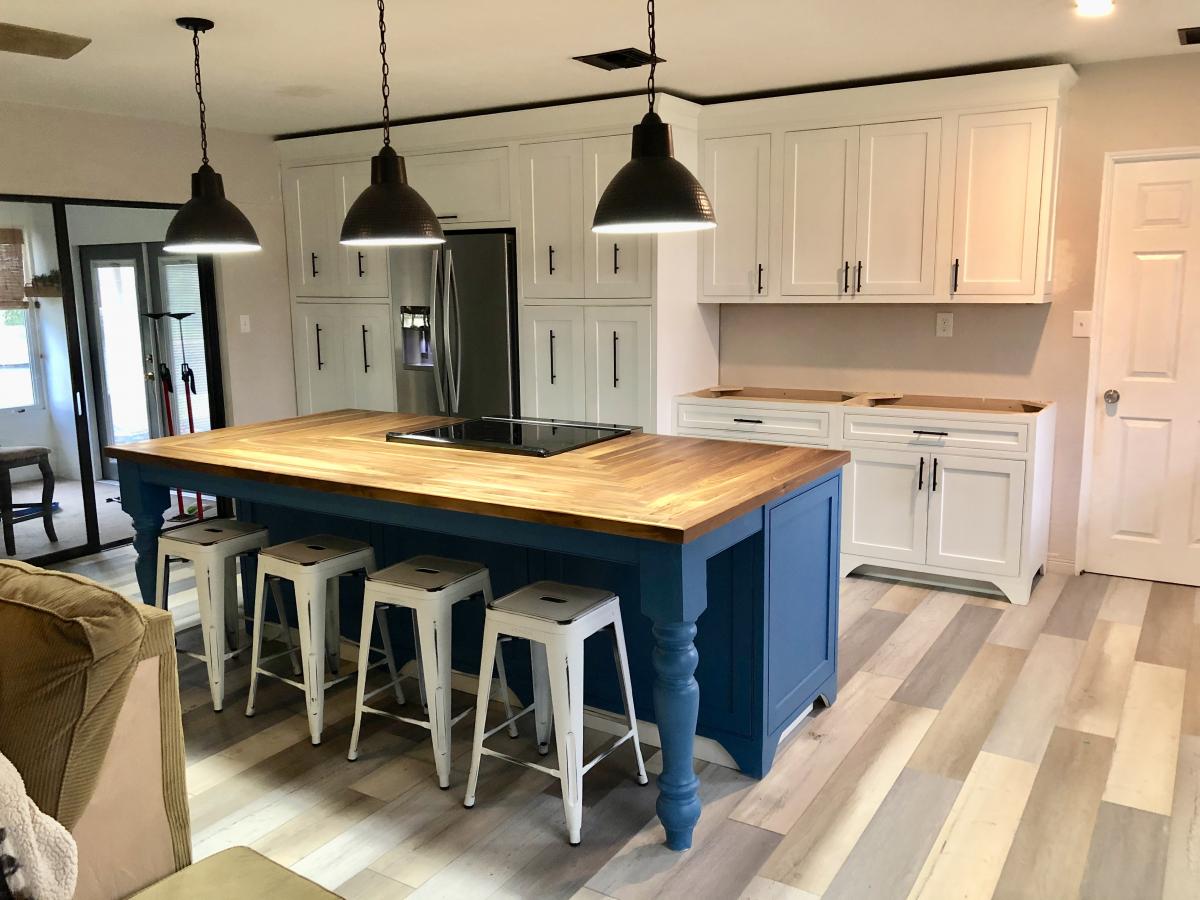
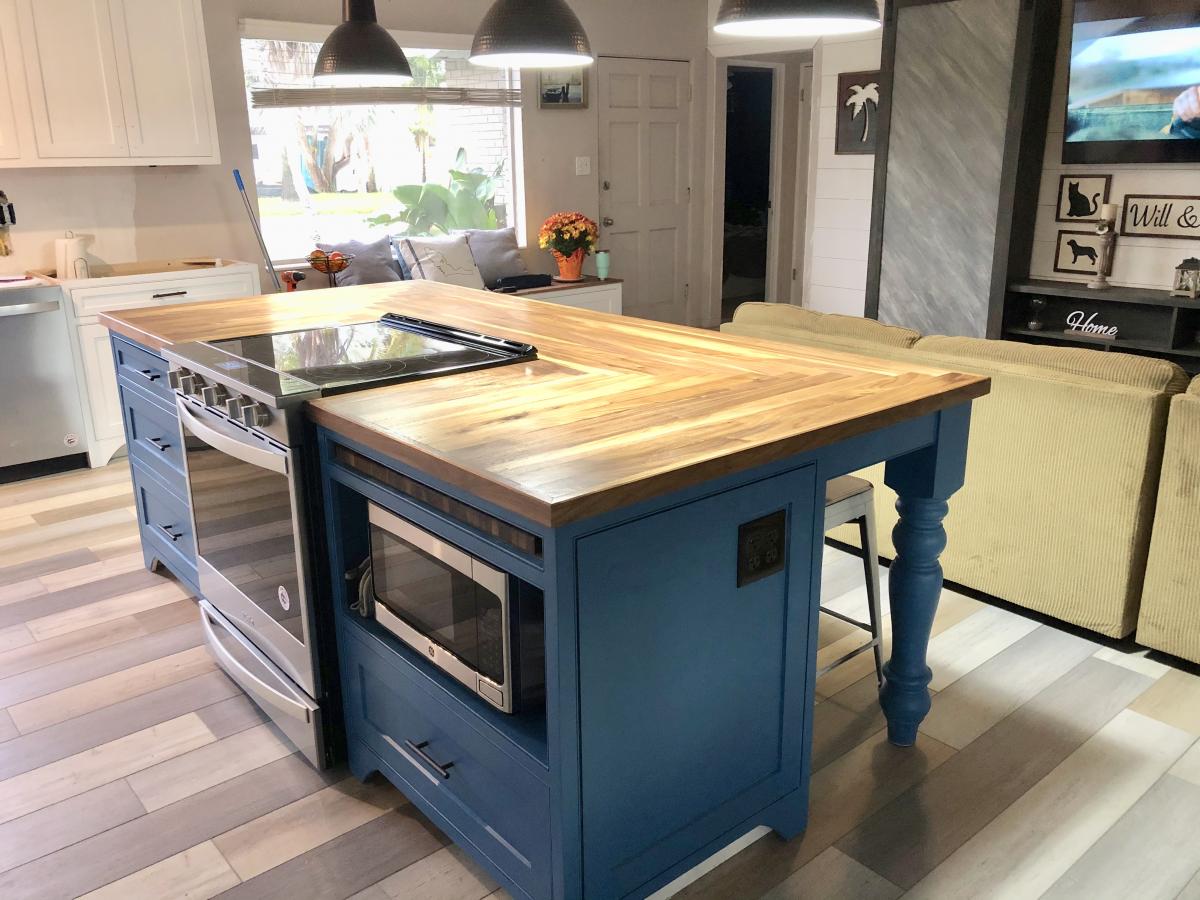
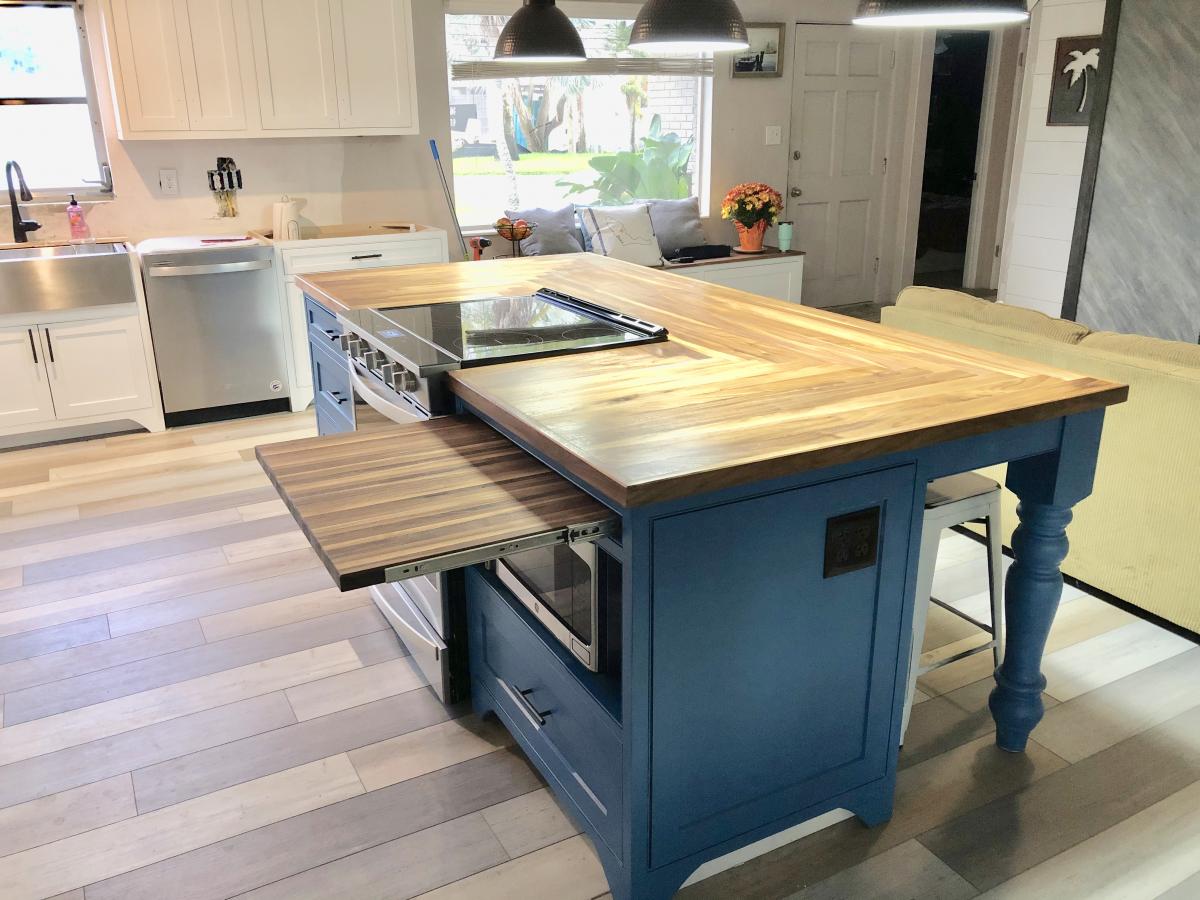
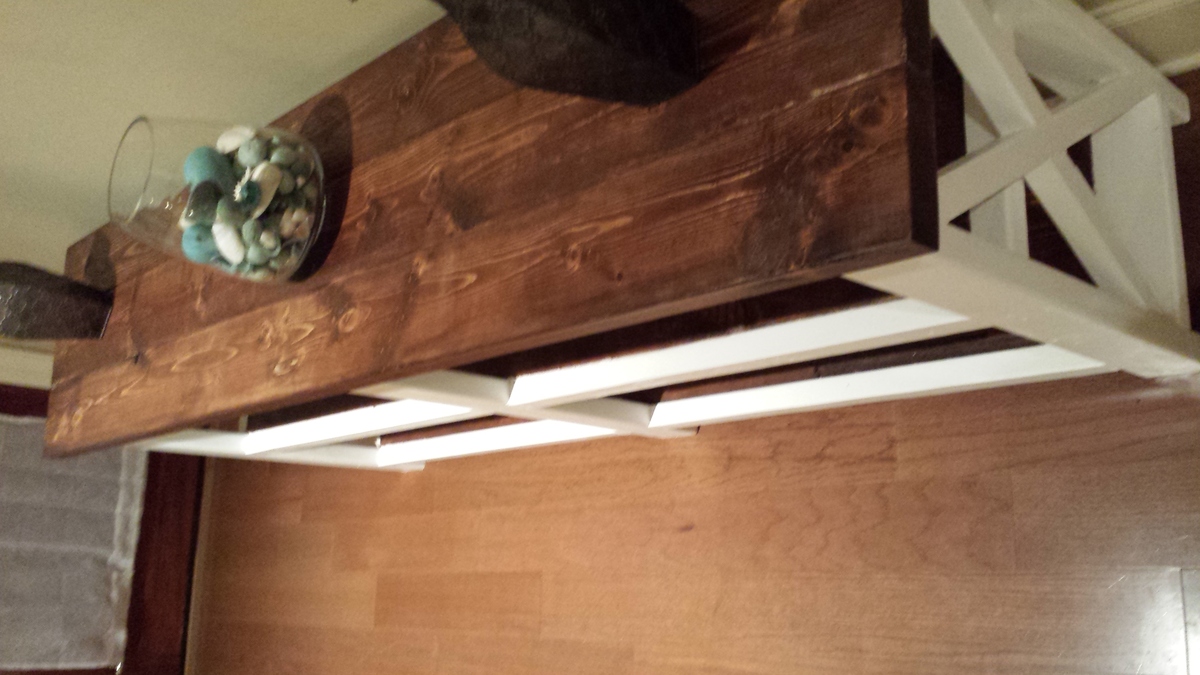
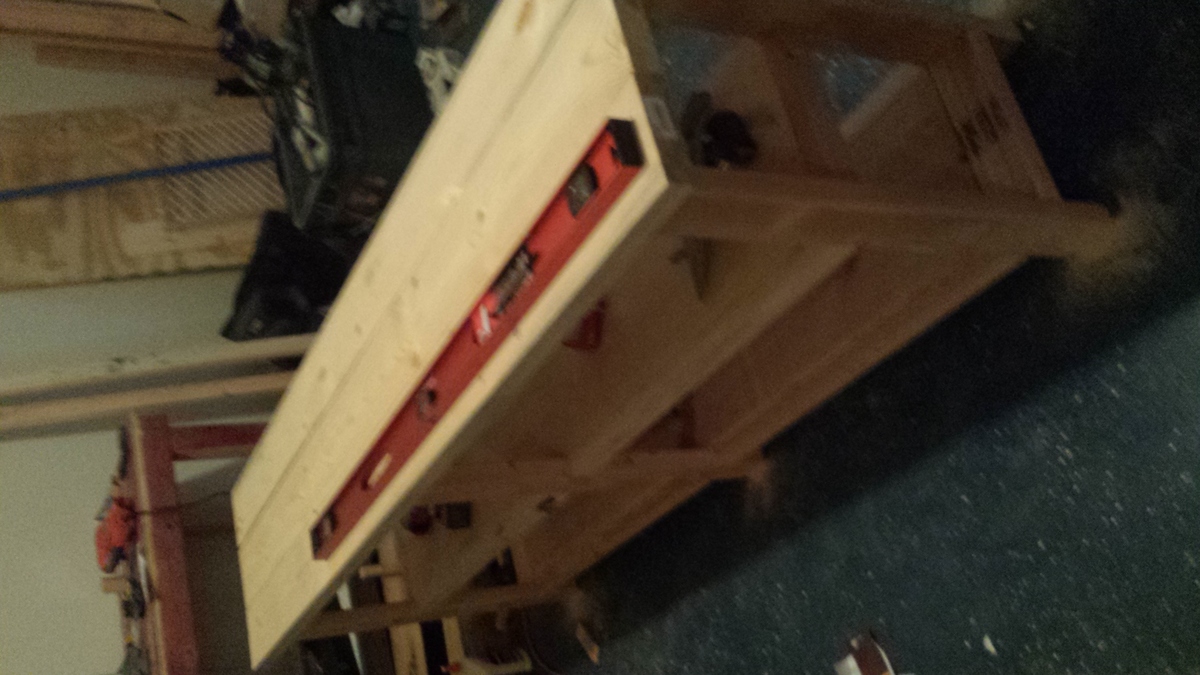
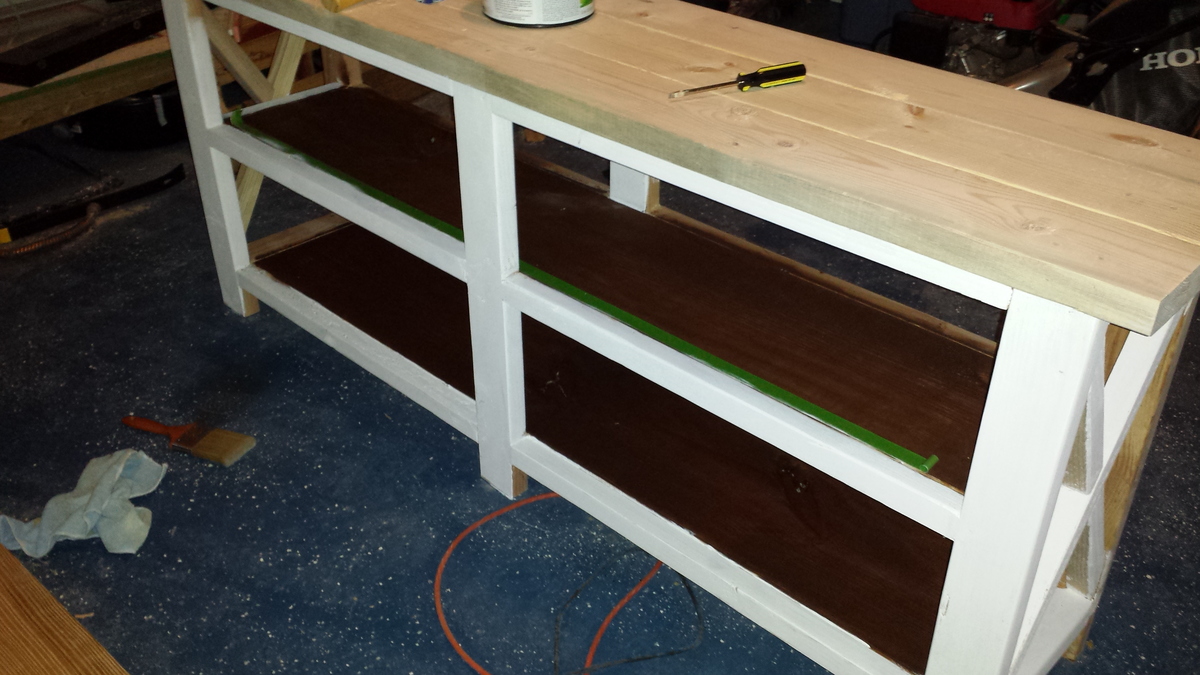
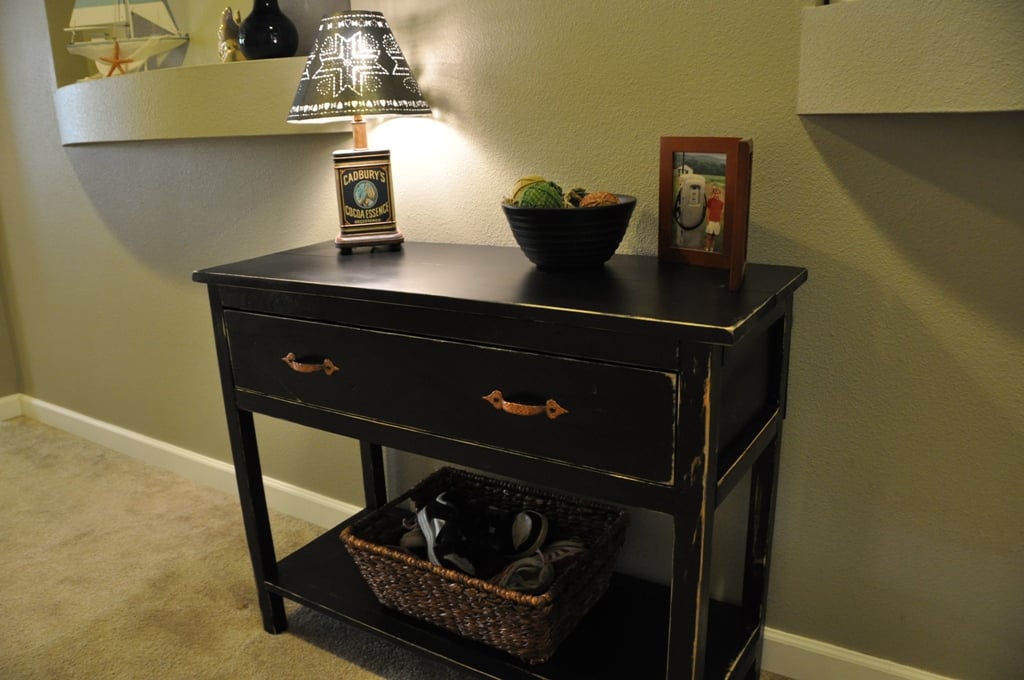
Small Barn Door Console
DIY Small console to fit an alcove with floating shelves by thrifyandchicdecor on Instagram
I took the plans from the Chestwick platform bed and headboard and built it using King size bed dimensions. For the box of the bed, I used 2 x 12's instead of 2x8's. It seemed more substantial for a king bed, and this way, I didn't need to use a box spring.
Sat, 04/28/2012 - 22:17
I want to stain something that color just because it's called "Gunstock." This is such a neat bed, looks good with the heavier bottom, especially on a king size bed.
My mother needed a bench in her small entryway. She had definite dimensions in mind and we looked everywhere. None fit the bill. Then I saw these plans and we went from there. She had leftover fabric from recovering her dining room chairs, and I had the plywood. She wanted the Queen Anne legs to go with her traditional furniture; we put felt floor protectors on the bottom of the feet of the legs, which helps keep the bench from moving so easily on the tile floor. The plans were easy to follow, including the tutorial on how to sew the slipcover. The bench worked out just like she had hoped. Thanks Ana, for the great plans.
This was my first project, I made it longer and slightly taller to match size of the sofa. I also added lower shelf of 1x4 as seen on other users projects. Built using Kreg Jig to hide the screws - stained with ebony and satin poly. Used wood filler between 2x4 on top as well as between 1x4 on bottom shelf to seal the joints in case of spills. Would recommend using wood putty in the future rather than the filler as it cracked when it dries.
Tools used: Circular Saw, Kreg Jig, Screw Gun, Orbital Sander - recommend using Miter Saw if you have. I had a hard time squaring up the table mostly due to uneven cuts on the 4X4 using a circular saw.
Added felt pads under the legs to prevent scratches to the wood flooring
Built end tables based on coffee table
My bench sits outside my front door to welcome visitors and provide a place to set your packages while unlocking the door! I made it two years ago, and it's weathered three Baltimore winters with out repainting. I'll probably sand t and repaint it this spring. Folks are always asking where I bought it, and I give all the credit to Ana White, your site and your wonderful furniture ideas!
Jim Dupree
Rustic Farmhouse Table with Pocket Holes, adjusted to 6'
I was looking for a small piece to make as my 1st work of furniture. My husband passed away 8 months ago. He has EVERY tool imaginable. I learned how to use his saws, and my favorite - pocket hole jig!! I started small with the floating shelves. Then I decided to branch out. I love Ana White's plans and find them very easy to understand. I made some mistakes but learned from them! Love how this table turned out. Going to add some rustic hinges. Can't wait for my next project!
My mom asked for a drawer bench. I haven't been very successful with drawers so I accepted the challenge. It turned out really good, now I want to build more drawer projects! To top it off, I decided to try my hand at building the cushion too, since it was custom sized. There are several good tutorials online for no sew options. The cushion only took about 1/2 hour to put together.I got fabric that is easily cleanable and wipeable. I'm excited to surprise my mom with her new bench!
I took the suggestions for the Mini-Farmhouse Bedside Table and revised it a little further. First I cut the legs to 18" which gave me a total height of 19". I enclosed the back to avoid looking at the back of the drawer. I covered the drawer with a piece so it overlaps the drawer slot. Worked great at hiding some of my mistakes. From the pics you can see that it sits next to my easy chair in Mi Cueva de Hombre. Great project.
I made this Console following your step by step rustic X console plan. turned out great! I love your site!
Daughters friend has a store bought plastic sandbox and my daughter asked if I could build one. This is what I built.
Built by Whitney Walters and shared on FB
Our tiny cottage pantry is complete! We followed Ana-White's 2x4 Storage Shelving modified to fit.
Materials:
Paint: Behr Whisper White
Vinyl tile: Armstrong Terracotta Clay
Ceiling: Beadboard
Plans: Ana-White 2x4 Storage Shelving (modified)
We love how these modified 3-panel adirondack chairs turned out! The pillows were from Costco- $15 for a two pack.
Sun, 05/06/2012 - 14:25
Love these! Did you use 1x8s for the back instead of 1x4's?
Sun, 06/16/2013 - 16:13
Is it possible to get the plans for these chairs??
-c
I built this step stool recently and am so happy with the way it came out! I even learned that I'm not all that terrible with my jigsaw anymore haha. I painted it turquoise and distressed the edges a little bit. I also added some silicone to the bottom to prevent it from sliding out from under little ones. I have some of the build process up on my blog. Thanks!!
The project was used using the same plans but I extended the floor to be 6 feet wide vice 4 feet the additional 2 feet provided the perfect amount space I wanted. I also added an extra windows to get cross ventilation. I also insulated the coop and put paneling on the walls and lenolium on the floors. I dropped the back wall sheeting 1.5 inches for additional airflow since the shed doesn't have a ridge vent. The plans are easy to follow and easily adaptable.
Thu, 07/02/2020 - 11:29
Great job! We are getting ready to build a coop for our chickens which arrive in 3 weeks!
Followed Ana White's Doll Bunk Beds for American Girl and added a Trundle Bed using a few small modifications. Ana's plans were easy to follow and I was able to complete this in an afternoon.
I was remodeling my house. I couldn't find anything that I liked in my price range. I decided to try my hand at making some furniture. I'm wasn't sure if this was something I could tackle, but I'm really pleased with how it turned out.
Mon, 10/16/2023 - 11:08
Way to go, it turned out so good! Thanks for sharing.
This is a fun project even for beginners. If you have an interest in building a sandbox, and have some tools, I'm sure you can make this easy enough!
I used 2" X 10" wood for my sides instead of the 1" as the plans call for. This gives extra strength and more depth. When you use 2" wood, you will have to turn your 1 X 4's the other way to match the 47½" width, because with the added width of the 2 side boards, your new width is now 49¼". It's not difficult, you just have to match your 1 X 4 X 47½ boards to the proper width. It will turn out fine, they just won't match the plans or pics of those using 1 X 8's for sides.
Sorry, I'm delivering this to my grandson's house for his birthday present, so no sand, but use landscaping cloth under this sandbox, then fill with sand.
One other thing, I'm toying with the idea of matching the angle the backrest is at and re-cut new pieces of 7½" arm rests. I think that may look a little better than the rectangle blocks.
My added pics are as follows:
1. The side boards all cut, and sizing up the frame.
2. All other boards are cut; I laid them out for fit before screwing the pieces together.
3. Using a square will help you keep everything at the correct angles. Also note in this picture and the next where I used two ½" pieces of wood I ripped to keep the ½" spacing uniform. Just rip any wood to the ½" width, make 2 pieces and butt against the next board on both sides, then screw them down. Makes it VERY easy to keep a uniform gap.
4. This picture shows me using the same "spacer" when putting the hinges in place. The red arrow points to the wood spacer.
5. The first bench is complete, and working fine!!
With the wood I used in my project, I used 2½" self tapping deck screws for the frame and attaching the 1X4's to the frame; I used 2" galvanized for attaching the 1X4's to any 2X4's; and for the hinges, I used ¾" wood screws. Using these sizes prevented the screws from coming through the other side.
I bought everything needed in this project at Lowe's and it was under $90 in costs; this is all the lumber (upgrading to 2 X 10's), hinges, screws, and handles.
Wed, 05/09/2012 - 16:25
I was just going to tell you how to add a brag blog when I saw that you'd already done so! YAY! Your sandbox looks awesome! You guys are all making me wish I had a tolerable yard to put a full-sized box in!!!
In reply to Yay, you figured it out! by Lady Goats
Thu, 05/10/2012 - 13:49
Yeah, you made the plans easy to follow. It was a lot of fun. I spanned it over 2 days, but still was only around 4 hours of work.
I'm considering cutting the "arm rests" at an angle to match the slope of the back rest. I may play with that this weekend.
Thanks for all the help!
Also, what did you use to make the sketch type pics for the plans? I know you mentioned something about not knowing how to put the hindges on them. If I can help, I can probably do it for you in PhotoShop.... Just let me know.
Thanks again!
Loral
In reply to Yeah, you made the plans easy by Loral
Thu, 05/10/2012 - 14:07
And didn't even think of putting the pics in PS to add the hinges. DUH! Thanks for the idea! ;-)
What do you mean about angling the armrests? So they sit right on the back, instead of the gap?
Thu, 05/10/2012 - 15:42
Something like this:
http://www.loraljohnson.com/sandbox/NewArmRests.jpg
I cut these at a 10º angle on both ends and 8" long.
Now, how did you make the "plans" images?? :)
Loral
I had searched for a nice bed frame for the longest time. I wanted something that would last and the prices in furniture stores or antique shops were crazy. I found the plans for the platform bed/headboard and modified them a little. I used 2x12's for the frame and set my 2x6's down inside for my box spring. 2x6's for the headboard and trimmed it the same way as in the plans. I love it. Thanks for the plans Ana.
Fri, 05/30/2014 - 18:40
Love your inspired bed! What size mattress is your frame for? I am looking to make a frame just like yours for a queen size bed. Do you have your measurements or are they pretty similar to the original post? Complete beginner here, any help is much appreciated!!