Community Brag Posts

King Farmhouse Bed

Submitted by Anonymous (not verified) on Tue, 10/01/2019 - 21:30

Fun weekend project to build together. We are loving the fresh look to our master bedroom.

Estimated Cost
350
Estimated Time Investment
Weekend Project (10-20 Hours)
Finish Used
General Finishes Snow White milk paint with Satin Topcoat
Recommended Skill Level
Intermediate

Comments

DIY Sofa - Storage Sectional

Submitted by LittleG on Thu, 08/09/2012 - 15:38

Basically I took Ana's plan and tweaked it to create a diy sofa, a love seat, and a corner piece to make a sectional. All 3 pieces have the same basic design and function (they all have a storage compartment), although the corner piece, because of its placement and the thickness of the seating cushions, doesn't open unless the couch is opened first. We purchased custom cut, 6" thick foam cushions for the seats (we bought the XL-38 foam from https://www.buyfoam.com/, but if we had to do it again, we'd go with the XL-28 as the 38 is VERY firm). We also used upholstery fabric instead of a paint drop-cloth to cover the couches. The foam and upholstery fabric upped the overall cost significantly. Other changes from Ana's plan, I used 15/32" OSB because the 1/4" plywood just felt too flimsy (I'm a large guy). I also added I bolts to the underside of the seat before the foam and upholstery so I could add a stress relief rope to prevent the kids from opening the top and dropping it and ripping out the hinges. I used piano hinges as they seemed to me to provide the most support. Finally, I ended up using 1x2s for the base trim since I couldn't find any 2x2s that were straight and finish-ready, then I added router detailing to provide some visual interest. I used 3" pieces of 4x6 for the feet and added matching router detail. Additionally, I used T-Nuts and bolts to make the feet and base trim completely removable.


Built from Plan(s)
Estimated Cost
$1300
Estimated Time Investment
Week Long Project (20 Hours or More)
Finish Used
Minwax PolyShades Espresso
Recommended Skill Level
Intermediate

Comments

masmith38

Fri, 10/23/2015 - 11:11

Love this!  Totally want to think hard about doing this instead of buying when time for a new couch comes. Job well done, and the storage is a total plus.  

Chased

Sun, 05/15/2016 - 21:15

Where can I find the plans to this or the cut list

mikeyb

Mon, 10/03/2016 - 18:11

Awsome job!!! question? is that a typo on the cost to build??

mikeyb

Mon, 10/03/2016 - 18:12

Awsome job!!! question? is that a typo on the cost to build??

albertmick30

Mon, 08/17/2020 - 07:46

It is superb blog and i really appreciate your blog. It is because i always like the informative blogs. You did a great job and thanks for sharing.I am impressed by your post. It contains very informative data and i gain a lot information from it. It is very useful for me. Thanks for sharing and keep on sharing that type of posts.The Mobile App Developer Dubai provides good service you visit here site https://www.mistersaad.com/

Children's Storage Chair

We made 6 storage chairs for our school area. I added two inches to the height of the chairs, making them 16 inches at the seat. I wanted them to last for several years. They turned out great!

Built from Plan(s)
Estimated Time Investment
An Hour or Two (0-2 Hours)
Finish Used
We used two coats of Valspar spray paint. This is the first time that I used spray paint and I love it! I added two coats of Minwax spray polyurethane. They dried great and are holding up awesome!
Recommended Skill Level
Intermediate

Comments

Farmhouse Doll Bed

Submitted by TeamR-K on Tue, 12/11/2012 - 13:04

My handy husband whipped this little bed up from the leftover wood of the rustic "X" end table! I love it so much, a great toy / newborn prop!! I wanted to finish it with the steel wool/vinegar method, but it was too late, he already painted it. I love it just the way it is! Thank you for the awesome plan!!

Estimated Cost
$15 - or free if you use leftover pieces of wood
Estimated Time Investment
An Hour or Two (0-2 Hours)
Finish Used
Paint-Beautitone Satin Finish
Recommended Skill Level
Beginner

Comments

spiceylg

Wed, 12/12/2012 - 05:26

Nice build, but the baby steals the show. What an absolutely precious baby and picture! The stuffed lamb is adorable, too, lol!

5 tator tots (not verified)

Tue, 12/18/2012 - 11:37

Our baby is due in a few weeks...makes me want my husband to build this just for pictures! Adorable baby!

Eagle Project Workbench - Ultimate Roll Away Workbench with Miter Saw Stand

Submitted by nelsoncc on Mon, 10/18/2021 - 11:32

My son chose to make a workbench for his high school theater for his Eagle Scout project, and selected the Ultimate Roll Away Workbench with Miter Saw Stand as the basis for the project. The theater teacher wanted pegboard for tool storage, so we extended the rear legs on each workbench and notched the top to allow them to pass through. We built two frames from 1x3s to fit inside the rear legs, then put a pegboard inside each one.

To secure the extended legs, we added a riser shelf from 1x8s. We put a storage station for drills at one end of the riser shelf.

We also made all the cart shelves adjustable and added an adjustable shelf under the miter saw, and added lighting and power strips.

We left out the panels at the end of the workbench to allow access to the shelves there without having to remove the carts. Once we had constructed it, we added a brace at each end of the workbench to better support the outside front legs.

This plan was the perfect one for the theater, giving a stable work area for the miter saw and allowing for tool and materials storage. The carts can be rolled around to where a work surface is needed. This will come in handy for years of set construction in the theater. So proud of my son and all the leadership and hard work he put into this project!

Comments

nifof17547

Fri, 05/31/2024 - 00:38

Wow, what an impressive project! Your son did an amazing job with his Eagle Scout project. The Ultimate Roll Away Workbench with Miter Saw Stand sounds like a perfect fit for the high school theater's needs. I love how you customized it by adding pegboard for tool storage and making the shelves adjustable I remember how I do similar things all day long and I don't have any time left to do housework. Then I use https://essays.edubirdie.com/personal-statement-writing and it's a really great solution. The addition of lighting and power strips is a fantastic touch too. It's clear that a lot of thought and effort went into ensuring the workbench is both functional and durable. Your son's leadership and hard work really shine through in this project. This workbench will definitely be a valuable asset for the theater for many years to come. Great job!

Special Teacher Gifts

My son Jack, has Down syndrome. He's had the same preschool teacher for the last 3 years, and now it's time to move on to kindergarten. Not only does he have a dedicated teacher, but he has two paraprofessionals (teacher's aides) that take turns in helping him 1:1 all day long. I figured that it was time for all three of them to relax this summer. So, in appreciation, I made three of the adult sling chairs so they can enjoy their much deserved relaxation.

Estimated Cost
$25 - $30
Estimated Time Investment
Afternoon Project (3-6 Hours)
Finish Used
Since I used cedar, I didn't want to do anything to it except put a coat of Thompson's water sealer on it.
Recommended Skill Level
Beginner

Comments

mamma_joy

Tue, 06/21/2011 - 00:00

As an OT in the schools, I can understand your connection to the dedicated teacher and staff that work for your son. I'm sure that these gorgeous chairs will show your appreciation! What great choices in fabric, too!

marlaandwilliam

Wed, 06/22/2011 - 14:17

thanks!! i just love fabric! but mod-ish colors and designs really are so striking to me - LOVE it! :)

Sherry (not verified)

Fri, 09/23/2011 - 19:31

Would you mind sending the instructions for these chairs. I think this is something that I could do and would love to make a set for my husband for Christmas. We are all about homemade. That would be so great!

debandtom25

Wed, 09/28/2011 - 20:05

Hi Sherry. To find the page where I got the plans, just click on the words "Wood folding sling chair - adult" next to the bolded "From Plan" listed above. That will take you directly to Ana's plan.

Seasonal And Holiday

Lumber Storage

Submitted by Anonymous (not verified) on Sat, 08/20/2022 - 15:44

We are so excited about have an organized way to store our lumber and scraps. We only had to purchase 4 2x4’s for this project and were able to use a lot of on-hand scrap pieces. The plans were so clear and easy to follow. Thank you for sharing!!

Comments

Murphy bed

Submitted by bpcooper14 on Wed, 05/08/2019 - 06:09

So I've always wanted to build a Murphy bed.  And by always I mean since I first came across plans here that made it look so simple.  It ended up taking me a while to do because my job has me working 6 days a week so I was only able to work on it for short chunks of time.

I ended up utilizing a few different plans and mashed them together to build a full size murphy bed.  The shelves are the support legs when the bed is down.  The "hinge" mechanism are heavy duty 360 degree seat swivels.

All-in-all it turned out WAY better than I expected with only some minor issues throughout the construction process.  

Next up is a twin xl Murphy bed with a murphy desk attachment that will serve as a craft  table when up.

Estimated Cost
3 - 4x8 sheets of 3/4" plywood ($25 each)
3 - 1x2x8 to wrap the frame ($2-3 each)
1 pack Door Hinge pins to serve as the pins to hold the bed upright ($3-5)
1 pint stain
1 pint shellac
2 - Heavy Duty 360 degree seat swivels ($20)
Screws/nails/etc.

All told, this project probably cost around $200
Estimated Time Investment
Week Long Project (20 Hours or More)
Recommended Skill Level
Intermediate

Comments

The Gíaffe TV Stand

Submitted by Anonymous (not verified) on Thu, 02/06/2020 - 09:55

The Gíaffe Free Standing TV Mount. Handcrafted and engineered to use its center mass to deliver strength and balance for tv sizes 30-60". Display your television without detracting from your home's decor. The Gíaffe Free Standing TV Mount is the perfect solution and its rich finish will be perfect for any house/office room.

Estimated Cost
$109
Estimated Time Investment
Day Project (6-9 Hours)
Finish Used
Stain - Dark Walnut - Varathane - 2 Coats
Finish - Water Based Polyurethane - Varathane - 3 Coats
Recommended Skill Level
Intermediate

Comments

Patrick’s Router Table

Submitted by Anonymous (not verified) on Thu, 06/18/2020 - 14:44

As a beginner woodworker I was searching for a router table project and came across this one. I constructed it entirely out of birch plywood. I will admit is was a challenge for me as I had never done drawers before. The biggest challenge was the small drawer for bit storage. I used a Rockler table top and it worked perfect. Overall I’m pleased with the way it turned out and have already used it in several projects

Built from Plan(s)
Estimated Cost
$200
Estimated Time Investment
Week Long Project (20 Hours or More)
Finish Used
Linseed Oil
Recommended Skill Level
Intermediate

Grandy Barn Door Fireplace and Matching Console

Submitted by Anonymous (not verified) on Wed, 11/11/2020 - 17:38

We originally built the original console a while ago as an entertainment unit for underneath our television. We enjoyed the console so much that we decided that we wanted to do another modified console with a fireplace in it and make the other one into a buffet/storage area for the dining room.

Both of these are fairly modified from the plan, however the basic concepts remain the same. One big thing that we did was use 1x4s as much as possible to reduce the different sizes of lumber we were buying to both reduce complexity and end up with as little as possible scraps.

The frames are made of the 2x3s, The sides (4 deep), shelves, middle shelves and face frame are all 1x4s. The back and inside frames are scrap plywood. The top is 1x6s.

The addition of the fireplace was not difficult. What it did require us to do was to add the centre section and essentially create a box that is closed to the outside cabinets. If it were not closed off it wouldn't support the fireplace insert correctly. The important piece with the fireplace is to ensure you have enough clearance on the top and sides to allow the fireplace to mount safely without overheating. The nice thing about this setup is the additional shelf above the fireplace which we used for electronics. The wires go through the back of the cabinet and it looks very clean.

These are probably my favorite things I've built this year. They're simple to make and add a lot to any living space.

Built from Plan(s)
Estimated Cost
$500
Estimated Time Investment
Weekend Project (10-20 Hours)
Finish Used
White paint for body
Minwax Polyshades Classic Black for top
Recommended Skill Level
Beginner

Comments

Kentwood Bookcase

A great plan that was so easy to follow!  My hubby and I had a great time building this, even though it took us about a year from start to finish, actual work time on this project was not huge.  The Kreg jig was brilliant and made everything so easy.  

Estimated Cost
I would put the estimated cost at around $400 AUD. Looking back at the project I'm sure we could have cut costs by buying recycled timber.
Estimated Time Investment
Weekend Project (10-20 Hours)
Finish Used
Dulux Whisper White Semi-Gloss
Dulux Colour matched Turqoise Low Sheen
Recommended Skill Level
Beginner

Comments

Modern Craft Table-Aqua

Submitted by beingbrook on Sun, 01/15/2012 - 15:16

Love the Modern Craft Table! It has lots of storage space and tons of workspace on top. We used pine for the shelves and plywood for the top and edged the top with pine.

There is a spot for two counter stools at the opposite ends of the table which is perfect to give kids their own spot to craft/color.

Built from Plan(s)
Estimated Cost
$150
Estimated Time Investment
Day Project (6-9 Hours)
Finish Used
Primed and Painted with Two coats of Behr's Woodwind Springs. Top has two coats of polycrylic.
Recommended Skill Level
Intermediate

Comments

Guest (not verified)

Sun, 01/15/2012 - 20:10

I love this table but I wonder how do you use it to sew with? or do you sew on this table?

beingbrook

Sun, 01/15/2012 - 20:24

I don't use this table to sew on. My craft room also has a sewing table that we built using the narrow farmhouse table plans. I use this to craft on and to cut fabric out.

Guest (not verified)

Mon, 01/16/2012 - 10:03

the whole room is beautifull. how many of the other pieces of furniture were built using Anna's plans?

Guest (not verified)

Mon, 01/16/2012 - 10:03

the whole room is beautifull. how many of the other pieces of furniture were built using Anna's plans?

mebohn

Mon, 01/16/2012 - 12:06

This table is fabulous and I'm really in love with the color! Thank you for sharing. So many new ideas for my room now!

mebohn

Mon, 01/16/2012 - 12:06

This table is fabulous and I'm really in love with the color! Thank you for sharing. So many new ideas for my room now!

Lis West

Mon, 01/16/2012 - 17:32

You won't believe this...but today I was shopping for the wood to make the Modular Craft Table, but I did not buy the wood because I was trying to tweek the plans to change the "cubbies" and size. So, I came back to this sight and here is this craft table that would be much better. I want to make it table height rather than counter height so I can sit down and sew at it. I also want to be able to drop the back 12 inches of the table if I do not need it and so it will fit better in my room, wheels on the bottom to pull it out easily so I can extend the 12 inch table when needed. I love what you have done!

Cindy from Indiana (not verified)

Tue, 01/17/2012 - 11:36

You did a fantastic job on this project! Love the way it looks and the color!

Great job!

Ricci (not verified)

Sat, 01/21/2012 - 07:00

I love this table, but I can't seem to find the directions to make it. Can you point me in the right direction to find it?

Joe (not verified)

Wed, 01/25/2012 - 17:24

Is there a reason you can't sew on this (from what I gathered from a previous comment)? I want to build something for my wife's craft room and love this, but she will need to sew as well. Help?

Brook @ BeingBrook (not verified)

Wed, 01/25/2012 - 17:32

Joe,

It would be hard to sew at this table because the table is counter height. You wouldn't be able to reach the foot peddle to run your sewing machine. You could alter the plans to fit a spot that could hold the peddle foot. I sew on a different table in my craft room and use this for cutting fabric and general crafts.

Brook

Guest (not verified)

Wed, 01/25/2012 - 19:26

at one time I had my sewing machine in a spot that was counter height. I used a wood box to put the foot peddle on. One of anna's steep stool plans or the bathroom platform for kids plan might be good to build with this. It was also nice when I was sewing small pieces that needed lots of ironing to stand and sew at the counter.

Guest (not verified)

Wed, 02/01/2012 - 14:25

I have a modern sewing machine (within last 5 years) and I routinely sew at counter height with no problem. I prefer it because it really helps my back. I cannot wait to make this!

Guest (not verified)

Fri, 02/24/2012 - 22:36

Joe,
I think it would work to mount the foot pedal on the inside of the shelf area. She would use her lower outer thigh to depress the pedal while seated.

Angela Preimesberger (not verified)

Tue, 05/08/2012 - 07:47

I love this table! I'm with Brook and don't sew on mine. Height issue is easily worked around - main issue is usually back support. Sewing at a huge workstation tends to leave you feeling unsupported and sitting on a stool (I have a nice wide comfy one from Target) leaves your back unsupported so you usually slouch (bad! bad!). I sew at my smaller desk in a good supporting chair and use my table for everything else. I use this table for a true work area including cutting. I have an Accuquilt Studio and that sucker is HUGE and heavy!

Michele Crane (not verified)

Mon, 11/12/2012 - 11:22

I just talked my fiance' into building this for me to use as a desk. I need a desk for my work from home position where I can store everything as well as have a large area to spread things out. I loved this the moment I saw it and talked him into building it for me. Can't wait to post the pictures when it is finished.

bbawol

Wed, 12/12/2012 - 16:47

I was wondering if you could tell me where you got the chair from? It looks like it pairs very well with this table and I would love to get one for my wife for her table I just finished.

nkliegel66

Thu, 02/28/2013 - 16:15

My husband made this FABULOUS Craft Table for me last weekend, it turned out PERFECT! Thank you so much for posting this with such detailed directions....

What do you have in your galvanized pails? What do the labels say?

Thank you!

Mary's sewing table

Submitted by Anonymous (not verified) on Mon, 12/23/2019 - 20:52

Built using your sewing table as the base idea. Pine cabinet, drawers and drawer fronts. The top is Hickory, poplar and red oak. base top dimension is 30x30 and folds out to 30x90. Mary will get this as a surprise on Christmas day. Cabinet and to is Varathane 3x. Casters are from Woodcraft and drawer slides are Hickory Hardware.

Built from Plan(s)
Estimated Cost
250.00
Estimated Time Investment
Week Long Project (20 Hours or More)
Finish Used
Varathane 3x
Recommended Skill Level
Intermediate

Comments

Another cube bookcase

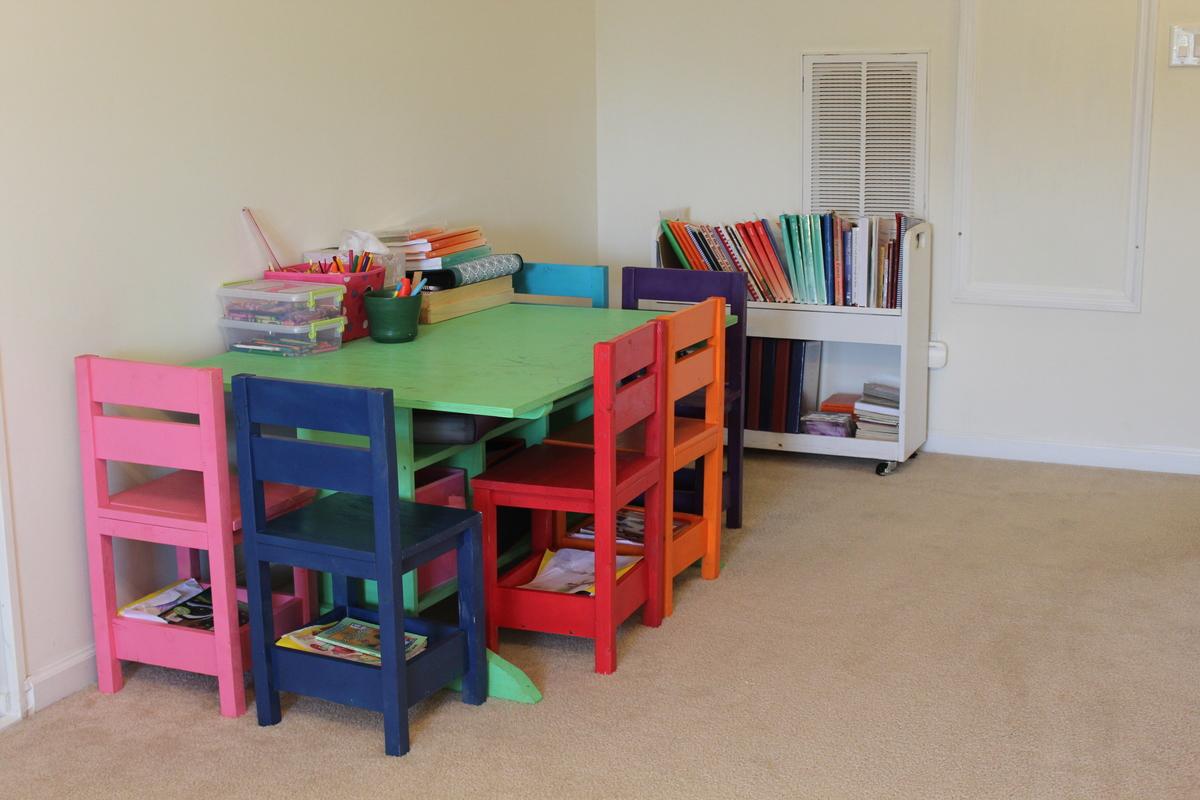
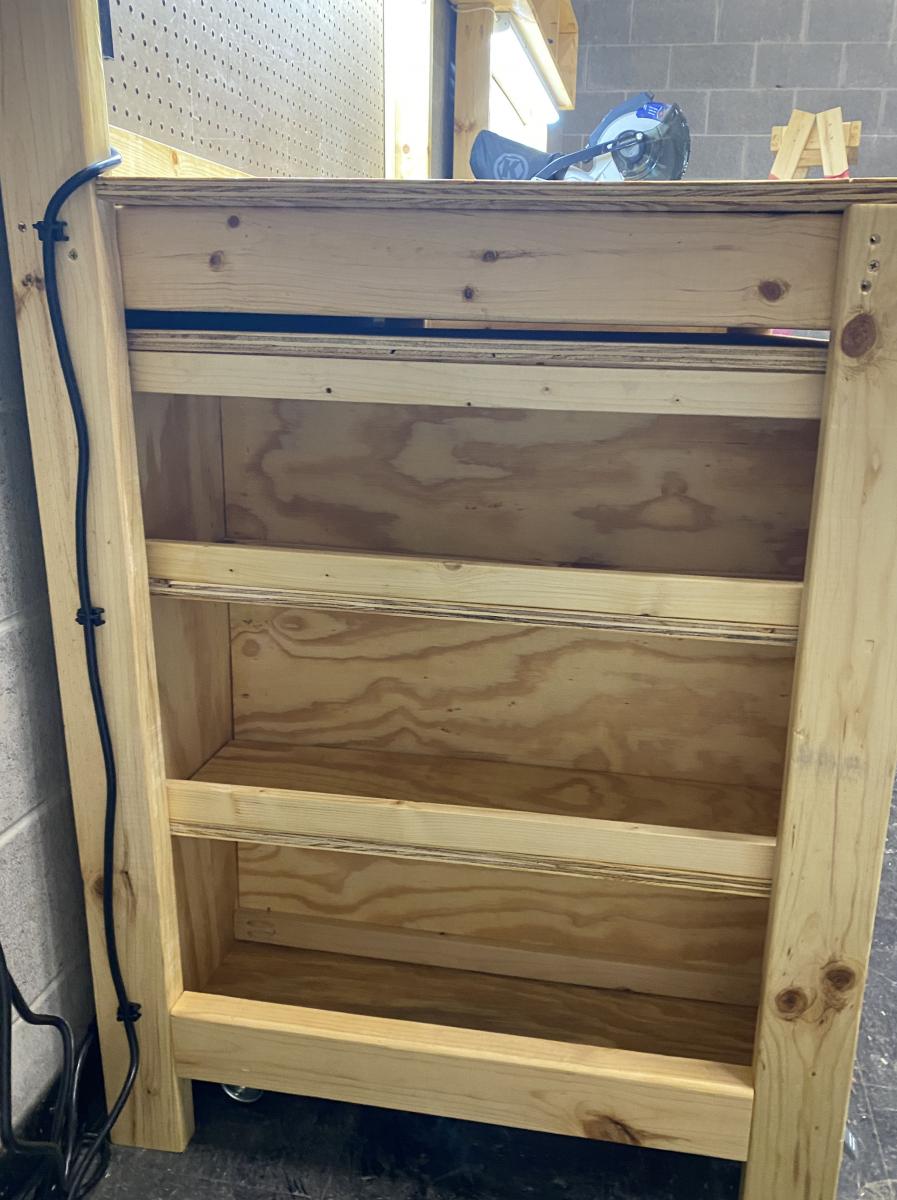
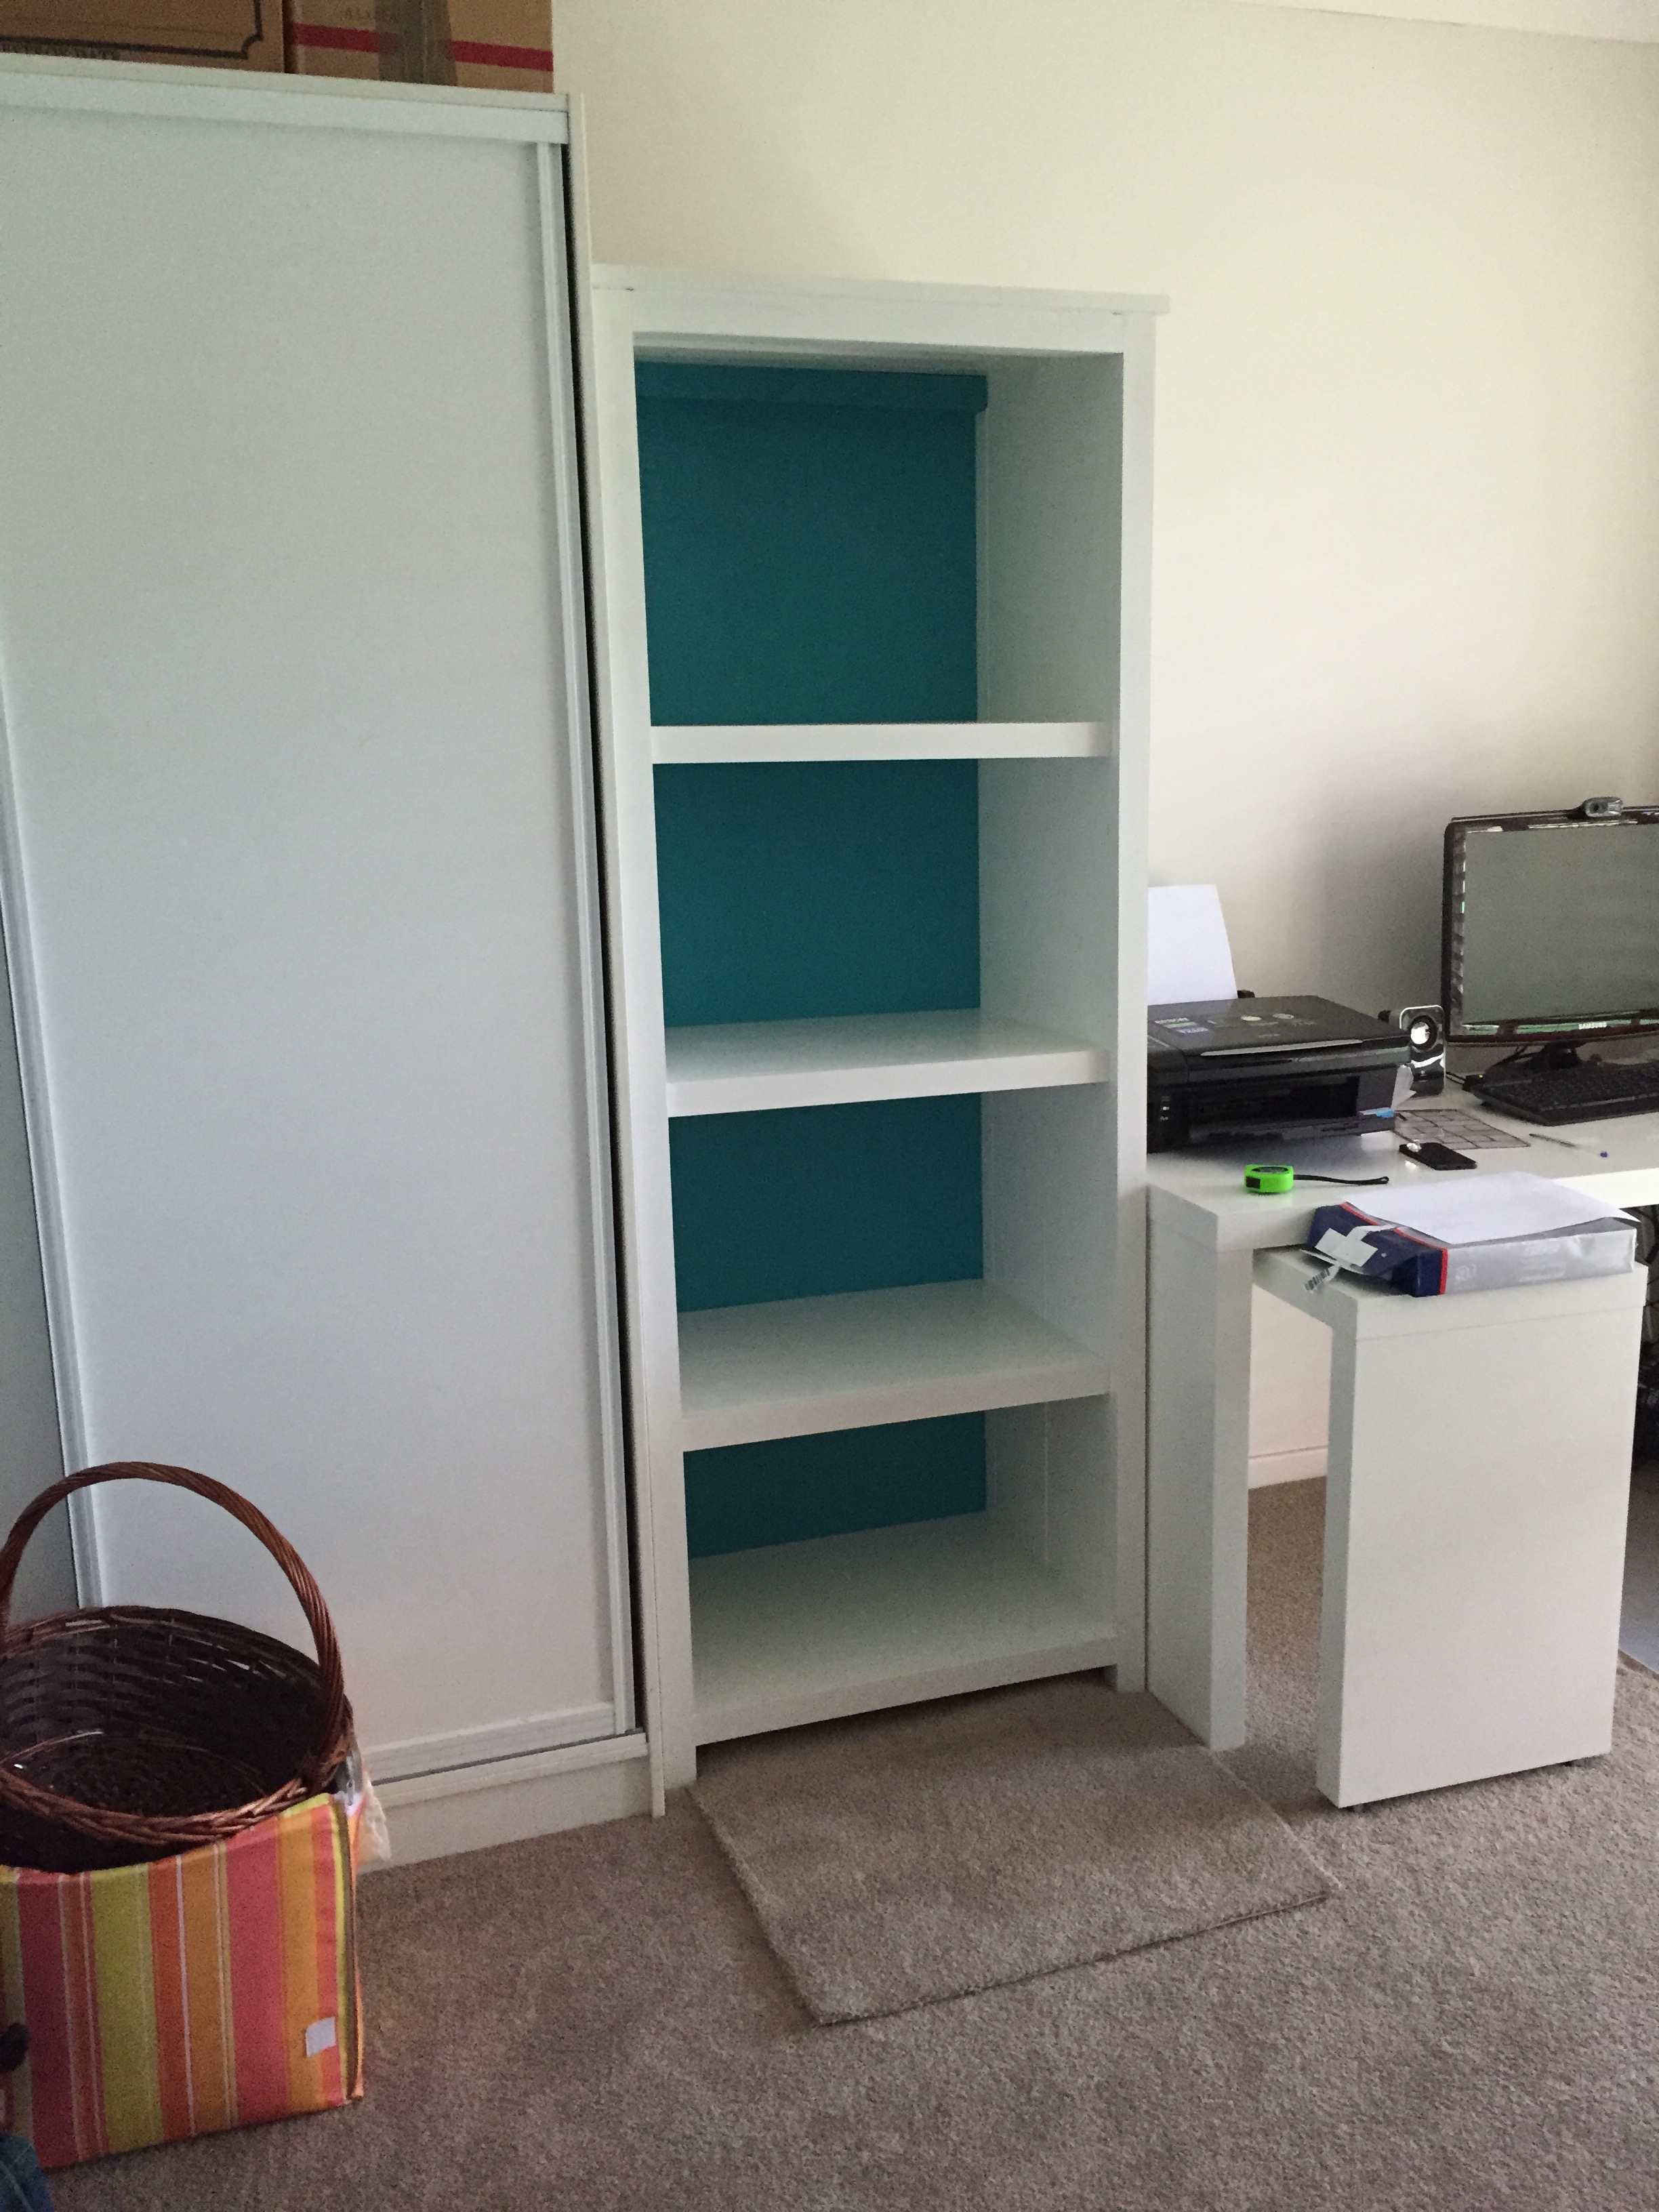
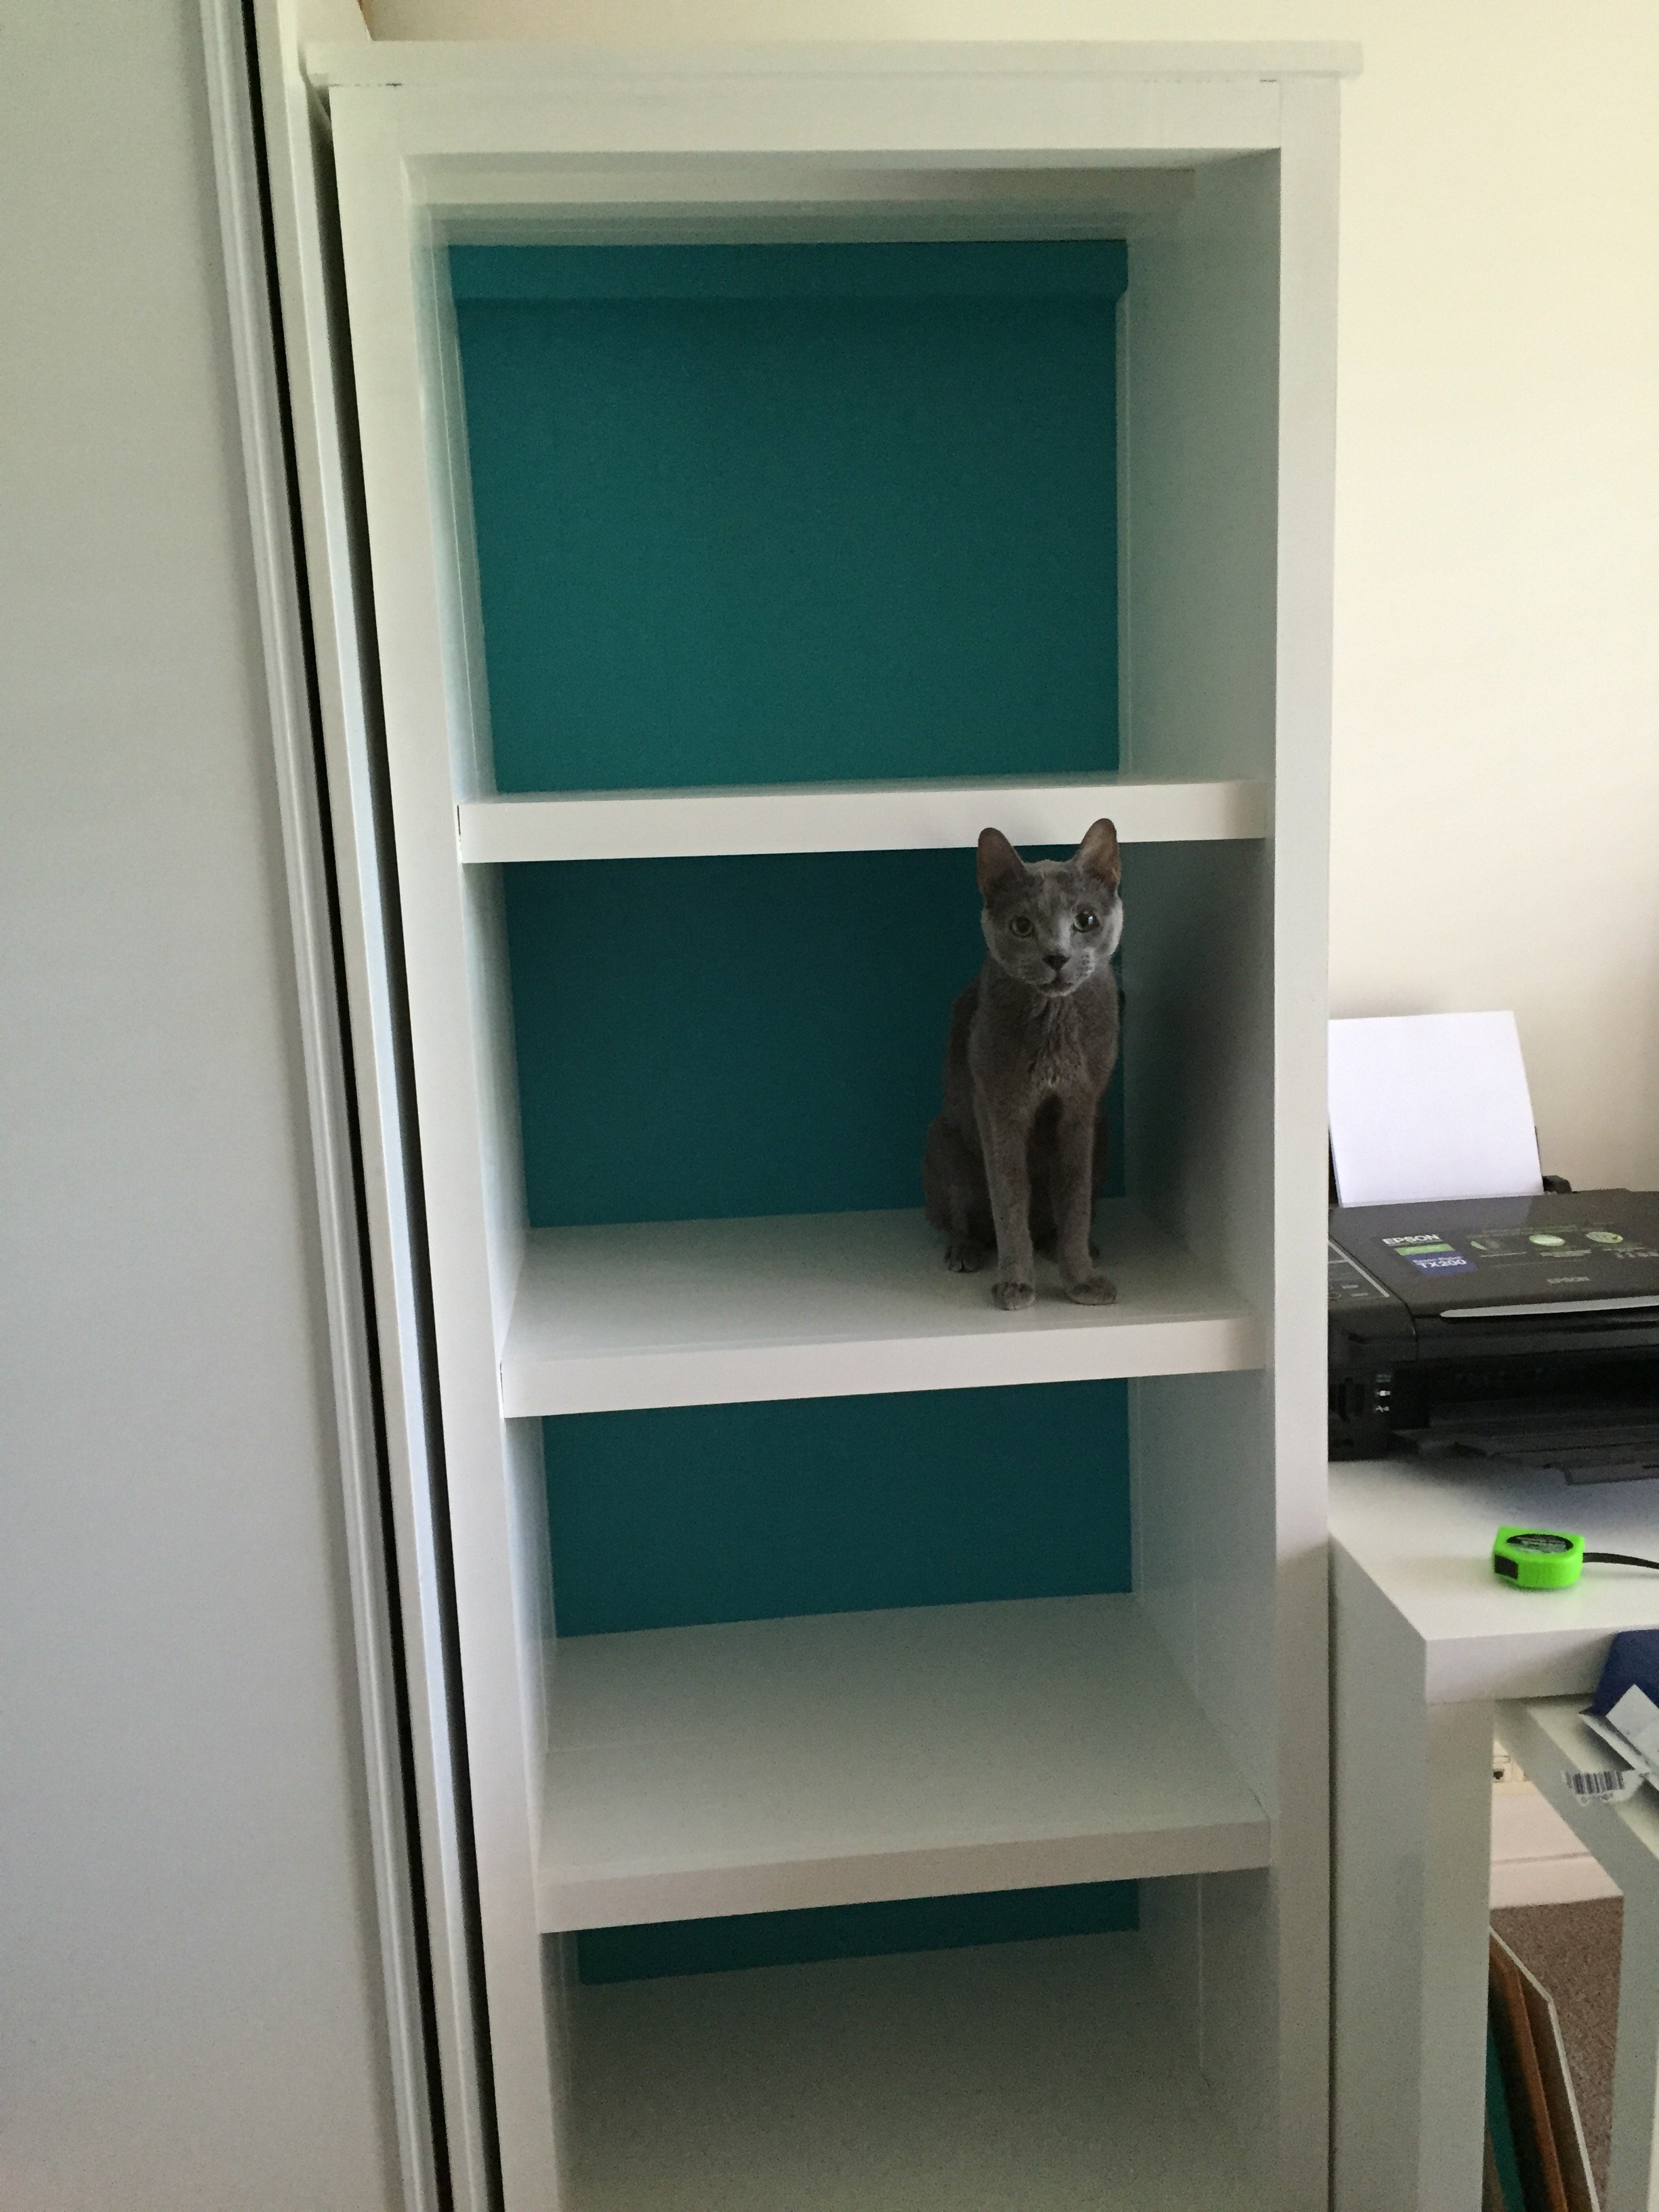
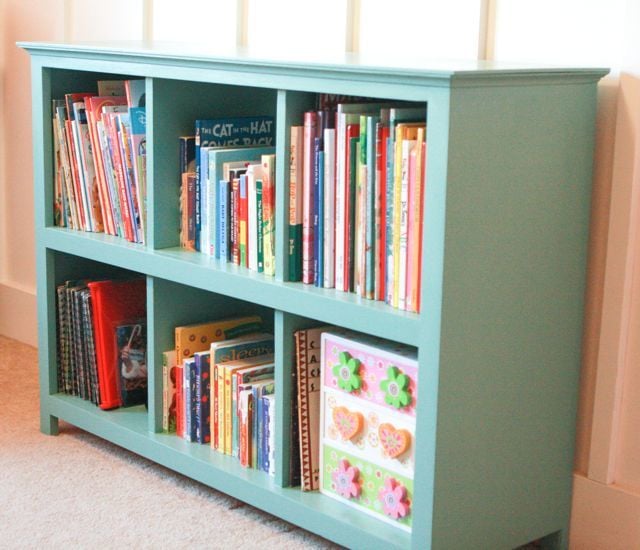
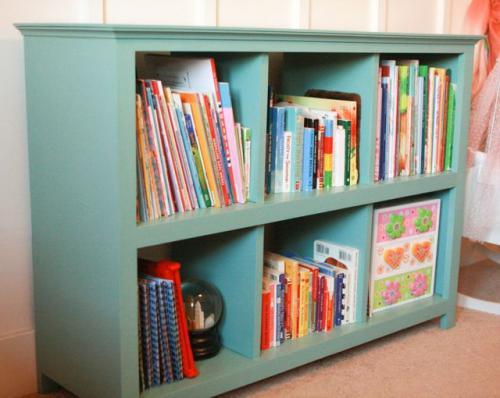
When I find clothes I like, I buy more of the same. Apparently this habit applies to furniture, too. This fall I built two cube bookcases for my 8 year old's bedroom. Last weekend, I built another, this time for my 6 year old. What can I say? The first two worked out so well I needed another!

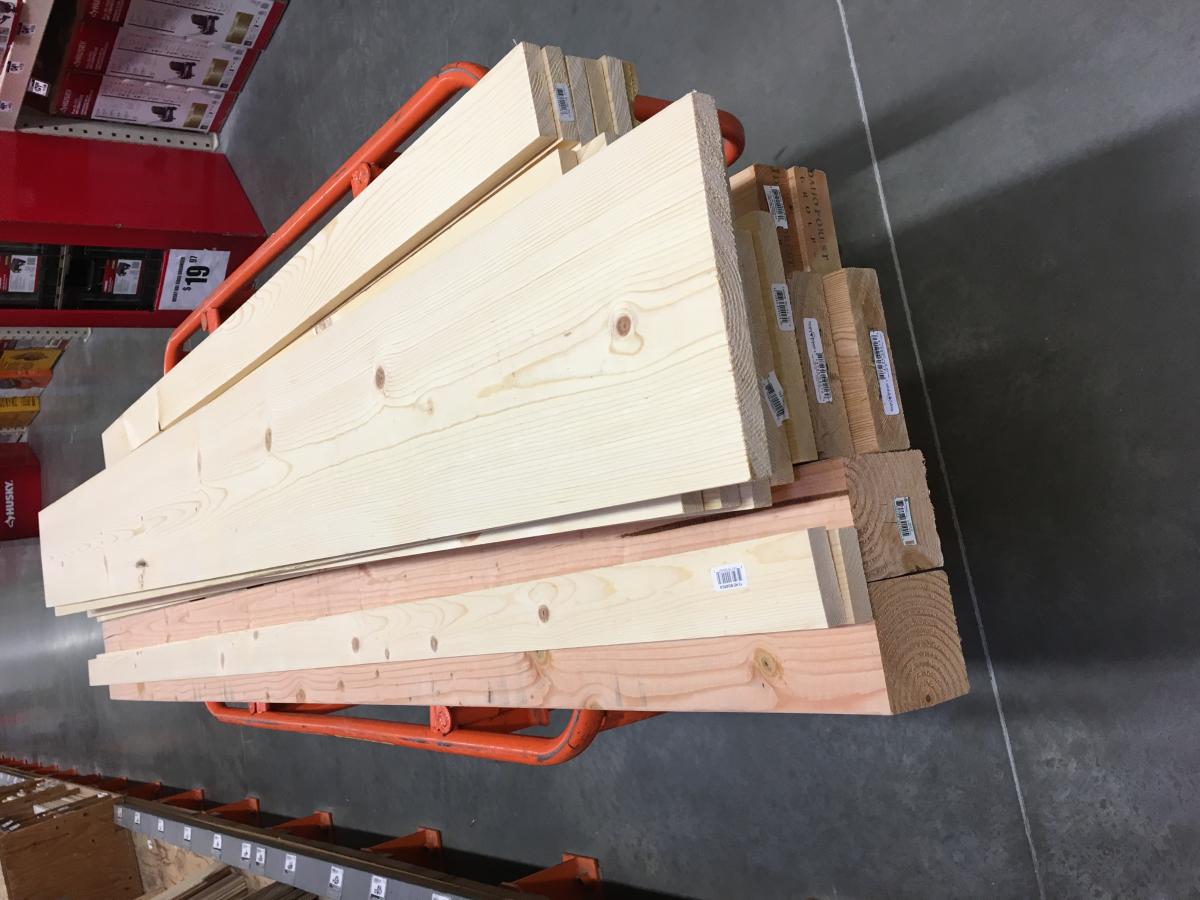
For this bookcase, I had the lumber (at least the big boards, not the 1x2s) cut at Lowe's. The cuts were precise and square -- everything I want in a cut!

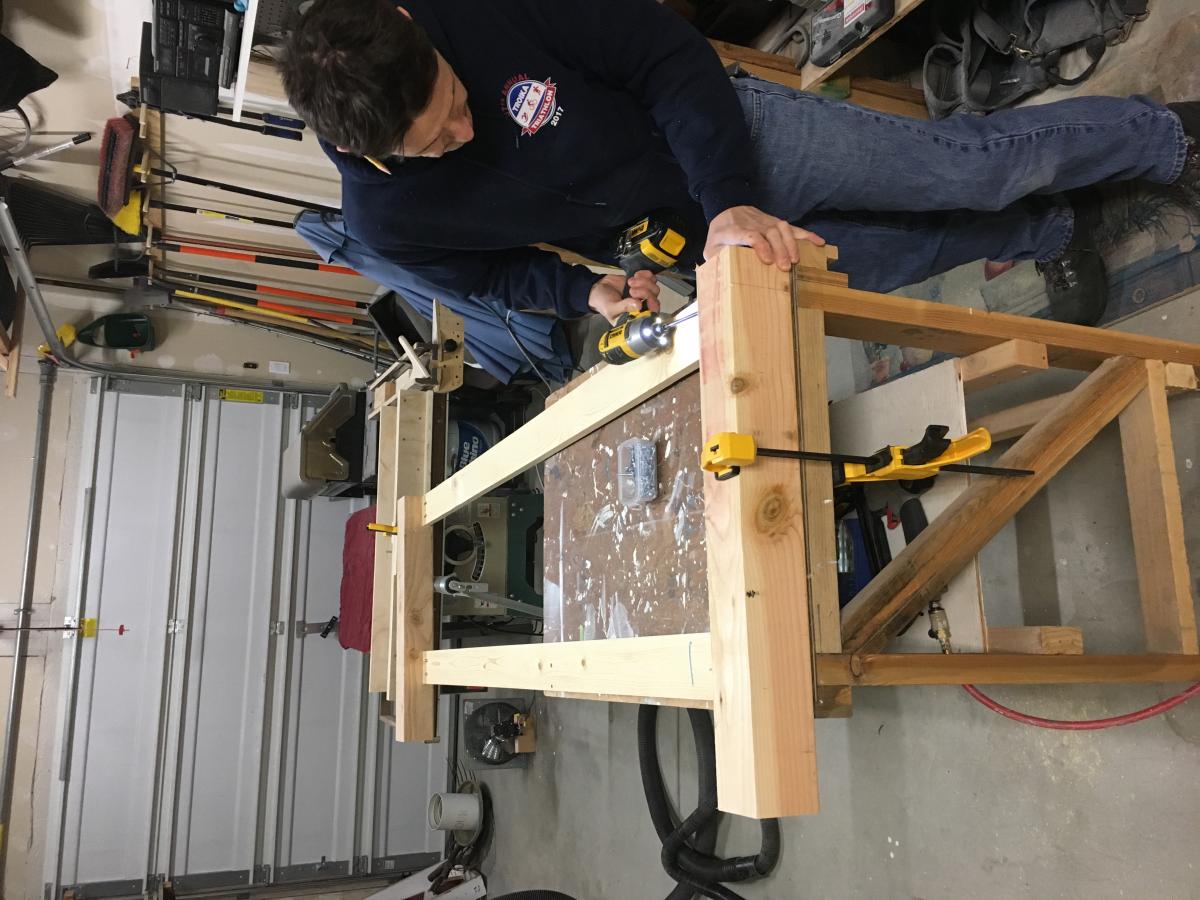
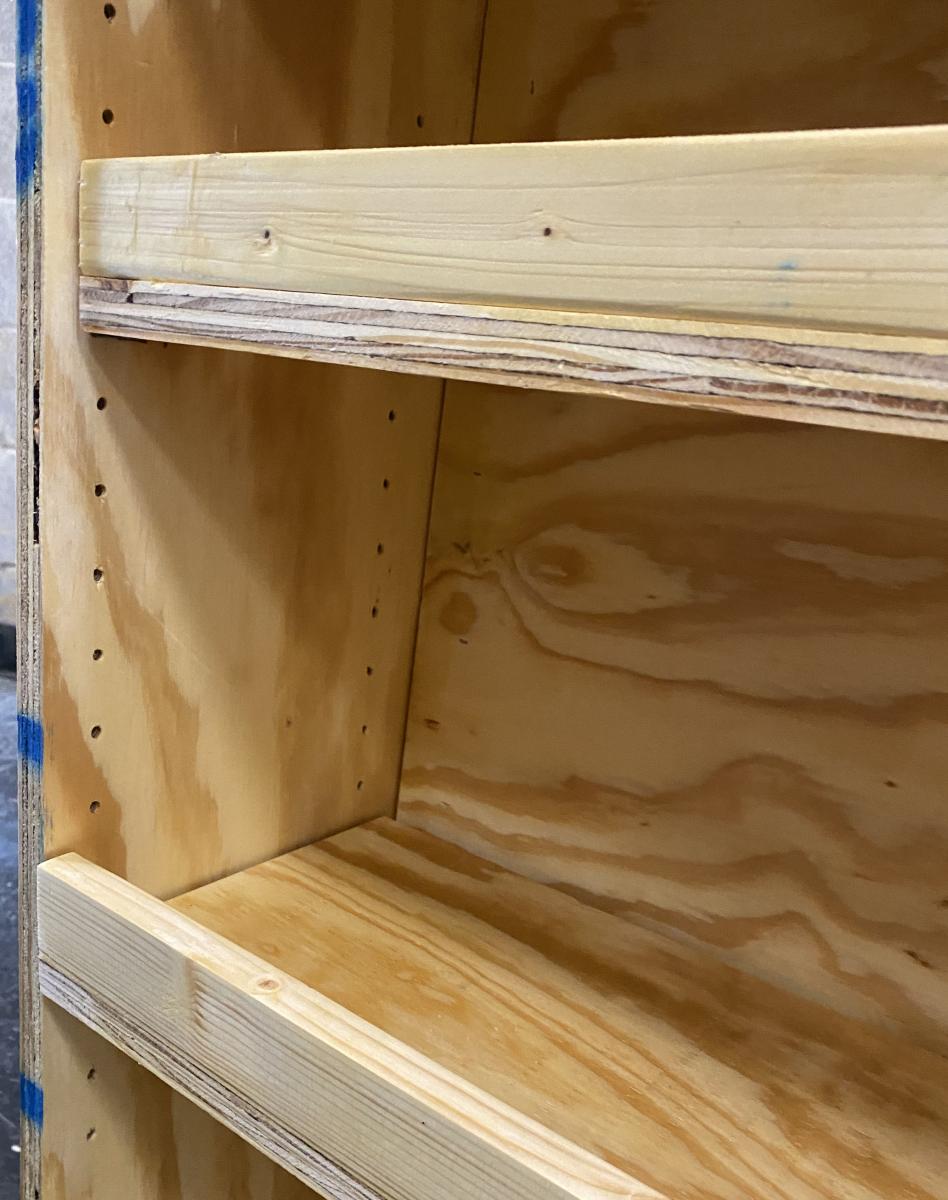
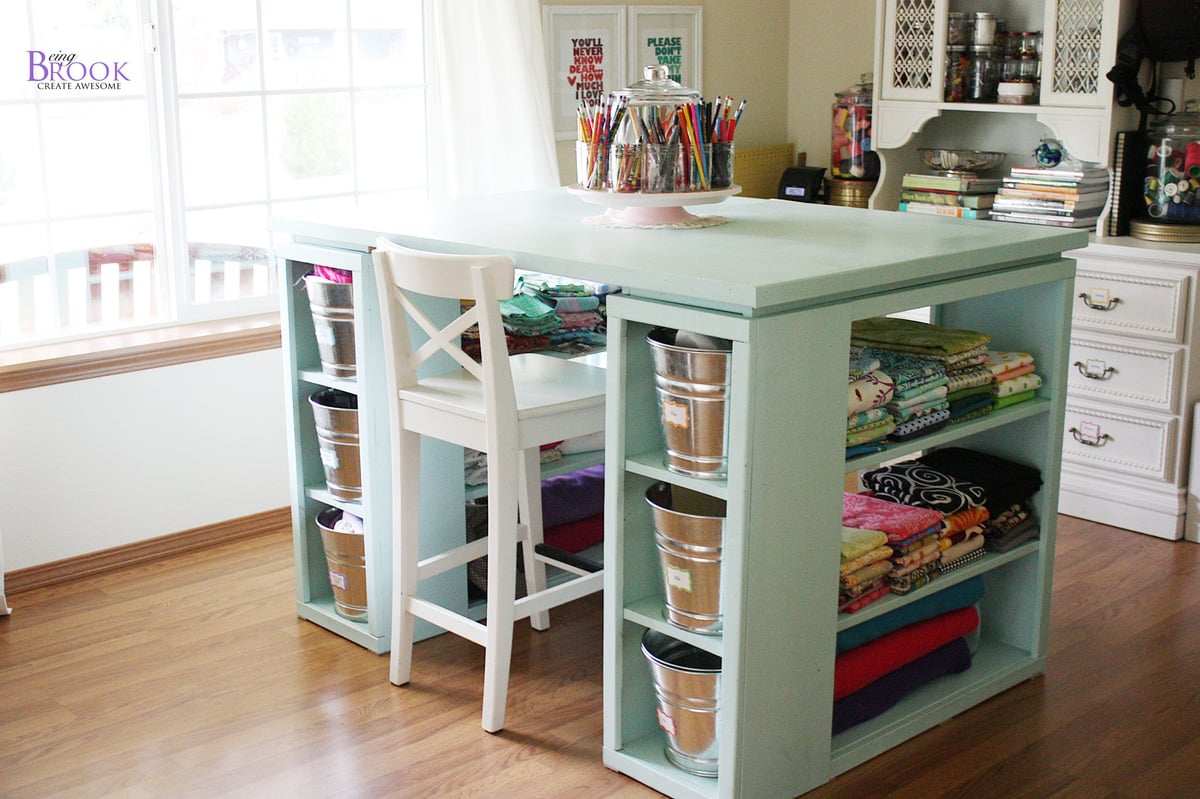
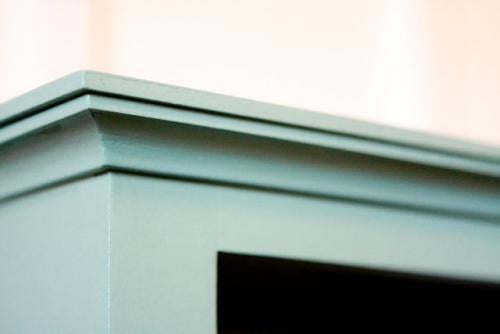
Just as I did with the first two bookcases, I used the Kreg Jig to put this one together and then I topped it with 1/4" MDF, attaching mitered cove molding underneath. At some point this winter I realized that my miter saw was out of square. I'm not good at fixing mechanical things, so my husband did me the favor of squaring the saw for me. Wow, what a difference! My cuts are so much more precise now that the saw is square again. Whew!

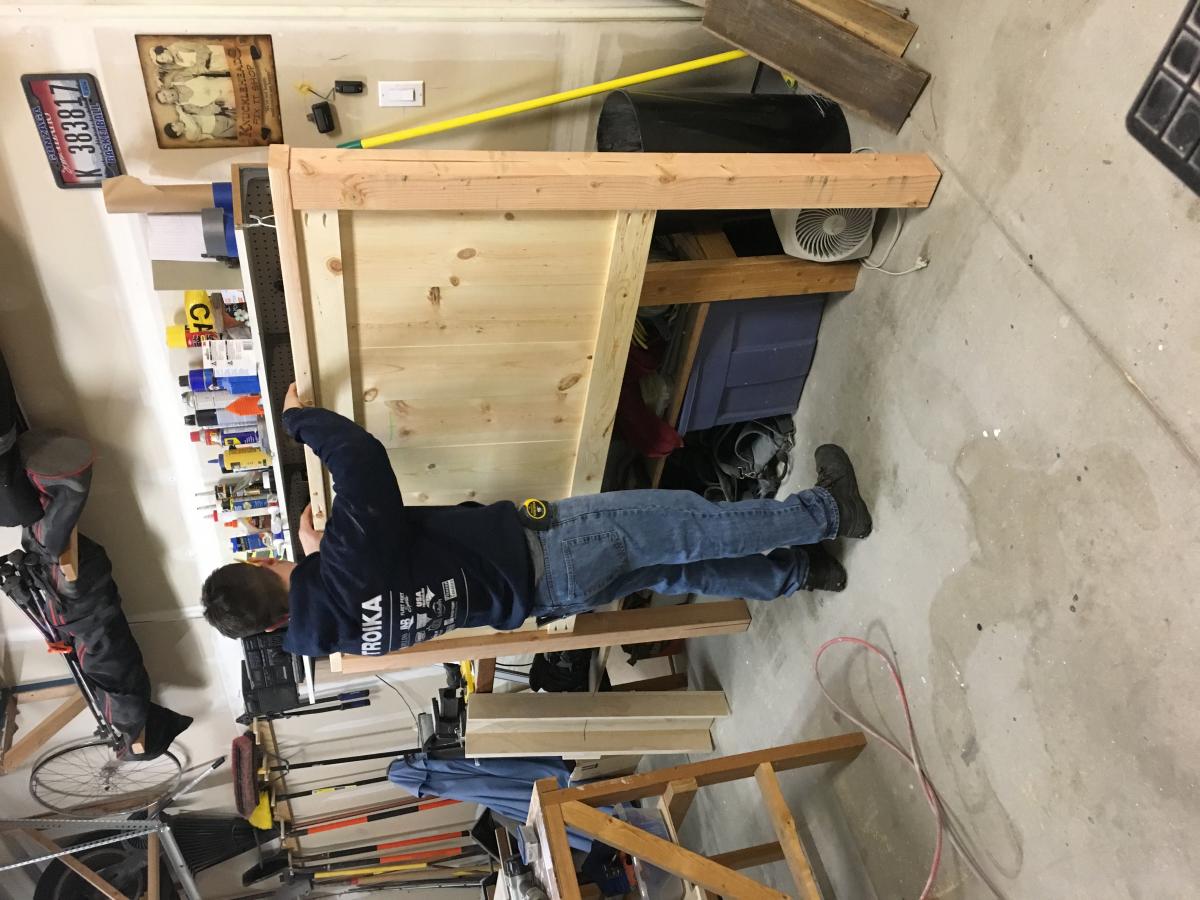
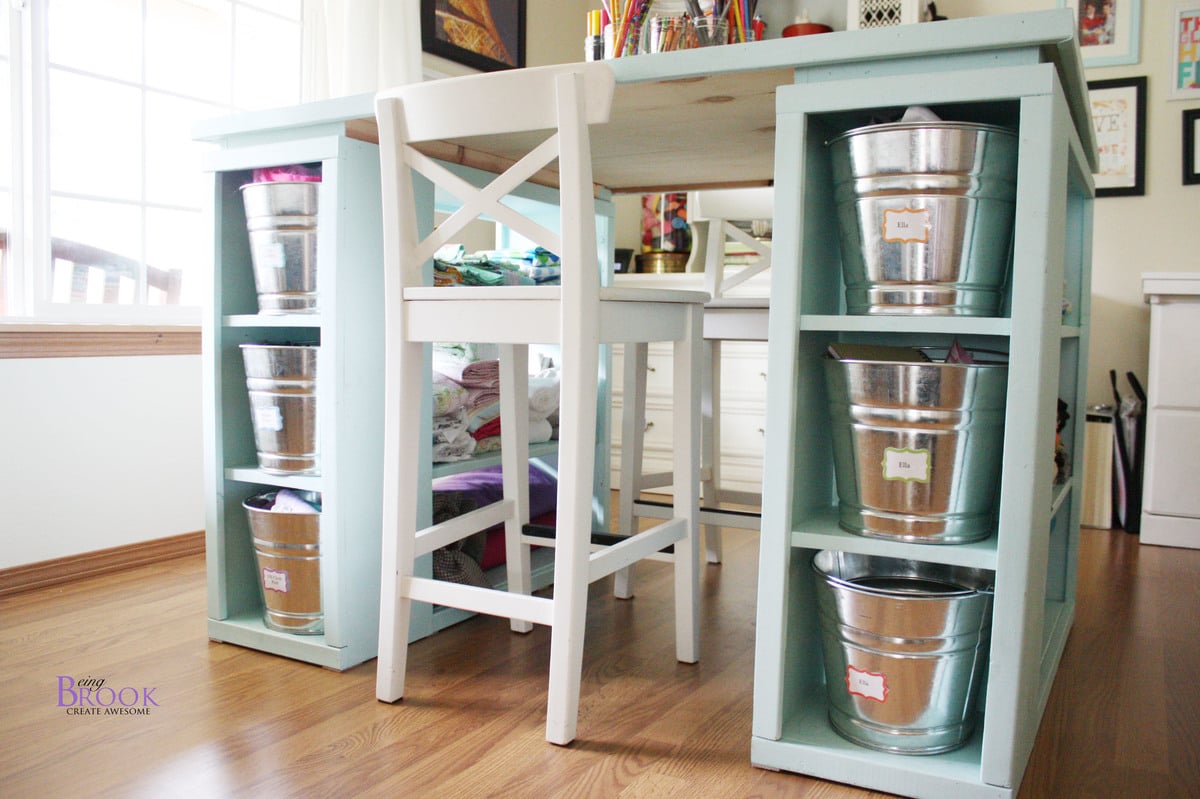
One change I made from the first two cube bookcases I built was in the finish. Instead of building and then finishing, I painted the surfaces that would end up on the inside of the bookcase before assembling the whole thing. Last time it was a bit of a nightmare getting into all the corners and inside tops of each cube. Painting the inside ahead of time was much simpler. Once the unit was put together, I sanded and painted the outside, touched up the inside, and then added two coats of poly to both the inside and the outside.

Built from Plan(s)
Estimated Time Investment
Weekend Project (10-20 Hours)
Finish Used
Ralph Lauren "Aged Mint" paint in a flat finish followed by two coats of satin polyurethane. I sanded lightly in between all coats.
Recommended Skill Level
Beginner

Pantry Spice Rack

Submitted by SaraLodise on Tue, 08/06/2013 - 13:35

Love this simple plan! I took down a wall in my kitchen and, when cleaning out the cabinets, I found crazy amounts of spices. With this it's so easy to see all of them and find the one you want.

I did shift the shelves to make two 3 1/2" shelves and this made the bottom shelf 9" for some taller things. I found that I could not fit my shorter spice containers in the very top shelf due to the hanging board in the back of it. The hanging board may have been thicker than used in other's builds.

Built from Plan(s)
Estimated Cost
$30
Estimated Time Investment
Afternoon Project (3-6 Hours)
Finish Used
Primer & some left over interior paint from previous house owners.
Recommended Skill Level
Starter Project

Comments

OptimusGoof

Sun, 01/11/2015 - 12:55

I love how you shifted things around to accommodate for the bottom taller items. I need something exactly like this so I can tame the wild animal that is my pantry. Thank you for the inspiration. Great build!

RandyW

Sun, 01/11/2015 - 14:46

Is that a solid door? If not, how did you anchor it?

Modern Craft Table.... made much bigger!

Submitted by Anonymous (not verified) on Thu, 01/07/2016 - 08:25

My husband used the directions for the Modern Craft Table as a guide, only making it MUCH bigger to fit in my craft room. It came out beautifully! 

More photos and details at https://inkitall.wordpress.com/2016/01/03/my-craft-room/

Built from Plan(s)
Estimated Cost
$800
Estimated Time Investment
Week Long Project (20 Hours or More)
Recommended Skill Level
Intermediate

Comments