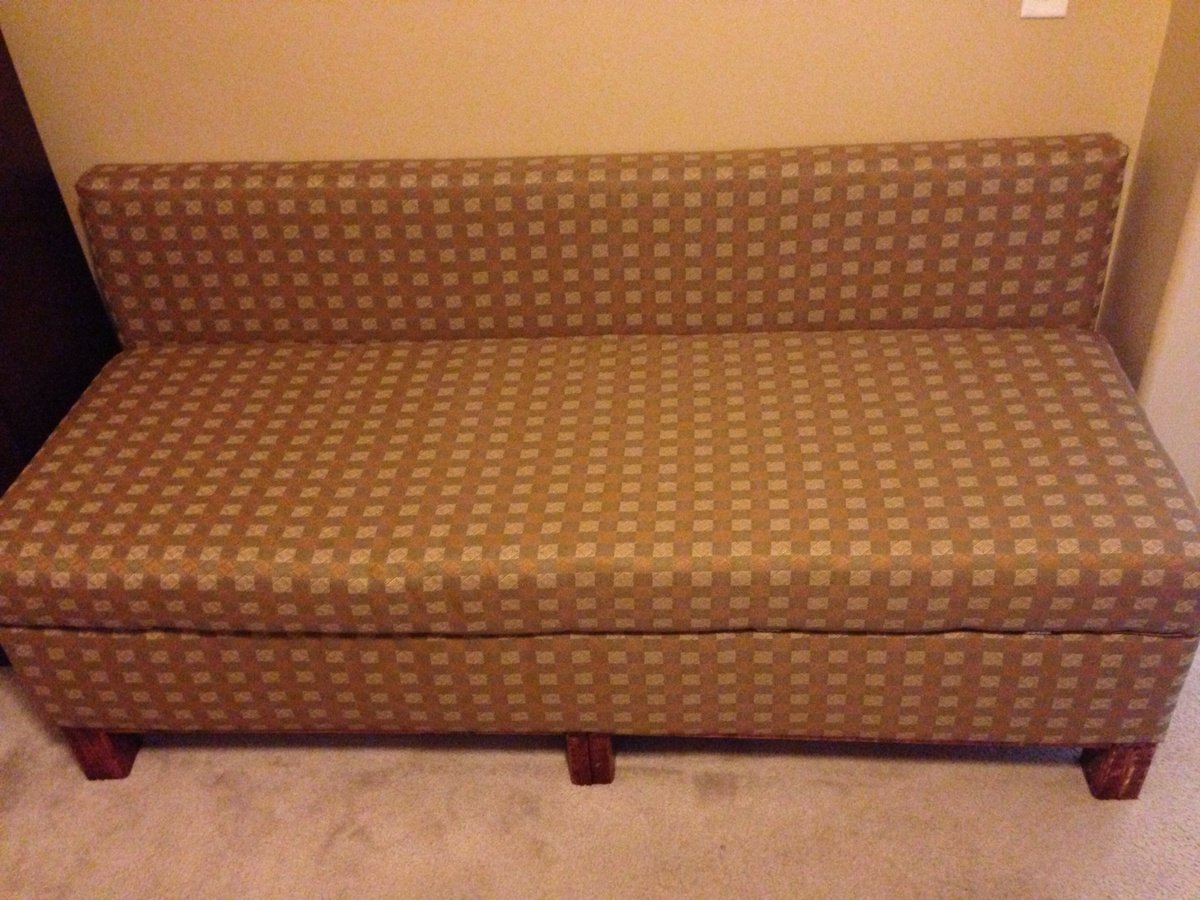
One Arm Outdoor Sectional
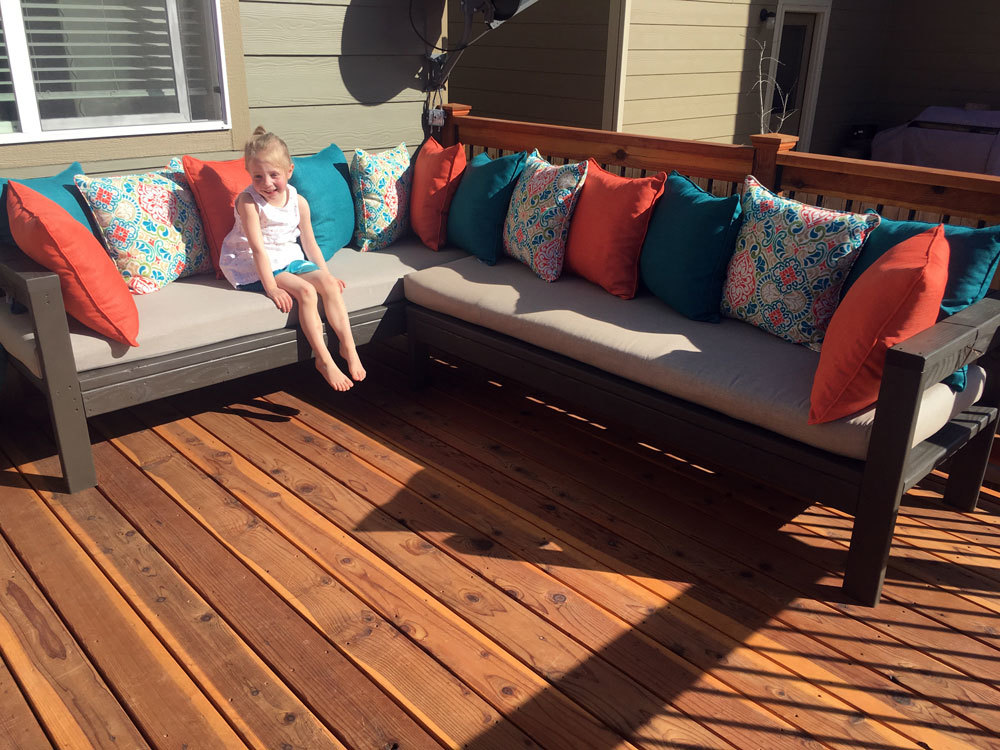
We are loving this outdoor sectional! It was super easy to build! The hardest part was figuring out cushions. I made the bottom cushions and got the back pillows on sale at Costco for less than I could make them. Thank you!
Built from Plan(s)
Estimated Cost
Less than $100 not counting cushions.
Estimated Time Investment
Weekend Project (10-20 Hours)
Finish Used
Outdoor Sherwin Williams Sealskin
Recommended Skill Level
Beginner


Comments
Molzhon3
Mon, 07/08/2019 - 20:35
Cushions
I love the cushions! Where did you find them? I’m building mine tomorrow but not sure where to get cushions. Thanks!