Farmhouse X Desk
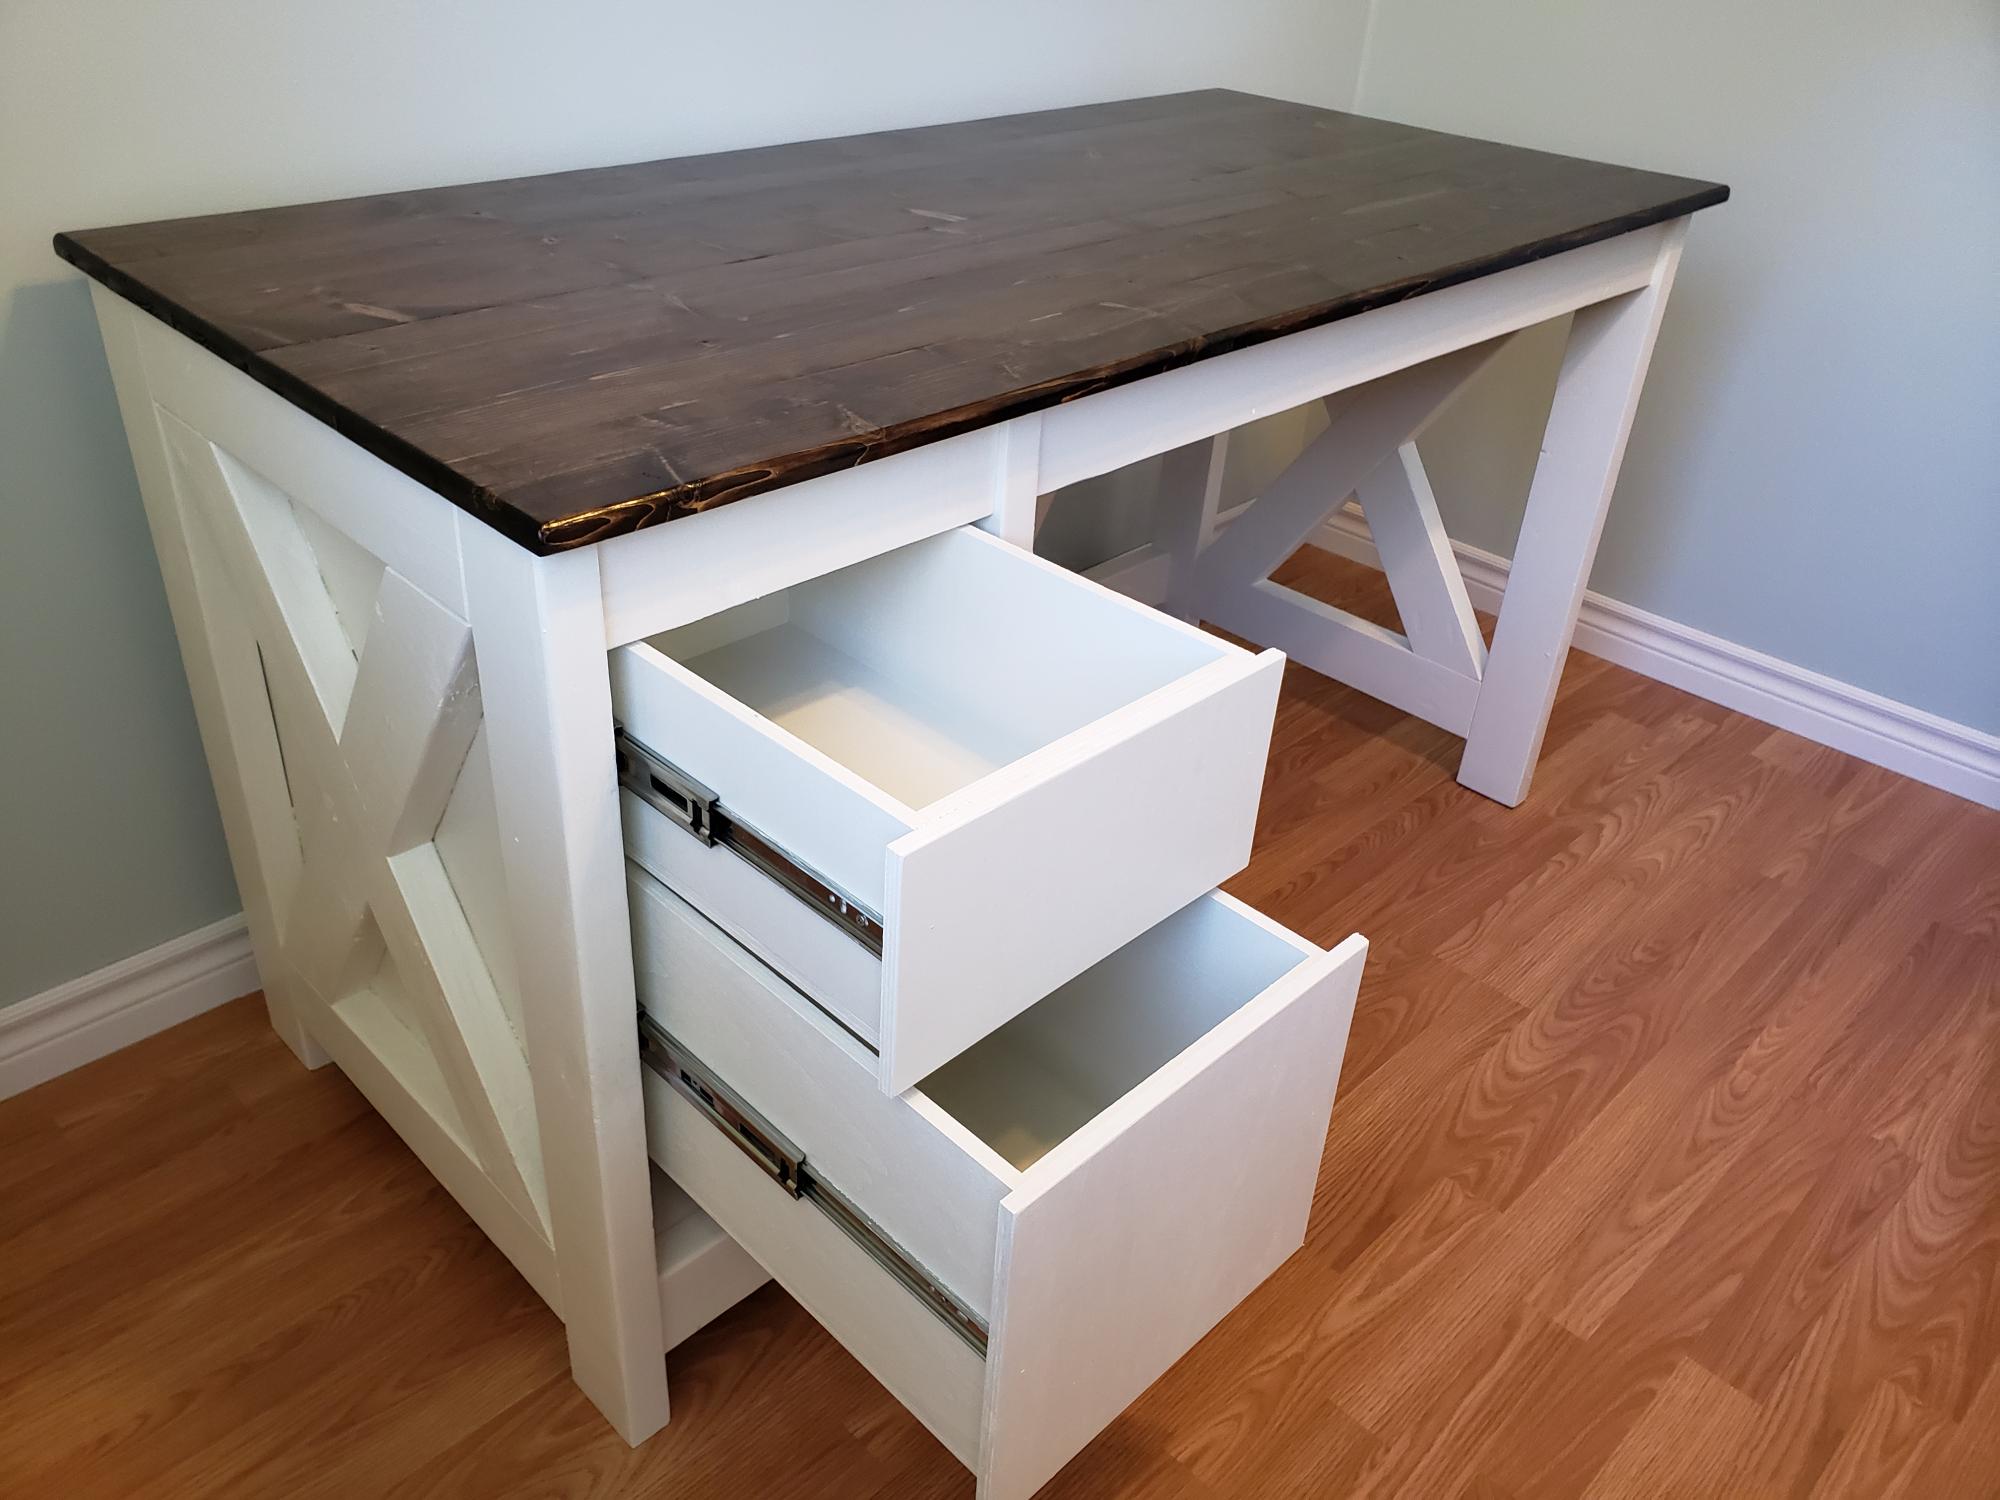
I built the Farmhouse X Desk with full extension drawers instead of shelves.
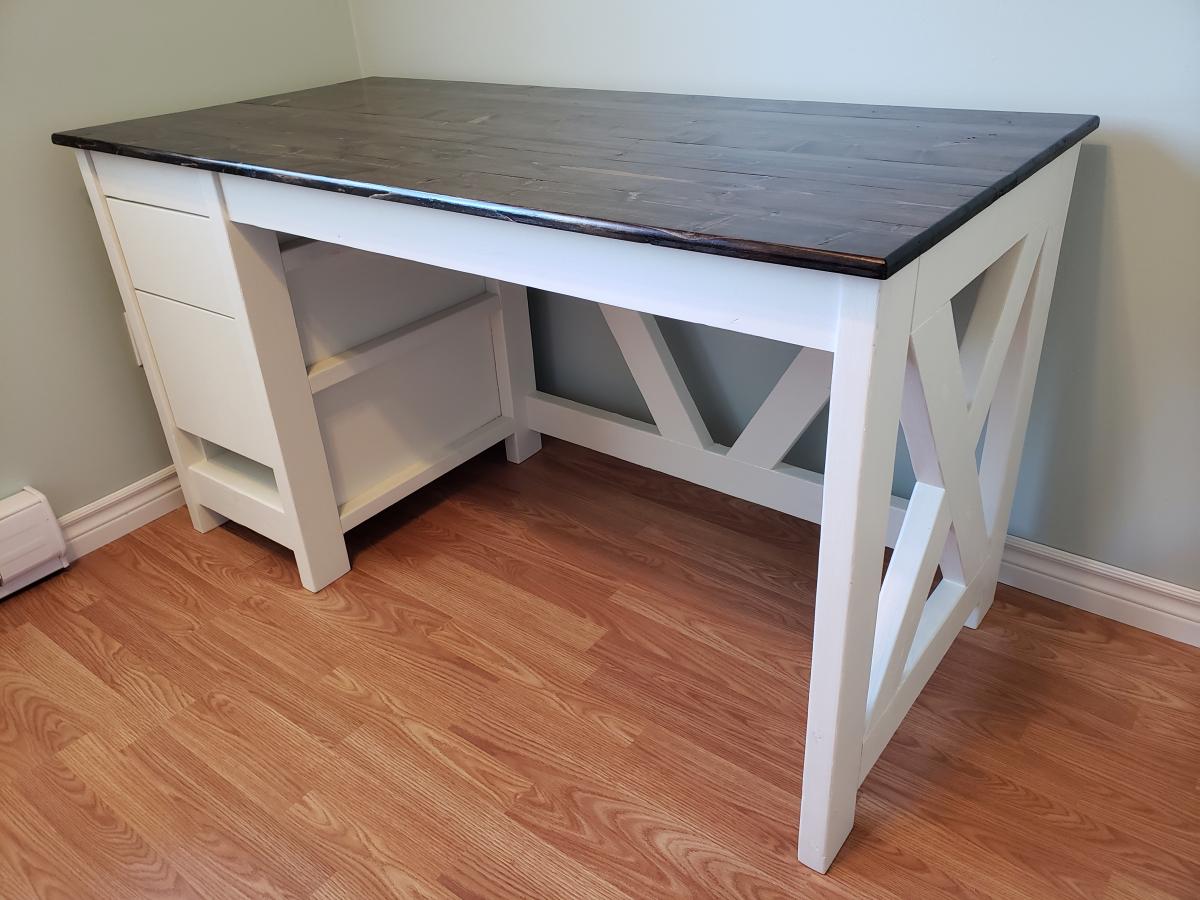

I built the Farmhouse X Desk with full extension drawers instead of shelves.

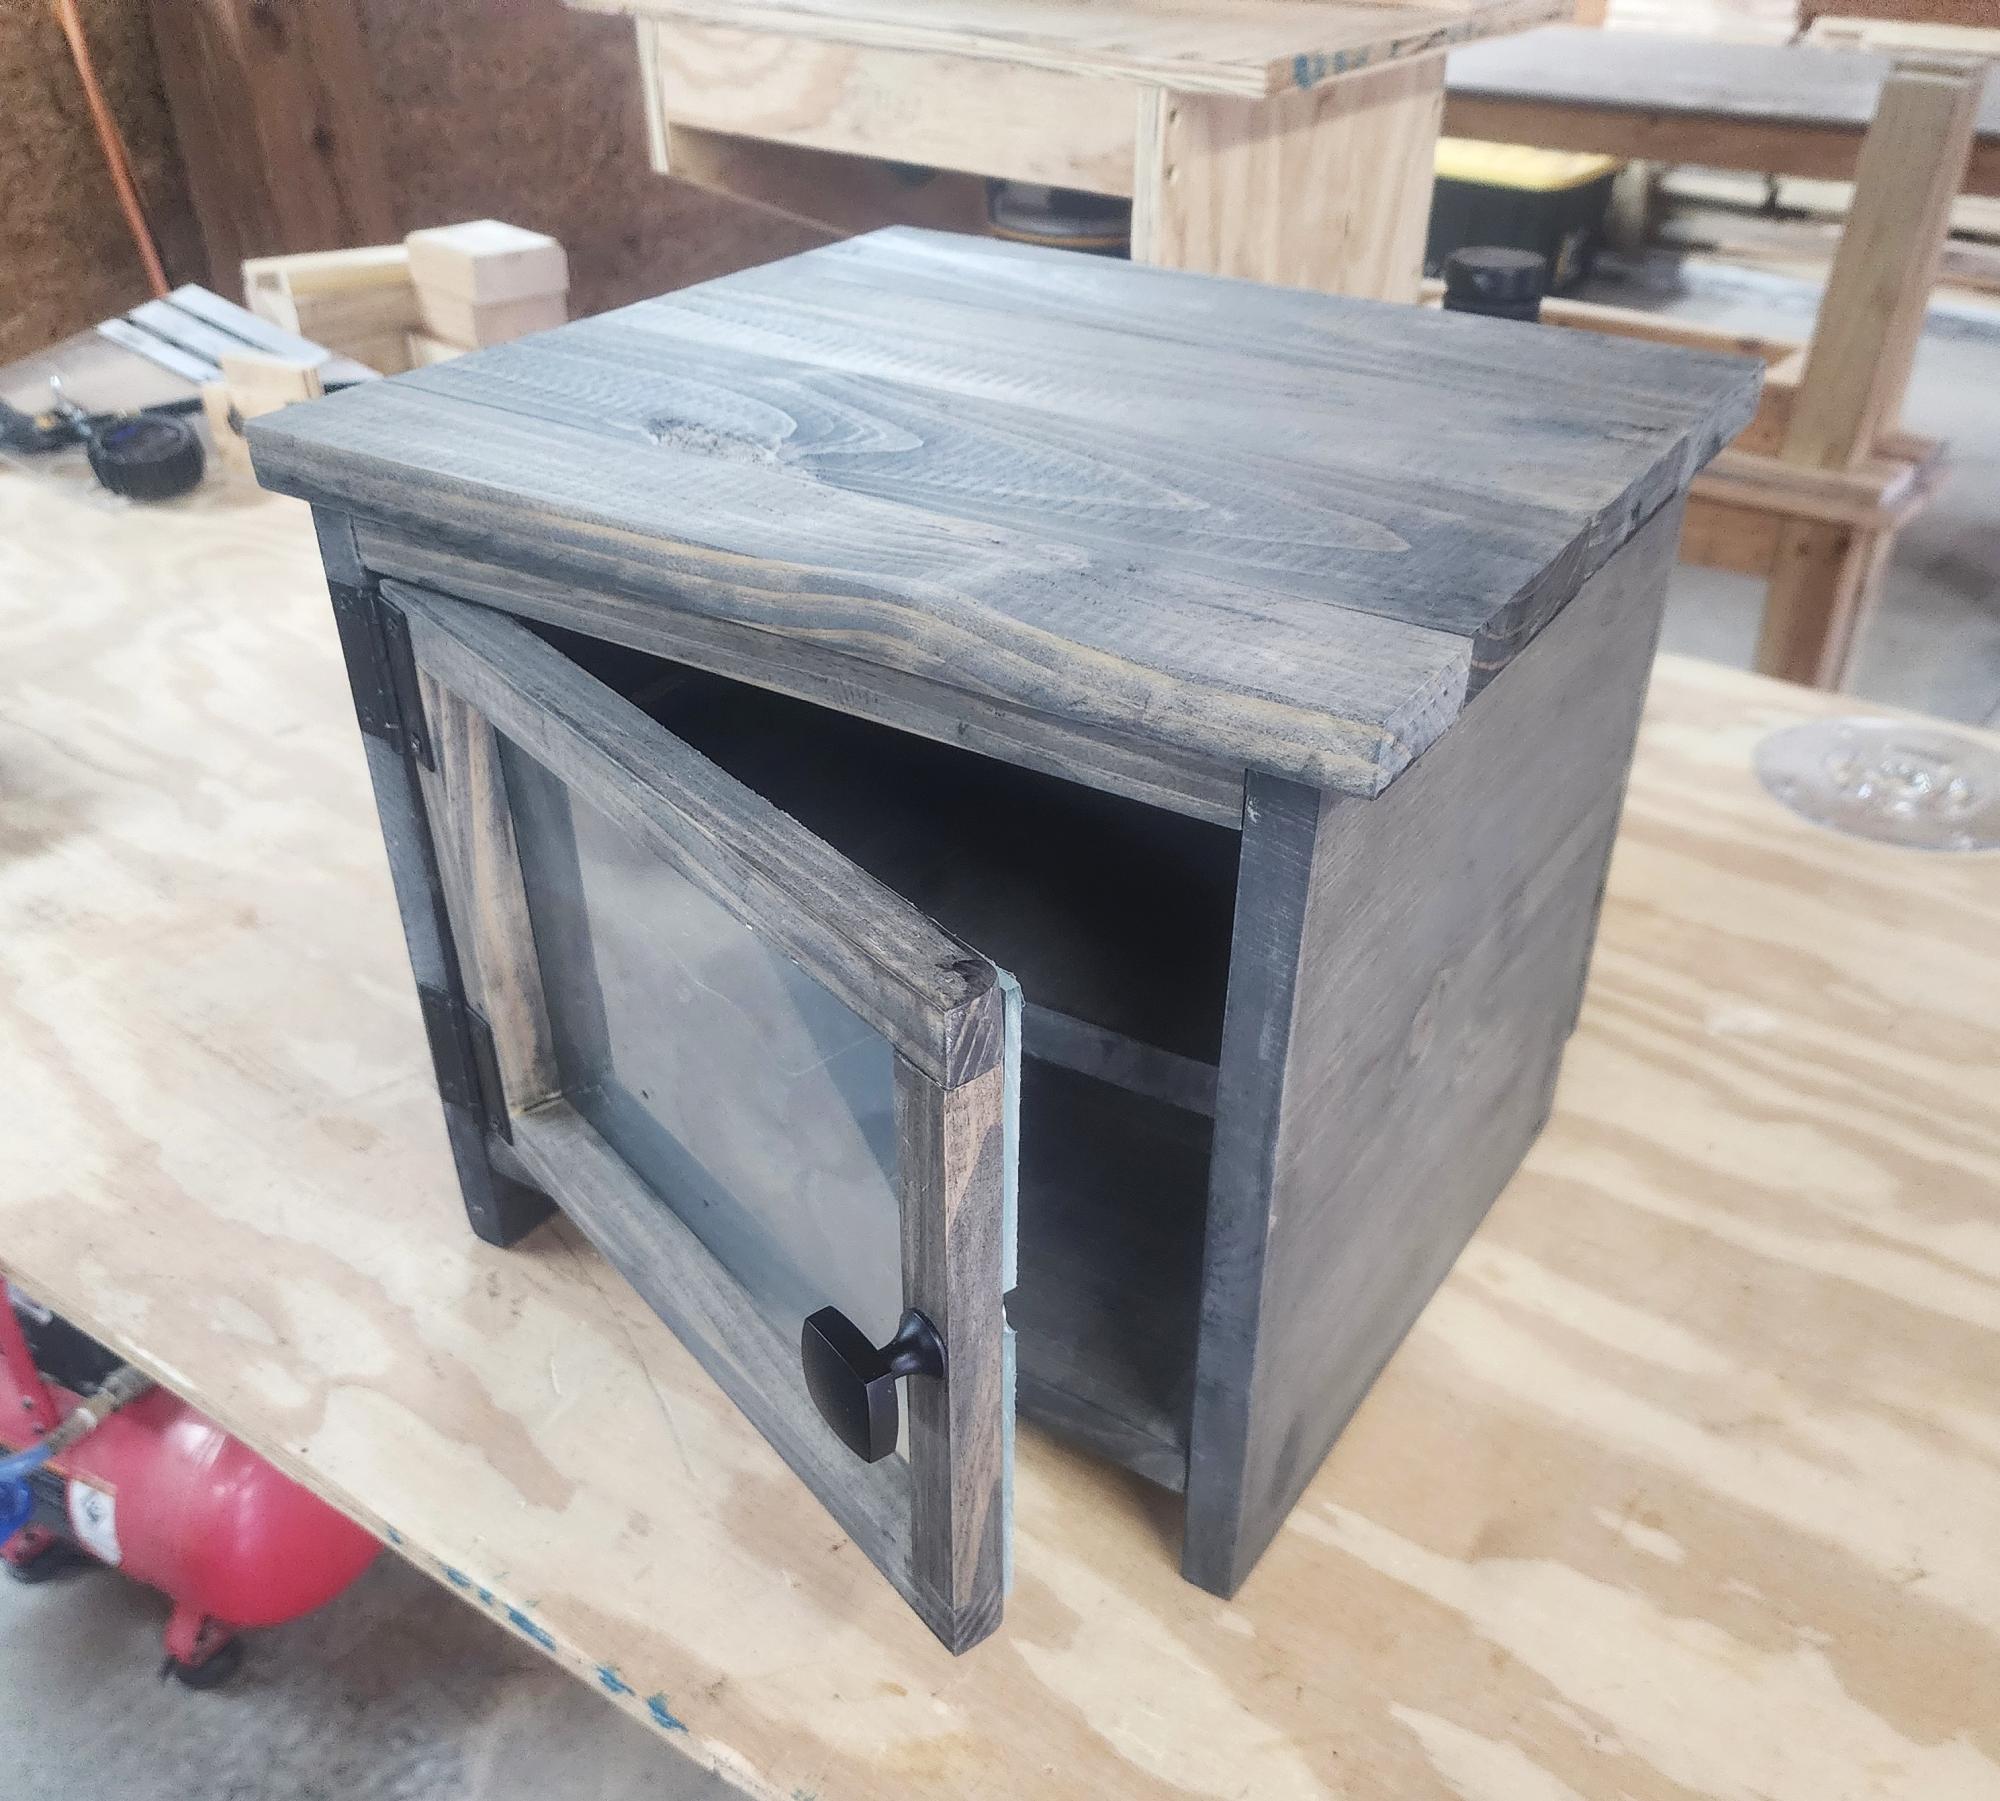
Sorry for the messy background. I made this out of scrap pine I had on my lumber rack. It turned out pretty poorly in my humble estimation, but it'll serve the purpose next week! I still need to finish it off with a magnetic latch for the door, and a satin clear coat. It's #3 lumber, so certainly not good lumber, but it was fun building it, and it's flaws will serve to make it a bit eclectic. The next one will be made out of hardwood! Thanks for the plan! It's really neat, and I hope to be able to market them as well. - Mike in beautiful northeastern Tennessee!
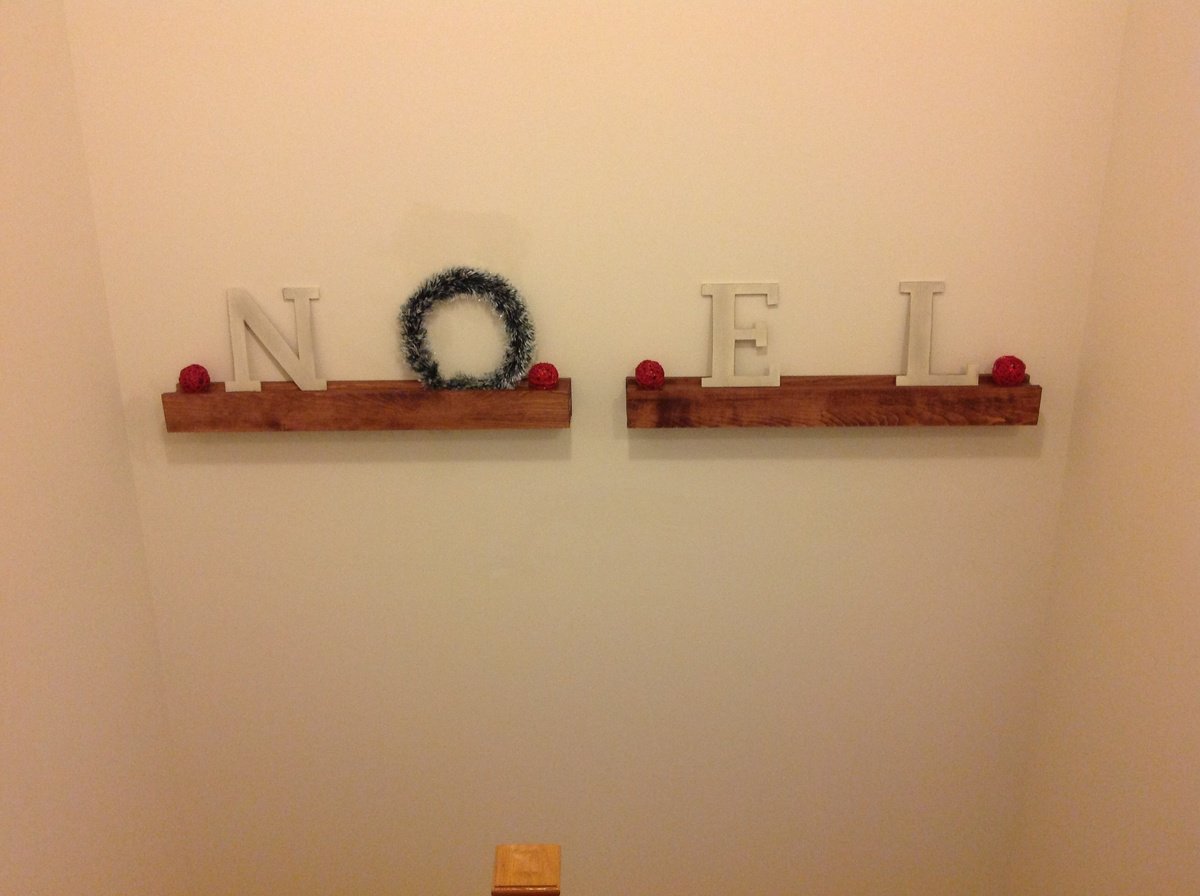
First project from Ana white plans - barn beam ledges
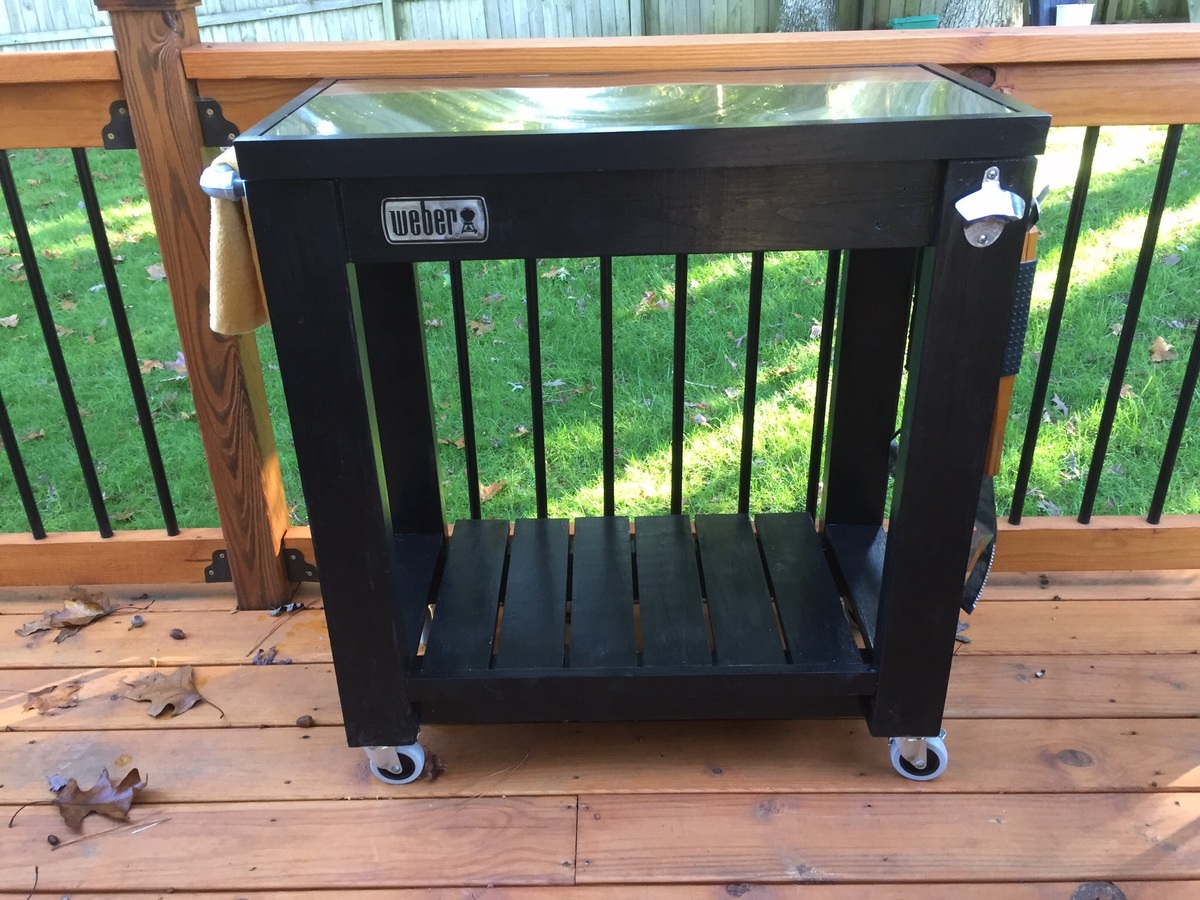
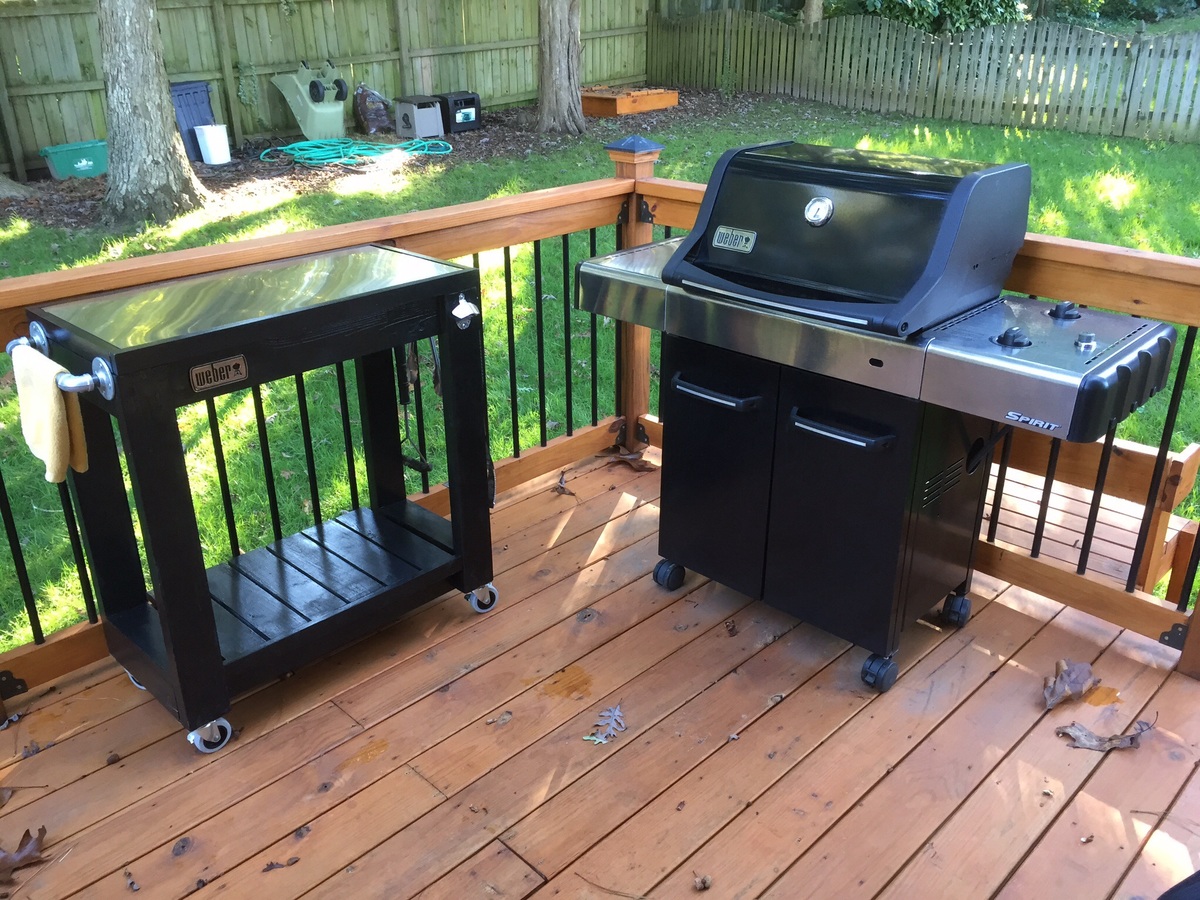
I made the countertop with 2 plywood boards screwed together and topped the stainless steel with heavy duty adhesive. I adjusted the plans a little to accommodate my space. Thanks for the plans! It was a fun build!
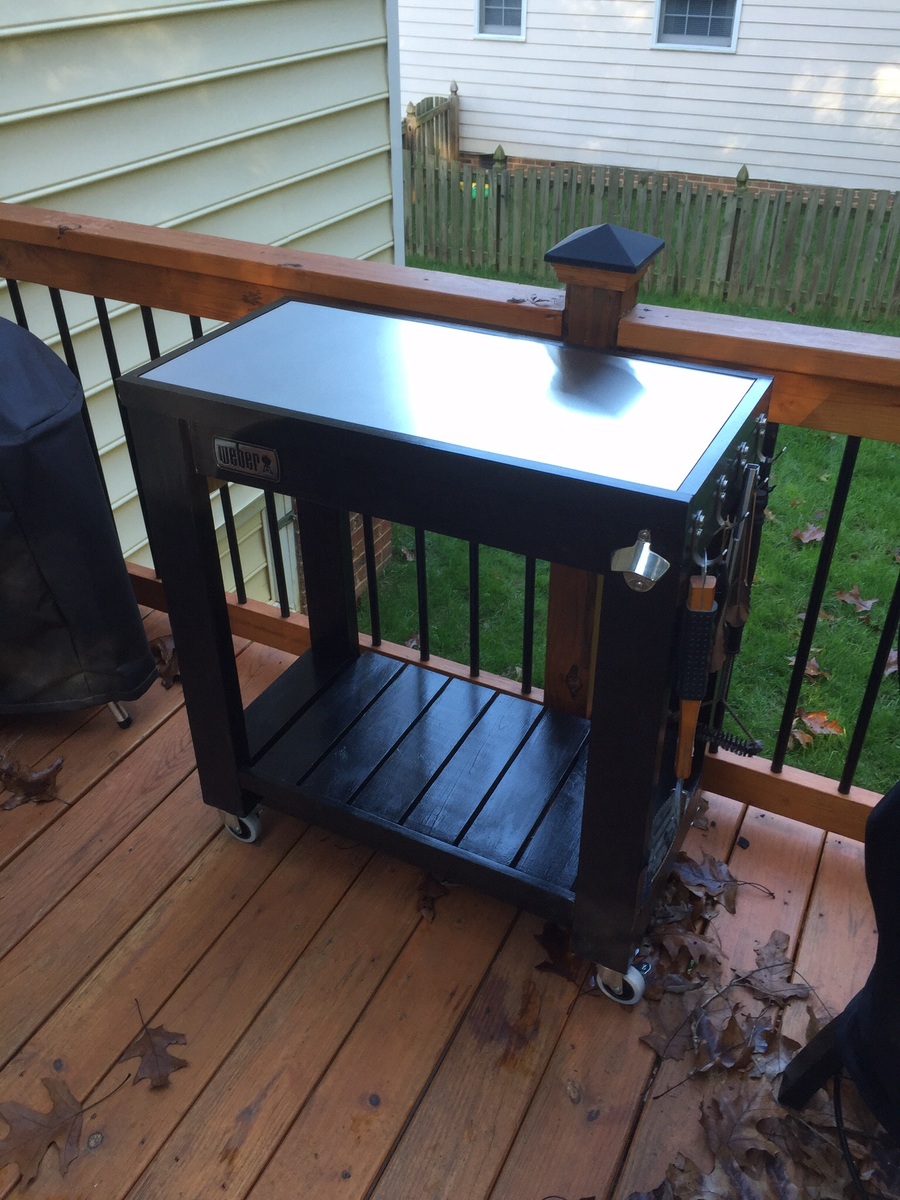
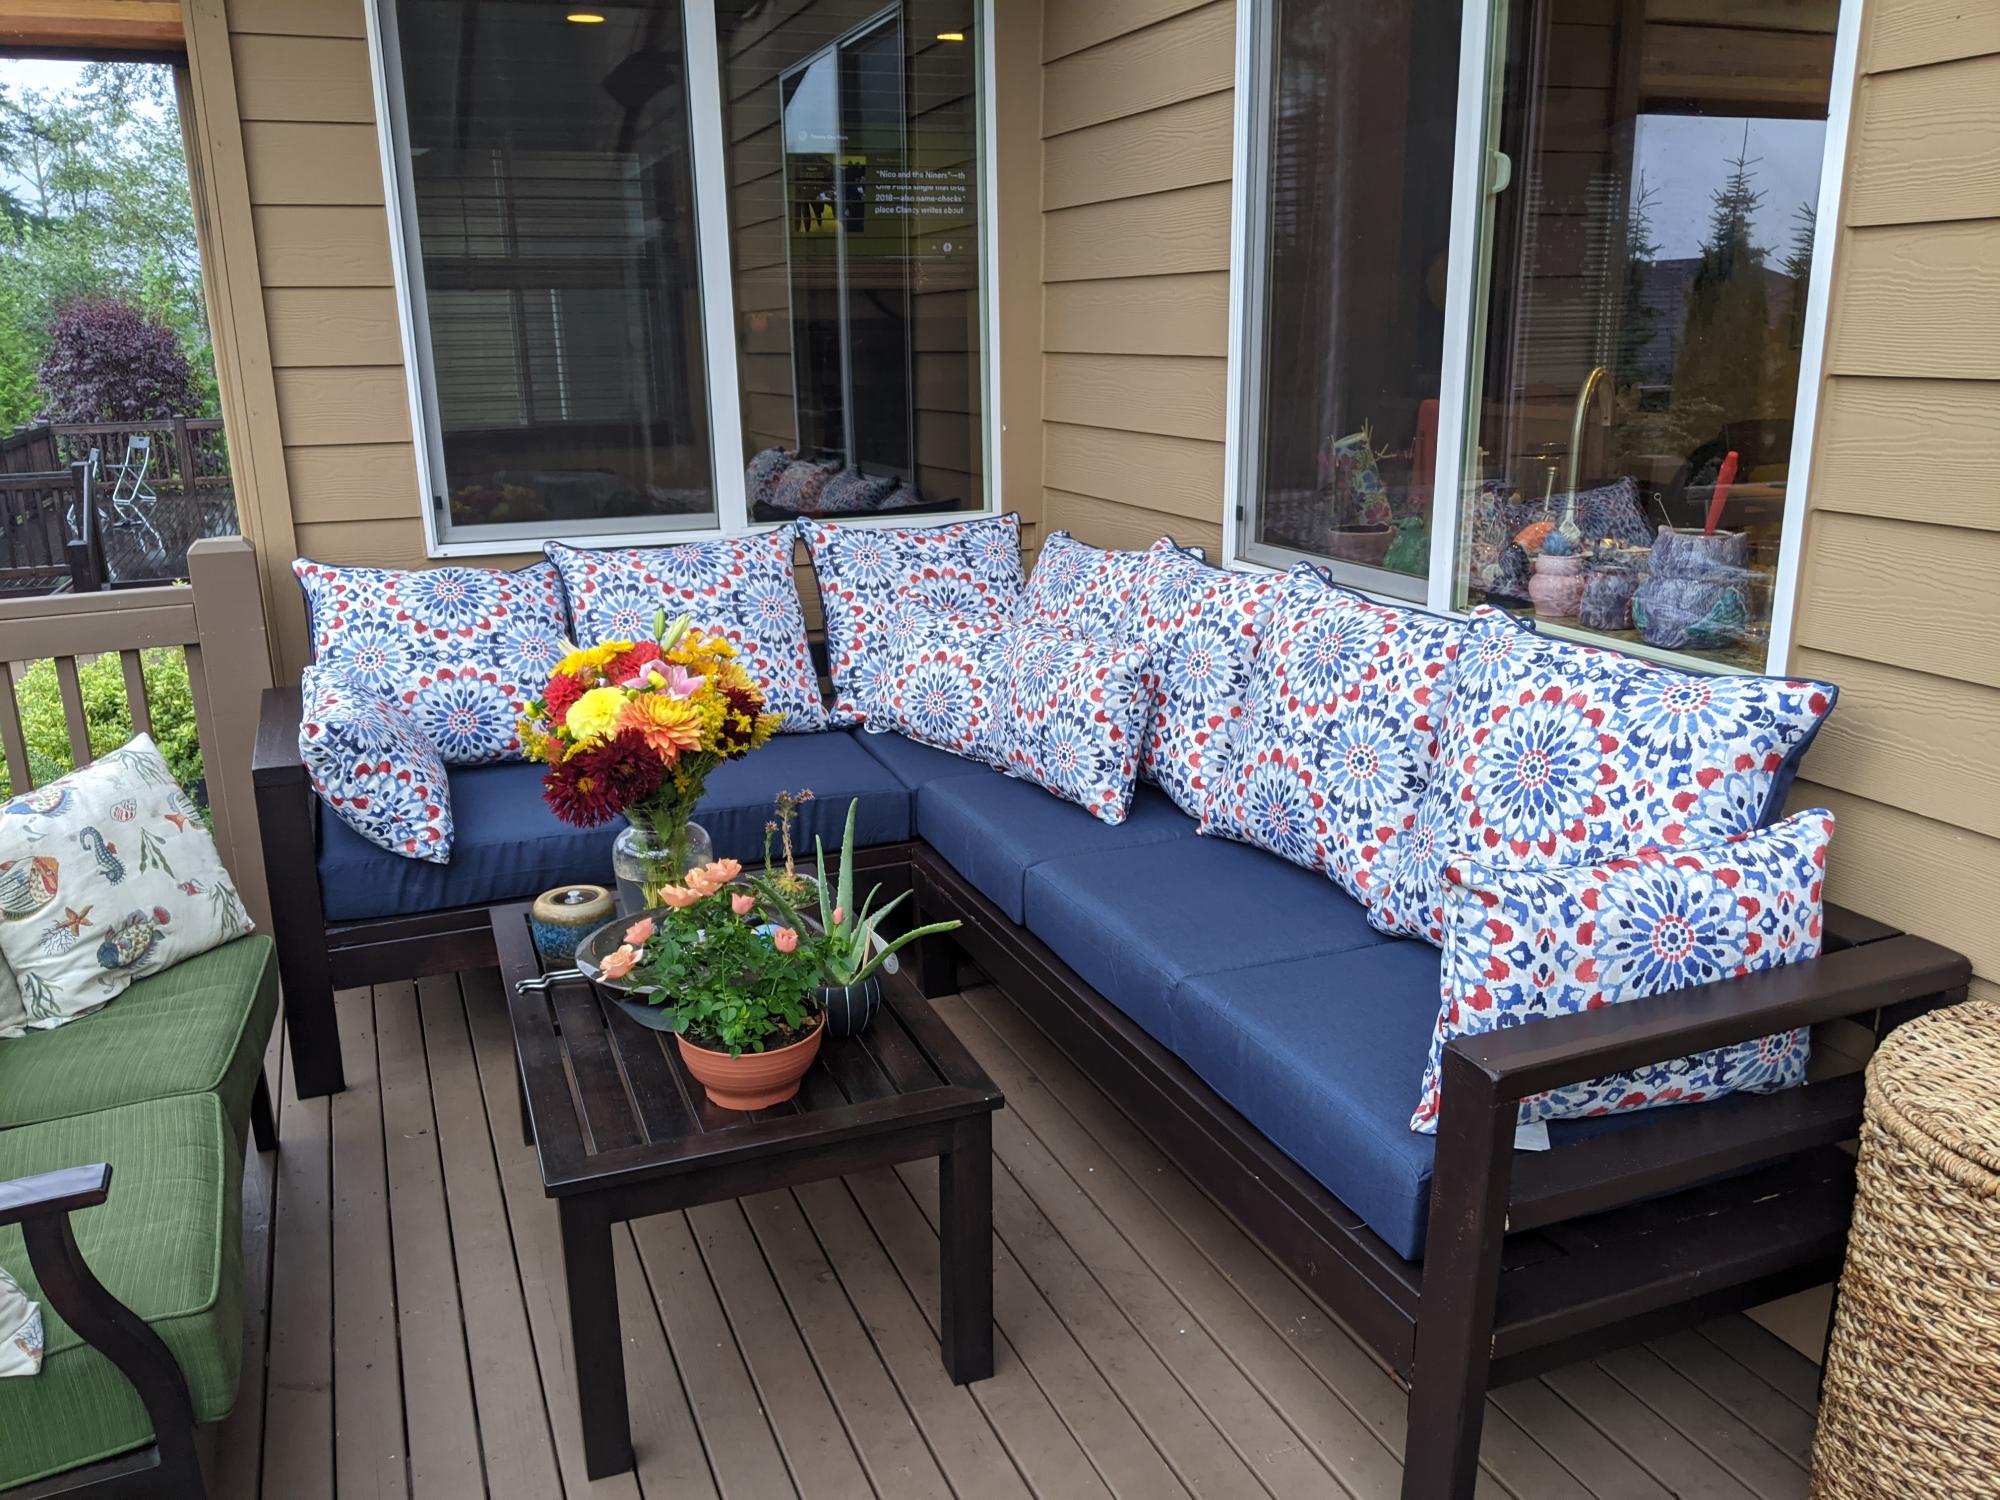
Great experience building this sectional, although would recommend pre-drilling the holes where practical to avoid splitting. It only happened to me a few times on #2 douglas fir, but I would have preferred to avoid it. As you can see from the picture, I didn't account for the siding taking up the space, and was expecting a perfect fit. Easily fixed with a bit of saw work, and now it's really custom fit for the space. :-)
I've added the details of the finish we used, and really happy with how it turned out, with the exception of my garage workshop lighting not revealing the spots I need to touch up now that it is in the natural light.
And of course, this is a terrific time to purchase couch cushions at the end of the season. Lots of great sales, and we found these at Target for $47 per top/bottom set.
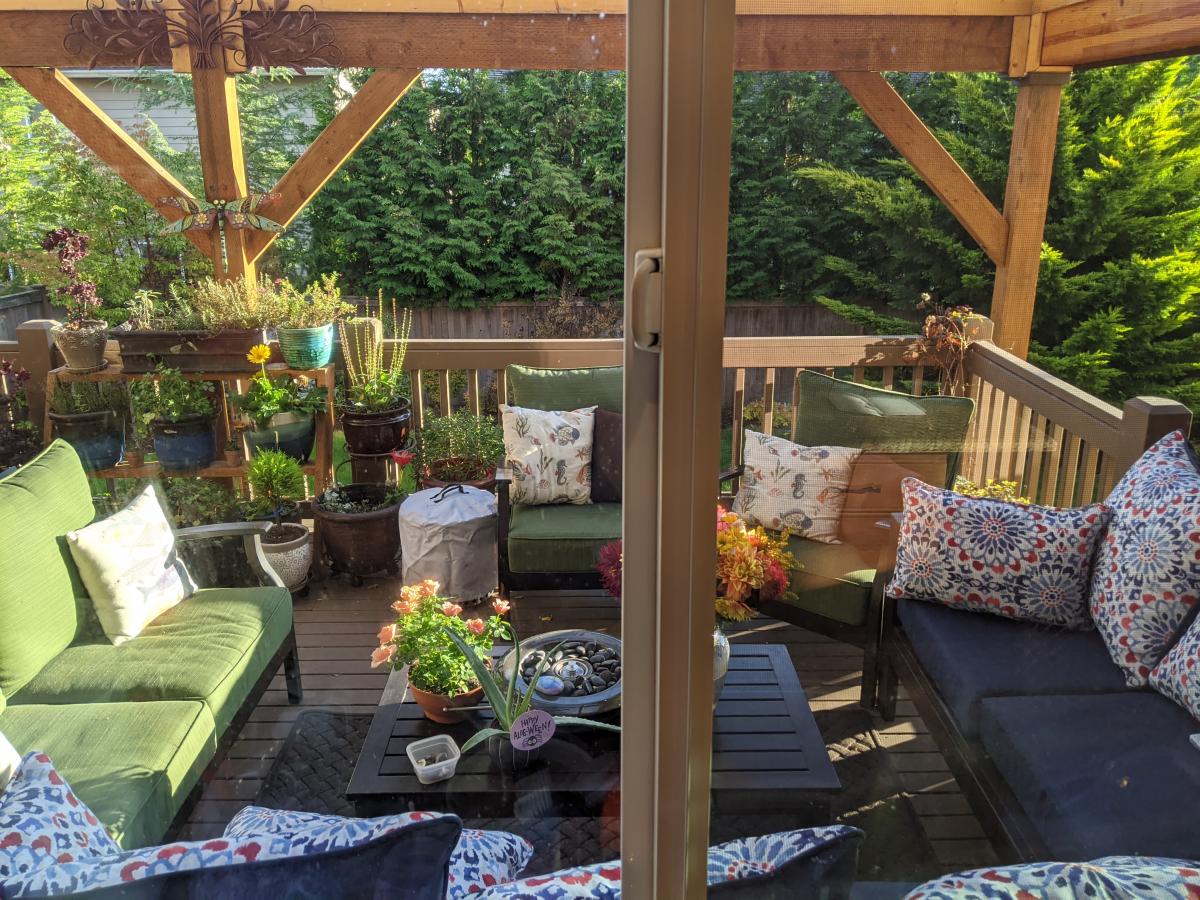
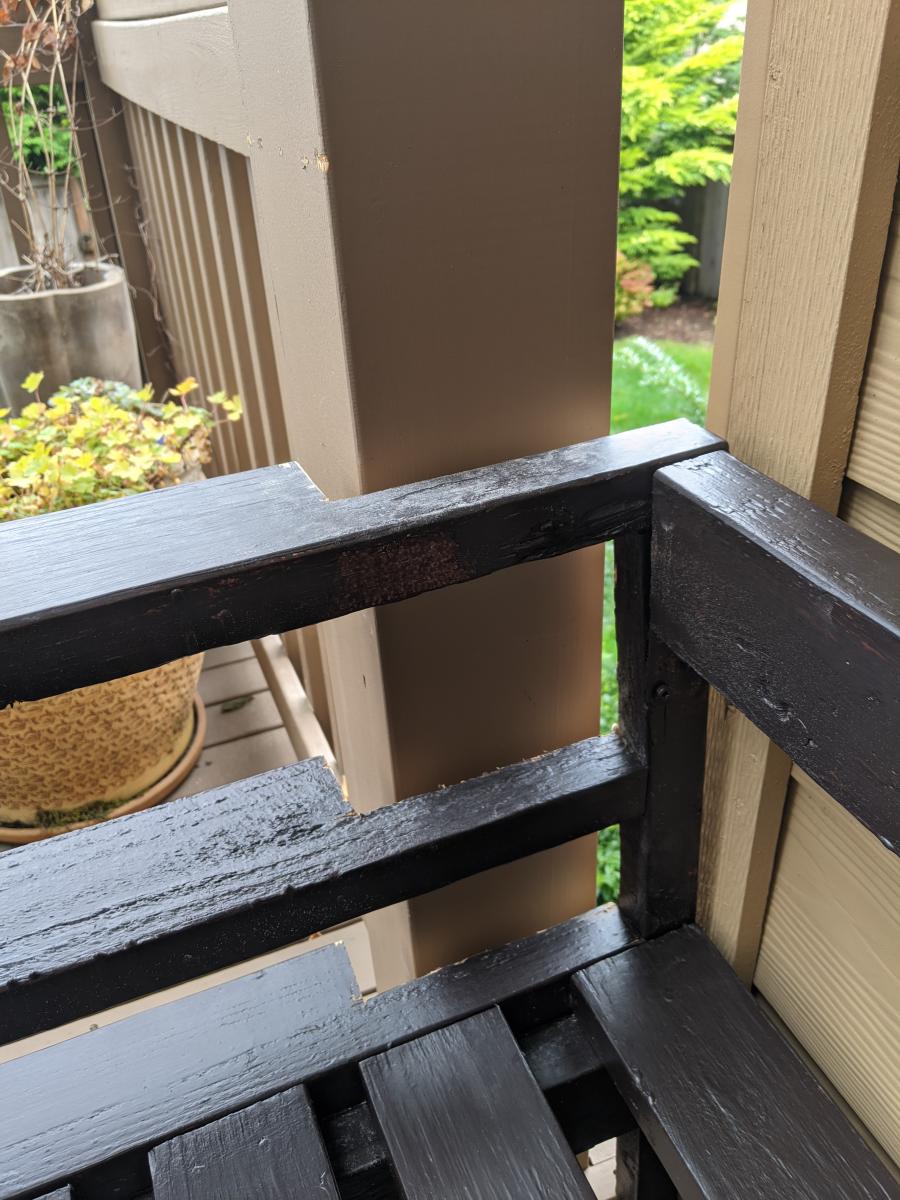
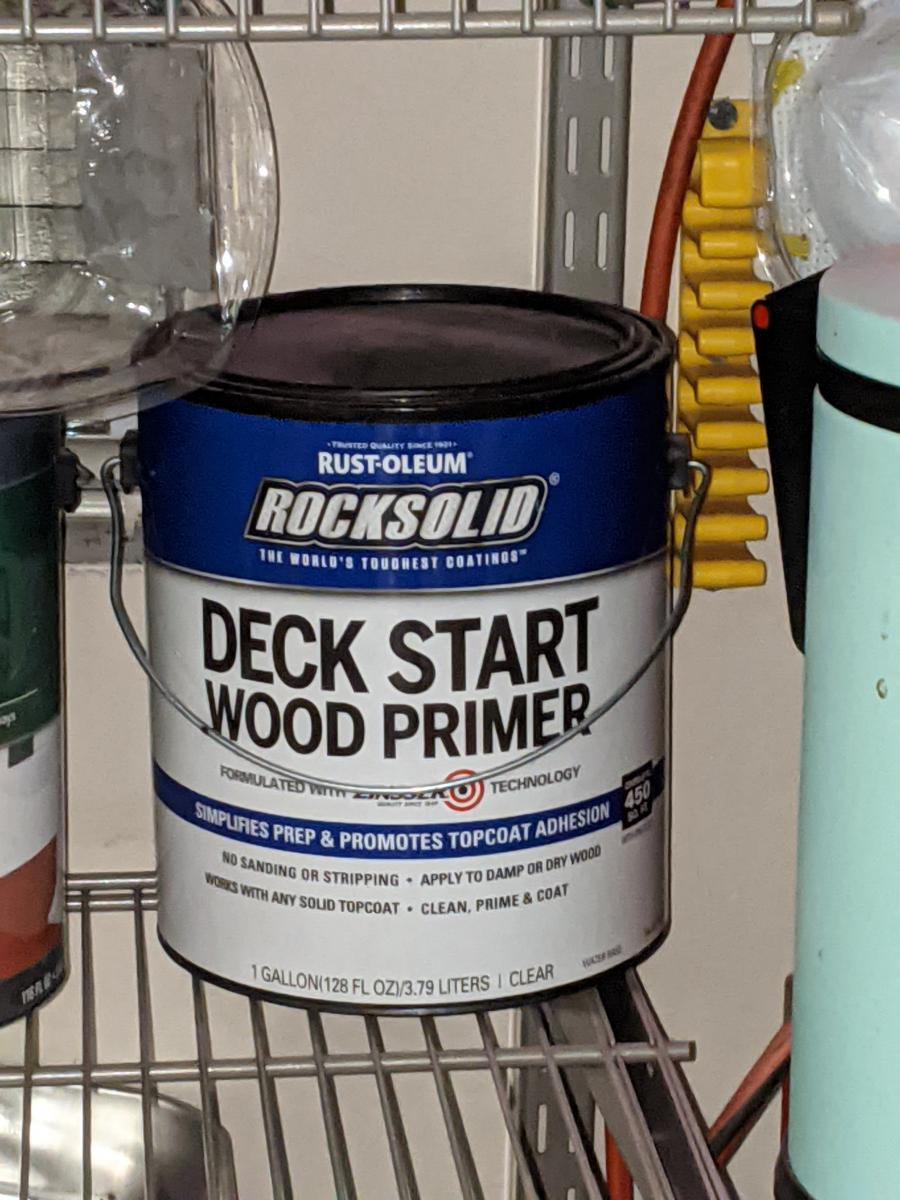
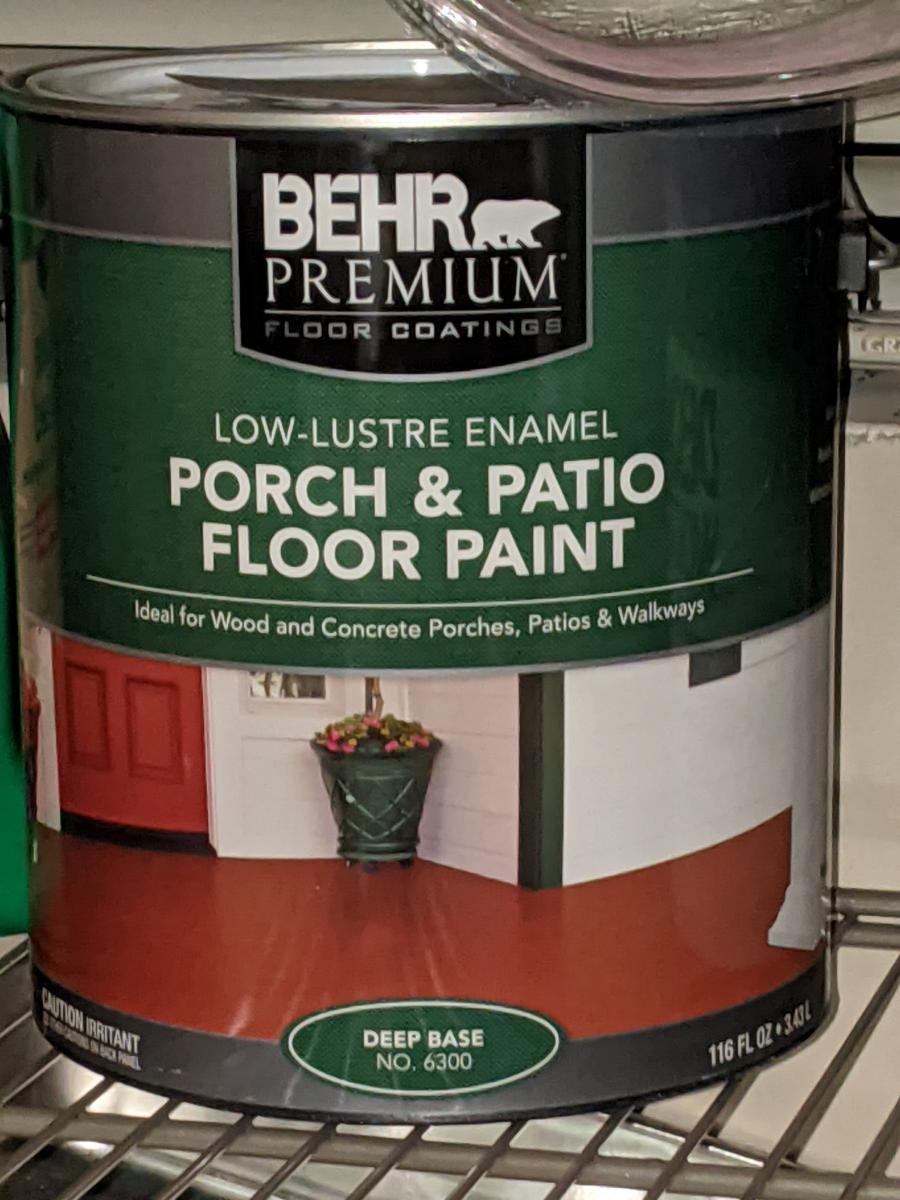
My first Ana-White plan project. We are pleased with the plans and result. only made a few minor changes.

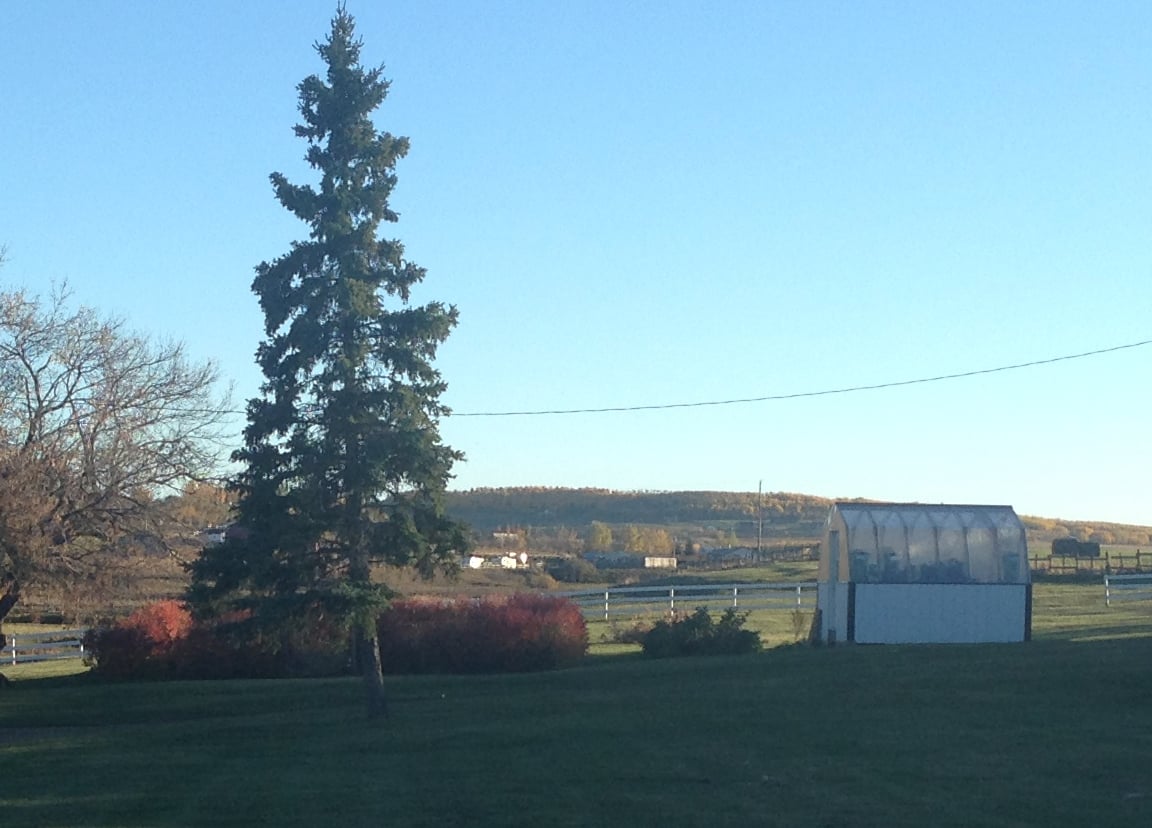
I found your plans last summer and loved the design so I decided to build one for my wife for her birthday last August. I didn't get started until the weekend of her birthday in late August so there was little expectation to have it finished before winter. It is now 14 months later and I only have a few trim pieces left to install. We live in a harsh climate and I wanted to be able to use it through the winter so I made a few changes. I built a 2 x 12 base and insulated it with R40 and the bottom walls are 2 x 6 instead of 2 x 4 and are insulated with R20. I used twin wall polycarbonate instead of the corrugated lexan because of the superior R factor. The insulated walls are of course vapor barriered and I covered them with tongue & grove cedar. I also made raised benches out of cedar for growing potted plants on. The floor has ceramic tile on it and the exterior is colored metal. I also ran underground power to the building and installed a fluorescent grow light. Surprisingly a small 110 volt heater keeps the temperature above freezing even during our awesome -40 winter temperatures. If the daytime temperature is anywhere near or above freezing we have to keep the screen open in the door or it overheats inside. I have attached links to a few pictures of the almost finished product, ready for another winter full of flowers and veggies. I initially used clear vapor barrier until the twin wall polycarbonate showed up. This worked rather well.
I have posted this in the comments section as well, but I think it belongs here.
Sat, 03/21/2020 - 09:42
Love your ideas! I have a few questions if you don't mind. Where did you buy the polycarbonate sheets, and what sizes were available? Did you end up changing the plan a bit to accommodate the vertical sheets? Did you seal top and bottom with foil tape and dust tape respectively or poly flashing?
Any help or advice would be appreciated very much.
JB
This is a shorter and wider (and simplified) version of the Flat Wall Book Shelf. (Approx 48" wide and 40" tall). Trying to maximize wasted space under sloped ceilings. I did jig-saw out a notch for the baseboard so it would be secured flat to the wall. My only regret is that I didn't put this baby up sooner. I've been kicking books around this room for years!

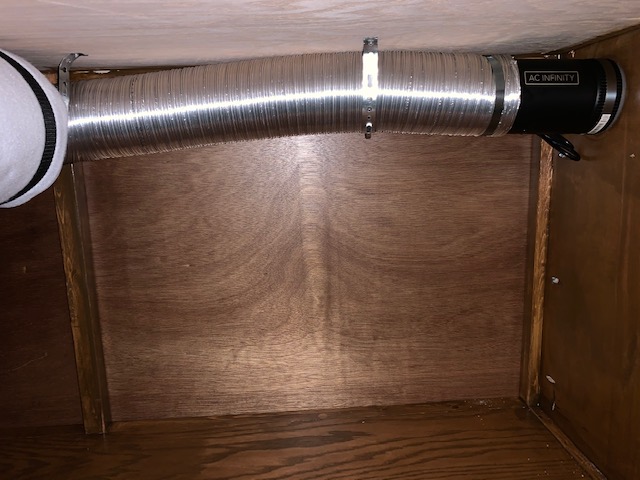
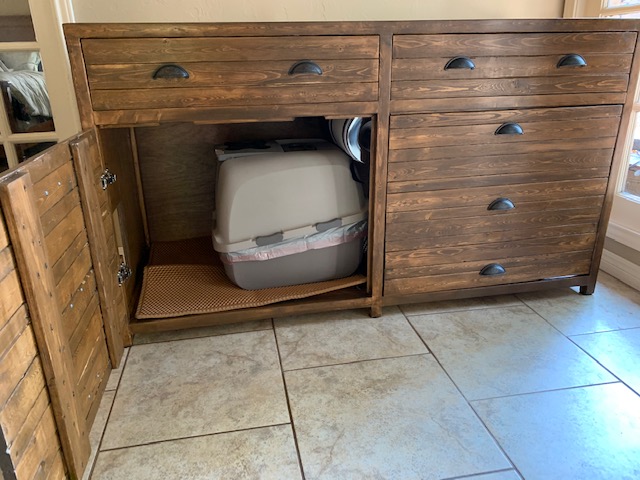
Wife and I decided we needed something to contain the smell of our two litter boxes. Found the Ana White plans and modified them to fit my needs. Used a grow house filter attached to an inline extractor fan to keep a slight negative pressure inside the box. With the extractor fan on low there is zero litter box smell.
Project turned out really well. Although this one turned out great, I would spend the extra money and buy the better wood for the frame next time.
Thu, 10/22/2020 - 10:50
Thanks for sharing your project, looks great!
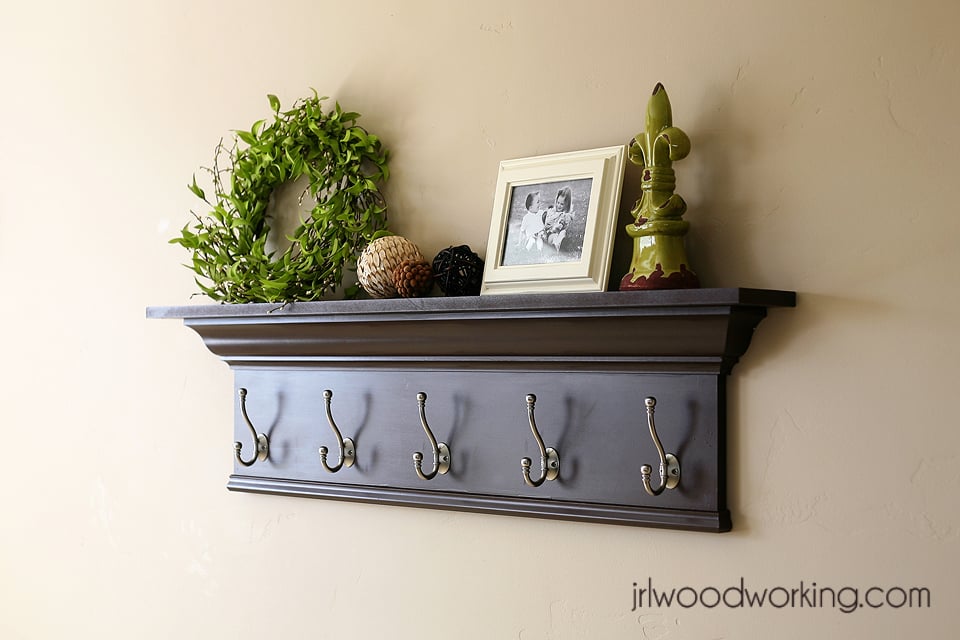
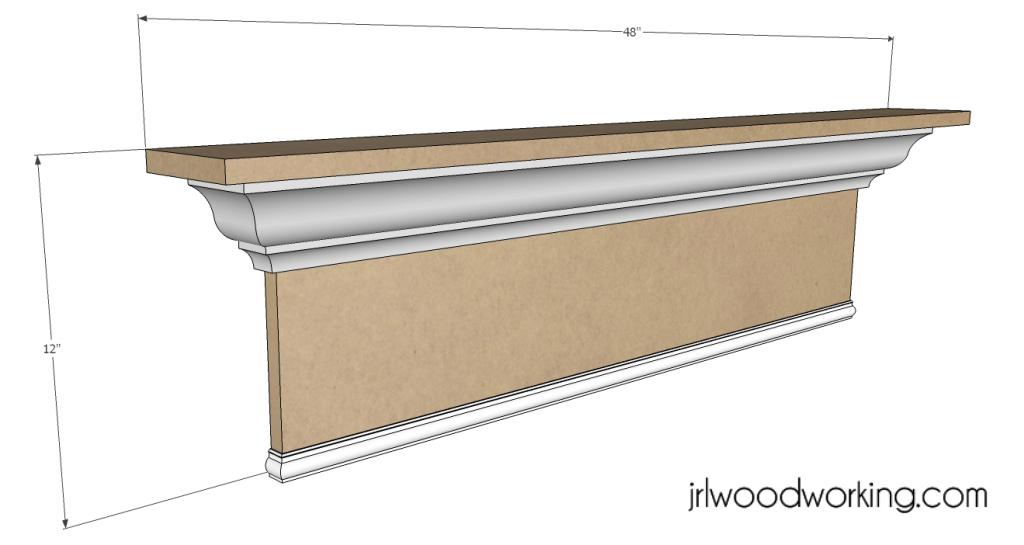
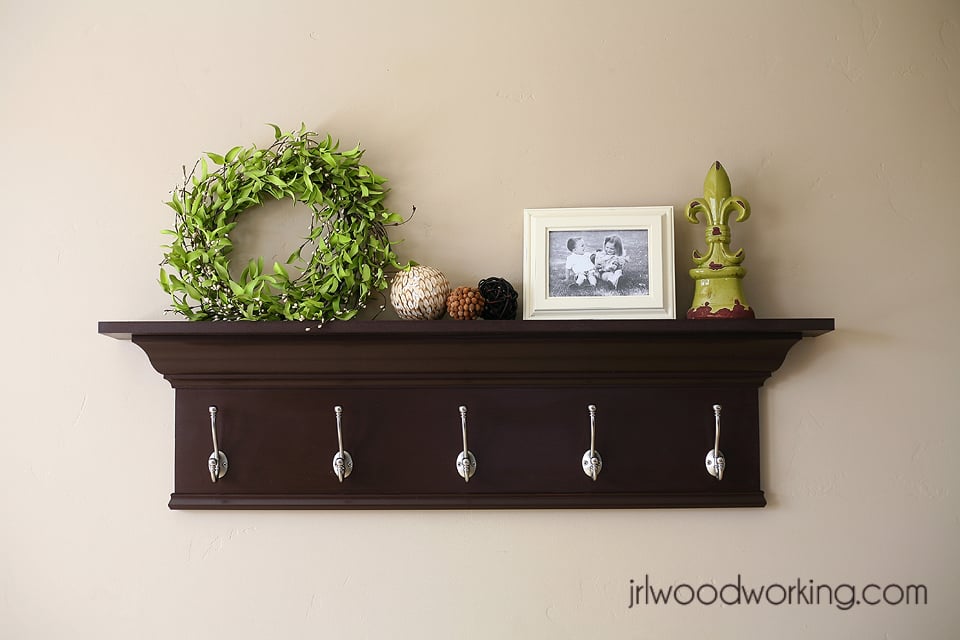
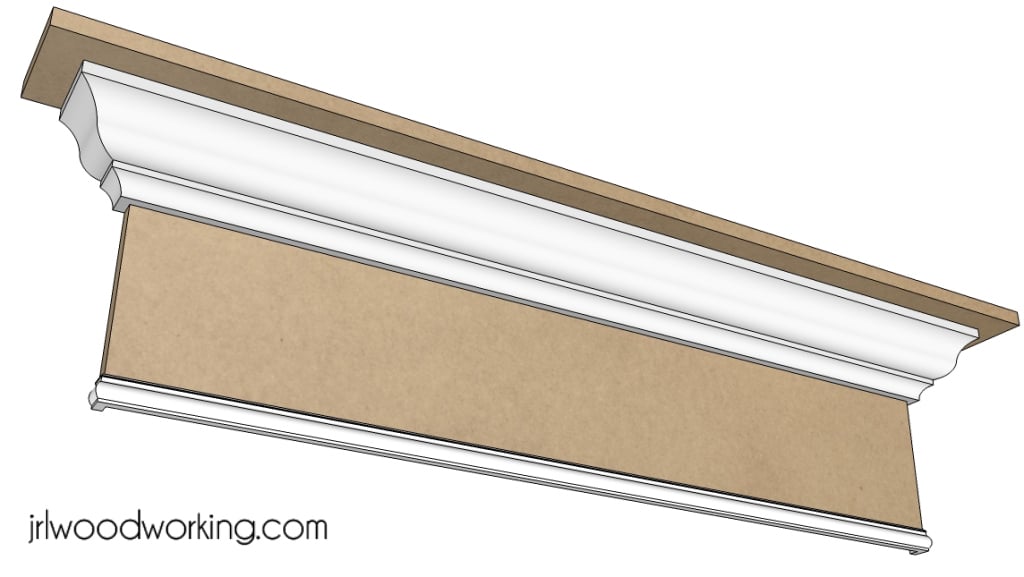
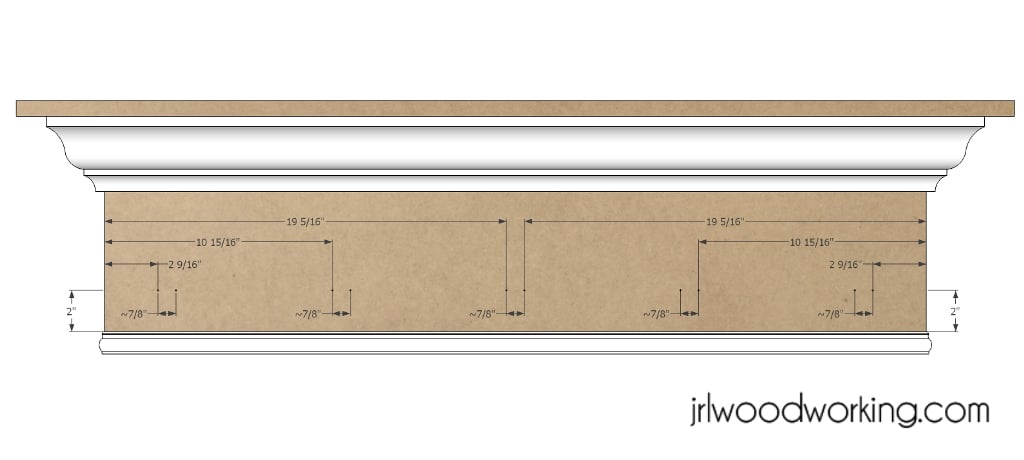
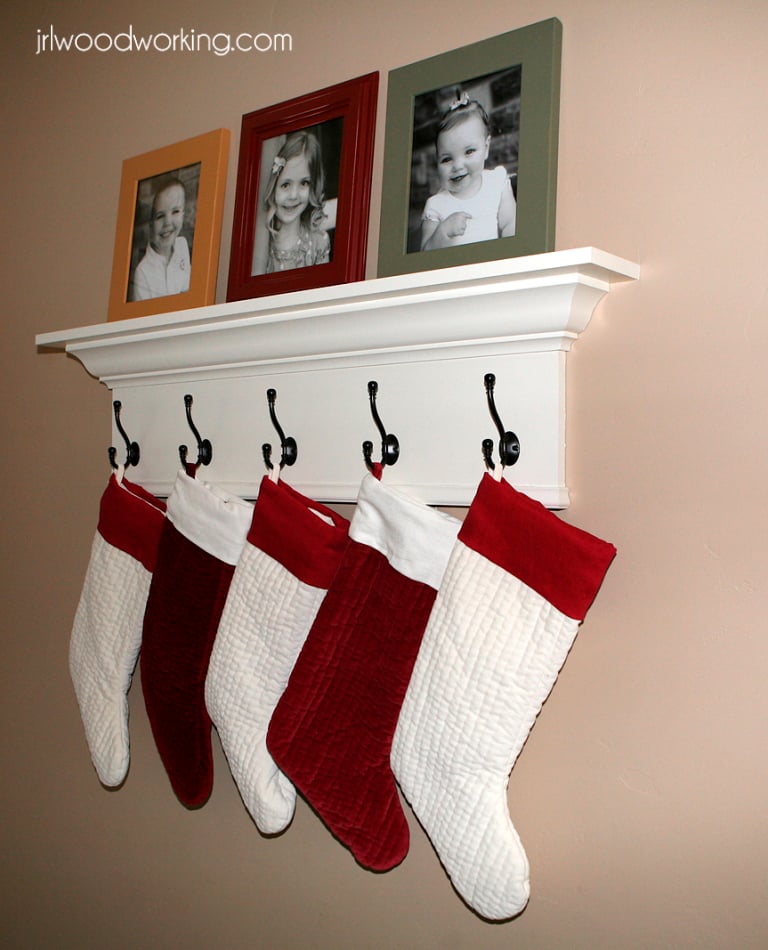
The decorative 4-foot crown and hooks wall shelf makes a beautiful place to display photos and other decorations and also provides a practice application to hang backpacks, coats, hats and even Christmas stockings. It is fairly simply to build with basic tools such as a table saw and a miter saw.
The project costs about $57 to make with about half of the cost in the hooks. The overall dimensions of the project are 48 inches wide by 12 inches tall. It takes about 2-3 hours to build.
Download the plans at my woodworking blog at:
http://www.jrlwoodworking.com/
Fri, 01/04/2013 - 06:50
I love how this looks. All your designs are beautiful!
Fri, 01/04/2013 - 12:30
We actually have this shelf in a bright white color in our foyer to hang coats for visitors. We also put our Christmas stockings on it (one hook for each member of the family).
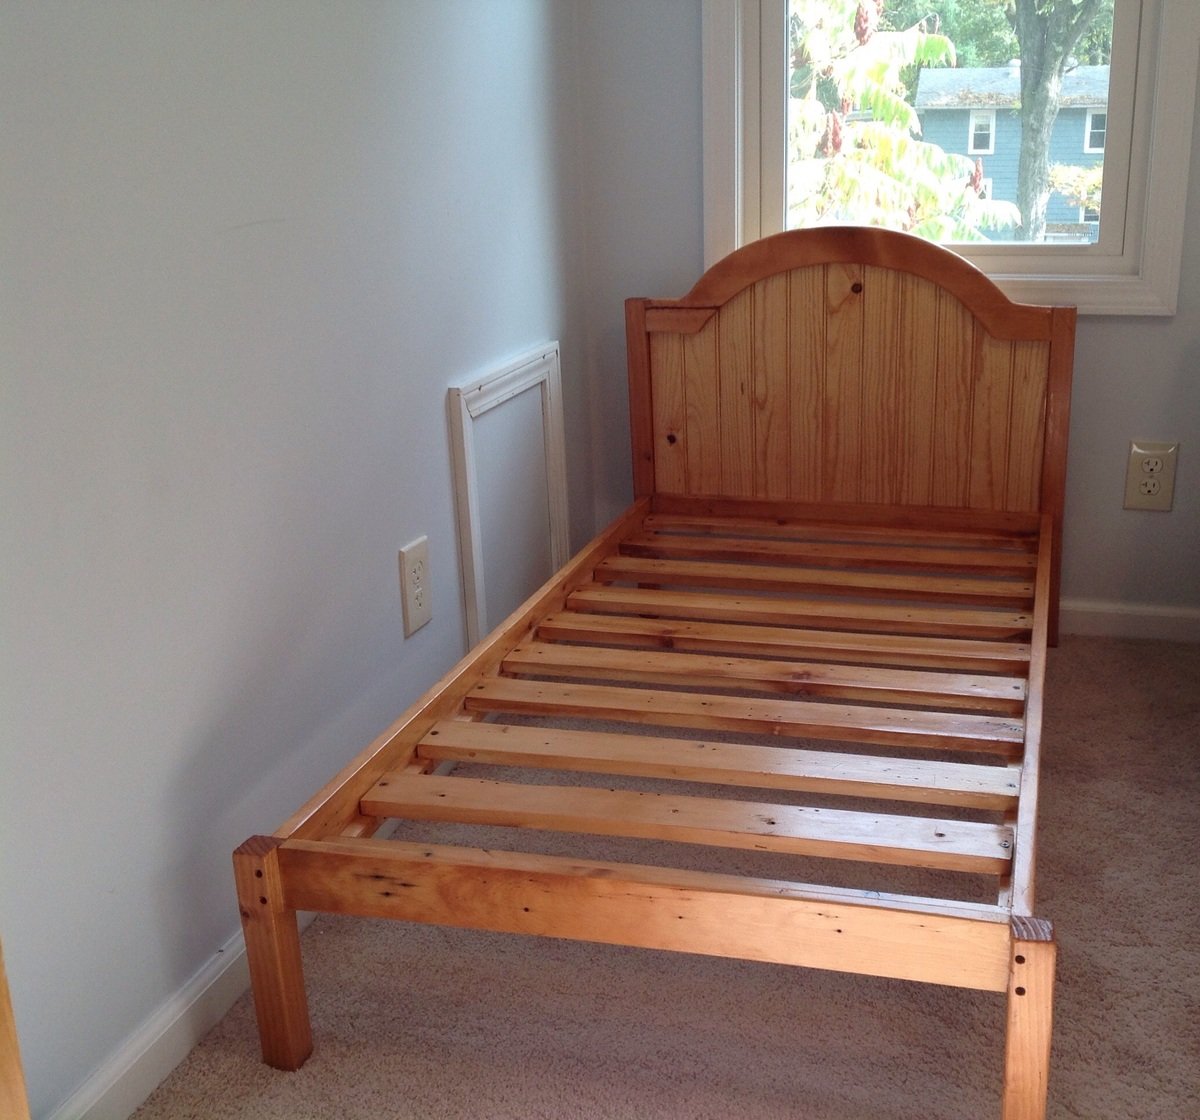
Pottery Barn inspired toddler bed, made with reclaimed lumber from our home reno. The wainscoting is real (not mdf), $2 from the HD cull lumber rack. It had a damaged piece, but the remaining part of the board sufficed for this small project. Screws are countersunk.
The curve is elliptical (drawn with loop of string and two nails for foci, transferred to board and cut with jigsaw)
The construction is lighter than the original plan, using what was at hand and for a young toddler.

Ever since we've moved into our new home, My Husband Matt has put his room (Or "Man Cave" as we know it) on the back burner so that other things could be done first. He has been so sweet about letting me use it for home decor, event decor, clothes, and misc. storage.
Well, since the hectic first couple of months as new homeowners is starting to die down, I had made my mind up that I would help him get started on his Man Cave as an early Birthday present! He deserves it!!
In passing, he made a comment to me the other day that he would love to have some kind of rustic window treatments in his room. I pulled up Pinterest and nonchalantly pointed out a couple of ideas to see which one he liked the most. We went in the room together and he started to describe what he wanted them to look like. (Again, he was saying this in general. I doubt he thought I was crazy enough to attempt it. Welllll…)
The next day I worked on my usual “project prep” routine:
I first measured the window casing. (My window casing doesn’t have crown molding around it on the sides or at the top, which was a plus! This will make them easier to attach!)
My window measures 35″ wide and 58″ tall. So, here’s how I figured the math:
So, after my cutting was all said and done, I had:
(2) 9.25×58
(2) 7.75×58
(2) 3.5×58
(4)3×17
(4)3×3.5

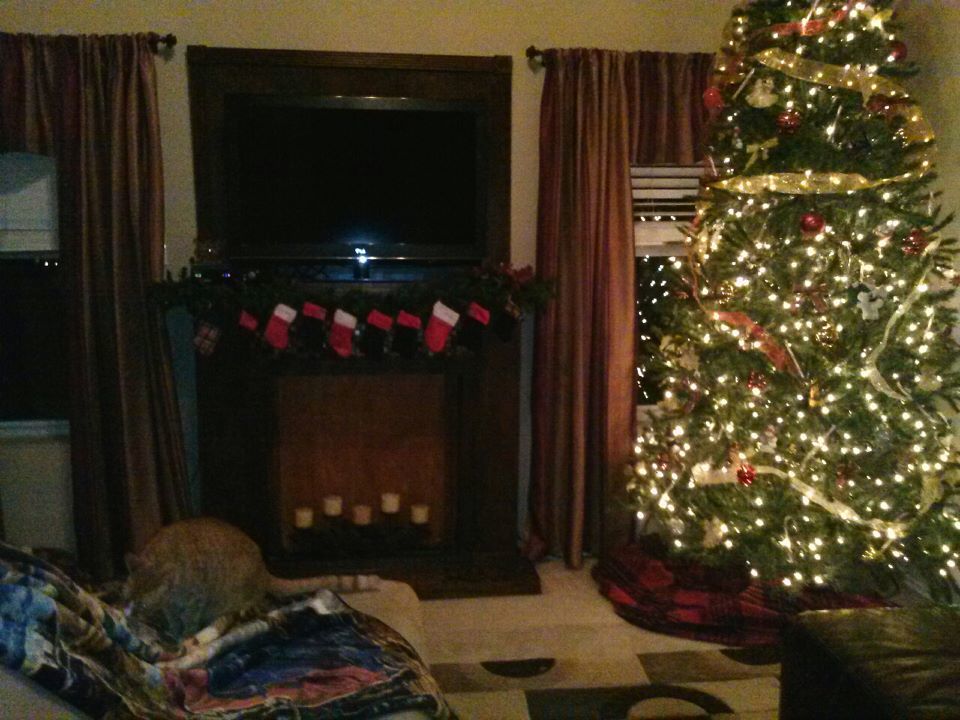
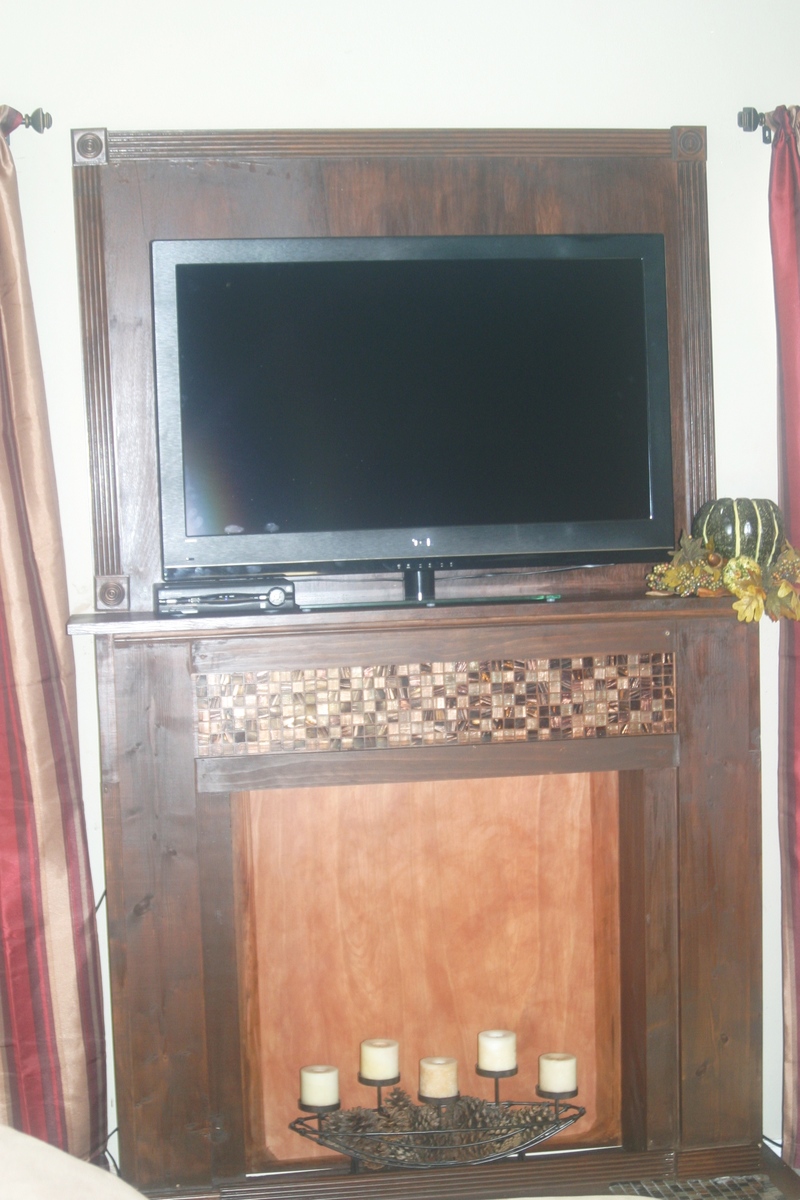
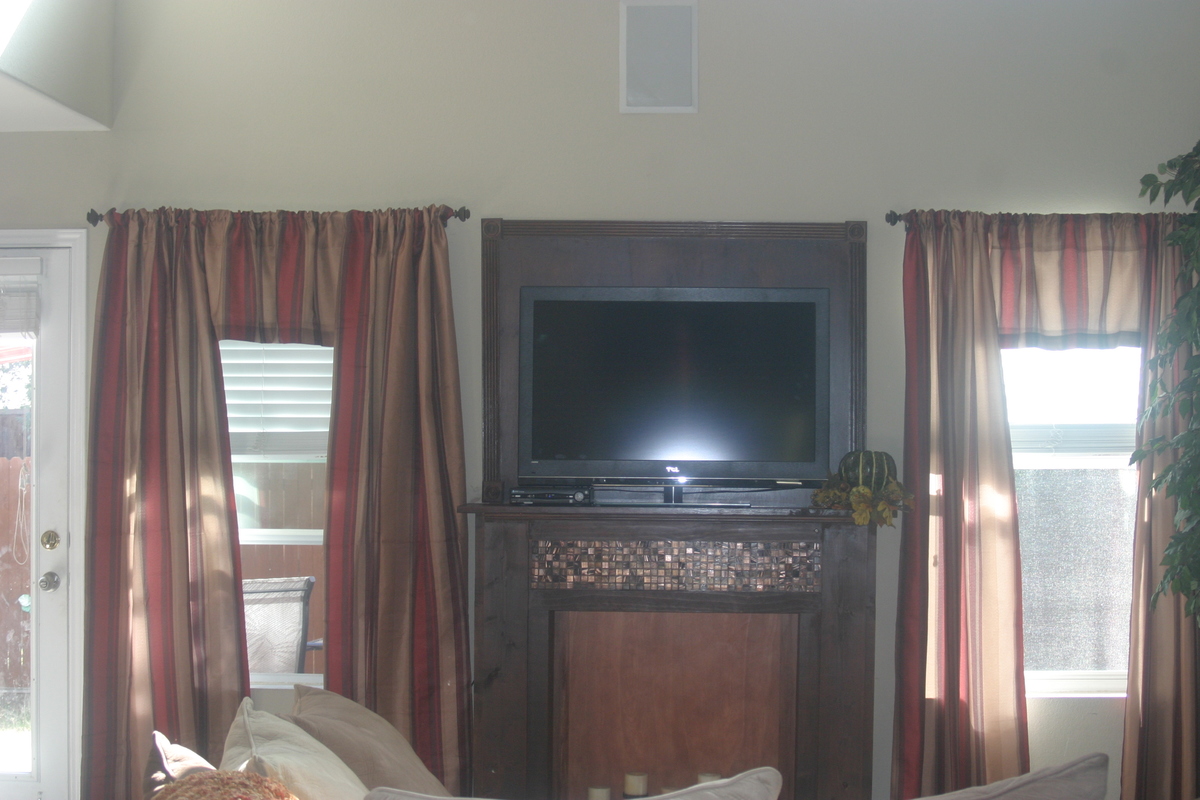
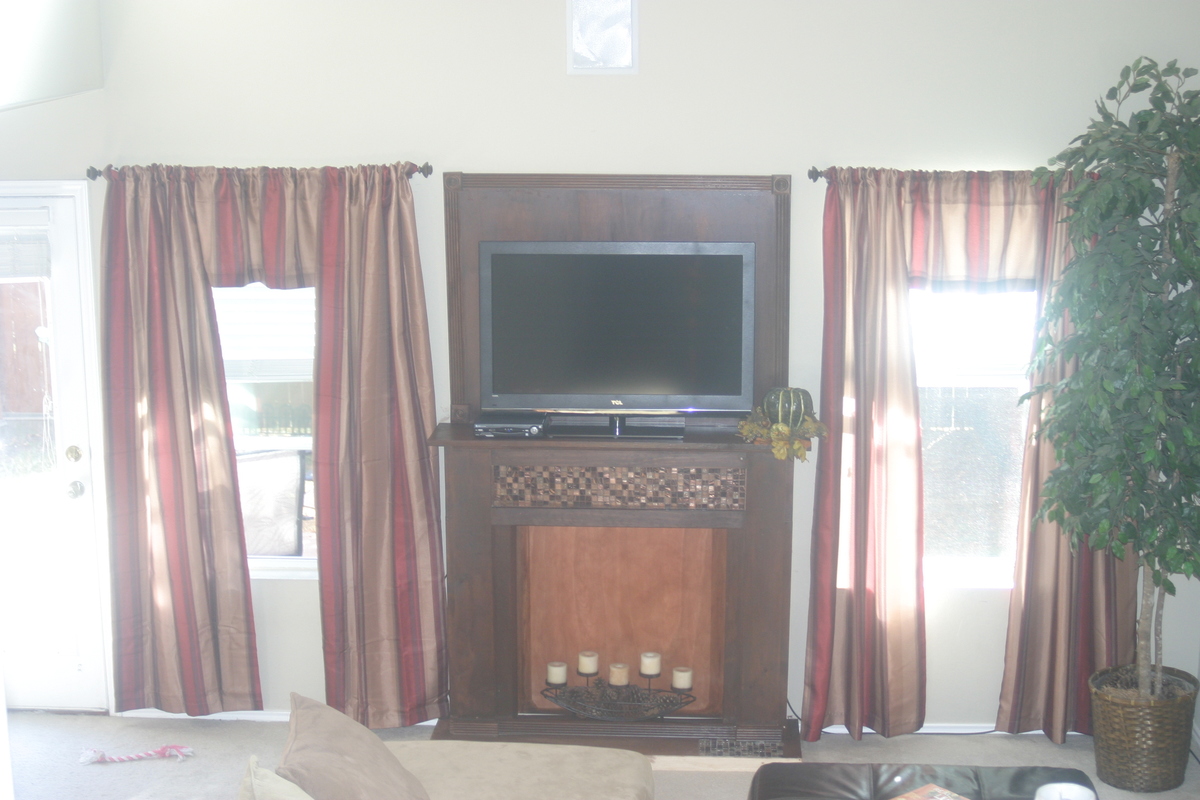
This Christmas I was determined to have a fireplace for the stockings to hang from! I played with the design a little to add depth and height.... and tiled a little.
Loved the results for only my second project from here!! Not perfect, but mine!lol Thanks for sharing Ana!!
~Dina


I have built this table following the plan from the woodwhisperer website under the name "Not So Rustic Outdoor Table", Used white pine
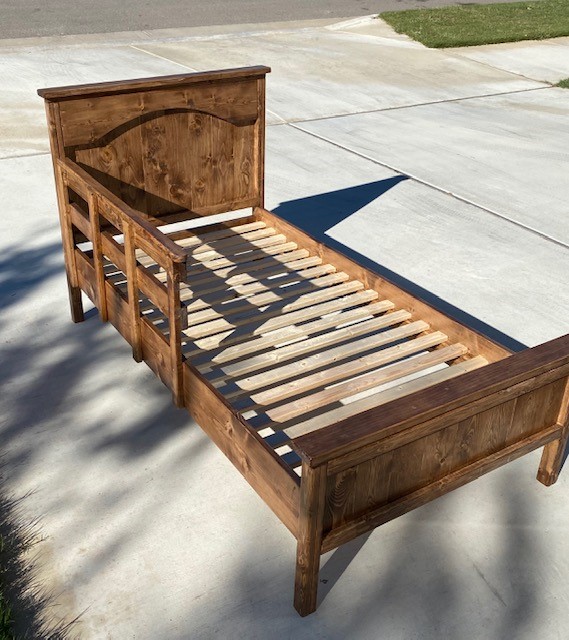
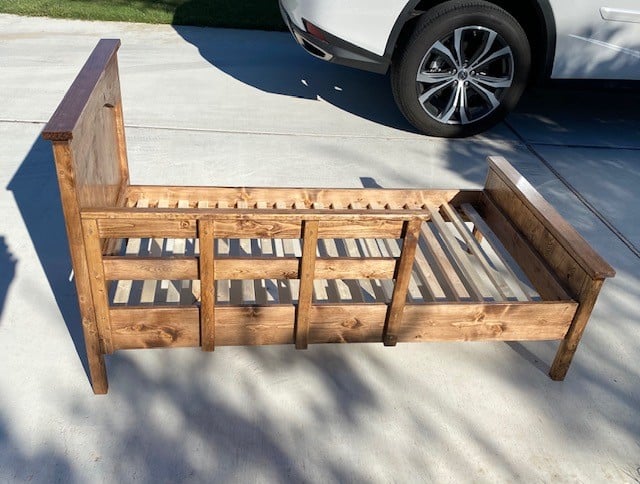
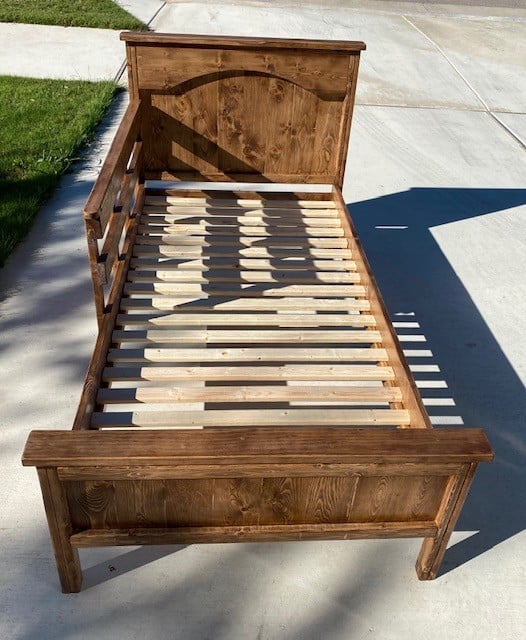
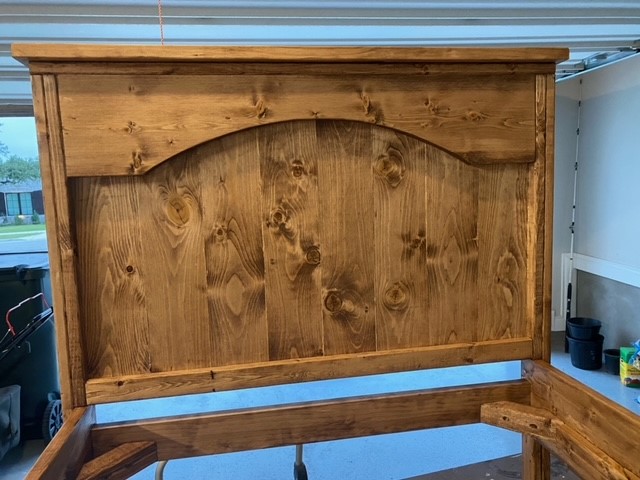
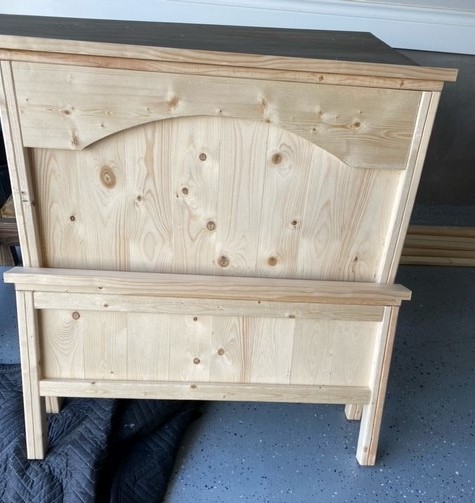
This was my second Toddler bed. This one with a single side rail. I really like this plan. Just remember that Toddler mattresses are not always the same dimensions. Find out the size of the mattress first and adjust your dimensions accordingly. I also stained and clear coated the railing separately so it can be removed as the child gets a little older and still have the bed completely finished without it.
Sun, 11/01/2020 - 10:21
Love the integrated bed rail! Thanks for sharing:)
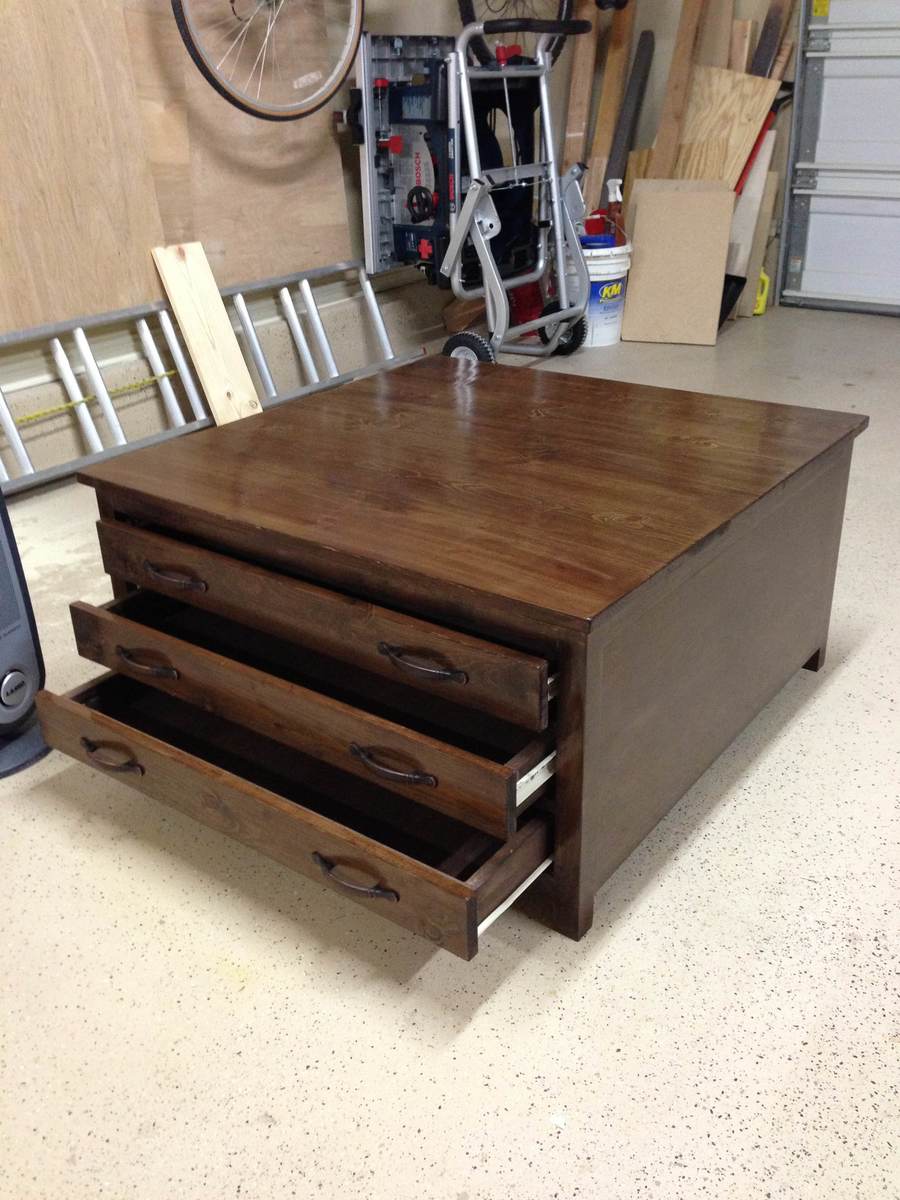
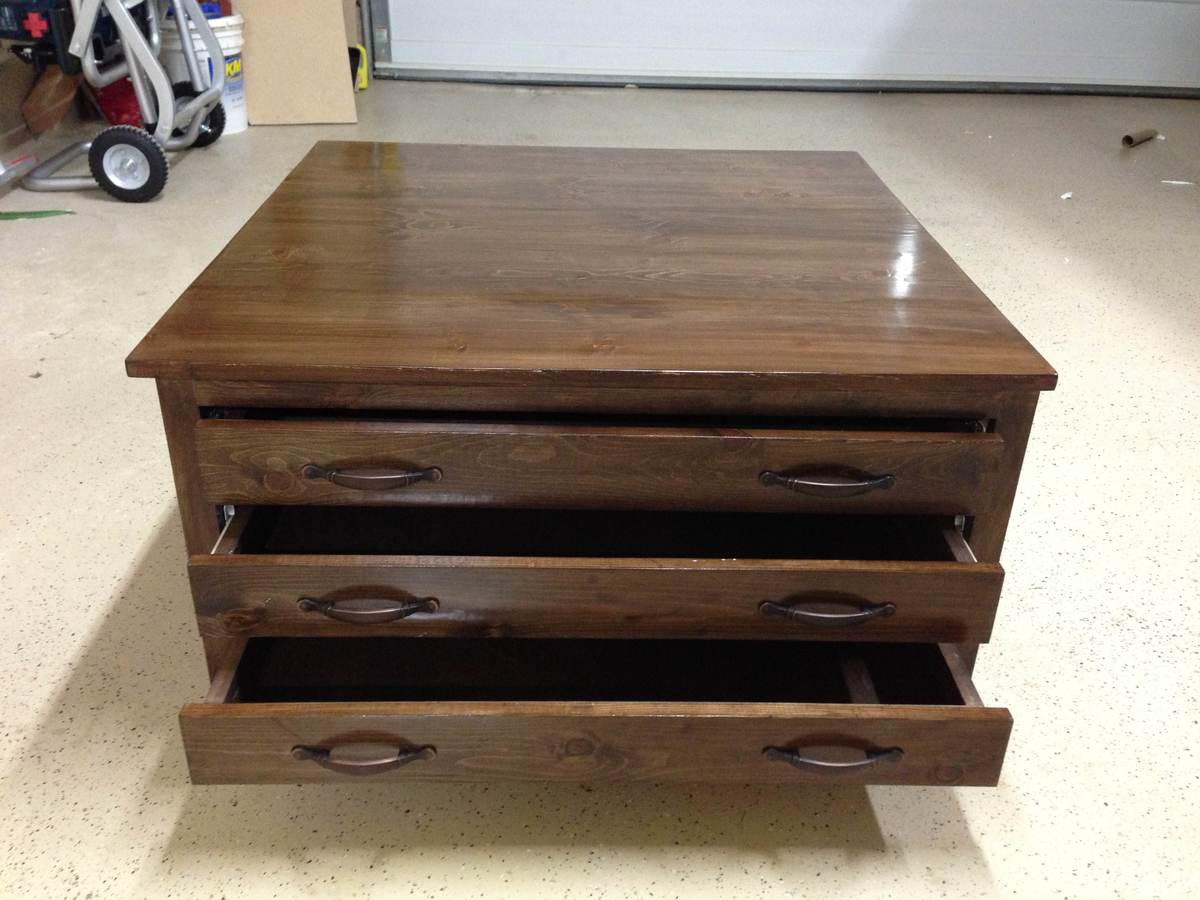
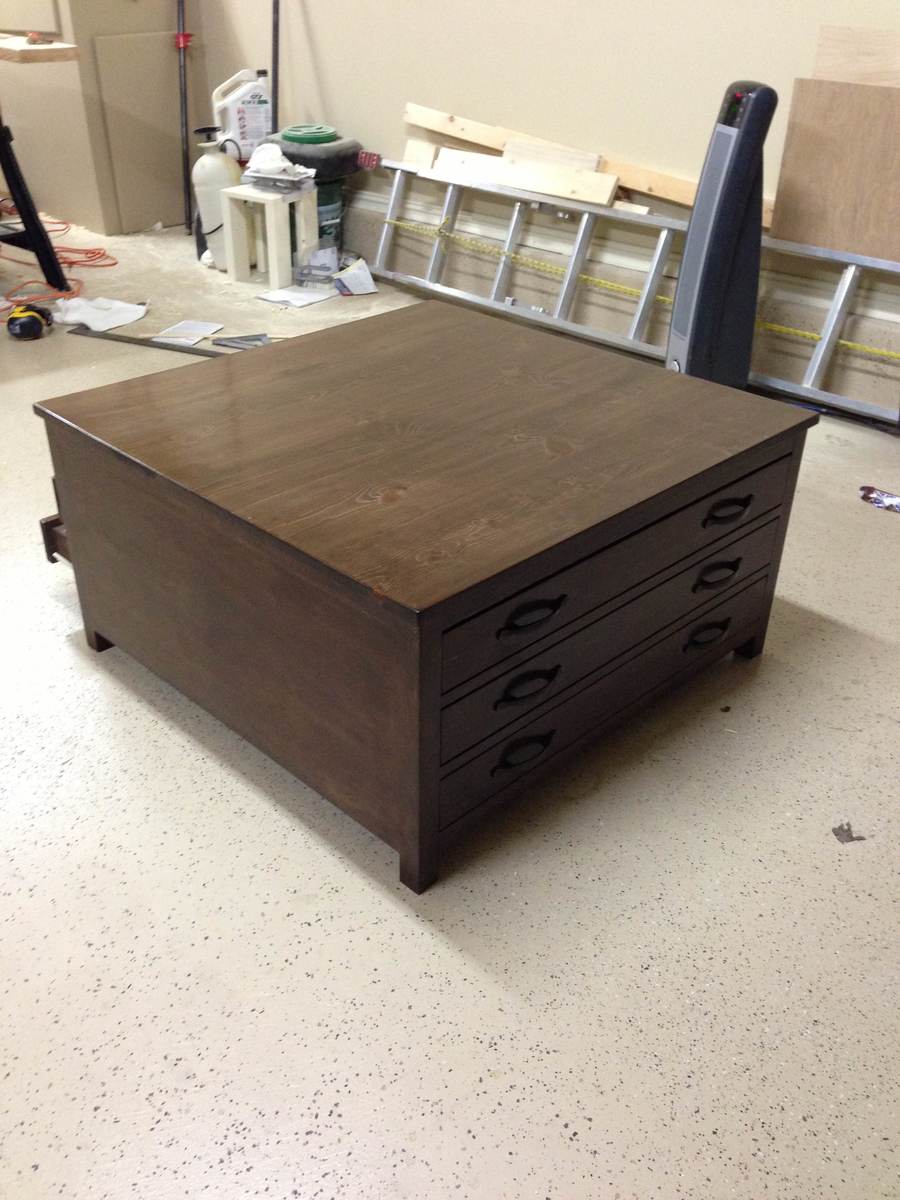
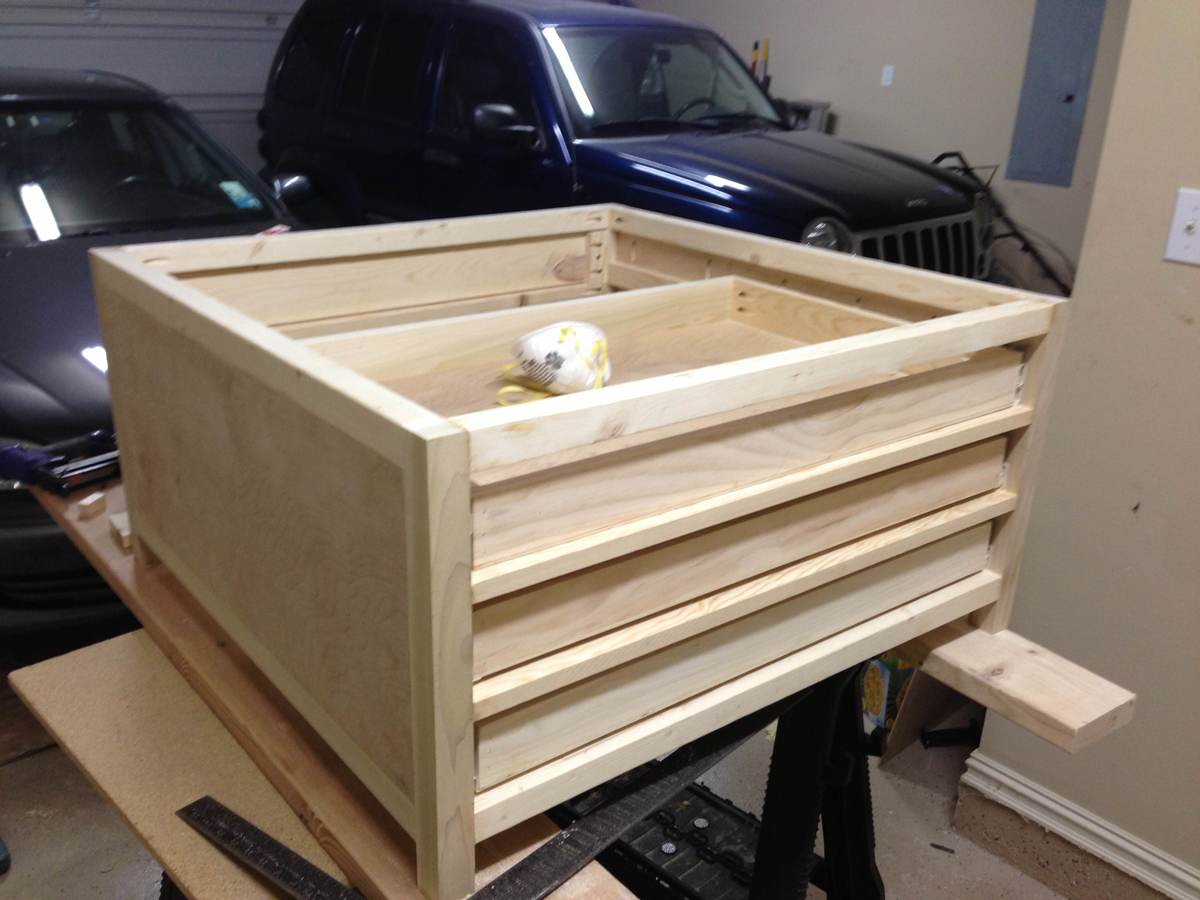
This was a fun little project. Followed the plans roughly. I made a few changes in the fact that I only added 3 drawers instead of six and instead of using the casters I made legs. When using cheap pine from lowes its rather difficult to get a frame that is completely square. This makes it quite the hassle to get the drawers to fit properly. If I had to do it over again I would use better wood and be very careful that the frame is 100% square. But overall a nice project.


Inspired by Ballard Designs Turin Bookcase http://www.ballarddesigns.com/turin-bookcase/237257
and the Marche writing desk http://www.ballarddesigns.com/marche-writing-desk/278164
with some tweaks to my liking :0)
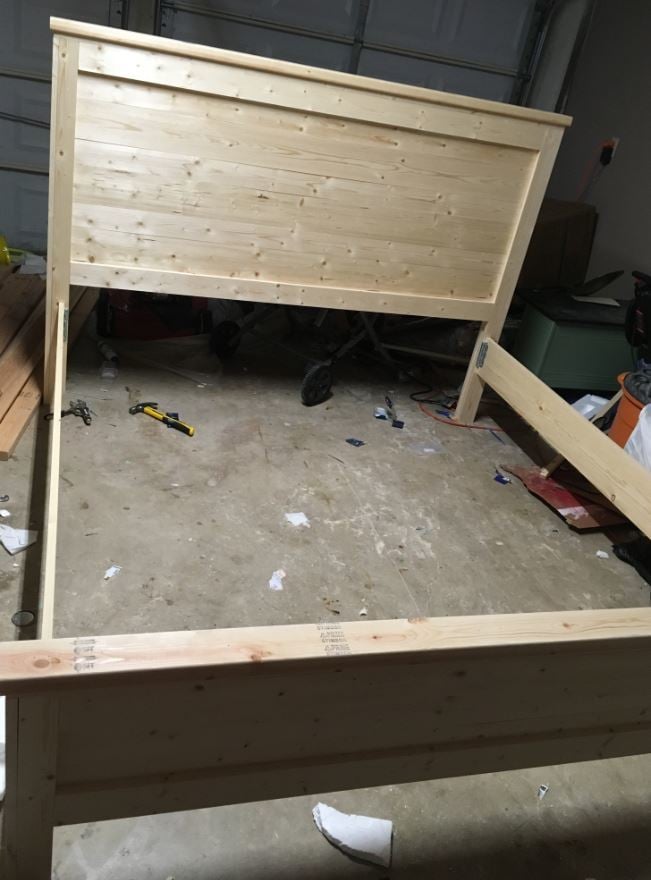
First of all, thank you to the site for this plan. The headboard specs were spot on. I was interested in making a footboard as well, and you actually will end up with a few scrap pieces that will help you build the footboard (the 1x3's and 1x2's). My footboard ended up being about 23 1/4" high. For reference, the mattress in the photo is 10". I included a picture of the total boards you will need to buy to do the headboard, footboard, and side rails (I used 8 inch boards for the side rails, not 10 inch, but those could be interchanged). One thing to note is the plan calls for pocket hole screws but these are not necessary. I used 2" brad nails, 1 1/4" brad nails, and 2" screws (for the slats and the support rails on the slats. You could use 2 1/2 inch for the slats but the support rails need 2".). Not included in the picture I included is another 2x4x8 that I bought that I placed three scrap 4x4 posts that I had under the middle of the slats for extra support. I also bought steel bed rail fasteners ($11.30 from Amazon) to attach the side rails to the headboard and footboard. They worked great and the bed is extremely sturdy. Can't budge it at all. I used the common whitewood boards from Home Depot, which are all the correct width - the fur boards are cheaper but are not the correct width, you would need to adjust the plans if you were to use those. Overall I am very pleased with the bed. Please ignore the half dozen water bottles in the photo.
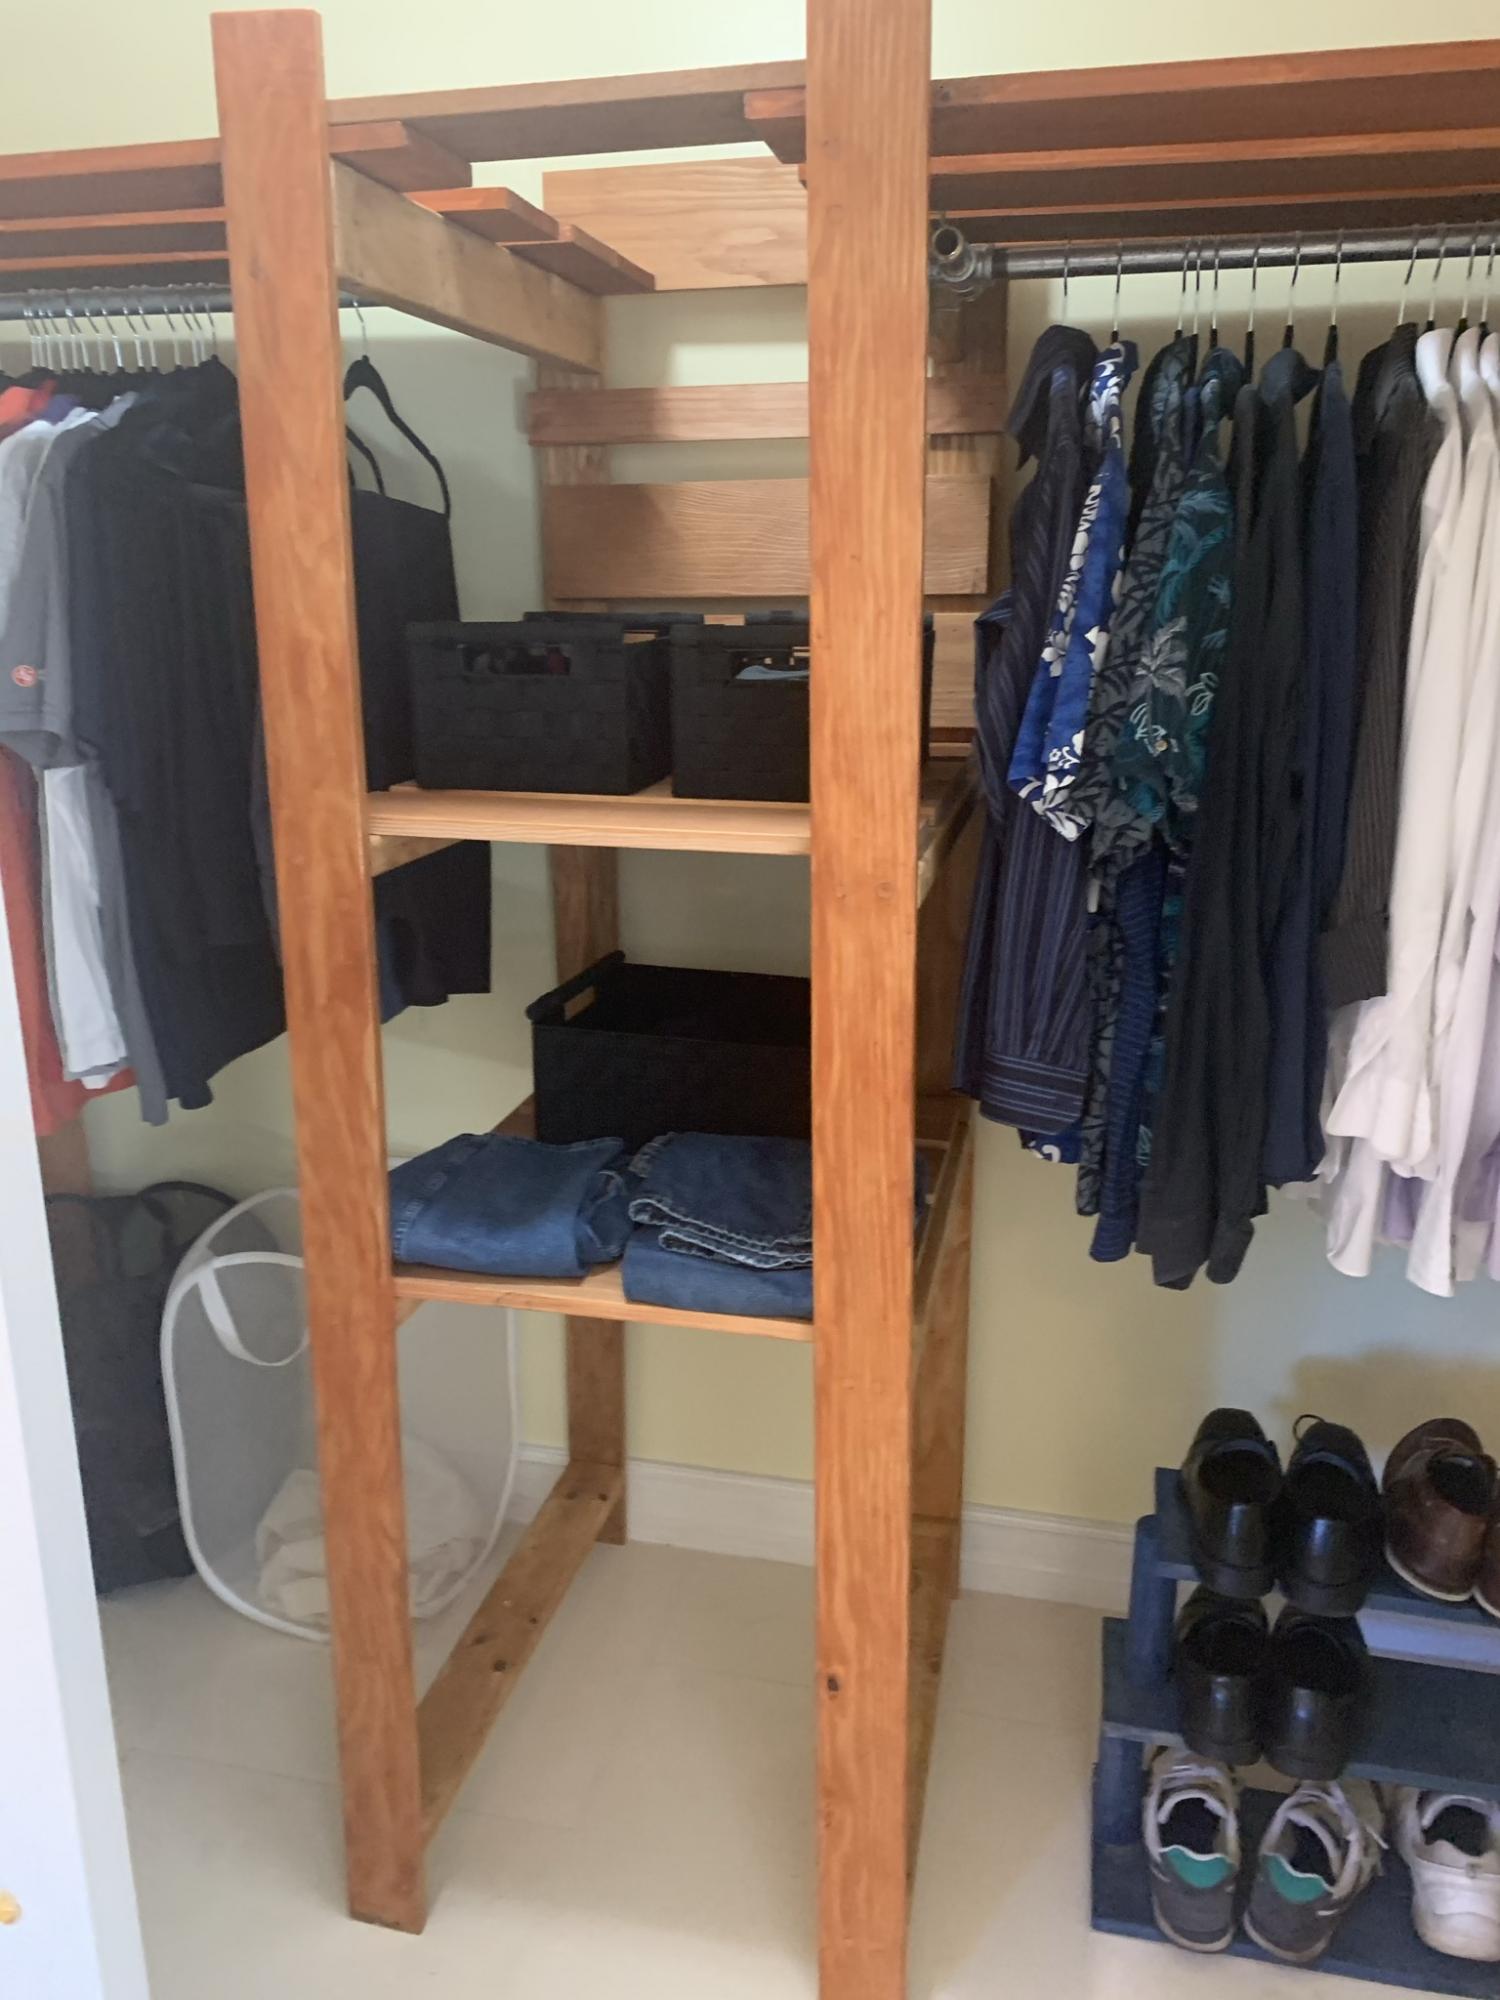
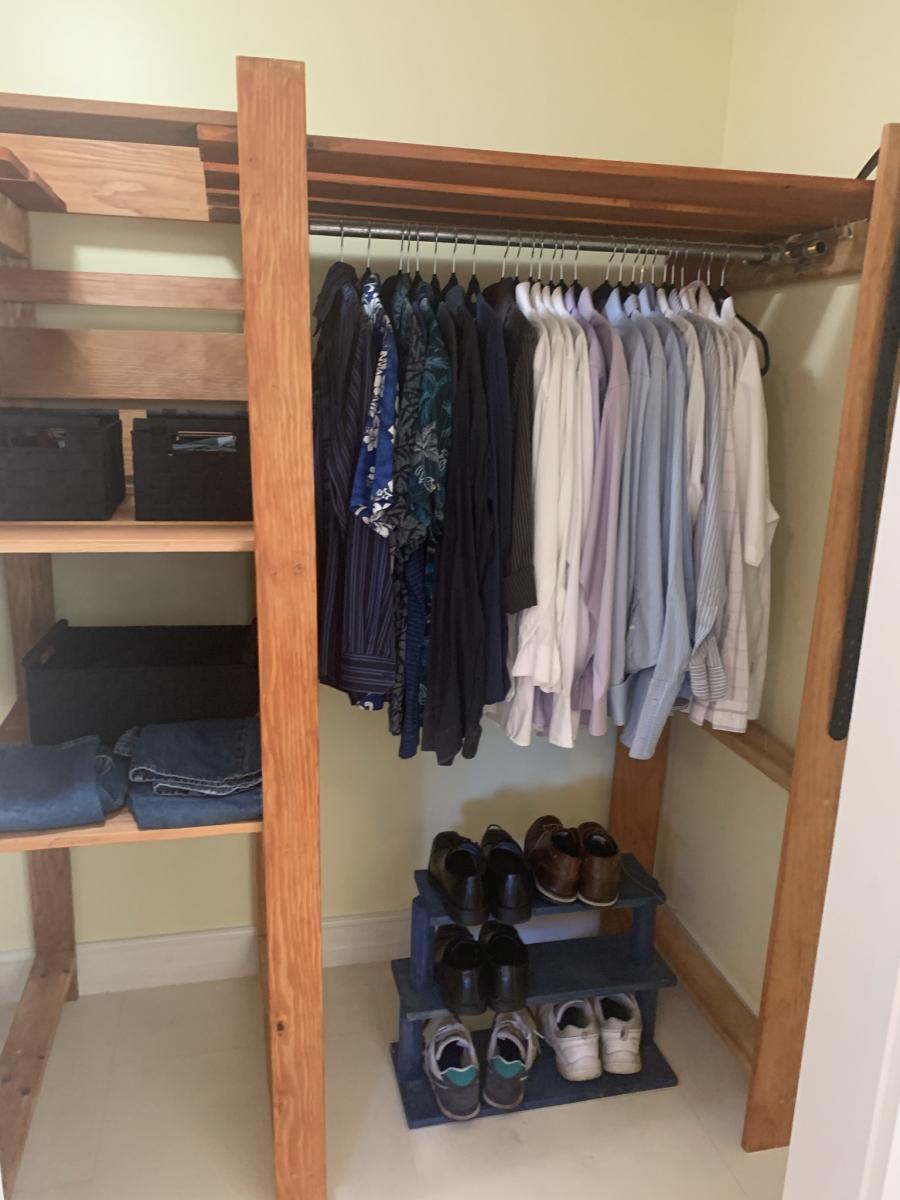
Hi DIY Peeps.
This is a pretty simple project.
The main point is to keep everything level across the 4 boxes.
I used simple jig's which were exact copies so I knew where to attach the shelves properly and level.
Note this on the pictures.
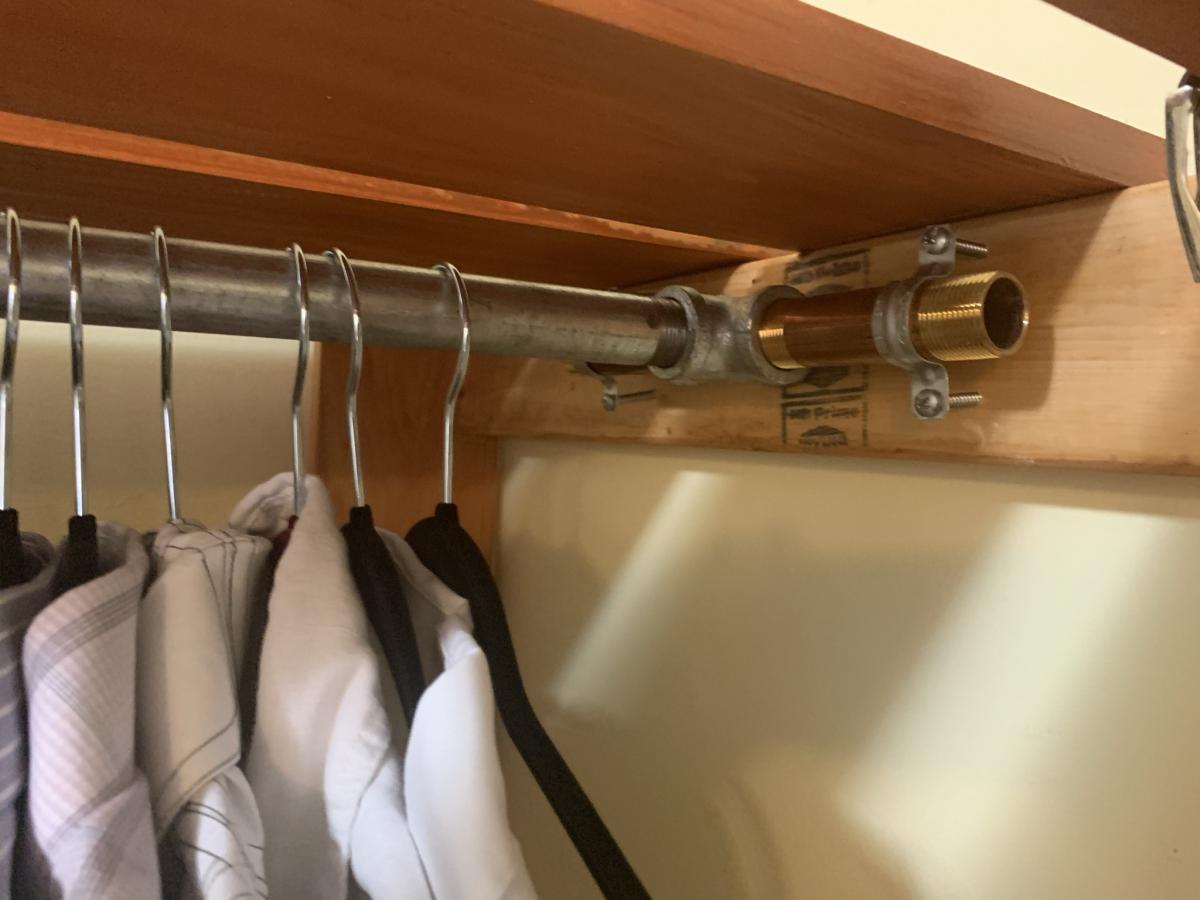
I wanted to use all Galvanized Pipe but sadly no matching parts.
Here I would suggest as Did Ana to keep your shelve parts no more then 3 feet or so.
Why, you can get off the shelf 36" precut galvanized pipes easy. Most closets are 8' or less so anything over that is a problem.
My measurements were
H=78"
W=8' 3"
Depth 28"
The Center Part is 2' as that was the natural distance as I went wall to wall 3 + 3 + 2 = 8
I modified the build to allow more storage on the top for bigger boxes and use as a Linen Closet of sorts.
My closet is out of Fir , and 2x4's I didn't want a all 2x4 closet. The thin wood at 3/4's get a lighter look to the closet. Also don't forget to screw the frame to the wall for safety, this is a pretty heavy closet !
Pine would work as would poplar or oak. But the 3x4 thick and 5" and 3" wood really made it look great.
Notice have the 5" is the middle and the 3" wide is at each end. This gave the closet a more fun look.
Notice the hanger for the 3' galvanized rod. I used Copper and pipe clamps to give it a unique look.
This really makes the closet Pop.
Overall it was a fun project, it took 3 weekends as I stained it with Carmel Oak color and that took 3 coats on the Fir.
The shelves are the longest part of the work, but use the jigs like I did and it will come out all level.
I am very happy with it in the End, Sadly i can't open the doors all the way to show how big this actually is!



It was so much fun building this bench & shelf for my entry. I now have a terrific place to stash things and hang my coat and purse! I am planning to make boxes to fit some of the spaces in the bench.