Kids Harriet Higher Chair
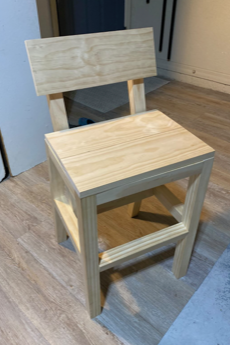
Higher chair for kids by Kristie
Built from Plan(s)
Higher chair for kids by Kristie
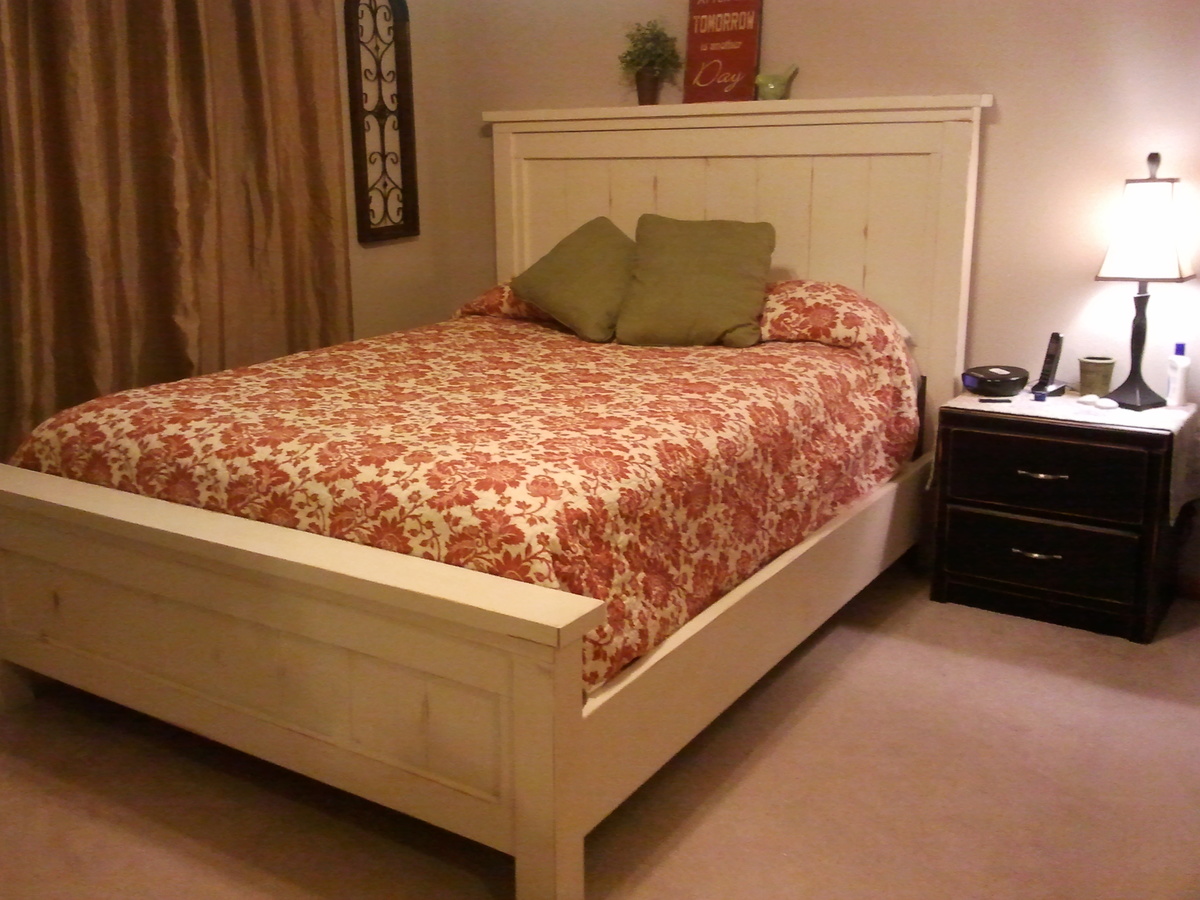
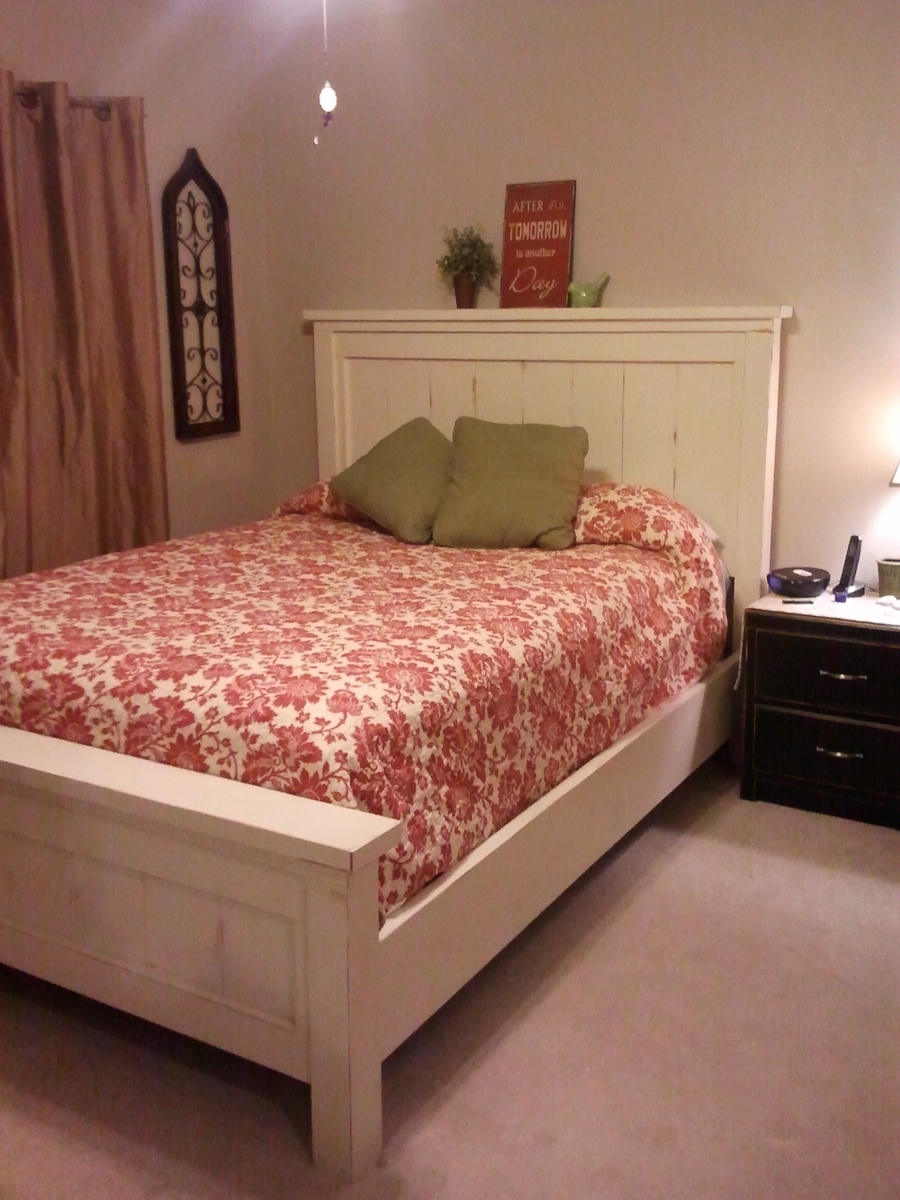
This Farmhouse Queen Bed for use with a box springs is the first woodworking project I have done in almost 30 years (high school shop class). It was so much fun.
I did buy the No-Mortise Bed Rail Fittings from Amazon to hook the head board and foot board to the side boards. I also bought the Mantua Steel Bed Frame System at Overstock.com for $64 after a discount I found online.
To support the rails I screwed and glued 2 X 2's at the very lowest part of my side rails. It seemed to work well and I didn't have to worry about having a good sturdy support system for my new mattress and box springs. This rail system has three rails and each rail has a center support that extends to the floor.
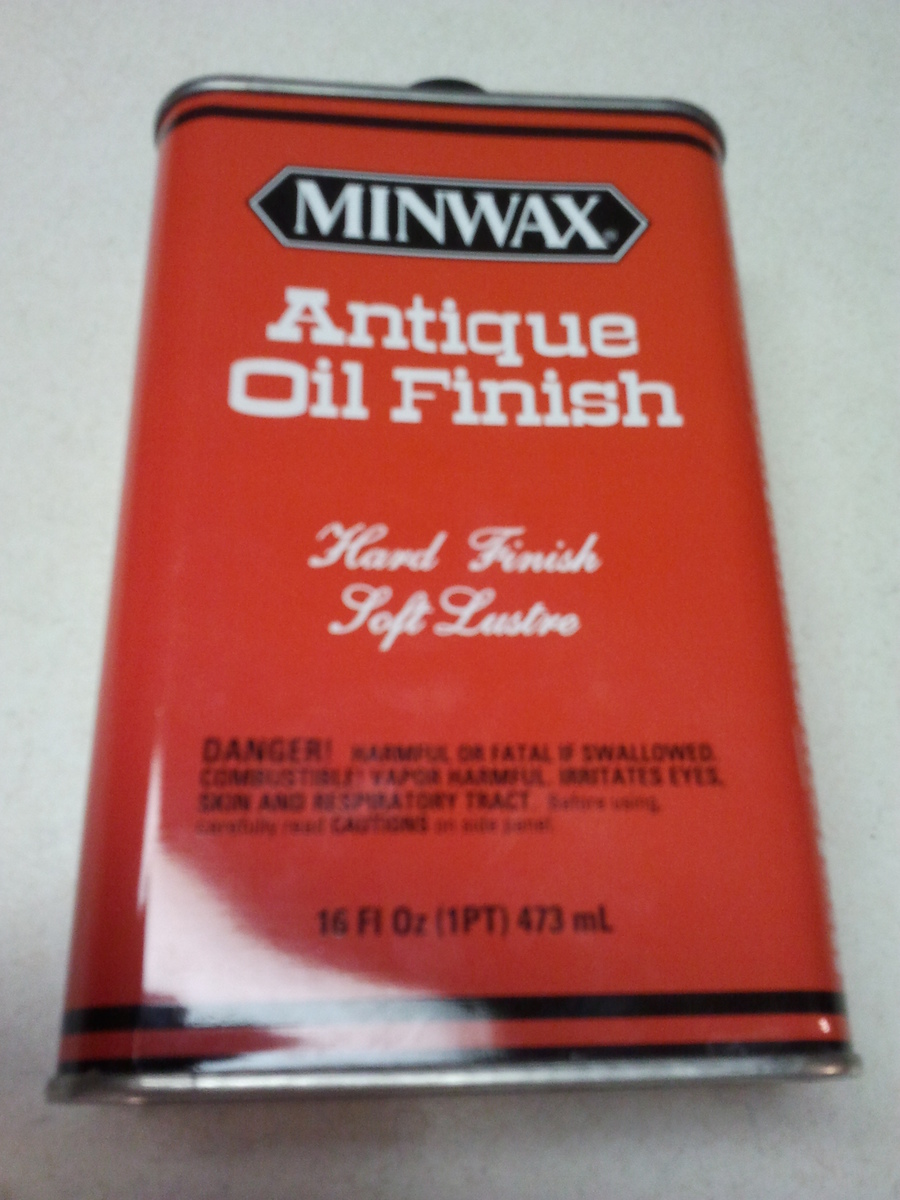
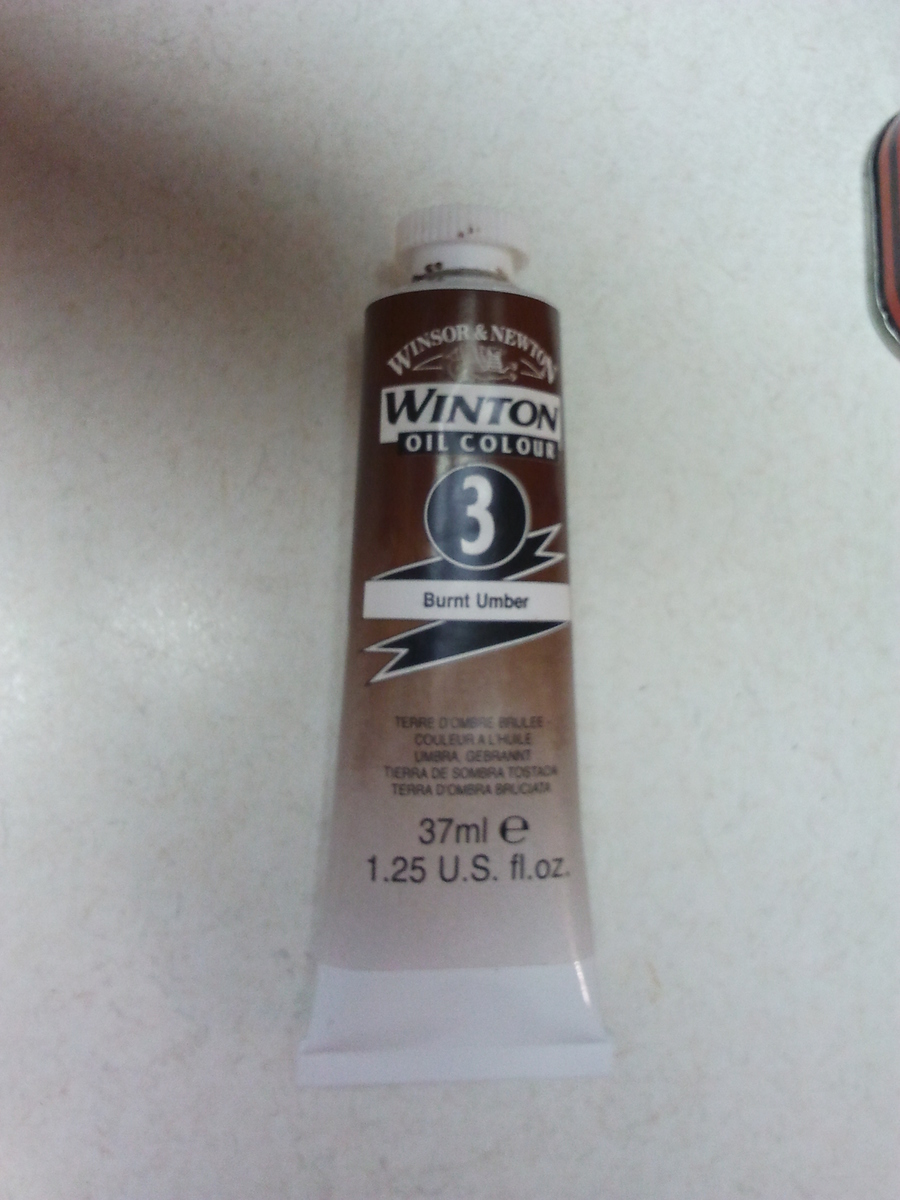
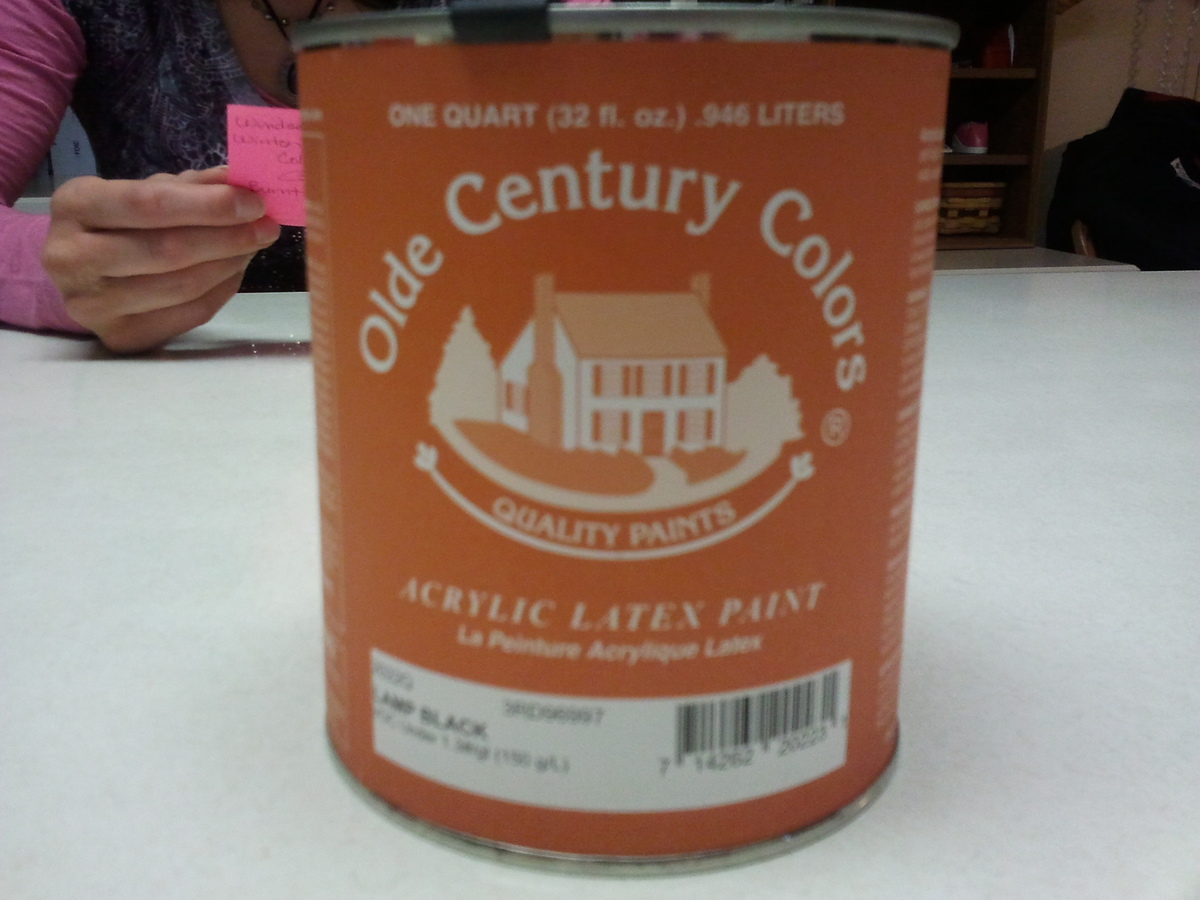
I finished the bed with a good latex paint then sanded where I wanted the aging and then topped the paint off with some Winton Burnt Umber on the sanded areas and rubbed Minwax Antique Oil Finish over the entire piece. See pictures for exact products. I've used these same products in the past to paint furniture I have repainted and aged. I like the finish it gives.
My total price was around $225 but that includes the bed rail system and the brackets.
Enjoy!
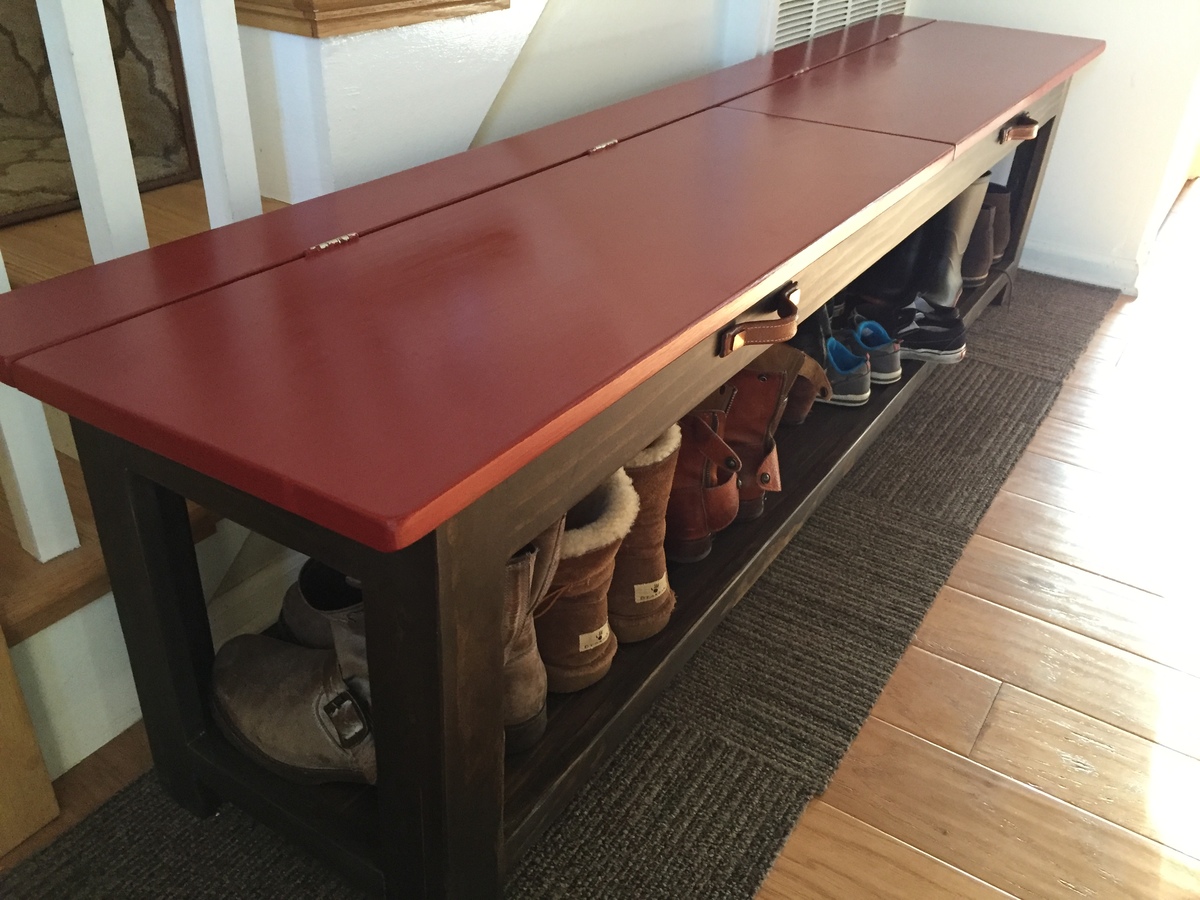
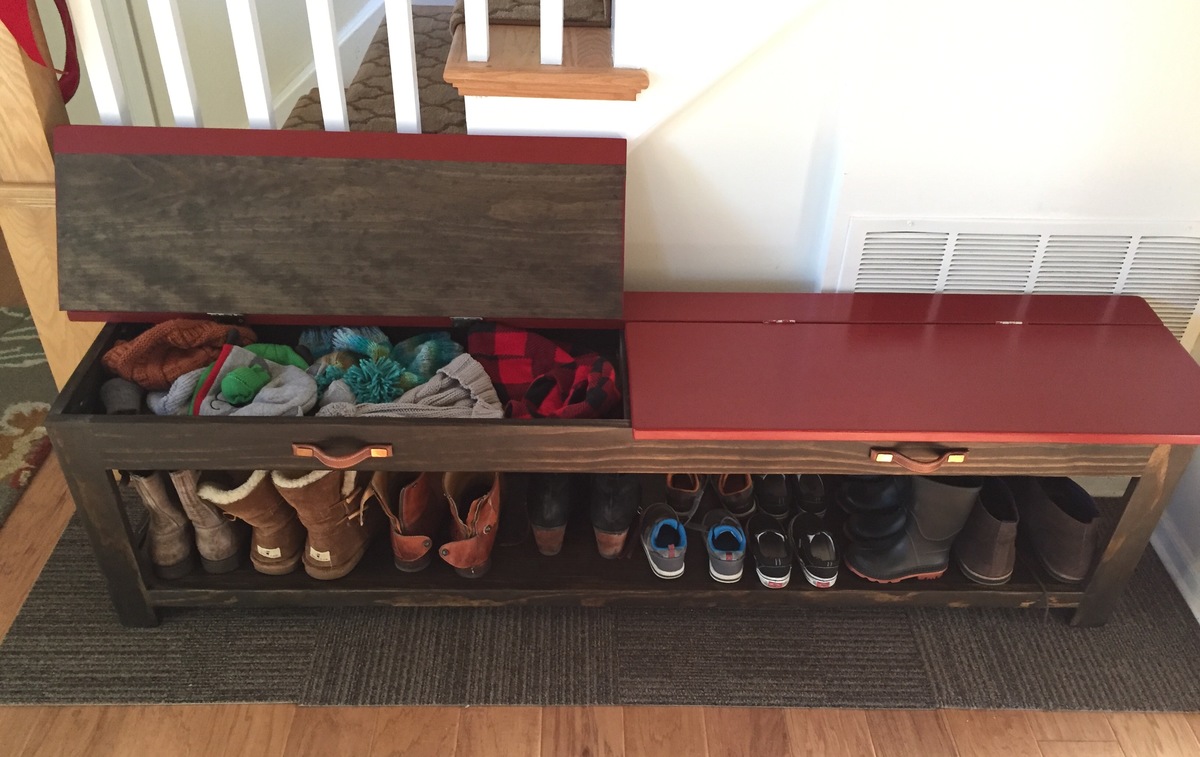
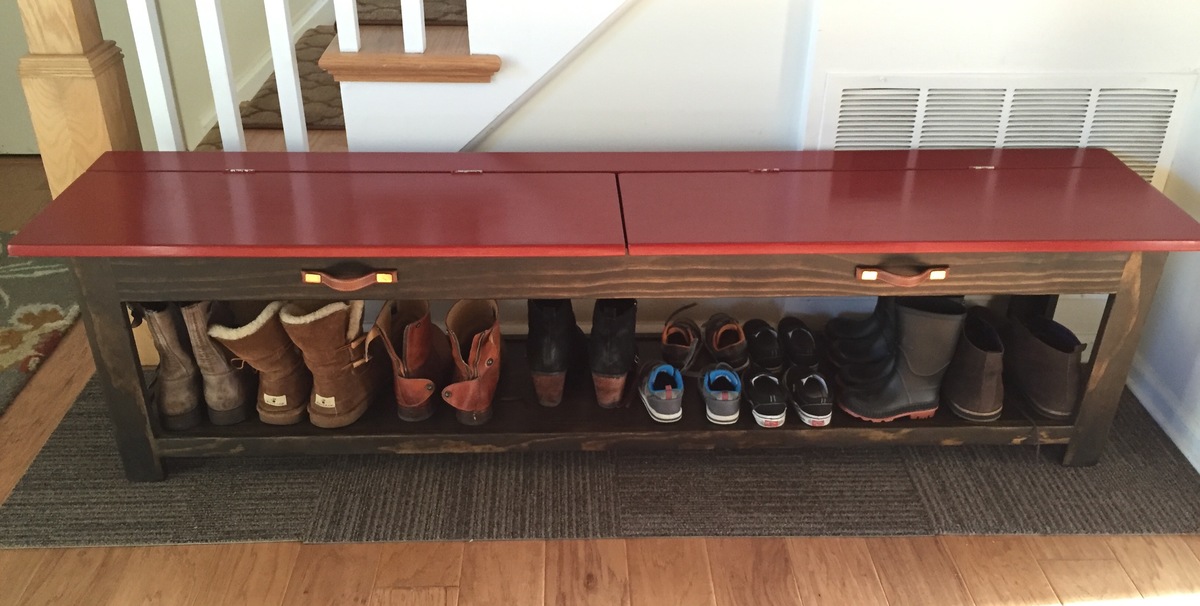
We decided to make our bench 5.5 feet long, without a supporting middle piece. Inside the top storage there is a middle piece of wood supporting the top. So far this is holding up really well and seems very sturdy so I am not worried about the length. The plans were relatively easy to follow, and having the wood cut at the store helped although it was not 100% accurate. For us, the wood alone cost around $100. I also chose to paint the top rather than staying the entire thing, which ended up adding to the cost. I would guess that this entire bench cost around $150 to make, including supplies and paint, and multiple weekends work since I was working only during our twins nap time. But totally worth it! We are getting so much use out of this, and it gets complimented every time people see it.

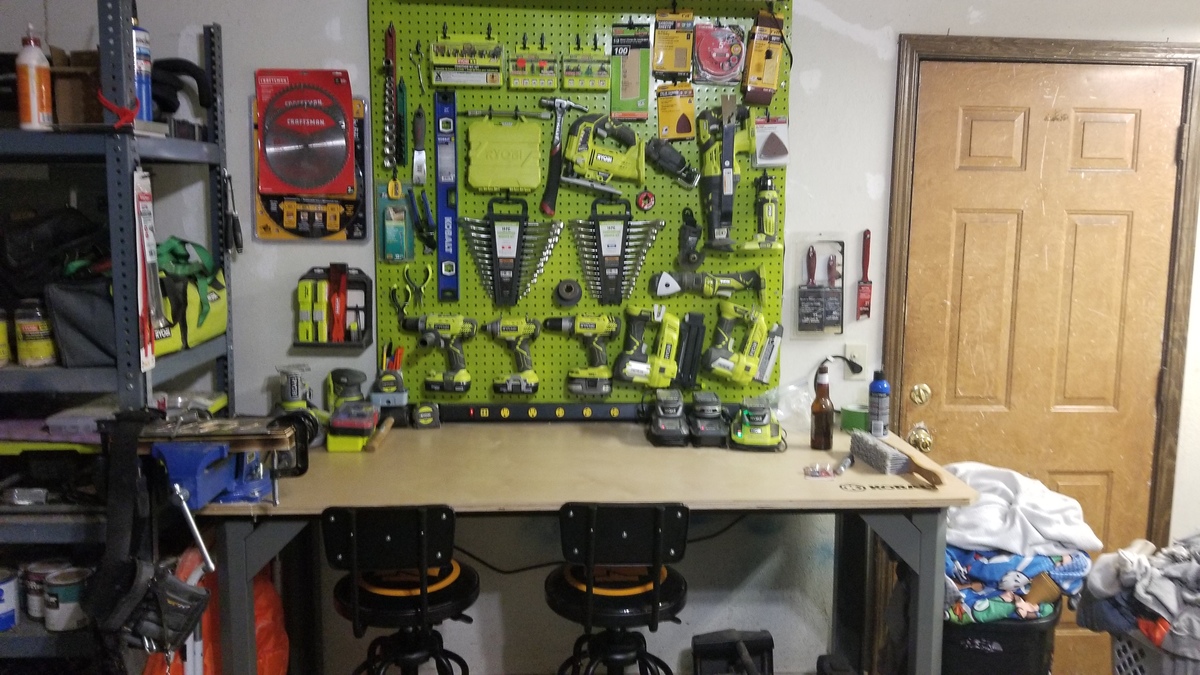
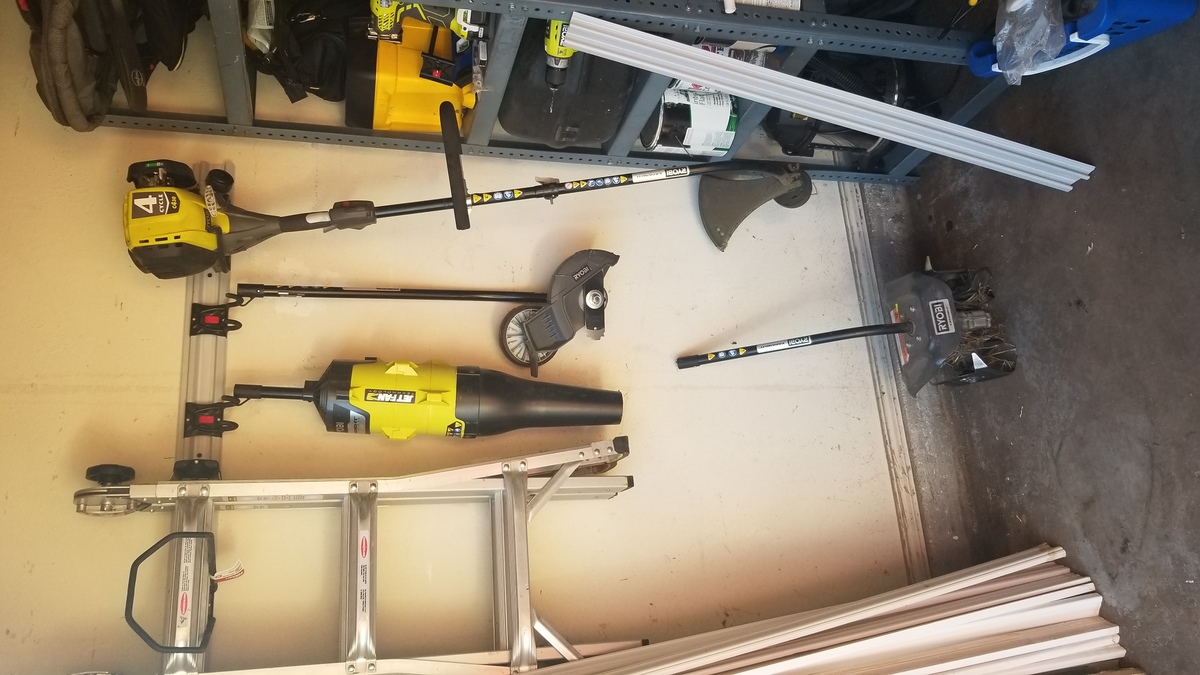
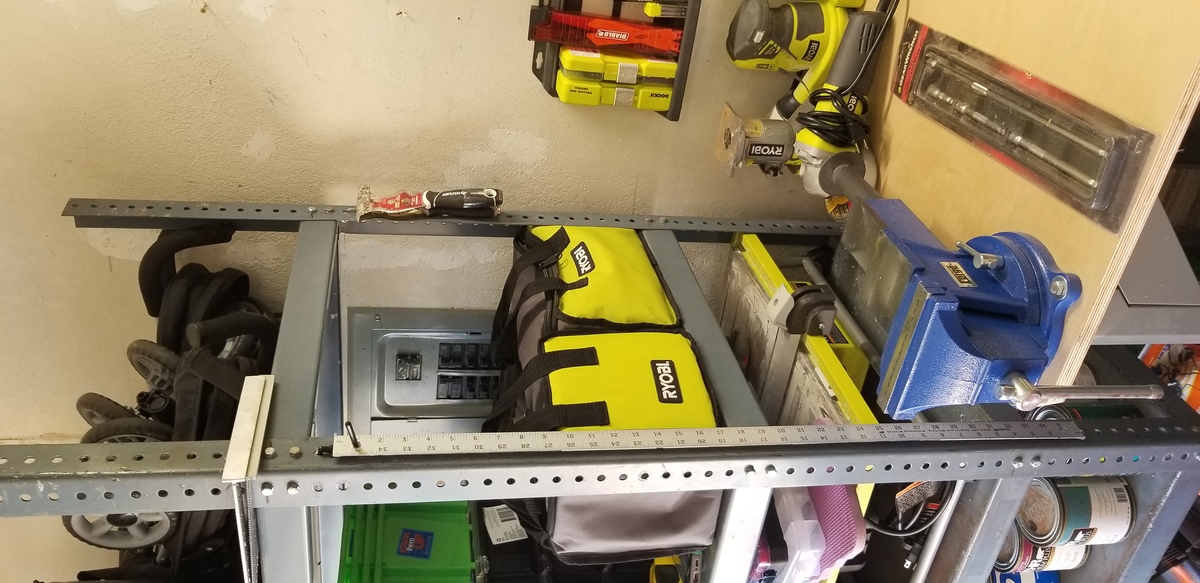
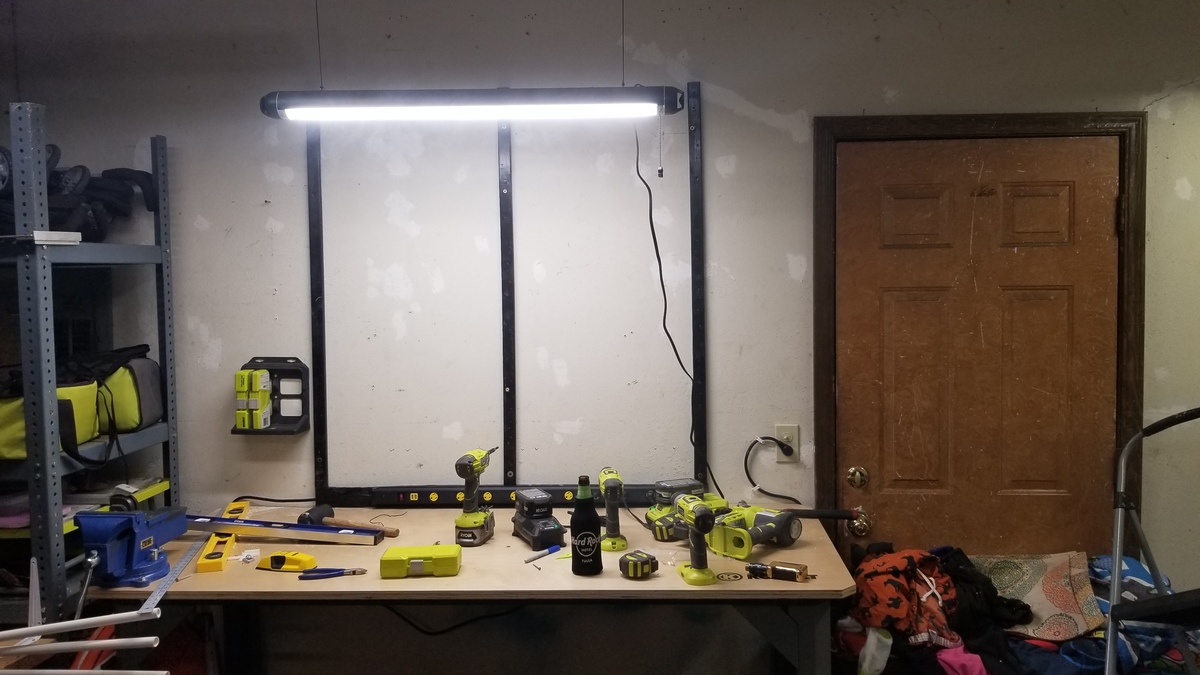
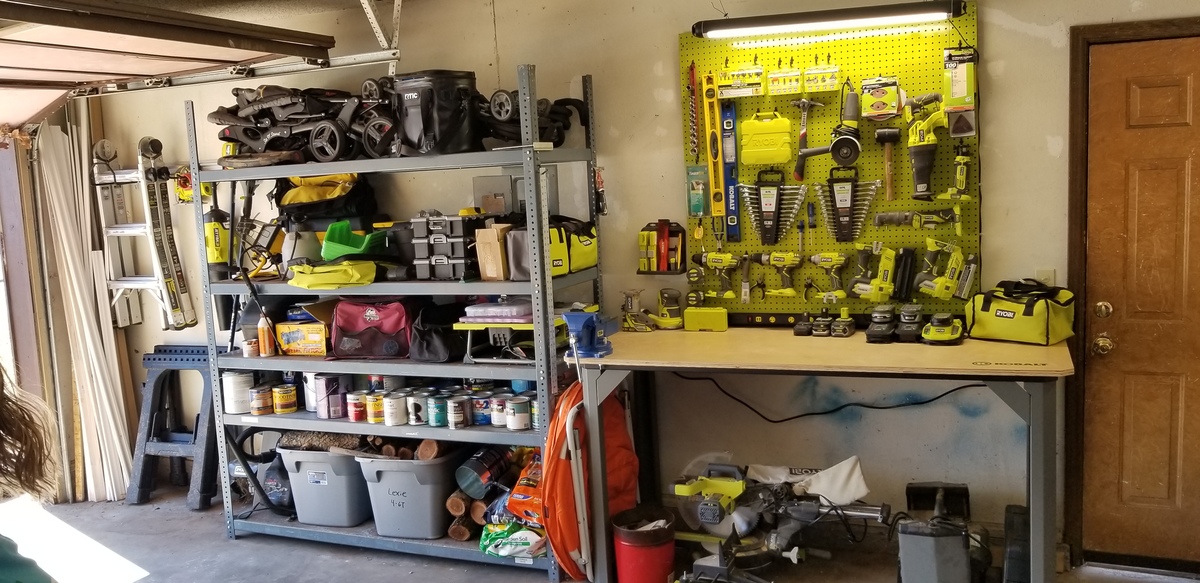
Needed to do a little spring cleaning in the garage and organization.

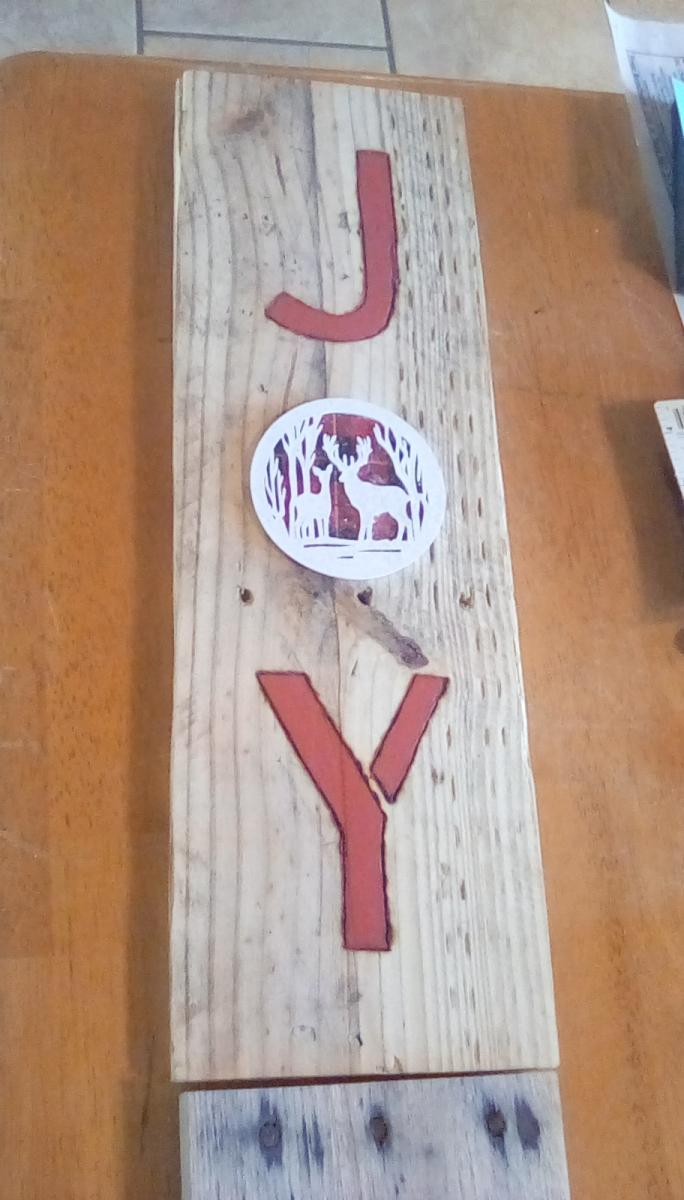
Chose to adapt Ana's JOY Christmas sign since I had to make 16 of them. Used barn boards and some pallet boards and also taught myself how to do wood- burning to outline the letters. Thanks for the great idea!


I think that the names of beds shouldn't be gender decided!! Just sayin' :-p
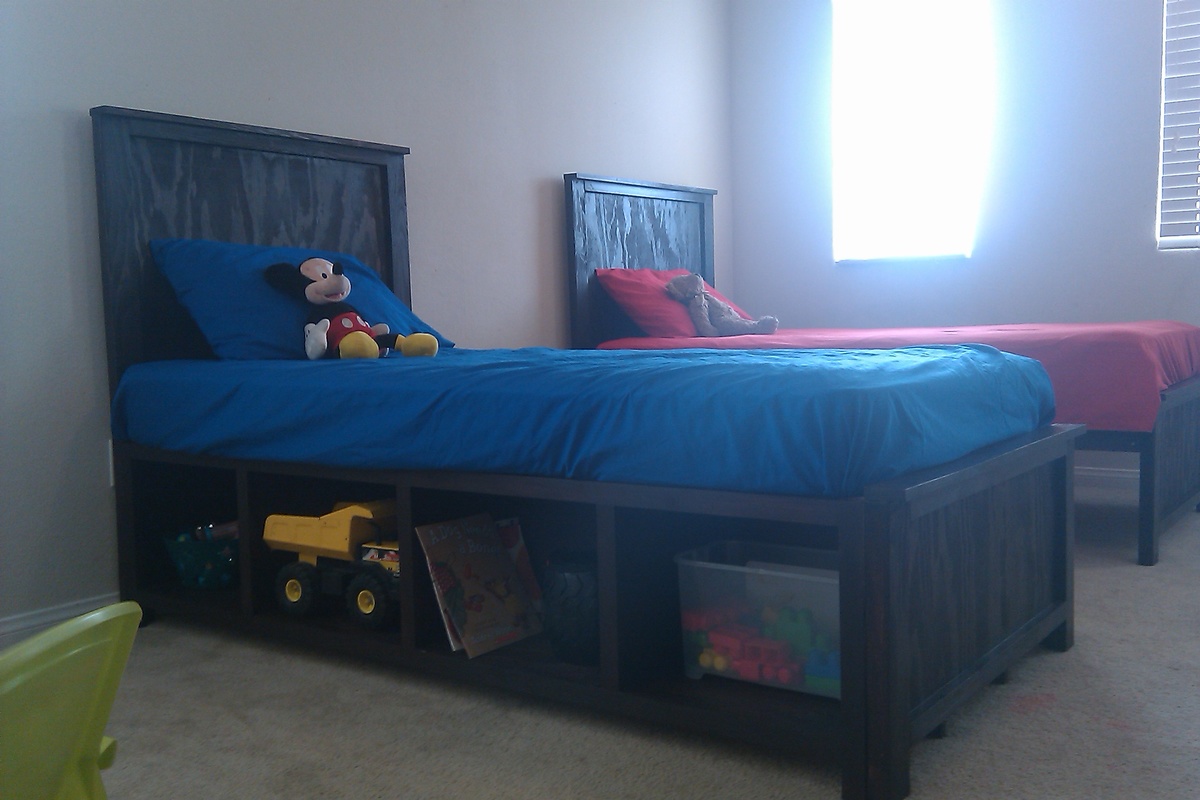
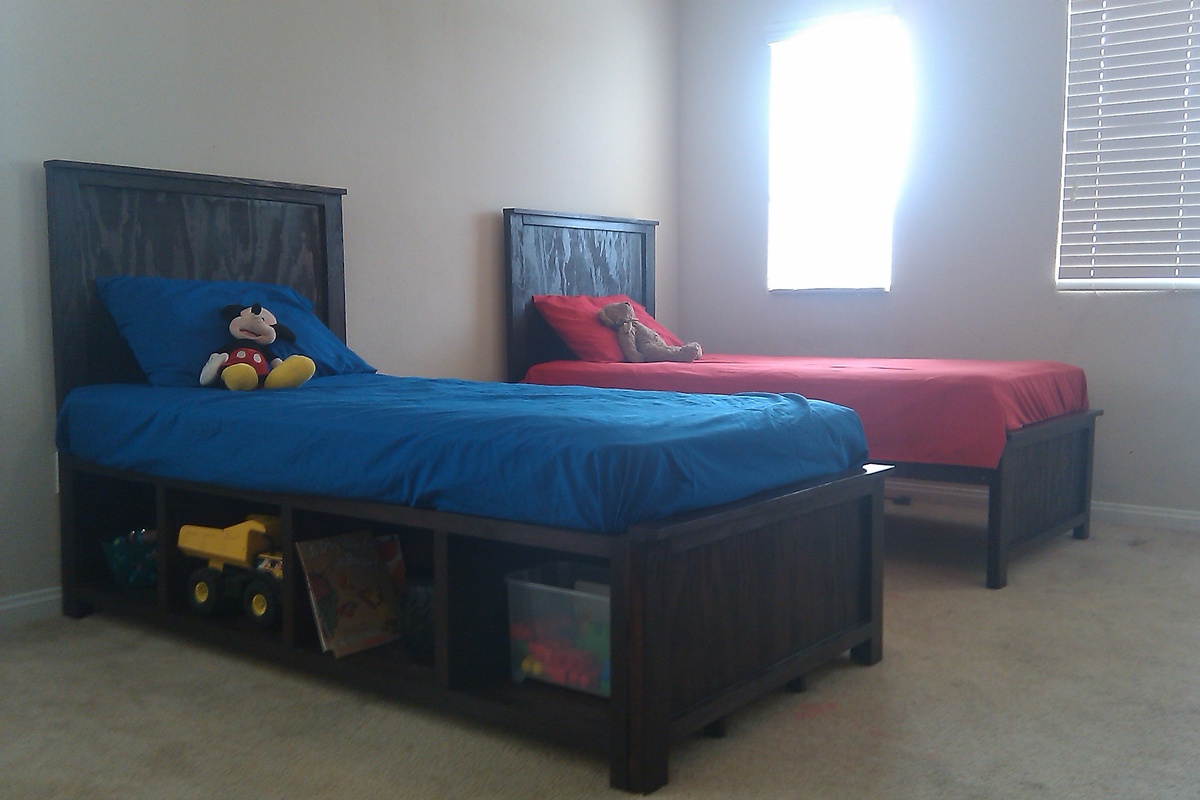
My sister wanted a Hailey storage bed for her son, but she really questioned if it would be too girly. Since I have girls, I hadn't really thought about it... but after looking at it for a few (VERY open mindedly, since all of the ones that have been built have been painted white, and made for girls), I decided that it wasn't a girly bed at all. Then I worked on convincing HER of that. I don't think she was convinced until she saw the pieces built...
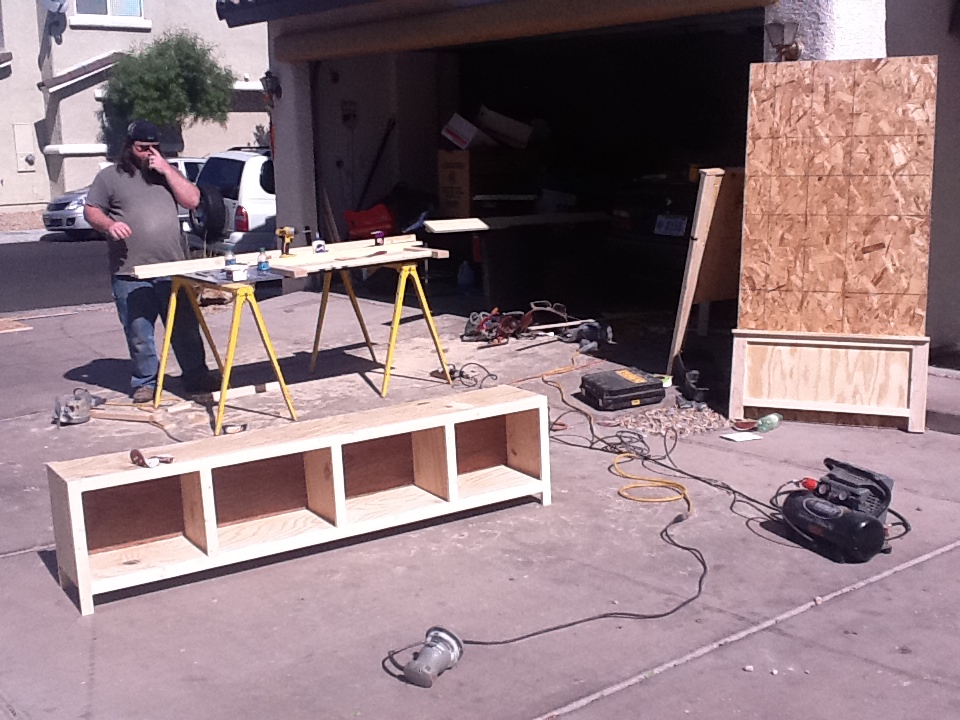
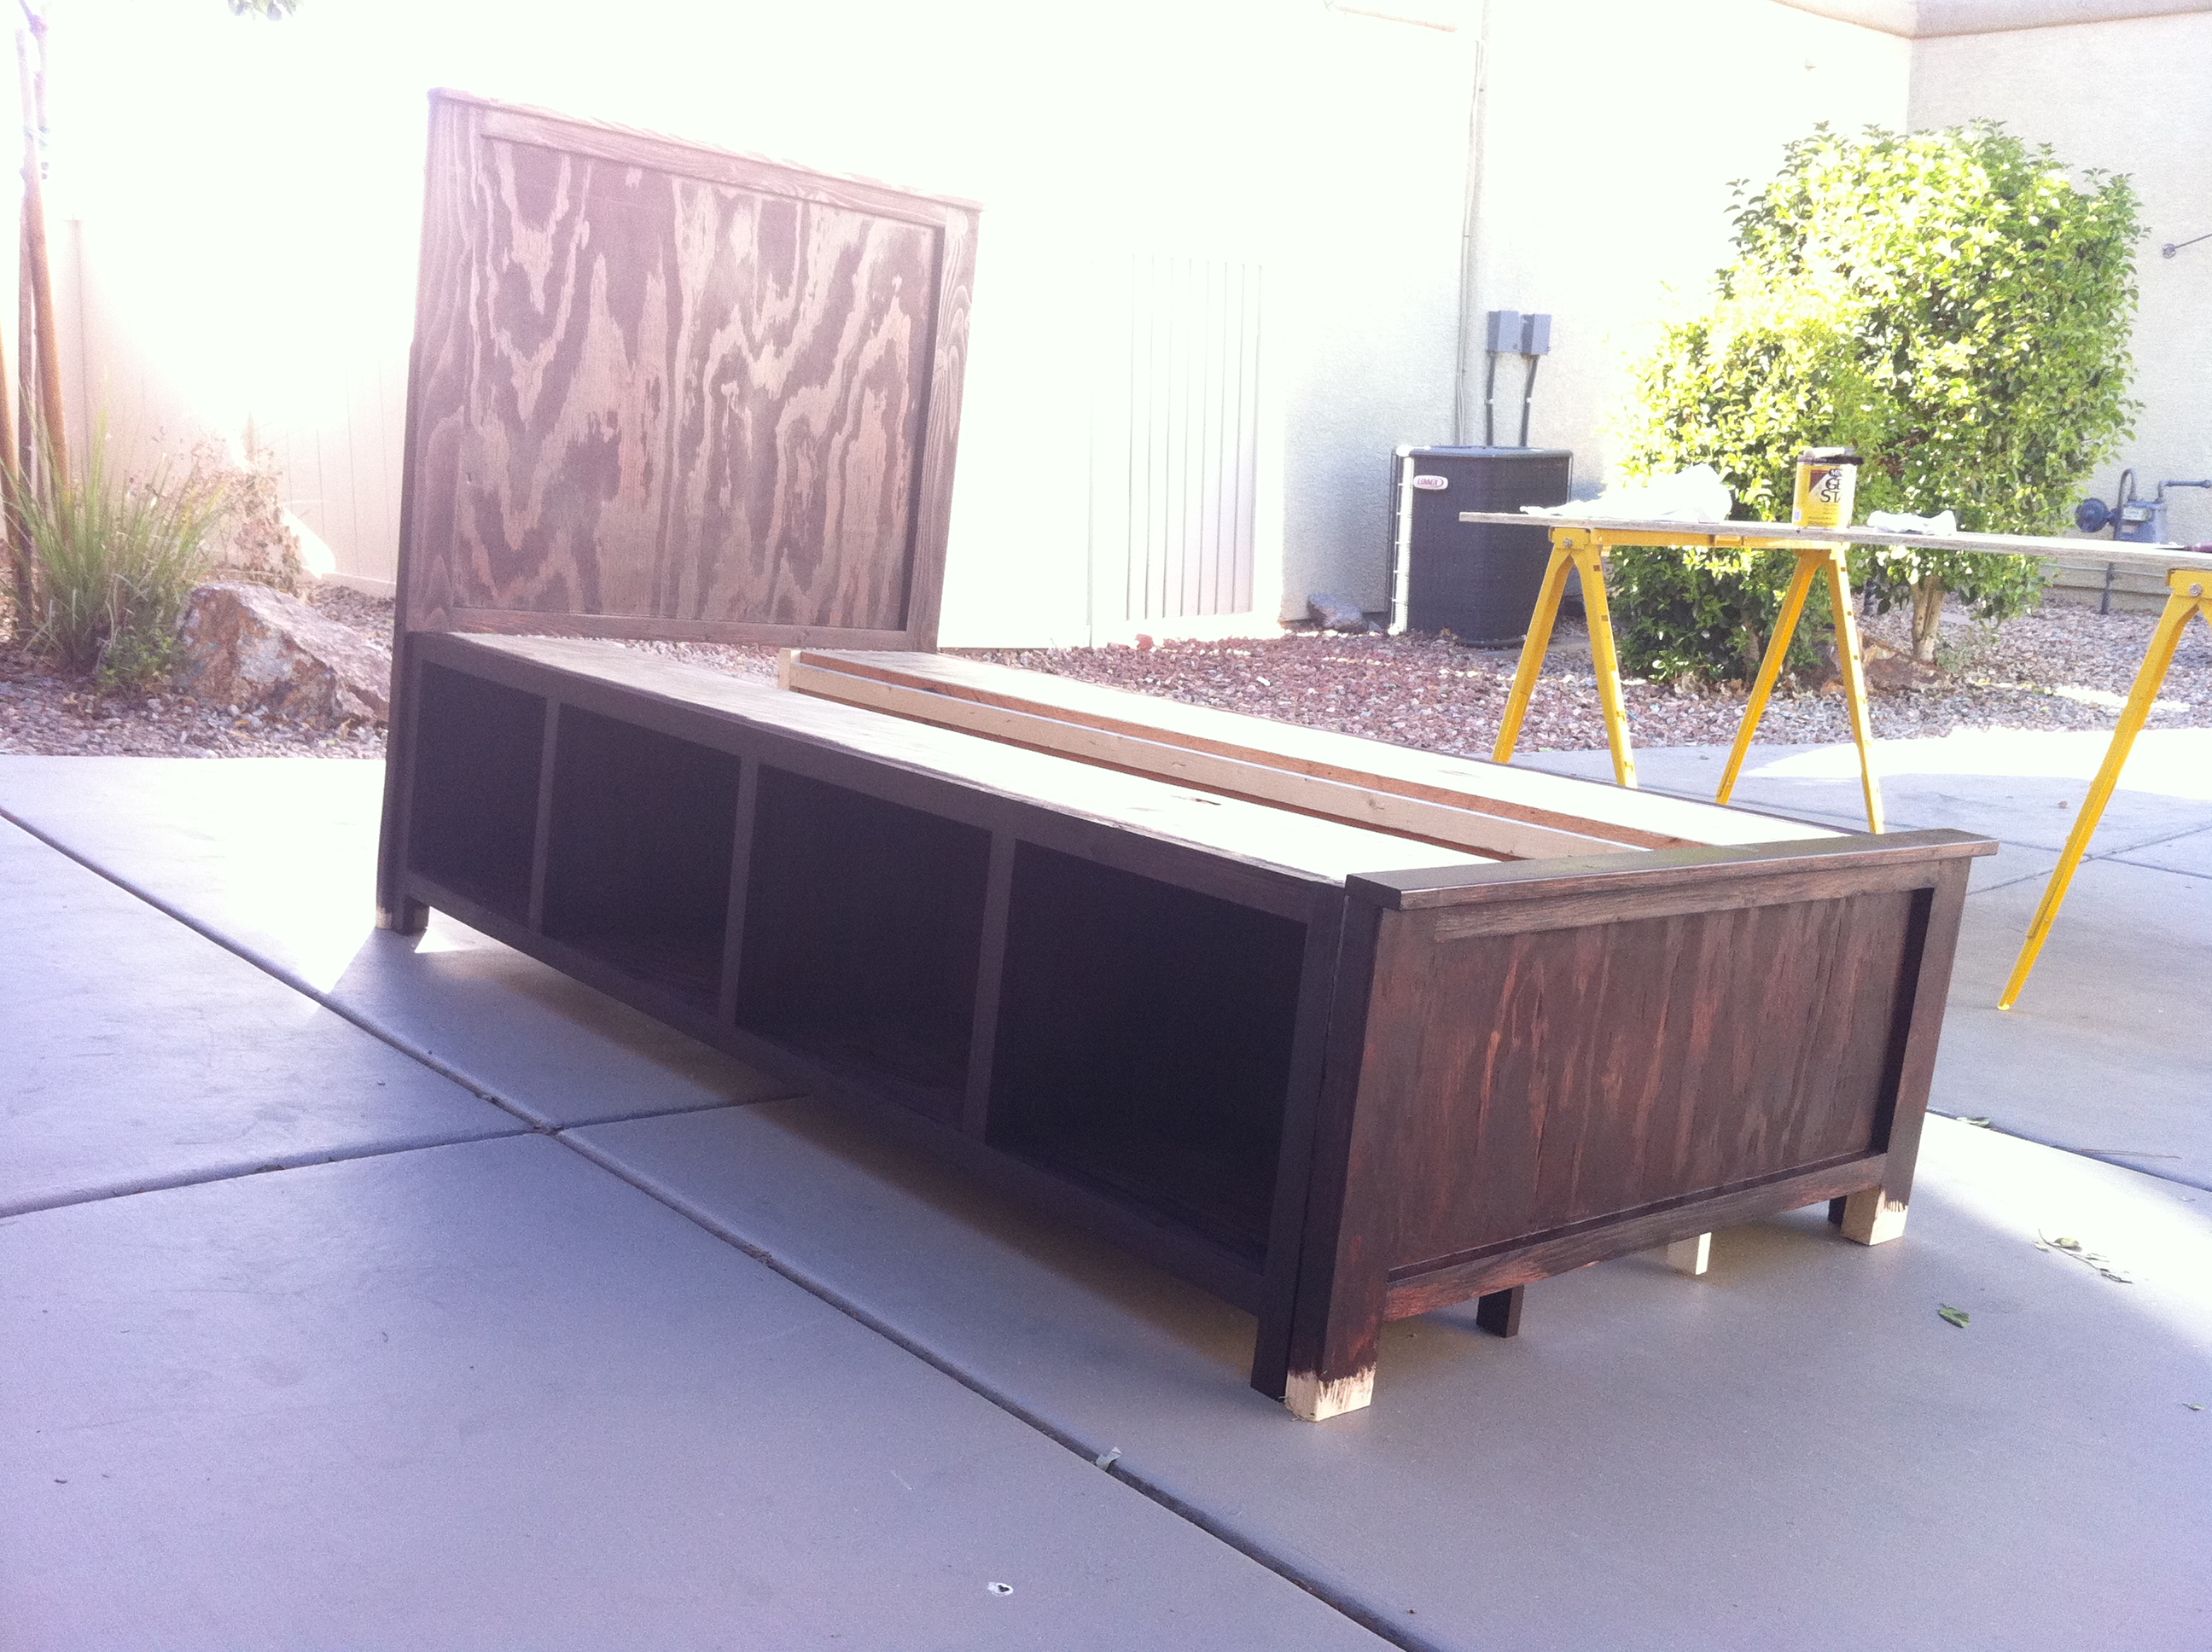
My step-dad (a VERY skilled carpenter) and I put together the storage bed with a few modifications. We used 1/2" ply instead of 3/4" (the price difference in Vegas was insane for the same grade ply). We also bought an additional sheet of ply for the head and foot boards, since my sister wanted it stained. After the first bed was finished, she asked us to do an identical head and foot board for another bed, but to put side rails instead of the cubbies. This turned out perfectly, since the additional sheet of ply had enough scraps for another full head/footboard AND to make up for the dividers that weren't accounted for in the plan.
We also bought an additional 1x2 to trim out the middle dividers, which was my own preference. I think it looks stupid without it. Not sure if my sister would have cared... AND... the last mod we made was to use 1/8" ply for the backs. It was super cost-effective, and does the job just as well as 1/4".
All in all, this was a wonderful experience for me. It felt REALLY great to be able to do this with my step-dad... intimidating as it was... And there were points where all 3 of us were outside working (my sister, step-dad and myself) while all the kids played in the driveway with us. I can't tell you how awesome that felt :-)
Sun, 12/25/2011 - 11:56
We are planning to build a version of this bed for our son's room. I was so glad to find your brag and have a boy version to show him. He was not too excited after looking at the pink, purple and white rooms. Your modifications look great! I love the even spacing on the cubbies. You all did a terrific job!

In reply to These look great for boys! by mommy can make that
Tue, 12/27/2011 - 17:13
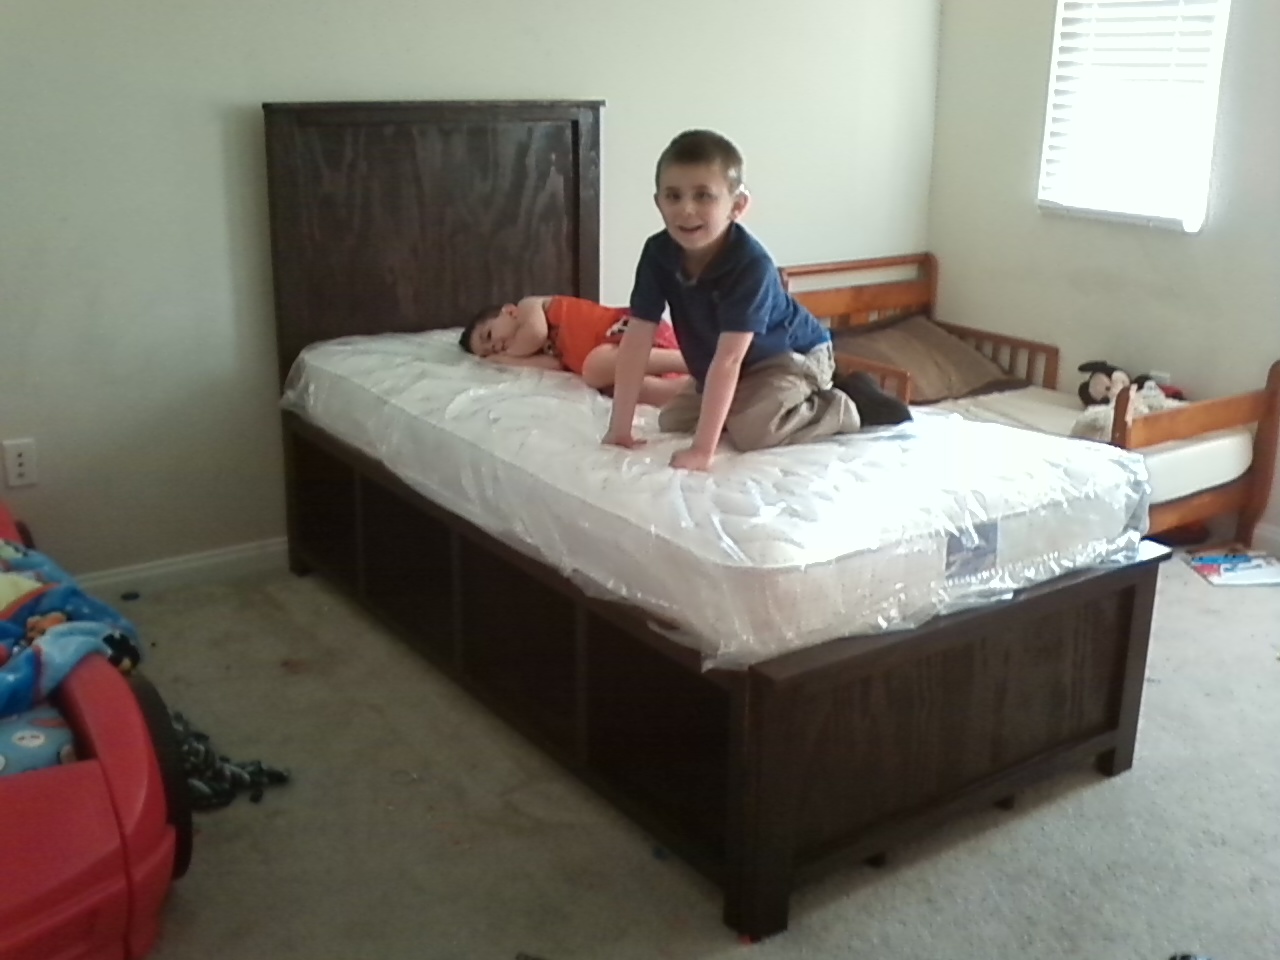
I wanted to post these (even though they're crummy cell phone pics) because I wanted other's to see that it looks GREAT stained and would totally work for boys! Which... explains my first sentence in this post :-p I'm SO GLAD this helped you convince your son :-) :-) :-)
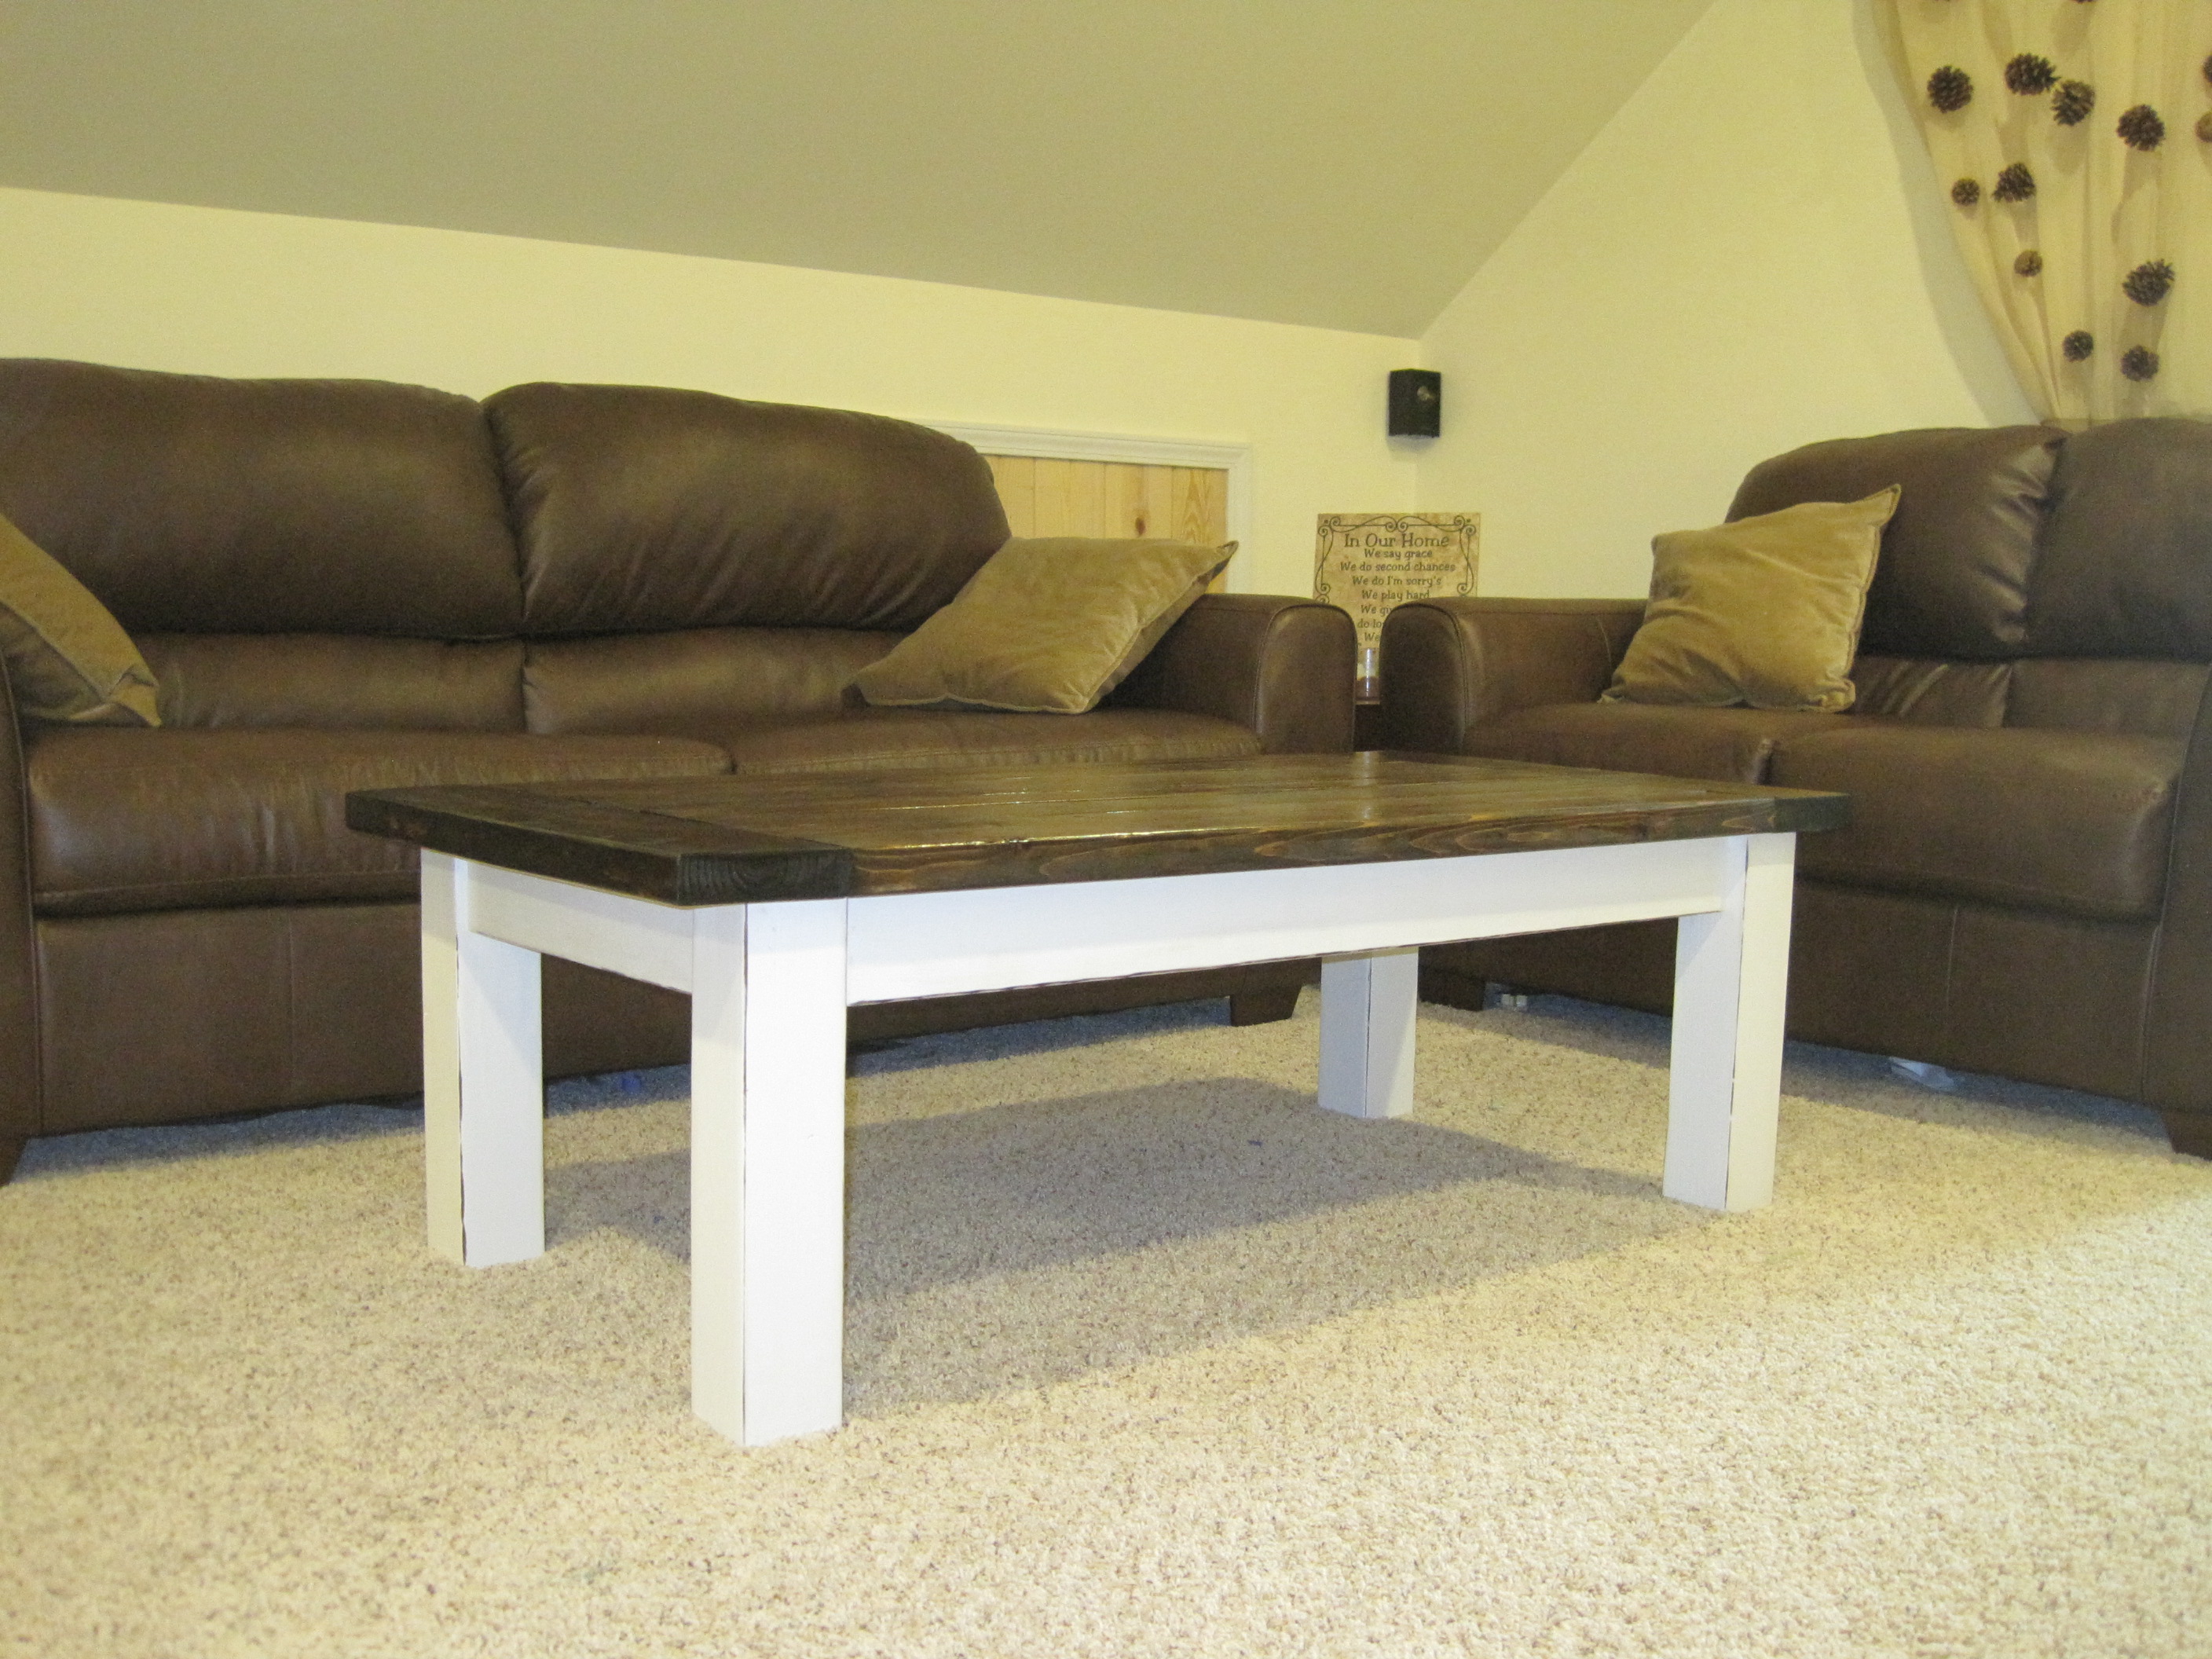
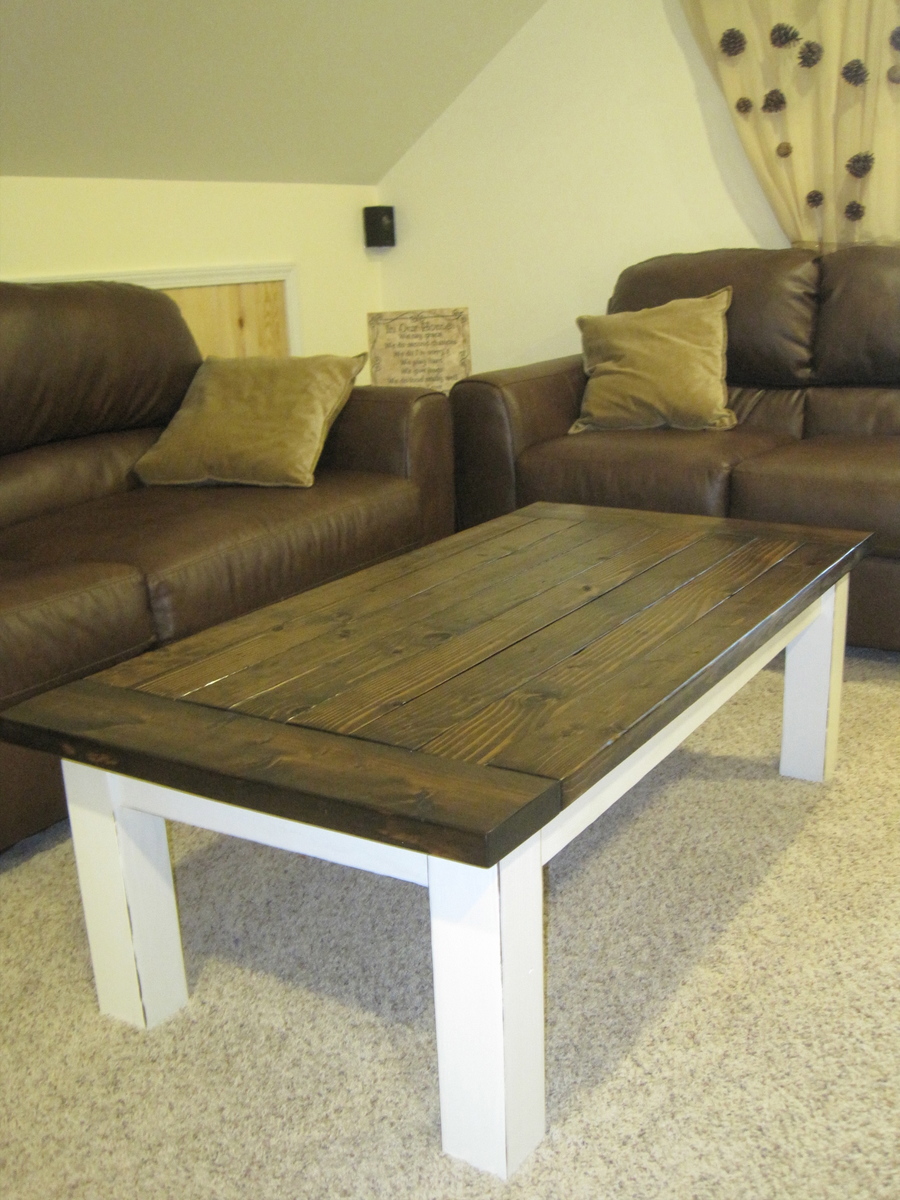
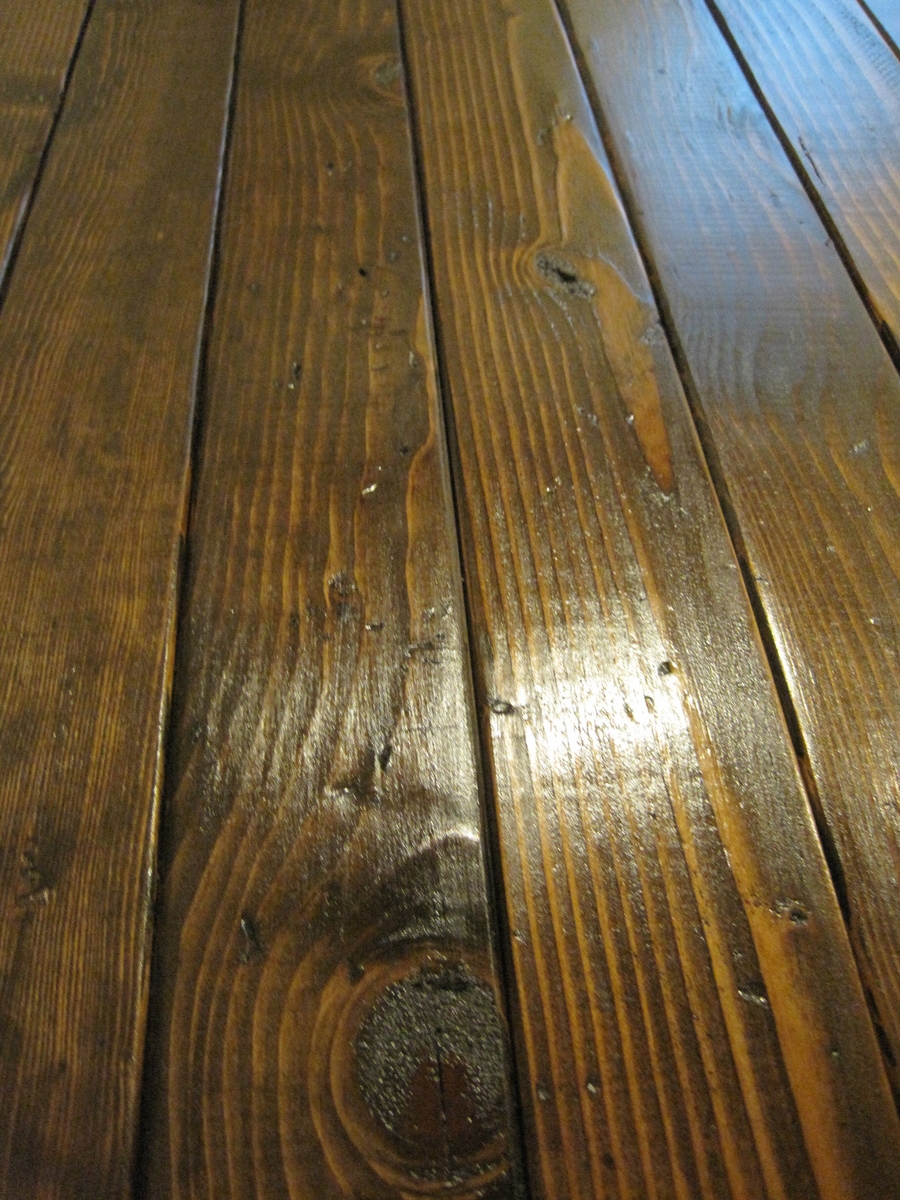
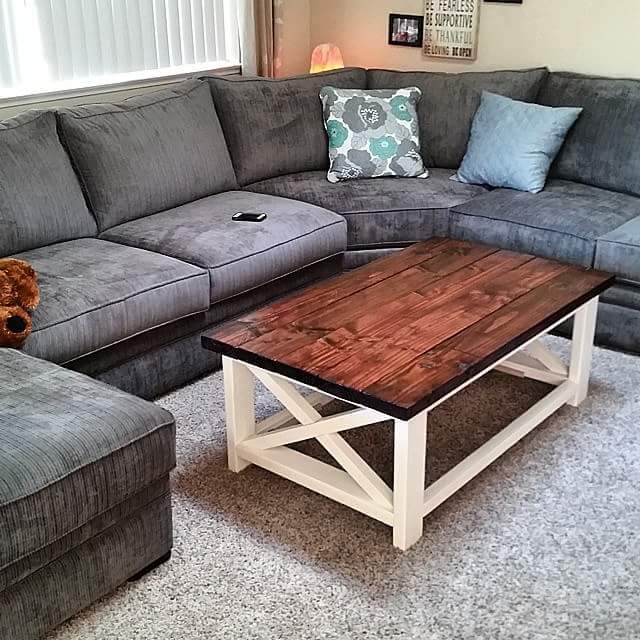
First time builder with a brand new kreg jig! (My husband surprised me with the jig! I am such a lucky gal!) I used minwax dark walnut stain and glidden paint (plain ol' white) with a bit of distressing. I shortened the 2x4s on the top so I could have 2x6 breadboards at the ends. I loved the look from the original tryde table! Really enjoyed the process of building this coffee table! Plan to make matching side tables to complete my "Tryde collection!" Thanks Ana! LOVE THIS SITE!
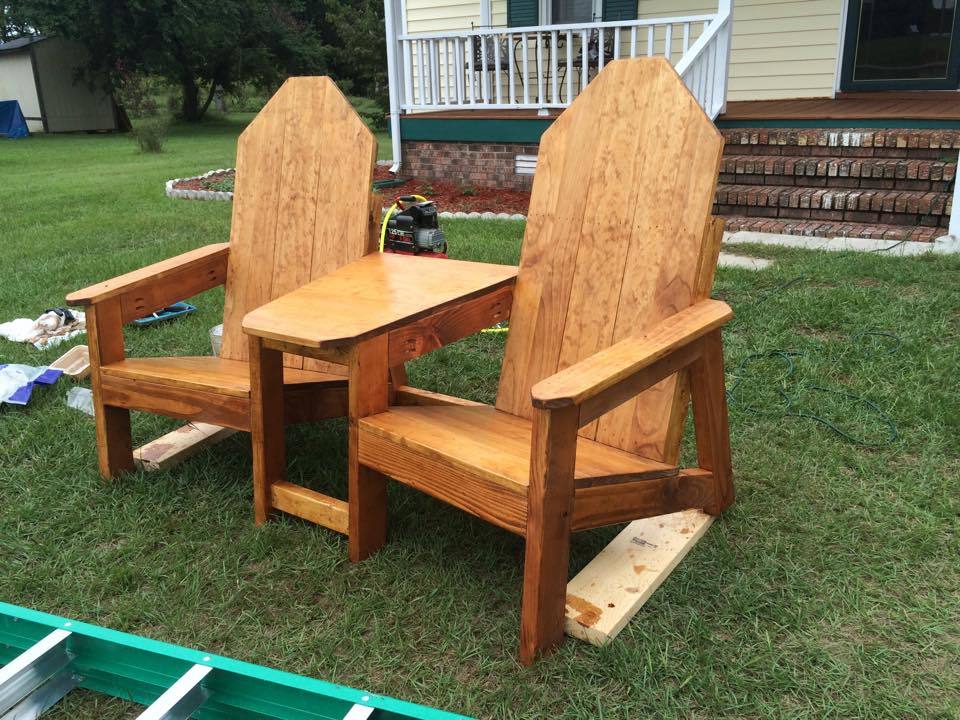
custom set of adirindack chairs i bulit for my deck. they are angled in at 20 degrees. i came up with the plans myself after looking at an older set i had purchased that were falling apart.

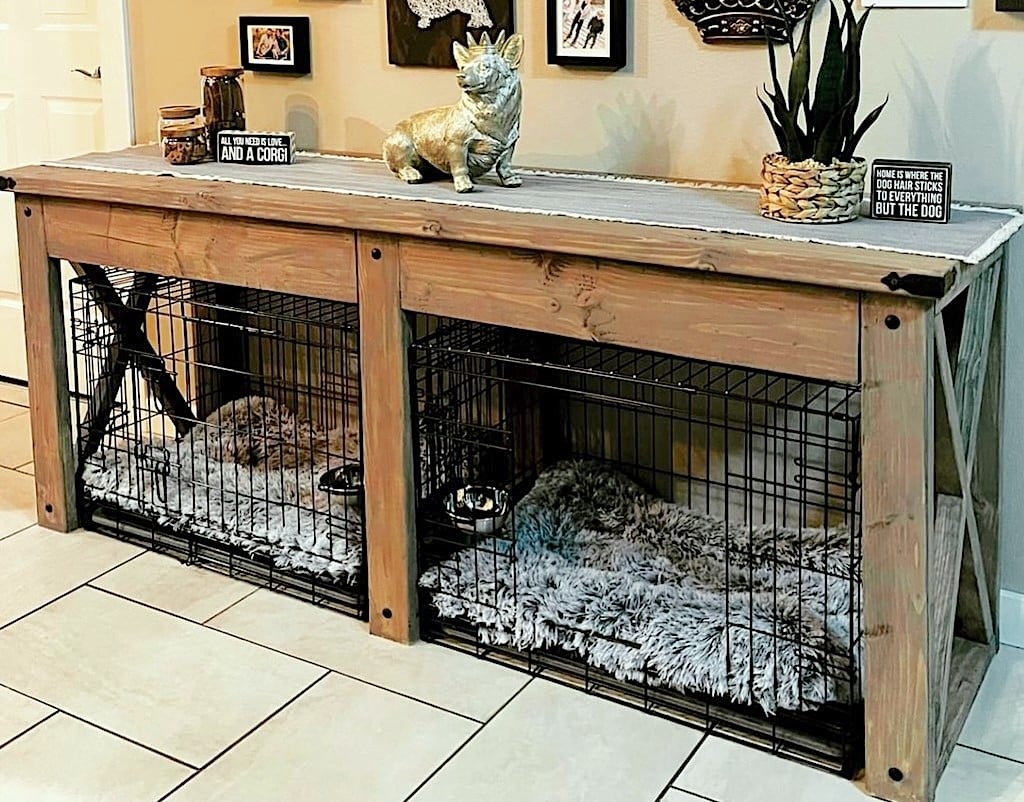
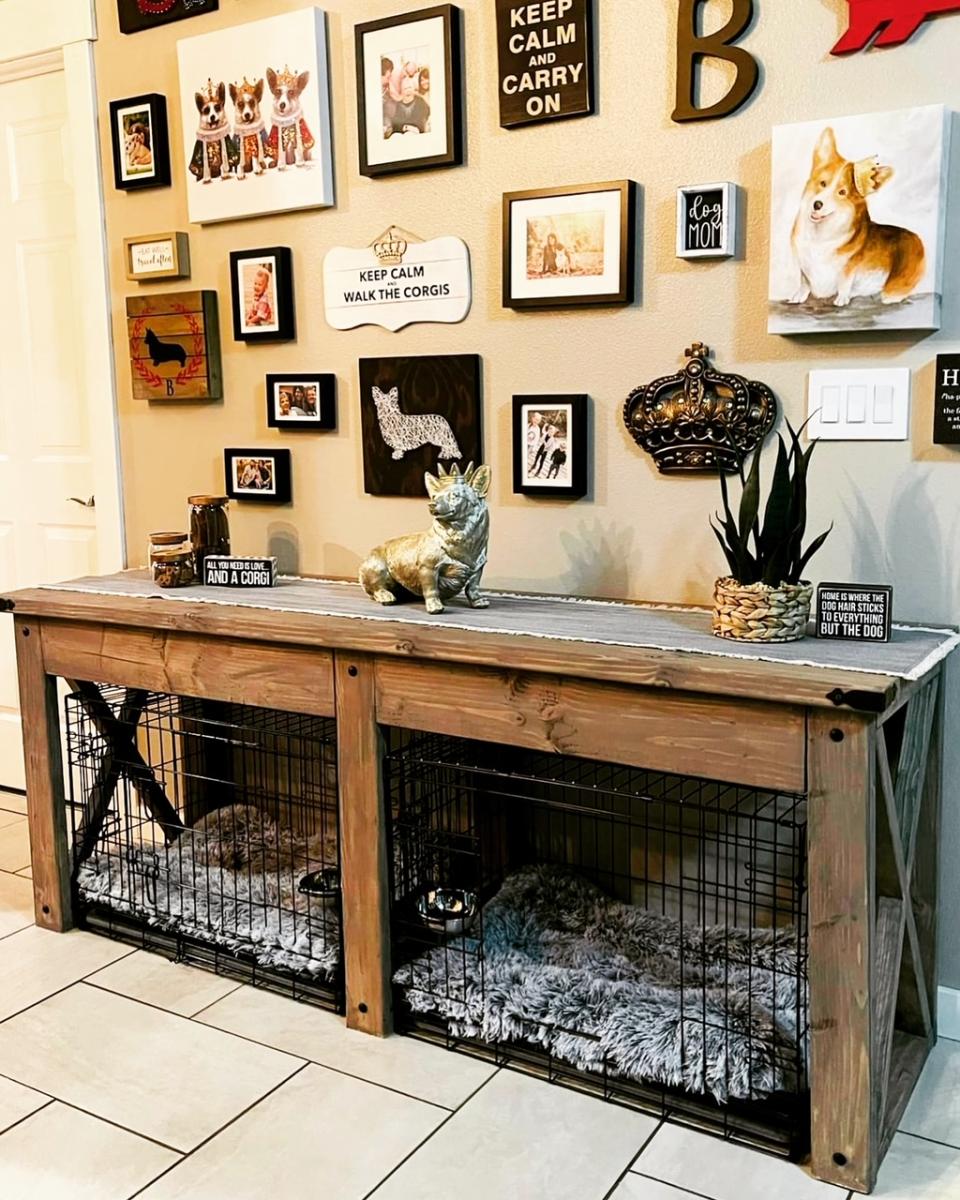
"I modified the Farmhouse X Console to become a surround for my dog crates. Thanks for the project plan!"
Sheena
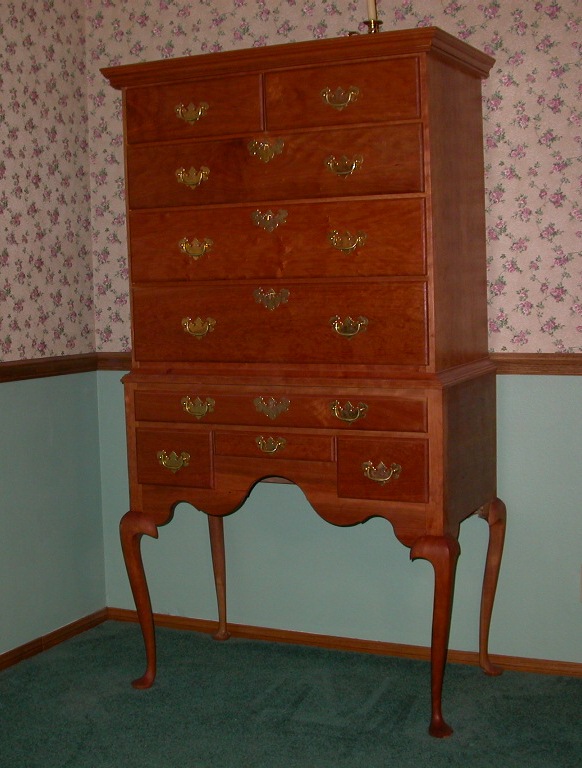
Here is a High Chest of Drawers (Highboy)I built. The original was built in 1748 by Christopher Townsend in Newport, R.I. It is made of Cherry with Maple as secondary wood. It took about 300 hours to build. All joinery is either mortise and tenon or dovetails. I worked hard to avoid any nails or screw, but the back it held in place with nails. All wood started out as rough lumber and I milled all wood myself. Moldings are of my own design, but based on the original. Brasses are from Horton Brasses. Drawers are all wood-on-wood with no glides, per original. I made a little tiger maple foot stool to get to the top drawers. All escutcheons have working locks.
Mon, 11/07/2011 - 14:55
You are extremely talented! (And I bet you have fabulous tools!) I am jealous!

Mon, 11/07/2011 - 15:15
Thanks for the compliments. Yes, I did make it wholly by hand. All it was was a series of smaller tasks, just a whole bunch of them.
I has slowly accumulated most of the tools required. I have a jointer, router table, planer, band saw, table saw and a hollow chisel mortiser.
The cherry is getting richer over time, so it actually is getting better with age. I really like 18th American furniture. I prefer to work with Cherry, Walnut, and Tiger Maple. All rough wood only, no milled boards of any kind.

Ana,
I want to take a minute to thank you for your website and all the free plans. You inspired me to make my first piece of furniture. I made a farmhouse bed using off the shelf lumber. The stain is weathered gray. I used your link to making your own stain (vinegar and steel wool). The bolts are 3/4 inch and are decorative. Also, I notched the posts so they can support the full weight of the rails. Thanks again, I can't wait to start on my next project!

Wed, 10/23/2013 - 06:44
This is a really nice piece. It looks like you bought it, it is so finished. Well done.

We were looking for a narrow side table for the little space we had at the end of the sofa. This table was perfect size, exactly what we were looking for and incredibly easy to make.


Thanks again to Ana White we learned the skills to create our pantry unit.
Sat, 02/25/2023 - 17:17
WOW, this is incredible, thank you for posting your project!
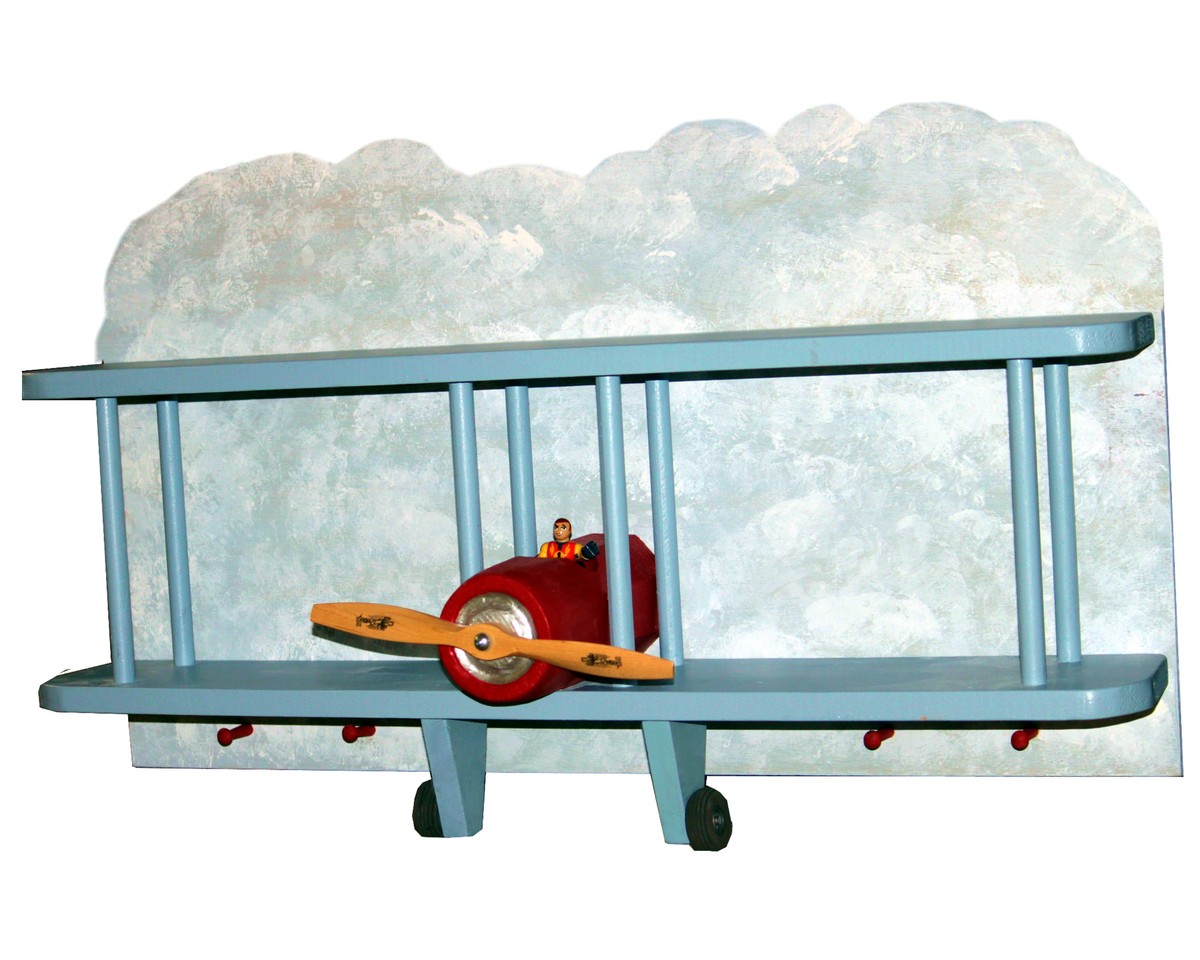
I got inspiration from your pattern, but decided to make it more realistic since my four year old grandson is a stickler for detail. Because I had scraps, the only cost for me was the propeller and wheels from a hobby store (about $8).
The body of the plane was cut from a scrap of 4X4 post; the corners were cut off at 45 degree angles to make it more rounded (sanding rounded it more). I used a dremel to carve the engine indentation. I used 5/8 inch dowels for the wing struts (only because I grabbed the wrong drill bit; you could use 1/2 inch). The wheels were attached to 2 1/2 X 4 inch pieces, which I mitered to make smaller at the bottom.
The backing was cut to fit the length of the shelf and 18 inches high. I painted the background a soft blue and then applied white for the clouds. After attaching it to the plane; I decided to add some pegs.
This is a Christmas gift for him because we are going to redo his room after the first of the year. I will be building him a loft bed from Ana's plans and adding some more airplane decor.
Tue, 11/08/2011 - 14:58
Your altered design is so professional looking. I have seen plans in a woodworking magazine that makes the bi-plane shelf very realistic, but I would never be able to build it because I don't own the tools. Yours is one any of us could build. Thanks for sharing.
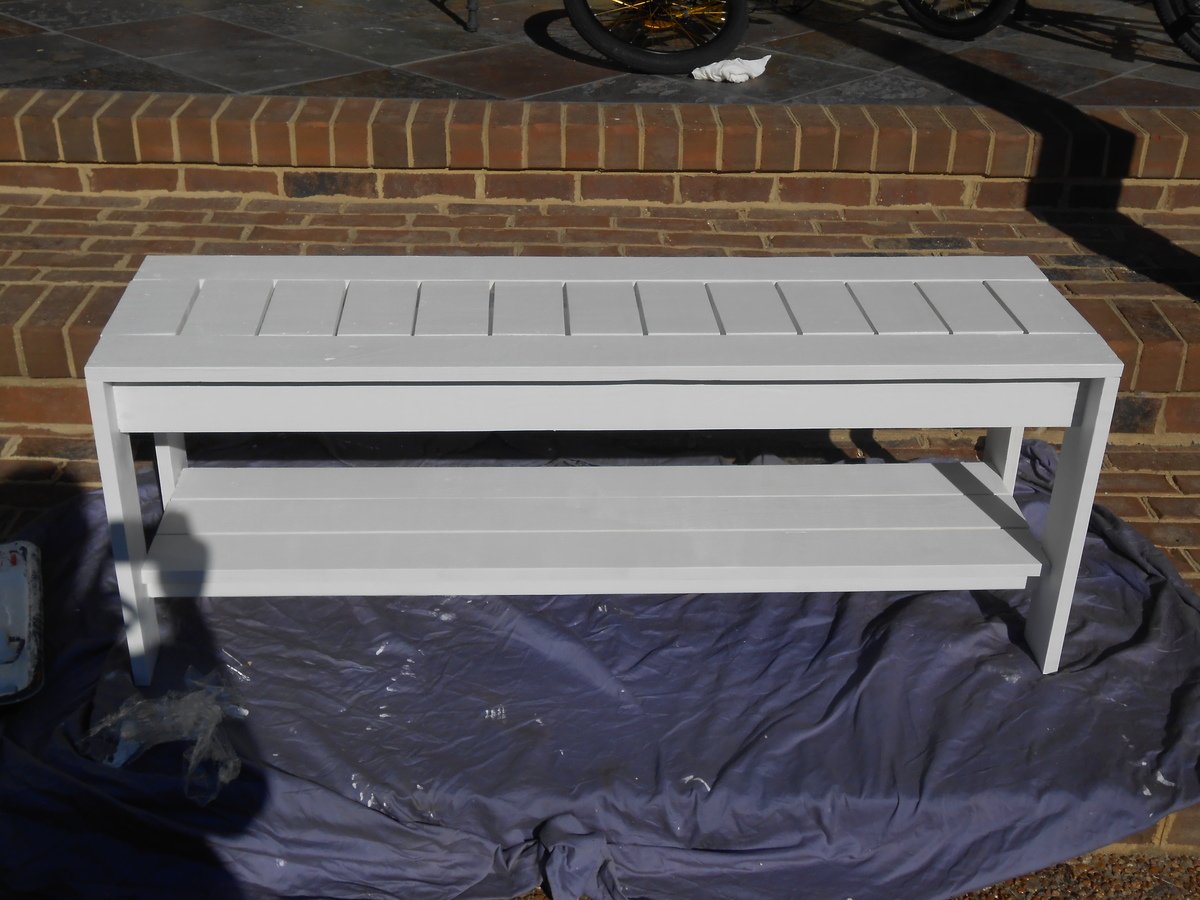
I had to modify the plans. The Size is 14" x 48". I also added a shelf at the bottom for shoes. Can't wait to replace the ugly shoe rack at the front door with this! I also used 1 x 4's for the apron. I found 1"x4"x14' at homedepot for only 3.40per piece!! So I was able to build this for less than $15. The wood has more knots than the other 1 x 4's, but if you look thru you can find some good pieces. I'm going to use this same wood to build the outdoor sectional too.

I took this picture prior to putting the lower shelf pieces on. Never got around to taking one after.
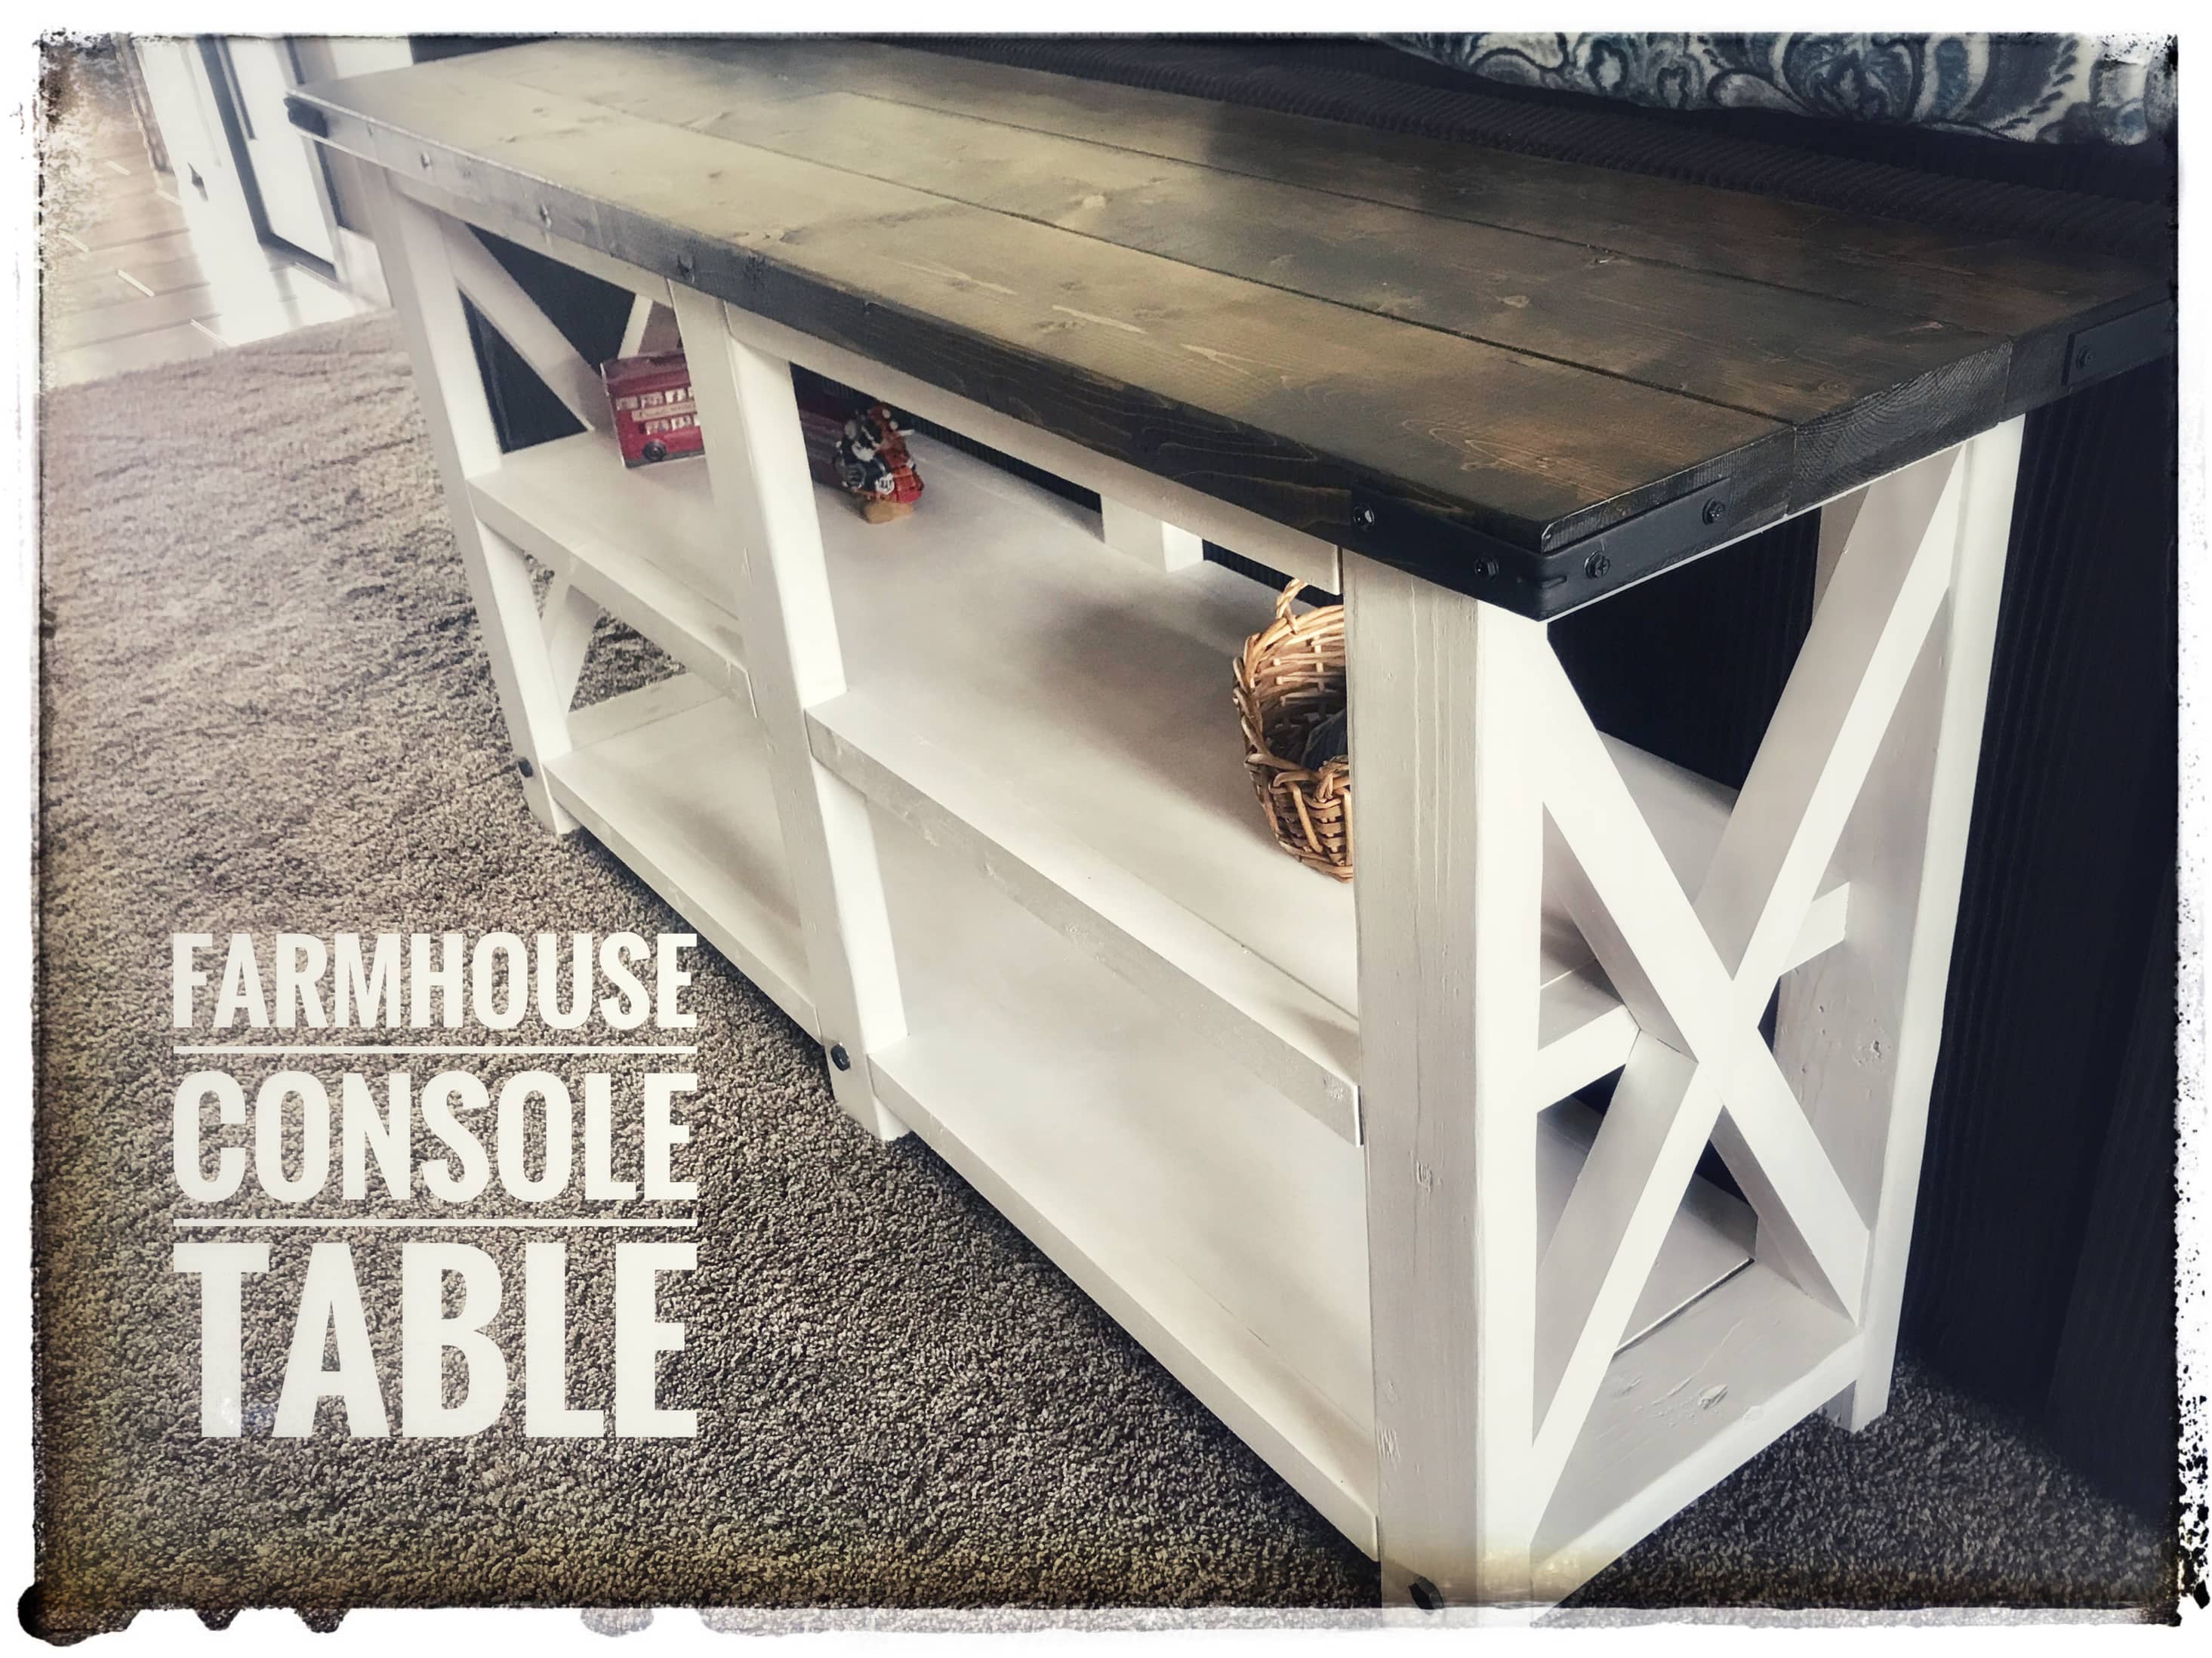
Check out how I made this X base console table:
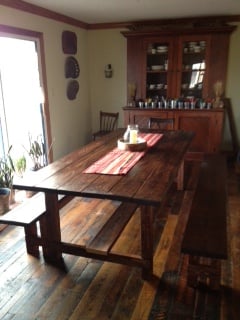
We built this Farmhouse table in a week. Unfortunately, we didn't get it completely put together for four months. Now it is finished. It is our first project. We used pine and fir boards from our local lumber store. It is finished with red chestnut and dark walnut stain and then a couple coats of briwax dark walnut (love that stuff!!). The table is 96" and pictured here without the 15" bread boards that go on either end. The benches are 8' as well.
Sat, 05/24/2014 - 01:12
I loved your stain. I see you used two types of wood and two types of stain. Can you tell me more? Did you alternate the wood pieces? Did you stain the red chestnut first and followed it with dark walnut? I'll probably copy what you did :)

This bench is HUGE! I think I should have scaled it back. It was fun to make, though. Thanks for the plans :)
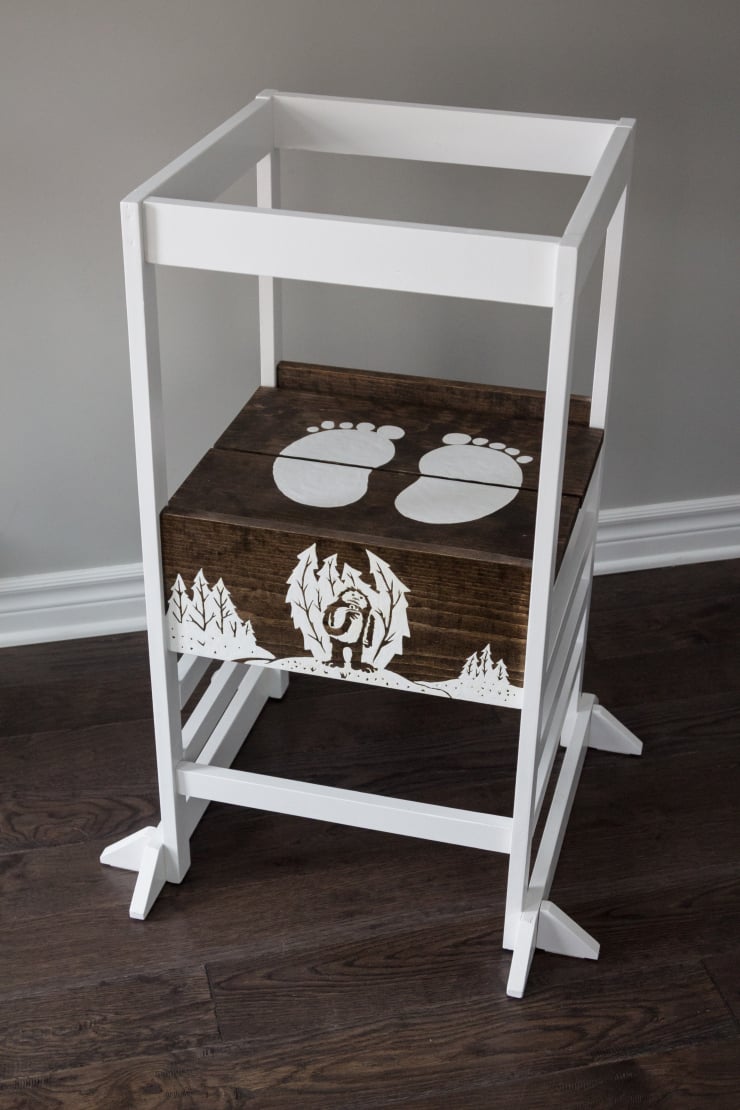
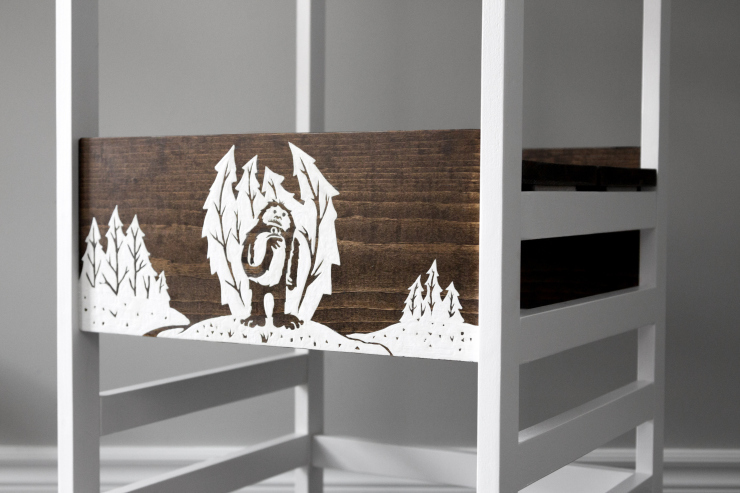
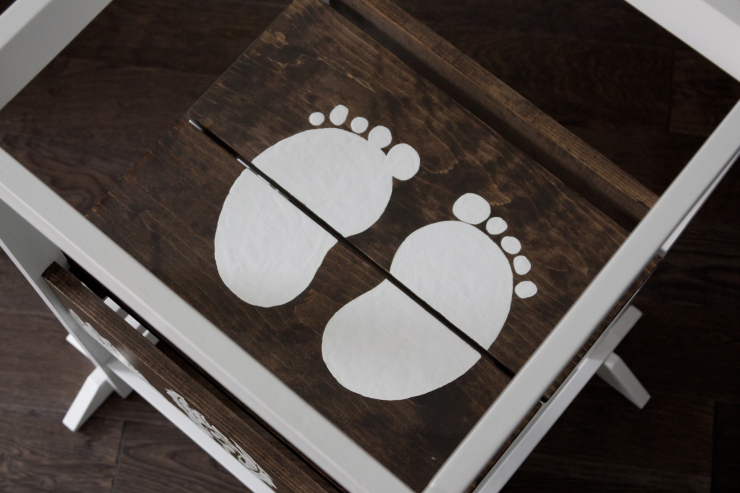
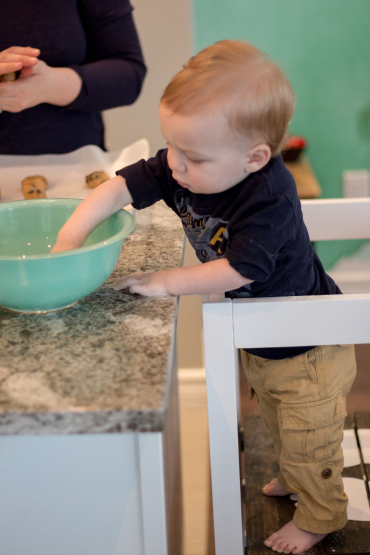
This was easily the most elegant and functional tower design I found on the internet and it does not disappoint! I made a few modifications that included a lower, squarer (?) profile to fit under our counters, a hand painted mural, some stain, and of course some Yeti-your-feet-go-here-footprints on the platform. As soon as the paint was dry, I set my son up at the counter in it. His little face lit up with delight at all the new details and things to see. He instantly started looking at everything with swift little back glances at me that said “Really Mommy?! I can stand here?!” Totally worth it!

Tue, 01/12/2016 - 15:55
this is so cute! I love the hand painted drawing. This project has been on my to build list for a while. I think my little guy is big enough to make good use of it now.

