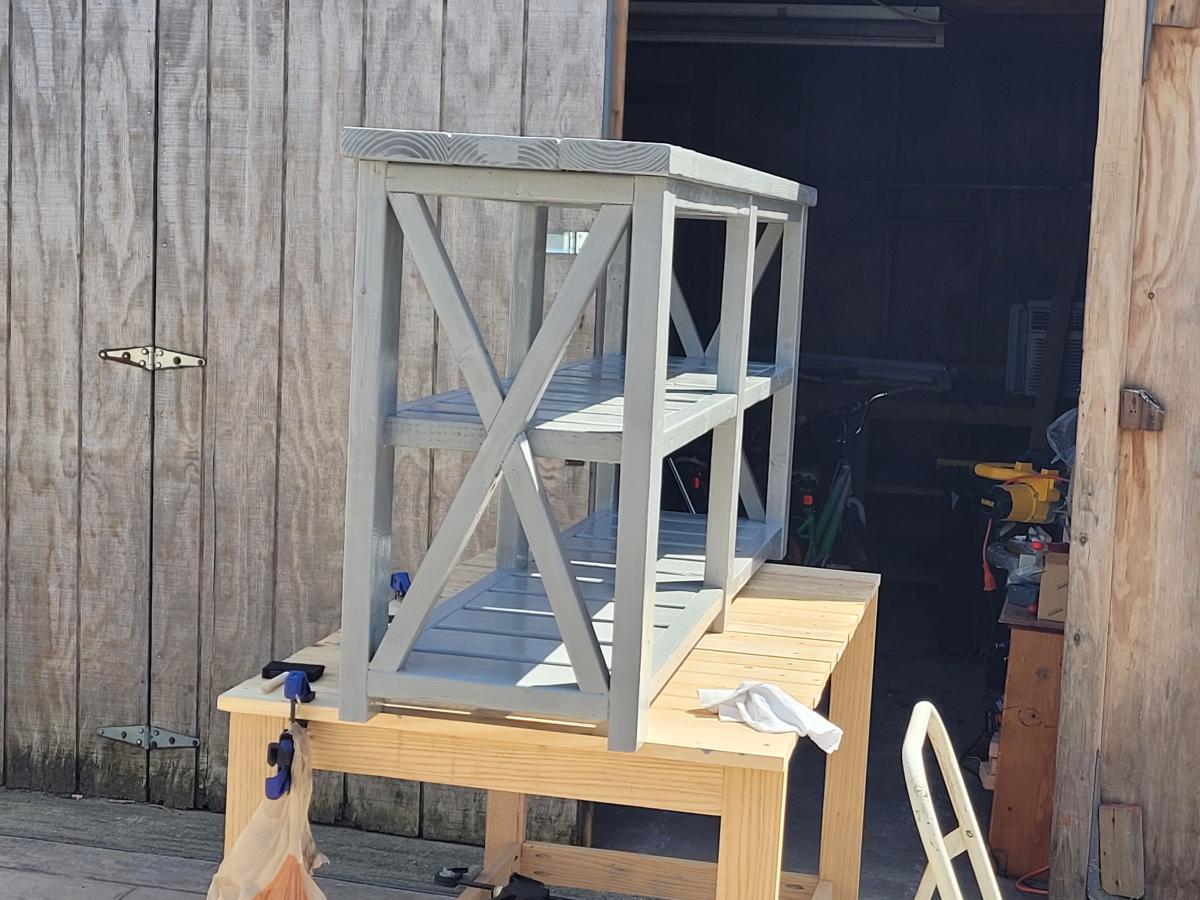
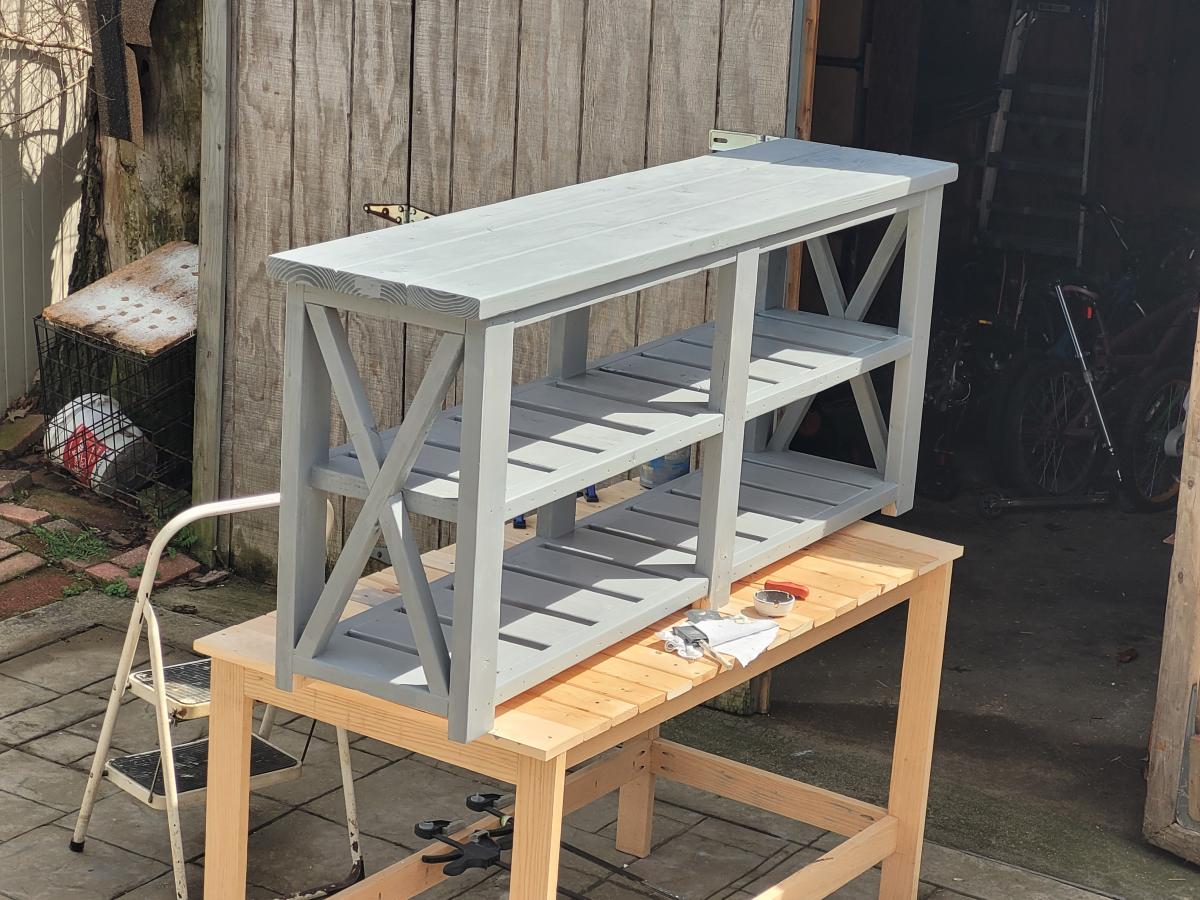
balin console table :)
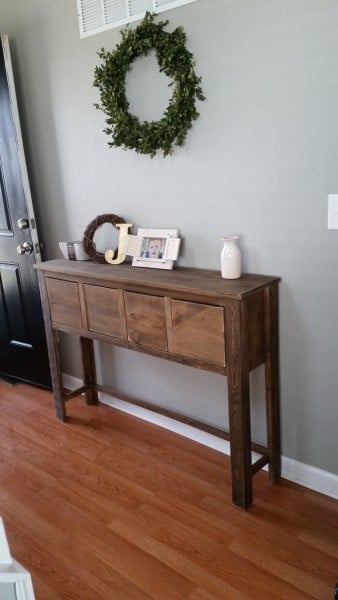
I changed the 1x12s to 1x10s because I needed it to be a bit narrower and I added s few inches to it's height also. I love it!
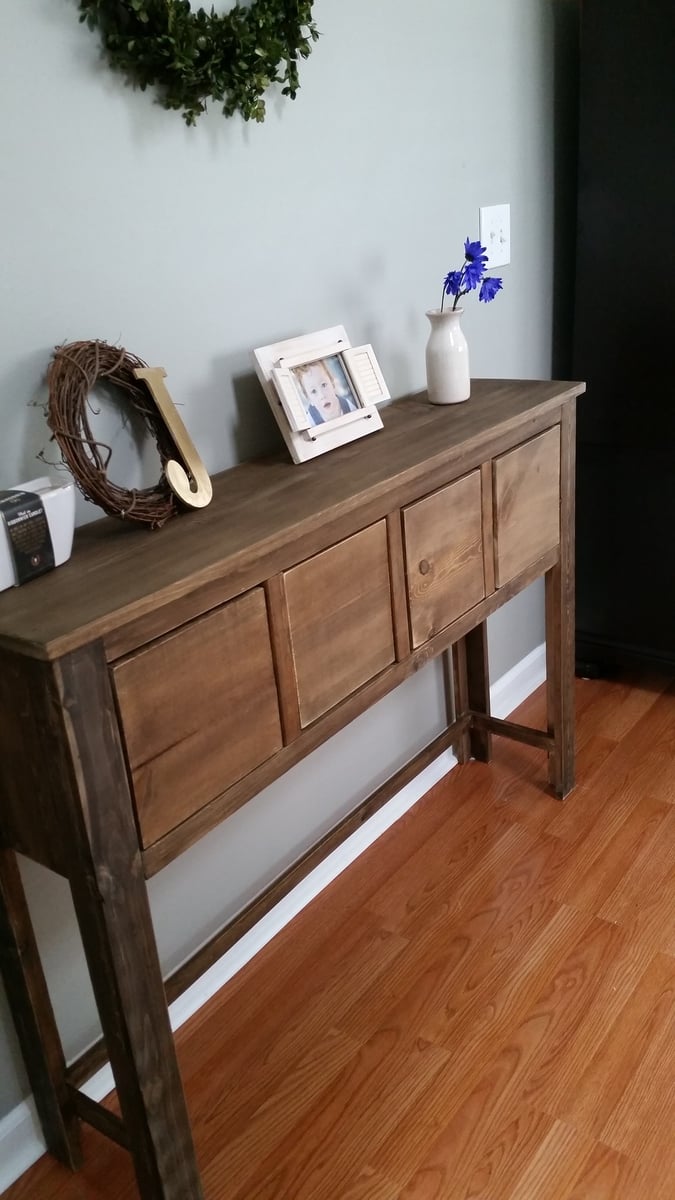

I changed the 1x12s to 1x10s because I needed it to be a bit narrower and I added s few inches to it's height also. I love it!

I added legs to mine so it would lean up against the wall above the molding. I liked the look of it without plywood backing. I'm really happy with it and it was pretty simple to make.
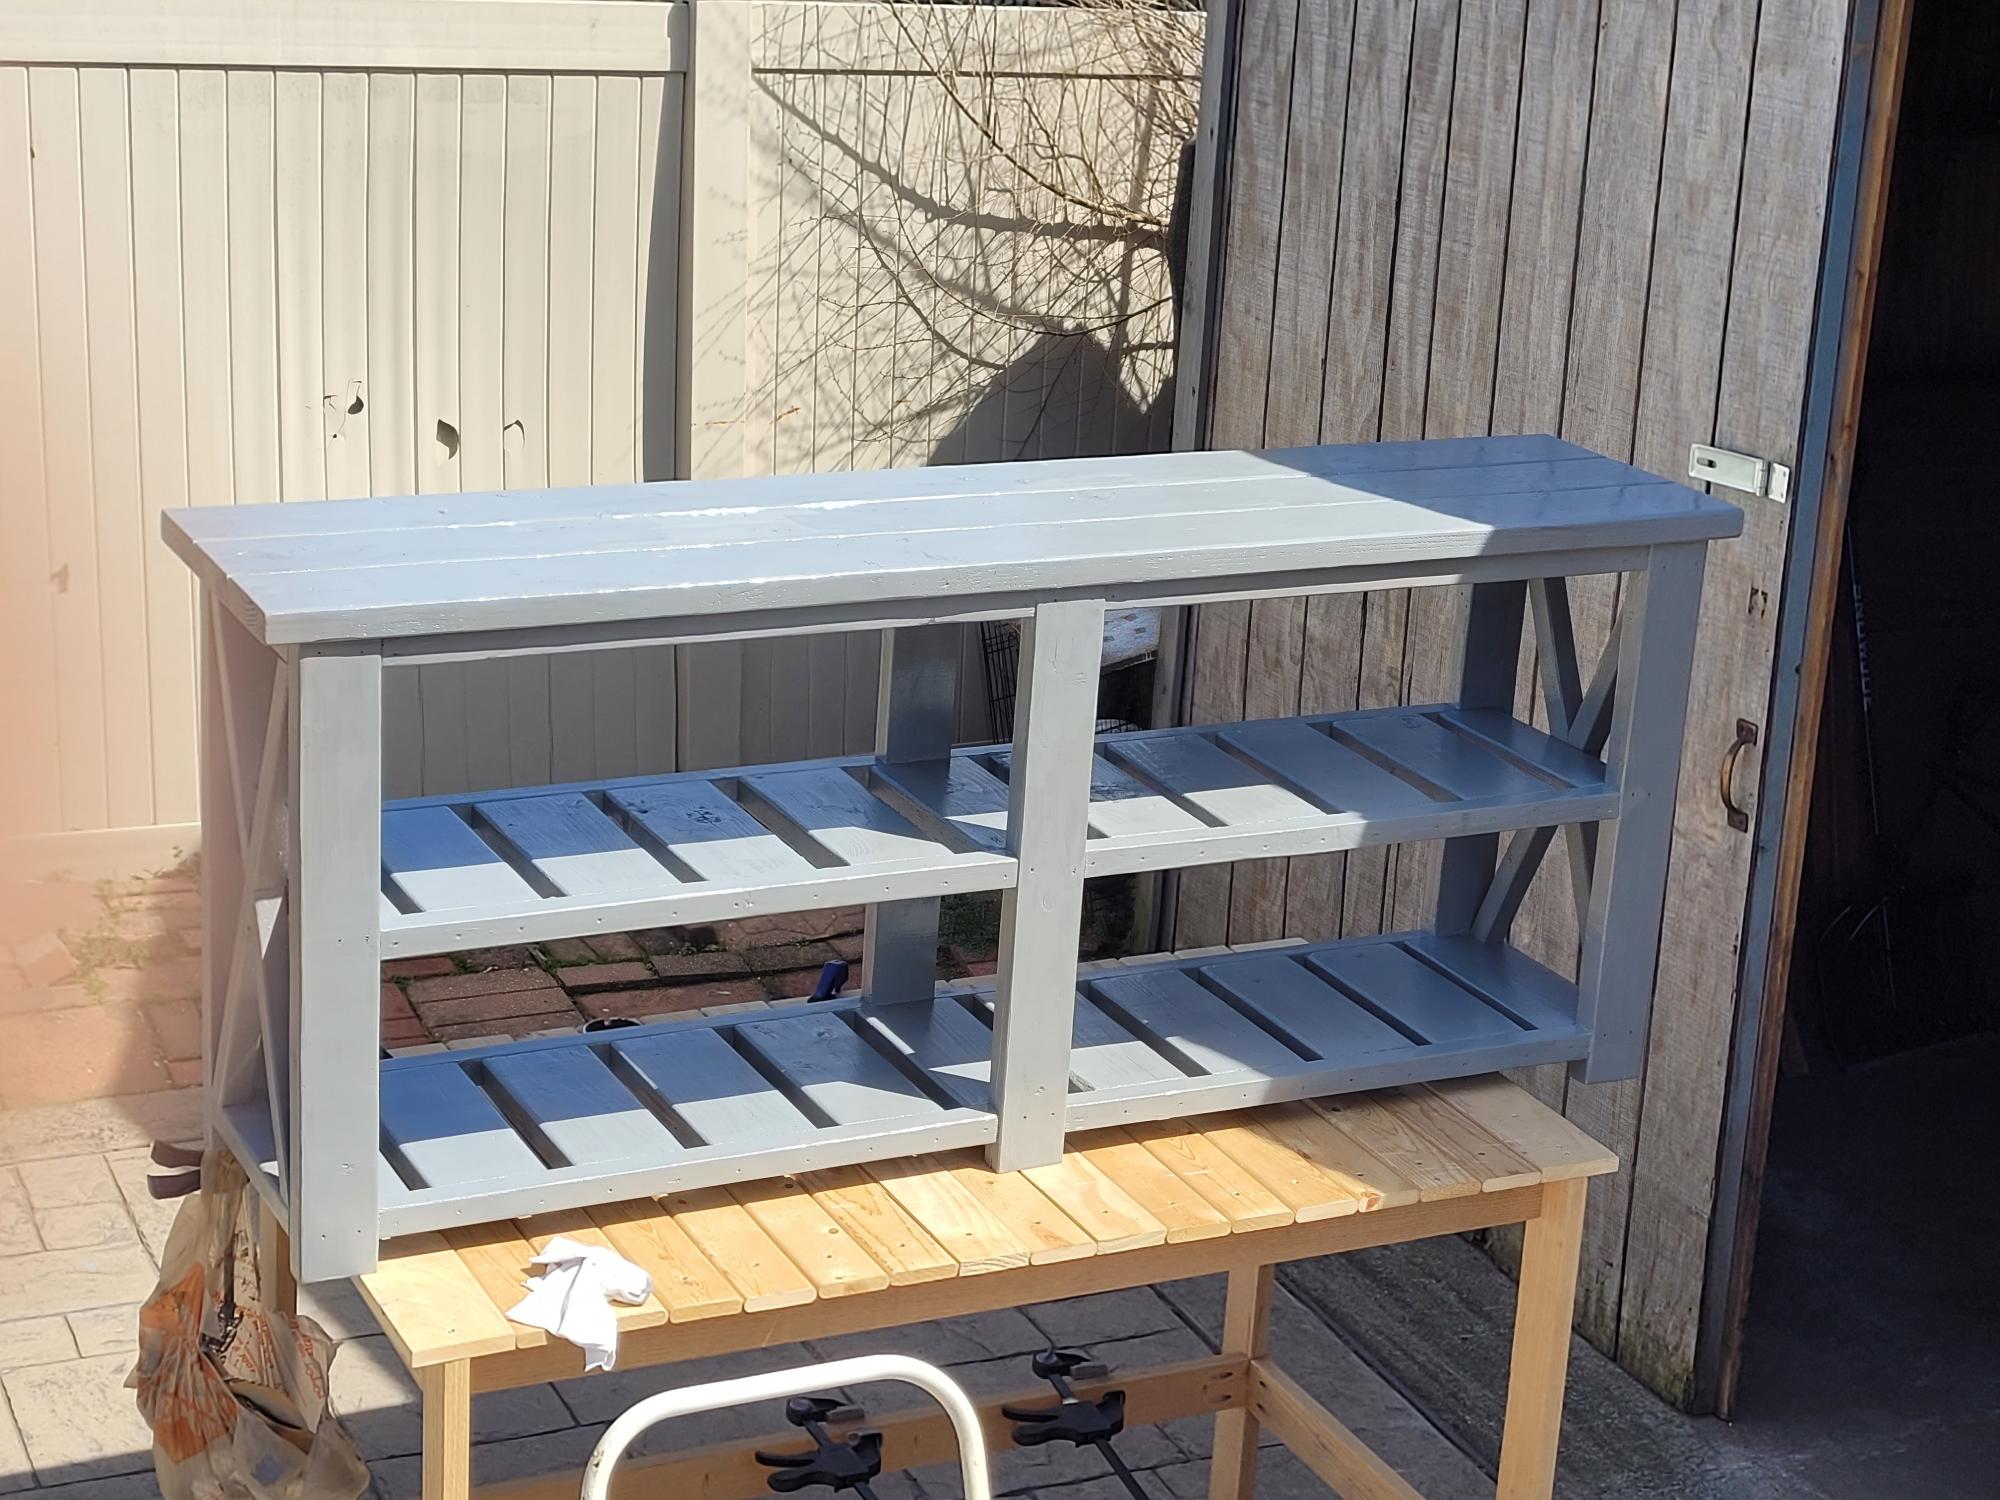
My first build in my new house I didn't think it would come out so well. Thanks for the plans. I love working with my hands
Sat, 04/24/2021 - 05:20
Lumber is quite expensive right now so I'm not sure what's next but once I figure it out I'll be sure to post it :)
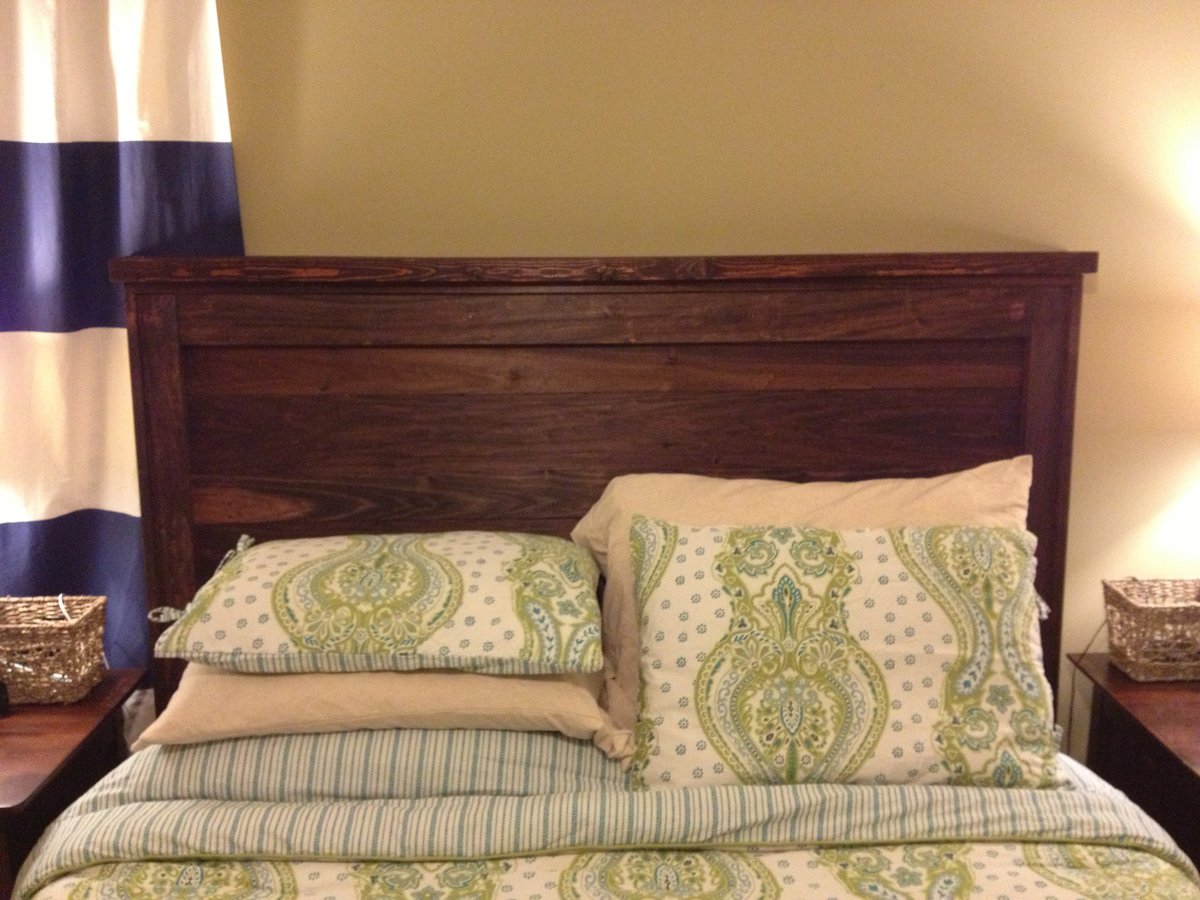
This is one of the coolest things I've ever built! My husband was so proud of me. :) I recently completed built-in bookcases in our 3rd bedroom/office and those were neat and much more complicated, but I think he likes this better because he sleeps next to it every night. This only took about 2 hours to build, but the staining made for a weekend project by the time it was completed and dry. We've gotten a TON of compliments on this and even had friends ask for me to make them one! Thanks, Ana!
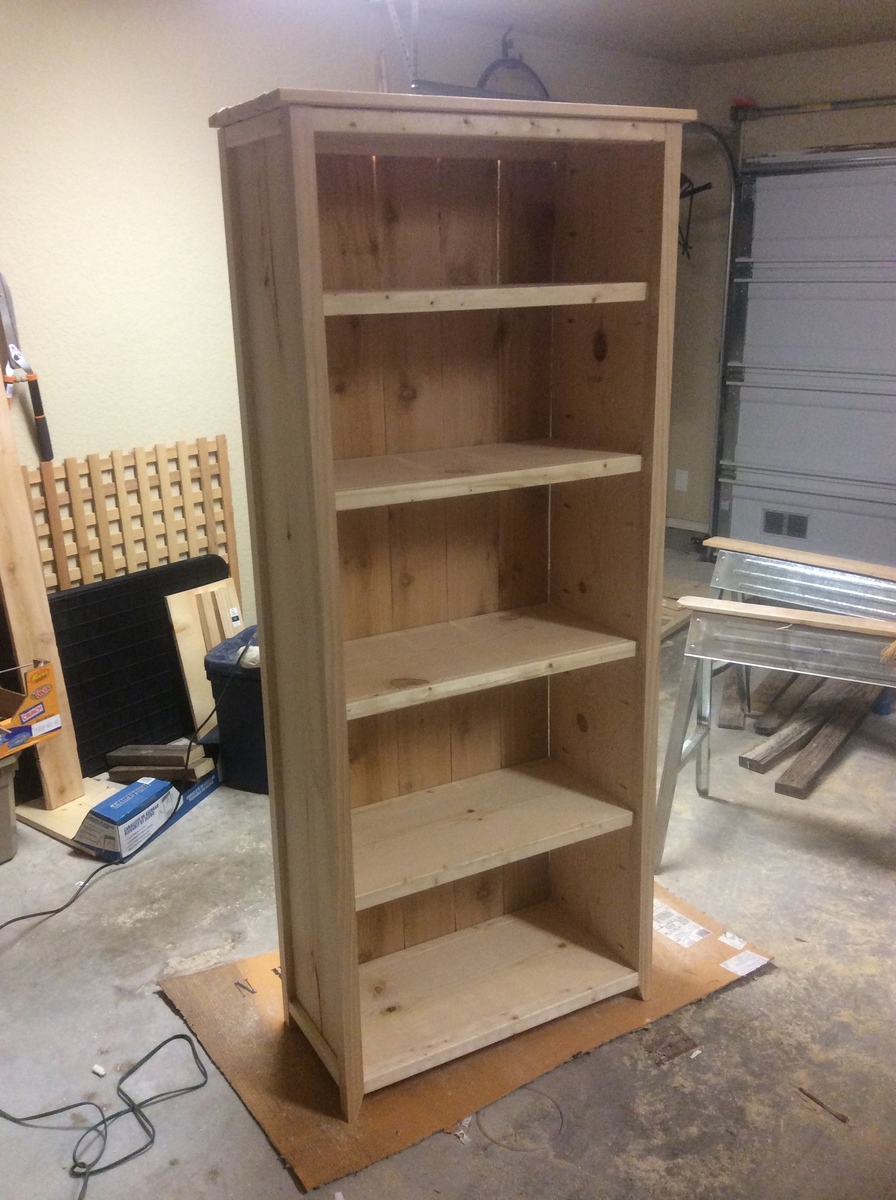
This was my first time using a plan from this site, it was my first time using a kreg jig, and pretty much my first time using a circular saw on anything that mattered. Also my first time staining. I'm real happy with how it turned out except for the staining! I used a stain + polyurethane in one and found it very difficult to get the color even without streaks. Next time I think I am going to stain all my cut wood BEFORE I assemble. I think that will let me have a nice even stain. Any thoughts on that?
I enlarged the plan by adding 12 inches to the top and 6 inches to the width. So I added a shelf 12 inches above the top one. It feels big and I love that.
Another thing that worked out nicely for me, I noticed when I was buying lumber from HD, the 2x2's were all a little bit warped or crooked, So for the four legs I opted for the premium perfectly strait and smooth pine. It was 8 bucks a piece instead of two but worked out I think. For the back I used mahogany pickets - not smooth, hard to sand down, but looks nice.
Took me about 20-25 hours over two weekends. Sanding and staining were the only laborious parts.

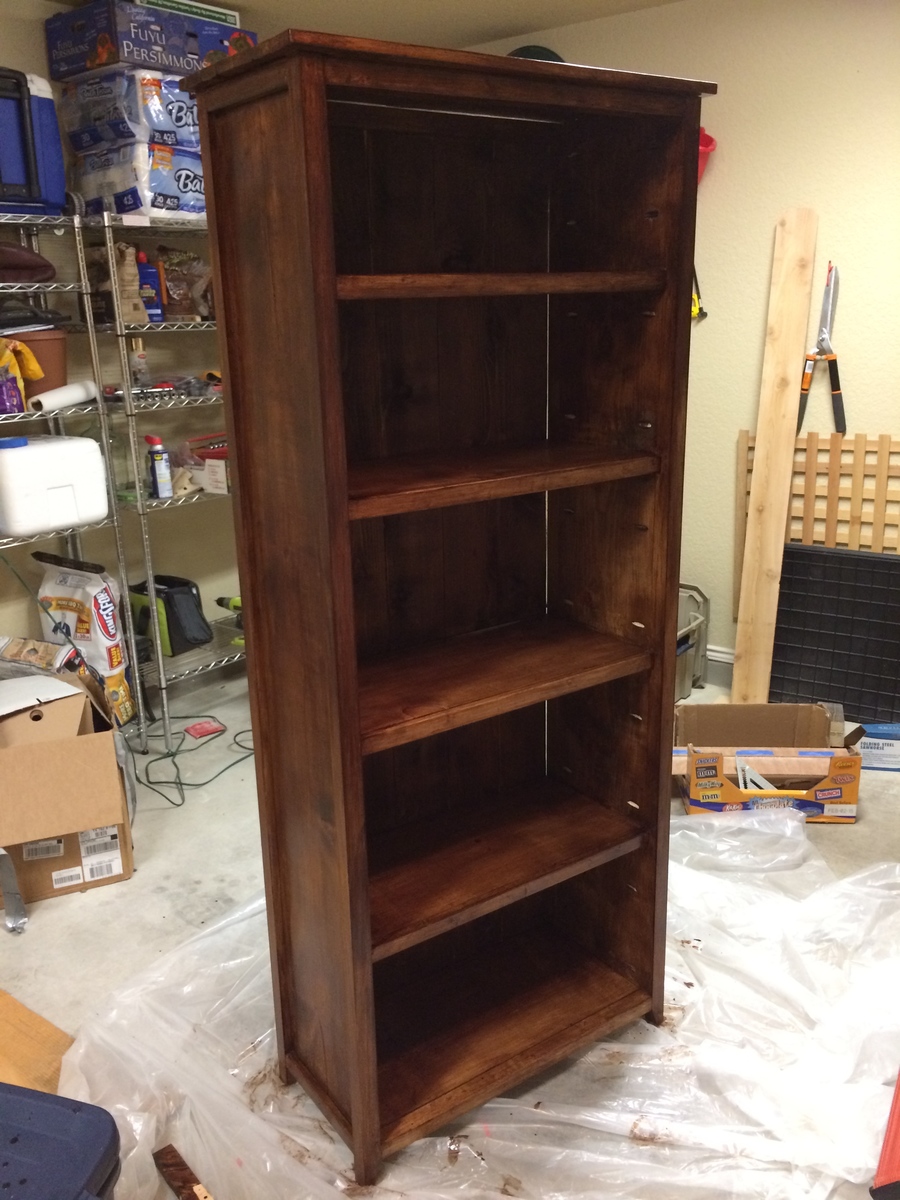
Fri, 01/23/2015 - 14:36
First I think your shelves look beautiful! I generally do find it easier to stain before I assemble. The corners can be really hard to do properly otherwise. The other thing I would say is that a stain primer can help make your application more even.
Thu, 11/10/2016 - 11:34
I like the size that your book shelf is better than the original. What are the dimensions of your altered plan?
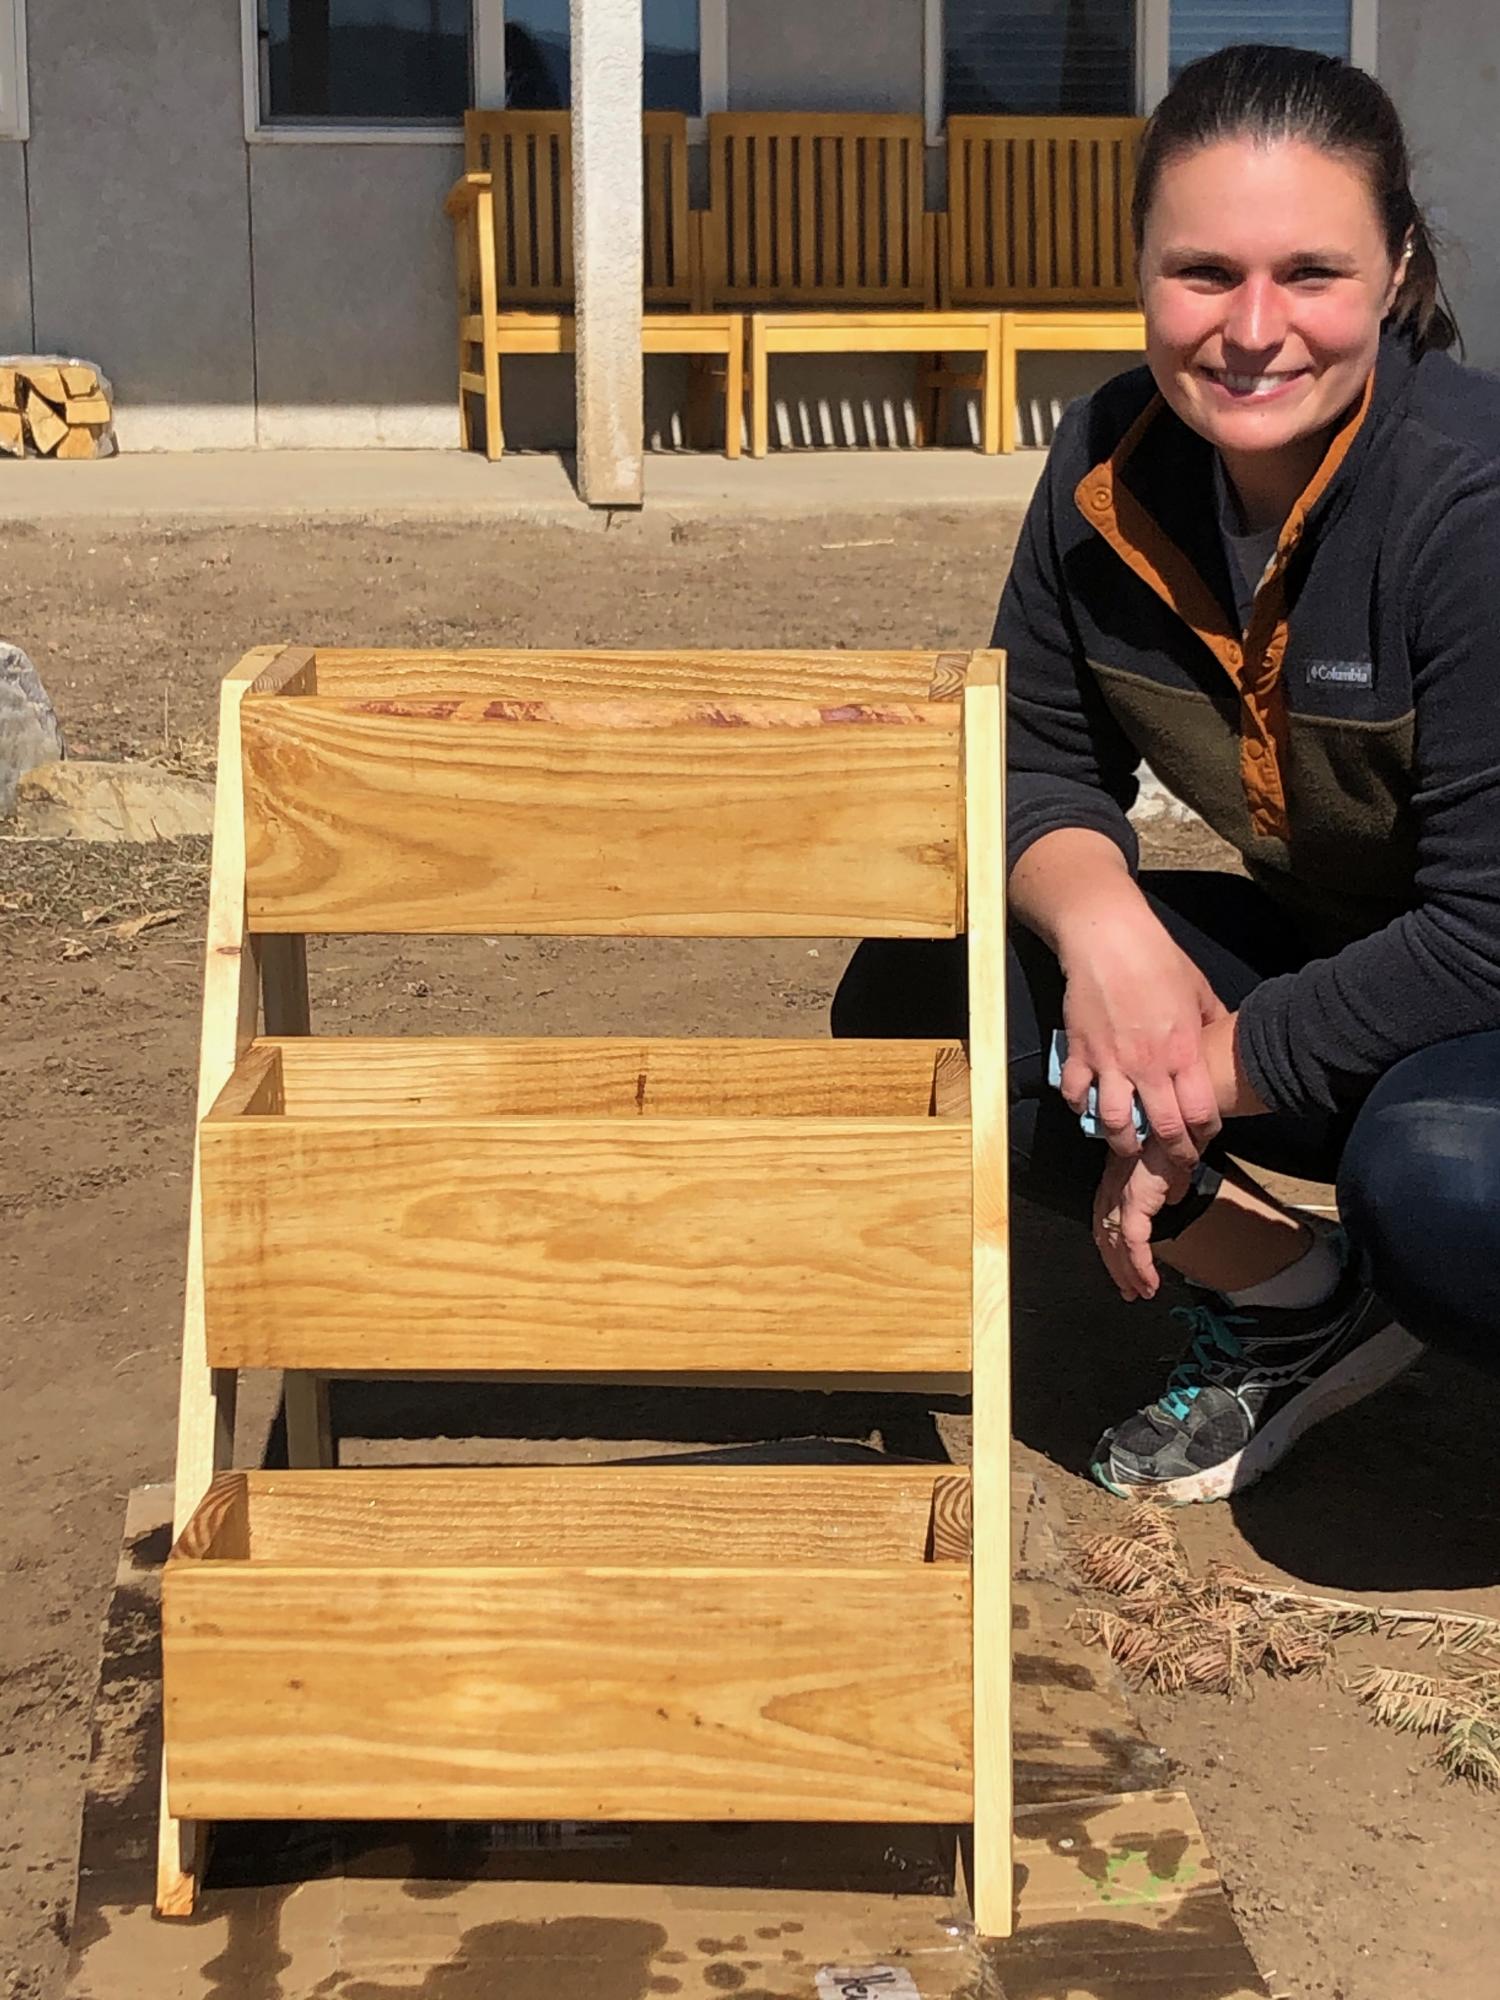
I had the fun of working with my daughter on this project.We recently moved closer to her in Colorado and we are just starting to get into wood projects. Thanks for the great projects!
Aron
I spent a lot of time looking at photos that my wife tagged on pinterest, most from builders who frequent Ana's site. I learned a lot just from looking.
I stole particular ideas from Ana, Tommie and Ellie, and another site that I can't find right now, but they really did the trestle / farmhouse hybrid idea first and I just modified their idea a bit. If anyone has seen their site, please remind me so I can give credit where it is due!
I didn't really use a plan other than having a general idea of what I wanted the size of the table to be. I believe it came out to about 102" x 44"
I built 6 chairs and the bench.
All is built out of construction grade lumber, and gets lots of compliments.
The table came together in a solid weekend, the bench took a couple of evenings, and the chairs...those chairs took forever to cut out, shape, assemble, and finish.
Mon, 02/02/2015 - 18:15
Wow these are so great! Beautifully built, and your finish looks flawless! You have a dining room that will last for generations! Love it!
Tue, 03/07/2023 - 12:47
Truly an inspiration for when we are to the point of building our table. Thank you for sharing.
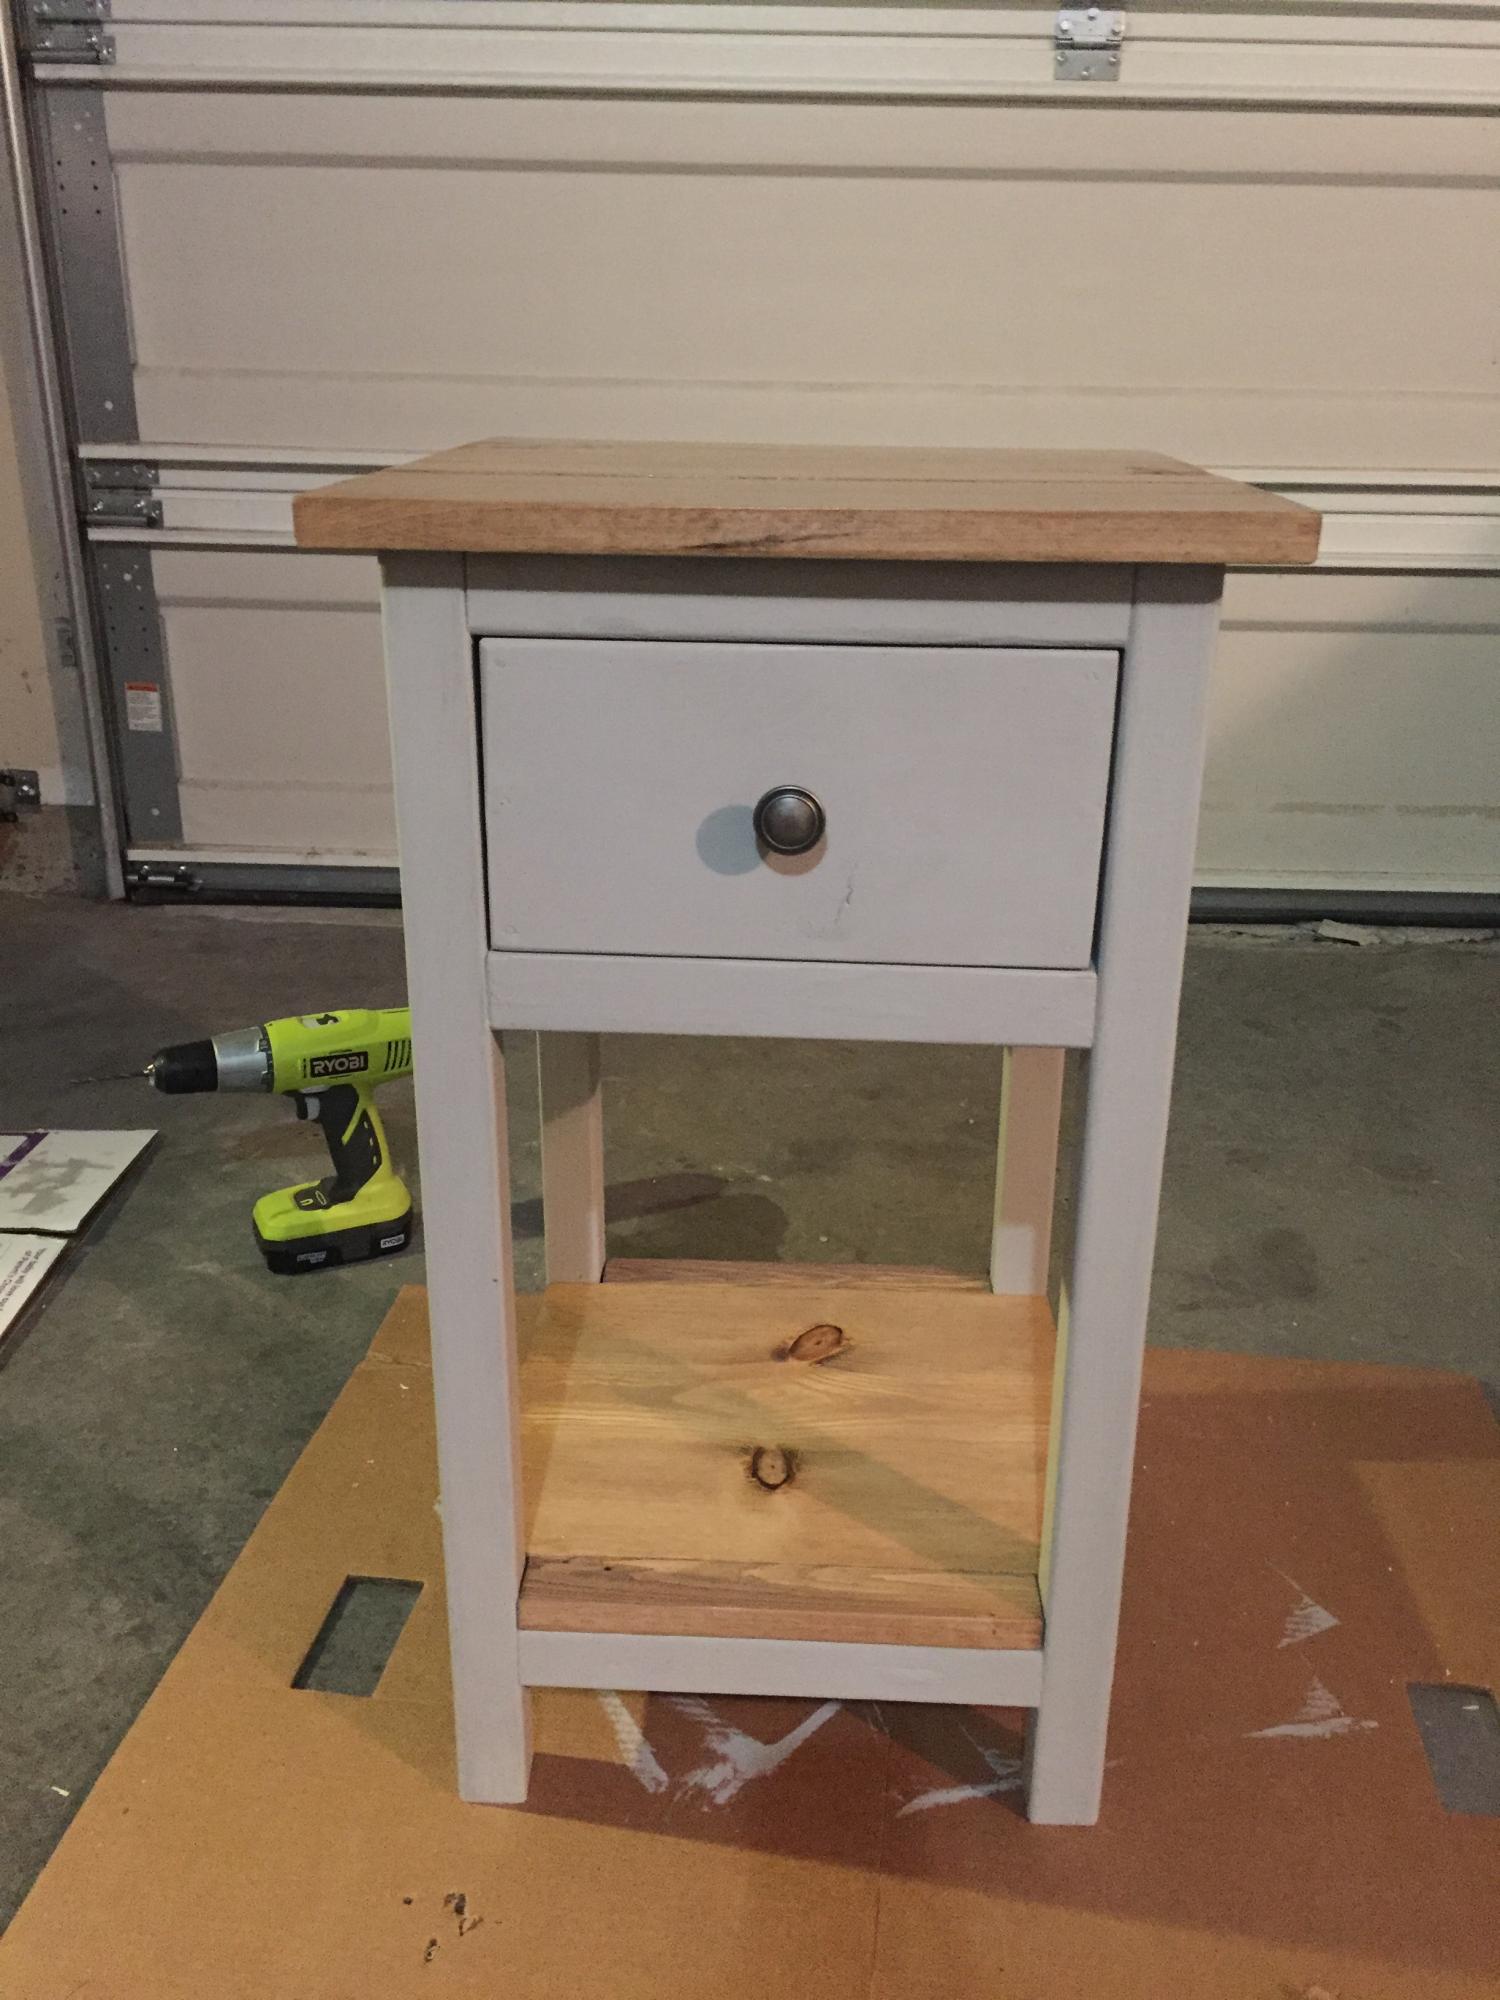
Took us 4 months cause we have kids so we have to work during naps and after bedtime and then we were hesitant to work on it for a while after a little stressful episode building the drawer. We had to lower our expectations for perfection when working with pine and no clamps. We're happy with how it turned out though! Reminds me of Van Gogh's "The Bedroom" for some reason.
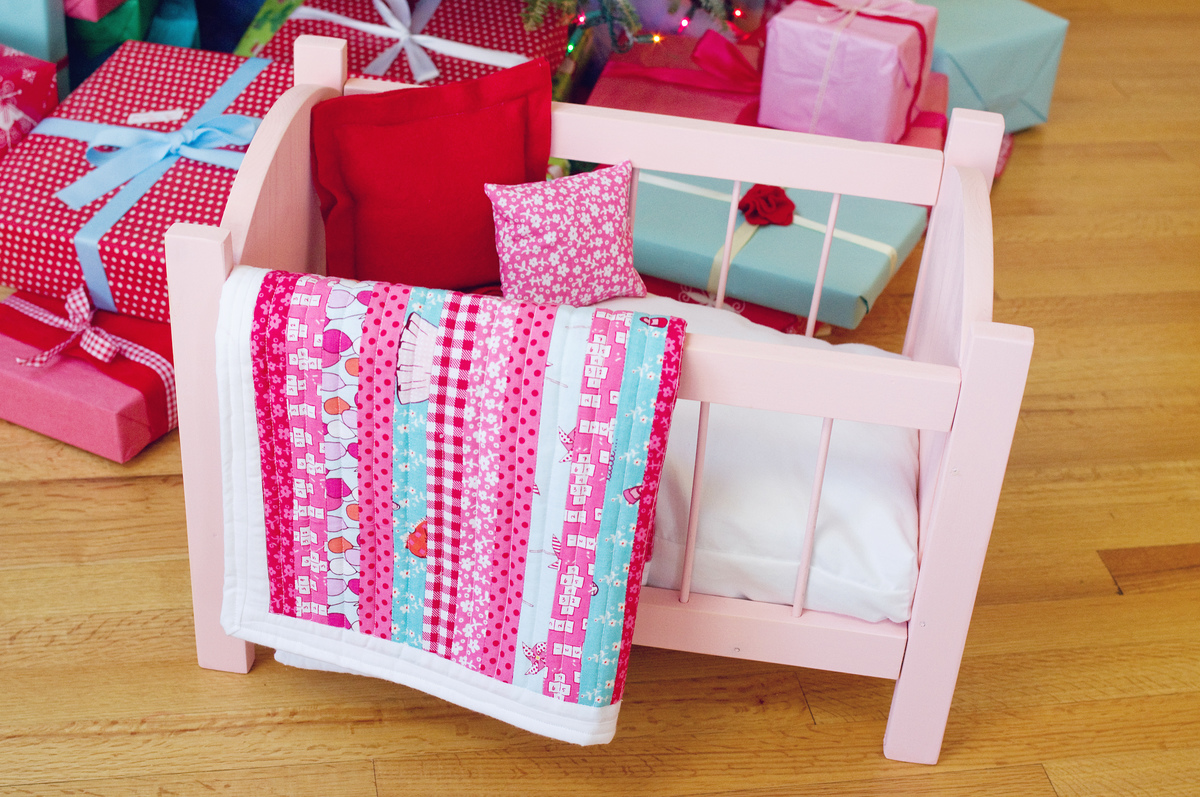
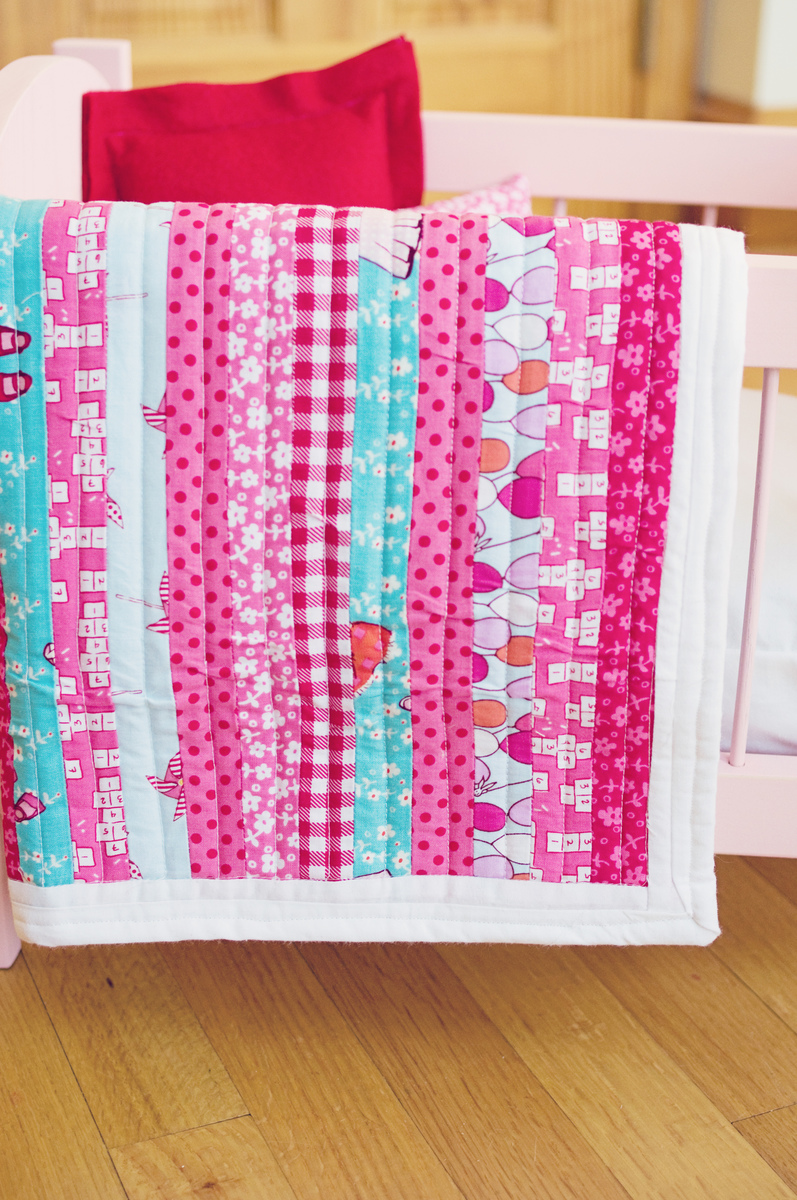
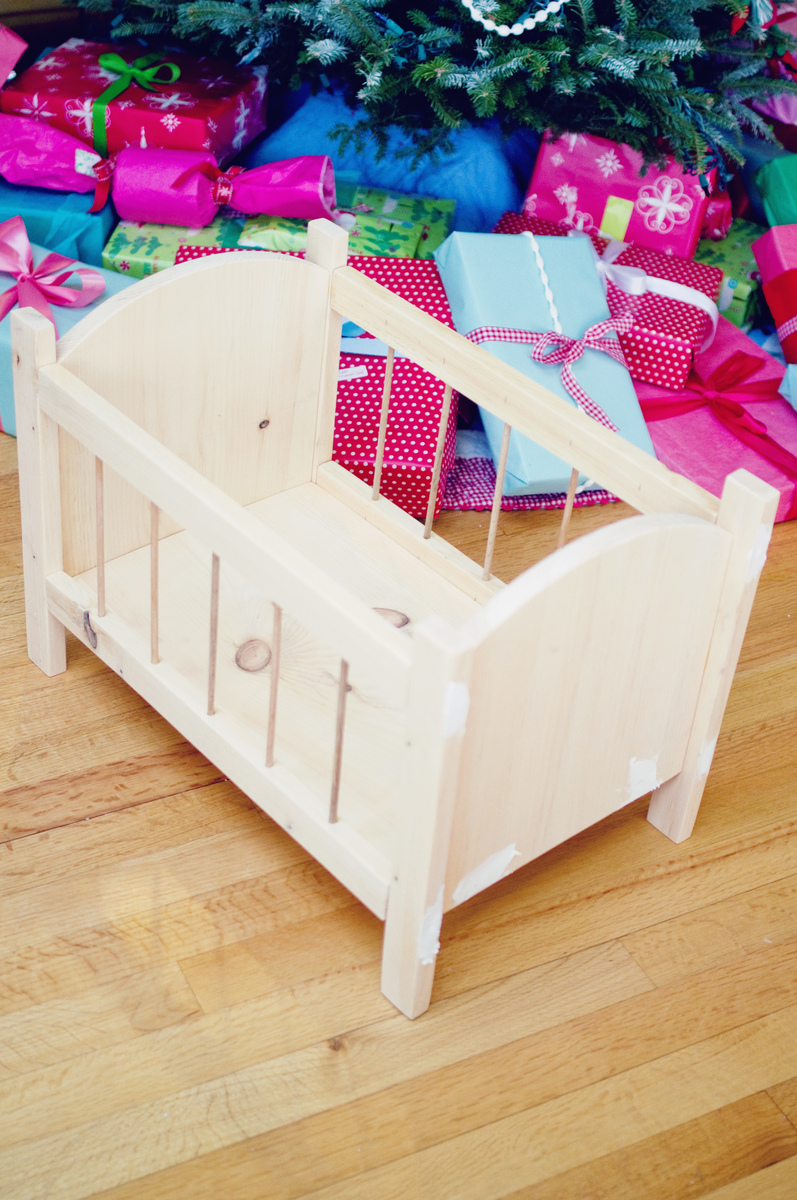
Made this for our 3rd daughter for Christmas. I had finials, but ended up liking the look of the crib better without them. It was so fun to build and my daughter was super excited Christmas morning! Thanks!
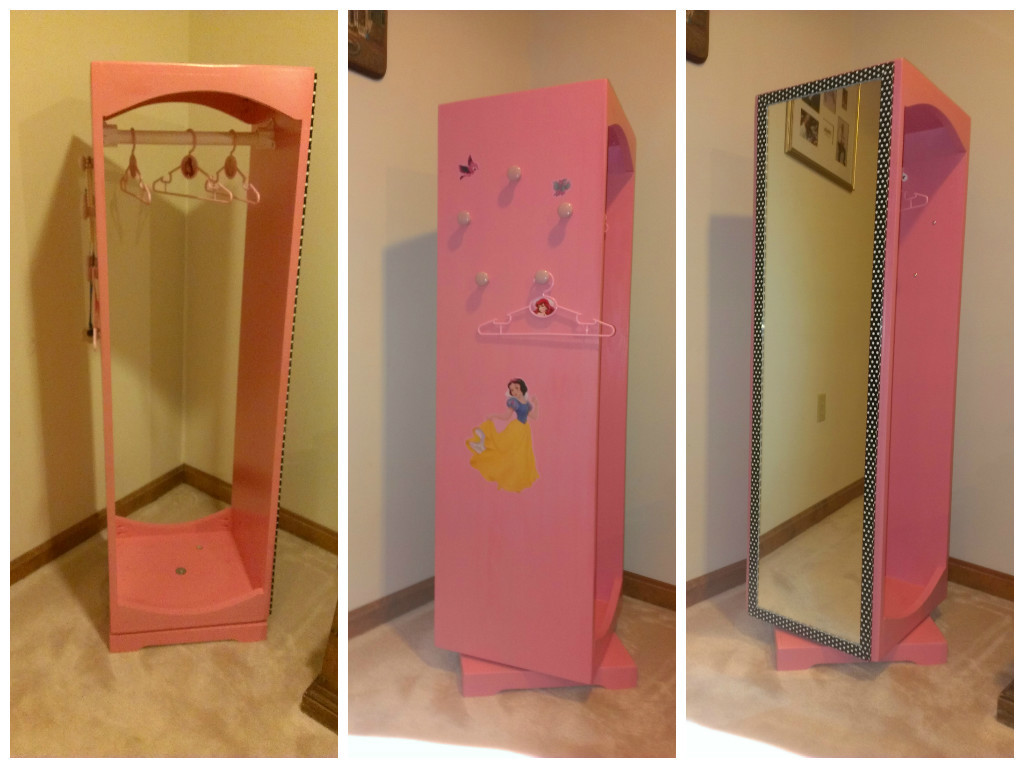
This project started by using the Ana-White Dress Up Tower Plans. Modifications were made to increase storage area and to include a lazy susan base.
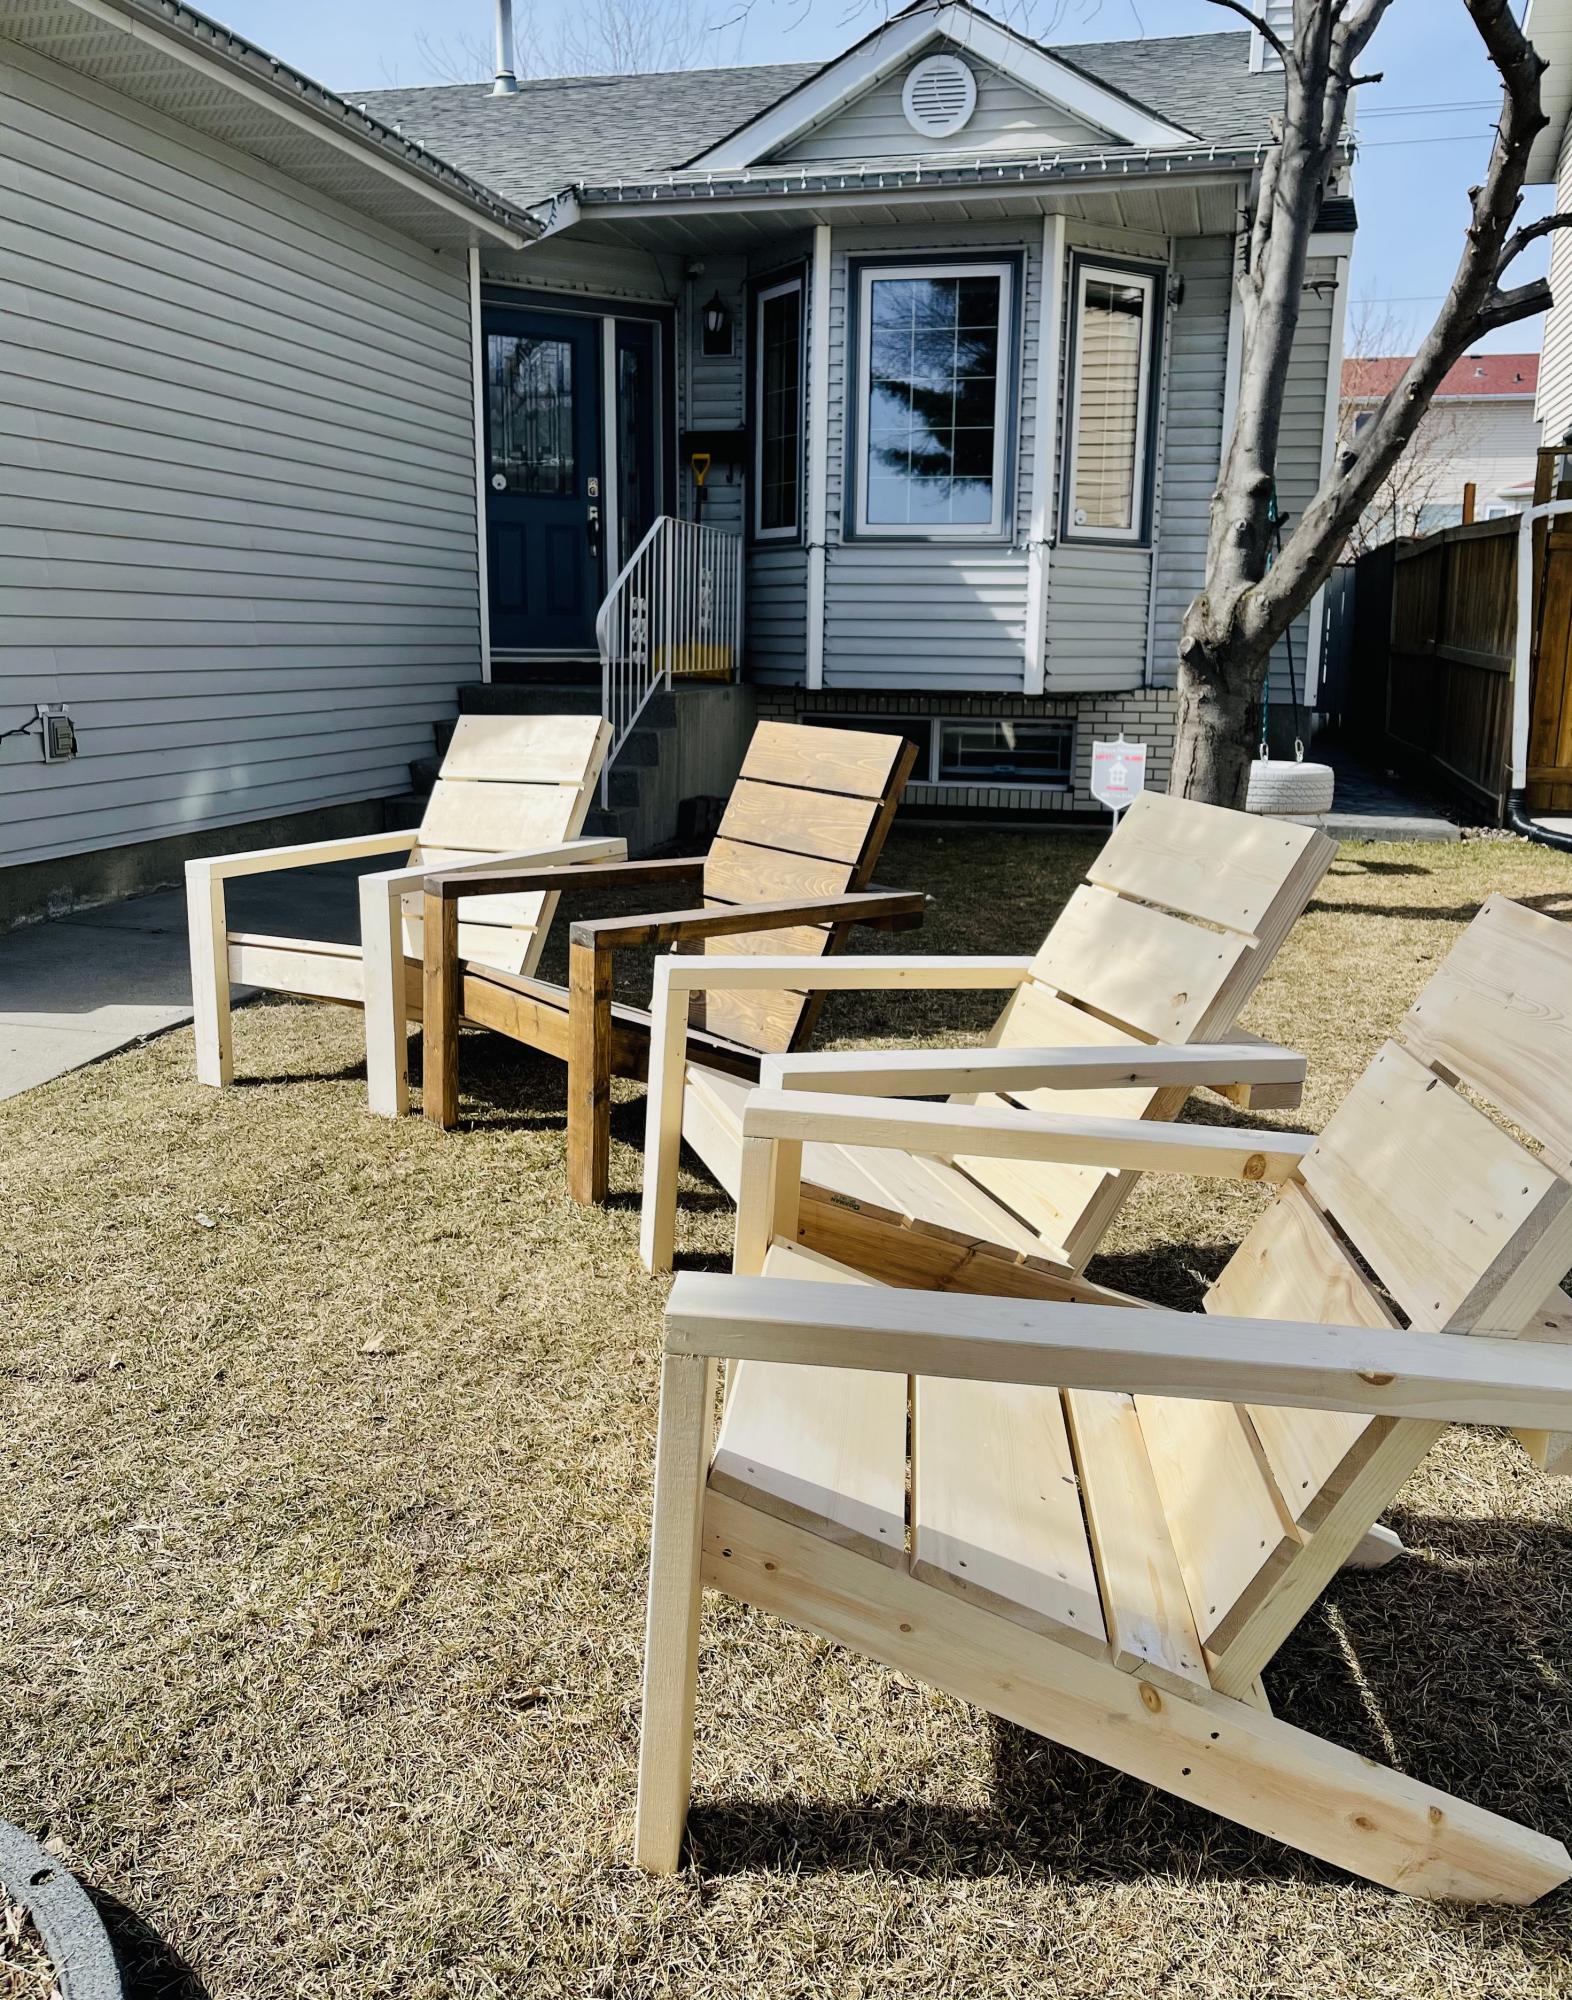
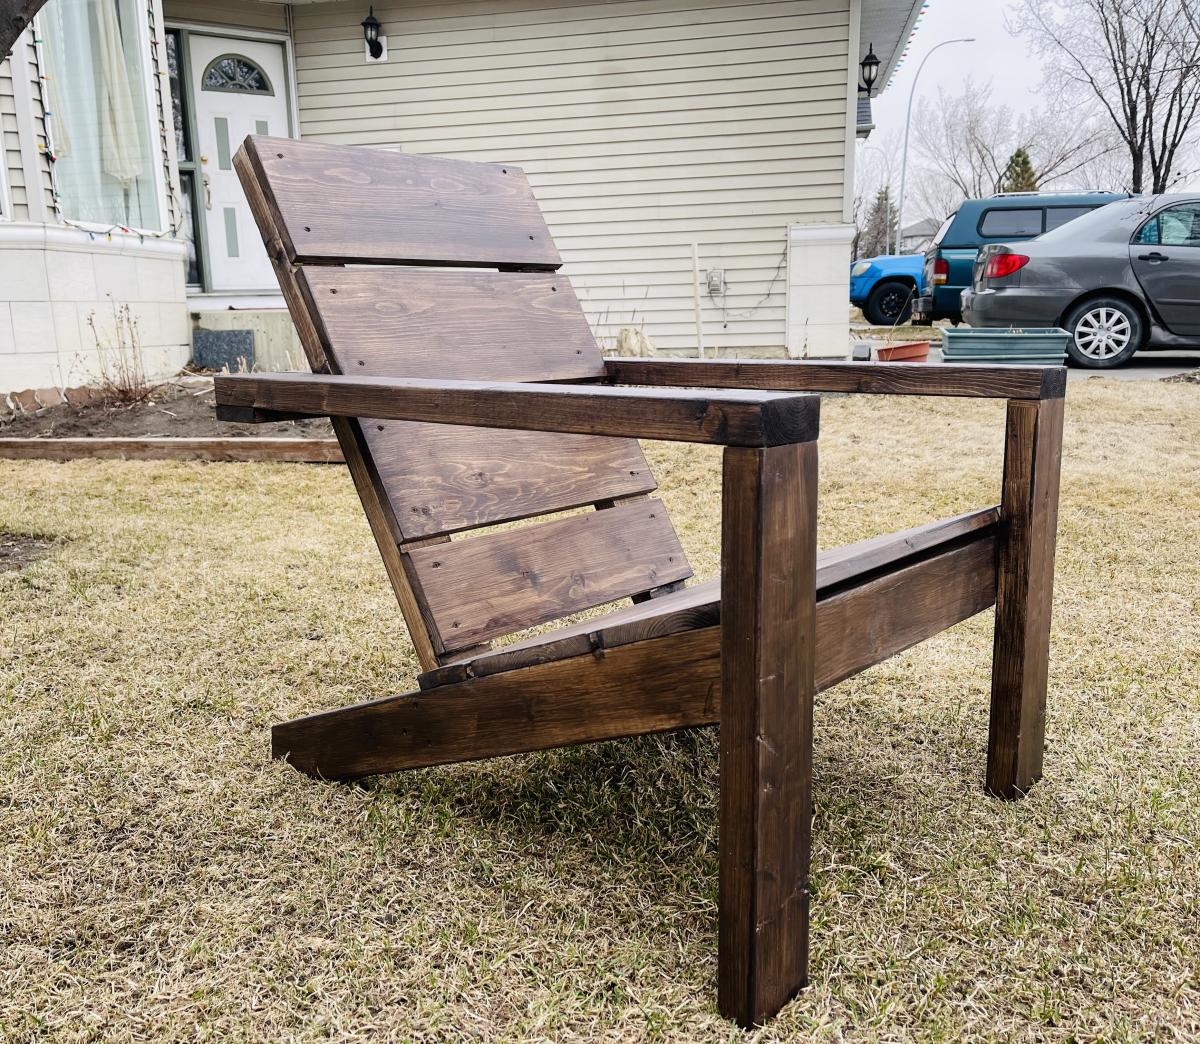
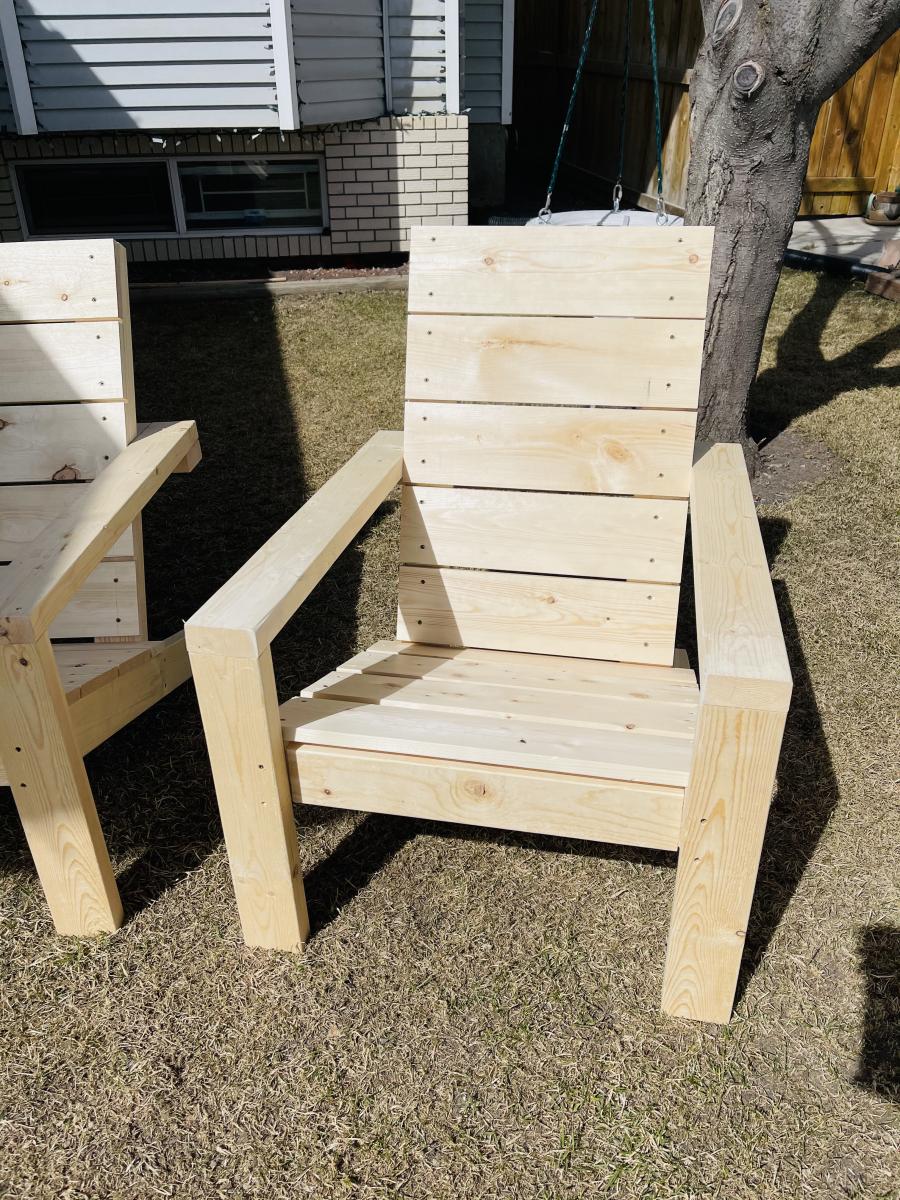
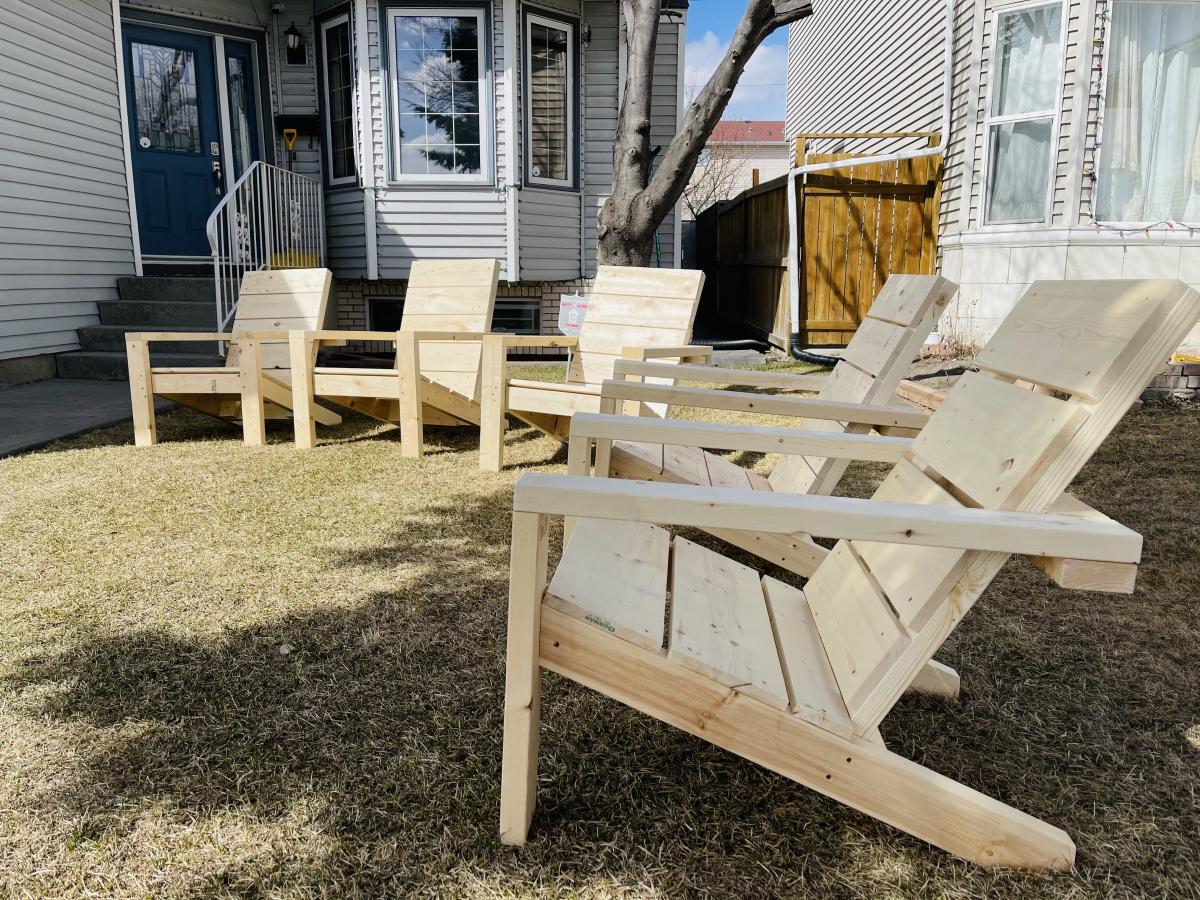
I decided to try to do some chairs for my backyard , guess what ........ i end up with very nice chairs.
It's very comfortable and looks great. My friends already asked me to do some for them.
Thanks Ana White for the great free plan.
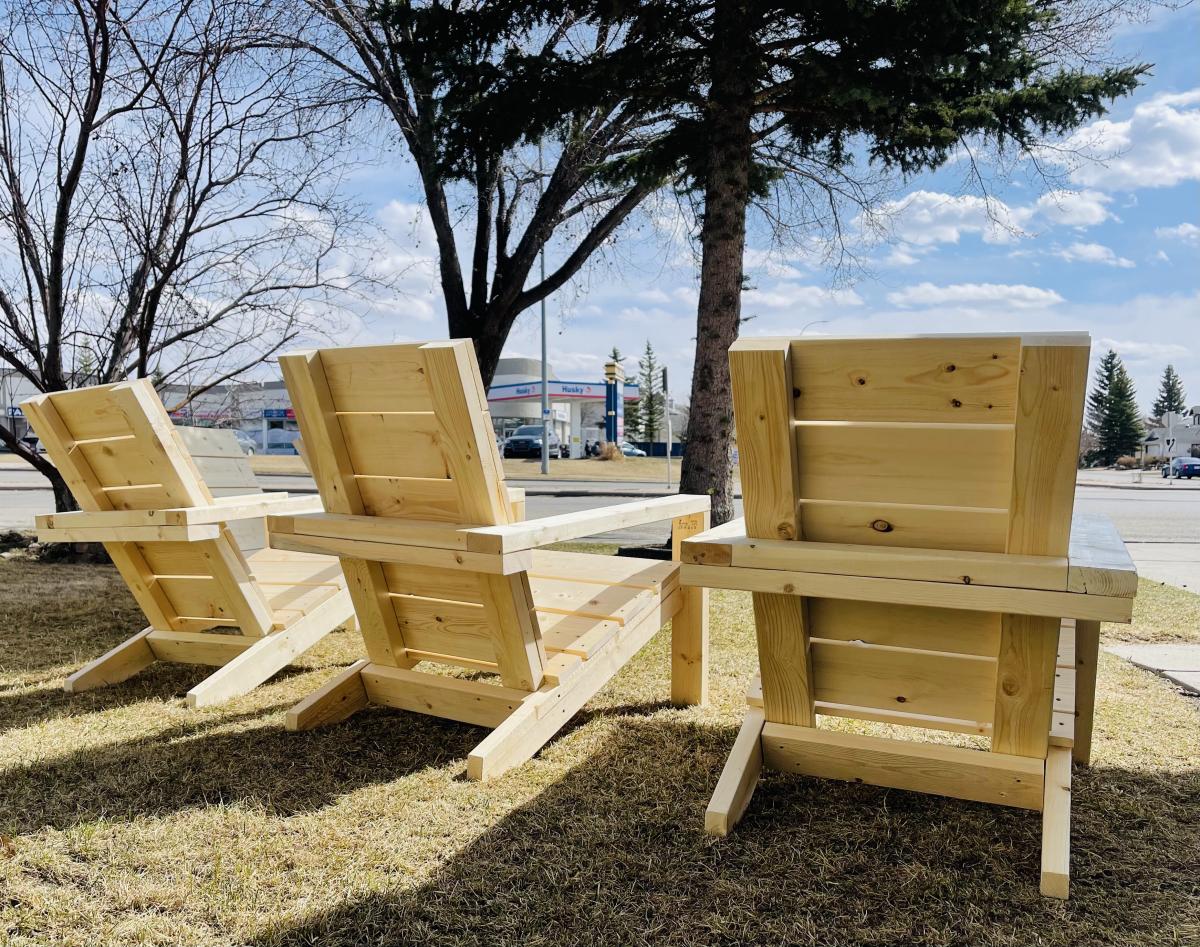
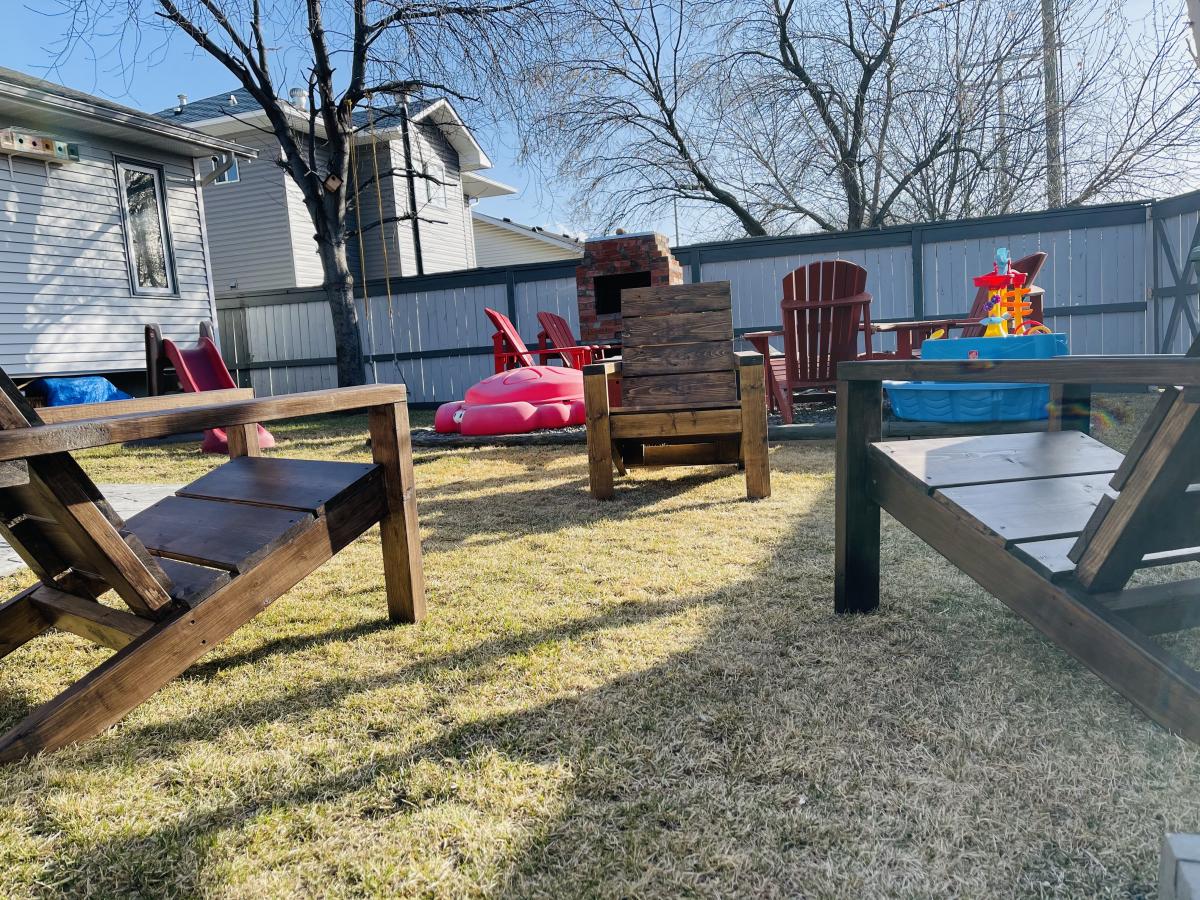
Tue, 04/13/2021 - 21:01
Thanks
Yes i am busy
Did 8 already and have 8 more to do
Great chairs
This was my first Anna White experience. It was a great beginner project. My husband was even impressed with the results. I was a little scared of the Menwax Ebony stain, but I applied it with a rag (several coats) and it came out very even. I used paste wax to finish off the project and it turned out great. I'm soooo proud of myself. I hope I don't sound too obnoxious, but it was just so much fun, and I was so surprised that I could build something that looked this professional. Ok, shutting up now. :-)
Fri, 03/22/2013 - 08:16
It's beautiful! You deserve a little bragging time!
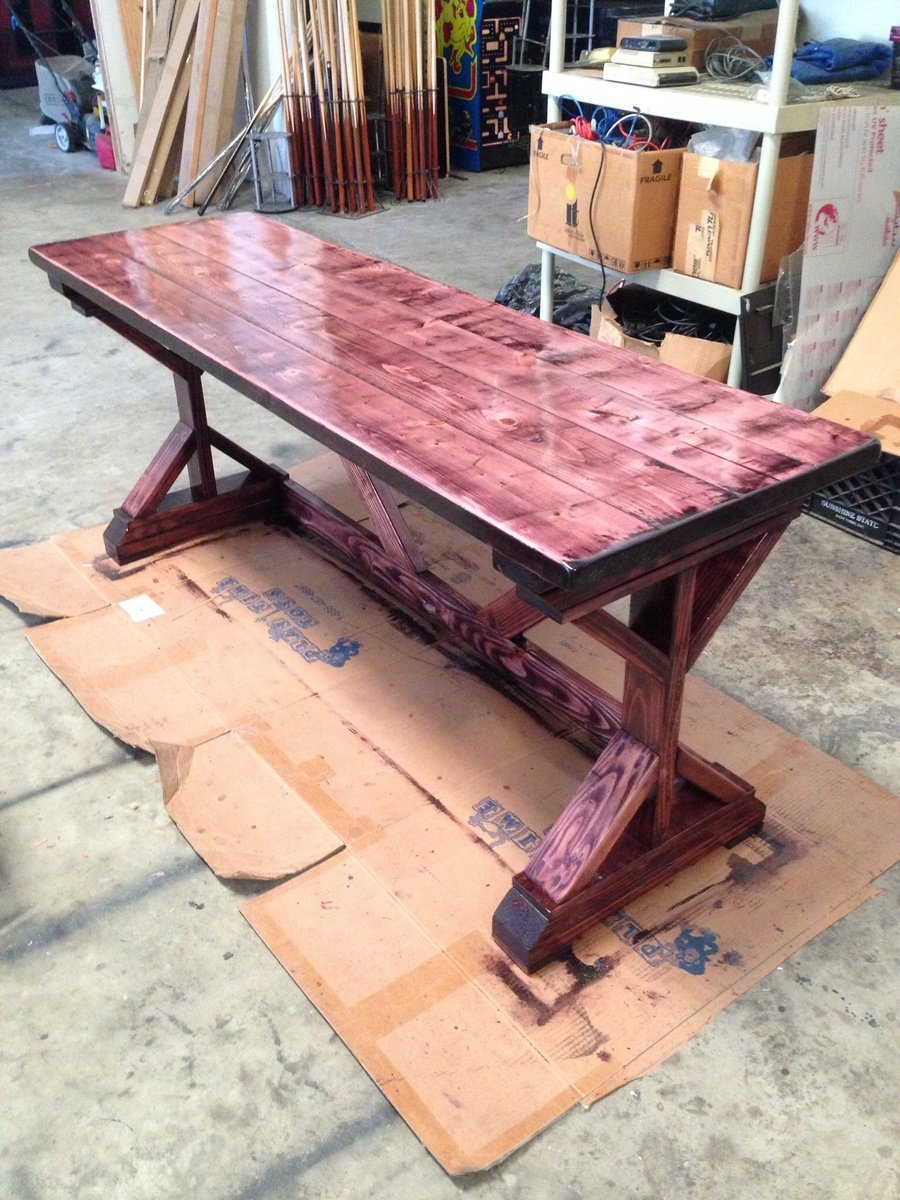
My first big project. It turned out great! There are a couple of issues with the plans but nothing a little common sense couldn't resolve. Also, for any beginners out there, make sure when you're going through your cut list, start with the larger pieces first then work your way down to the smaller cuts. You'll end up having to take another trip to the hardware store if you cut the smaller pieces first. Great plans Ana White! I built this as a Christmas gift for my girlfriend. She was blown away! She absolutely loves it!
~Justin~
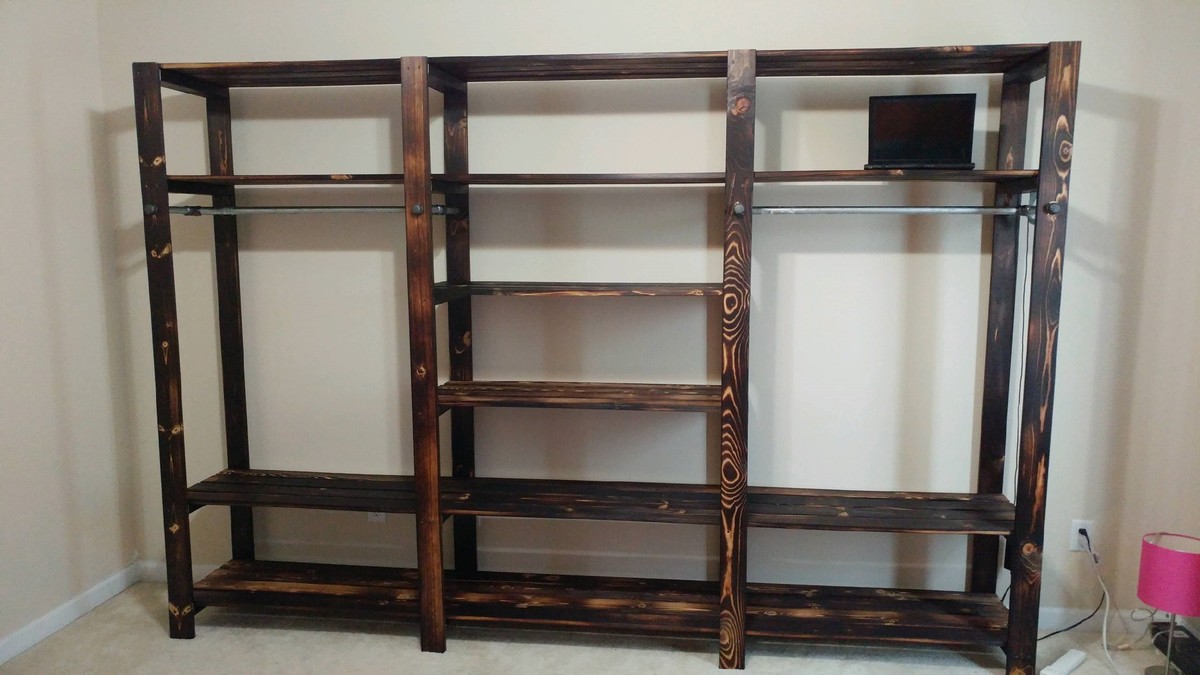
Pretty straight forward plans.
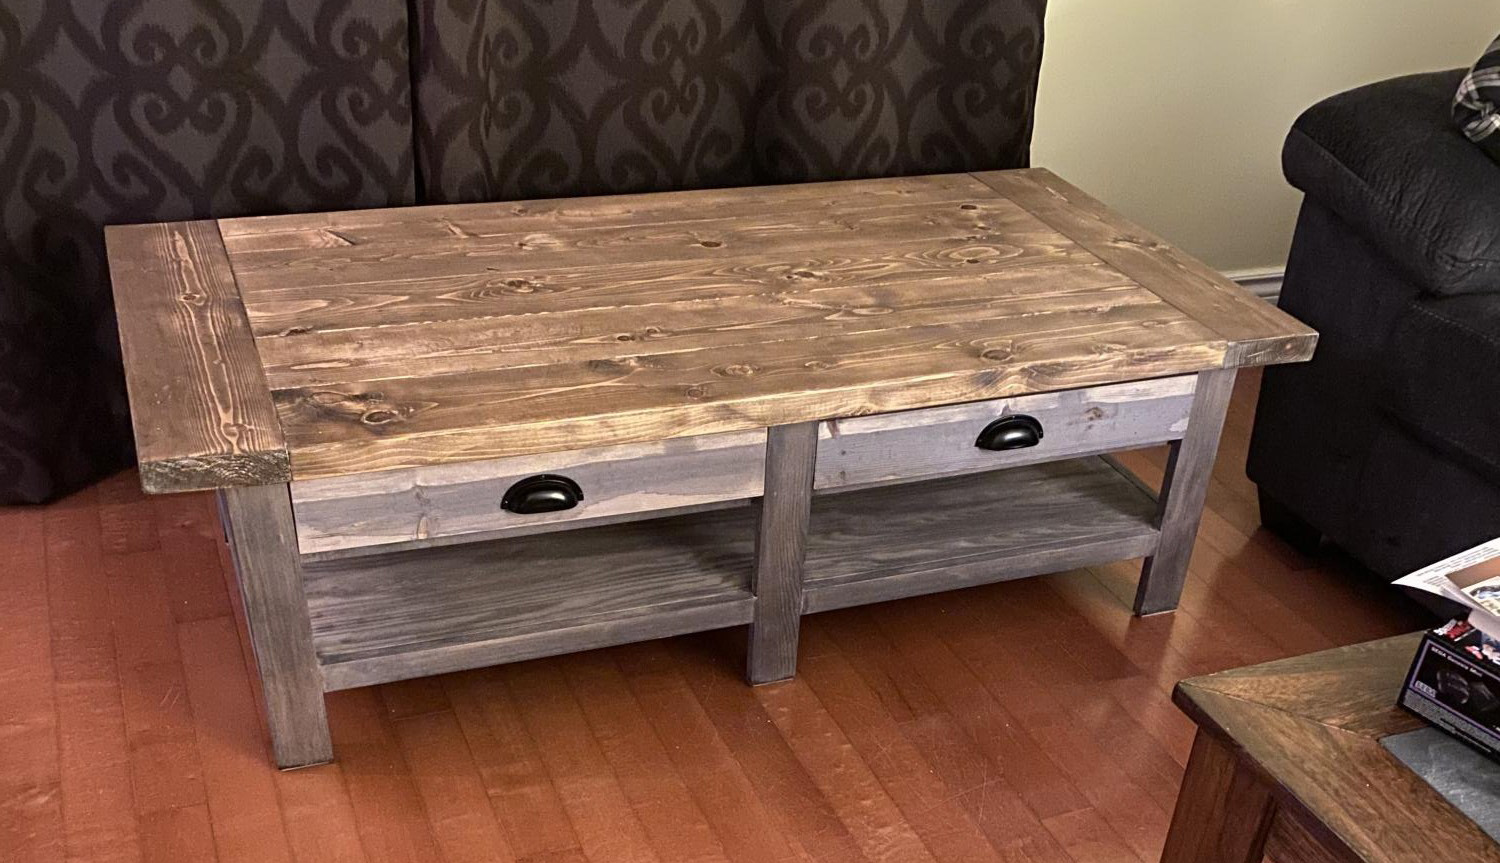
Found the plans on this site and built this as a Christmas gift! They love it!
Wed, 04/21/2021 - 10:54
Thanks for sharing your projects here, they look great!
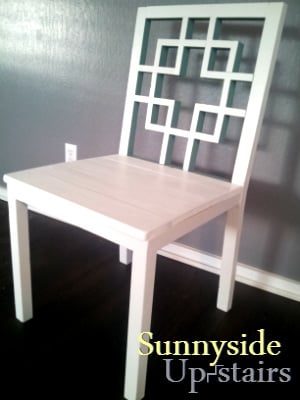
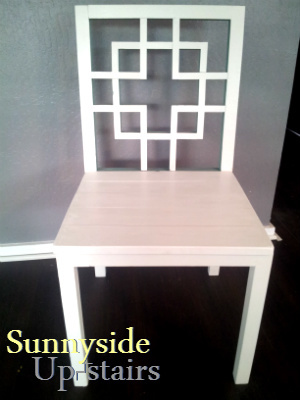
My husband and I loved the Squared2 Chair we saw on this site and we knew that we wanted to have this design for our dining chairs. As my building experience has increased, I thought it was time to try. This is my first chair: it is not perfectly executed, but I learned a few things along the way and I've decided to buy a few tools, too. I modified the square back pattern cut lengths explained briefly on my little blog.
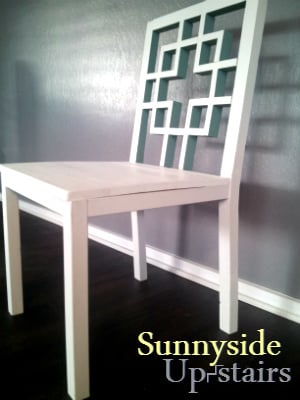
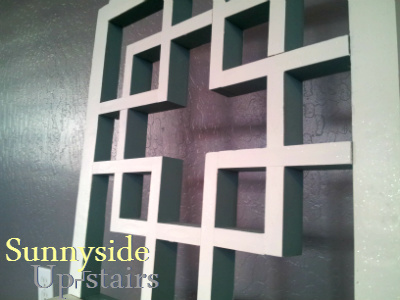
Thu, 08/15/2013 - 22:47
Thank you for your comment, Pam! I'm sorry for the late response.
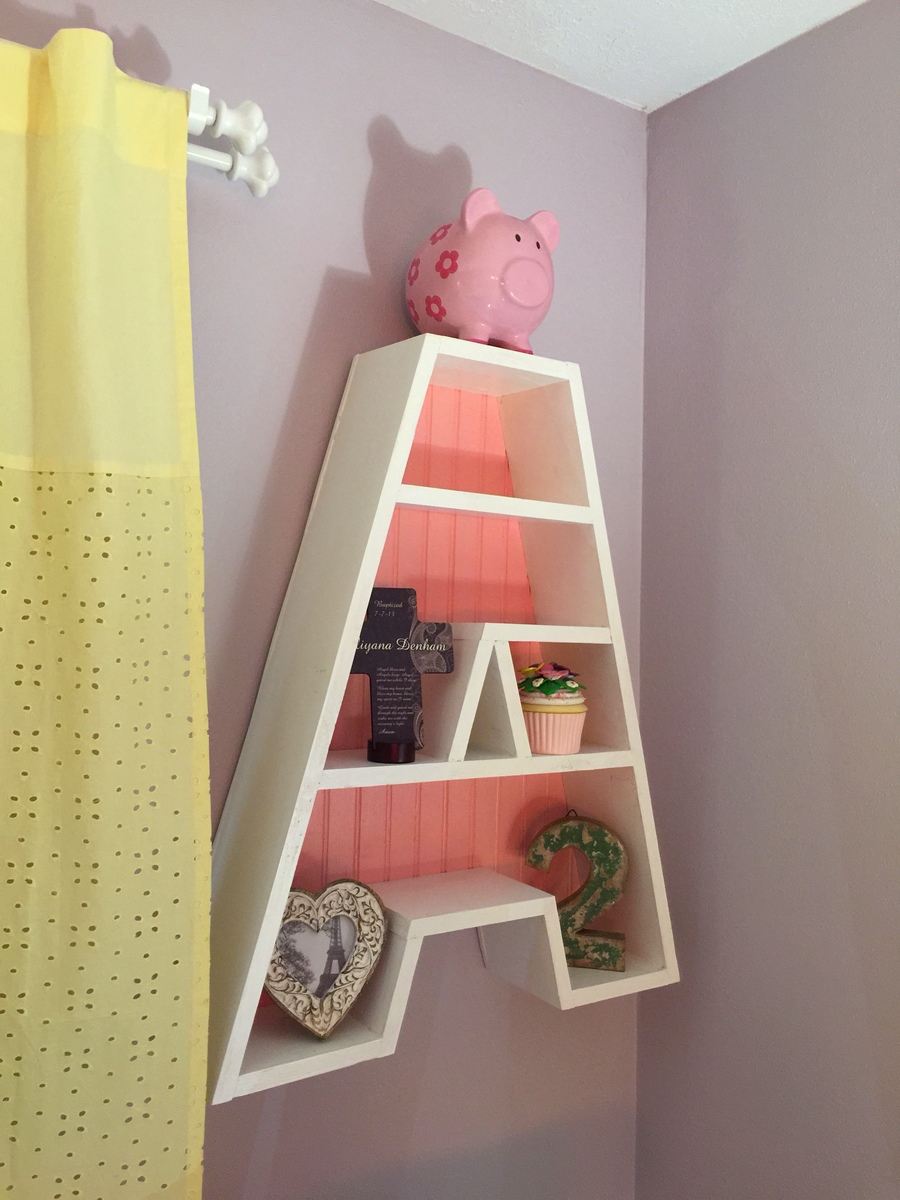
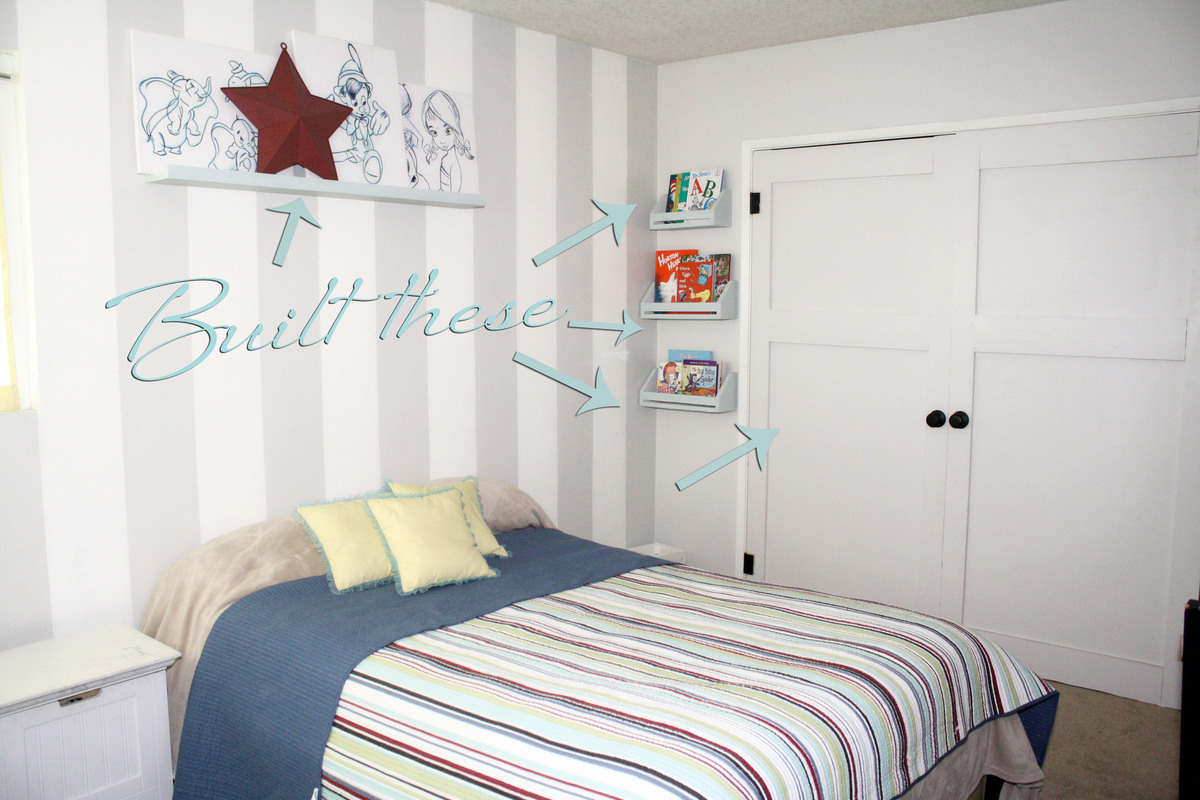
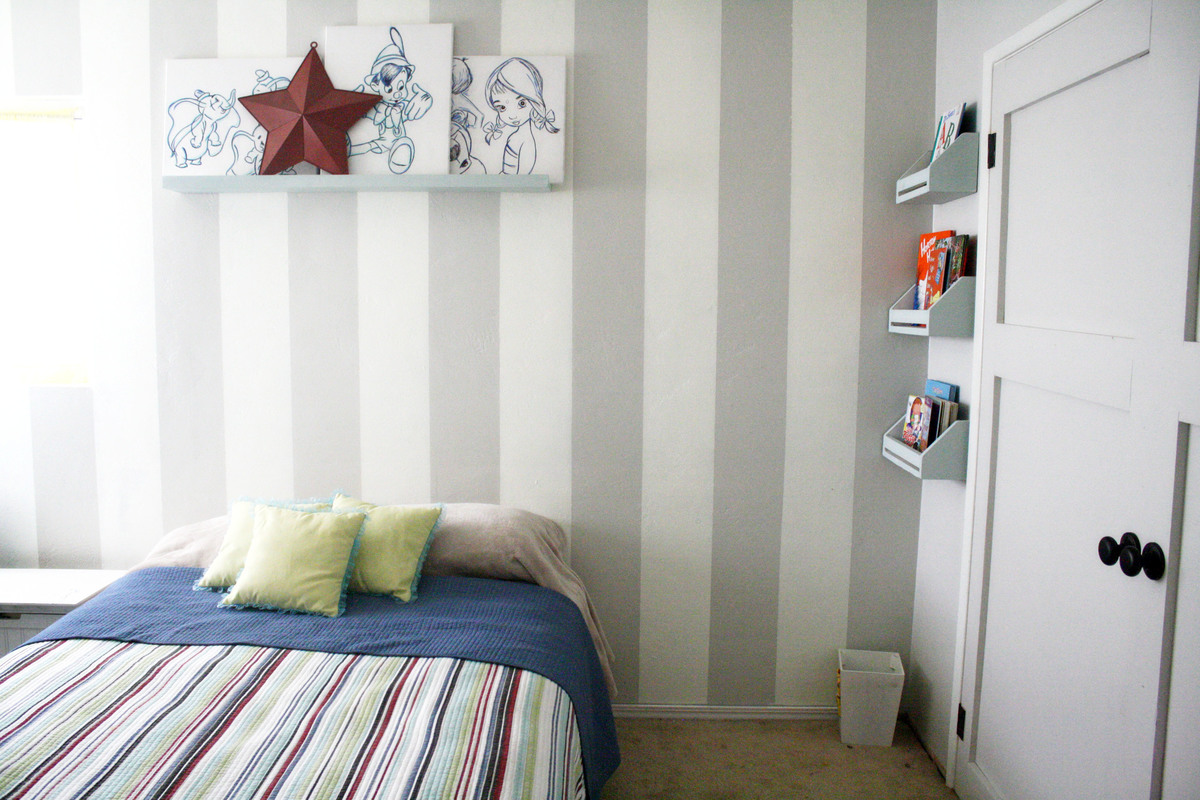
With another baby on the way in a few months, we decided to move our 2+ year old daughter across the hall into her first big girl room. I built big sister the Kendal Extra Wide Dresser, Traditional Wood Toddler Bed, Letter A Shelf and a Dollhouse Bookcase and matched the colors with her new comforter, lamps and princess canopy tent from the Land of Nod outlet.
This is a pretty easy project to build with the right tools. For the backing, I used beadboard plywood that I had leftover from the headboard of the toddler bed. The one tricky thing was how to actually hang the bookshelf. The weight of wood for the shelf is somewhat heavy and that's before anything even goes in/on top of it. After a few trips to the big boxes, I decided on using a heavy duty mirror hanger, which so far, has worked great.


Fri, 02/06/2015 - 11:28
What a lucky little girl! You inspired me to make-over our little girls room now that she is 4. What a gift to create all these beautiful items for your home. PS - Love your outdoor sectional too!
Tue, 02/24/2015 - 13:05
It took a lot of work, but it was well worth it. The best part about completing a room make-over is her reaction to having all new stuff. Our daughter has not once wanted to go back to her old nursery room. p.s. I cannot wait for the cold/ice/snow to end so we can start enjoying the sectional again.
Fri, 02/13/2015 - 12:36
This is soooooo cute! I bet your little girl loves this! Great job!
Tue, 02/24/2015 - 13:01
She loves all of new big girl room furniture, which mostly came from your plans!

Outdoor Couches made from the plans on the website. Added 2 2x4's on back top to add support when leaning back. Also added vertical supports on the back to help with added weight.
Stained and Sealed with Natural Cedar Stain and Sealer
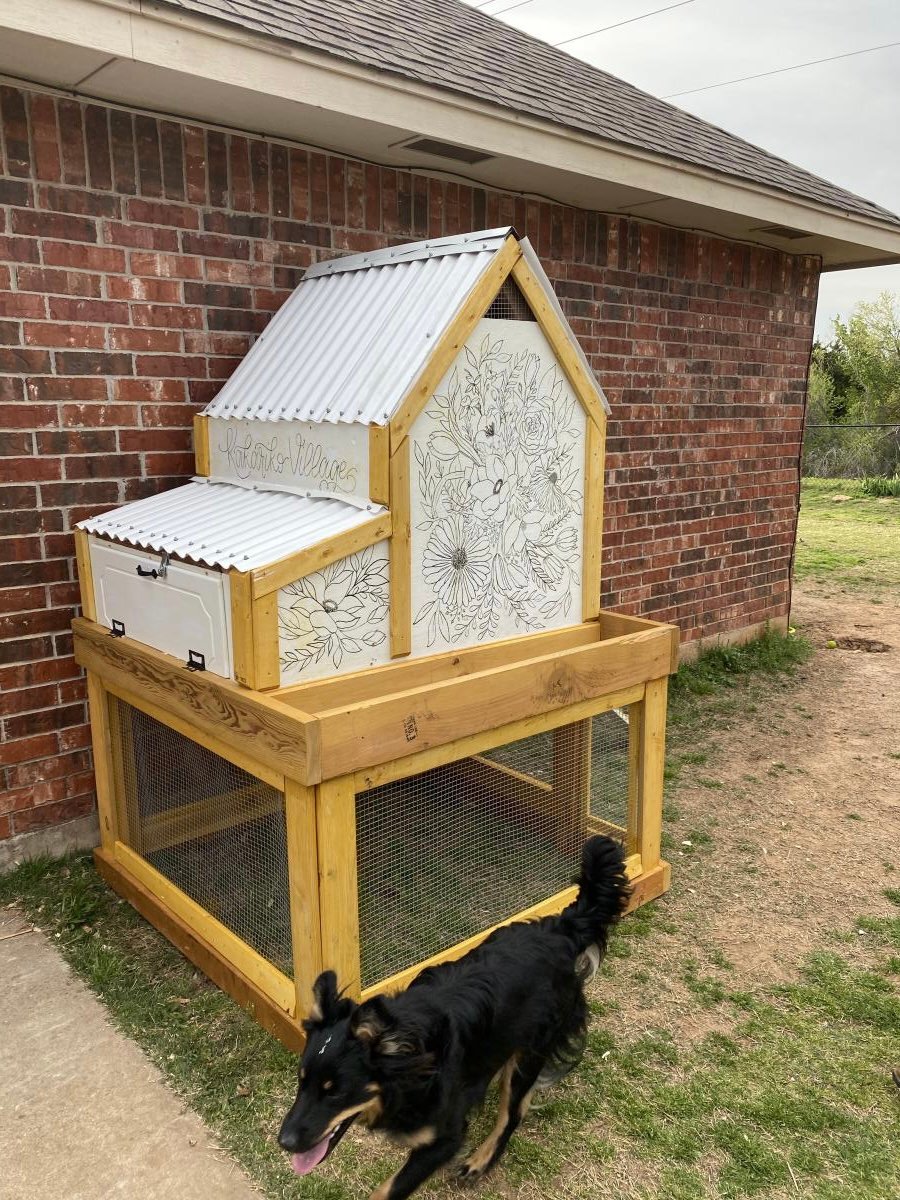
I’m so thankful I found Ana White’s site, like, 10 years ago. She’s inspired me so much and helped me to know I could build stuff! This is far from the first thing I’ve built but it’s absolutely the most complex! I was able to find a bunch of wood free locally from a construction site (they posted it online) and some friends had some old plywood they were kind enough to give us. Even with most of the wood covered, the cost of hardware and other supplies still took us over $200. I worked on it during the day for the last few weeks around our homeschooling schedule, so it did take quite a bit of time. I also had to modify it to work with the wood I had and I wanted to make it bigger inside. But it’s finally finished and our little chickies seem quite happy so far!
had a lot of scraps and put them to good use with this shelf, east to change out any art/photos my kids would like on their walls, size of frames, etc...without nailing frames, changing positioning, just re-arrange on the shelf :)
